HusseinHolland
Free Member
-
Joined
-
Last visited
Everything posted by HusseinHolland
-
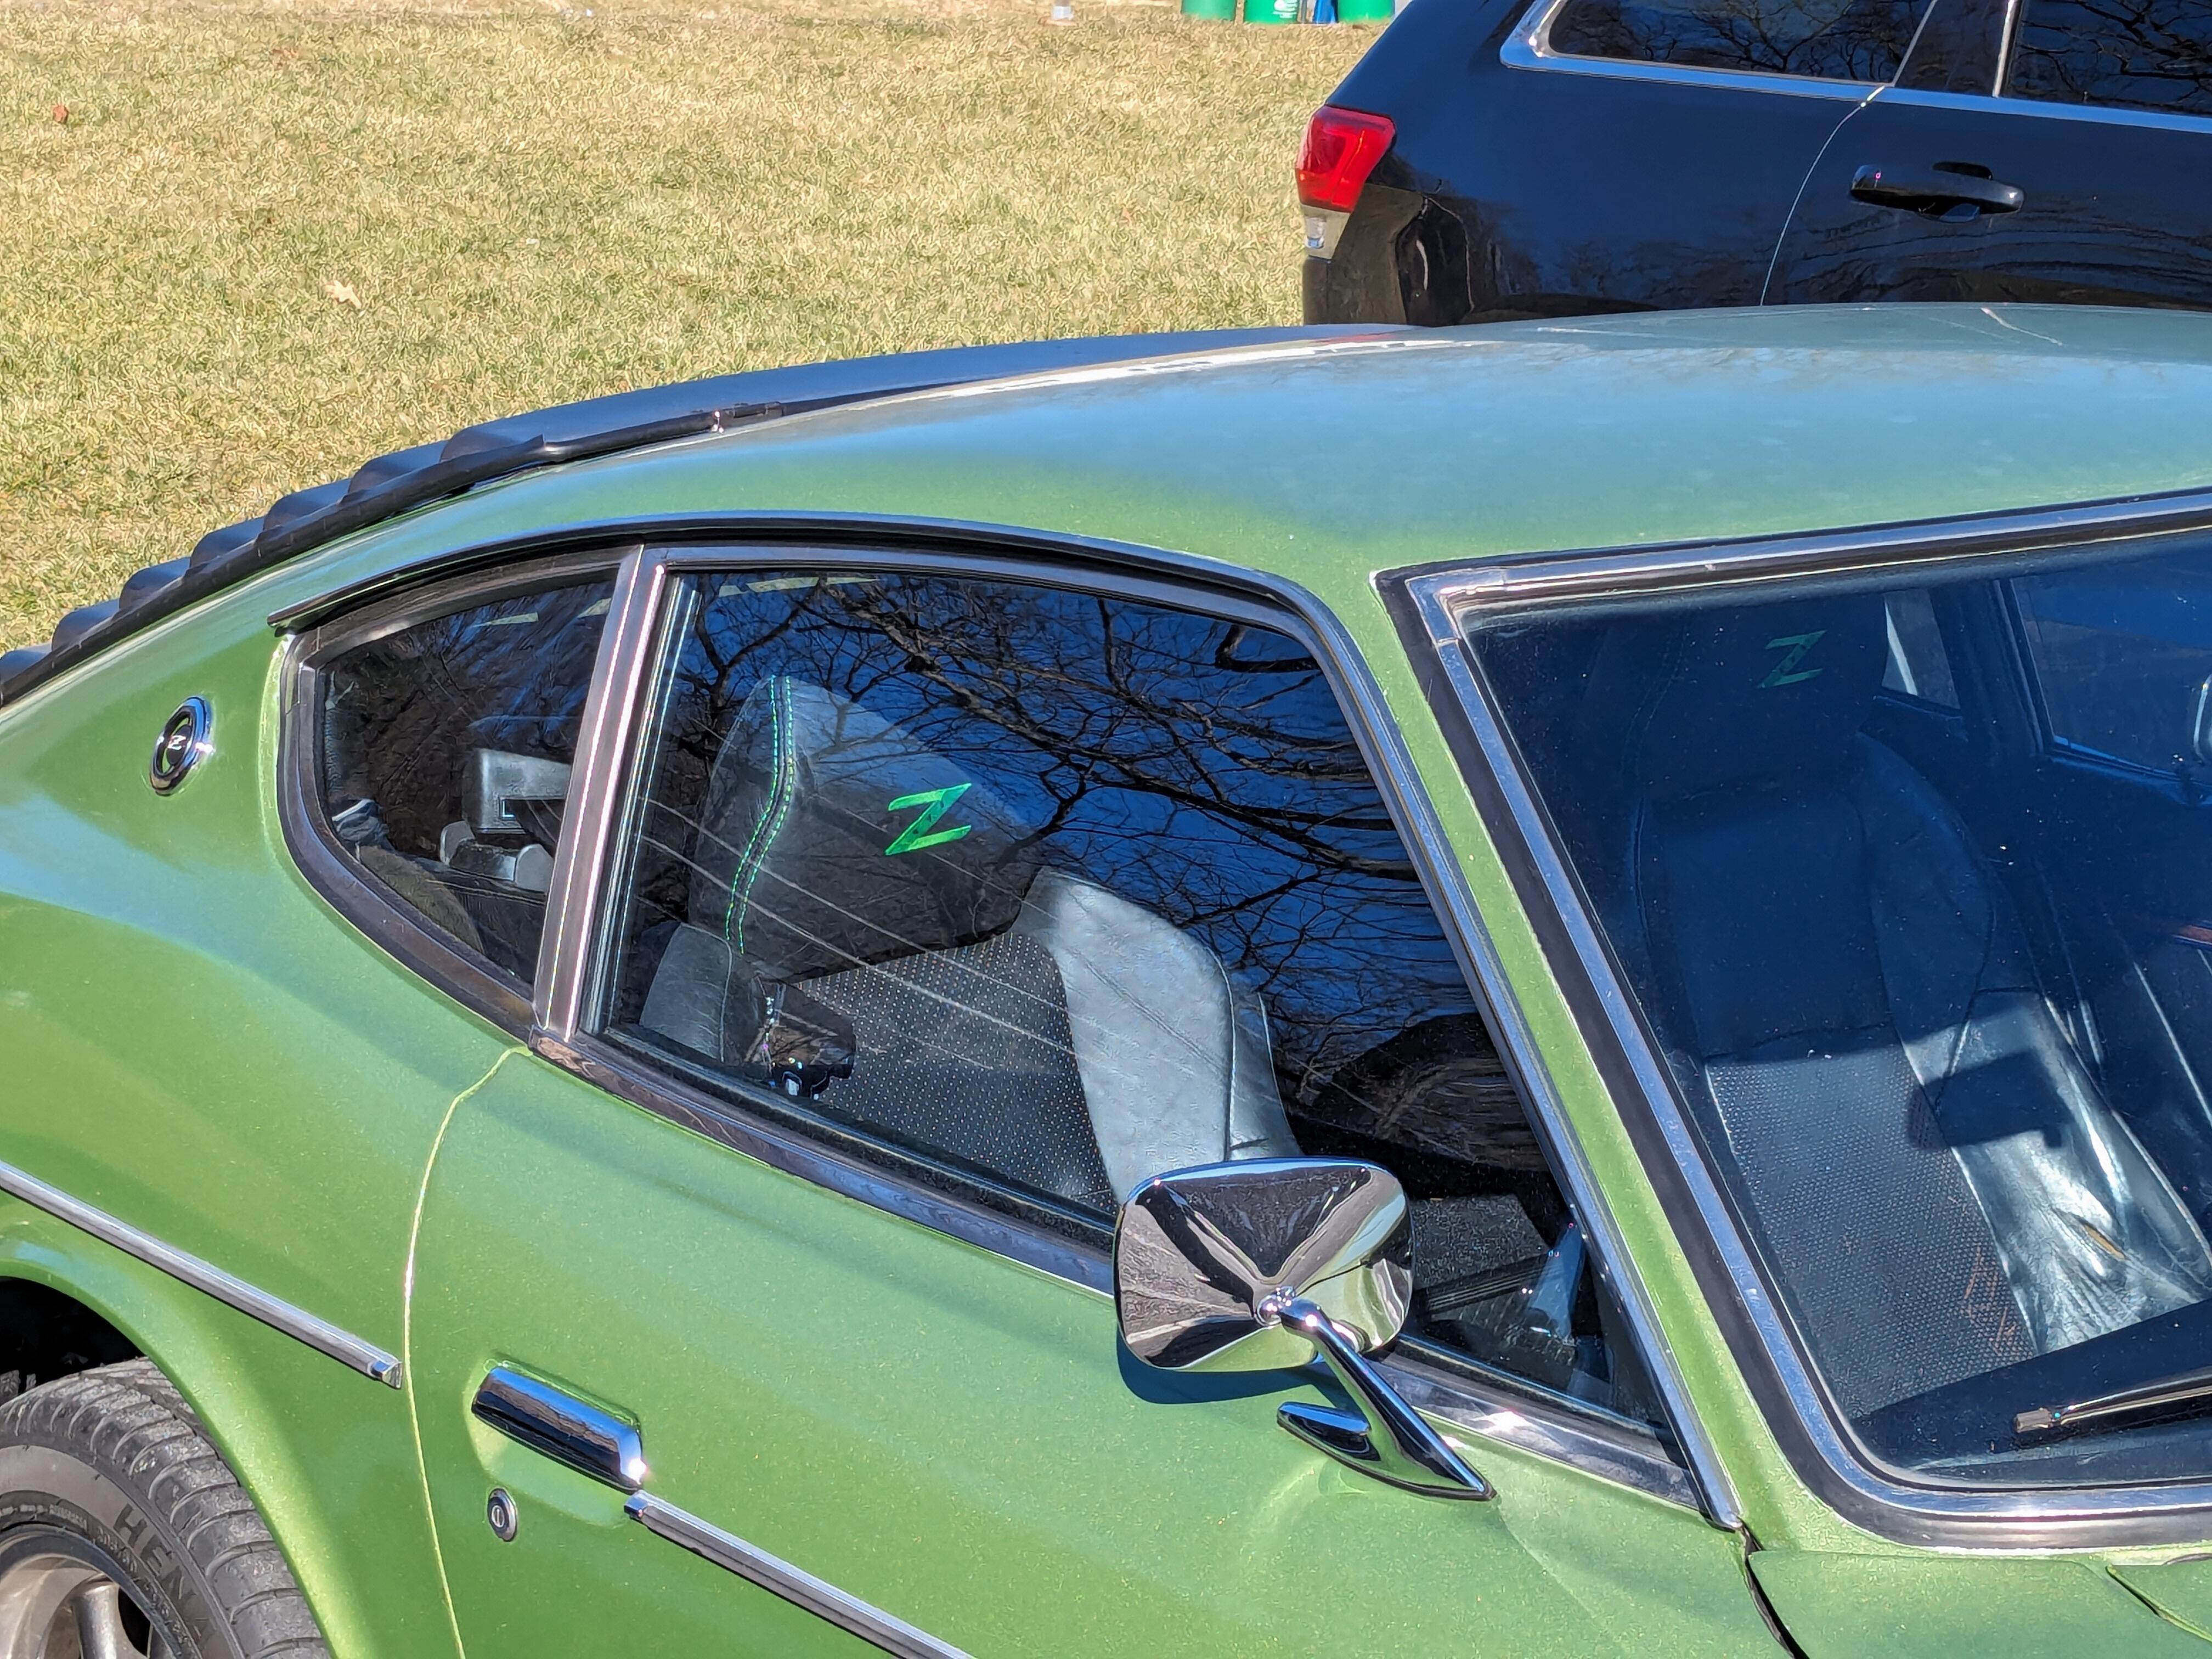
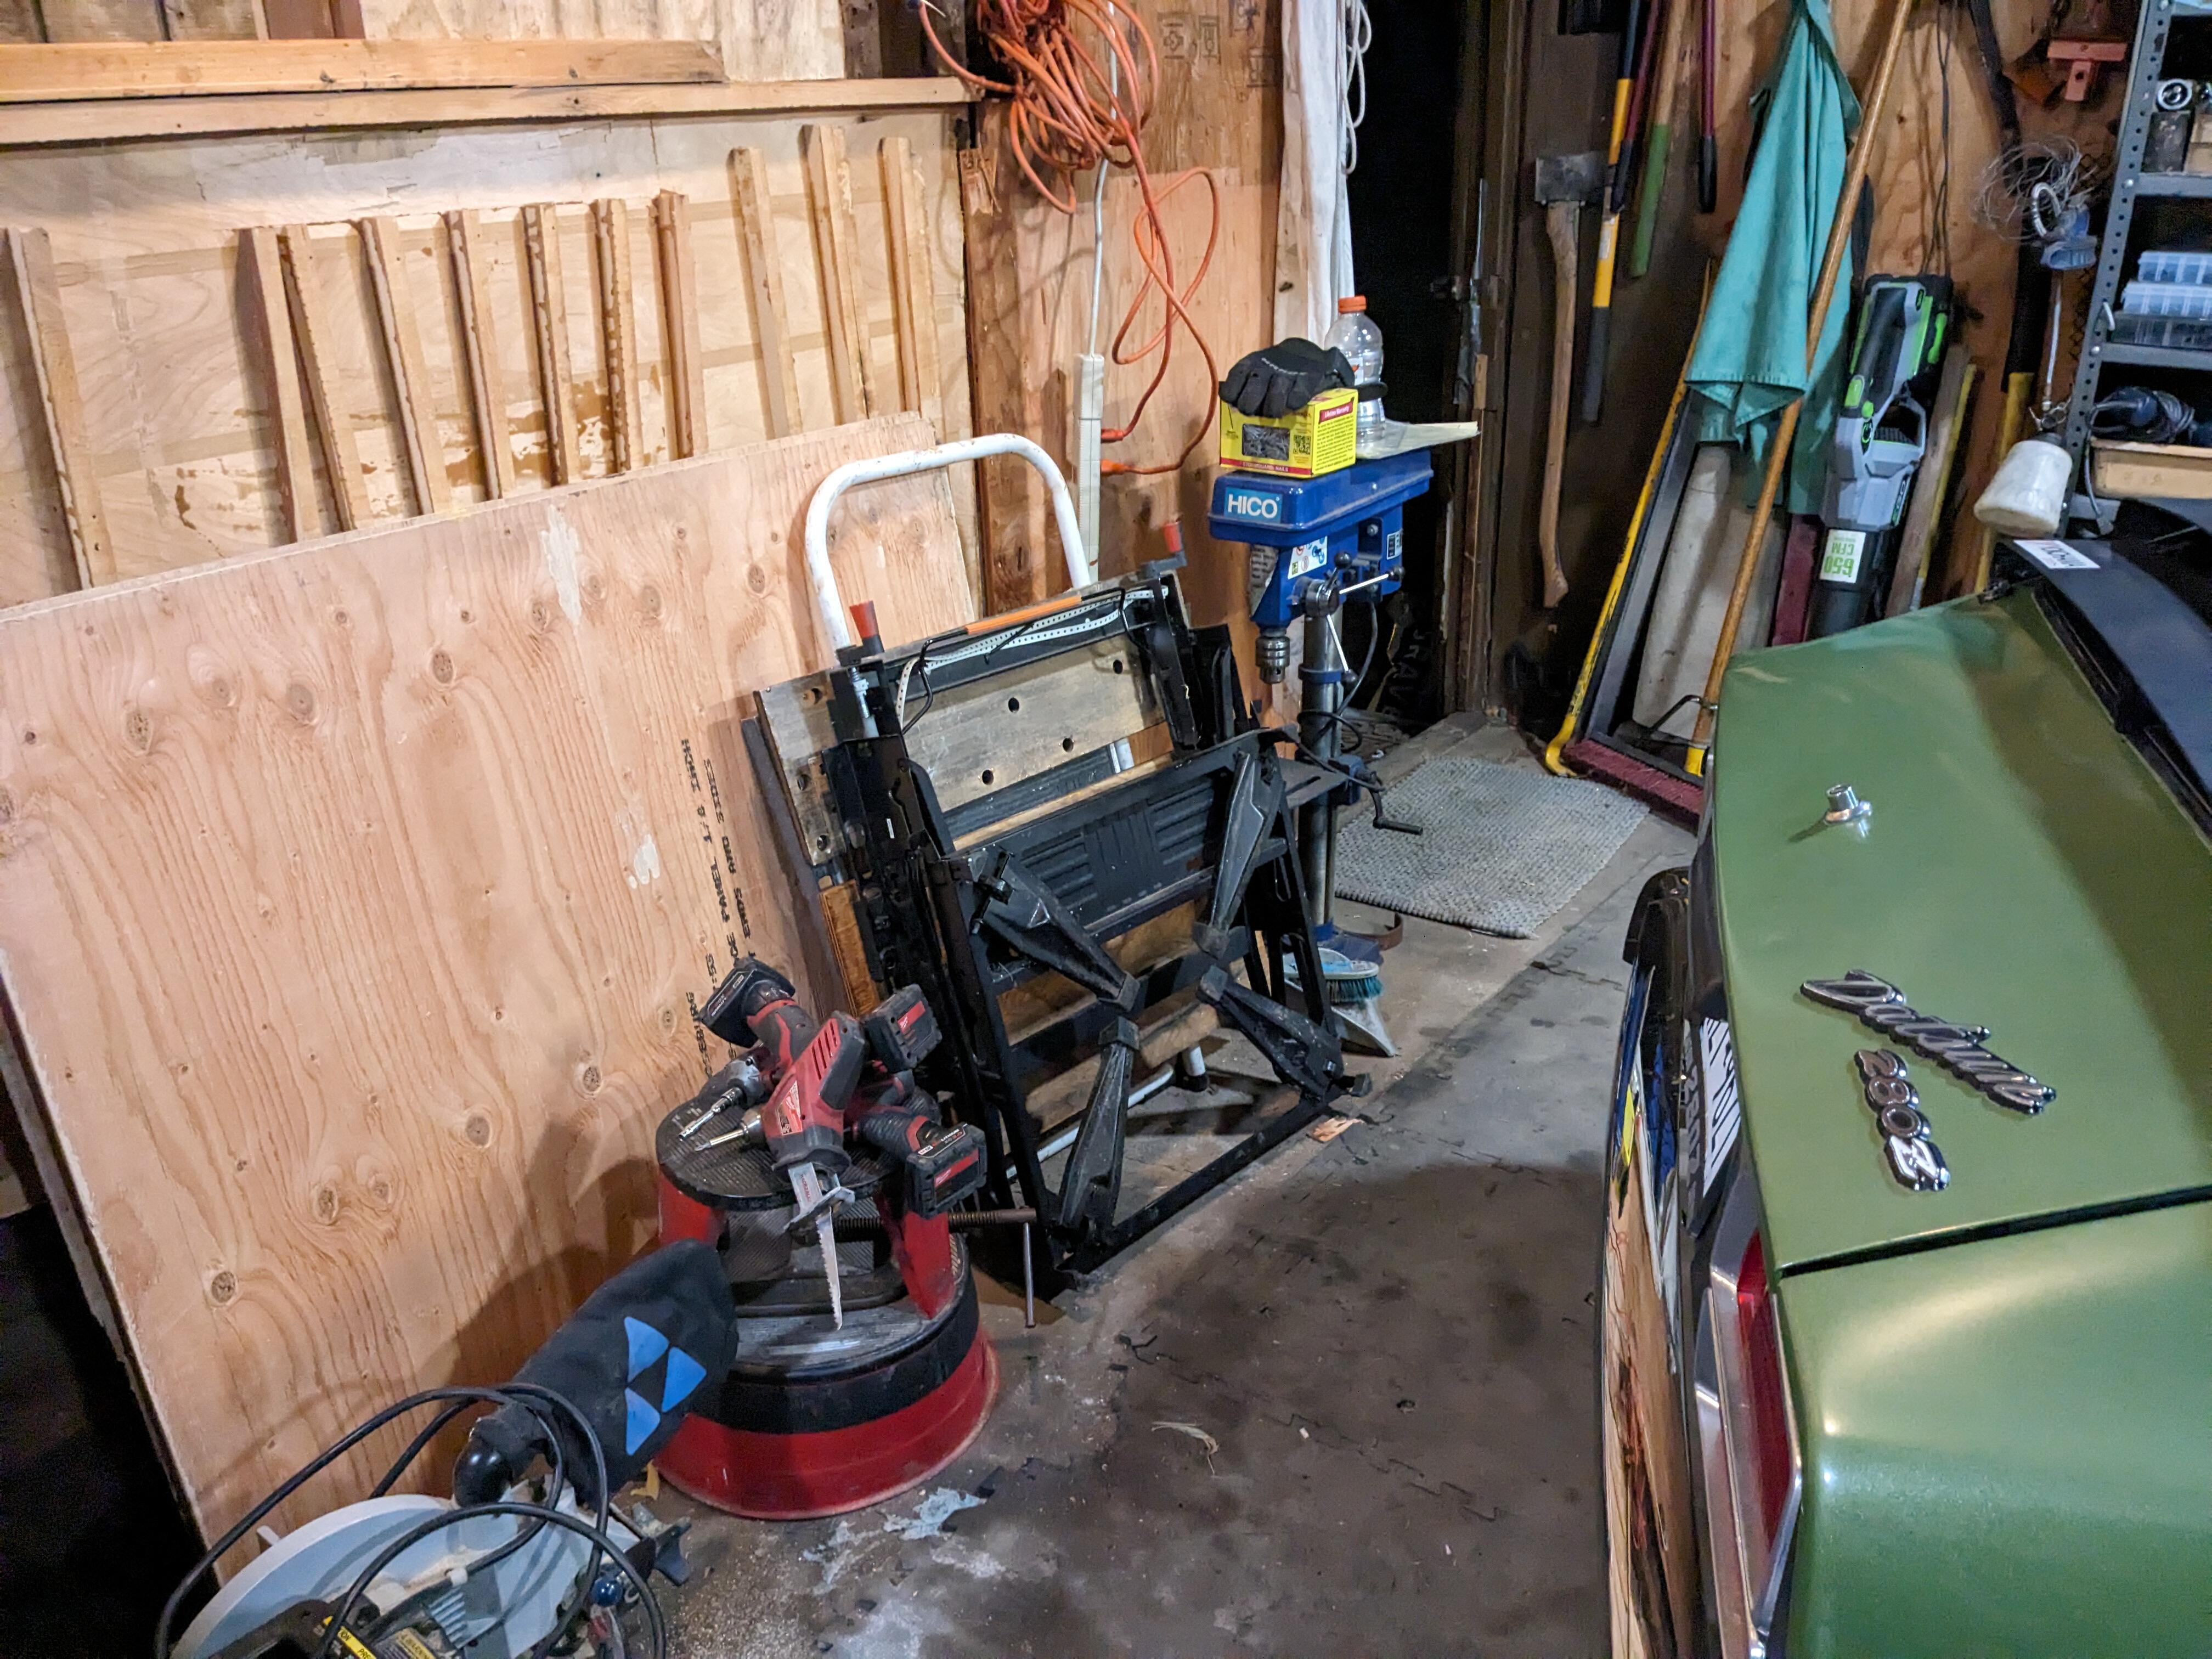
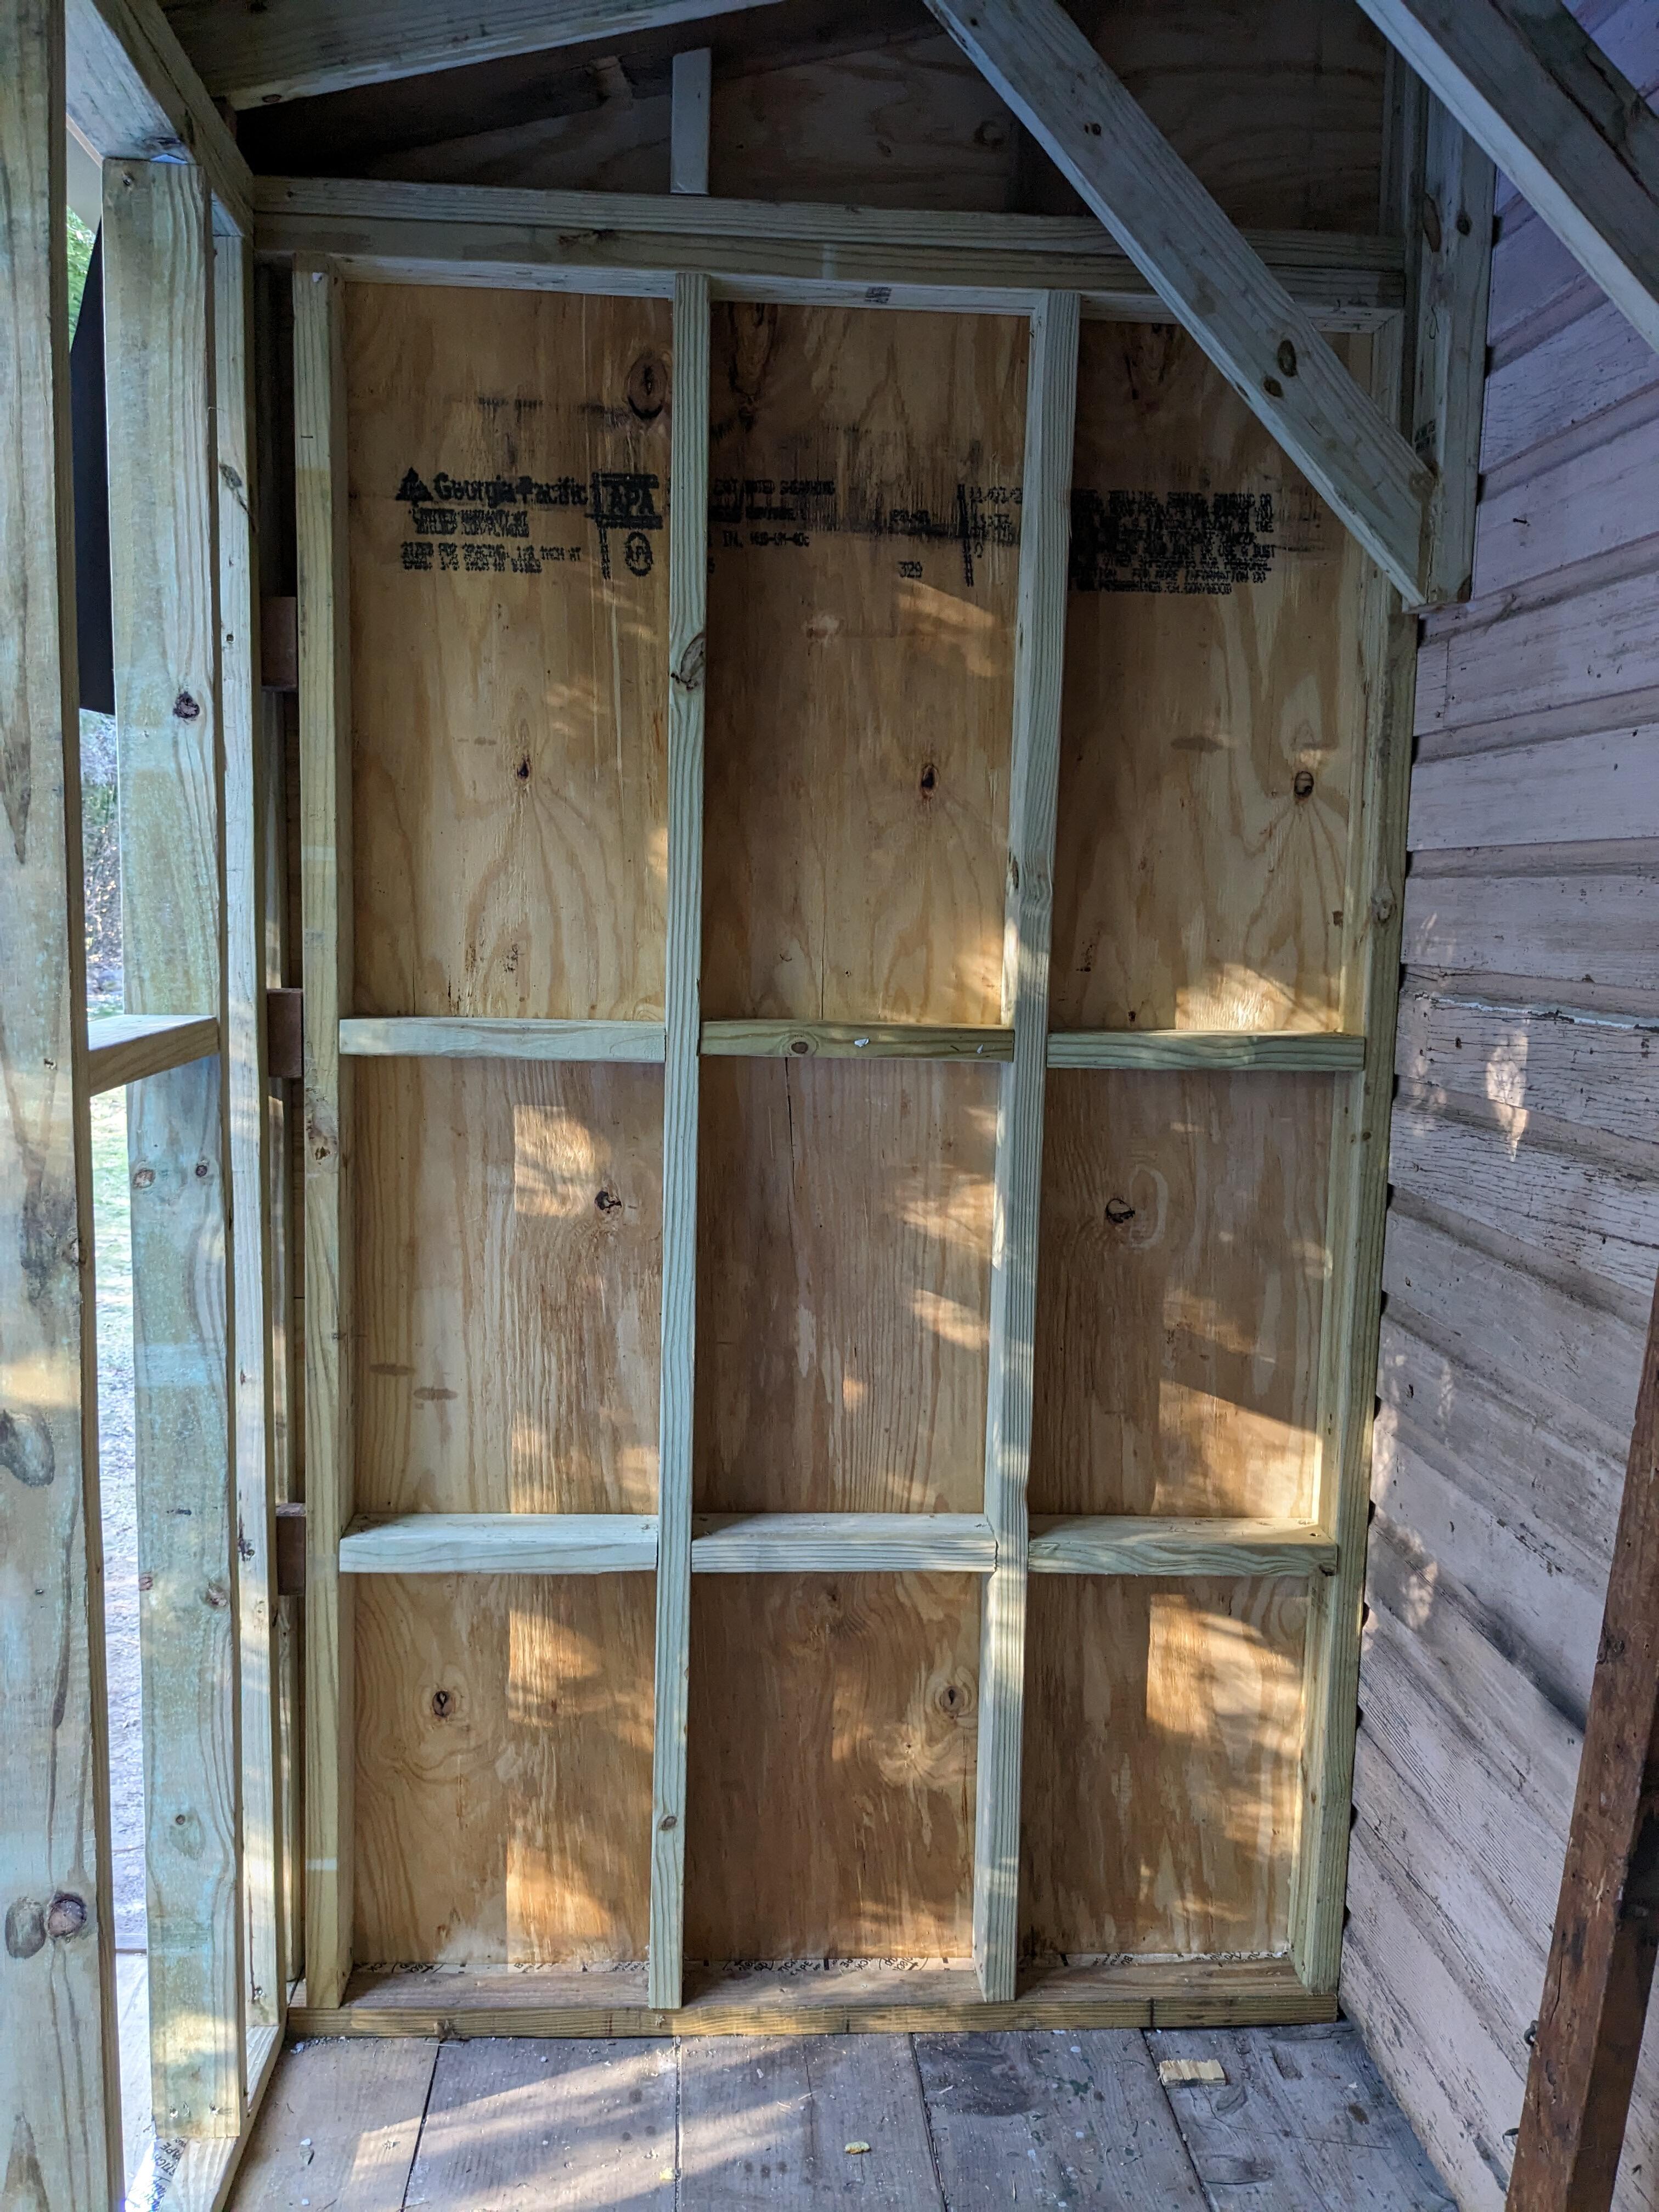
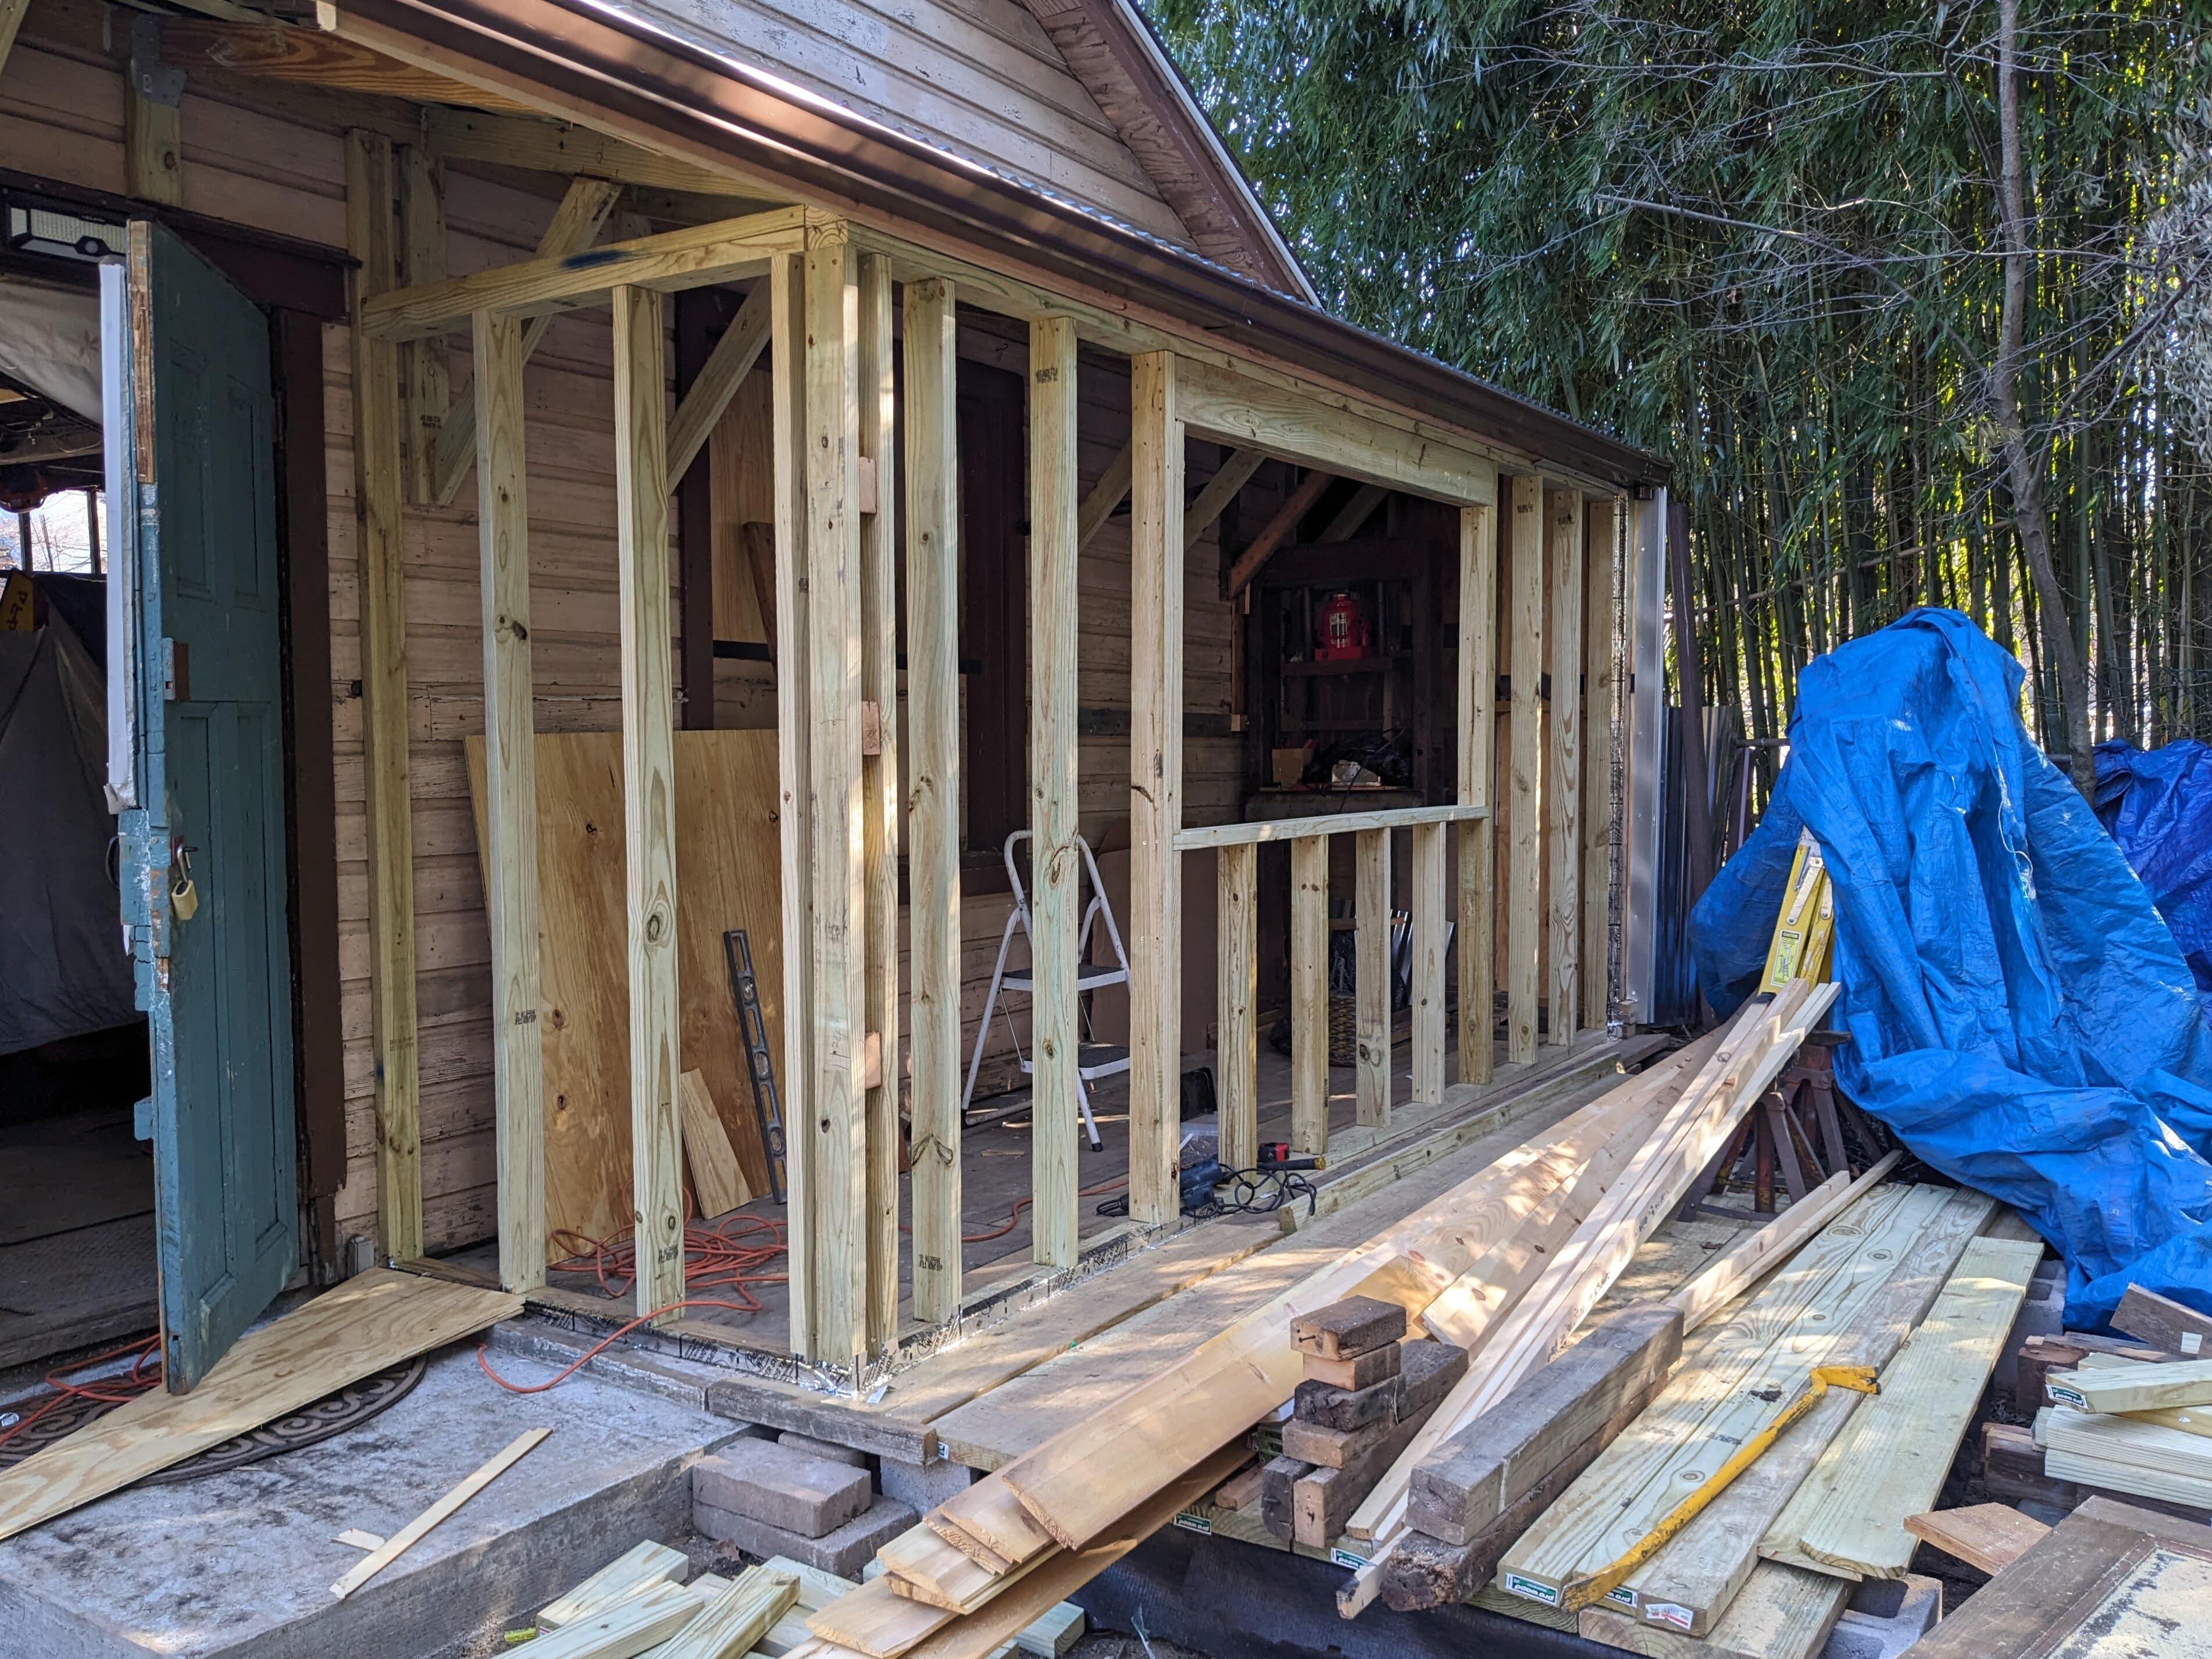
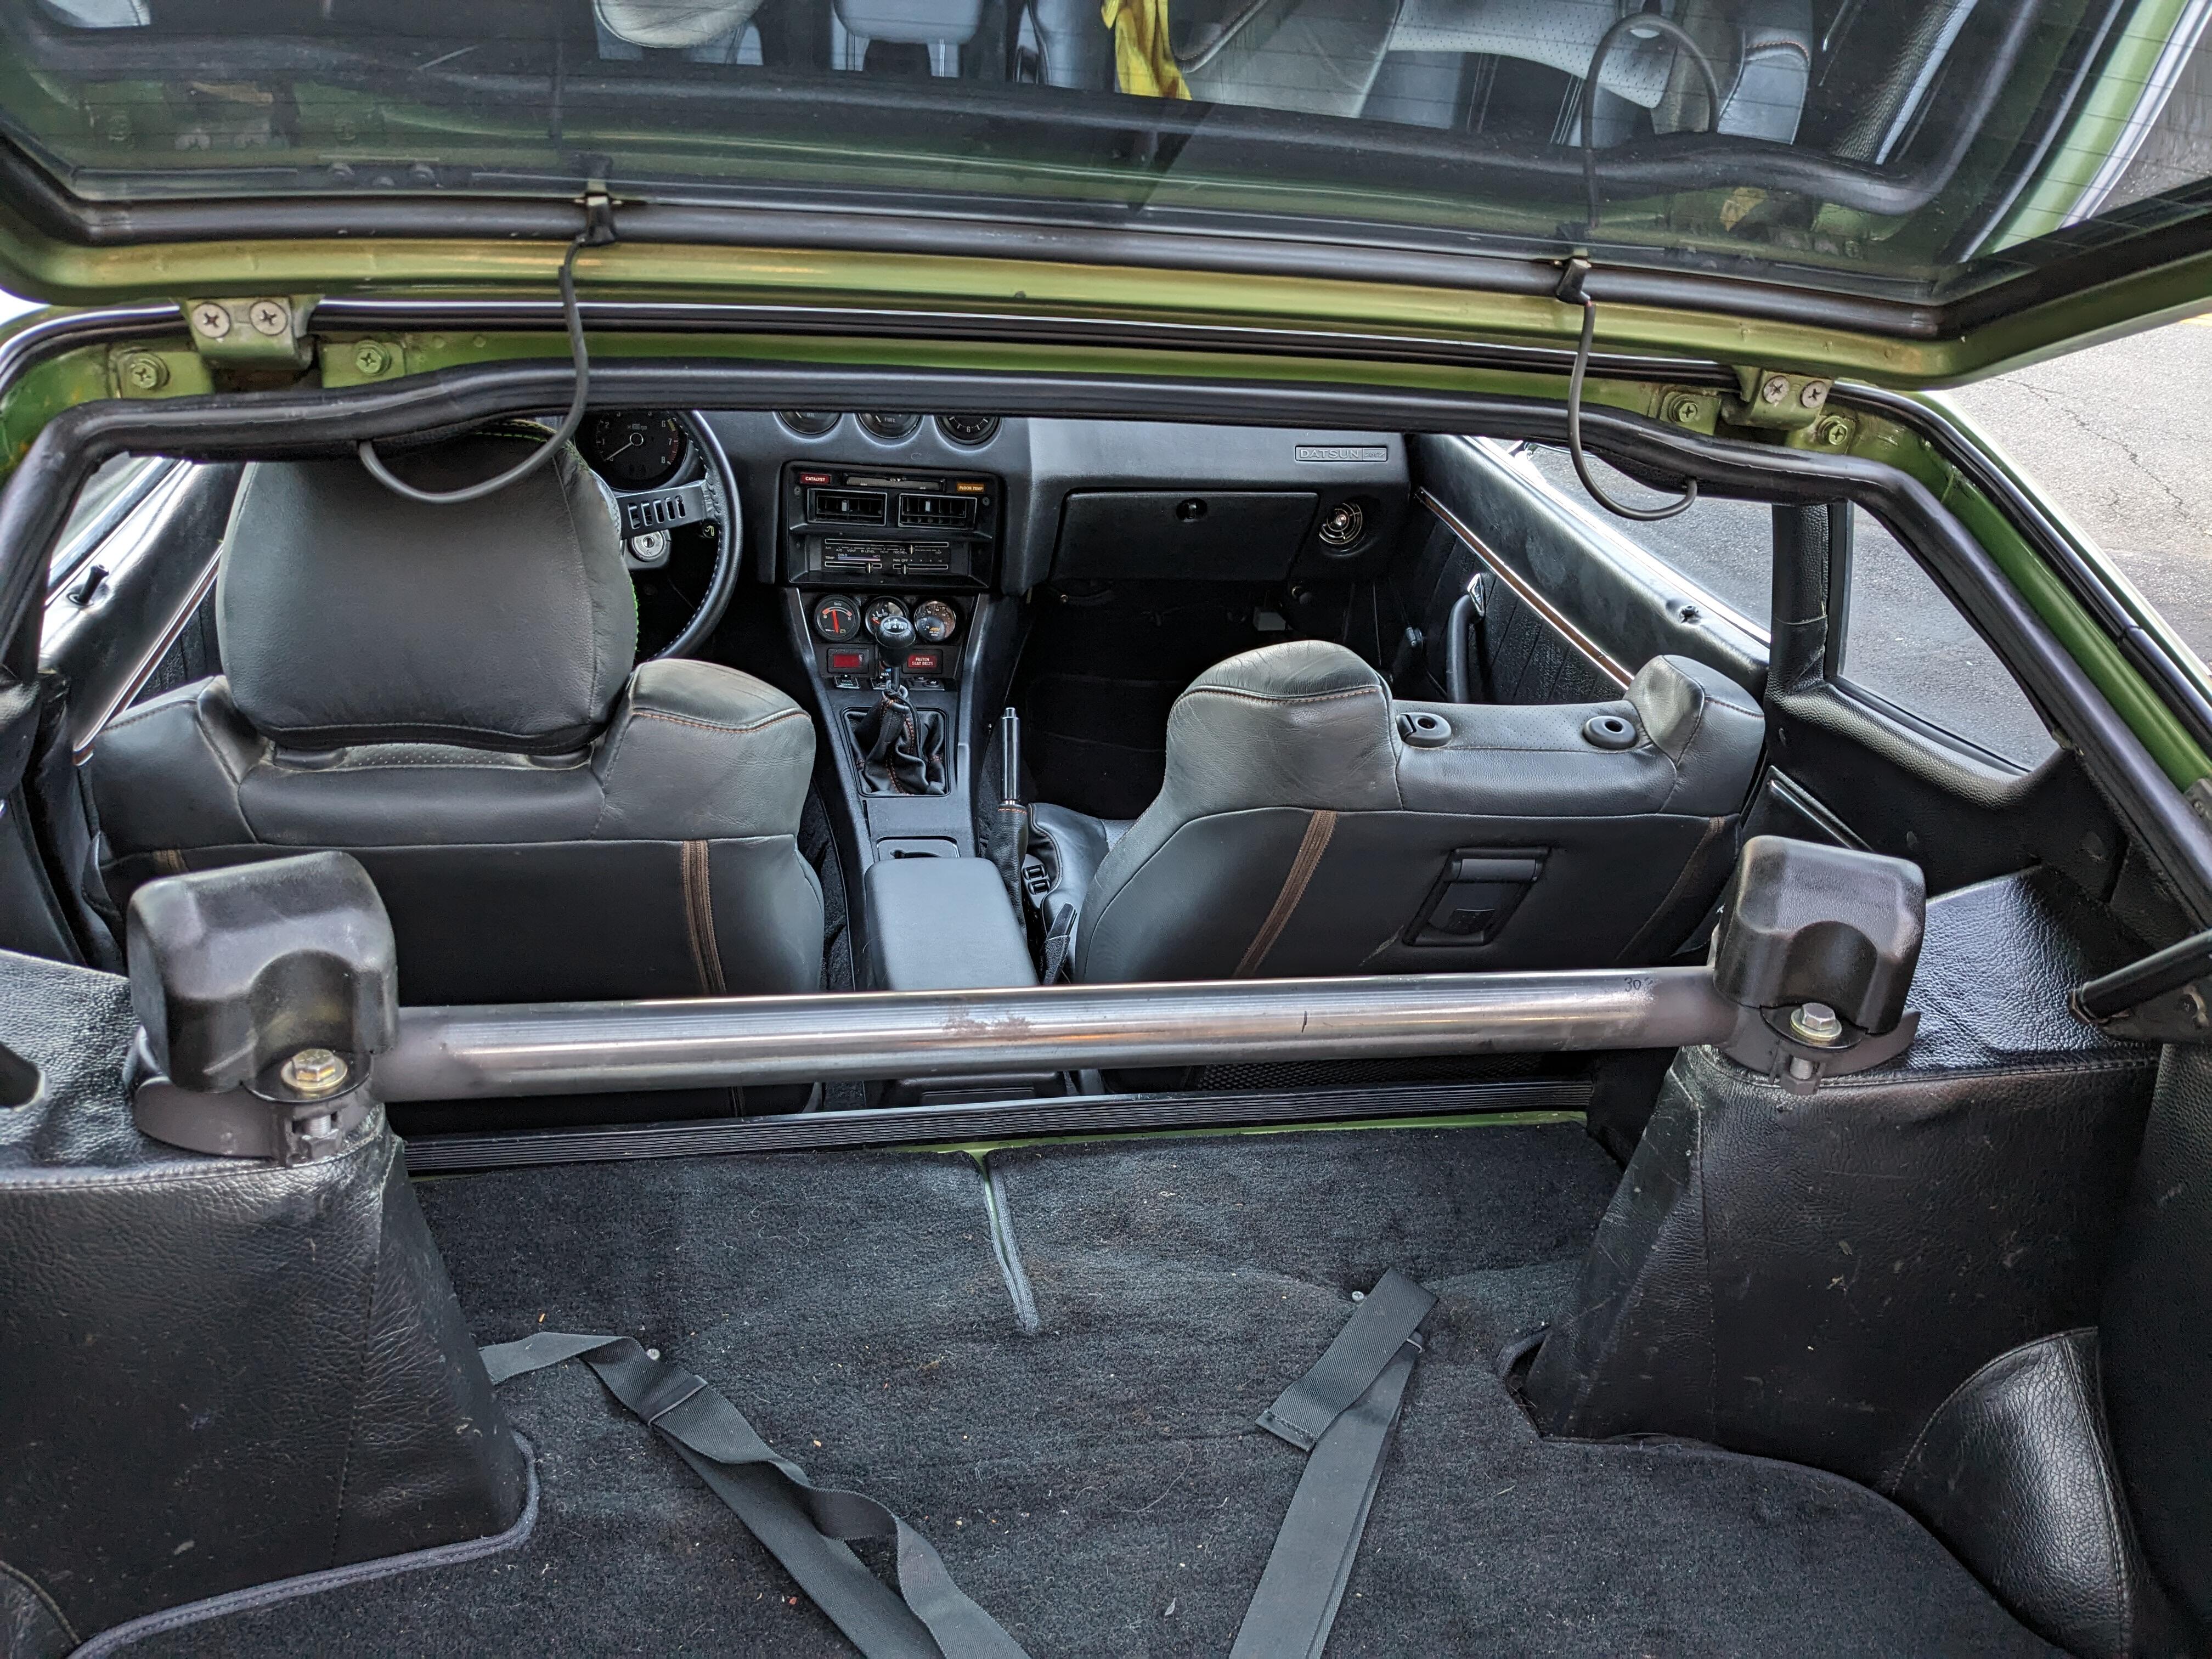
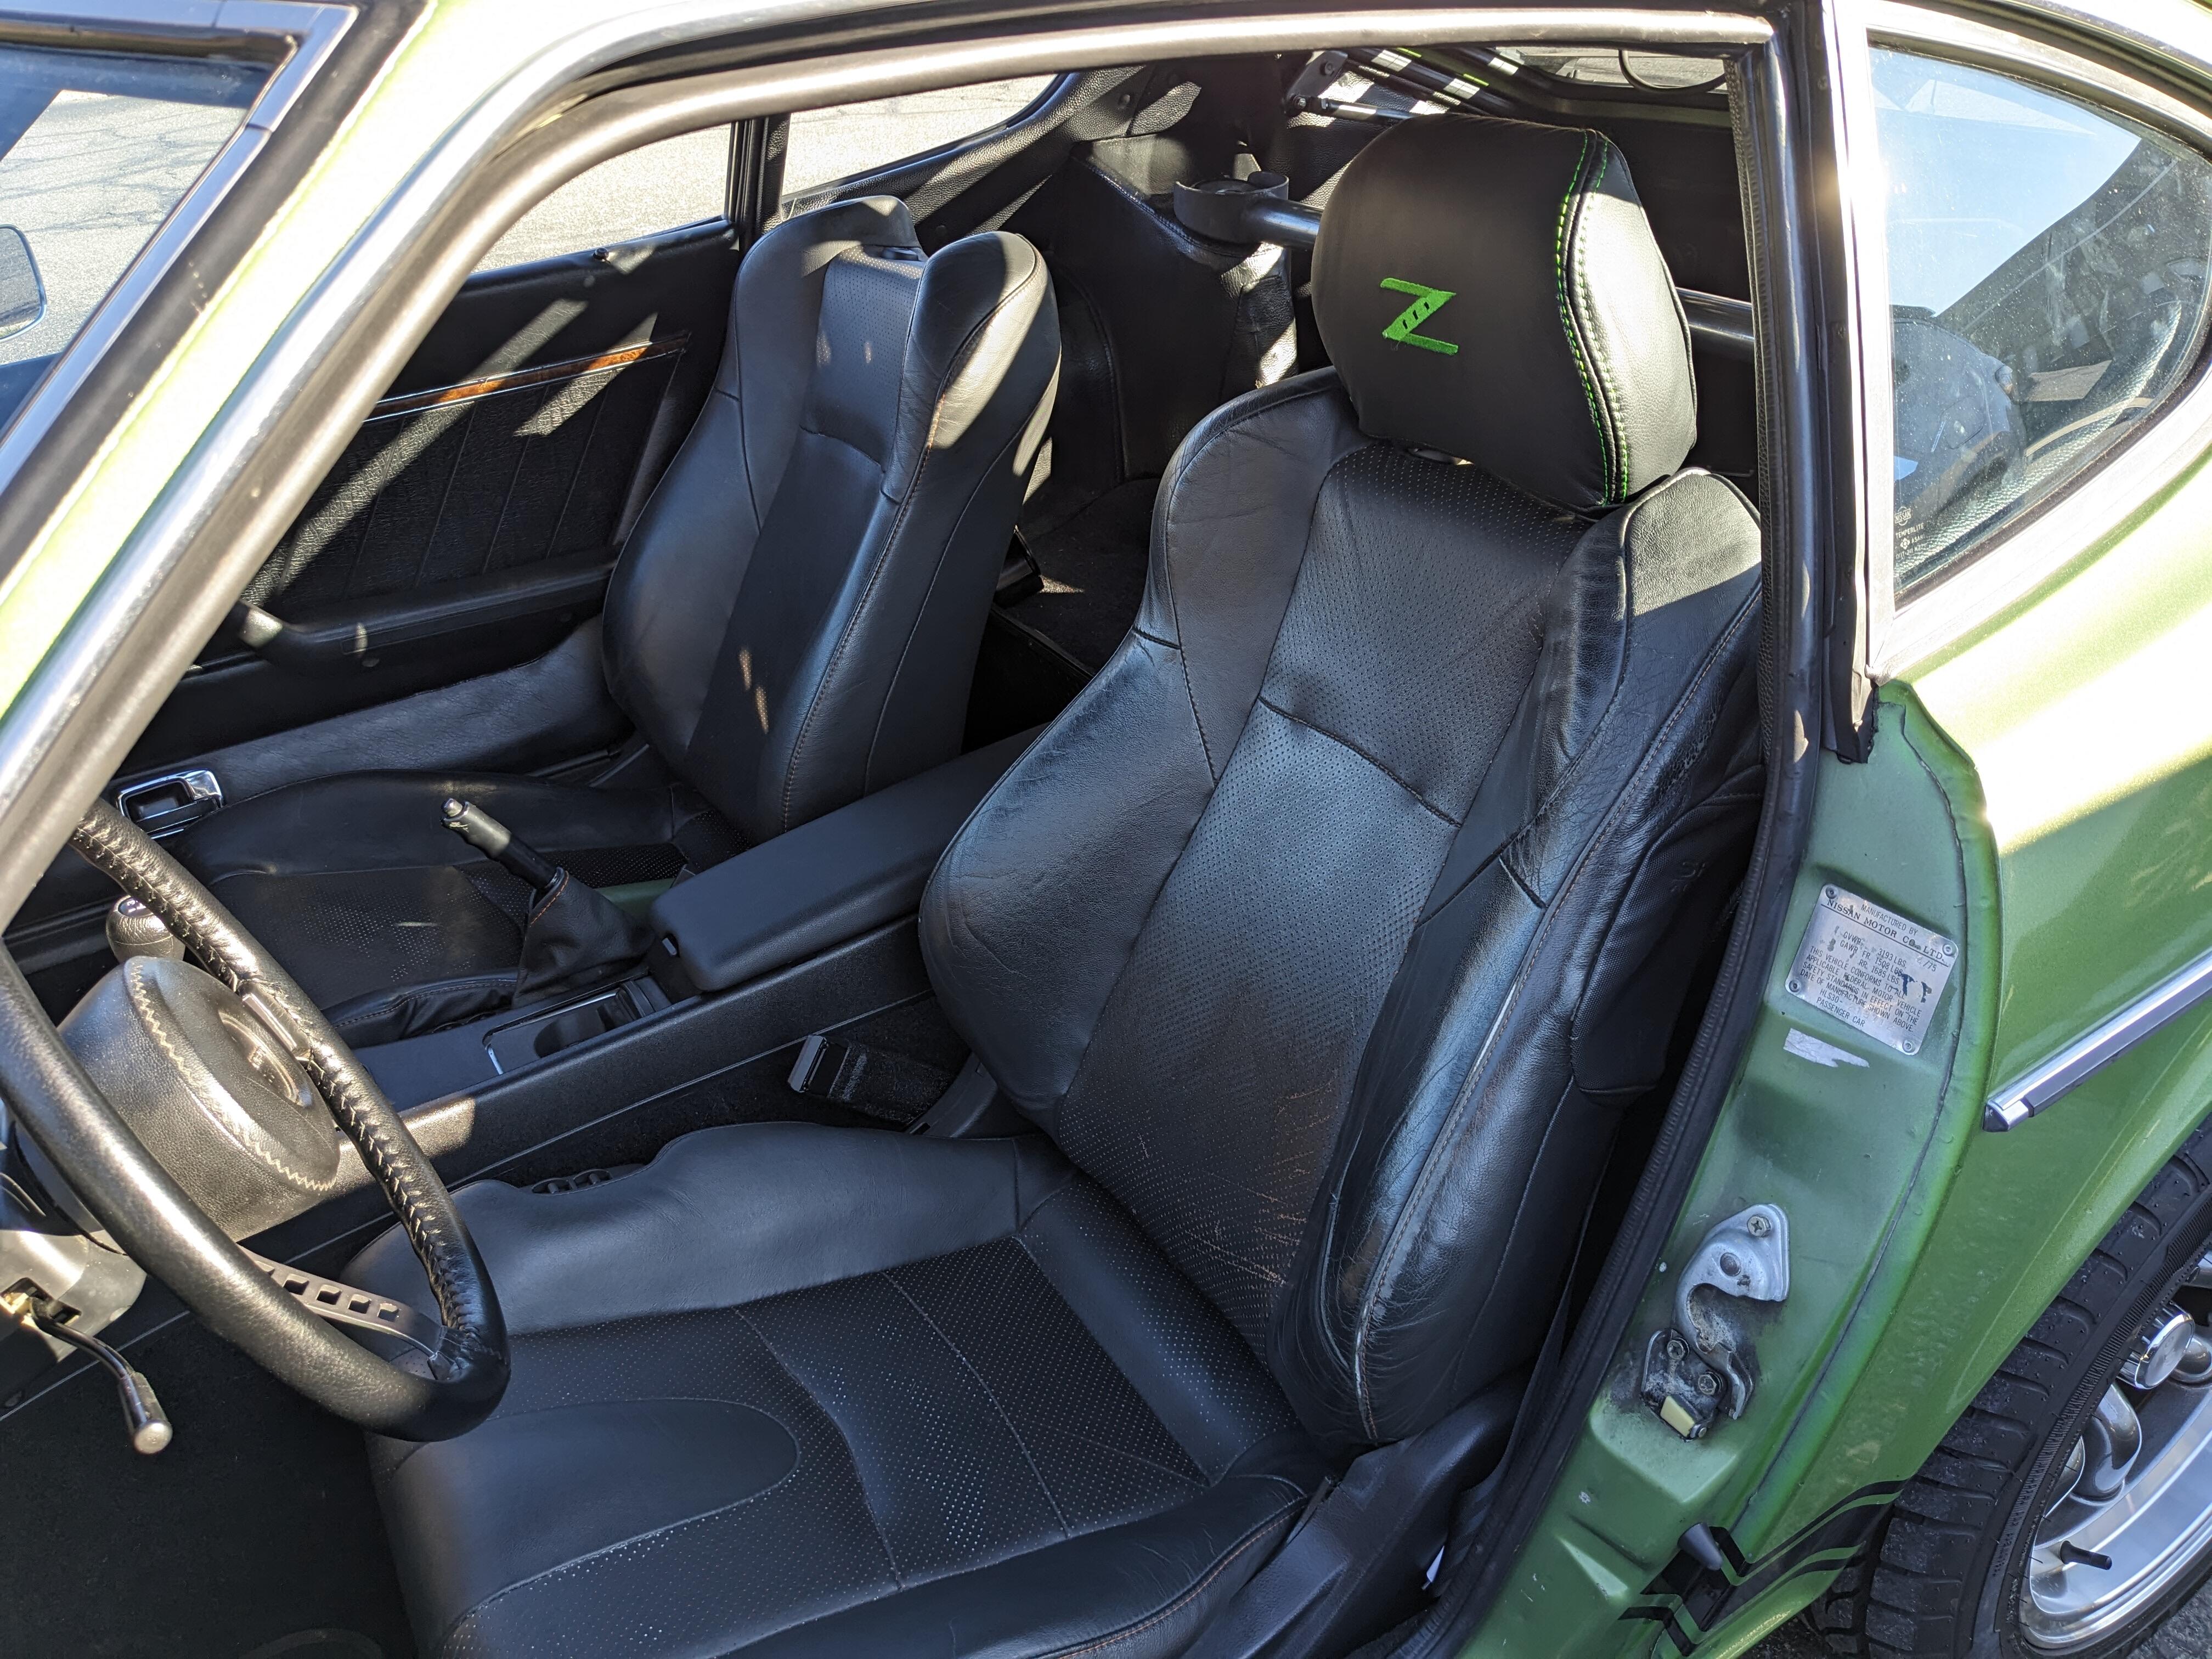
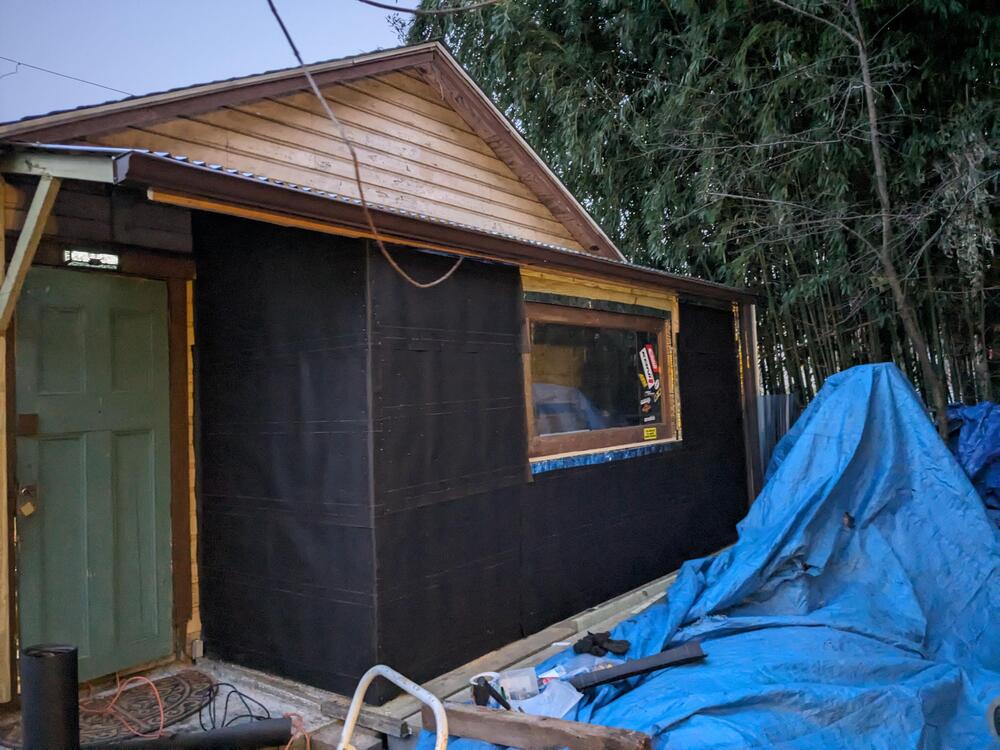
 Sunny day today, and projected for tomorrow - so I drove the Z to work. EDIT - forgot to mention that I typically get at least 2 or 3 people everyday I have it out & about that comment on how much they love it. It is an iconic design, for sure. I hadn't started it at all in the past month or so, so the battery was flat. I I had to jump it with my compact booster pack for my lunch break, and again when leaving school. By the time I got home, it was charged enough to start right up. I've put it in the garage on the trickle charger to get it back to a healthier state. I'll have to figure out a way to add a quick disconnect terminal - I have that in the Fiat, since that also sits for months at a time. Bit more awkward in the Z, because I added the battery mounted fuse block. The stitching on the headrest looks good to me. The X1/9 is going on BaT beginning of April, so once that's gone I'll be able to garage the Z Got the sheathing finished, except for the strips I need to add around the window opening Added bracing to the studs like this. Not sure I really need to add the ones at 66" that I was planning, everything feels pretty tight now. With my tool box & the benches out of the way, the Z is a better fit inside. Still close quarters, but I could work on it inside if I had to.
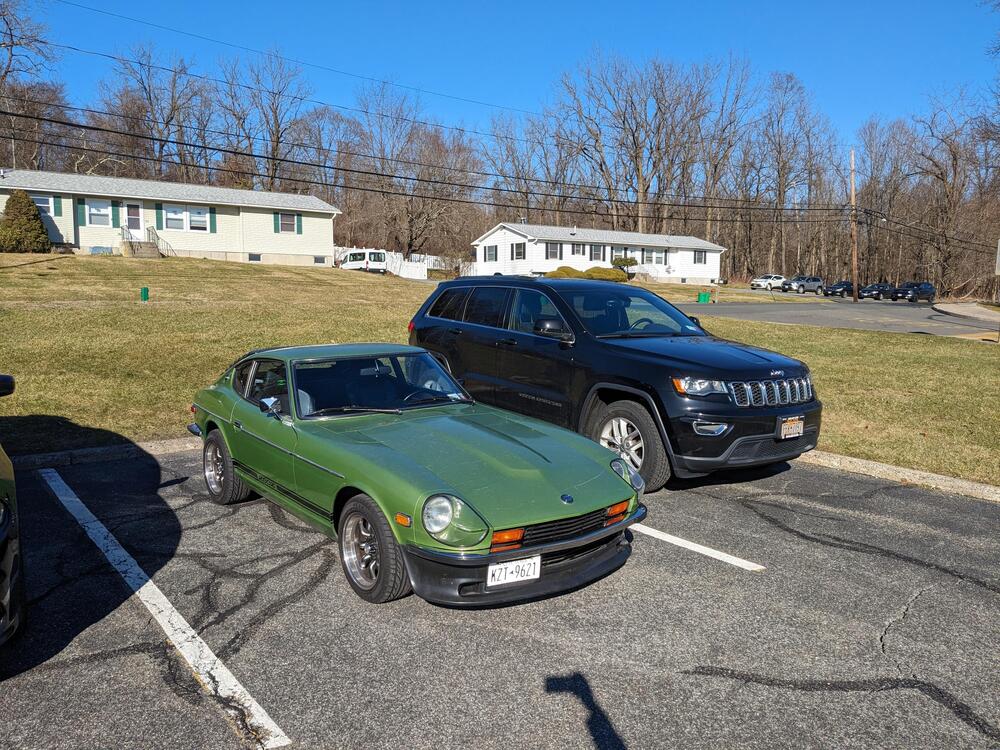


-
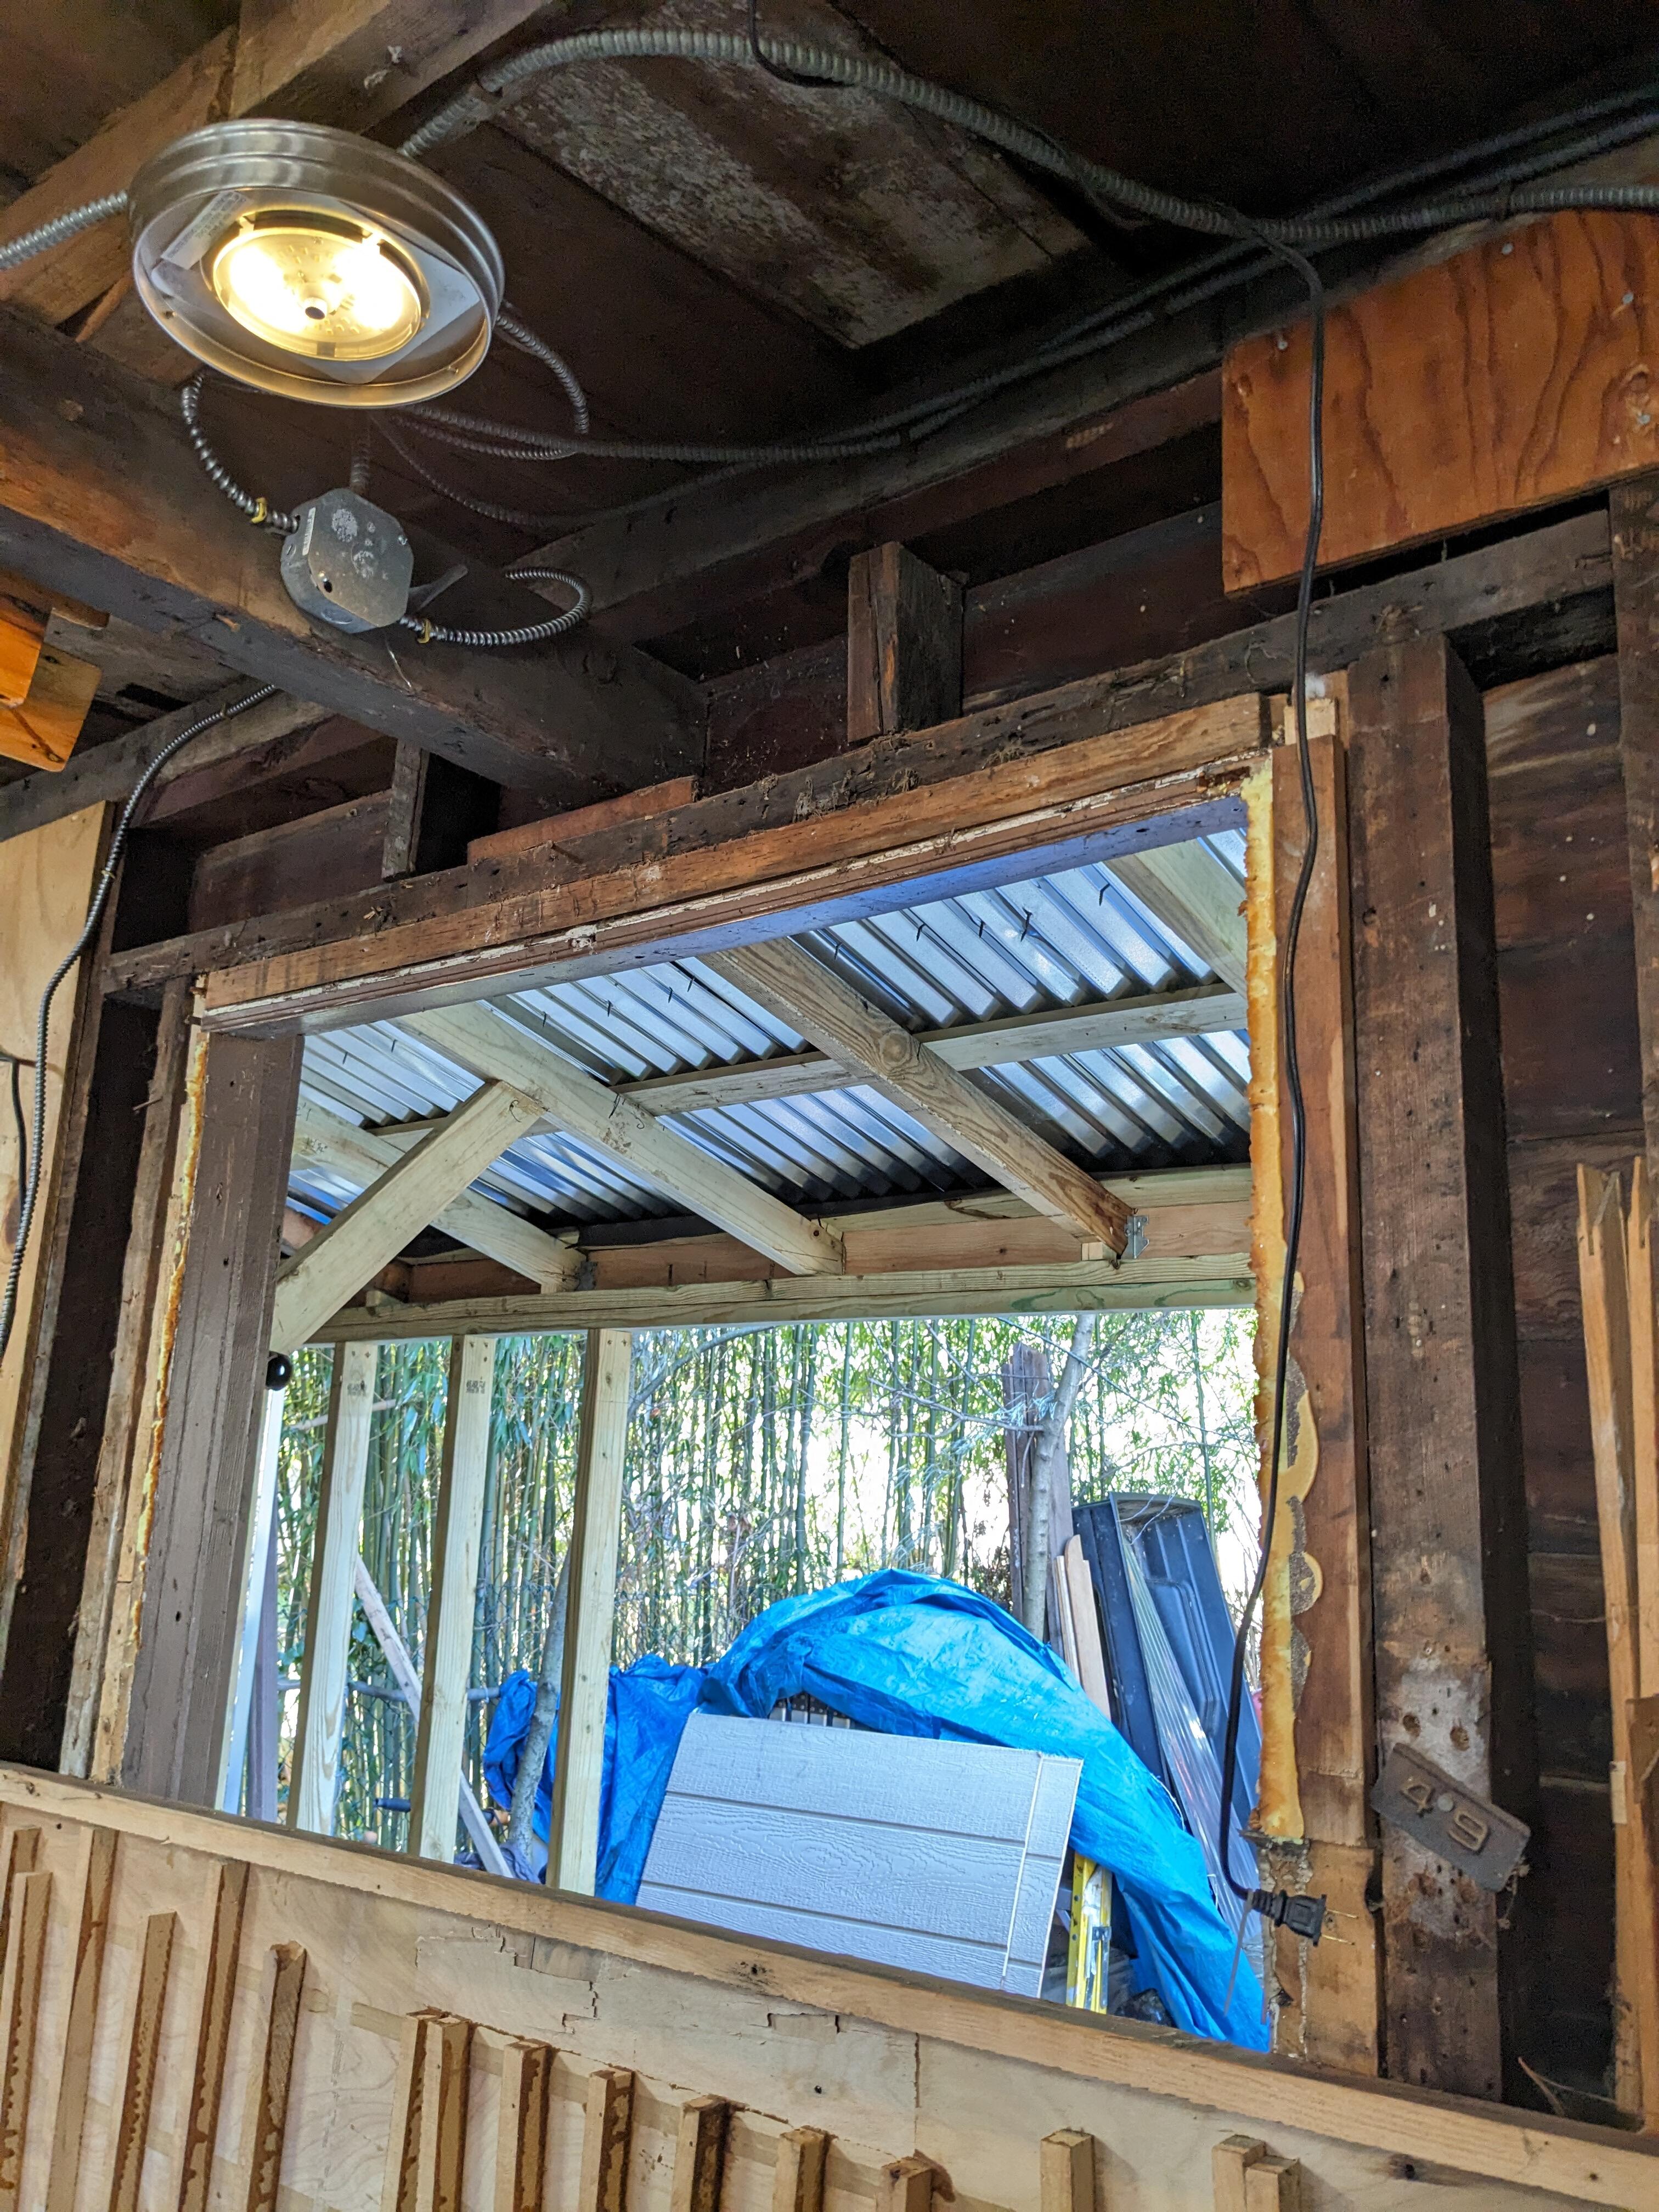
Yeah - pretty scary considering the weight that's bearing on it. It looks like someone jacked the beam & added a chock to lift it up again. I'll be feel much better when that's gone - especially since I'll be walking under it soon. @patcon - would you have a recommendation for the beam? Can I use double 2x12" over a 12' span? Trying to figure out if I can carry the lumber myself in my truck, or if this is something I'll have to spend more $$ on. I could always add a 4x4 center post if that would keep the header depth in the realm of wood I can readily buy without custom order.
-
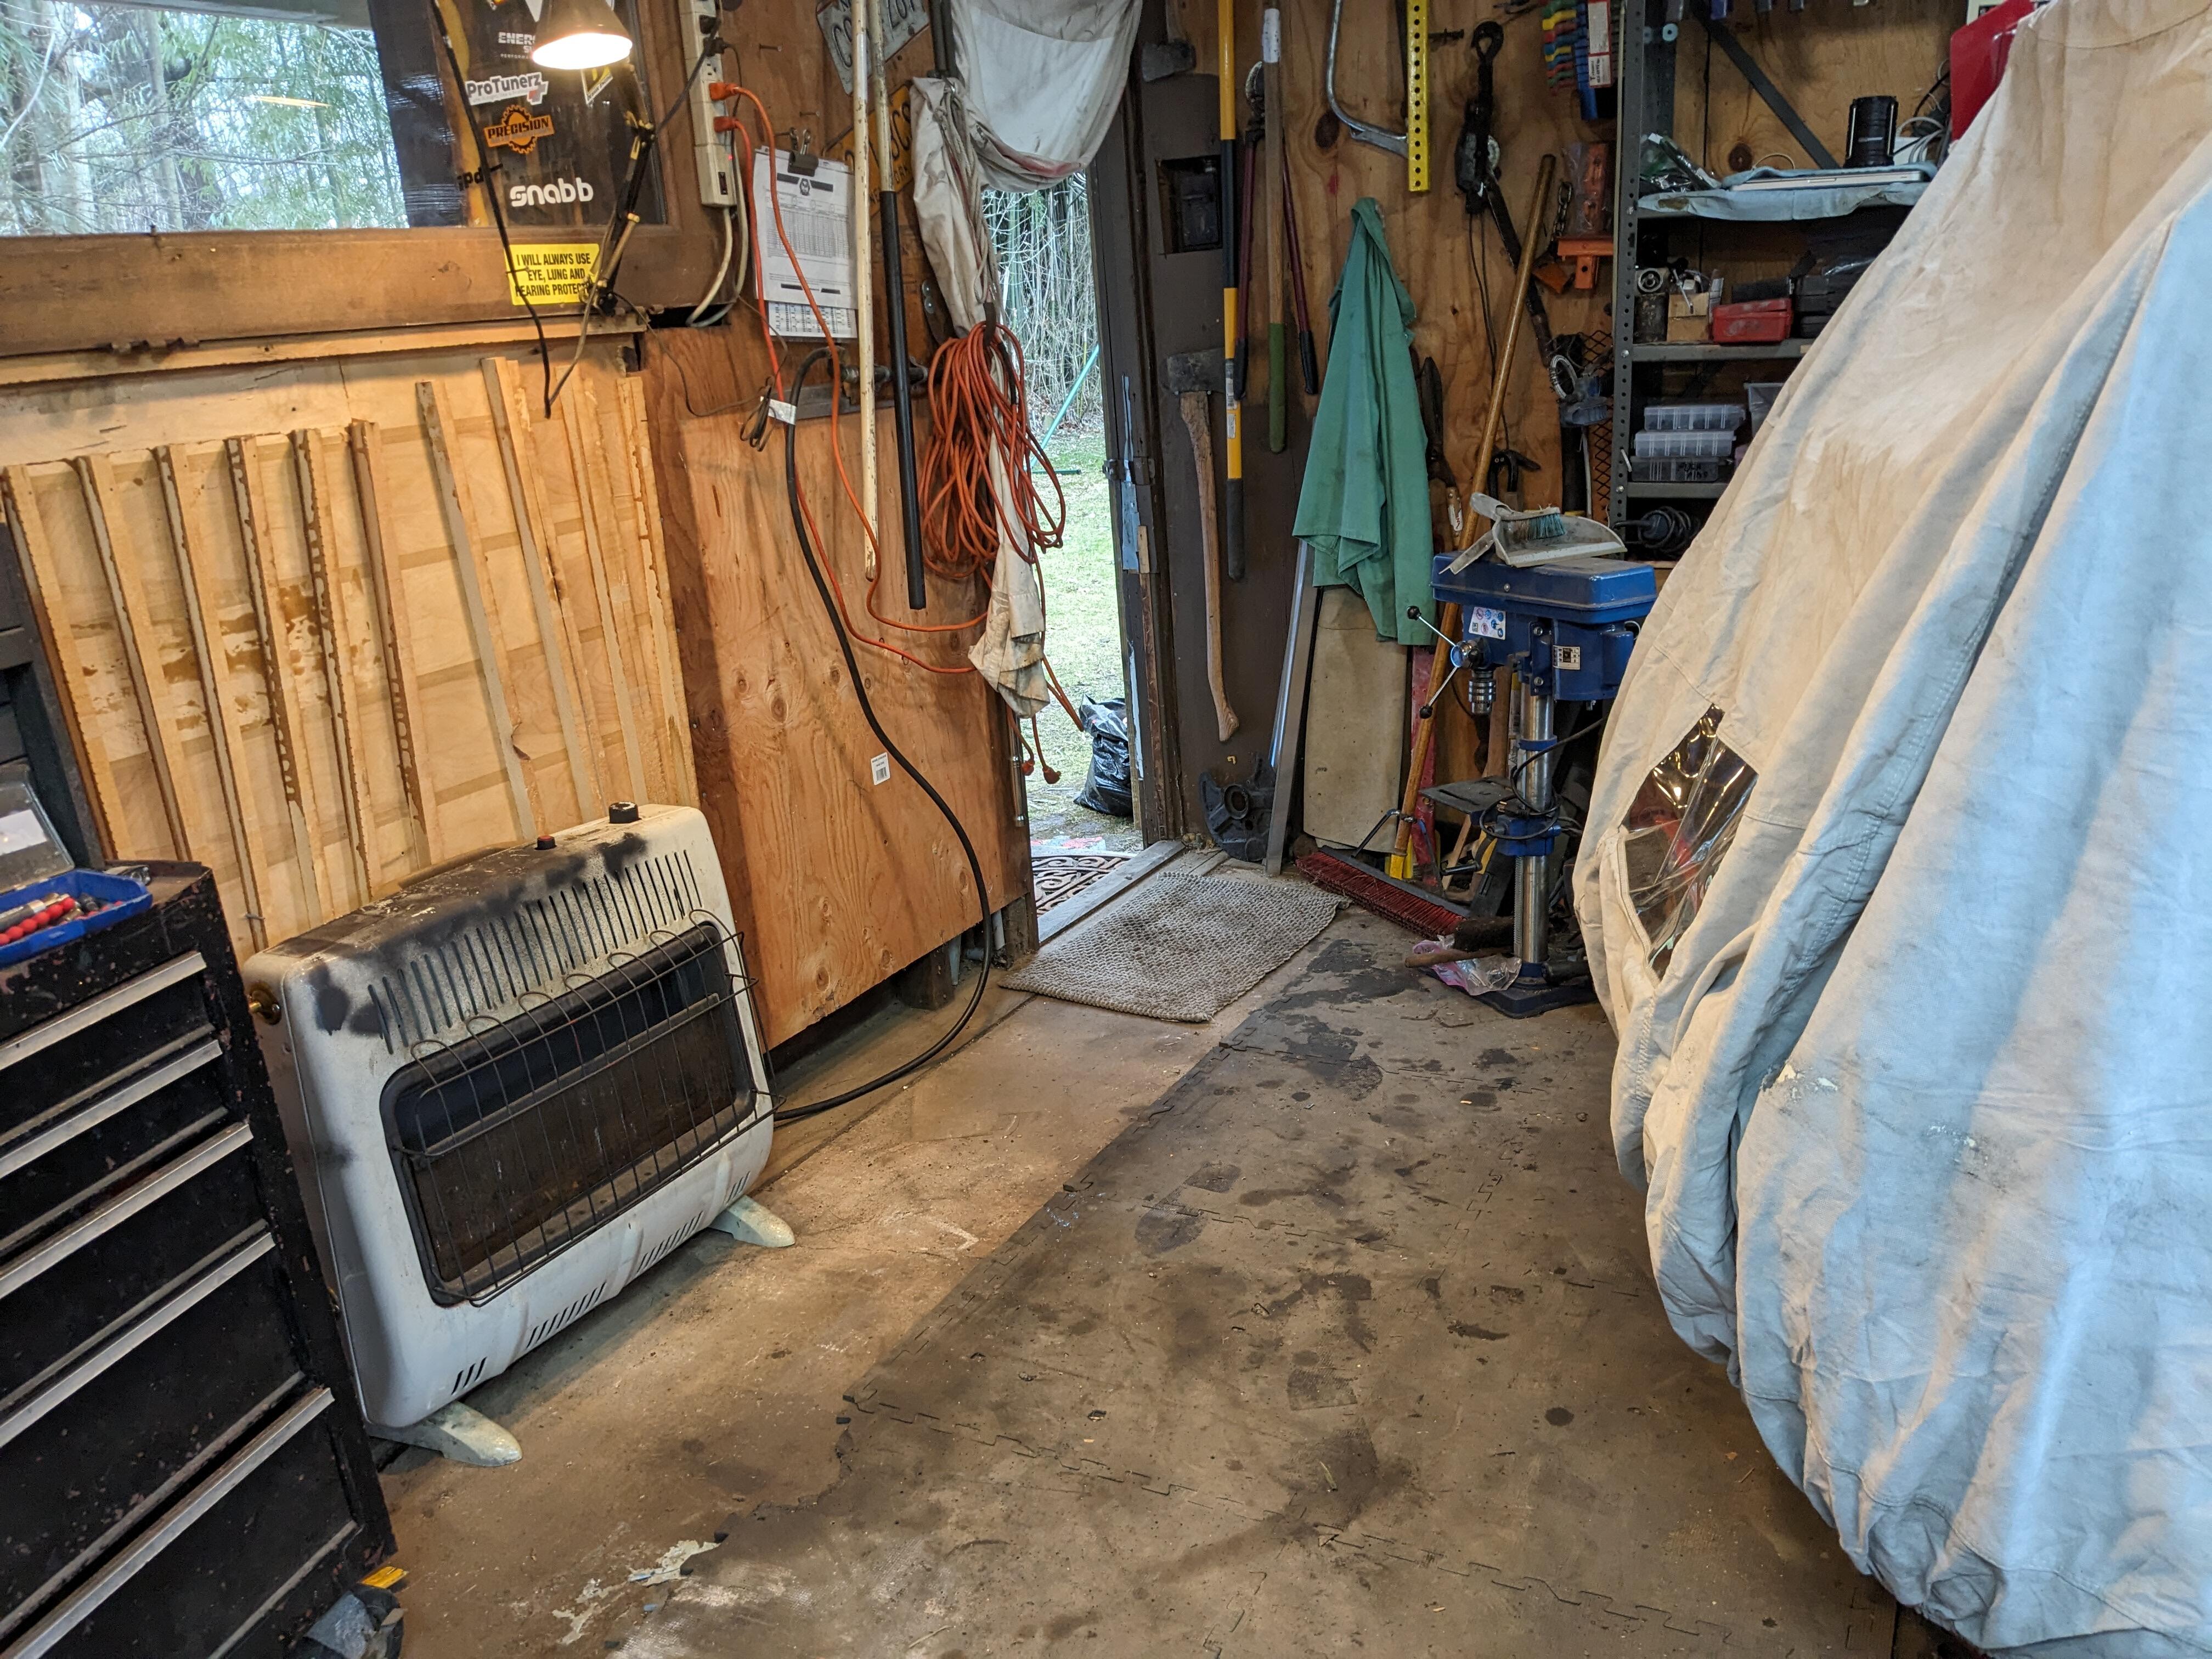
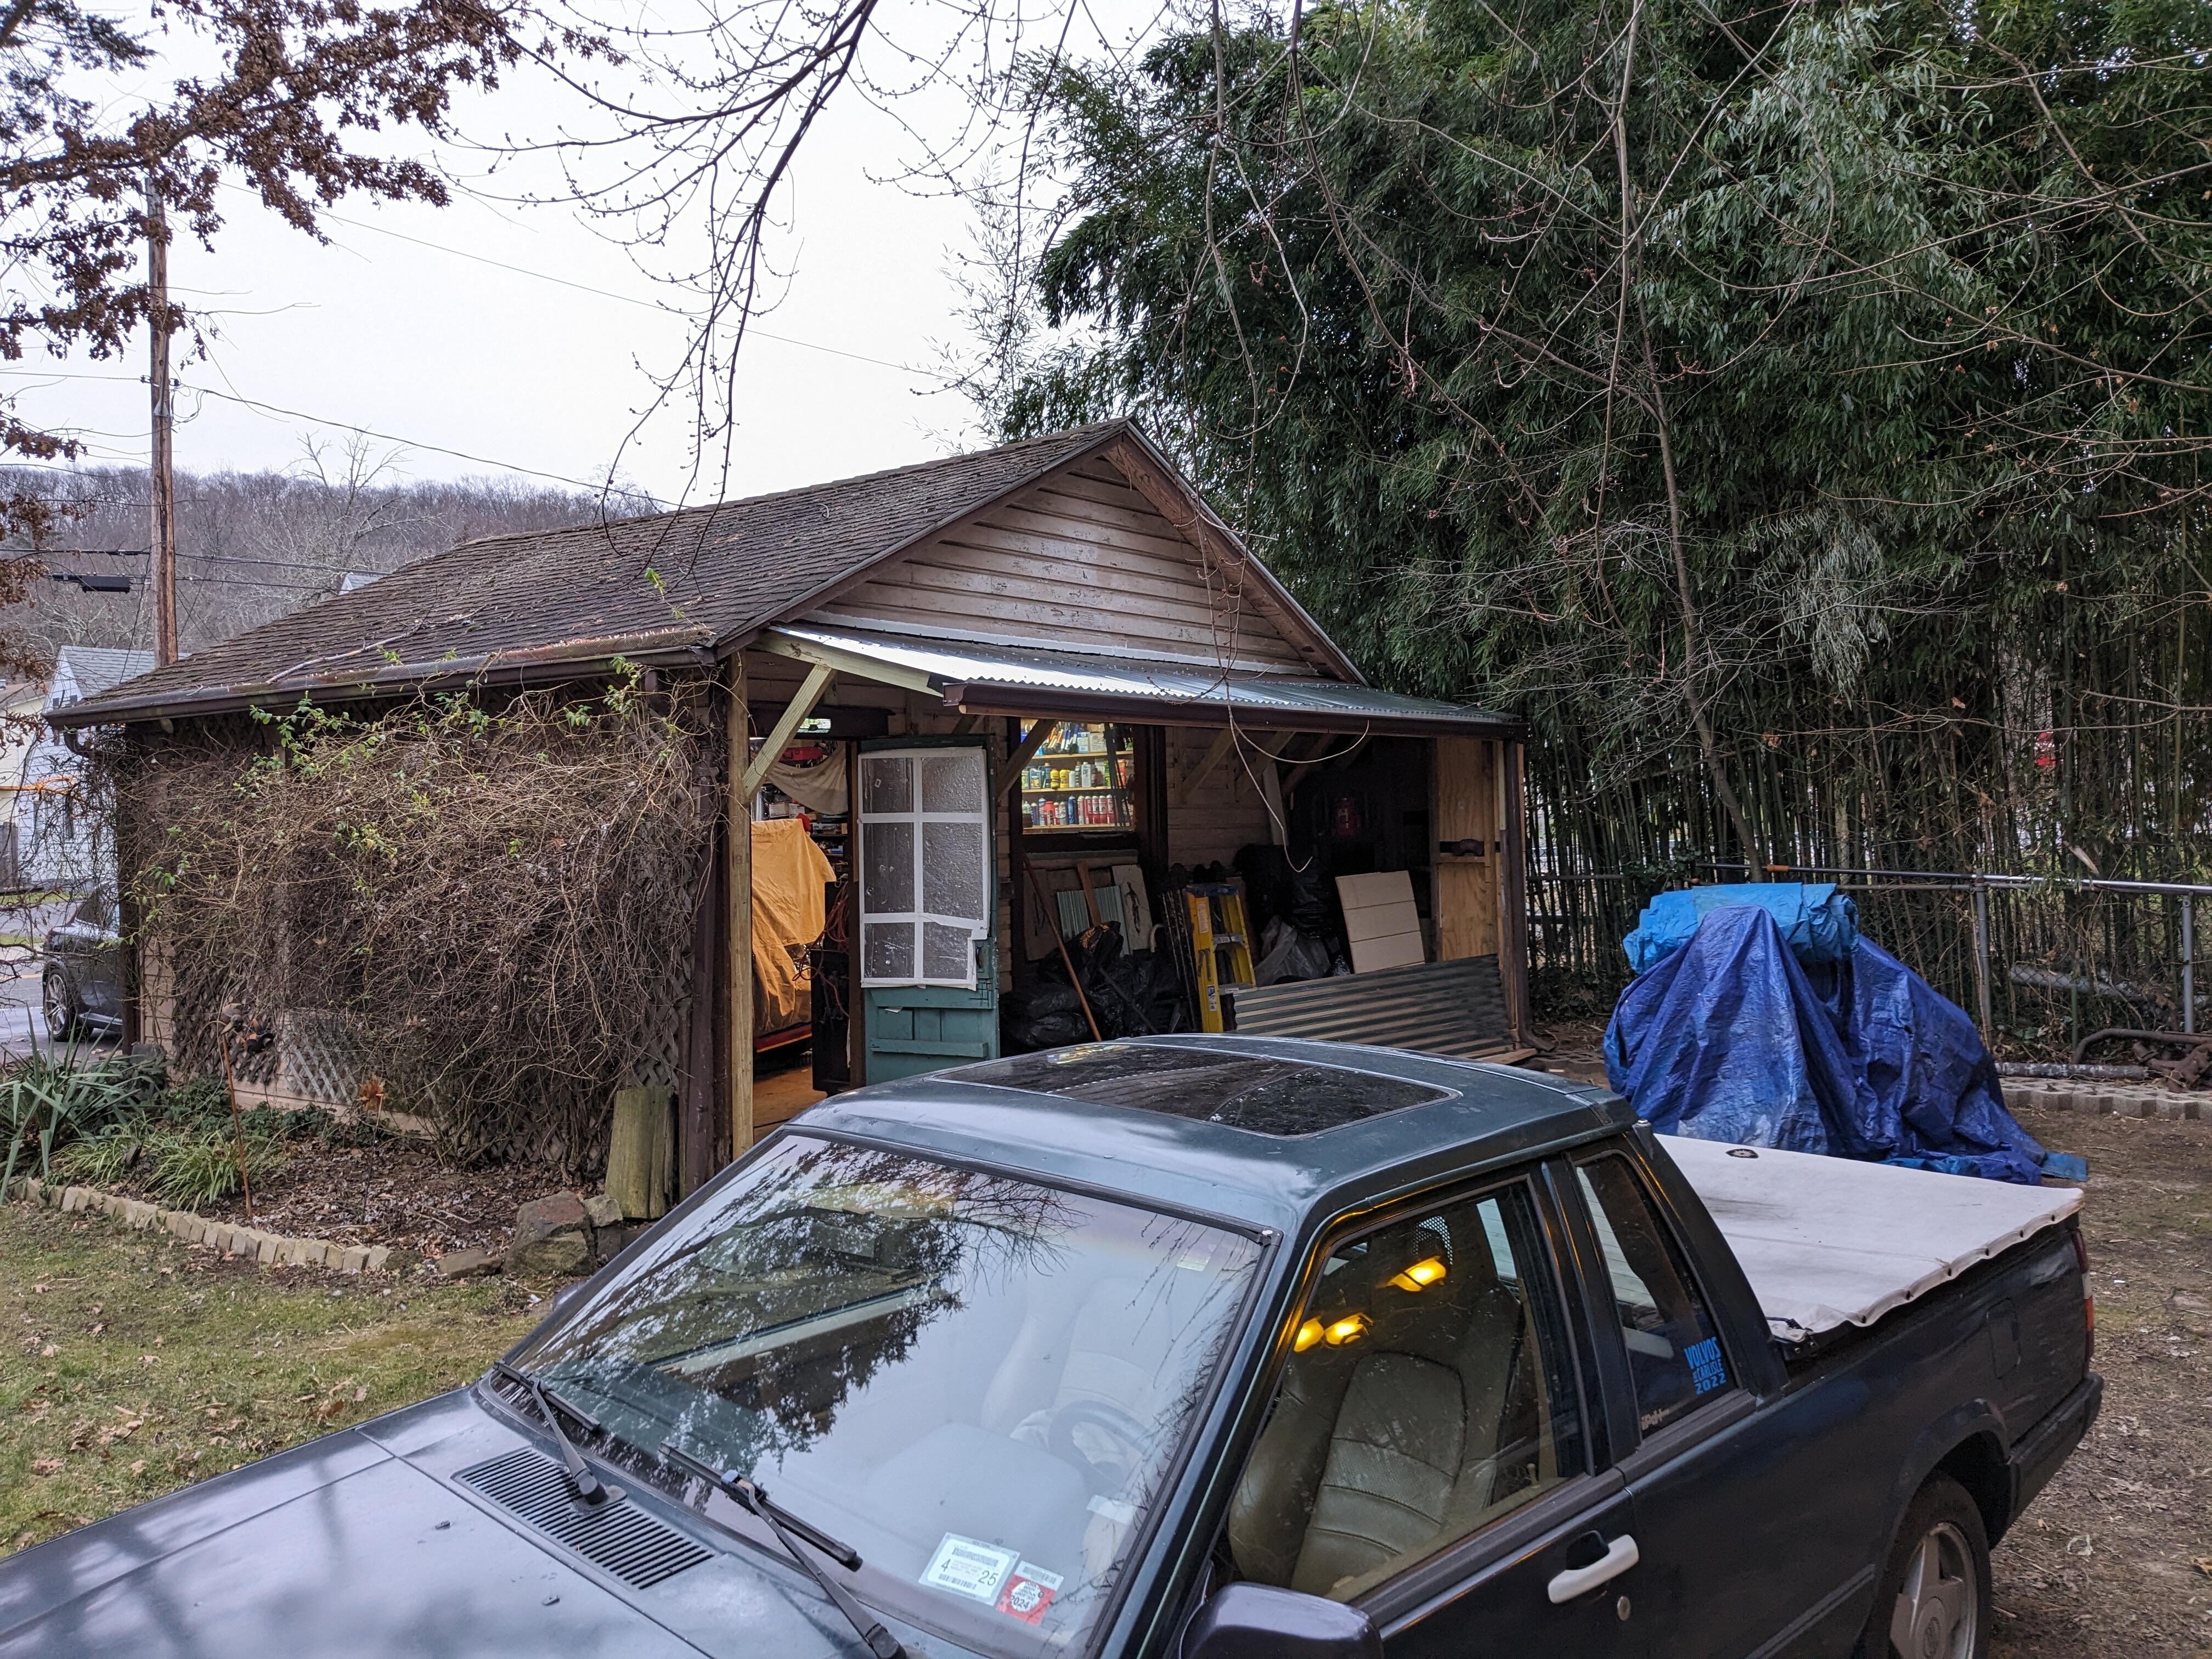
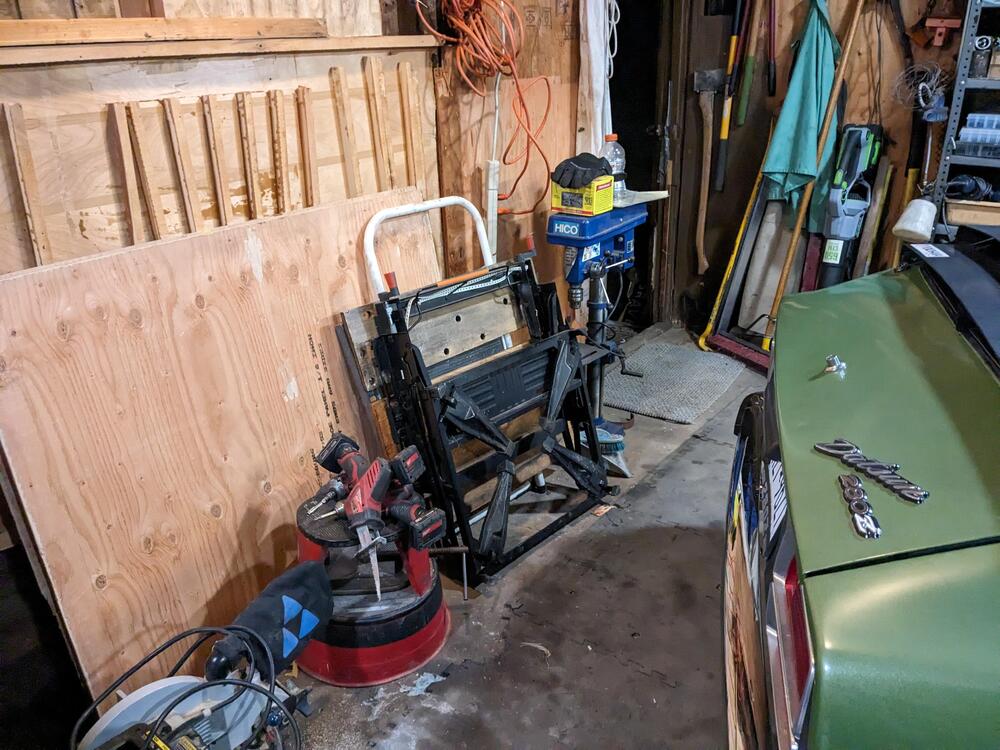
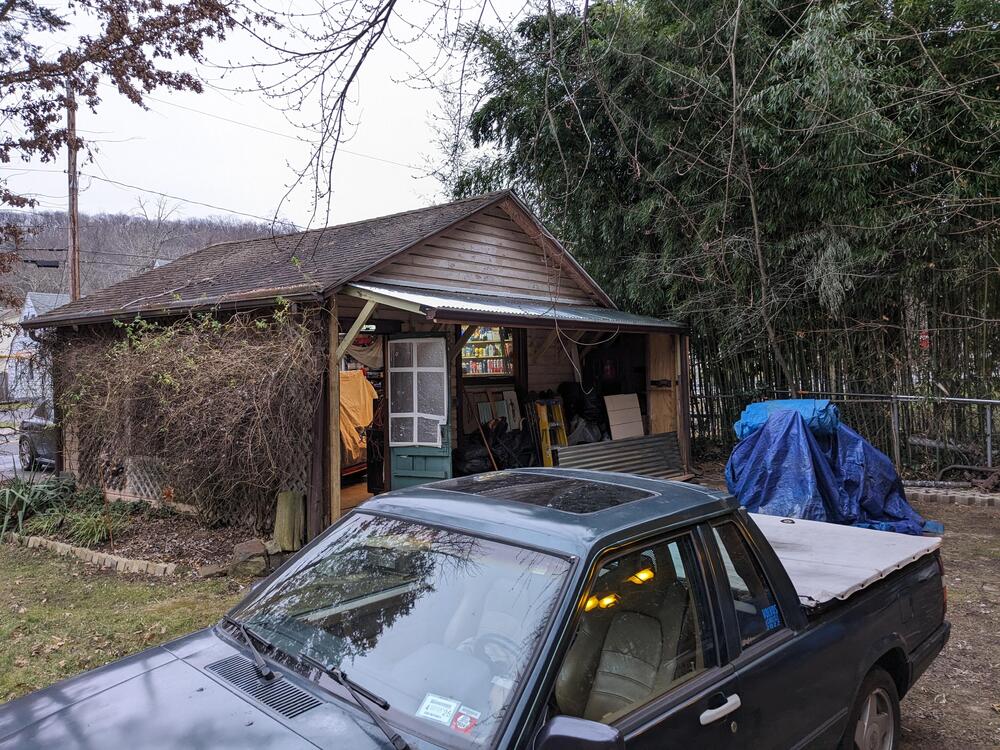
Started framing the platform. This will add 4' to the inside of the garage, which will mean the Datsun will fit once the Fiat is sold. I can't build a real extension on the garage, the town codes make such an addition on a non-conforming structure. I can however have a 'patio" without having to get a permit or be subject to the architectural review board - so I will be pouring a 16x18' or 16x20' slab behind the garage, just has to be staggered 10' in from the property line at the side & back. Cleared the back wall of the garage of the shelving & workbenches. I'll be removing about 13' of the inside wall, so I'll be building a temporary wall to support the beam & upper wall whilst I open it up. The existing header is not exactly healthy construction


-
@grannyknot Thanks for including the tips on restoring the SS trim finish. I need to do that to my door frames, both existing & the later ones I will be converting to later on.
-
Not related to my 280Z - I started making some YT slideshows of the (Honda K24) drivetrain conversion work on the Bertone X1/9 X1/9 K24 Frame Mods X1/9 K24 install mods II X1/9 K24 Install Mods III X1/9 K24 PLM RAM Header Mods & Install RBB plenum mods, Coolant line mods, shifter linkage
-
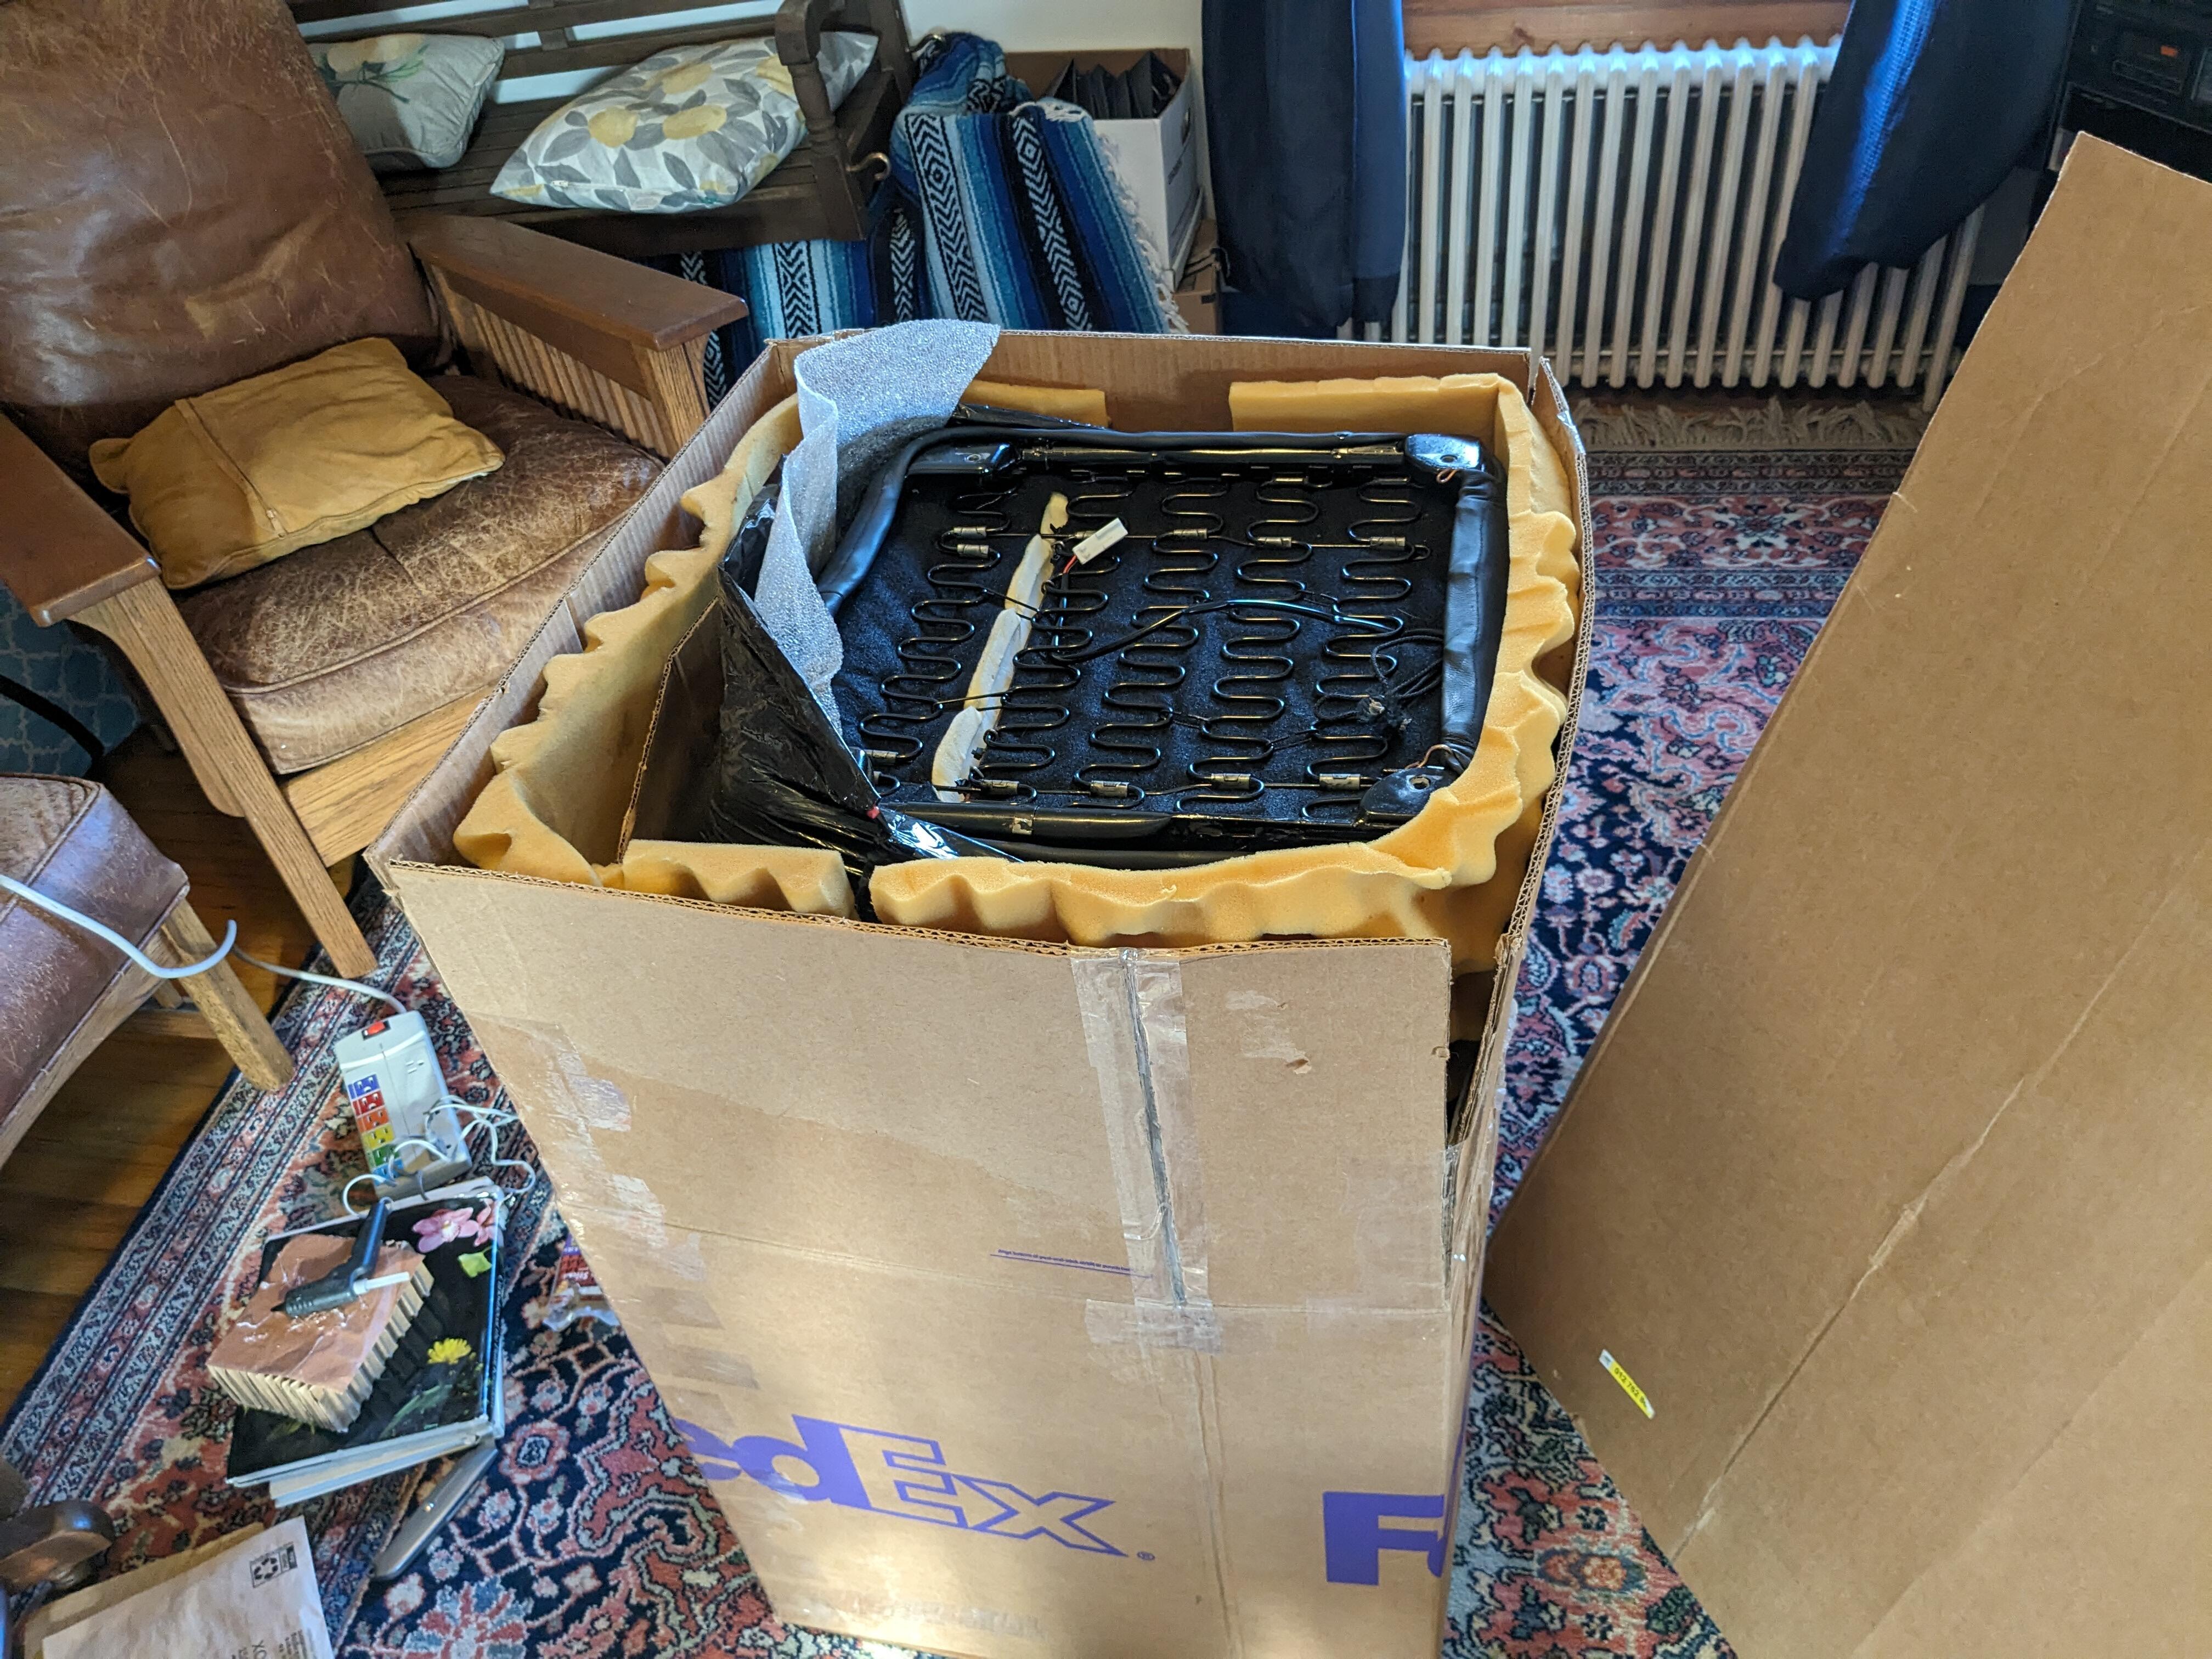
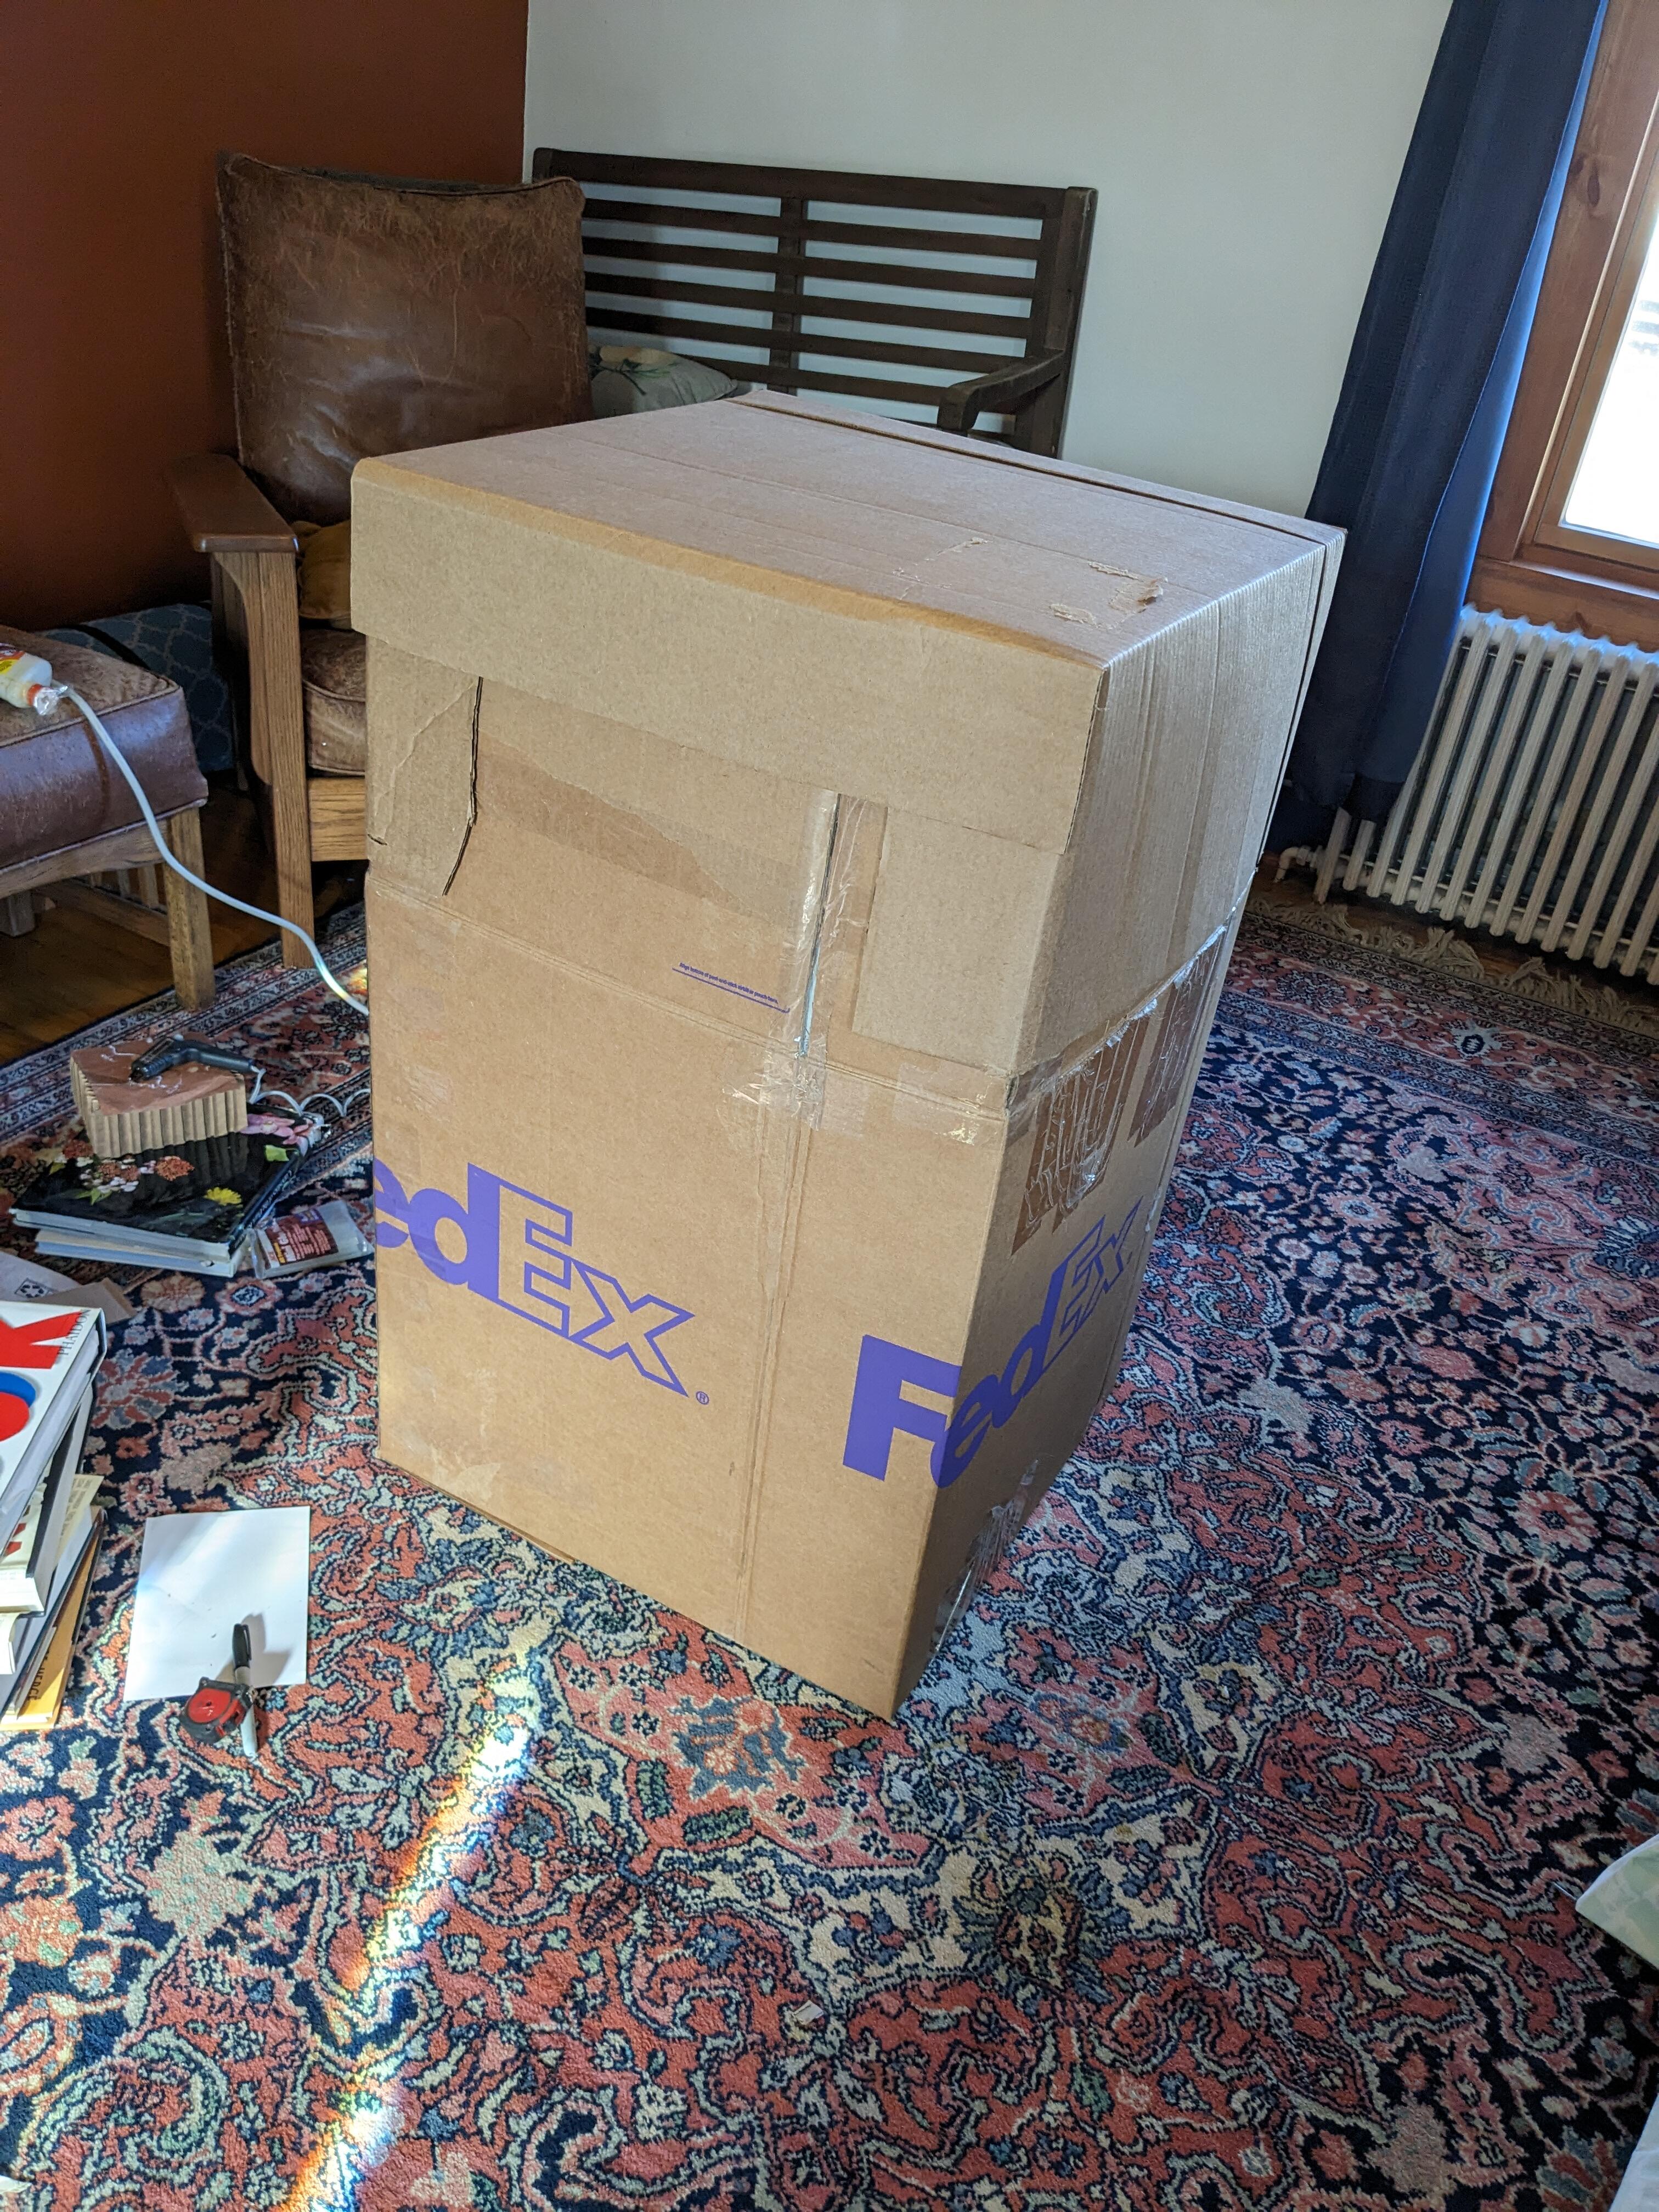
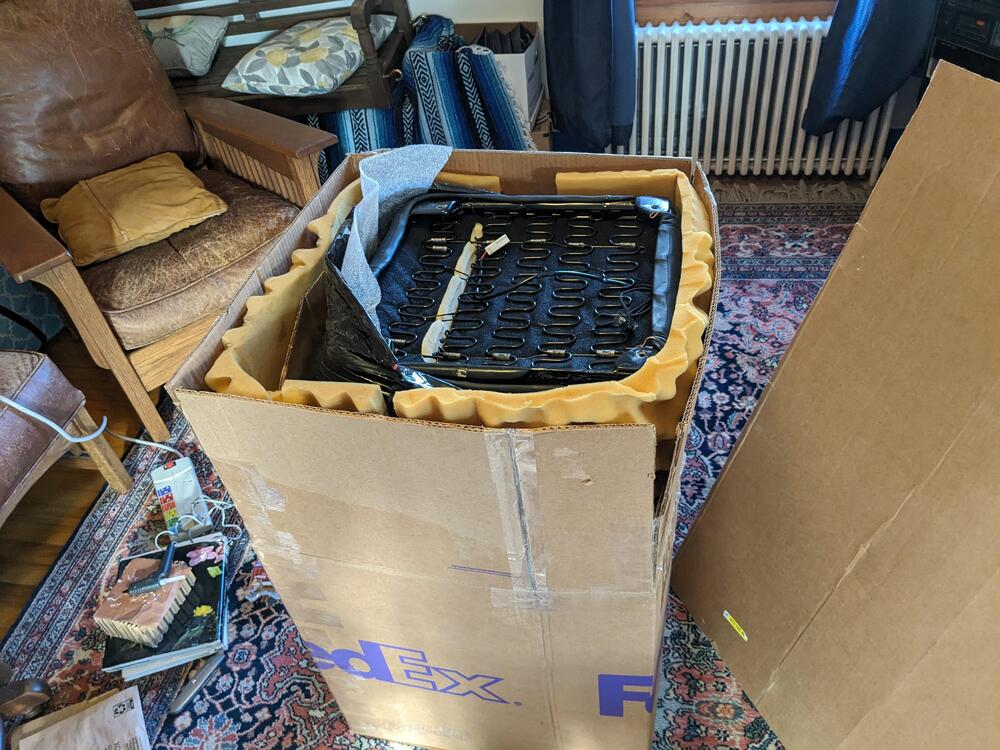
Sold the 280Z seats I had re-foamed, re-upholstered & added seat heaters to. They are going to a fellow Volvo nut in Santa Rosa CA, who also has a 72 240Z that he put aftermarket seats in 20+ years ago, and had regretted it ever since. Couldn't find a snug box, so I made one from a HD FedEX box, recut & glued to 23x22x37


-
Made a (long) slideshow YT of the Volvo pickup truck conversion
-
Done with the back of the garage for now. Patchwork platform is good enough.
-
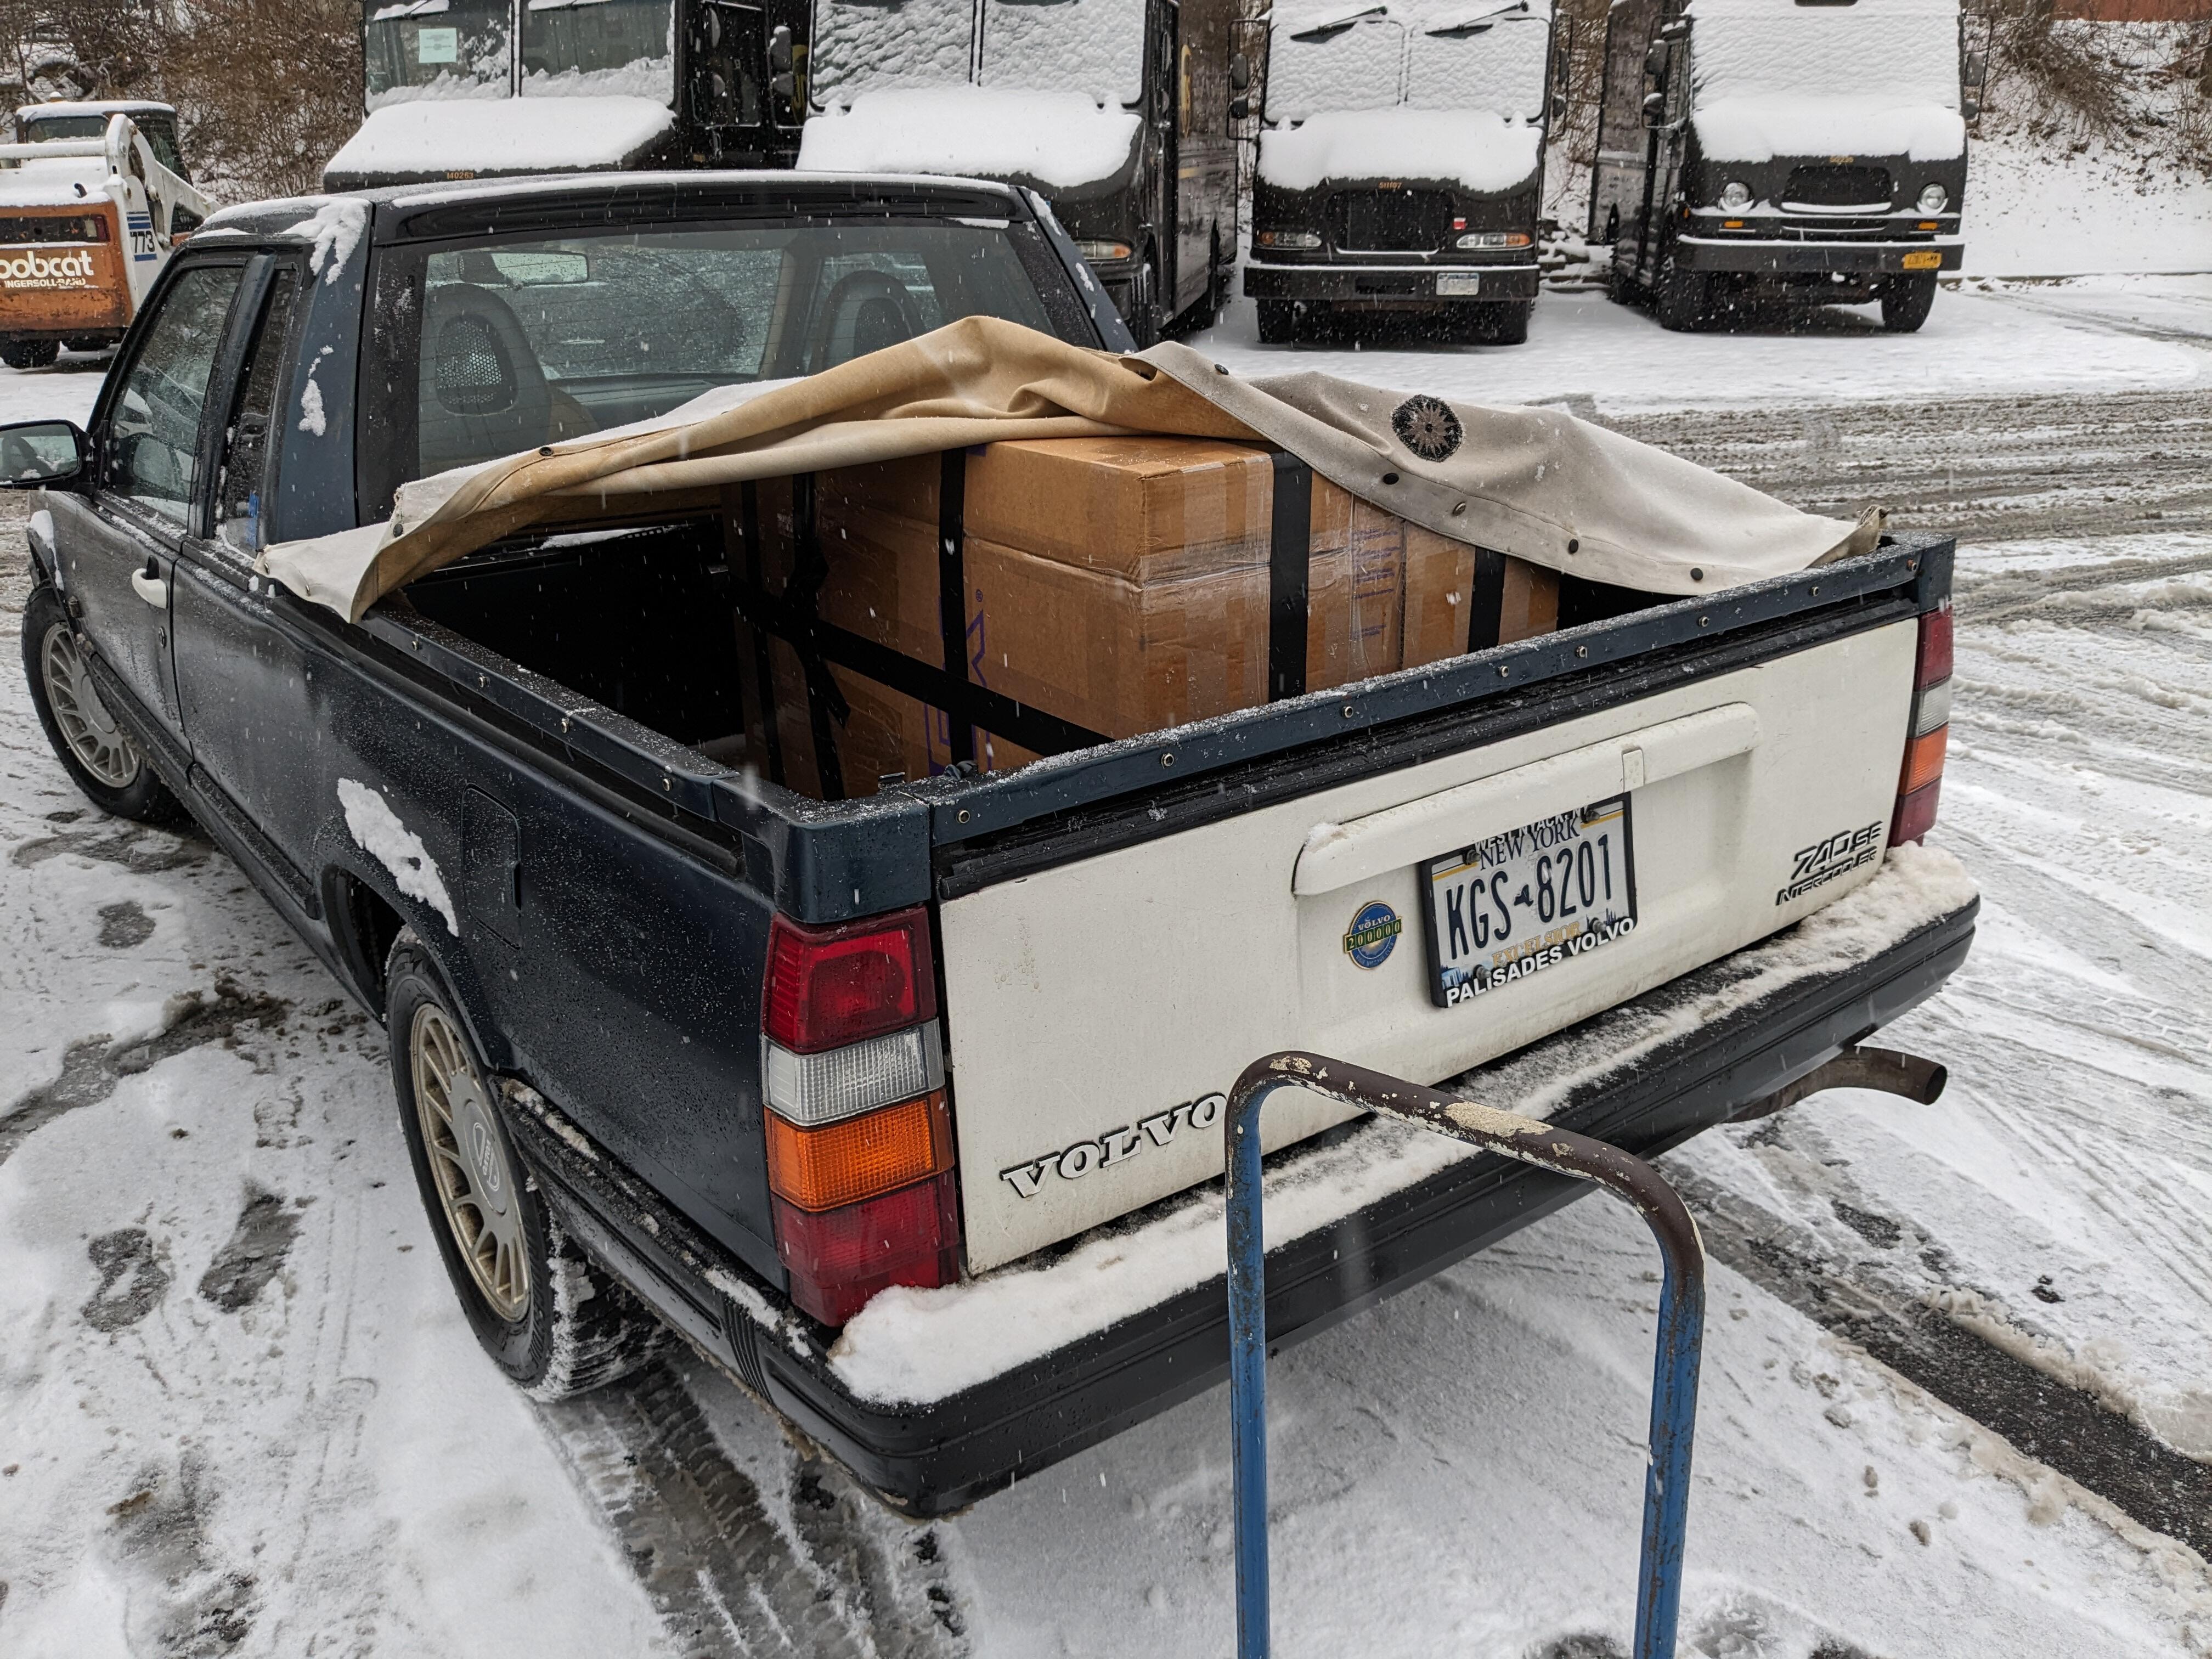
Switching gears - I'm not driving /working on the Datsun now that snow has started this past week or so & roads have been salted, so I'm going back on my V8-into-Volvo project. Still have wiring & other elements to prepare before I pull the stock drivetrain & get moving on the physical conversion (I'm assuming late Feb/early Mar, depending on the weather) put a brand new rack (and saginaw PS pump) in it on Friday - the old rack has no assist at low speed anymore, so that was definitely not going to work once the V8 drivetrain is in. It's meant for the slightly newer 940 series (same chassis, slight mods all over), so a little tweaking of the (equalizing?) tubes to fit the older subframe was in order adjusted the toe in myself - my road is nice & flat, and a pretty quiet area. Took several adjustments to get it here - slightly under average (typical) toe -in value for this model, however thew wheel is straight & it feels good out on the main roadways.
-
Nice!!!! Does look a touch warmer, but that could just be wet vs cured. I'd be happy with that. I had spray cans of 302 mixed by the local auto body supply house, and they made 3-4 attempts before getting close enough for me to use it 😞
-
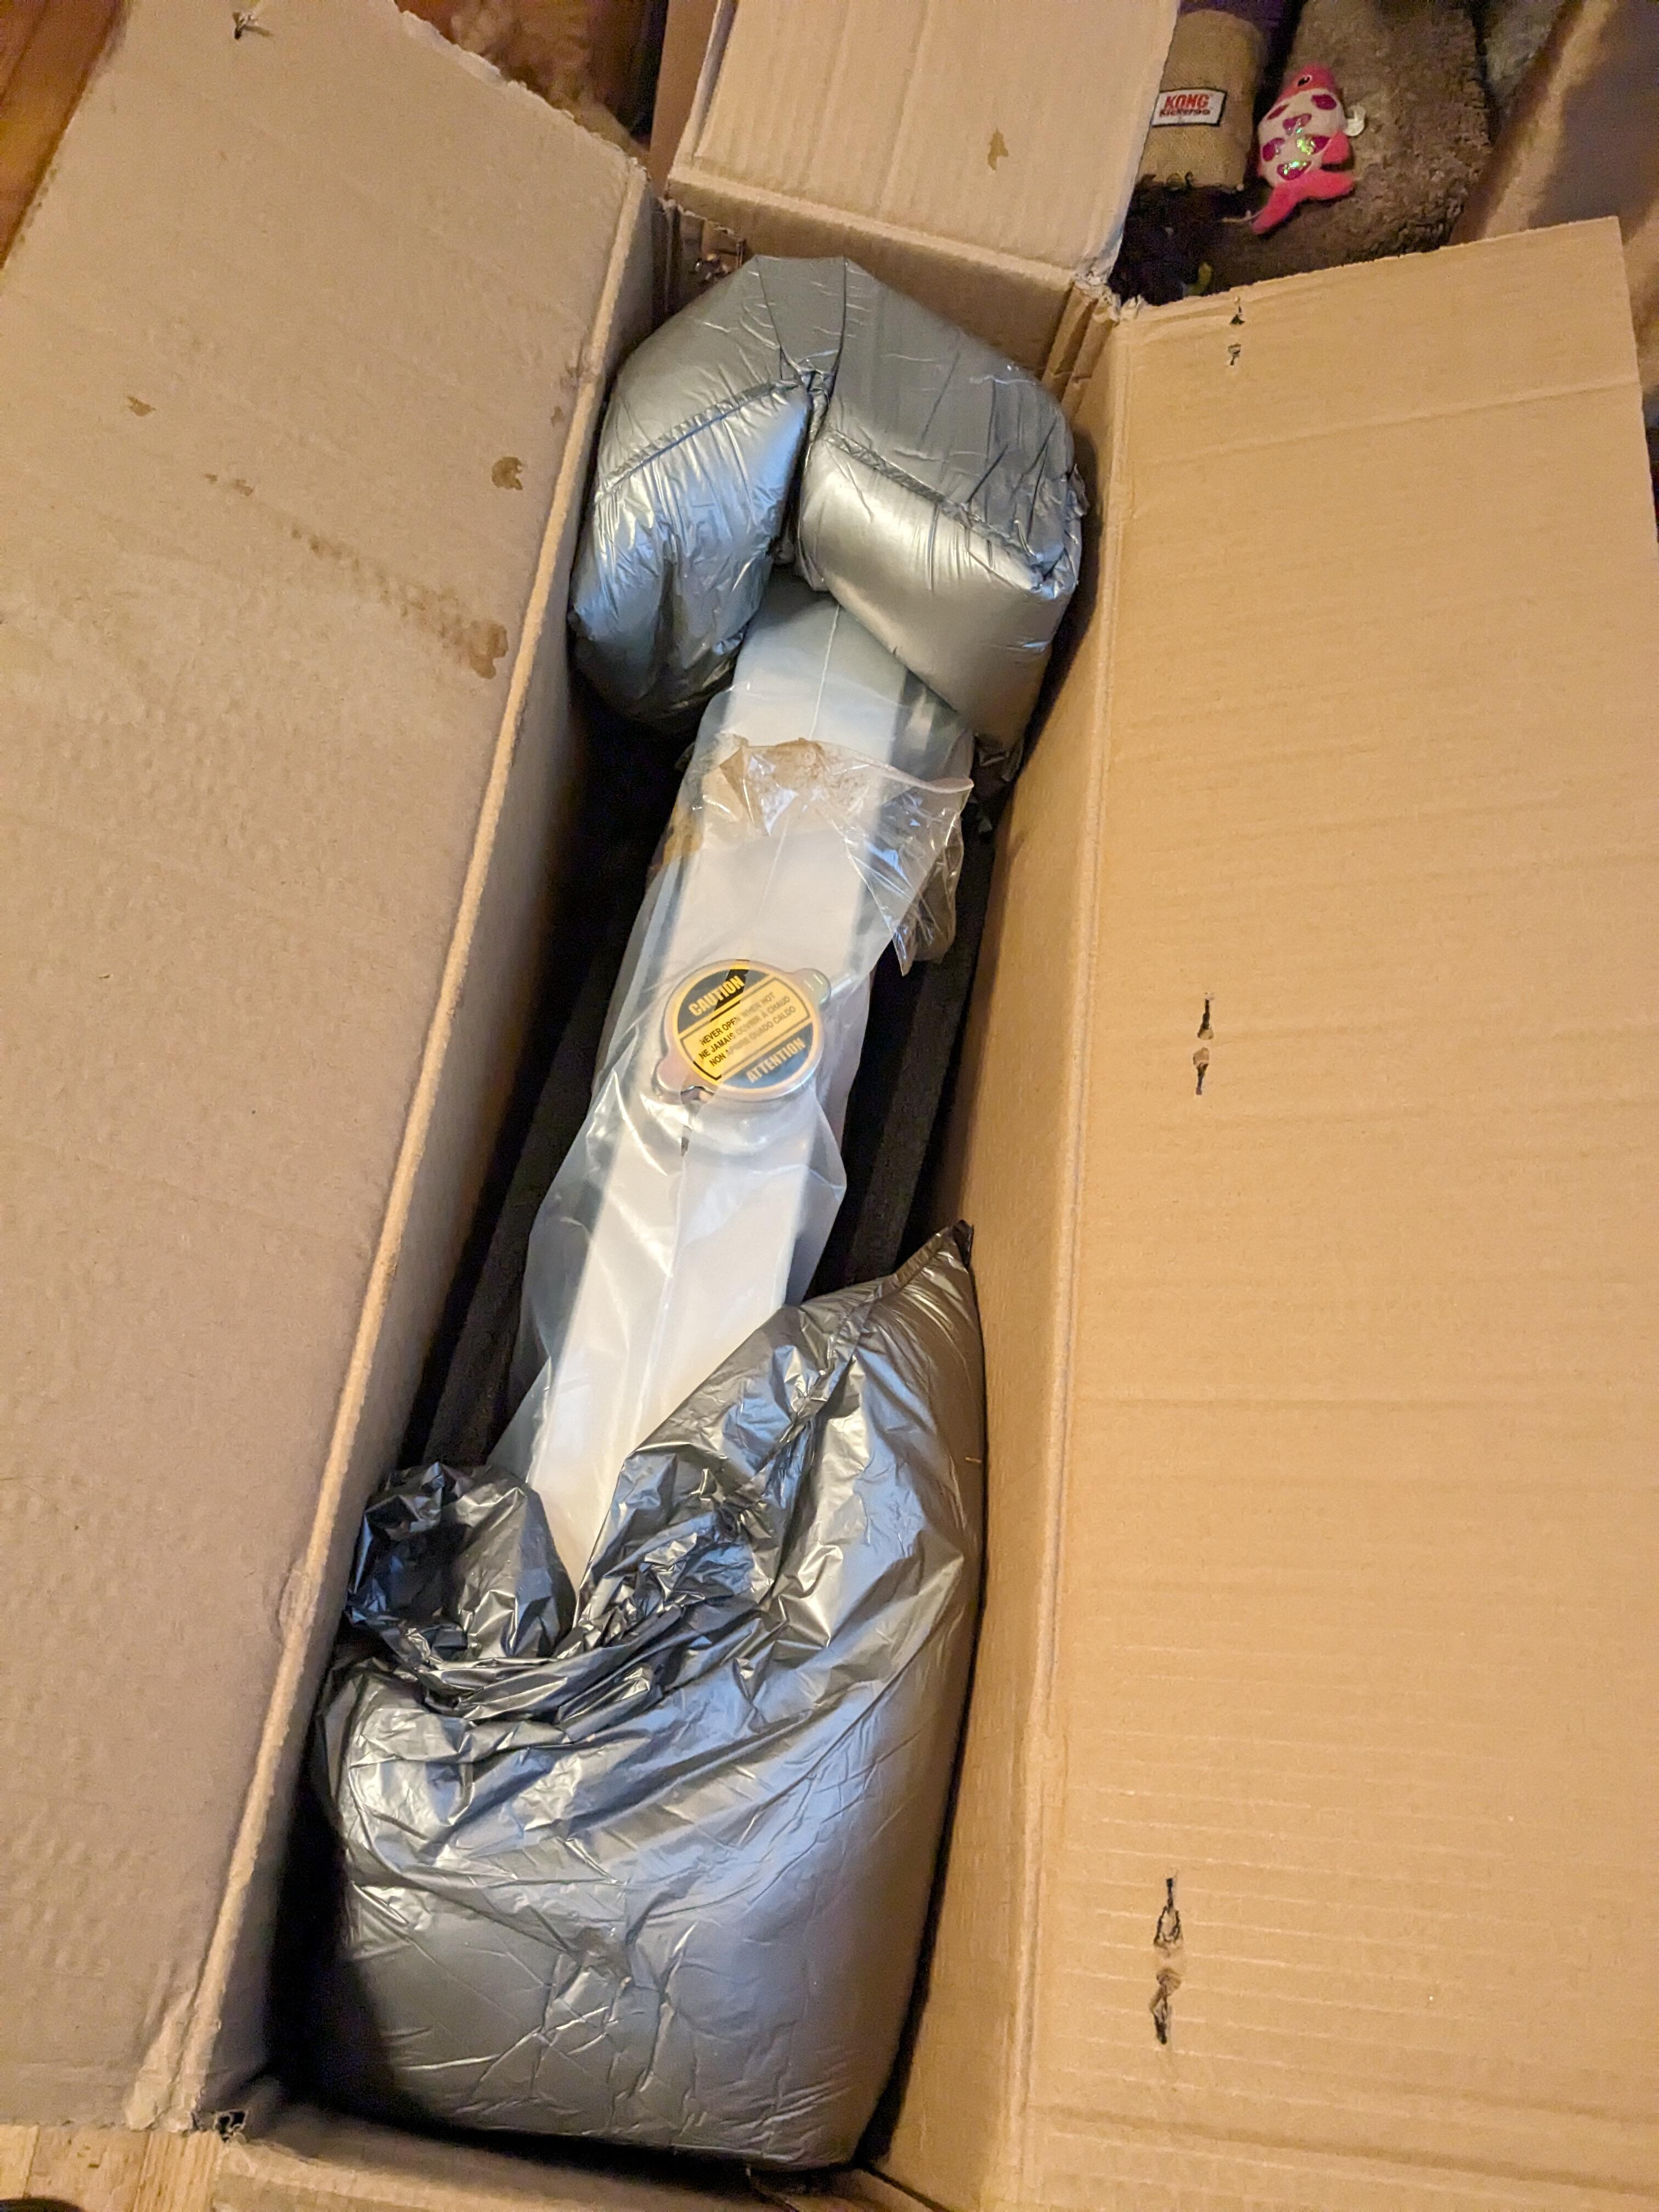
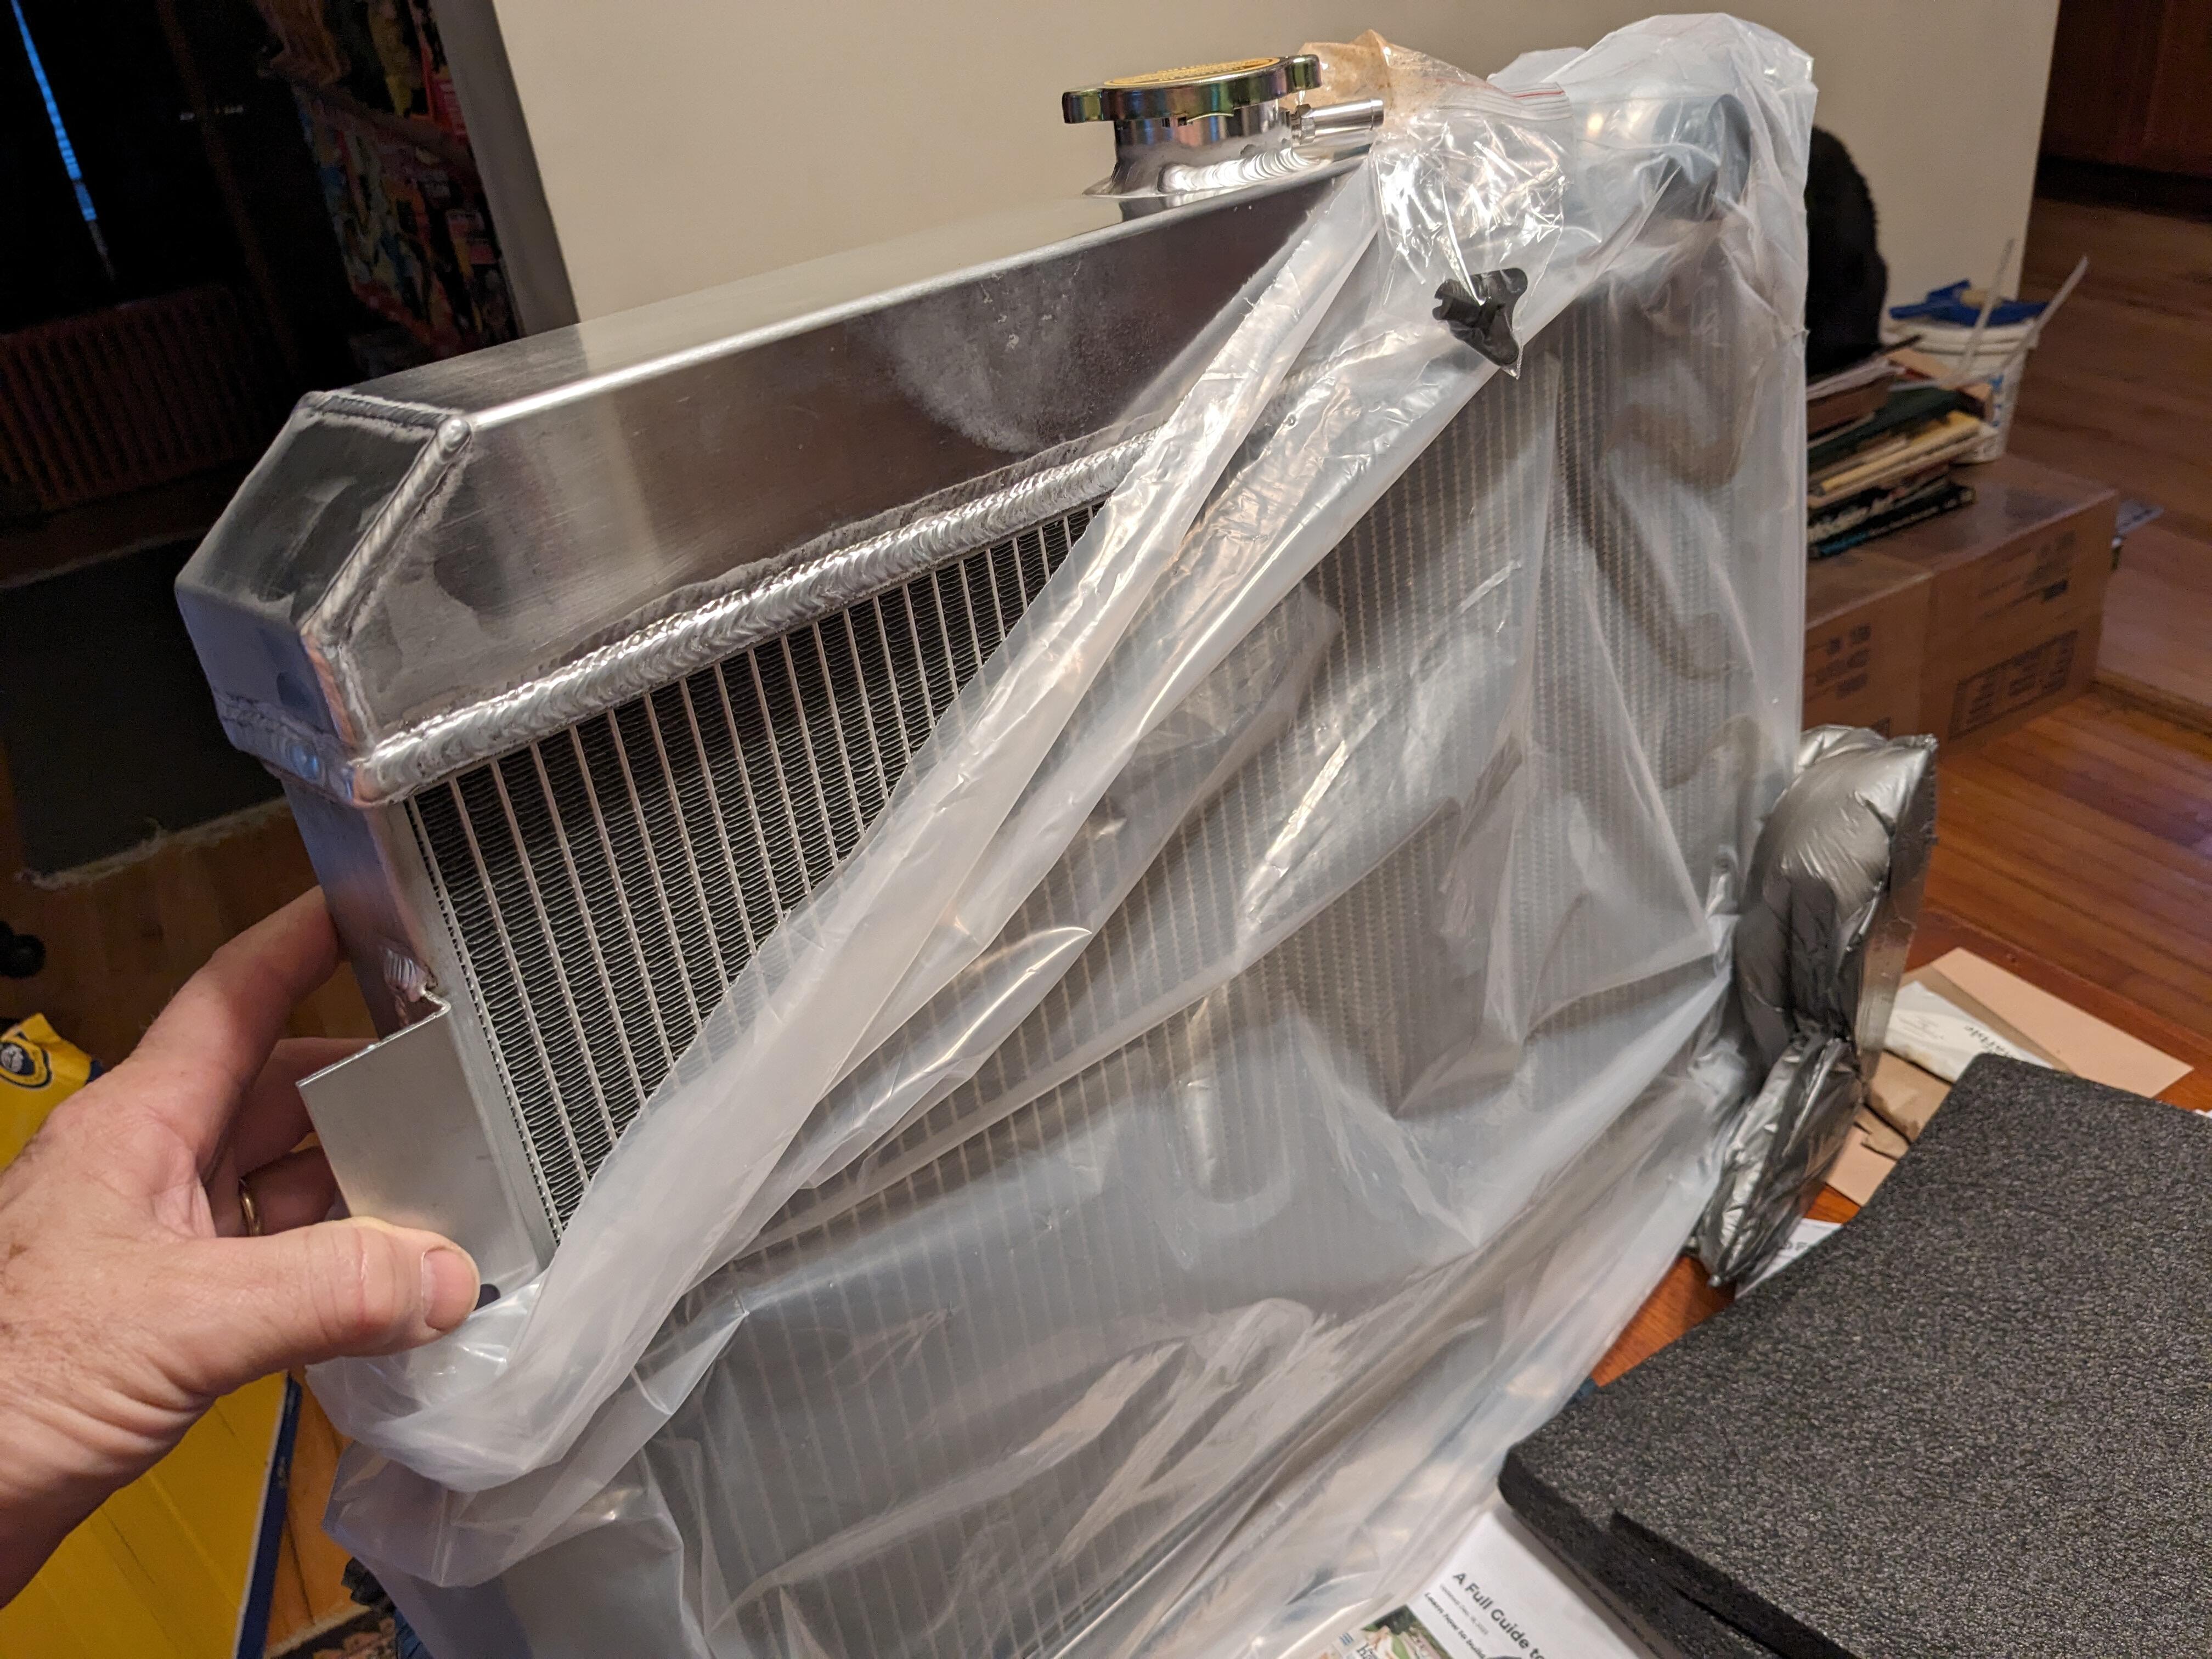
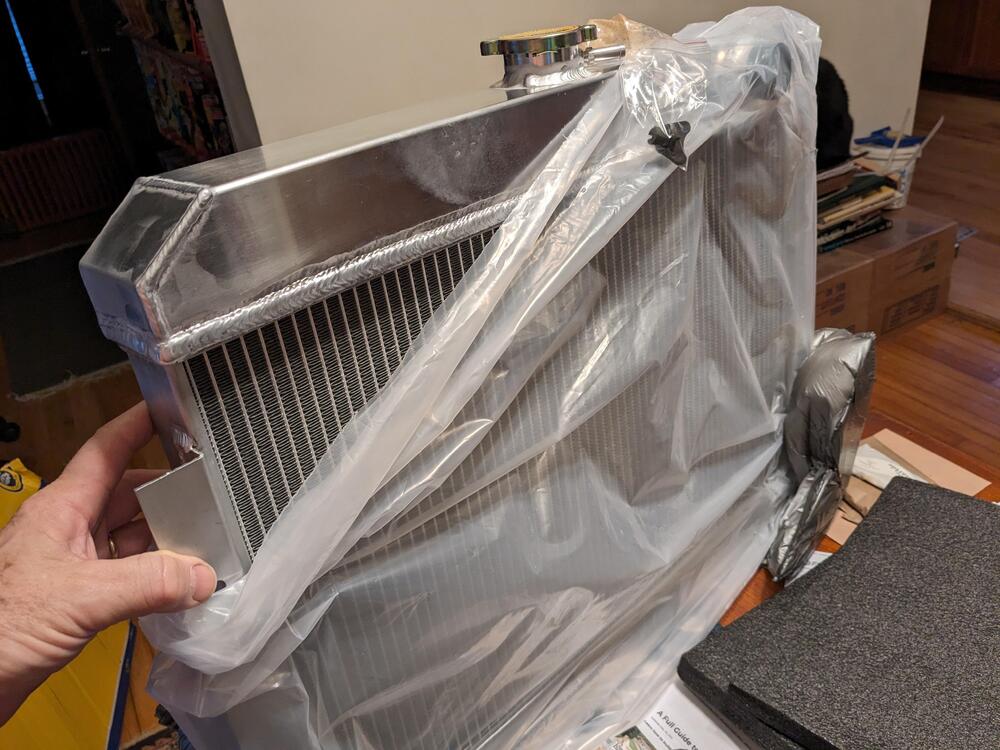
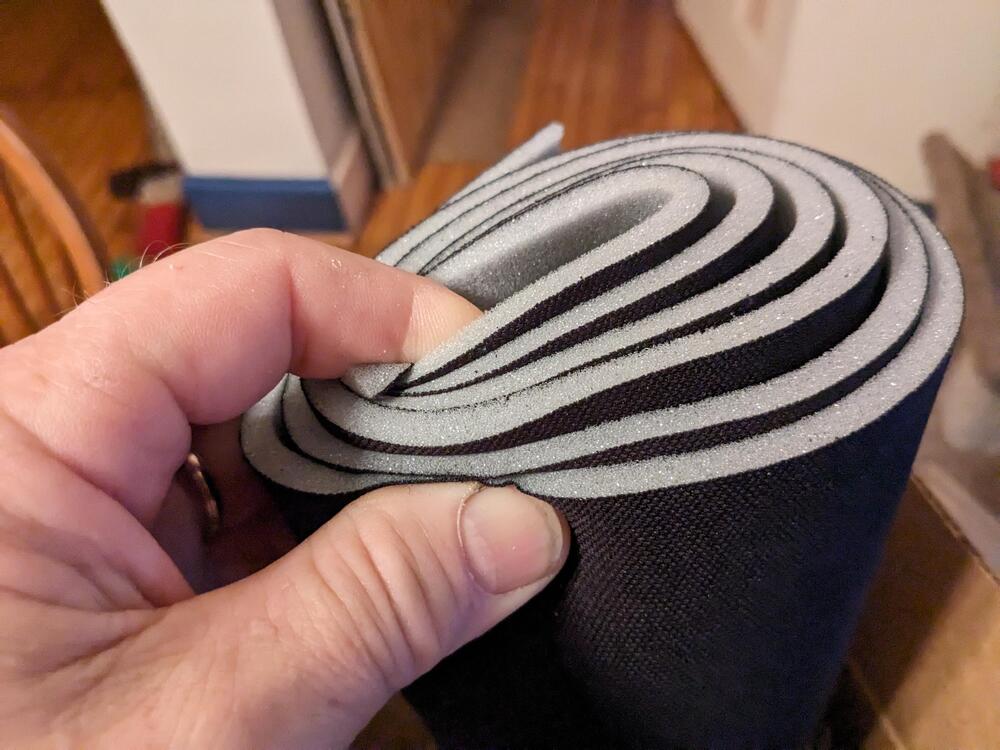
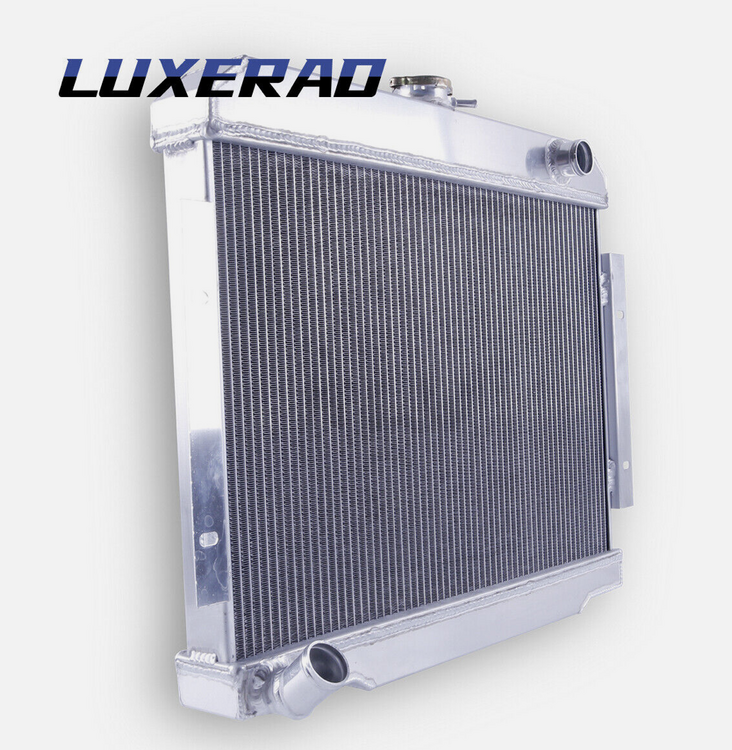
Rad for the VQ conversion came - very well packaged & looks great, especially for the price. Application is mid 80's Jeep CJ series. Have to cut off the mount flanges & reweld. Easier than cutting off the necks on a Datsun specific fitment, and half the price ($130 shipped) for the 3 row that I bought Also picked up some more 1/4" foam backer for when I remove the hatch / strut tower vinyl to do the permanent seat belt mounts Used a similar product covered with vinyl for the rear strut brace


-
What brand of seam sealer do you prefer? I've bought a few variations - the 3M Dynatron seemed one of the more versatile & inexpensive varieties. Has a good working time, but also sets pretty quickly after that. I also used other more pricy 3M urethane sealers such as 08367, but didn't really see any benefits.
-
Looking great - satisfying to see it with a uniform covering. Does the epoxy primer get coated with 2K, or it that all you need? Trying to remember what I used on the Fiat - that was a mix of steel aluminum & bonded fiberglass panels. I did not strip the bulk of the car to bare metal, so I'm thinking I used 2K, but that was 5 years ago, so my memory is foggy on details. That must have taken at least 4-5 hours to do the entire shell and all the take off panels, no? How much primer did it take for the 2 complete rounds? Hopefully I will paint again one day - still have to figure out where to buy an 80gal compressor that doesn't get buggered on delivery, so far I'm 2for2 on that....
-
OK - I hate to destroy perfectly good equipment - if they were rough/inop I wouldn't care. I'll have to see what happens DTR.
-
Did you buy adaptor plates to fit them to the dash? I see Skillarid sells ones for the Tach & Speedo. I'd rather not destroy my original gauges, which are all in great shape.
-
Gauges? use 350Z? Speedhut? 4.5" GPS dual speedo/fuel, 4.5" tach, Oil press, Coolant, Volts? I think the Speedhut gauges would look more in keeping with the car. Plenum mods Boils down to removing 5mm off the 1&2 runners, adding a 5/16" spacer to offset the upper plenum taper
-
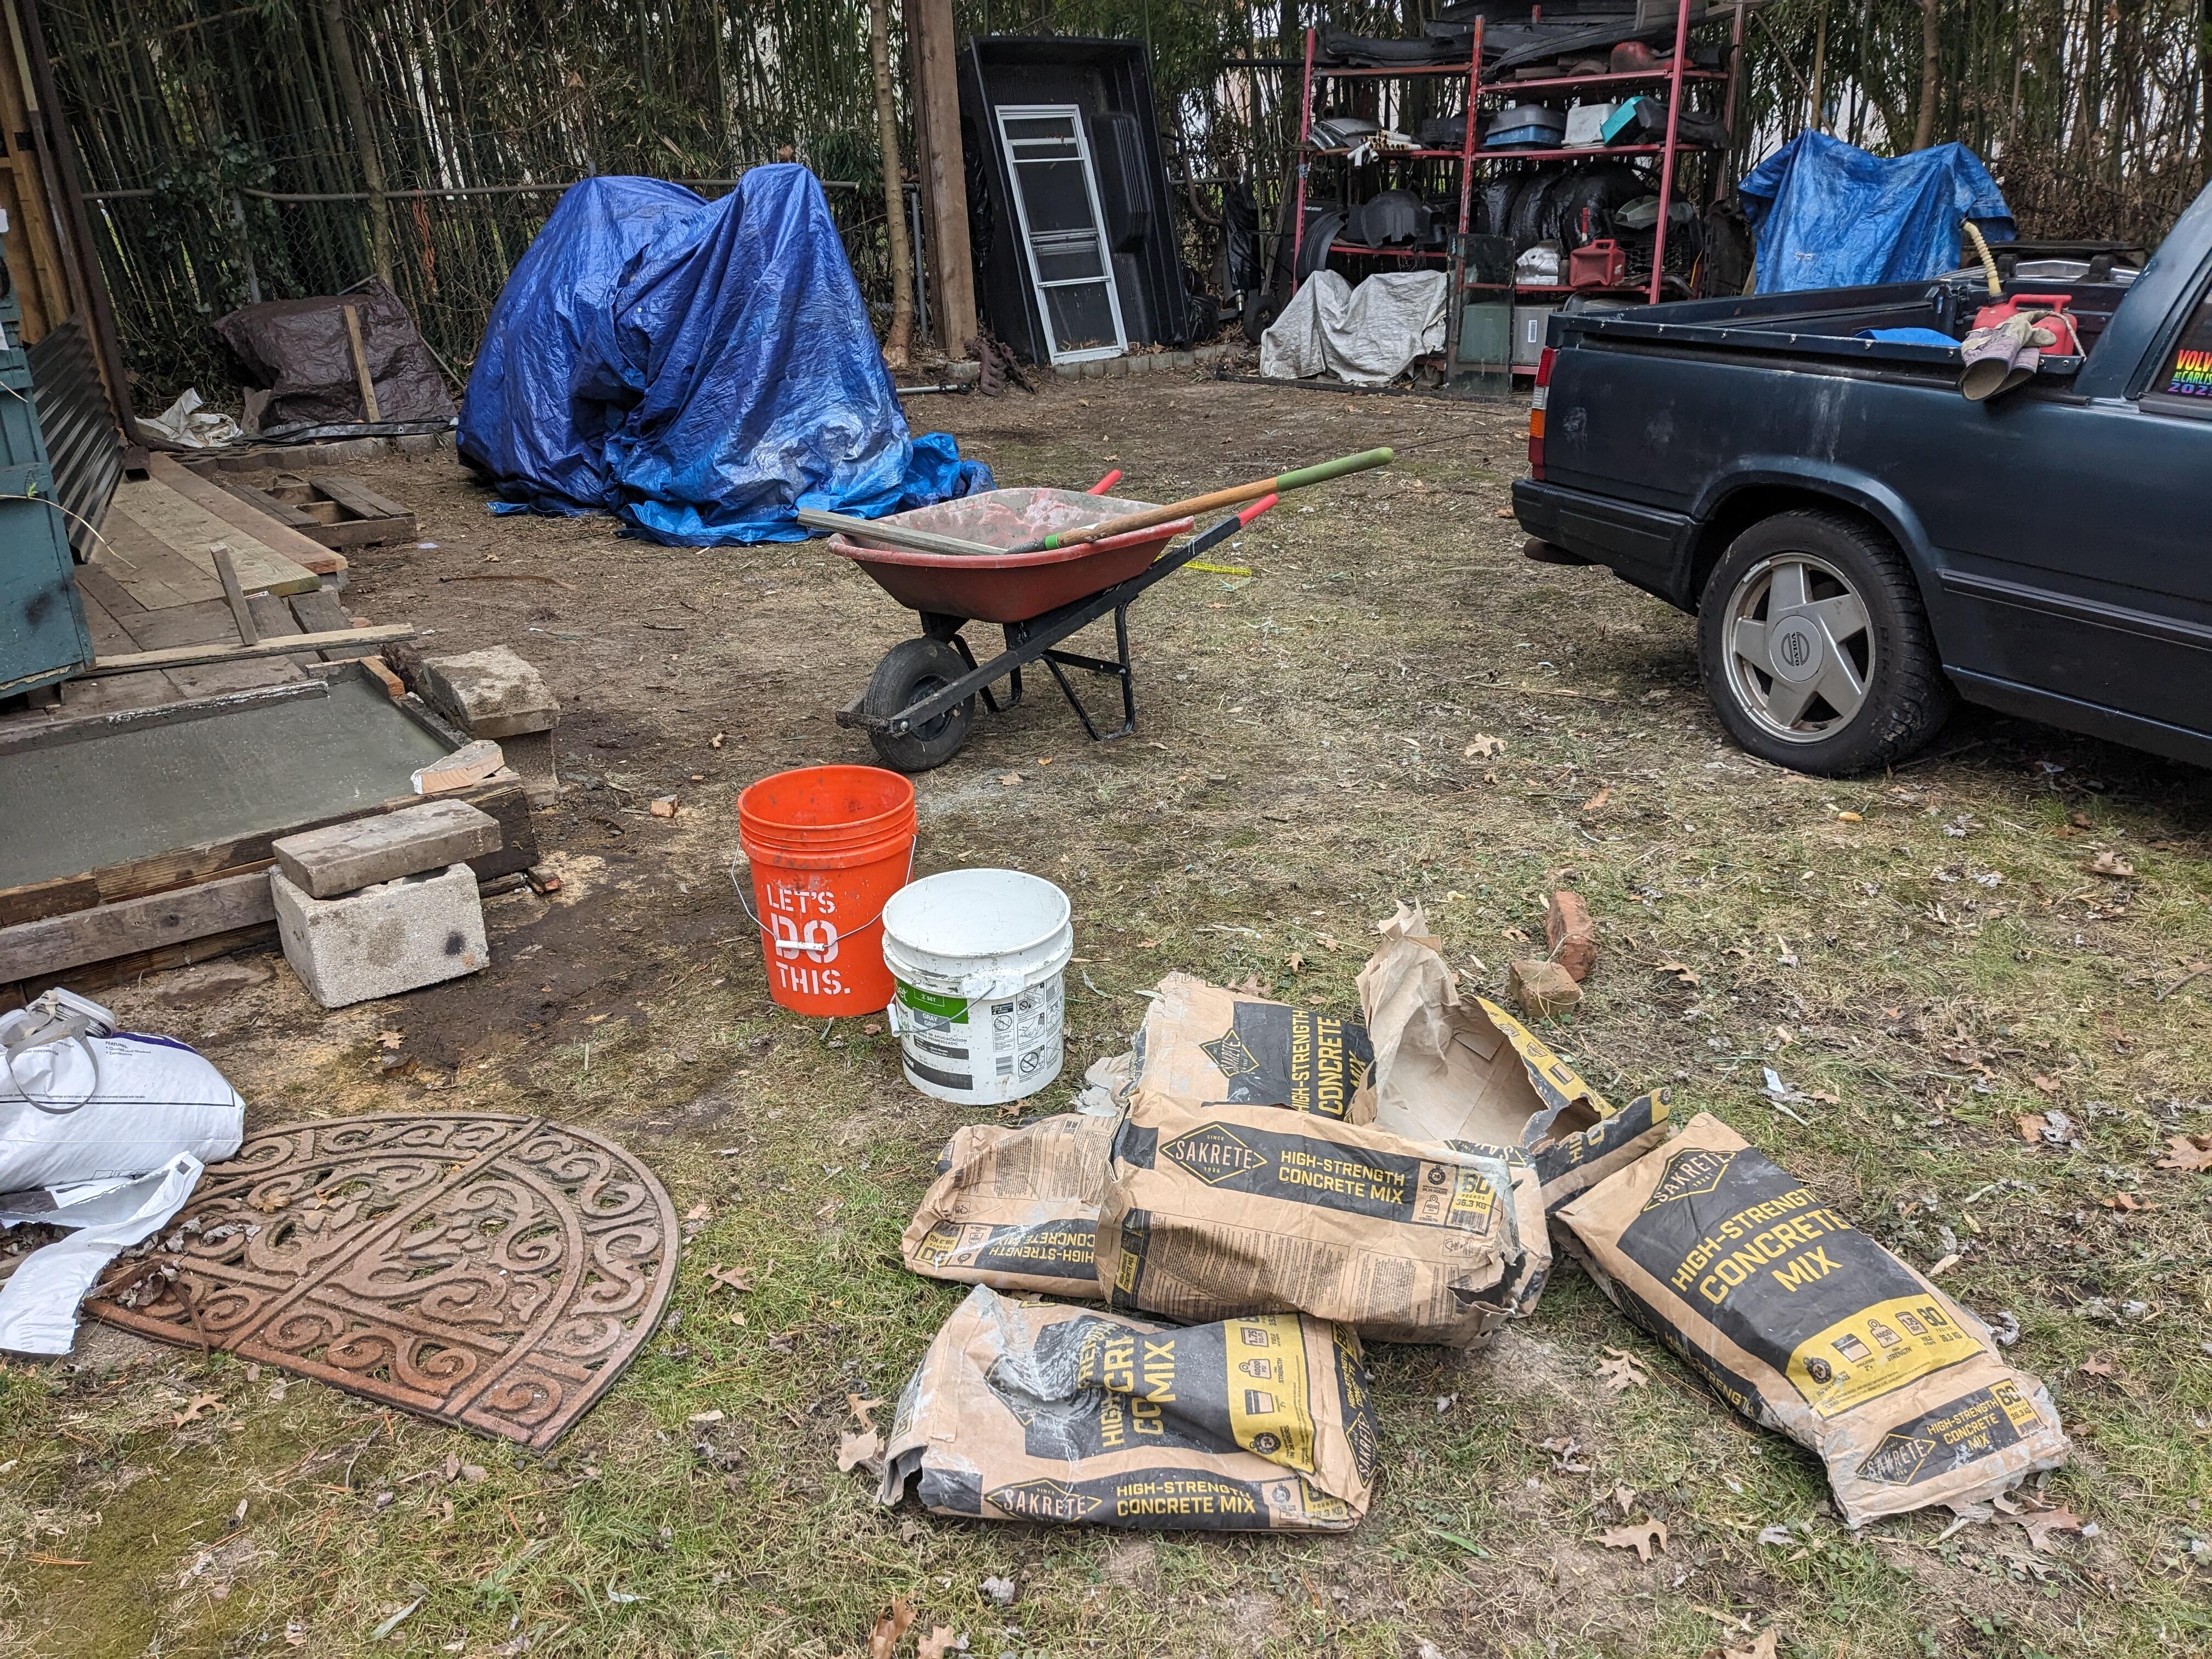
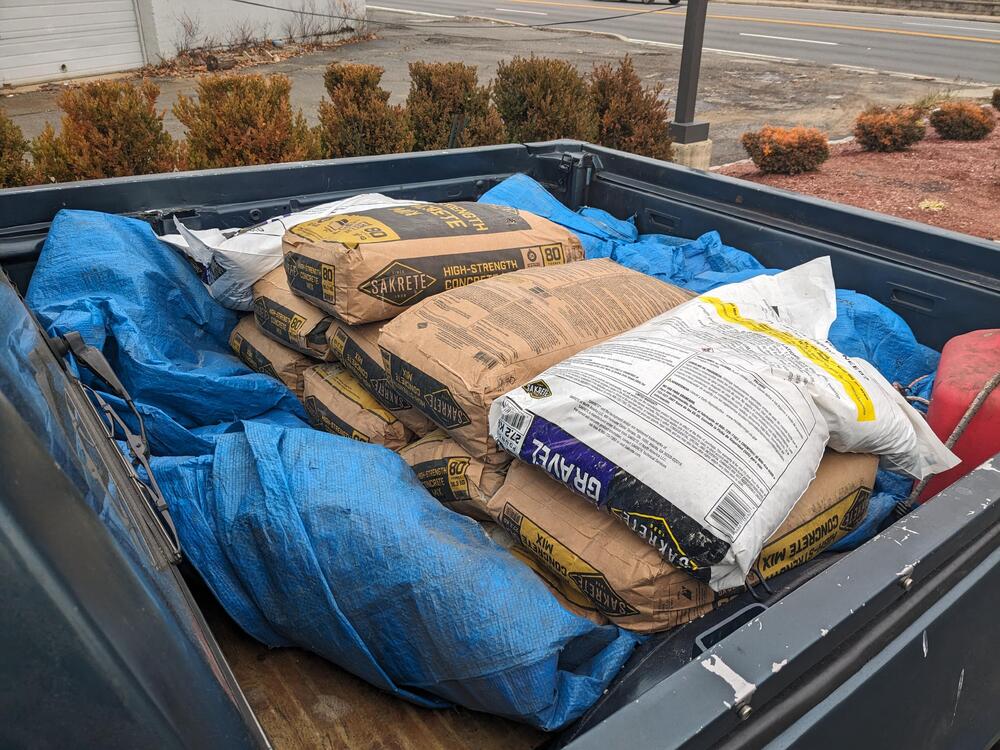
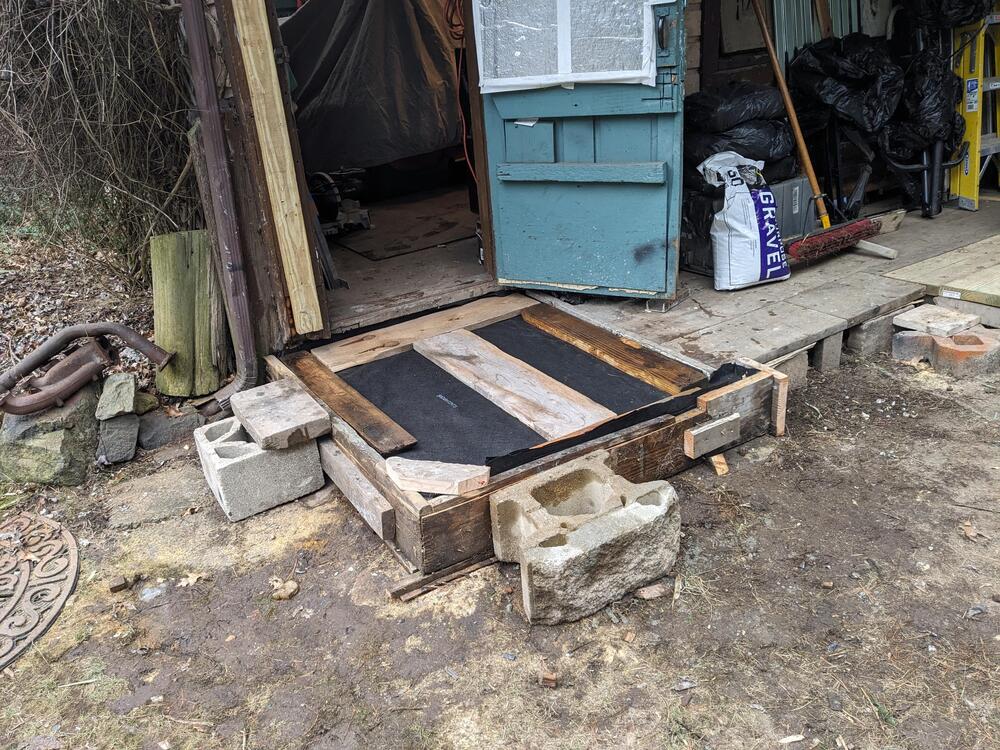
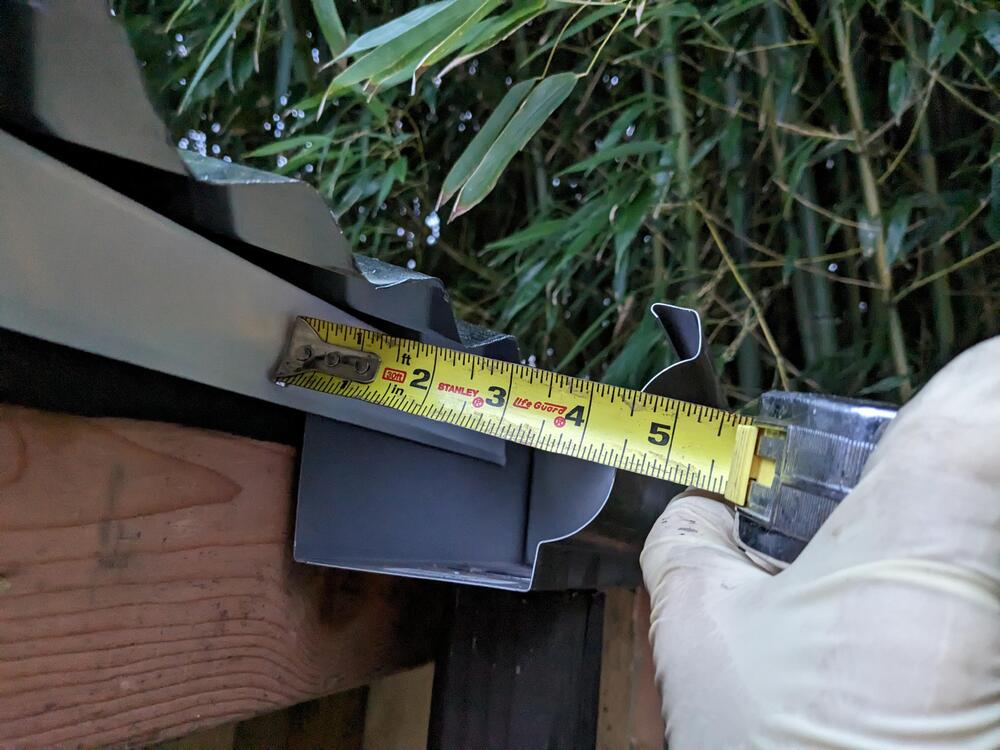
Making good use of the pickup to carry about 800lbs of concrete mix and gravel - desperately needed to repair the approx 3x4' platform at the back door of the garage - I've dealt with a wooden ramp for years, however it gets very slippery in this weather & I'm just too old to be falling when carrying heavy crap to & from the garage. Approx 7" deep, Concrete slab is blanketed and covered with wood to protect from frost. Also finished the gutter on the awning

-
Ordered a generic Jeep CJ6 3 row aluminum rad. Has the I/O in the correct orientation for the VQ35DE (reverse of stock). Similar overall H & W (24.25W 20.75 H). I will have to modify the mount flanges. Significantly less than a Datsun-speciifci rad, which I would then have to modify anyway.
-
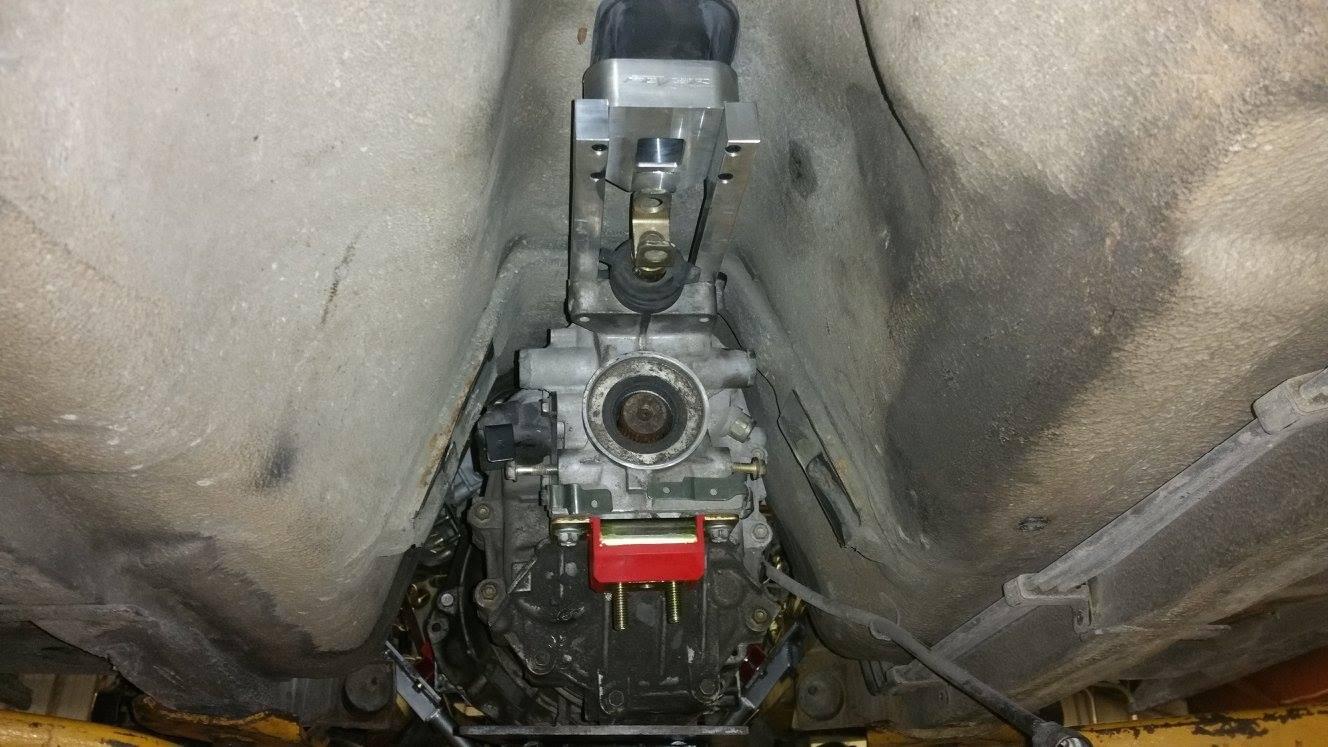
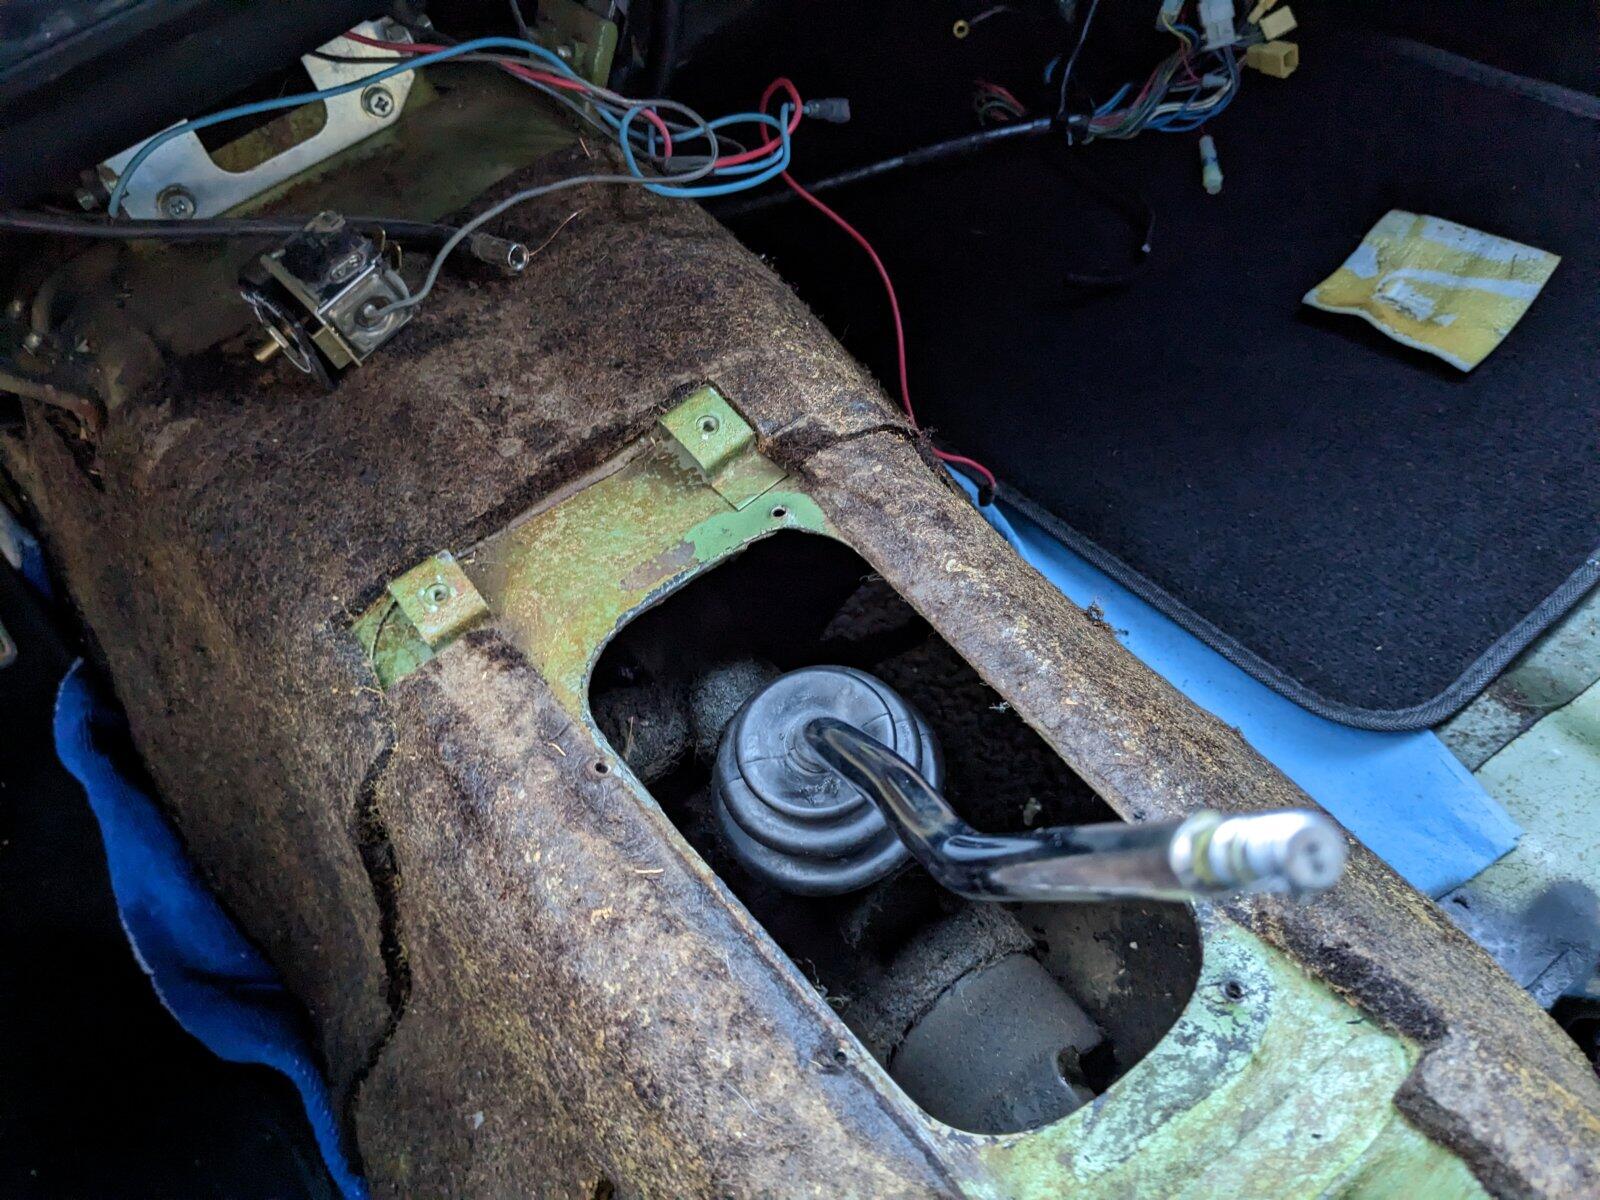
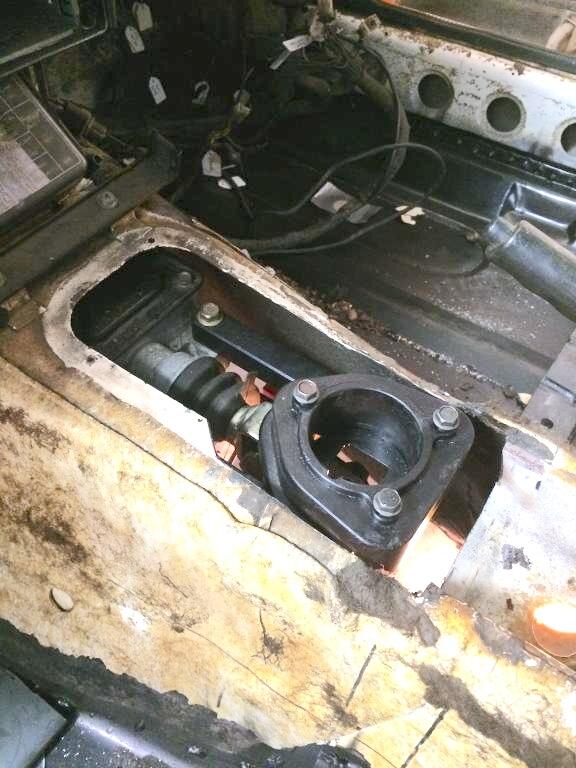
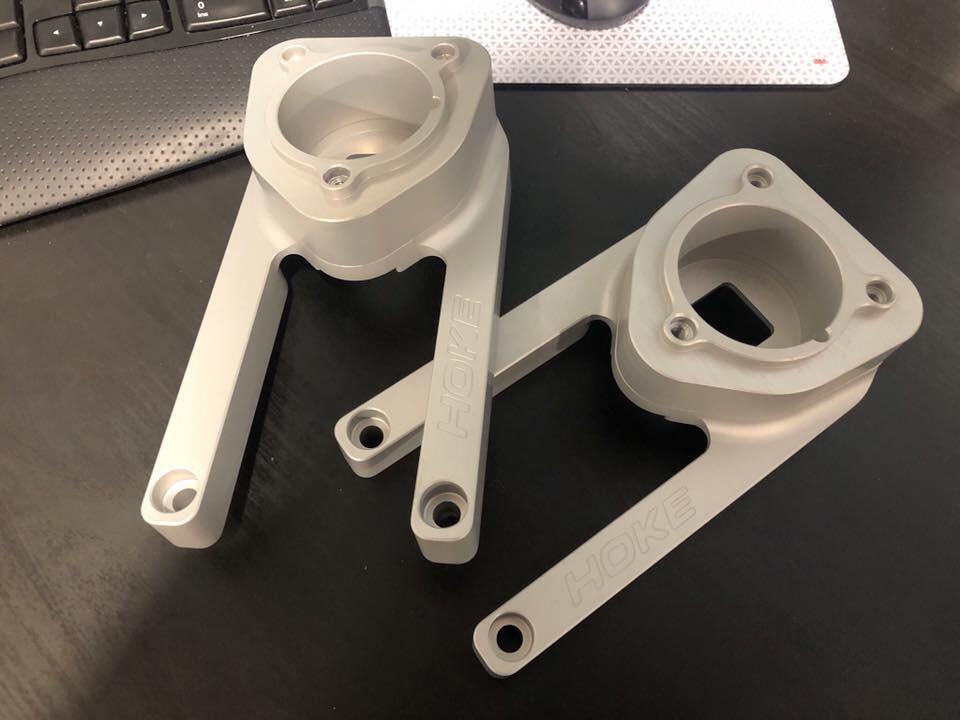
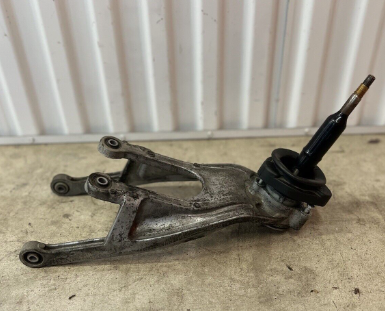
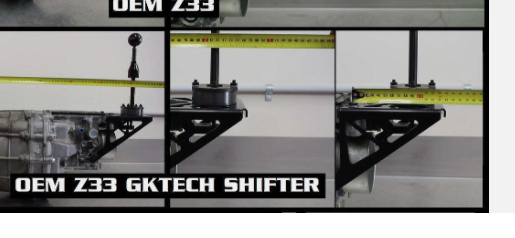
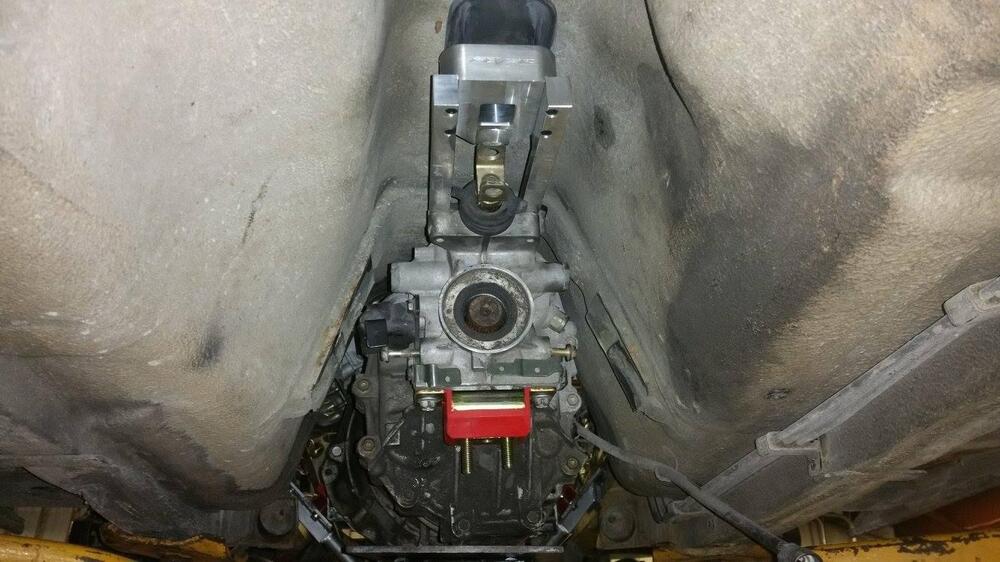
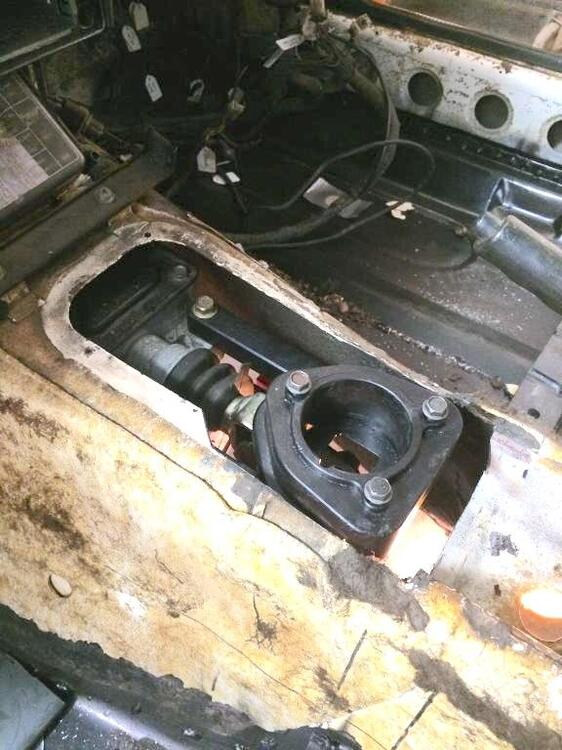
Putting this here so I don't forget - fitting the CD009 requires a (reduced) shifter extension - have to figure out what to do here. The main purveyor of a workable solution (HokePerformance) stopped making them about 4 years ago Pic from HybridZ build stock (my) opening Stock shifter tunnel clearance edit. -he notes that the shifter needs to be 5" back from stock 350Z setup to fit existing location EDIT - further searching came up with this one - I've emailed them to see if it fits S30 chassis EDIT. -they don't know, however it puts the shifter 6" forward of stock 350Z, so it should be perfect. I may need to dogleg the shifter, not a big deal. GKTech shifter

-
Hard to tell the extent with it stripped, beyond the obvious edge damage - the scuffing makes it look like the whole surface is ****ed - is it just the leading edge or 6-8 inches into the nose?
-
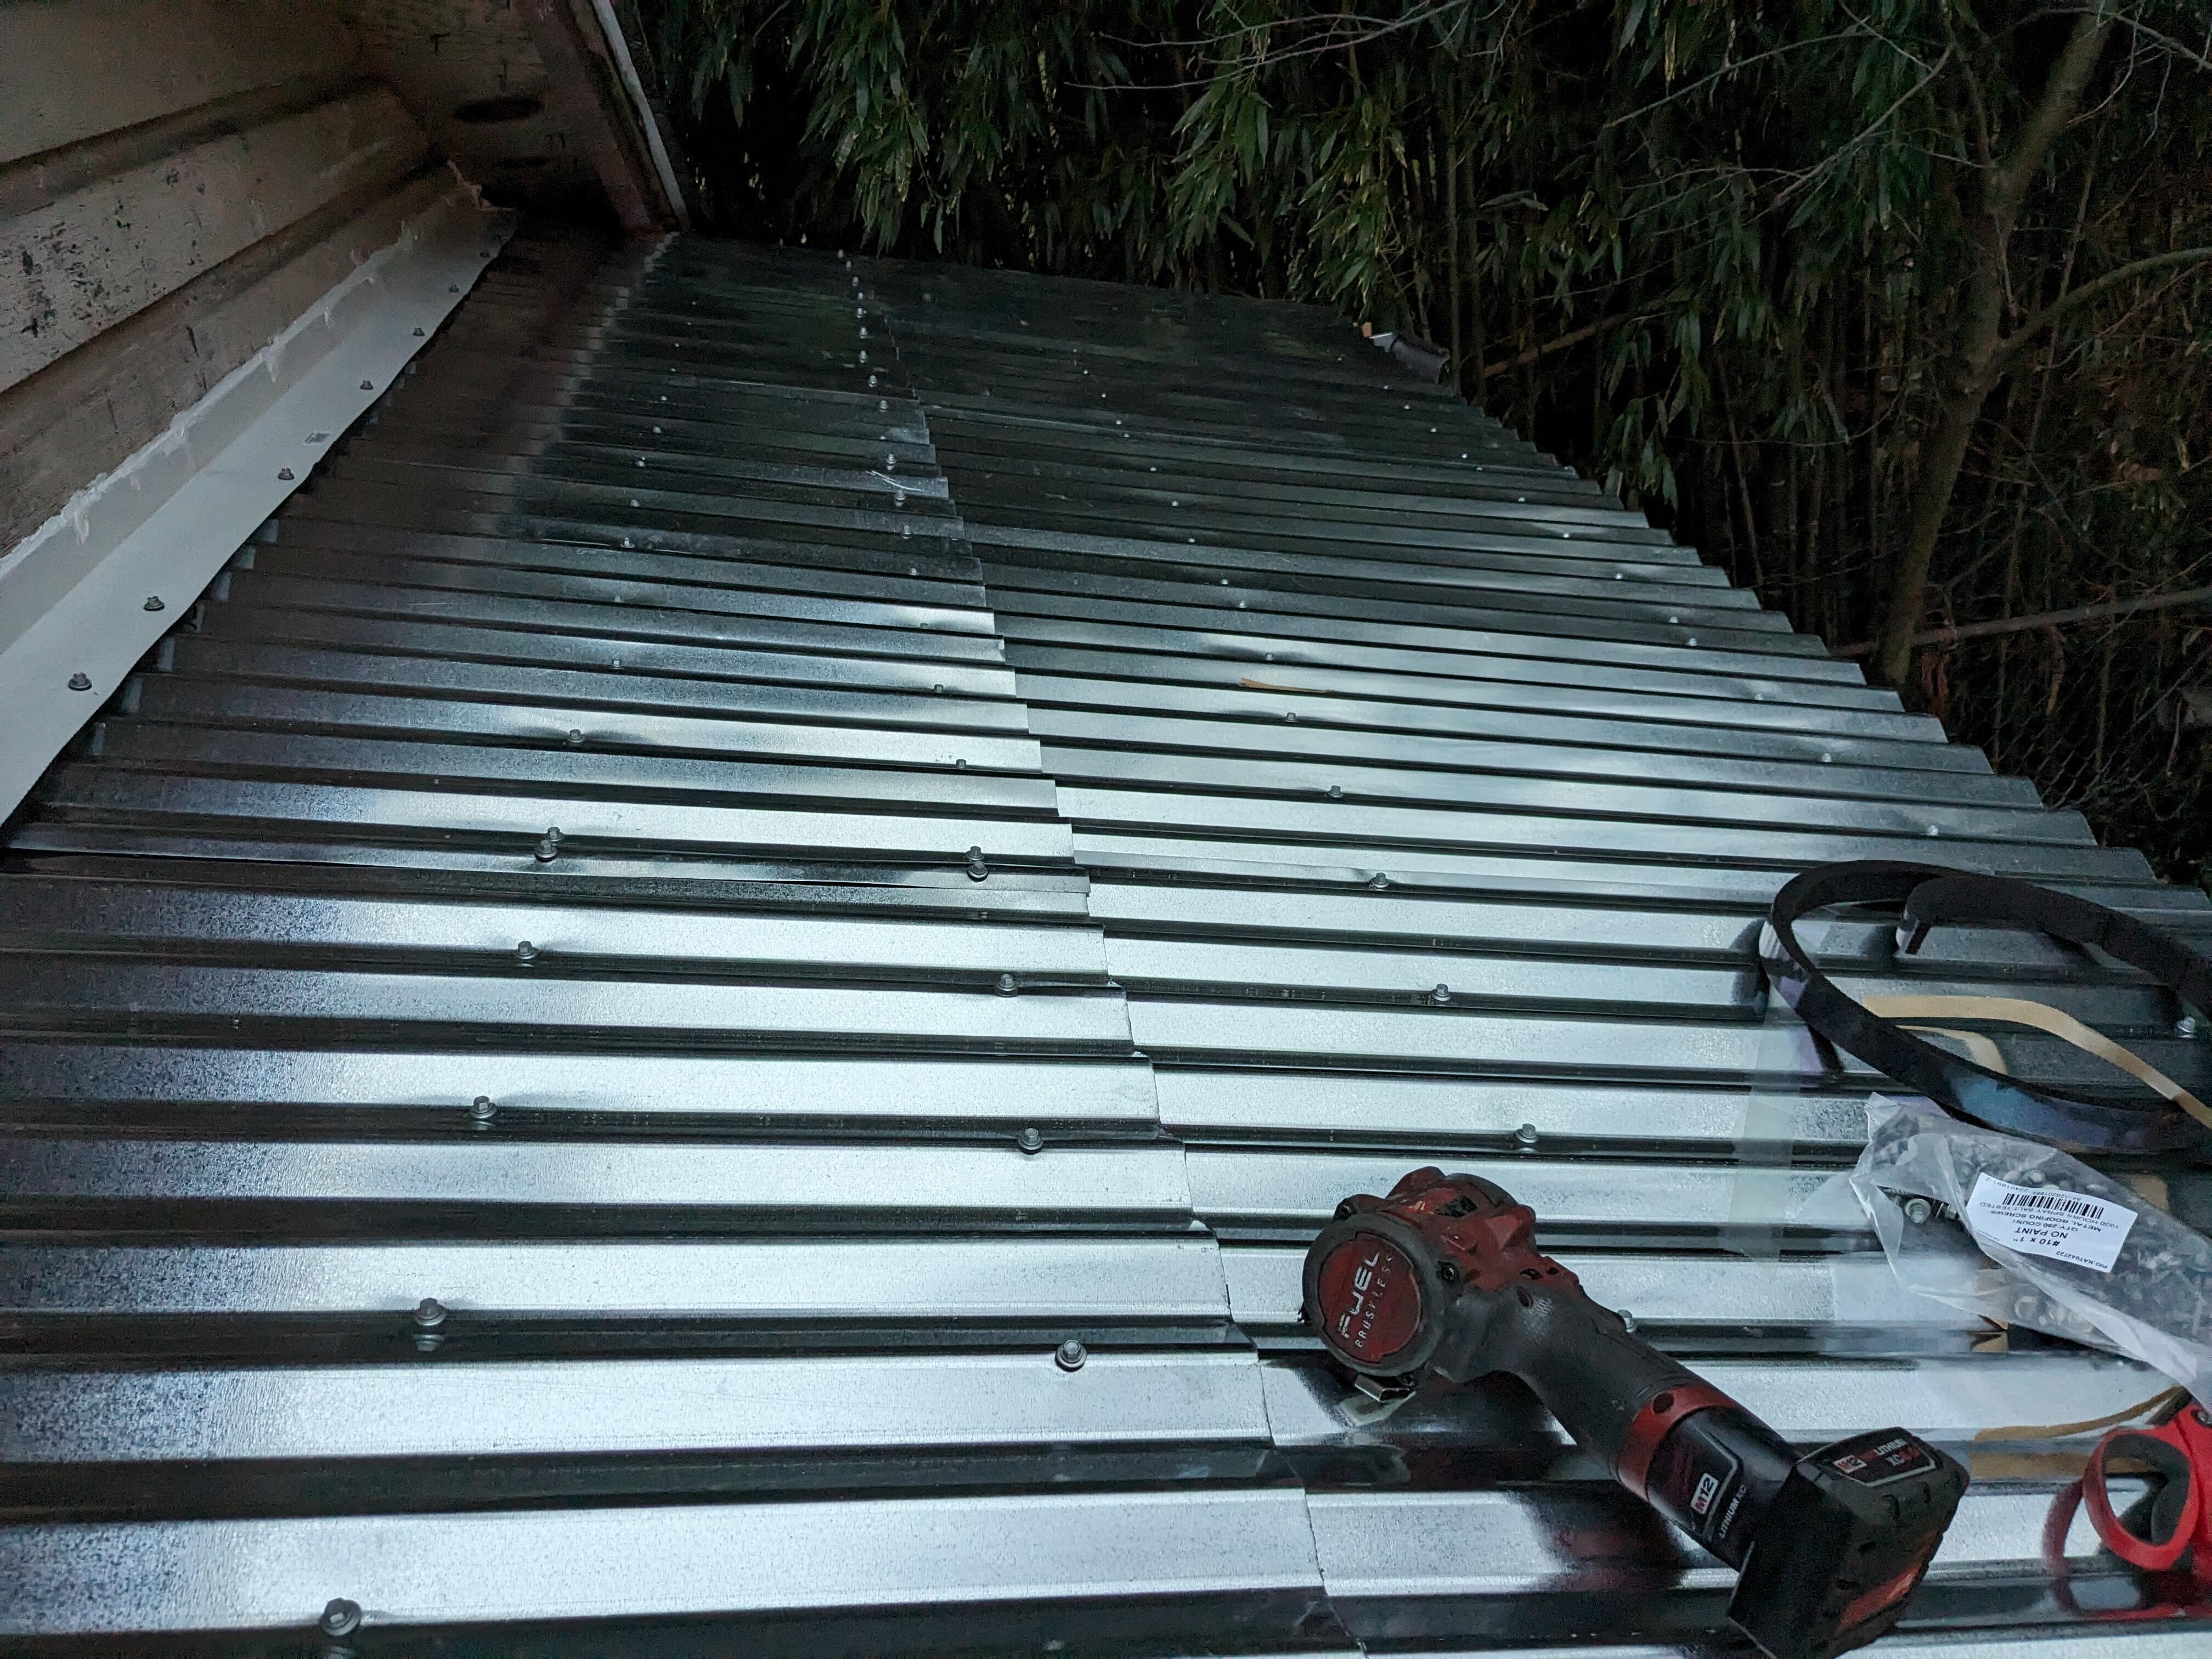
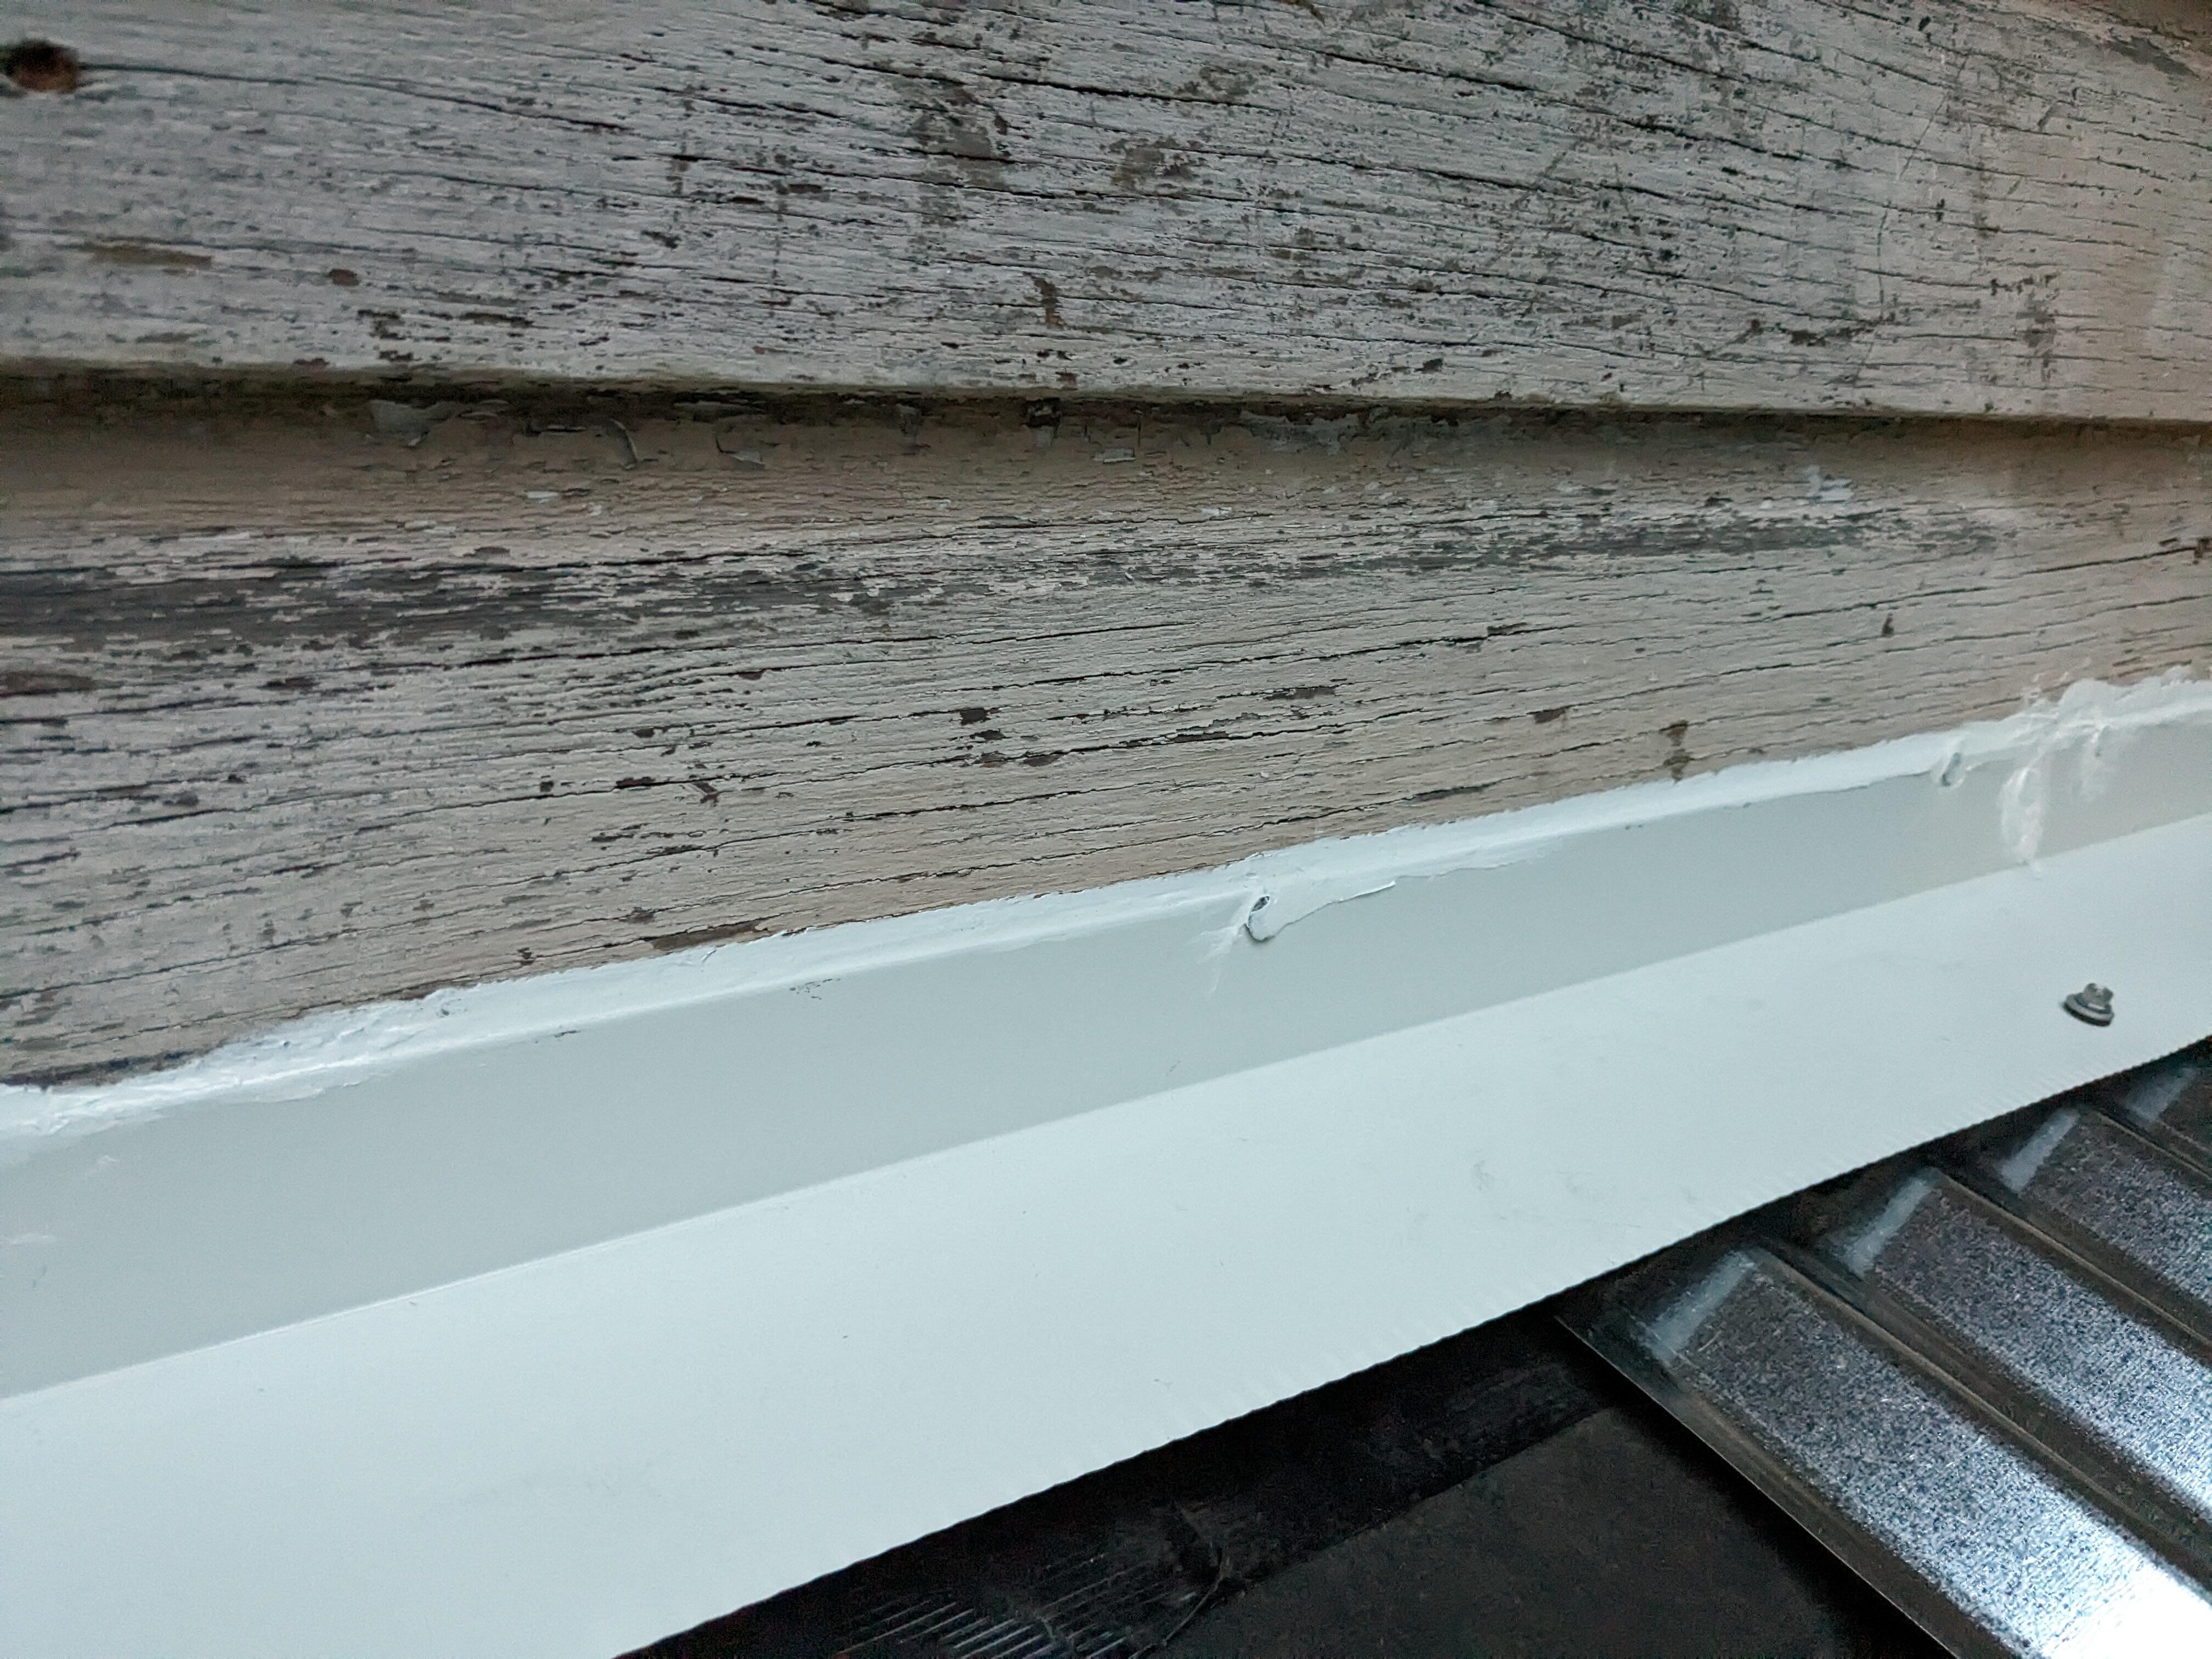
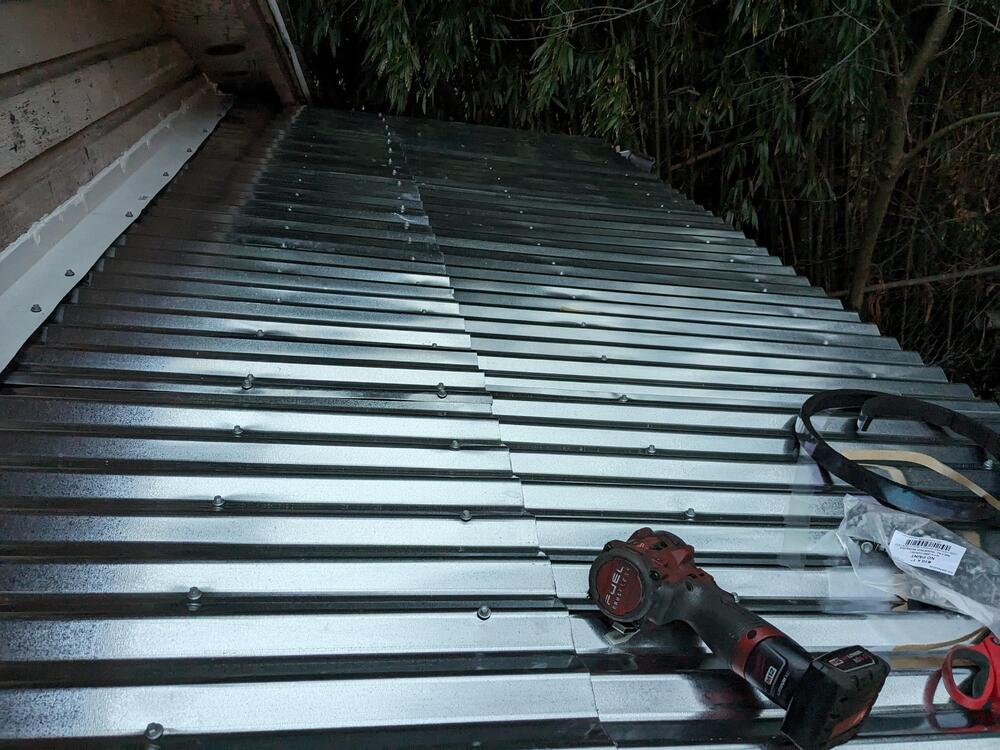
Back on there roofing a bit - set the roofing for a 2" overhang into the gutter Used OSI Quad calk for the flashing started putting the steel roofing on. Foam under the flashing, buytl under the panel overlap. The foam is uneven thickness - I used the EPDM screws to pull it down more evenly. Home Depot had some (2) 4x8' siding sheets cheap (70% off), due to damaged overlap edge - worked for me for the backside of the end panel

-
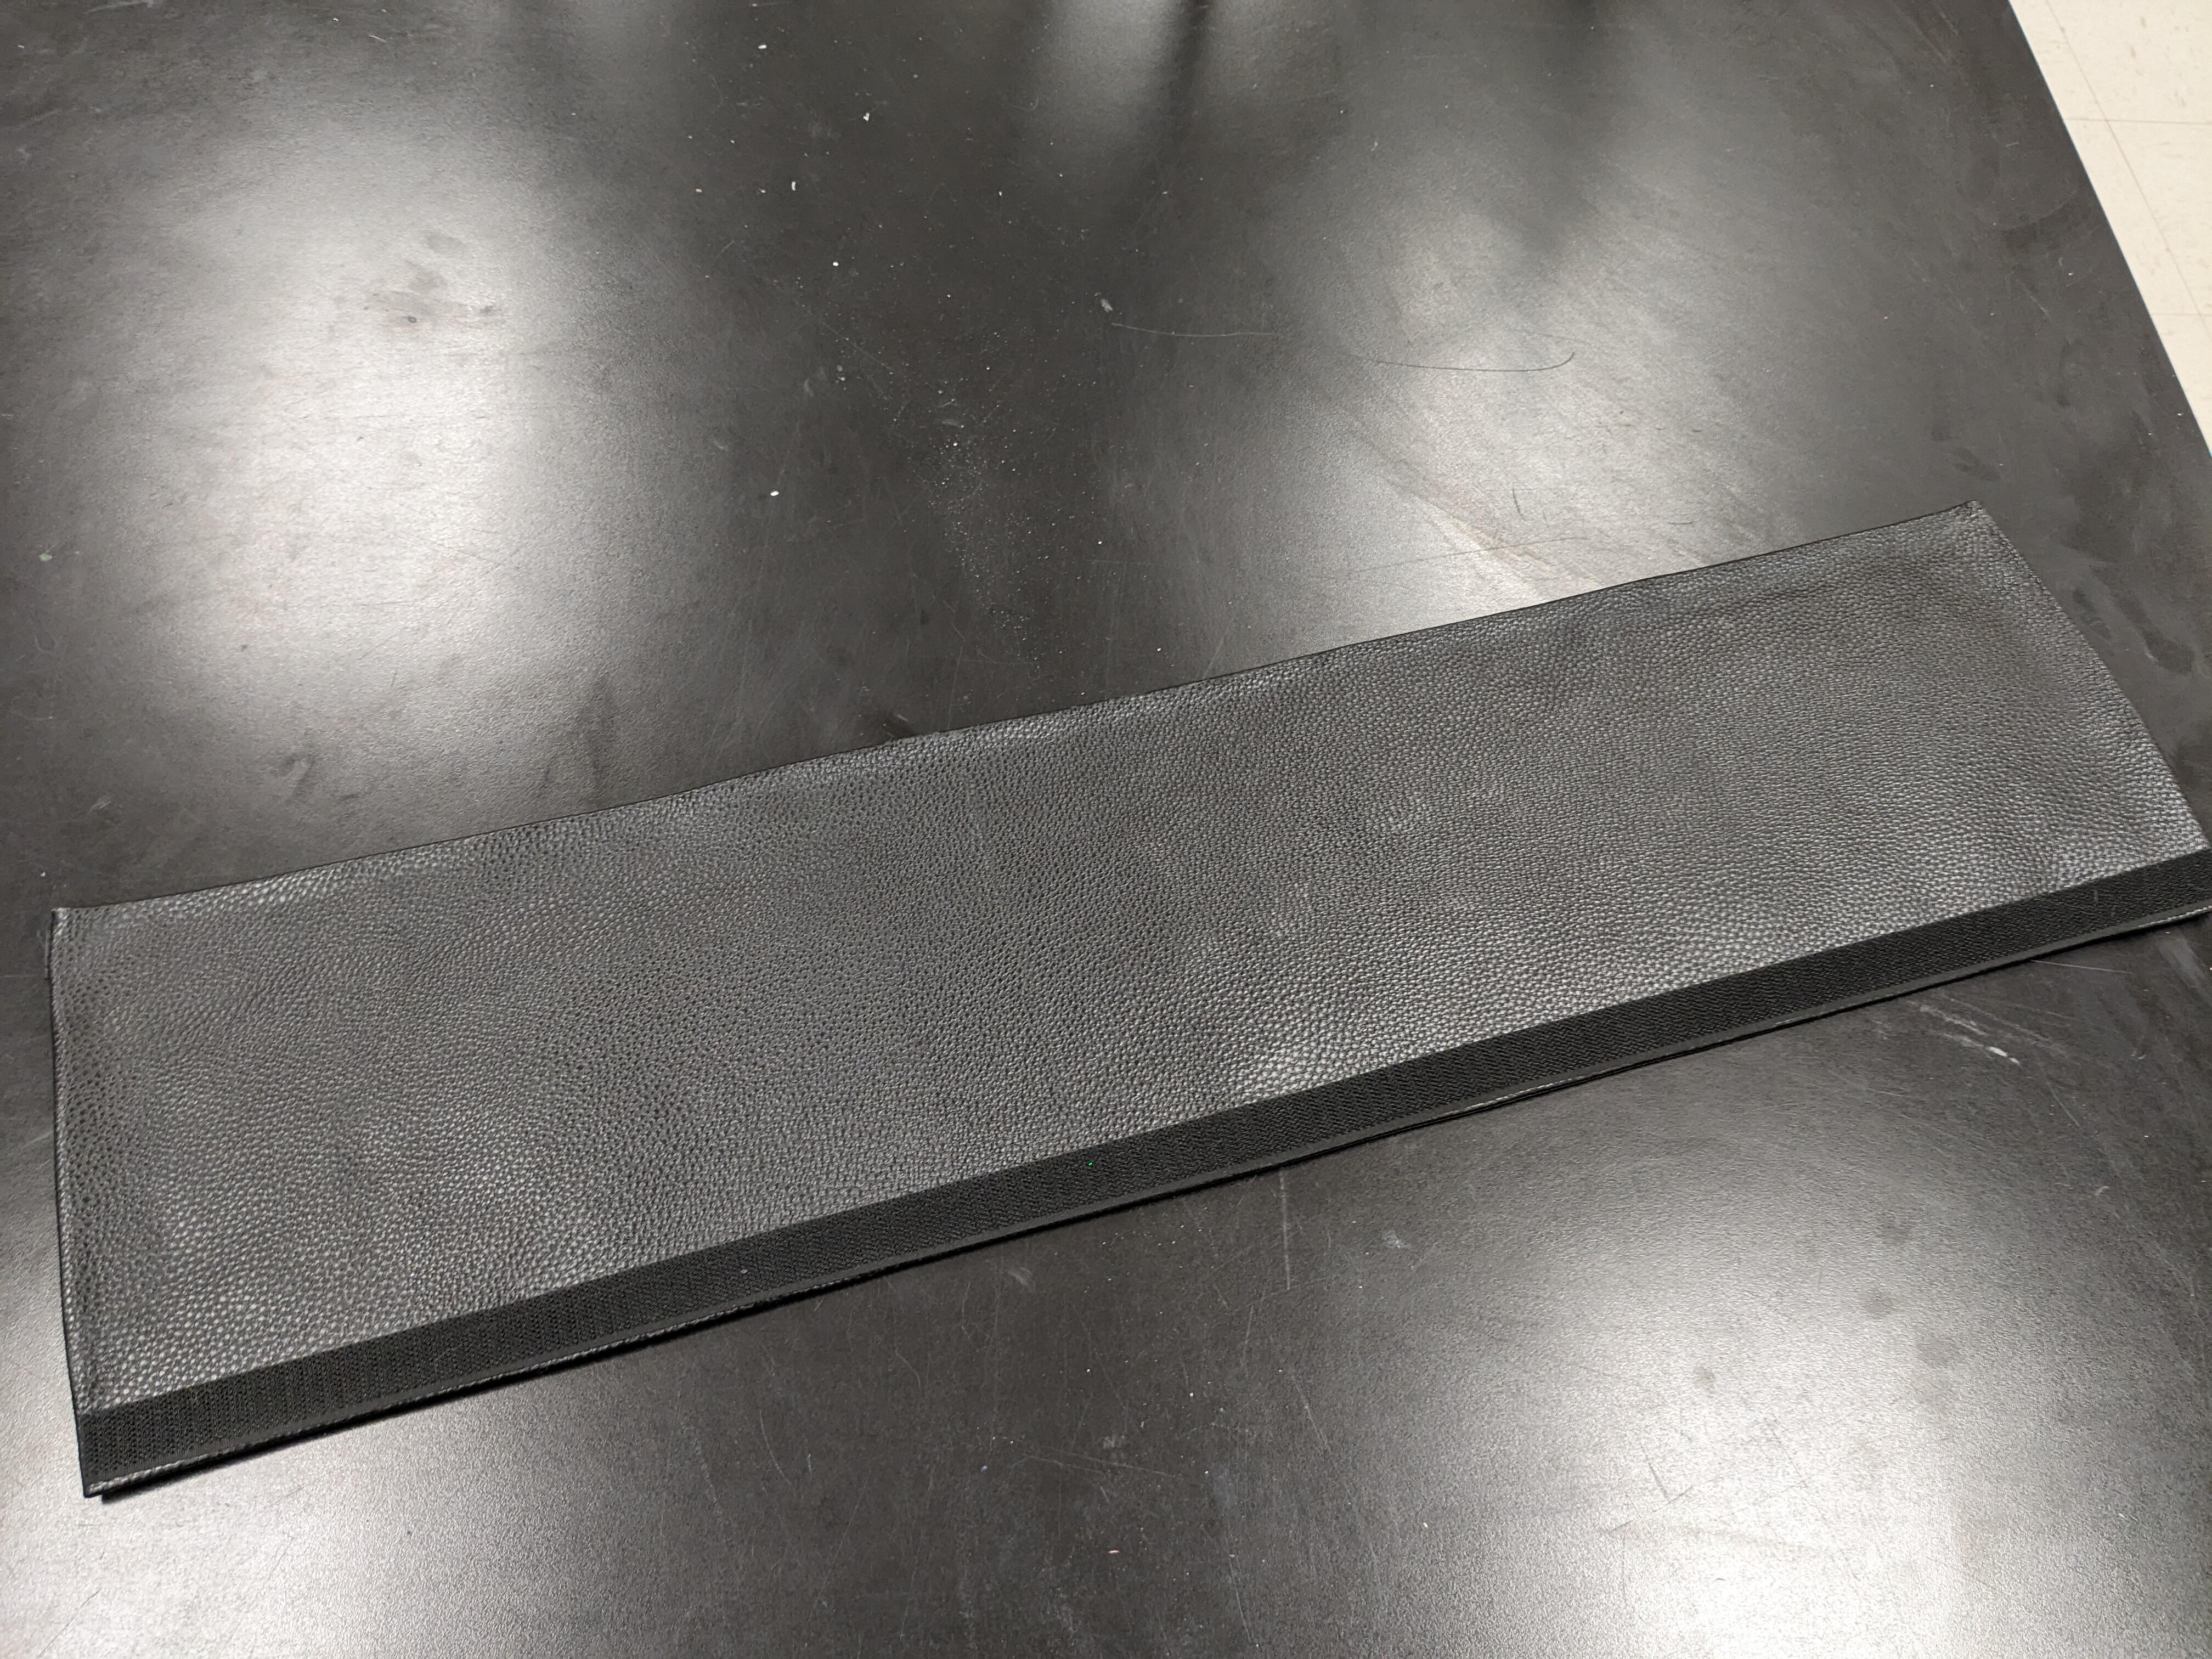
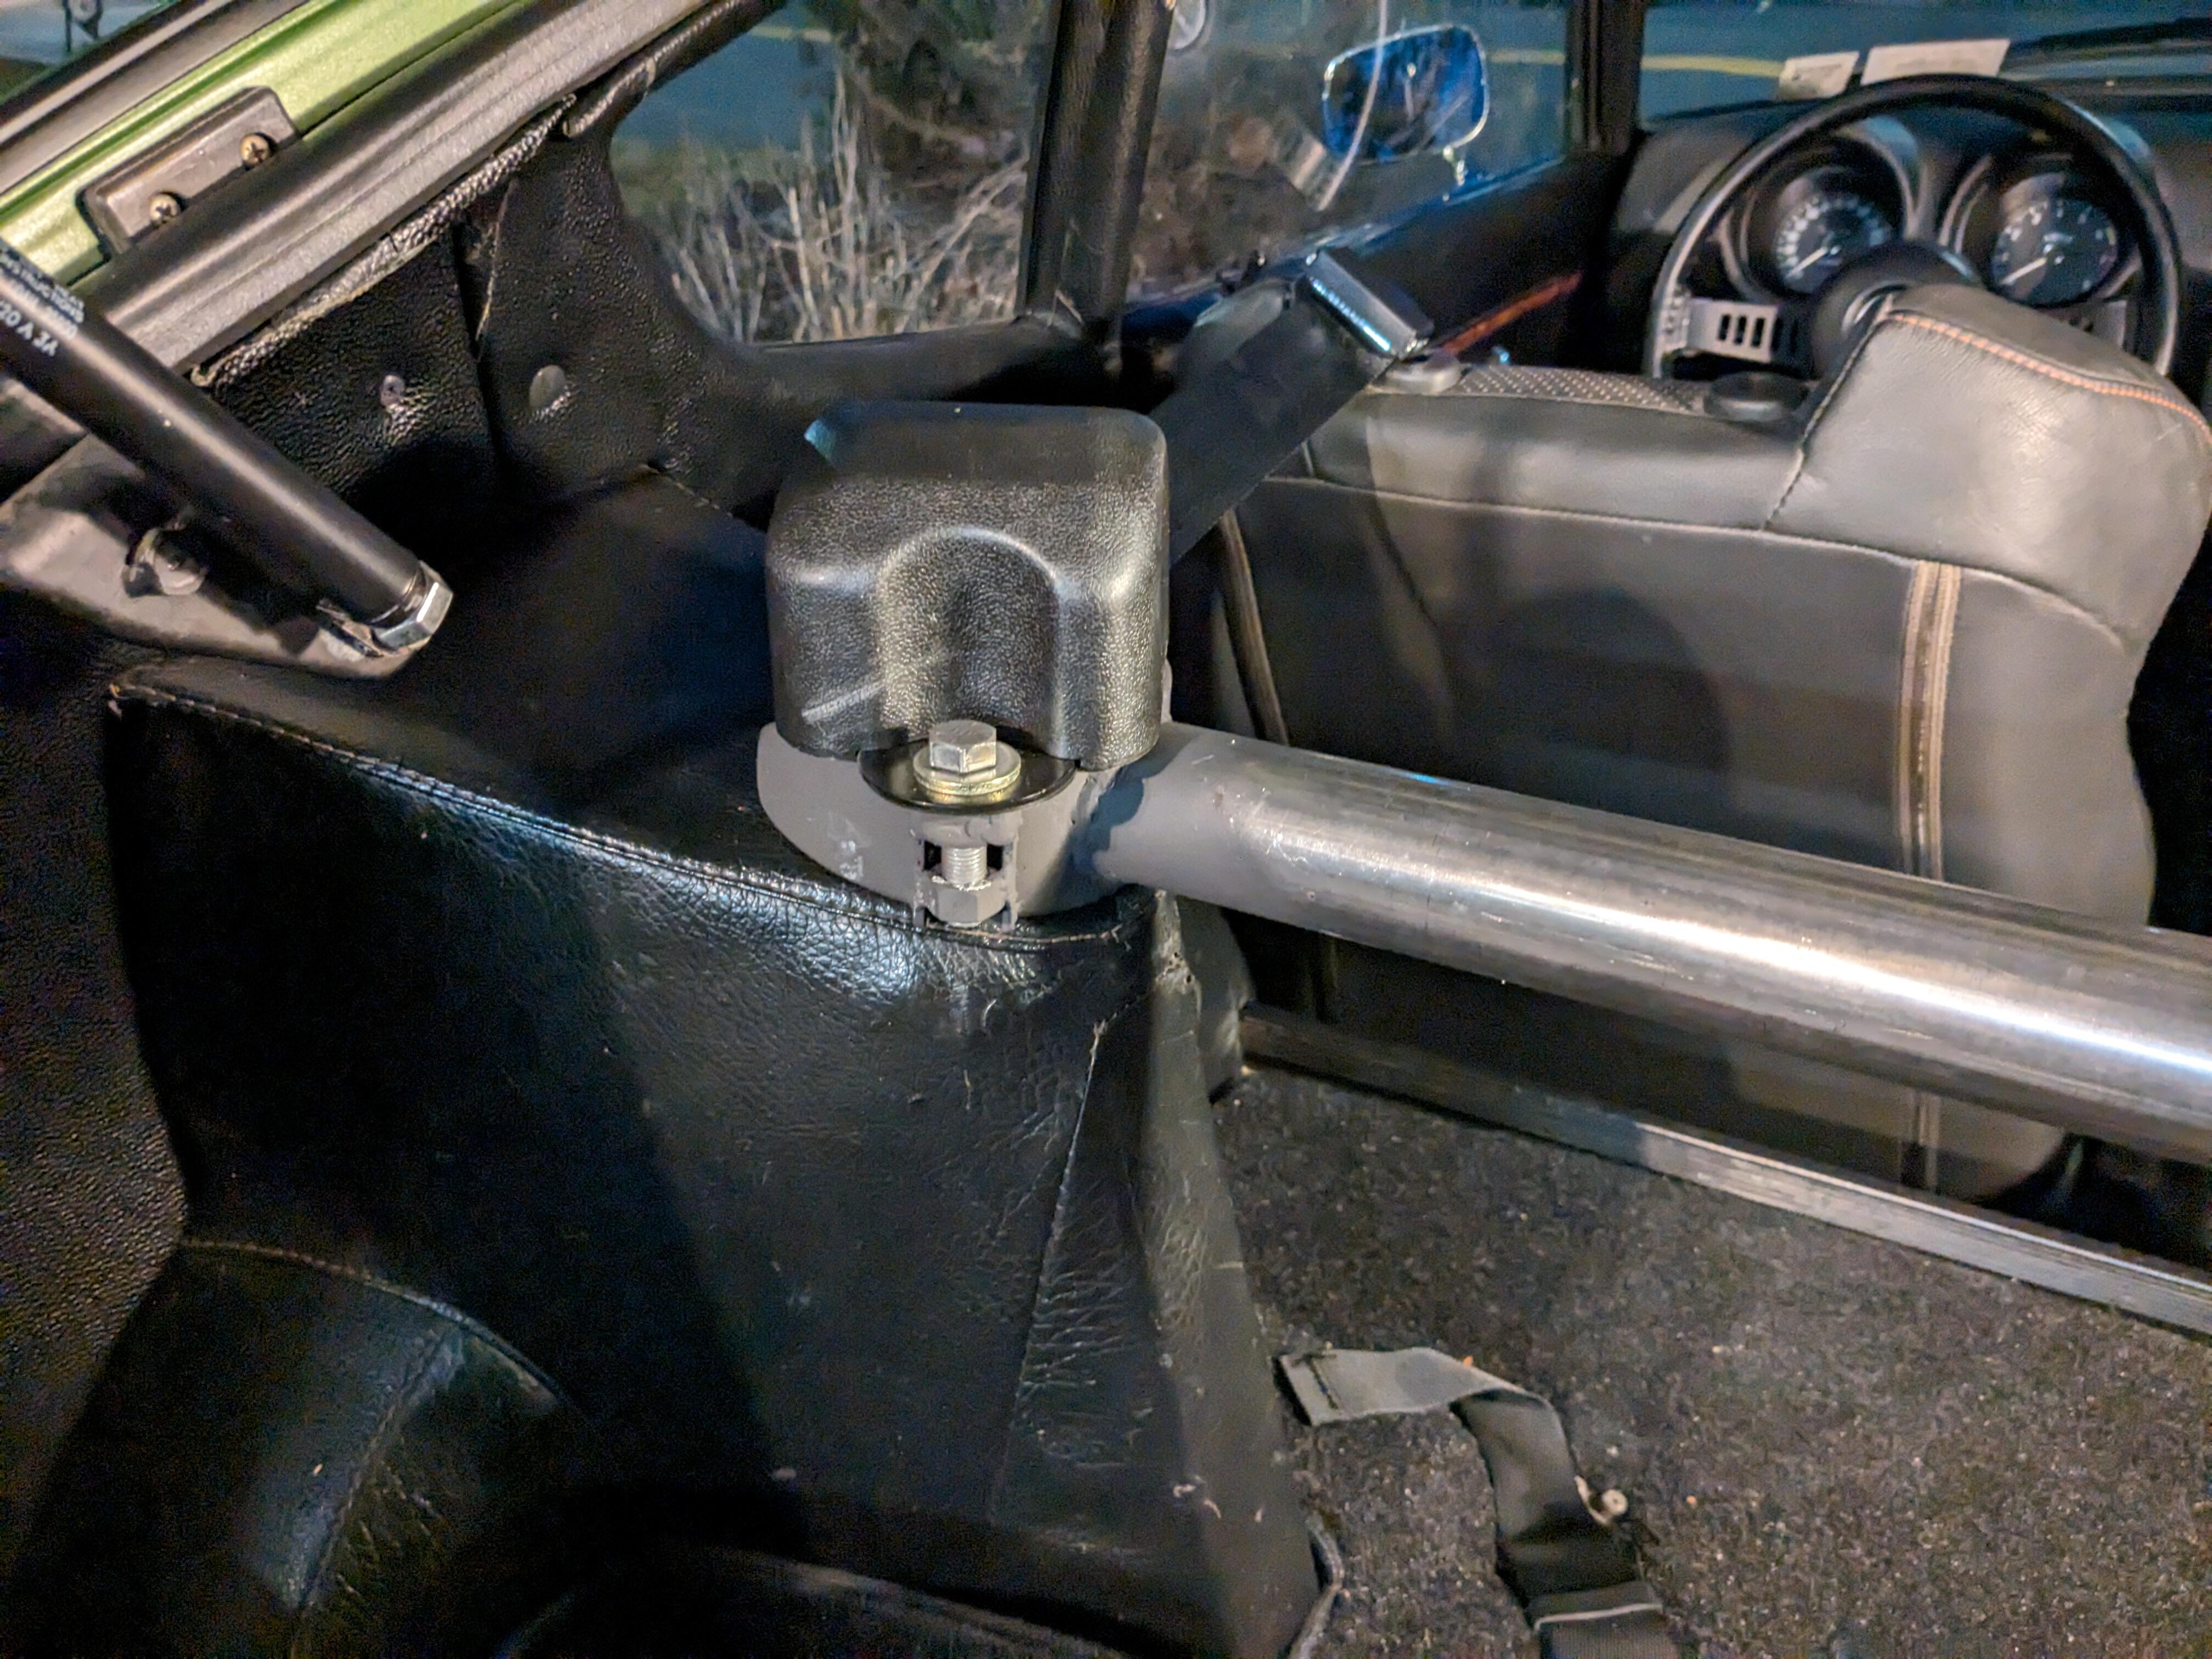
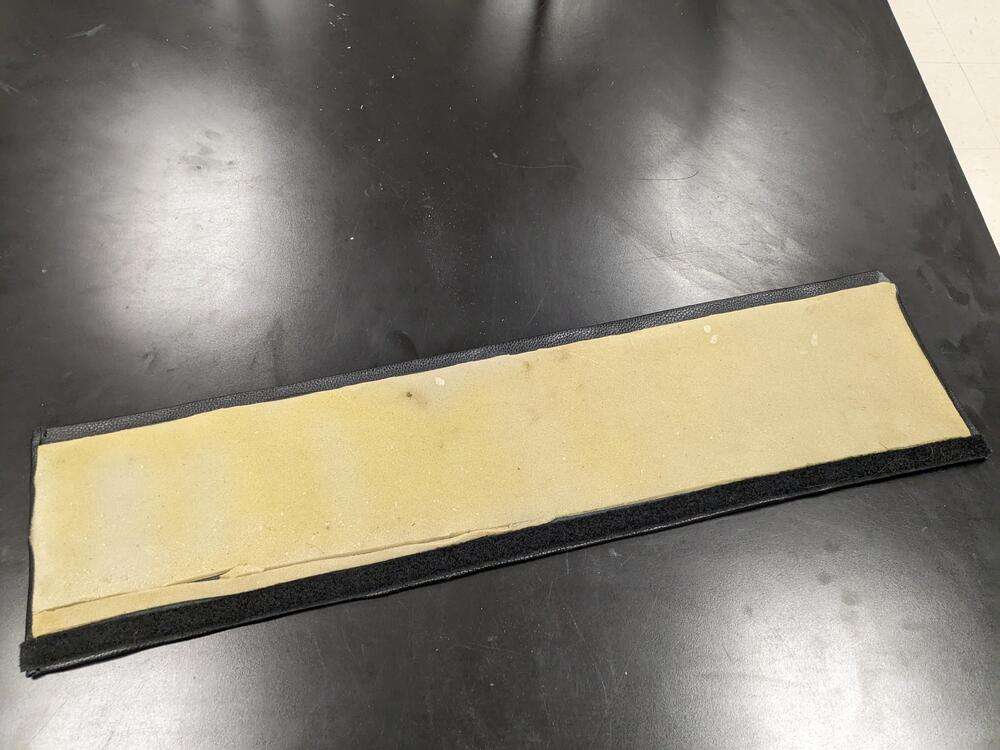
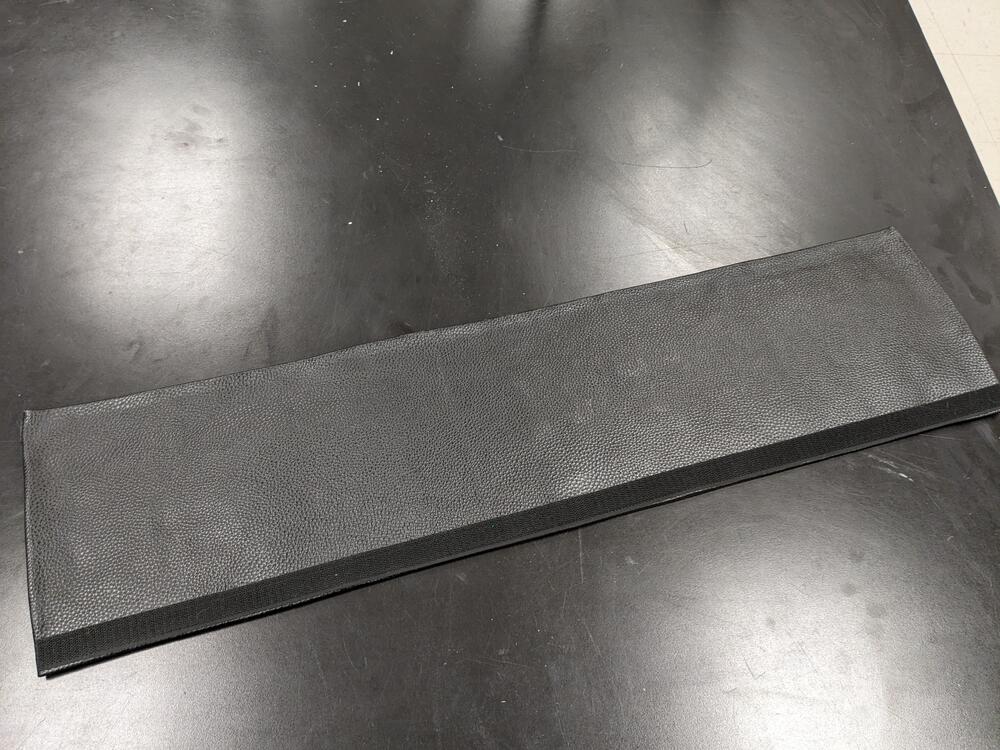
1/4" Skrim coated foam (left over from a Volvo headliner job years ago) faux leather padded sleeve. Velcro fastening
-
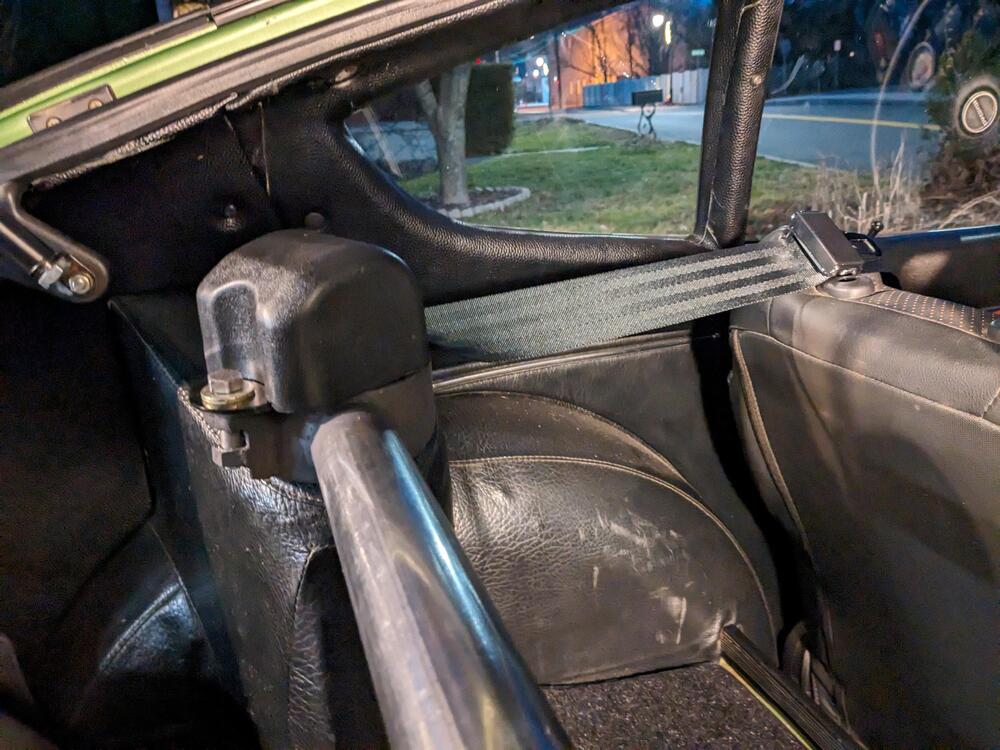
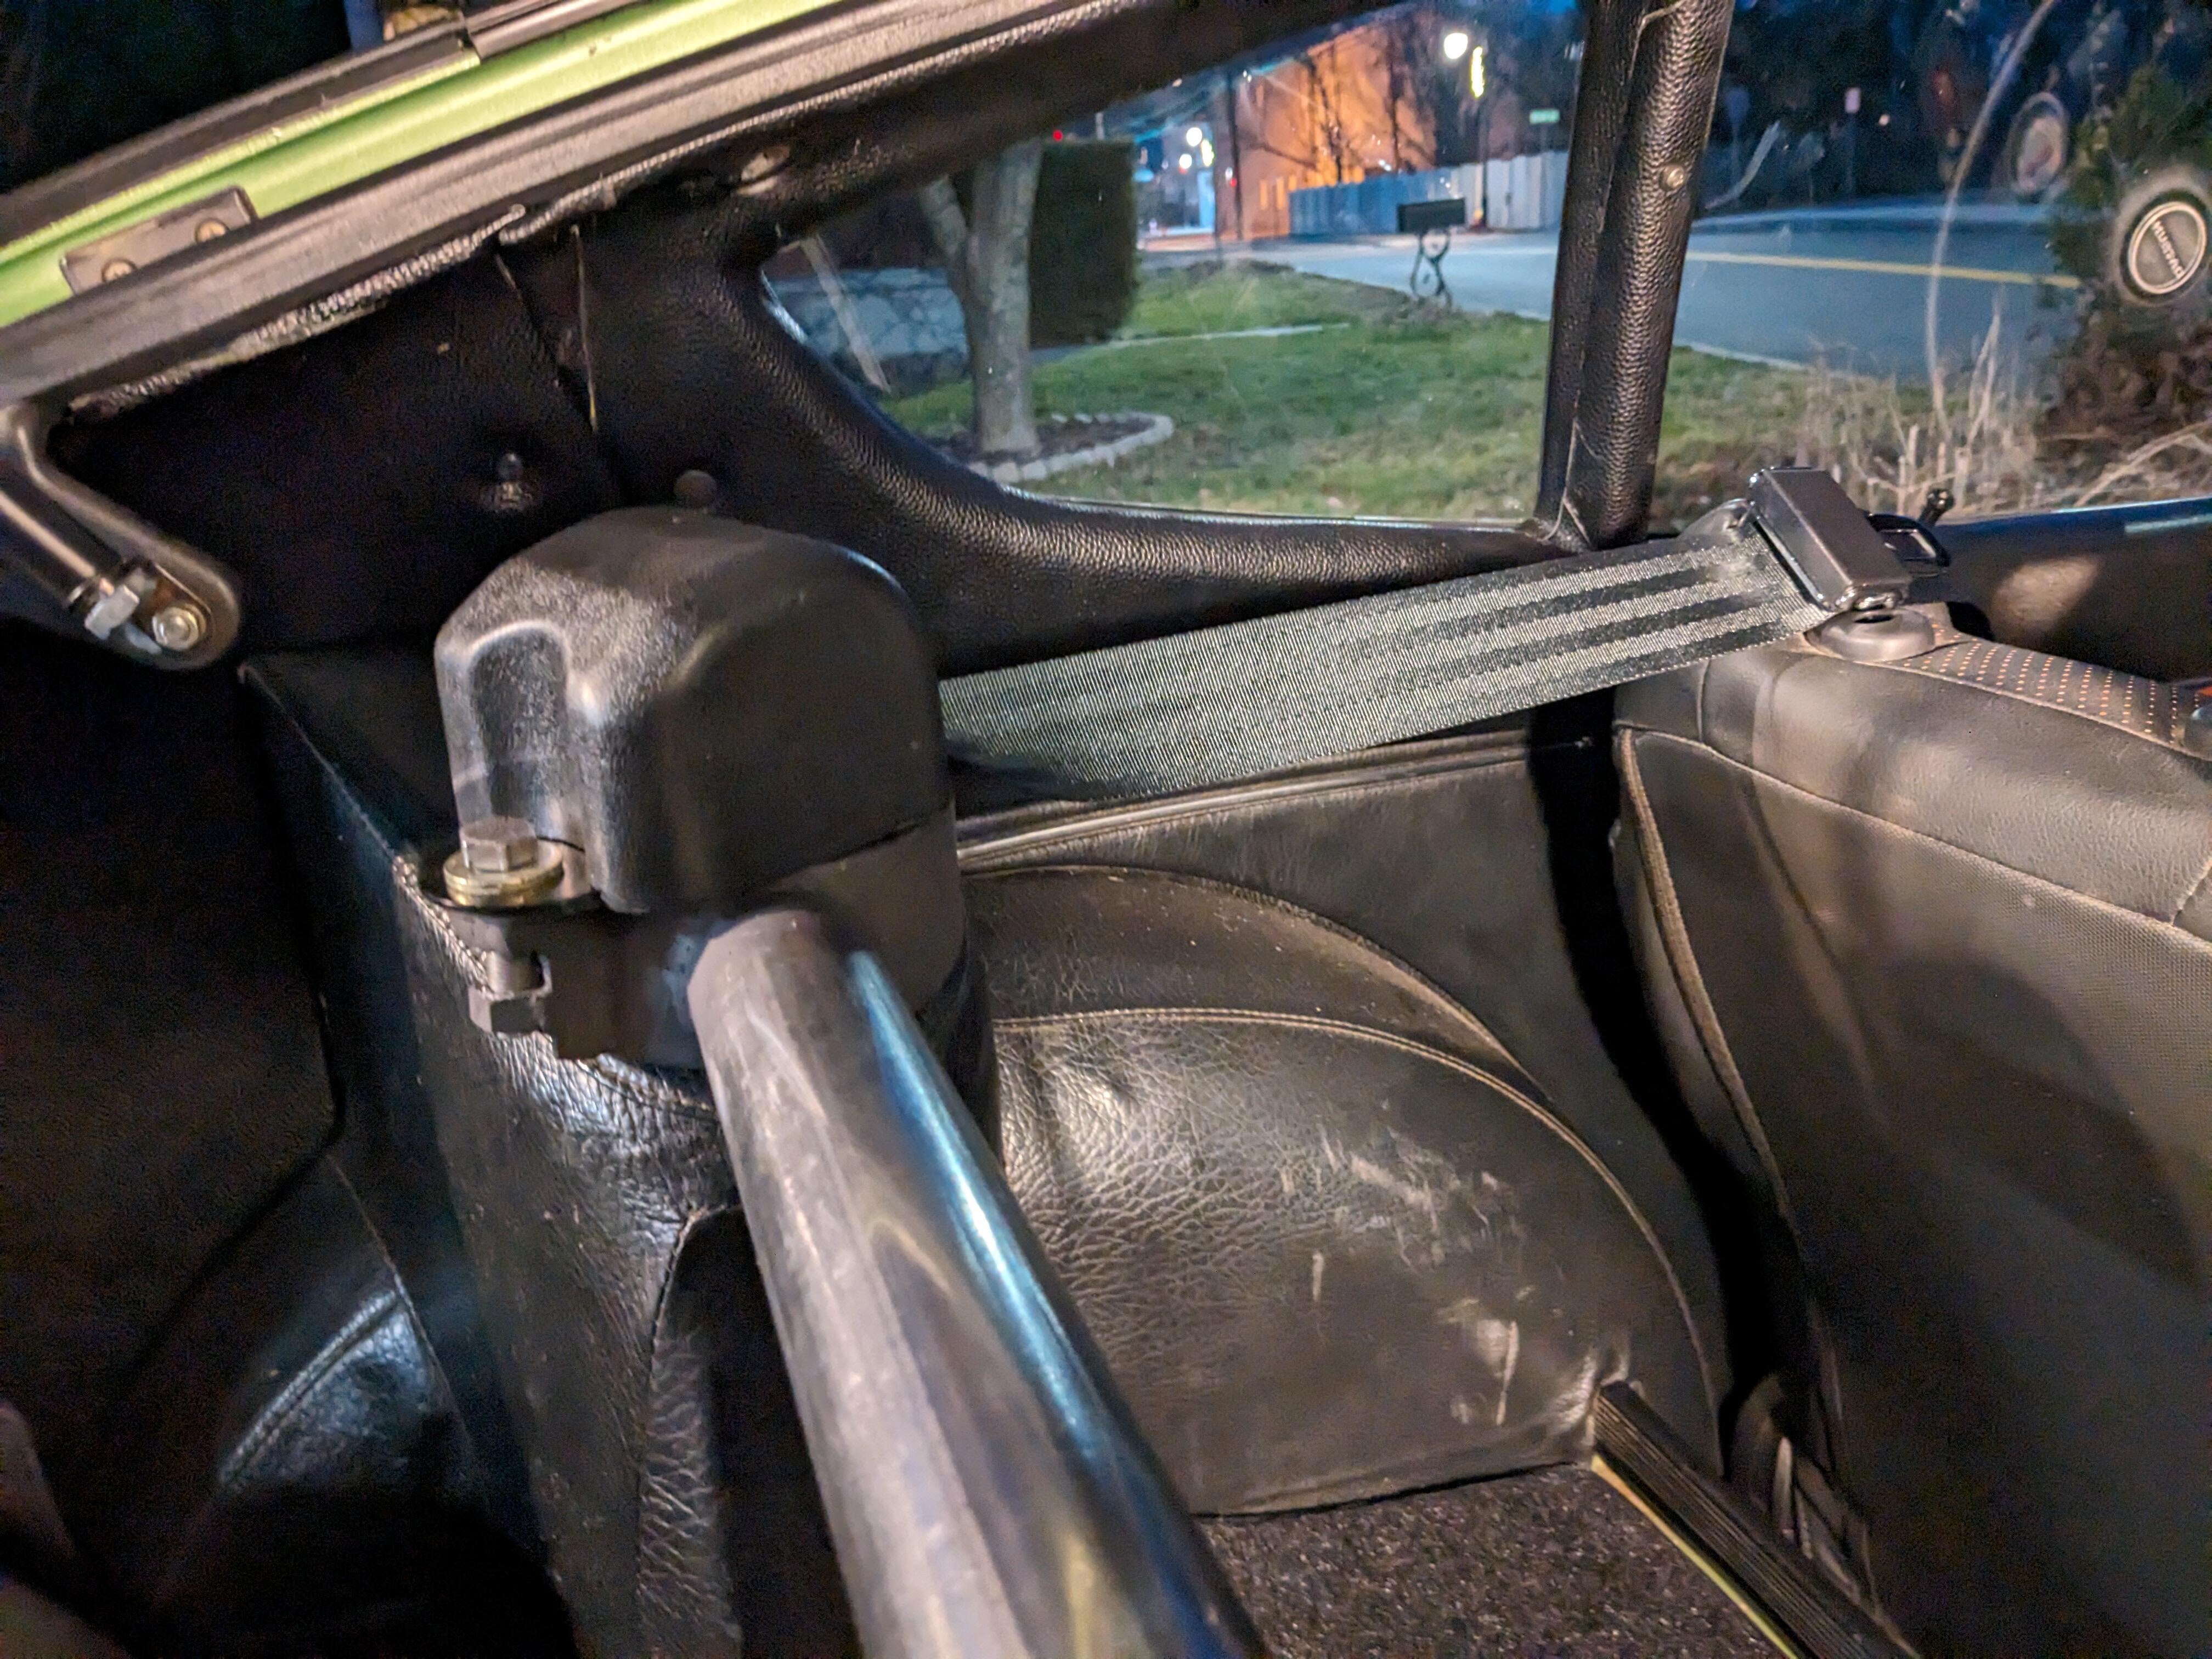
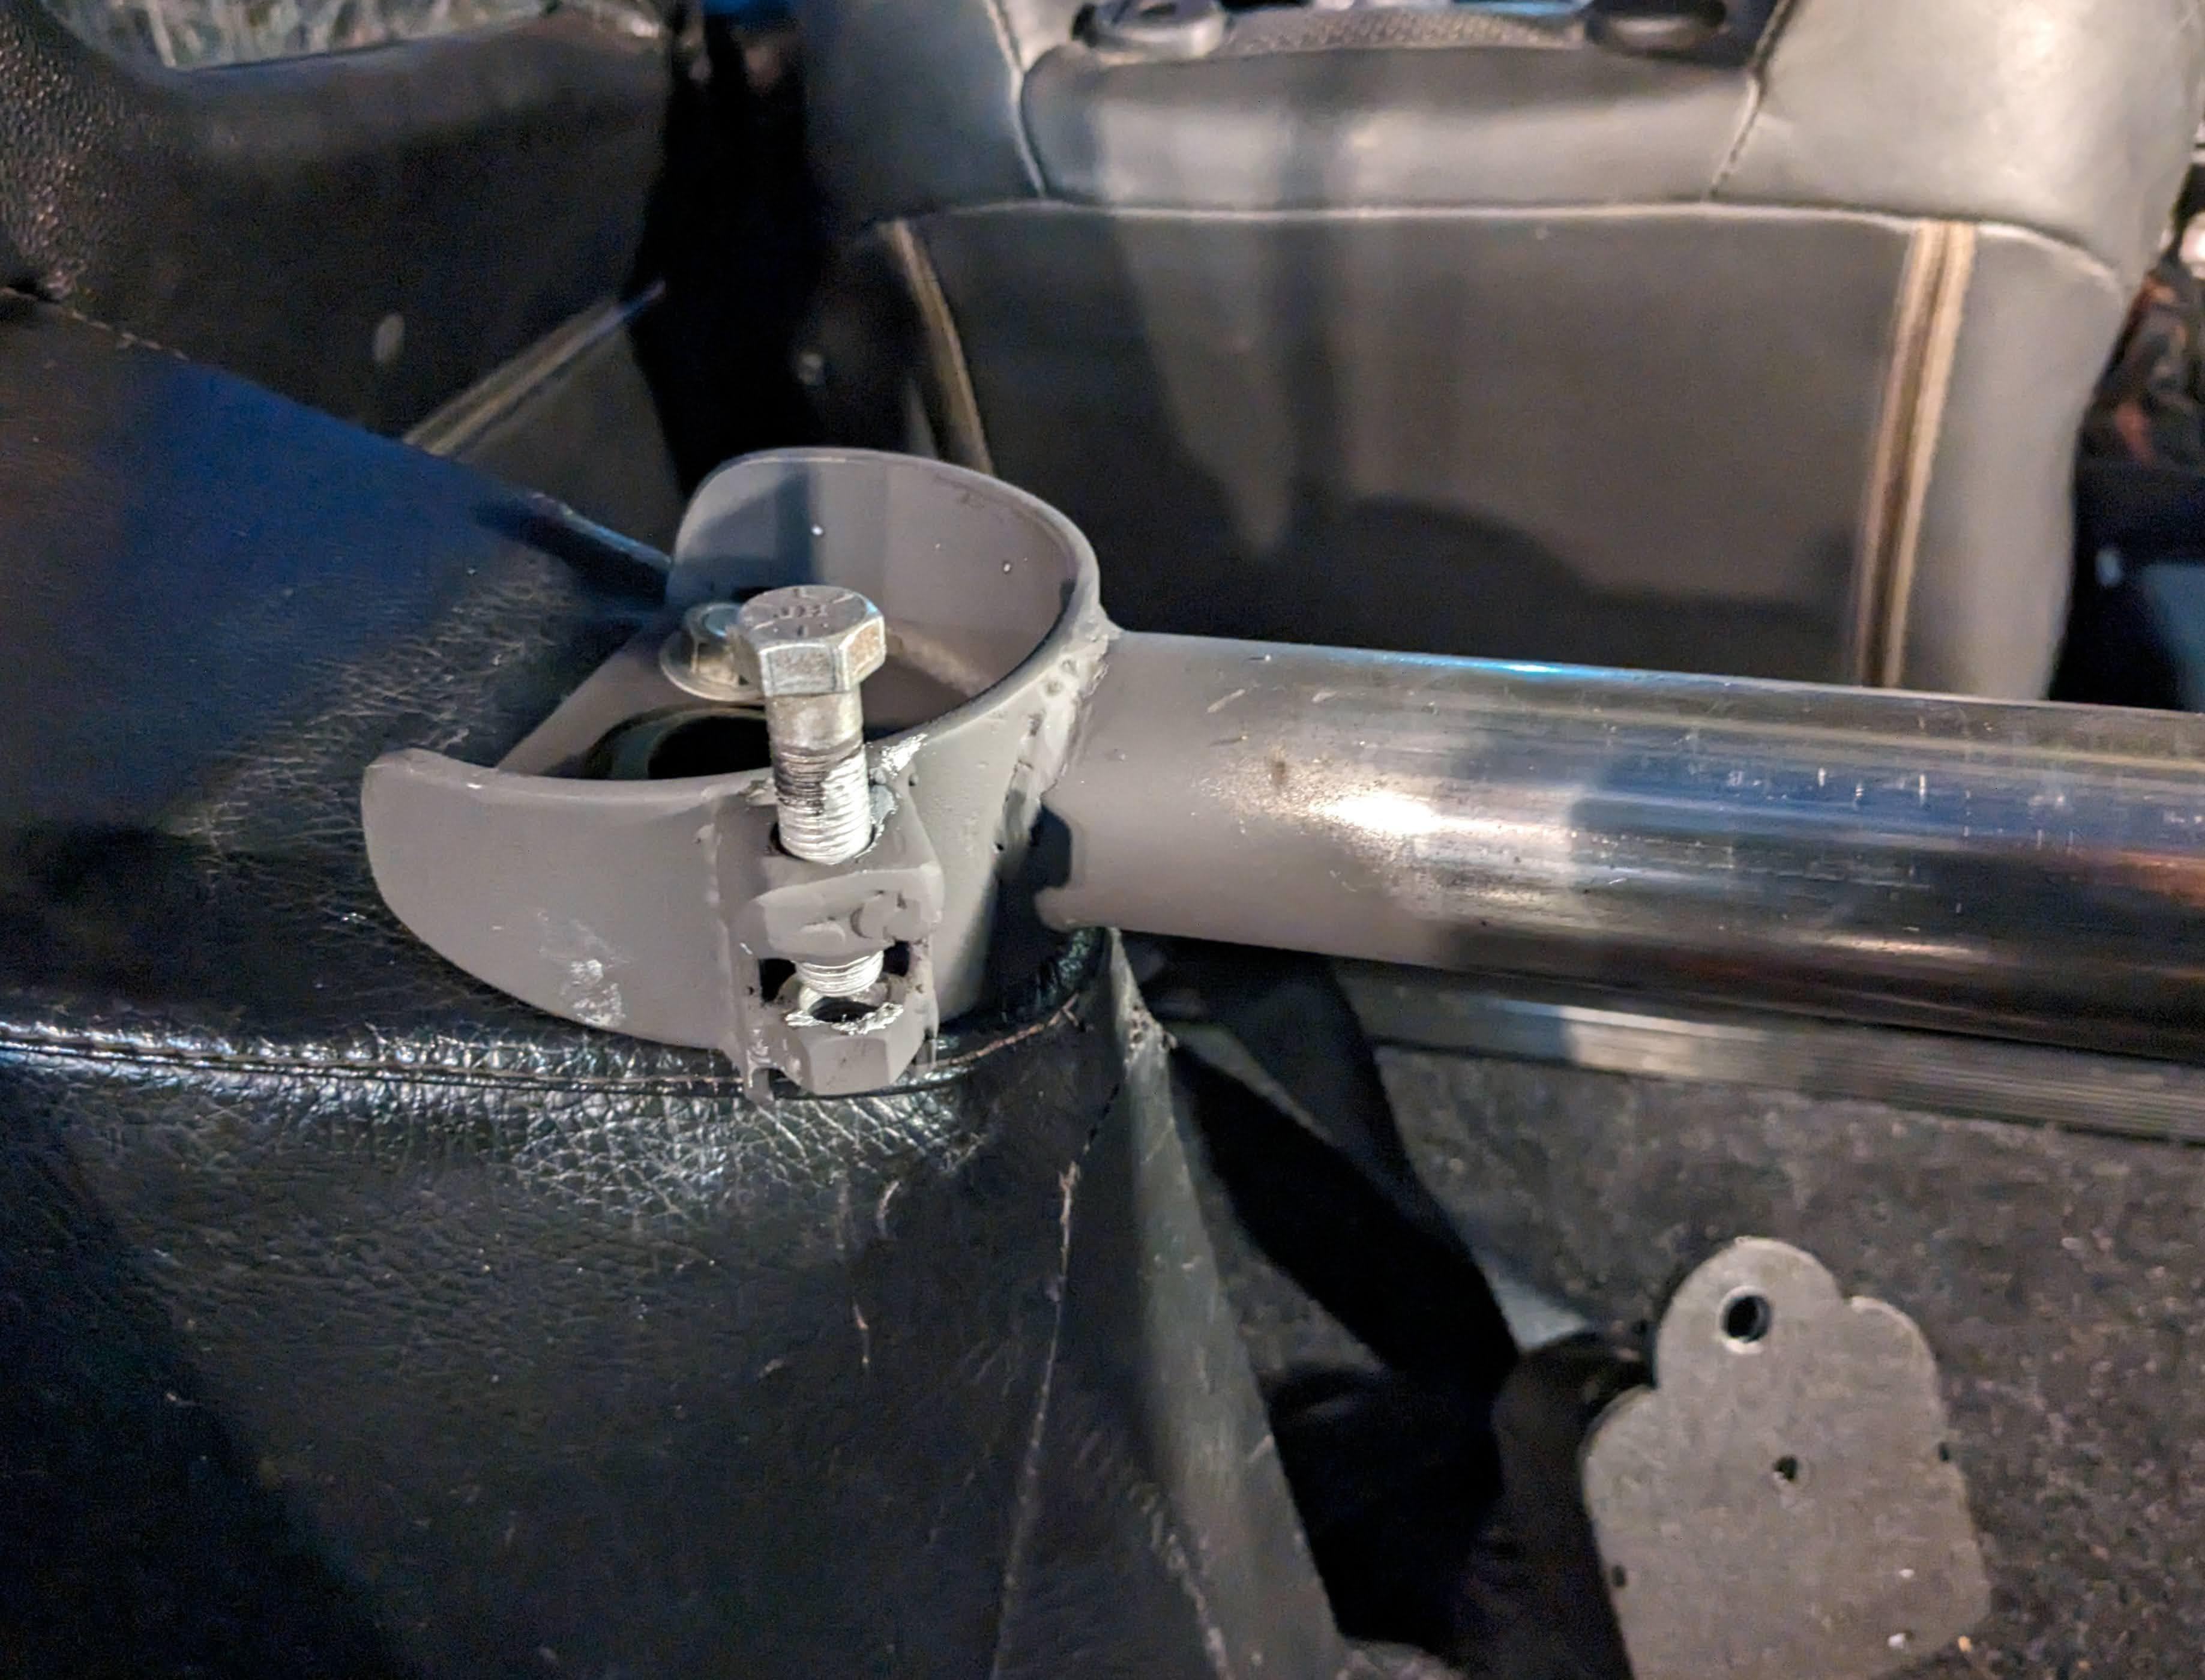
Added the pass side belt reel retainer. I'm going to make a padded cover for the brace

-
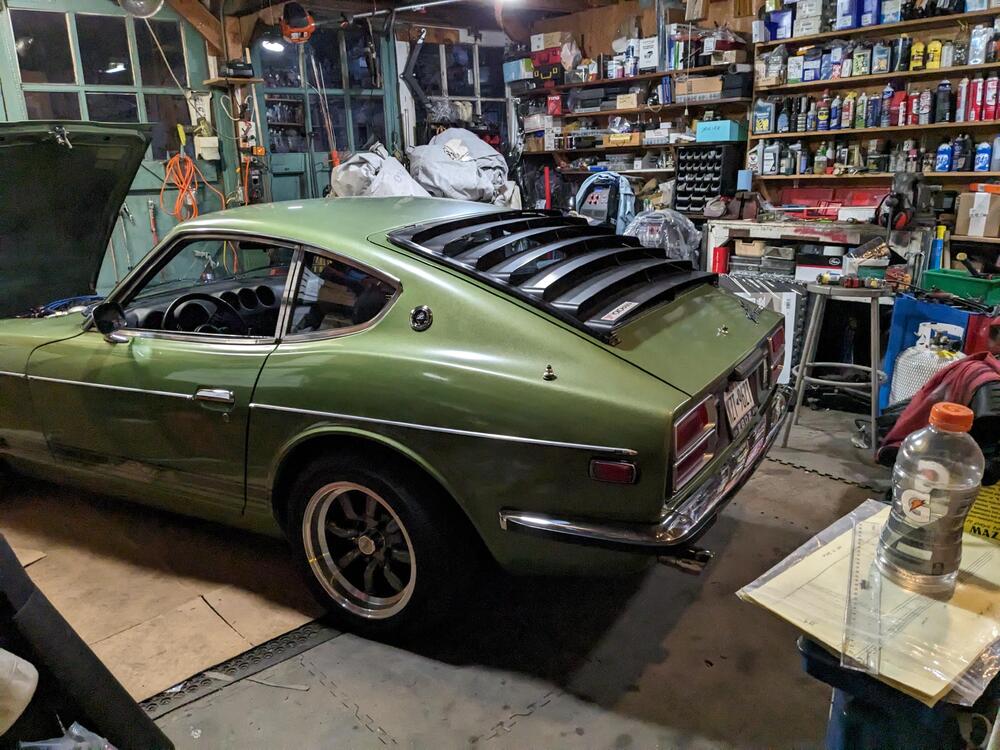
Daytime pic with headrest. New leather for the seats has the same green stitching. I also went with a dark grey inset for the perforated panels. Not sure it's dark enough though. Seems more like a medium grey to me. Pics later

-
added the support bracket with two nuts to the driver's side of the strut brace. Have to do the pass side tomorrow, ran out of daylight