HusseinHolland
Community Member
-
Joined
-
Last visited
Everything posted by HusseinHolland
-
NATS delete for the stock 350Z ECM
-
Also forgot to add this here - last Nov. ZedHead pointed me to a TechnoToy kit for fitting the short nose R200 into the 280Z, so I could use the 350Z short nose I have (w/LSD), assuming I can figure the axle adaptation. Another design linked by CalZ on HybridZ
-
I found another wiring issue - I noticed that the driver's seat wasn't working one day, so I swapped out the fuse - that lasted for several days, seat was working fine, then I came back to it about a week later & it was blown again. I swapped out the fuse, and operated the seat reaching over from the passenger side, worked just fine every time. A side issue of my own creation here is that I wired the switched feed to the power seats from the same fuse that governs the Volvo constant idle system - so on at least one occasion that fuse blew instead of the seat fuse, which meant no idle control & stalling condition on decel. Of course THAT happened when the wife was in the car, so now she feels even less safe driving around in the car. I have to rewire the feed so it has no impact on any other circuits. Drove the car again & the fuse blew. So, my weight on the seat was a contributing factor - I thought I had been careful to route the wiring where there would be no contact. I found this (pic below) when I pulled the seat switch. I had already purchased a new one, since I had no idea what spect of the switch was shorting the fuse, so now I have a spare (sleeved the exposed wire). EDIT- Looking through my seat install pics - I'd say the upturned channel lip is the problem.
-
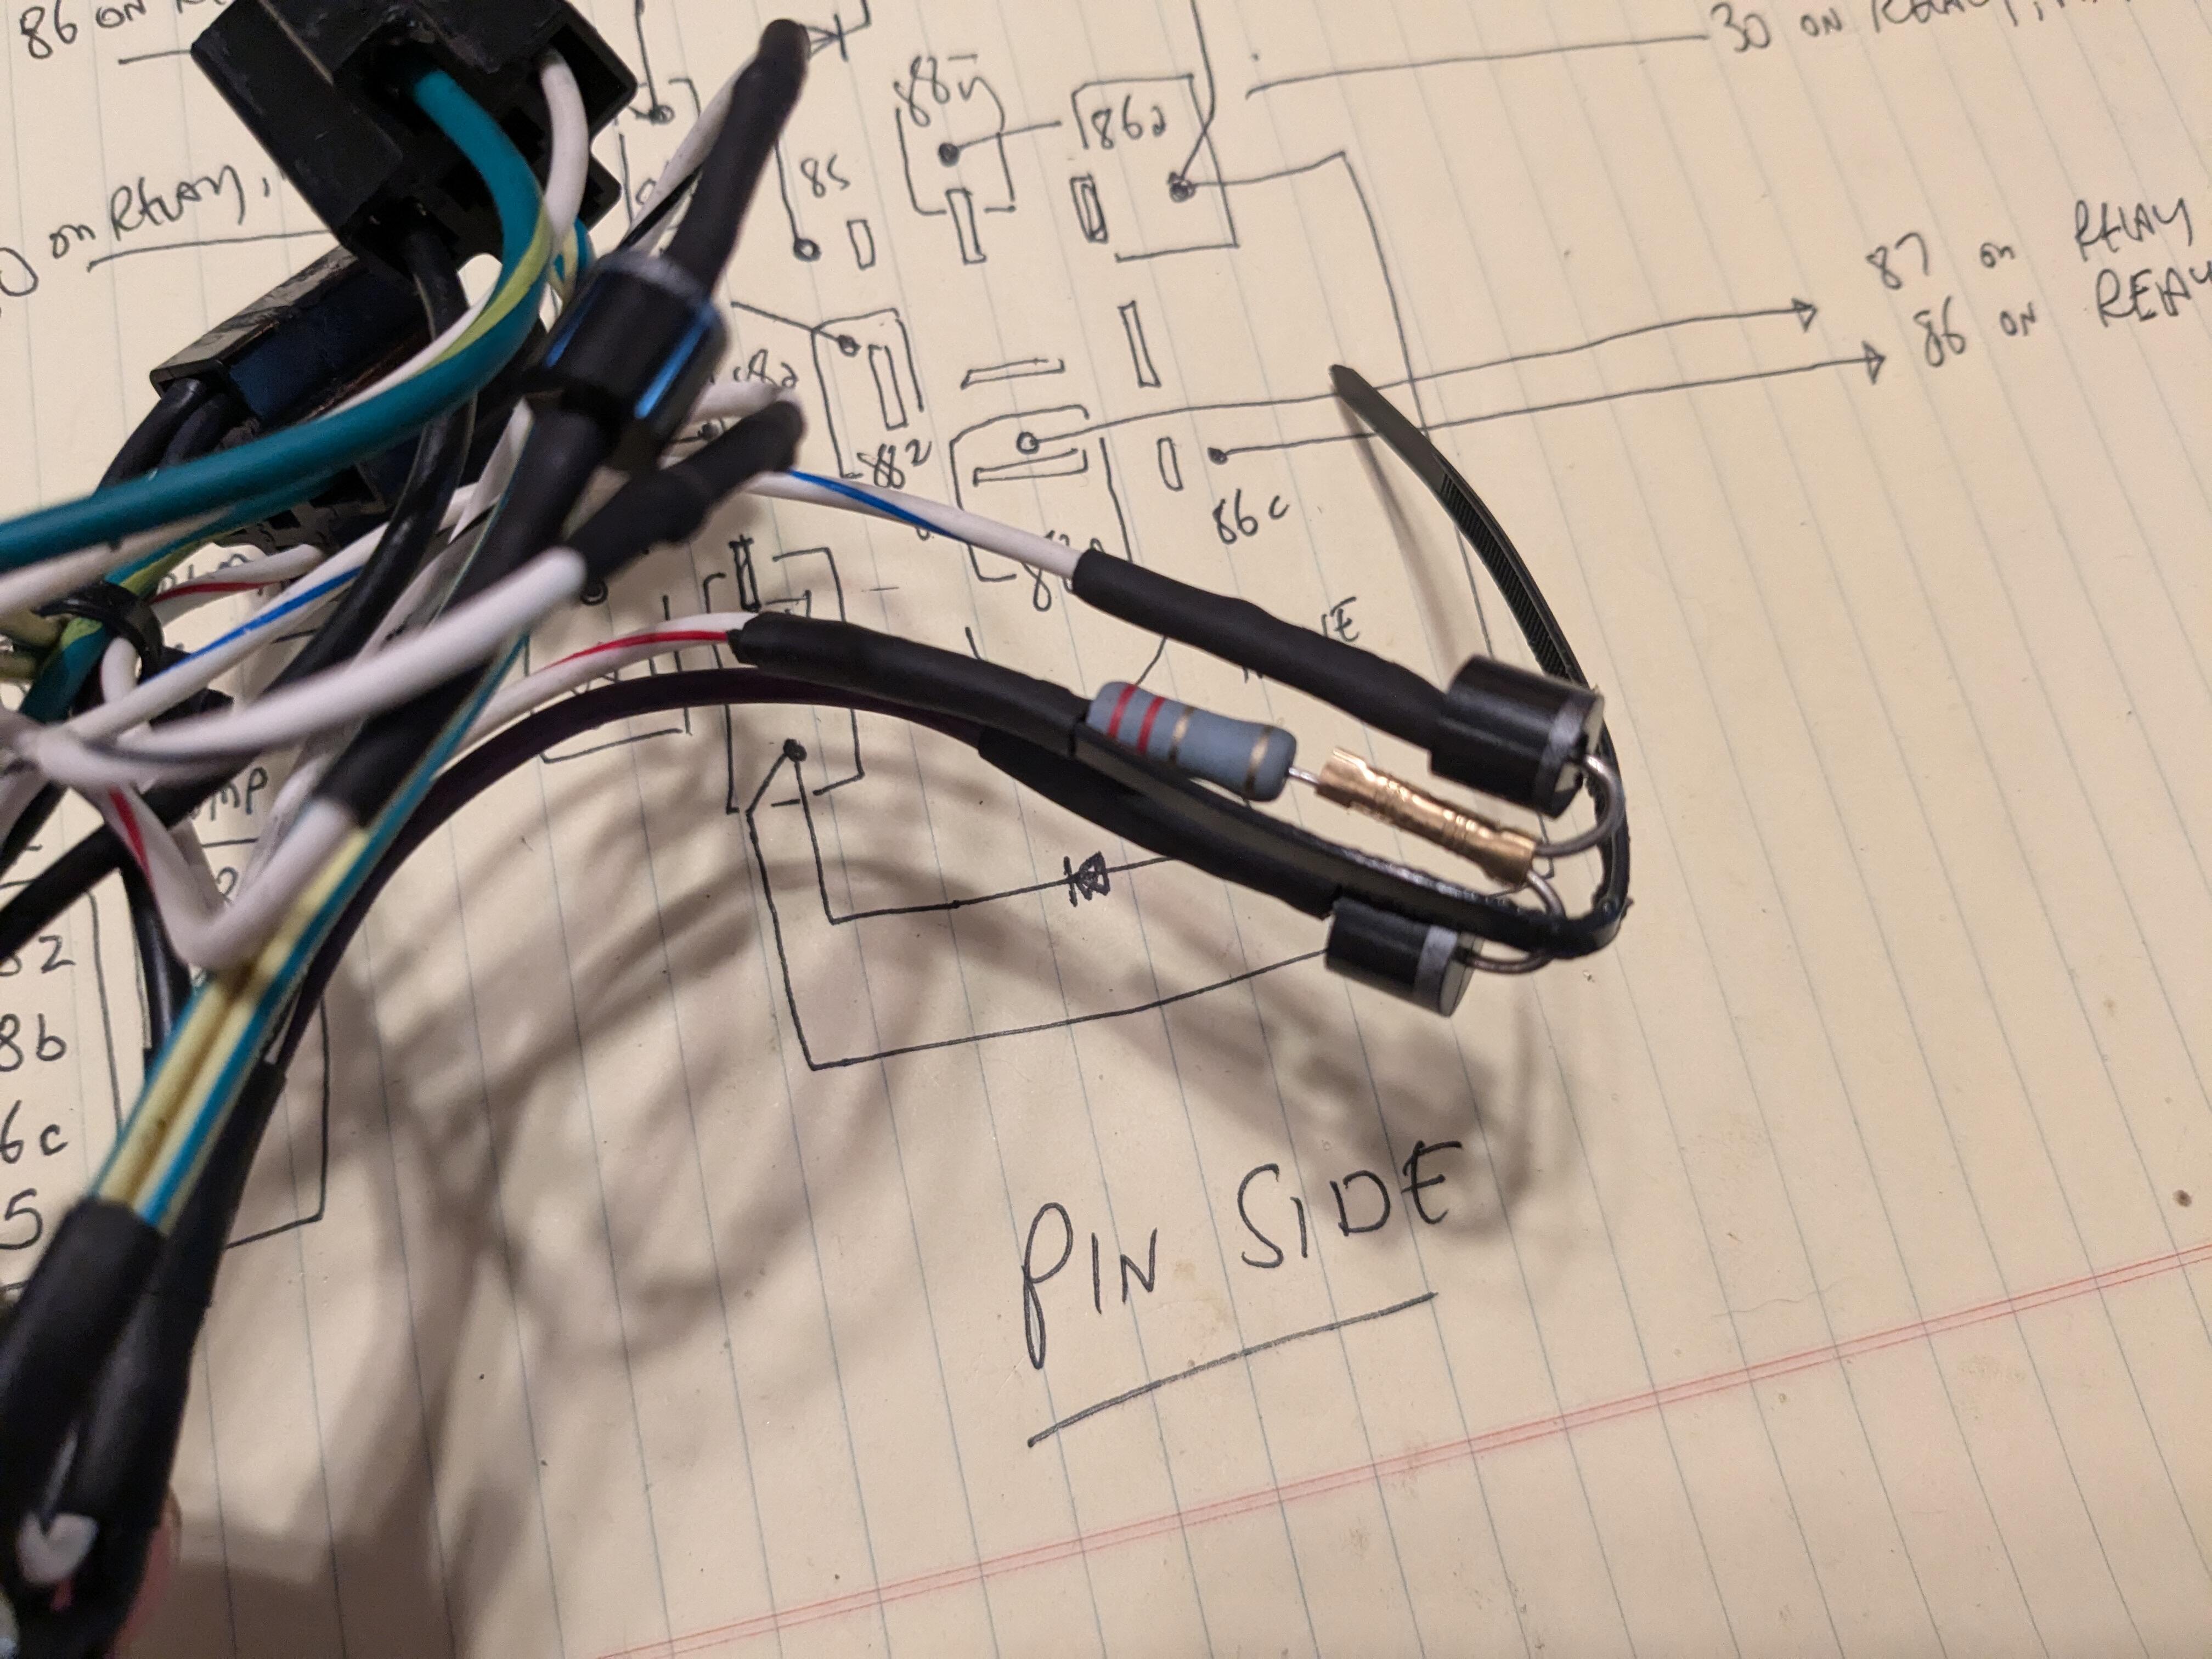
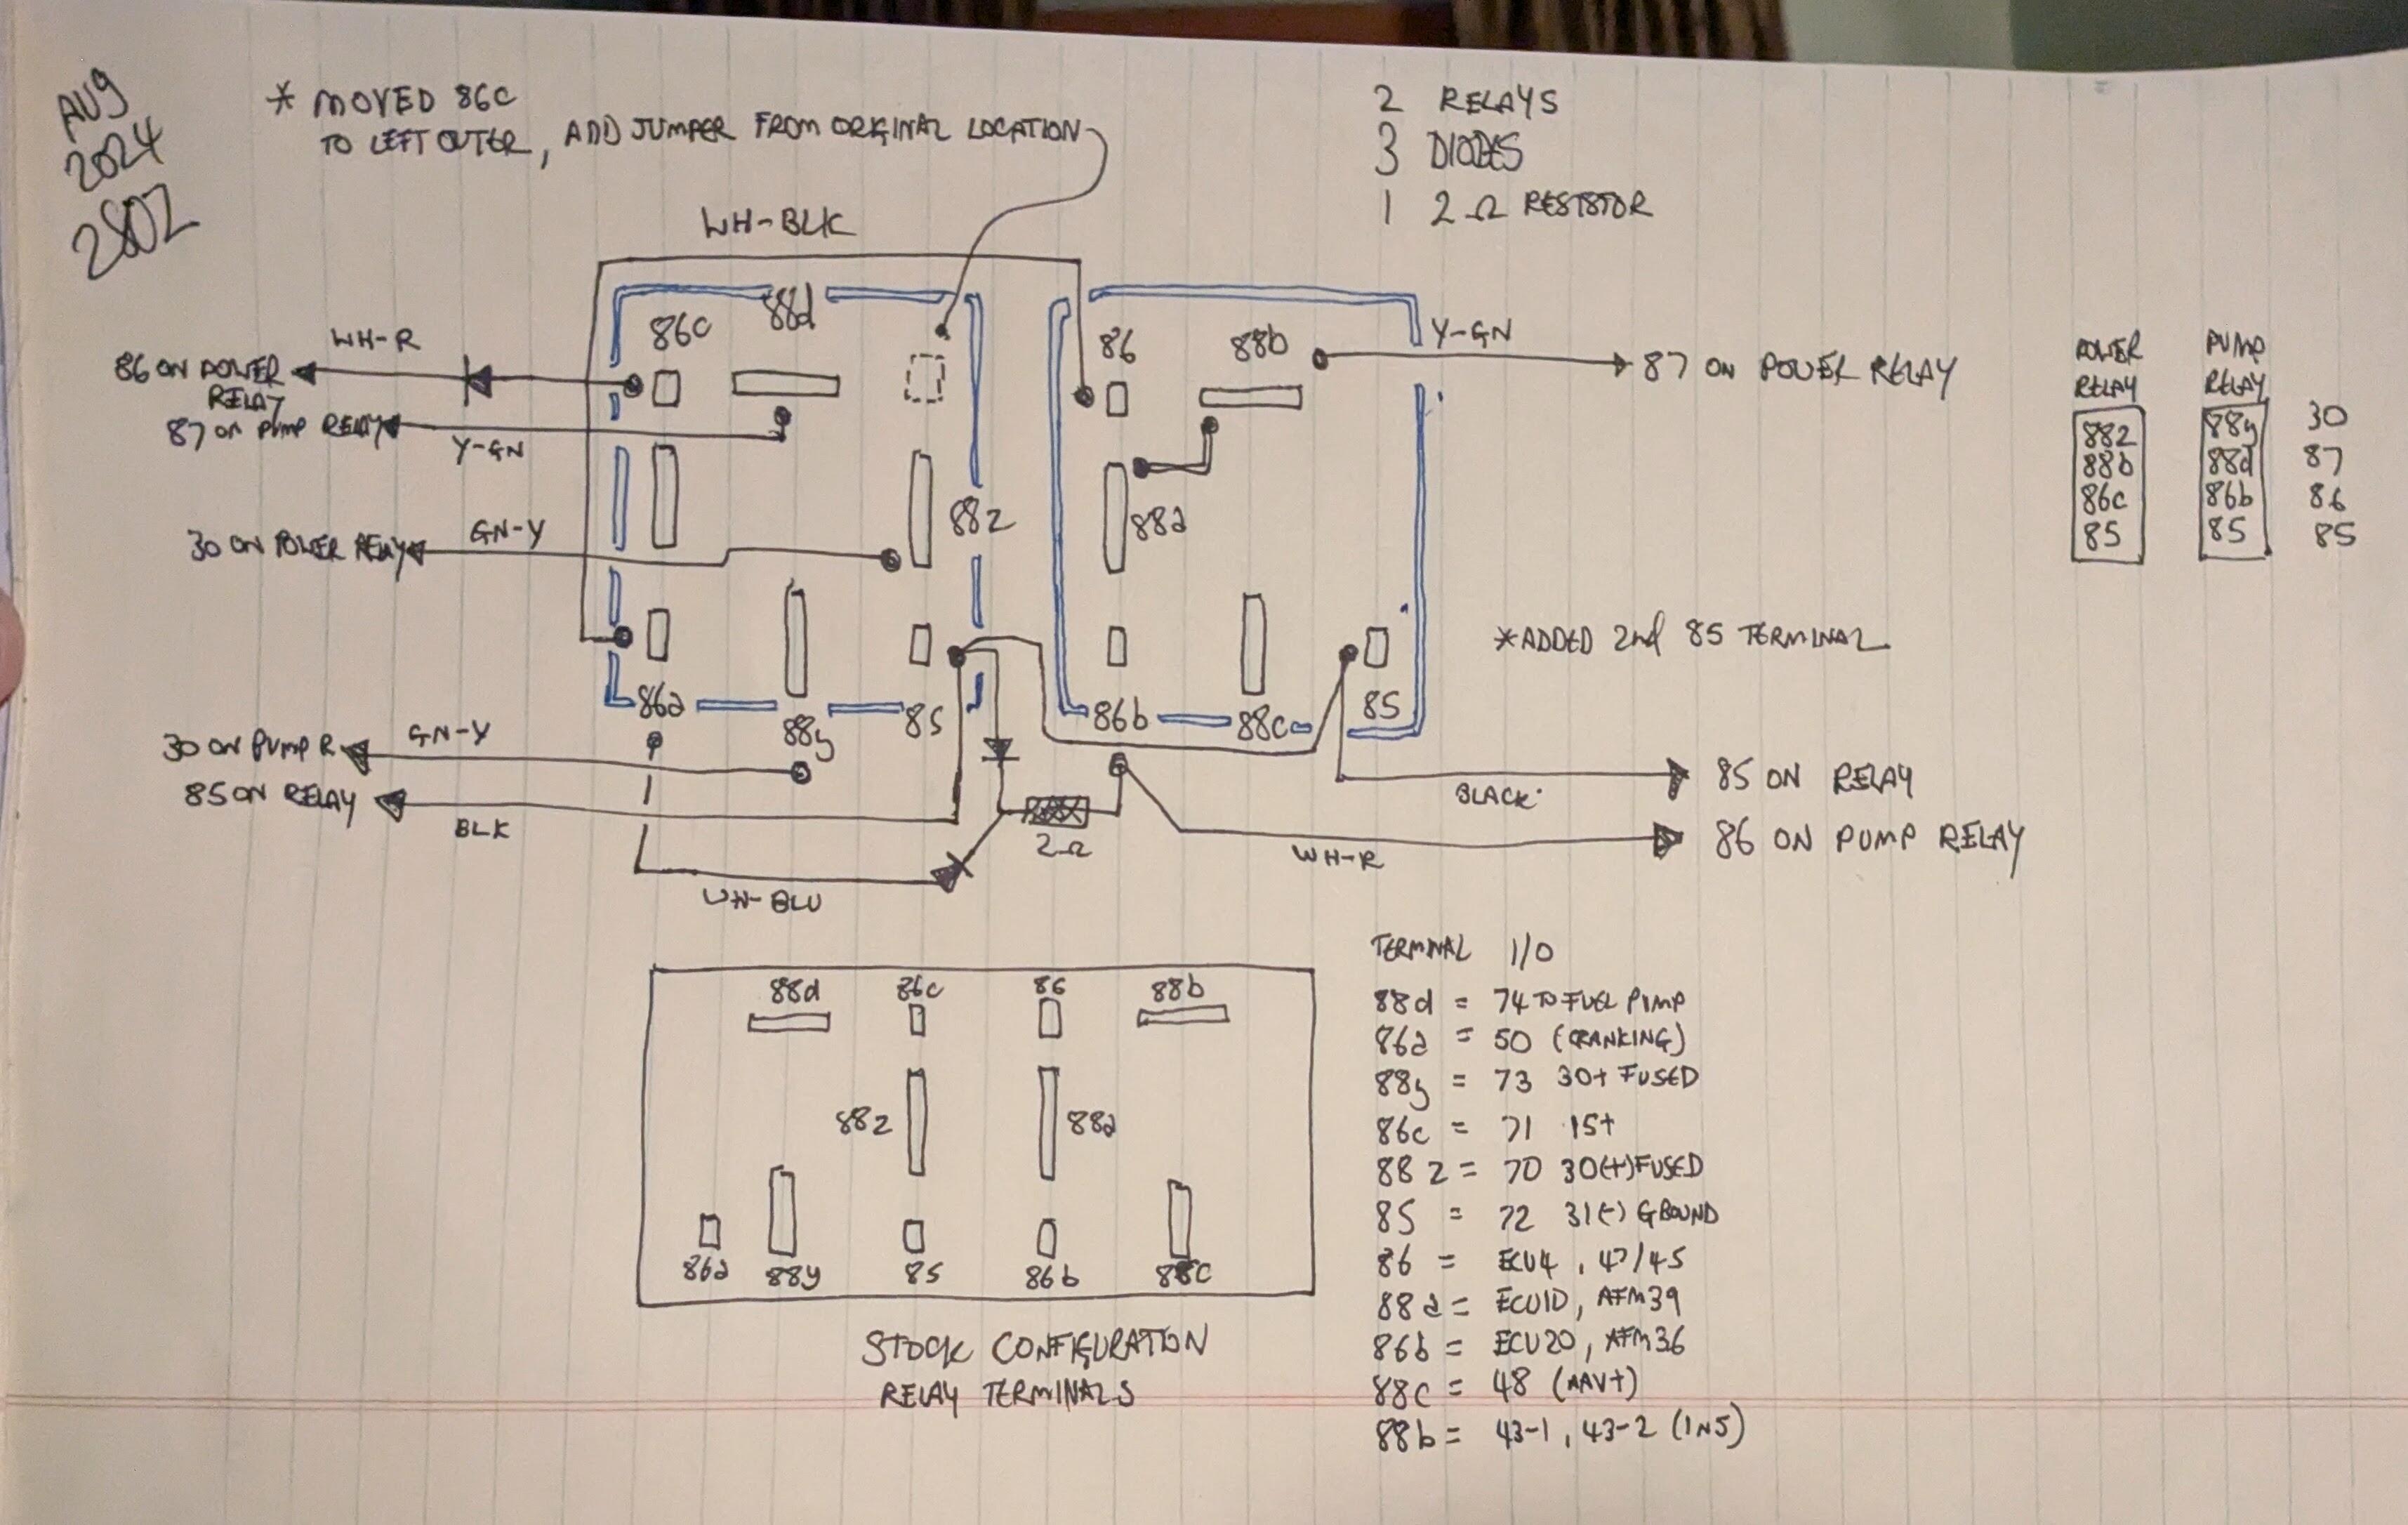
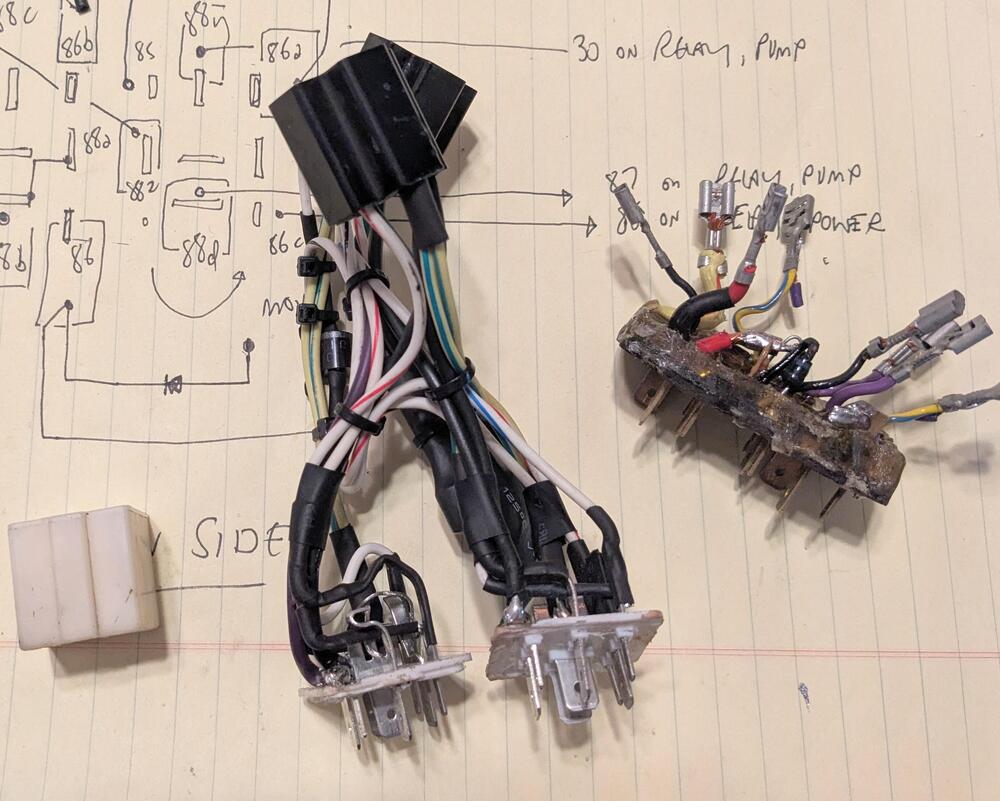
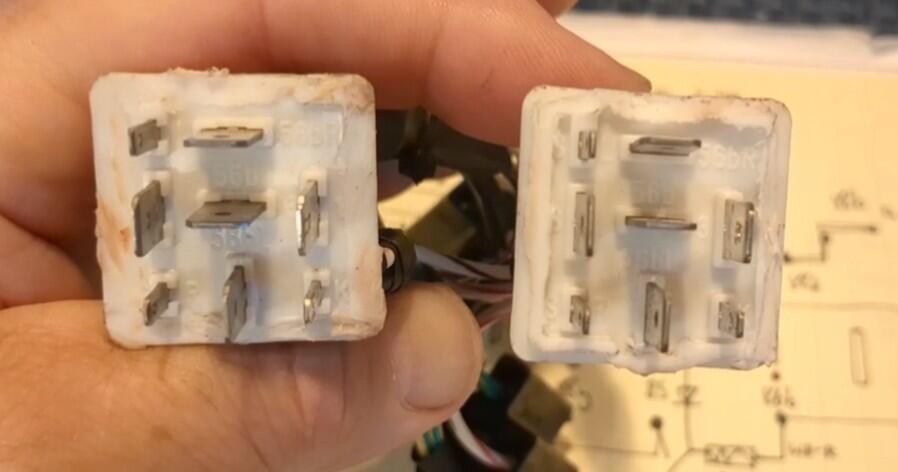
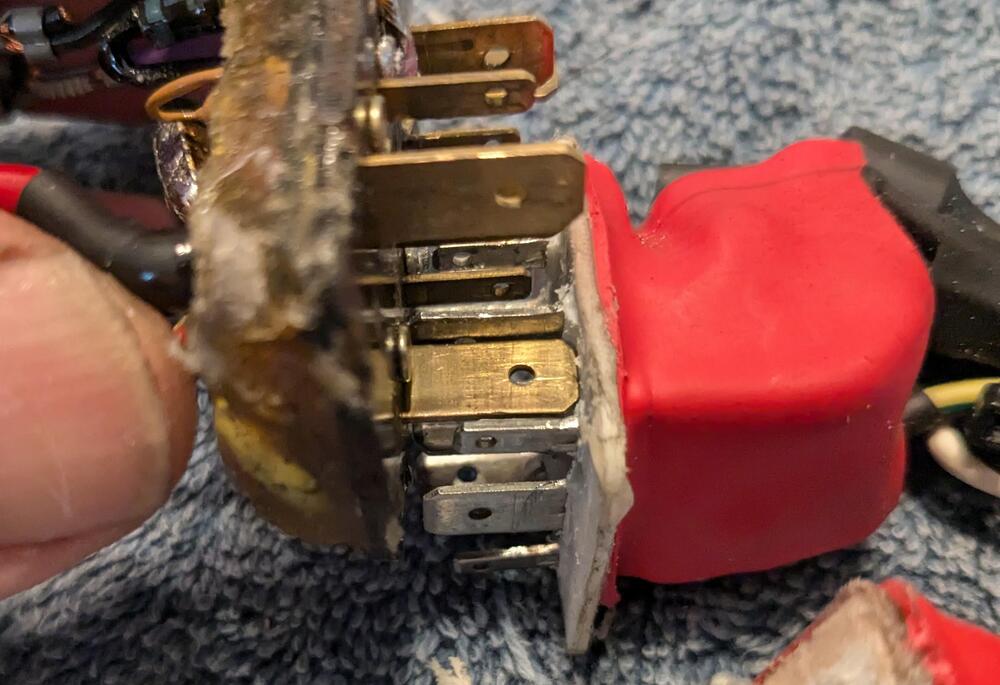
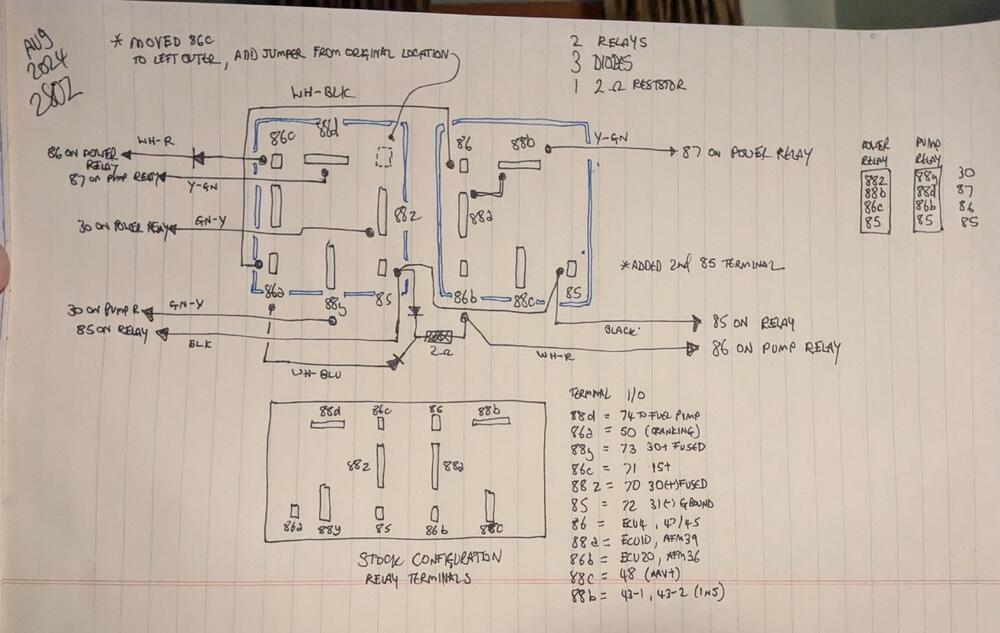
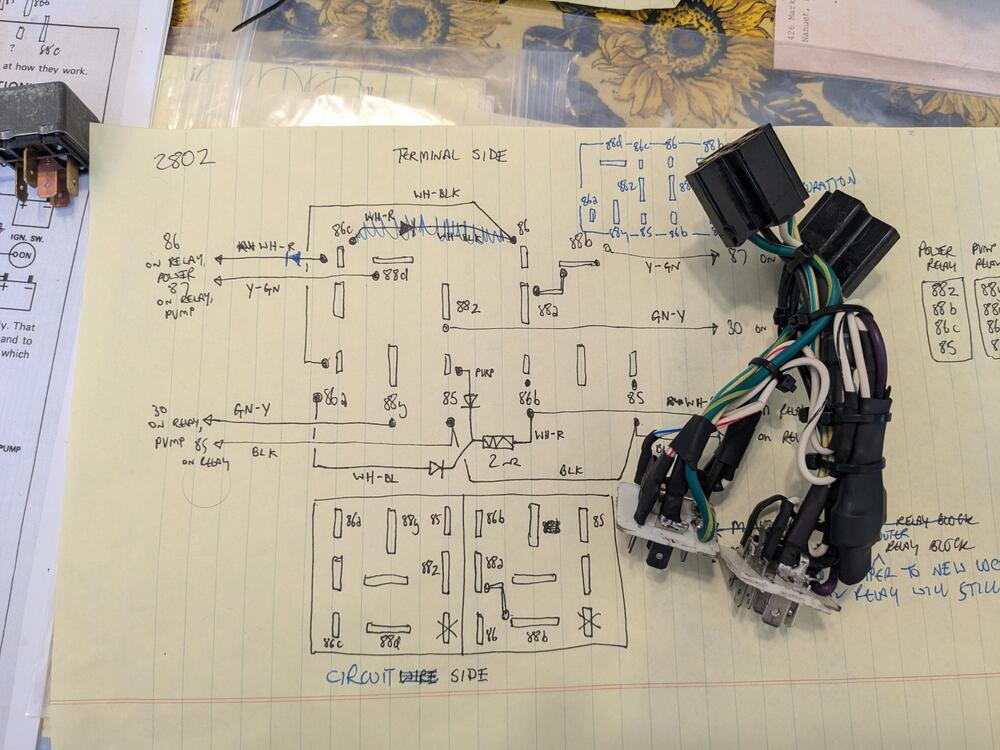
Car started exhibiting the same symptom as with the original relay - dropping the pump feed & monetarily cutting out. I was afraid that using the original base could lead to issues, so I made a new new from a couple of Volvo relays. I wired in the 3 diodes and a 2ohm resistor. Had incorrectly marked the 86c feed to the coil on the power relay (tied it to 86 as well, NOT good), so I had to redo that corrected wiring Male pin I'm using for 86c is also on the outer left instead of inner left, so a bridge on the relay socket was needed. There are male pins in the 85 location (bottom right) on both bases. I had already made a bridge on the relay sockets, to allow the use of the Fiat version L-Jet relay, so both are connected to the ground circuit. The next problem was that the male pins are shorter length than the ones used for the Datsun/Bosch L-Jet relays, which meant they were not fully seating in the relay sockets. This meant the connections would come & go, took me awhile to figure out that was the problem. I shaved back the base on the relays - that wasn't enough, so I had to shave the small rise around each pin also. That made the overall male pin depth close enough to the factory length. With that, the bases stay properly seated and no connectivity / functional issues with the adaptor after driving it this afternoon.

-
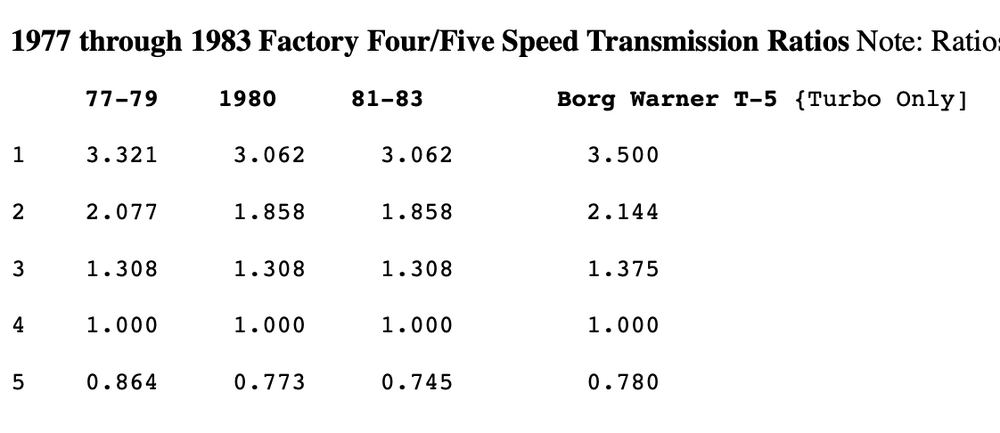
According to the chart here - 1981 has .745 5th gear quite a range over the years as you pointed out, so if comparing to others, the year does matter
-
Interesting, thank you for that. That does make it odd that my speed in gear differs from Dave - I'm using the drive gear from the 81 zx 5spd (stock drive gear was quite inaccurate with the 205/50x15's) and checking against GPS it seemed pretty accurate. I will have to reconfirm next time I'm on the highway.
-
Sample search I found when ClassicZ was down - this problem arises when using the 280Z 4 Spd shifter in the 5 Spd.
-
Pretty sure the 75 is 3.90 FD
-
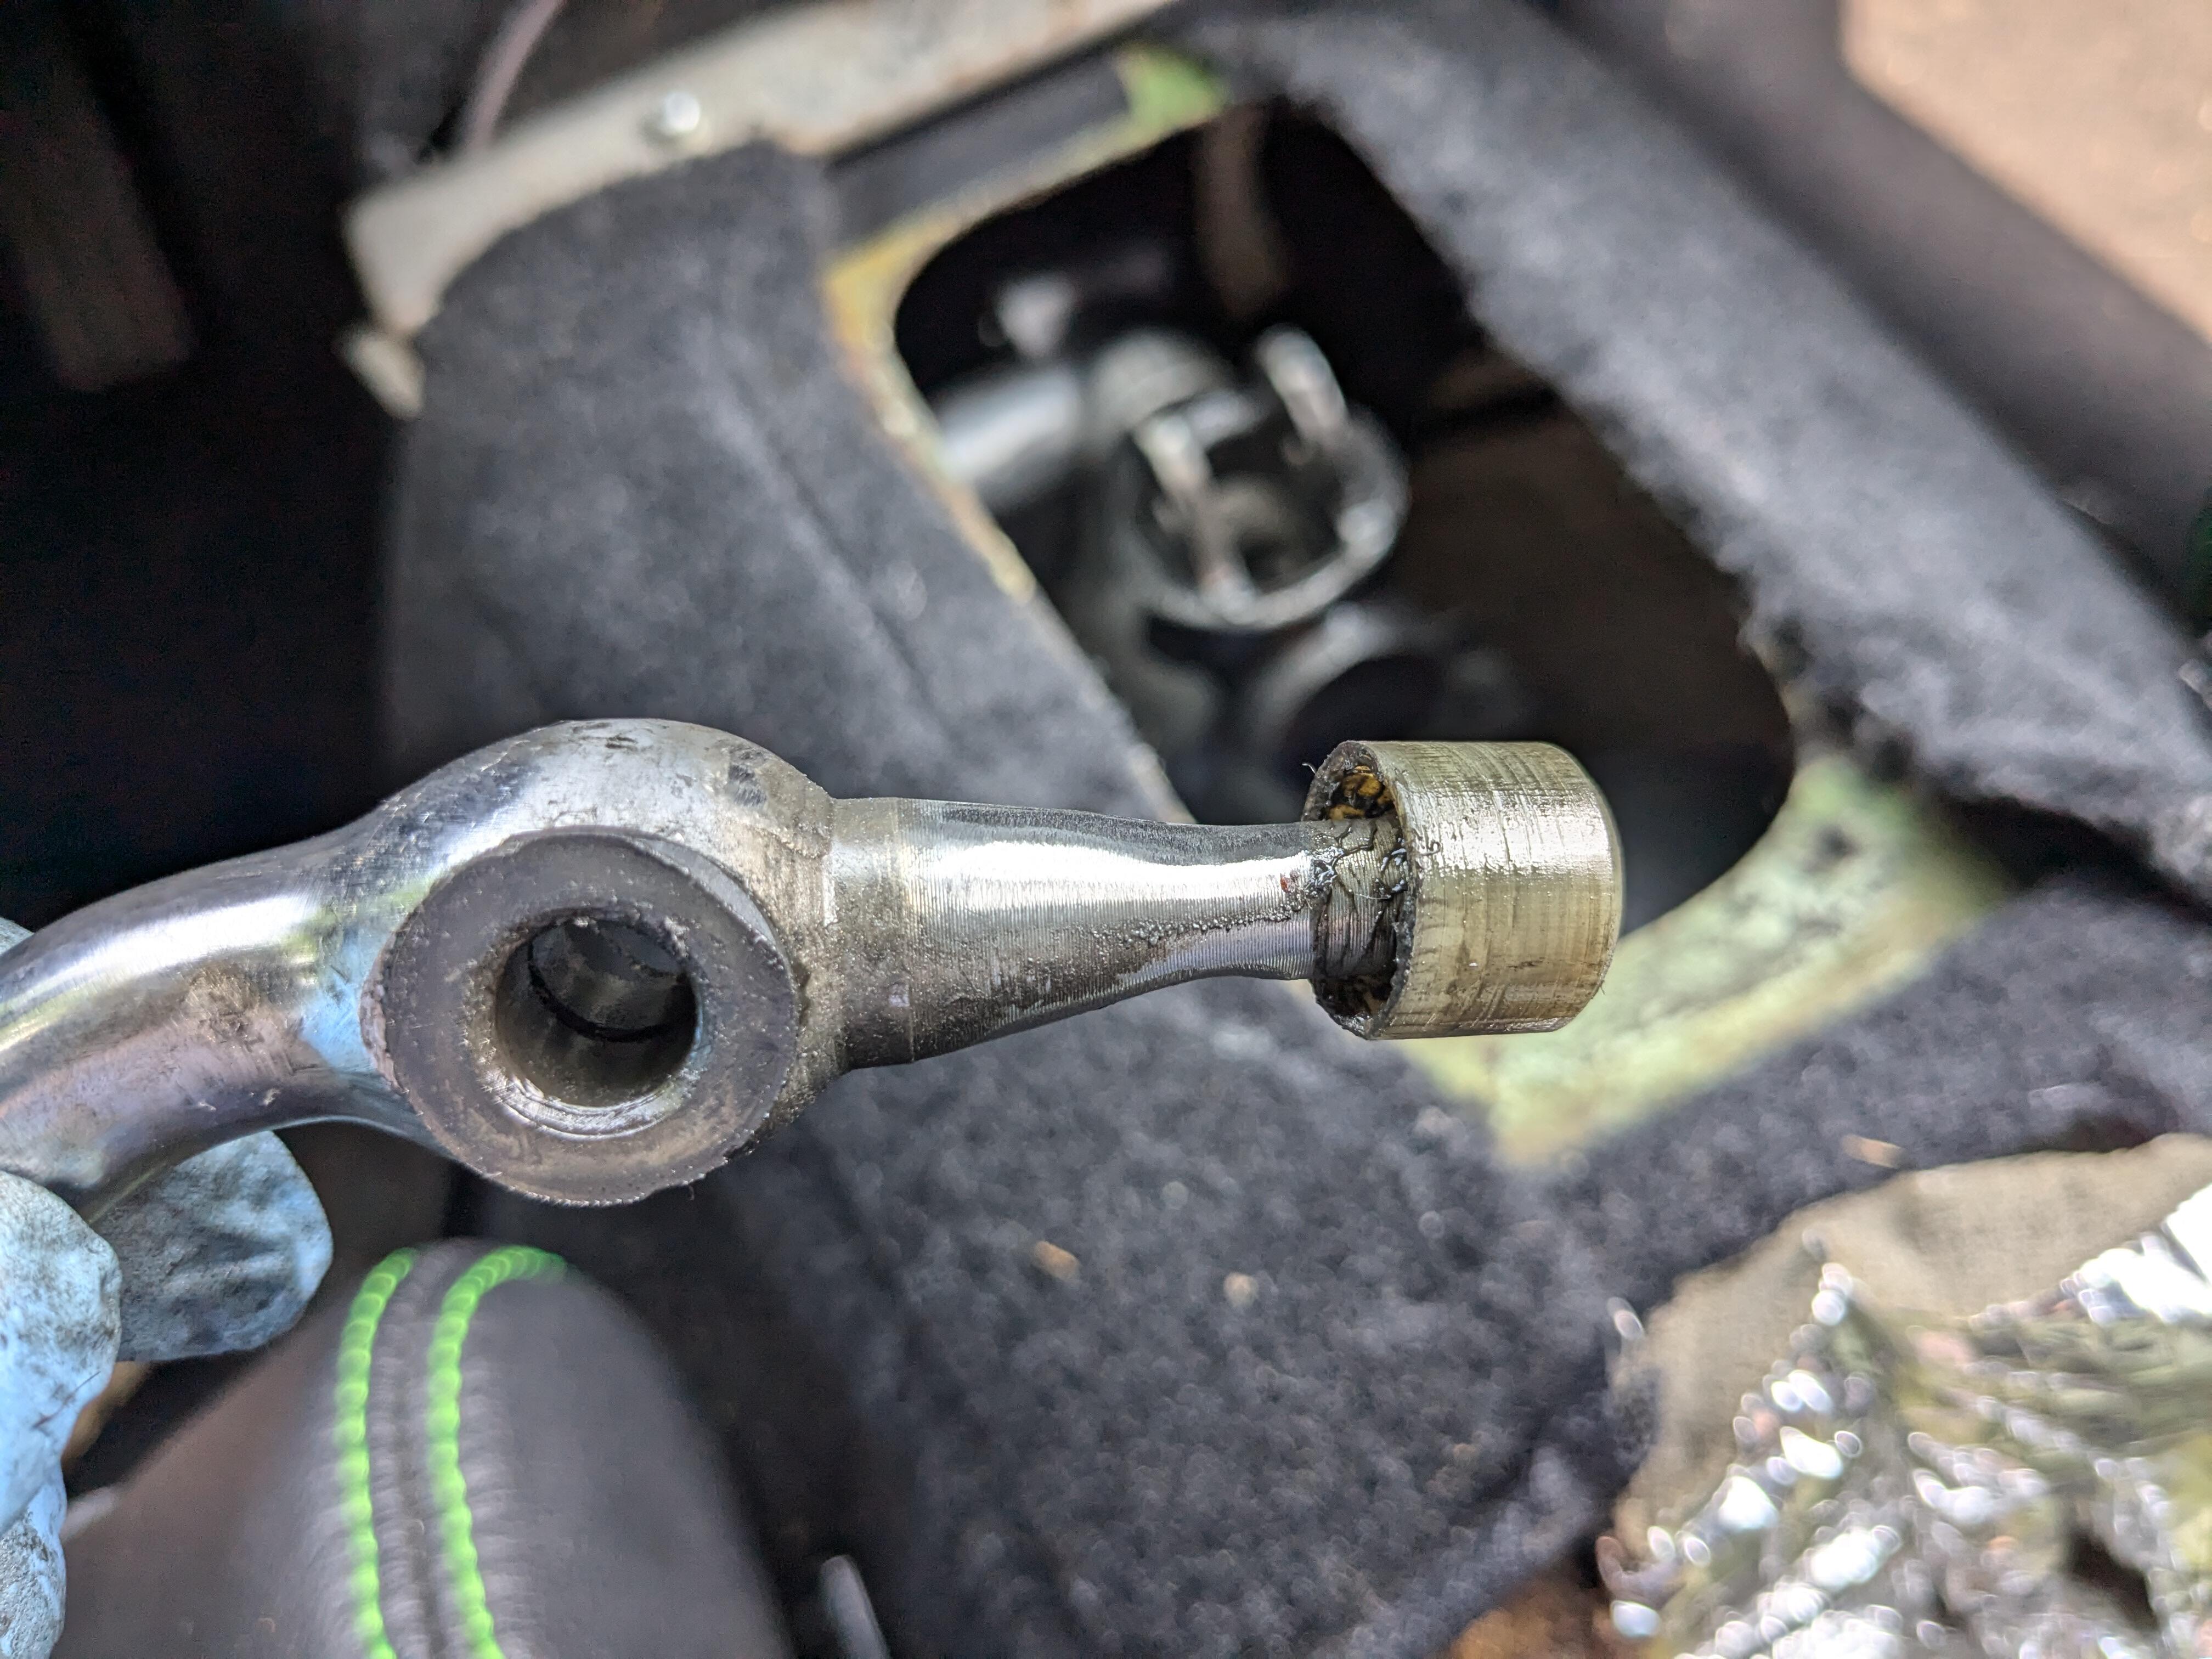
So, after driving the Z on & off this past week, I found that it would pop out of reverse. Earlier today there was no access to ClassicZ, so I did a google search on the topic & found a topic on Zcar, that linked your video on the topic. With that info it was clear that my shifter was not dropping back far enough to engage the reverse detent & have that little shifter play once properly engaged. 2nd & 4th engaged fine, however there was really no play in the shifter that would indicate full engagement even though it hadn't popped out of the forward gears. Final relief on the backside that allowed proper engagement. I removed small amounts & rechecked for engagement. Kept going until no marking was evident on the shifter. I also noted a nick on the front side of the rod, so I relieved that side ever so slightly. frontside relief

-
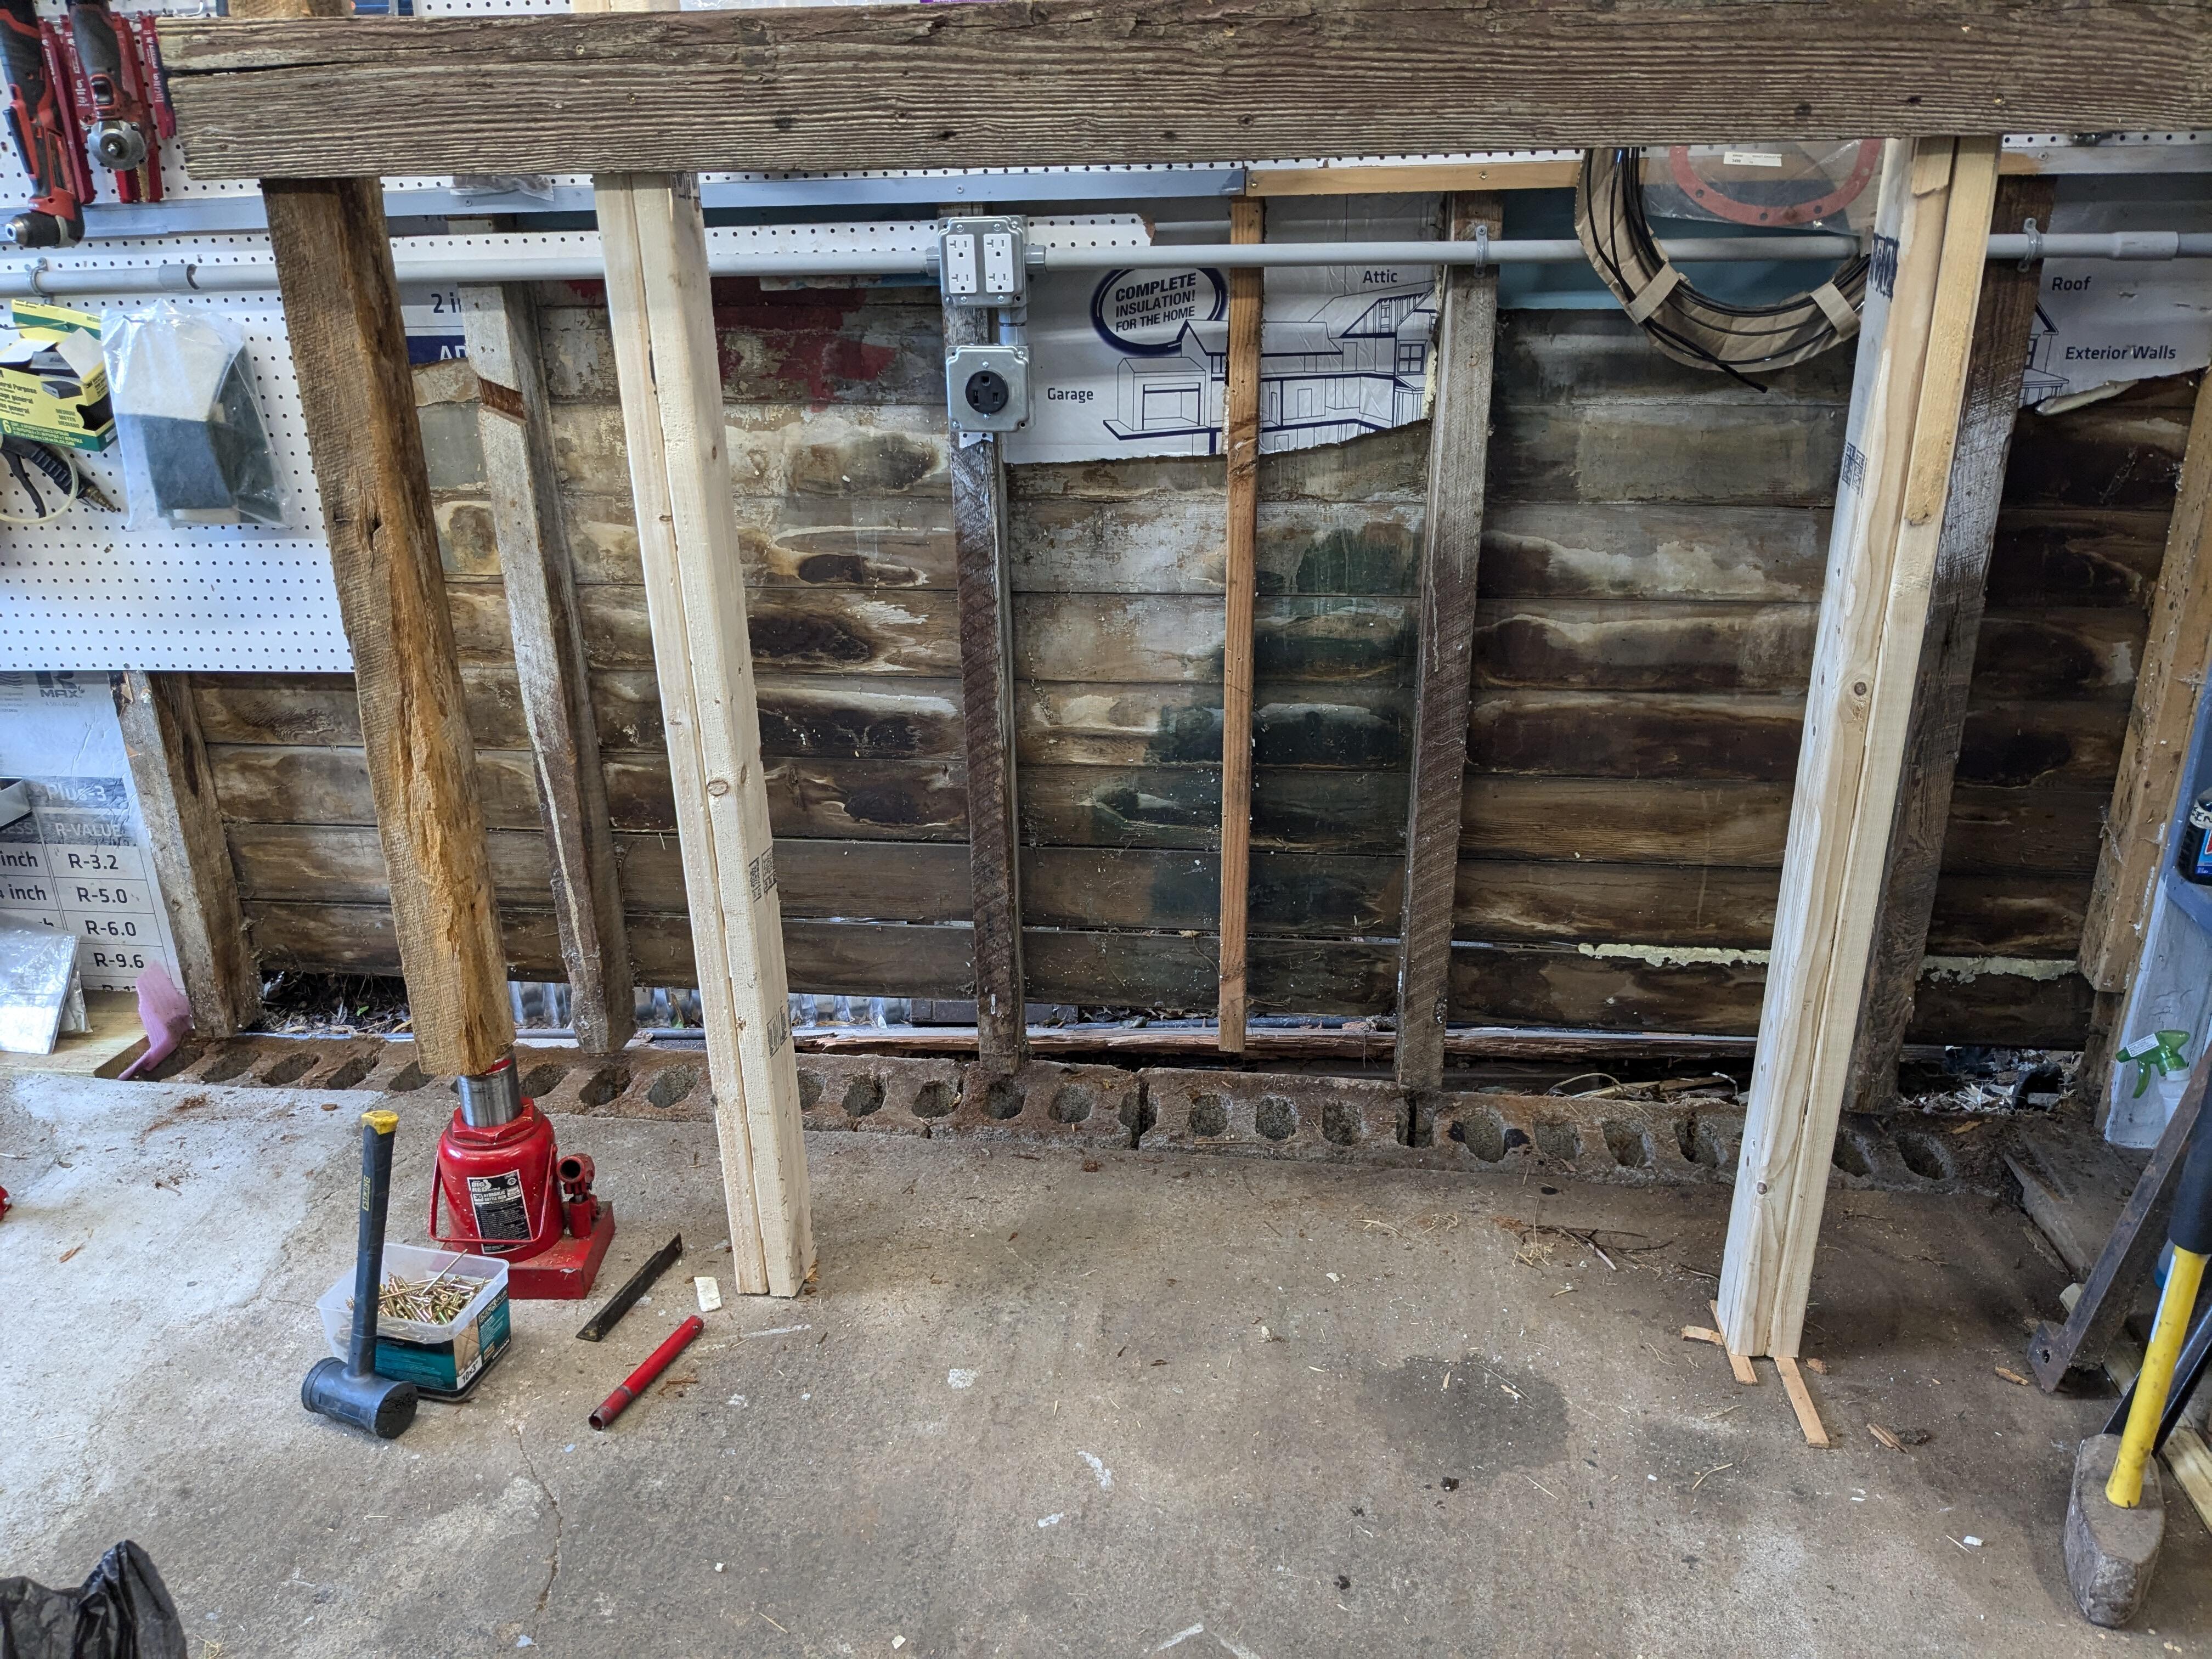
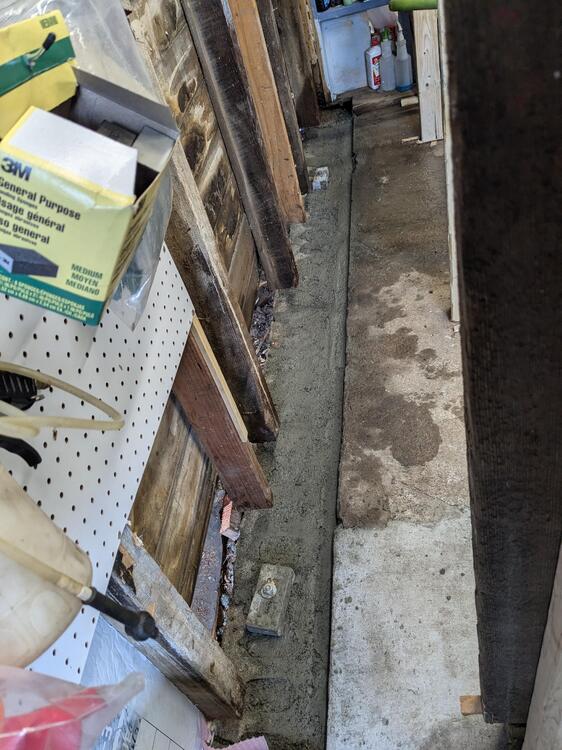
No, old concrete. At some point I'll need to pour a new floor at some point.
-
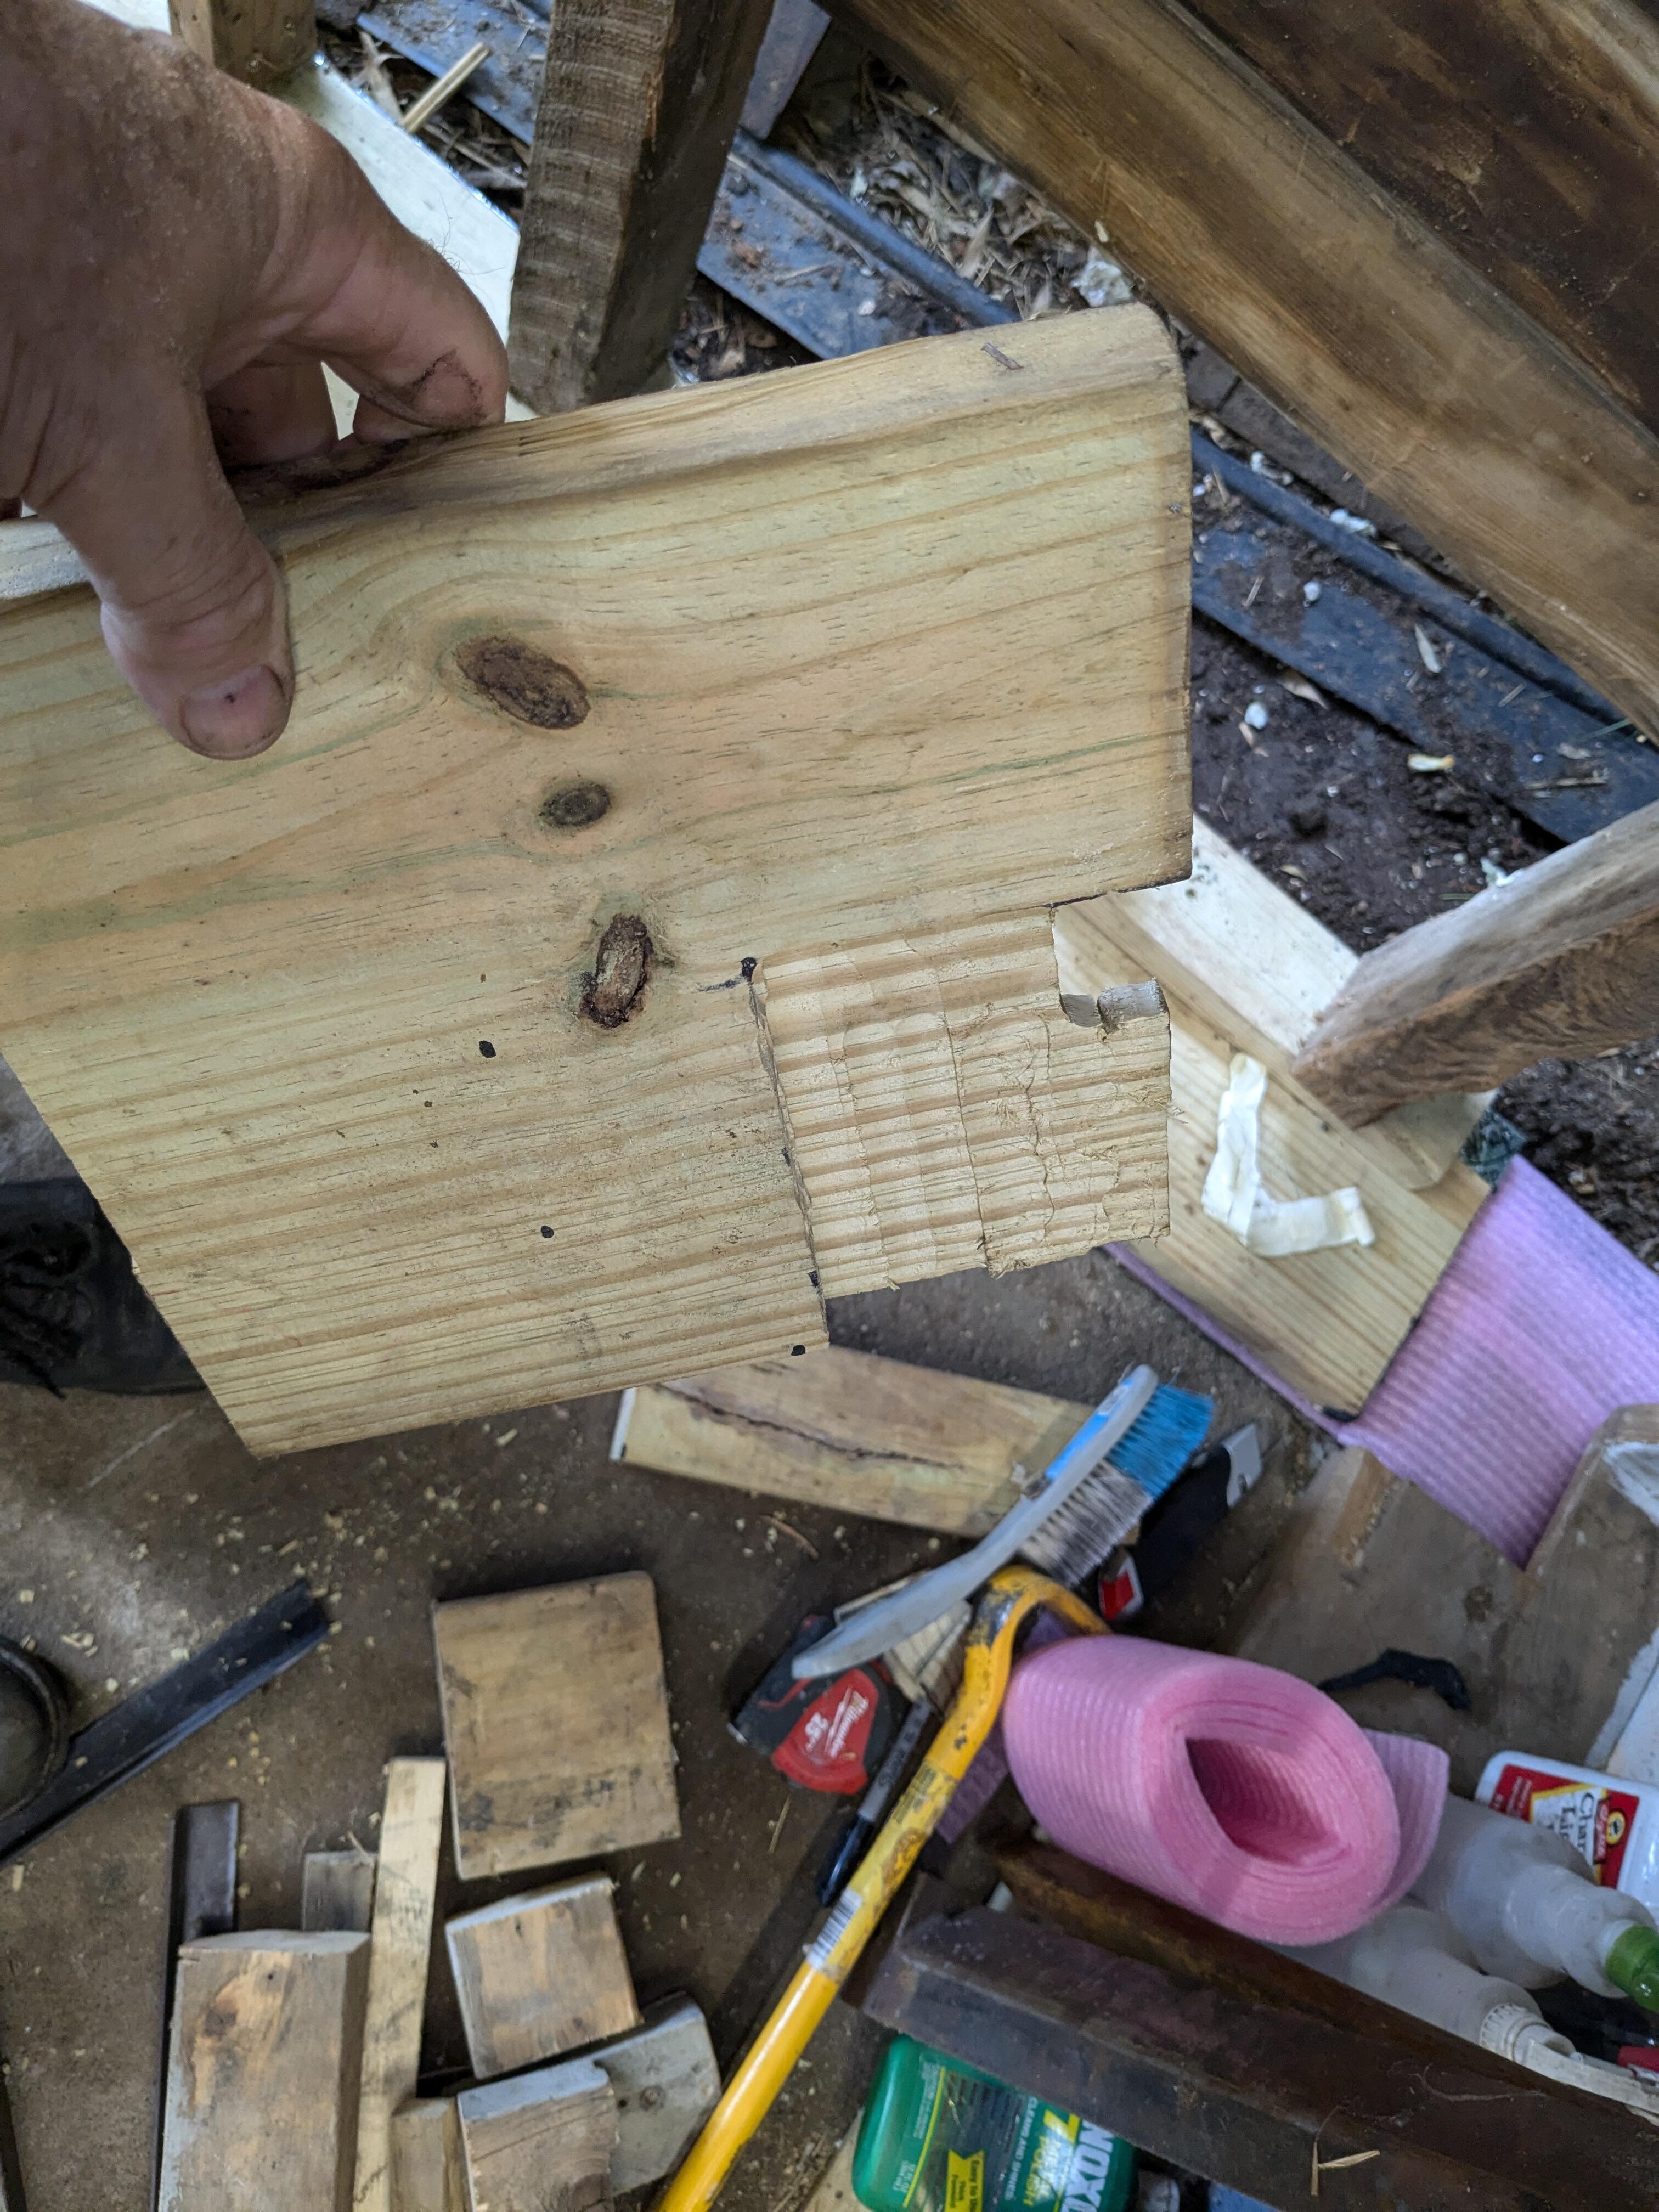
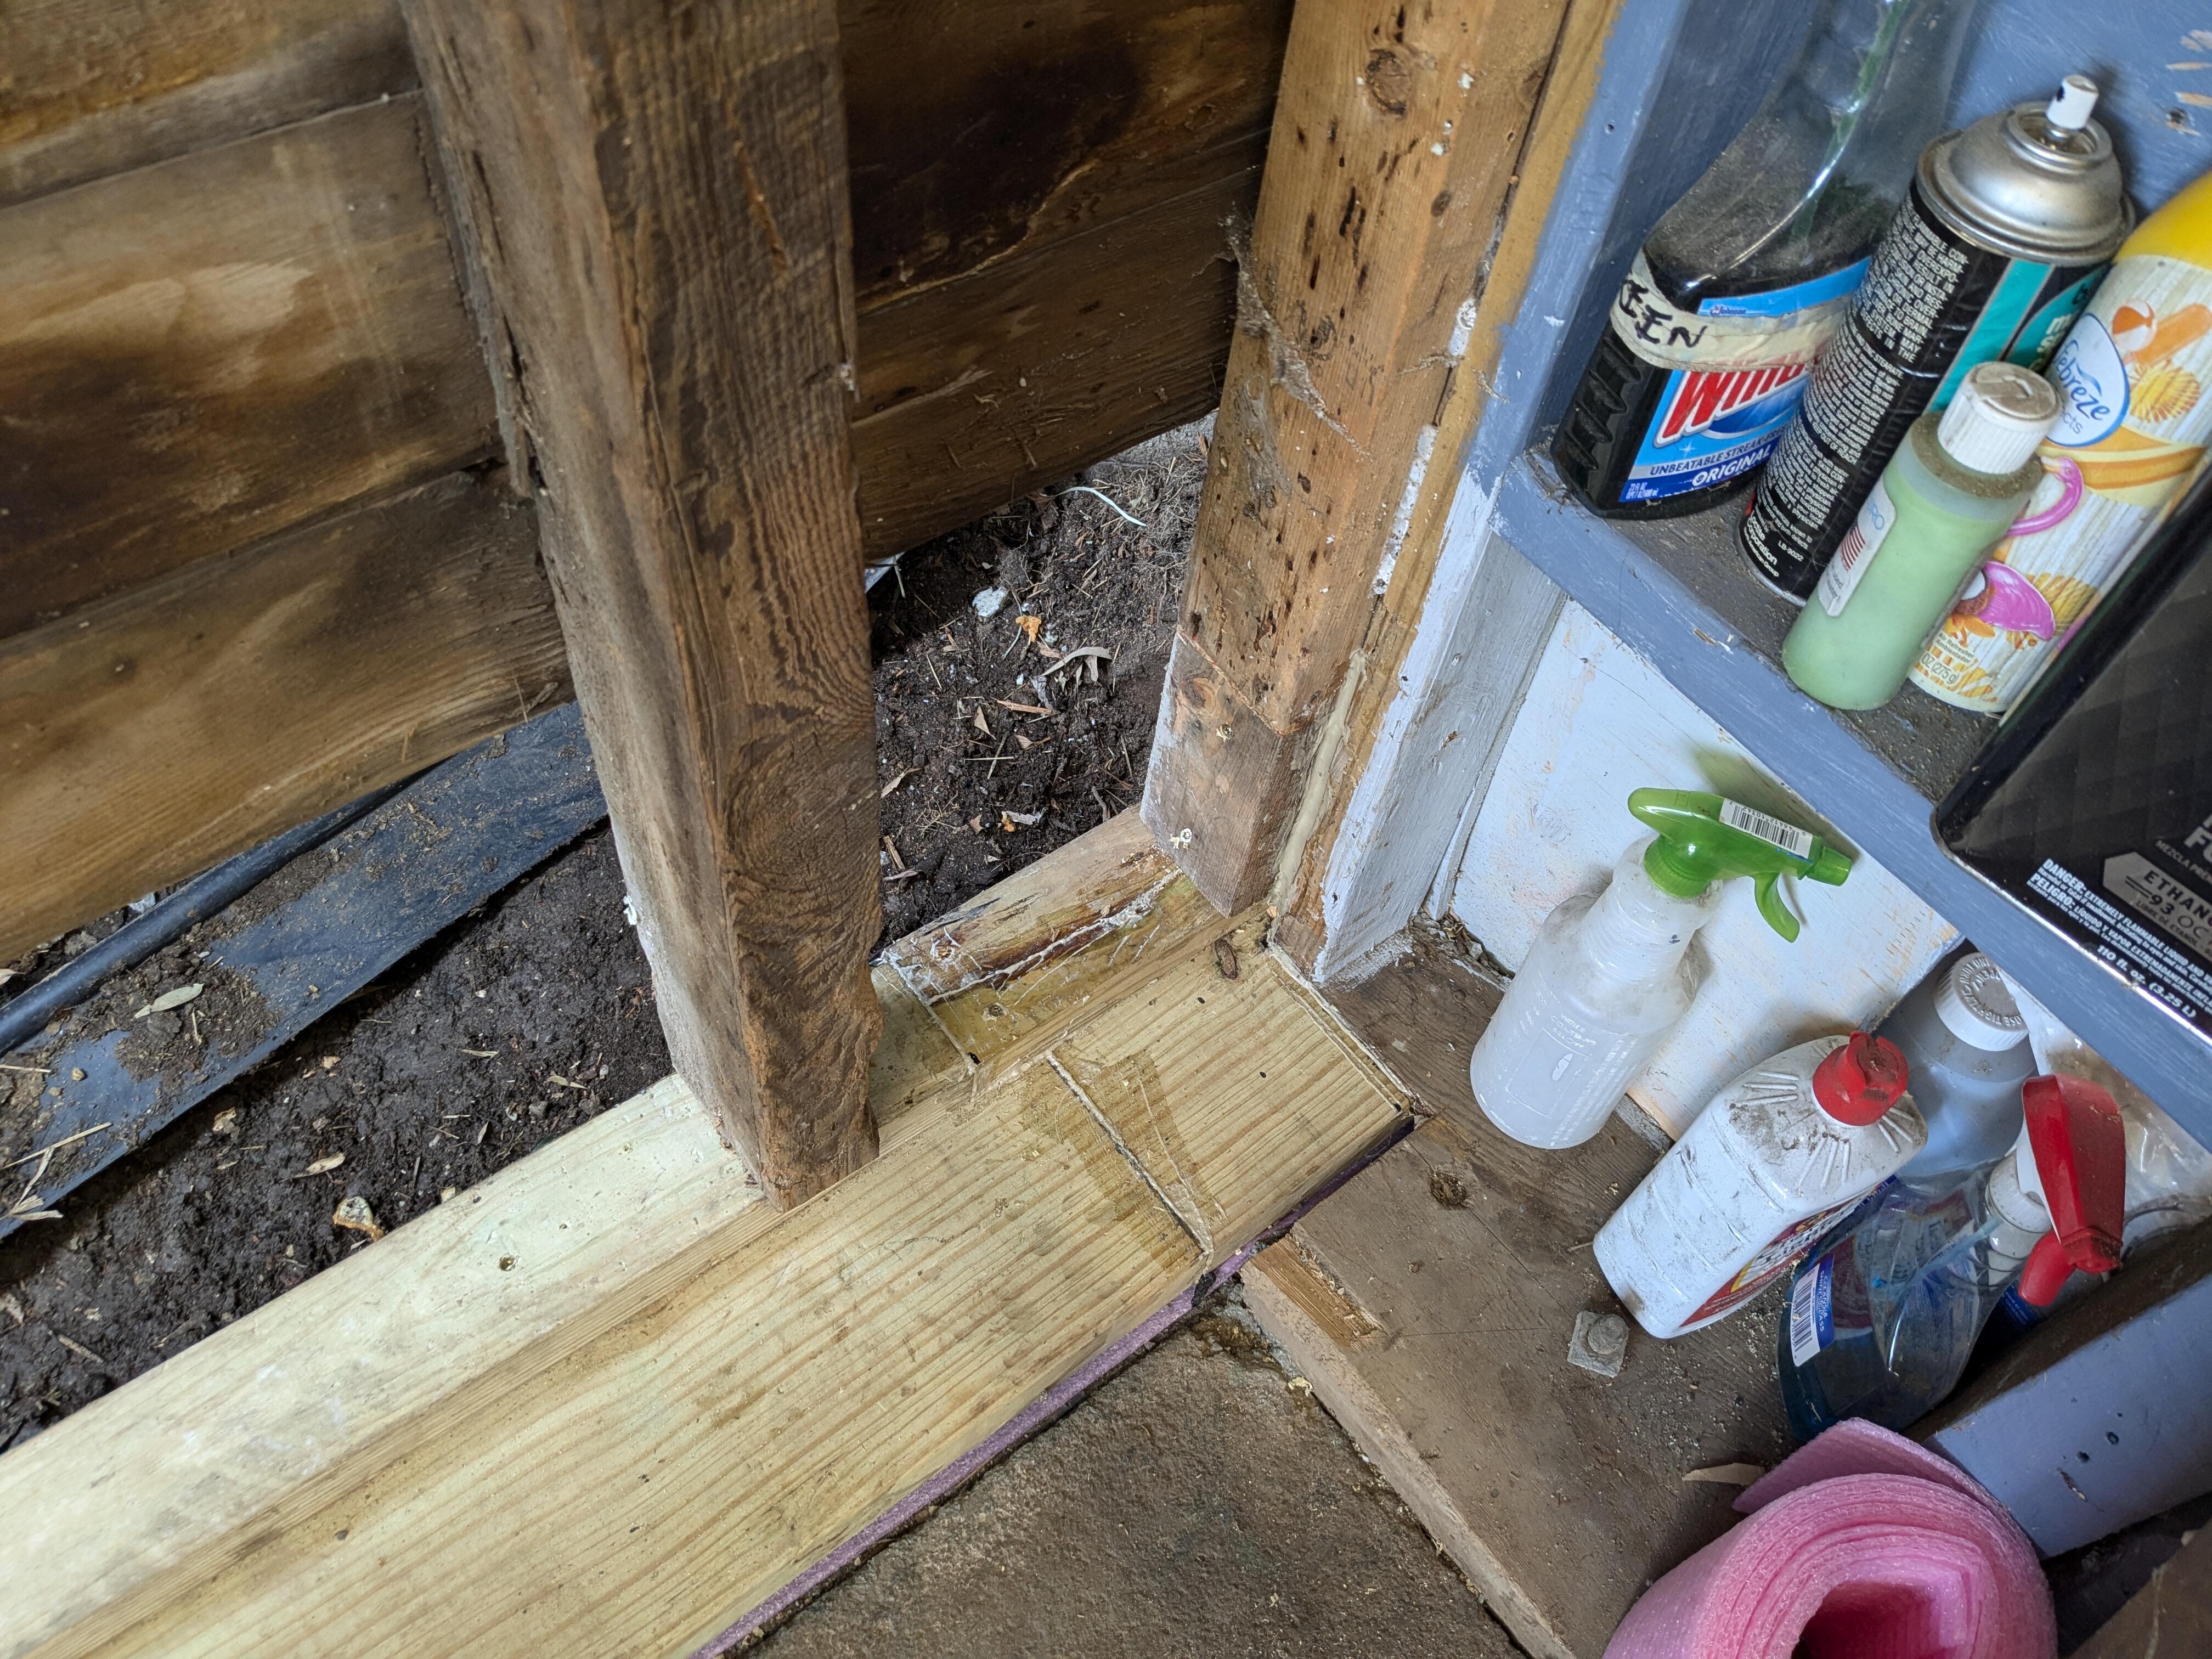
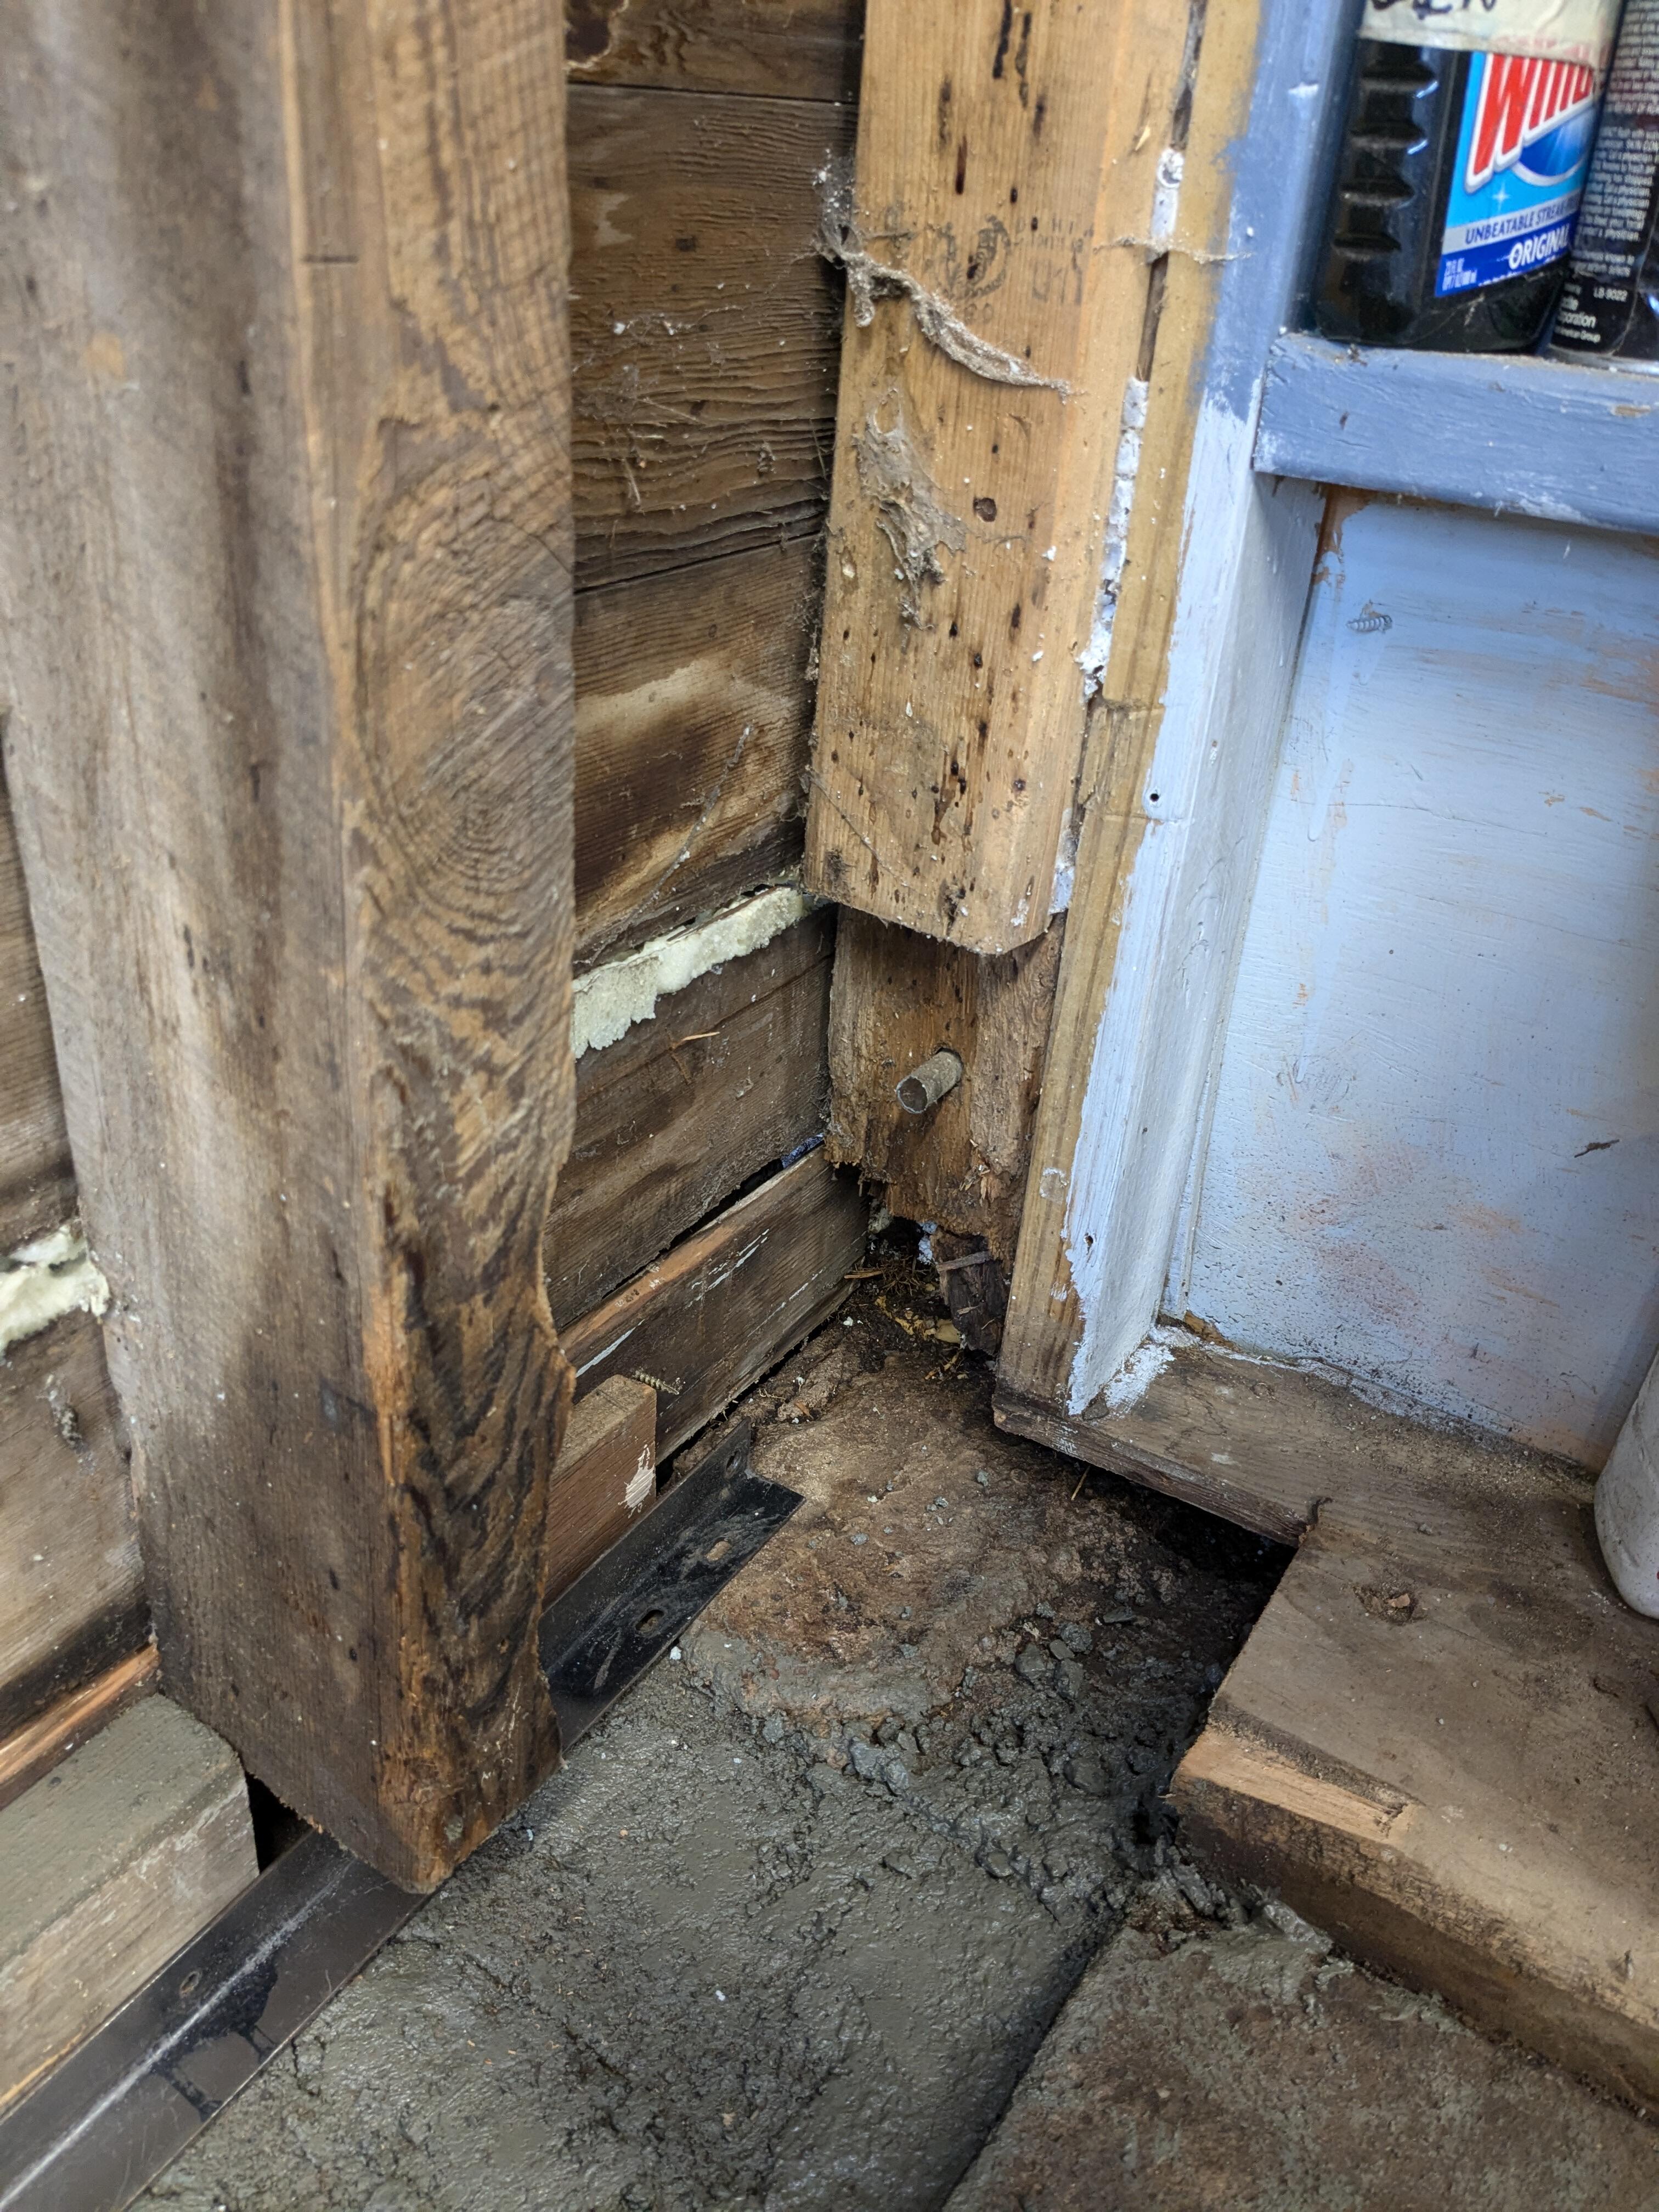
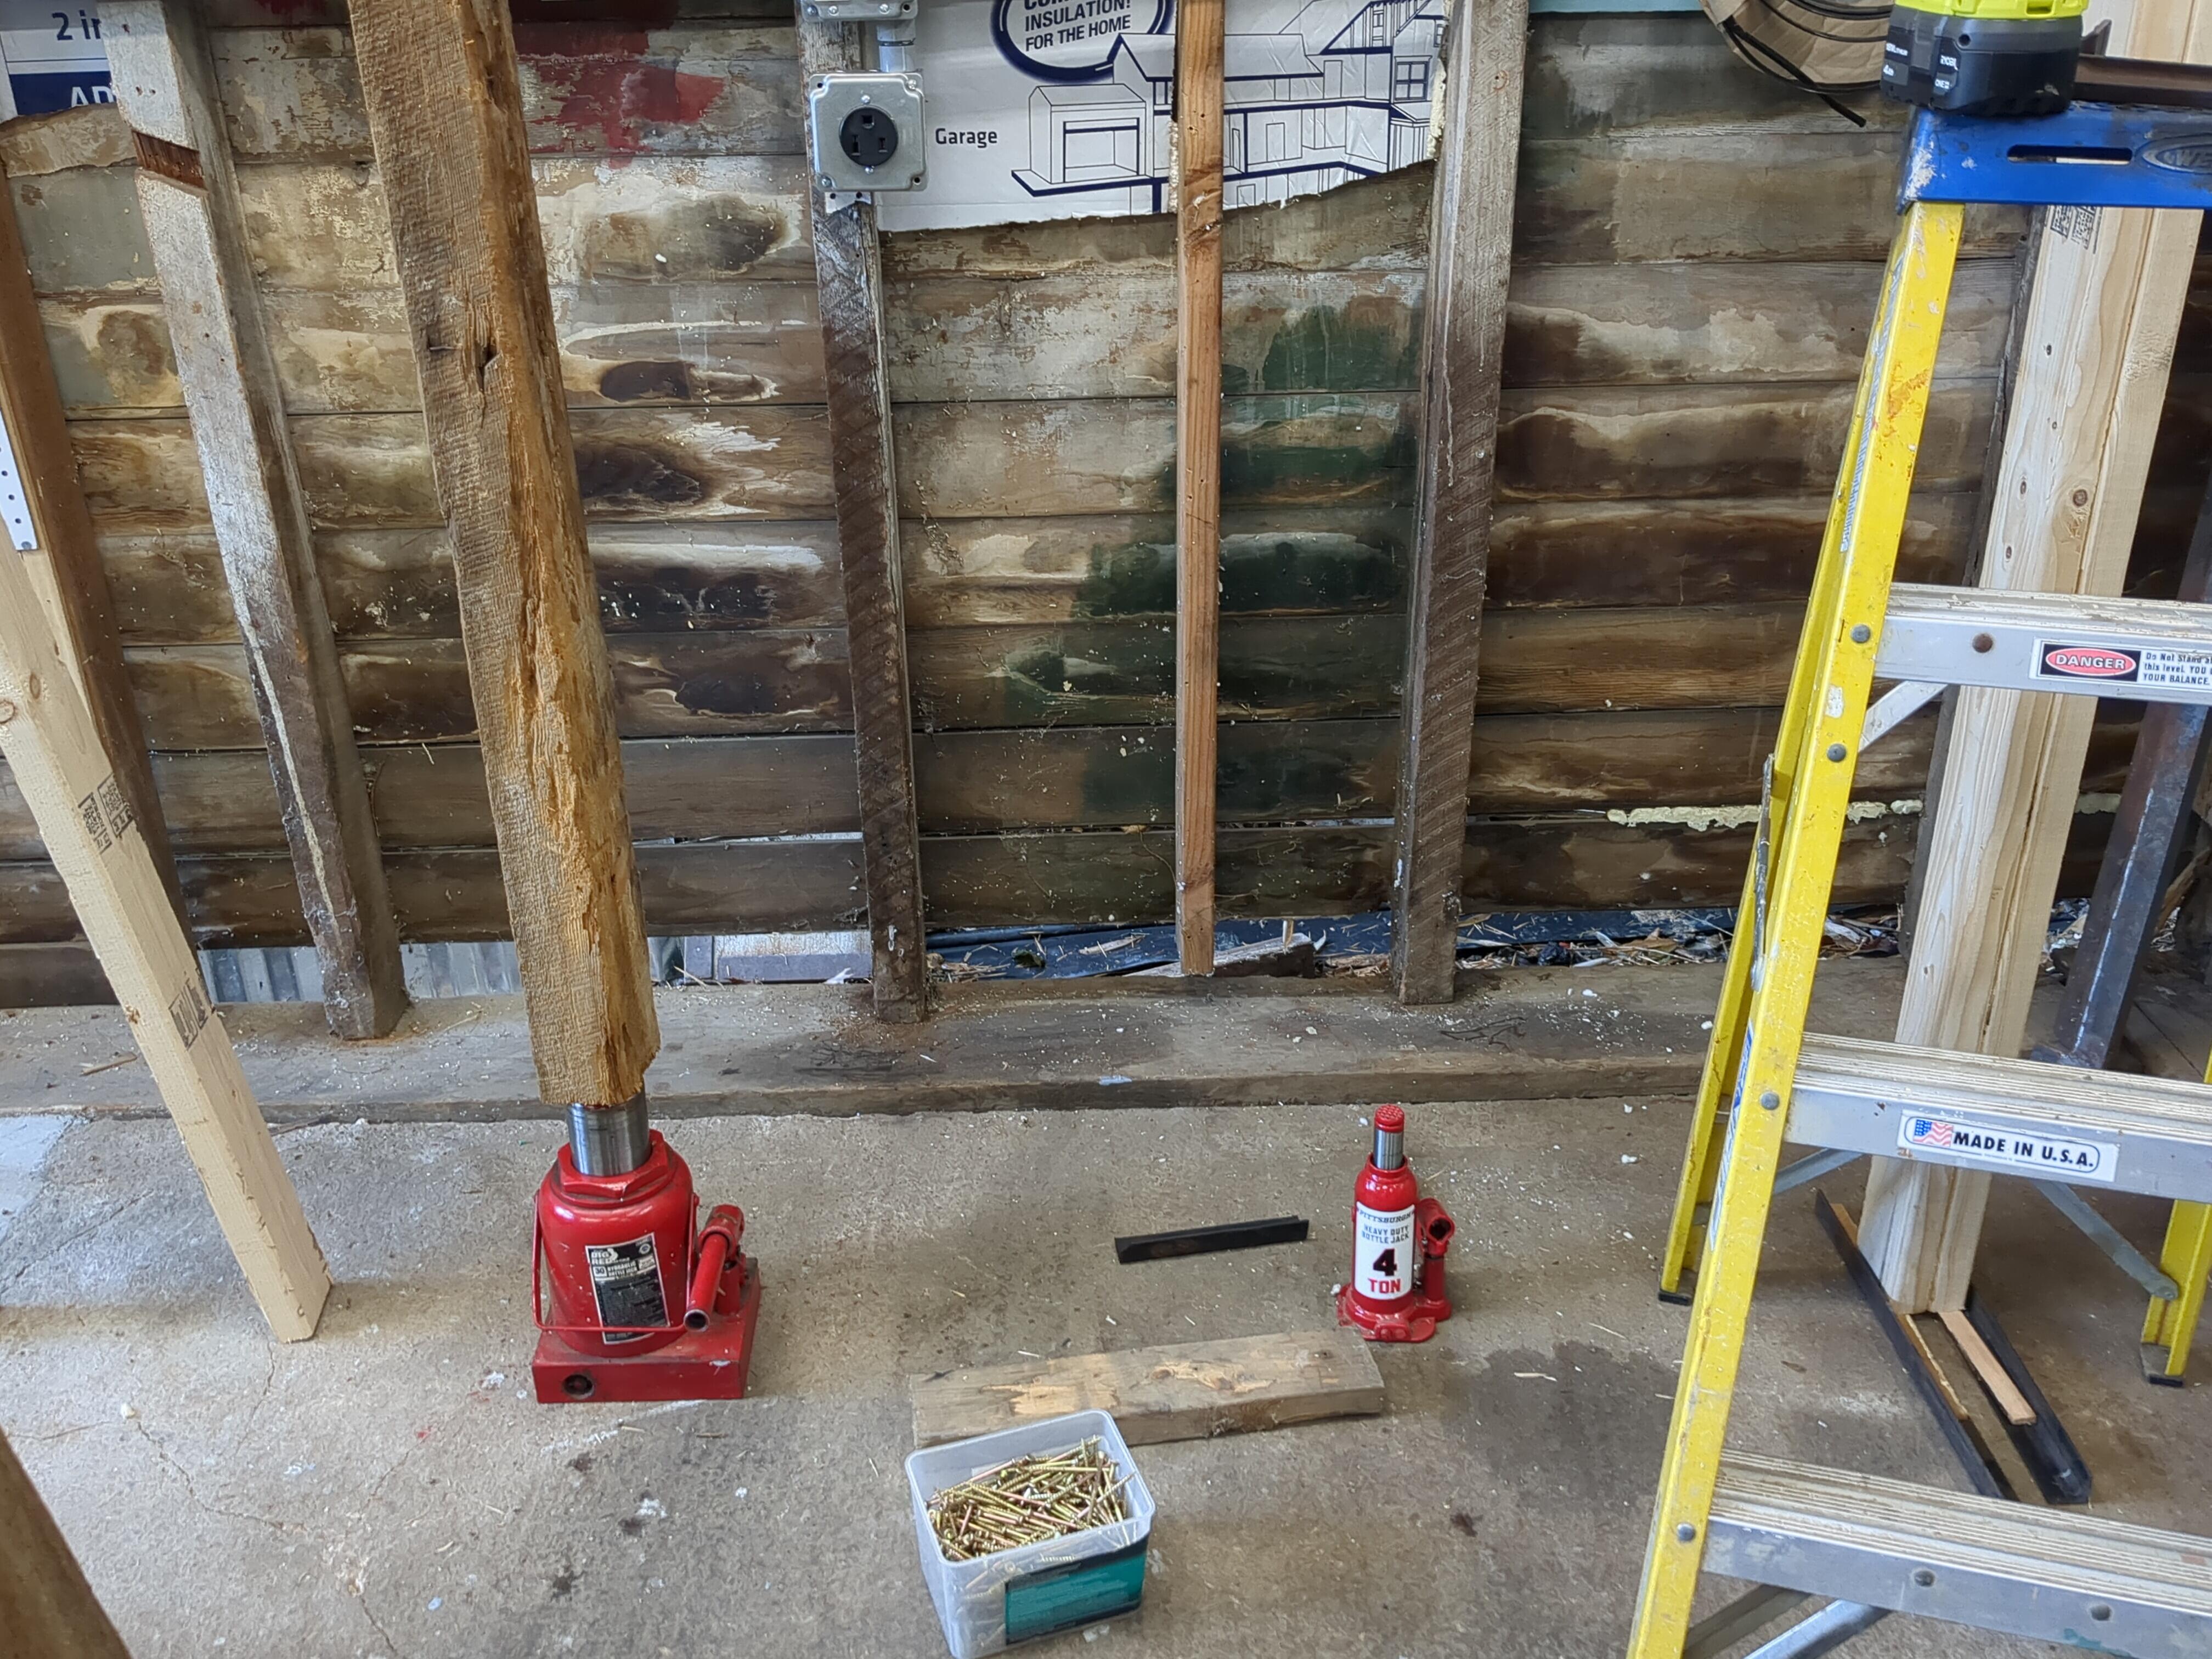
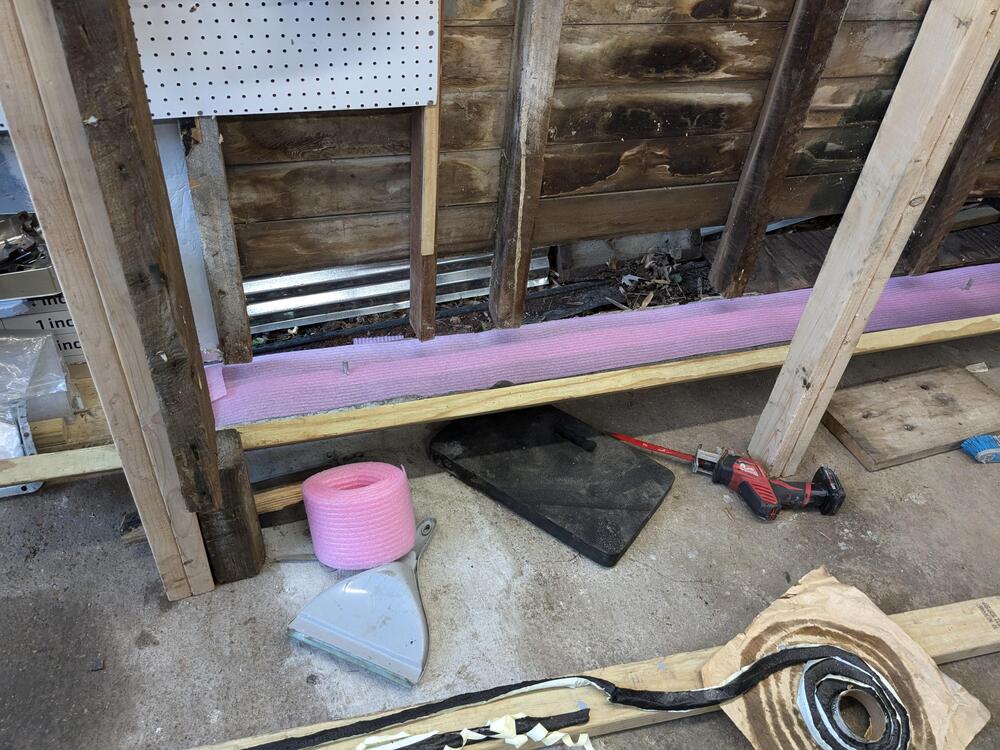
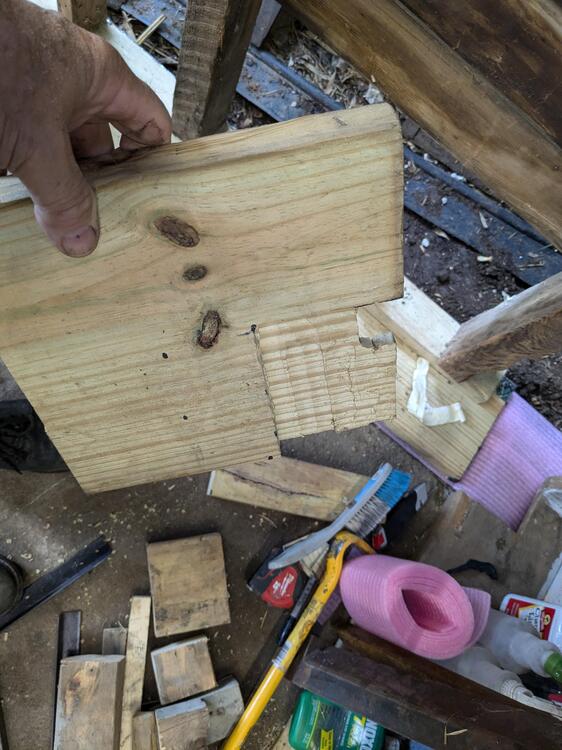
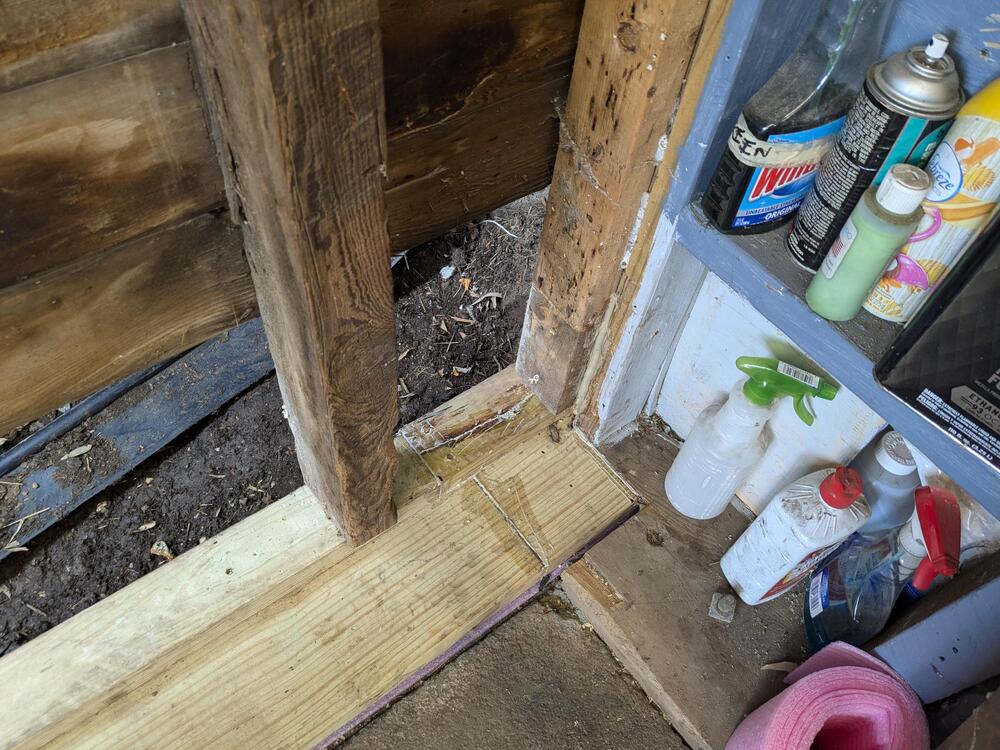
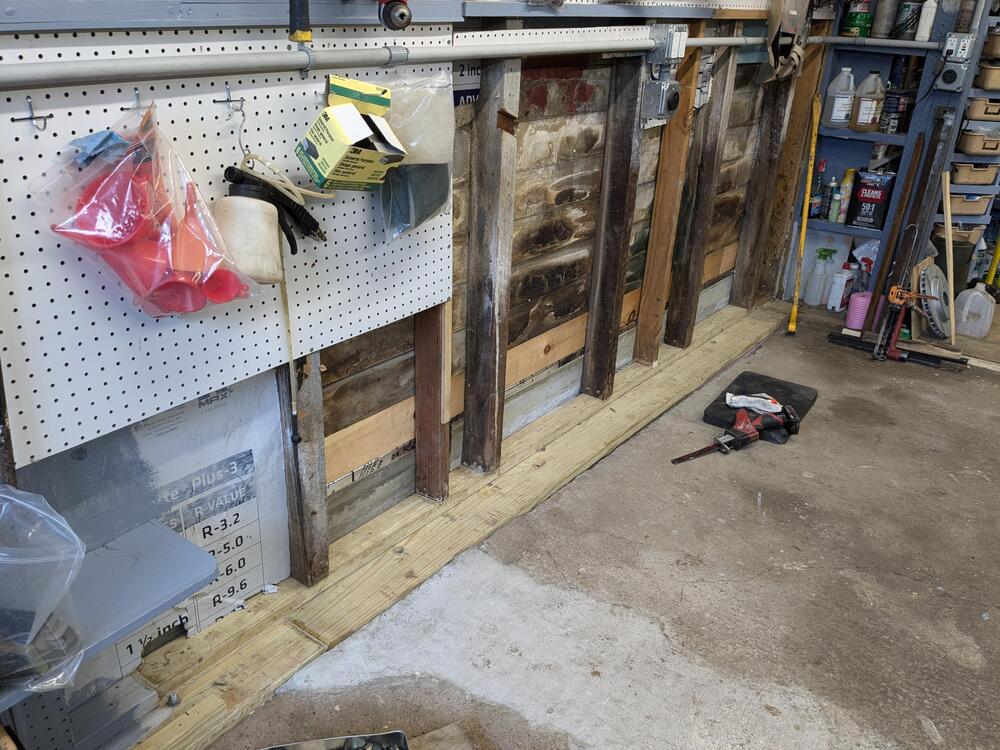
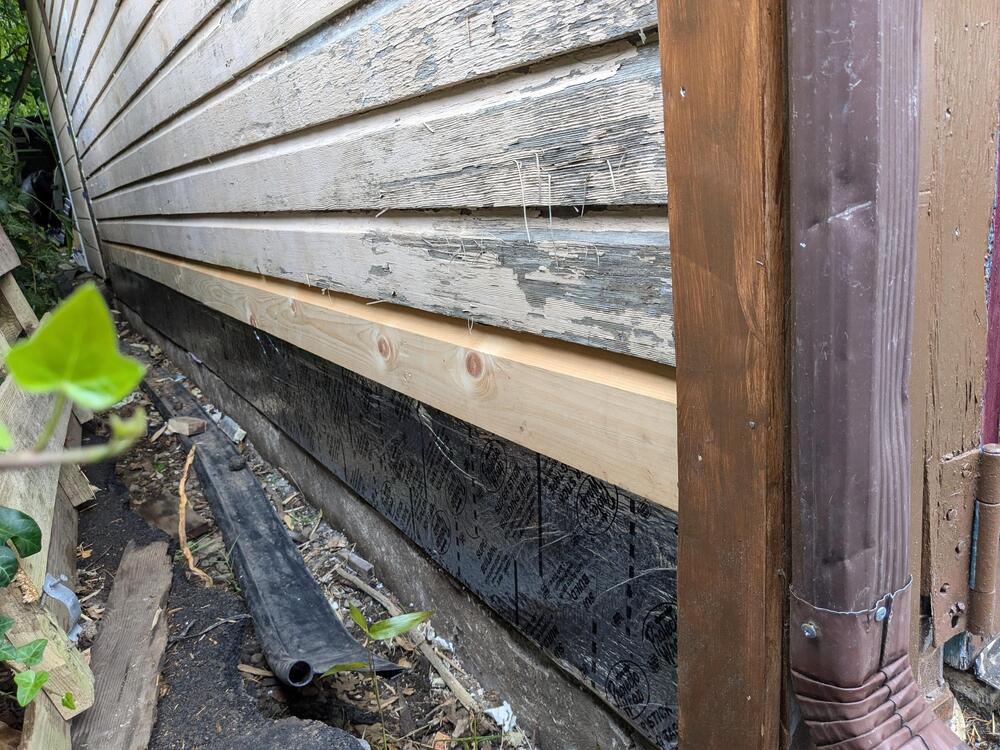
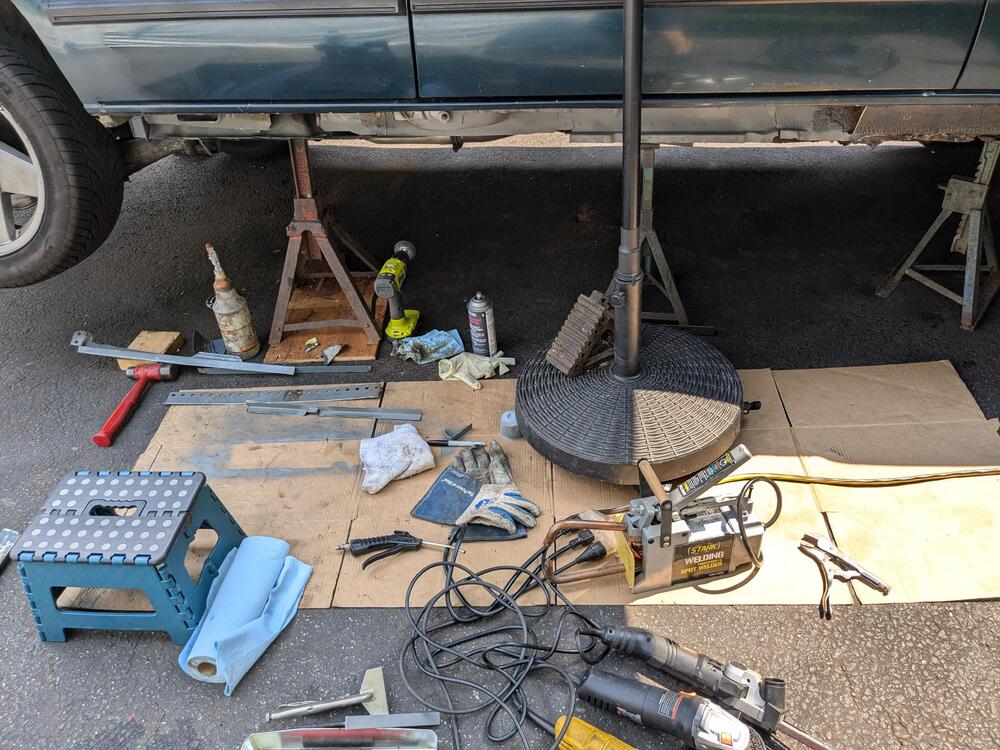
Got the base plate in, and the smaller plate. I only cut exactly 1.5" off the bottom of the studs, so it was a bitch to get that in under the studs. The large sledge helped. Under foam barrier & butyl Funky piece to fit the corner. Had to shave 1/4 off the whole piece to clear the existing concrete, then used the router to cut a step that tucks under the cross plate, as did the original After that was fitted, I added an extension to the 2x4 plate, then a 7" section of 4x4 to repair the corner post, then a similar length for the visible stud that abuts it. New siding for the 3rd run, Concrete backer for the lower 10" Covered with Protecto-wrap, this stuff sticks to anything. Now I can put up the last pegboard, move everything back , and get moving on the V8 conversion for my Volvo truck.

-
As Capt. O intimated I have a number of sledges - all were found objects (no handles, 2 I dug out of my yard)- that one was in my Mum's basement. I think it's about 30lbs, perfect for obstinate base plate fitment.
-
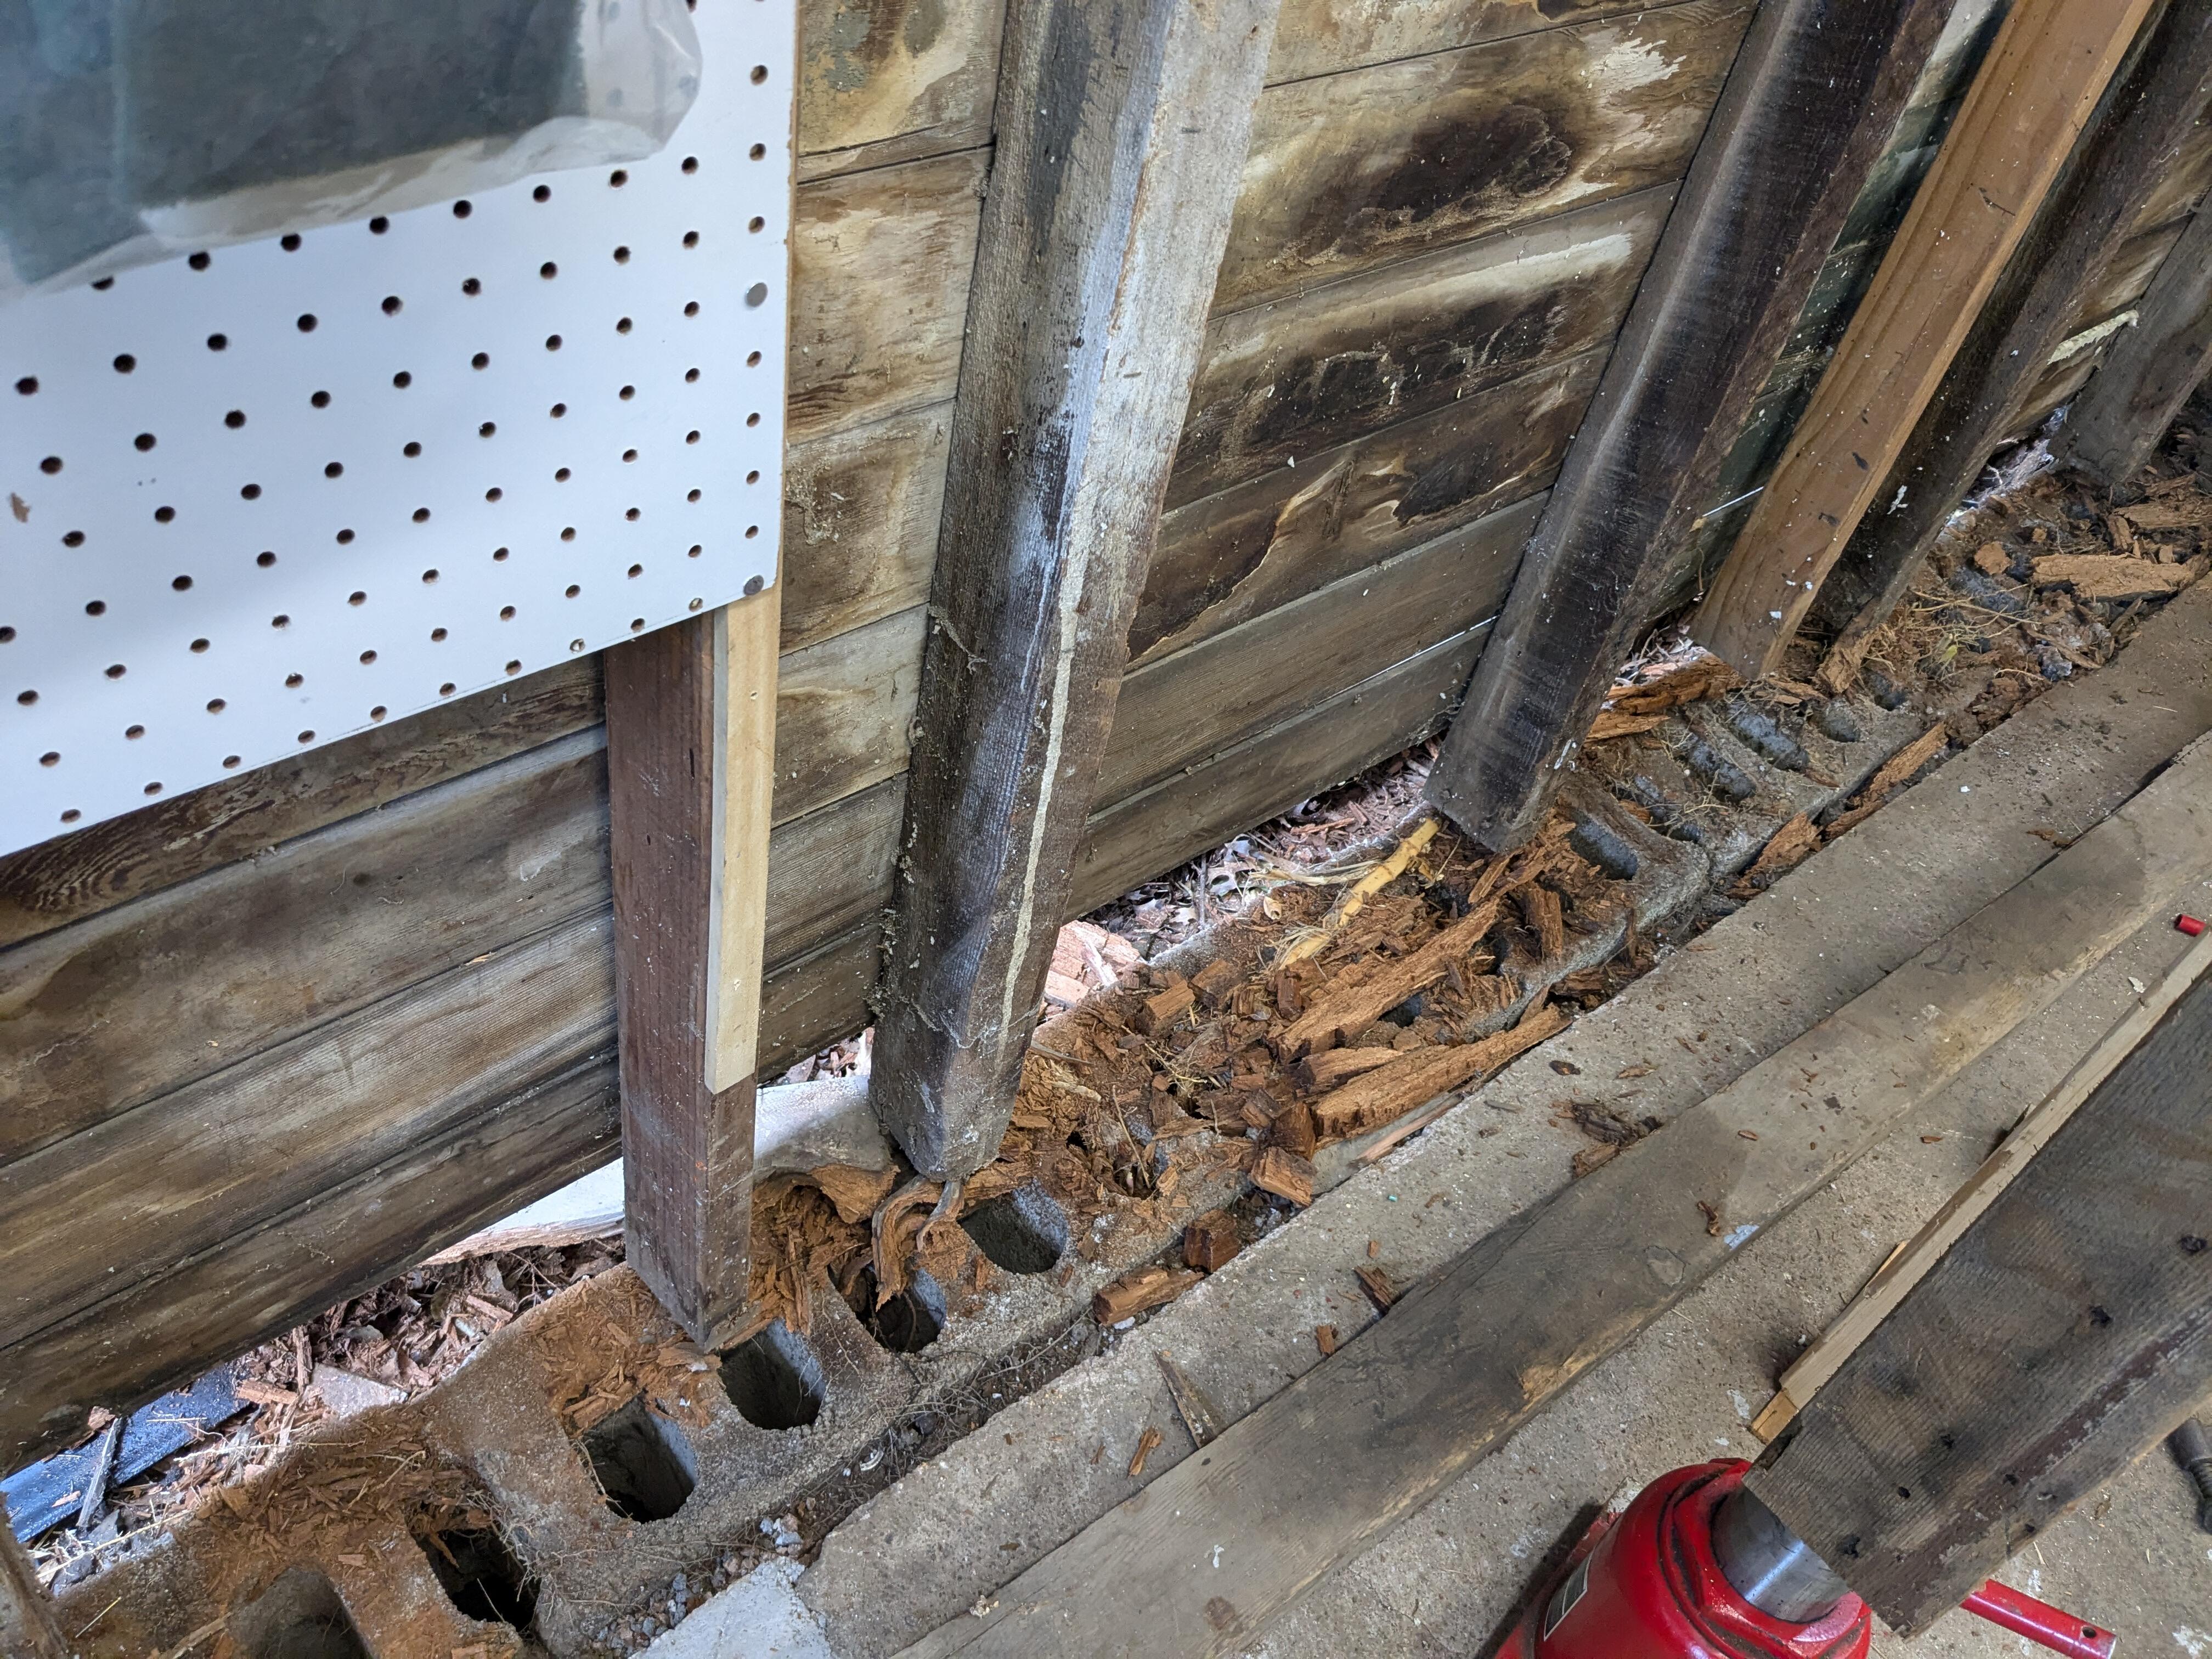
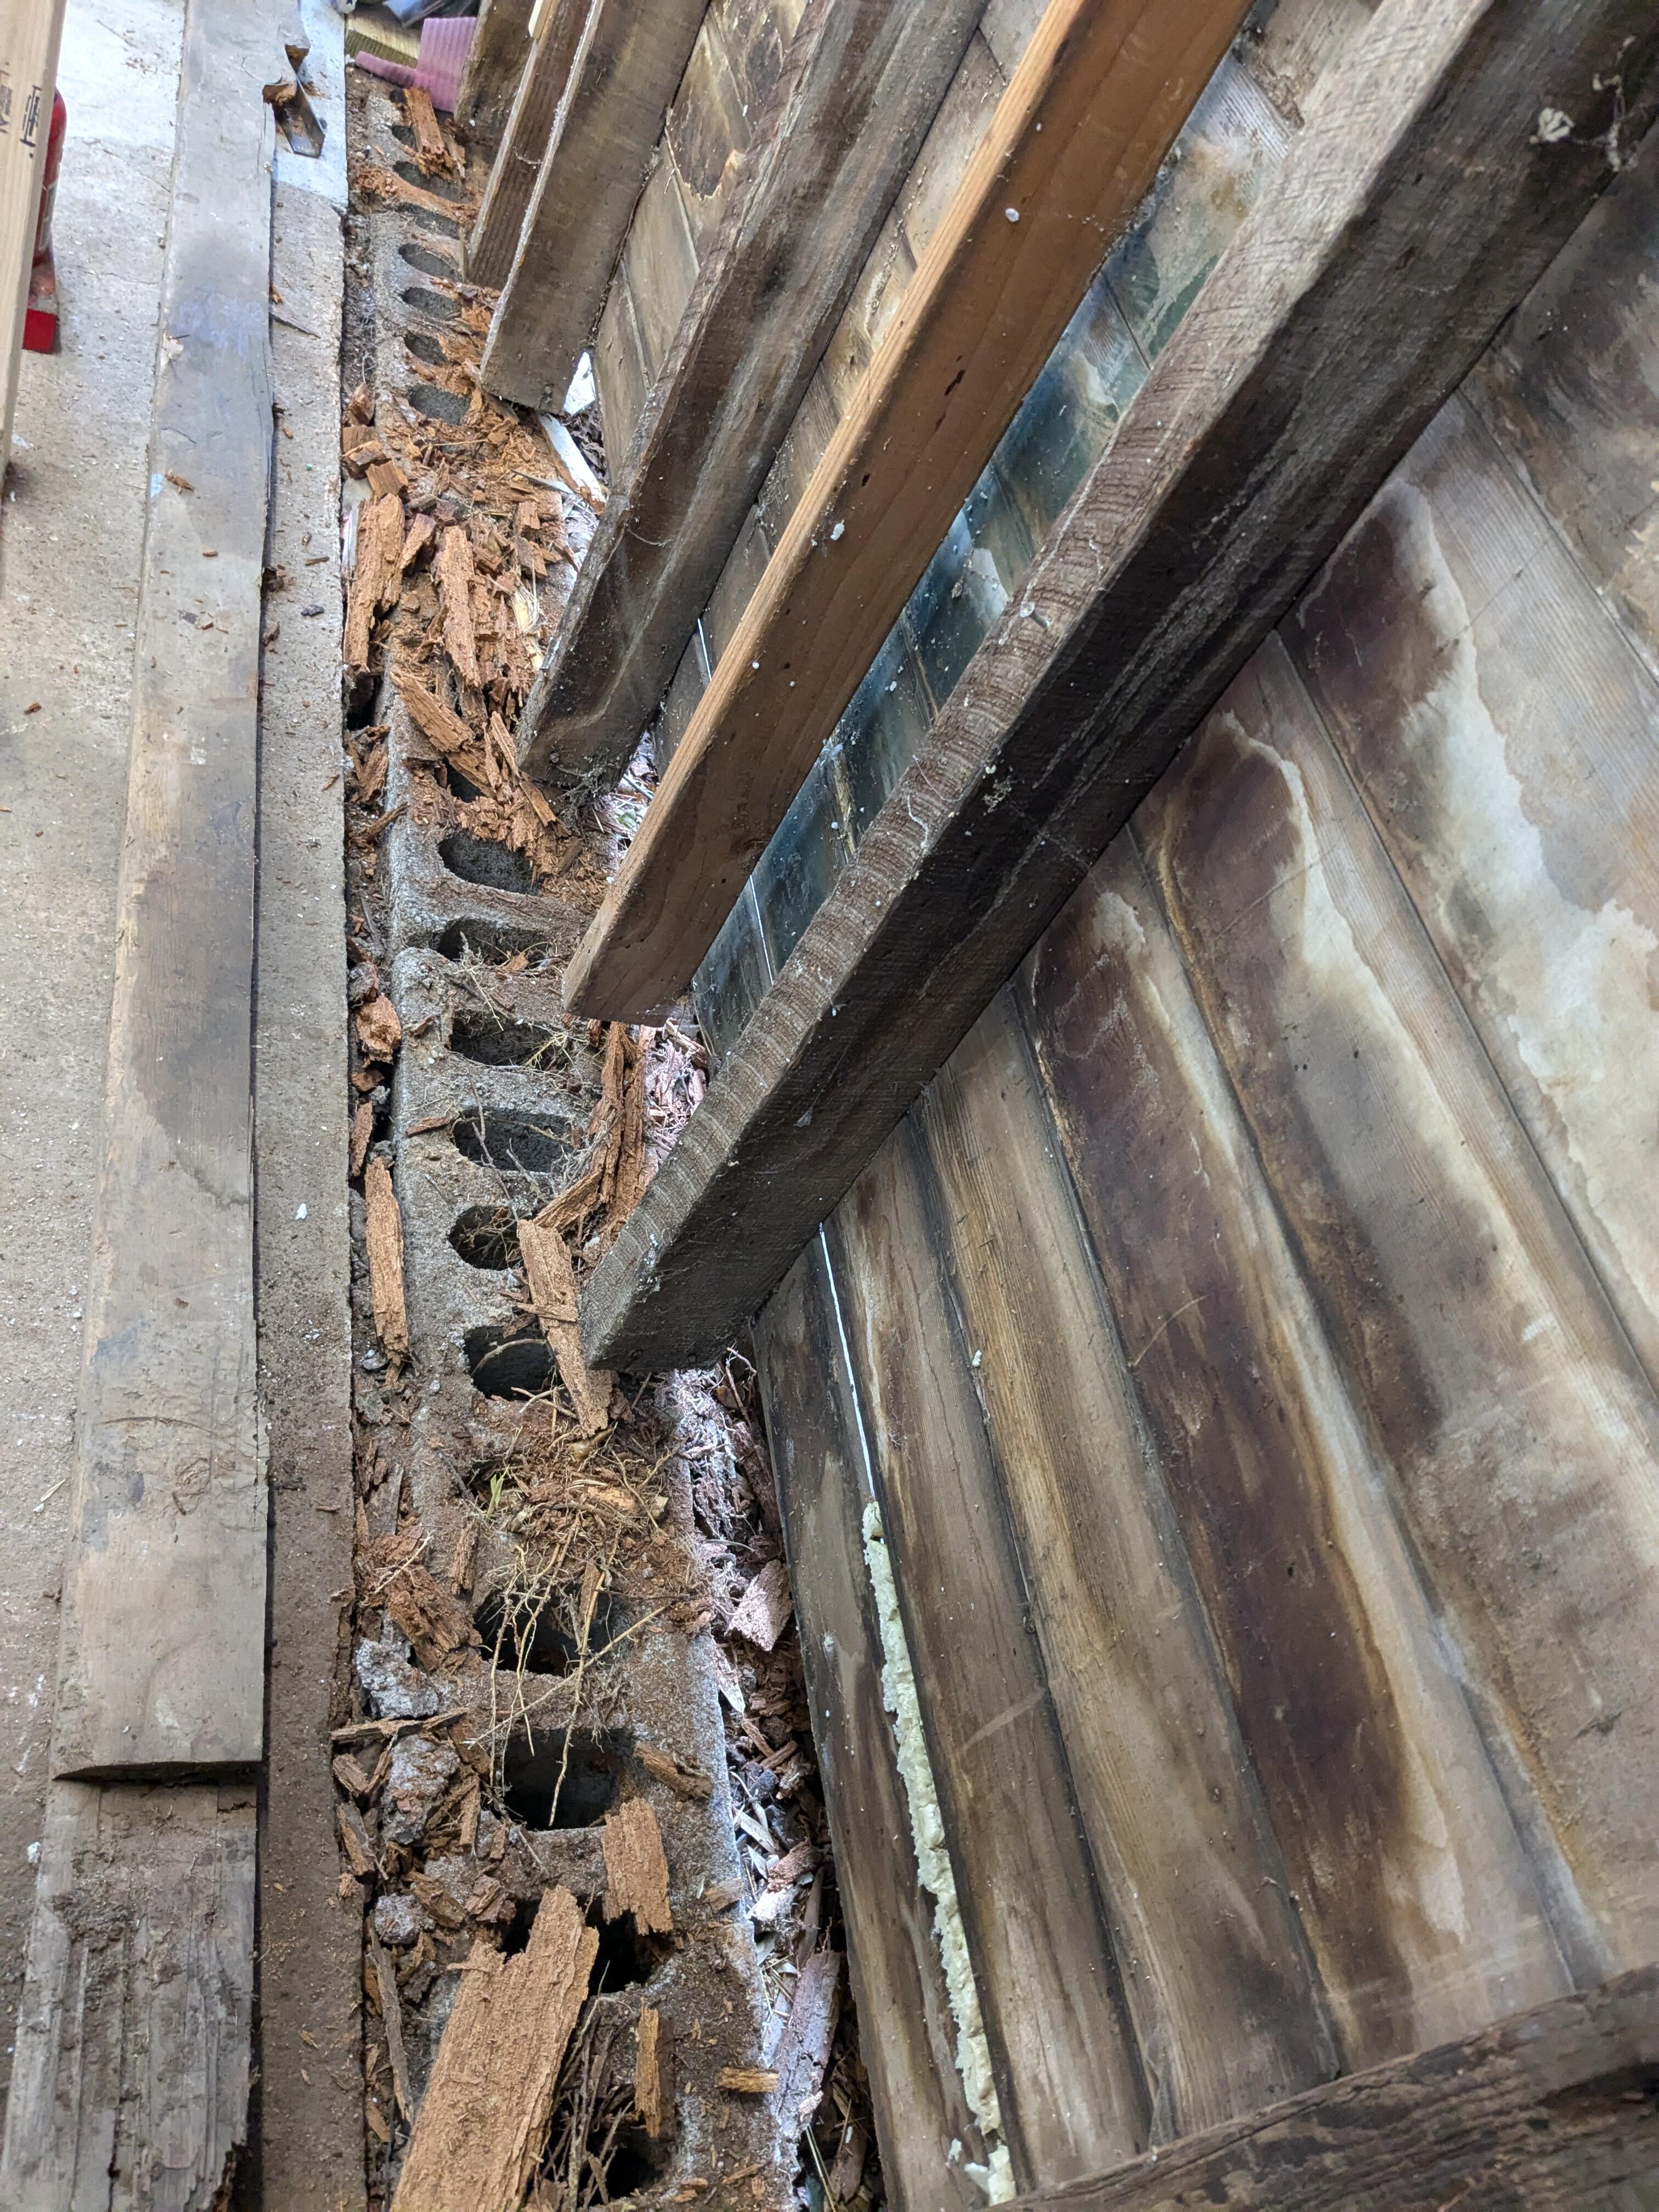
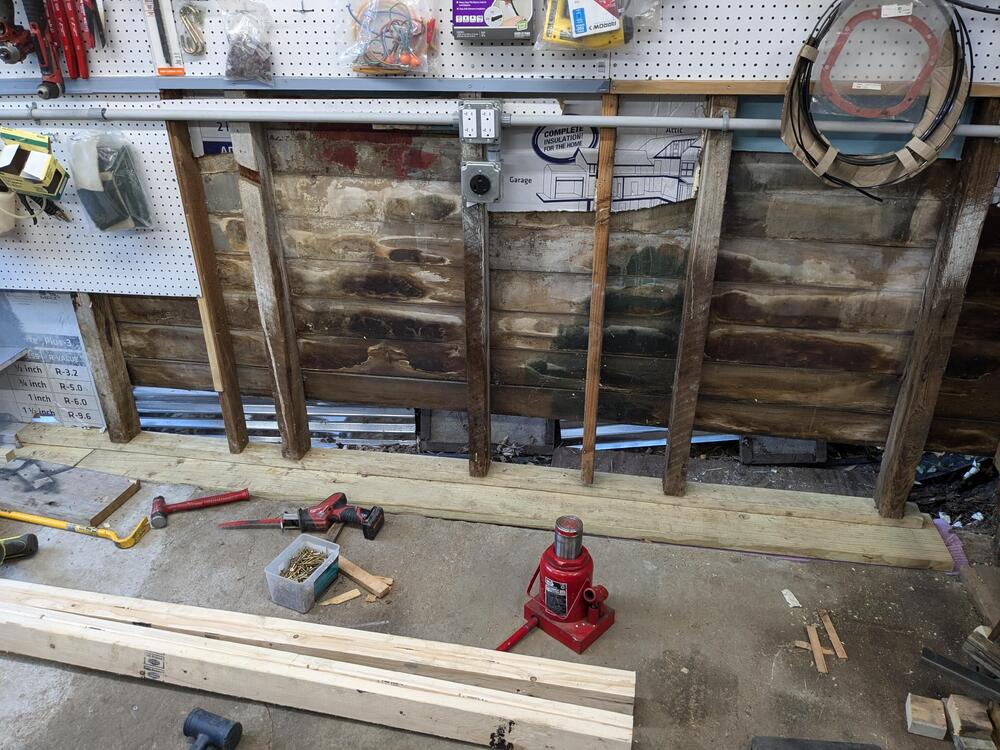
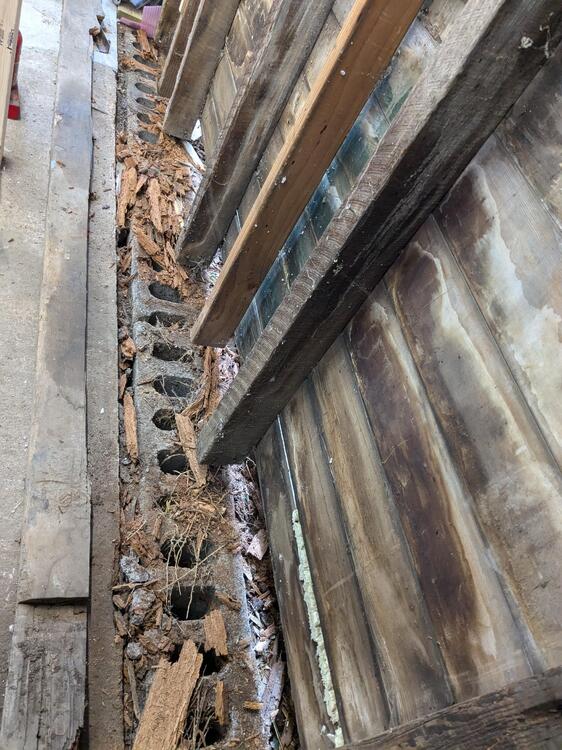
Back to the garage for a bit - I need to finish the base plate replacement on the south wall . Removed the dead one Poured gravel into the lower cinder block, then concrete into the upper. Set two bolts to tie the new plate This corner will need separate attention


-
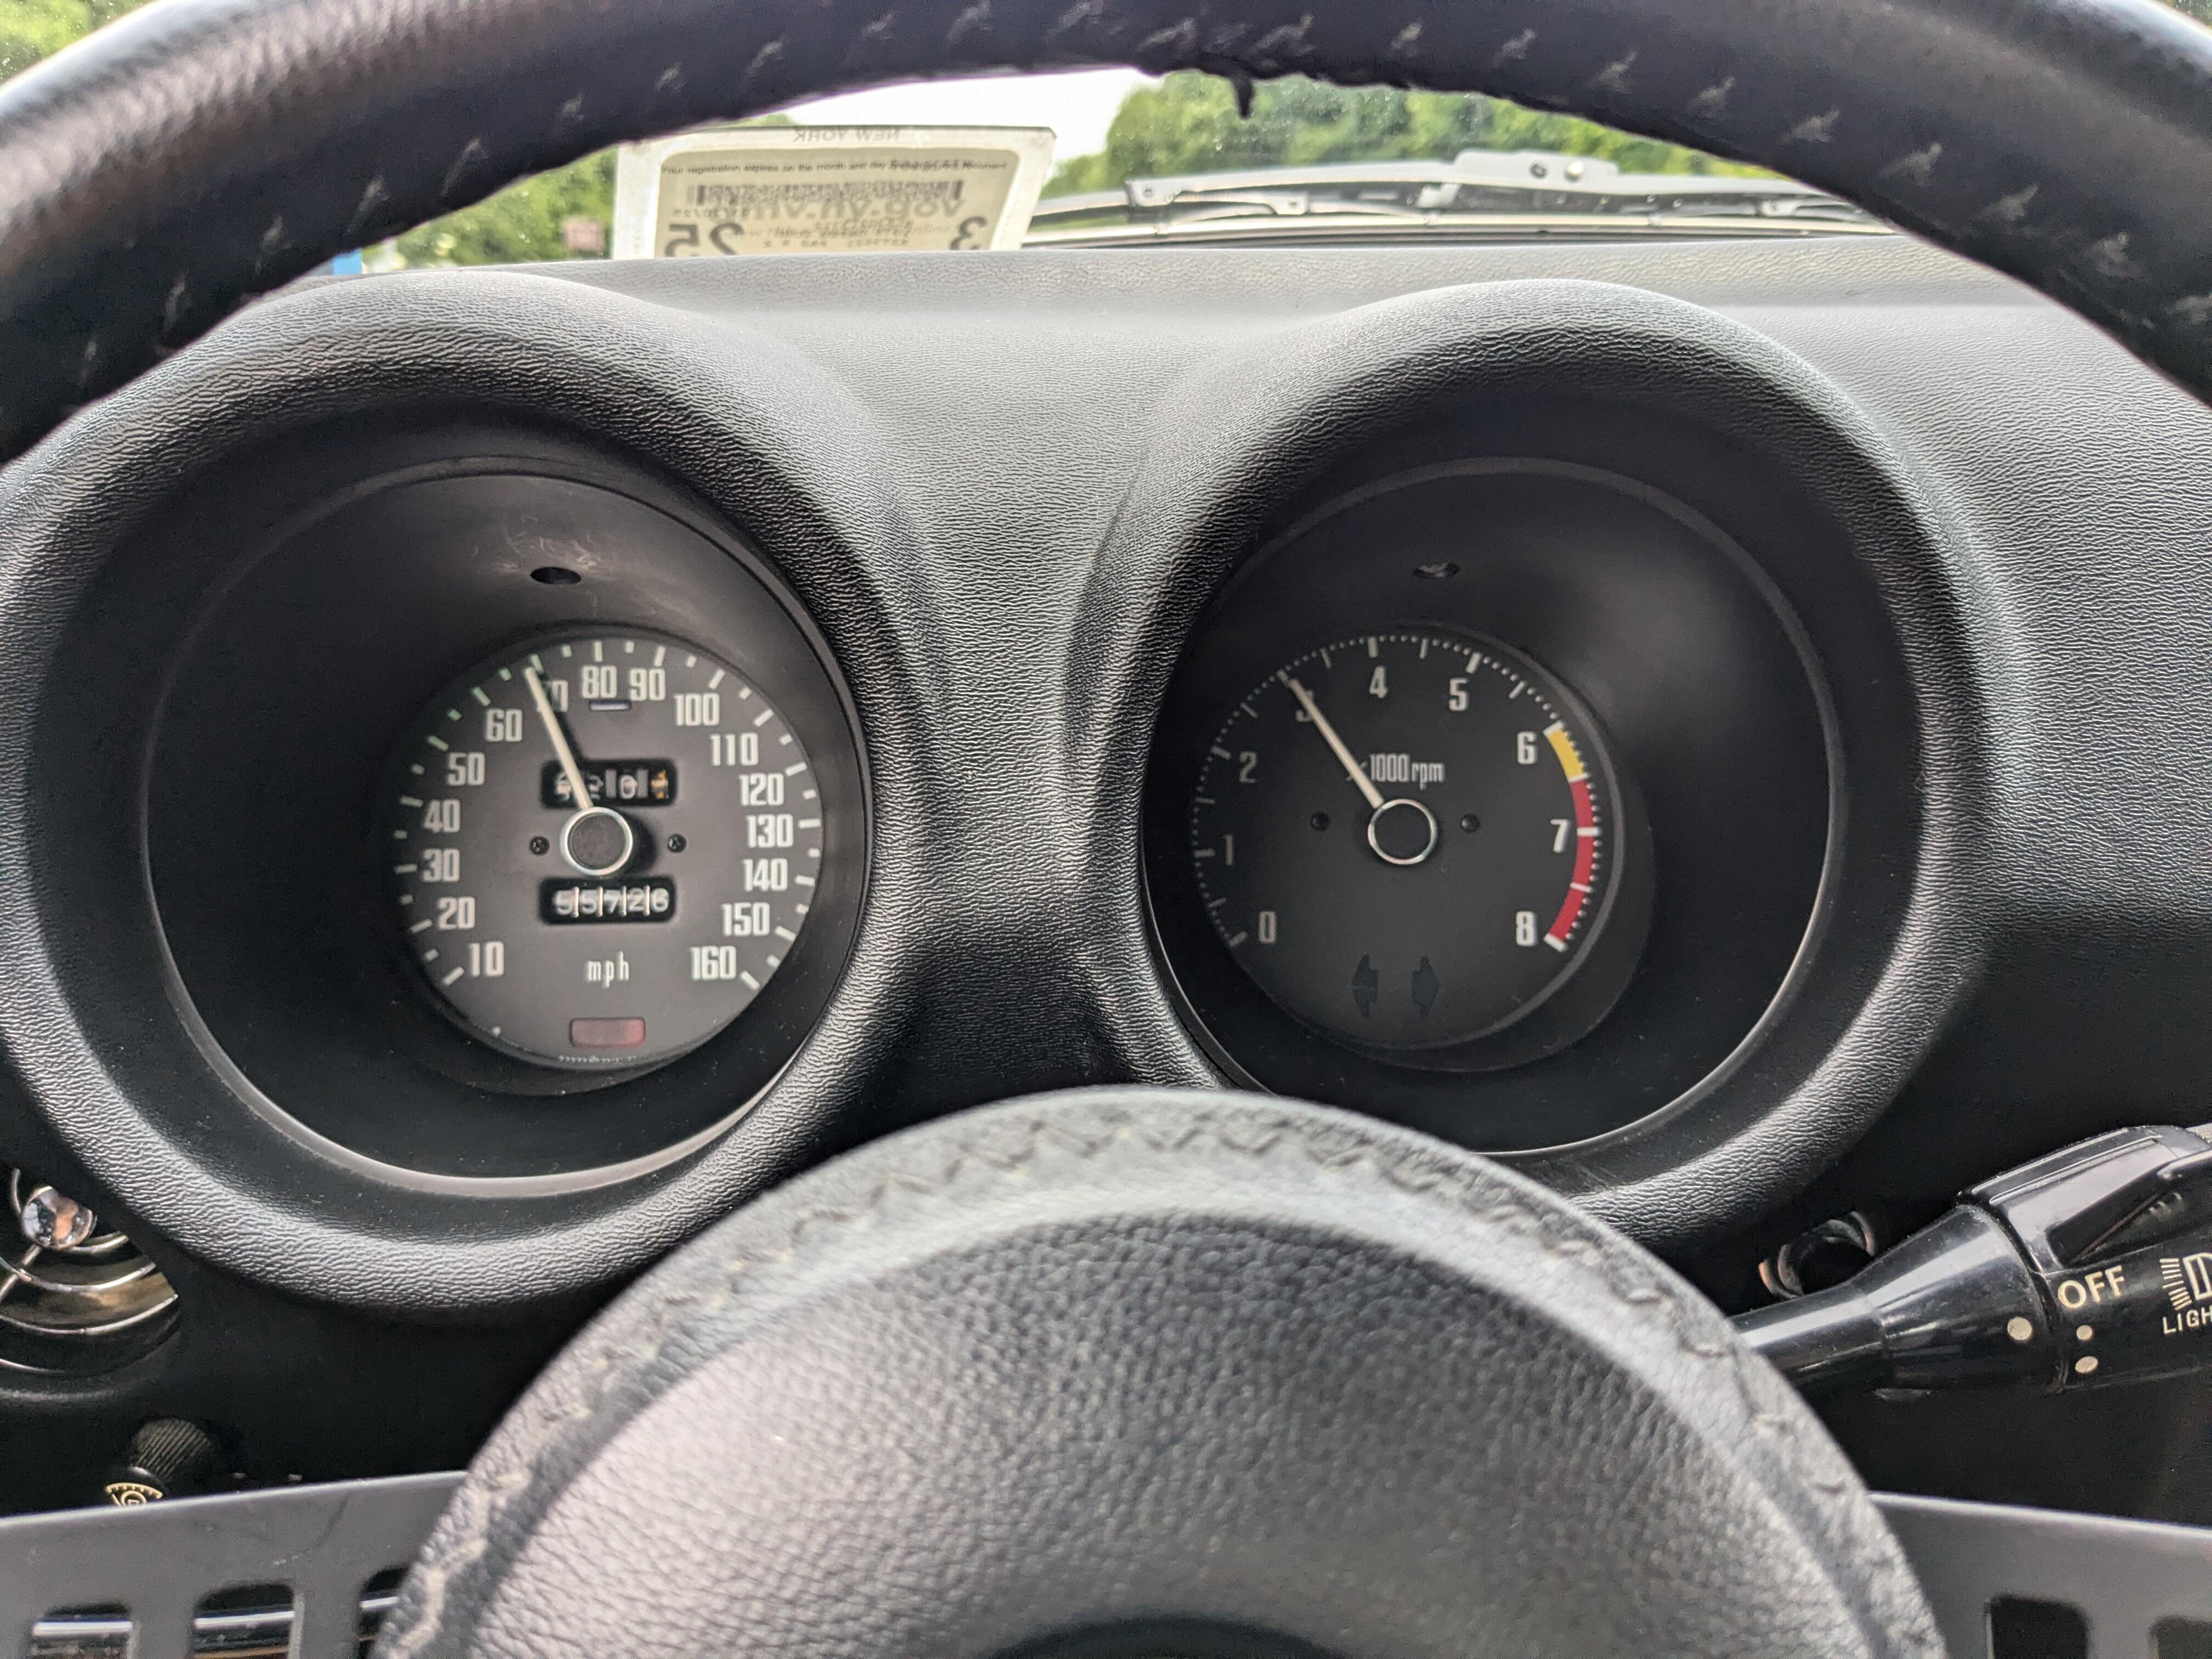
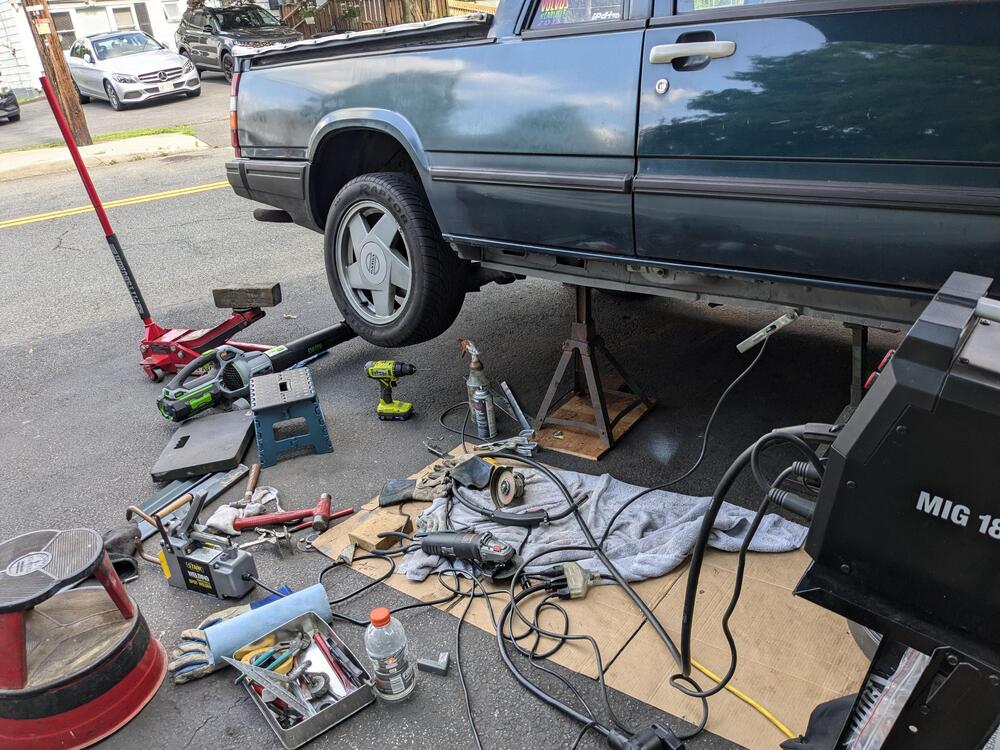
Just to wrap this up - car is much more enjoyable with a transmission that is not screaming or whining at me the whole time, never mind the fact that the gear spacing is much better than the old 4 speed. 70 mph in 5th is 3K rpm, was 4K with the 4 speed. And its quiet. Installed at (2)55700K miles I was up early today, so I trimmed my azalea bush before the sun got strong. The canna is starting to flower. I was hoping it would grow taller this year, with all the rain we've had


-
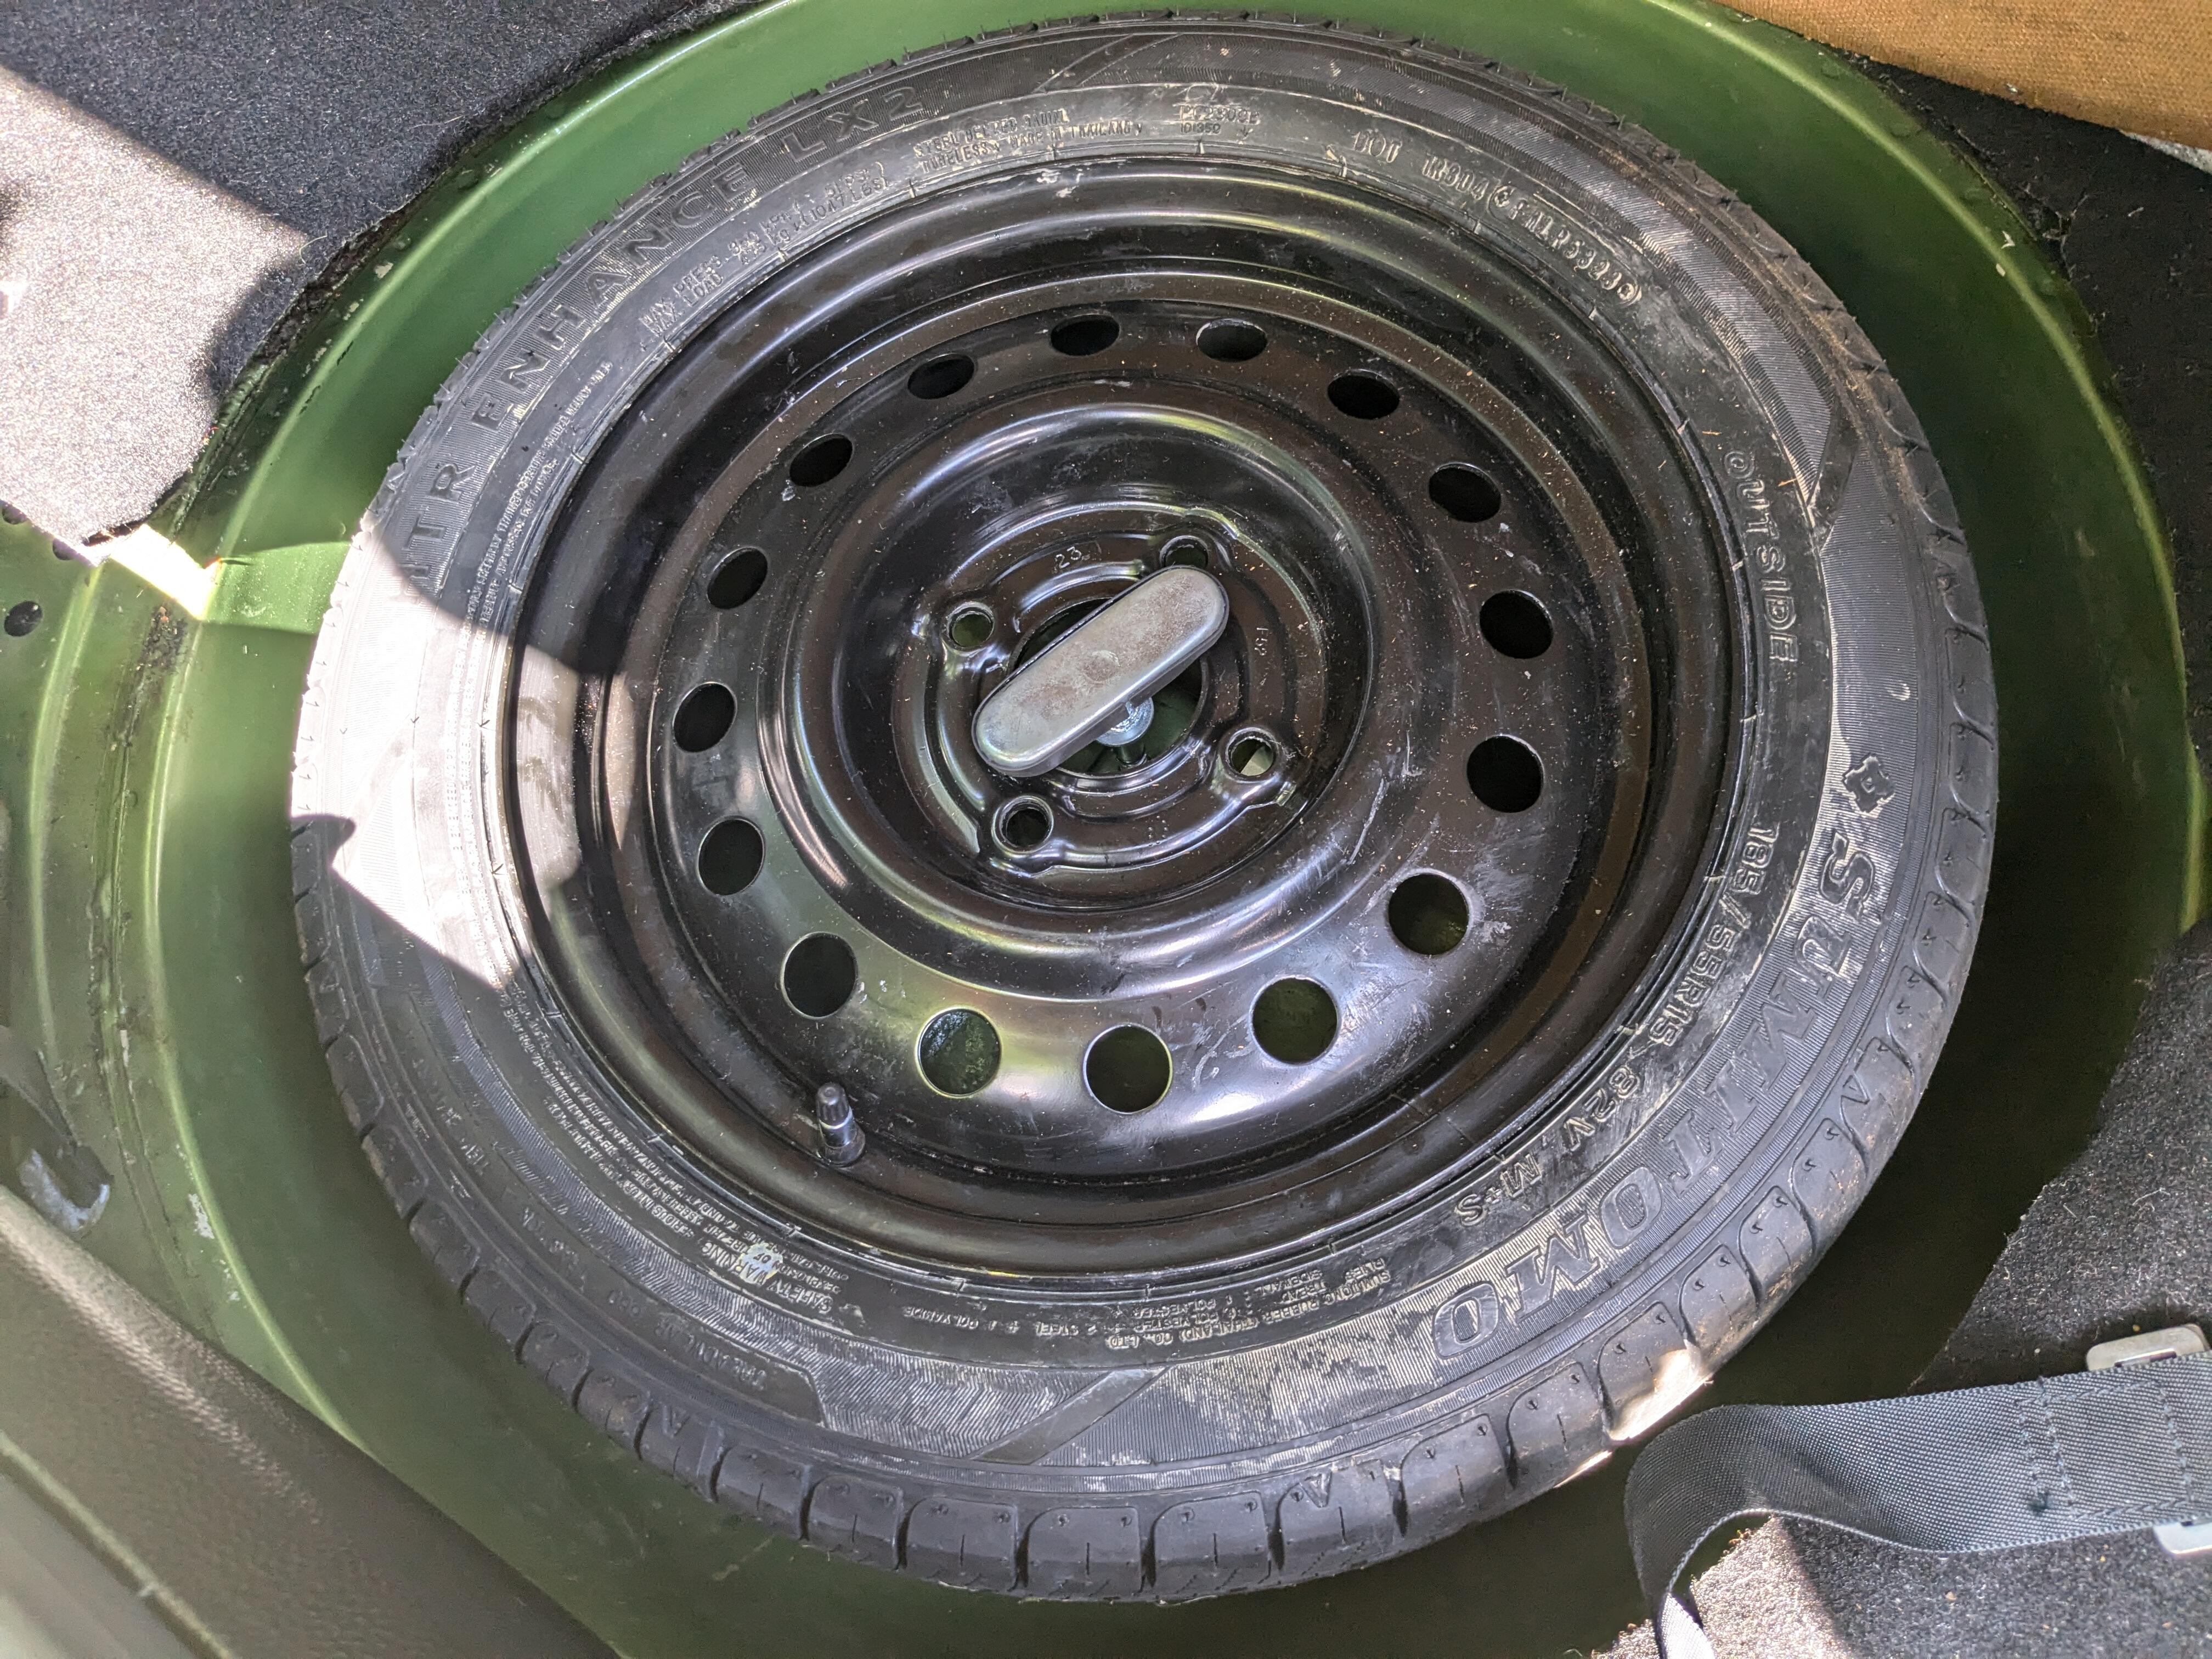
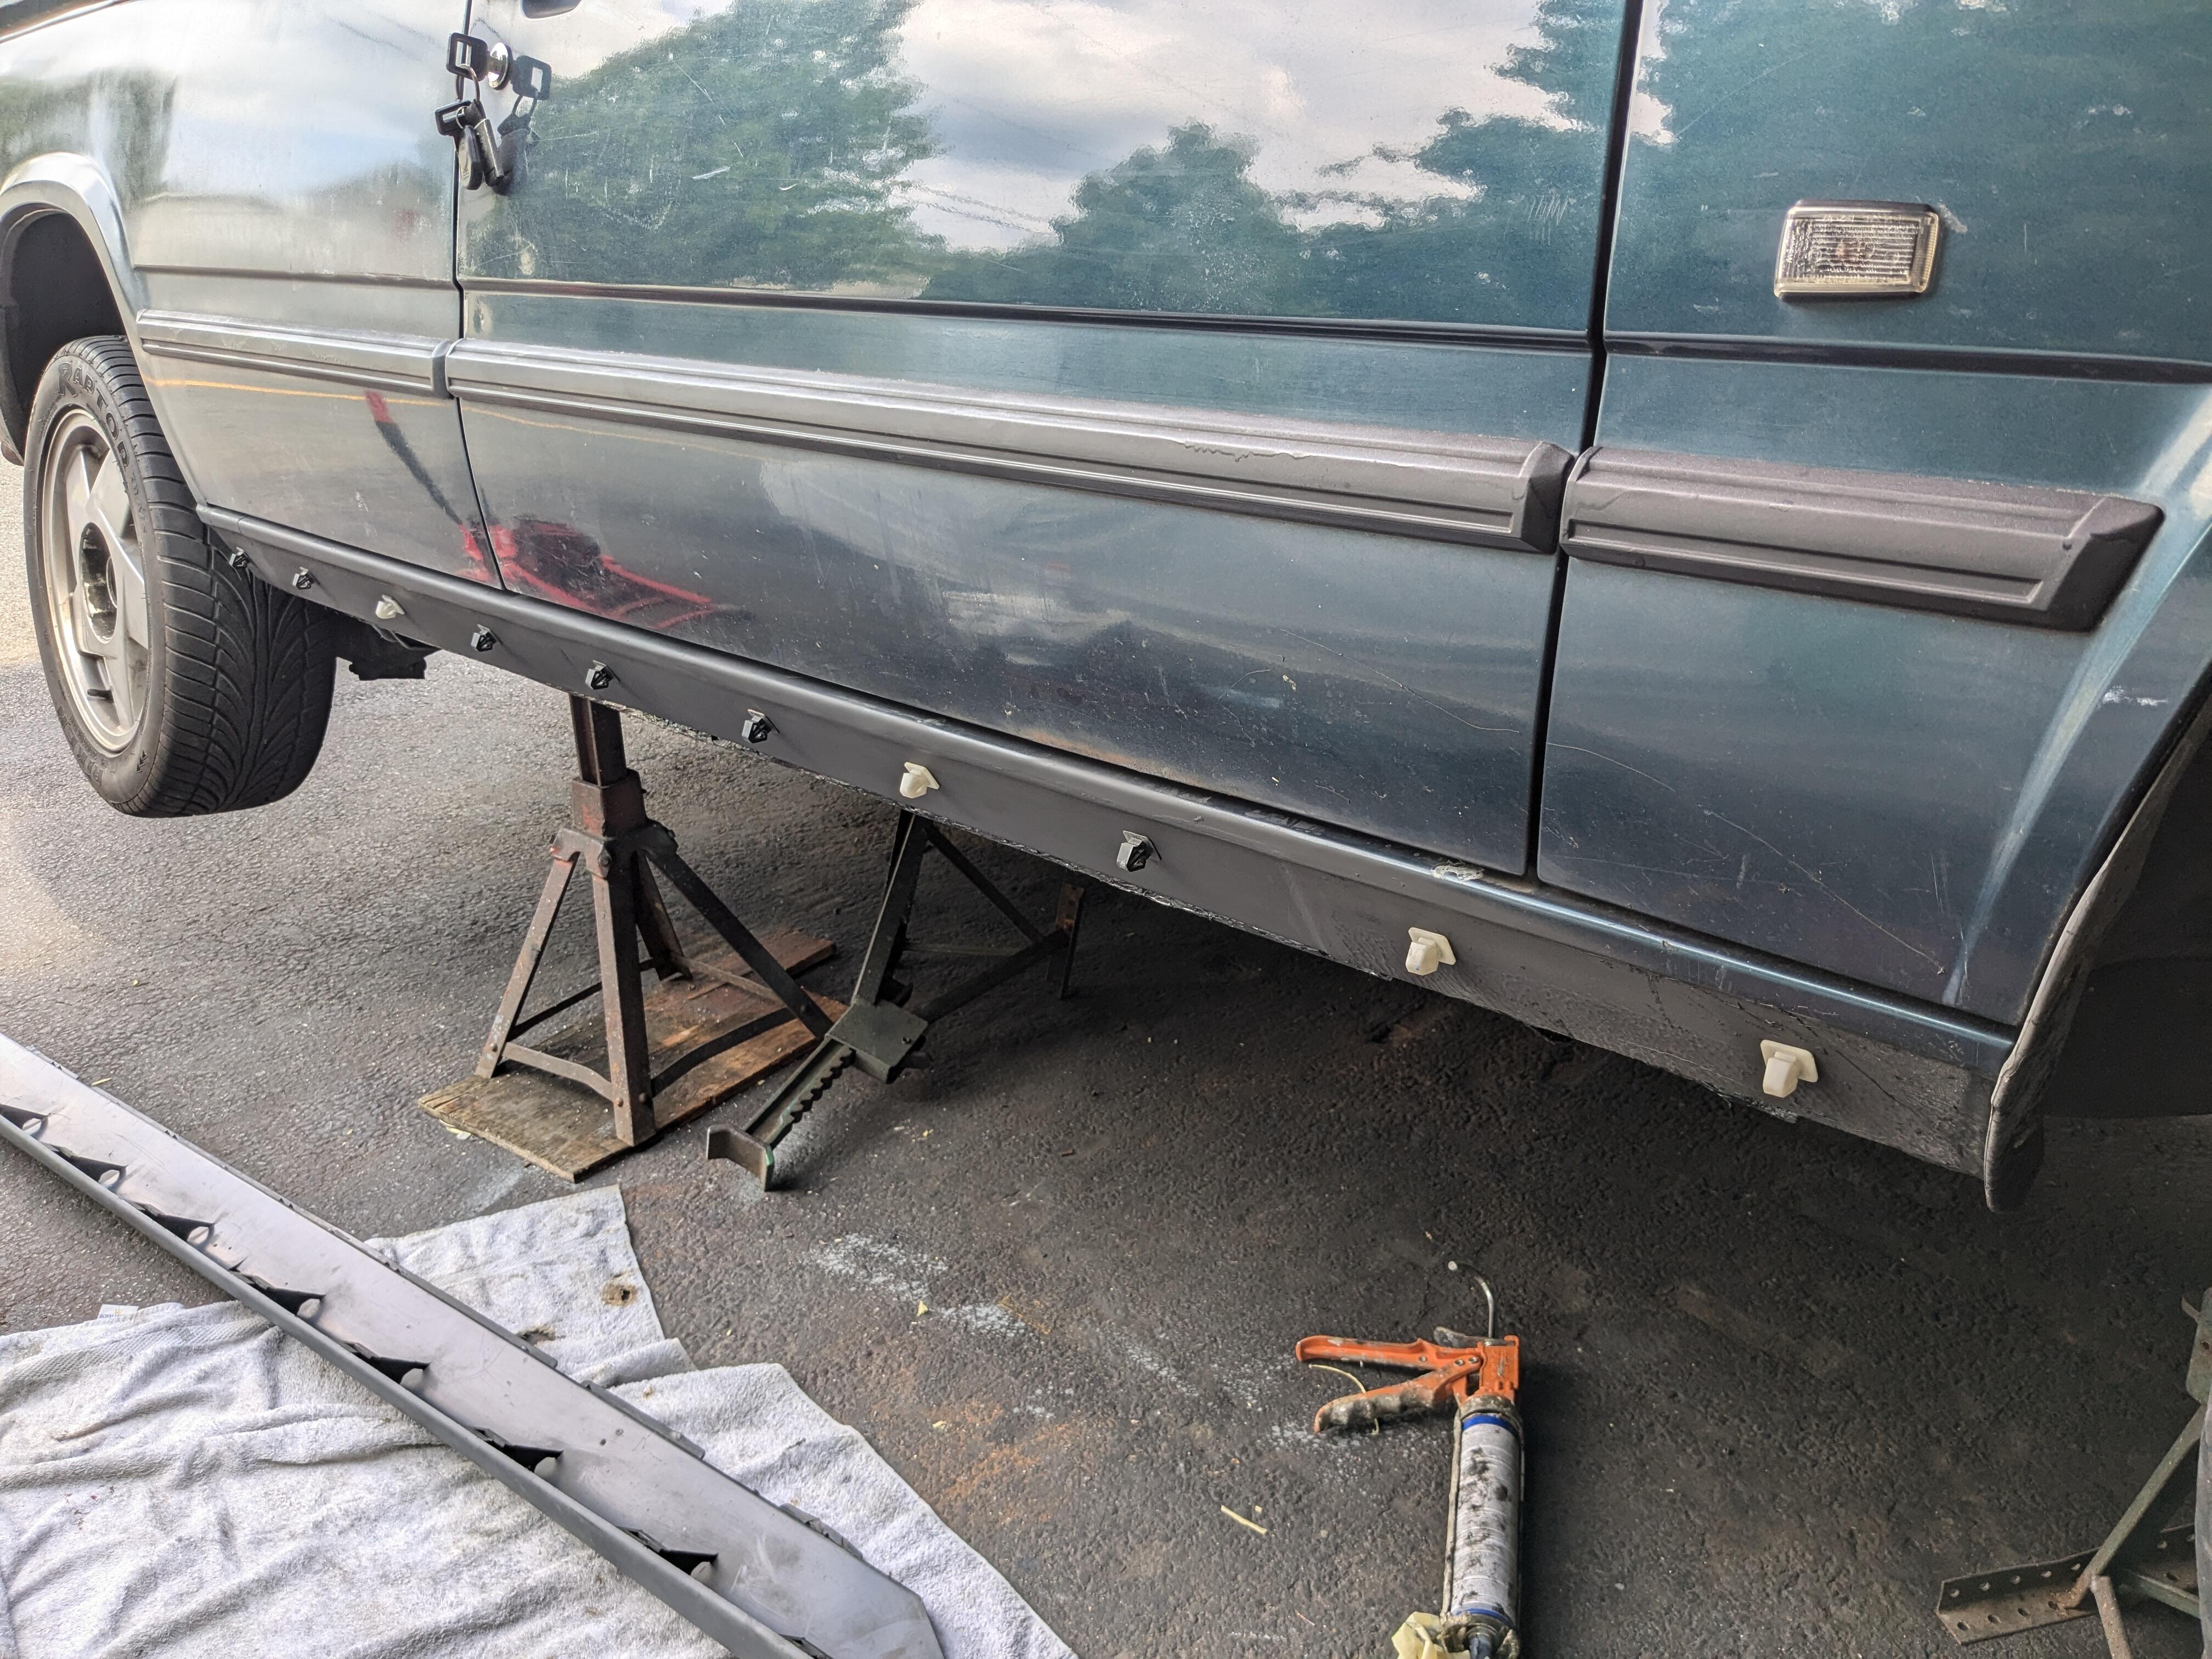
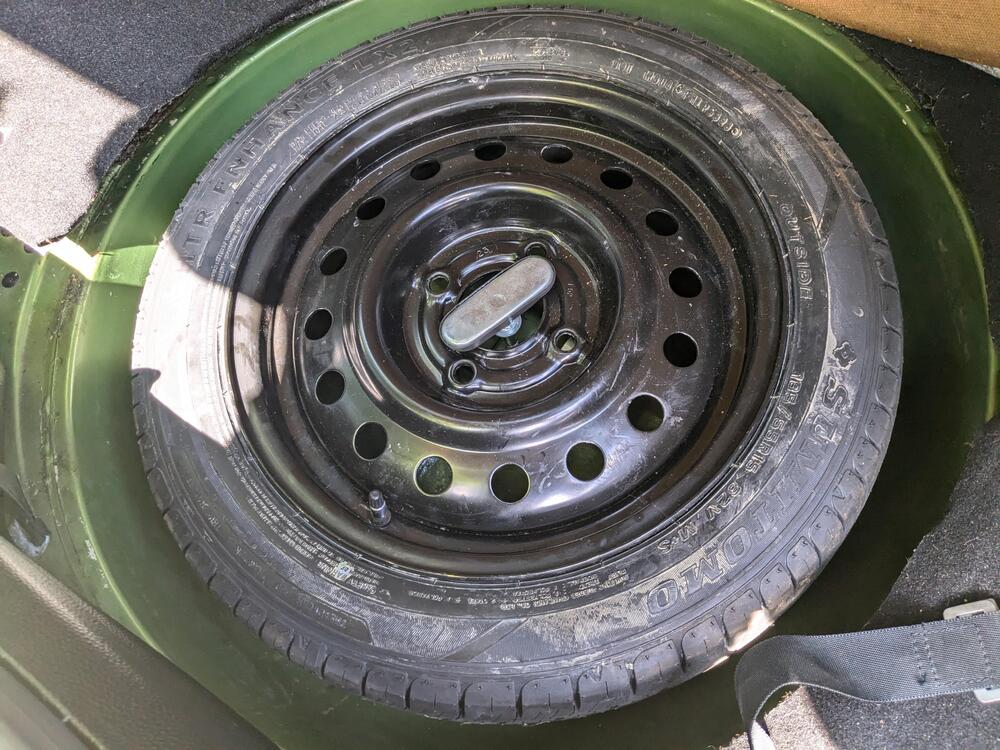
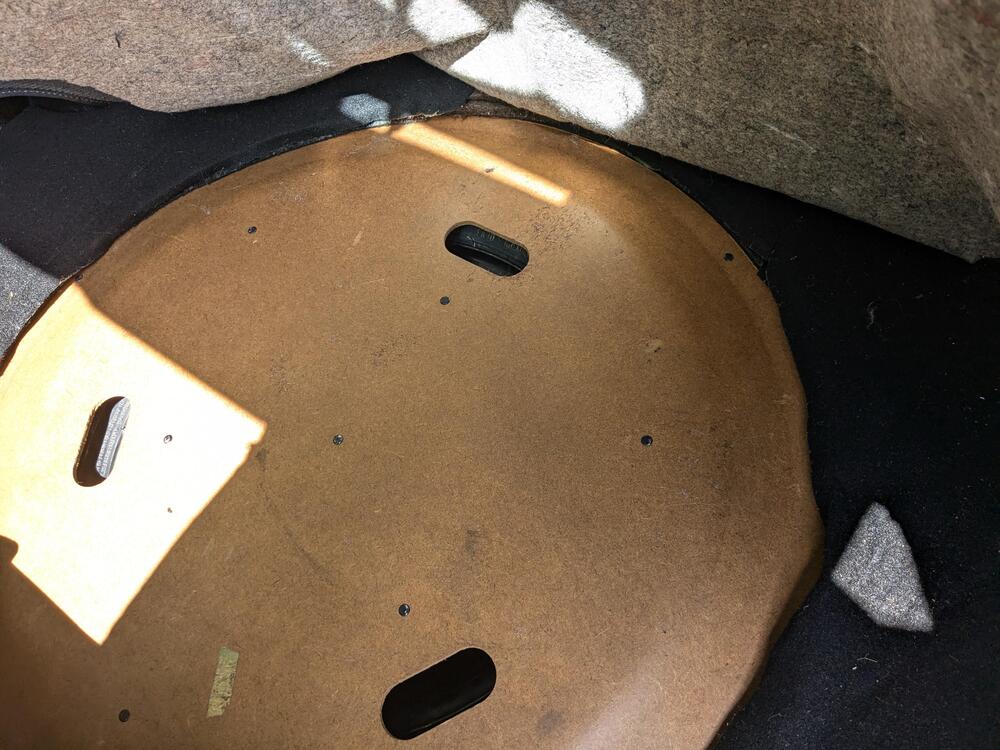
Finished up the rocker cover install. Drilled the 17 holes on the driver's side, squaring off the upper ten for the special clips Mounted & balanced the spare for the Z, and stowed it. Fits perfectly in the well cover fits over Also put the starter in the C30

-
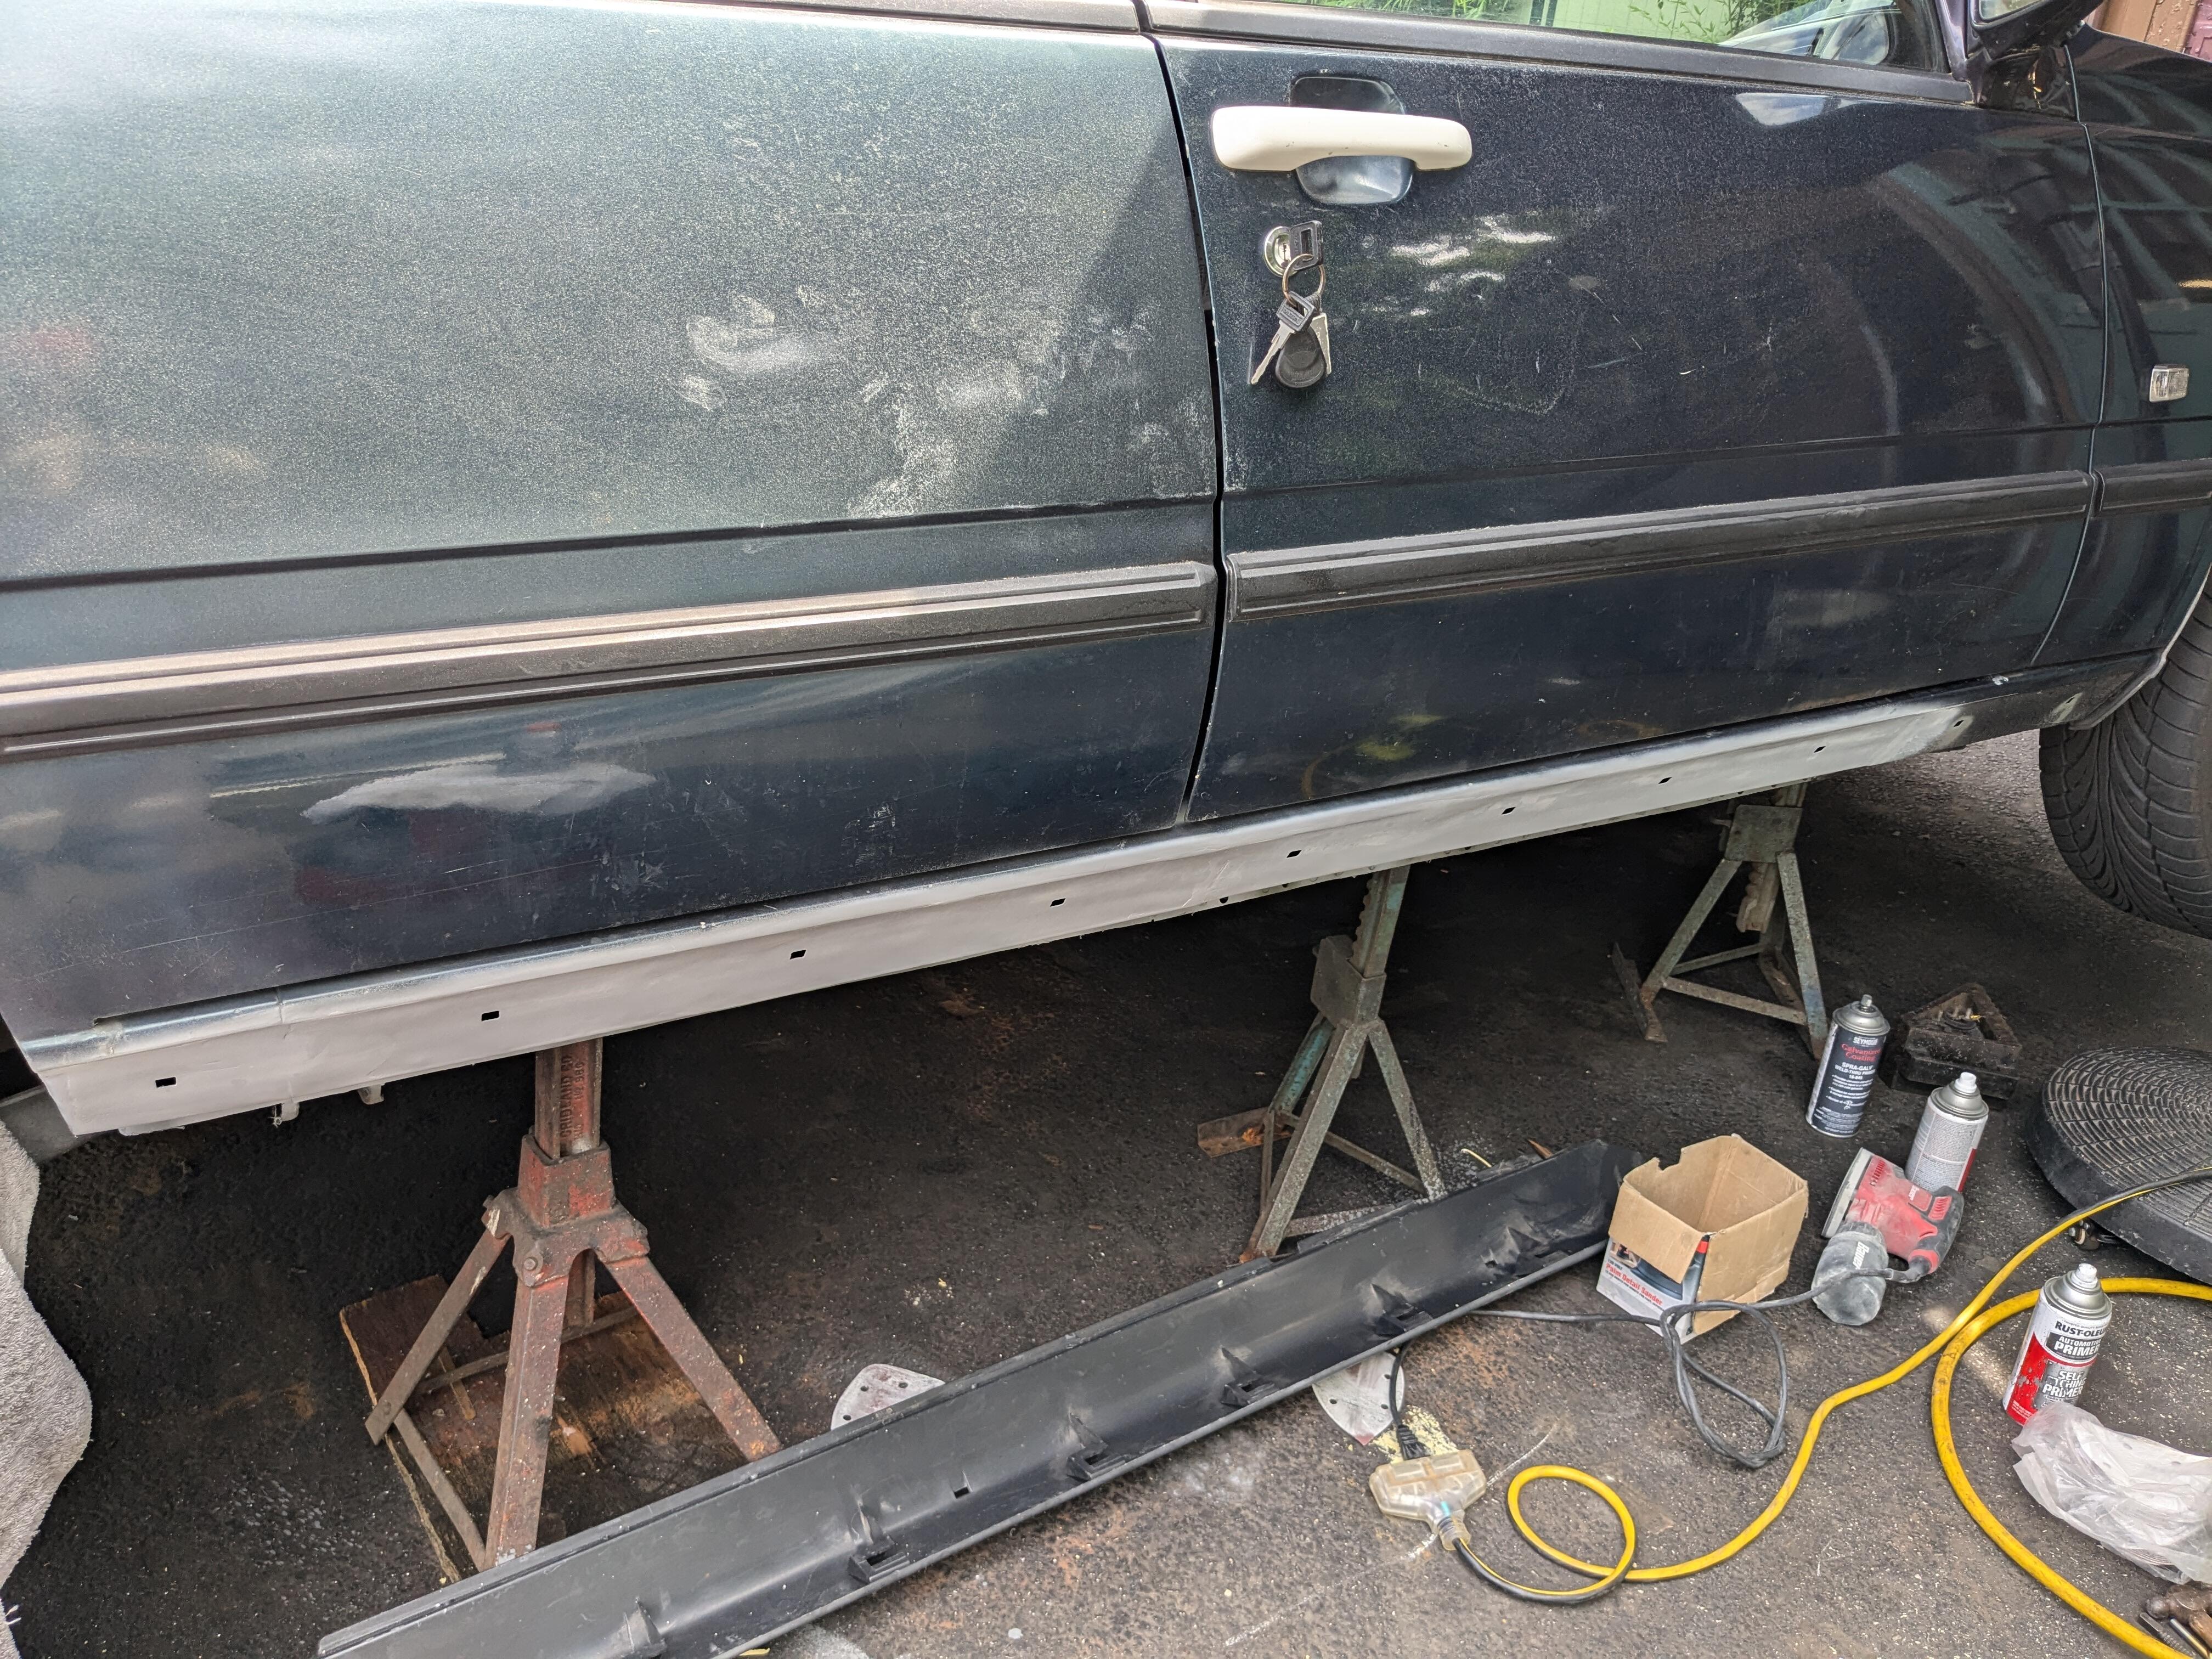
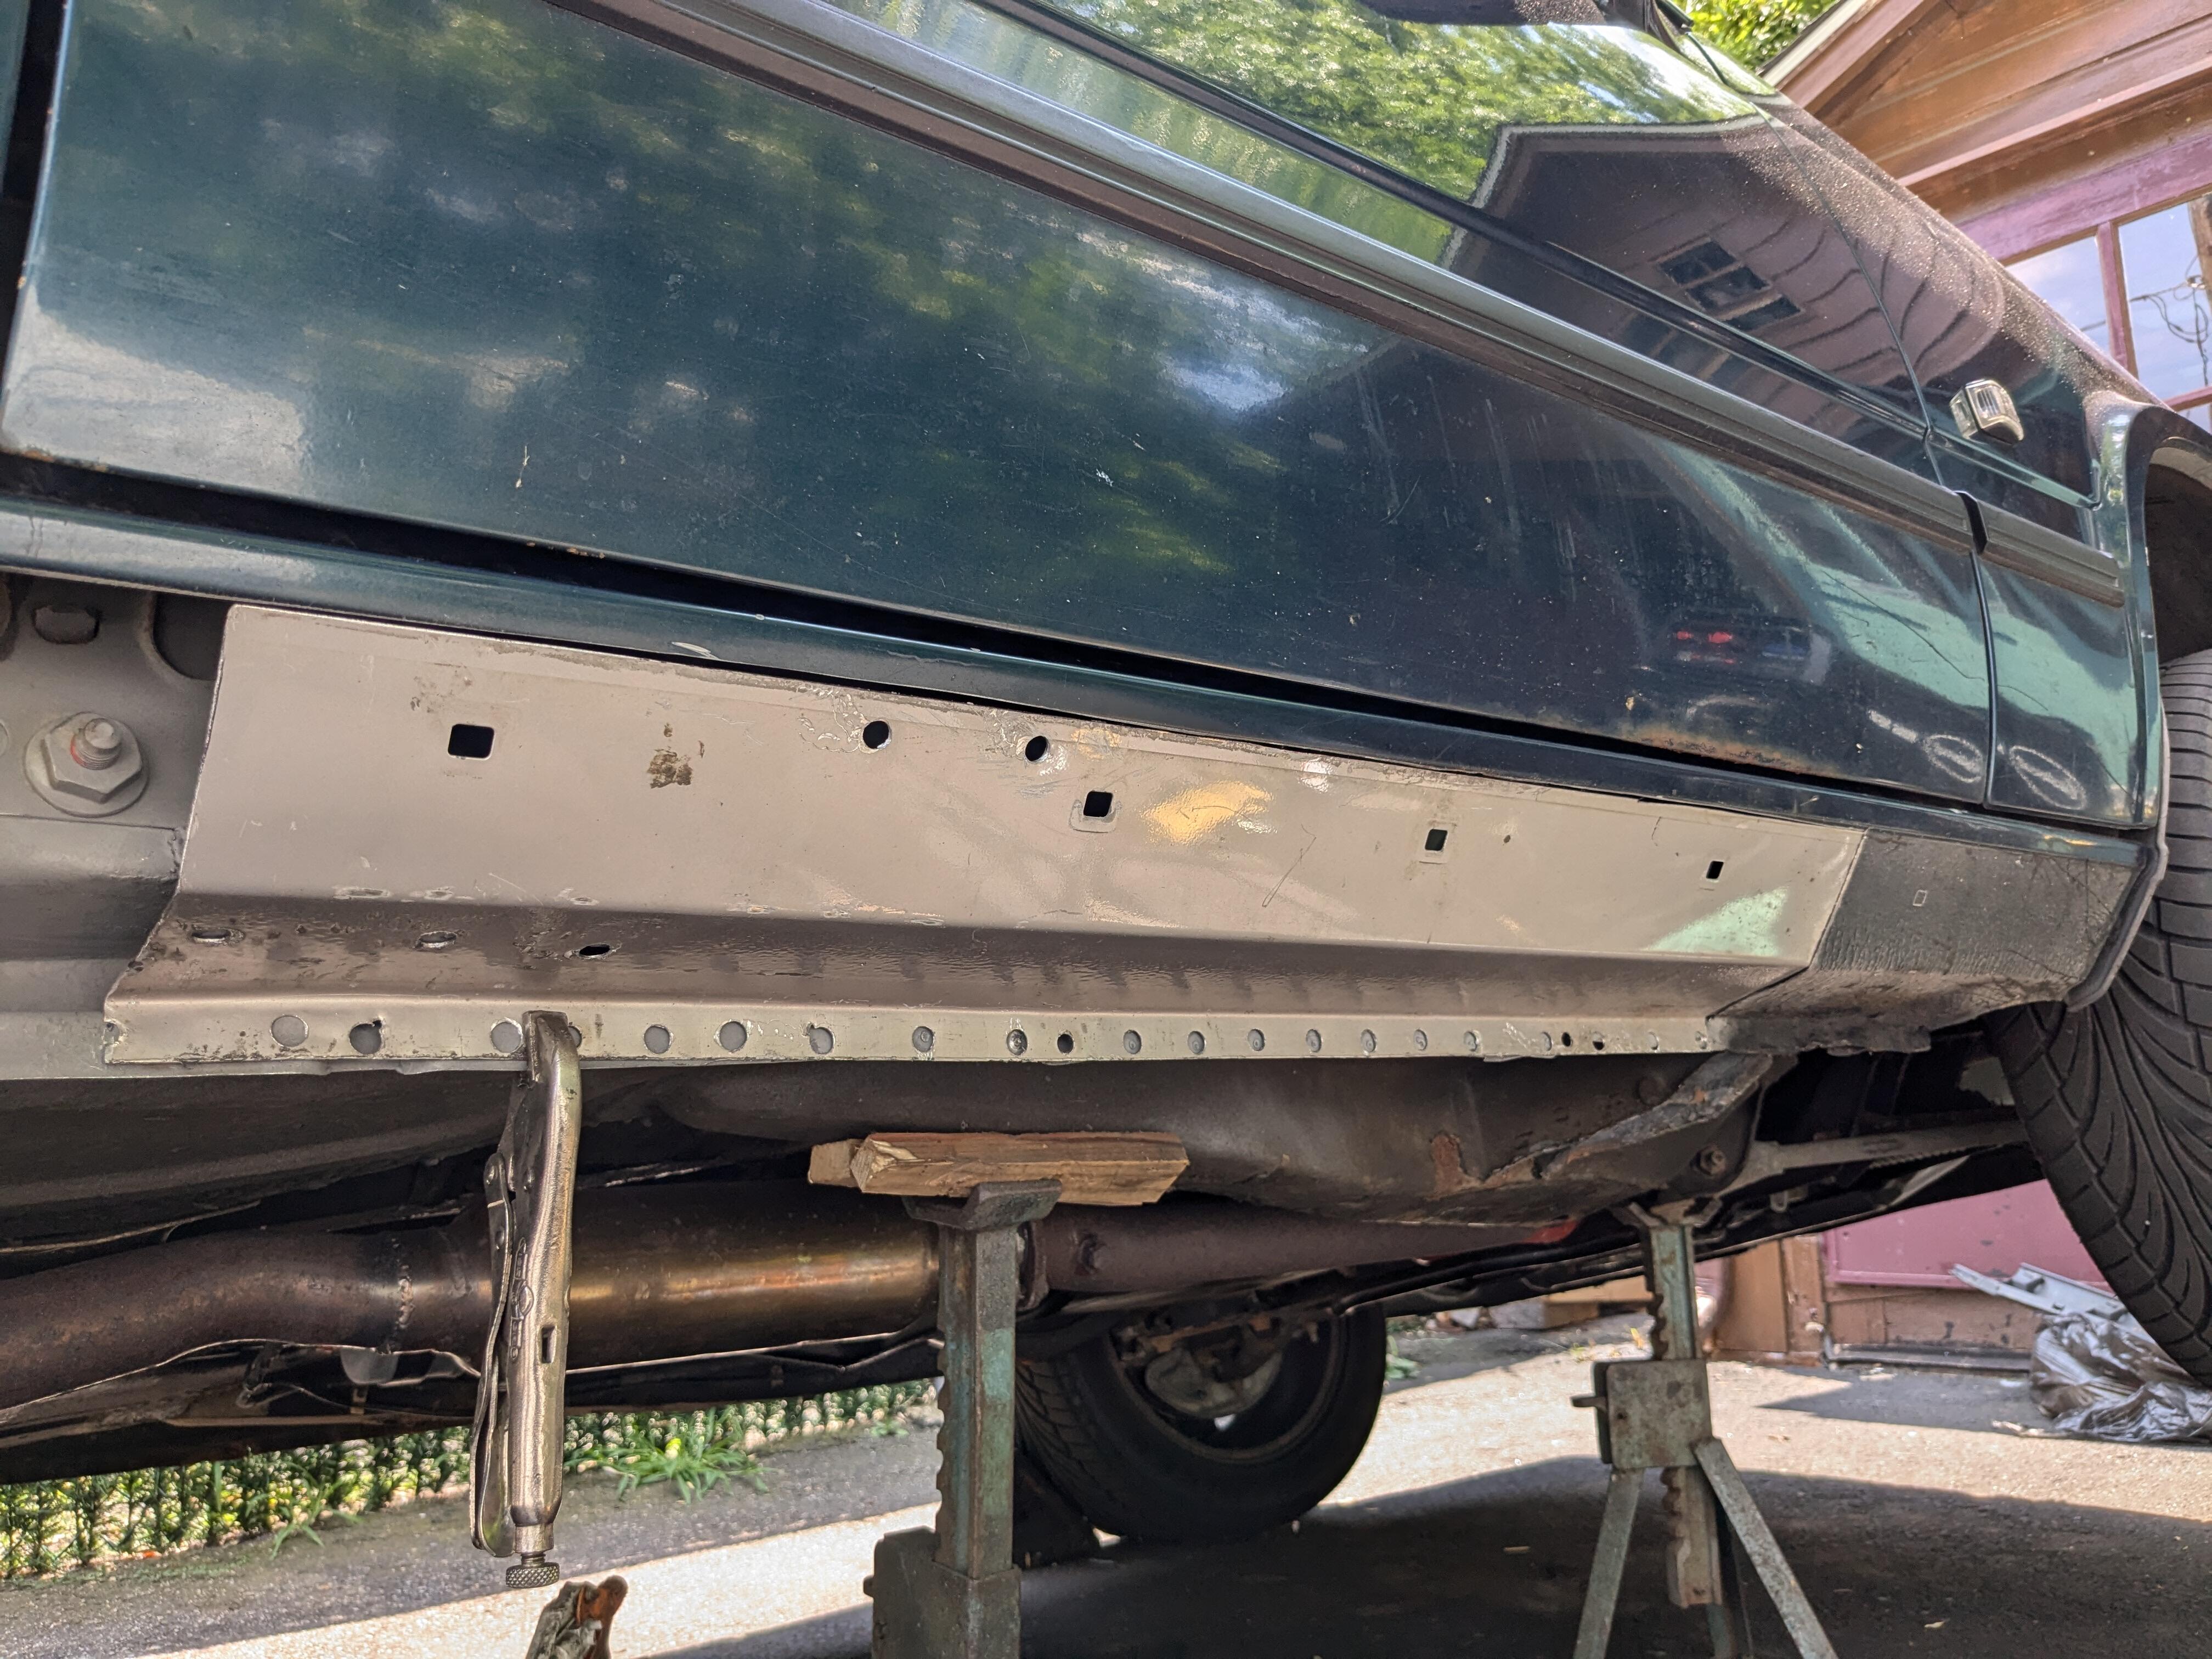
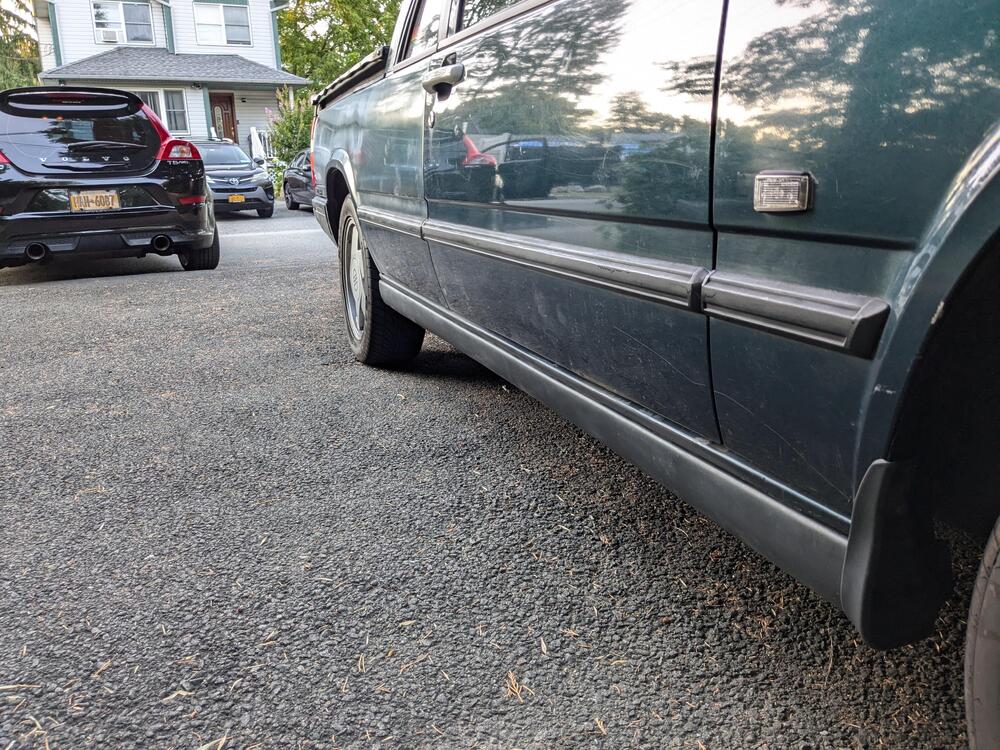
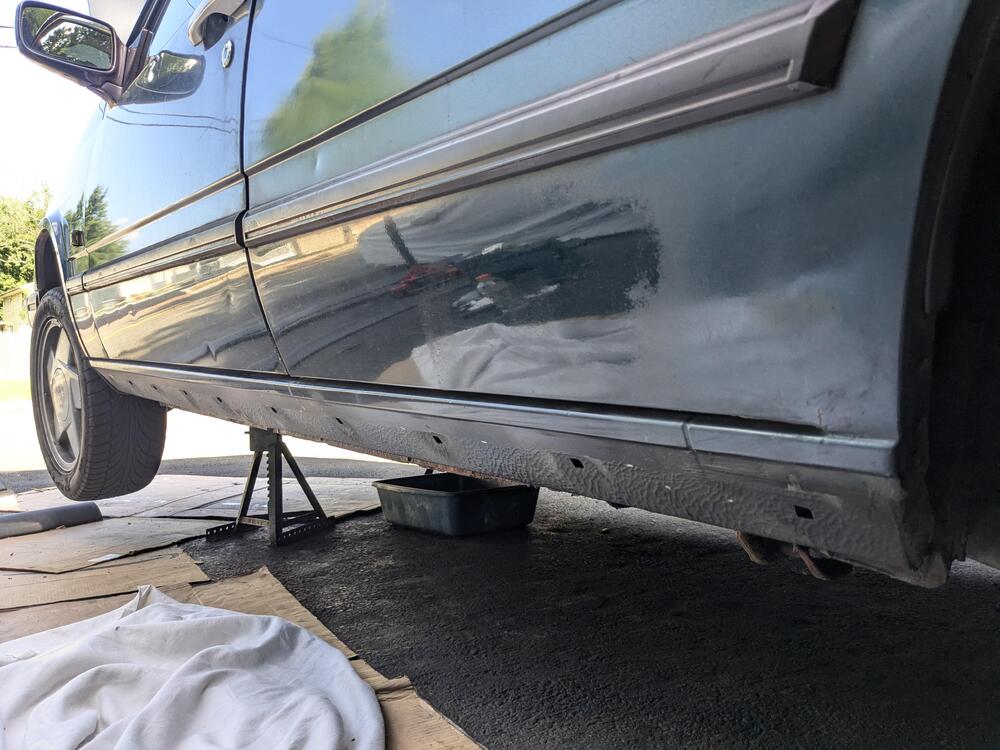
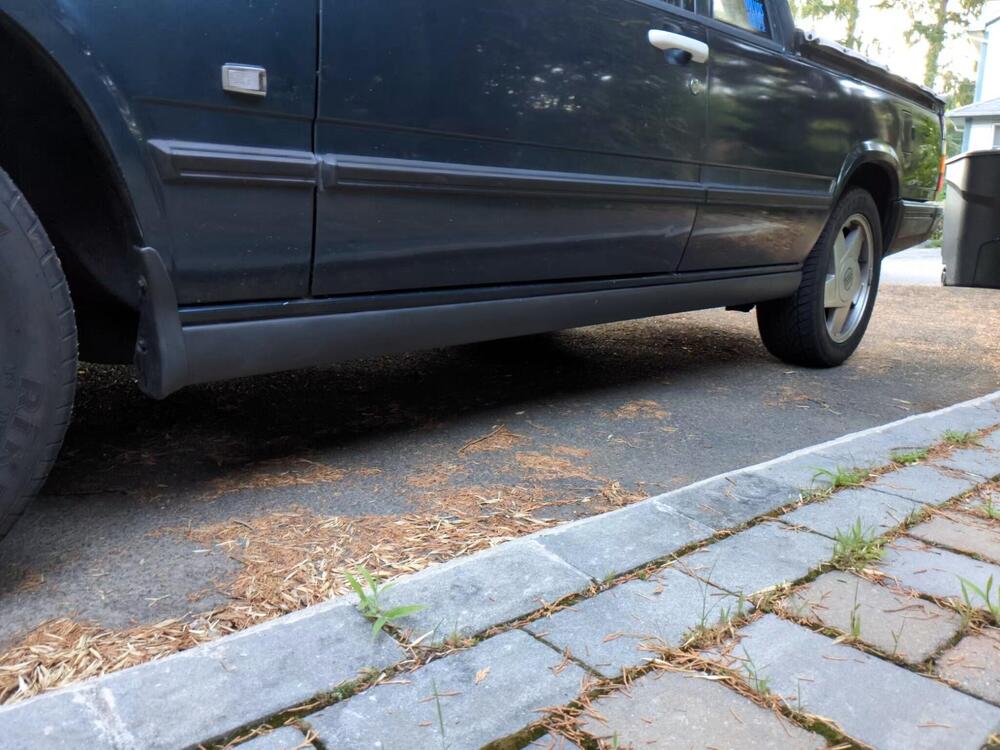
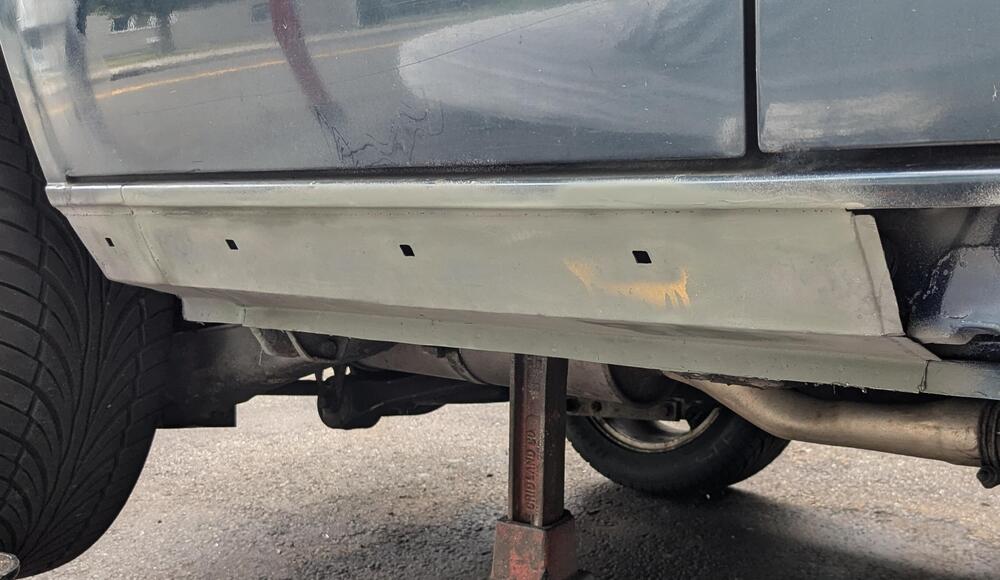
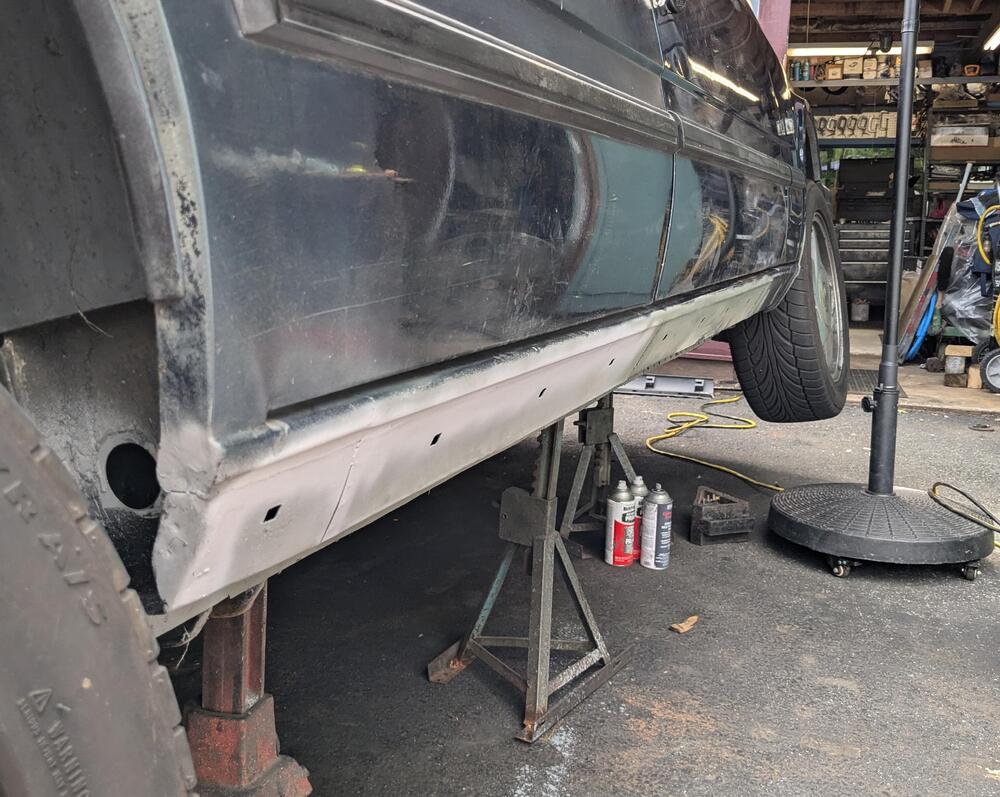
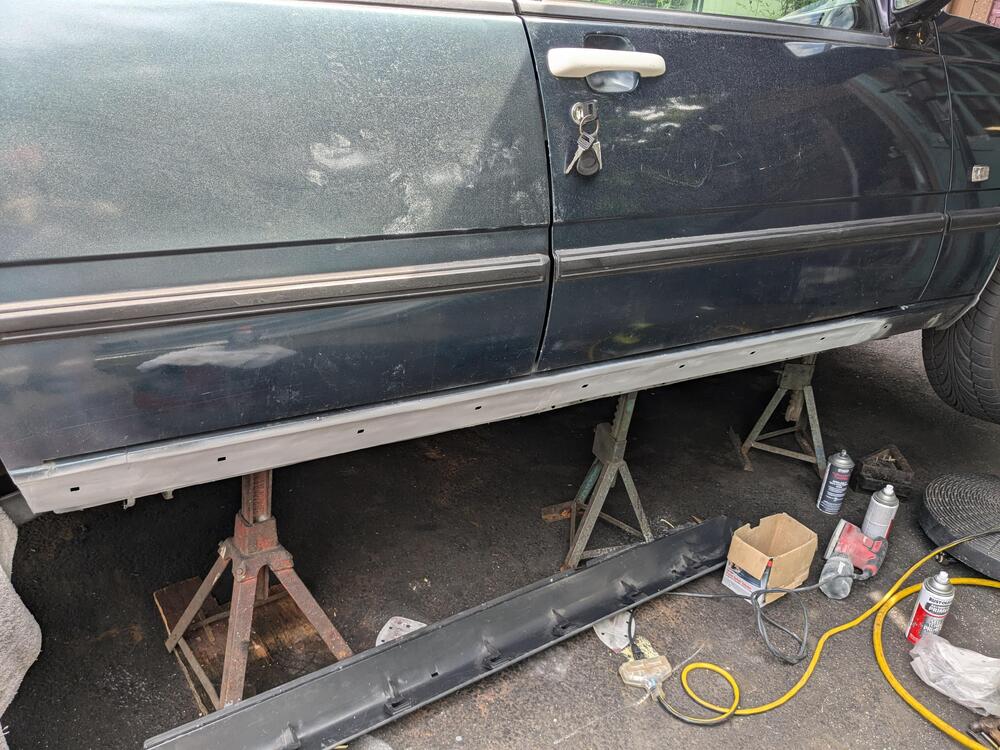
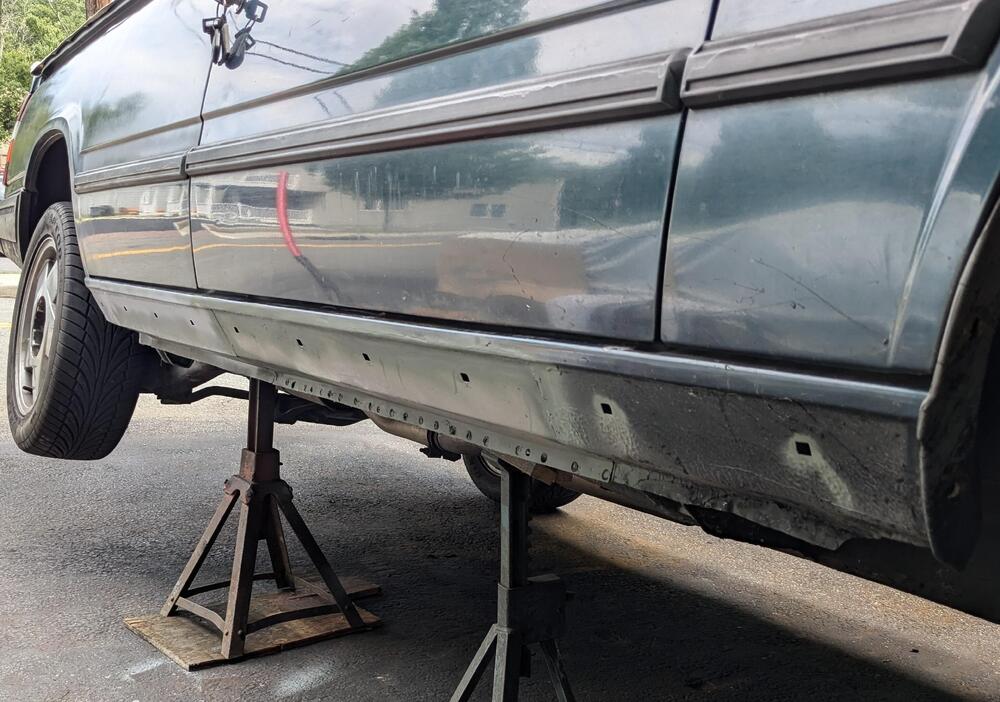
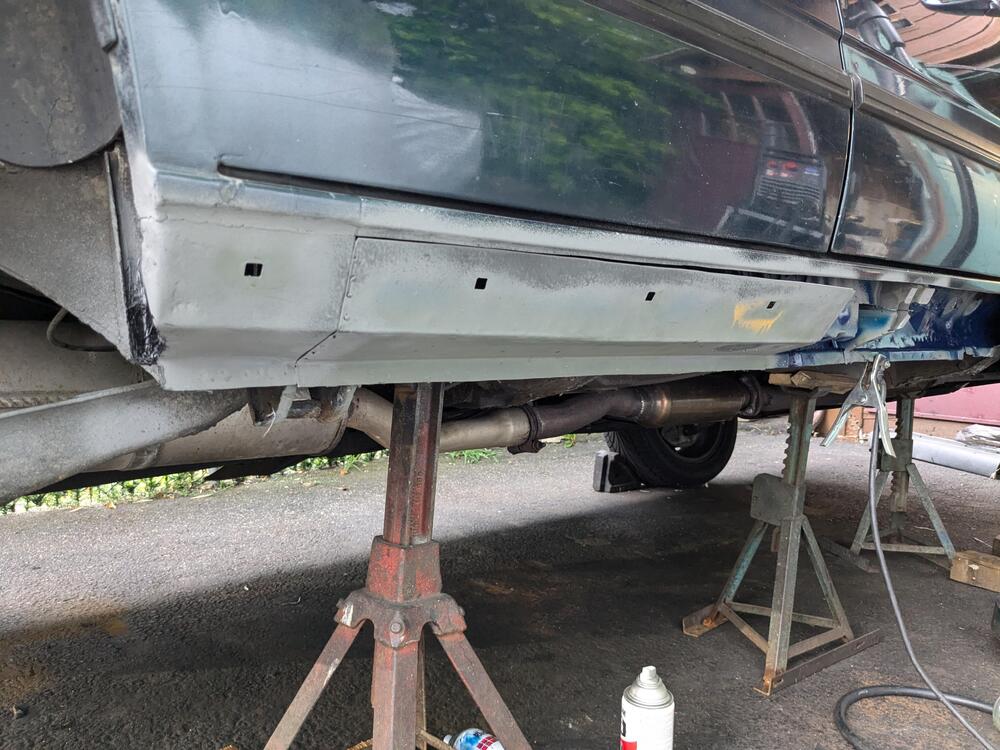
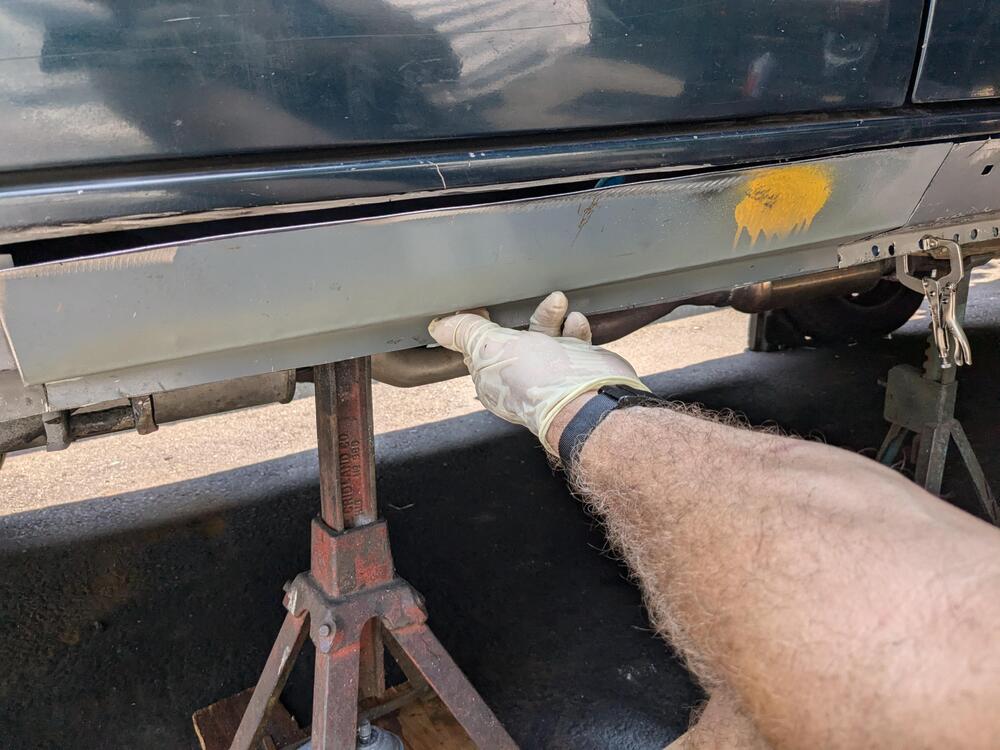
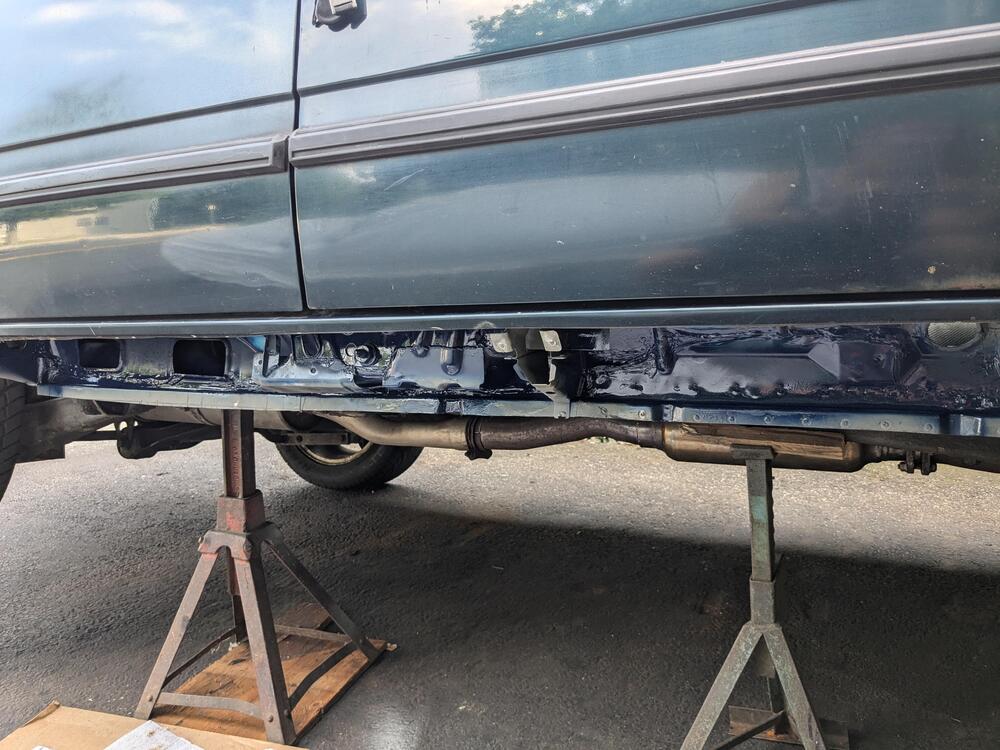
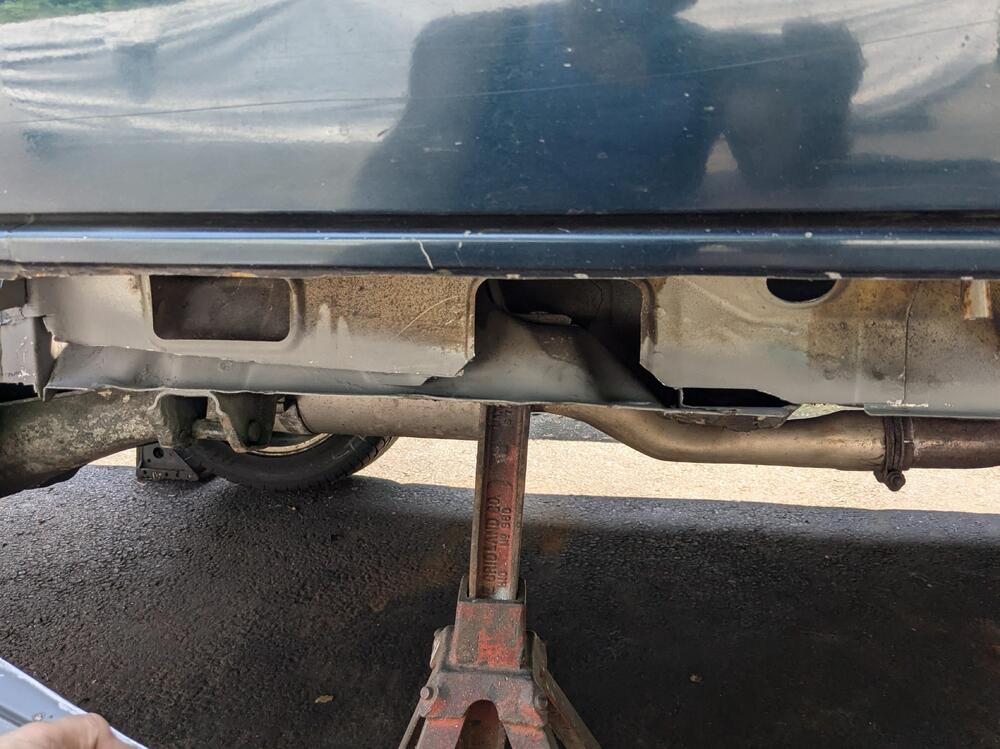
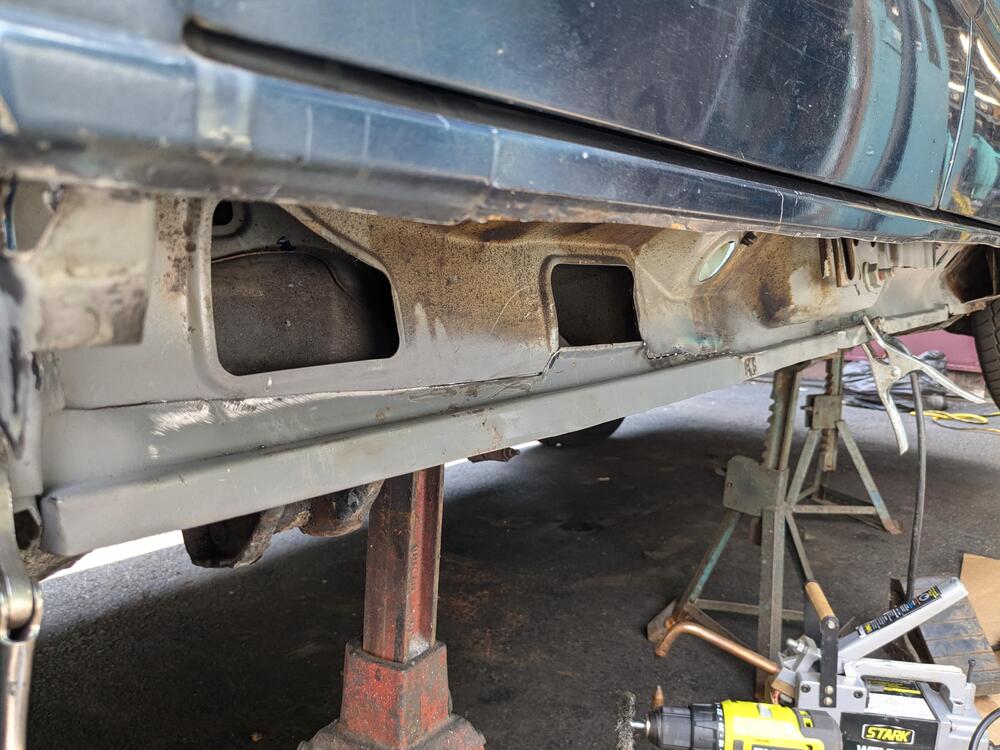
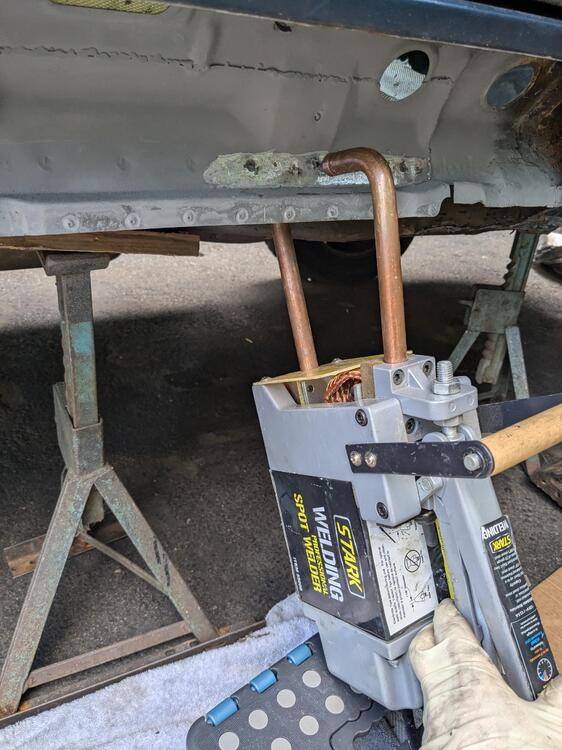
Got the rest of the rocker welded, and sealed the various seams, then drilled the 7 8mm holes in sill lip for the rocker panel cover. Primed & painted those. Top edge of rear half forward section done. No process pics, it was all the same steps as the rear half. seam sealer on the sill lip, spot weld that, then MIG weld the vertical junctions, and then the top seam. I made more work for myself there, as I didn't leave a slight flat lip below the ridge line, which meant I was welding at the ridge line & had to make sure that stayed defined. 7 of these Panel retainer clips in place. rocker cover clips to those, then the plastic rivets go in along the sill. Forgot to take a pic of that


-
Presumably you got it first? It wasn't as bad as they were predicting in my area, although rain & lightening did continue sporadically throughout the night. Drying up now, so I can get back to welding 🙂
-
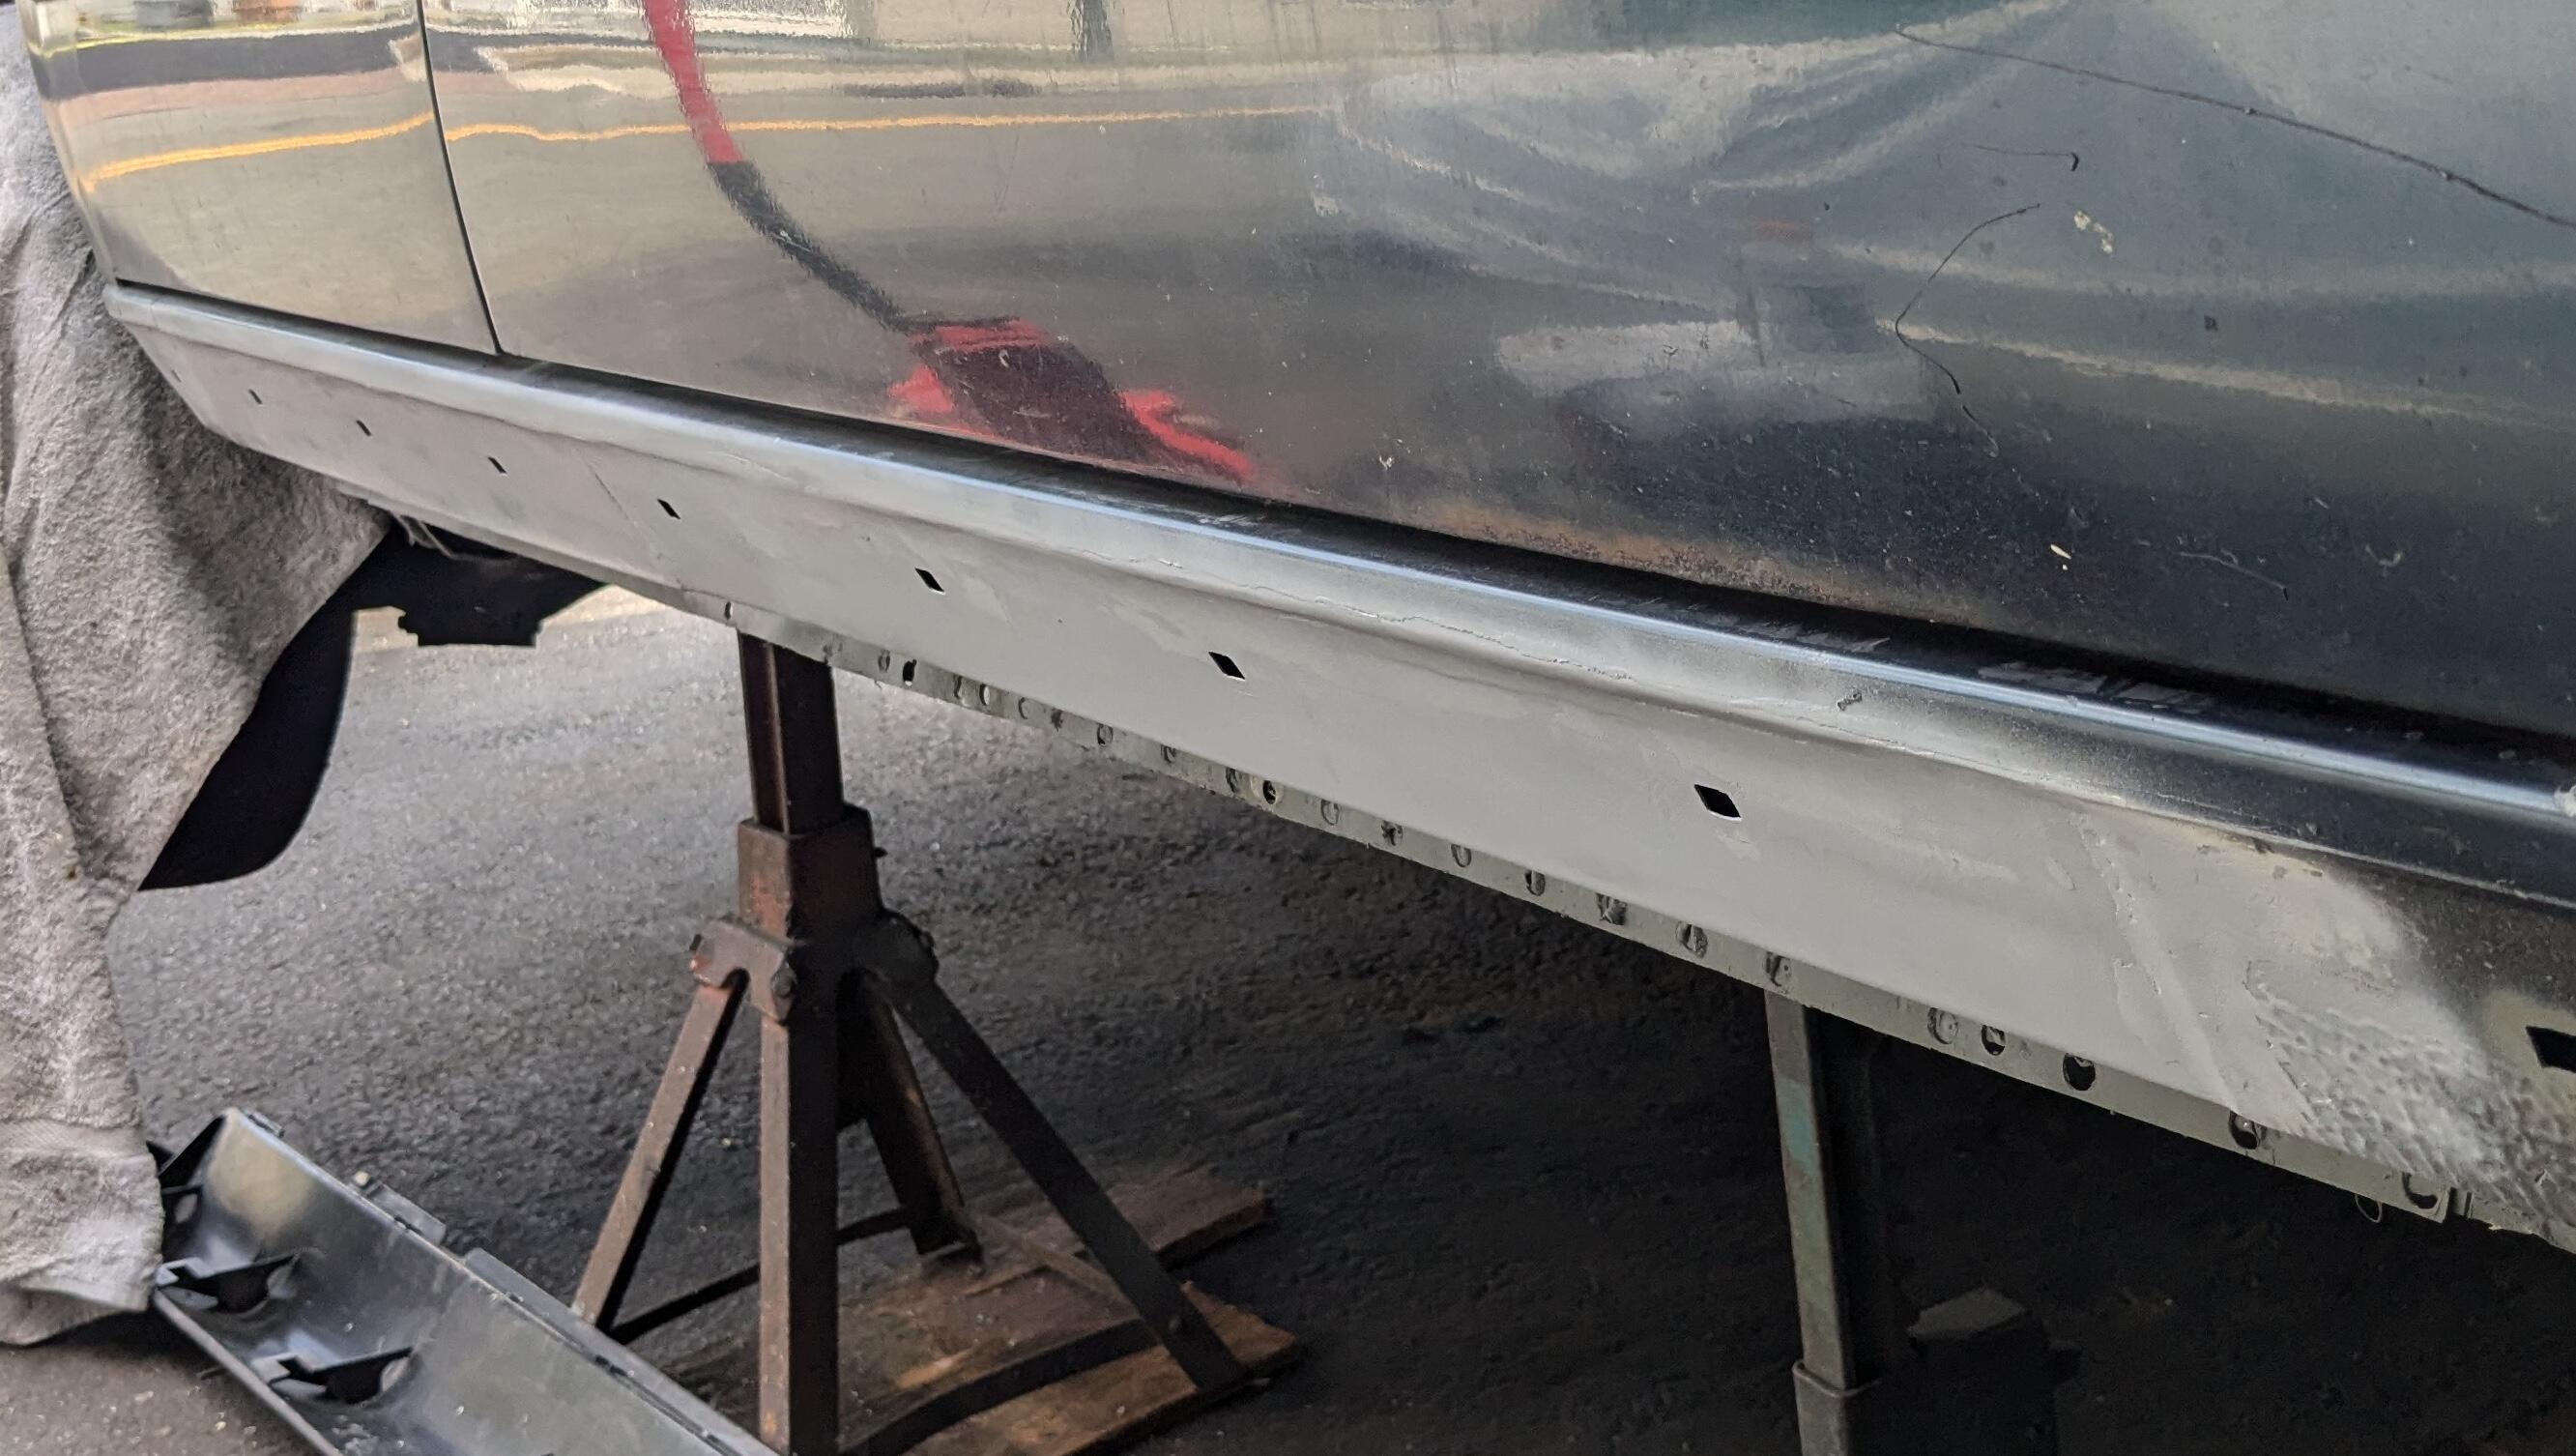
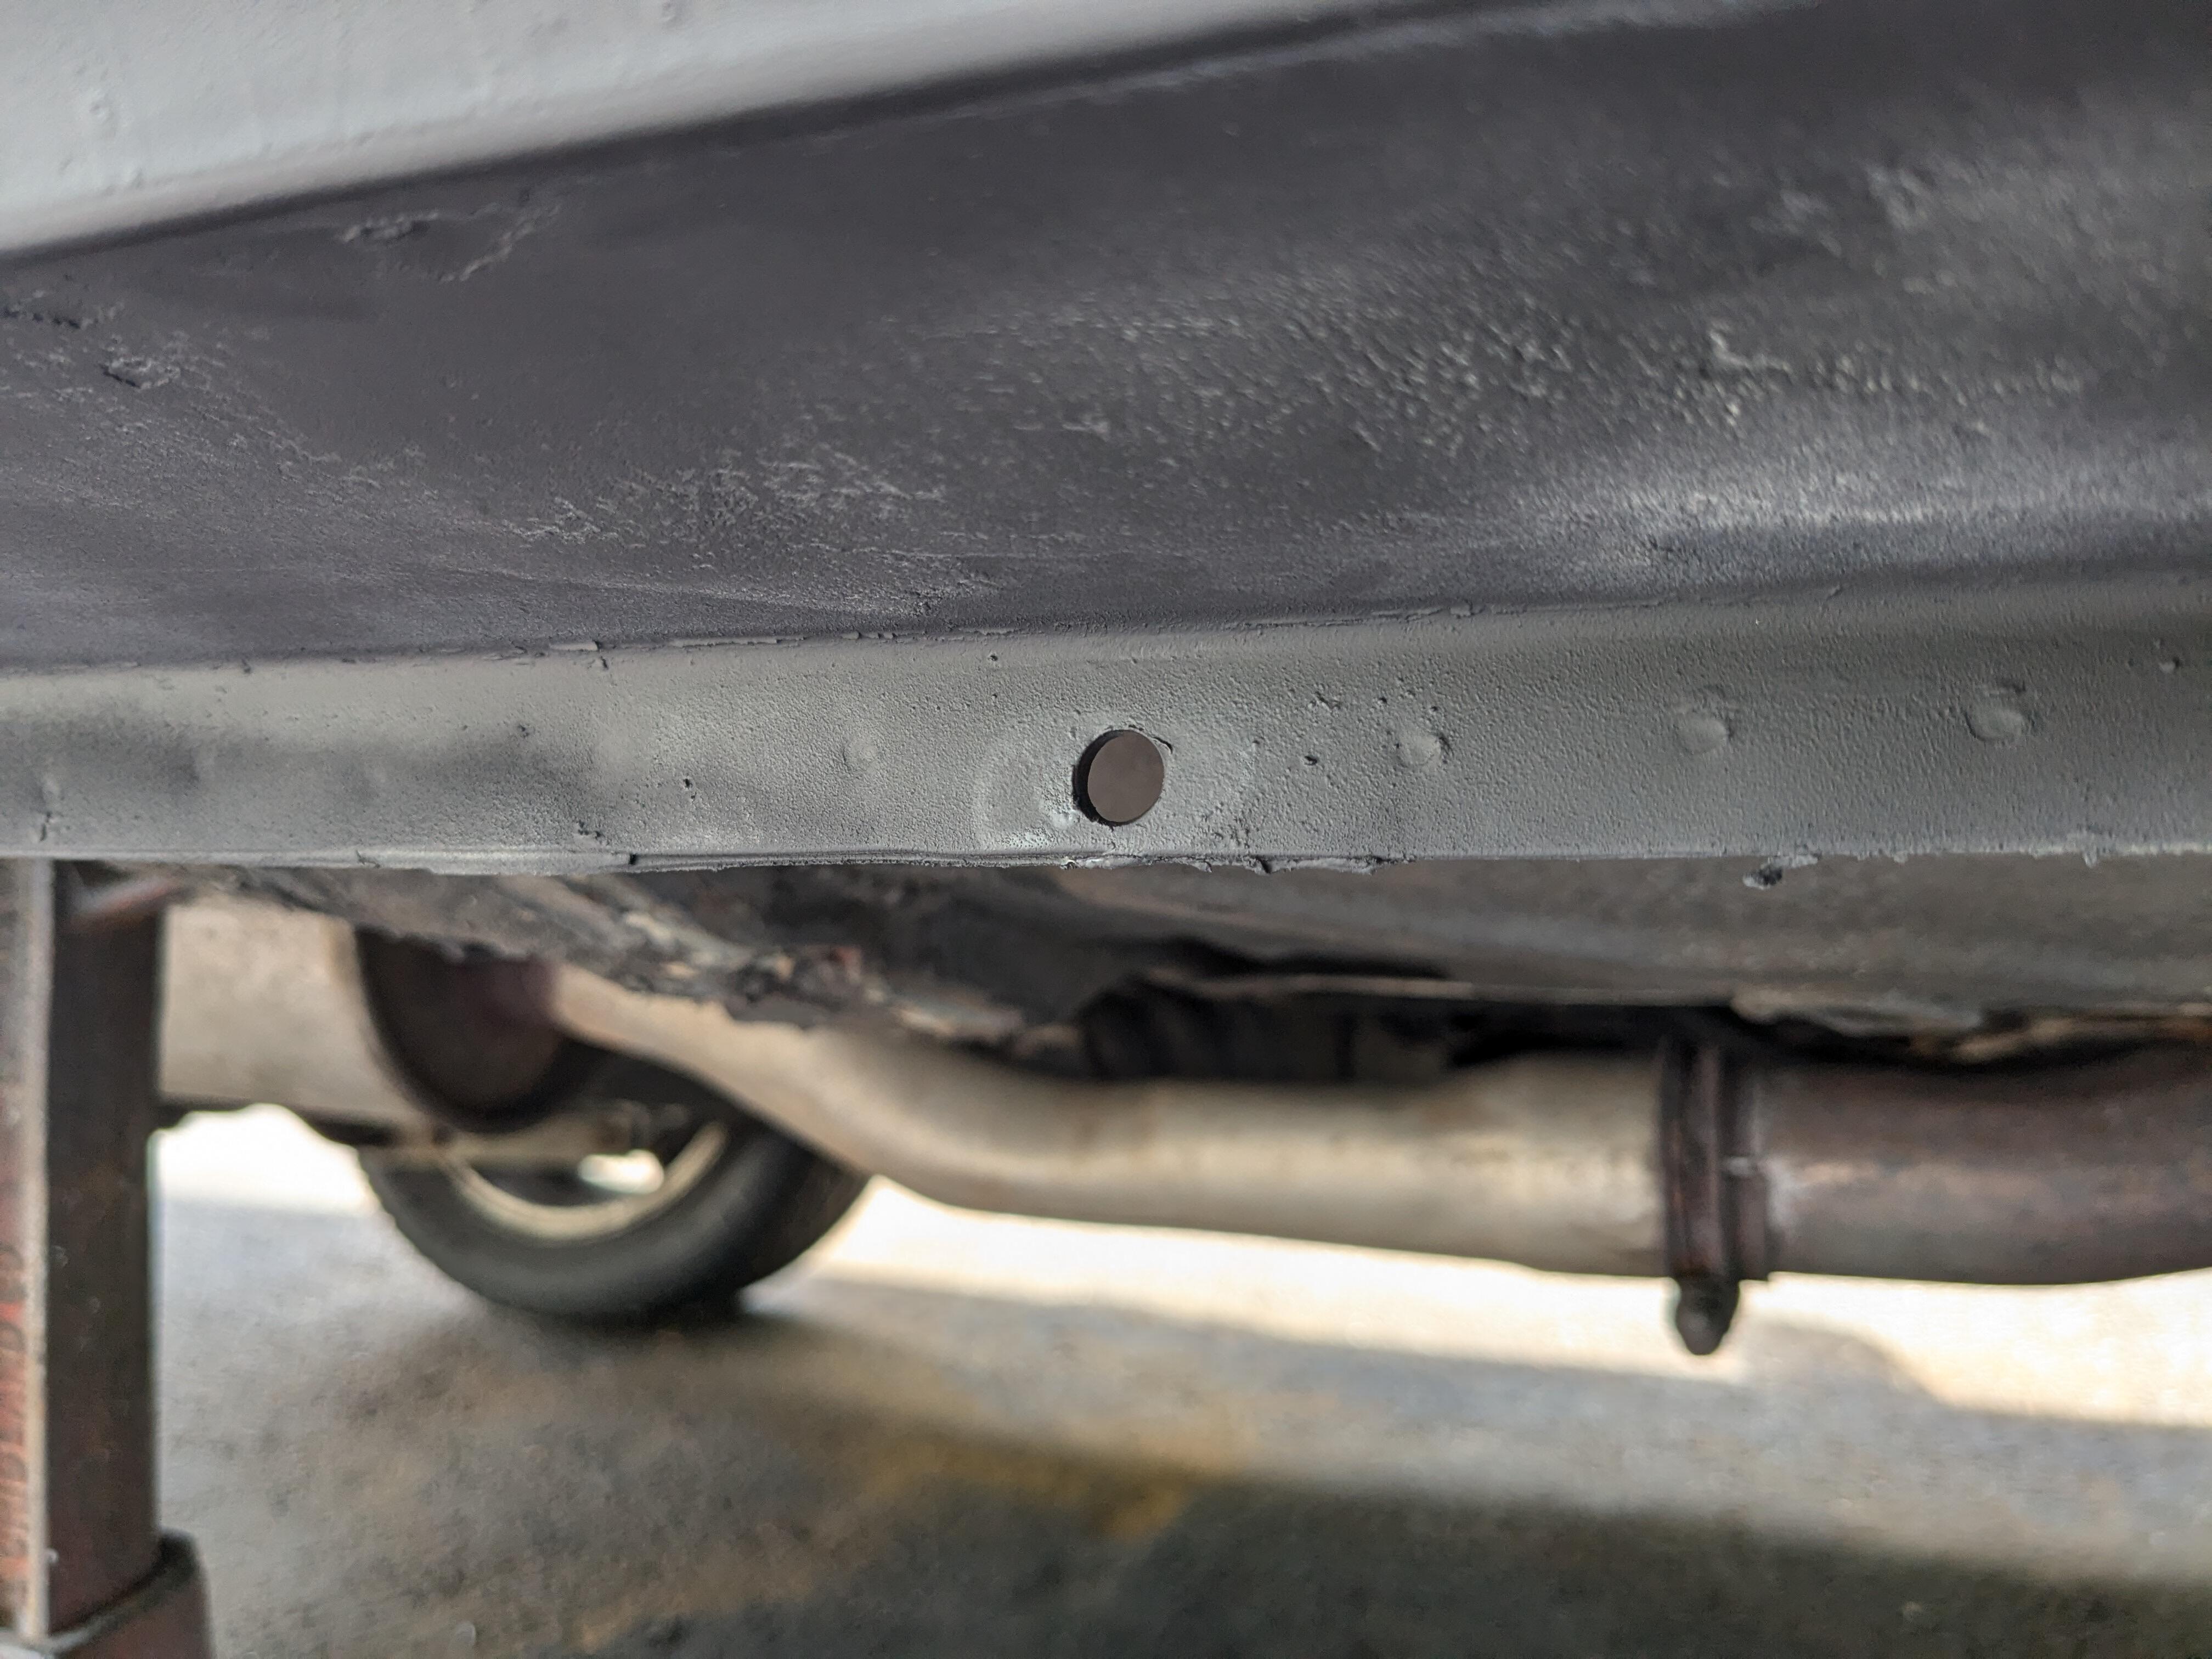
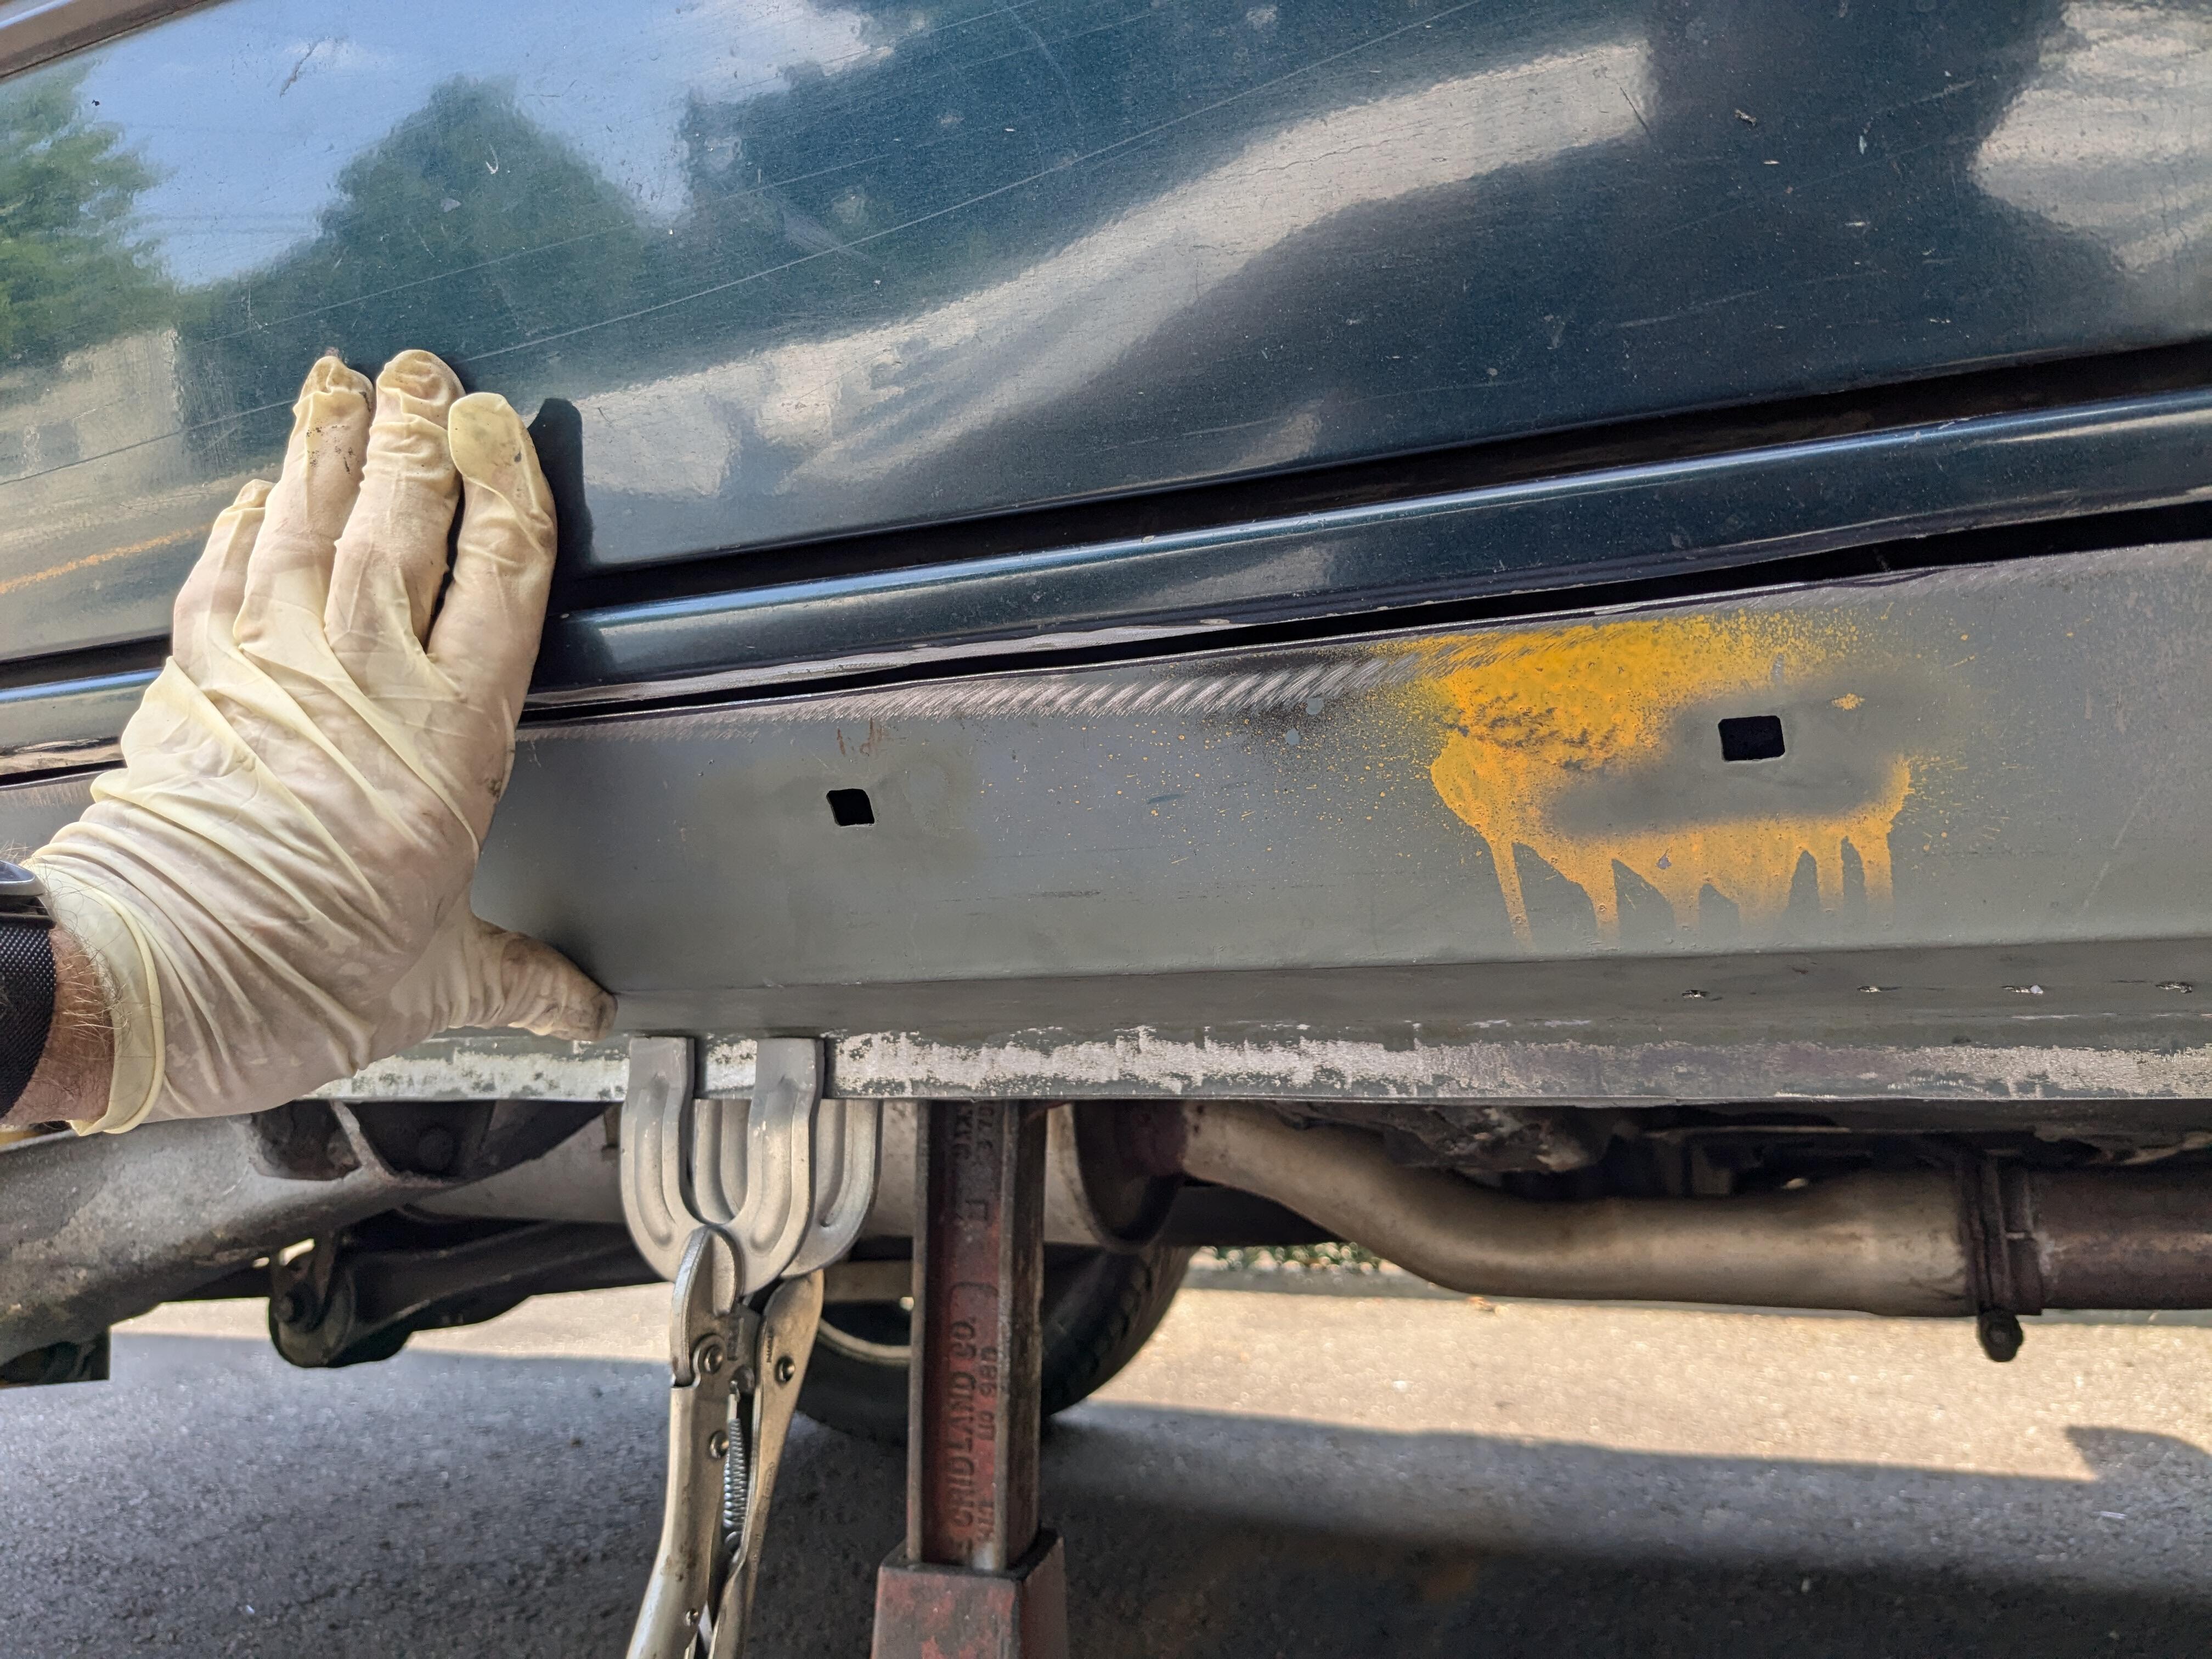
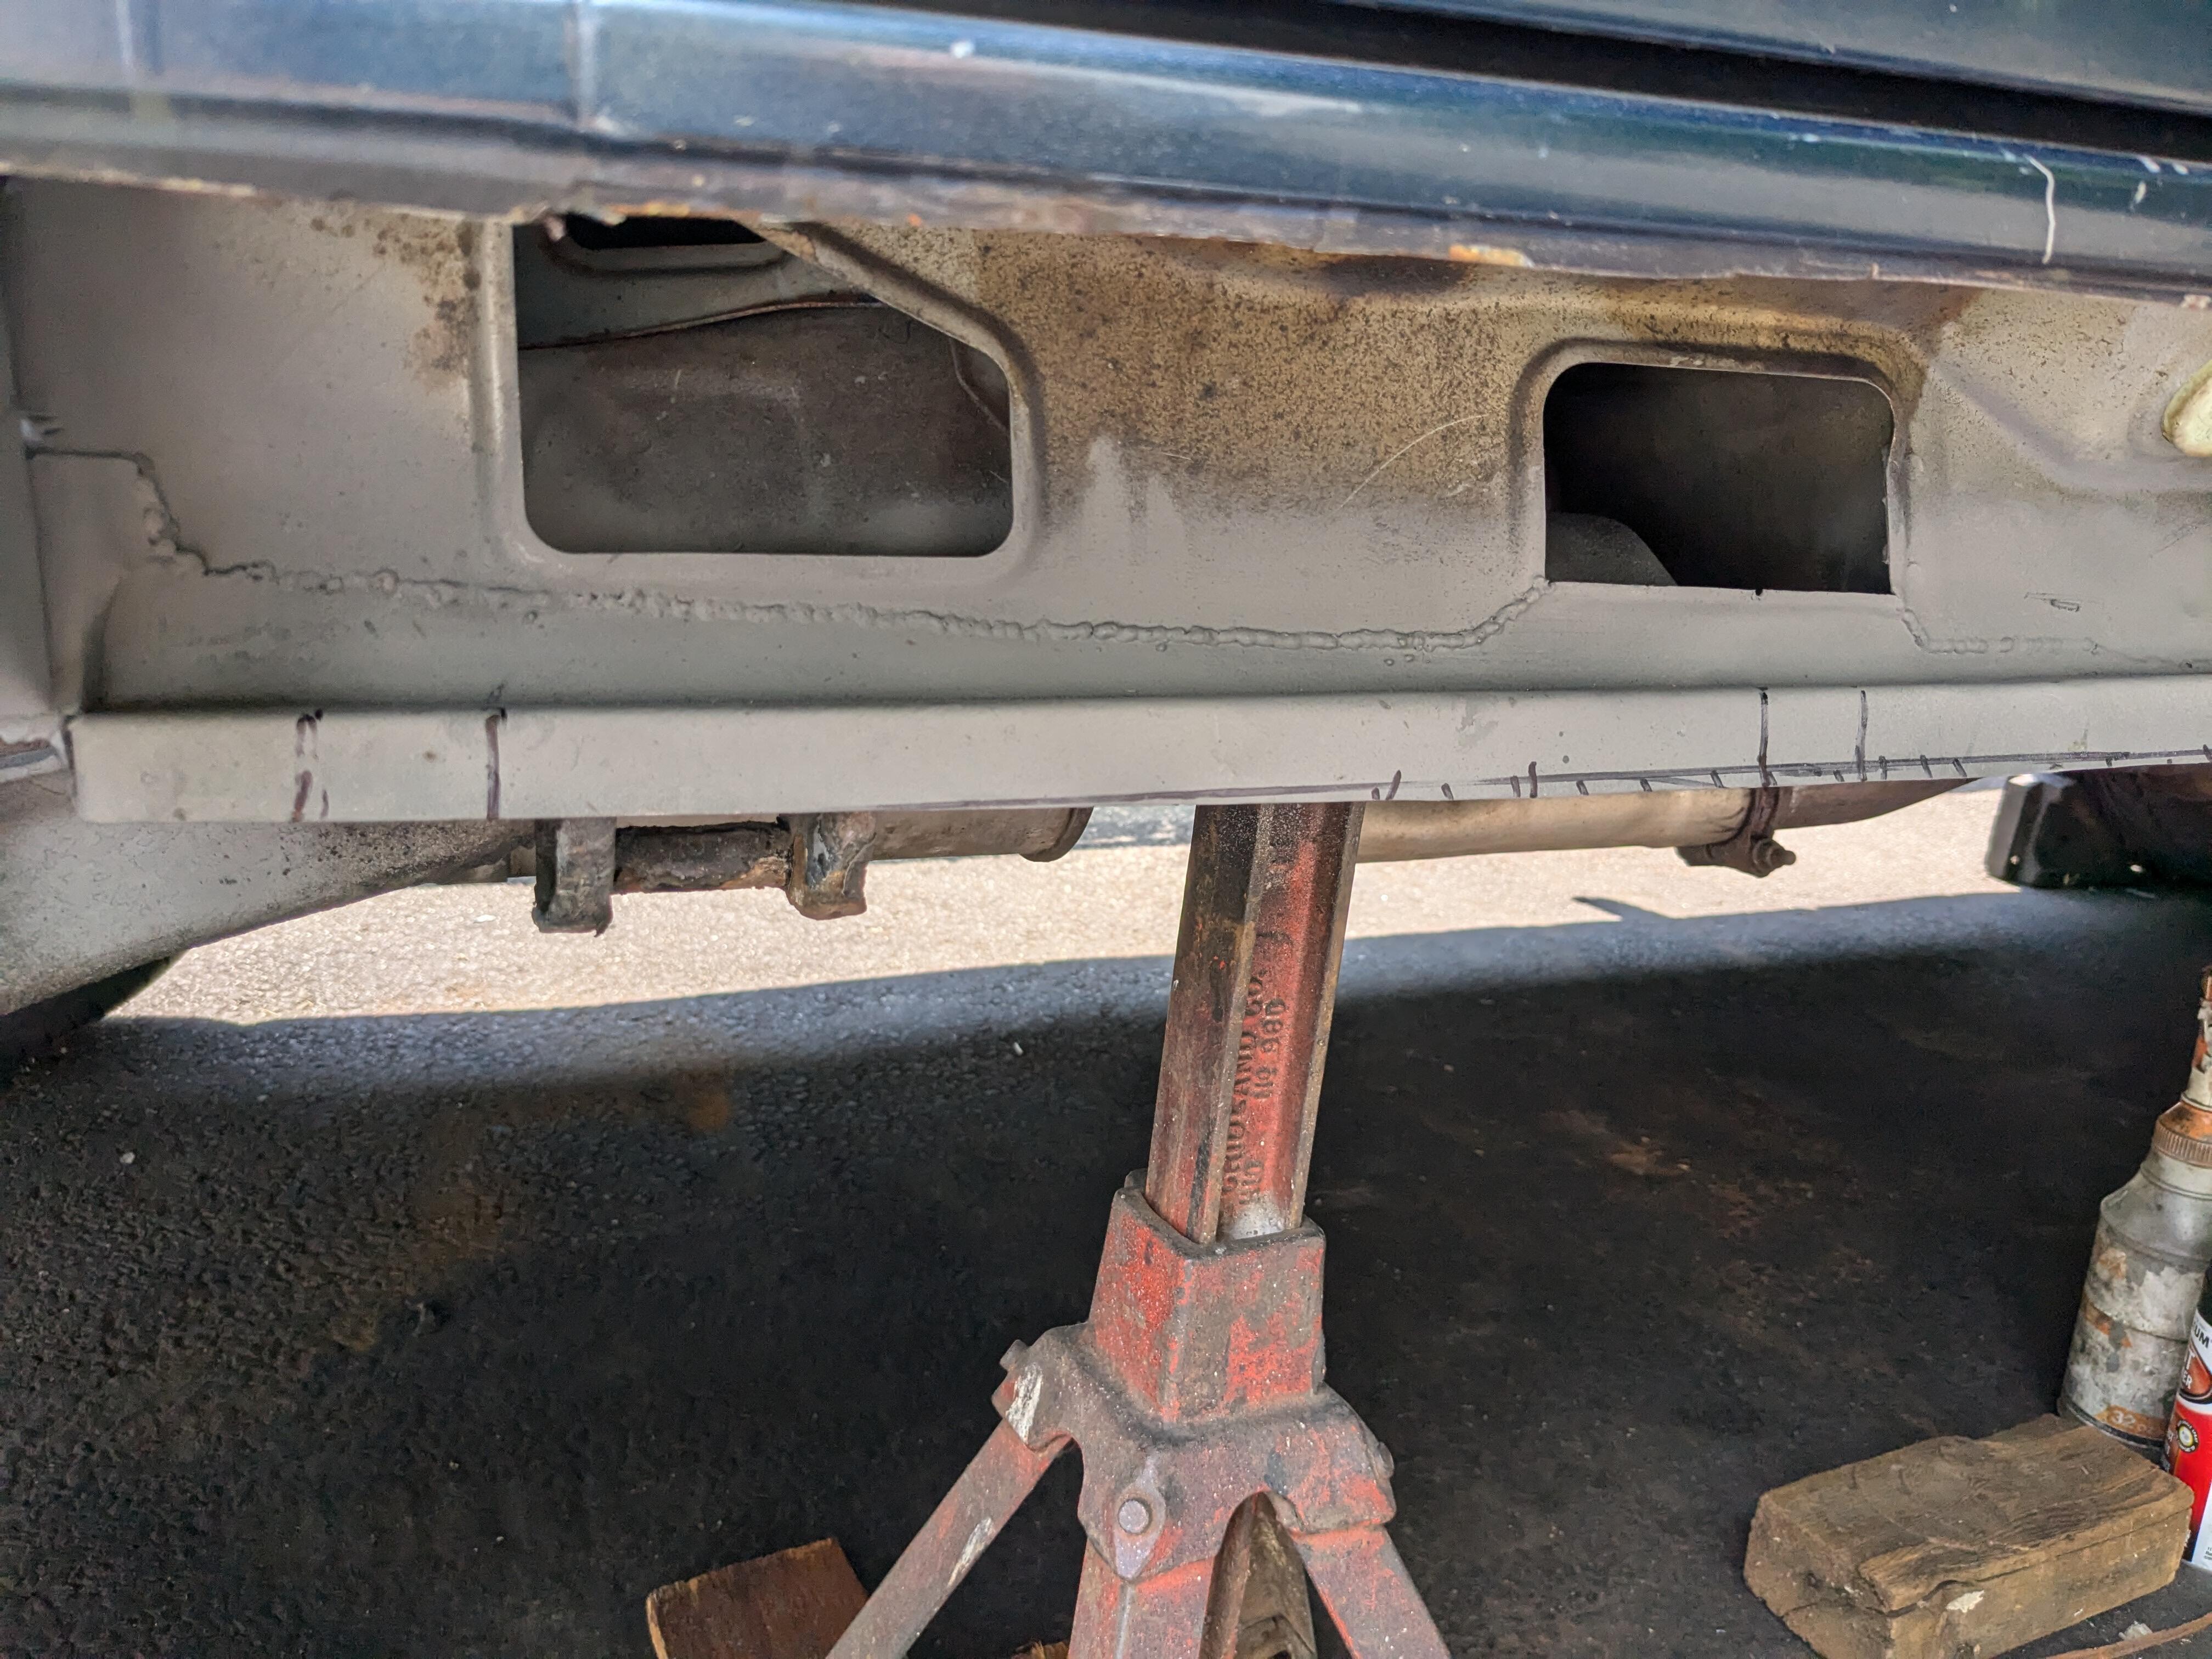
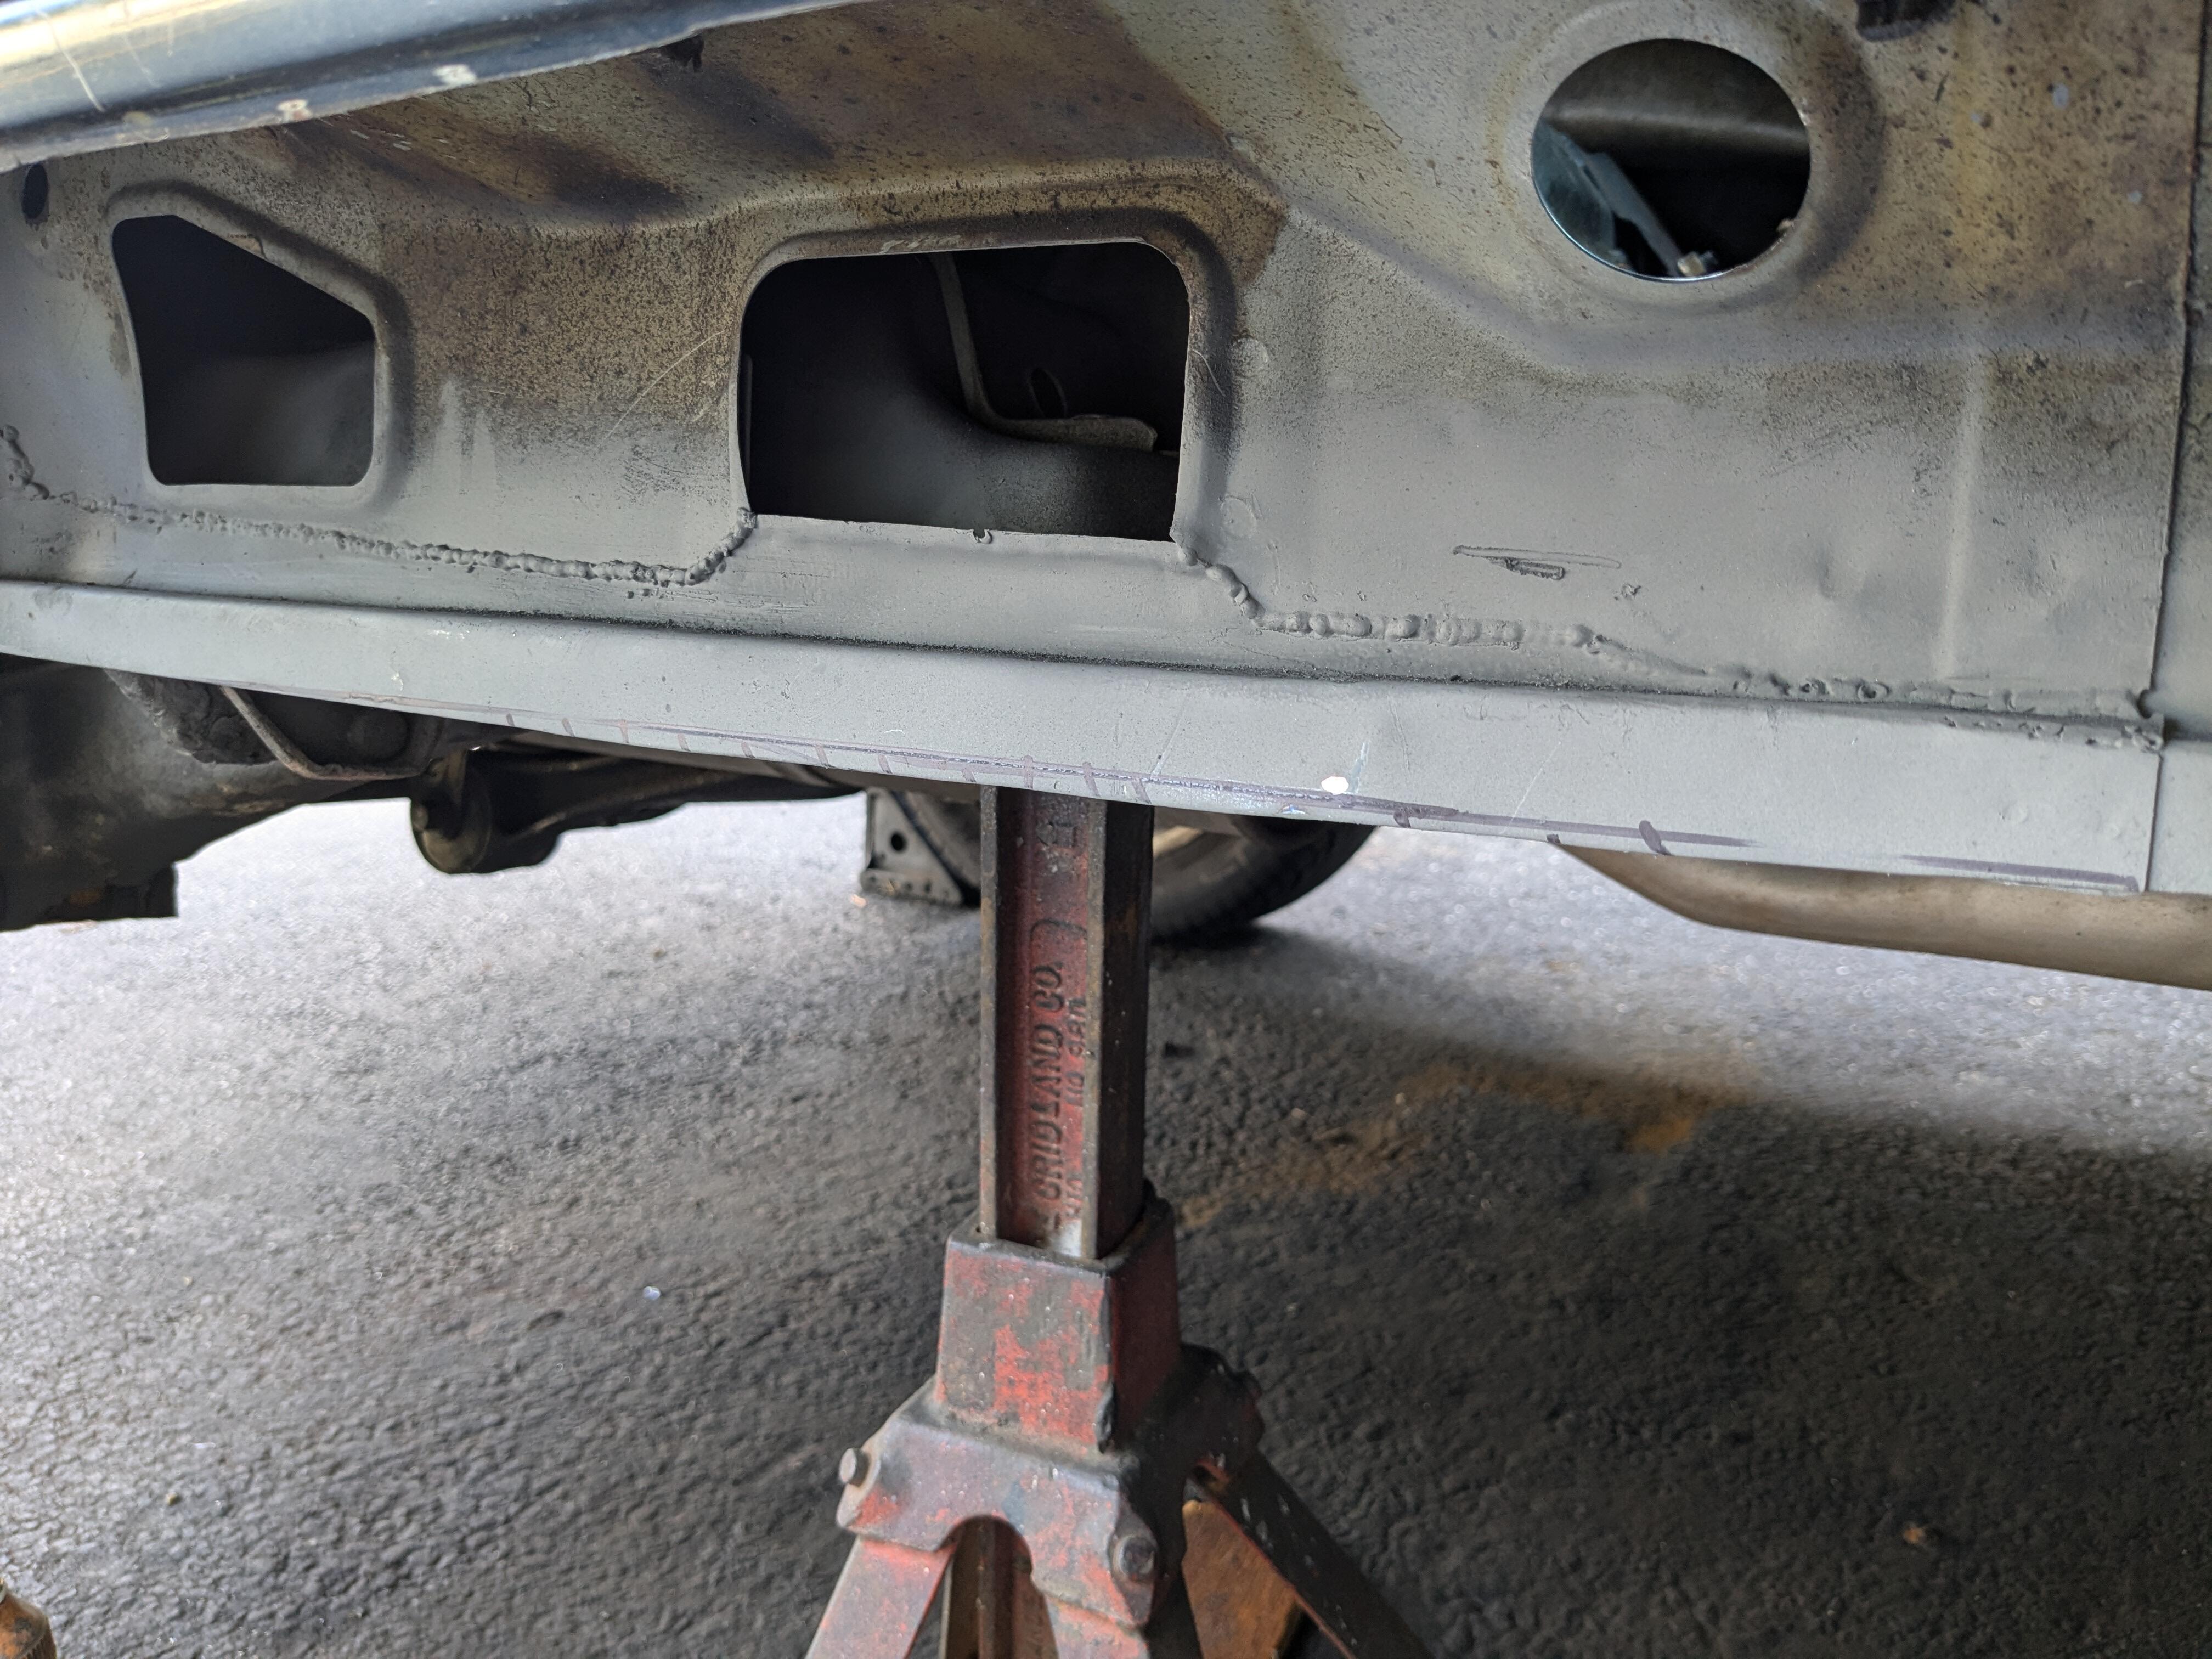
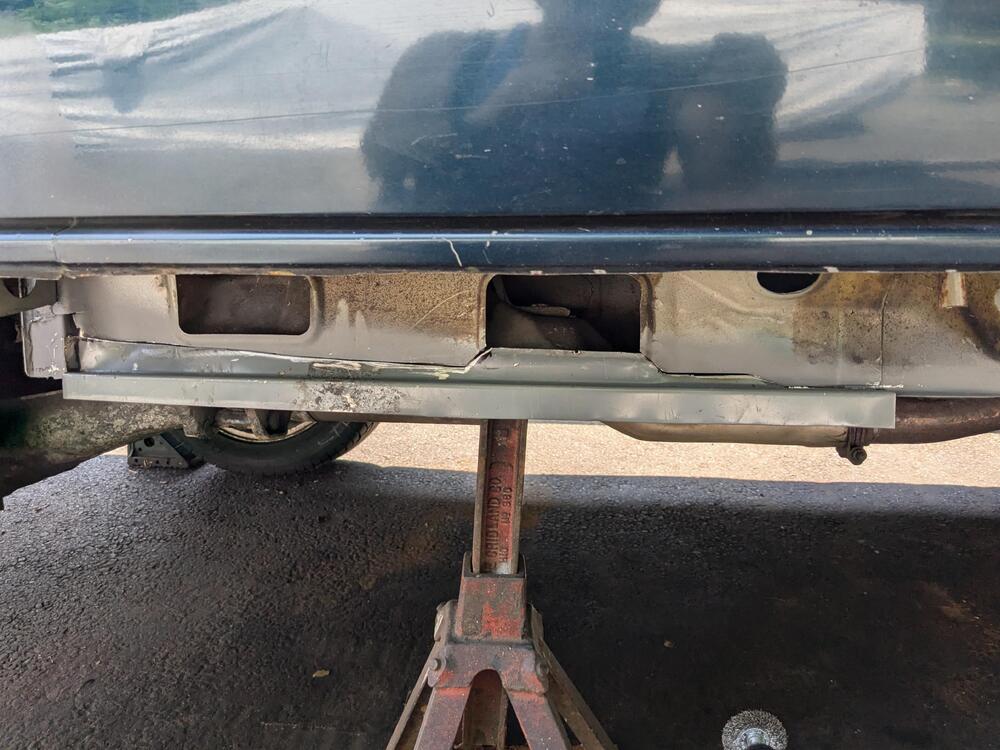
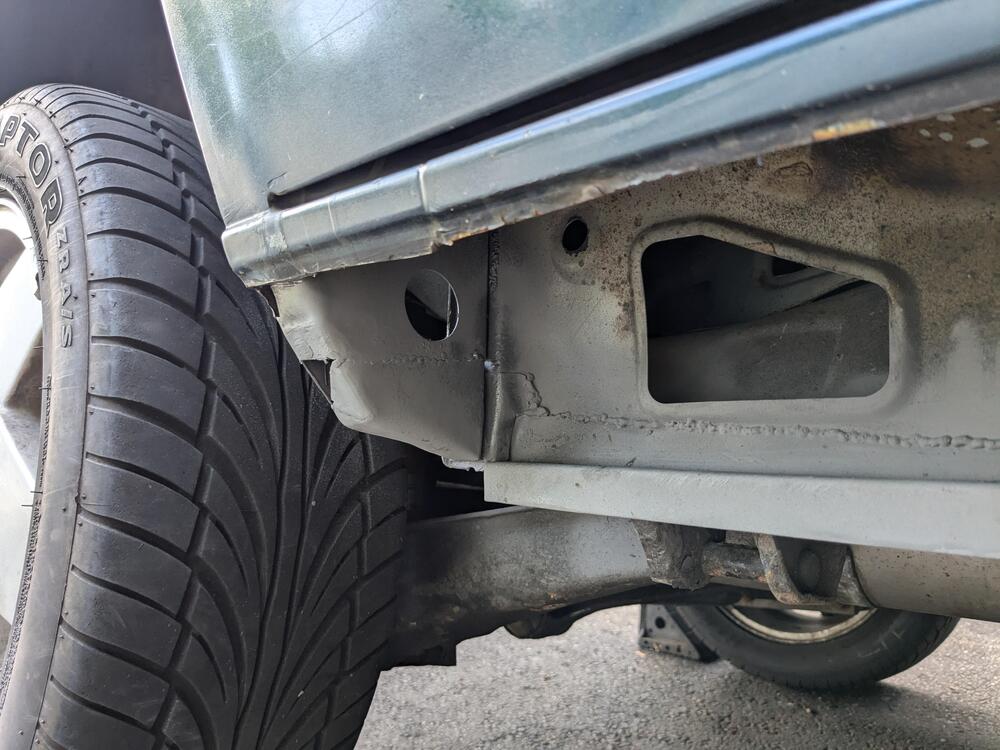
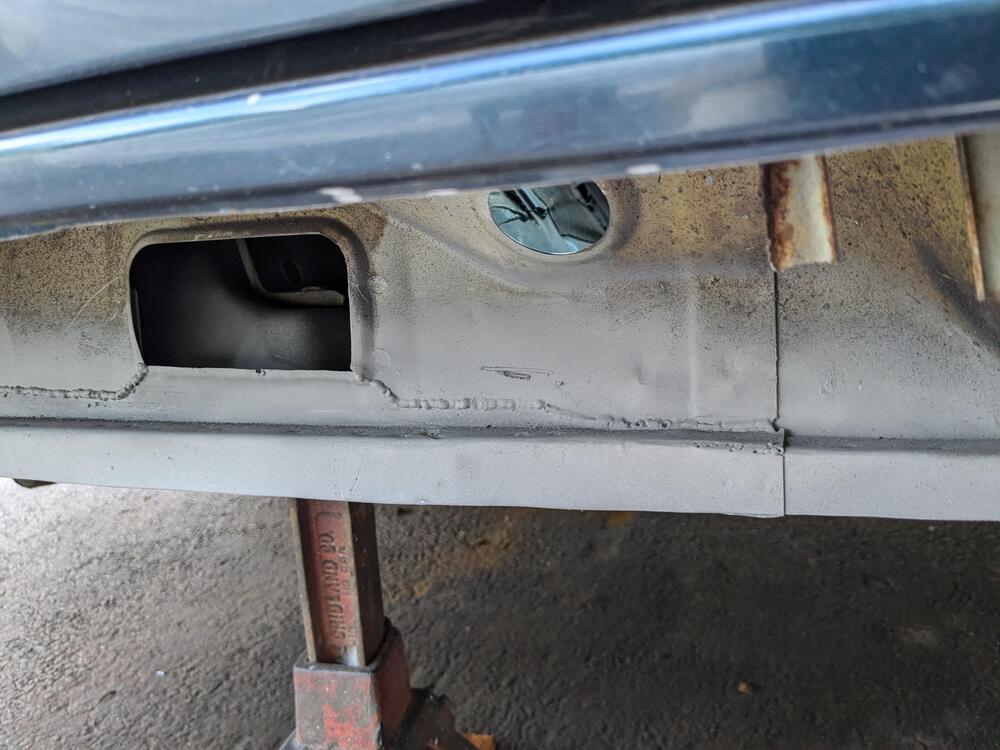
Moving along, although the day was cut a little short by a storm coming in Started by making the rear cap for the rocker A little forming work to get the fold & profile right tested the seam sealer compatibility with the spot welder - looks good, so I used it on all the spot weld seams seam welded the upper junction with the MIG after this To deal with the drainage channels, I just drilled holes in the sill and tapped the edges with a ballpein hammer to contour them slightly concave proceeded with fabricating the rear half of the outer rocker skin step in forward edge to tuck under forward rocker repair panel cut the square holes needed to retain the sill covers - those are from later 960 series, which is what the forward rocker repair piece was cut from. That way, I had guide holes to follow in terms of spacing, offset & specific dimension Prepped the outer sill lip & the backside of the sill so I can spot weld thru. Had to add another clamp - this one clamp wasn't providing sufficient conductivity for the spot welder to operate Only got as far as spot welding the sill lip, and the rearward overlap -by then the storm was moving in pretty quick, so I packed up for the day. Should be able to finish the outer skin work tomorrow. Lightening was coming through that darker cloud bank - I had about 5mins to pack up before the downpour


-
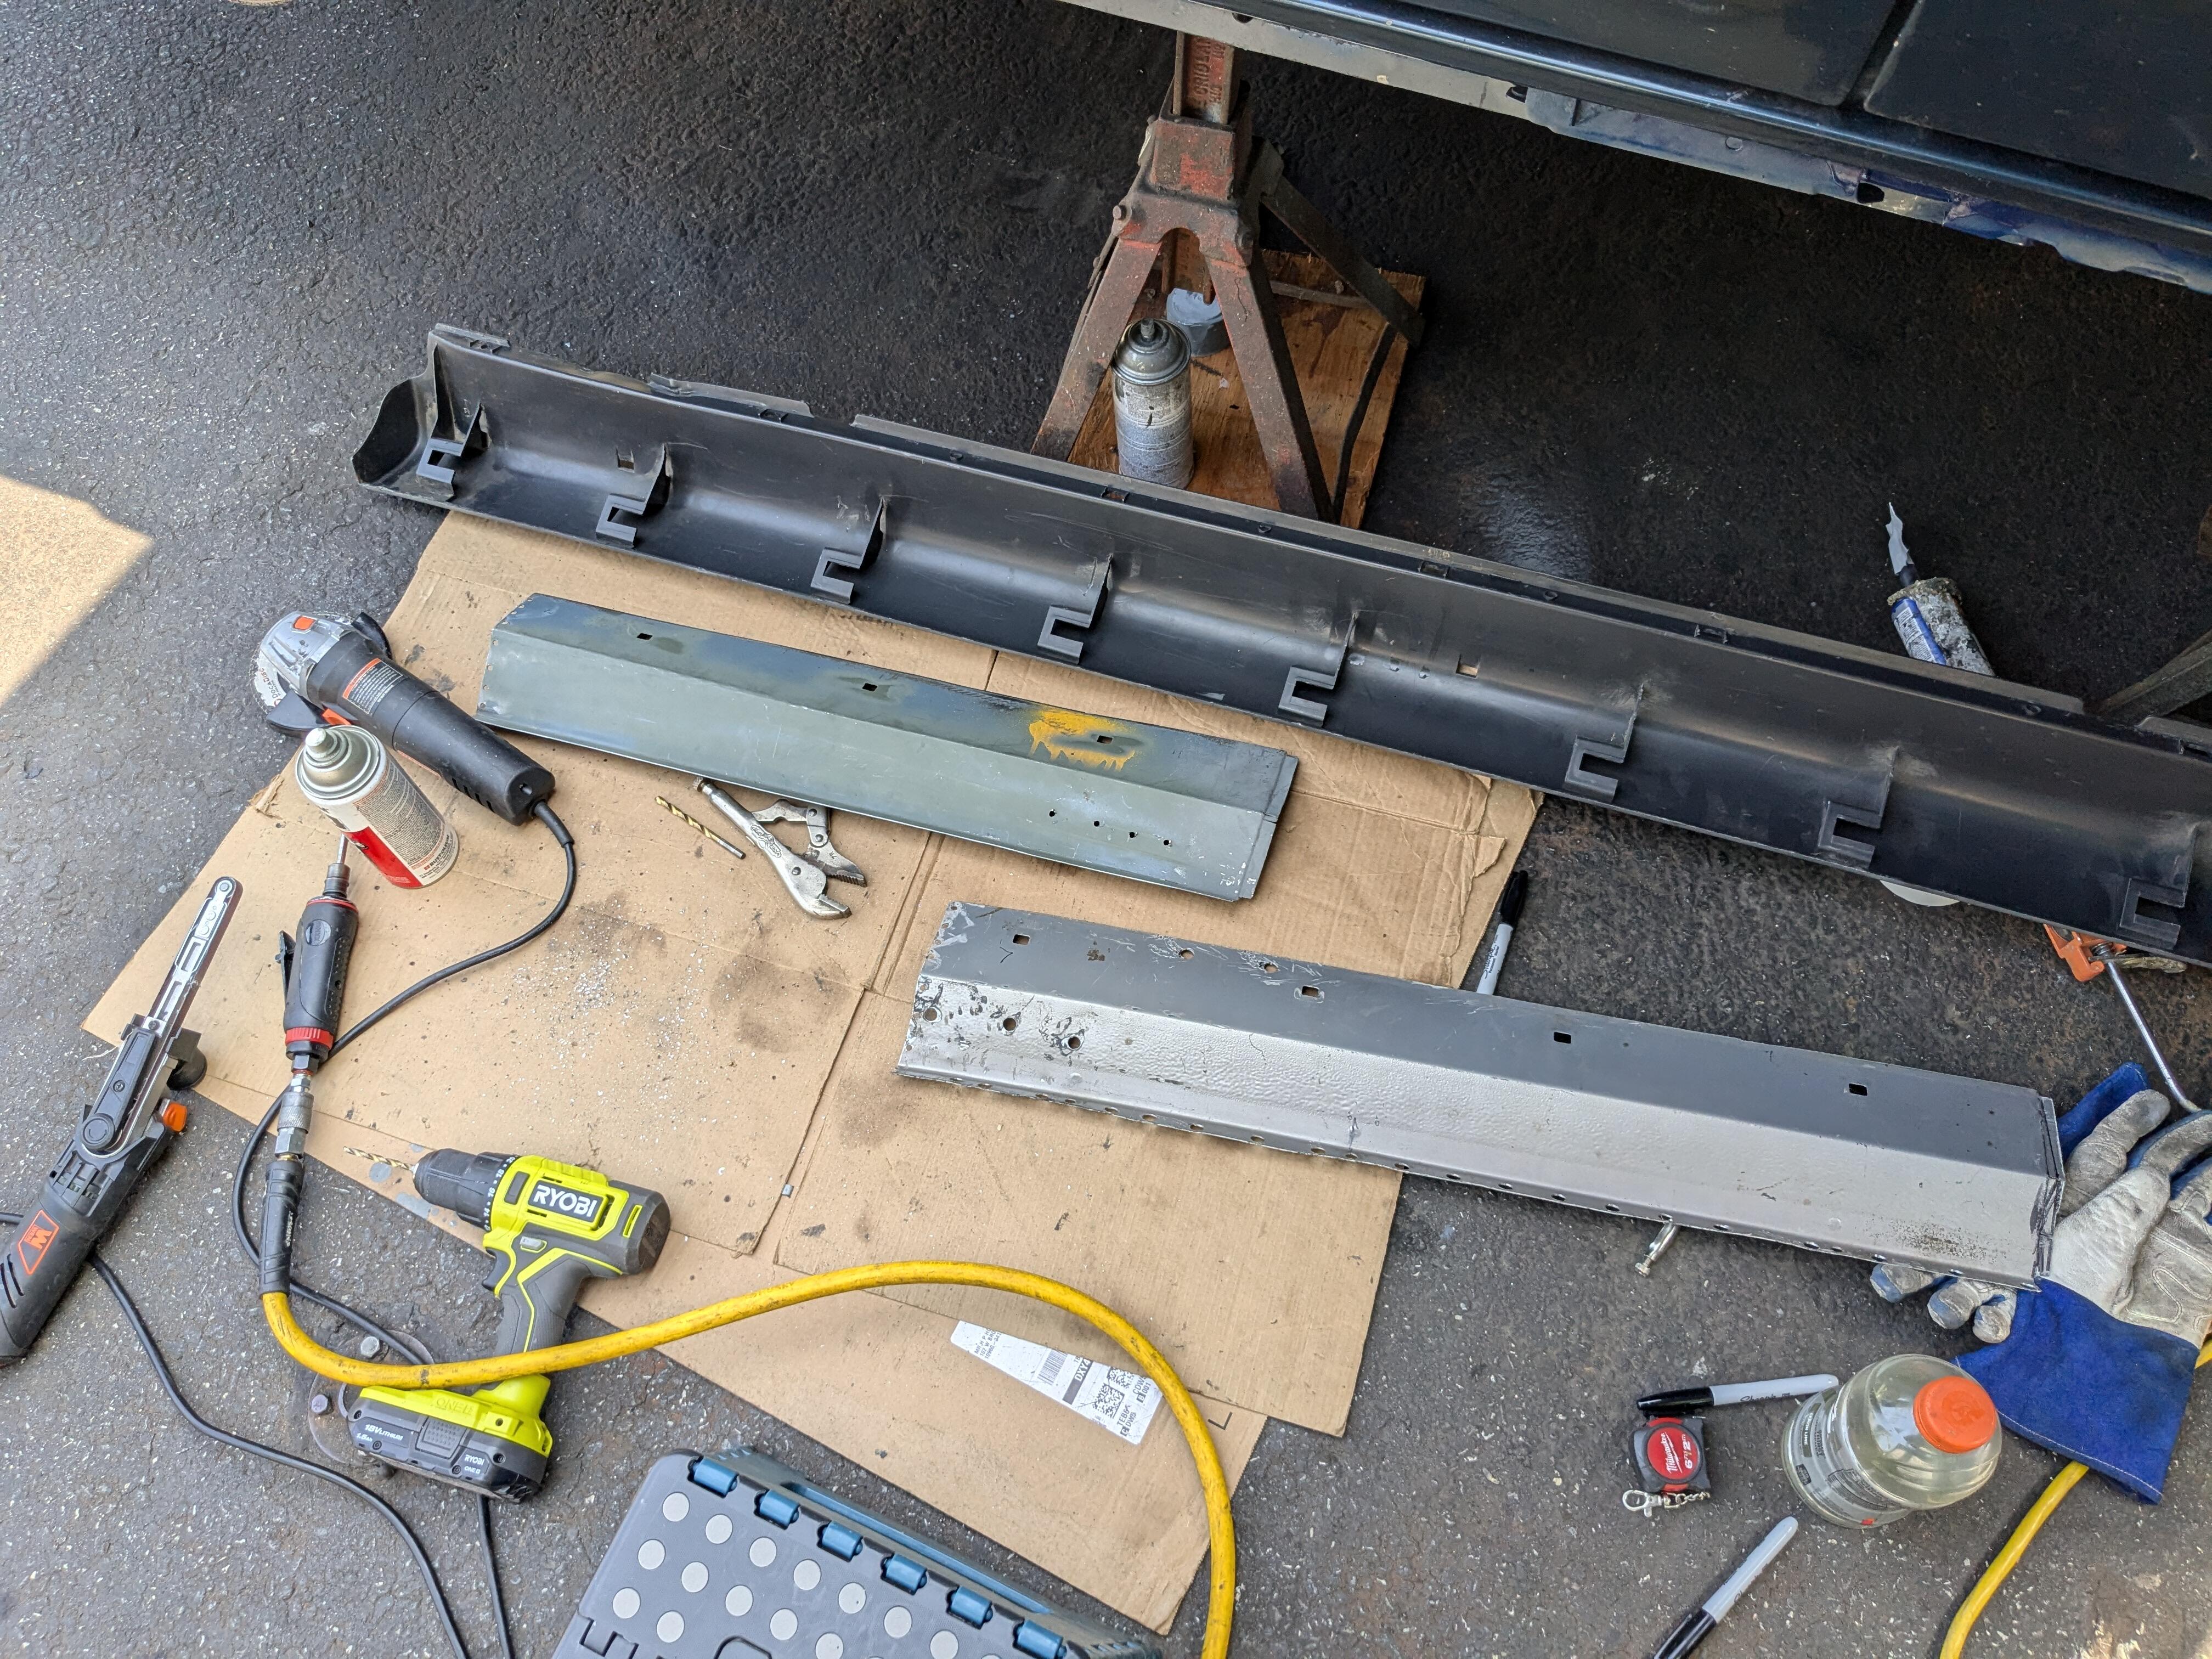
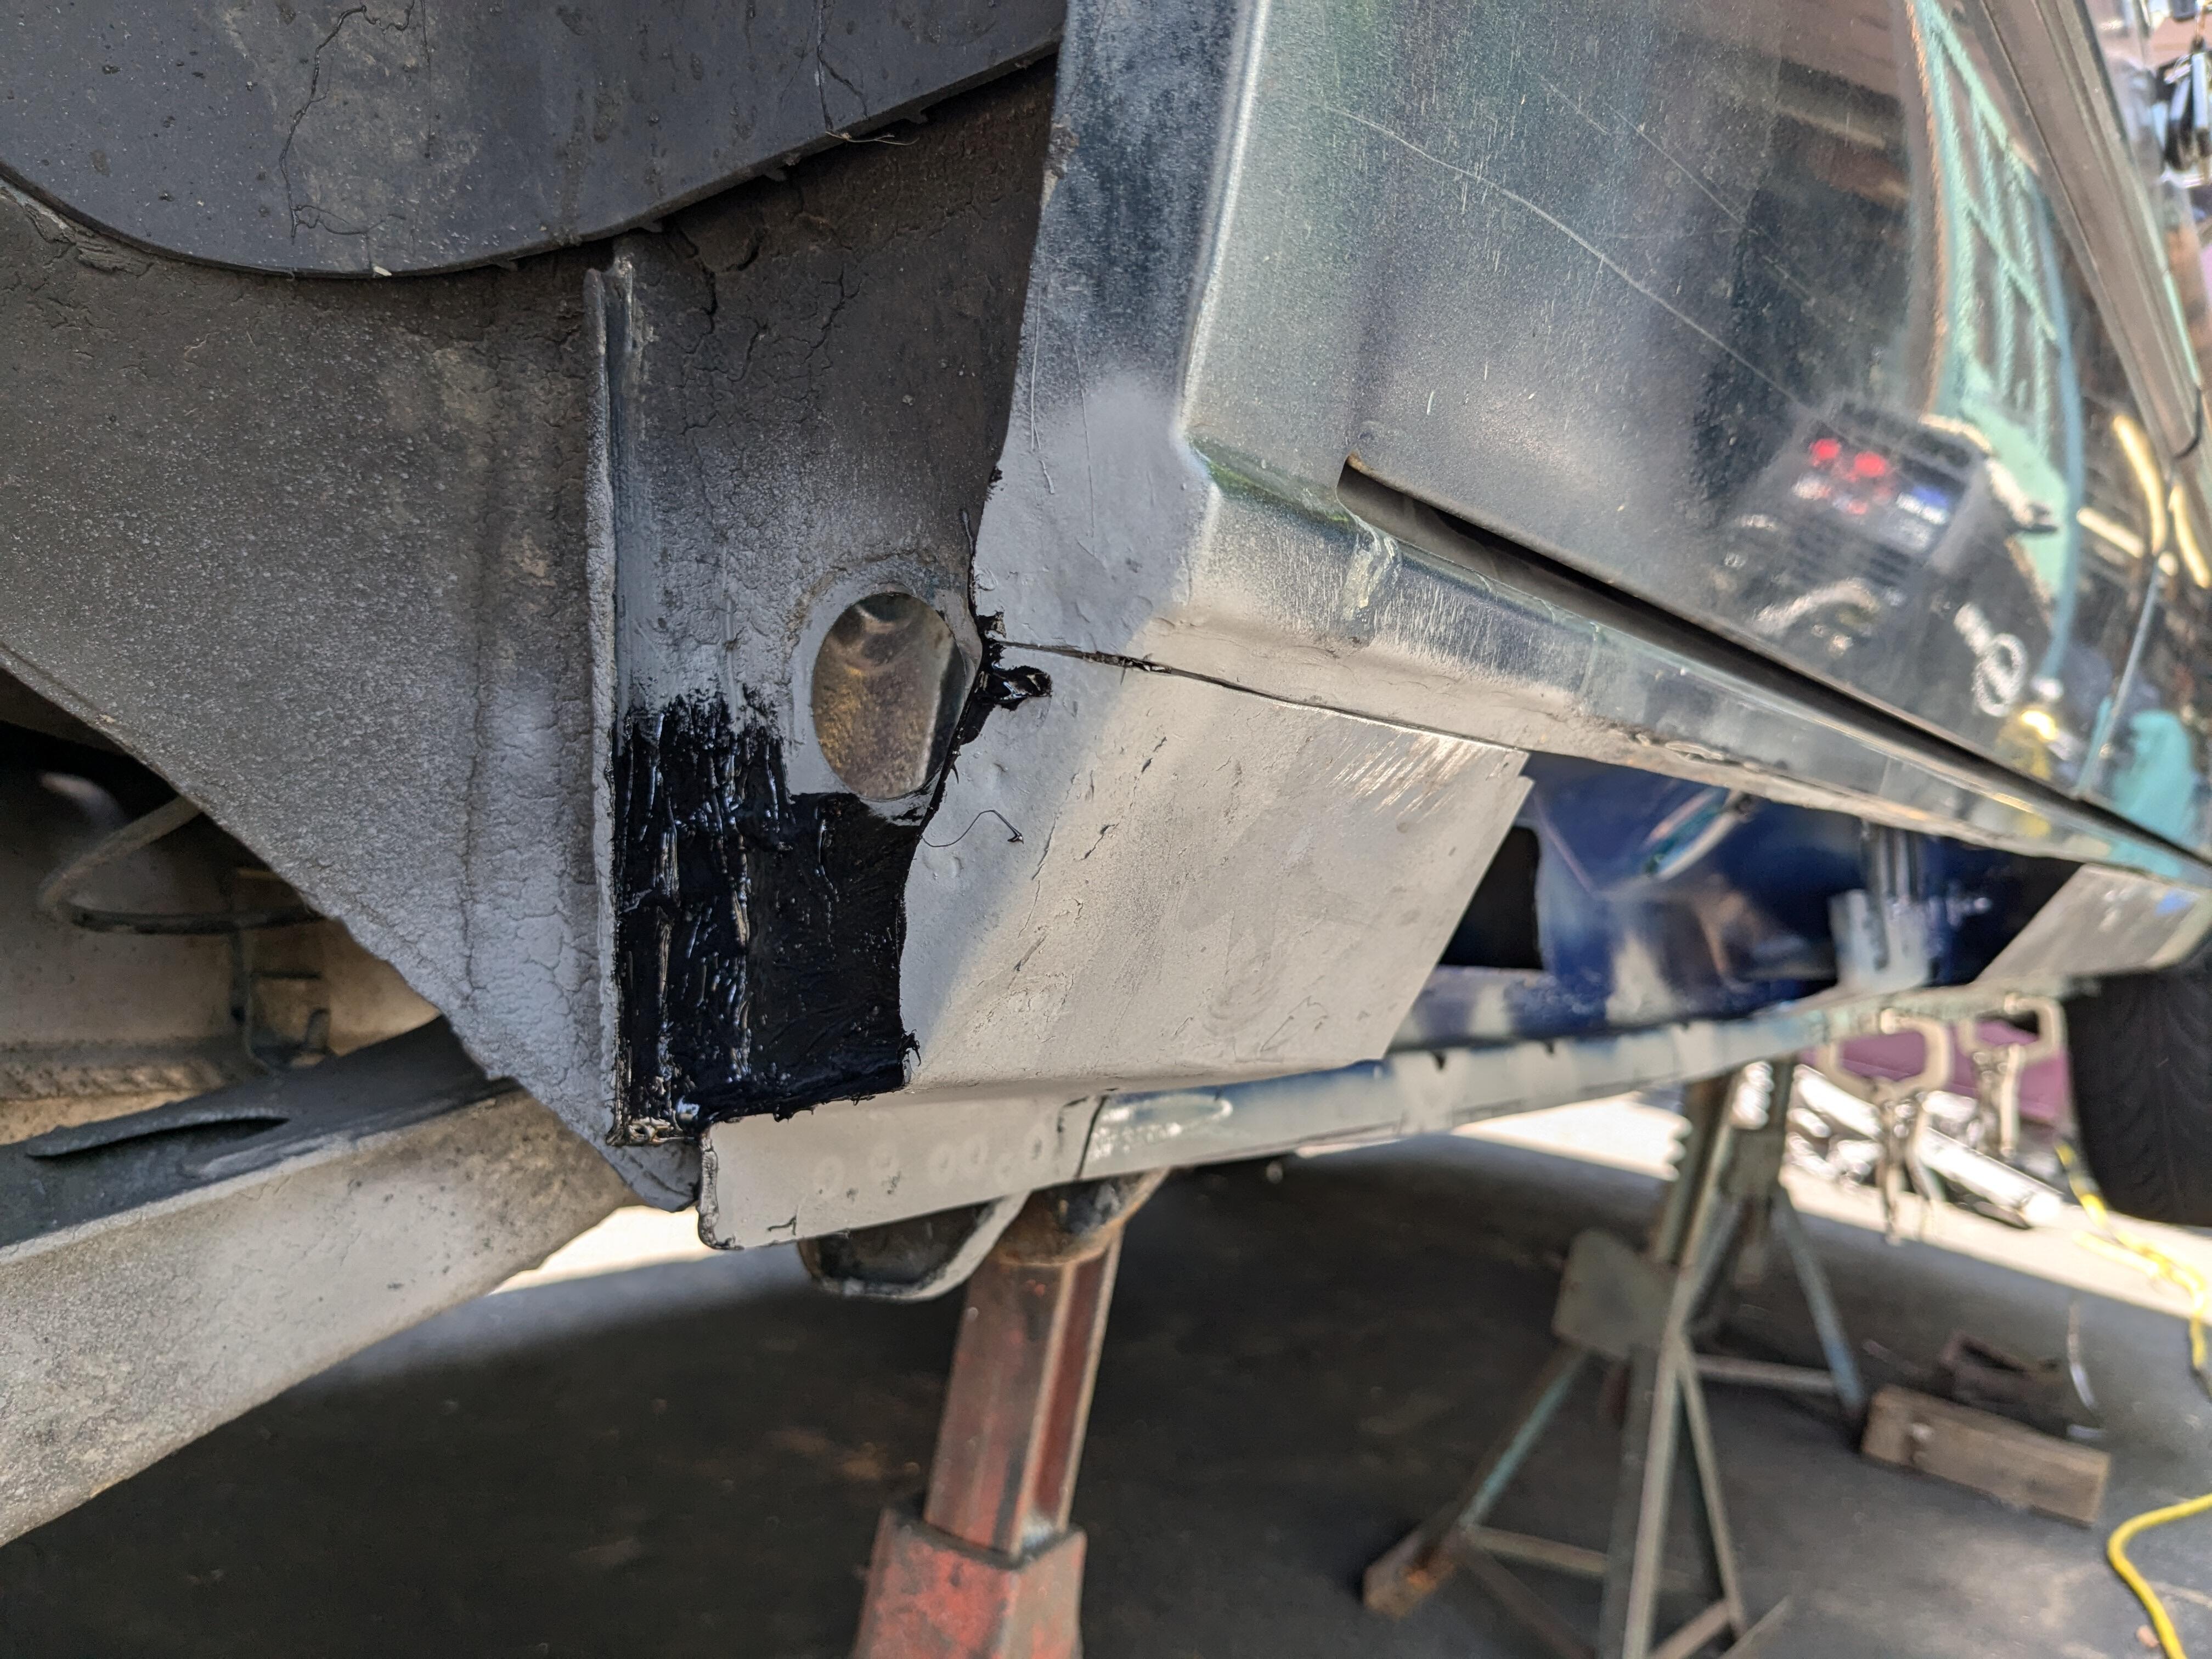
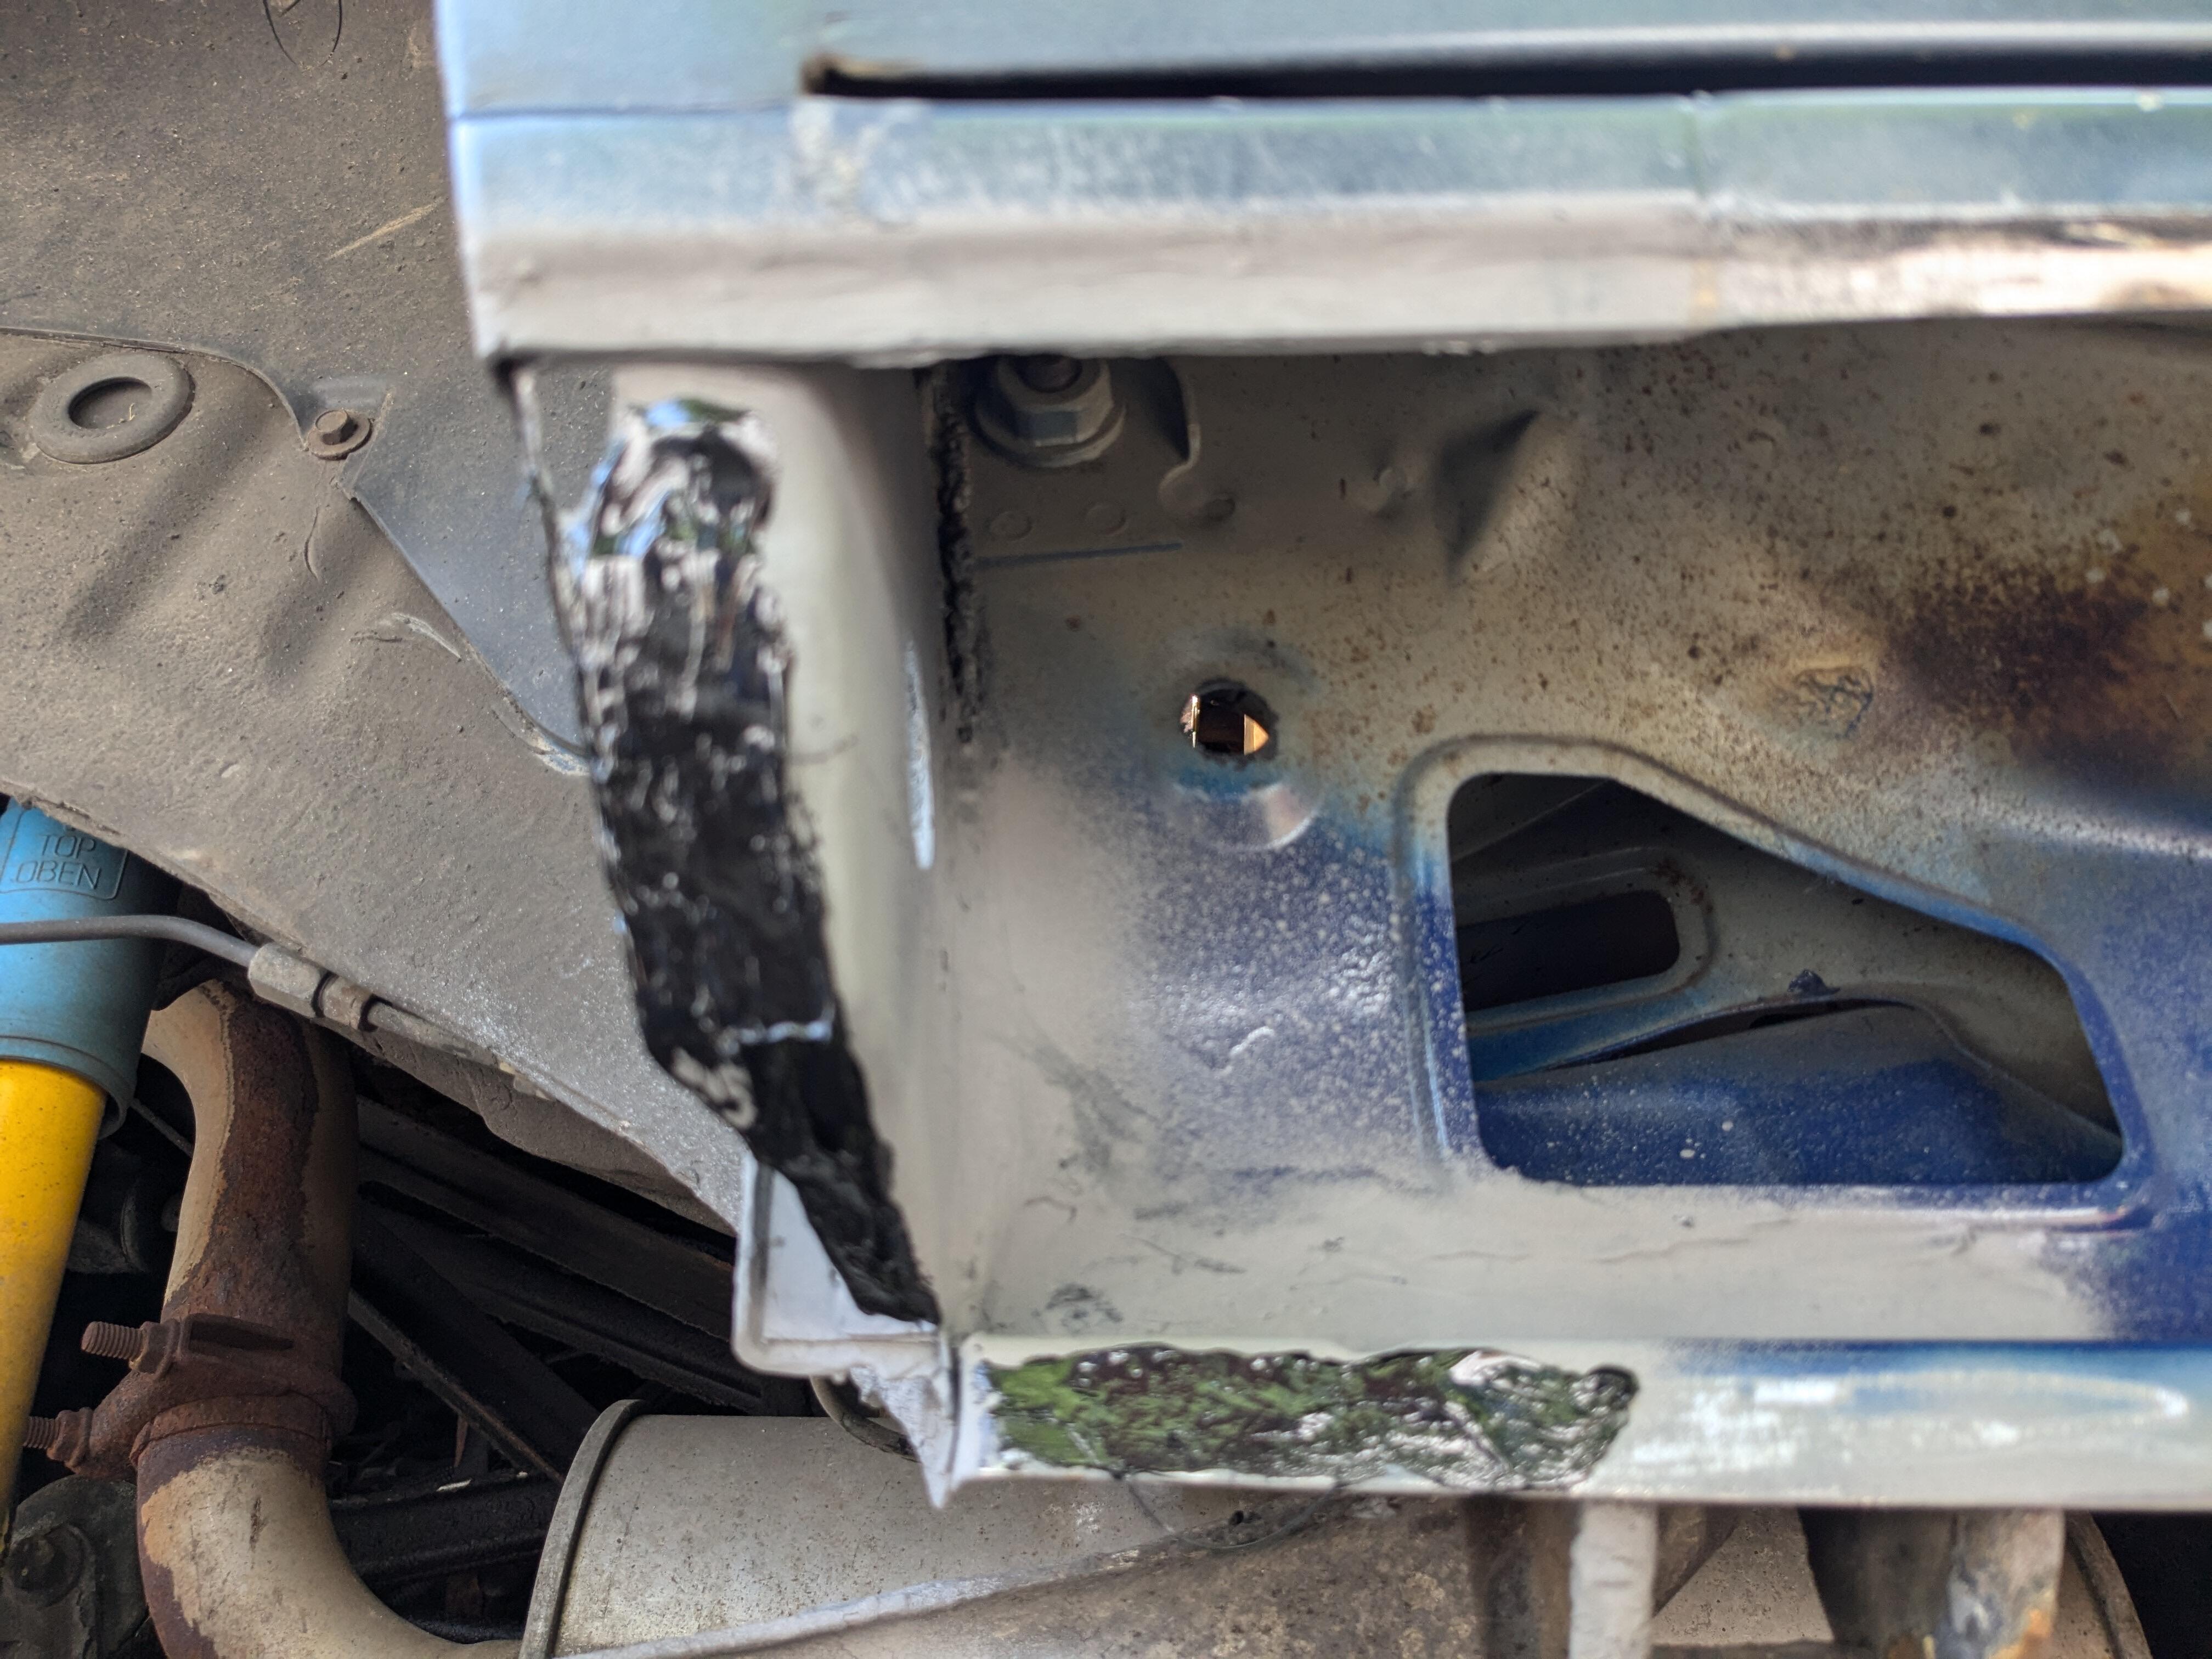
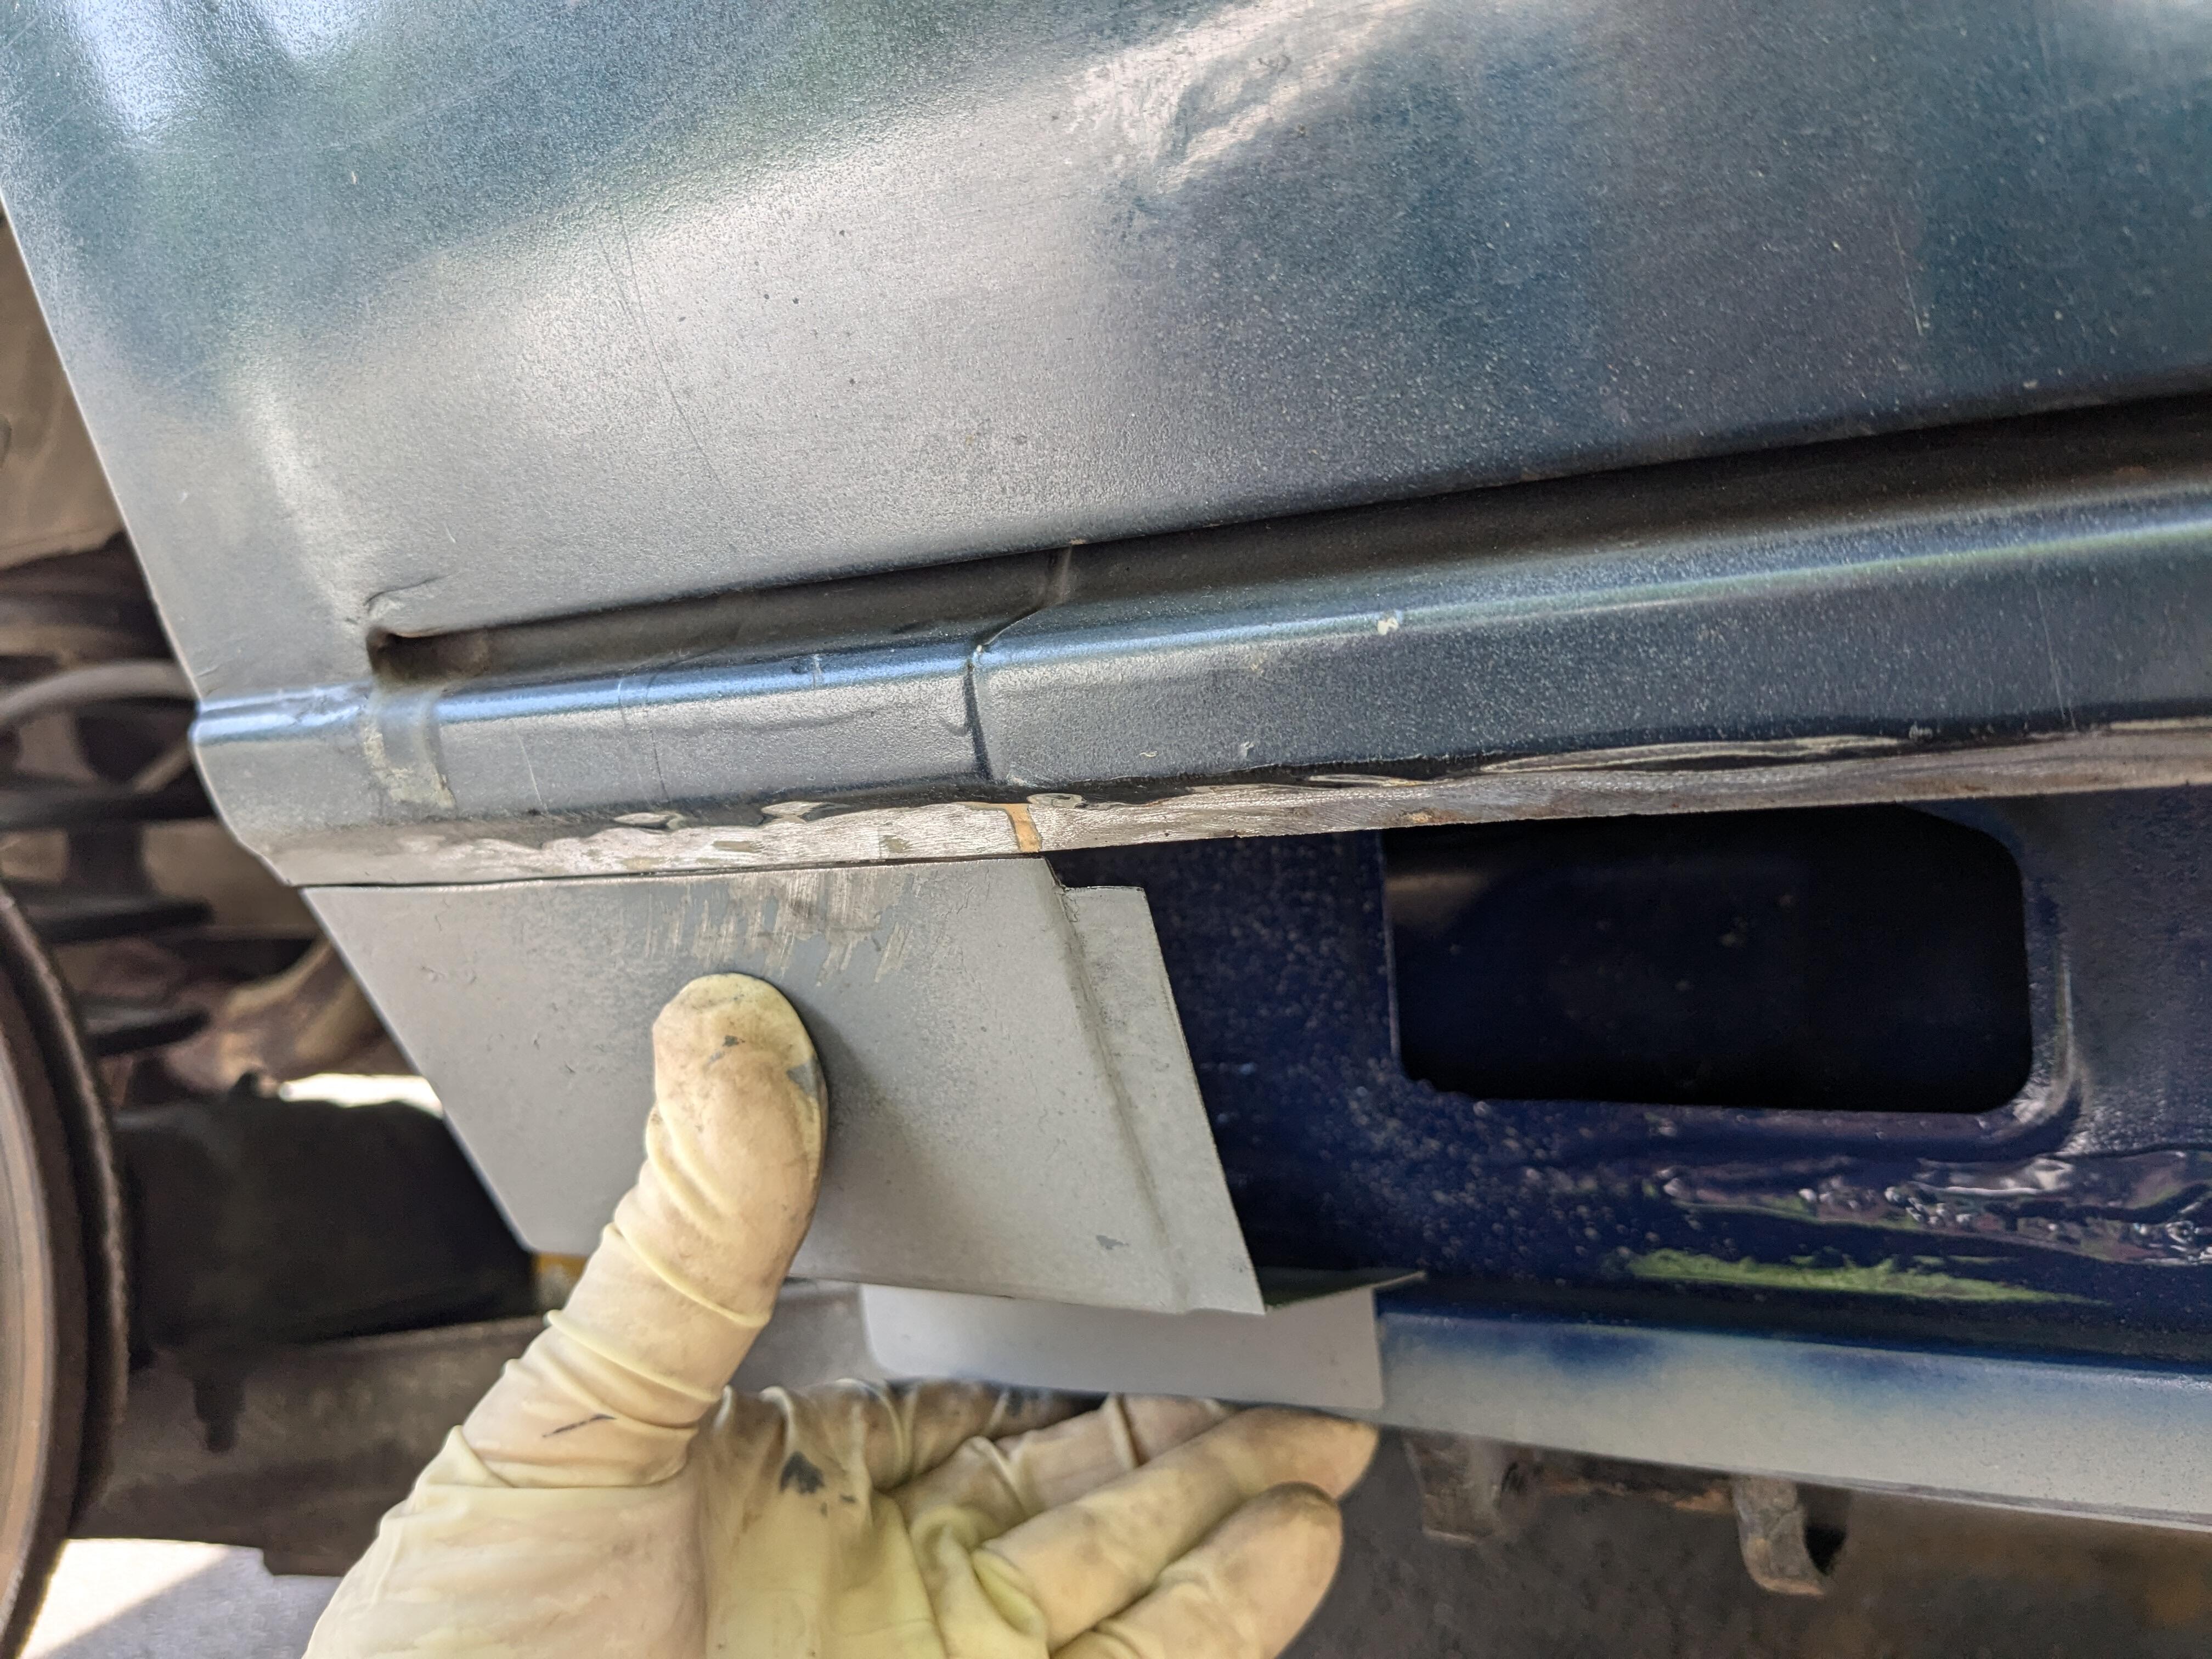
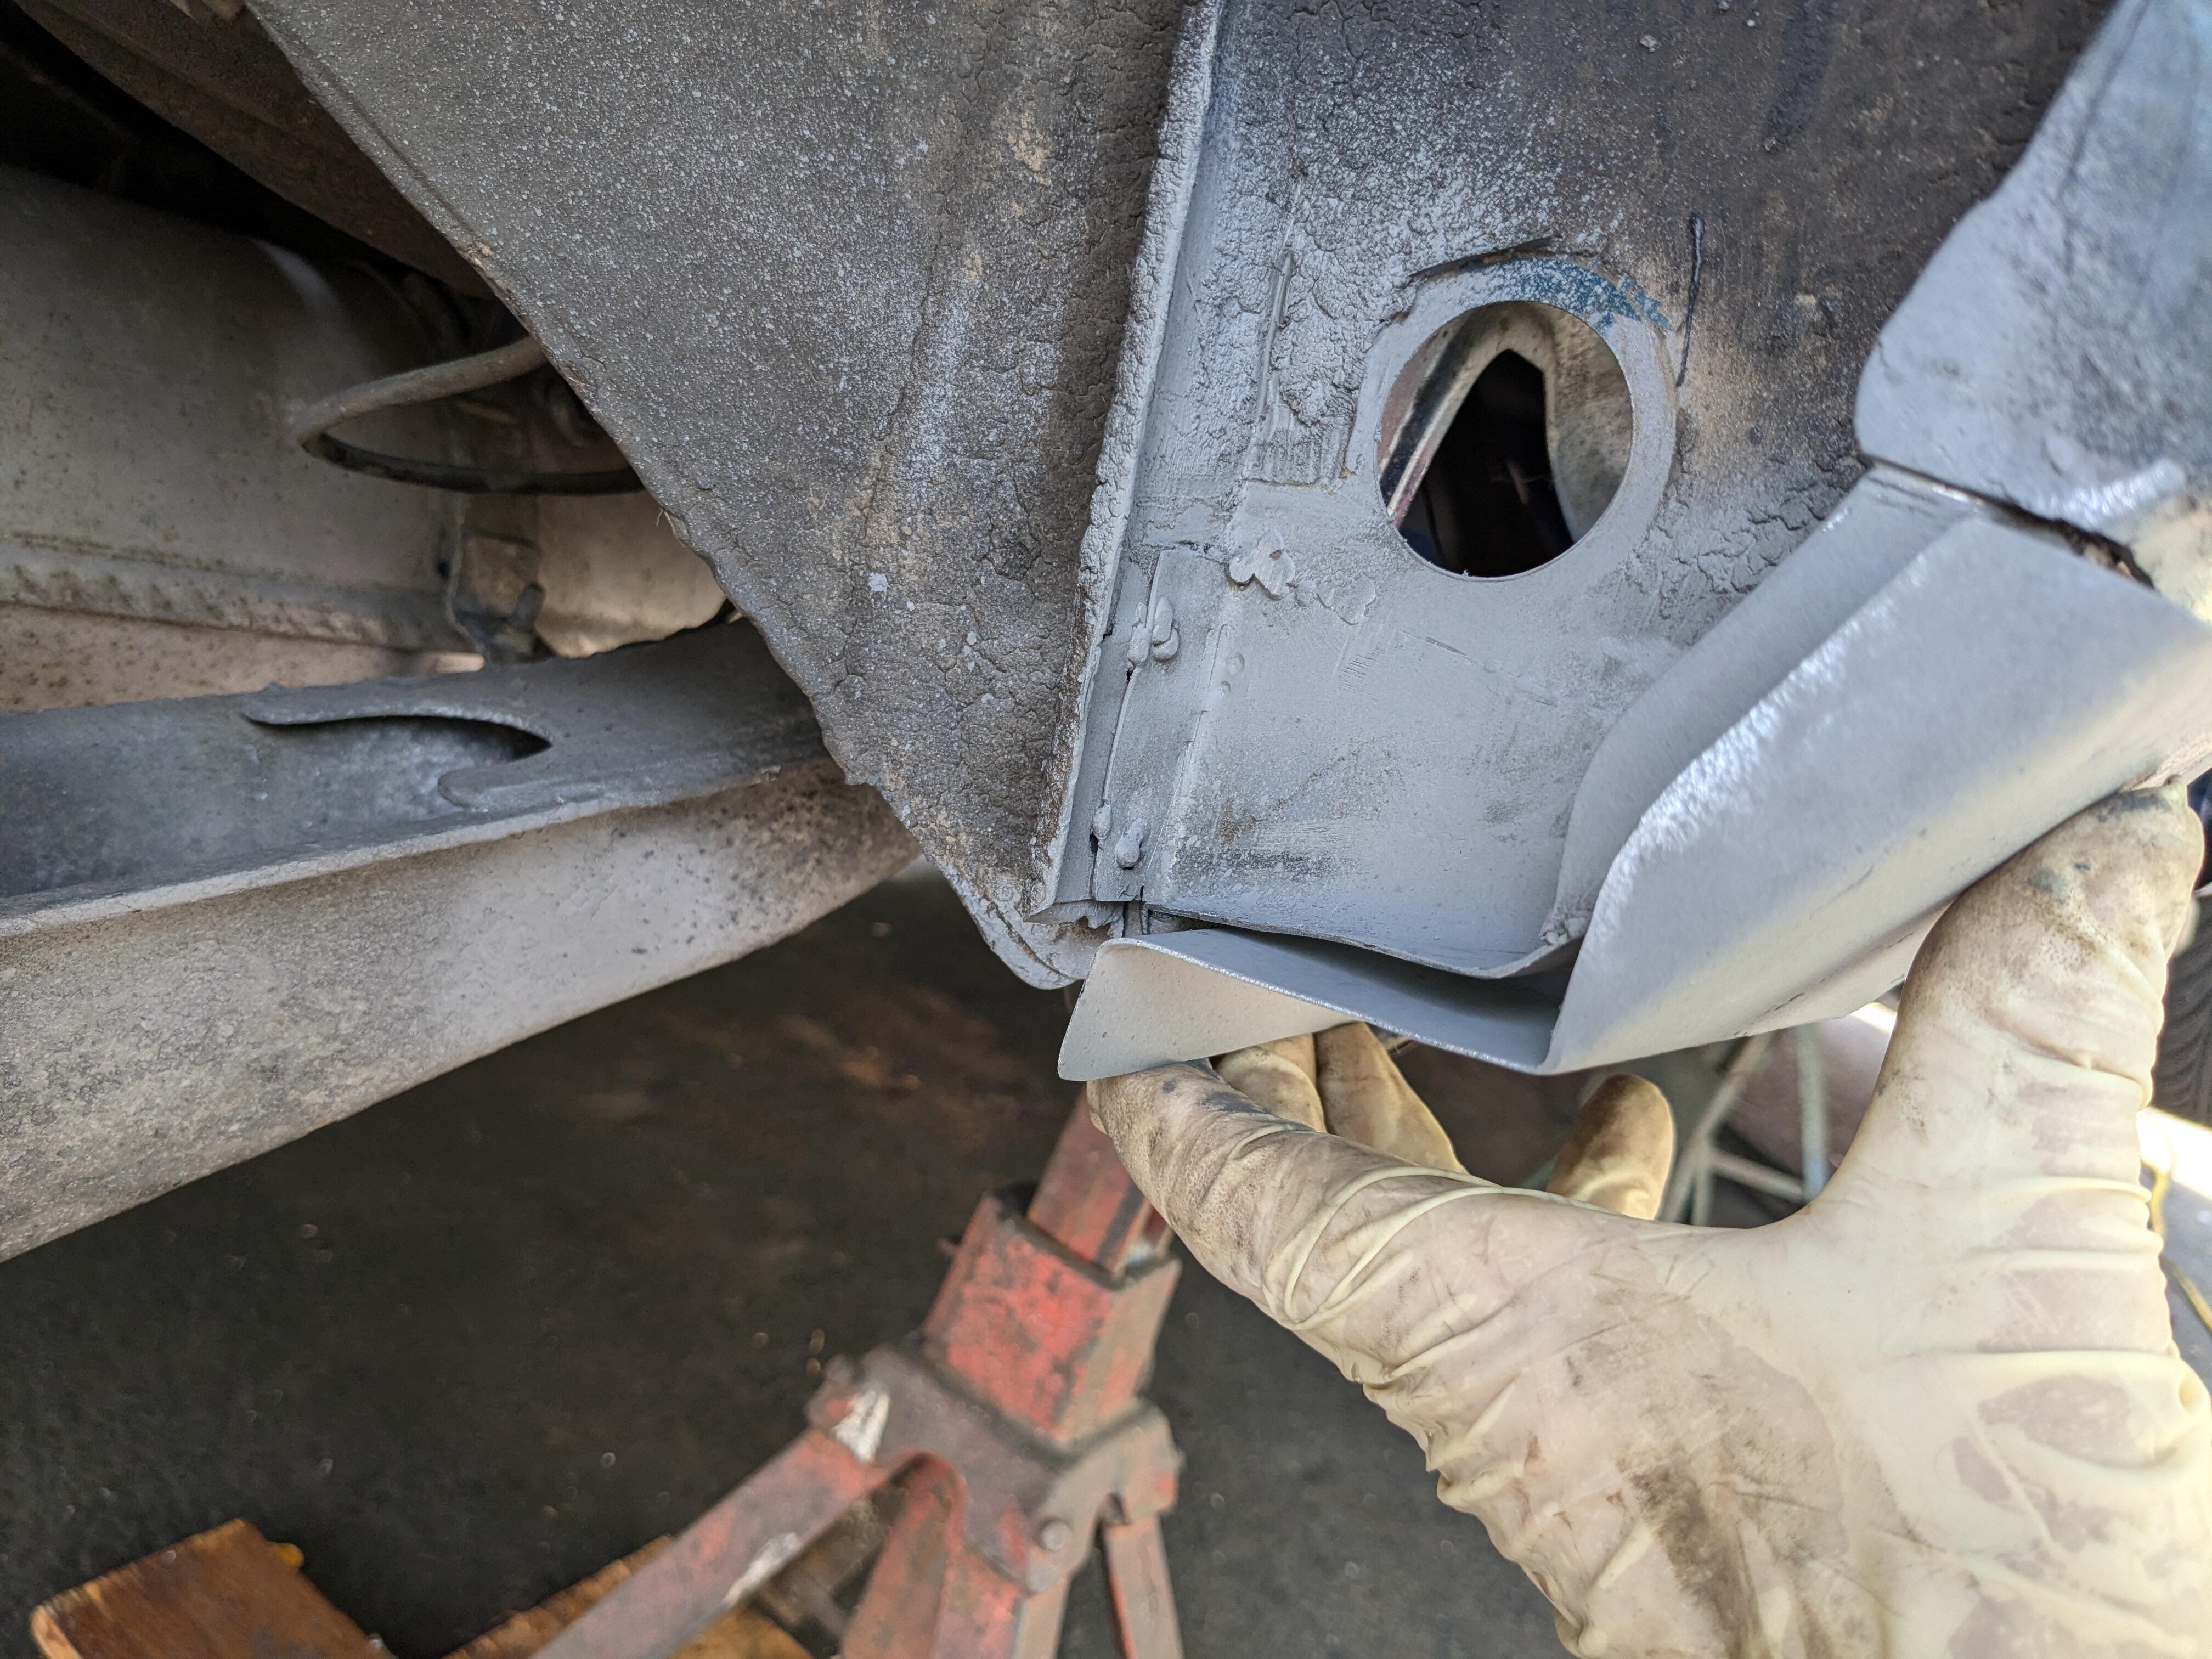
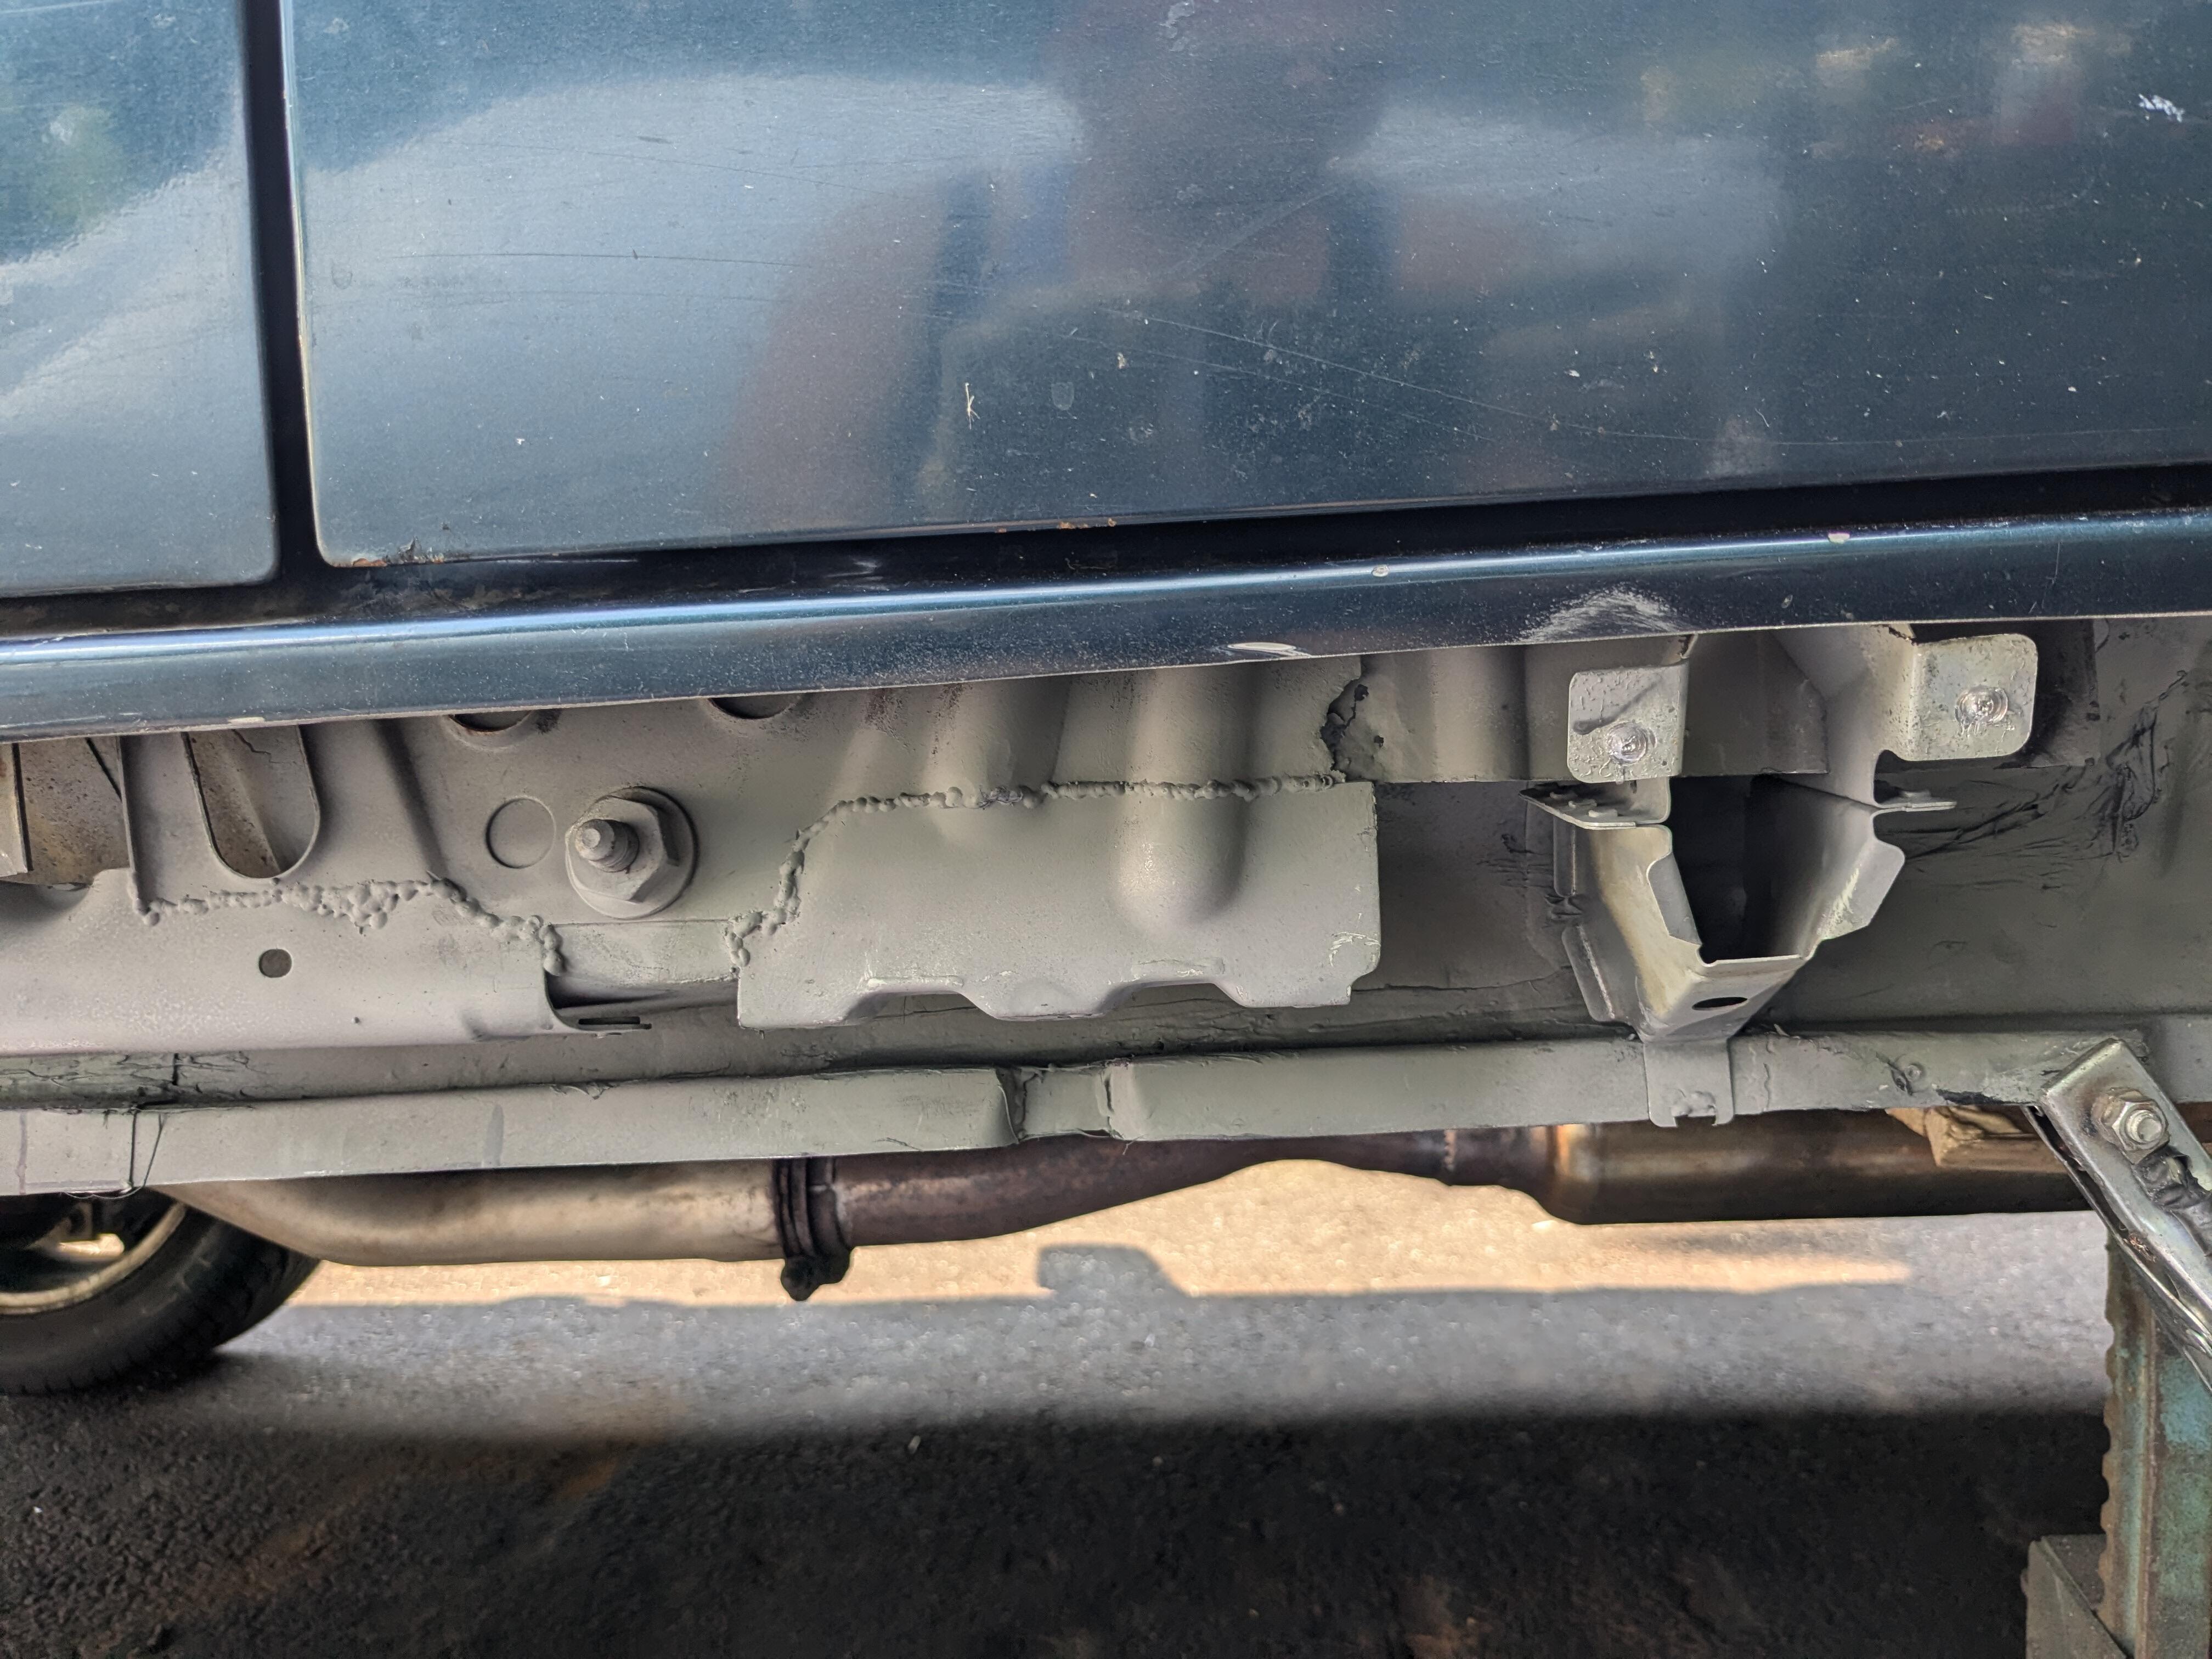
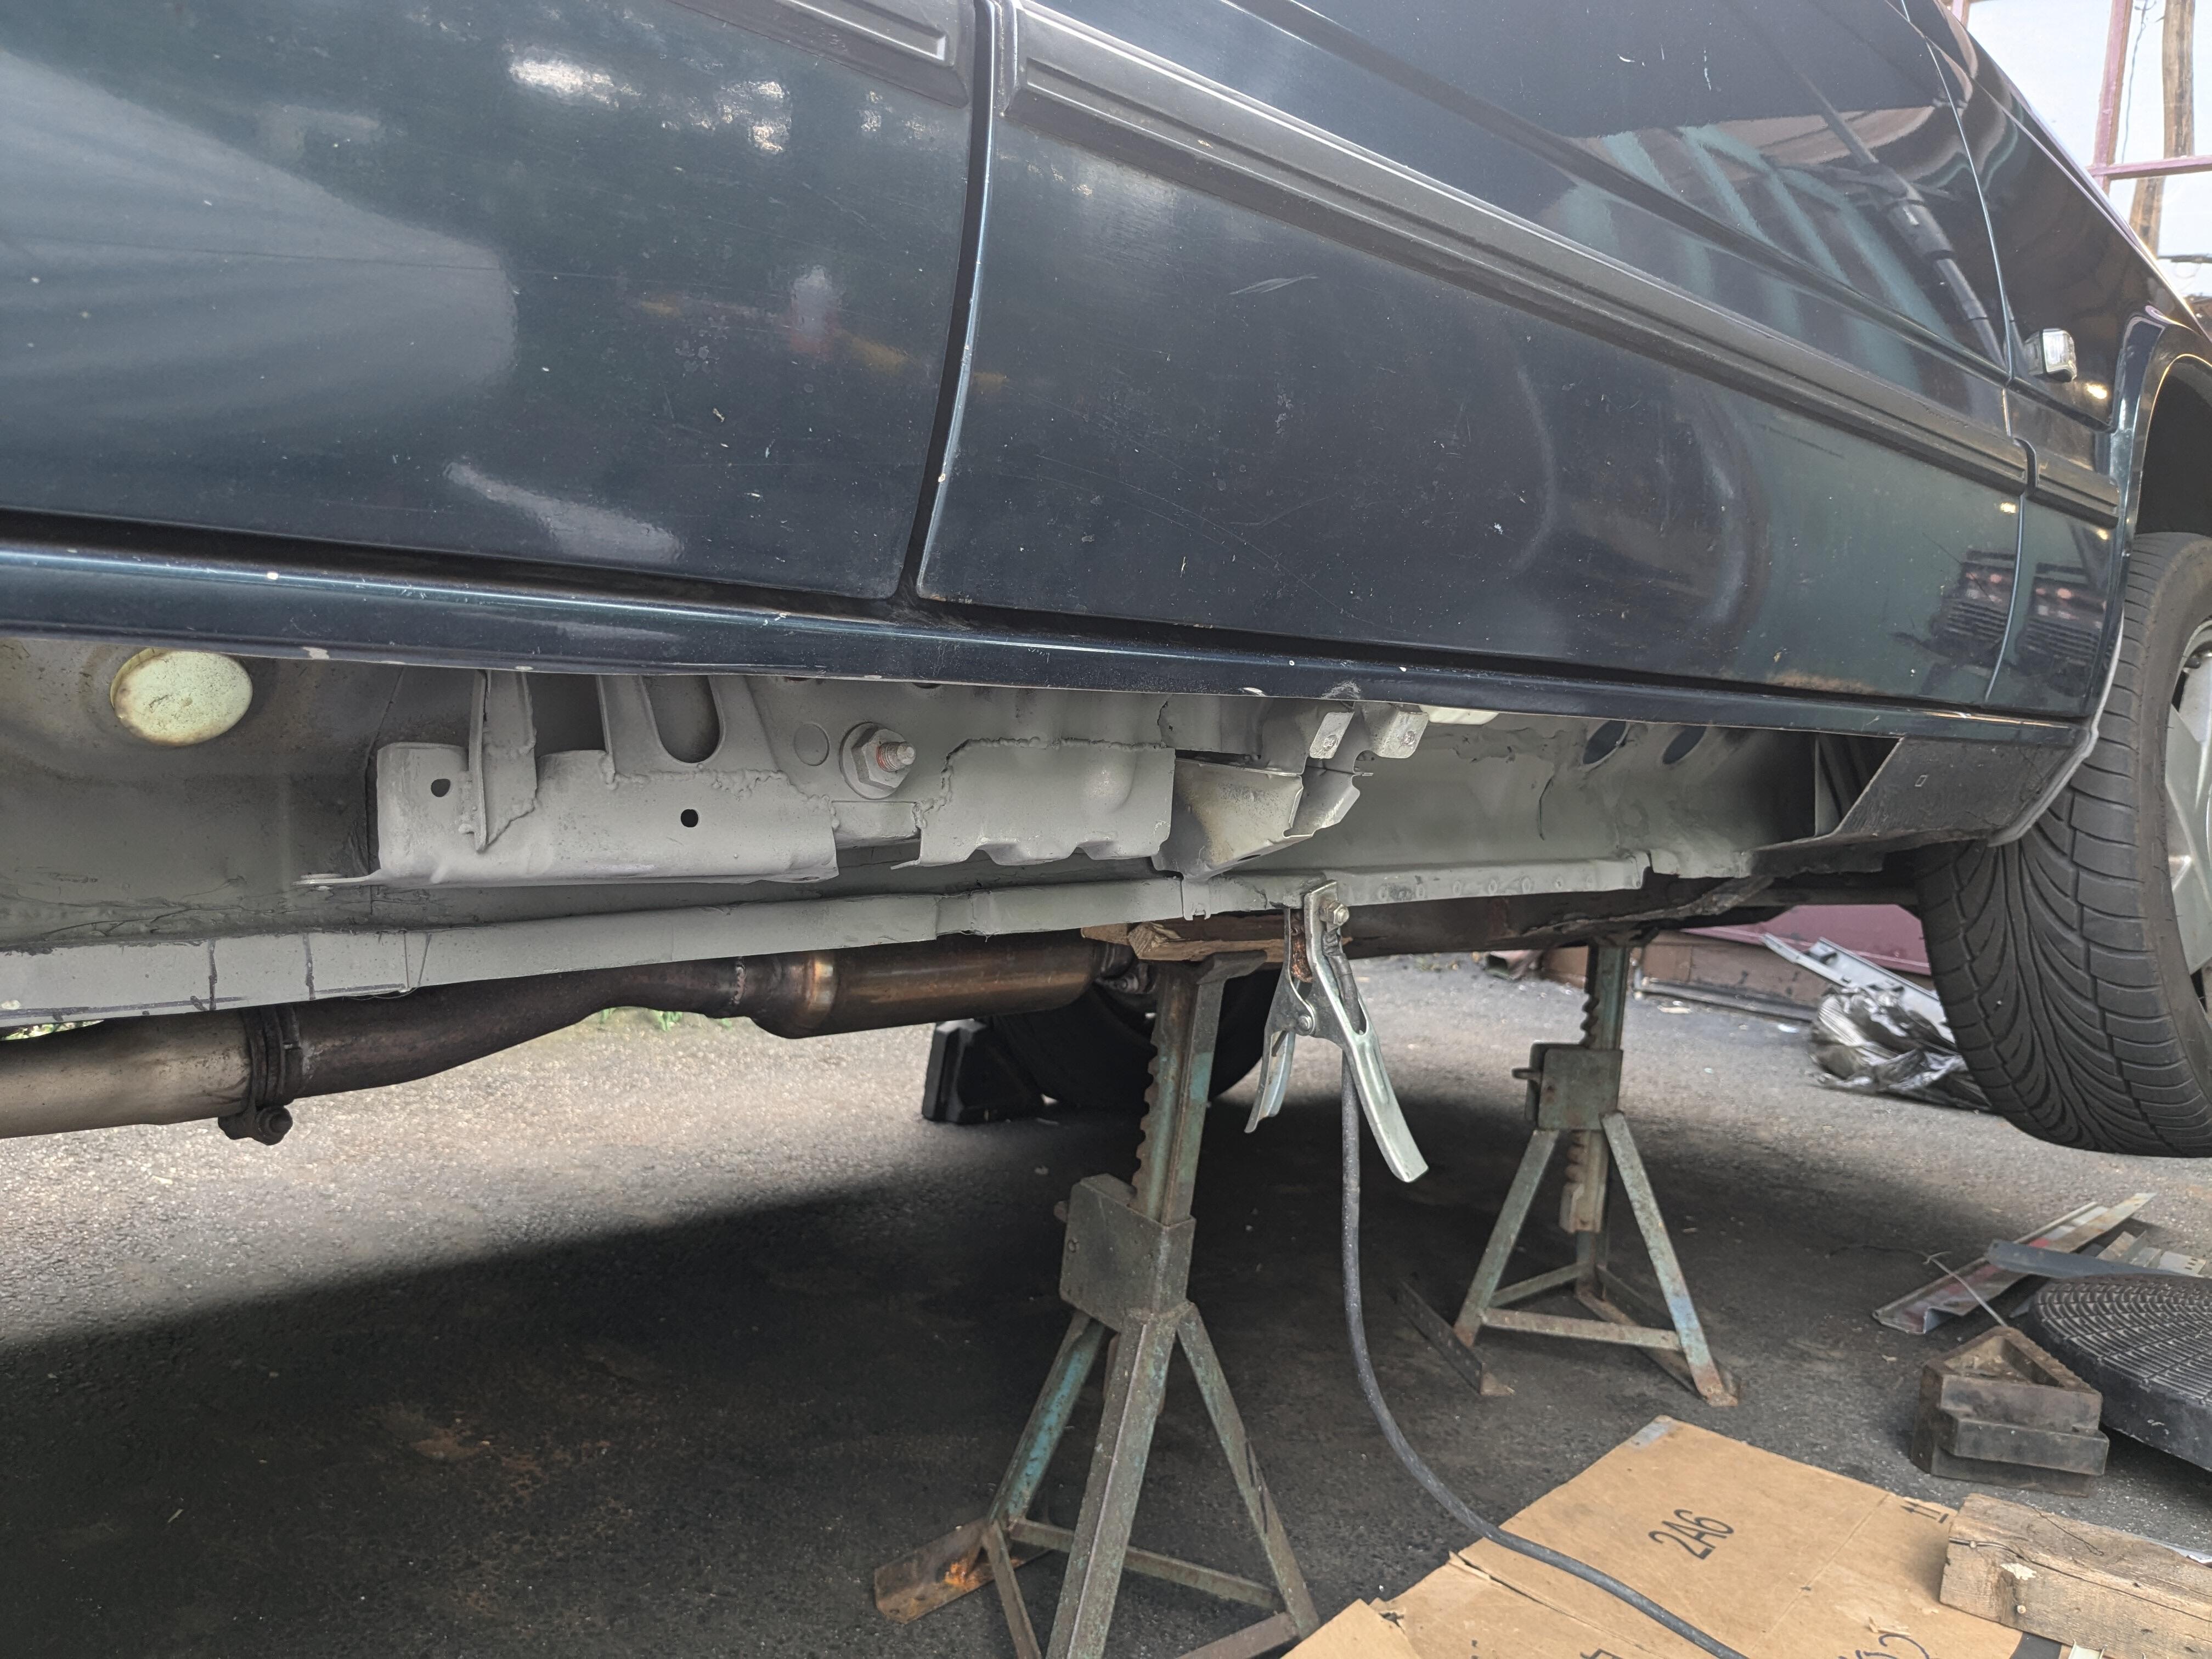
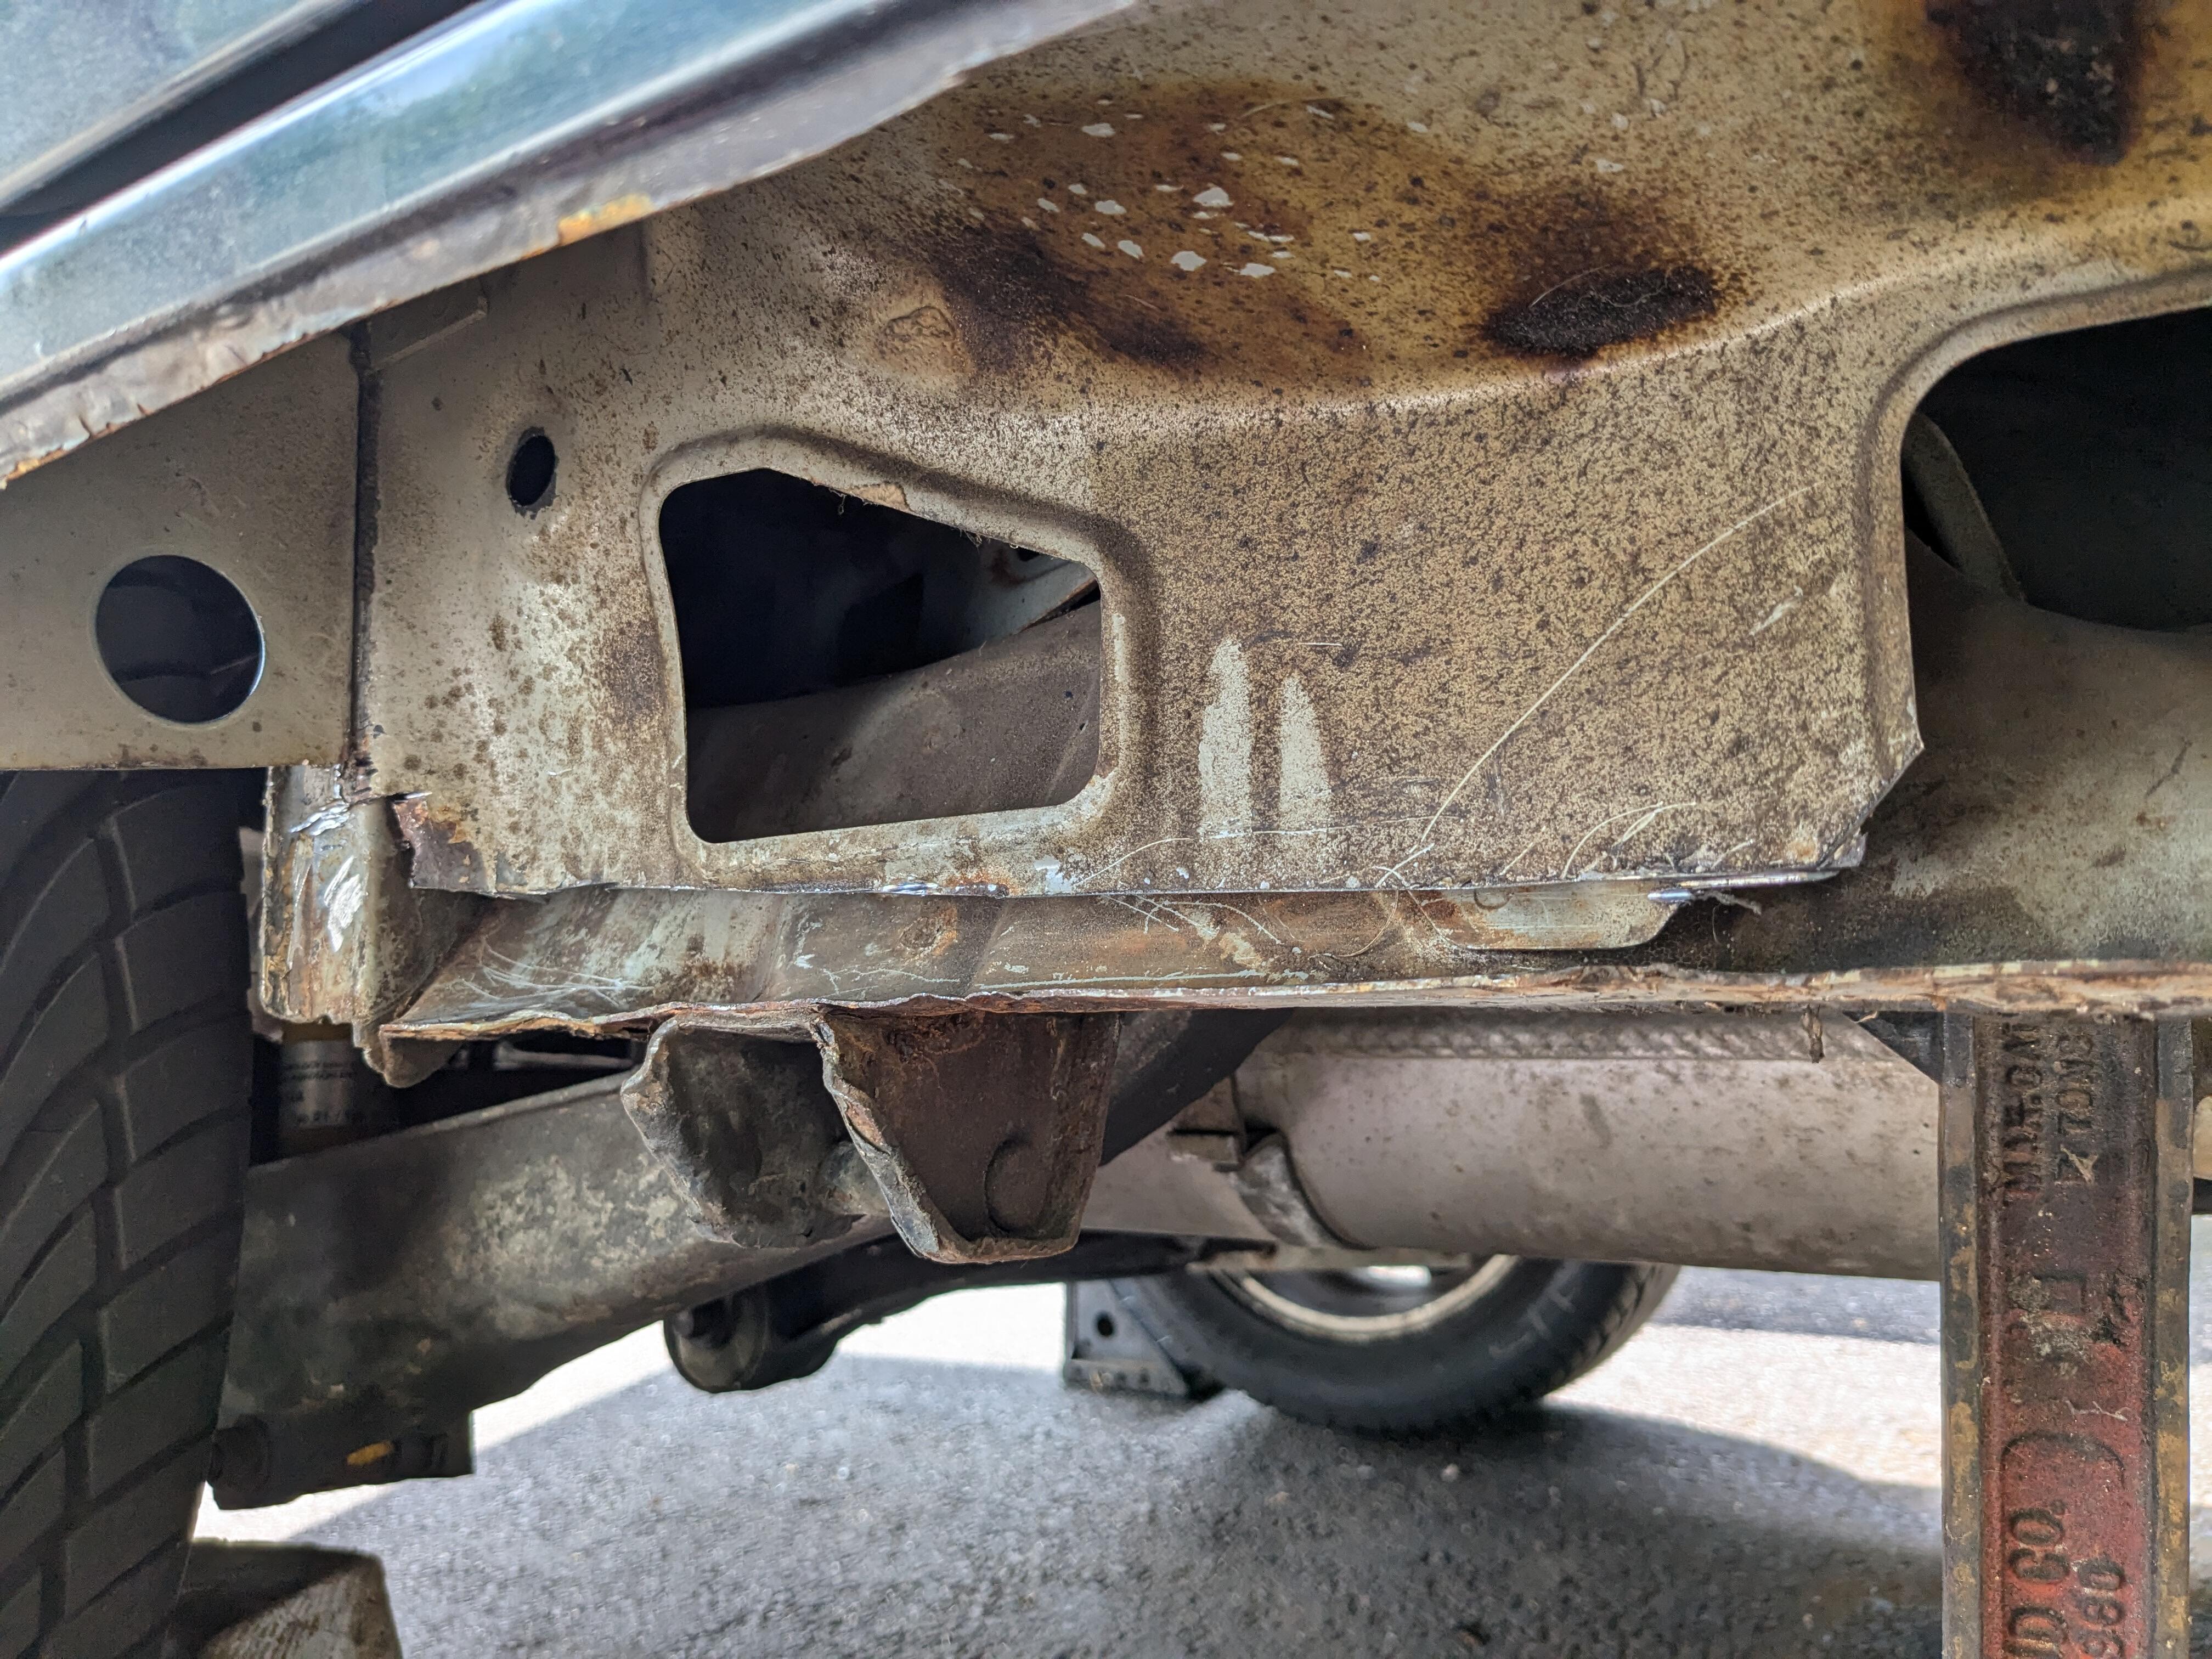
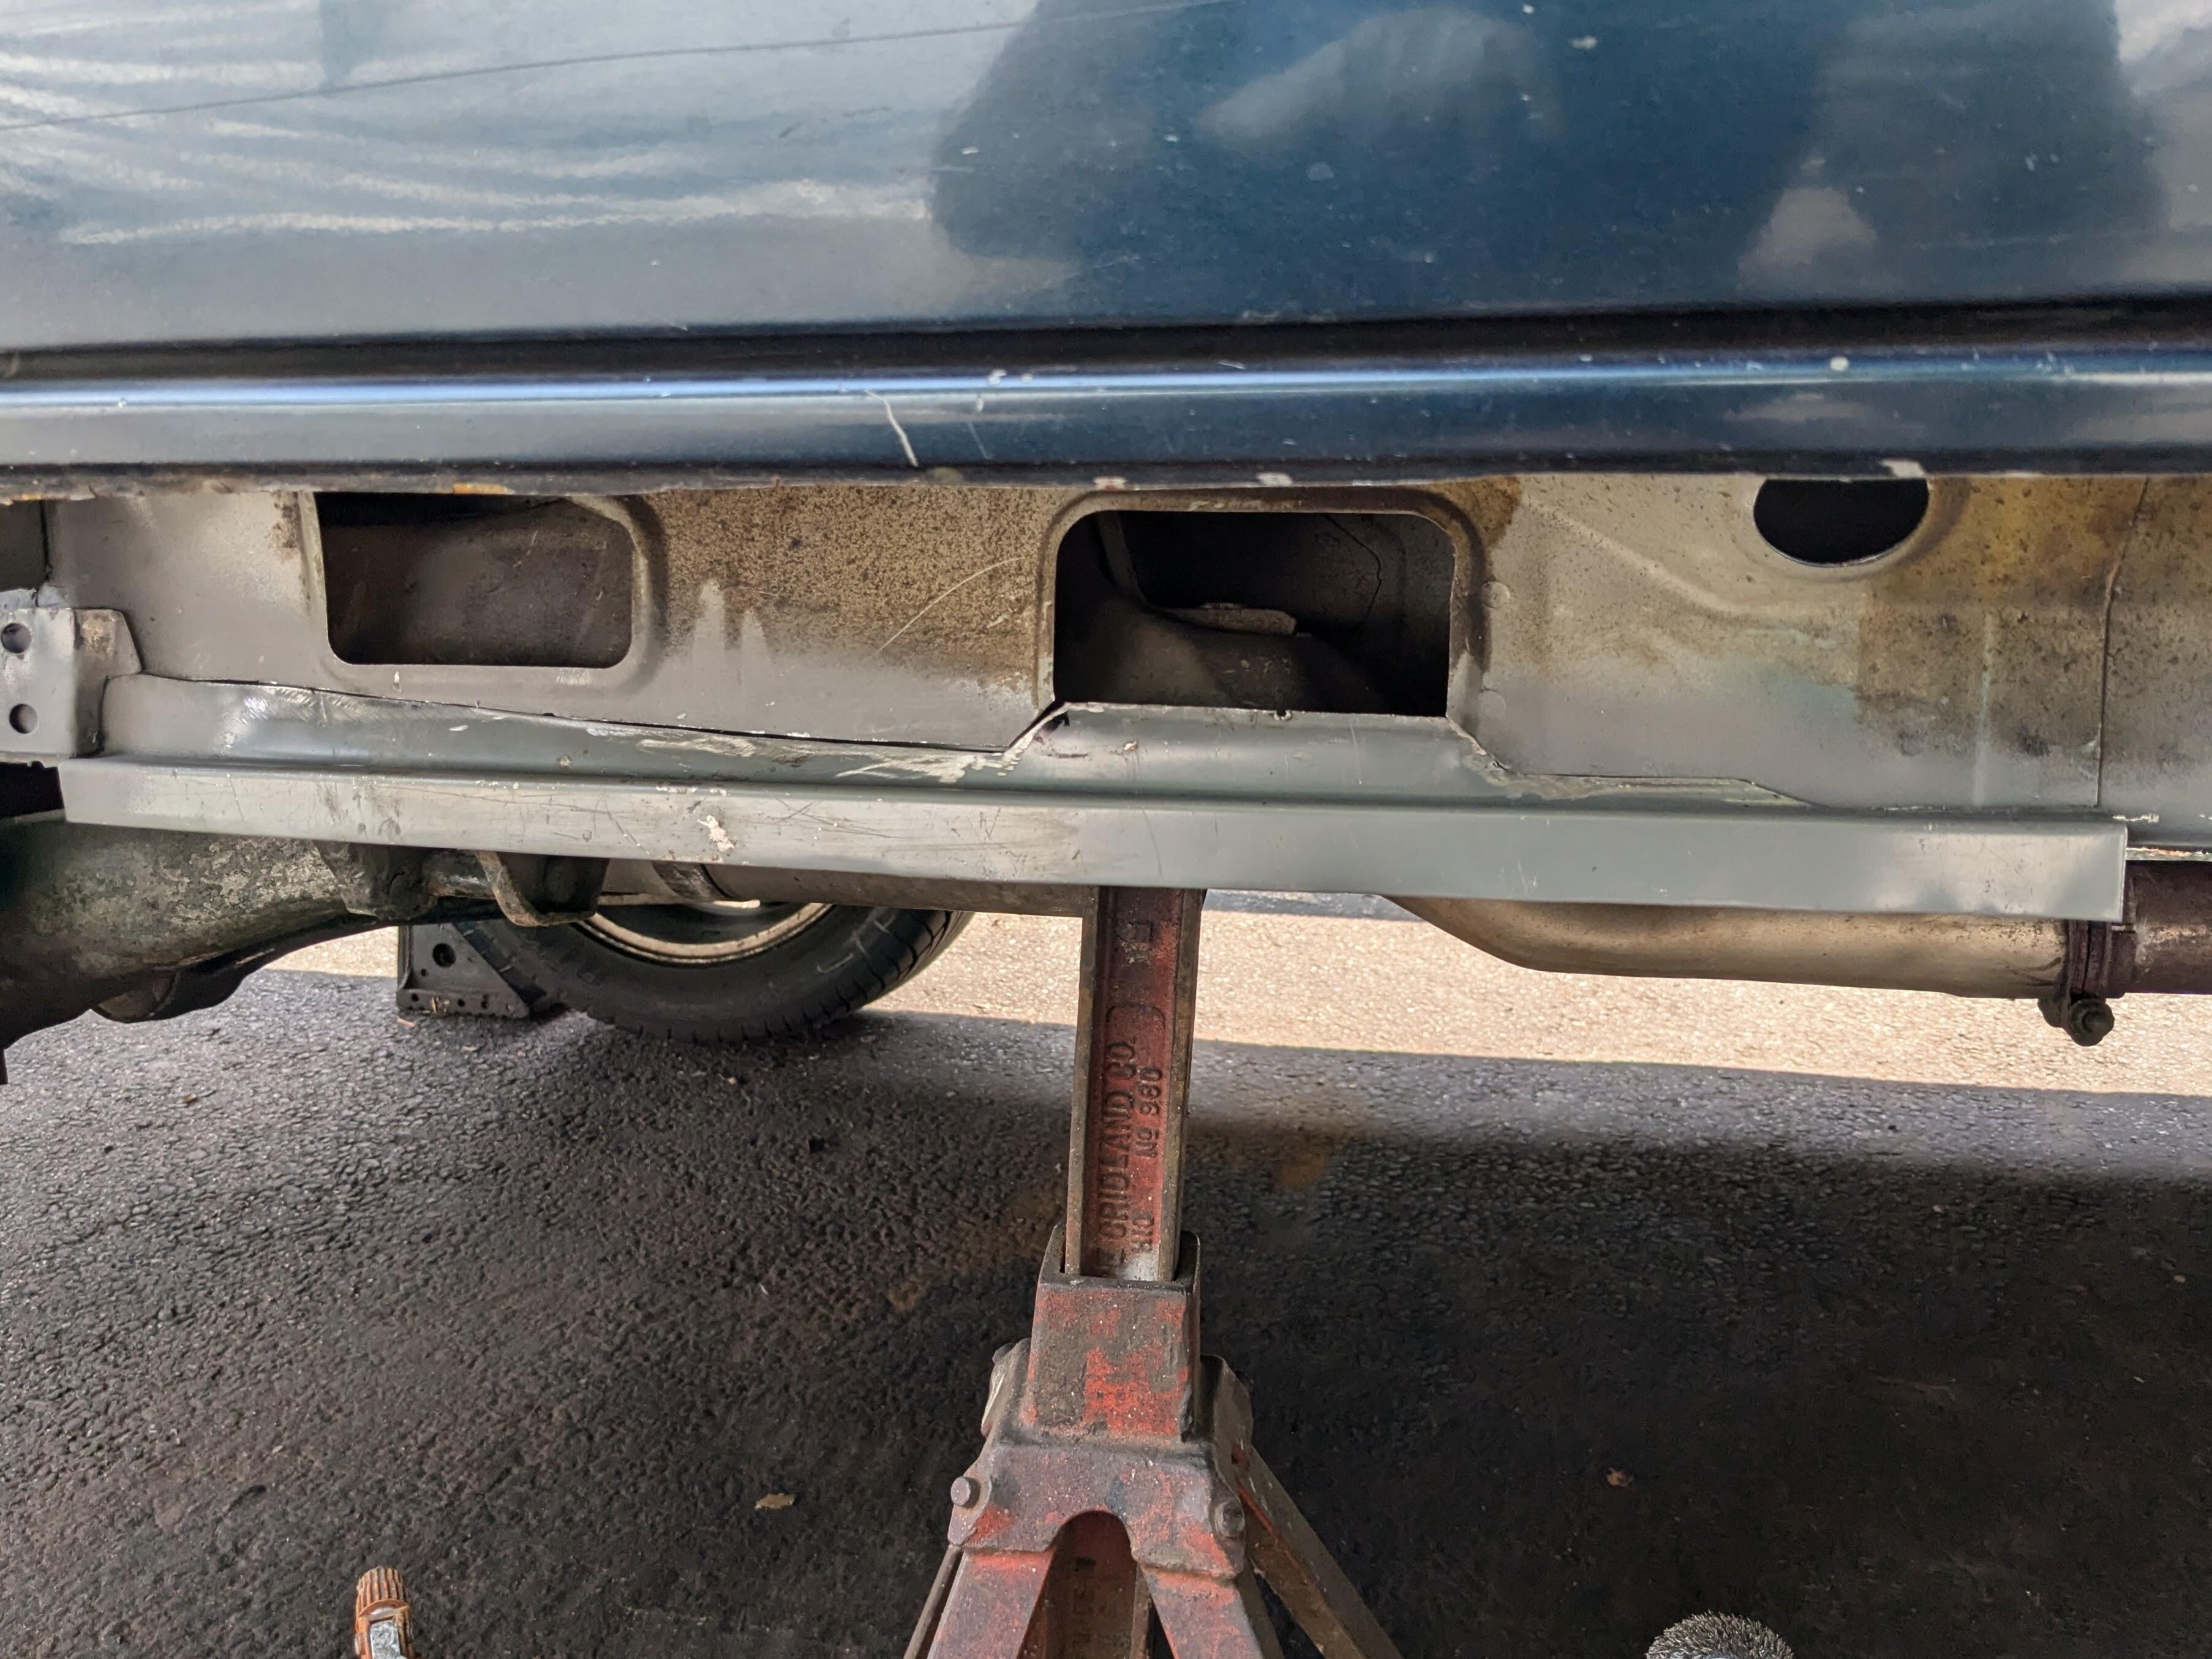
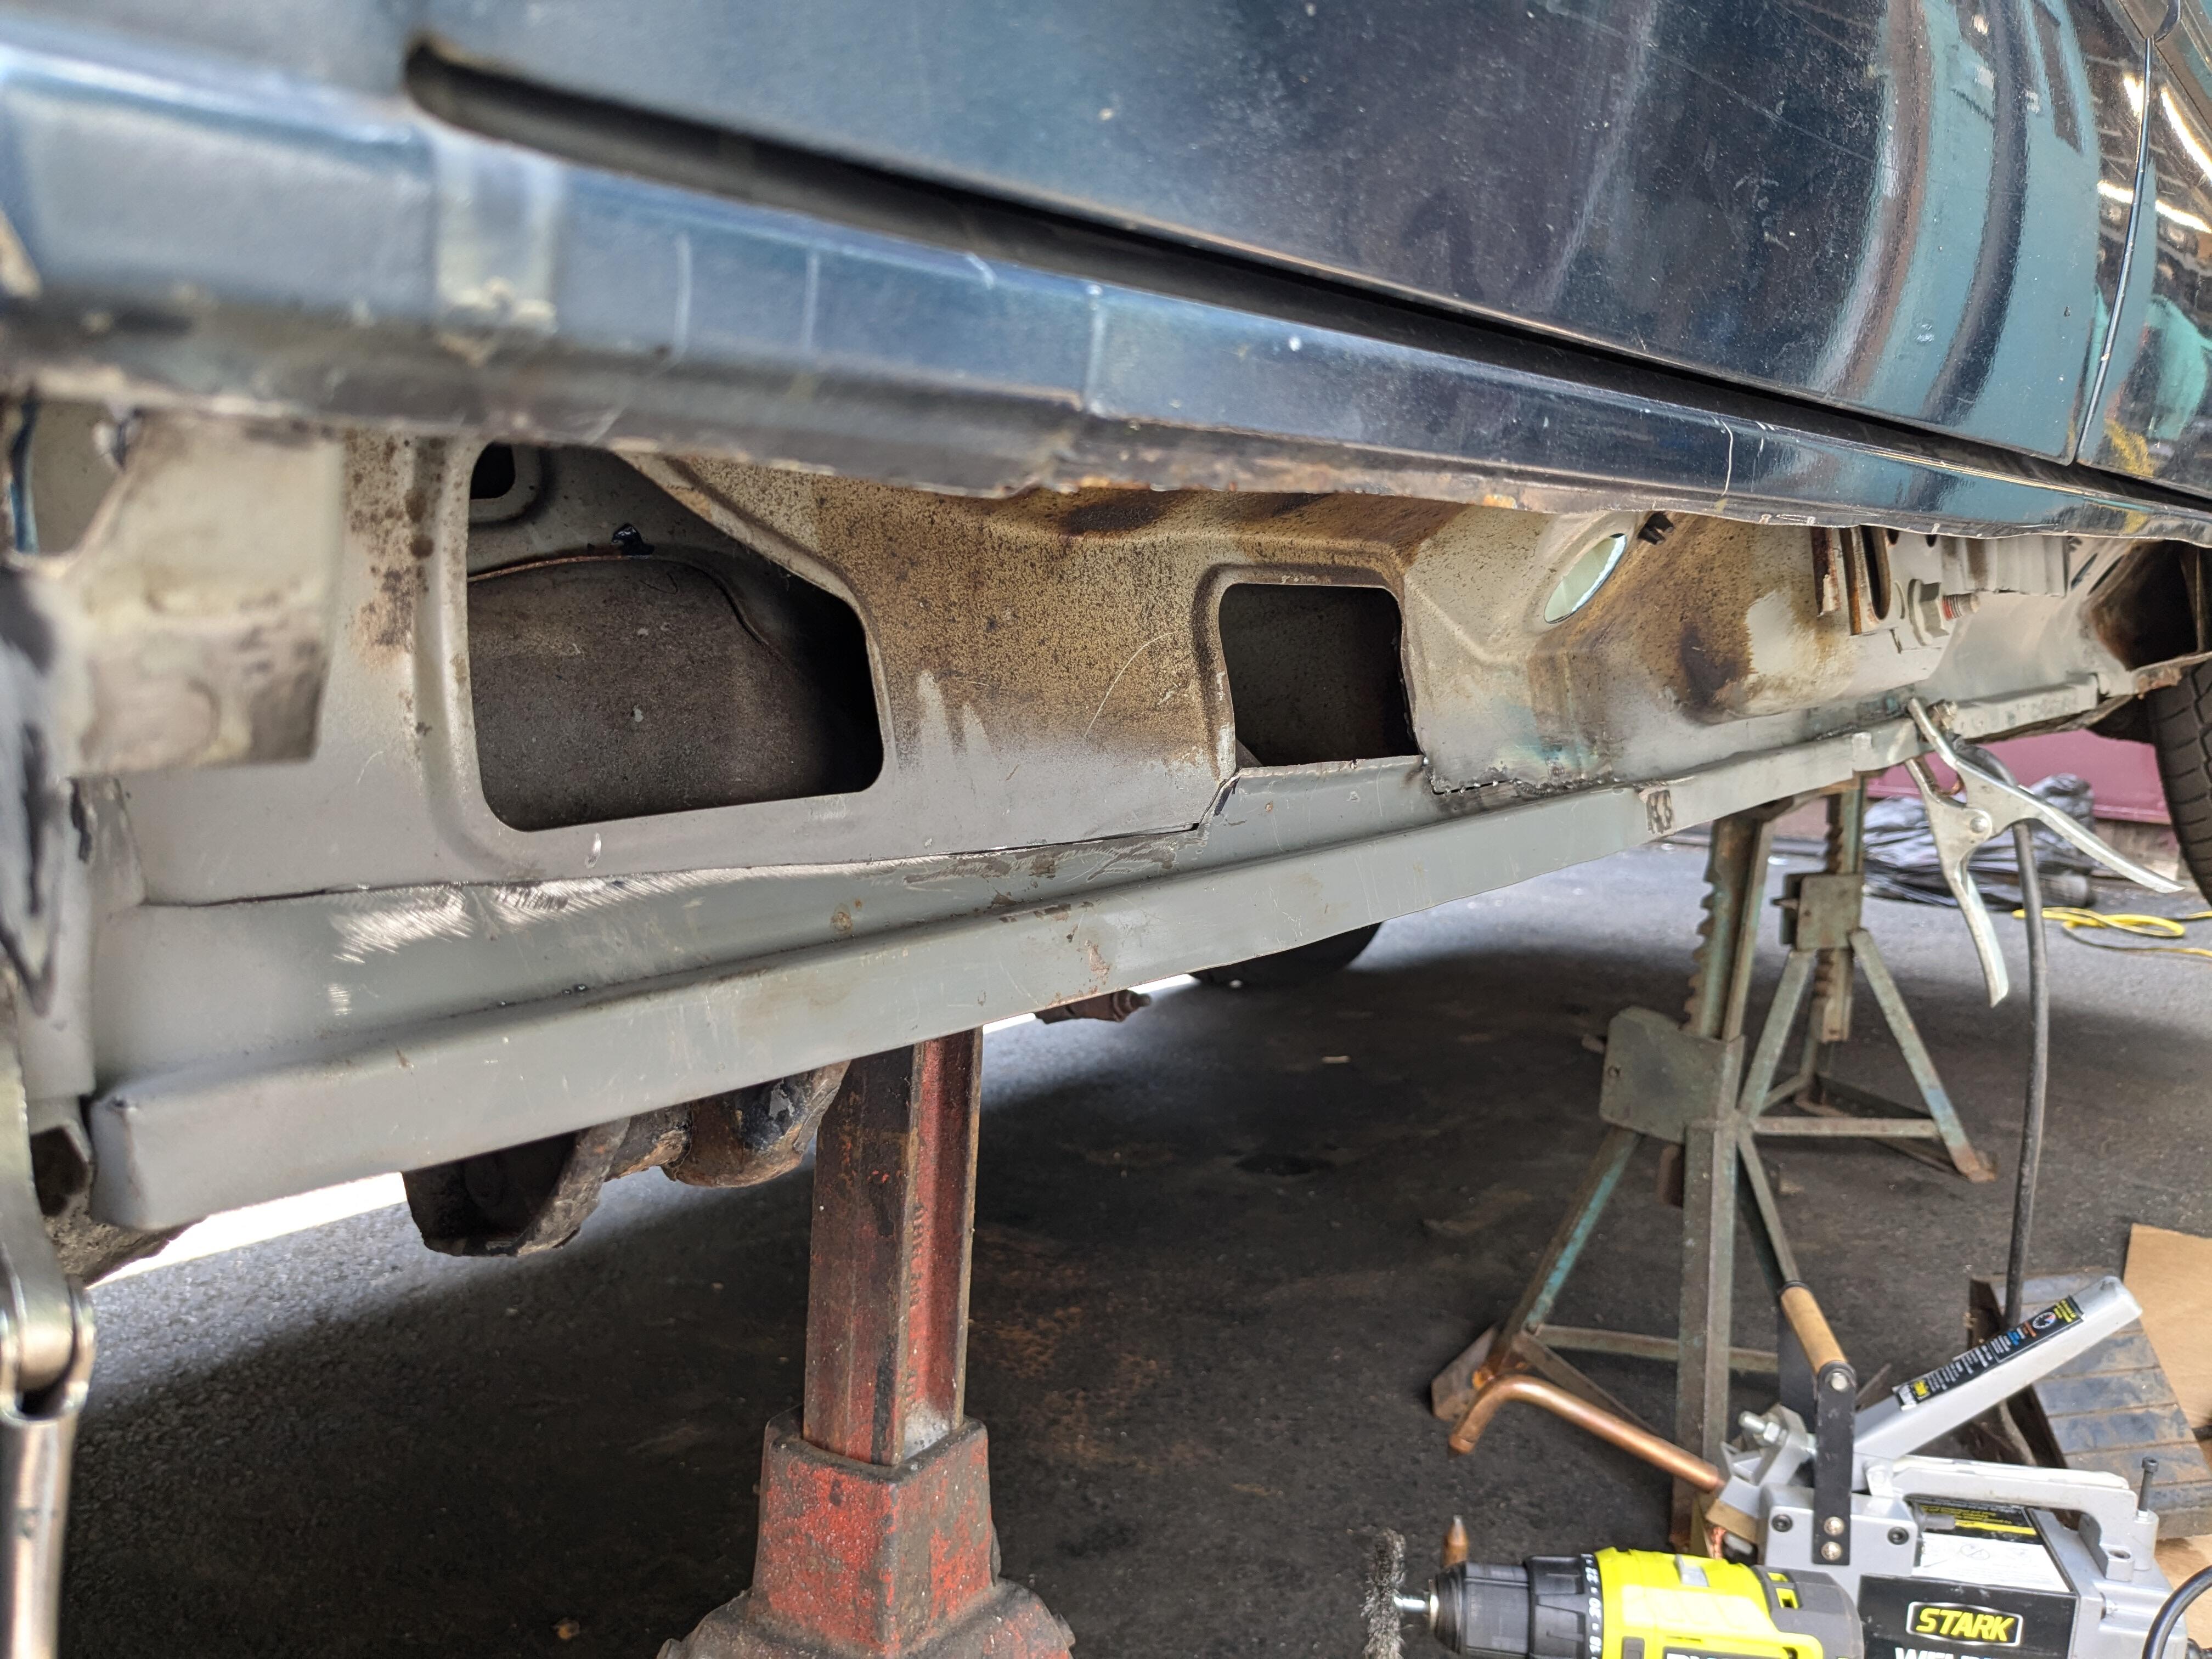
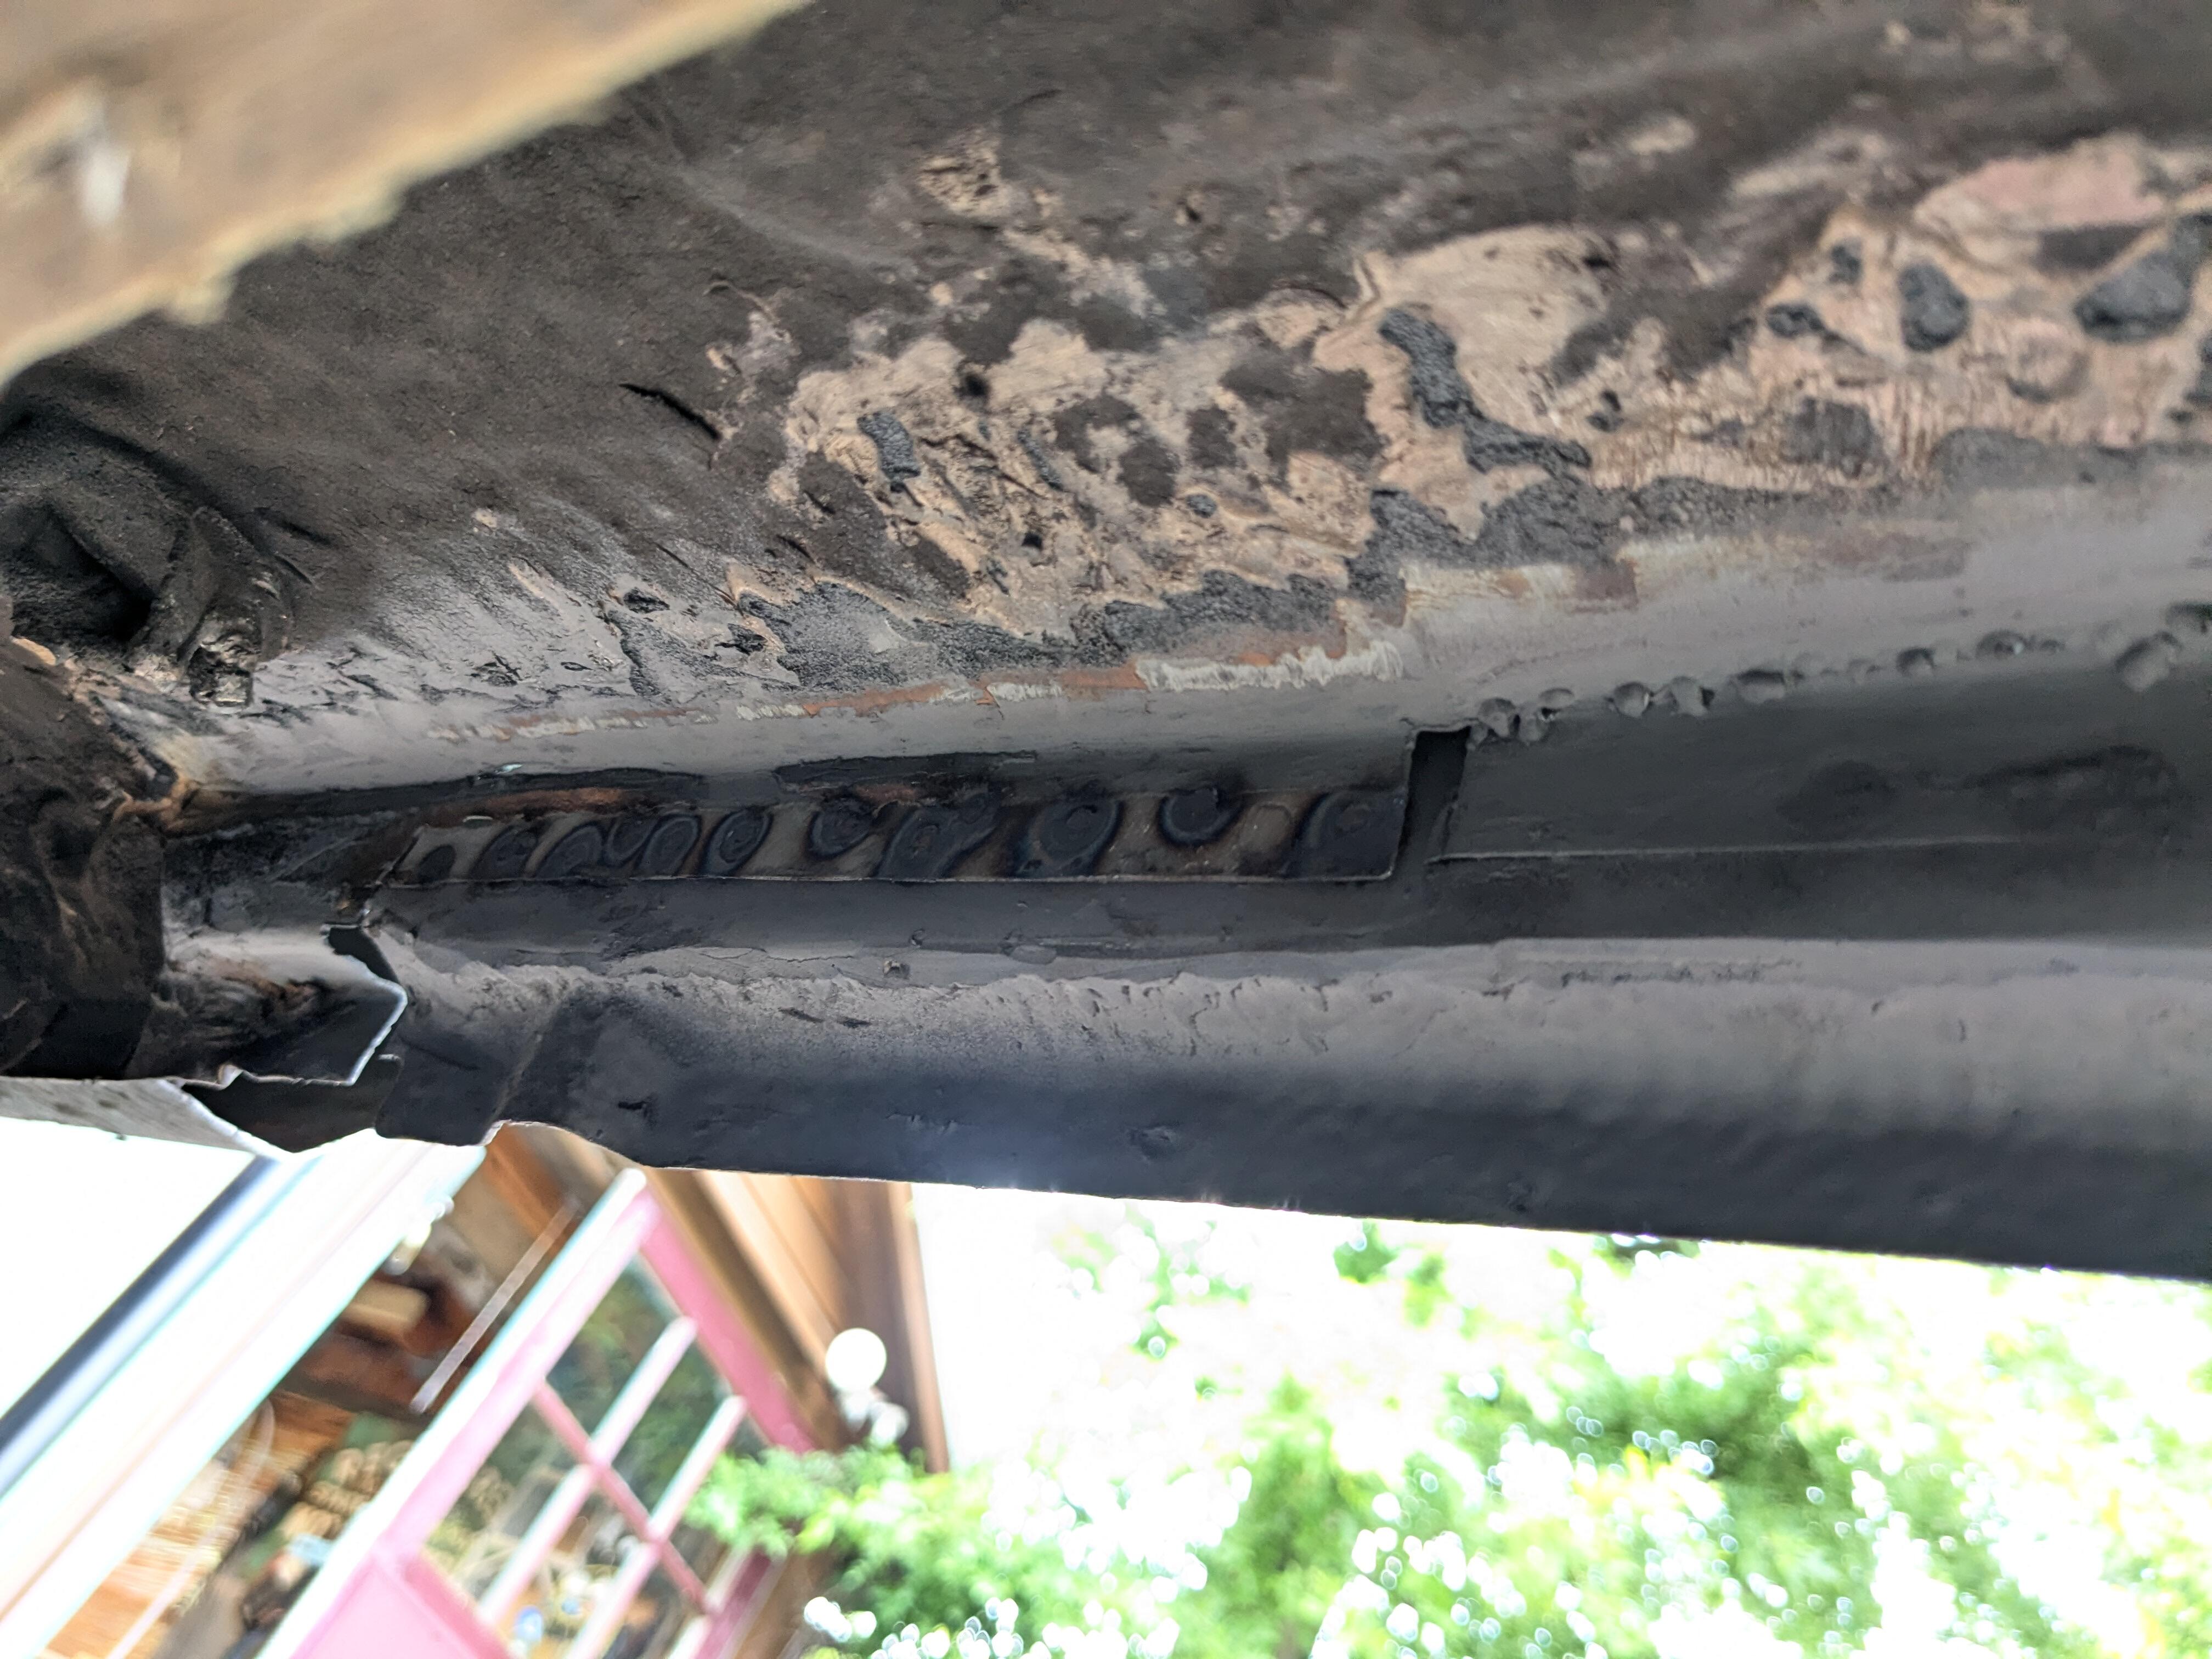
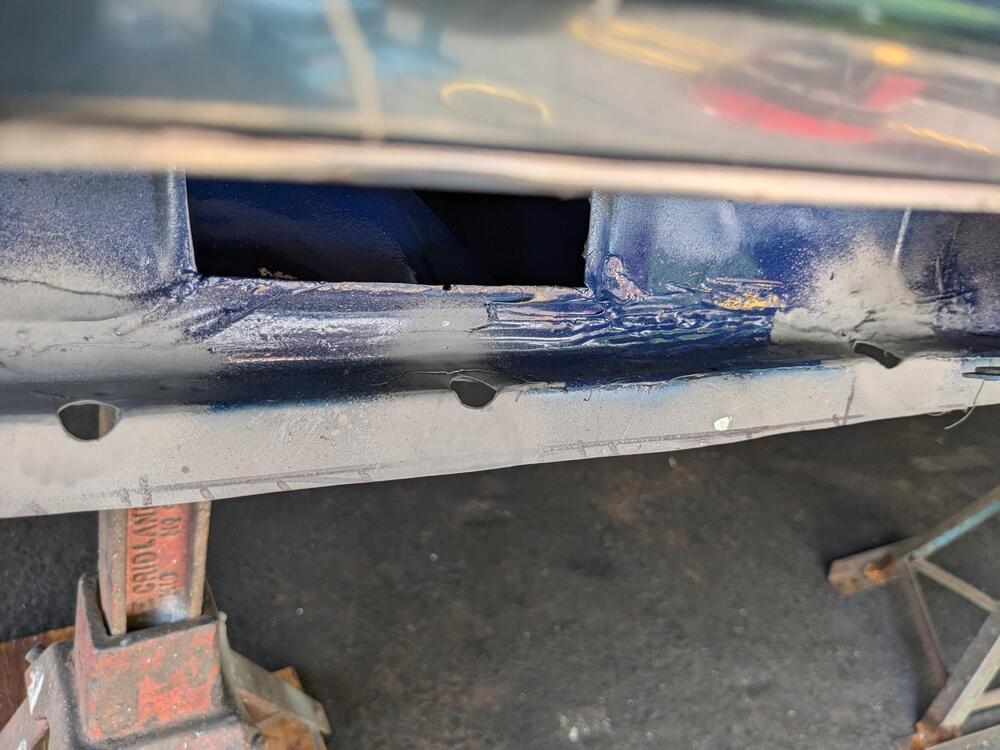
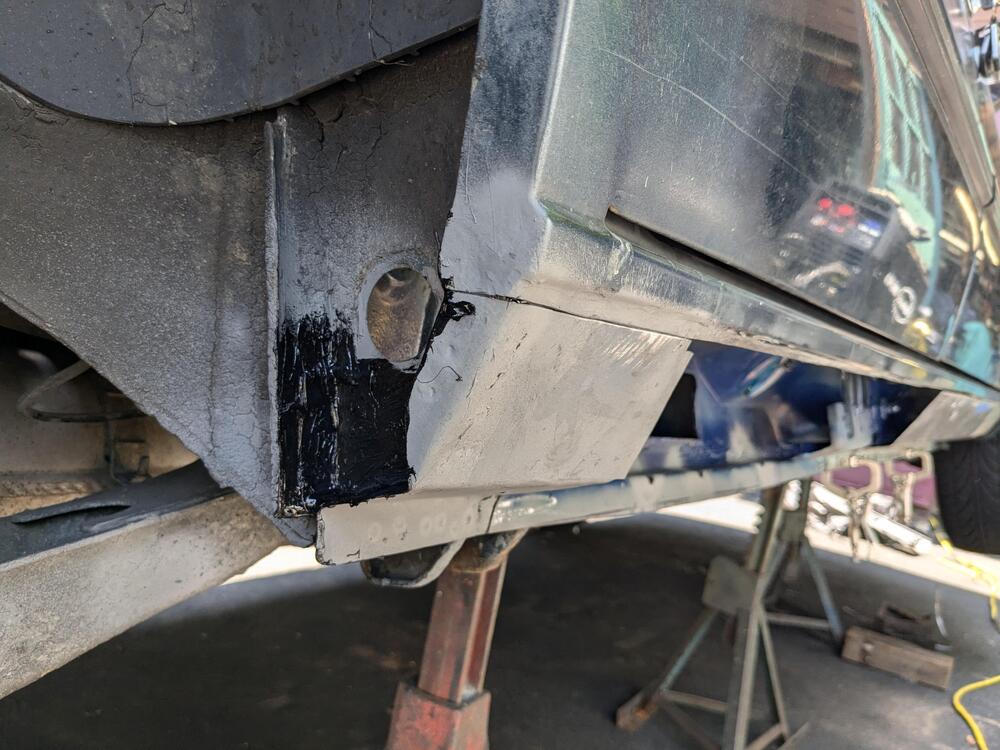
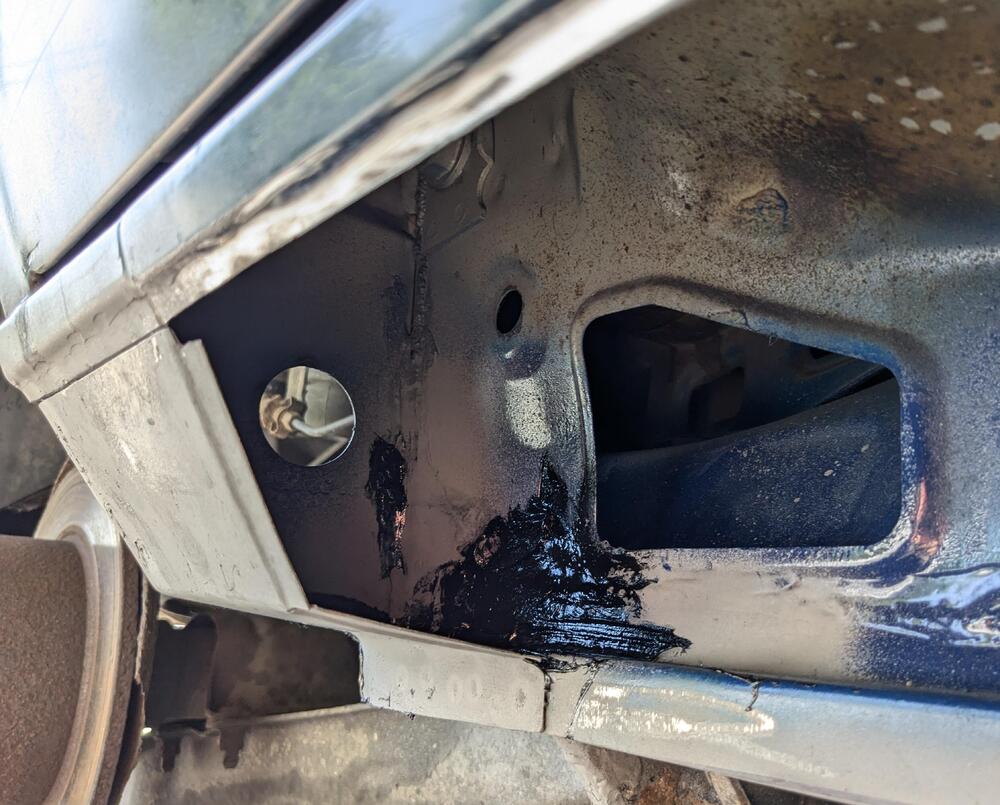
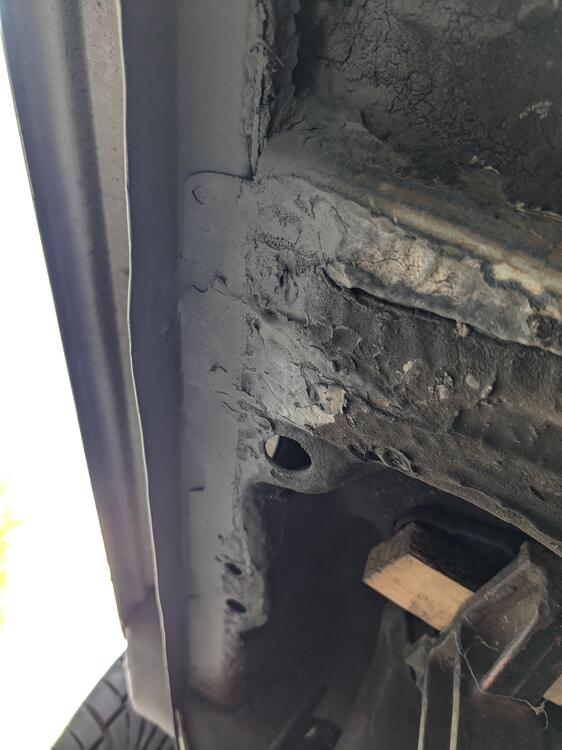
Got the underside seam welded, that was a bitch - working on my back. Welding spatter gets all over. Primed & initial seam sealer Got the B pillar base welded in - 1st part Side impact post & rear end of B pillar base The areas I've marked on the sill seam have to be modified for drainage Stepped the forward edge of this rocker section to fit inside the rocker, adjusted the fit to the B pillar anchors After I did the seam sealer here, I put some paint on the inner sill, since it's open anyway


-
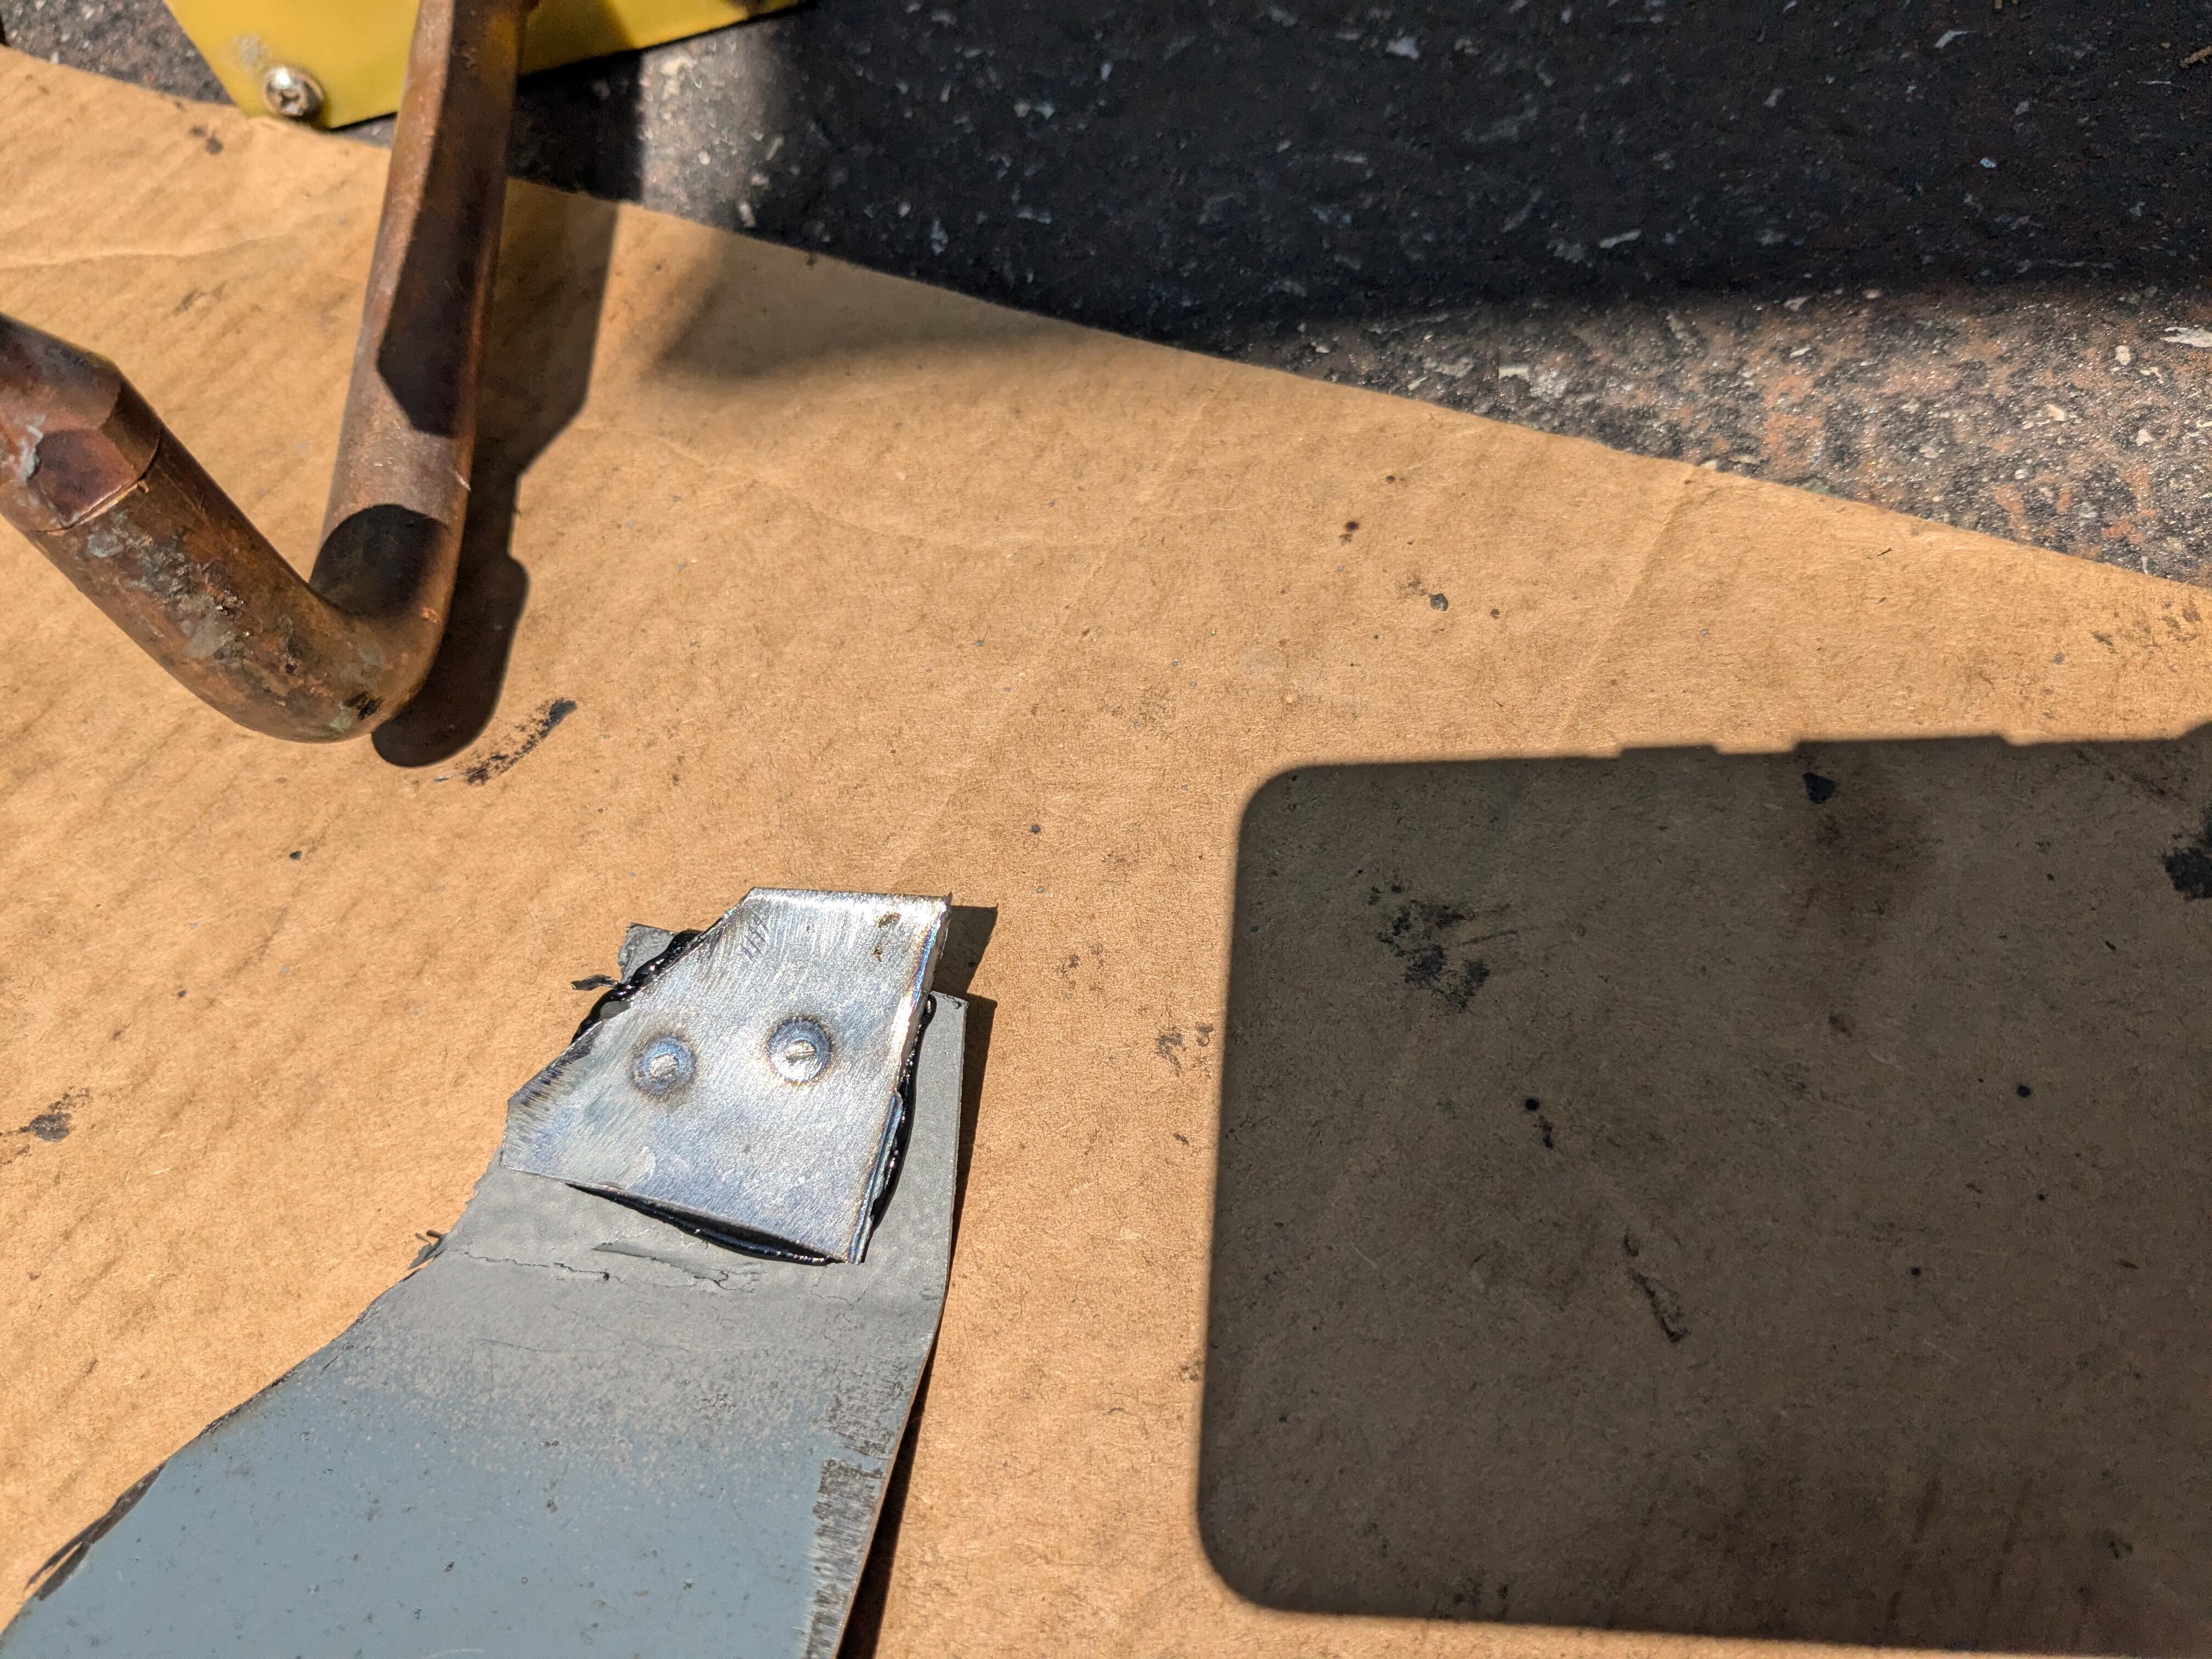
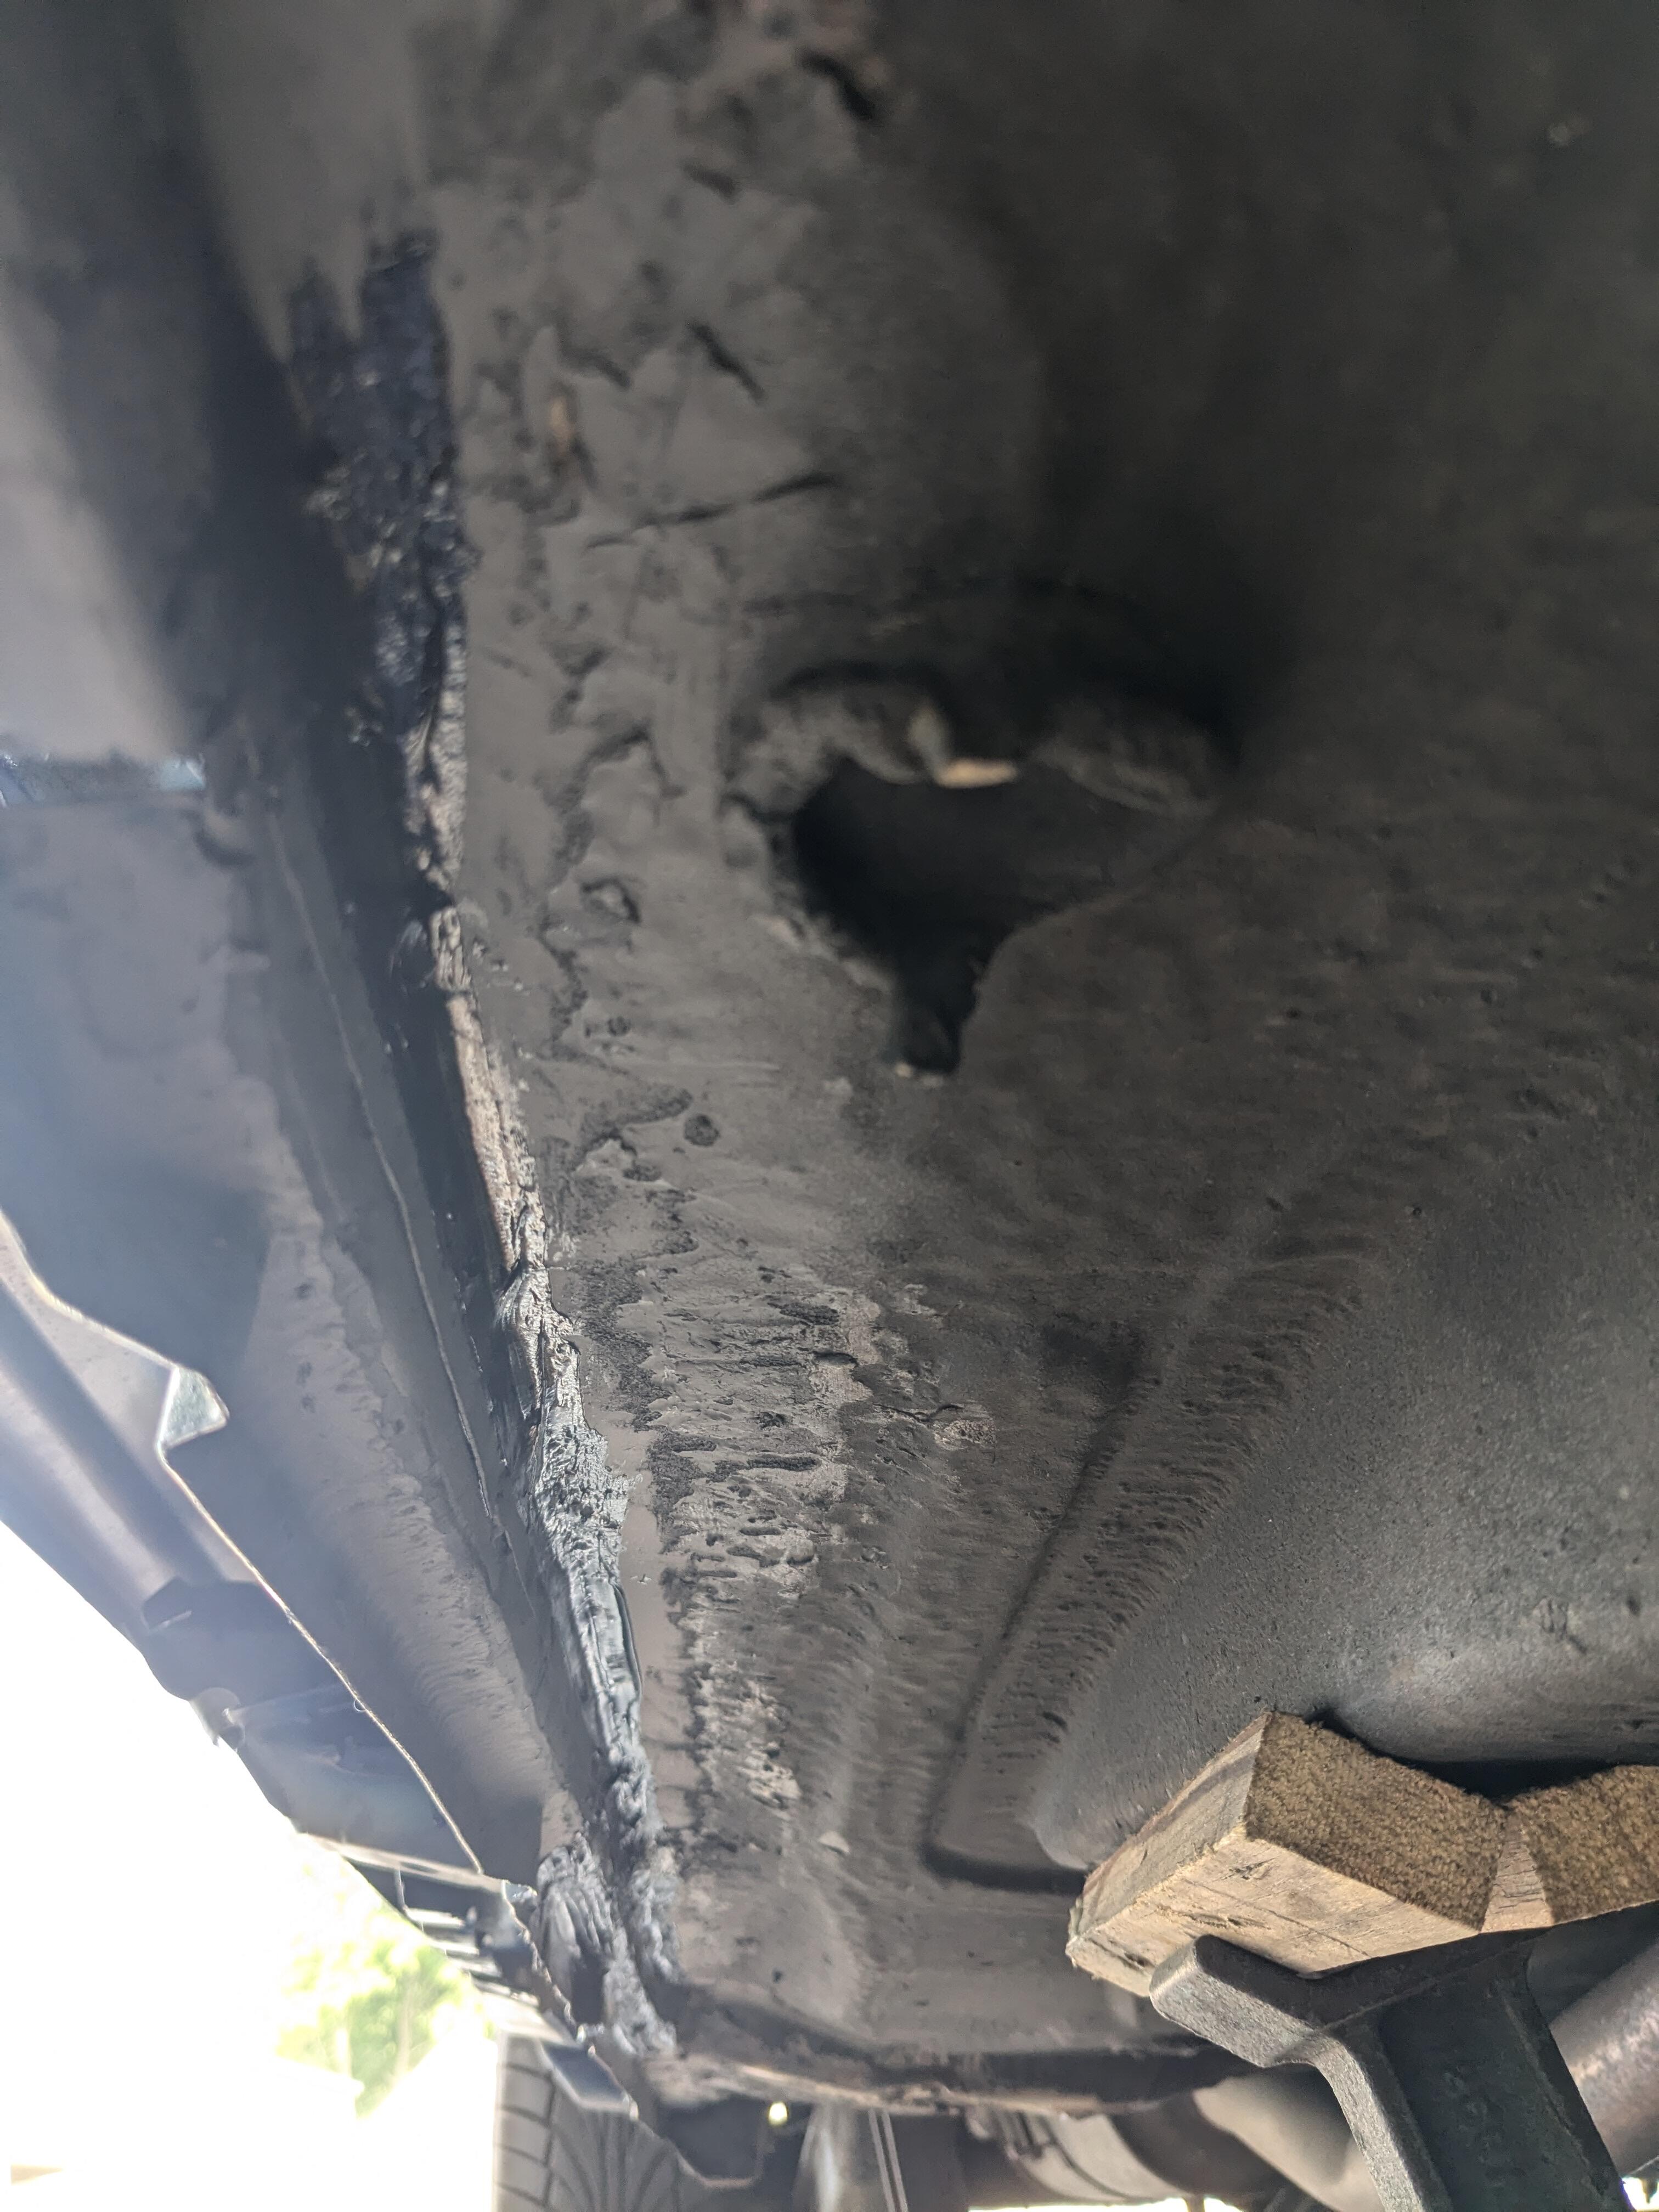
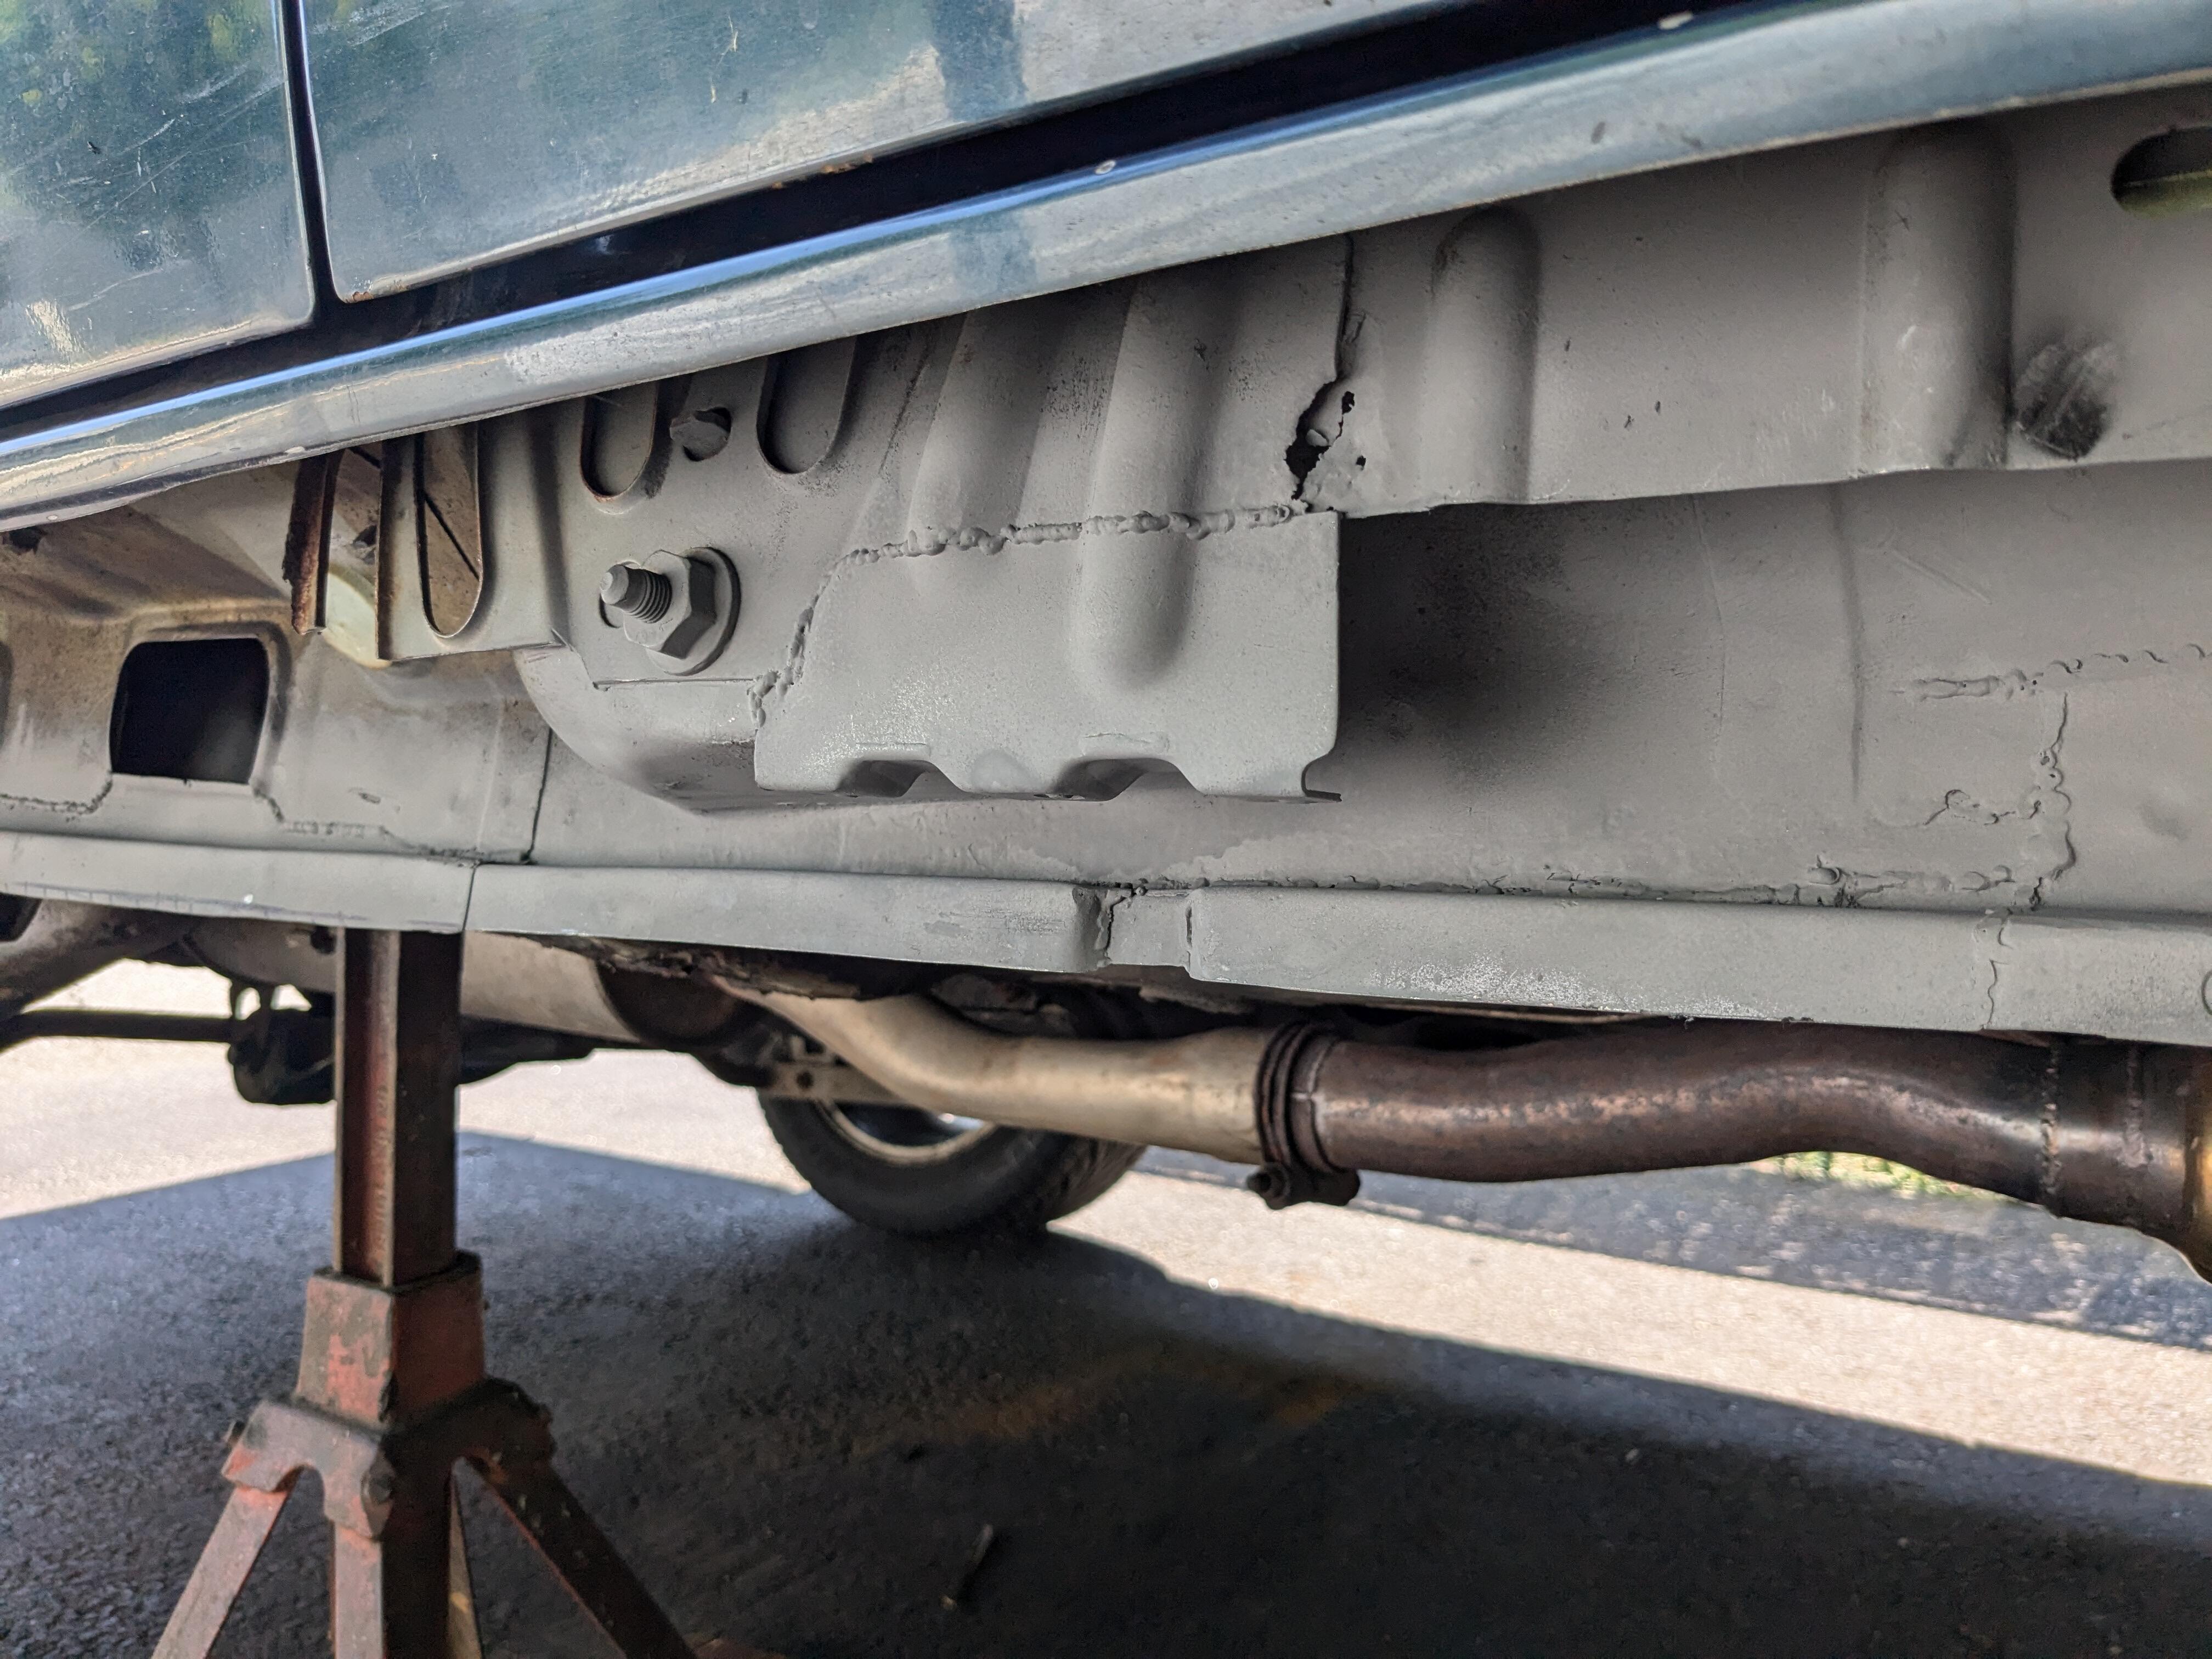
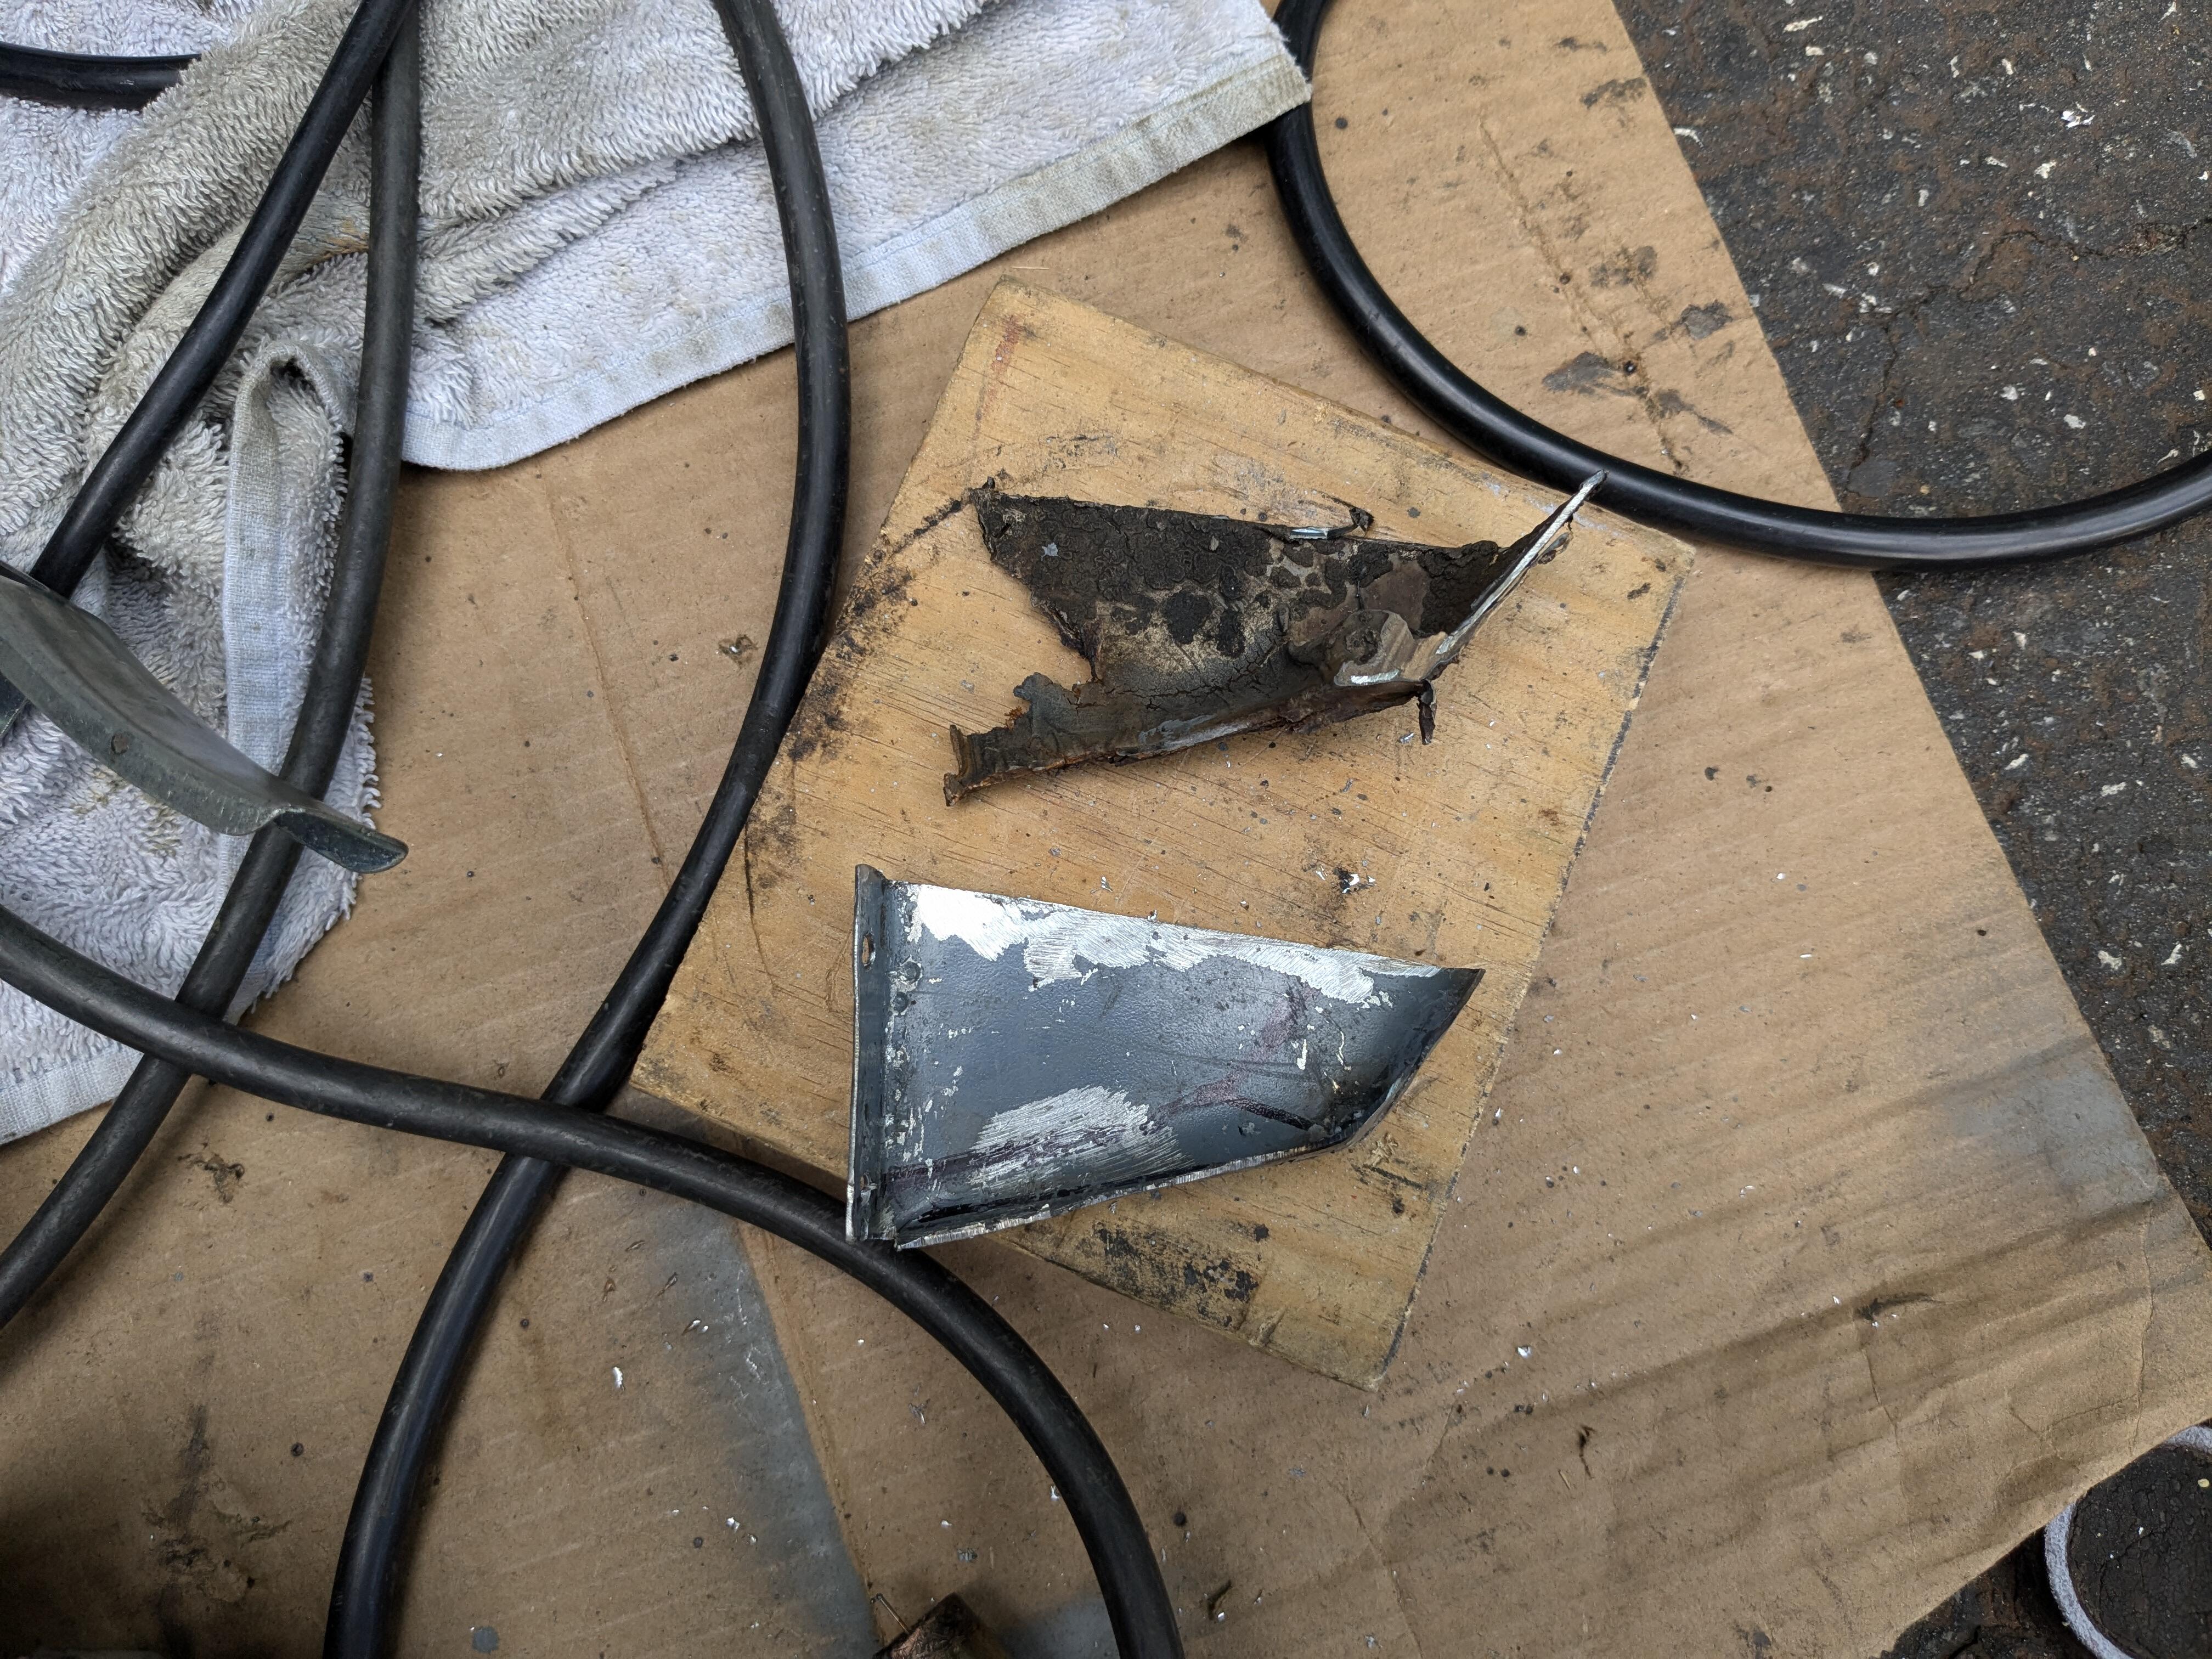
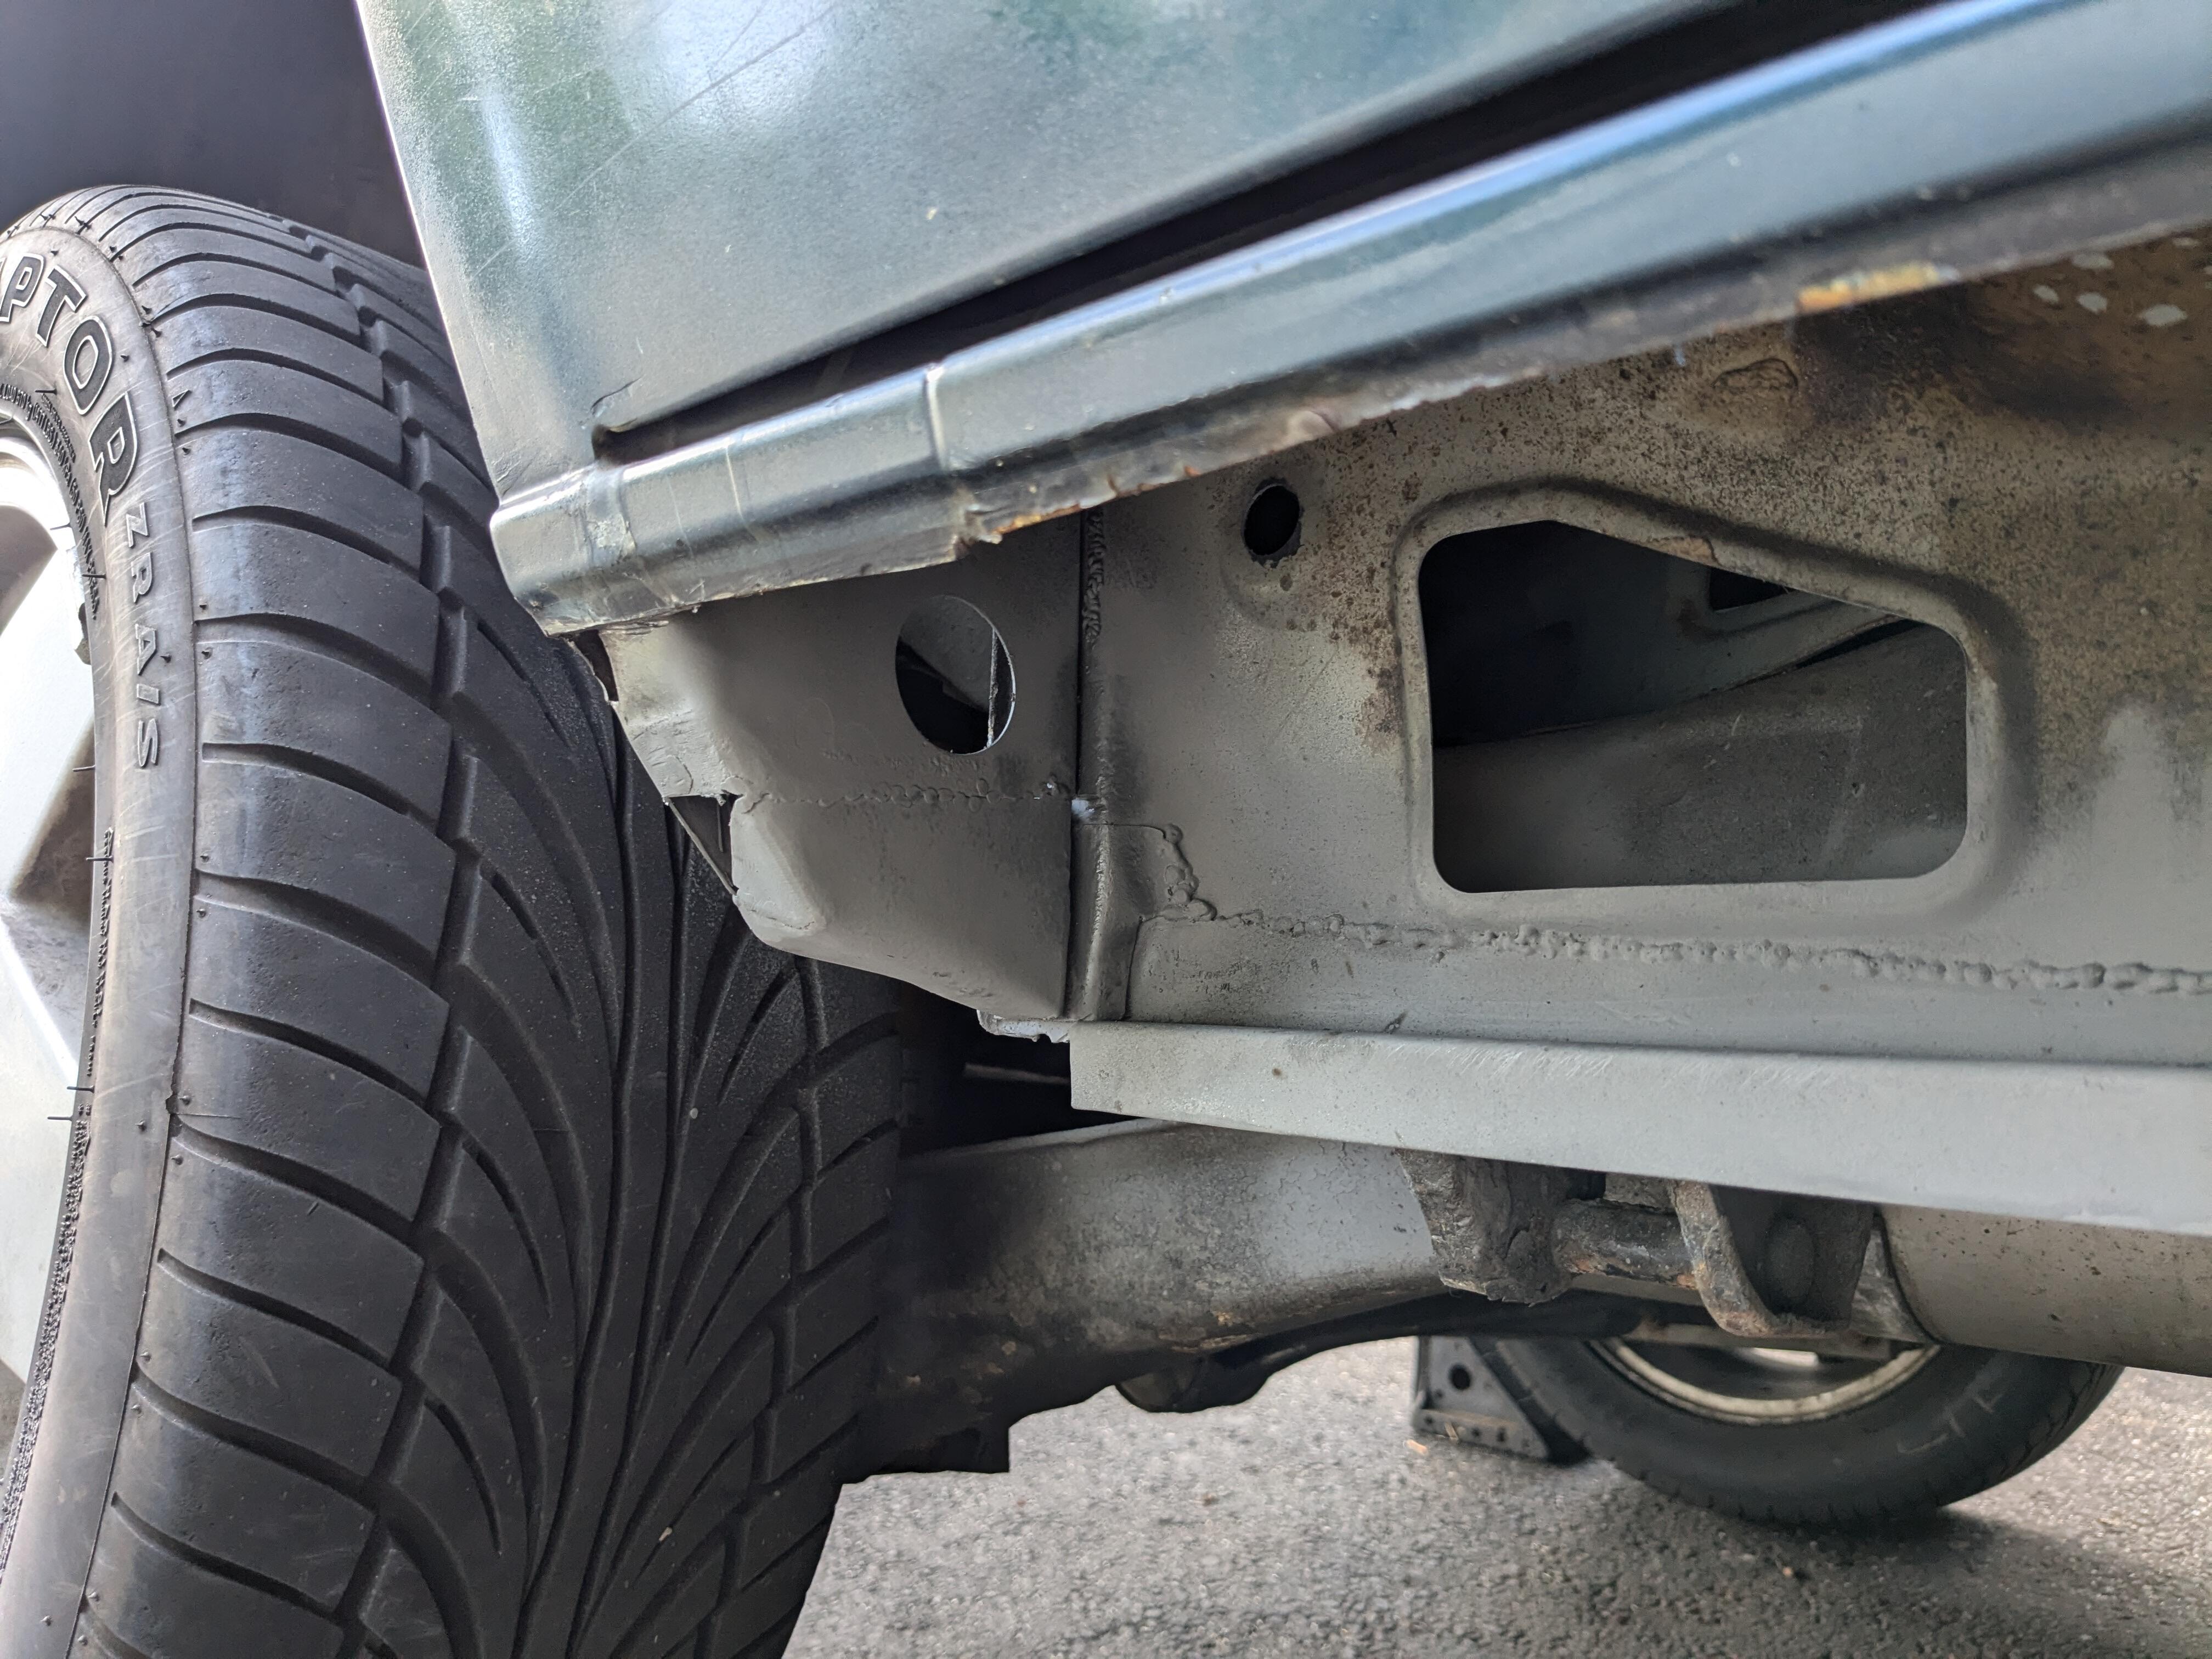
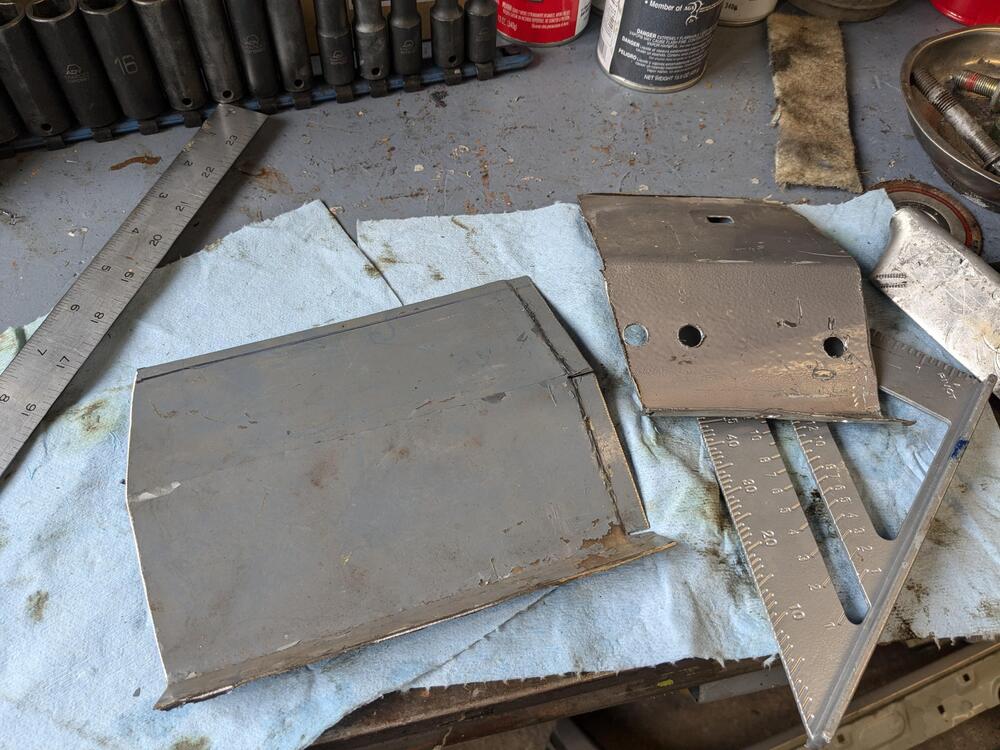
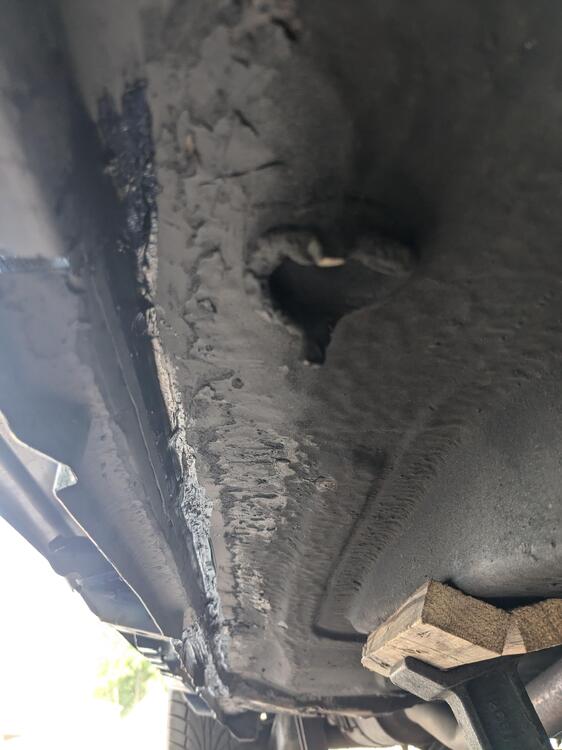
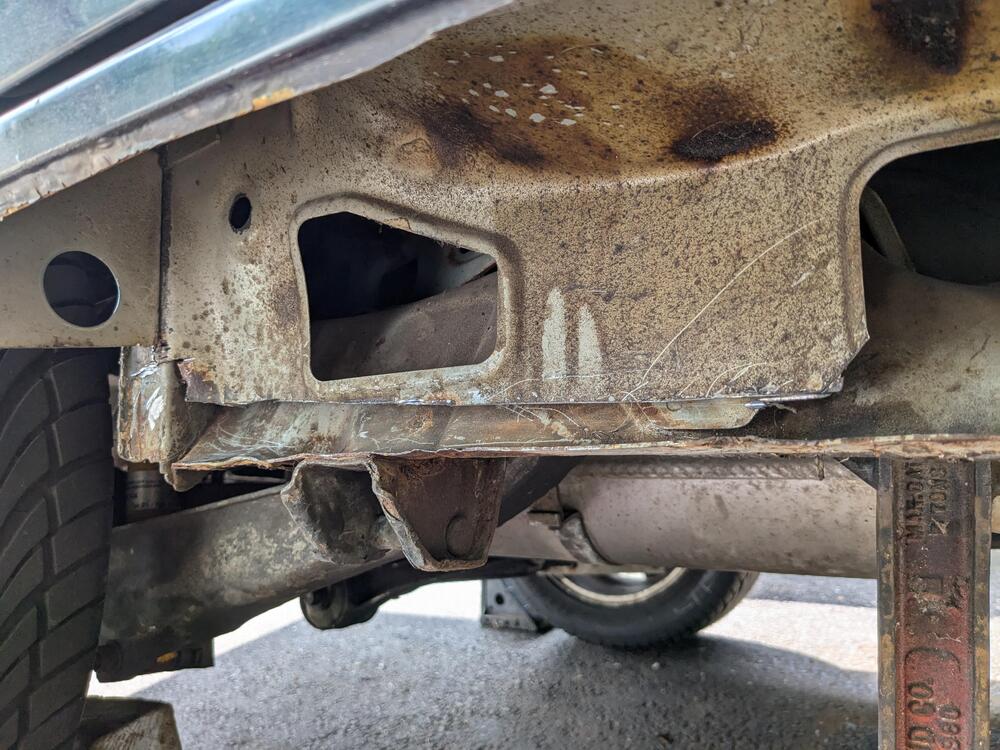
Back on the Volvo rust repair . Tomorrow I need to make the B pillar tie plates that rotted out, then I can do the rocker skin Cut out the rot on the rear half cut matching section to fit. Lower lip will be trimmed later stripped & applied weld-thru primer to butt join area added dogleg at left end to make up layers at wheel arch lip Started tacking the rear section in - I first added a bridging lip between this & the repair section from Friday (under clamp) rear section overlaps mid section, as with original construction Made the small end cap for the wheel arch base that the rocker skin ties to Not going to grind down the MIG welds - I'll just apply seam sealer to that spot welded the lower step to the floor and center crossmember junction and forward repair section to floor lip Still have to finish the mig welds where the floor joins the vertical repair to the right of spot welded section


-
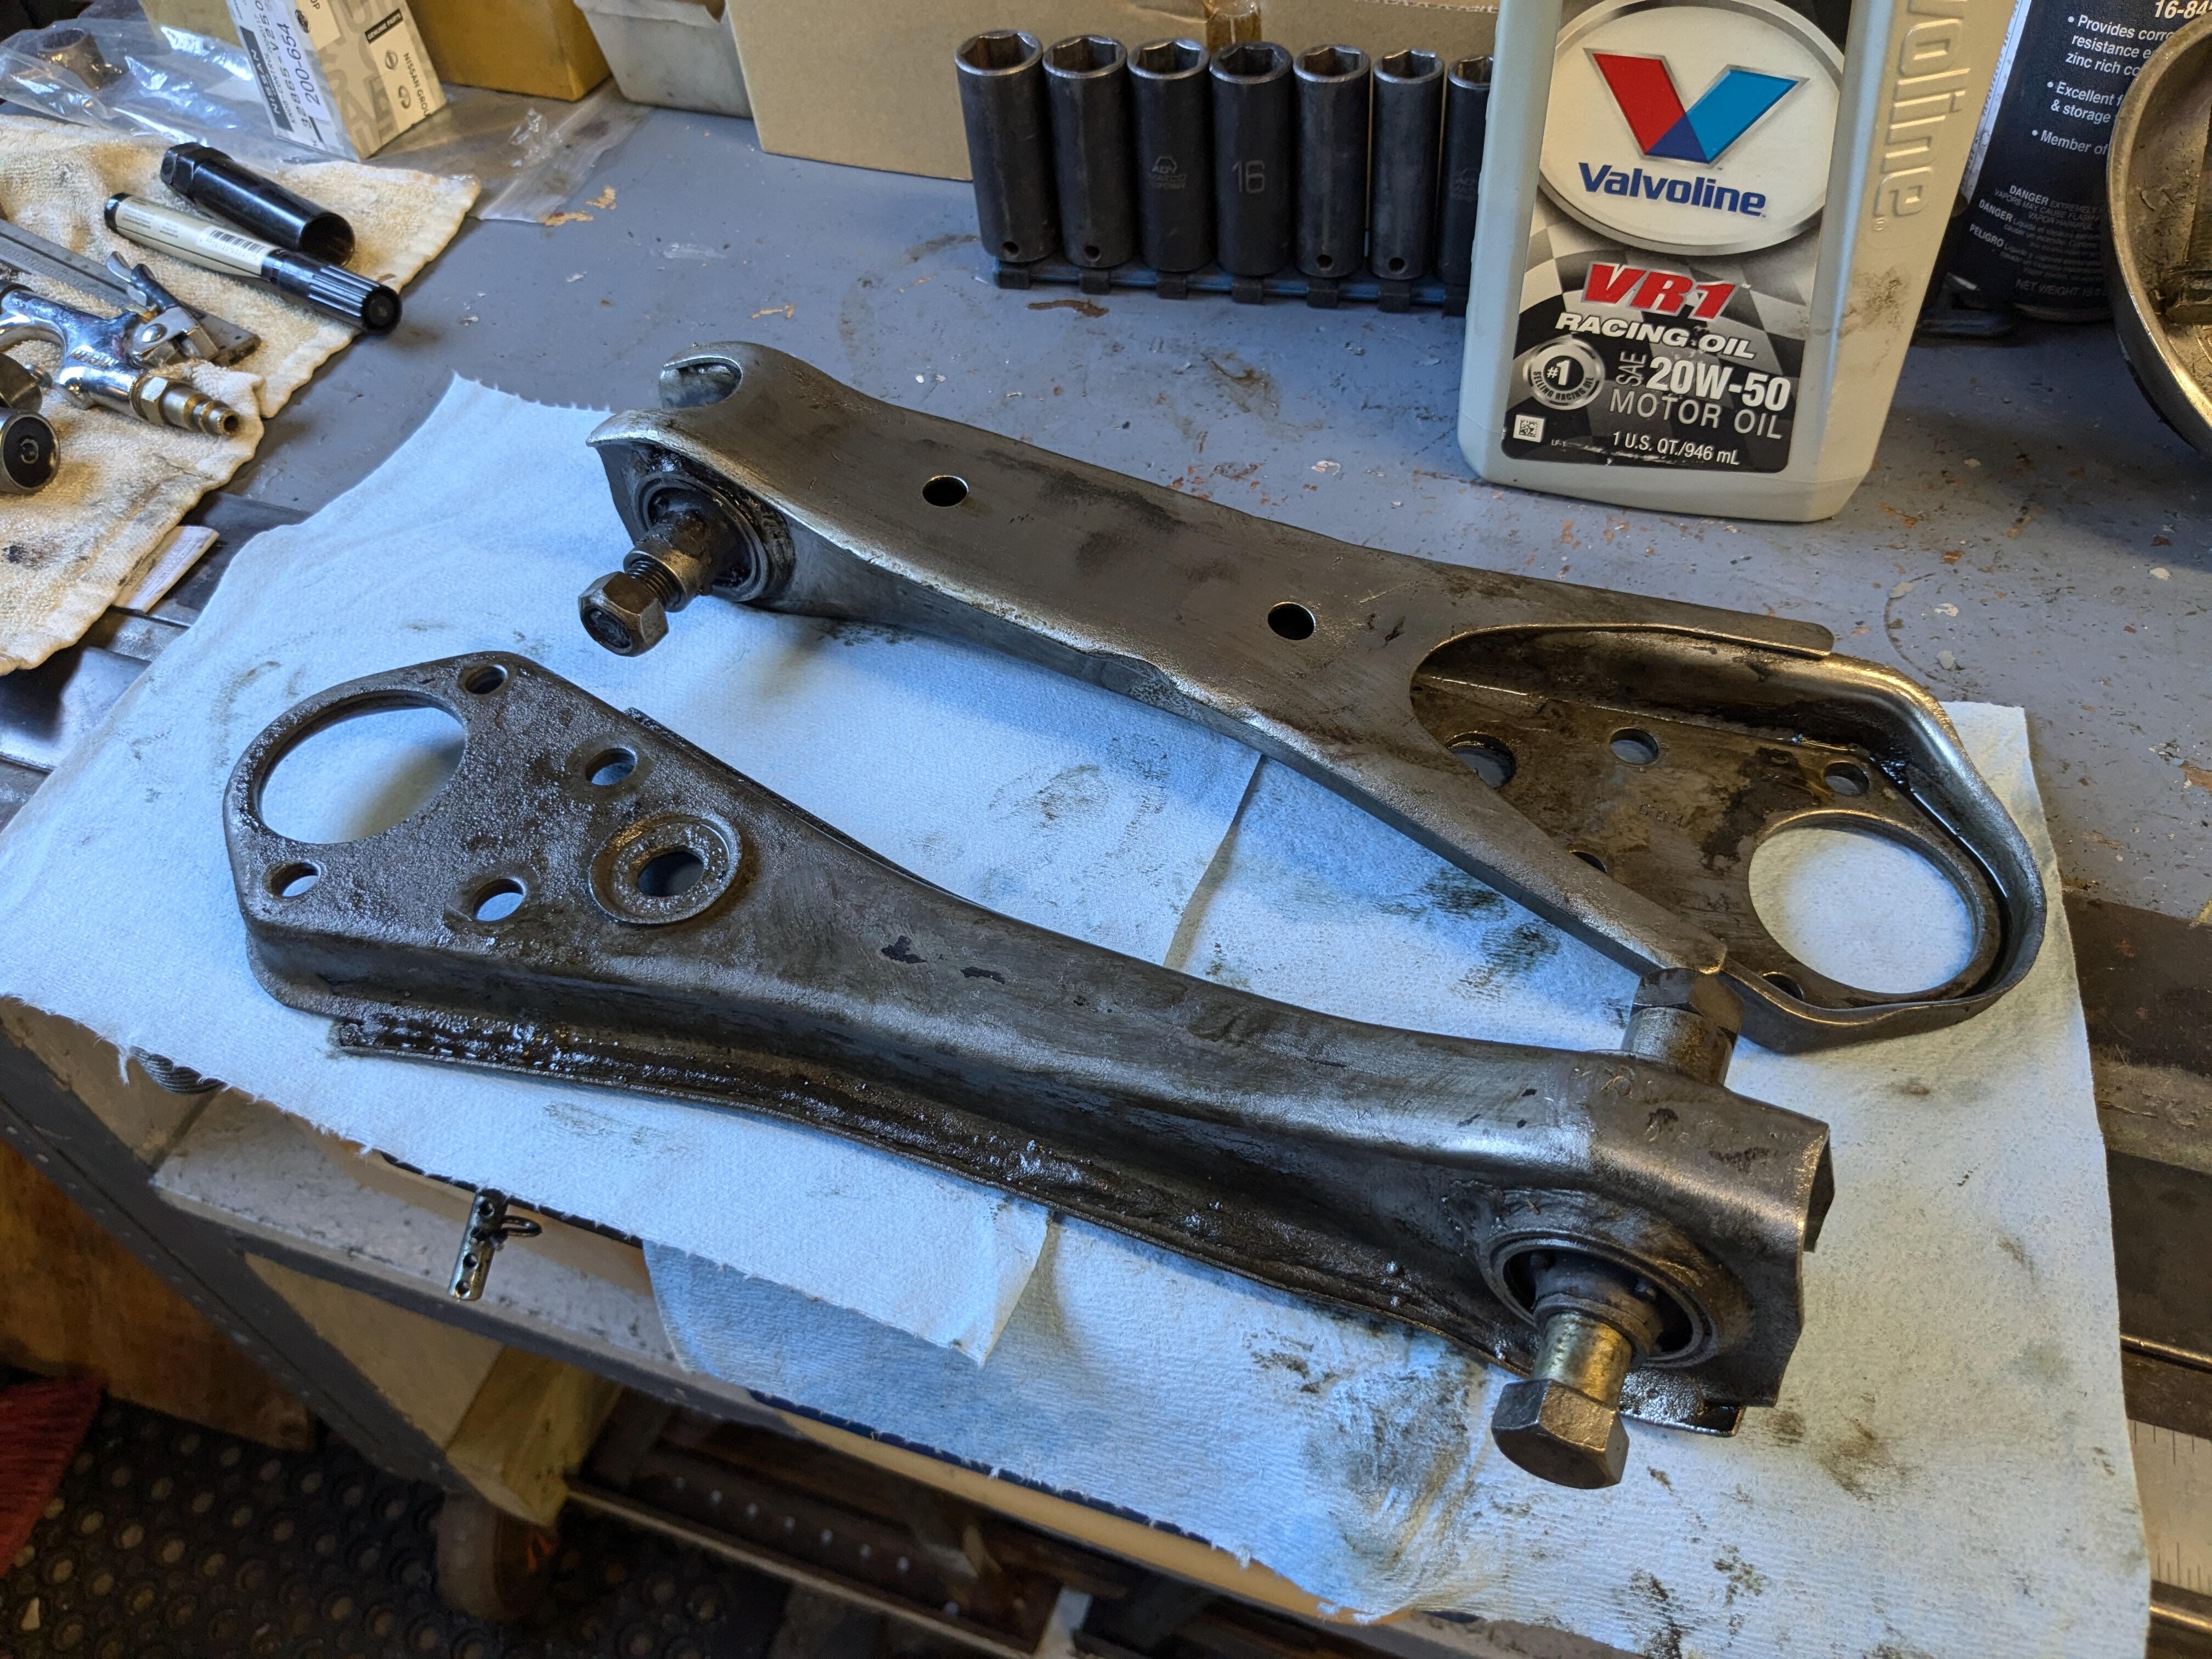
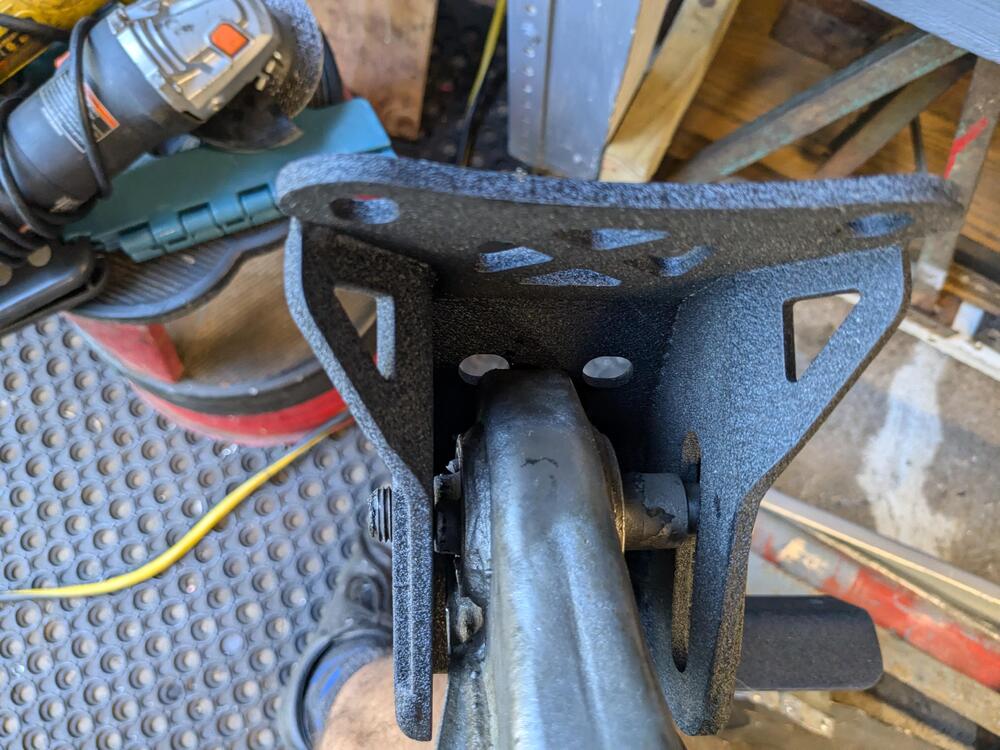
I have their subframe designed to accept the VQ35DE motor - it's not installed in the car. That will be a couple years out, I need to do the LS conversion in my Volvo pickup truck first. They couldn't tell me what would need modifying - I set one in the subframe today, and basically it the inside radii that needs trimming to allow for adjustment in the subframe. There are 4 'keyed' slots - 2nd from the top is the only one that has no interference. I don't know which of the 4 equates to stock offset for the control arm. I'll have to ask them. Hopefully that they have an answer for.

-
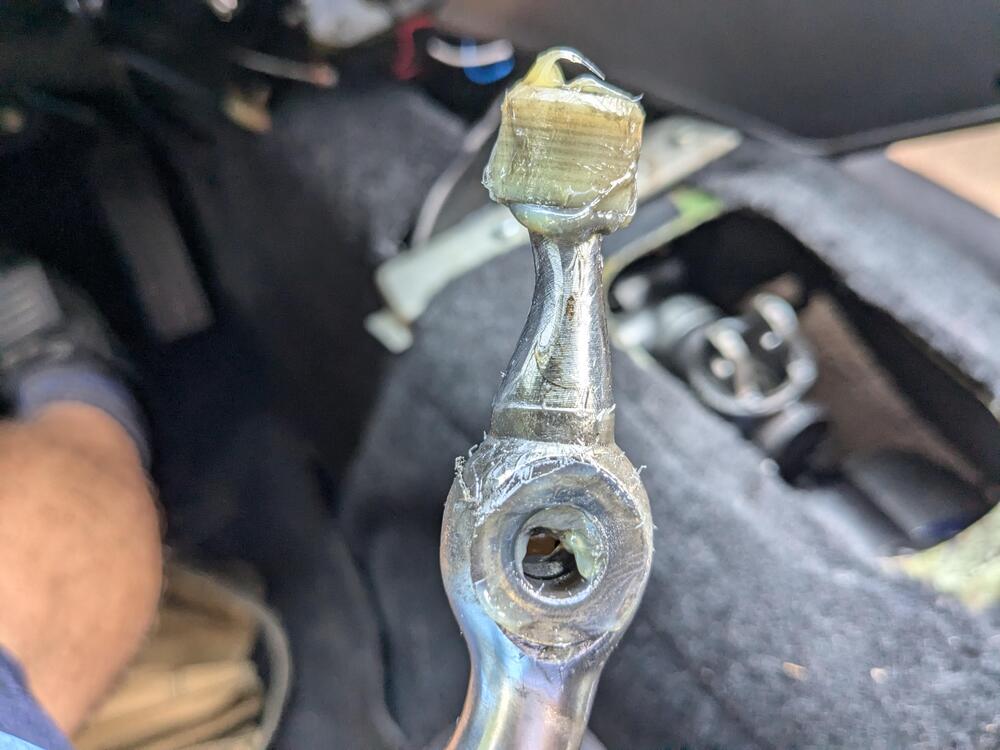
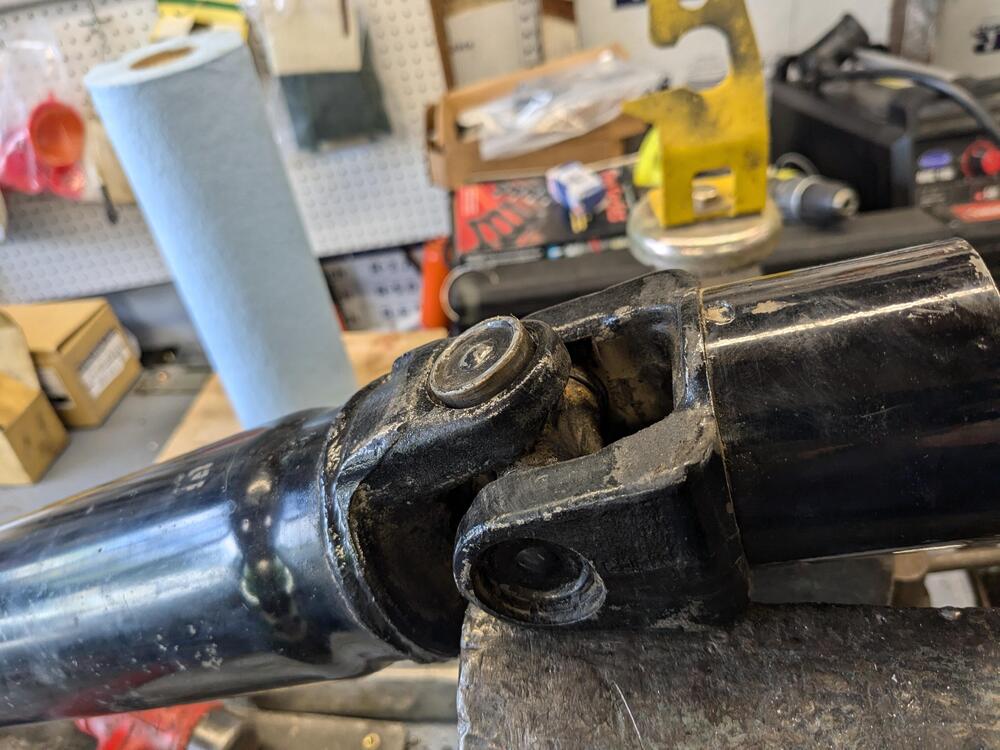
The thing is, all that is referencing the OEM u joint on models that allowed for replacement, no? It is not relevant to an aftermarket u joint that uses the yoke flat measurement & cup size to determine appropriate fit. I would have to say it is more than get by for a while. The u-joint felt perfect. It's not difficult to tell if there is end float in any of the cups. Or if the joint is binding.
-
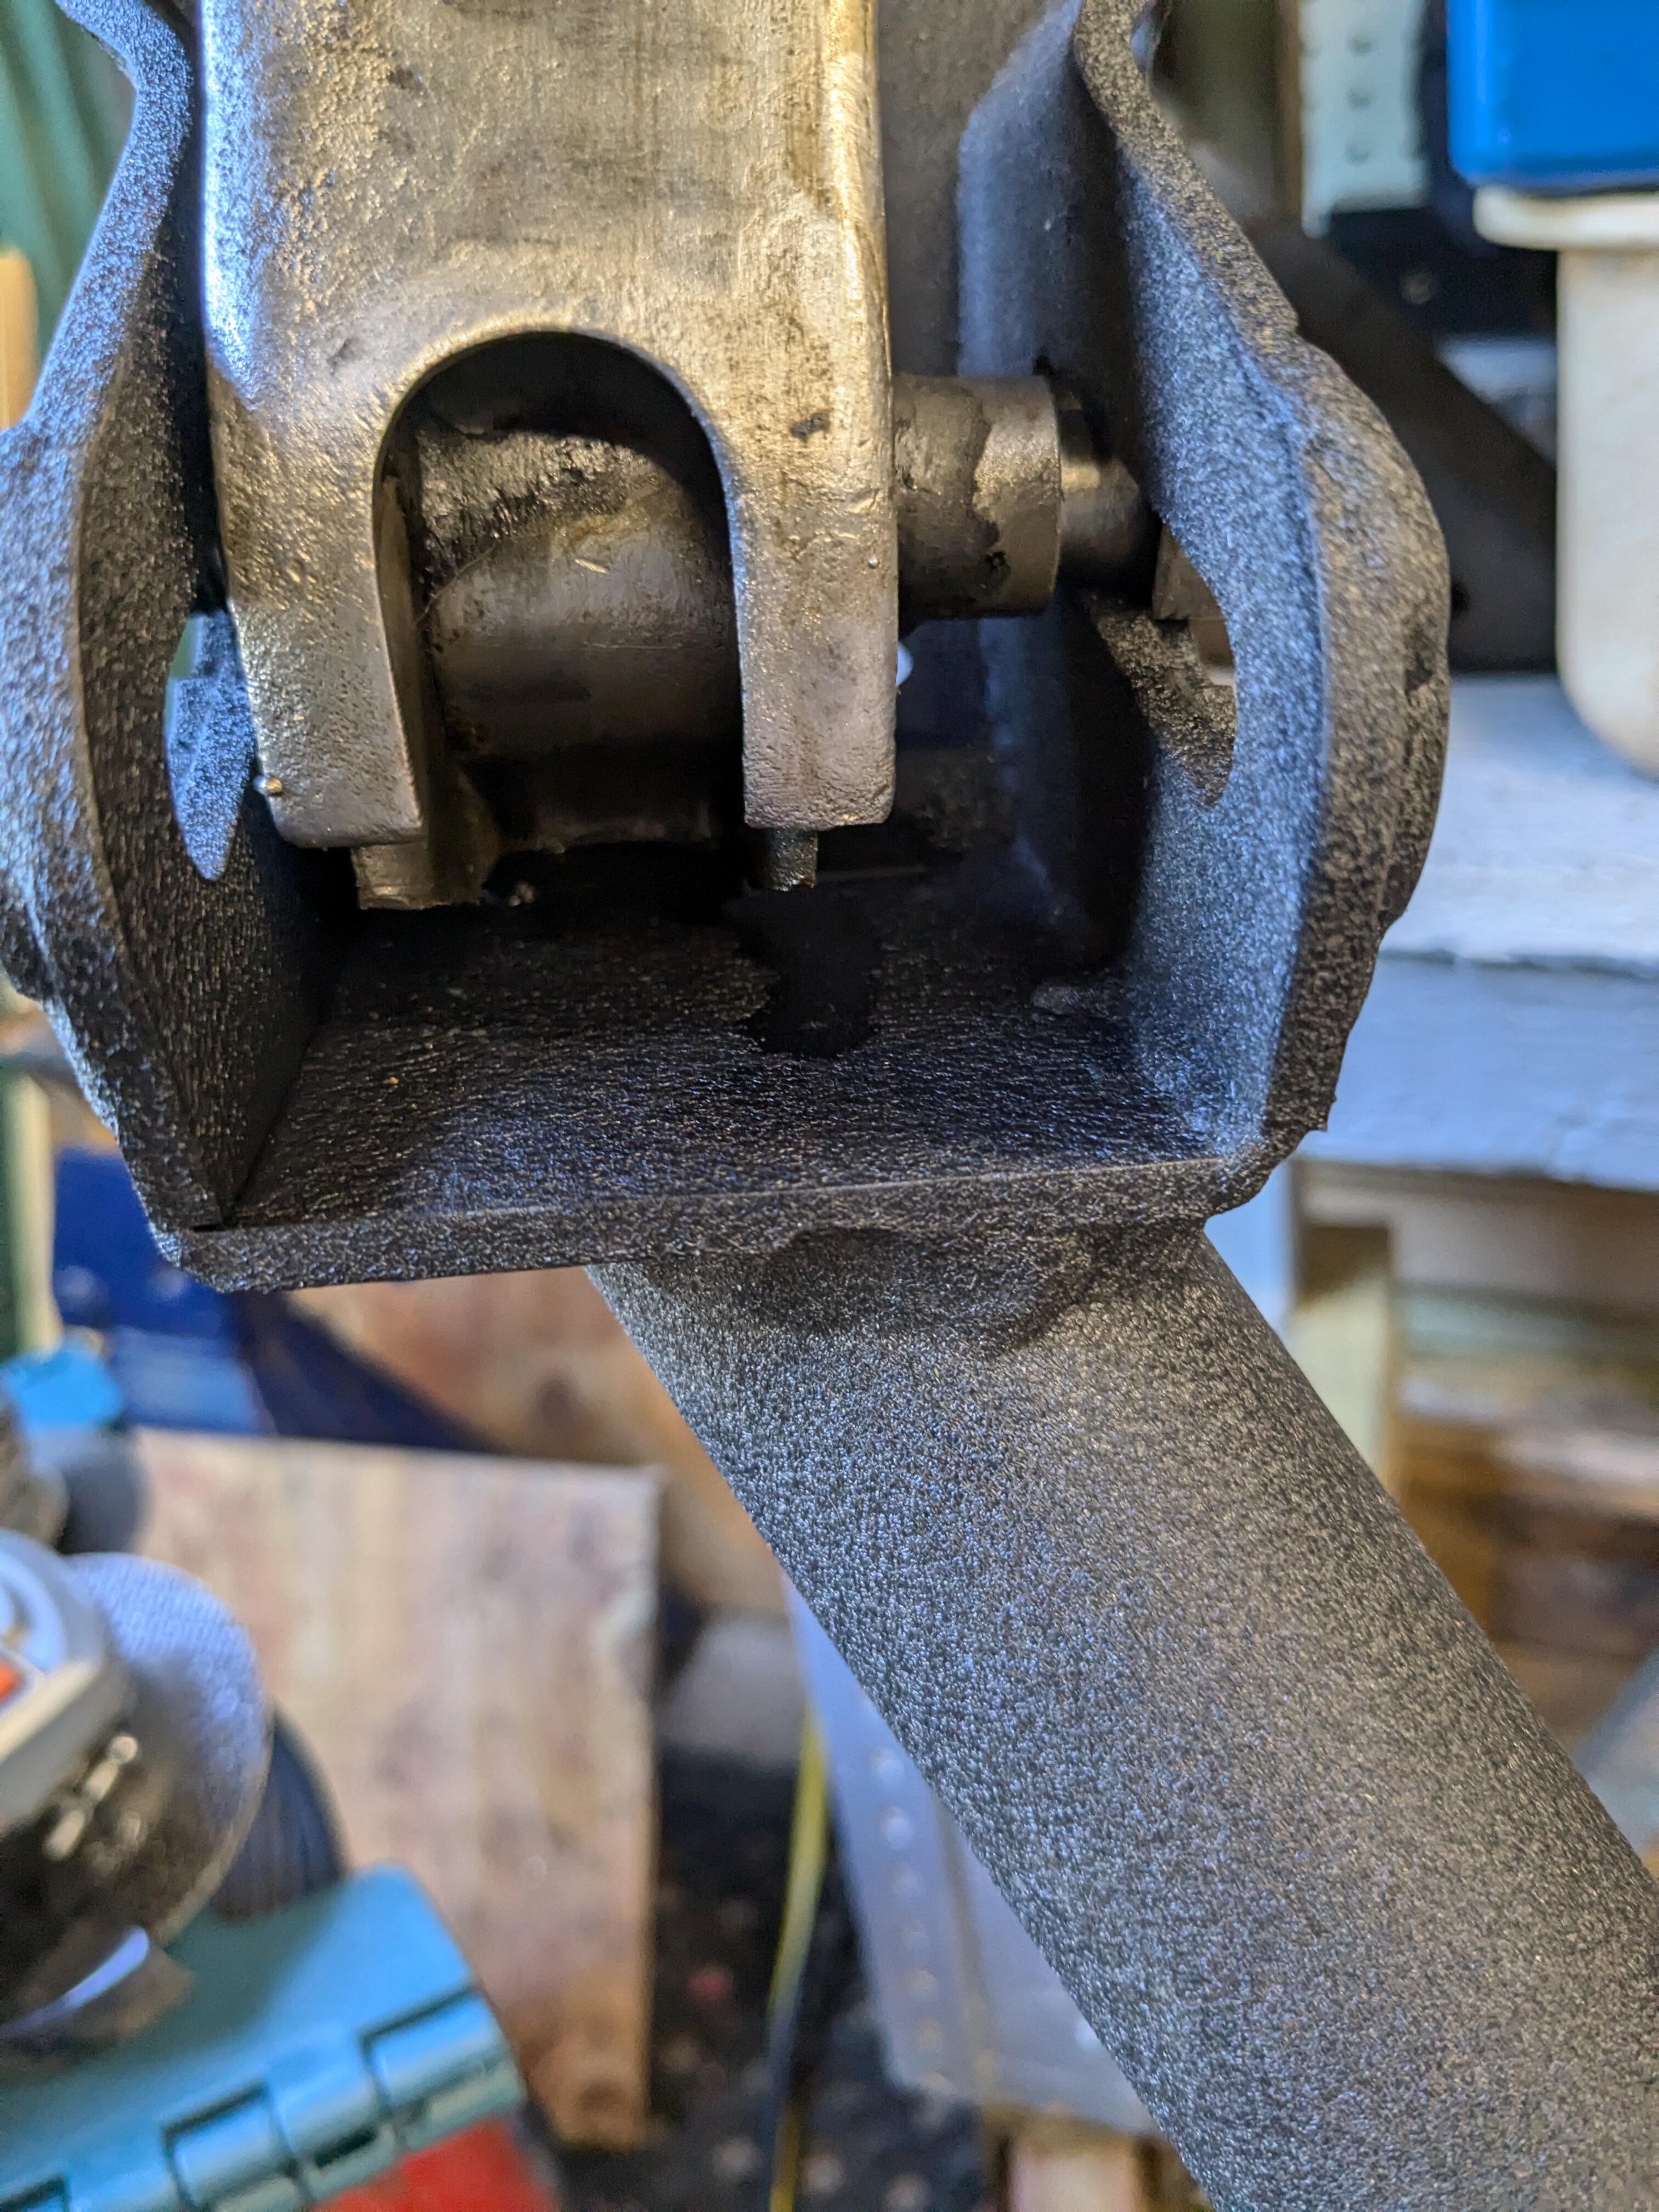
I didn't measure anything. I treated the end float in the same manner as standard joints that have the cup clip external to the yoke. Once it's all assembled, I find that typically the joint will more often be 'tight' from squeezing or loading either yoke. I set each yoke in open vice jaws so that the opposing yoke is resting on the vice jaws & tap (with a dead blow hammer) the base of the yoke (where it's welded to the shaft or sleeve). This forces the top cup outward a hair. Rotate & repeat for each cup. Hard to describe, but it works. You can easily feel by rotating the end yoke whether there is any end float or binding in each axis. I didn't photograph that stage - the prop shaft would be set similar to this pic I took to illustrate disassembly
-
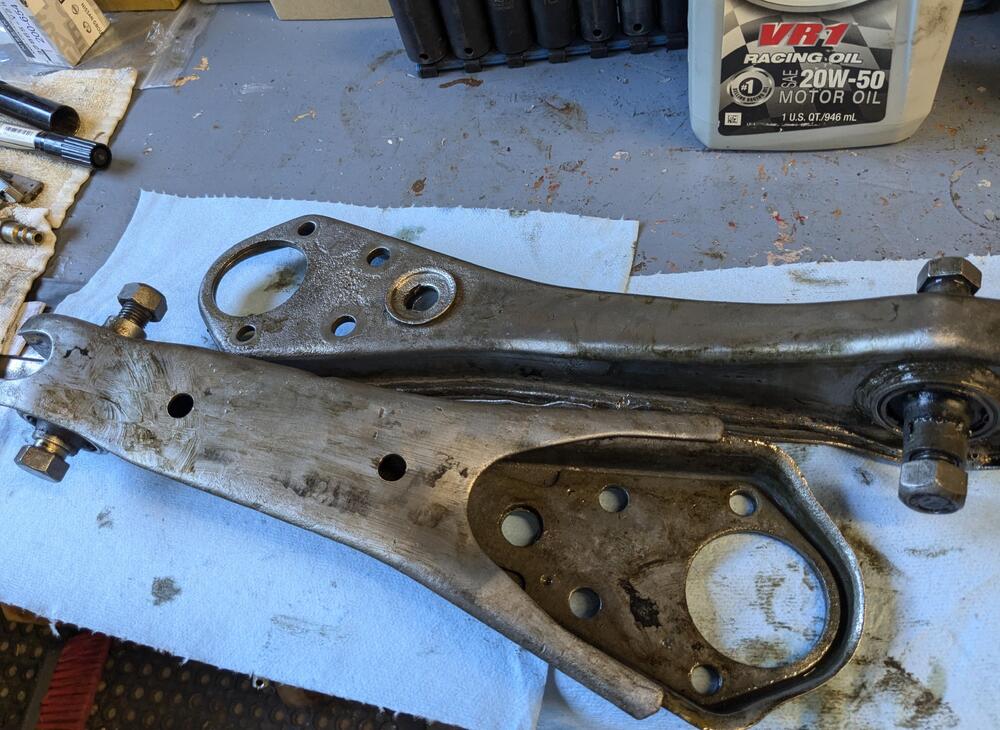
Got the Z front control arms cleaned up pretty nicely. Next I have to figure out what about them needs modifying to fit the Apex-Engineered front subframe. They had no clear directions on that

-
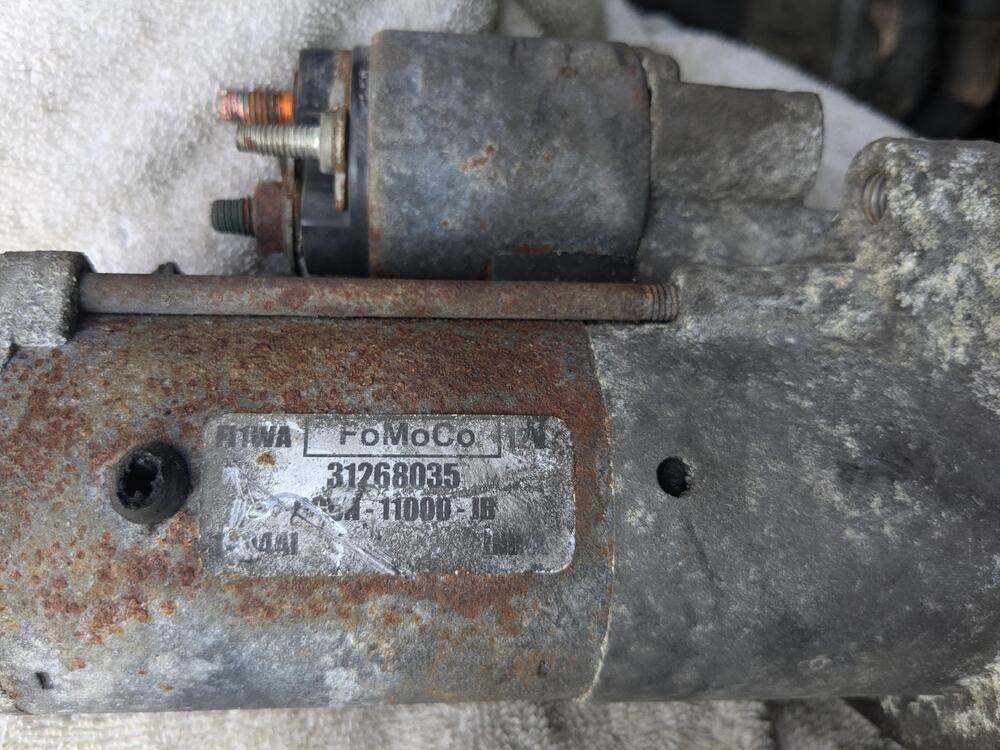
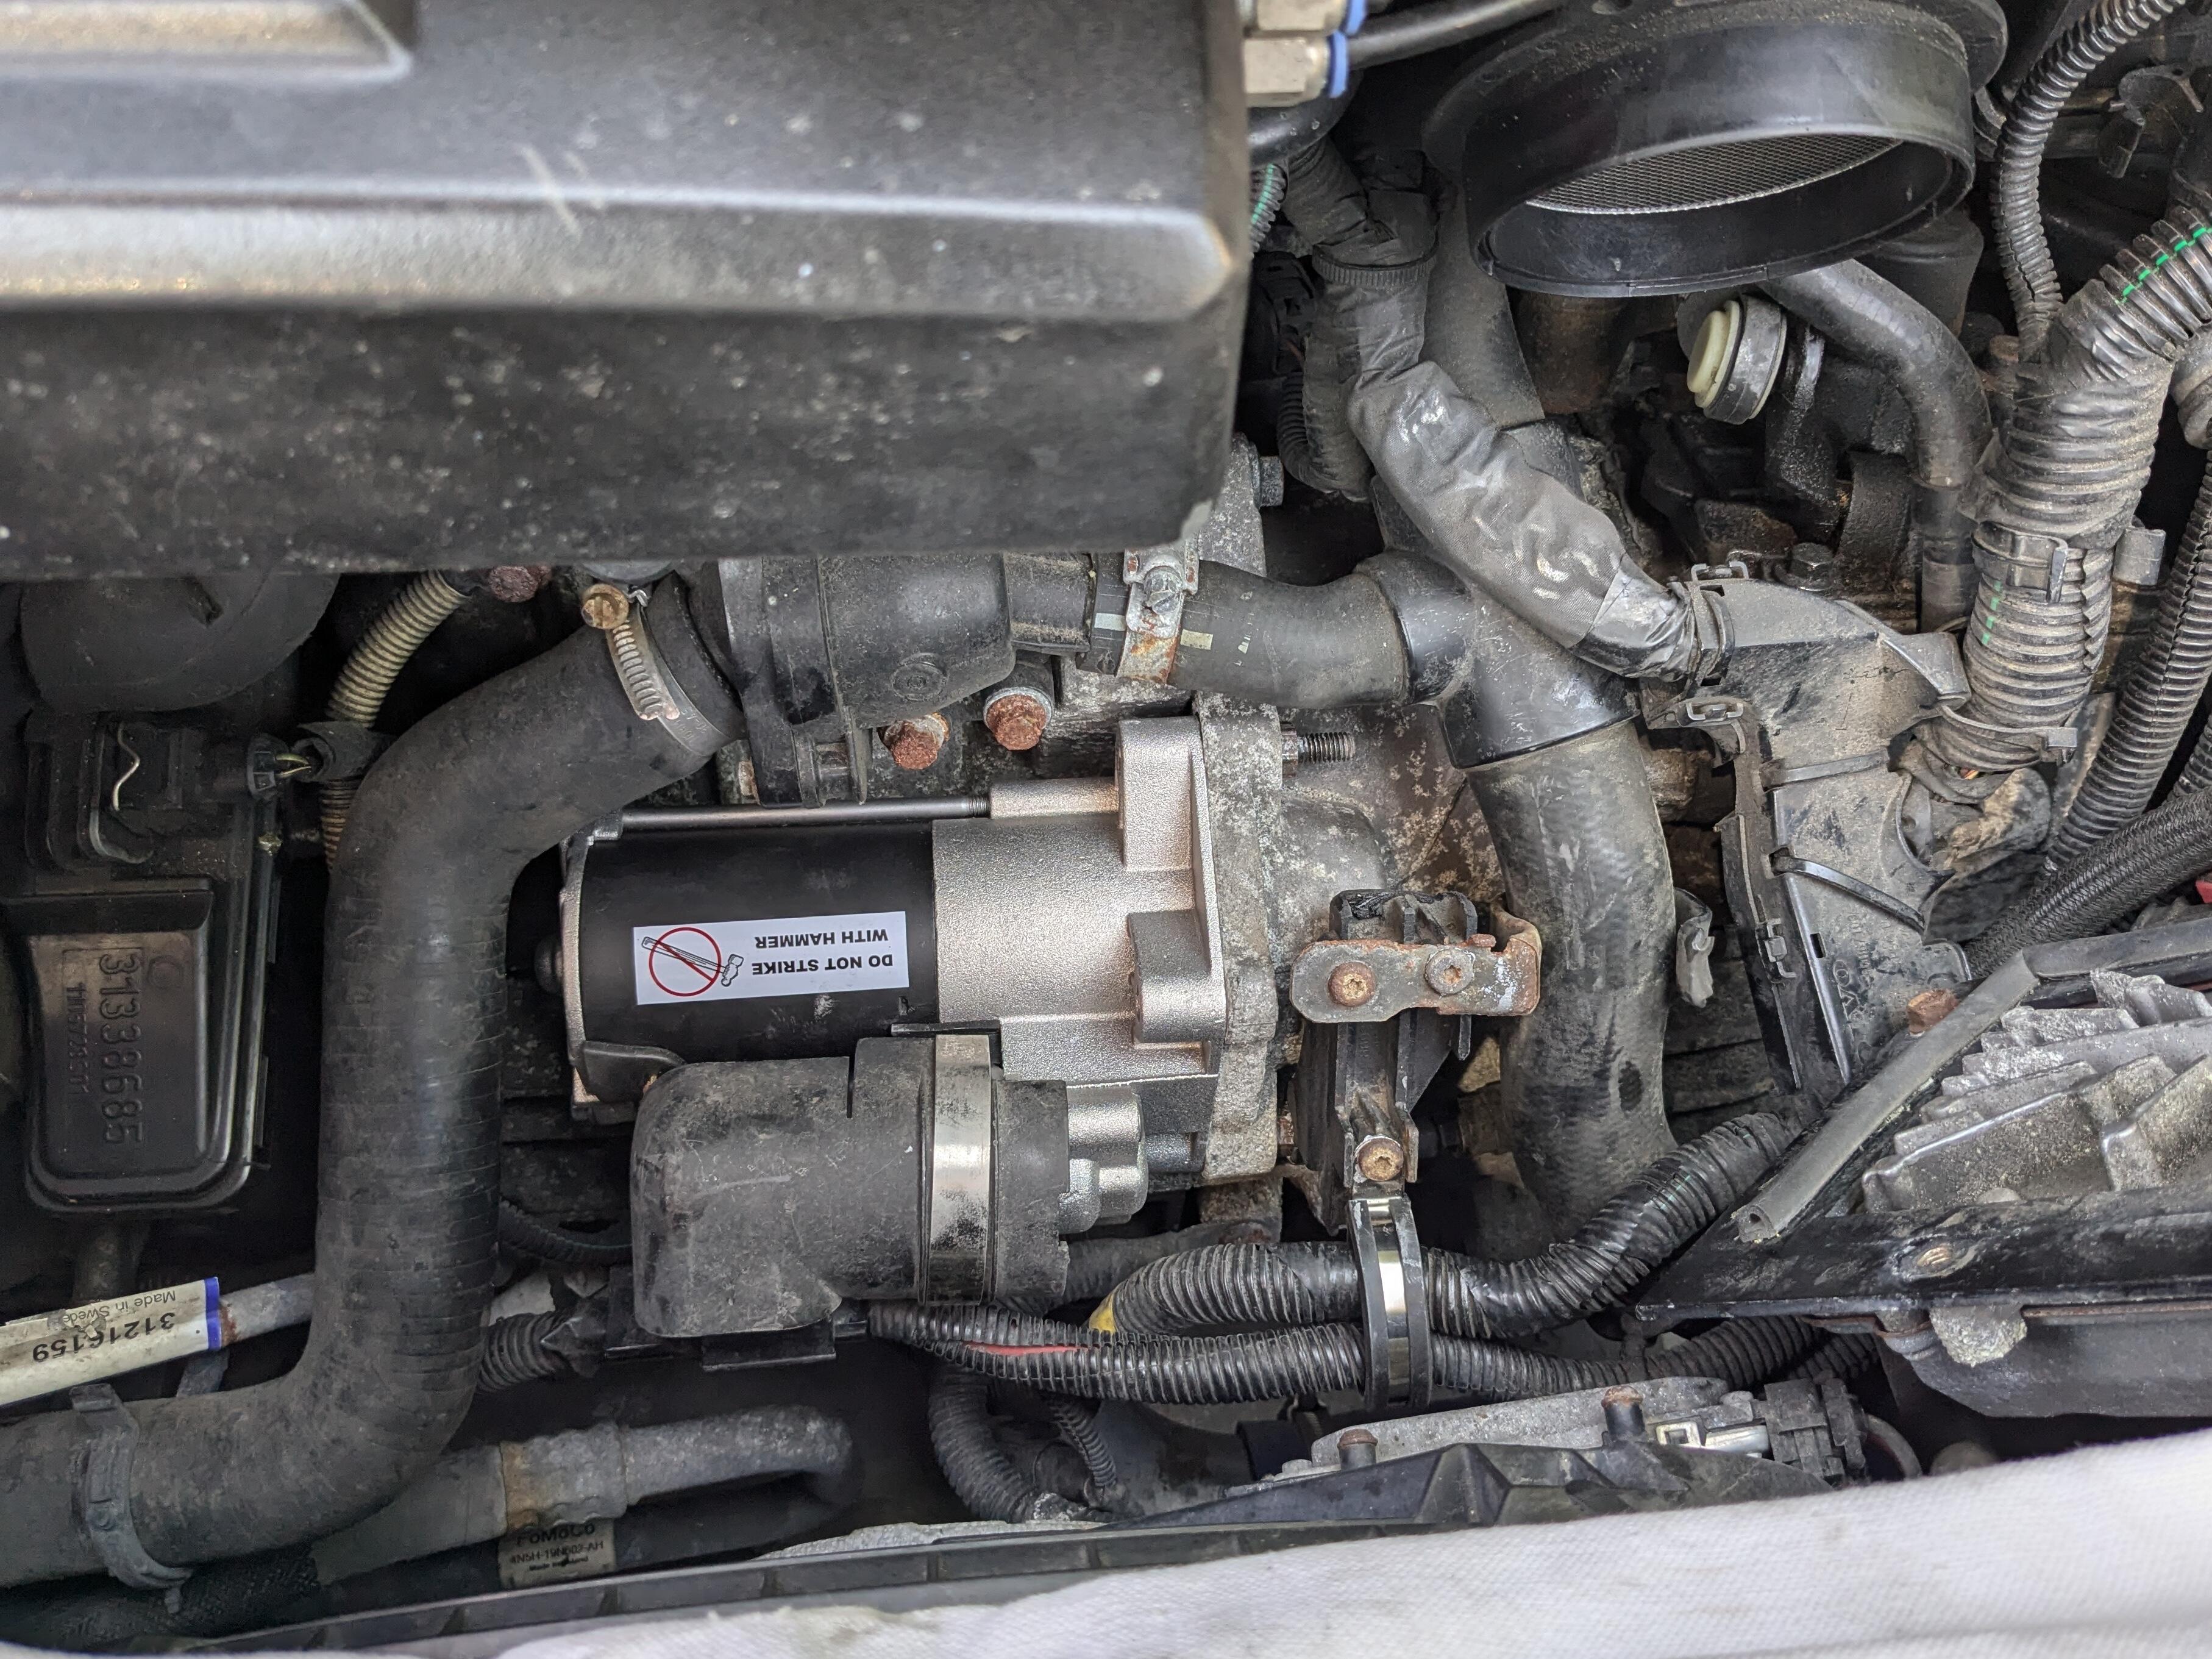
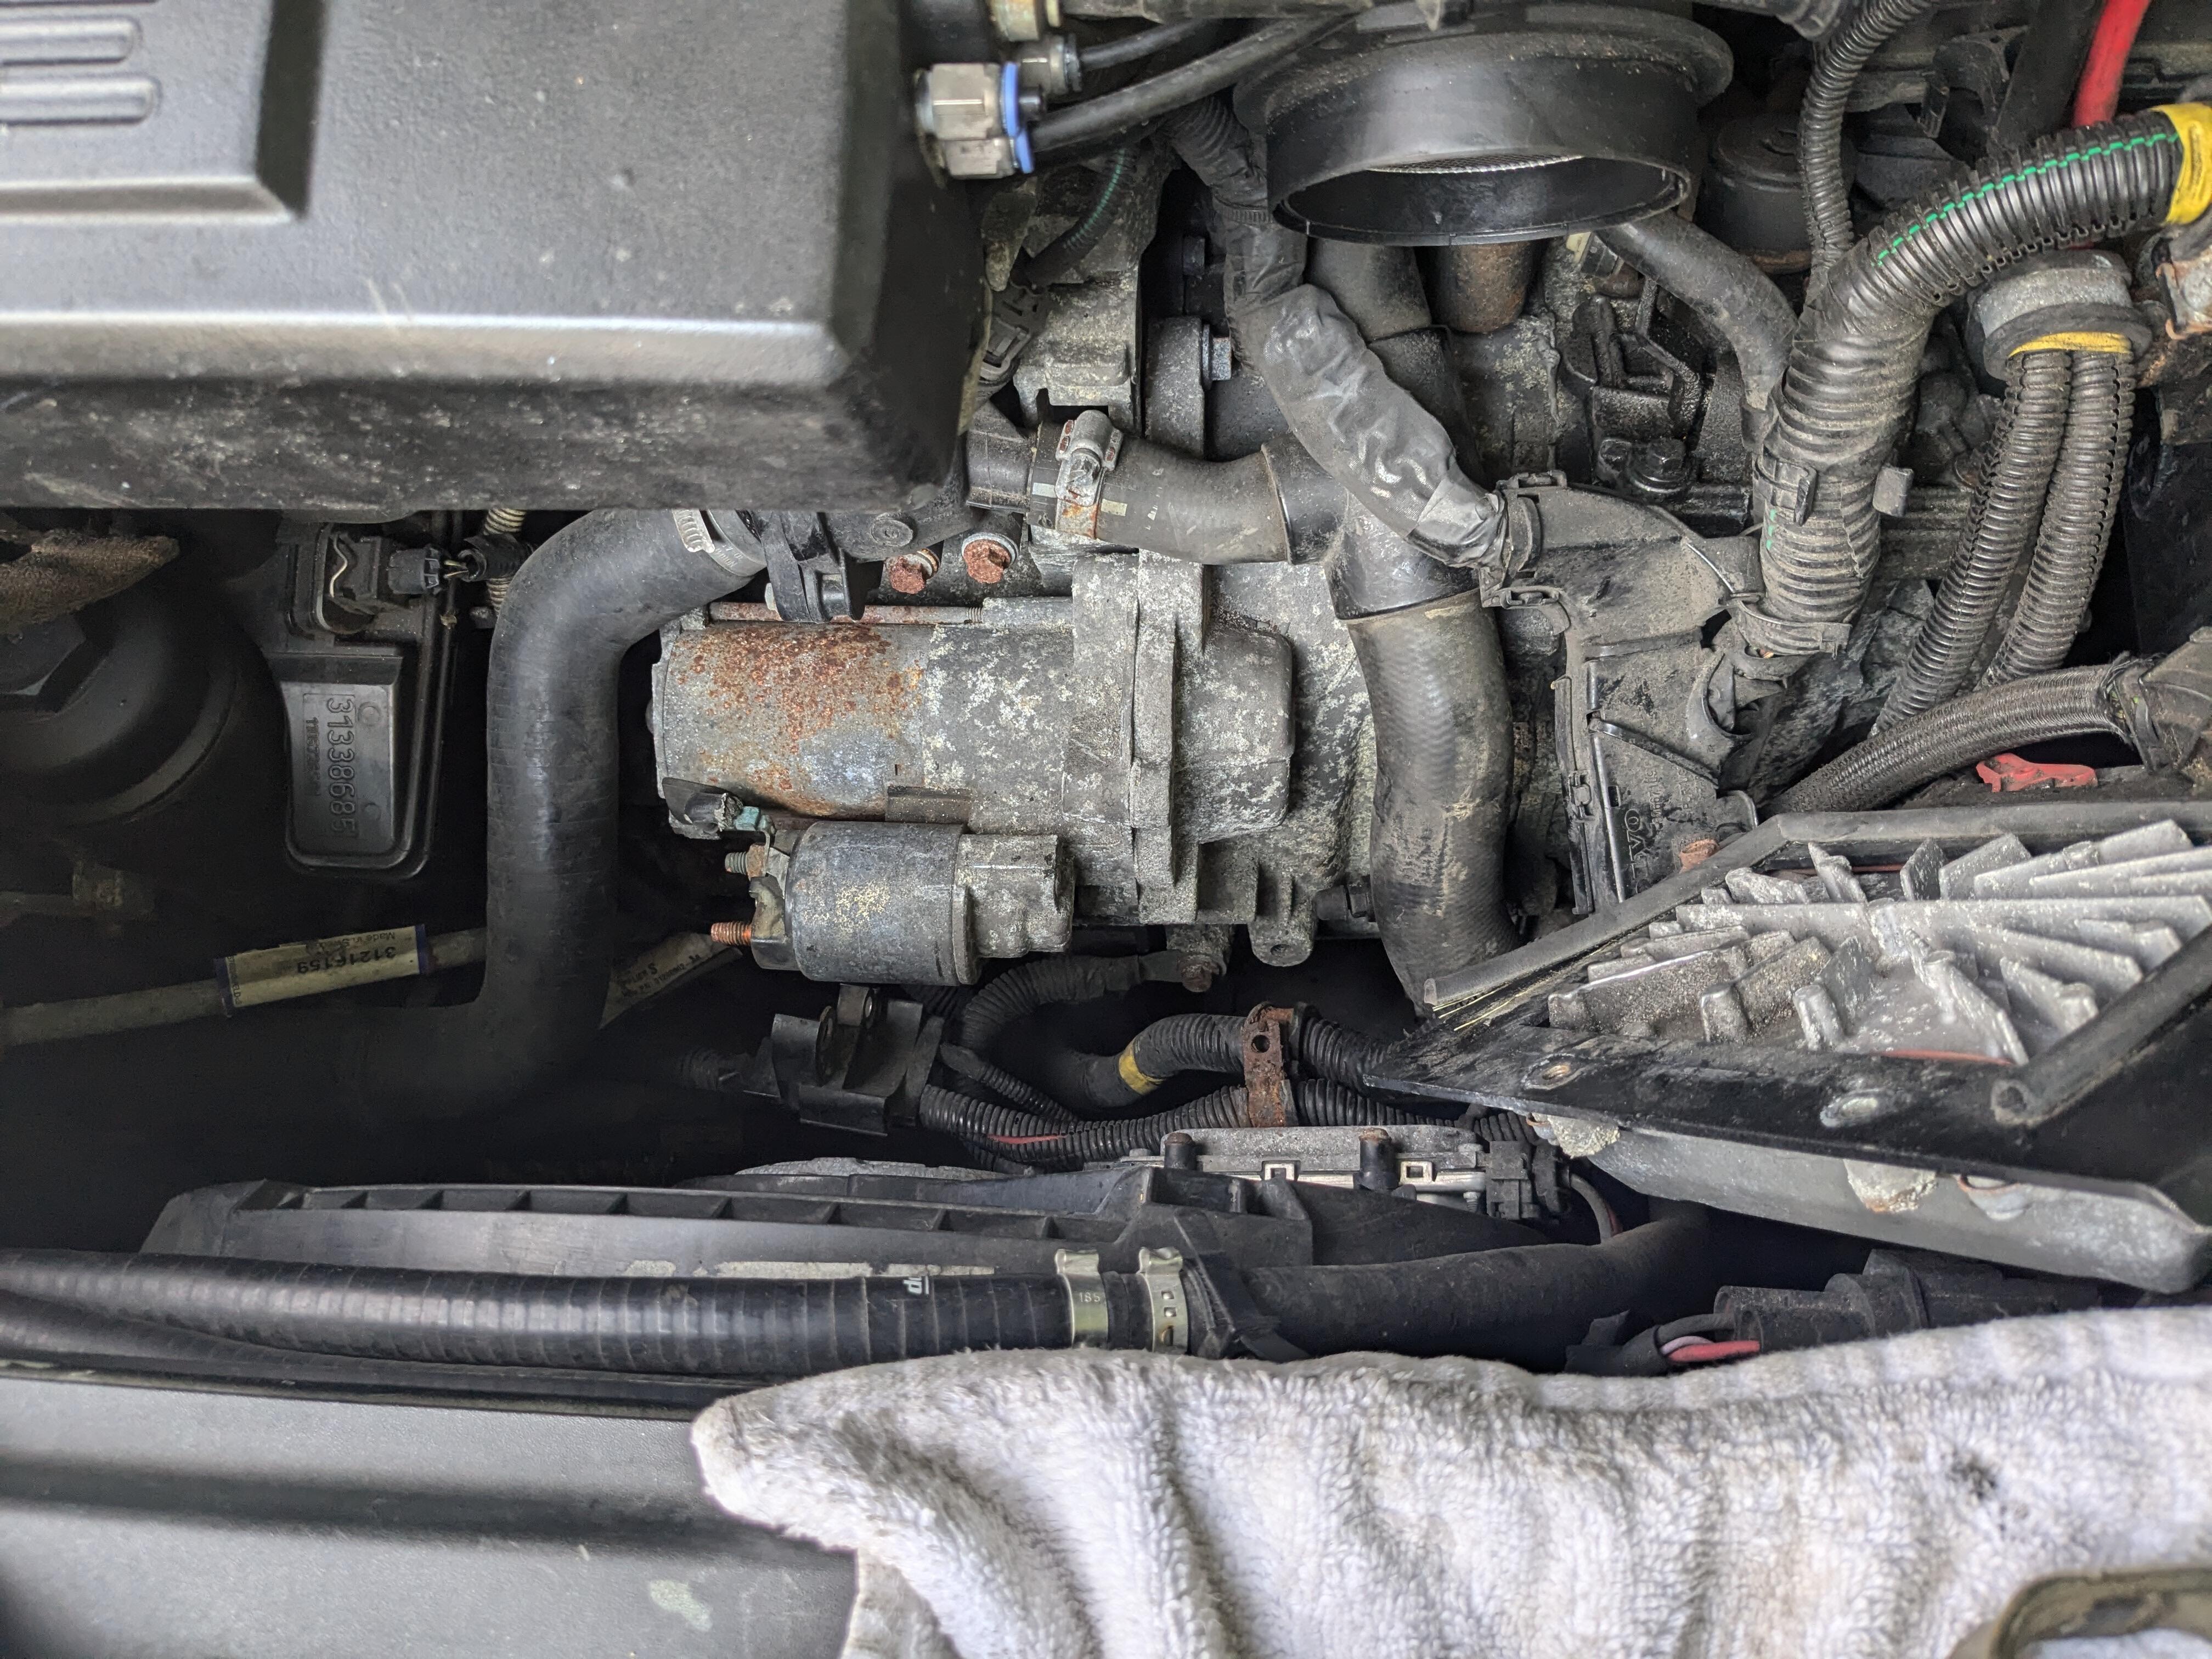
My Mum has been feeling poorly the past couple days, so this morning I gave her a COVID test & it was positive. two of my sisters had visited several days ago, and one of them had tested positive for COVID. I took her to a Doc-in-a-box to get further evaluation - they confirmed she has COVID & given her overall health, quarantine & rest is about all there is to say about it. Thankfully I didn't get it this time around. Got her home, and then my Volvo C30 wouldn't start 😞 . I couldn't leave it, as it was blocking her driveway. I thought perhaps it was the clutch position switch, as there was 0 action when turning the key to start. I bypassed the pedal switch (PITA), no change. Got the Mrs. to operate the key while I tried an alternate length of battery cable, and then I tested the wiring by hooking up a spare starter motor from an older T5. That engaged & cranked, so my starter is dead. I pout that starter in just so I could get the car home. Bosch reman is on order. Glad it happened after the morning errands & not while I was transporting my mum in the heat. VO 31268035