HusseinHolland
Free Member
-
Joined
-
Last visited
Everything posted by HusseinHolland
-
 Still looking around regarding the rear hub/wheel mount surface. I took this pic off the MilkFab webpage of customer reviews I'm considering adding a deeper sleeve for the wheel hub to center on. I'm having trouble with the concept of the wheel only being supported by the studs. Seems like it is fine for lighter 14" wheels/tires, however I just can't believe it's not a long term issue when using larger wheels & tires. Maybe I'm just over thinking this aspect, I dunno.
 -
Did you ever go forward with this? I'm wondering much the same thing. 80's & early 90's Volvos that still used a fan clutch also had an electric pusher fan (on the condenser). Later cars all had the single eFan like all FWD cars. I'd rather have the large singe eFan in place of the fan clutch, but since that is a tricky thing in the shallow space, adding the condenser fan controlled by an AC trinary is what I am also considering.
-
Thank you for the link. The eBay link is dead. Seems a waste too buy 5, but considering the $$$ pricing for a new lamp, $10 for a switch ain't so bad. I did find a listing for 2 for $8, but 5 for 10 is such a better deal 🤪 I'll have to find other uses for the extras. I guess this is a fairly common failure. With the attention to detail & Japanese desire for precision I'm kinda surprised. I can't imagine it was used that often. I was going to disassemble the switch & clean up the contacts, but that doesn't seem worth the time.
-
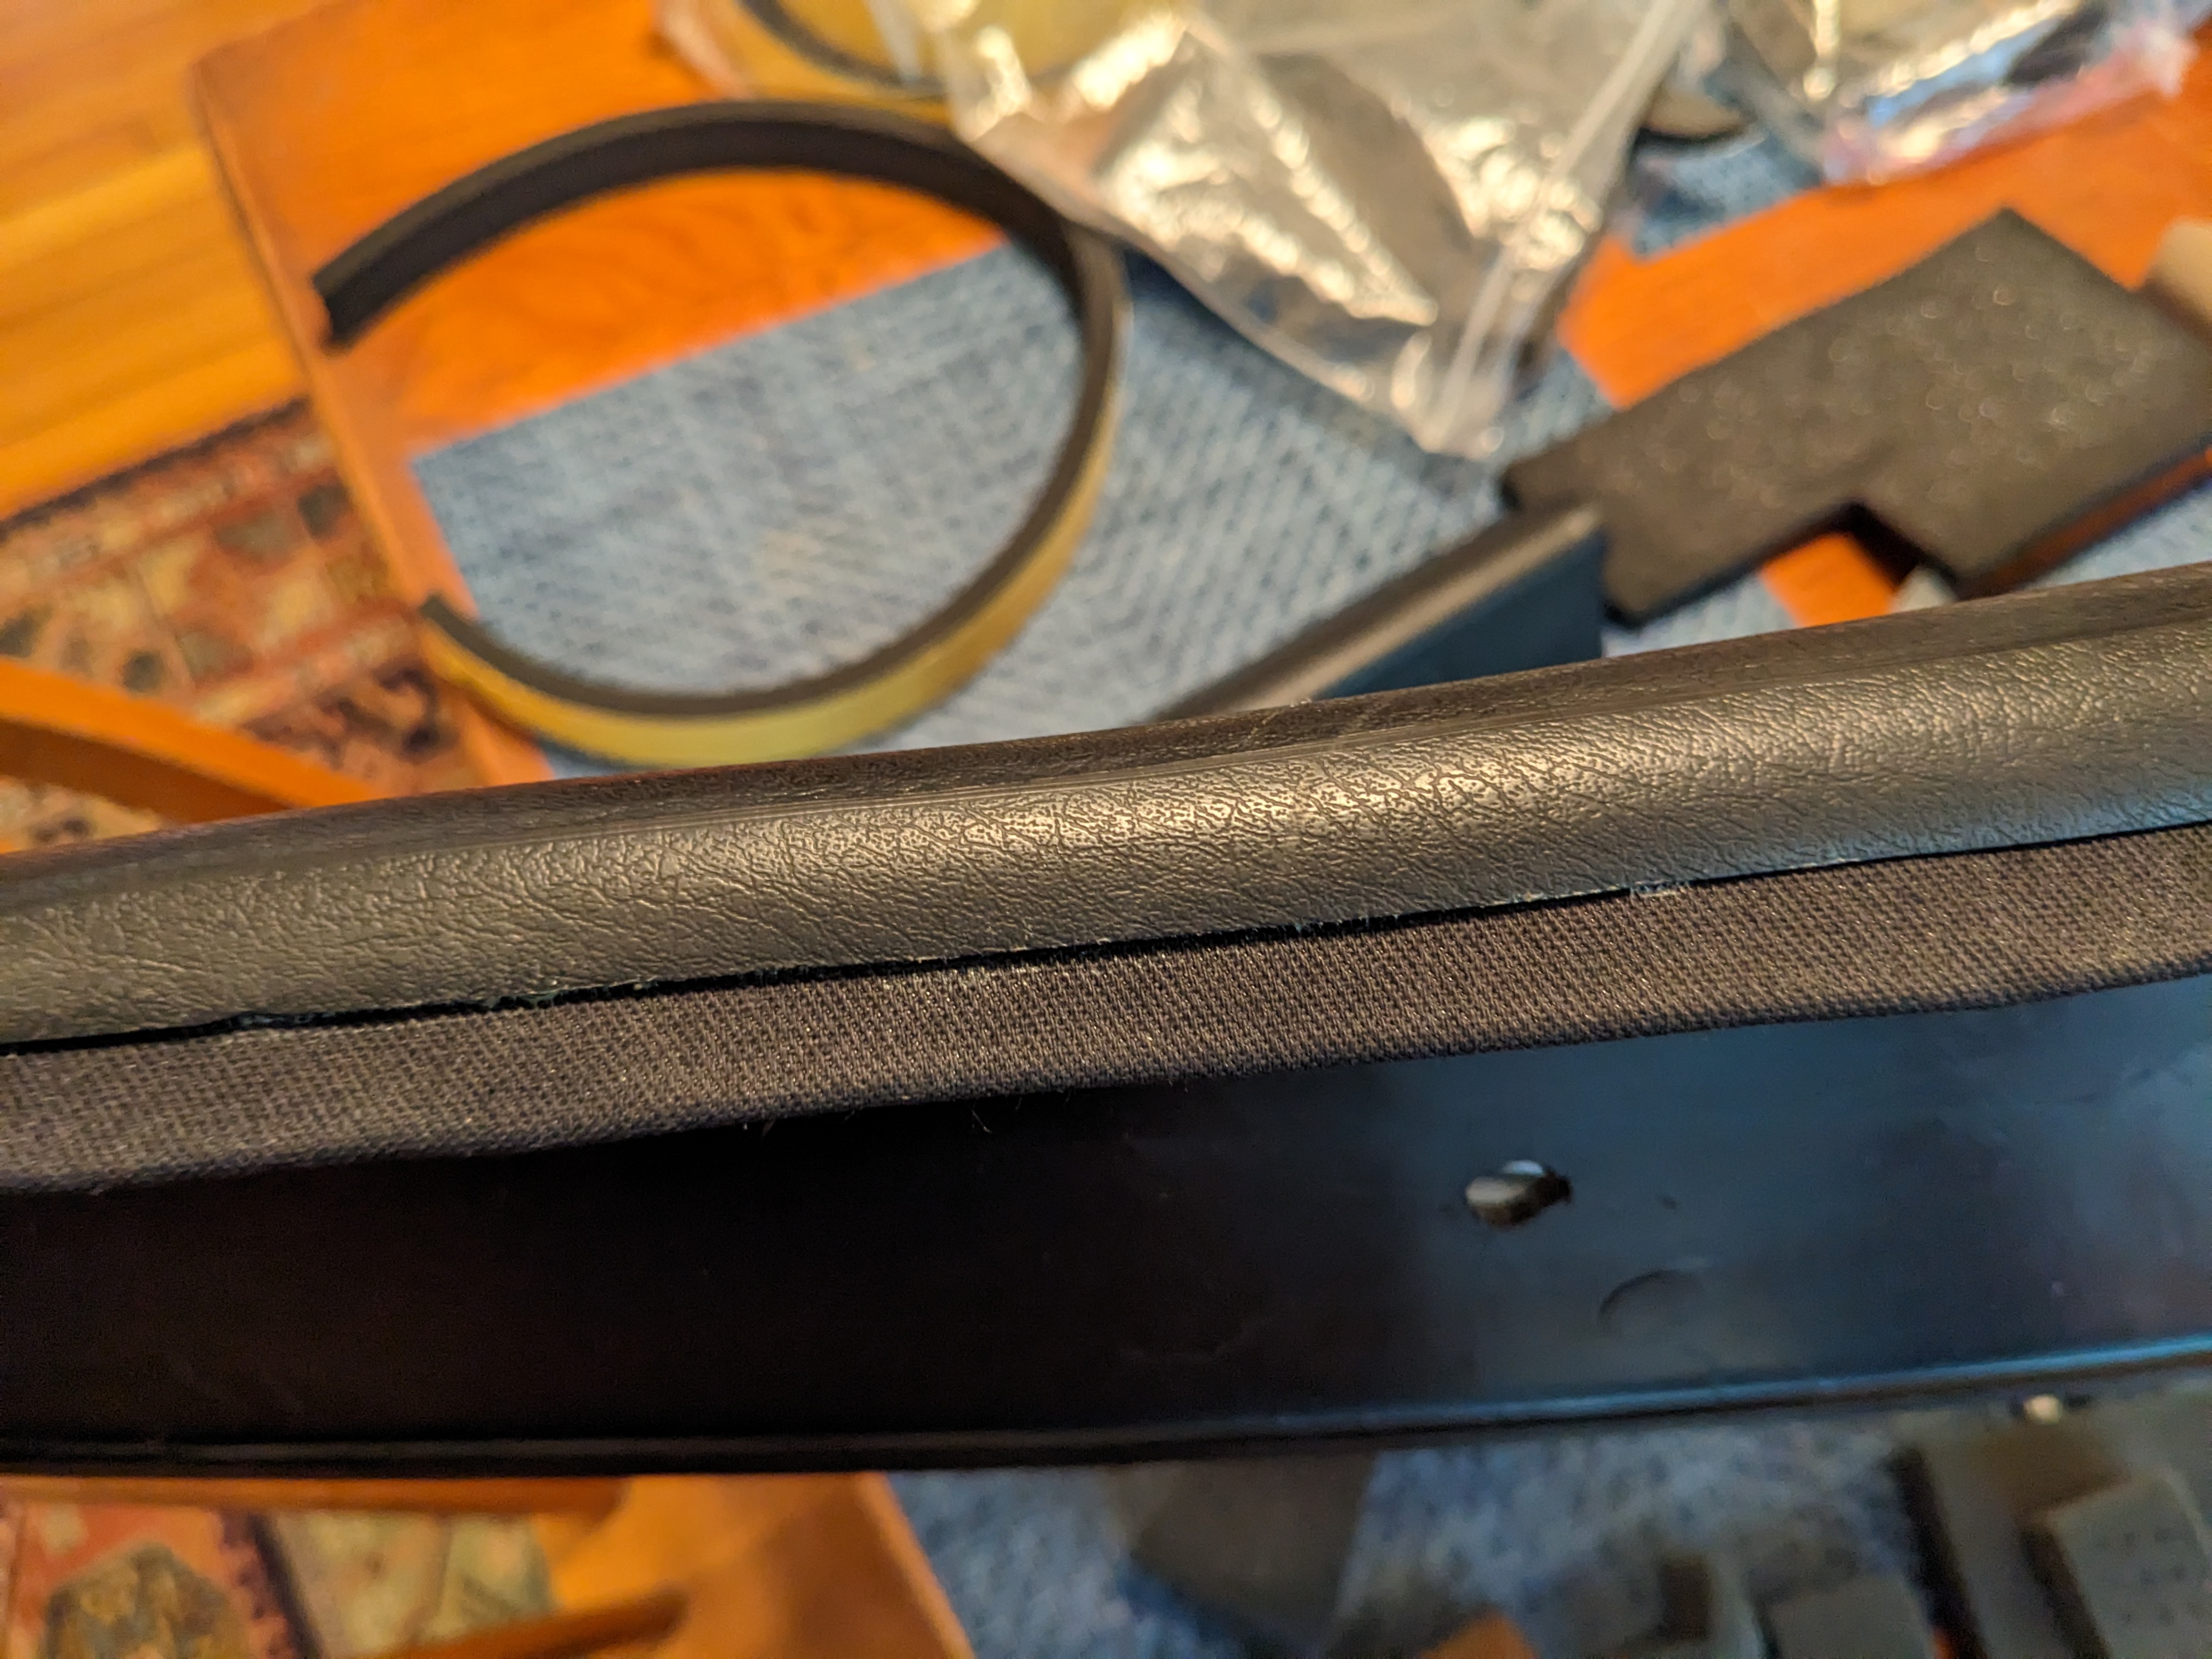
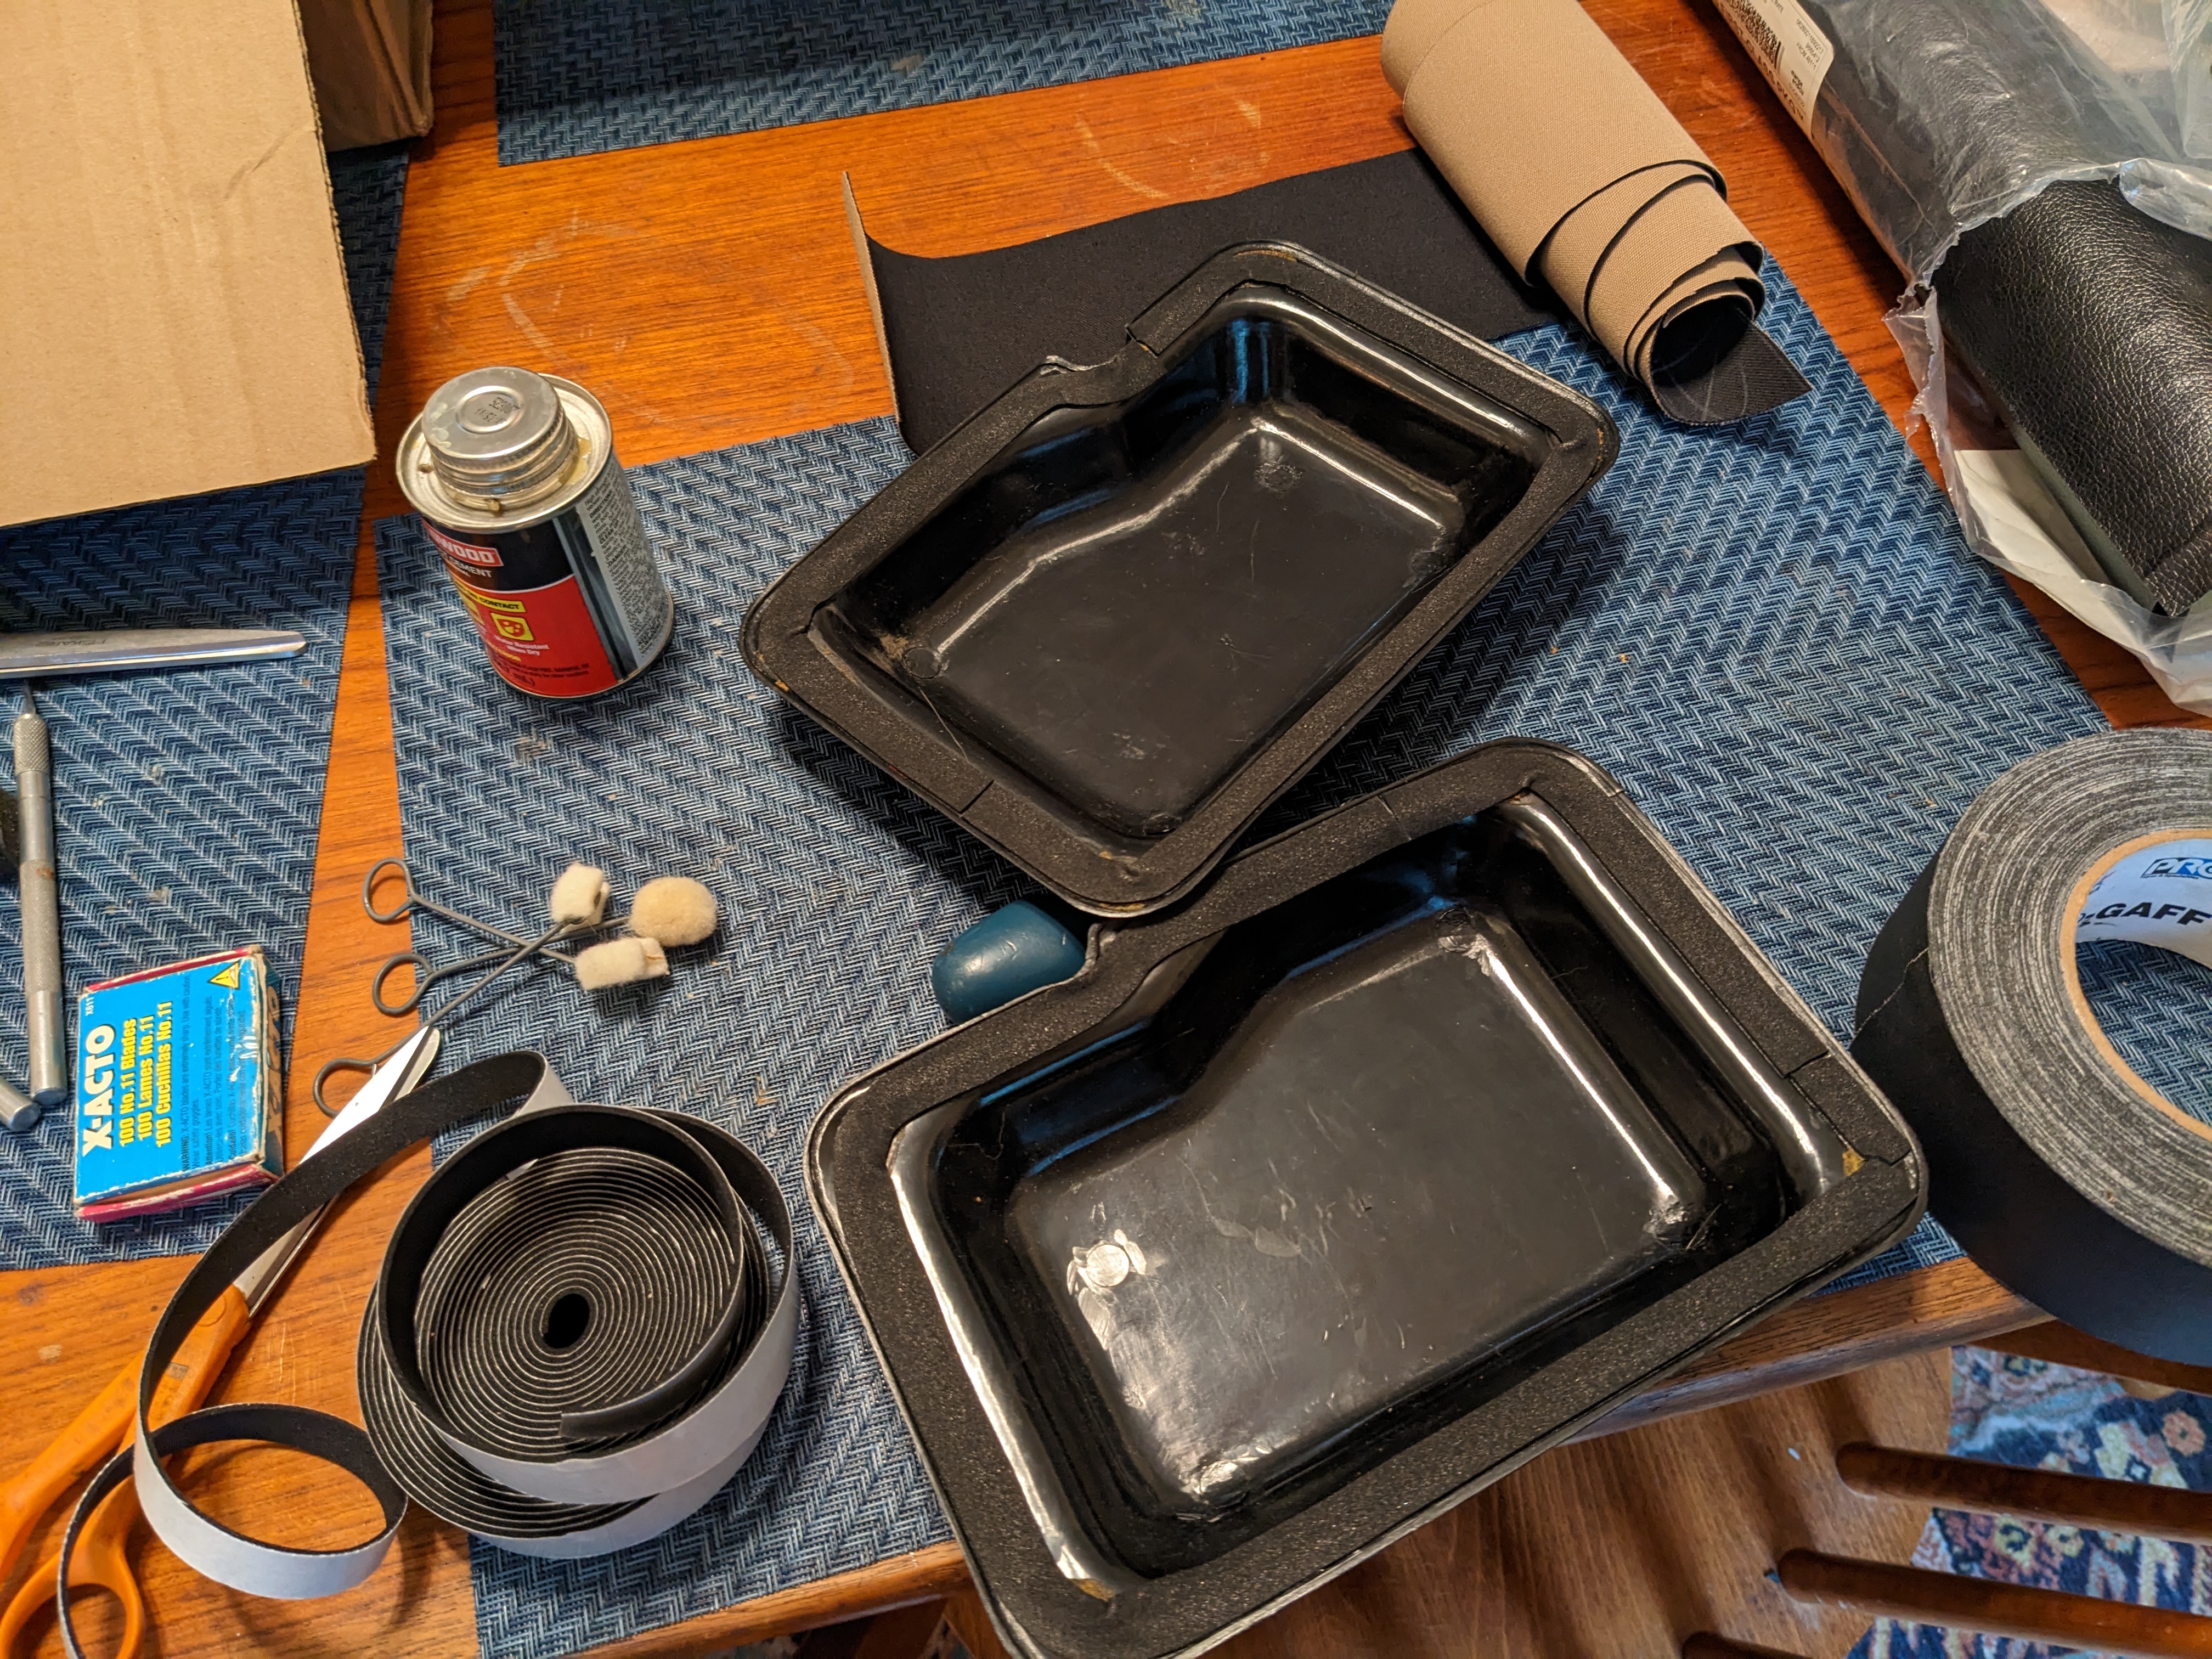
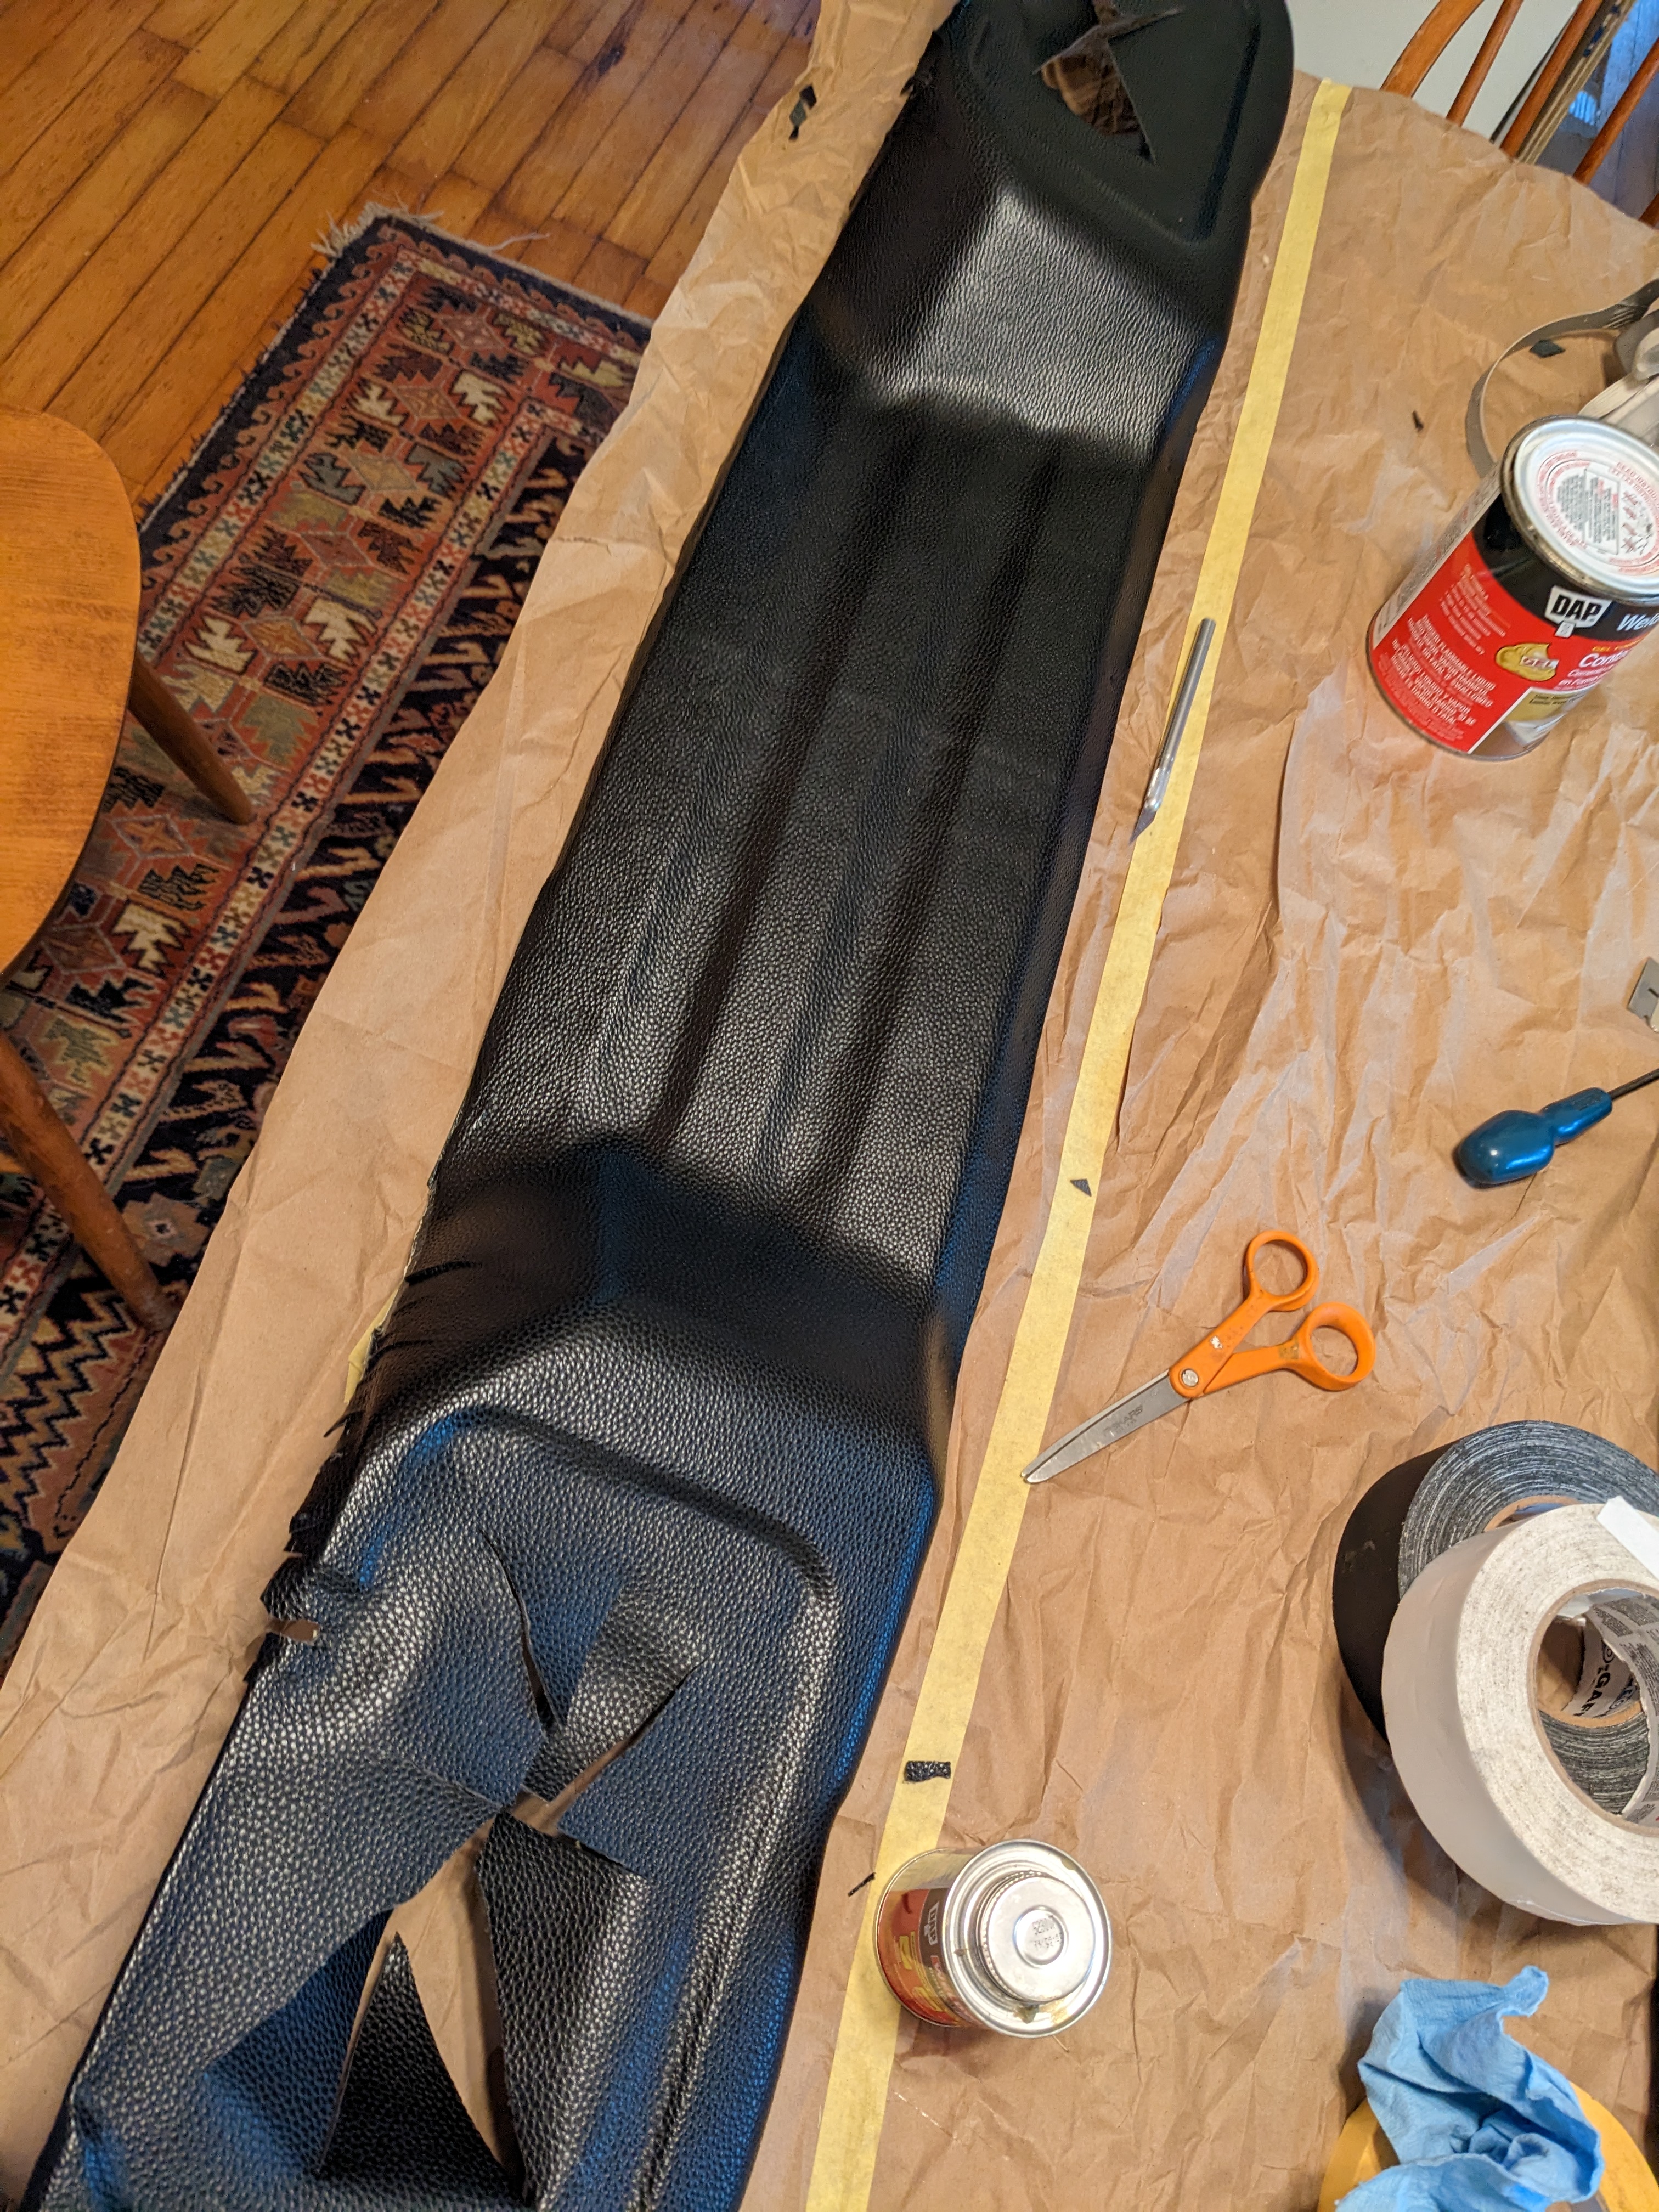
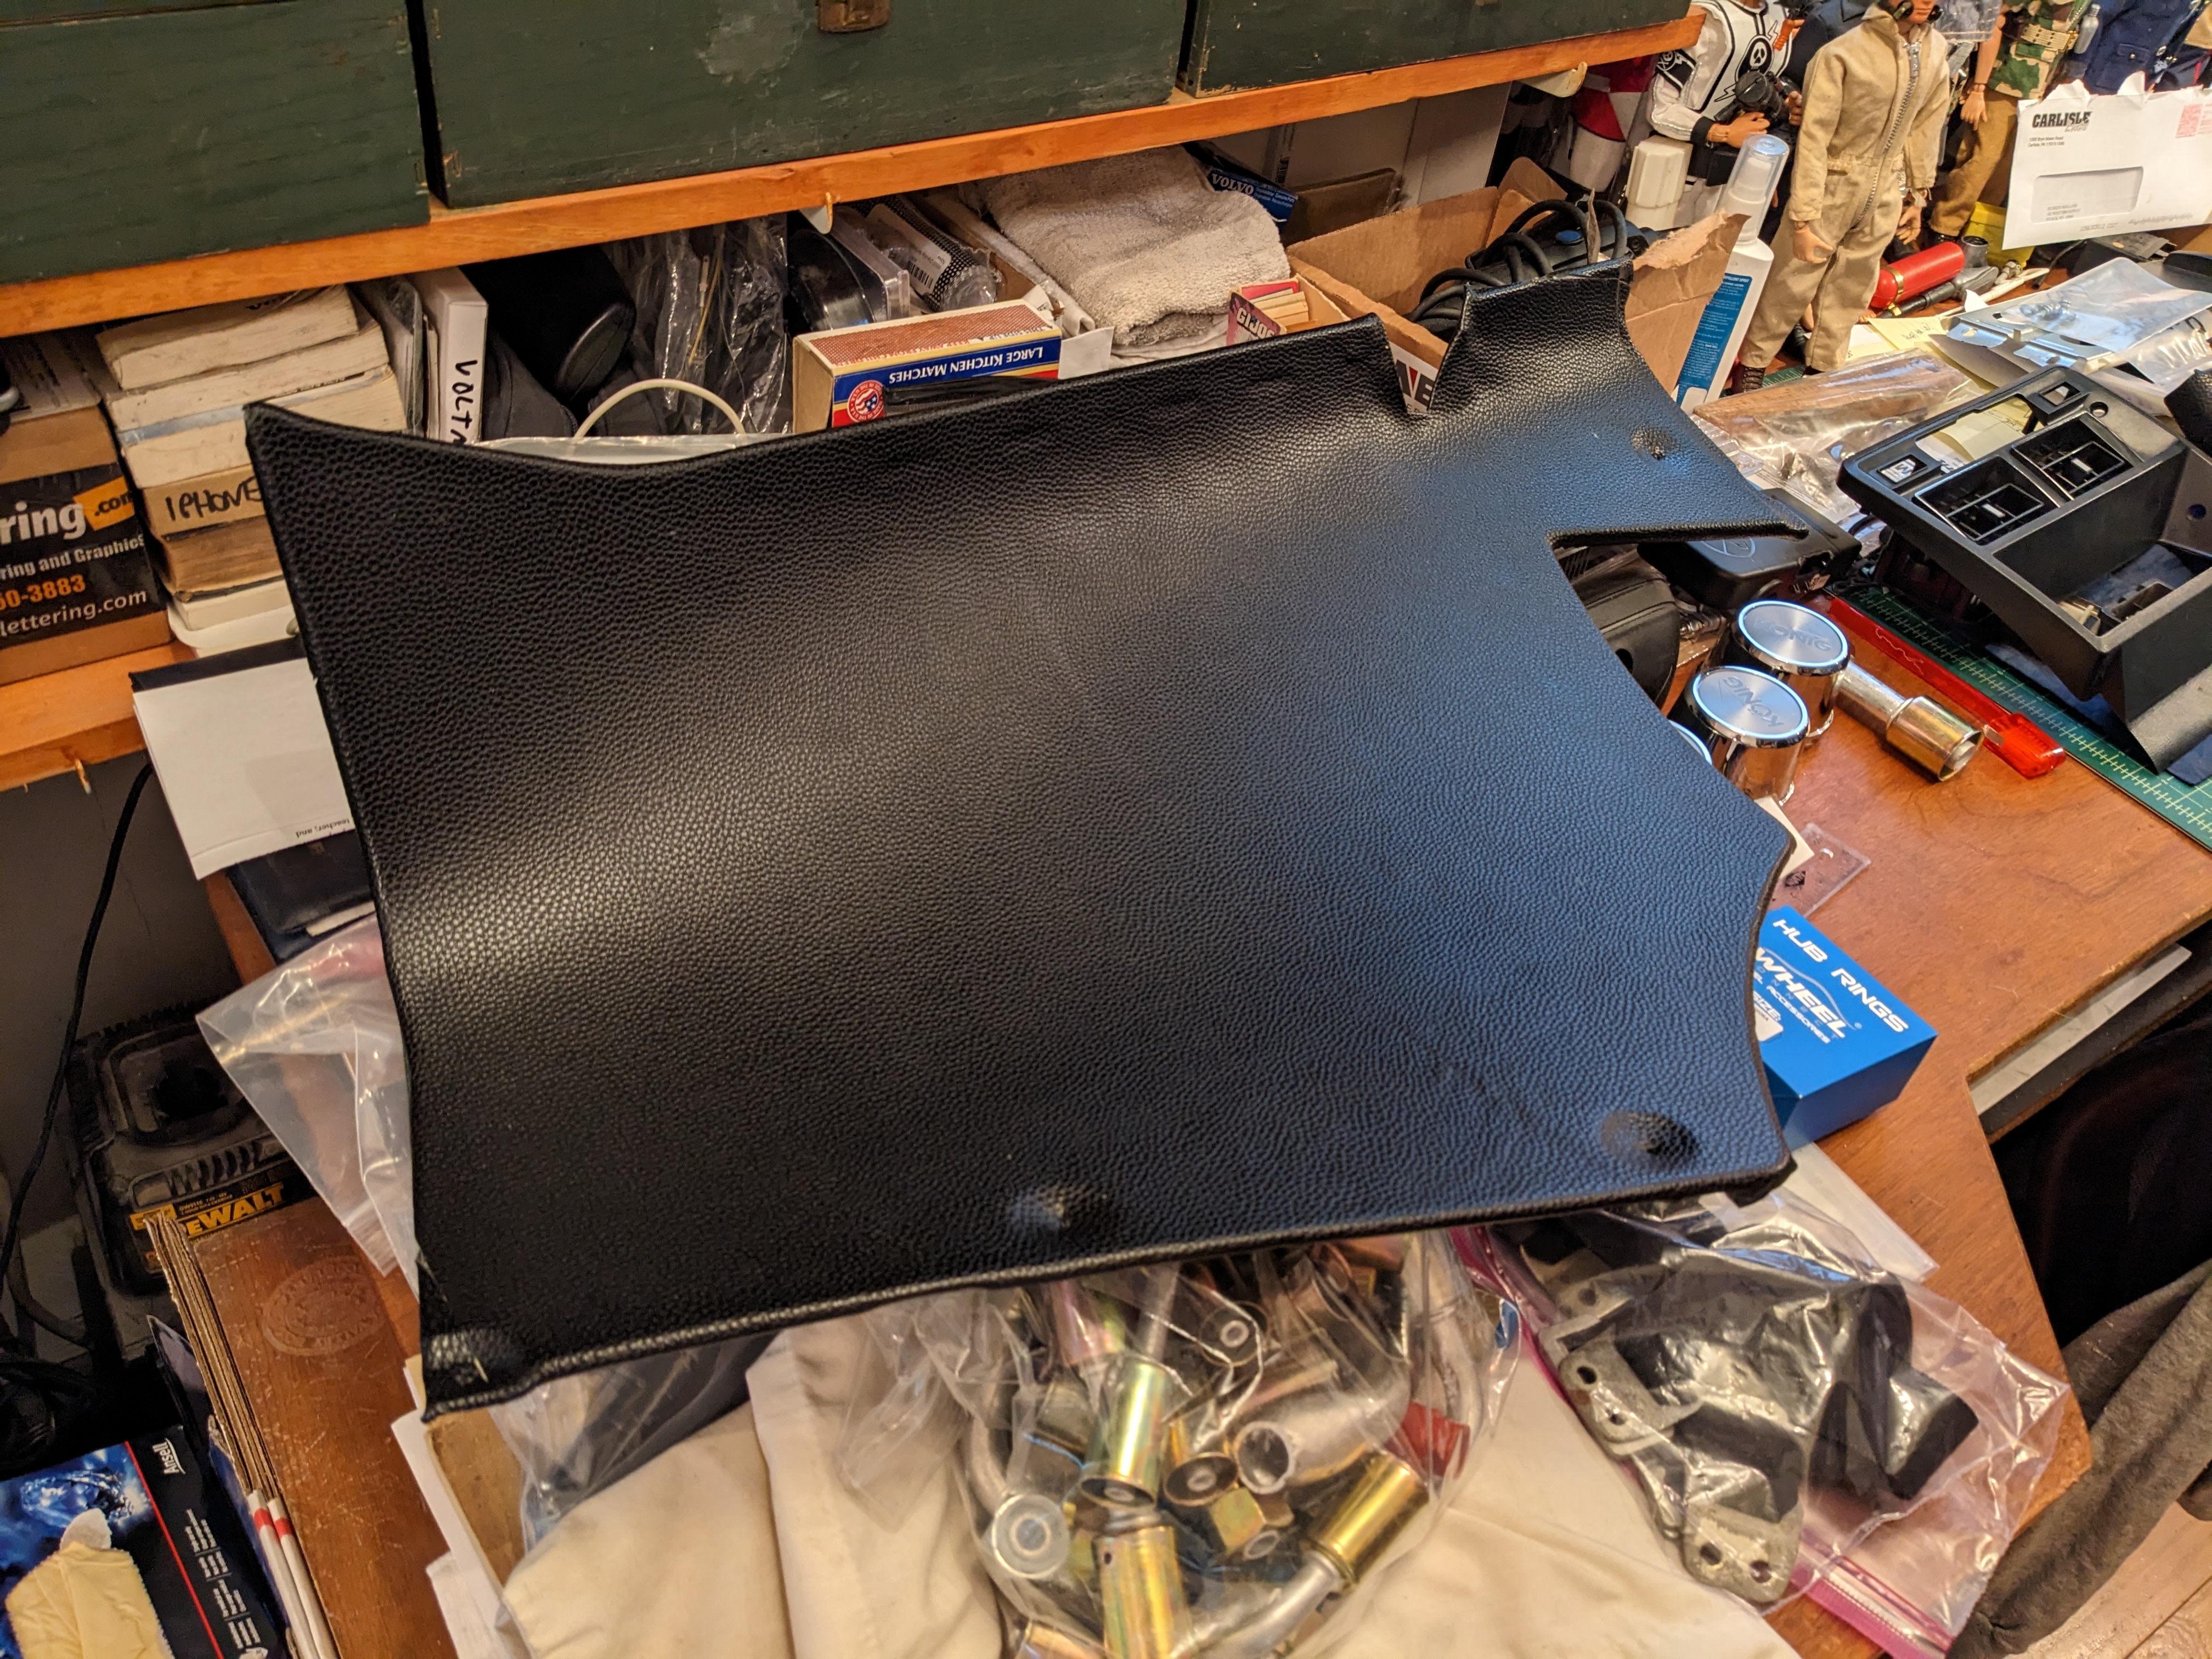
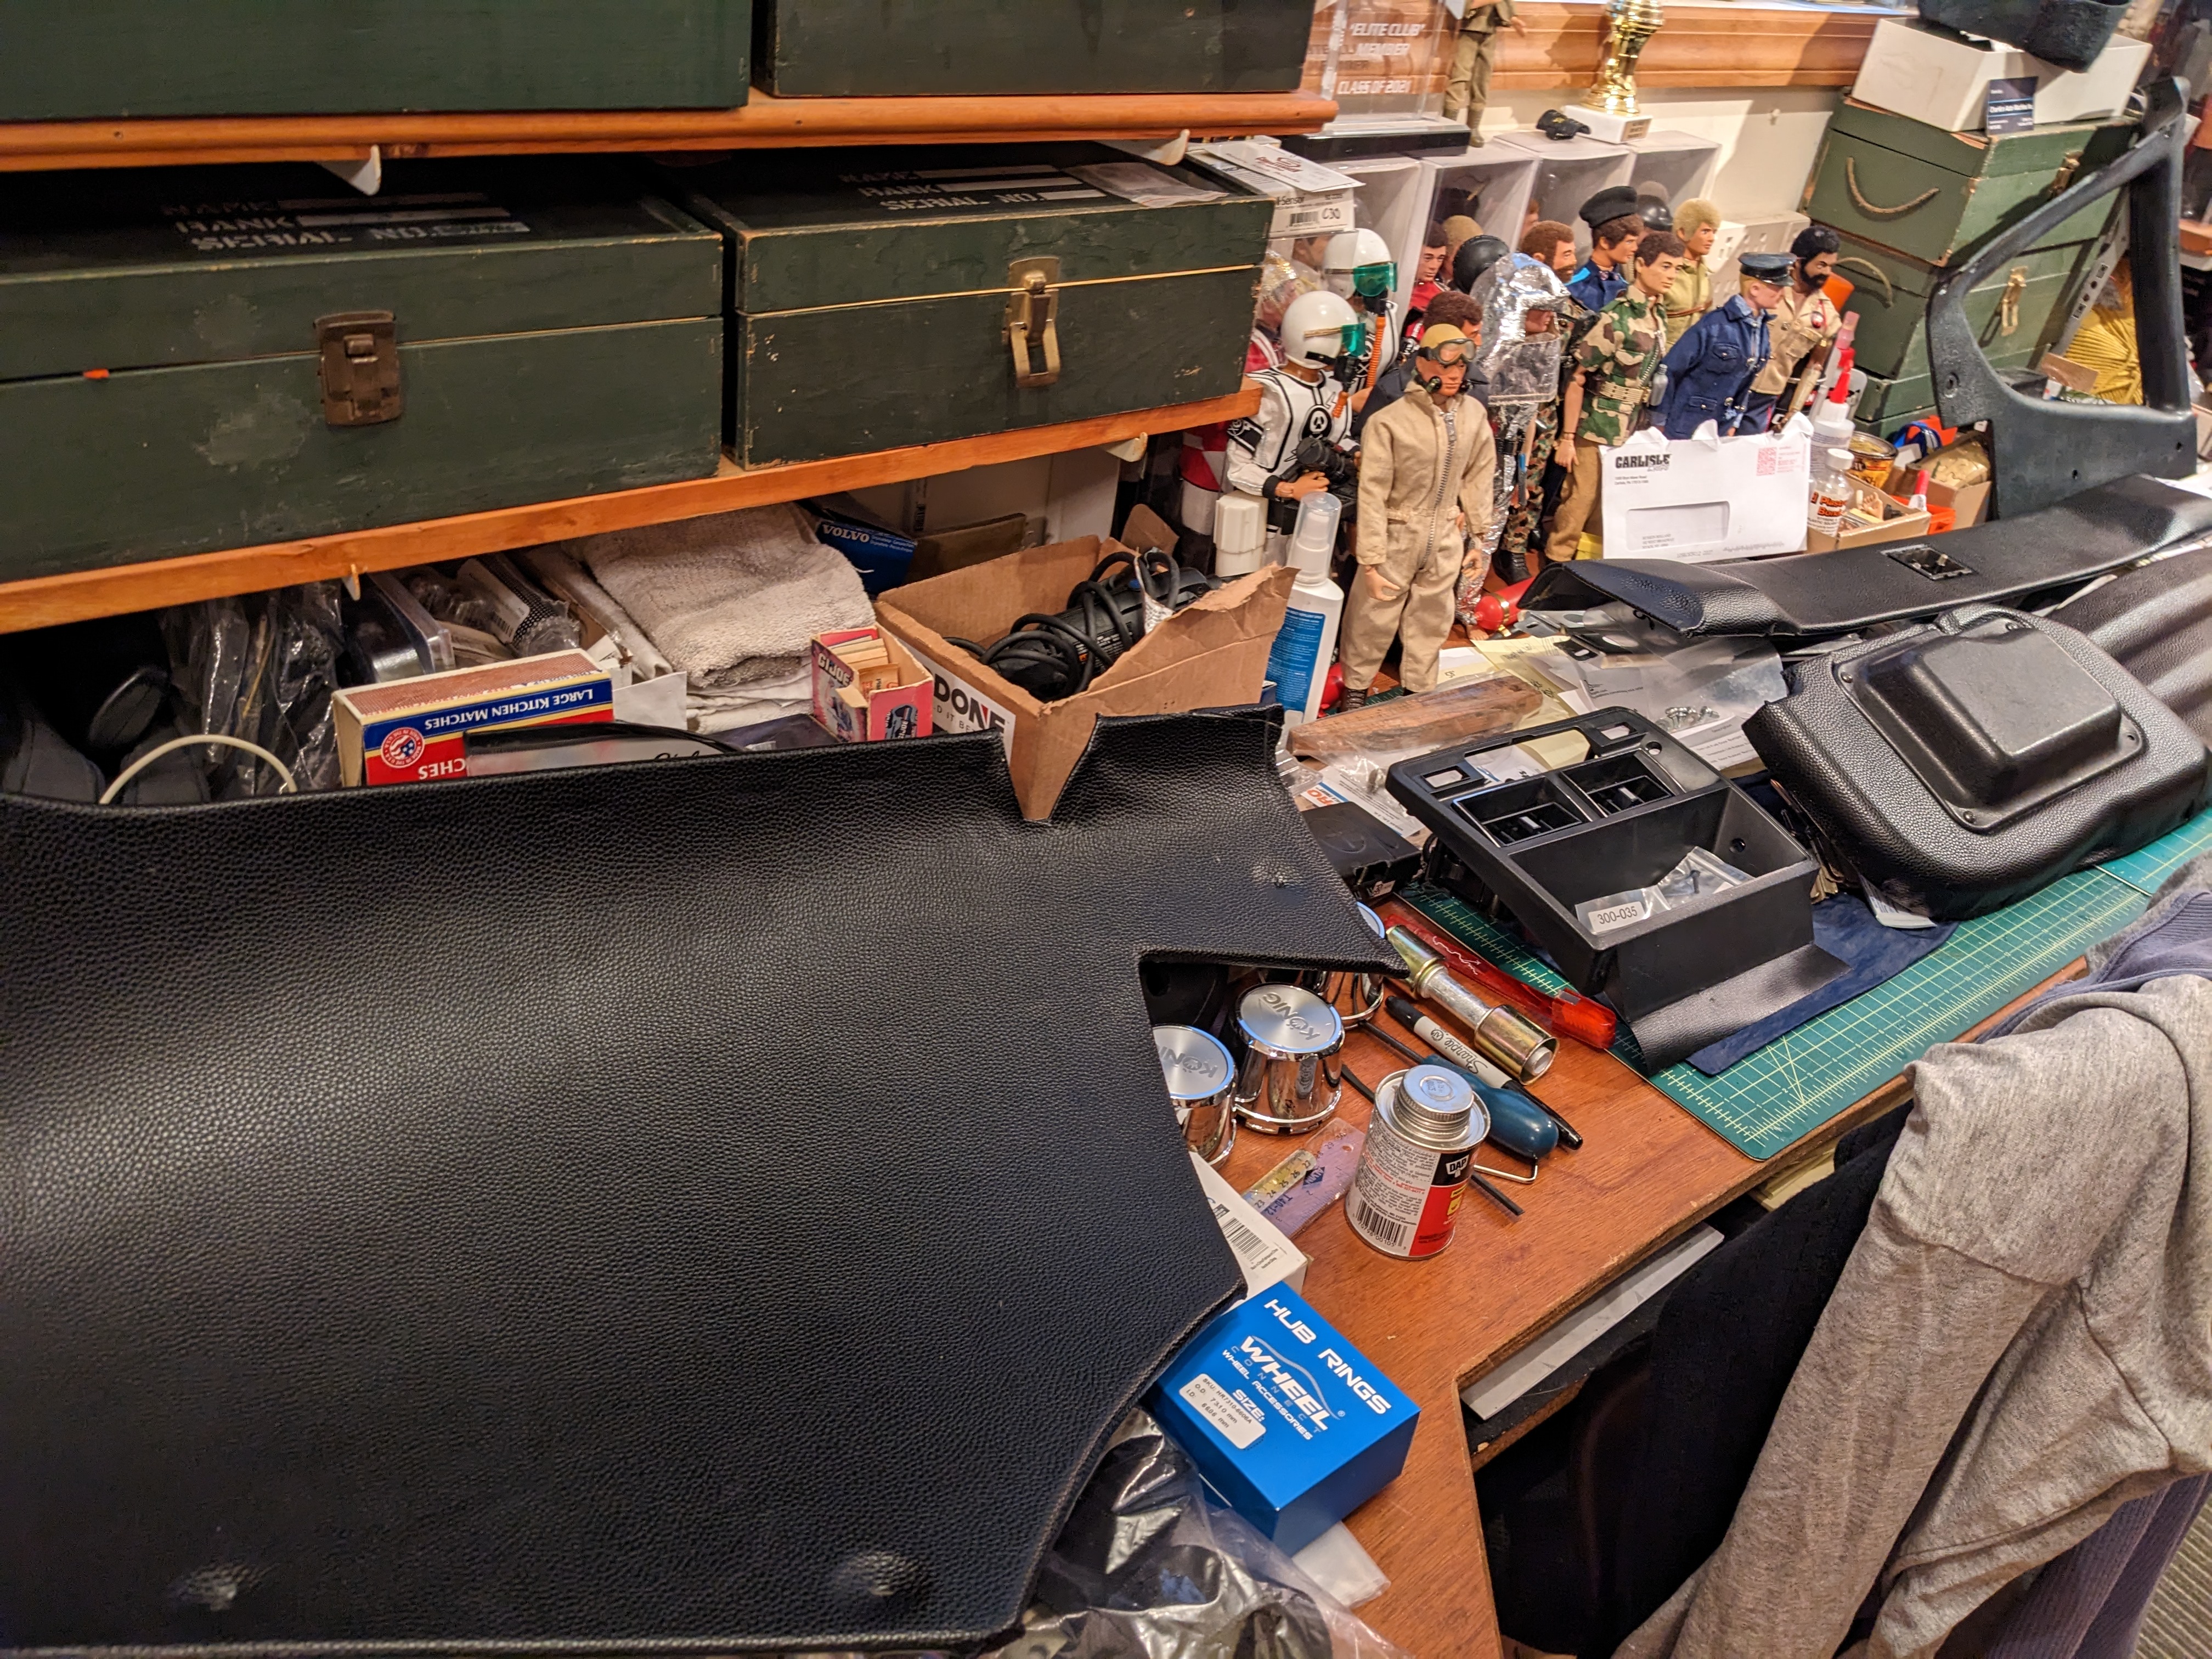
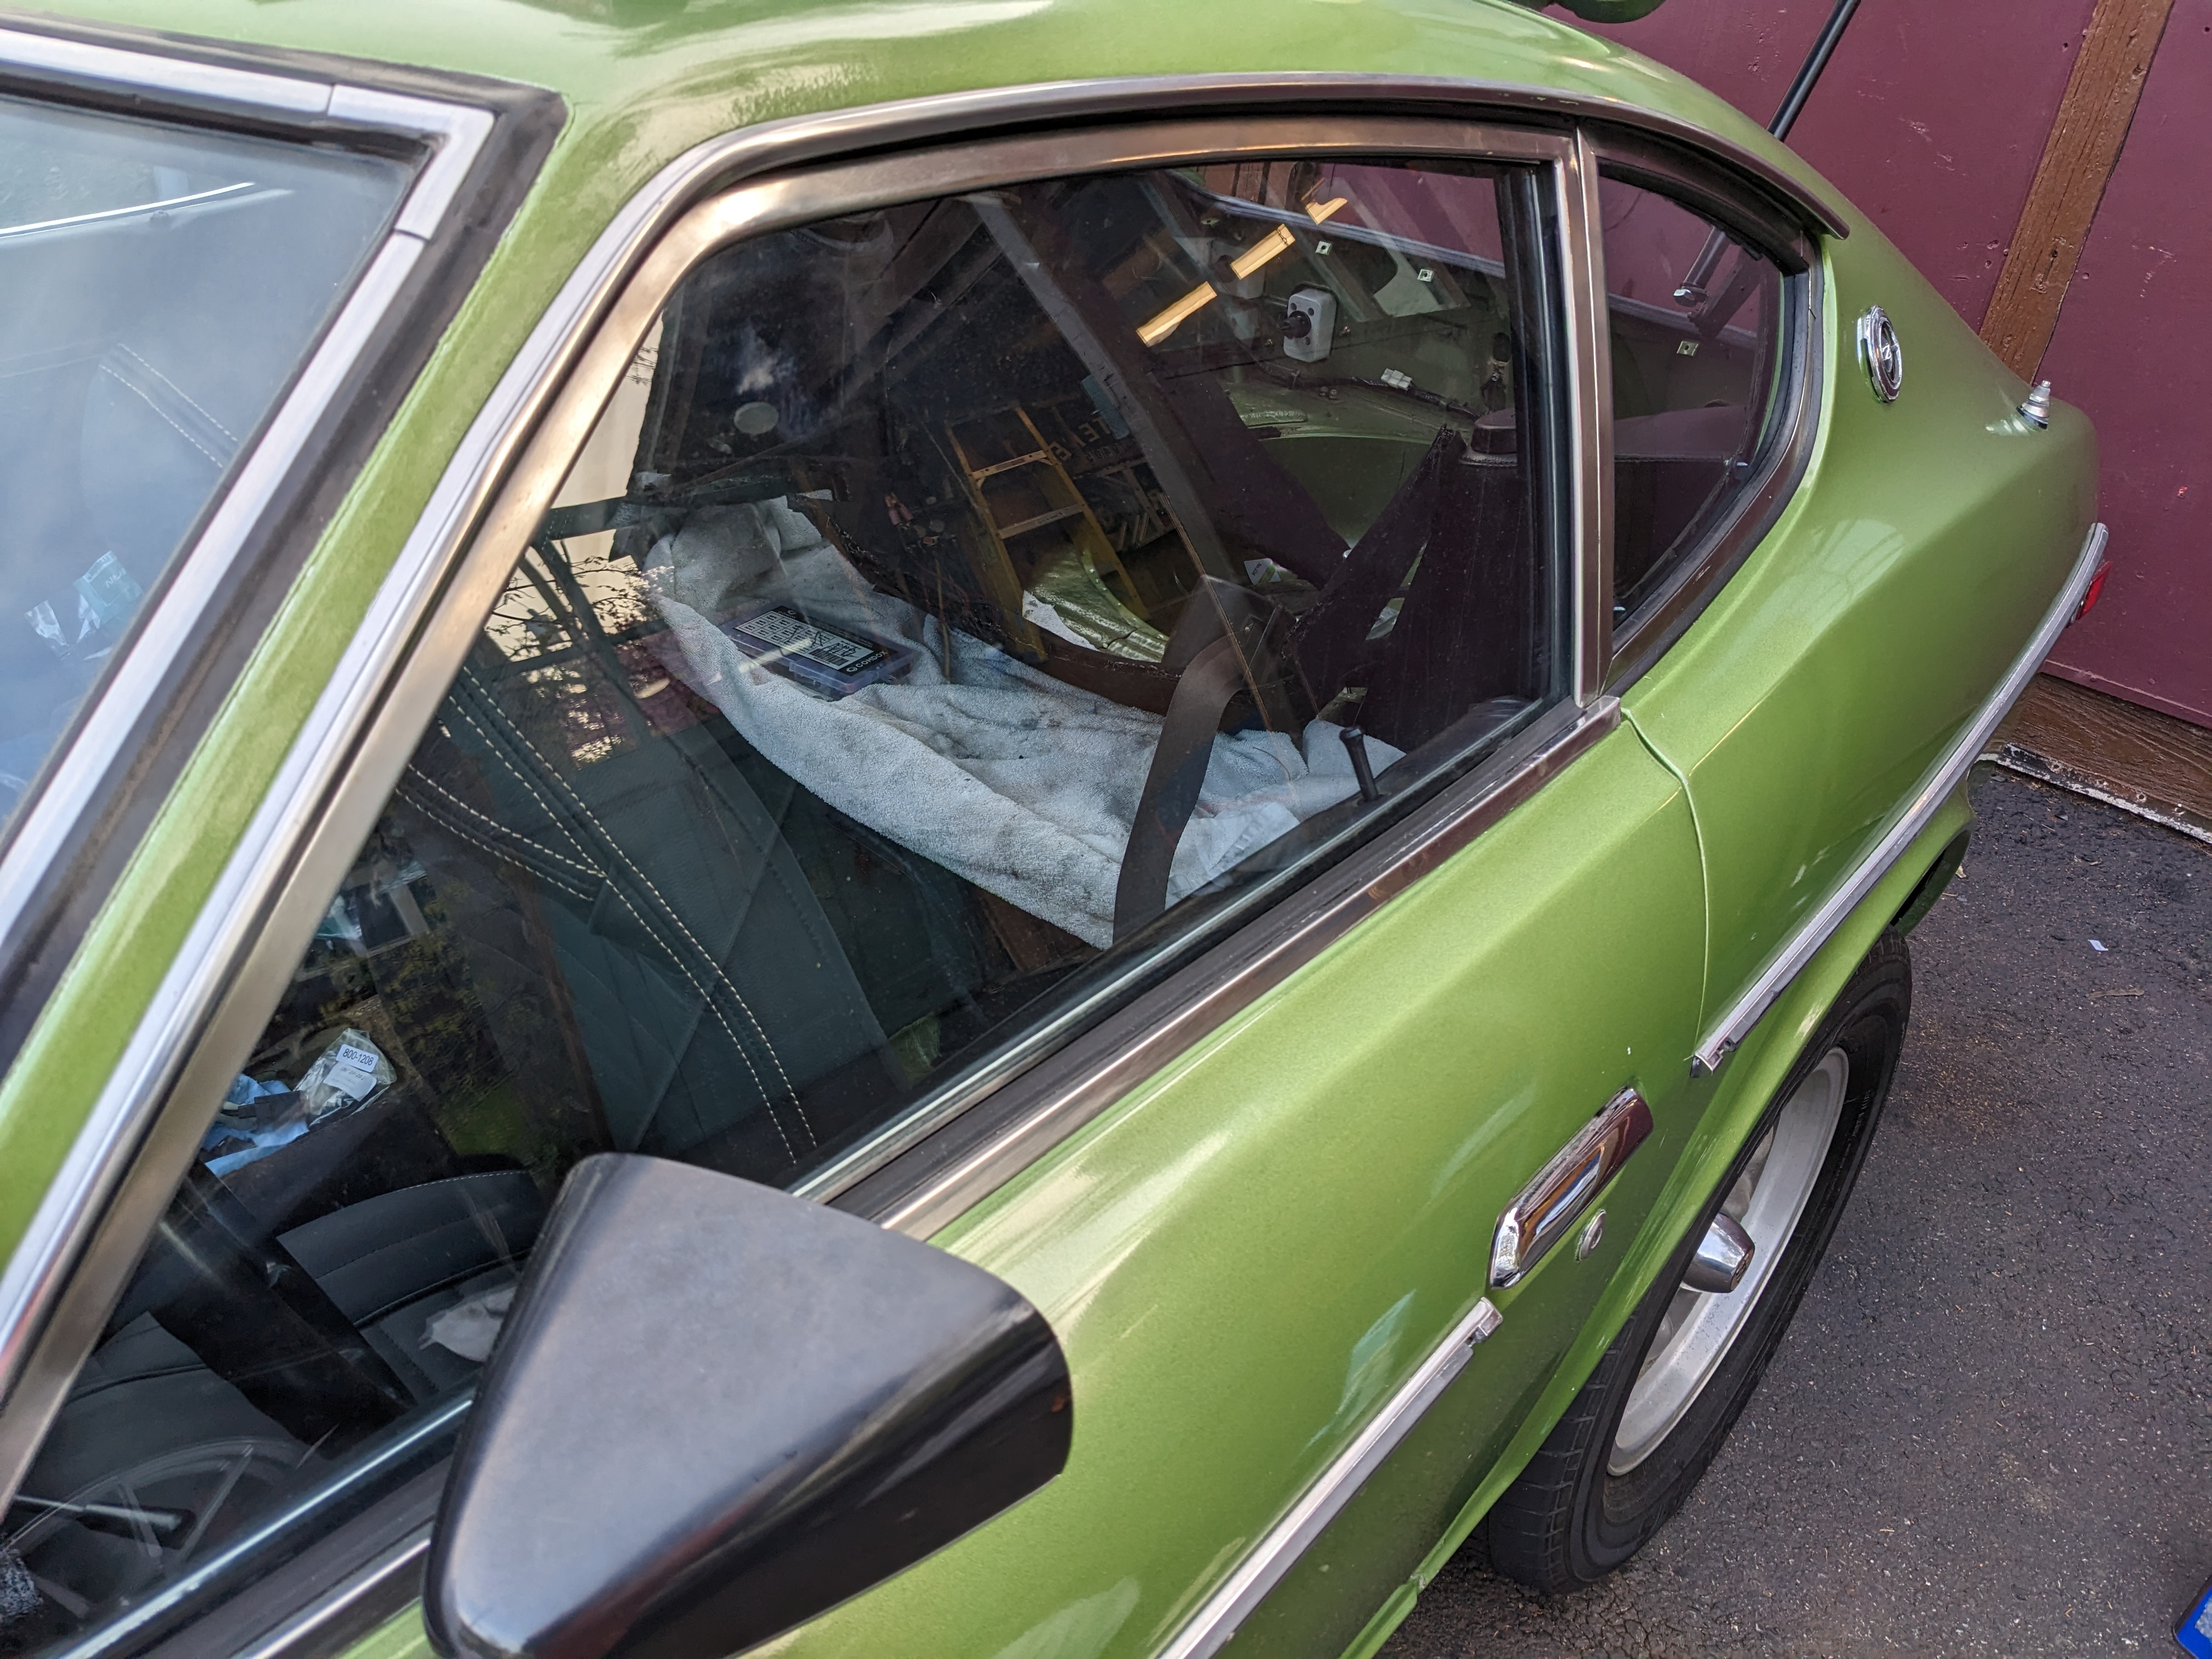
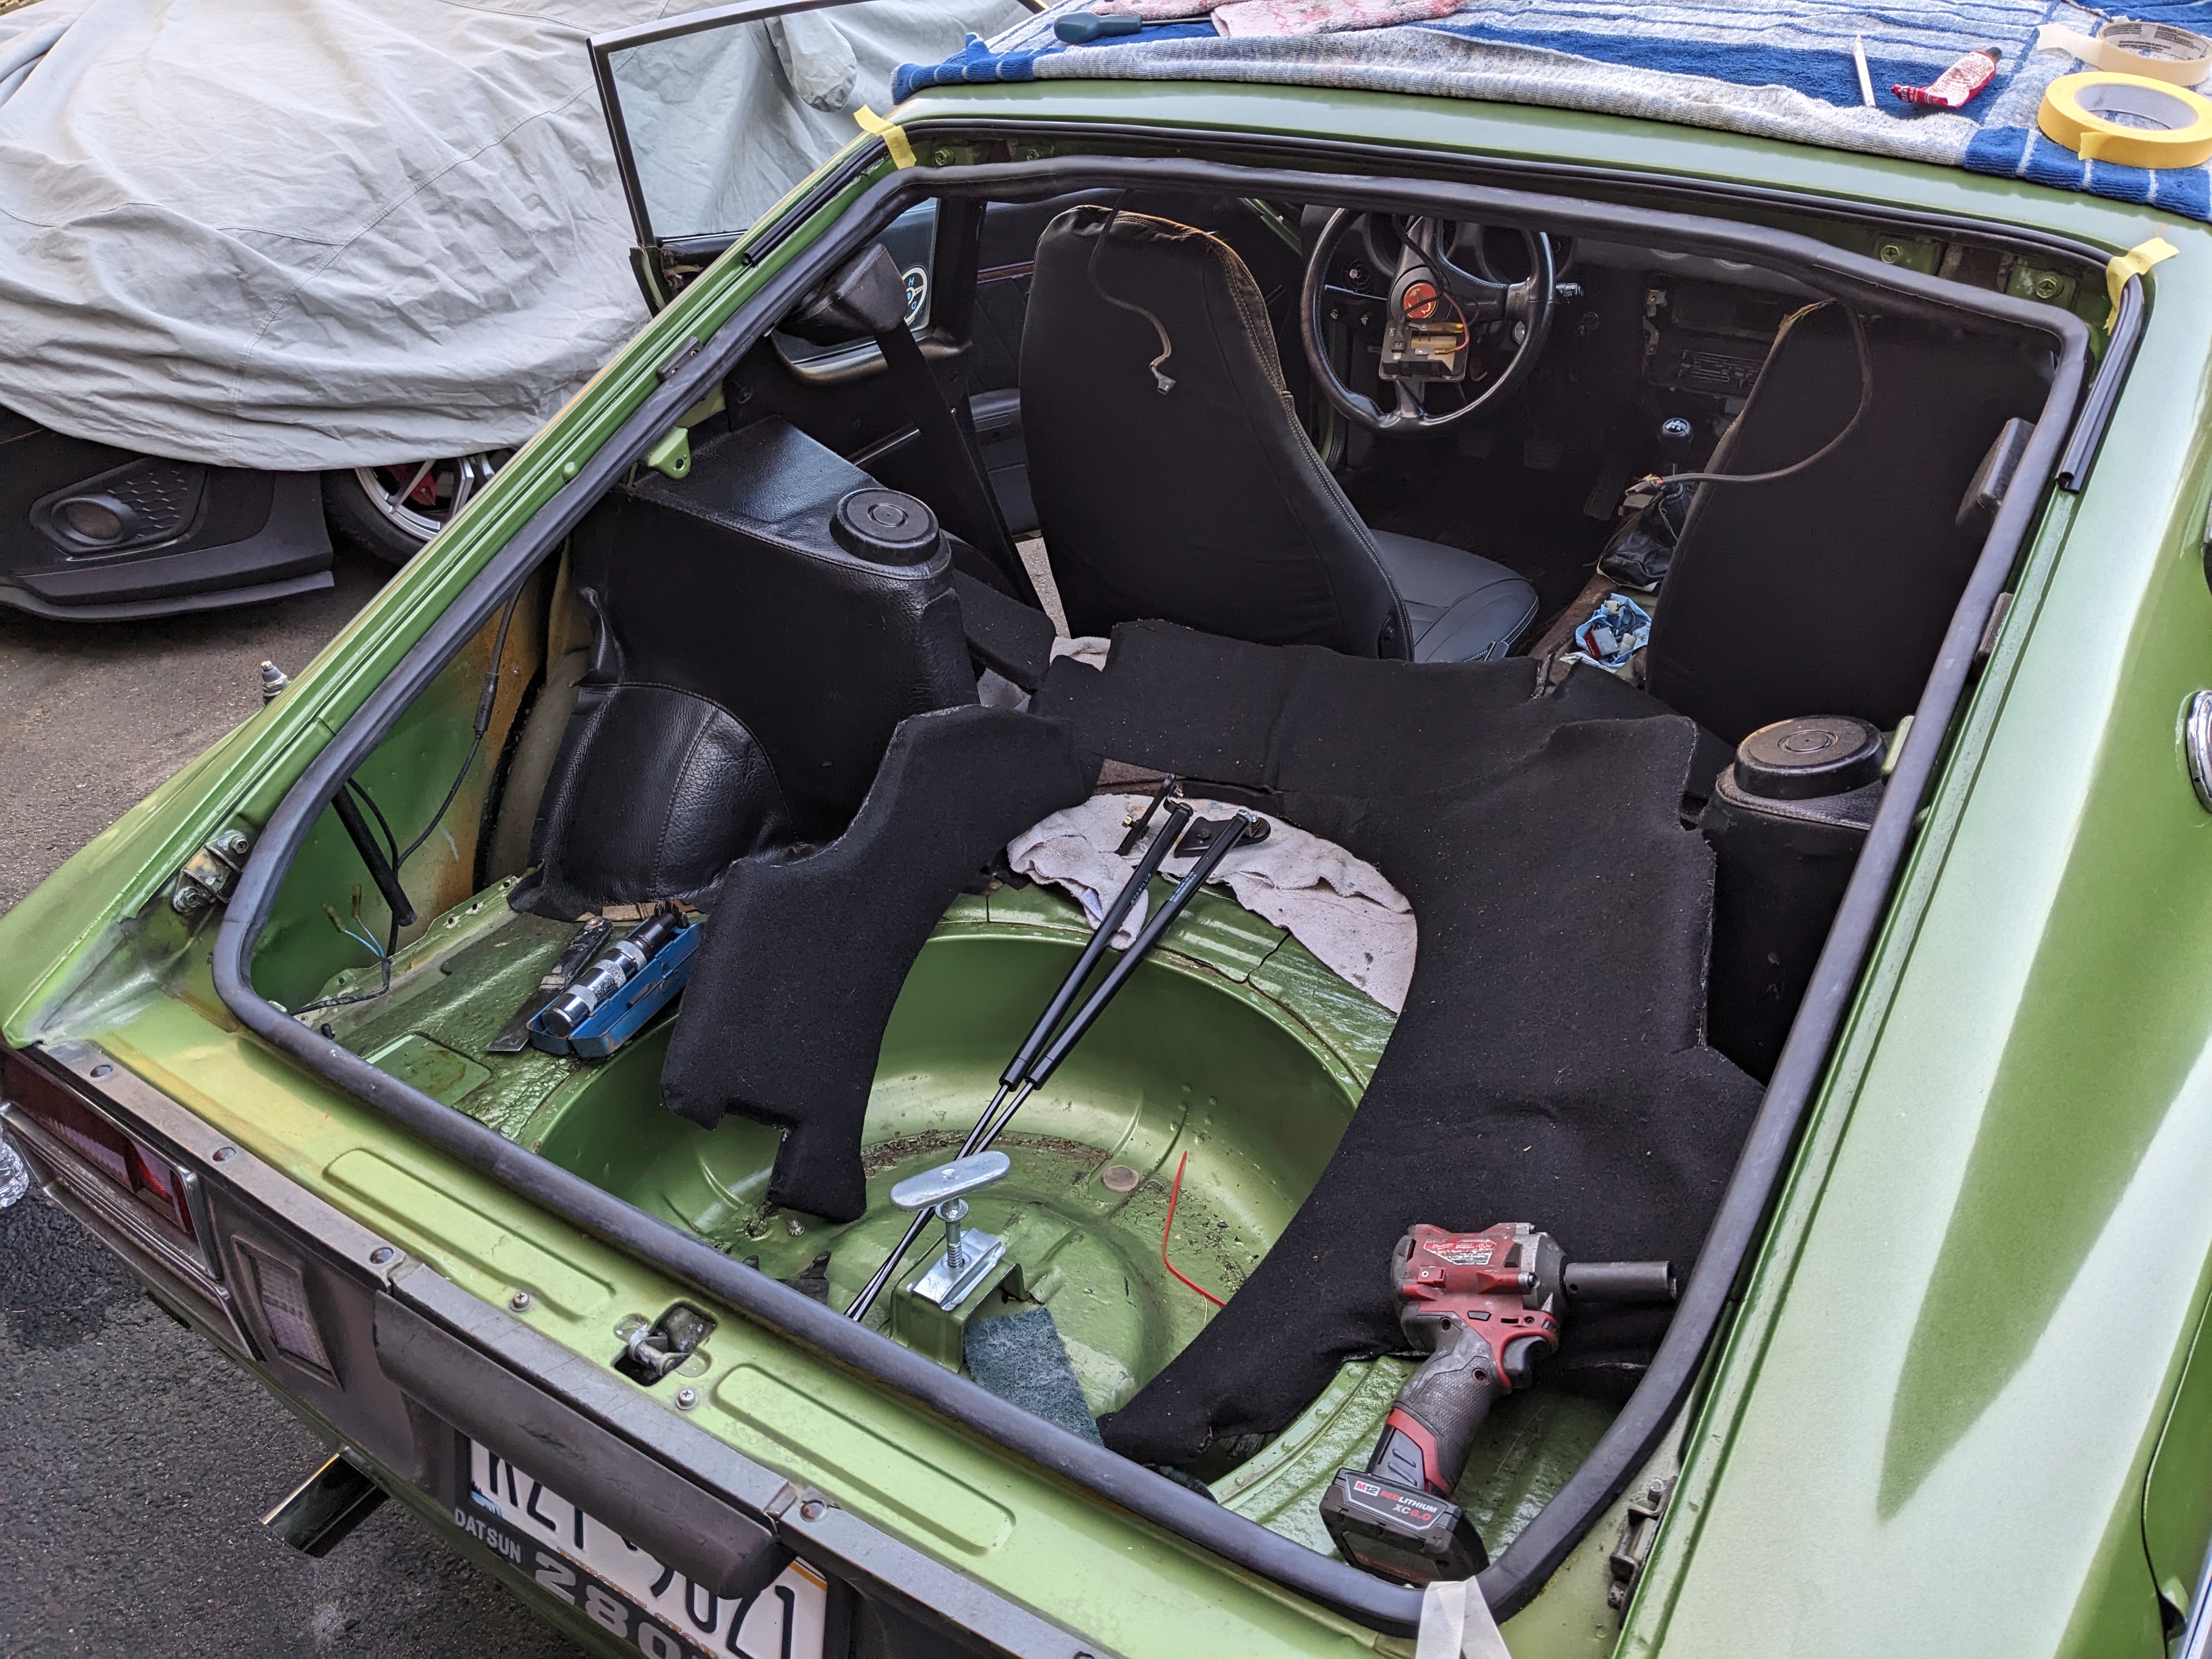
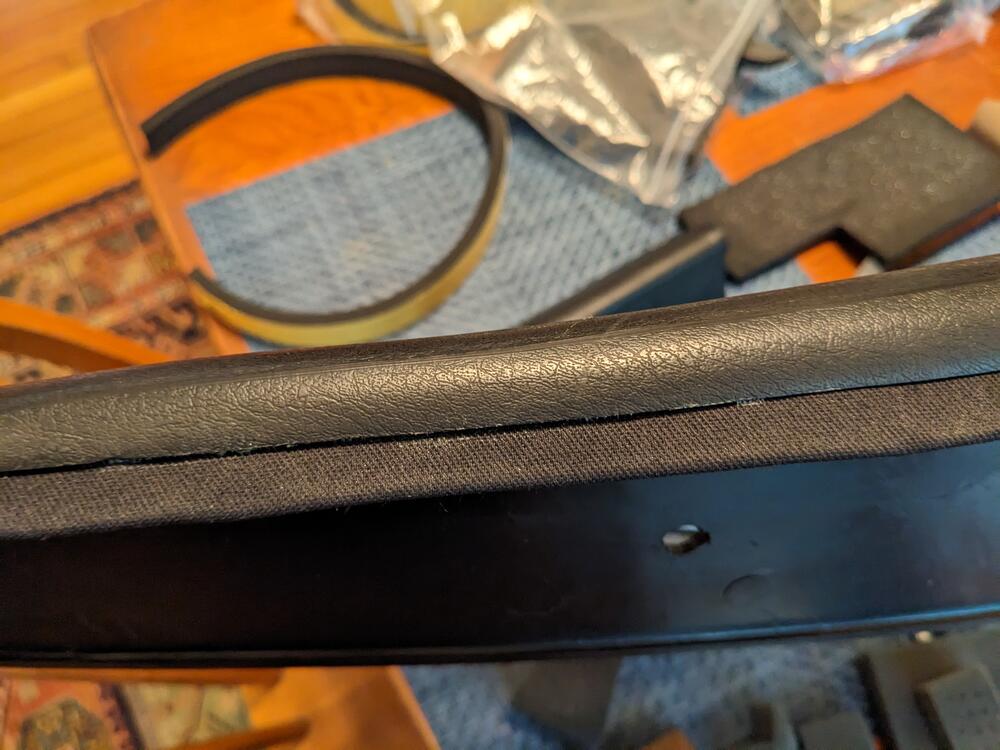
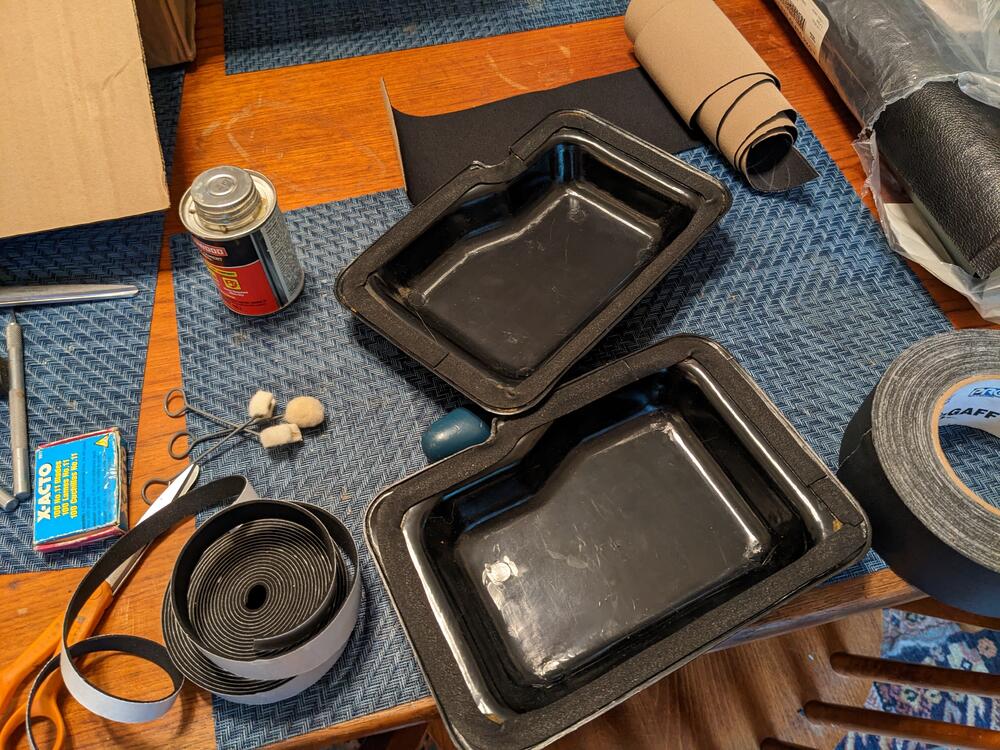
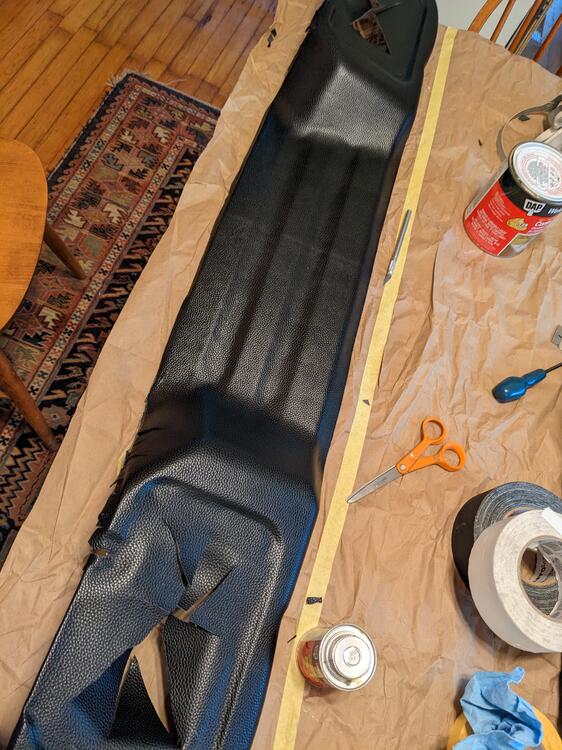
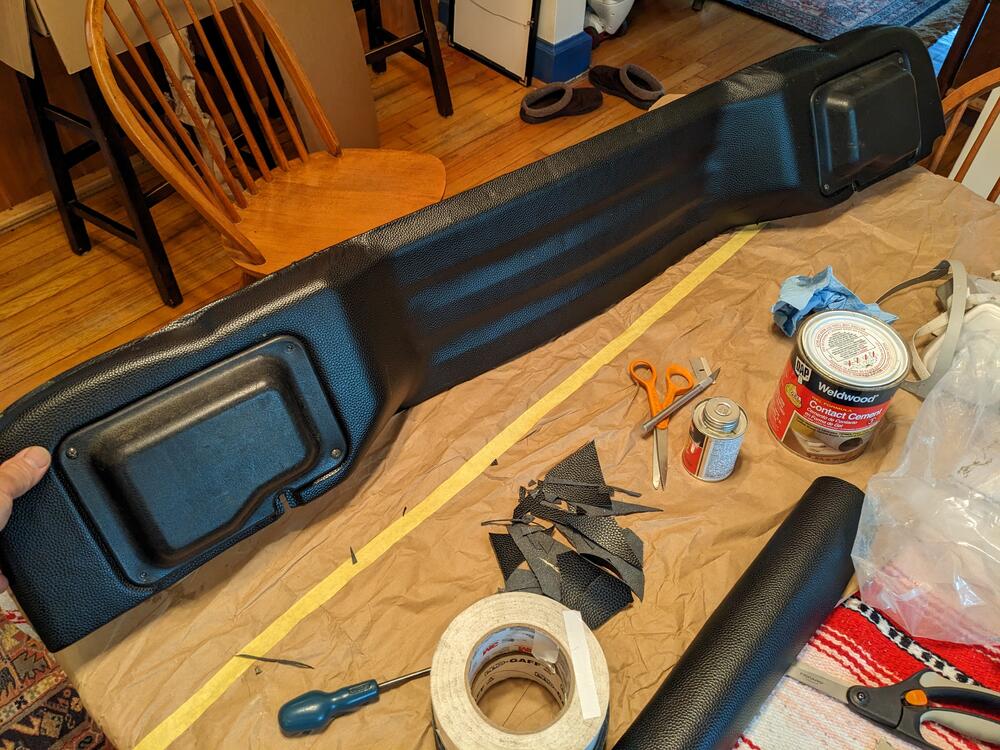
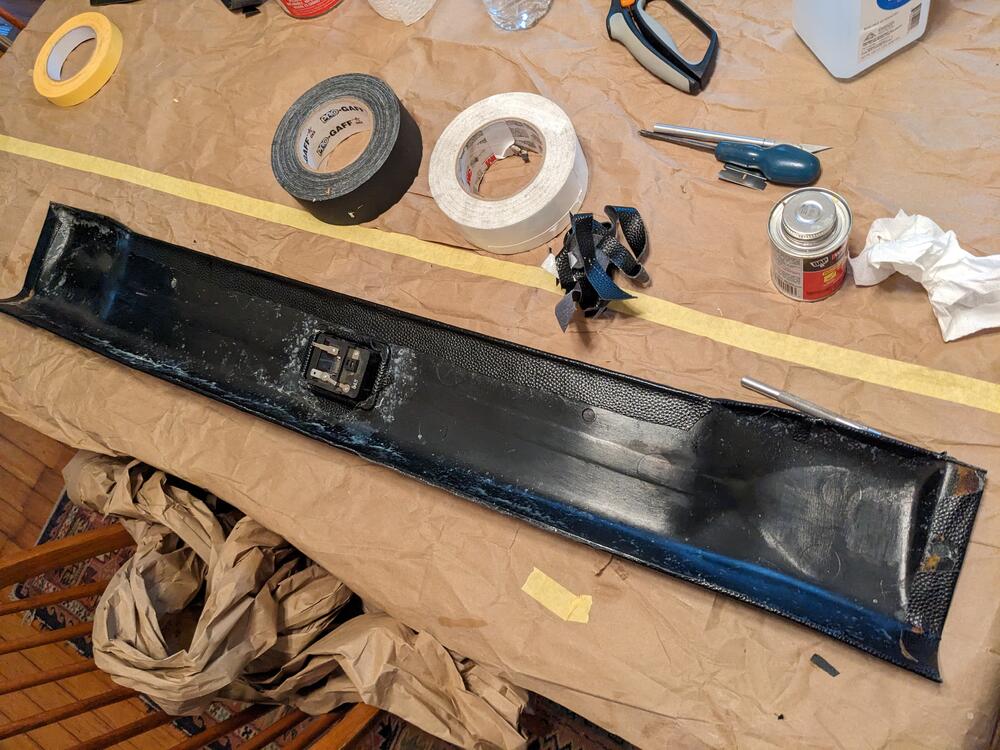
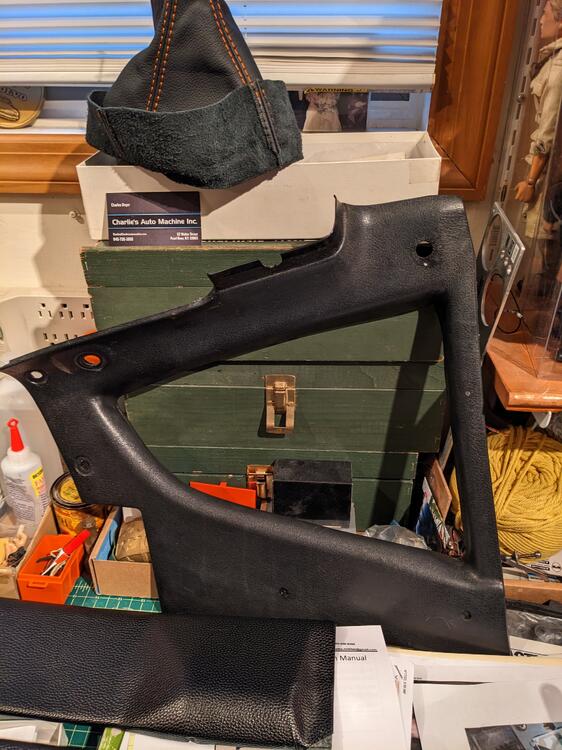
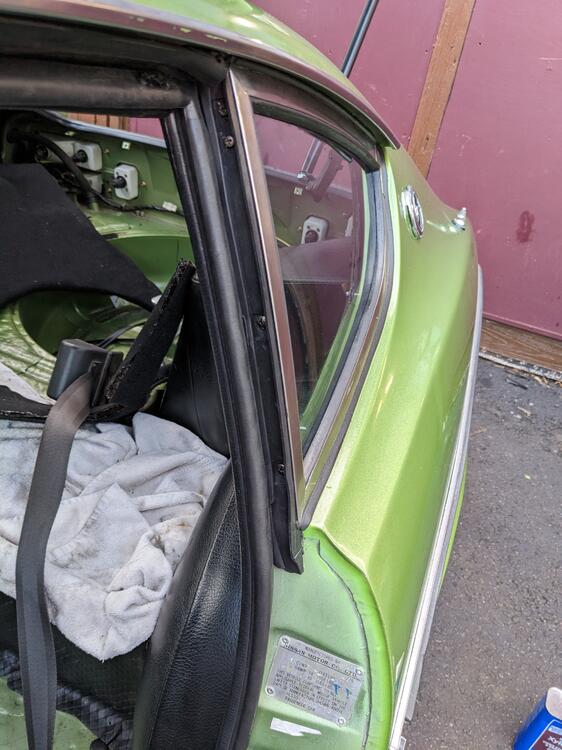
Since it's been rainy all weekend I've been working inside on vinyl covering for the all-plastic 280Z hatch area panels. Closed cell foam to replace the old foam padding. added a canvas edging where the hatch inner panel sits against the opening - I don't like that one can see the mount hardware & gap between the inside of the glass & the trim, hopefully this will fill it undecided on covering the 1/4 glass trim, so many curves it will be a PITA to cover closed cell foam on the lamp access covers roof hatch trim tail lamp cover panel left rear hatch area panel. The right side is going to be a bitch.


-
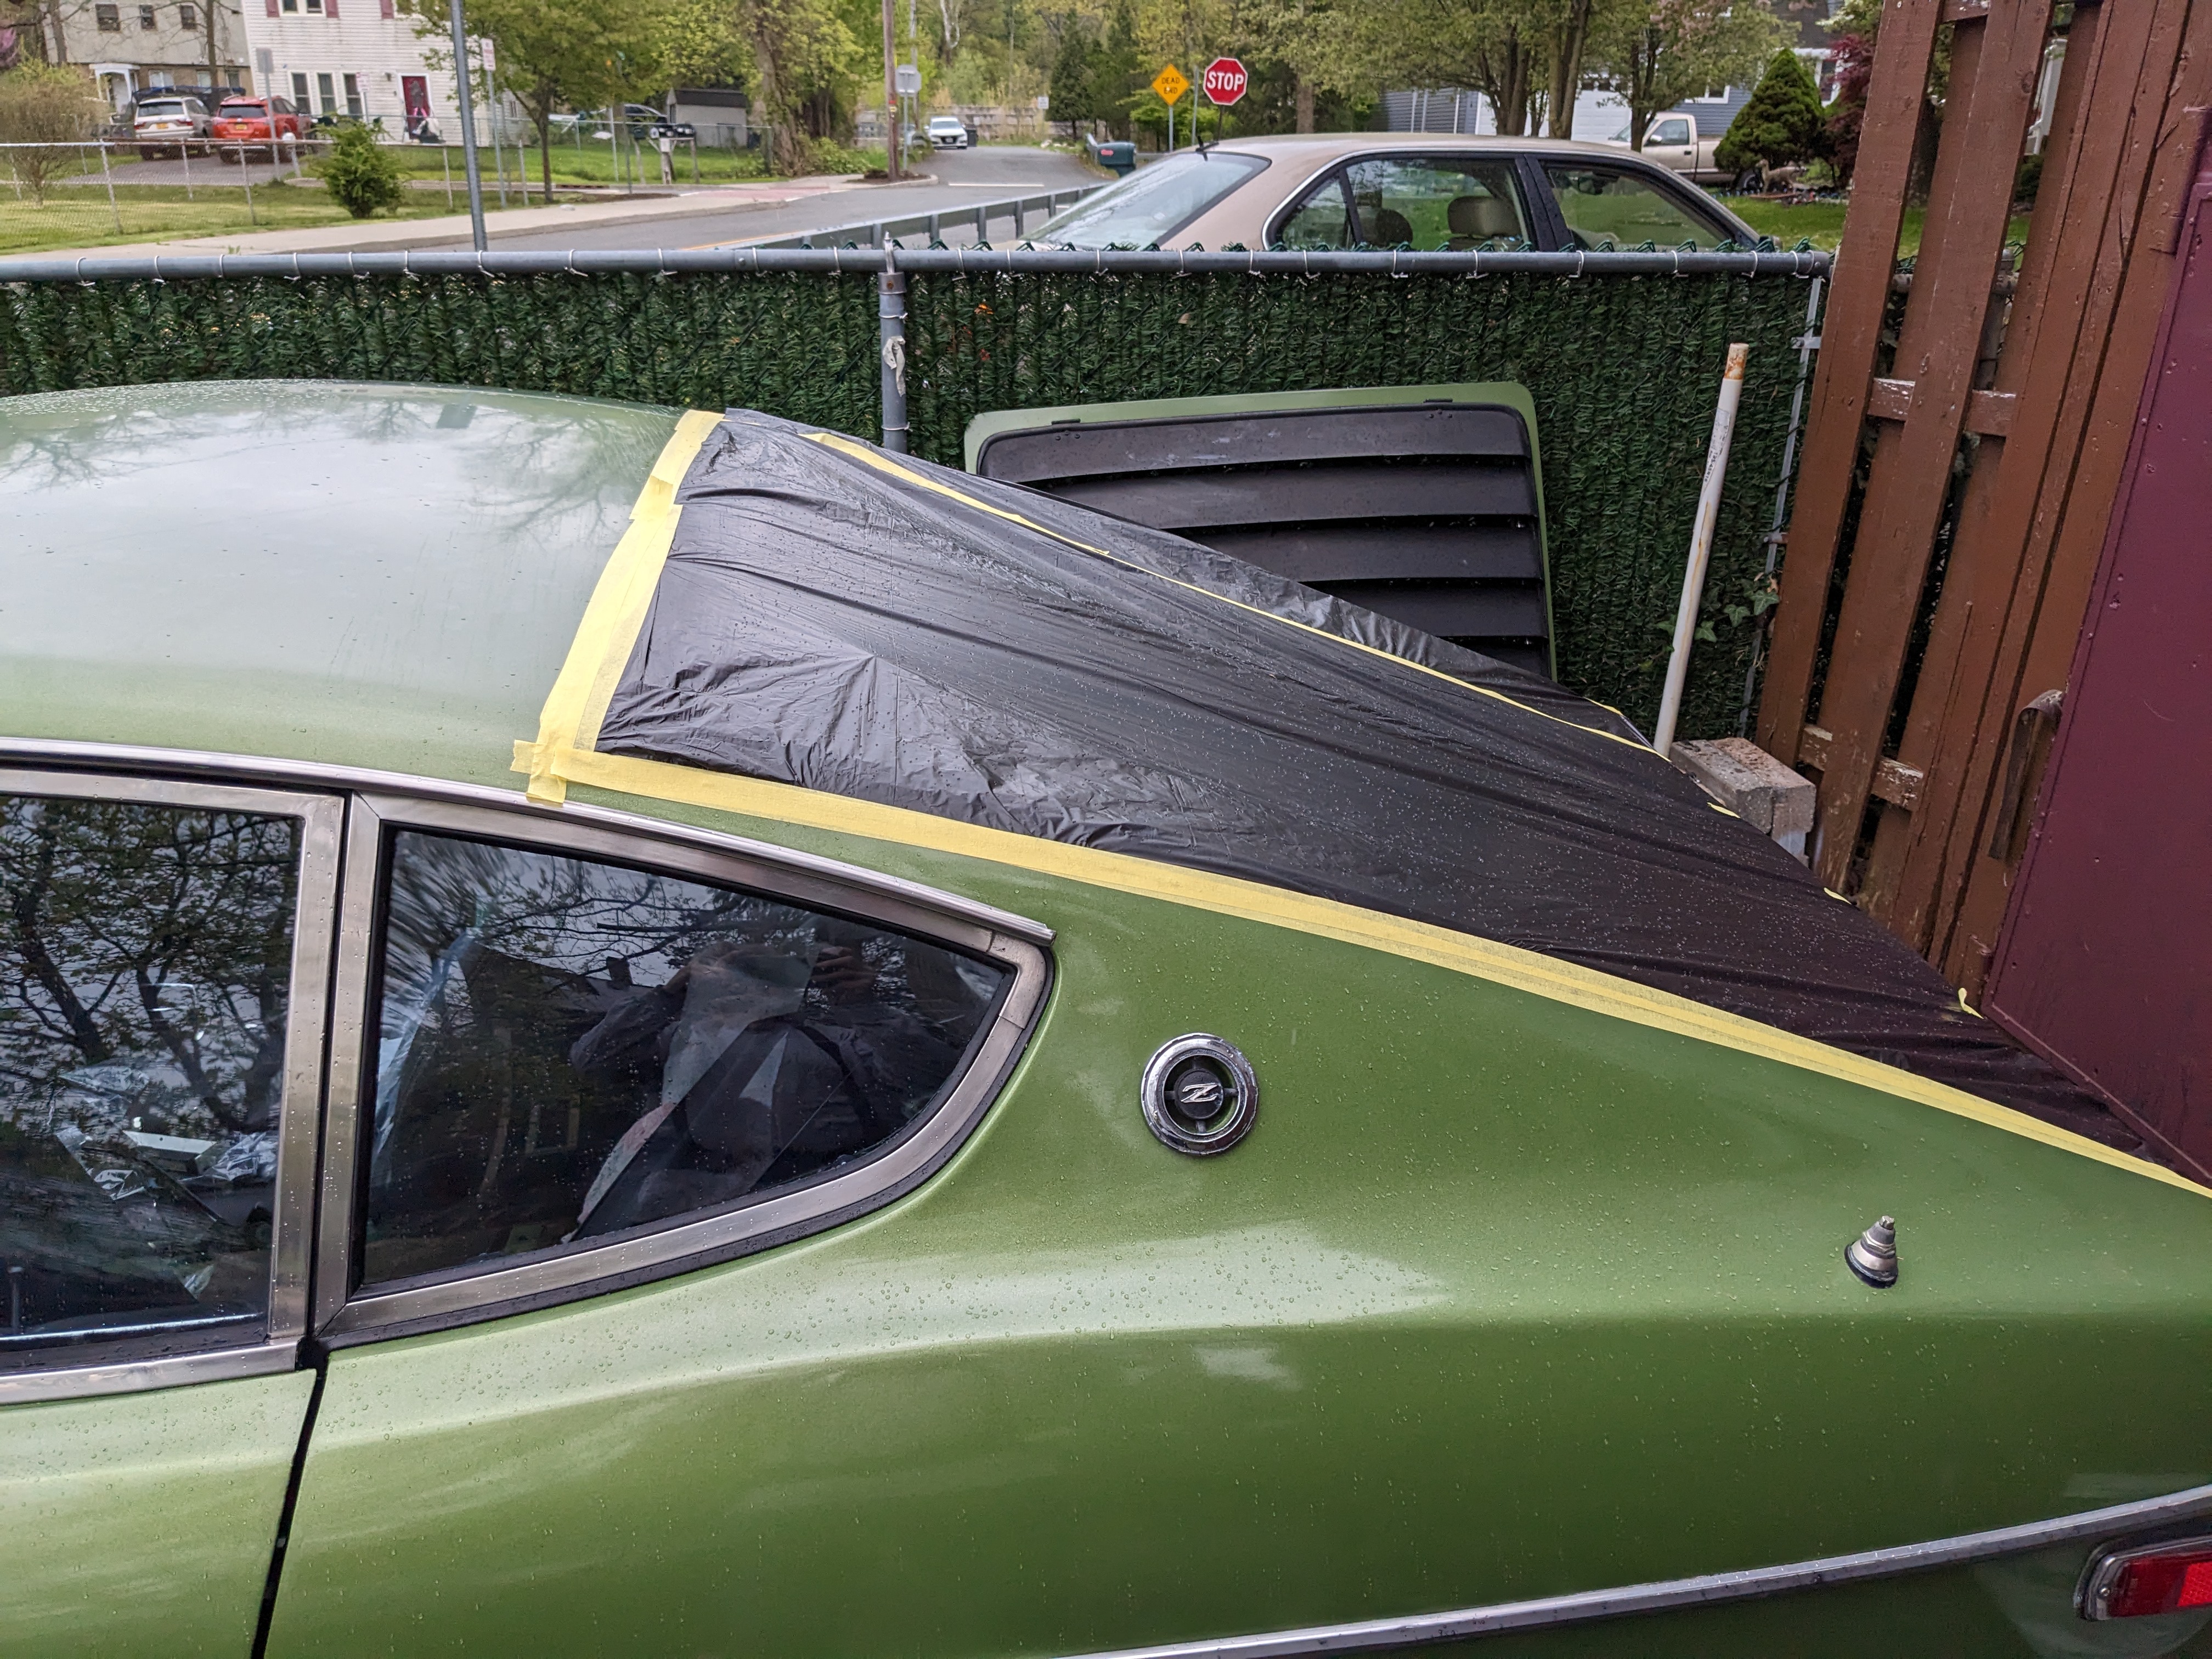
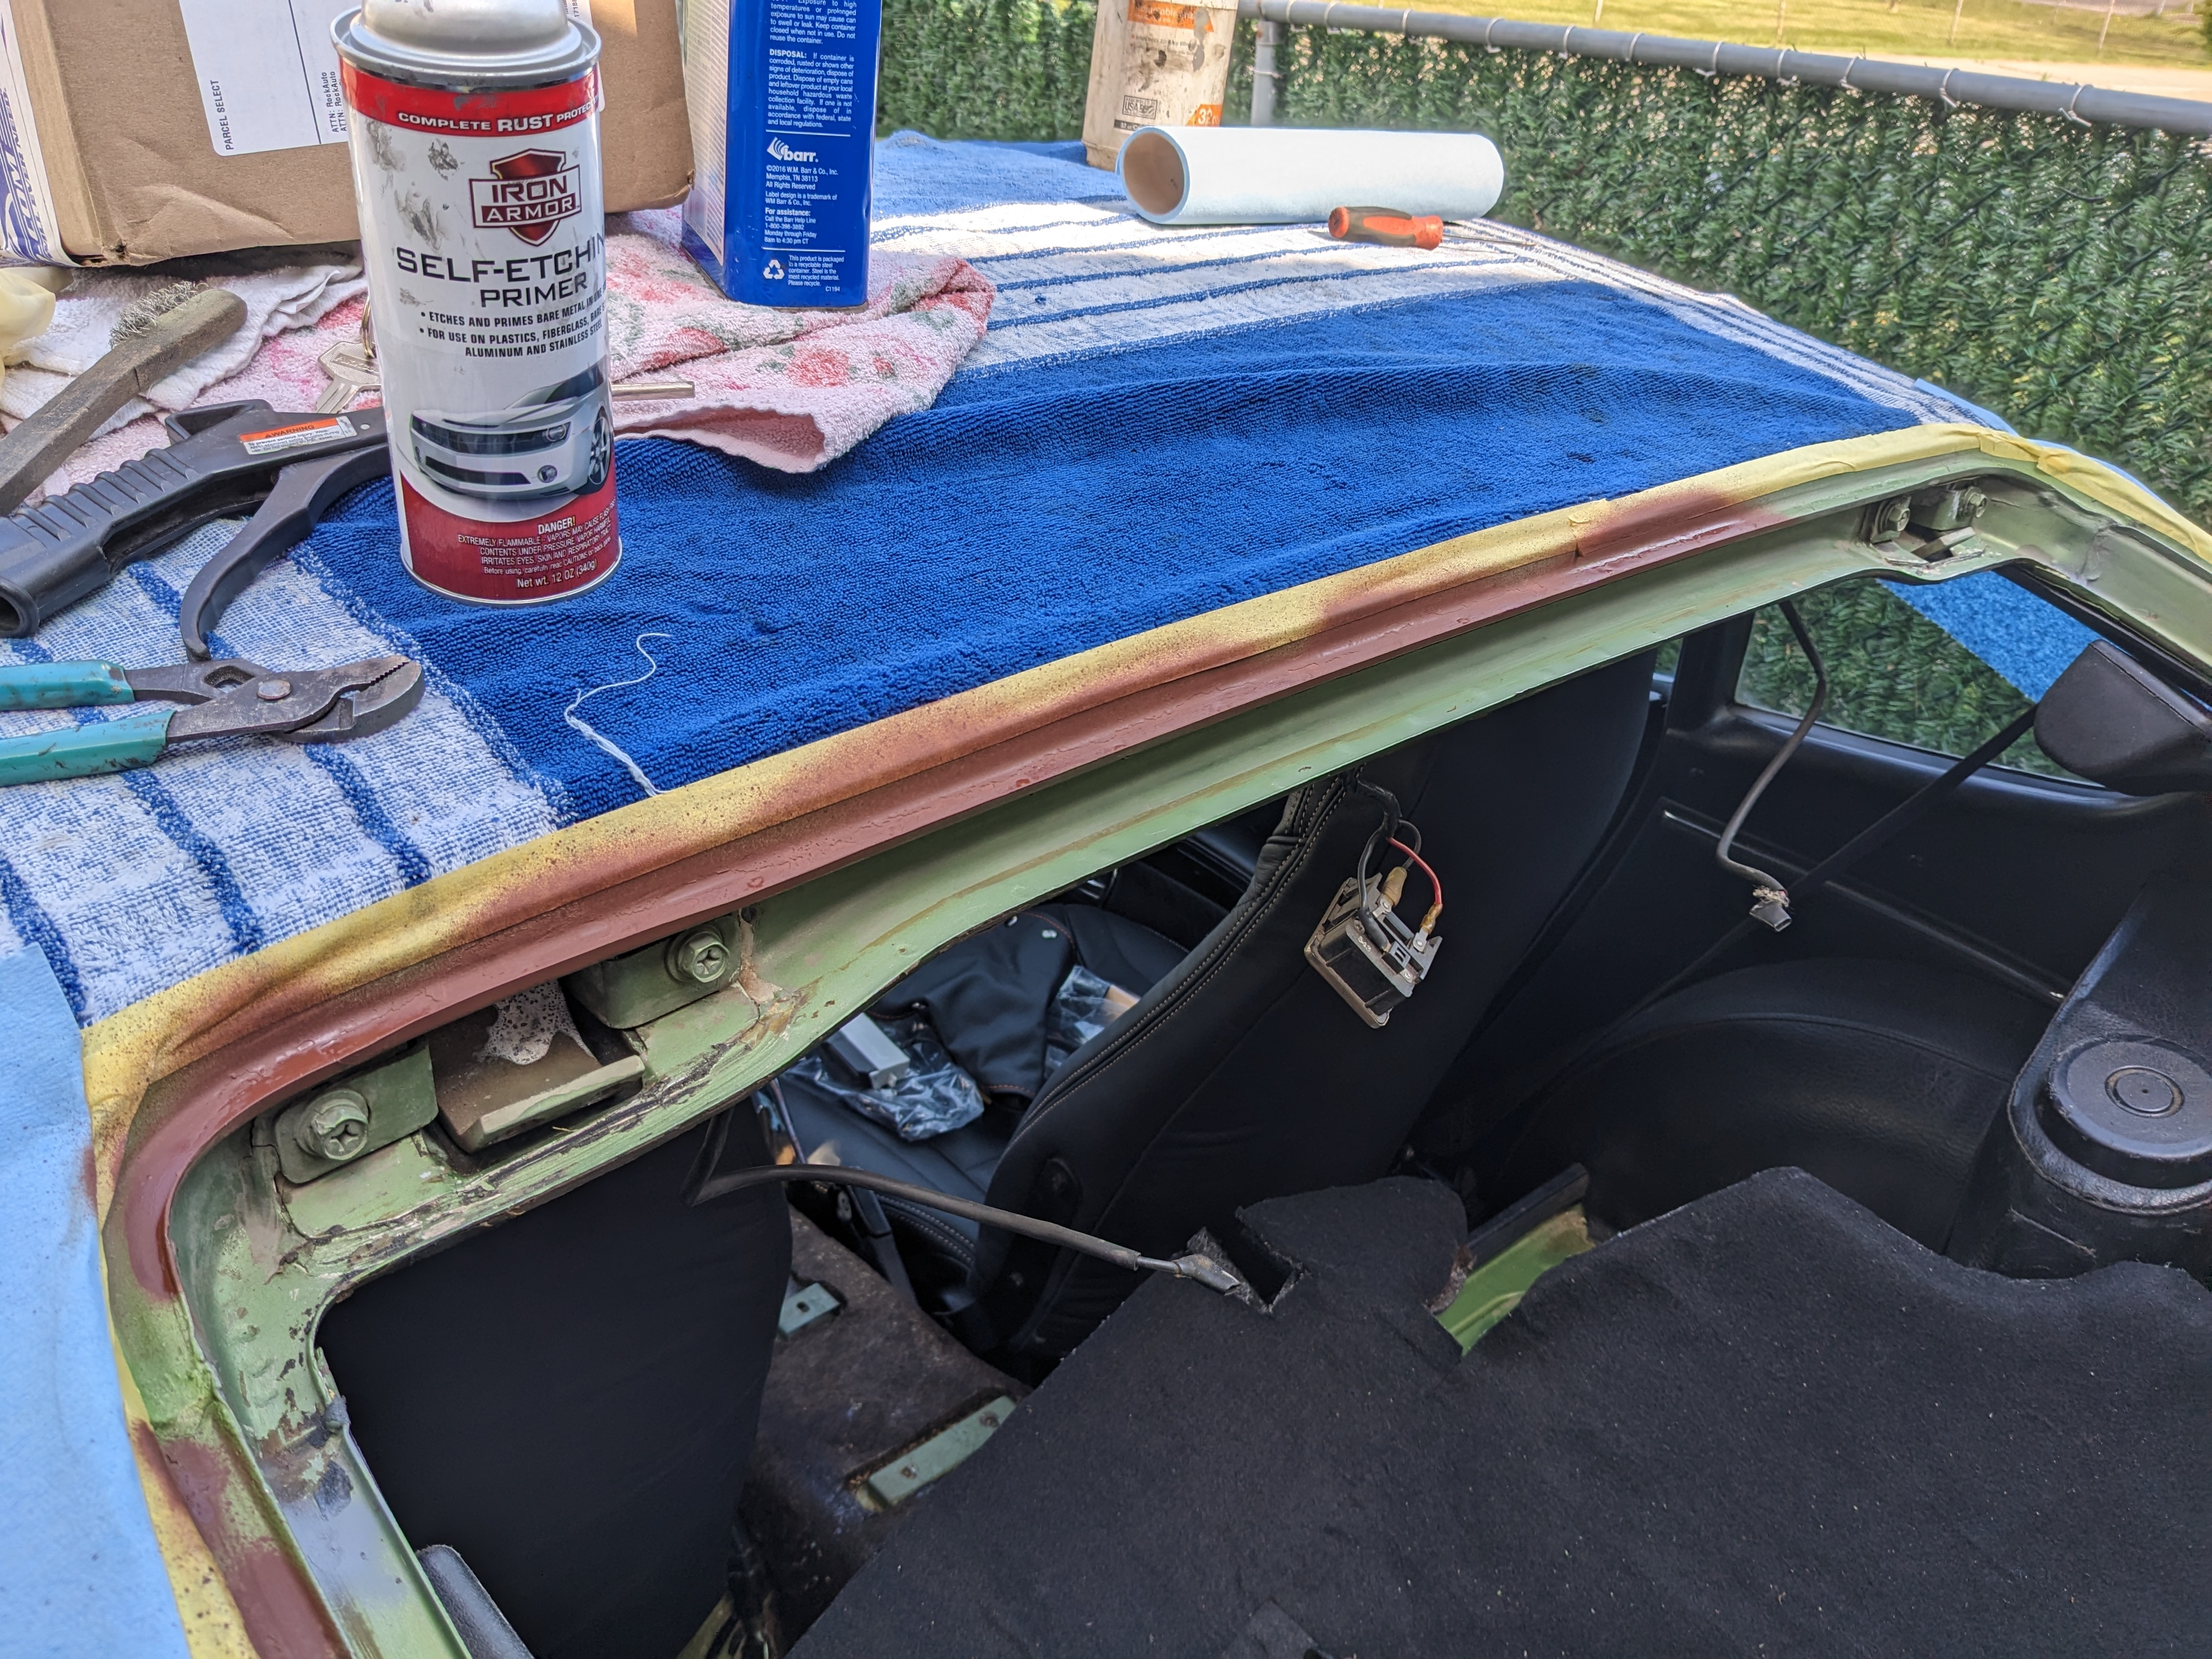
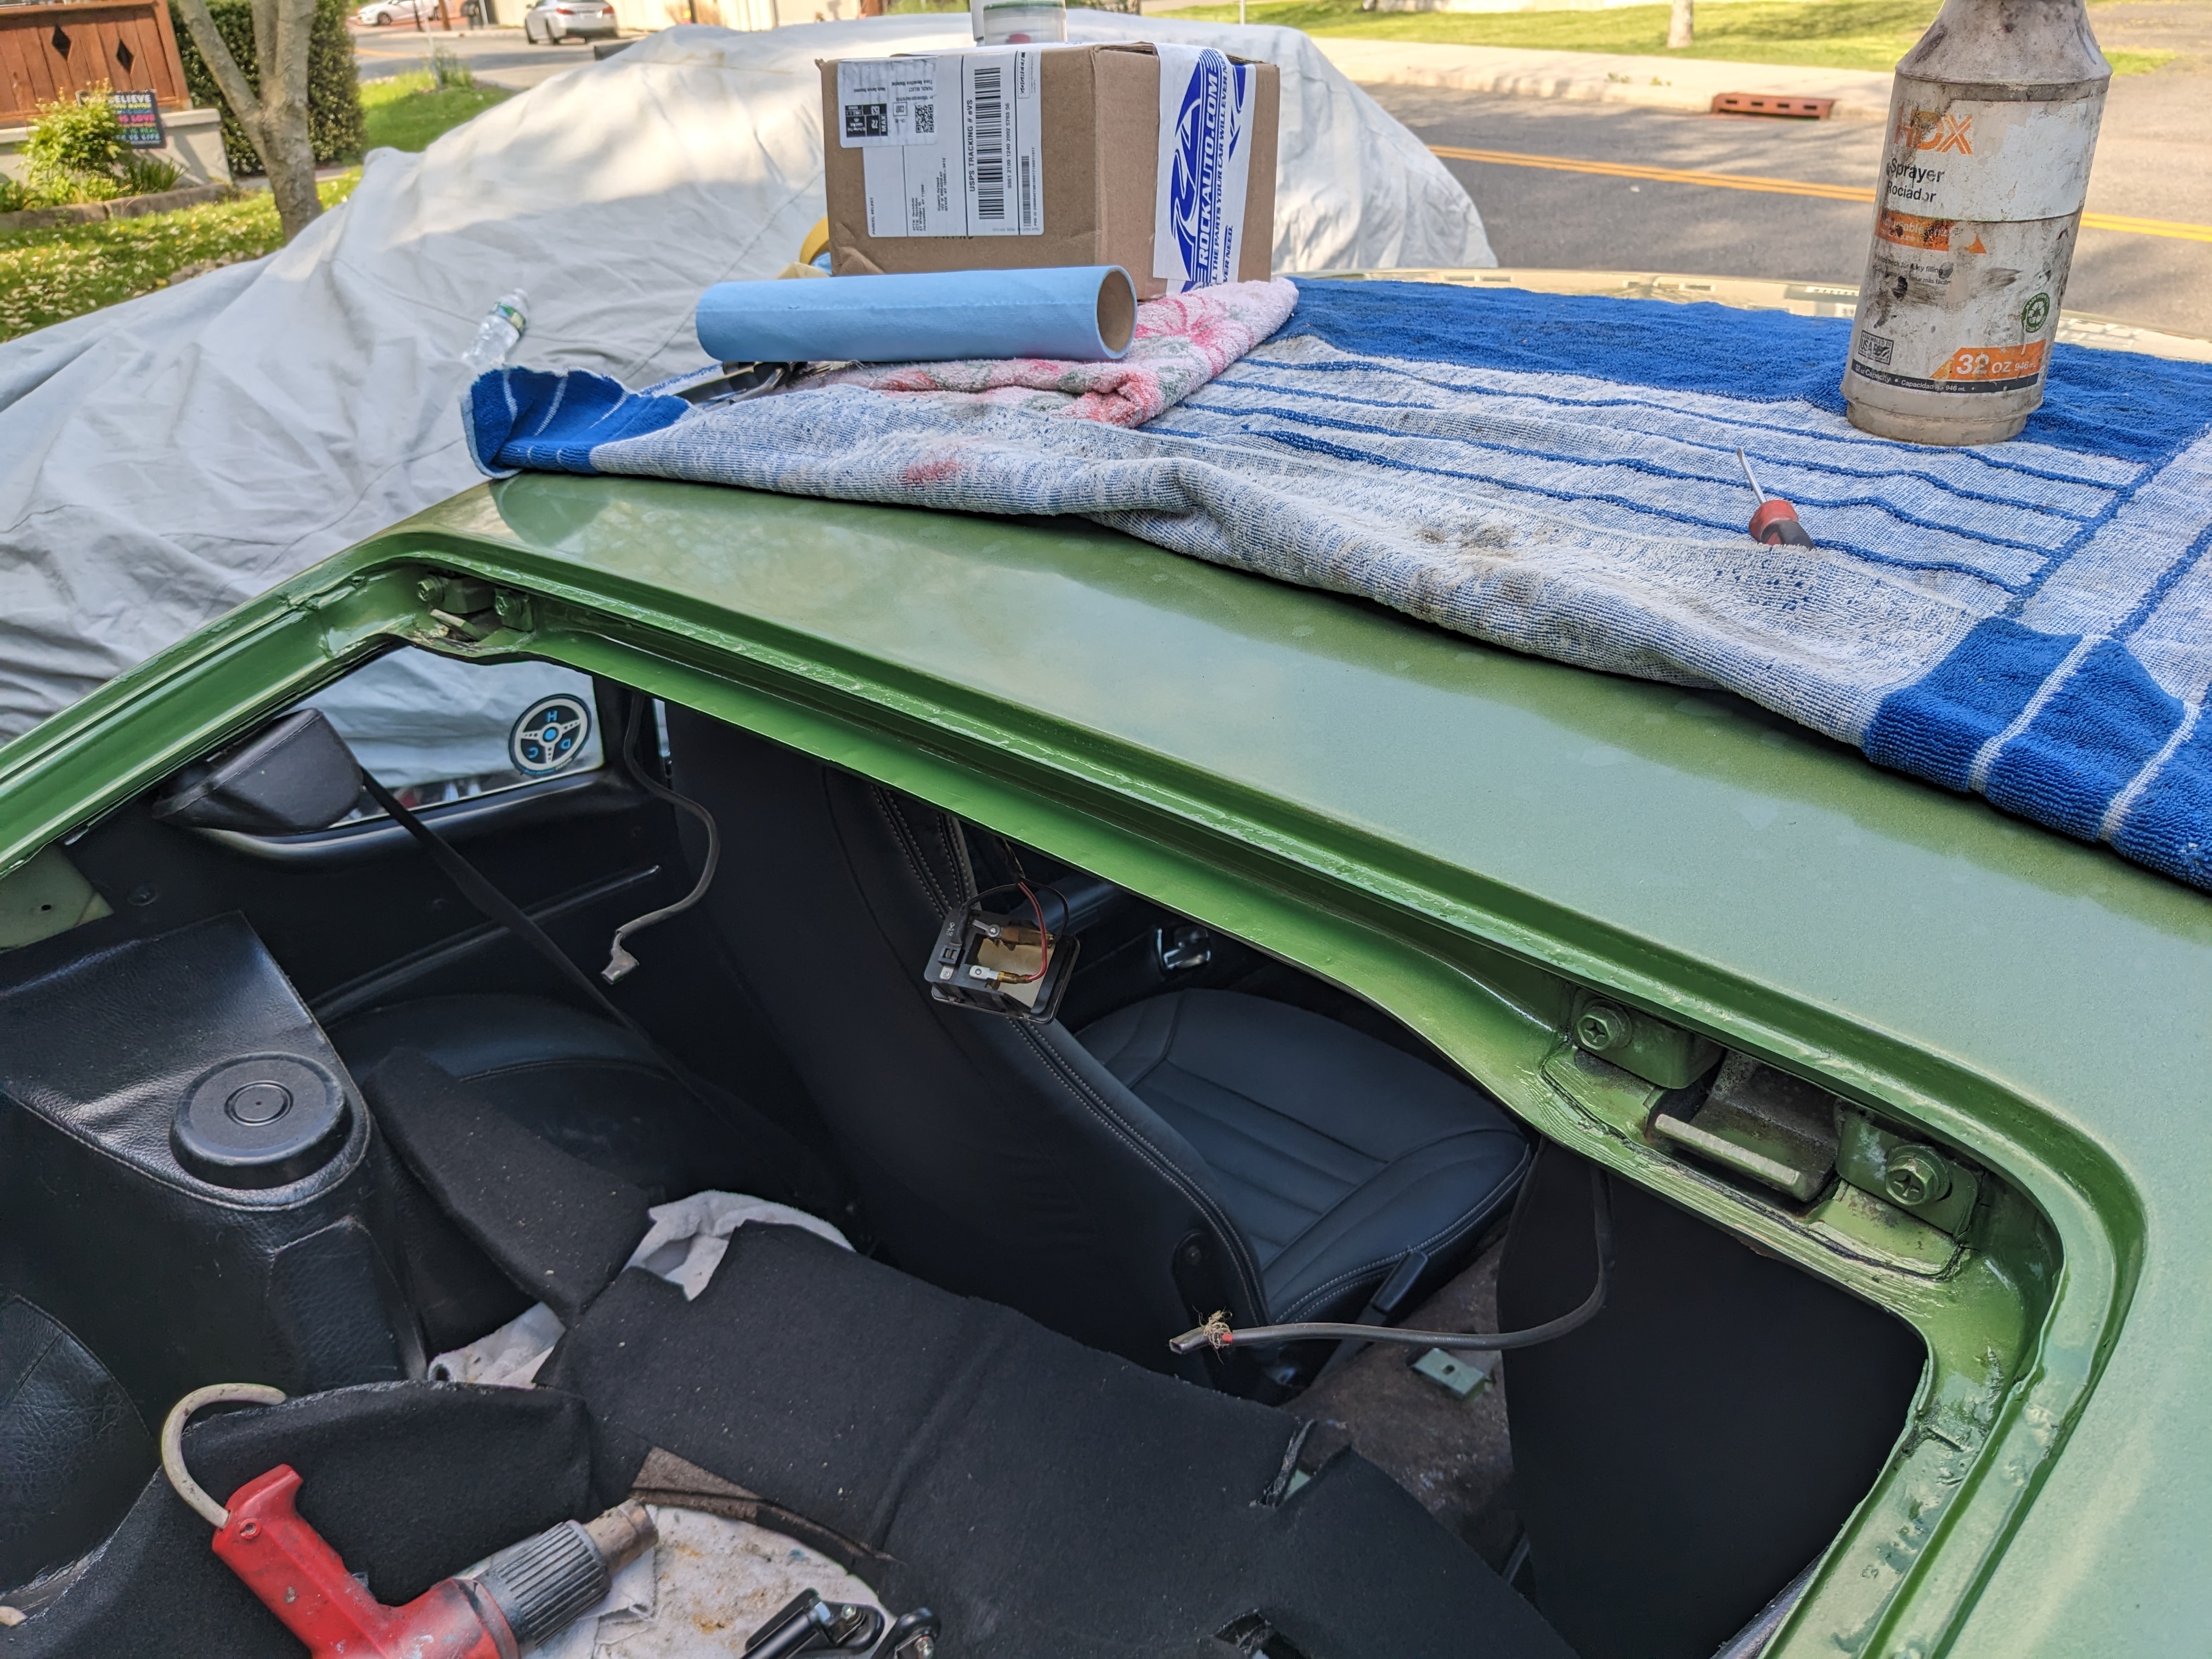
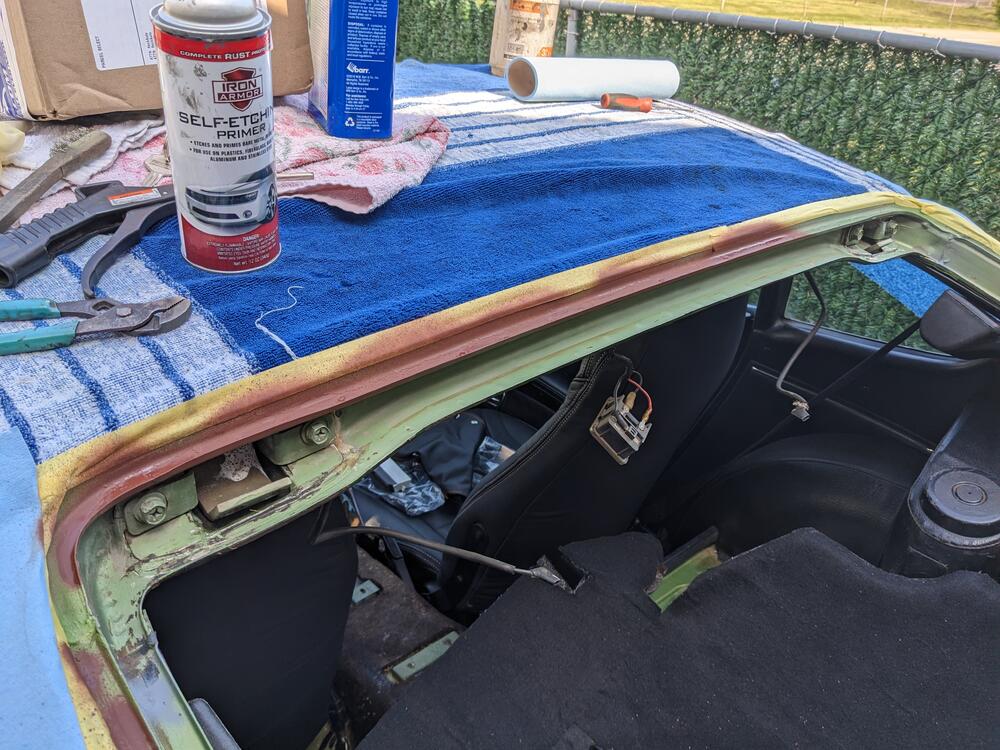
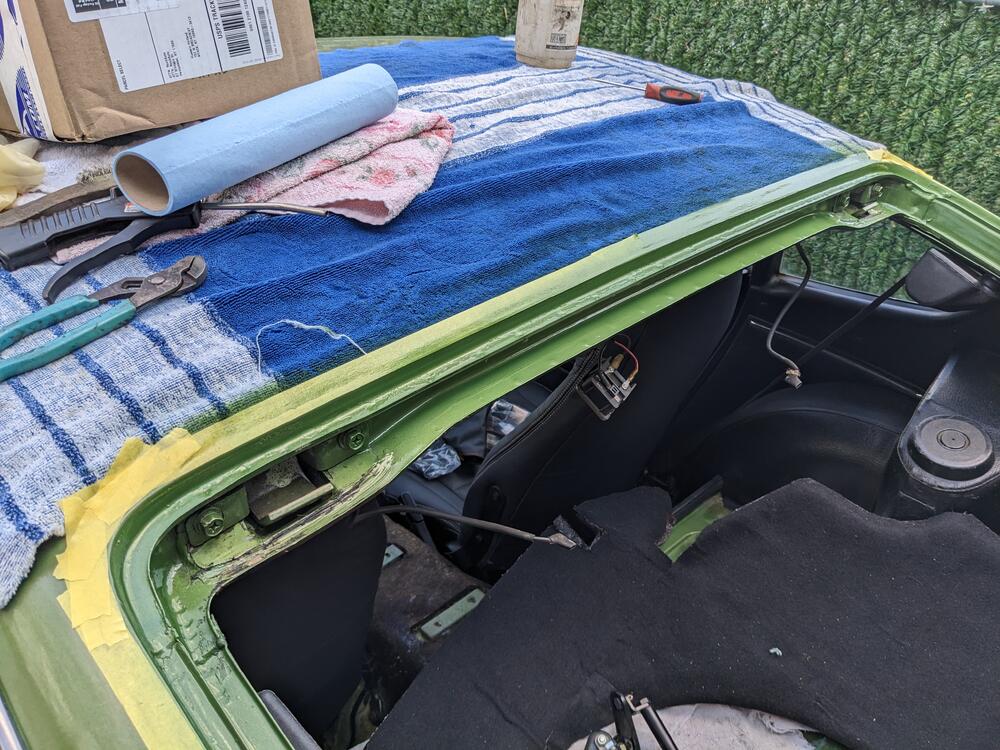
I didn't lube the upper outer seal to make sure it didn't cling to the hatch edge then closing and the seal bond had not fully dried, so it pealed inward - I found out today. We have rain forecast pretty much from now until Monday, so I removed the hatch, stripped all the adhesive (which messed up the new paint, since I clearly didn't let the paint cure/harden long enough) and repainted the upper trough/lip. I'm leaving the paint to harden until Monday when the rain gives over, then I'll re-glue the outer seal, and leave the hatch off until it's clearly properly bonded. I also bought the black super weatherstrip adhesive instead of the yellow I used previously. taped up the opening, then covered the car with 2 breathable covers


-
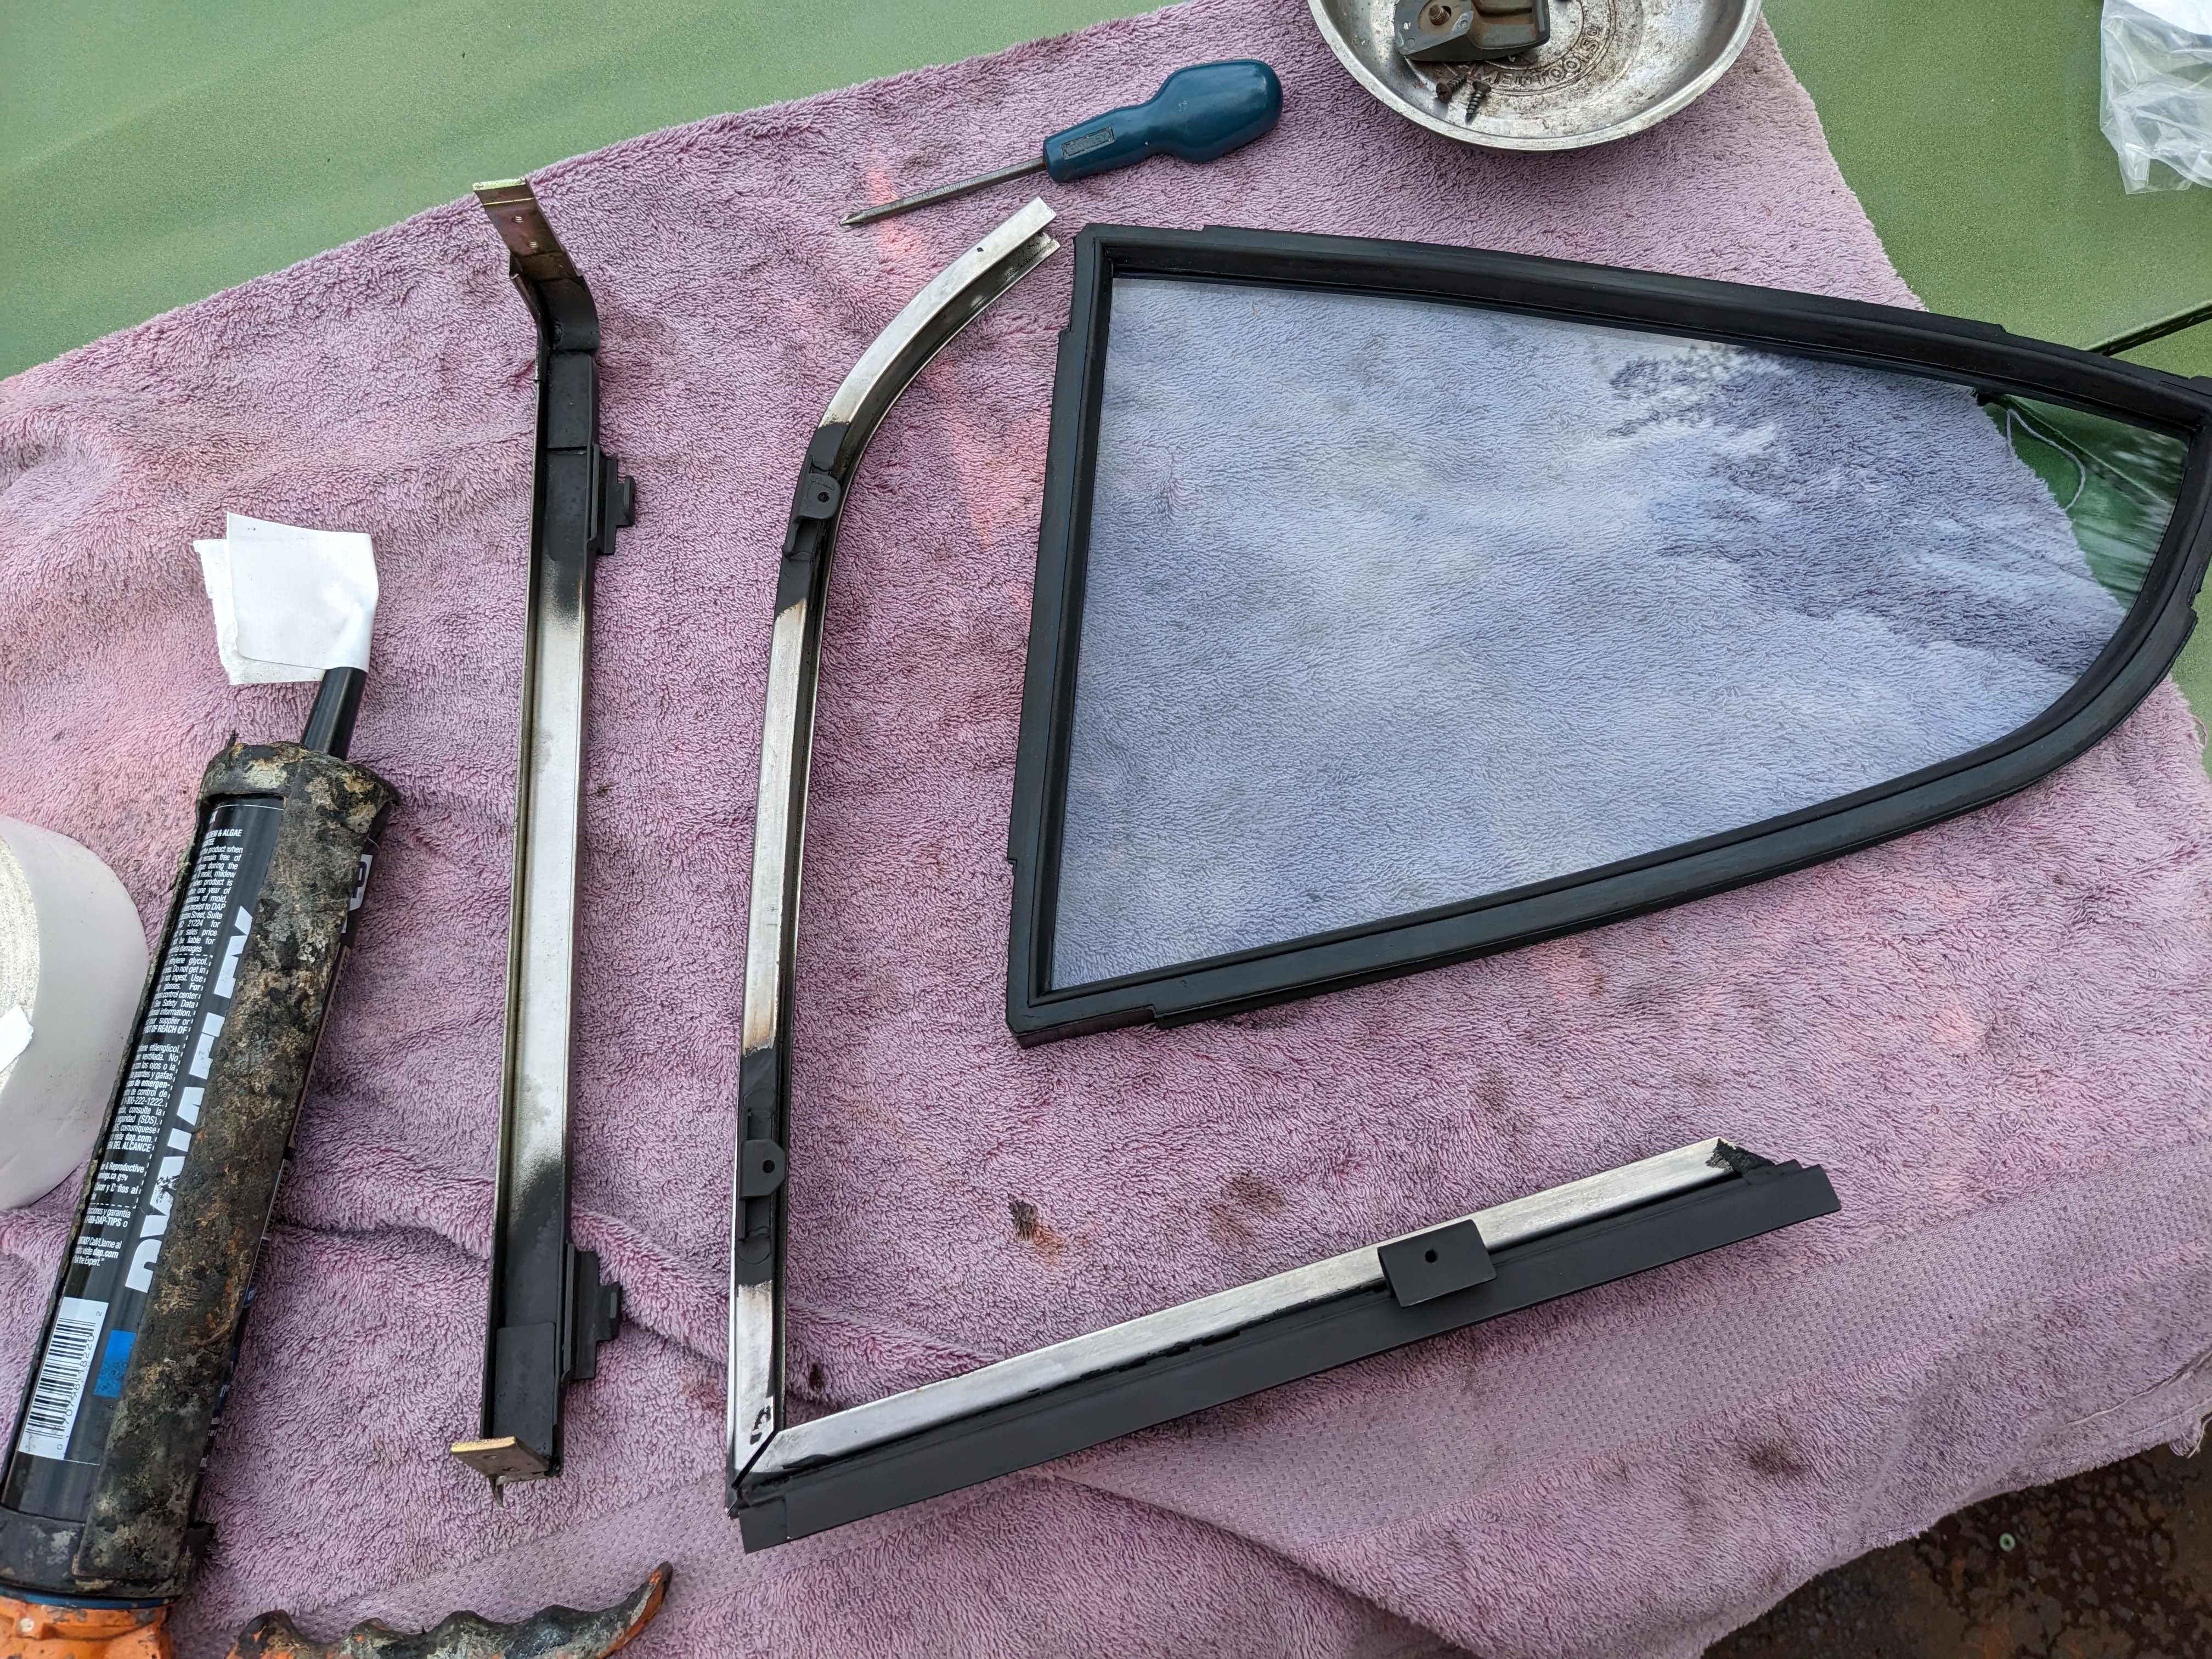
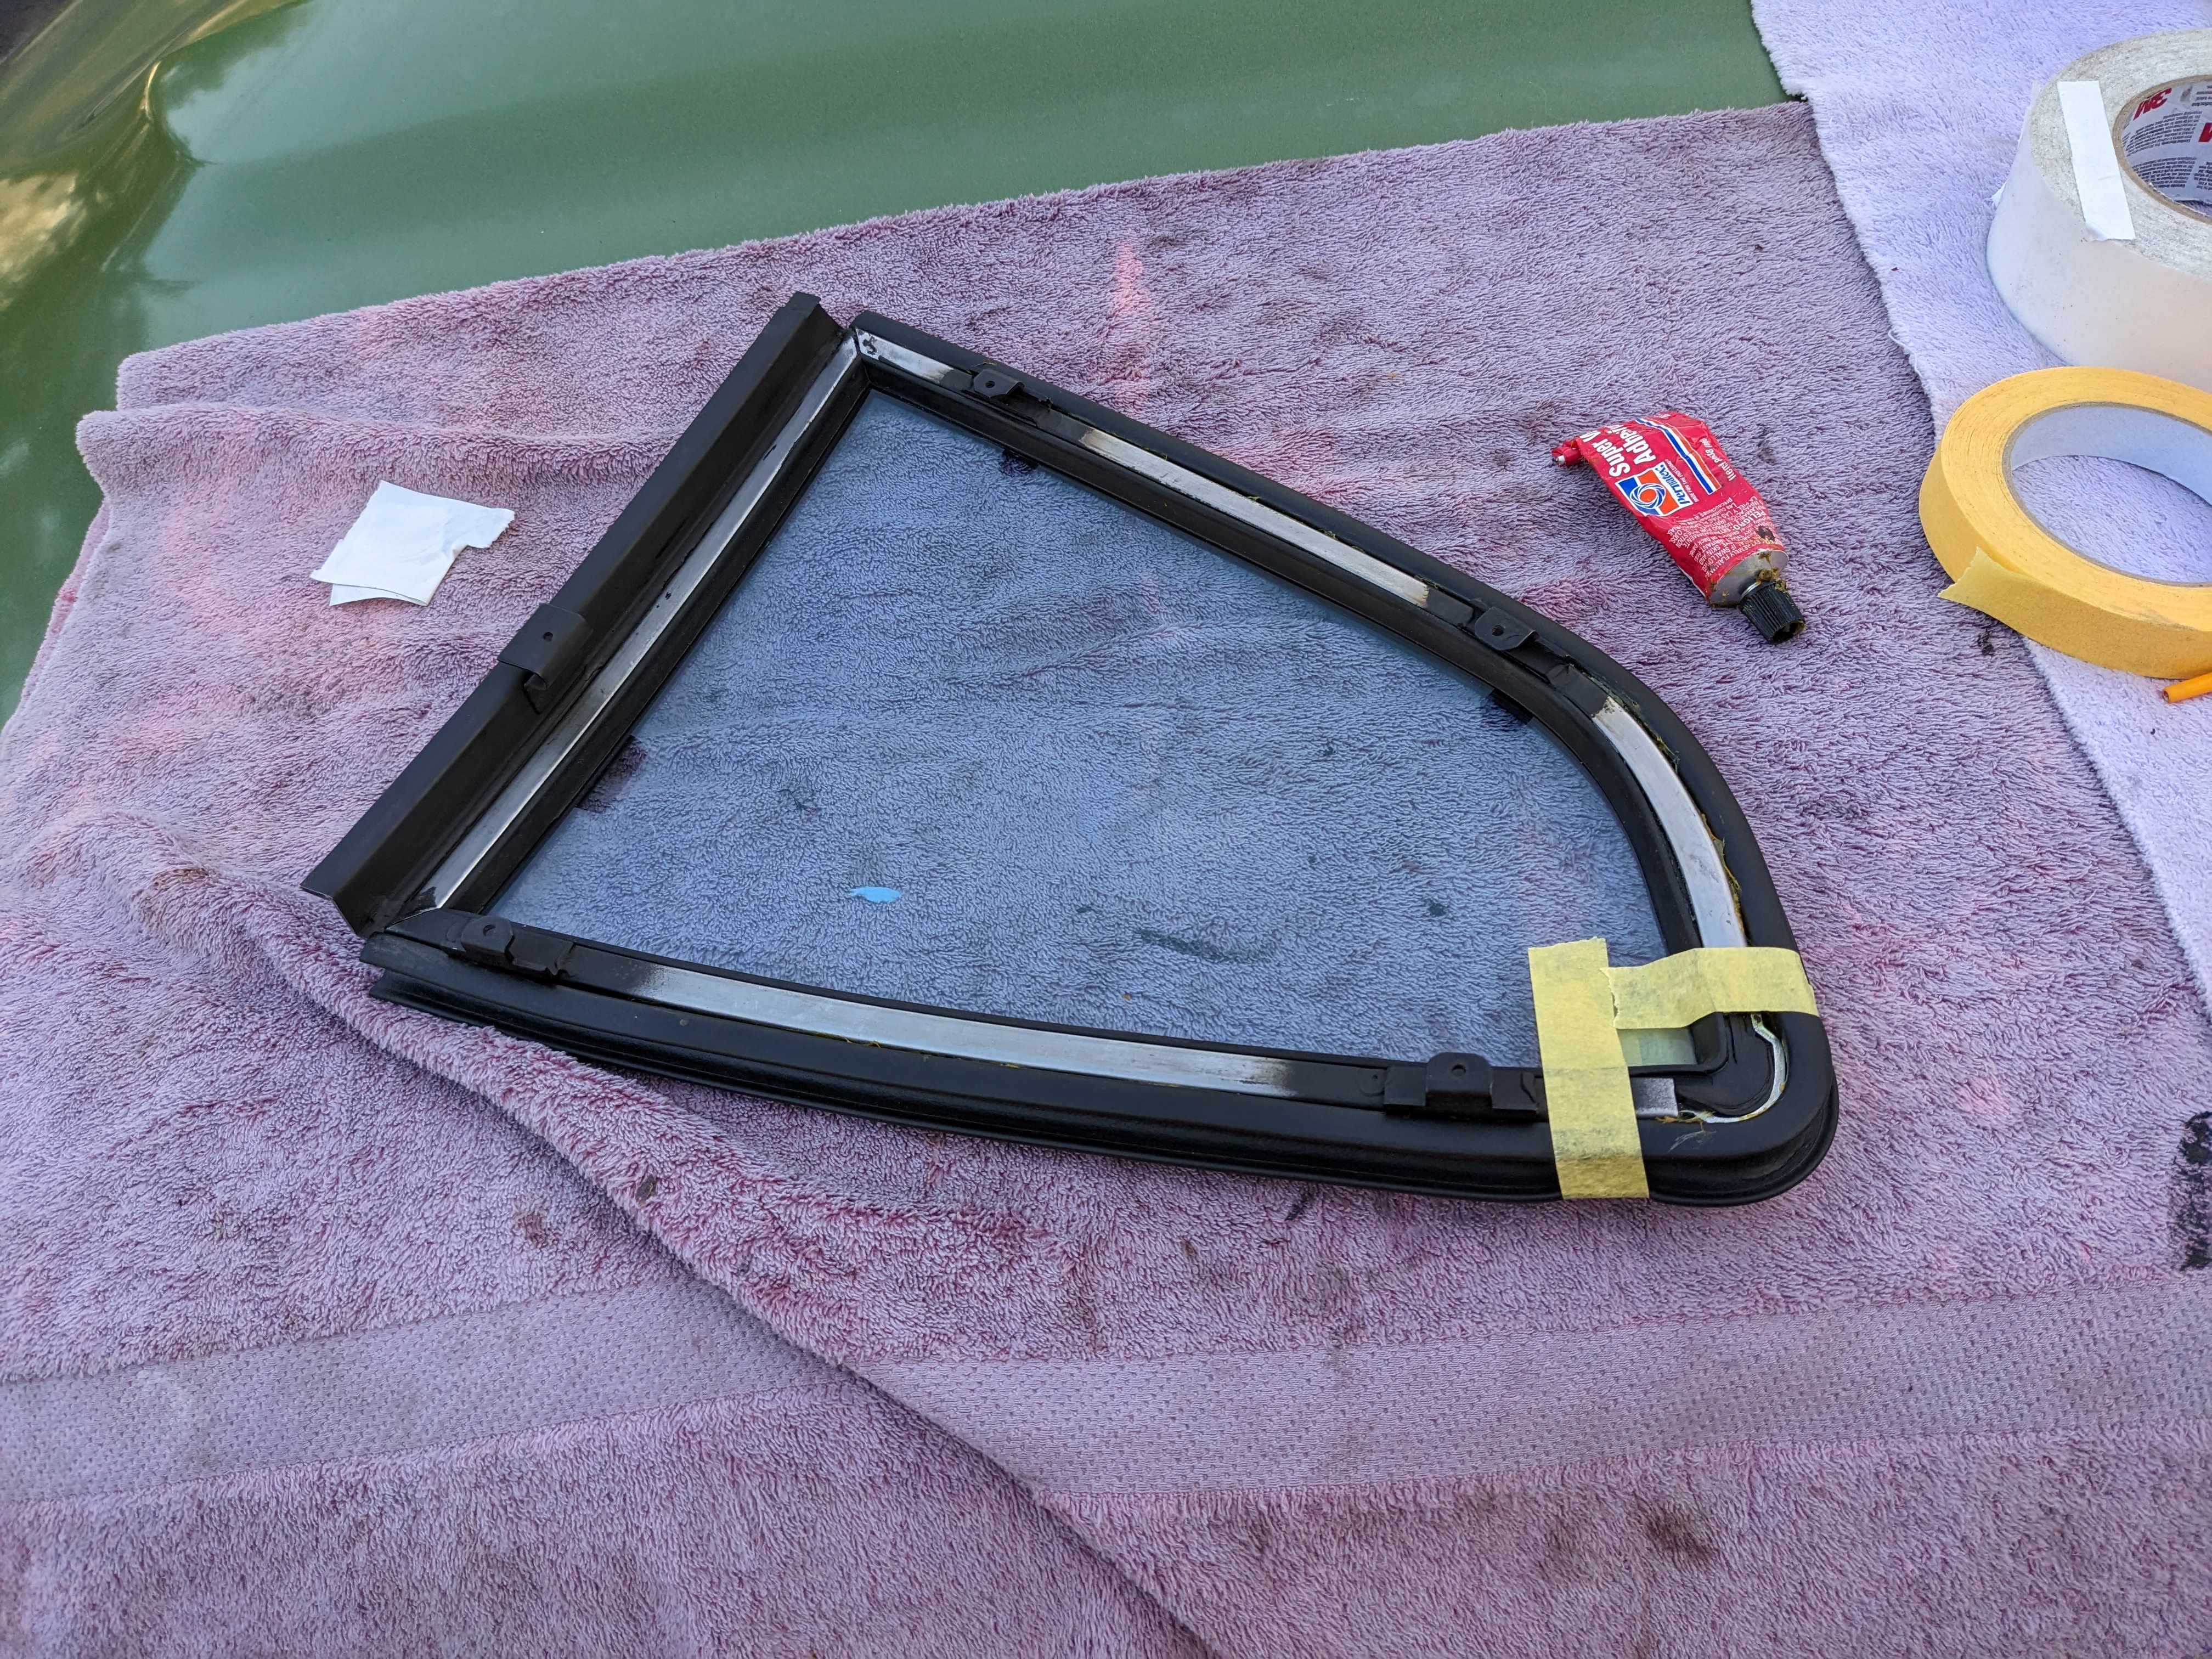
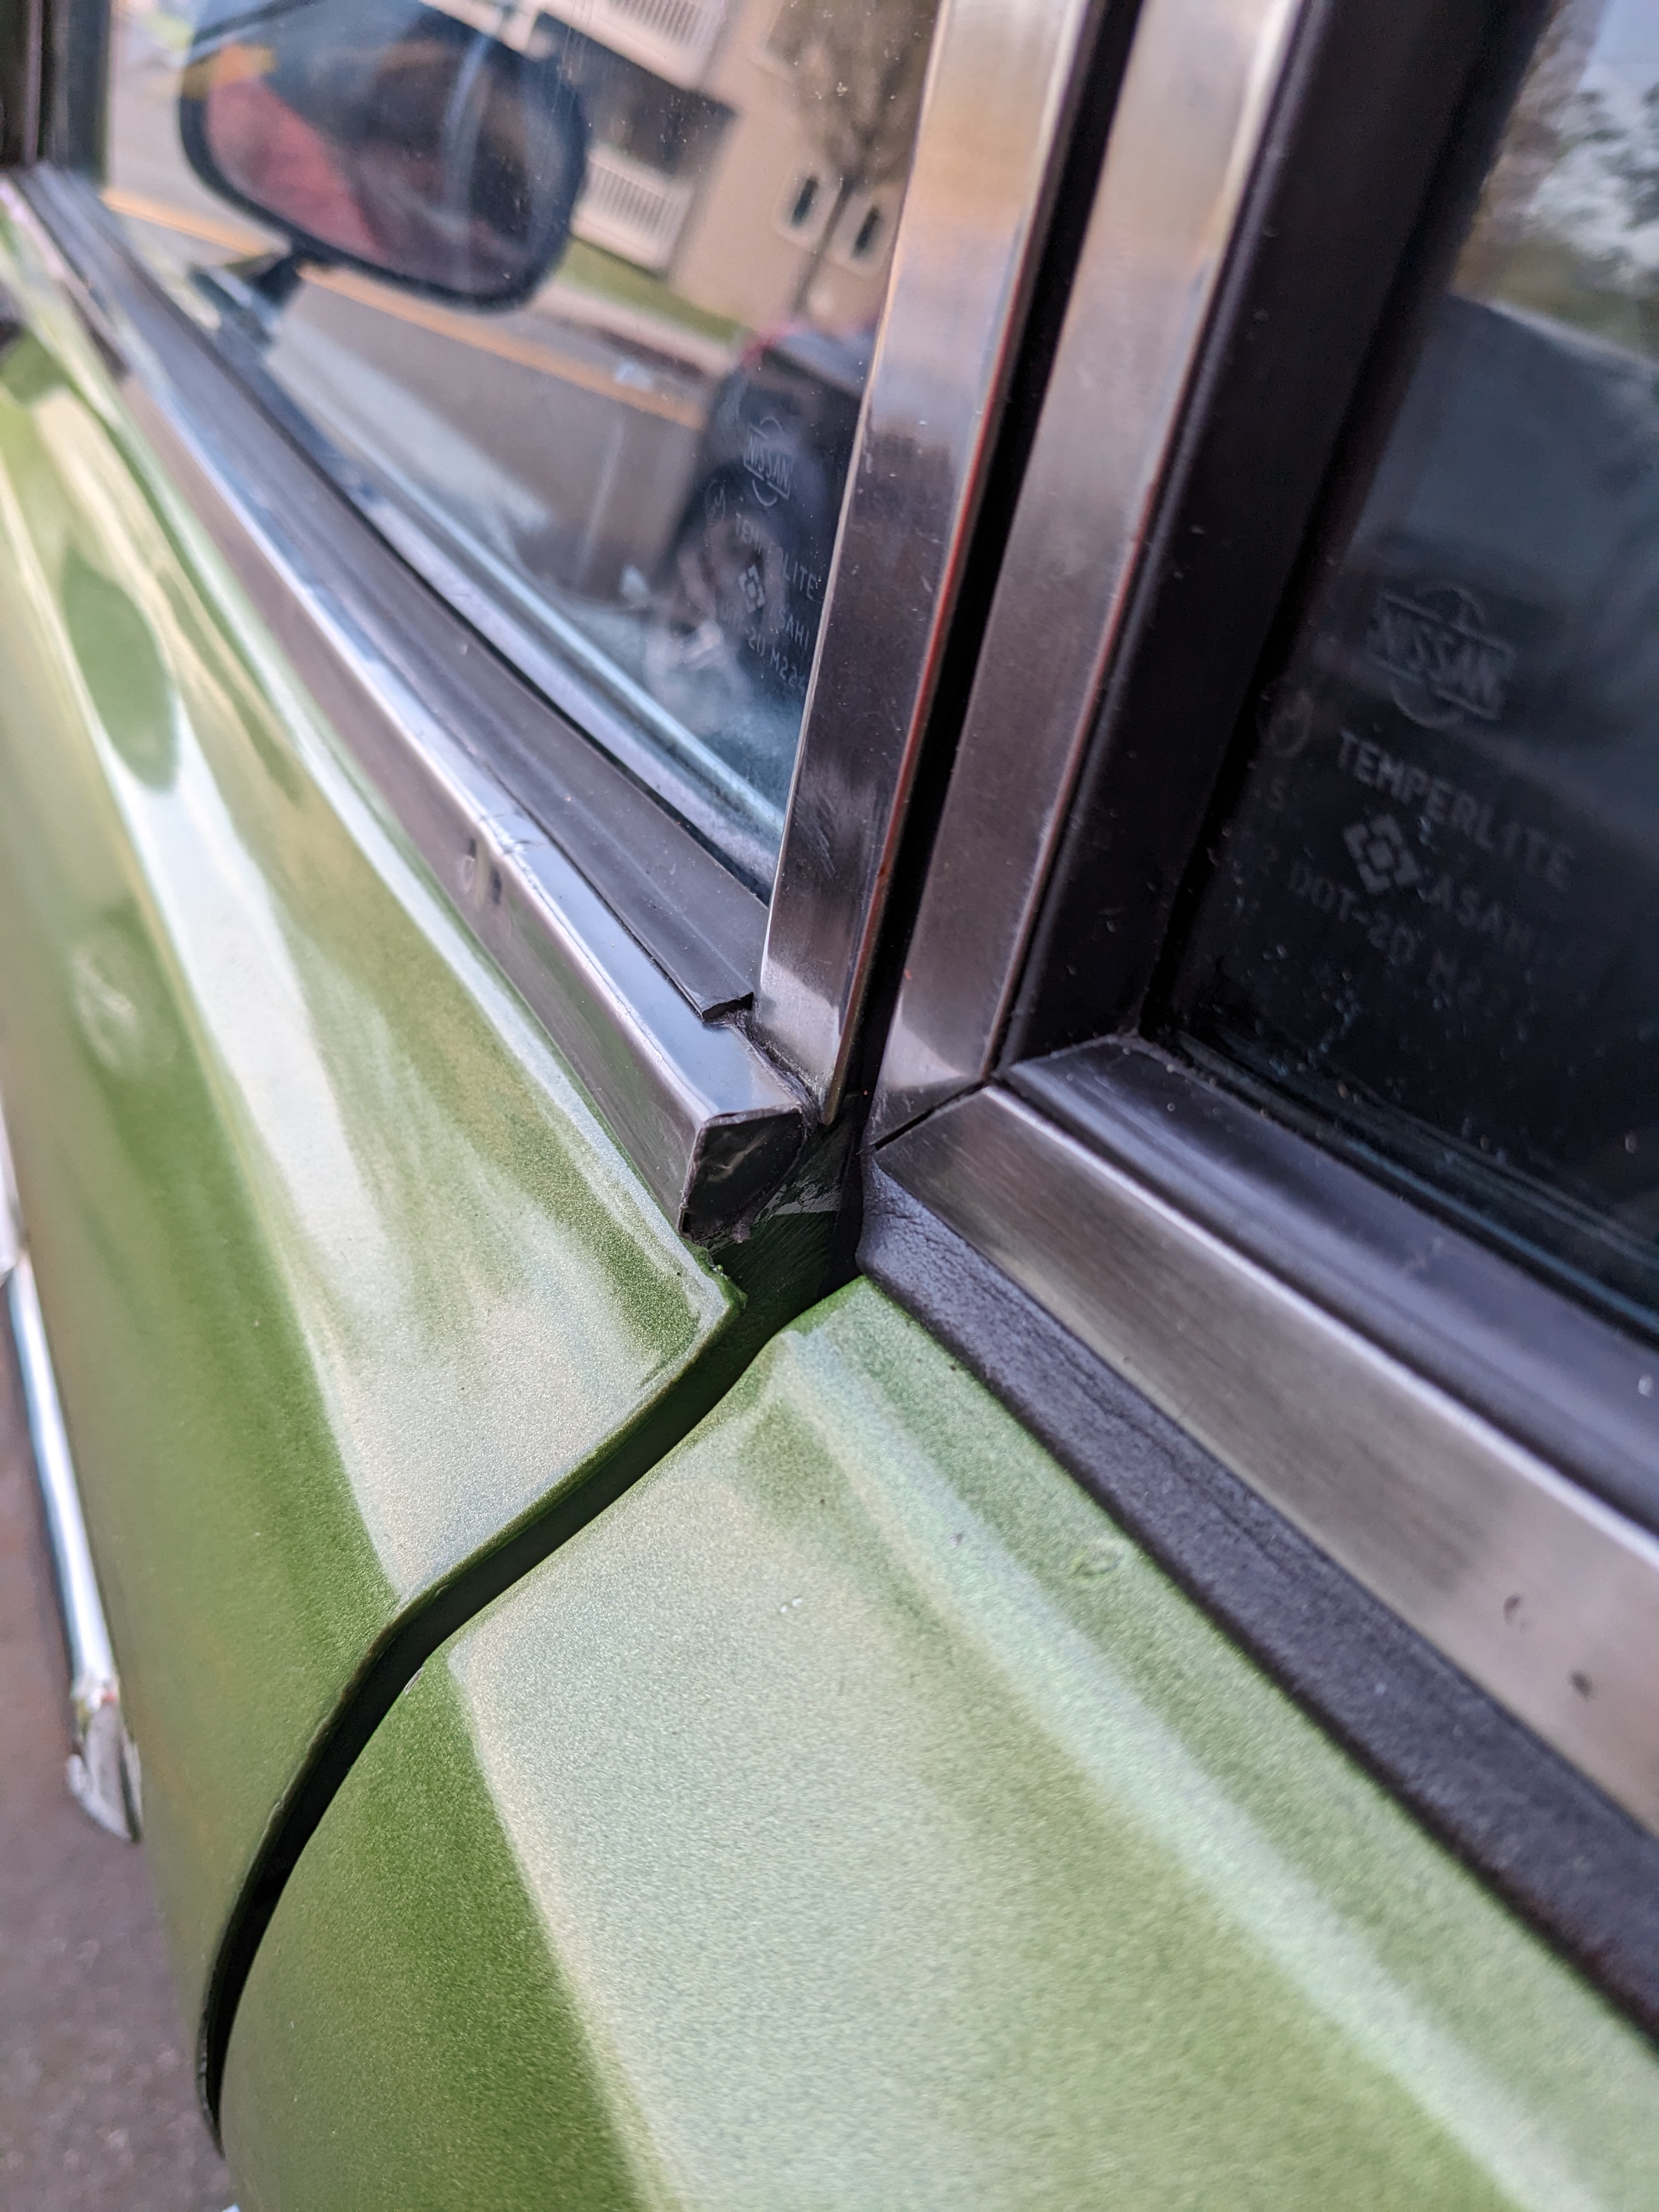
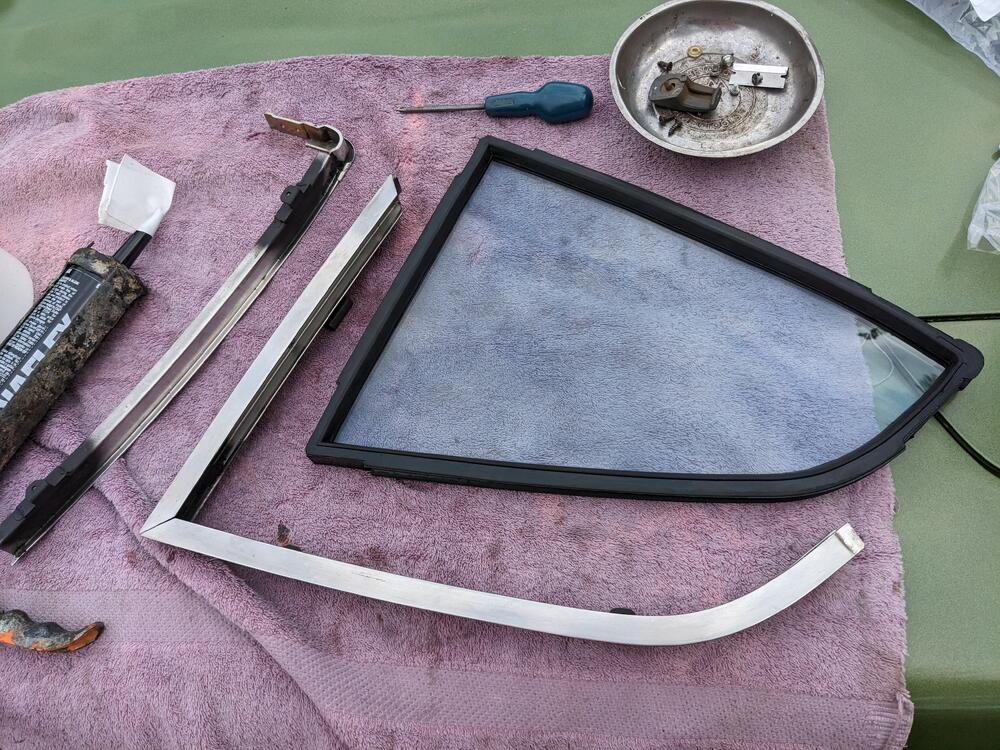
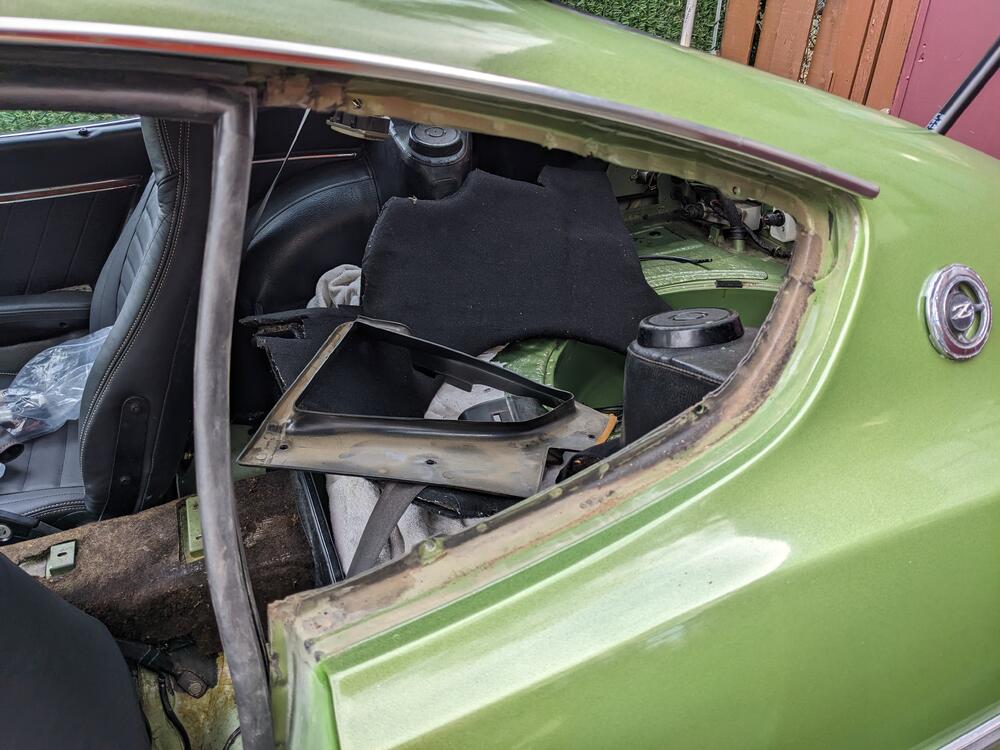
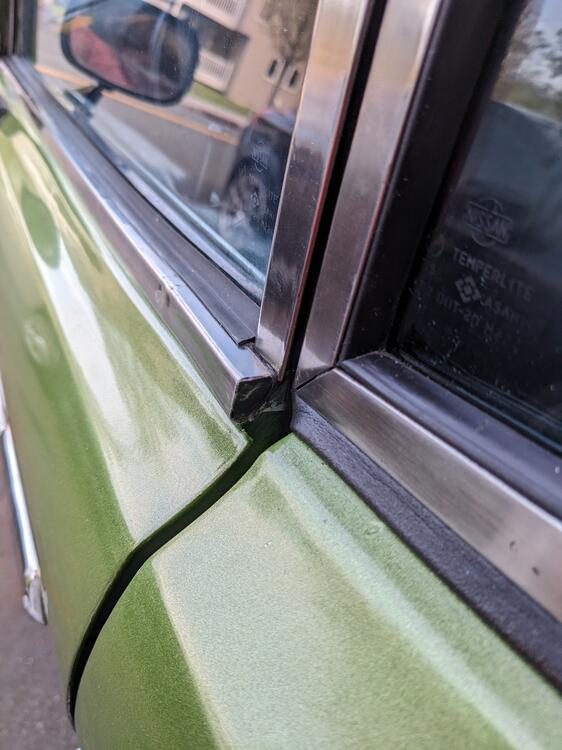
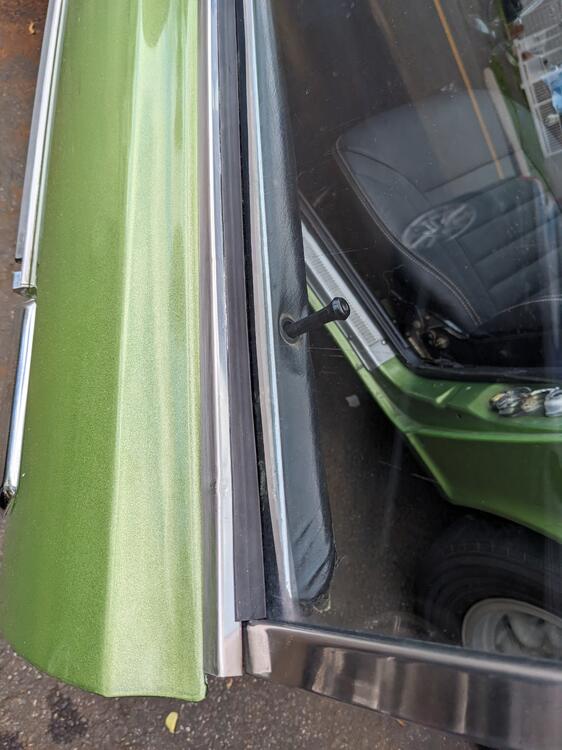
Took out the left side 1/4 glass/frame & replaced the inner, outer & forward vertical seal. That was a bitch! Getting the frame pressed back in place to align the retaining screws was quite a challenge . I had to do it twice, as the first time the top lip folded inwards instead of out. Frame sections all cleaned, I painted where the securing plates are welded, as there was small amounts of rust. The forward edge of the main frame I sanded back & repainted. scrubbed the glass clean of all sealant residue opening needed a little cleanup, but no paint issues glass & seal set into frame, outer seal glued to frame top outer seal lip properly situated on second attempt. Liberal amounts of vaseline helped to get it to slide into place forward vertical seal that takes care of the driver's side openings, with just the seal inside the driver's door window frame to address the end cap was gone from the scraper molding, so I modified a trim panel retain clip to fit


-
Dang - I should have kept the bags for the side seals. Not sure they would take back sub-components of a full kit though. I'll just have to buy another top seal & copy your approach.
-
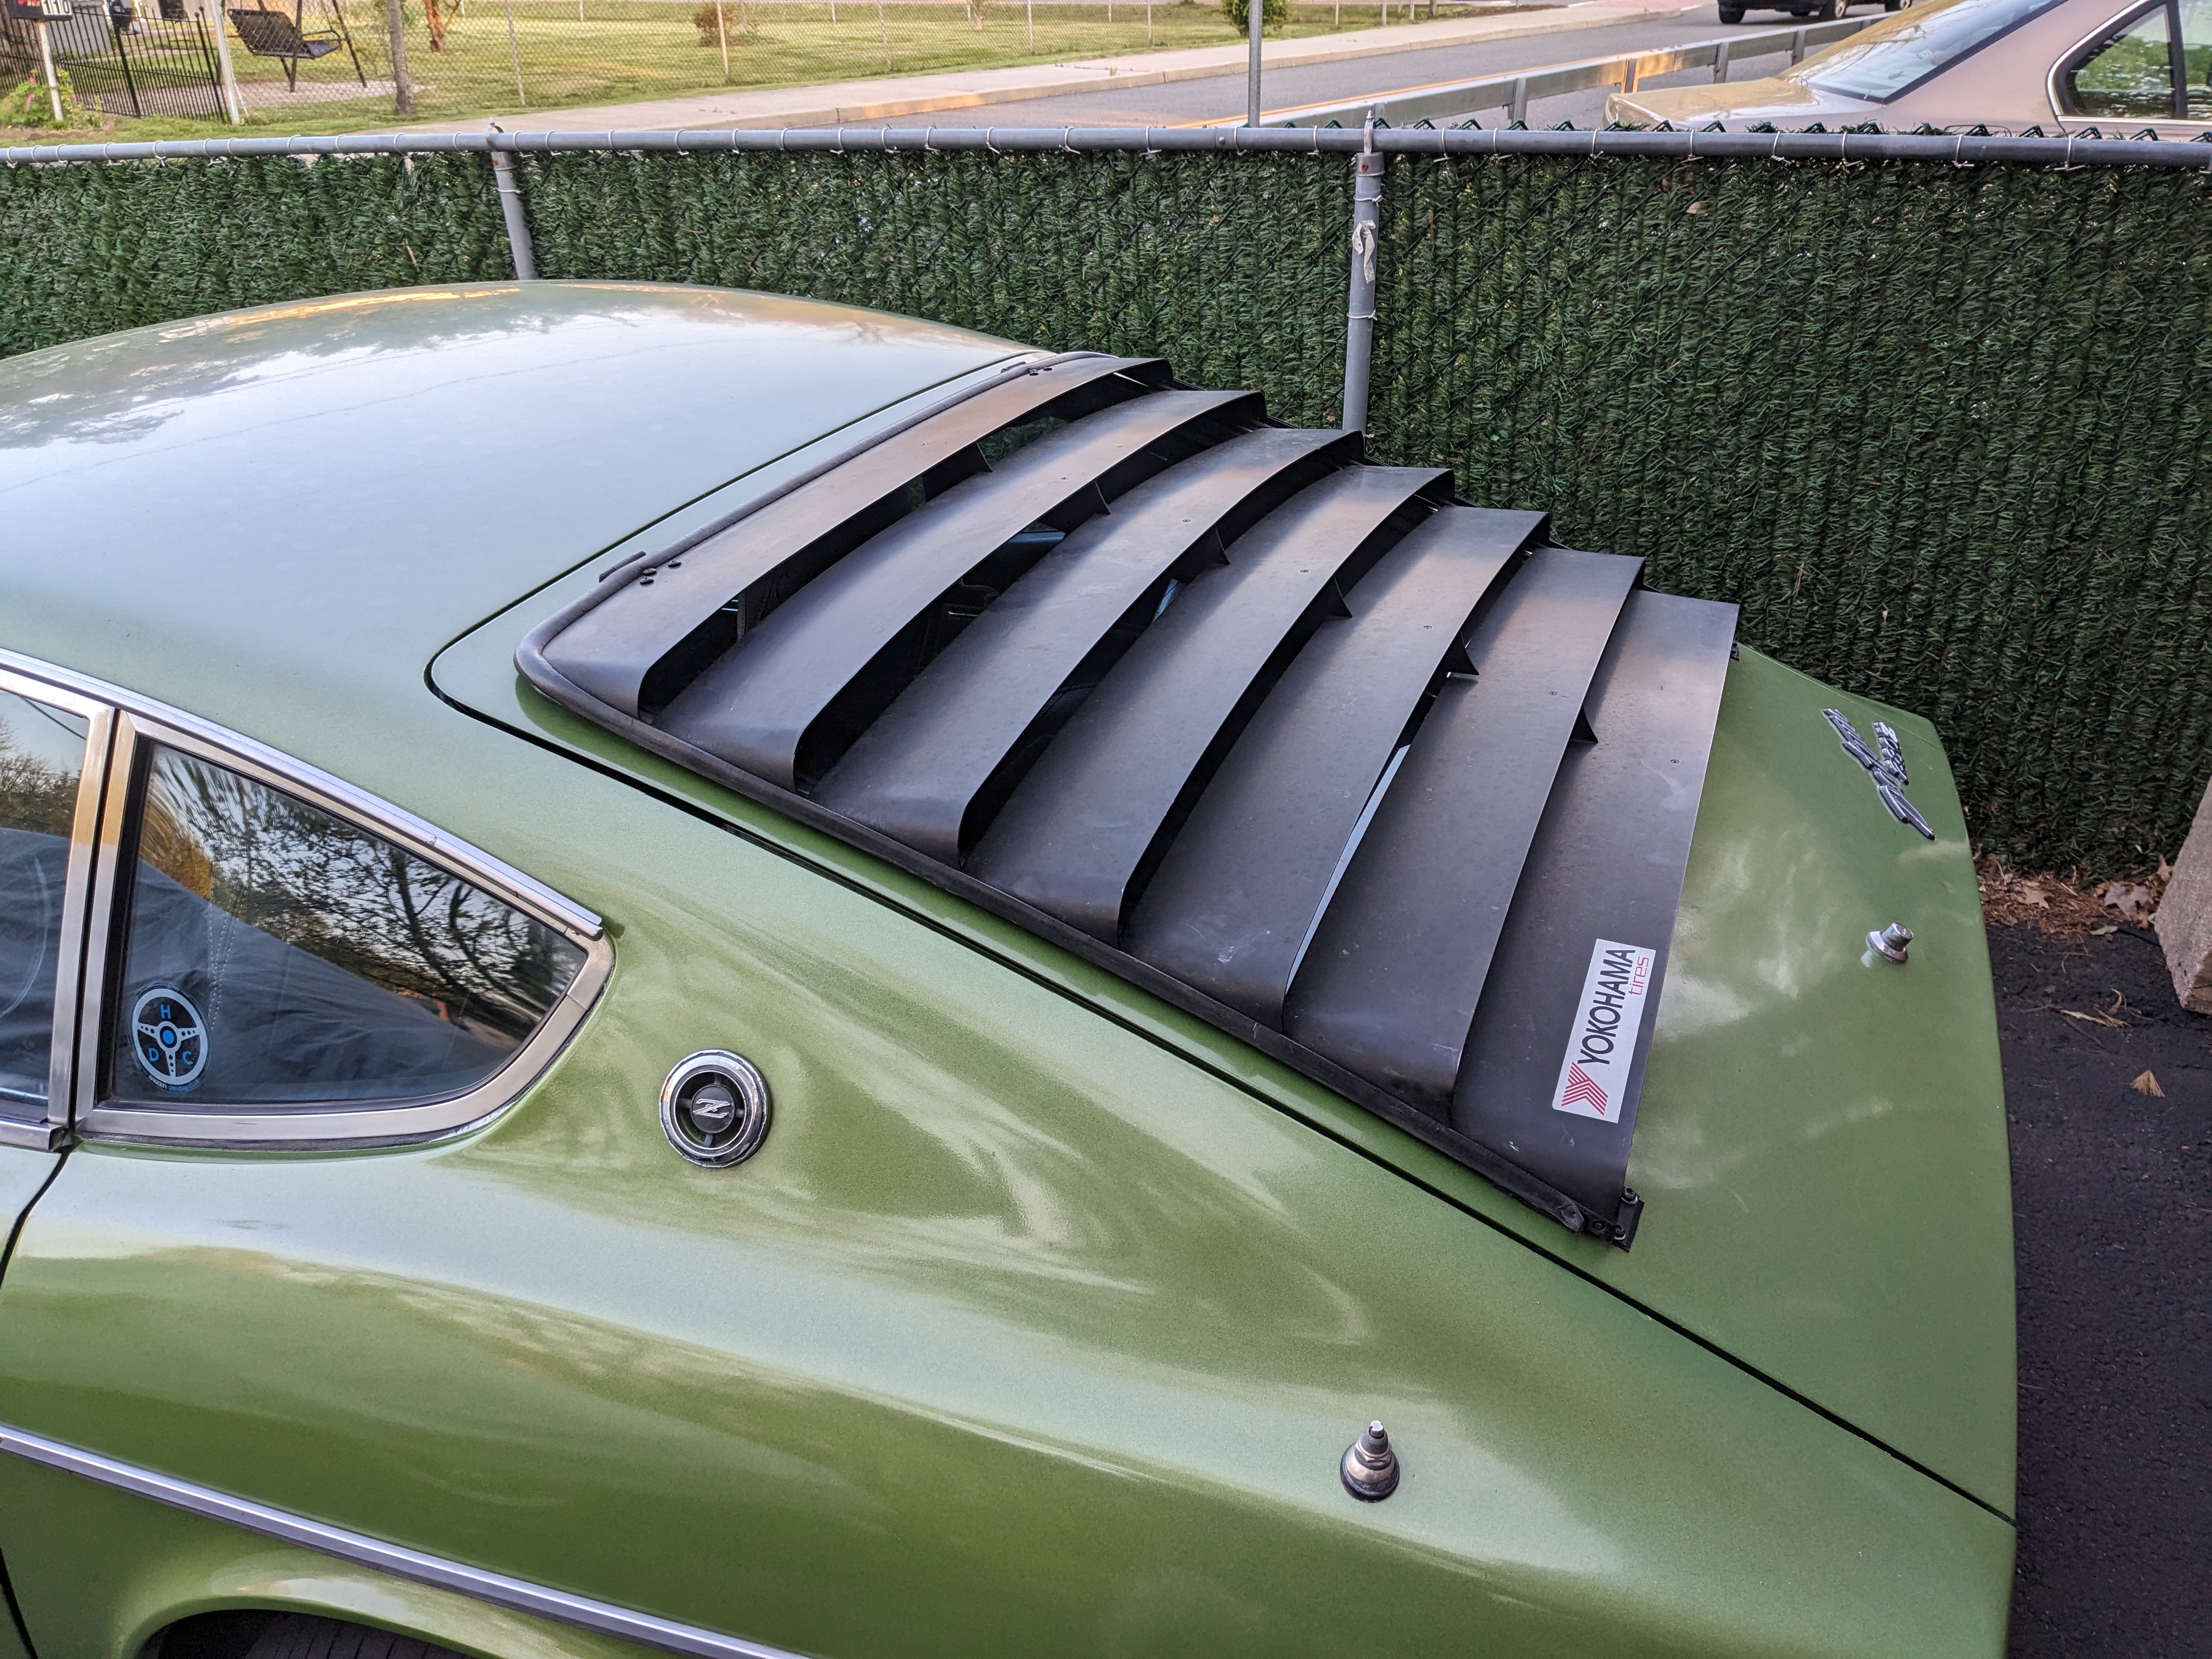
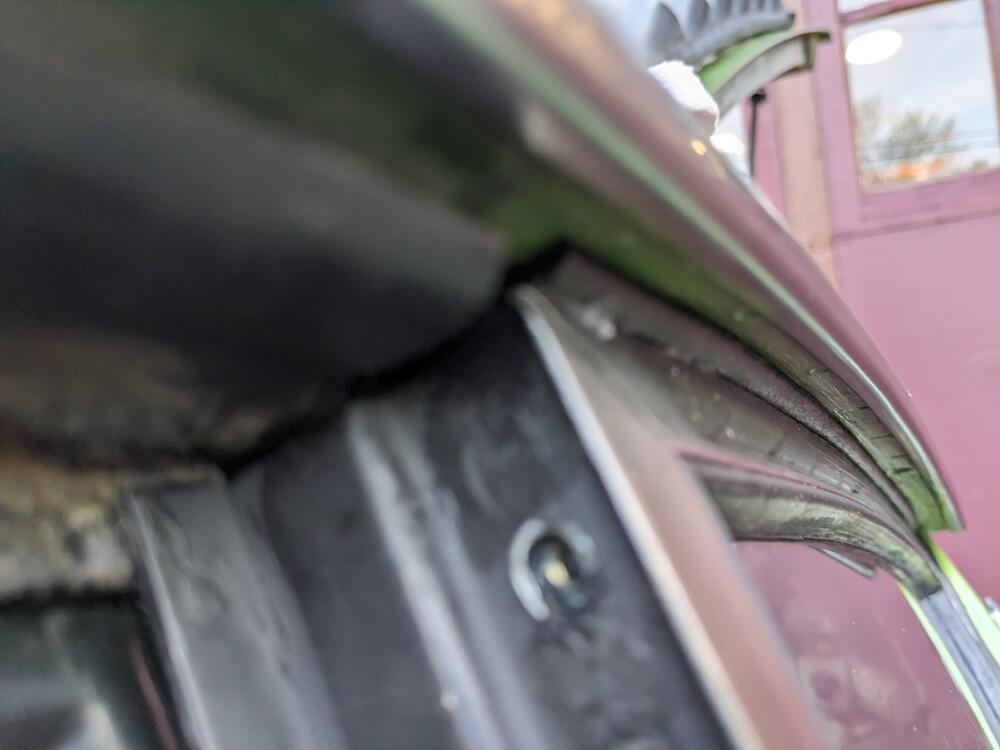
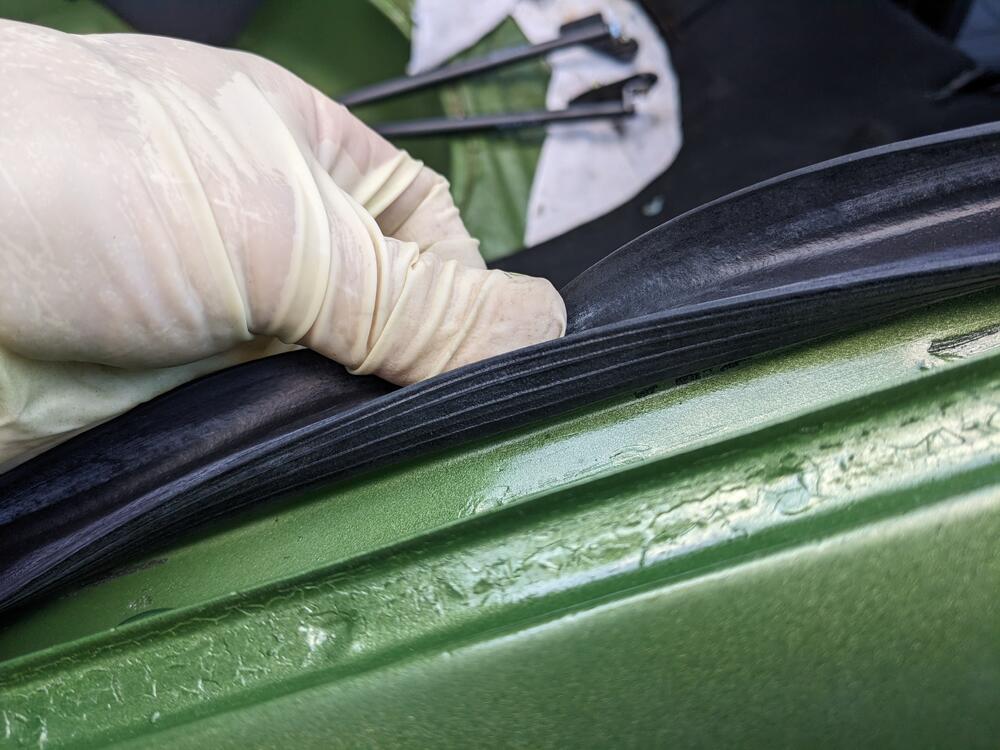
I just looked at the seals in the Precision Kit I bought from ZcarDepot. You comment above did not register until I saw that the lower seals they provide have a square profile, and no bulb. Where did you buy the bulb lower version? I don't care for these ones, they don't sit flat at all in the channel I was able to remove the hatch (with assistance from a neighbor), clean up the channels, prime & paint the upper outer channel, install the inner hatch seal, and the top outer seal. Had to get the hatch back on as it's going to rain overnight & tomorrow morning base coat & clear side channels Test fitting the hatch seal. took a couple tries to get the correct orientation. Also had to drop the seat belt reels to get the seal inner lip properly tucked under the plastic trim at the top sides overlap ridge that gets the glue had to notch the seal inner lip where the hatch brackets attach to the hatch opening Glued in with weatherstrip adhesive. With it in-situ, I worked the lower run first, then the left side, top & finally the right side. After that I put the upper side buffer blocks back in. Then I put the upper outer seal on. Hatch & louvres back on It will all have to come apart again at some point, I found that the hatch screws were not fully tight & the hinge was pressing into the rubber seal cup on the pass side, creating a rub hole on the inner side. I sincerely doubt that was the cause of the water in the hatch/cubby area, seems much more likely the lack of proper hatch sealing was the culprit.


-
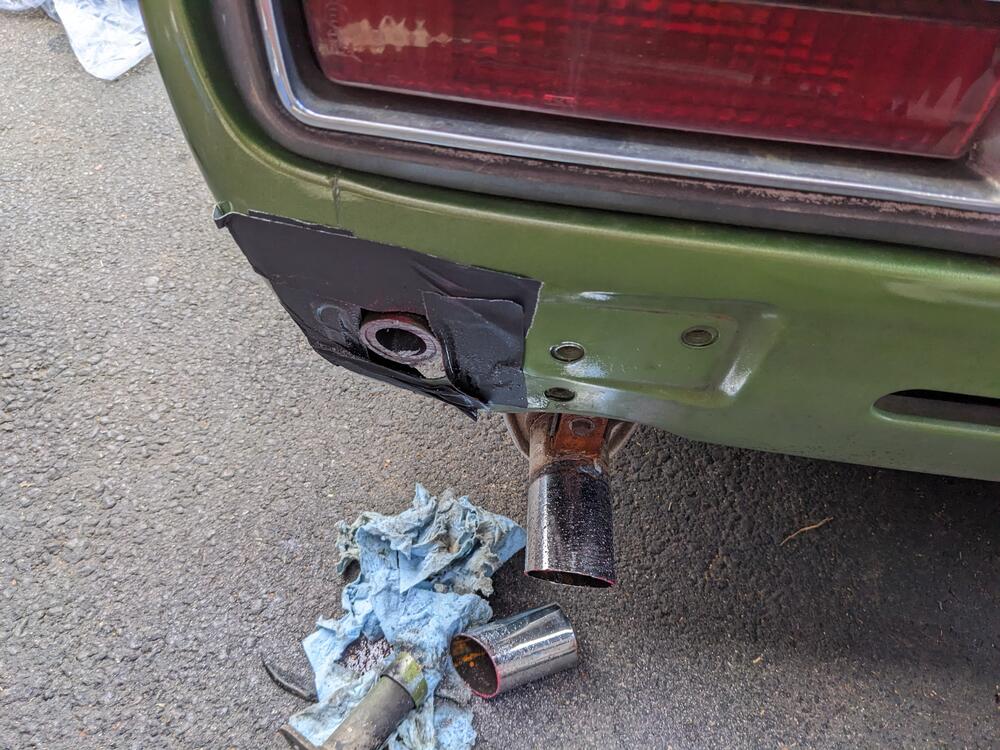
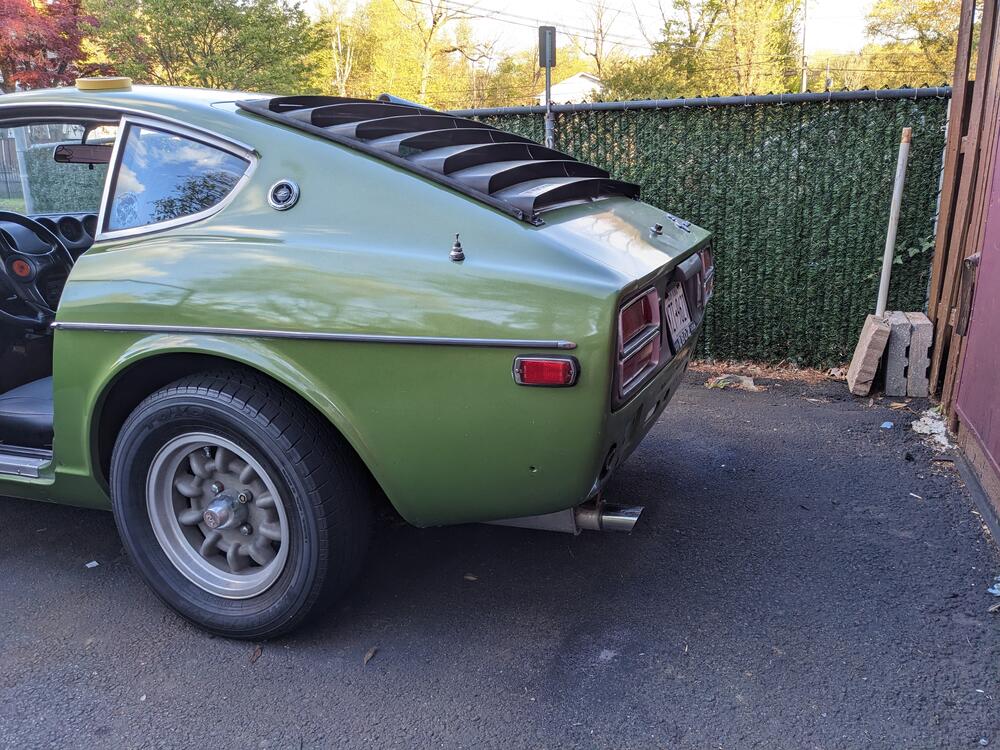
Still don't have the back bumper on, and with all the other work that has taken precedent, it is unlikely I will be dropping the exhaust & gas tank any time soon, so I cut off the bumper shocks (Sawsall) for now, so I can at least get the rear bumper installed. Removed the end screws to relieve the gas before cutting. Chopped back the tailpipe while I was at it.
-
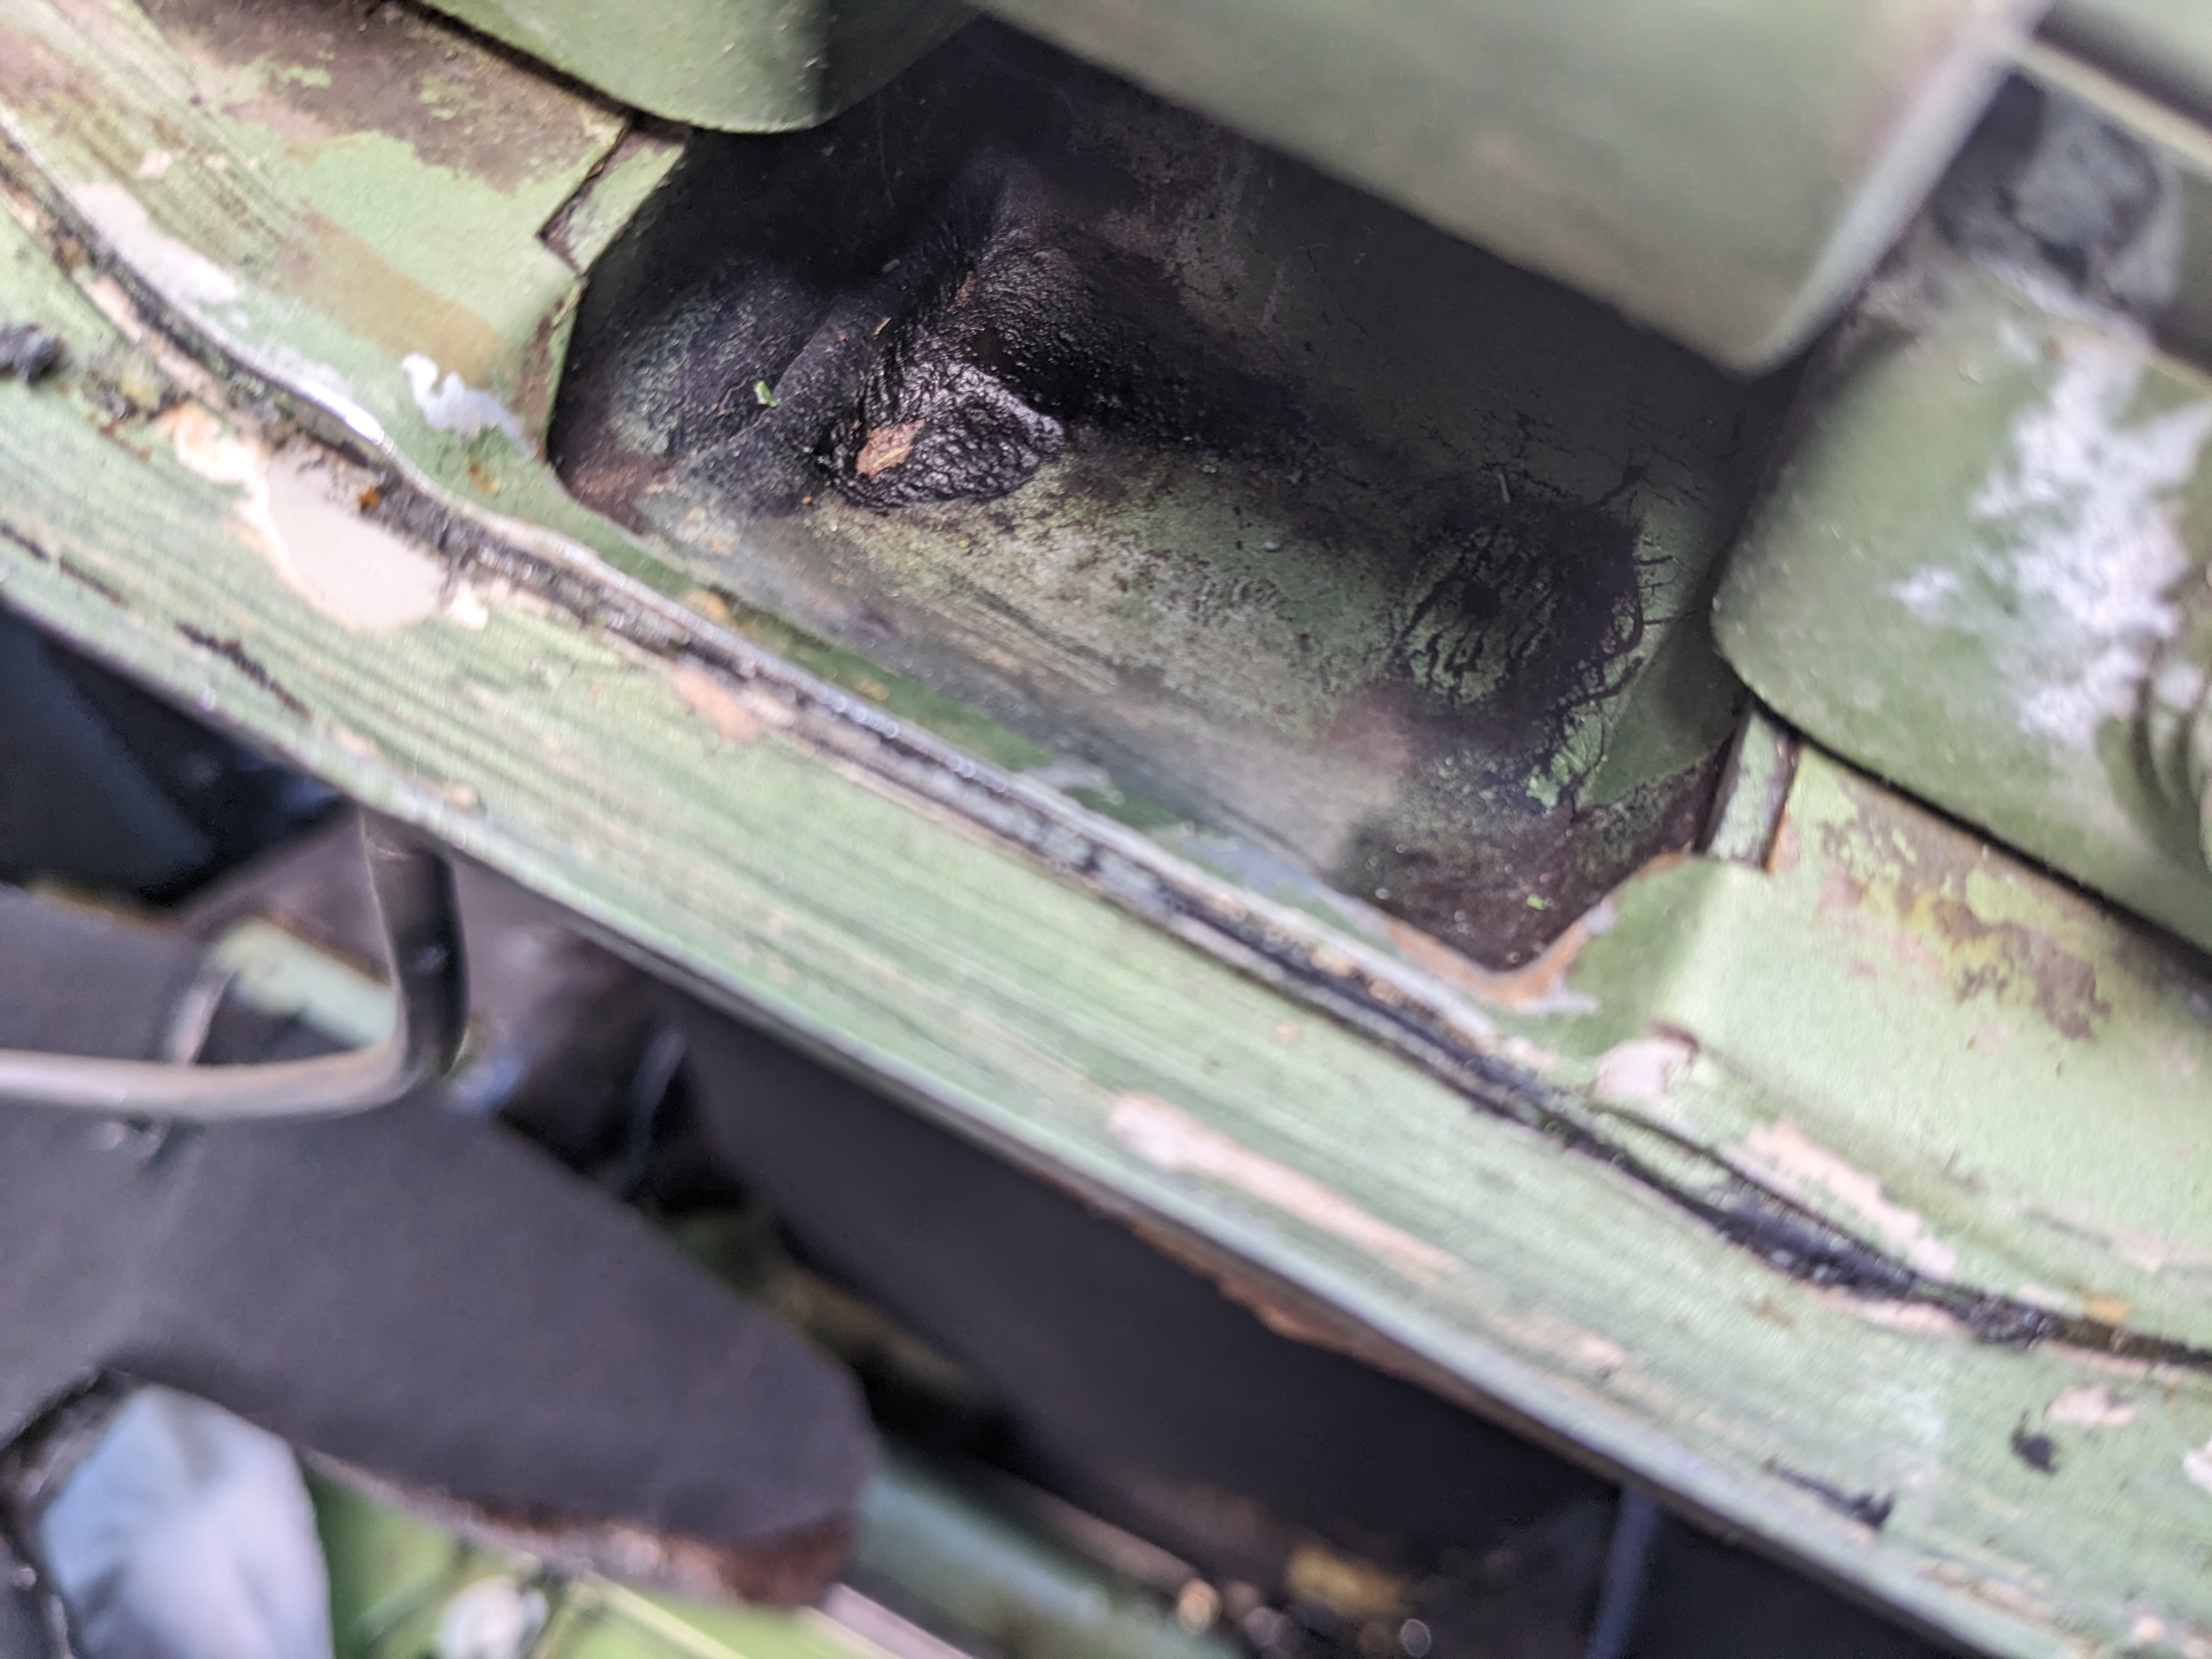
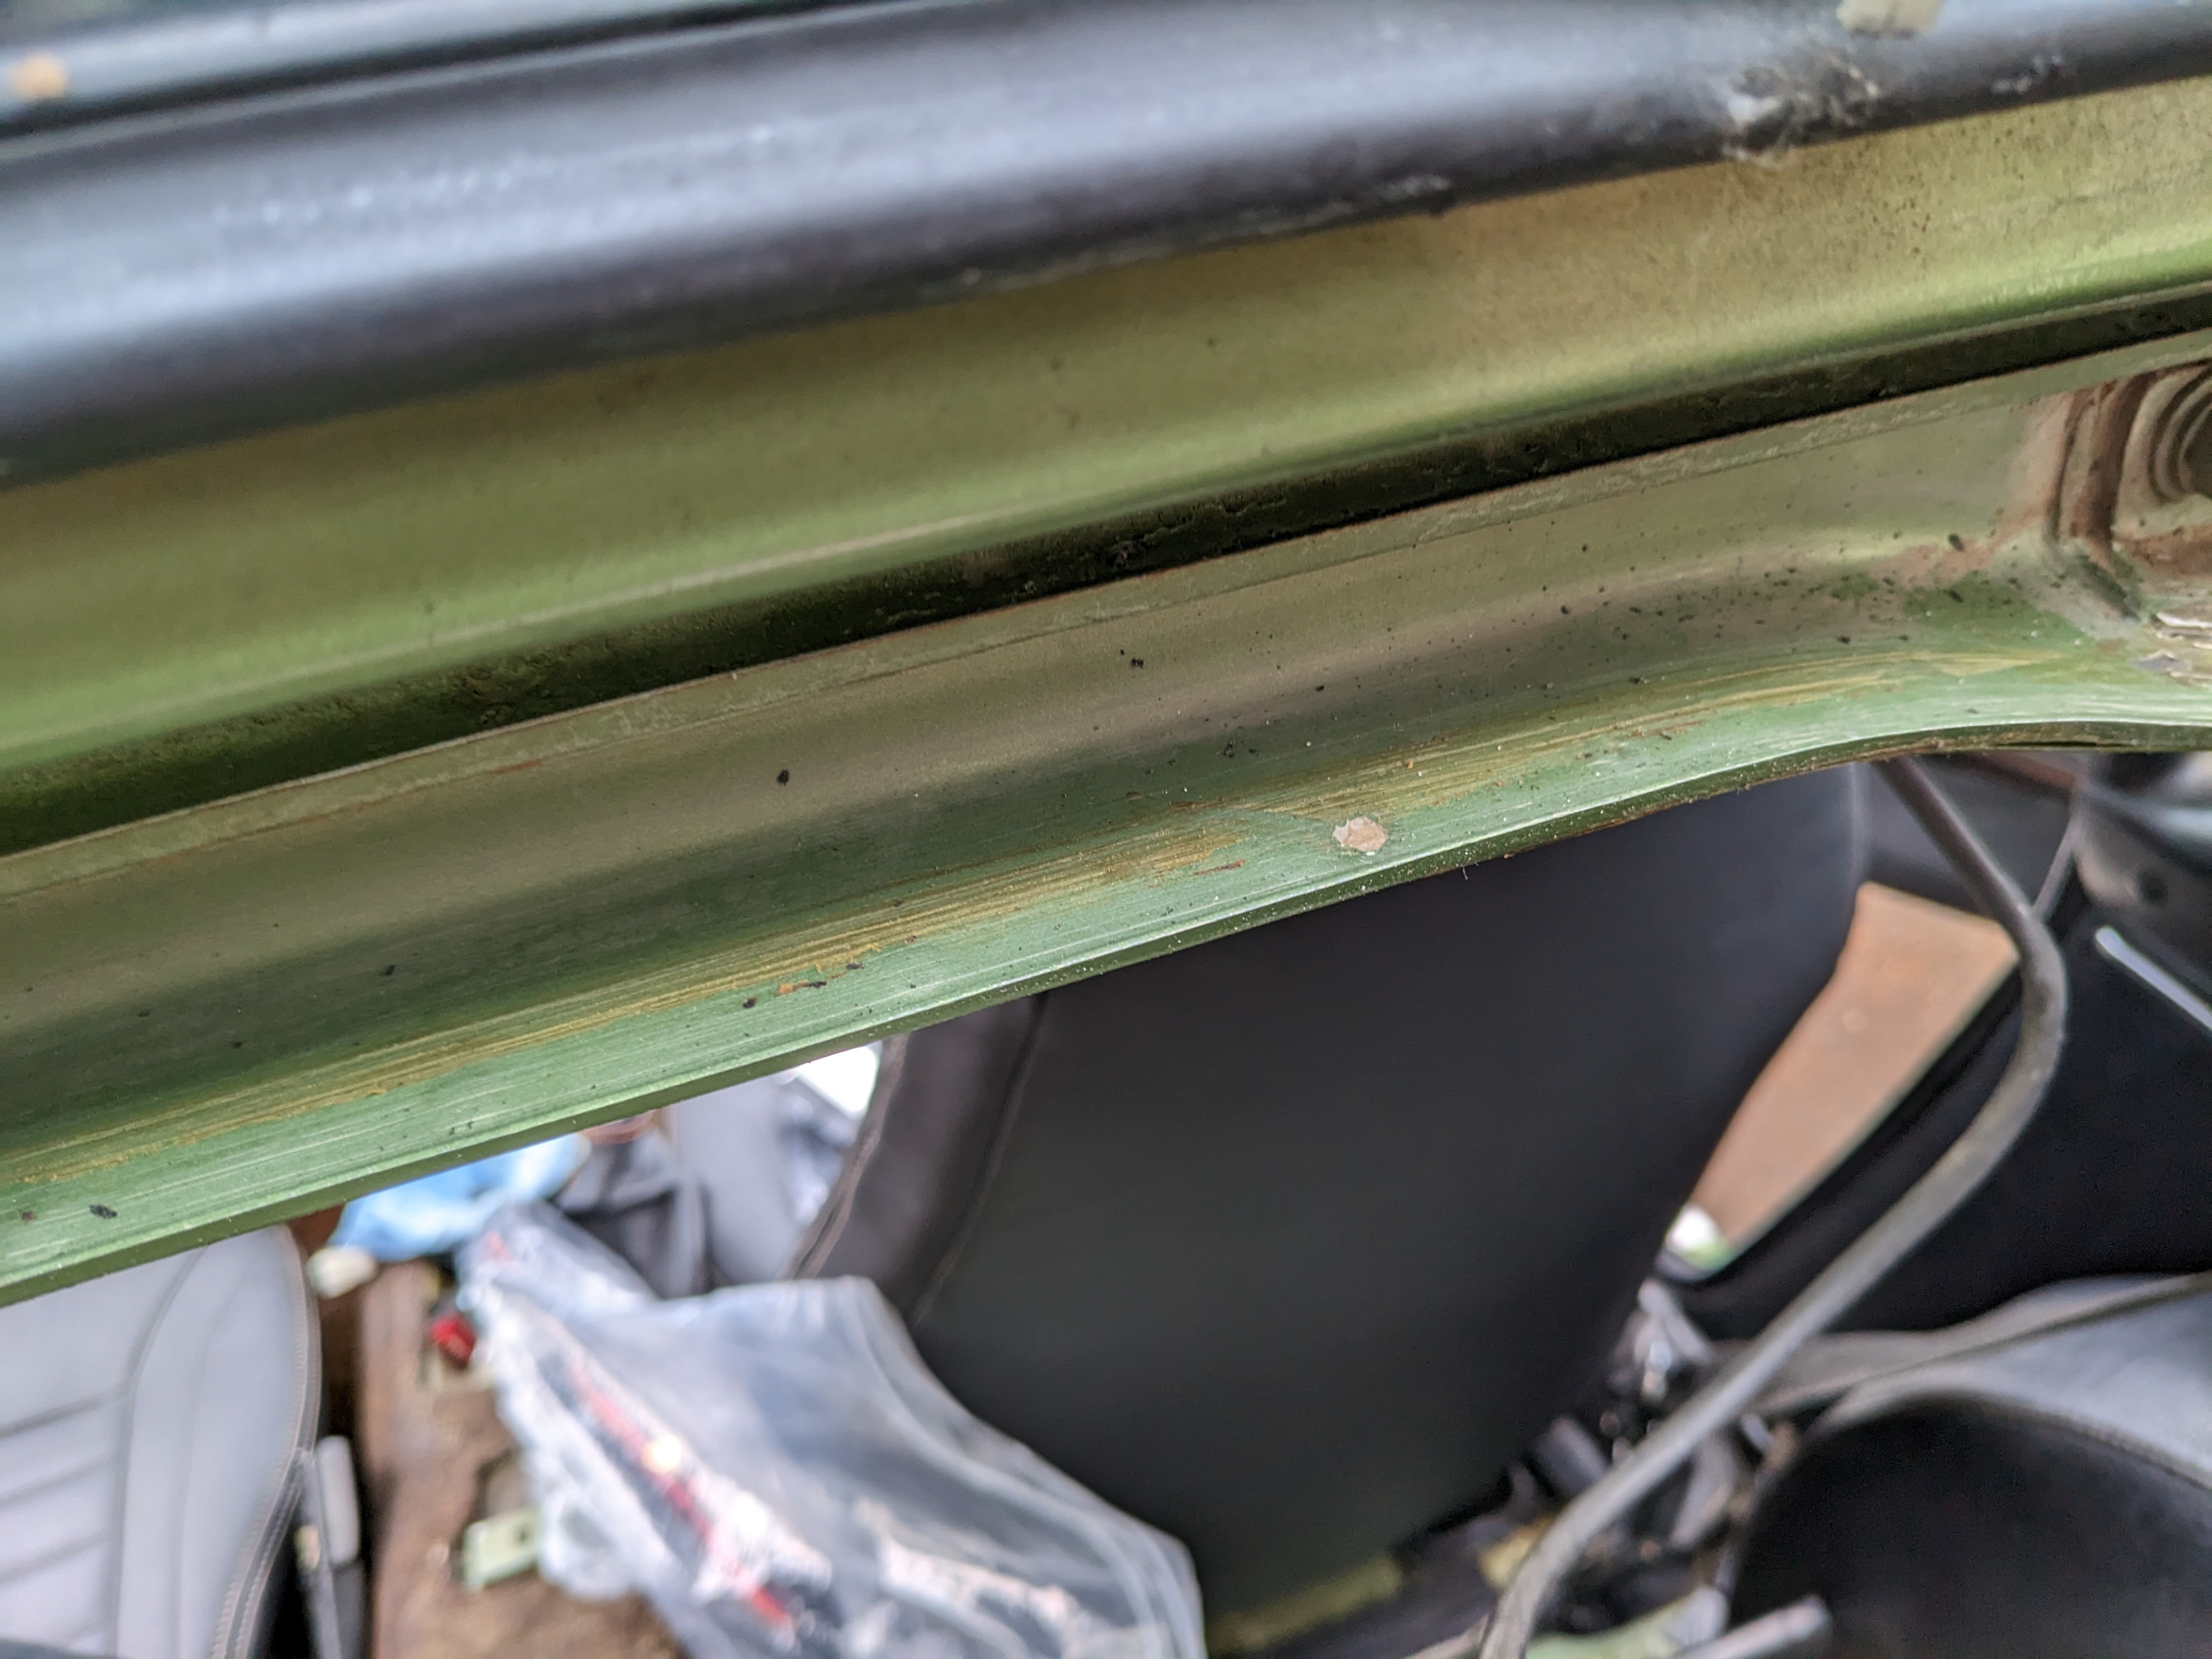
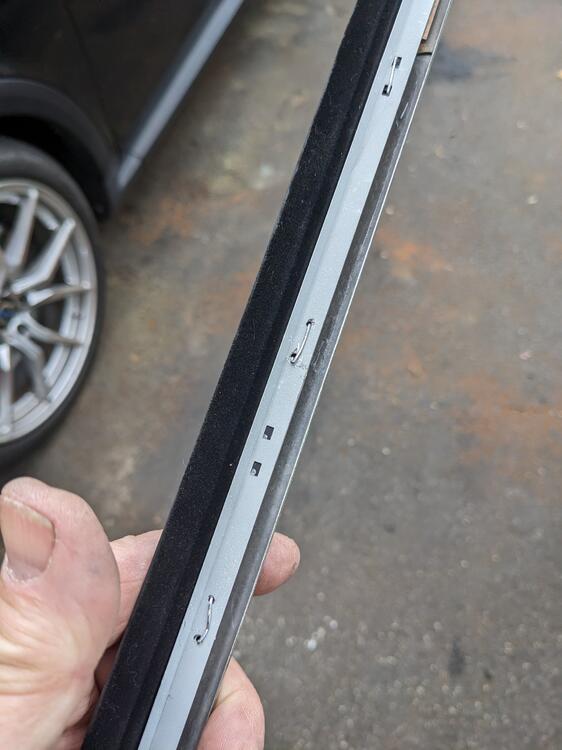
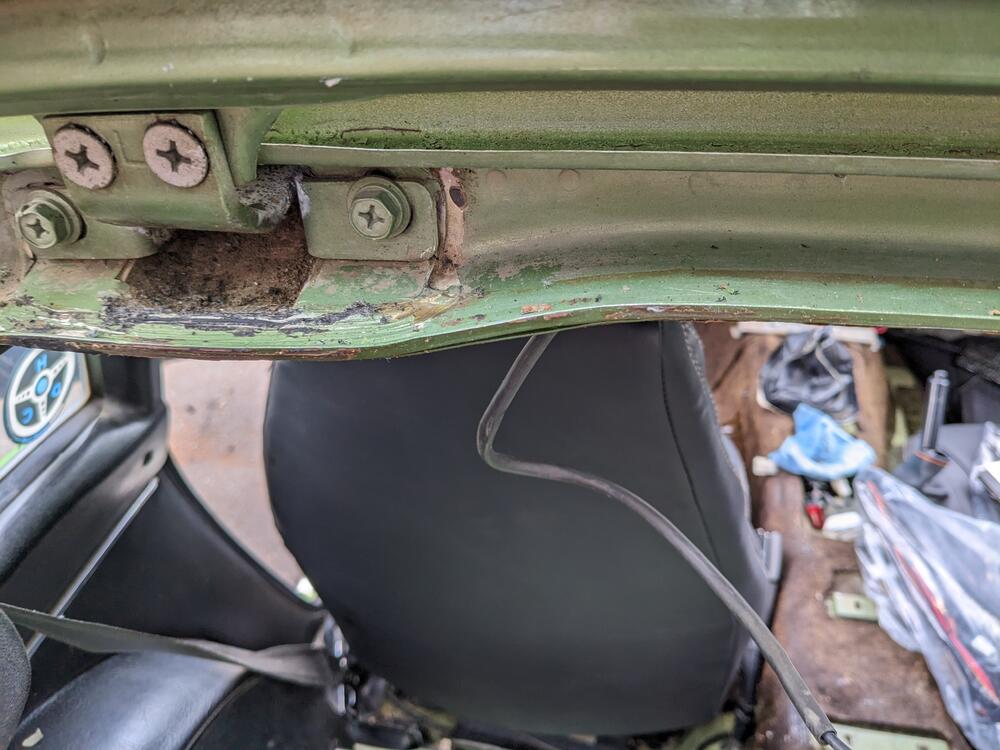
Many thanks for the seal pics, that makes it clear. Did you also use weatherstrip adhesive for the lip, or something more contemporary to glue it? Seems quite likely that is the reason for my water ingress. There is no rust inside, that is all the spare glue residue from whatever they spray up in there are the factory. The PO certainly never ever took anything apart. I did order new hinge seals, however it really doesn't appear that any water has come in through there. I may pour a little water into the hinge cup just to confirm it though. Those seals won't be here for a couple weeks and I'm doing the hatch seals NOW. I removed all the remnants of the main hatch seal & all the glue/foam residue all around the lip. I used xylene, which softens the glue & foam, makes it easier to remove. Still took 2 hours to get it to where it is now though Still need to clean out the remaining crud from the hinge inner boot. Looks like I'm going to be removing the hatch to finish this, there is some surface rust in the upper drip channel behind the hatch. Can't get in there properly with the hatch on I did redrill the metal strip & staple the scraper for the drivers side. I'll go with pop rivets on the pass side, but I need to get a good drill bit for the stainless.
-
It would definitely indicate if the rings are the issue, I've specifically diagnosed an issue with oil consumption on my K24 that way. One bad oil control ring. It was consuming a quart every 200 miles. True that if the valves are fully seating, it's not going to indicate if the valve seals are the issue. As you said, either removing the intake or carbs & looking into the ports for oil on the valve stems would likely be the way to go for that aspect.
-
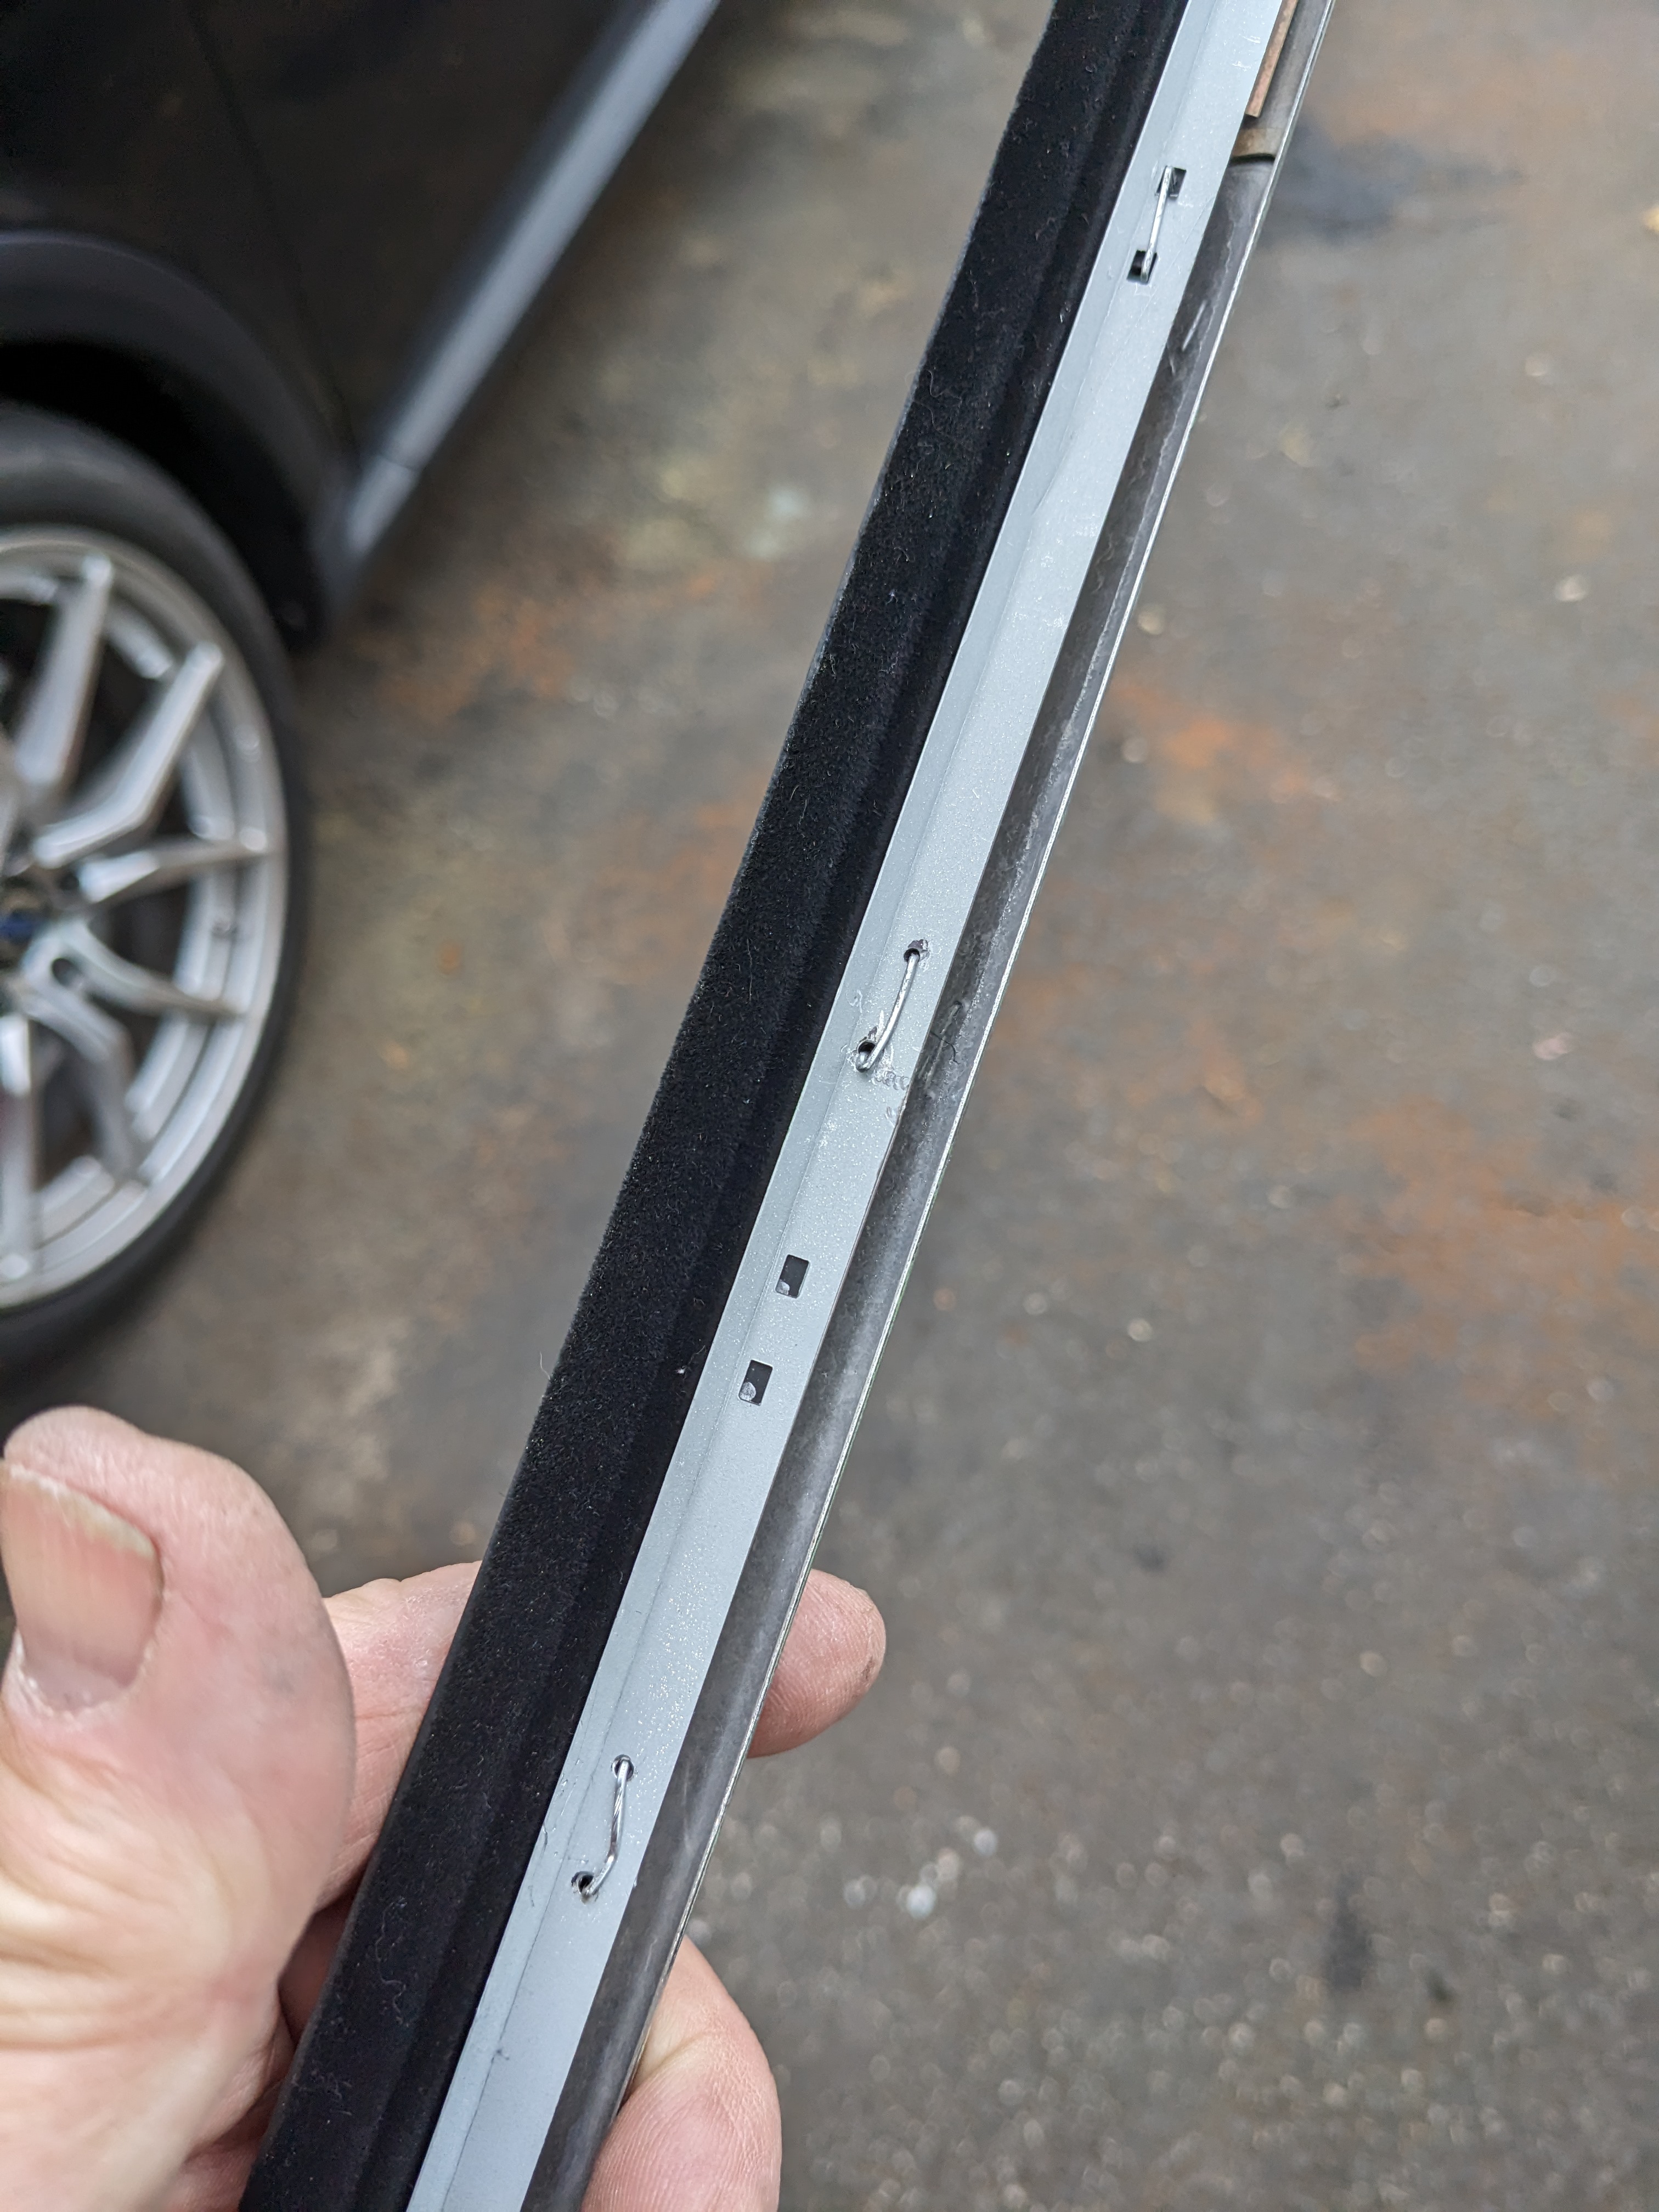
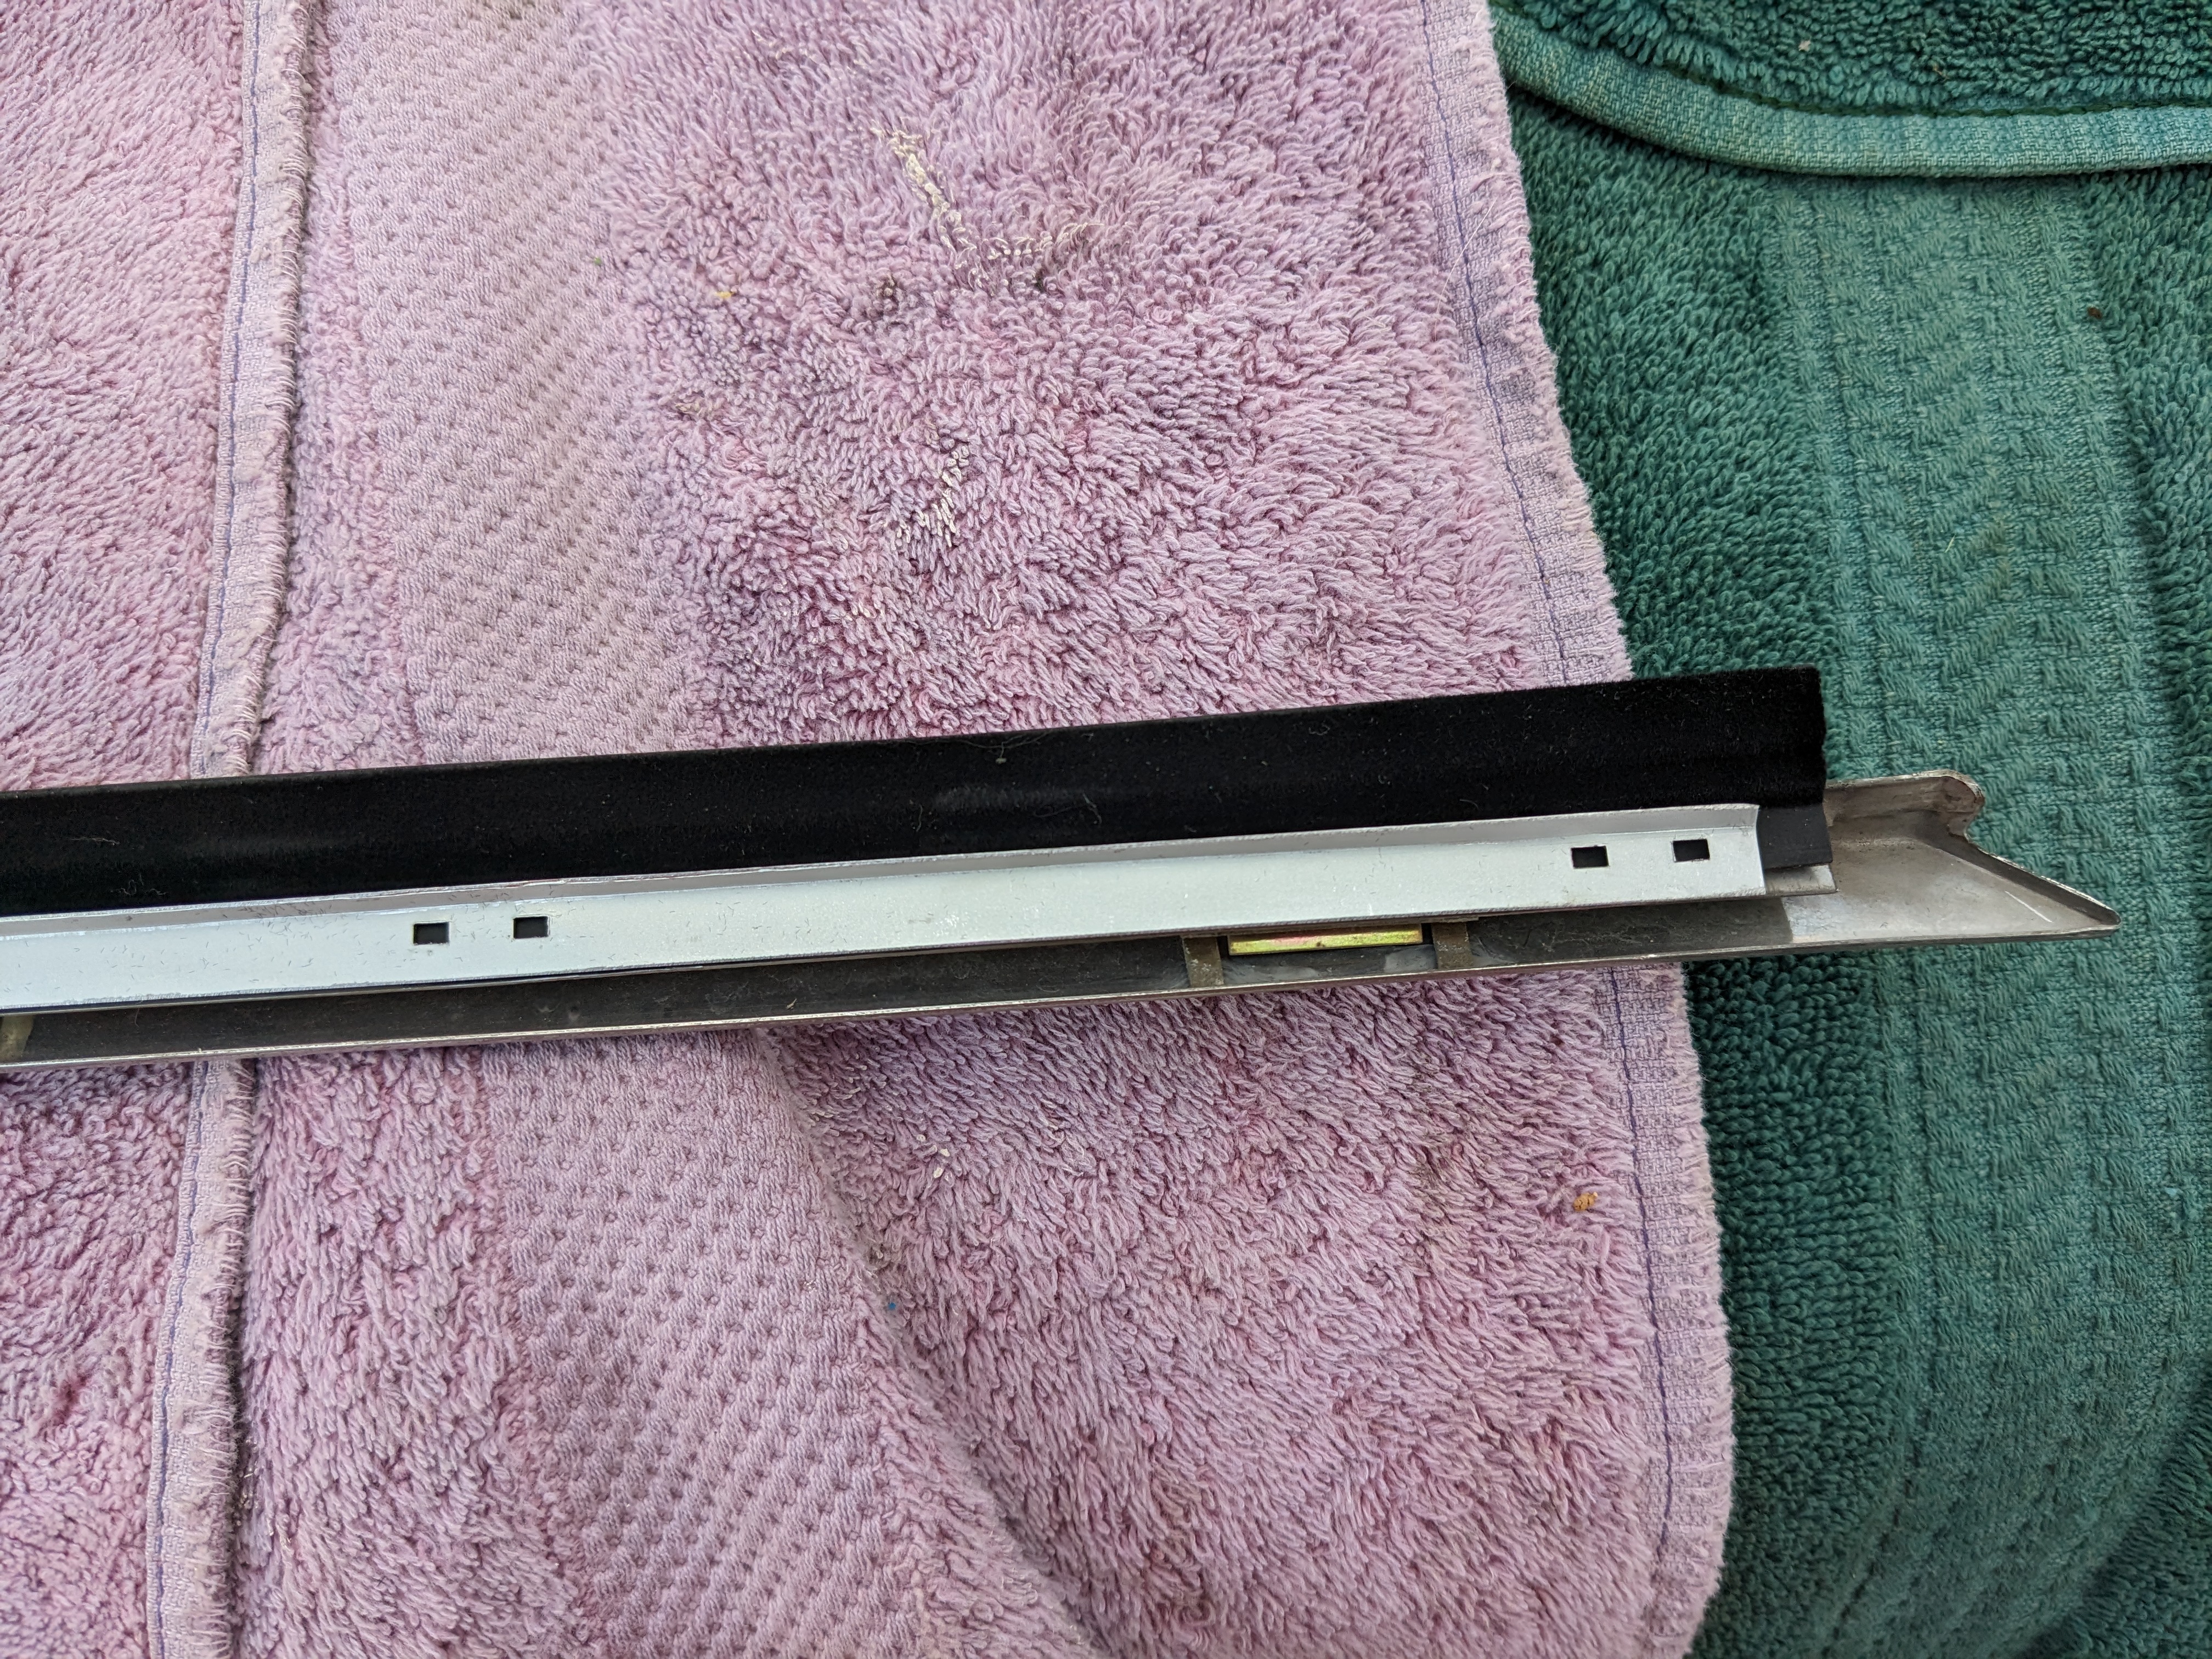
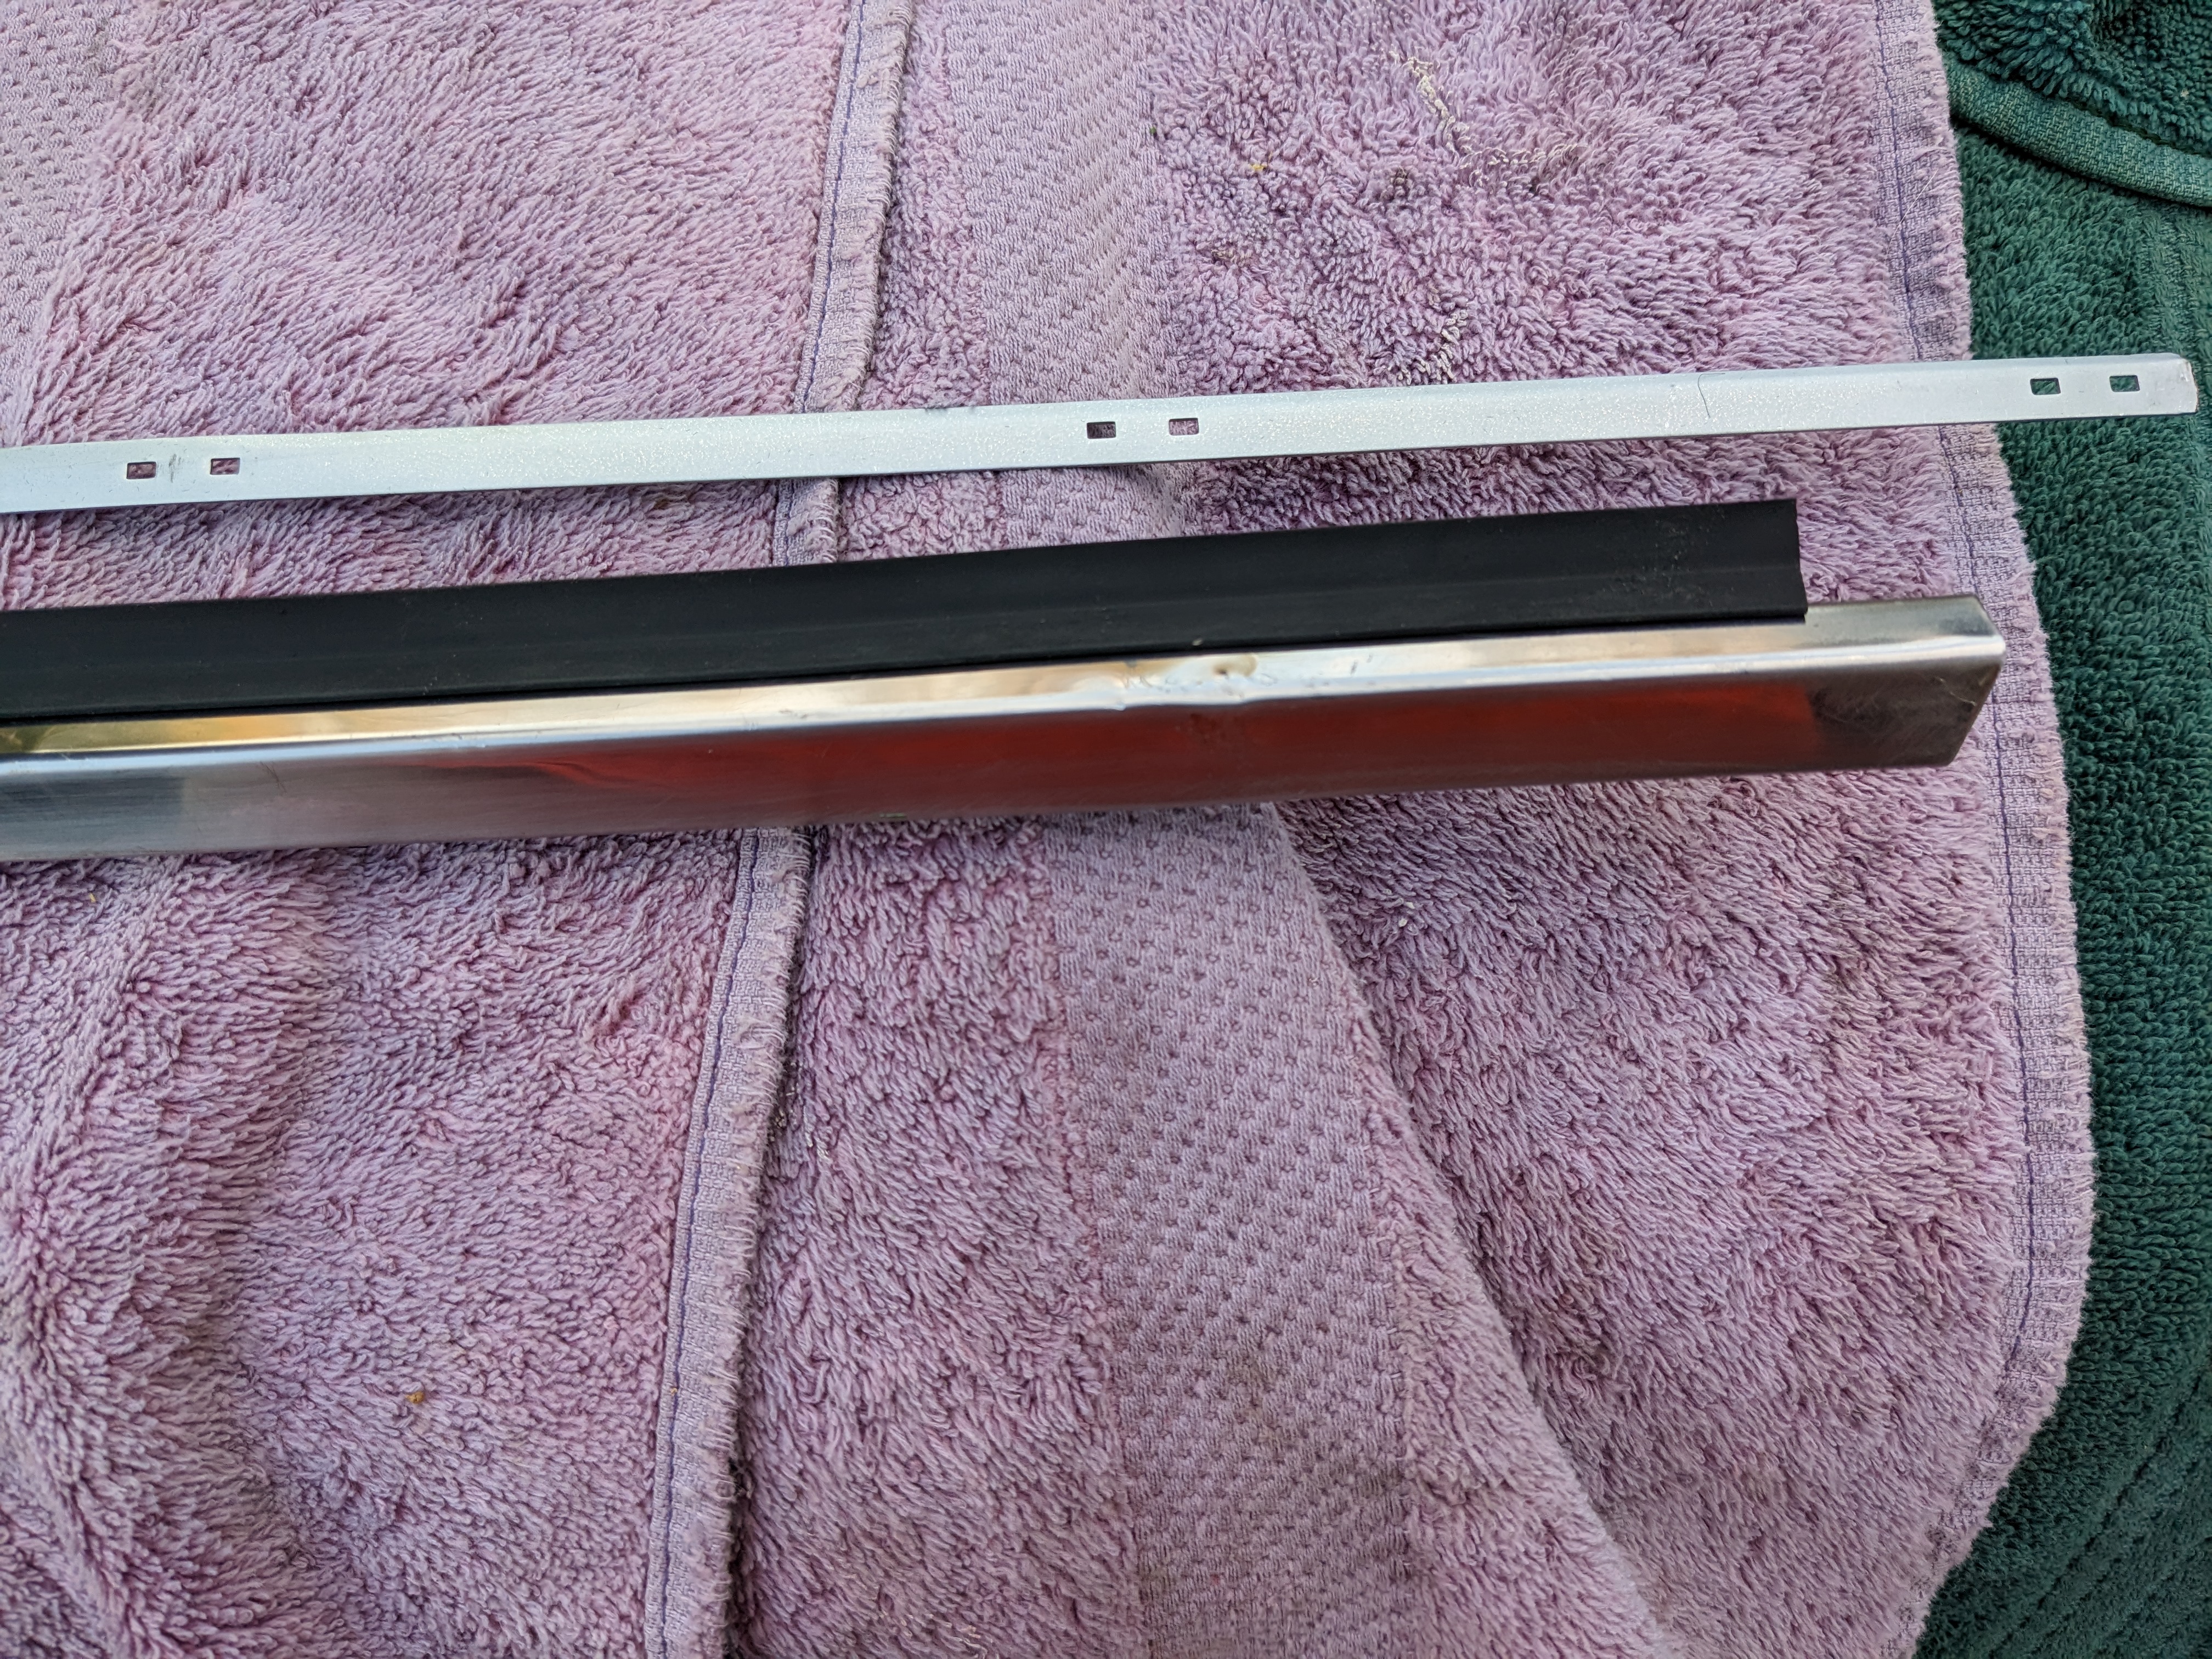
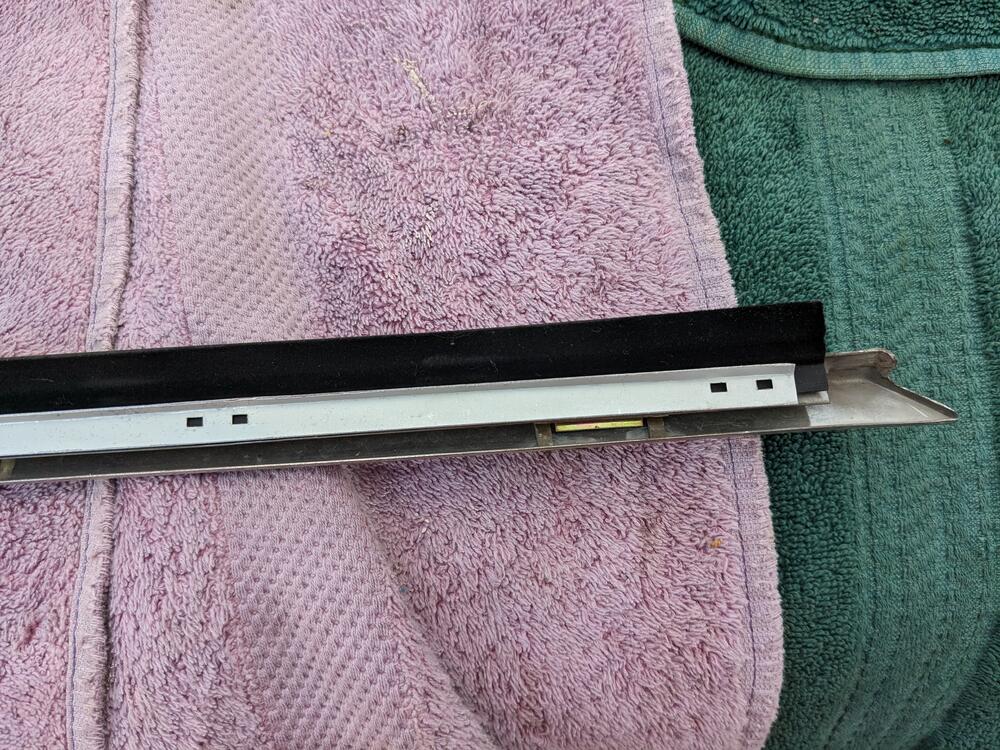
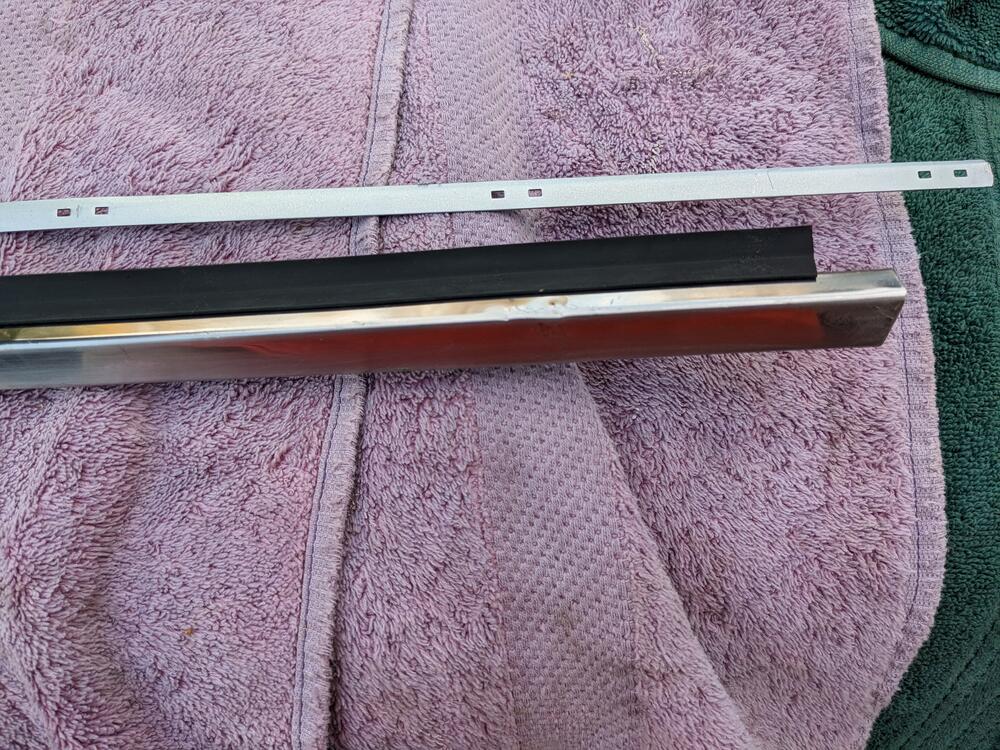
OK - ZcarDepot sent me a link to the manufacturer video - that's exactly what they did. I will have to redrill either the strip to match the molding, or vice-versa
-
I would say you need to do a leak down test. That will clearly indicate where the blow-by is coming from. The longer you let it idle, the worse it will be, esp if it is or was also running rich & washing the cylinders. Leak down test will remove the doubt.
-
The scraper molding & retaining strip came from ZcarDepot. You have to remove the original strip & retaining plate from the main molding.
-
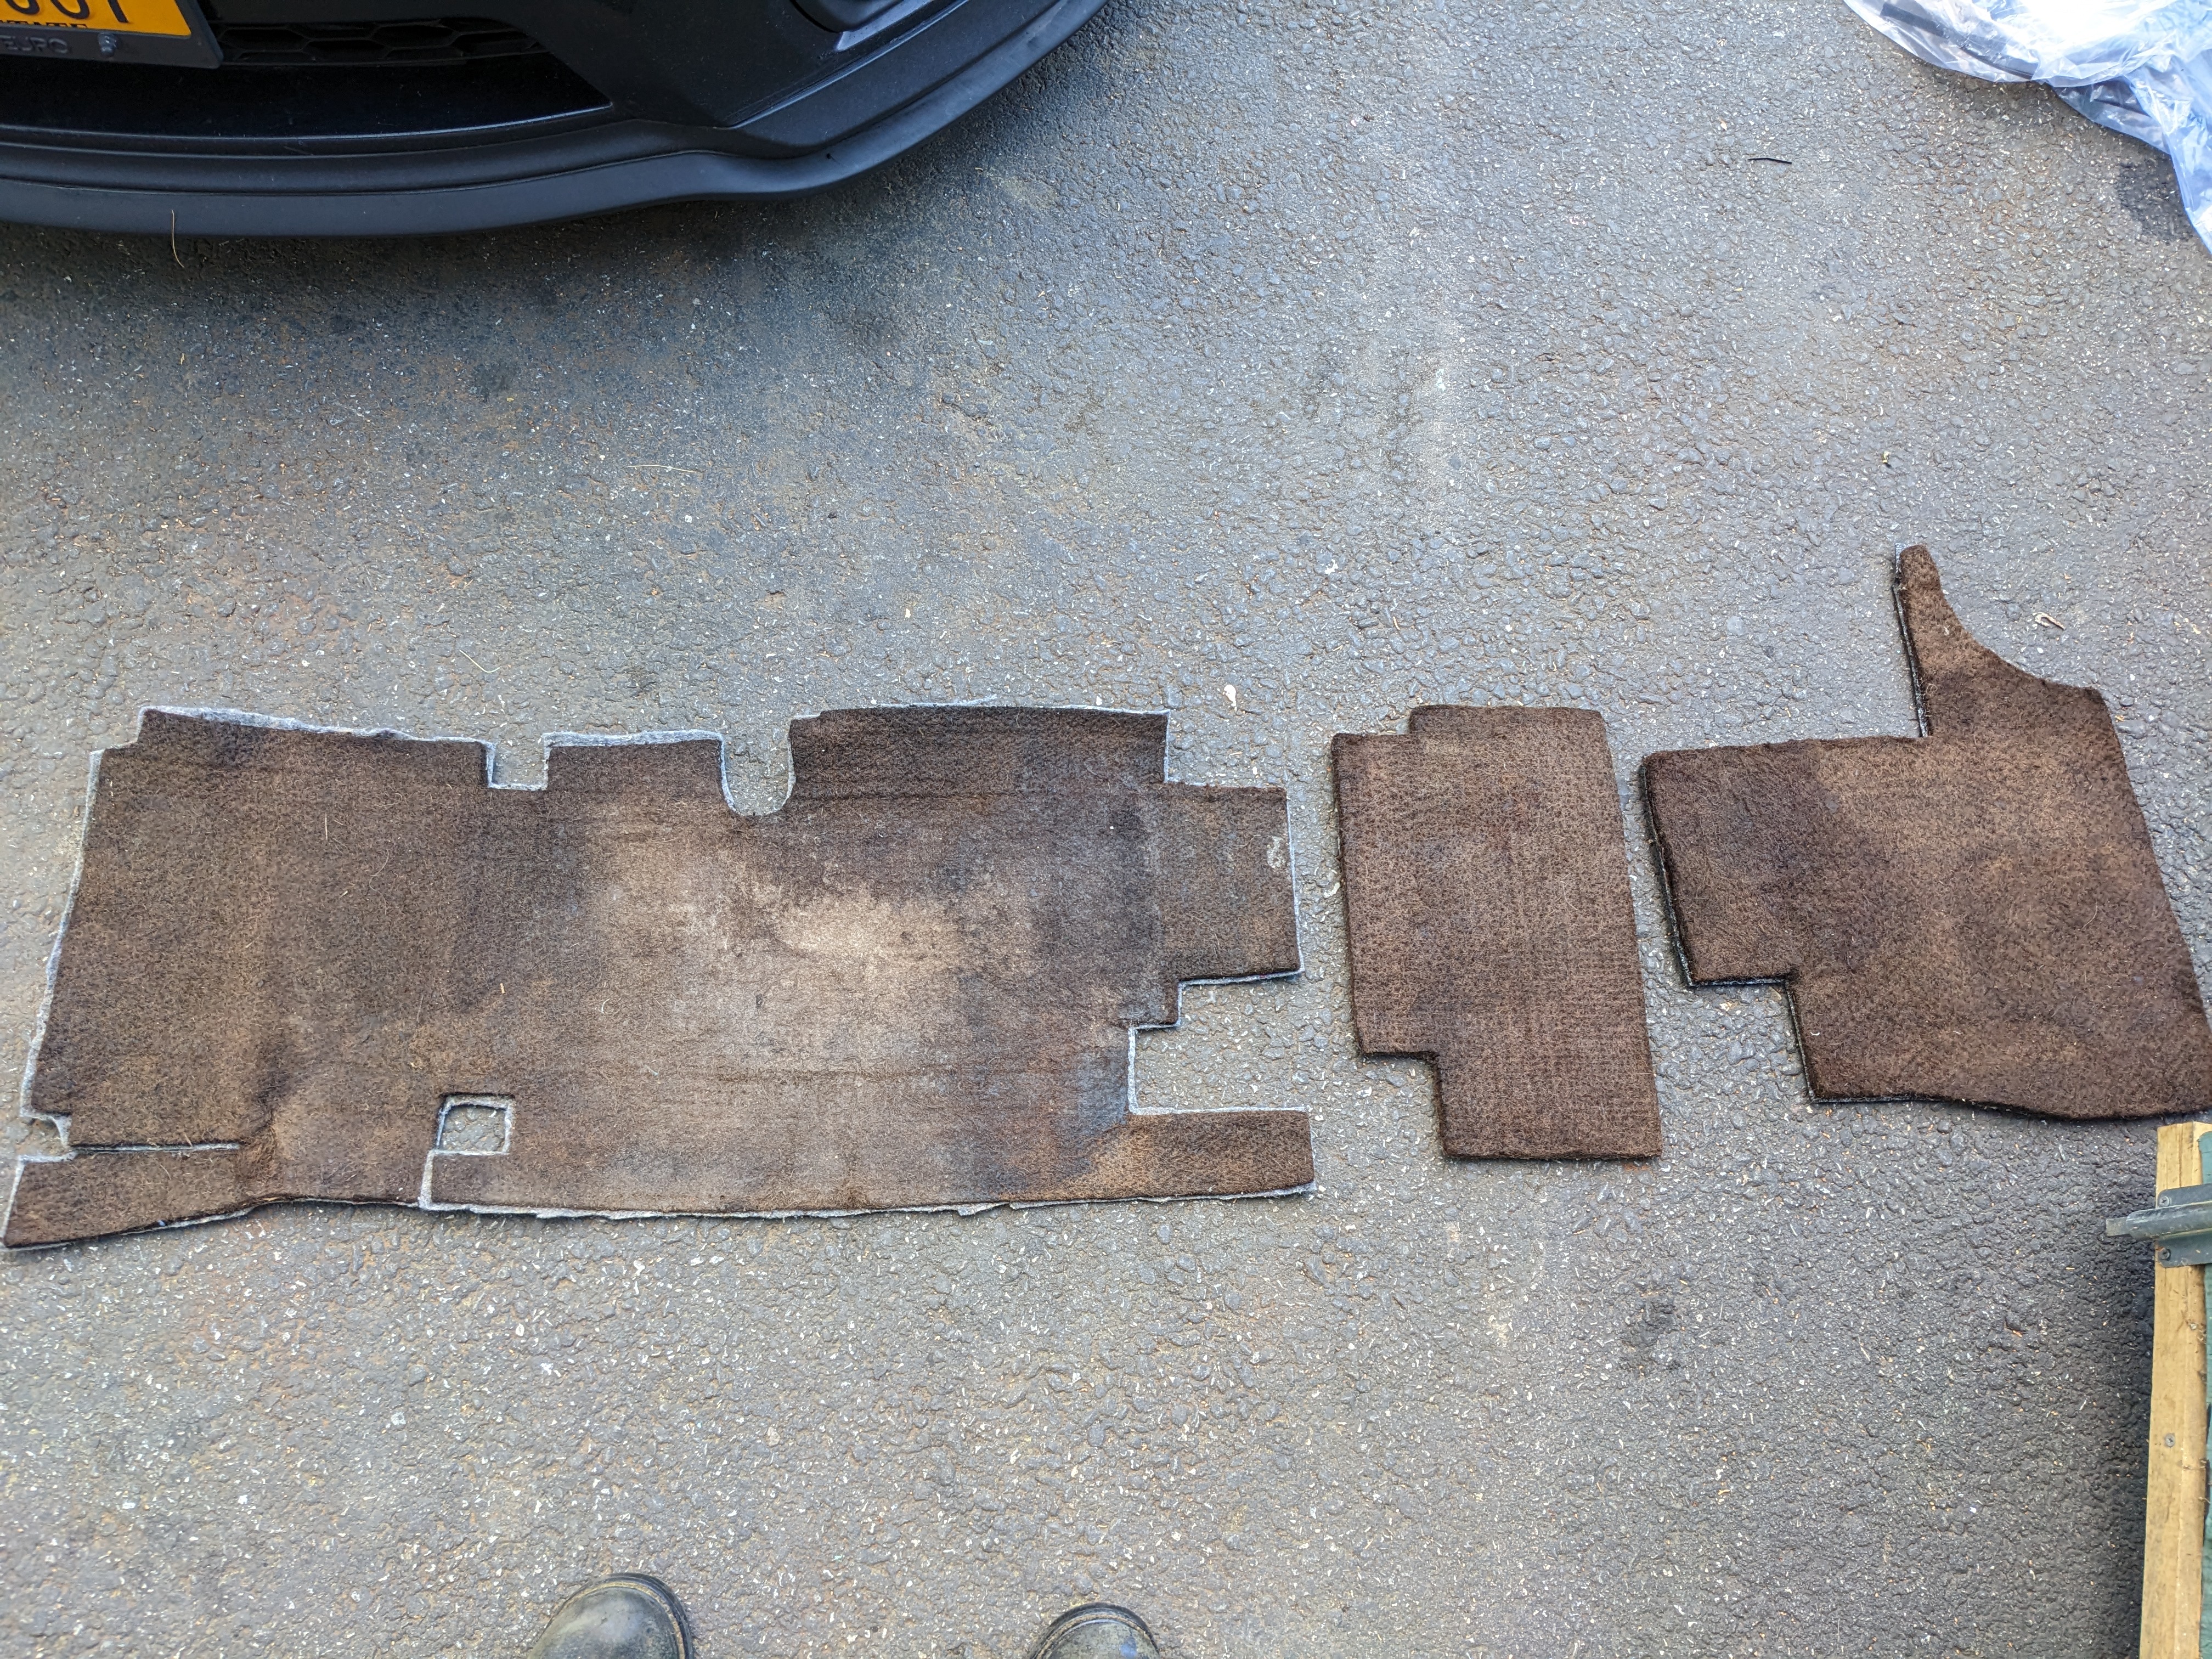
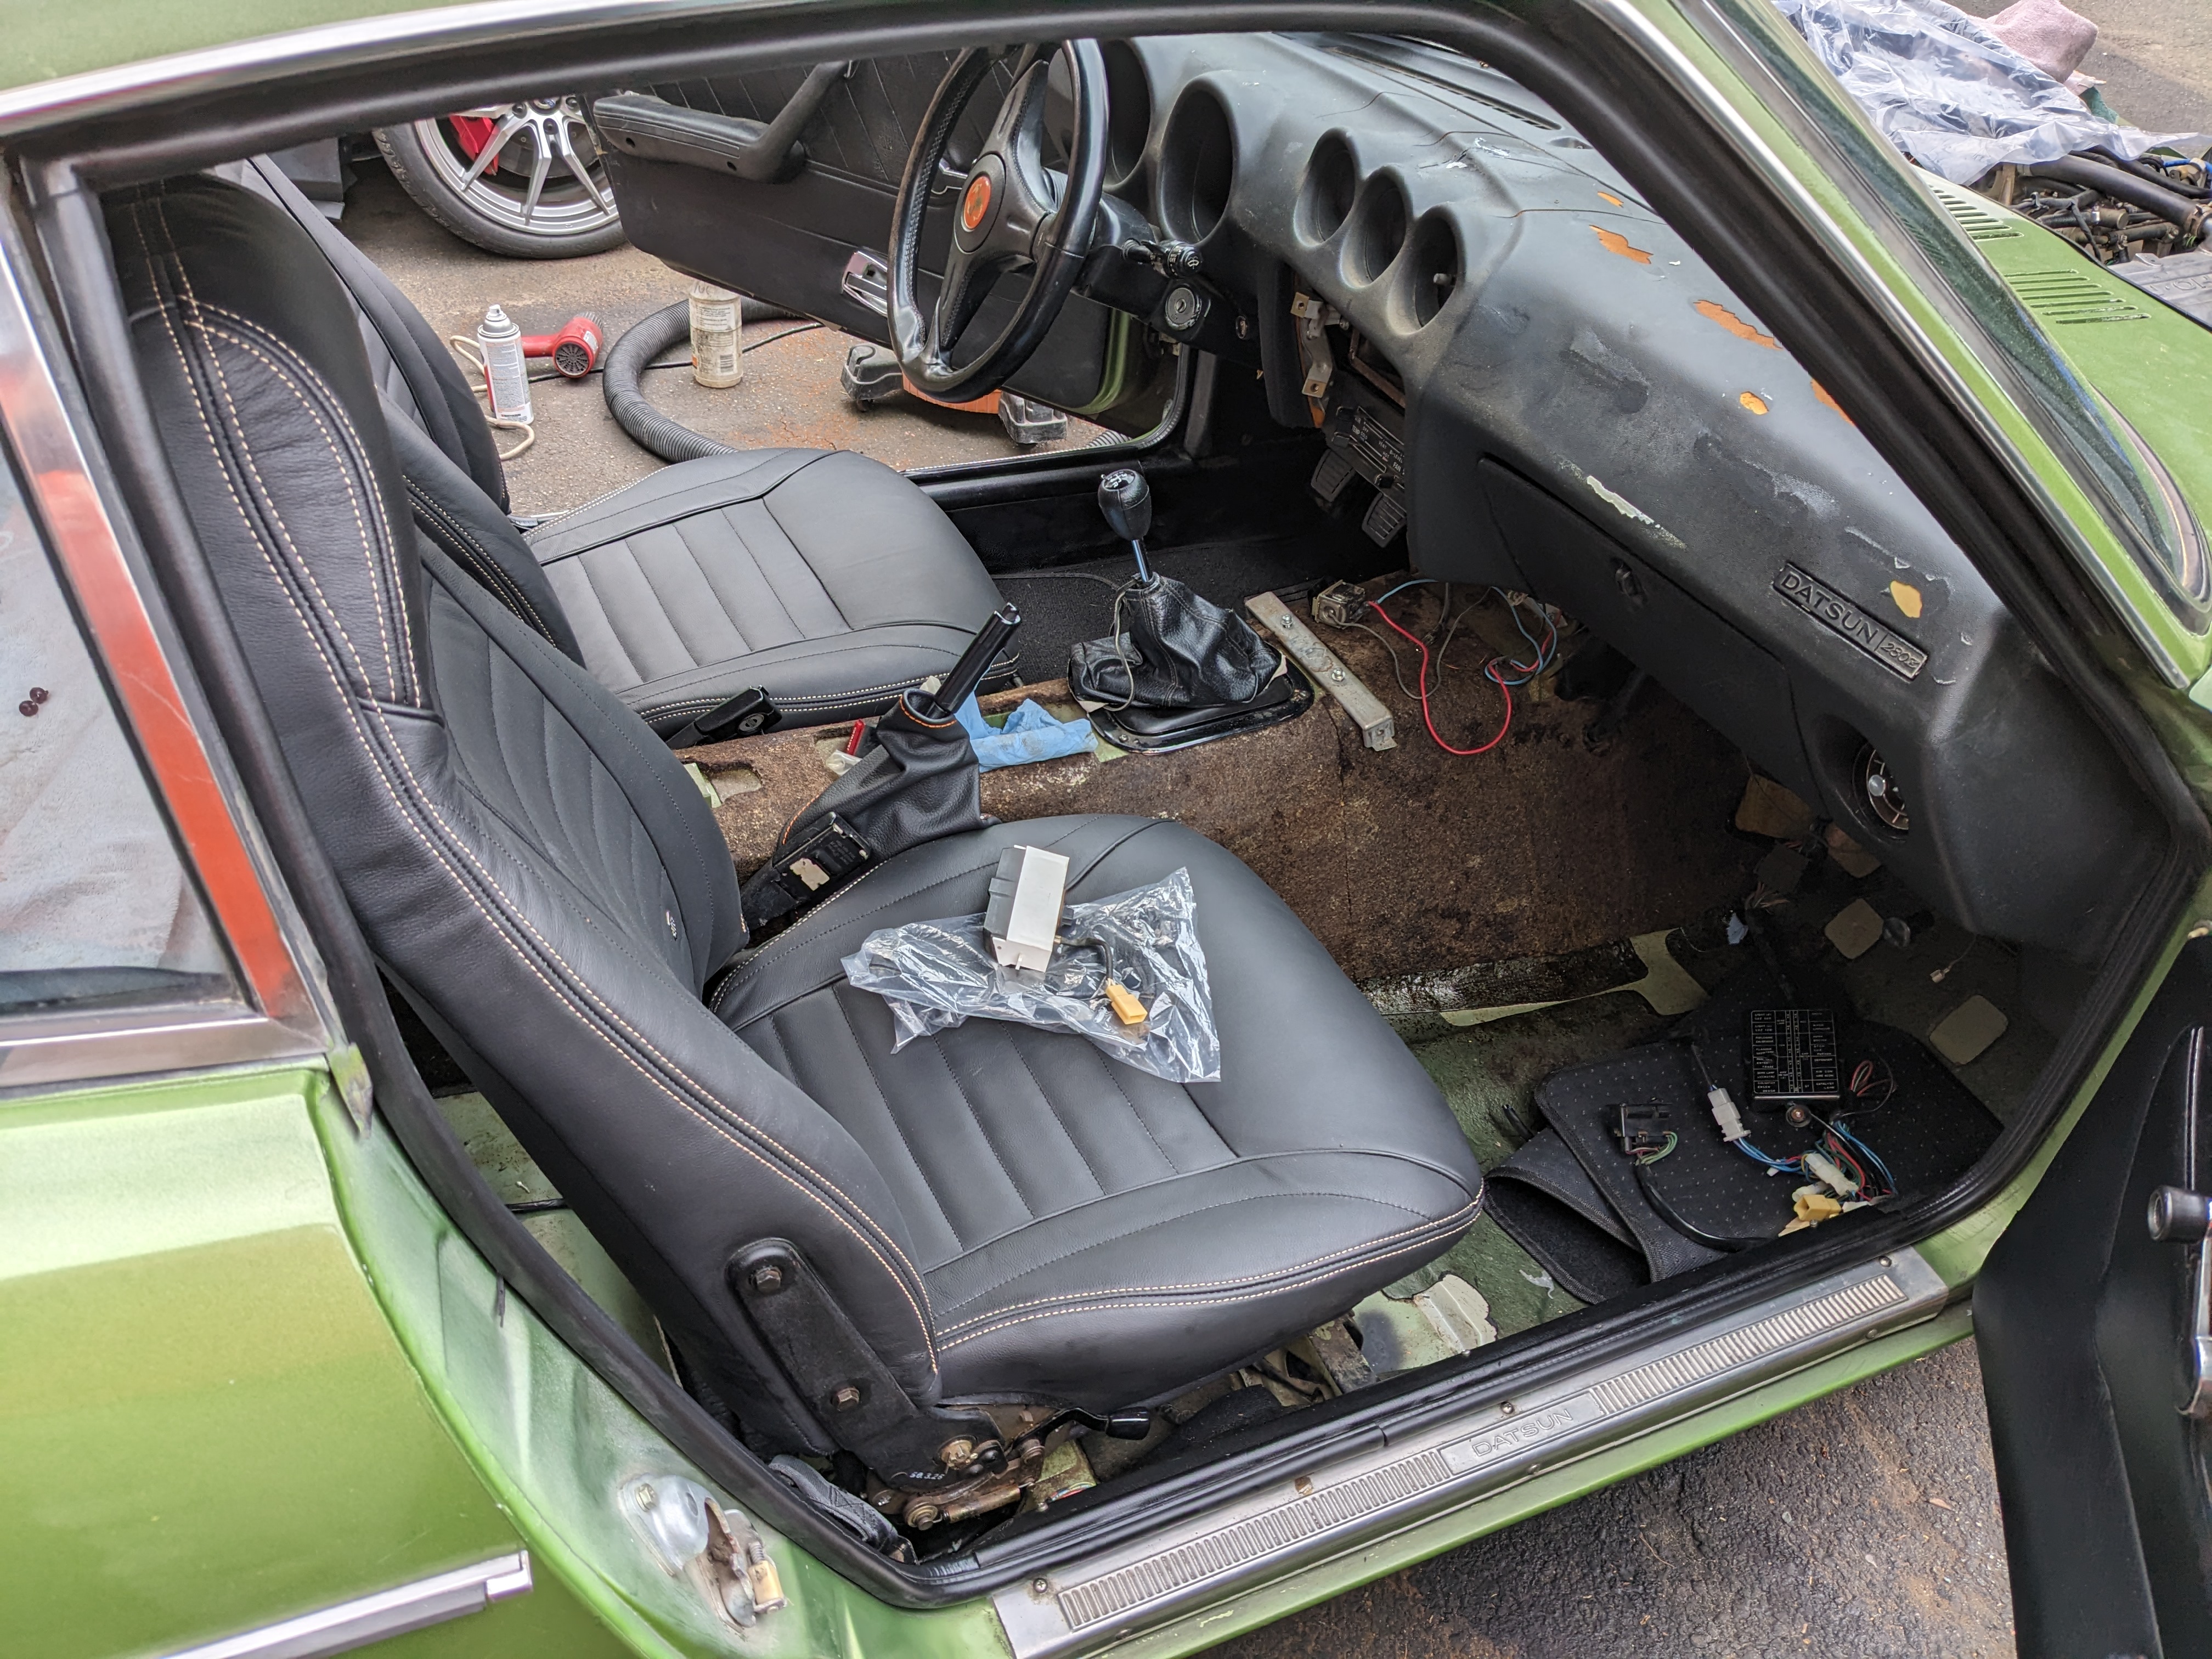
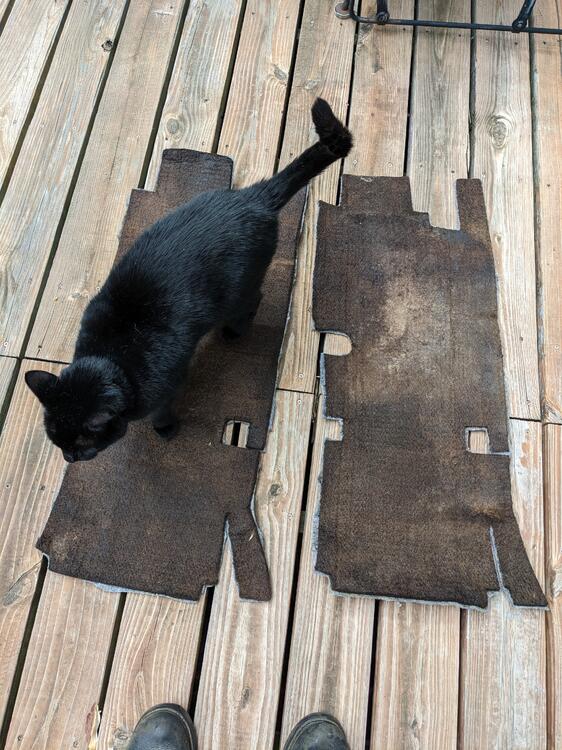
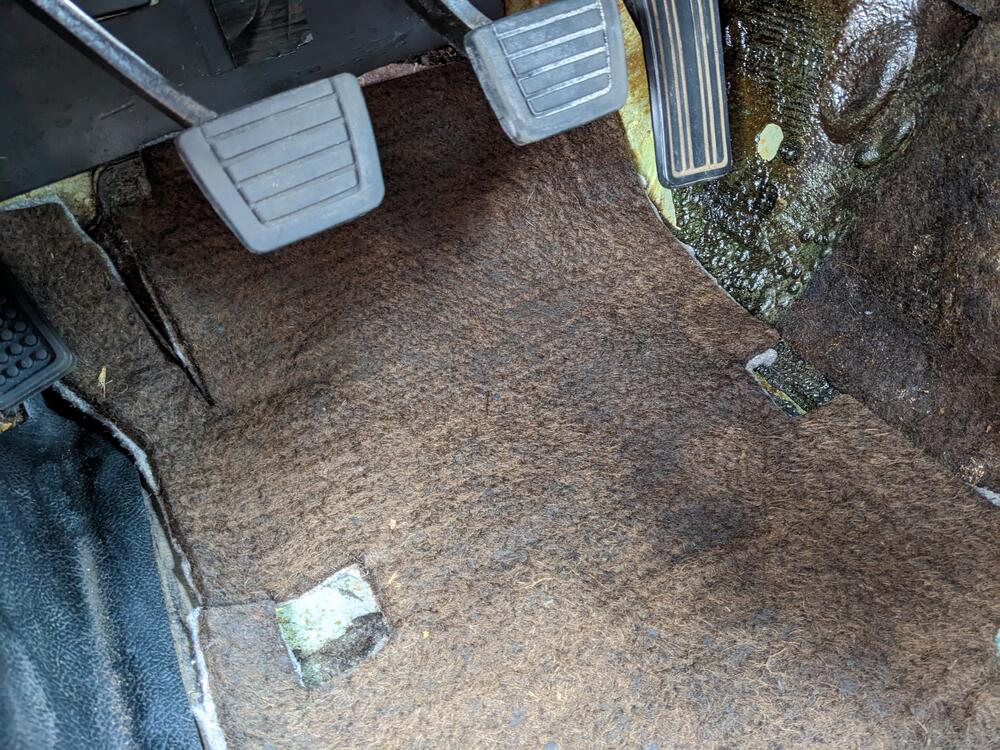
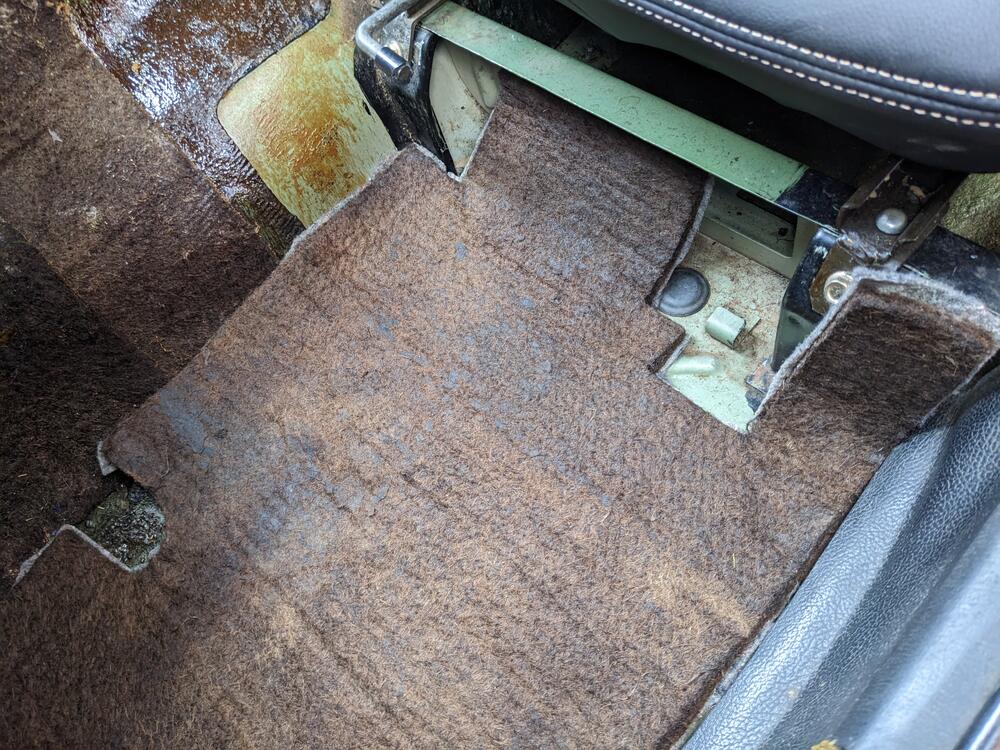
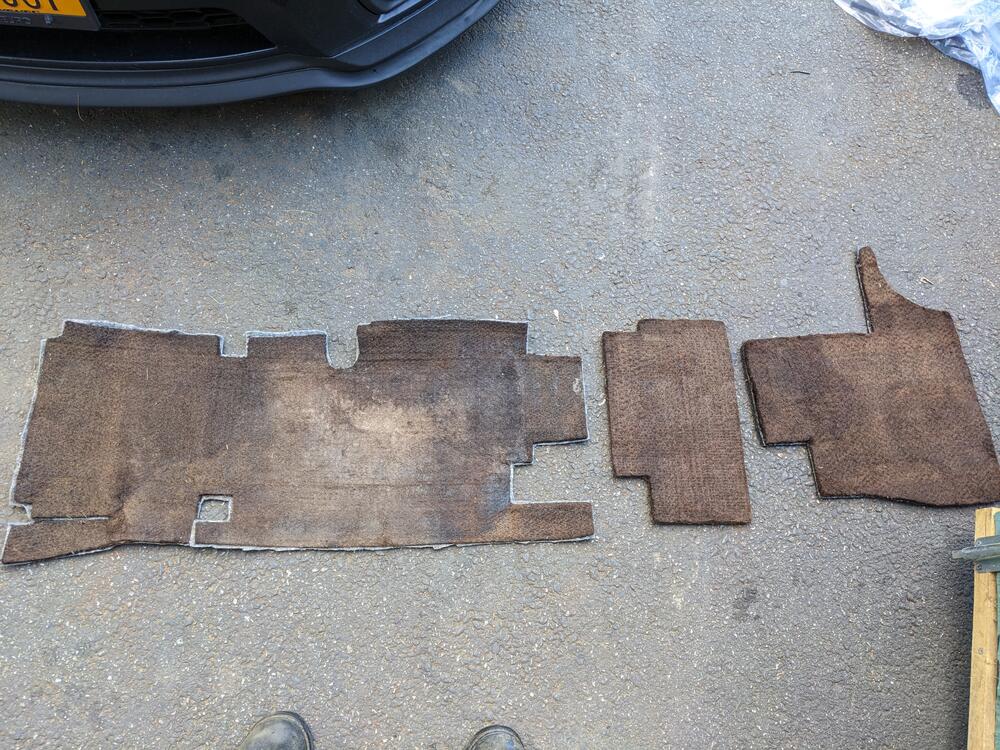
They look really "lumpy" - do they level out when actually installed? I have a question for you - did you note which way the undermatting fits in the front? I removed mine to clean & dry them, and didn't take a pic. putting them in,, I don't seem to find a obvious orientation that doesn't seem to have fitment issues. There are cut-outs that don't seem to align with anything Do you know if this is correct? EDIT - I have 3 pieces per side
-
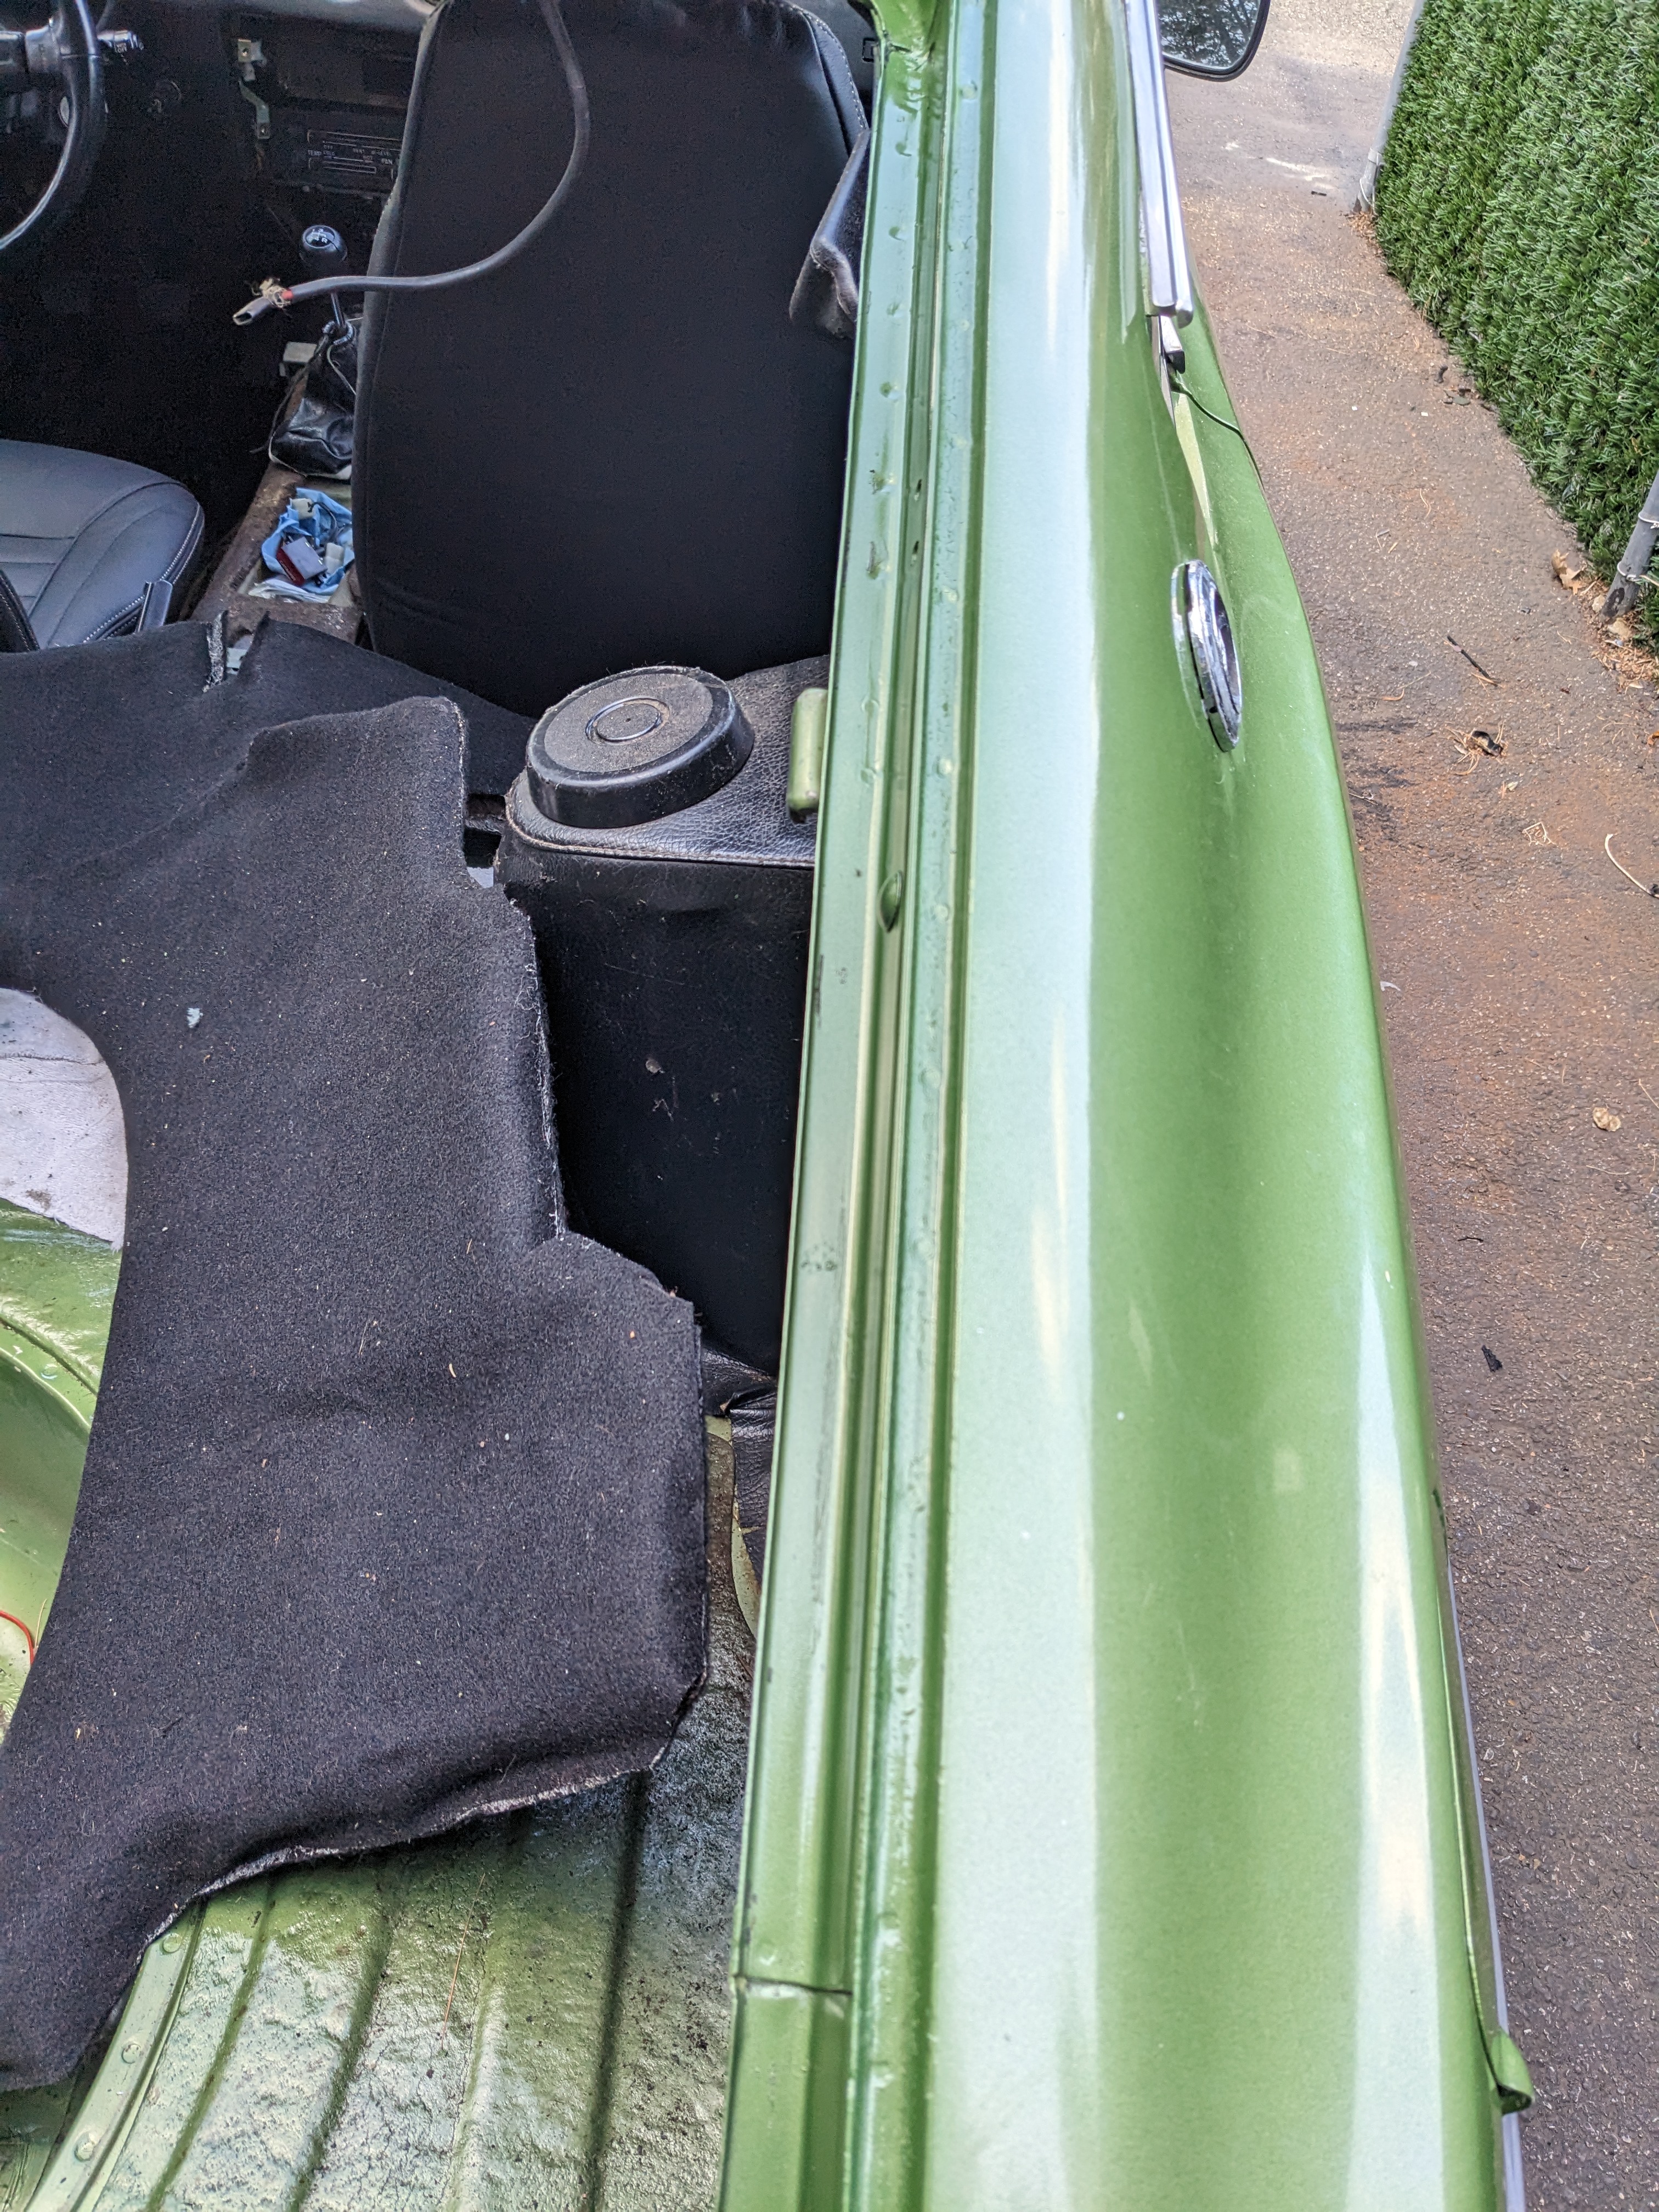
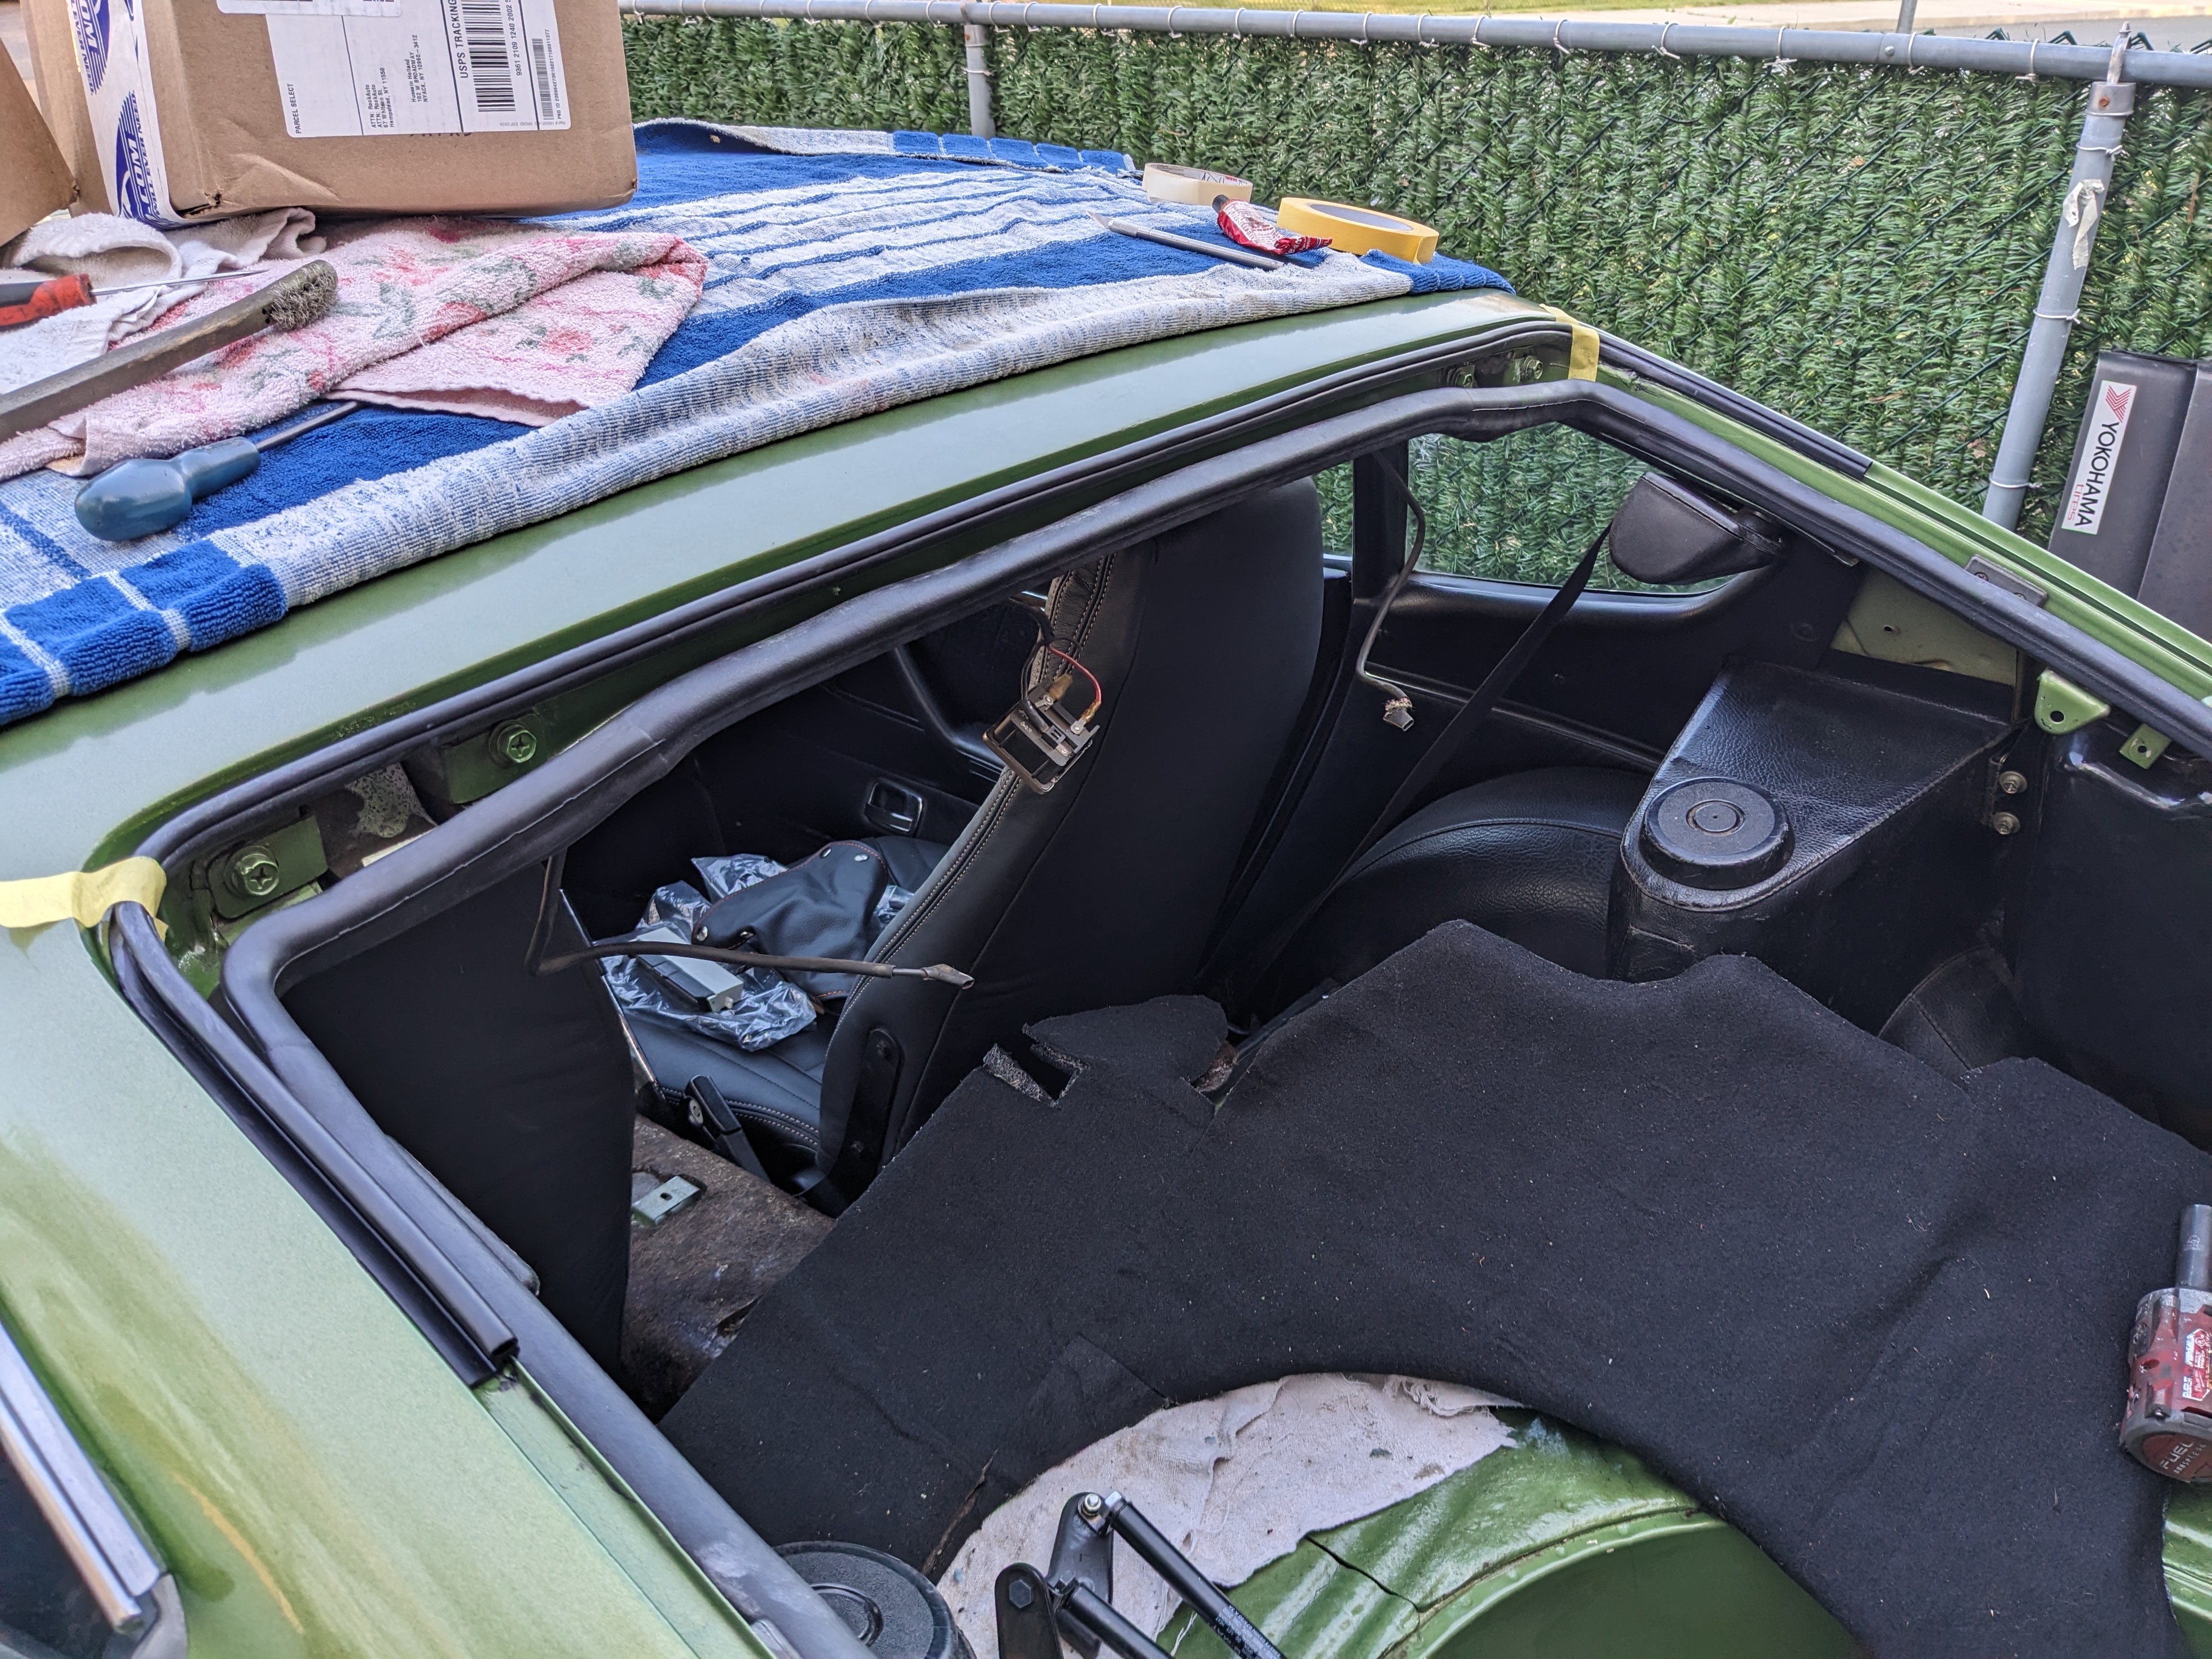
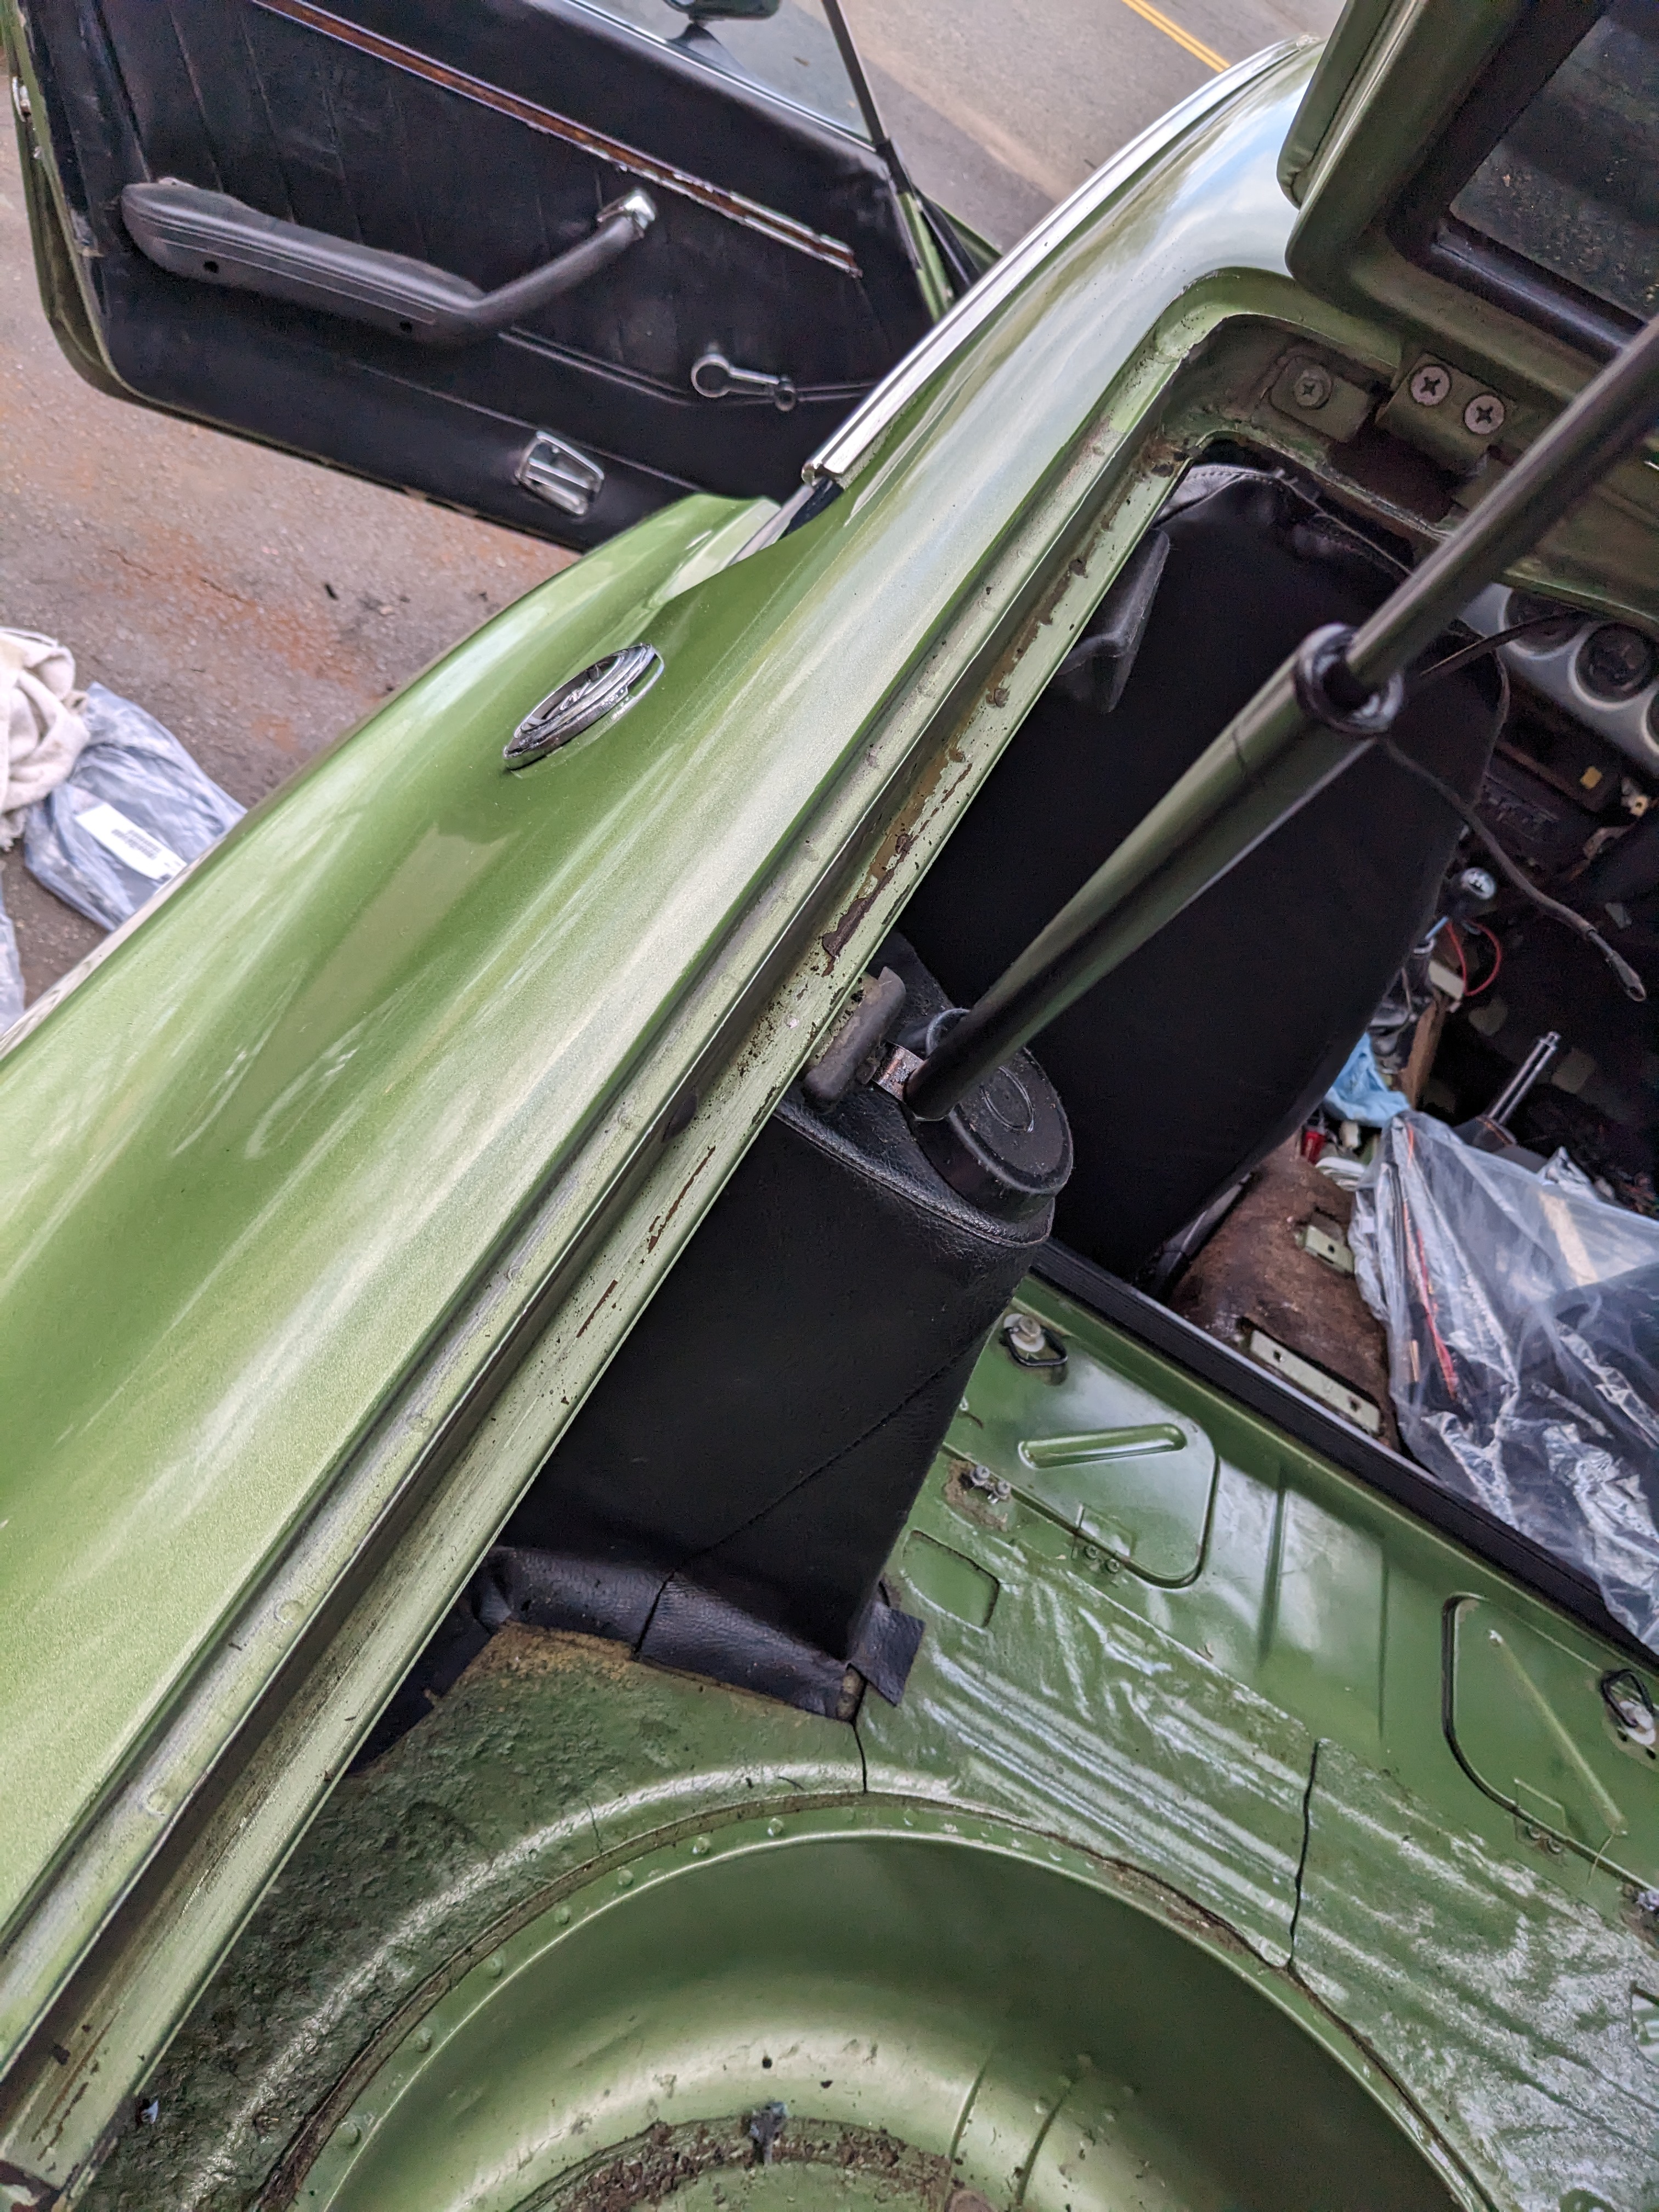
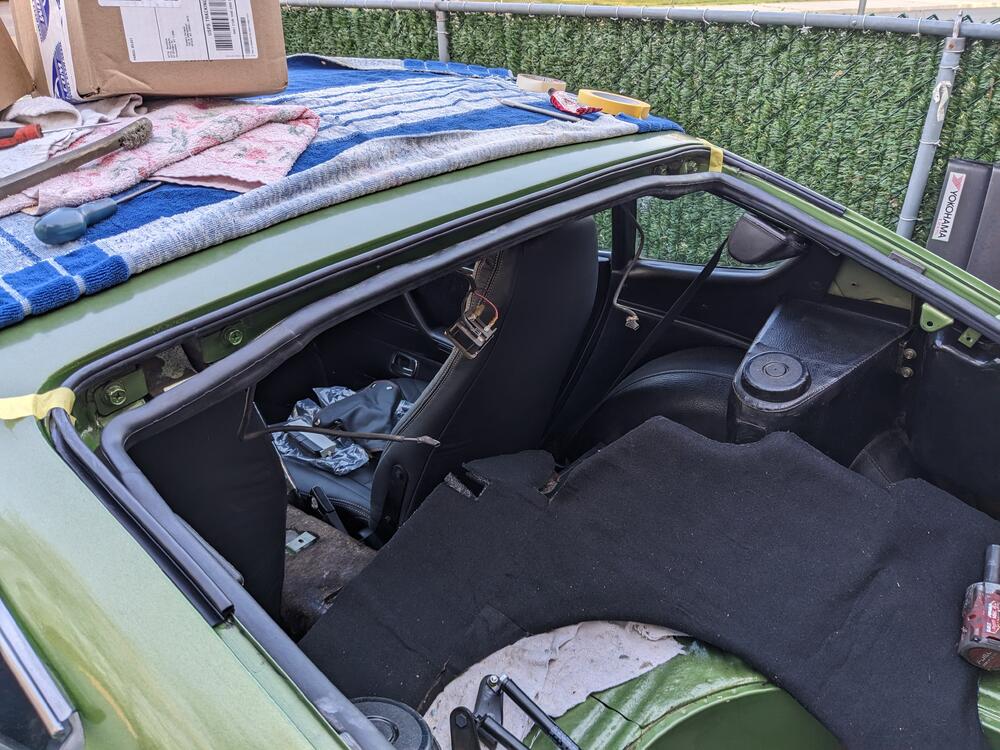
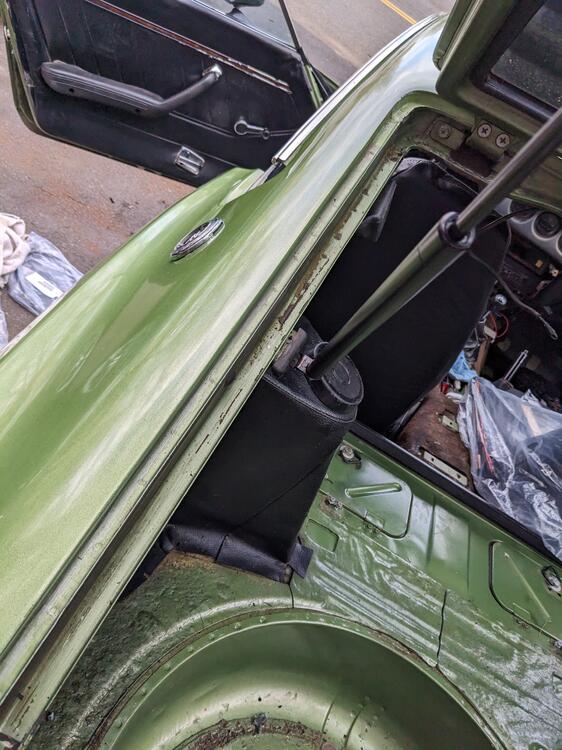
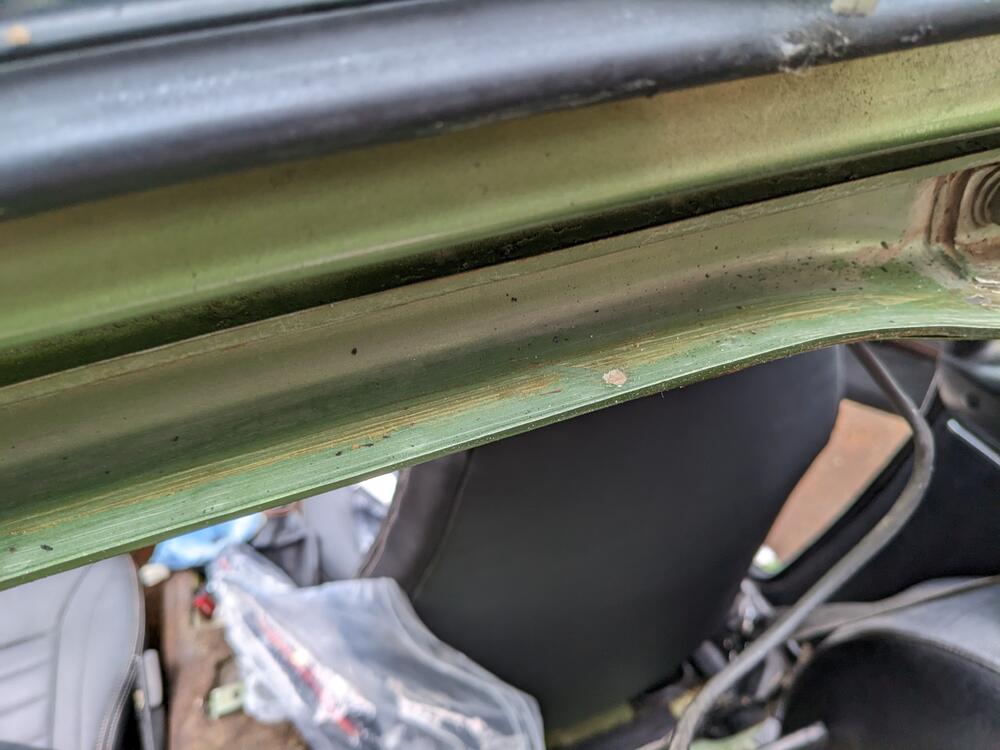
I started dealing with the body seals today. I removed the rear roof trim to look at the hinge seals, and from what I can see, if those leak it will run down the 1/4's into the body sides. Can't see how it would run into the rear floor area I have 4 pieces that go with the hatch opening, but I only know where the main seal fits. Mine doesn't have any other seals around the hatch opening . Anyone have pics of their hatch with the "upper outer" and "lower side" seals in place? I got both door seals in. Doors are a bitch to close / open now. I moved the latches slightly outward, just to reduce the load on the release mechanisms Driver's door-to-fender seal in I started on the scraper molding seal, but I don't know what type of stapler would even work to staple the new retainer strip in place. Anyone done theirs?

-
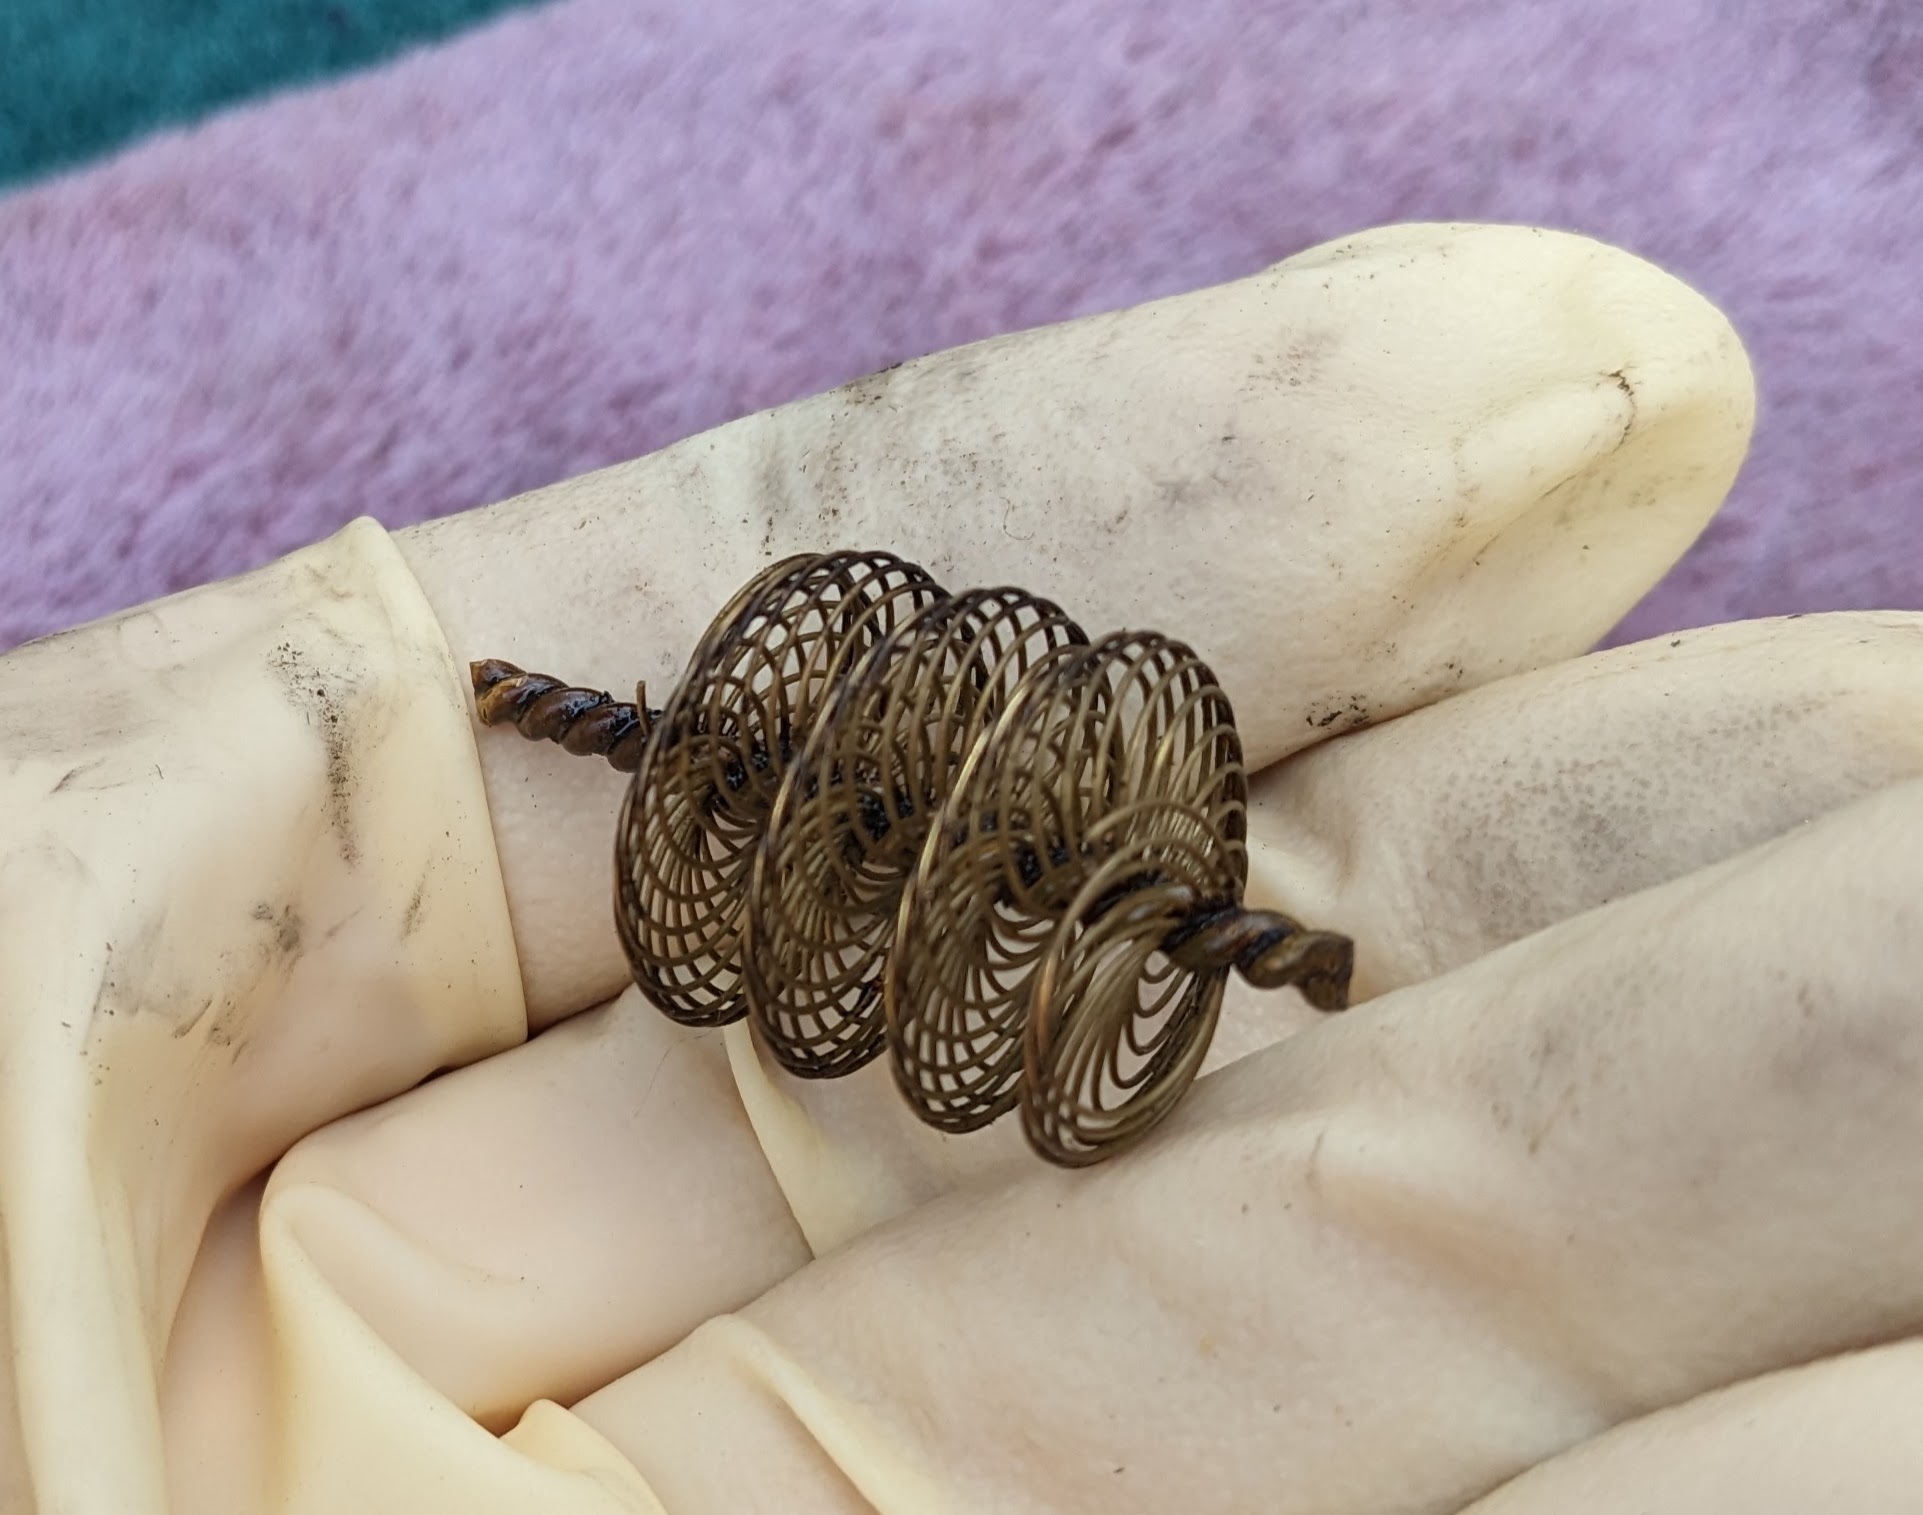
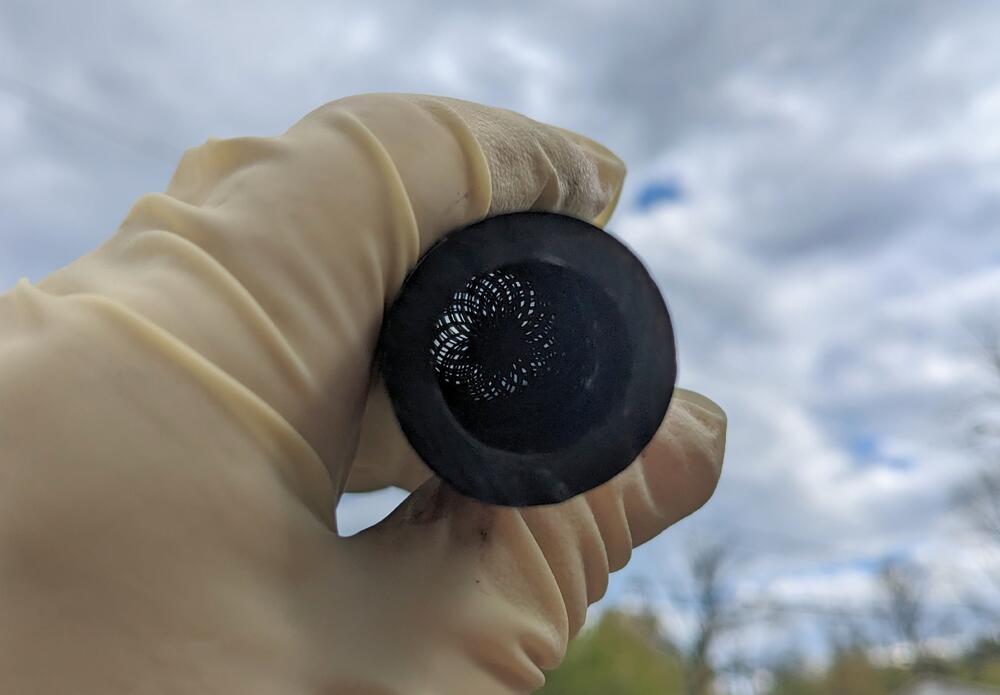
So, the flame arrester # 4159642 from 70'-80's Fiats is well constructed & fits perfectly inside the vent hose. EDIT: brand new, under $5
-
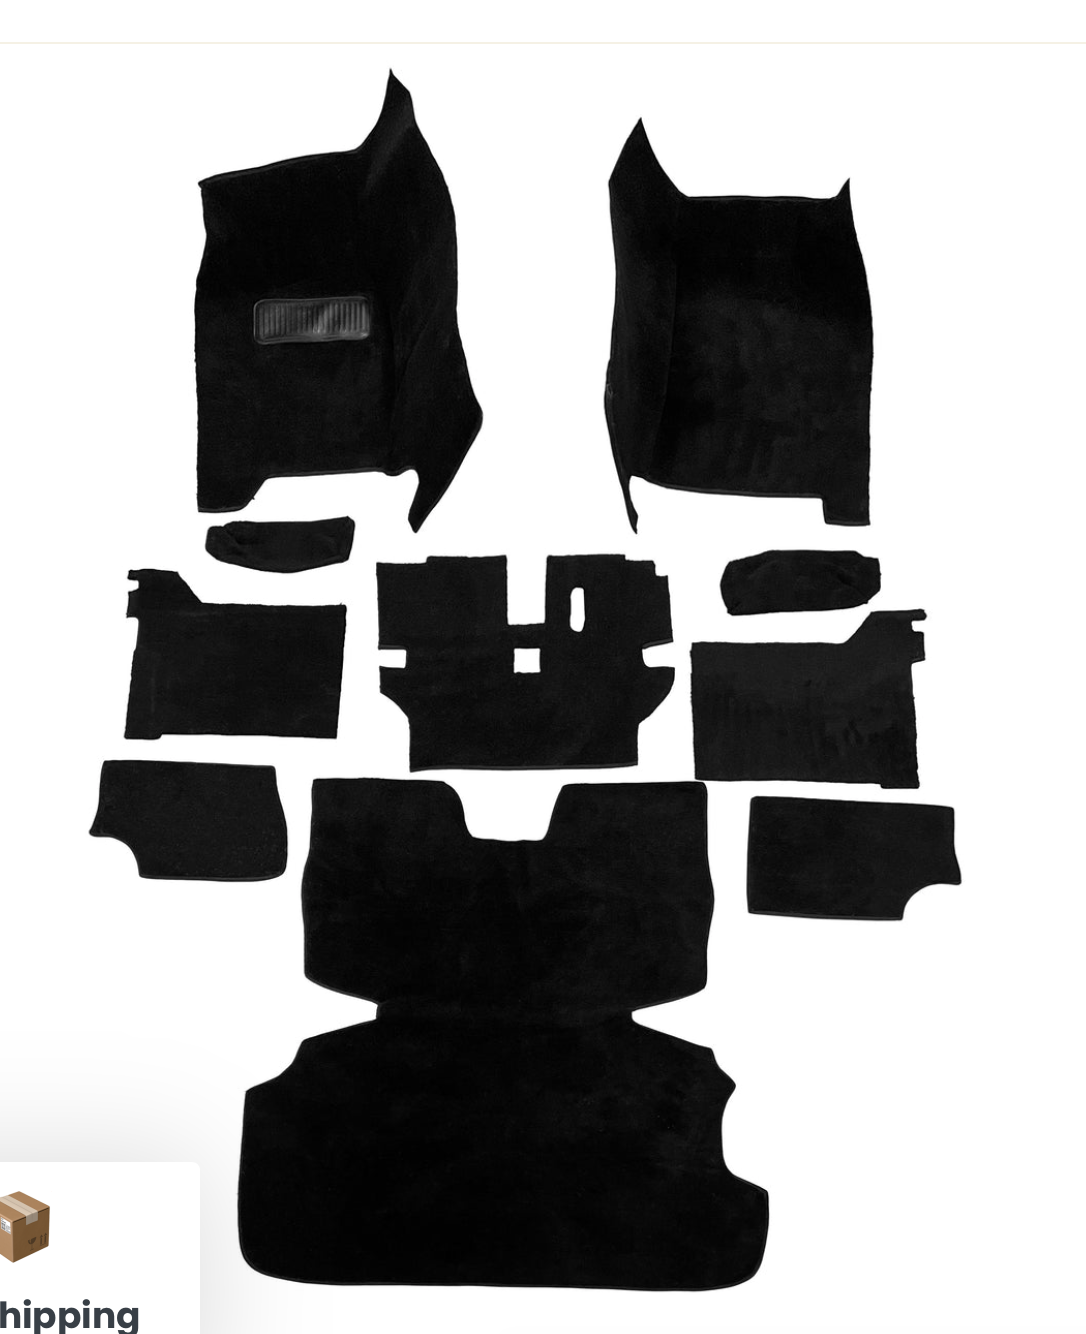
Did you order new Carpet? I ordered mine (75 280Z) from NewarkAuto. The quality of the carpet is very good. Properly backed as well. They have a kit listed for the '77, which is definitely not the same layout as my 75. Can't tell from the image if they cut & seam the strap openings you would require. I would call them to check .

-
I was thinking I may have to squat inside & have my wife spray the roof (trying to simulate rain, so not a jet aimed directly into the hatch channel). I'll drop the interior trim for a better look see.
-
I chose them over some of the other rear brake conversions because they use a newer (more readily available for servicing) rear caliper & pads. They have been super responsive to email questions. I haven't fitted the brake conversion yet so I can't speak to the quality of fit. I'll post pics of course when I get there.
-
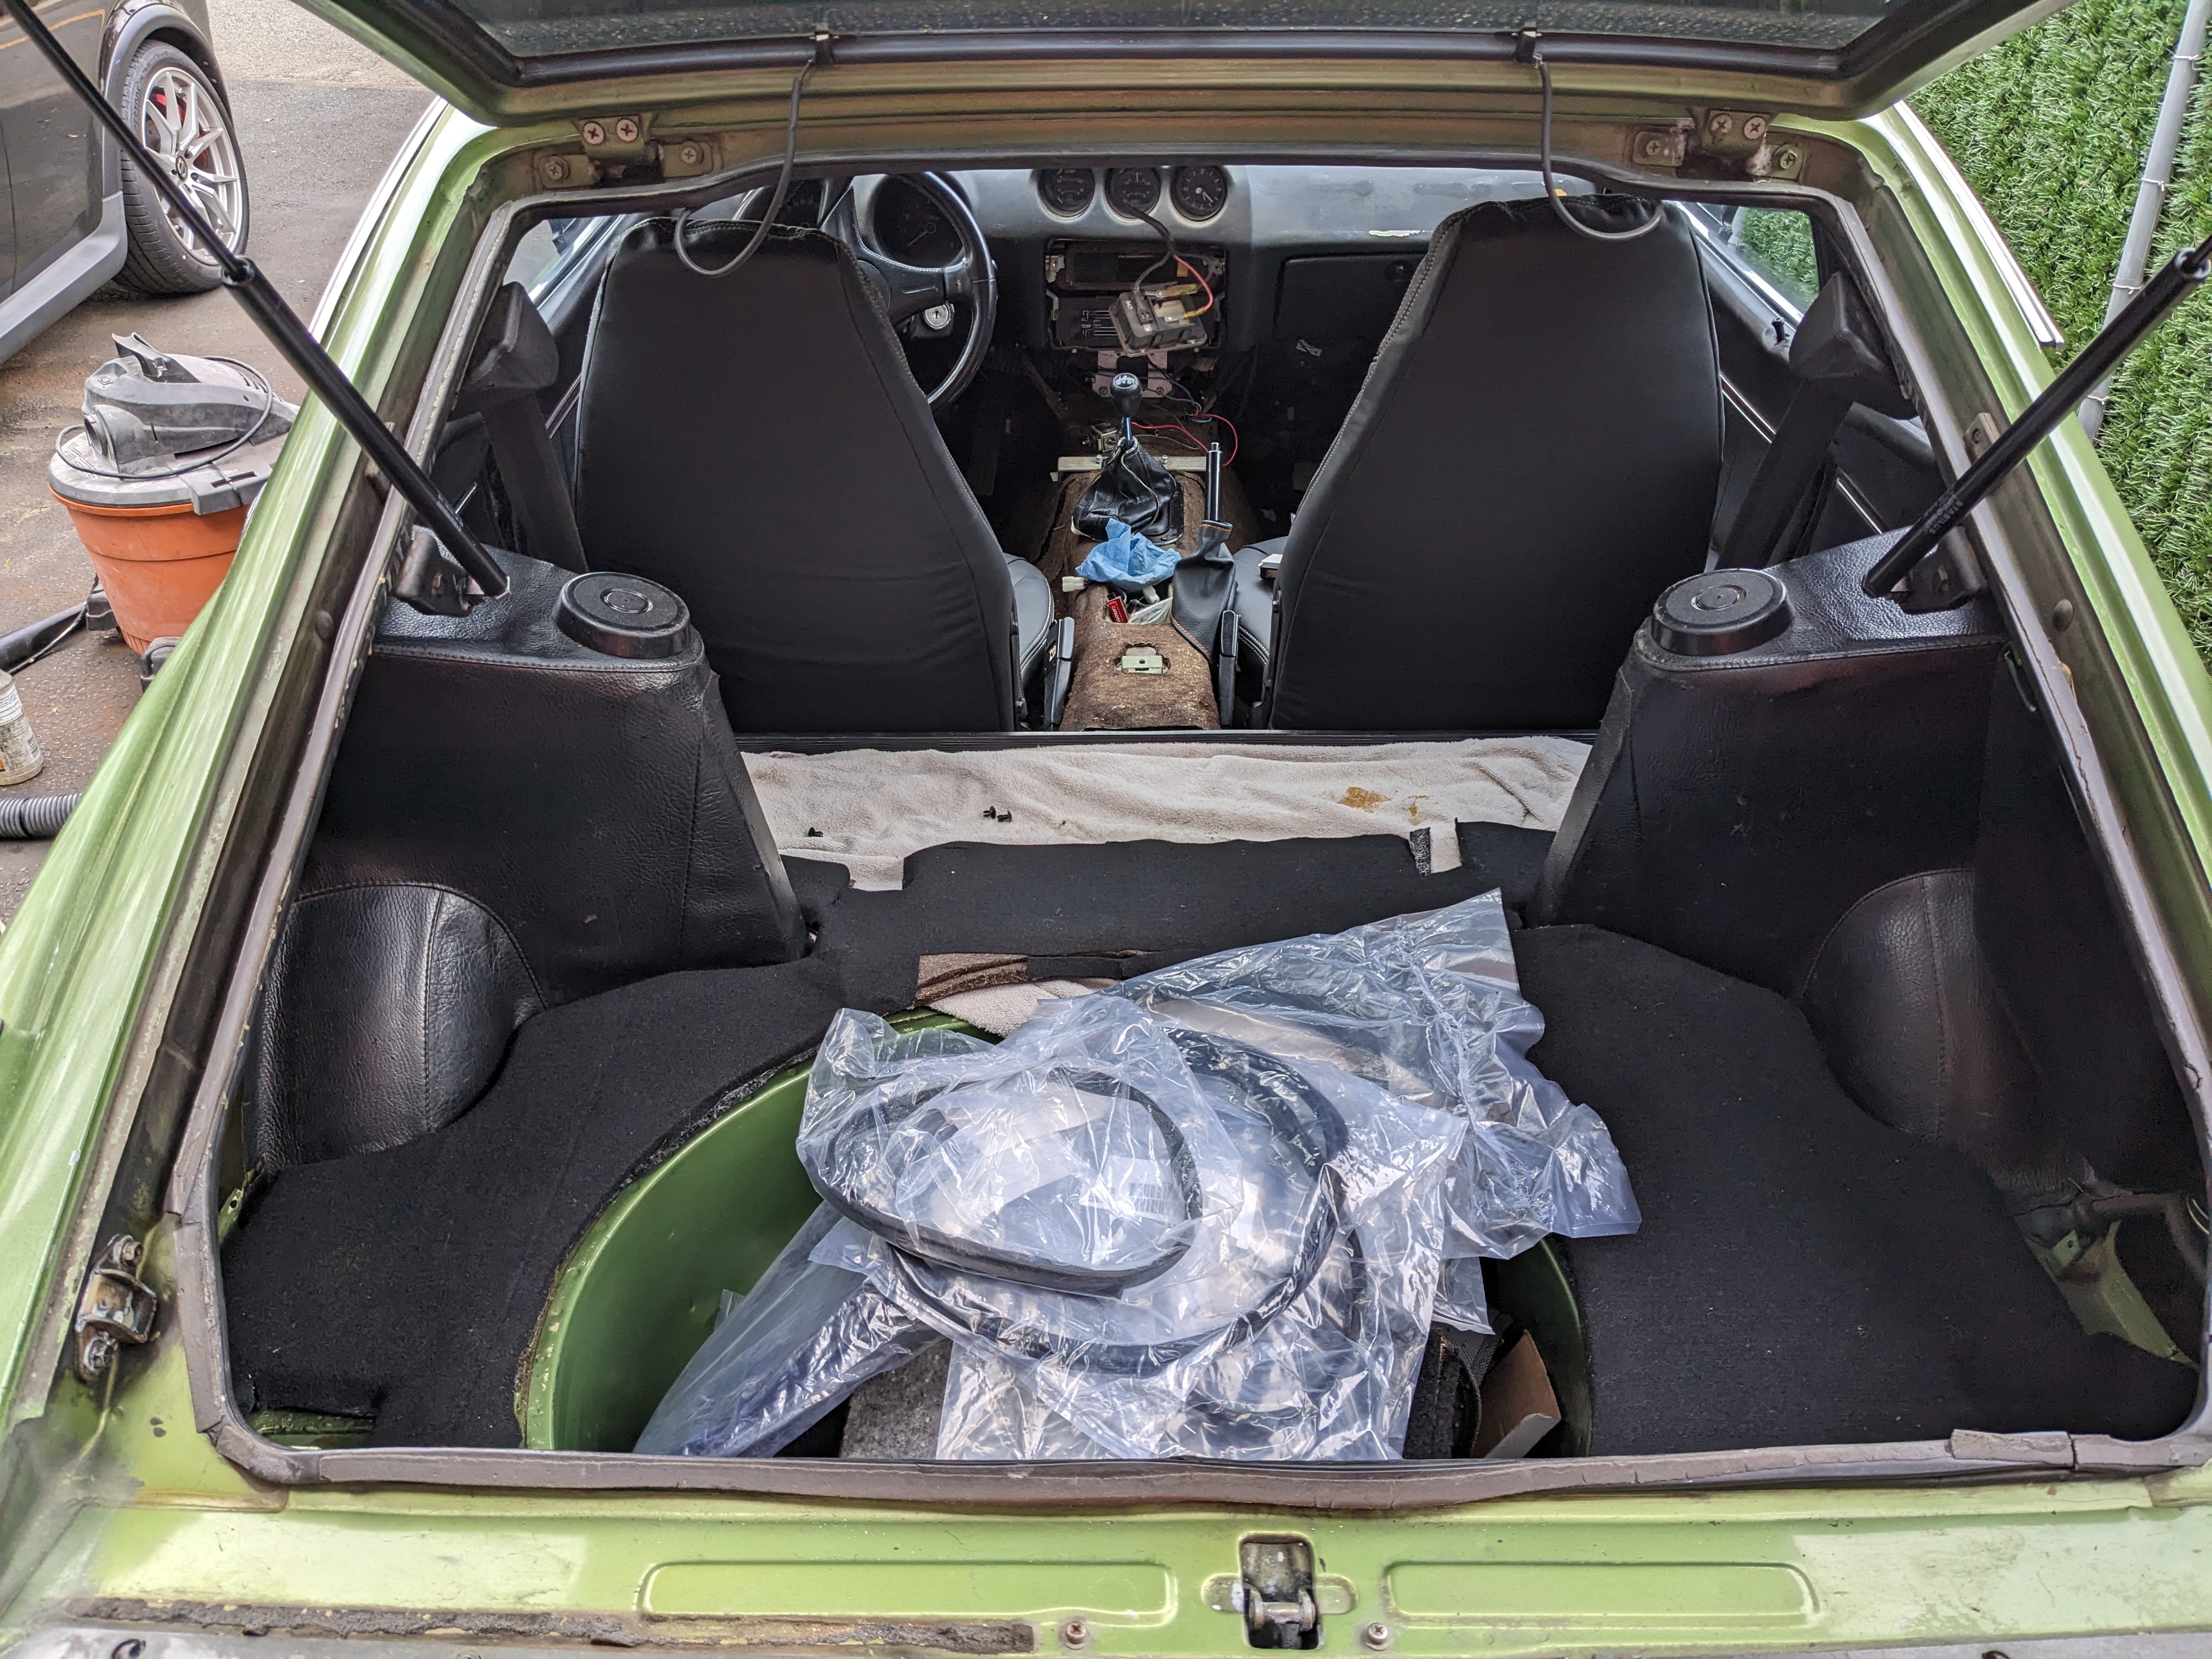
Thank you for the responses. The hinge area makes the most sense, in terms of water dropping directly from above, the car sits basically level, only a slight downhill angle of a few degrees. The undermatting in the hatch area was only damp where it touched the water in the rear pocket area, it's not wet below the hatch. I'll drop the trim panel & see if I can see what the hinge seals look like. I guess the next step would be figuring out who makes them anymore.
-
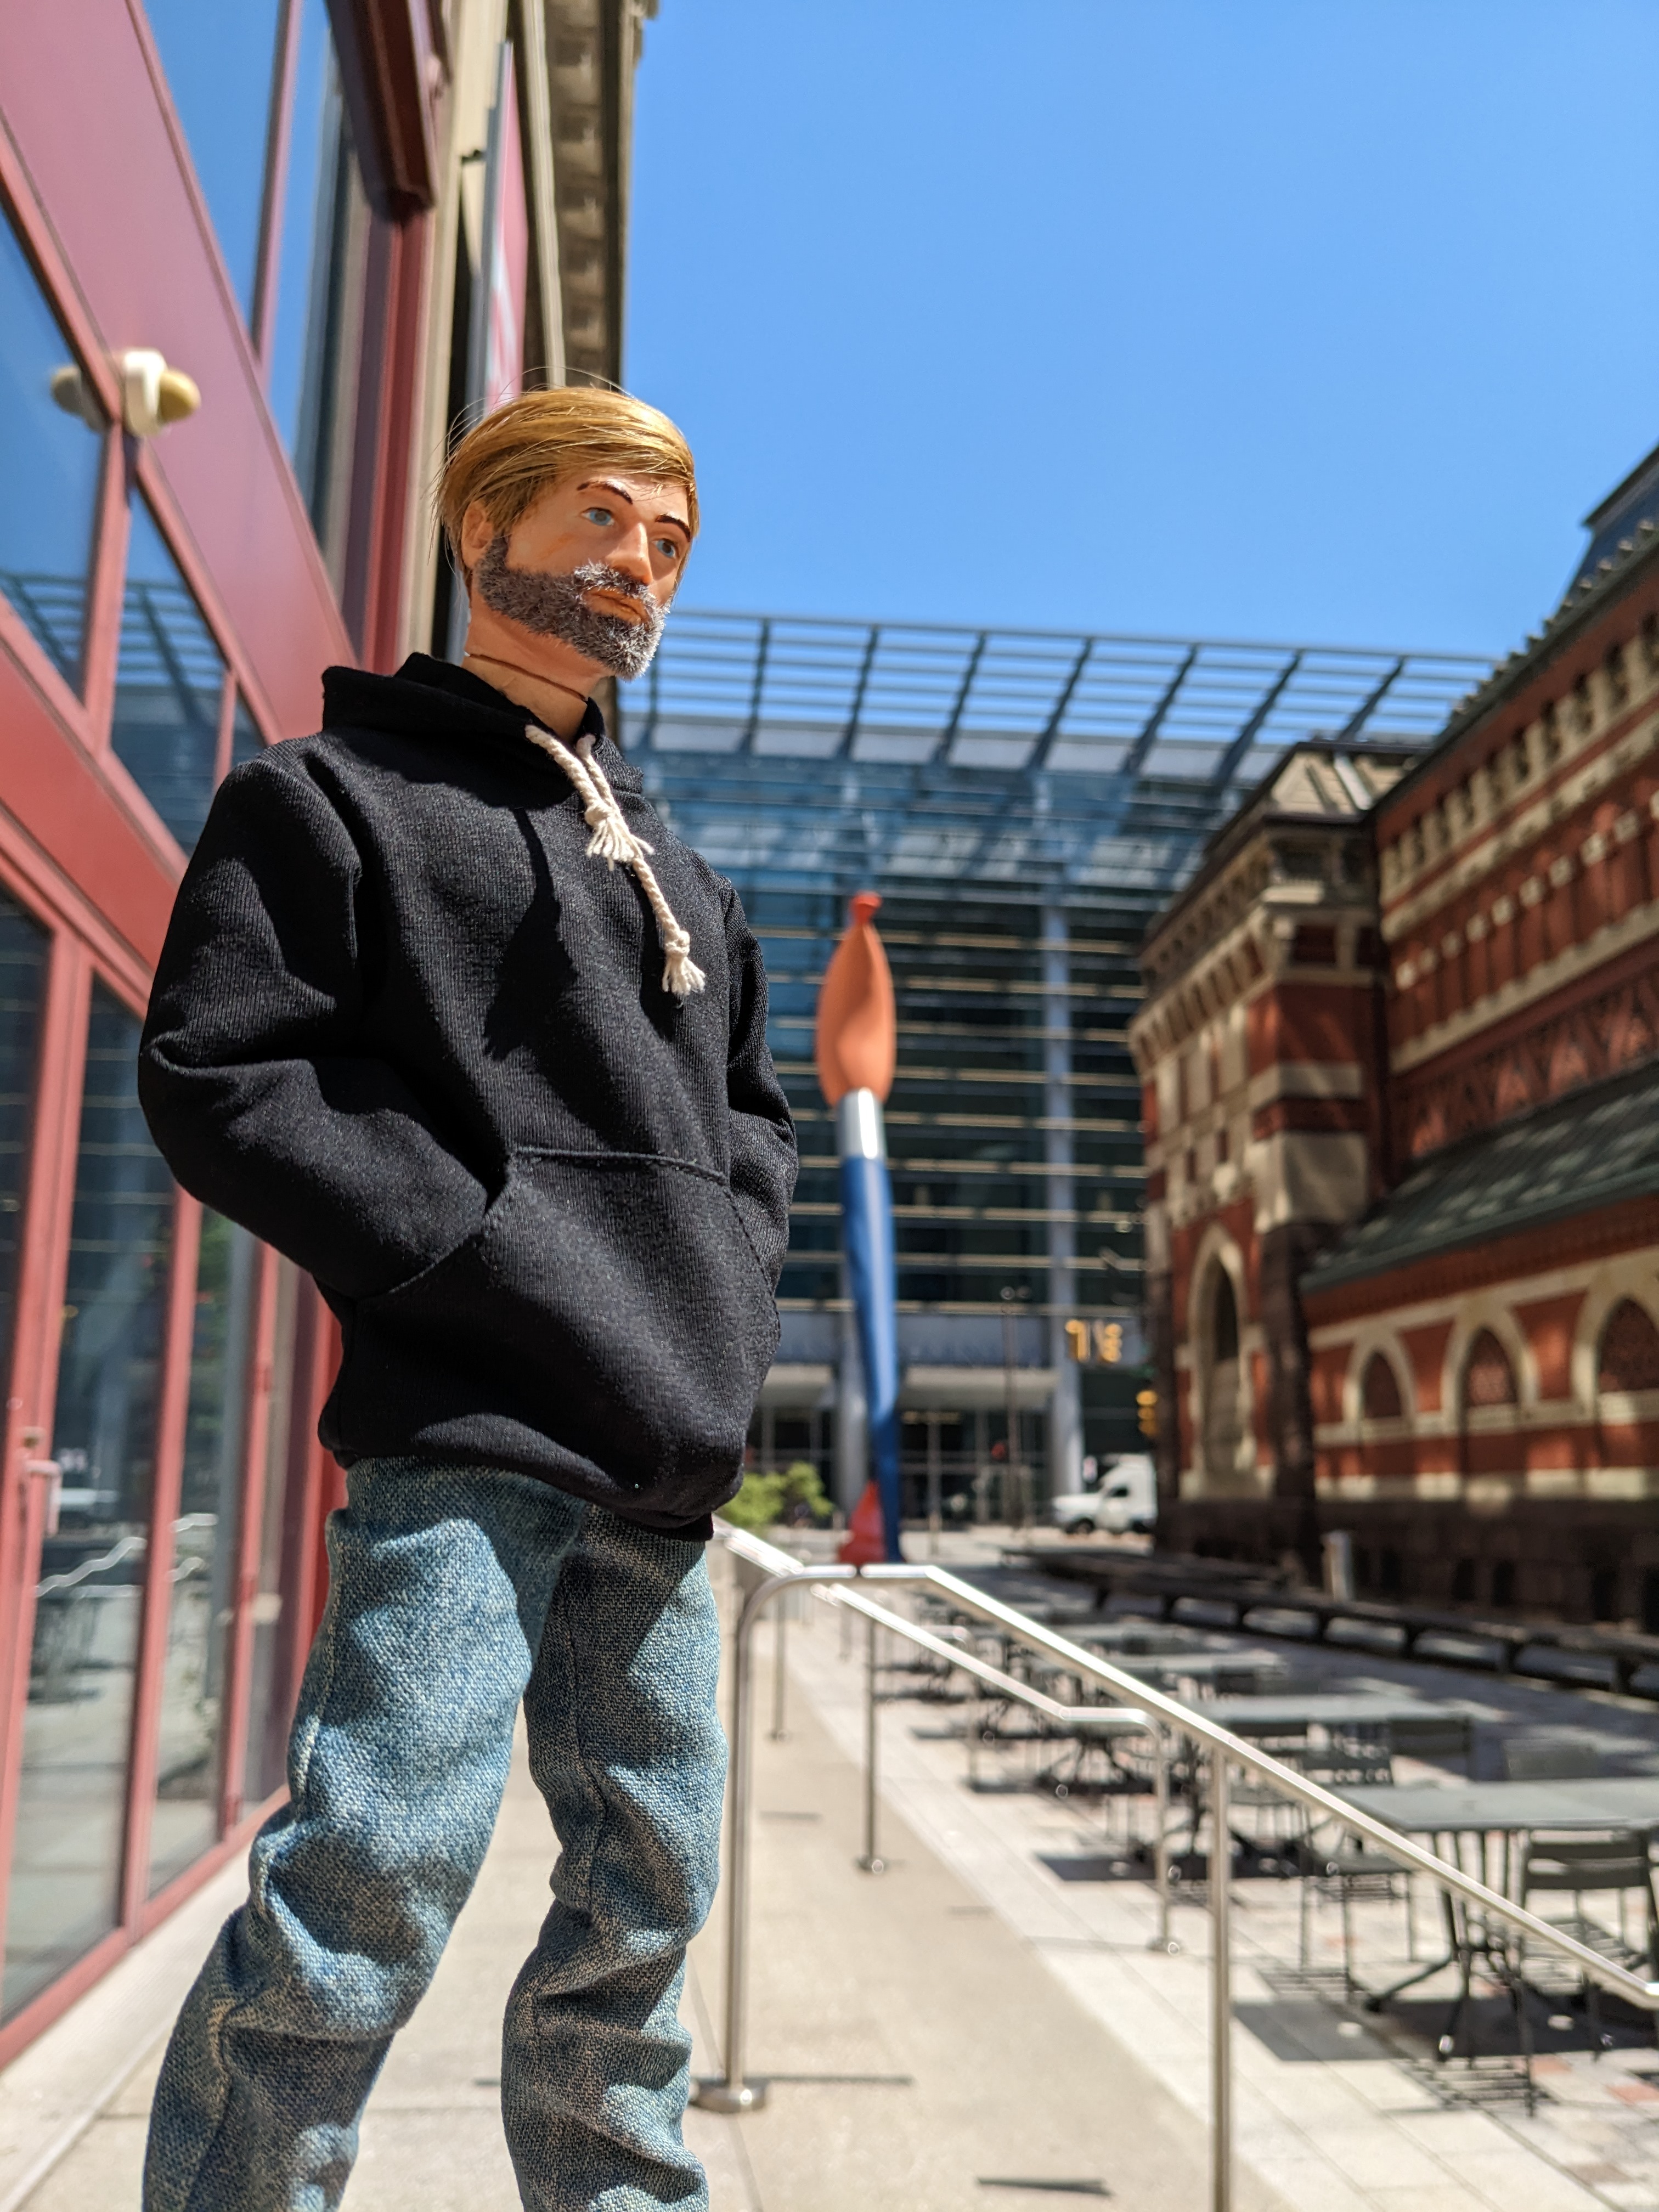
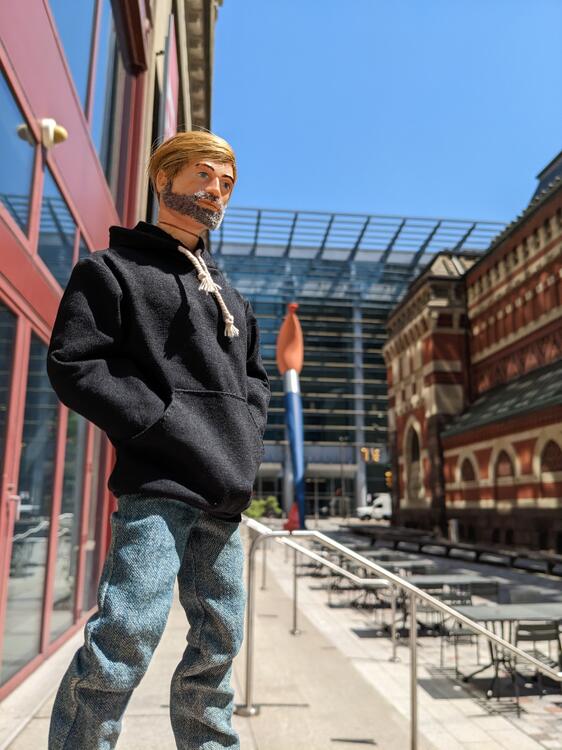
I thought of you this weekend as I was down in Philly with some Art Honor students, visiting PAFA & Philly Museum of Art. 😬 There is also a cool Sculpture park about 1/2hour North


-
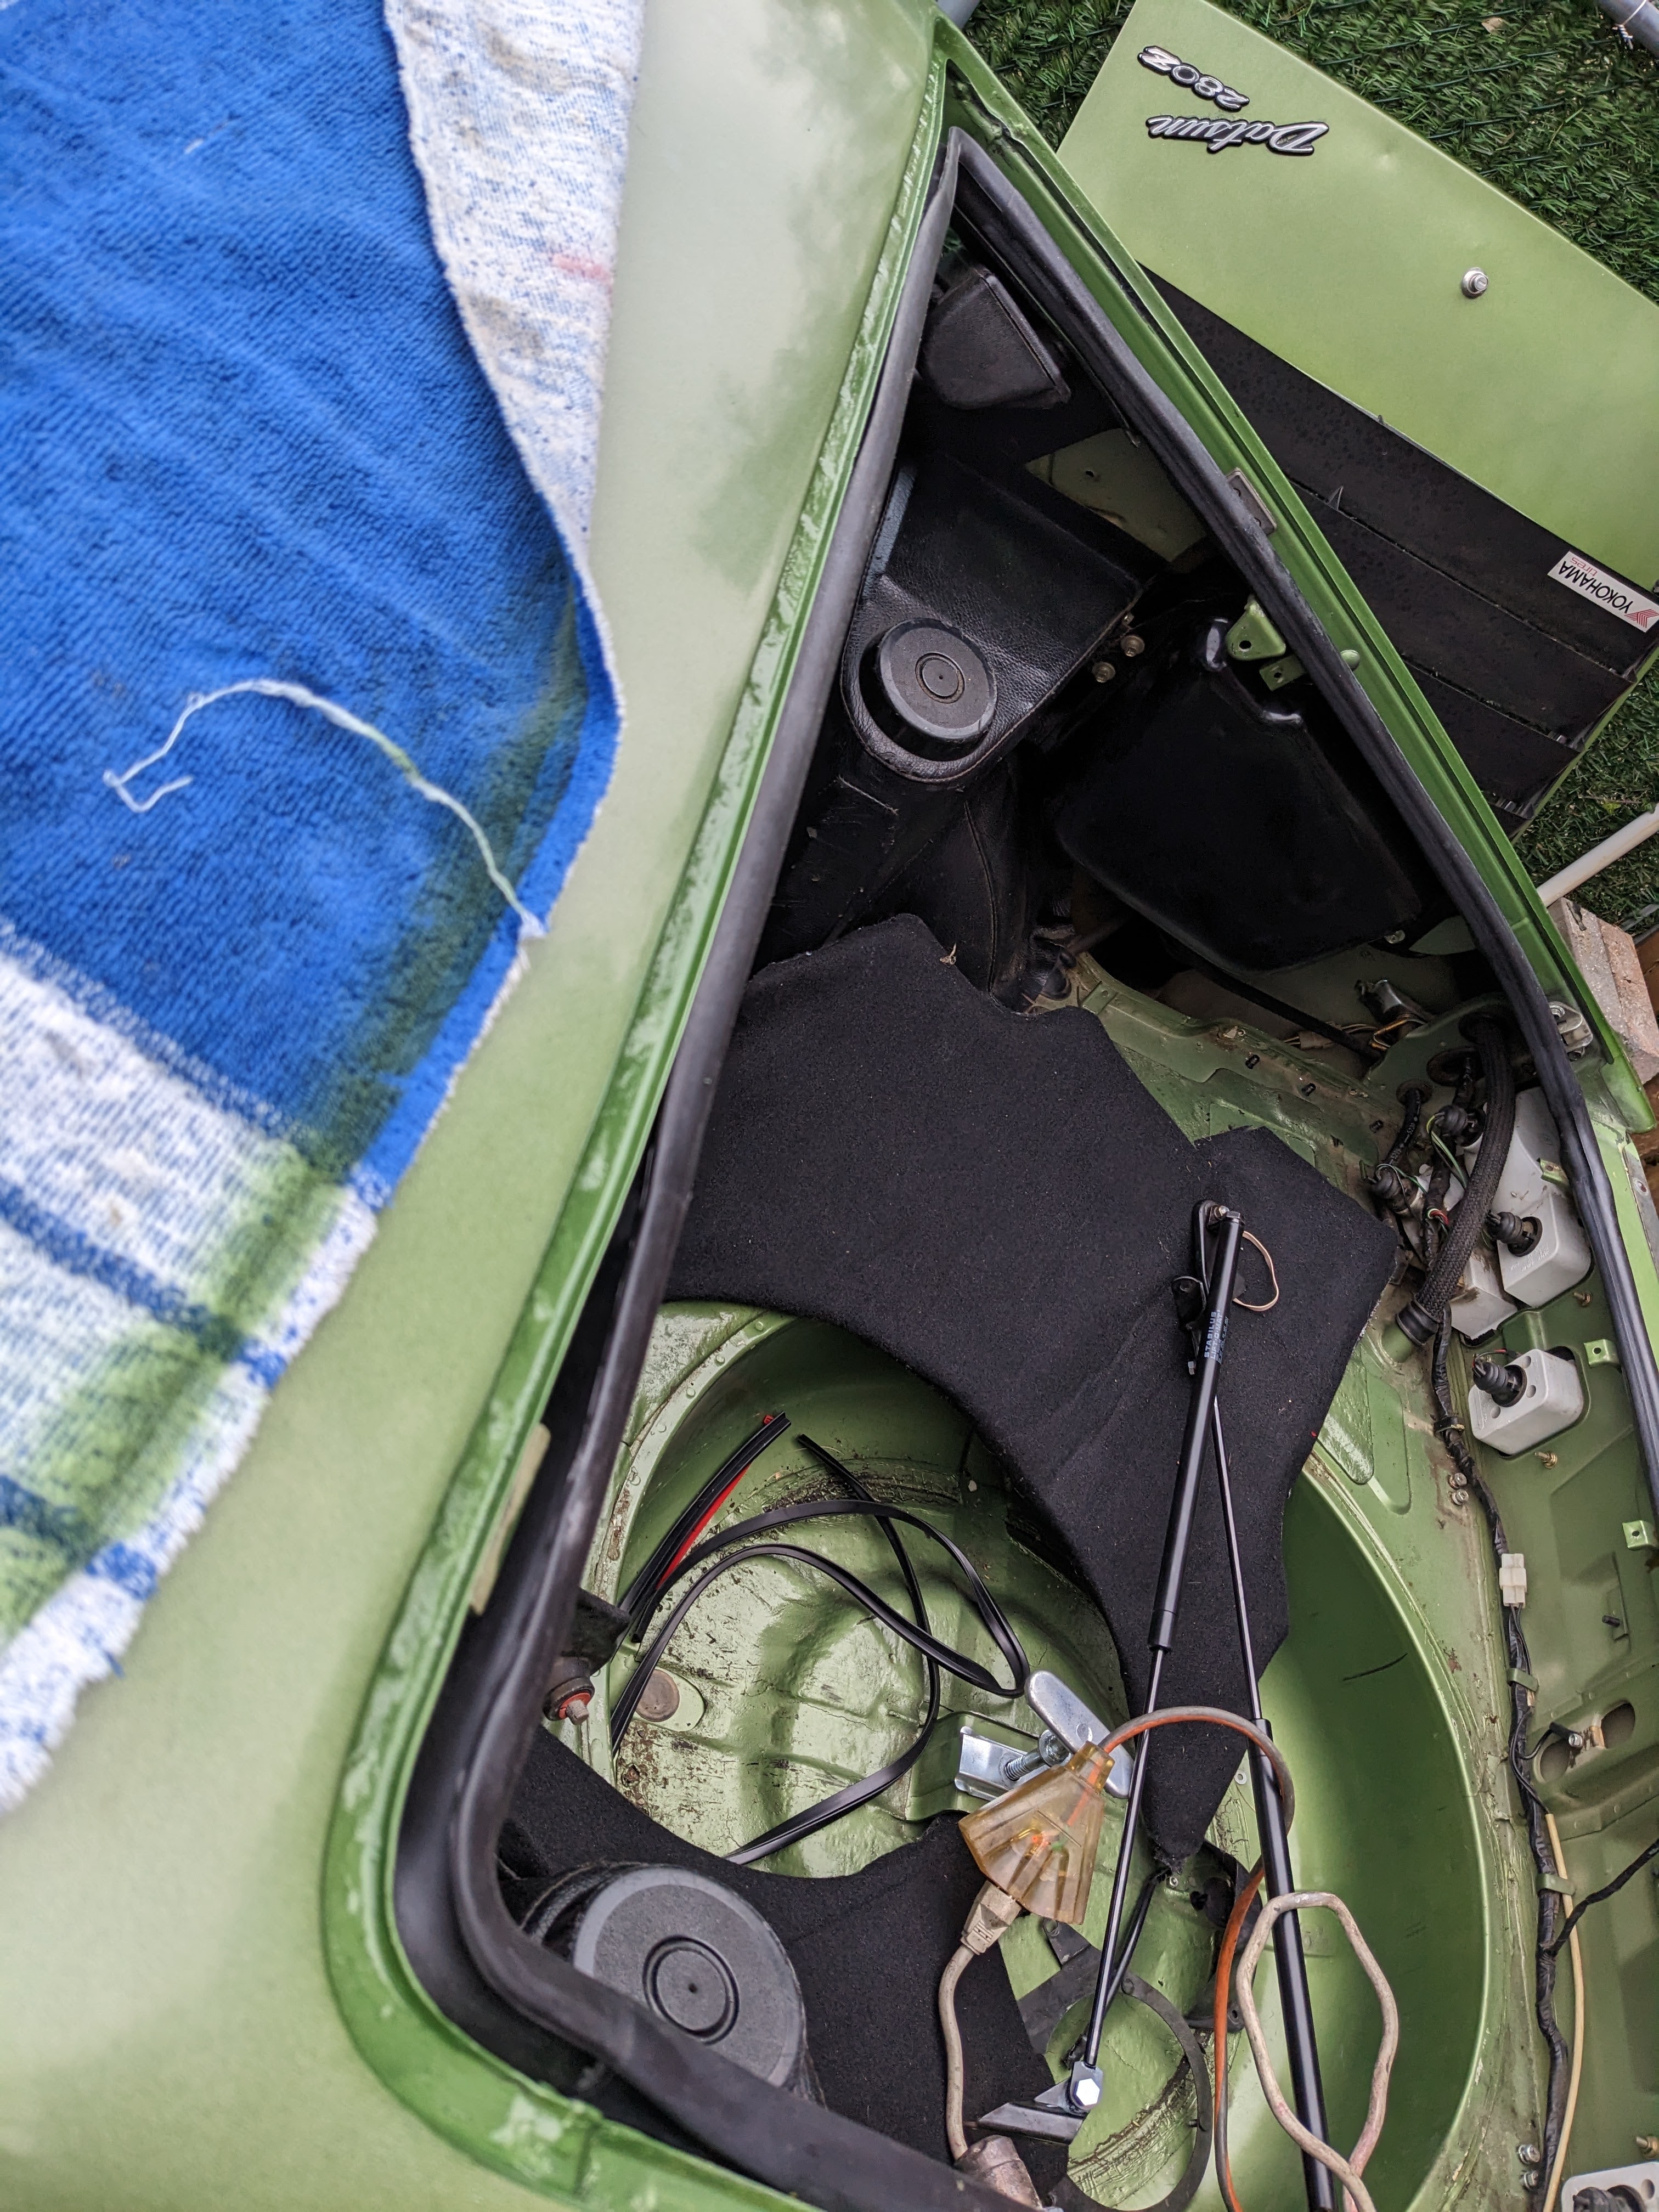
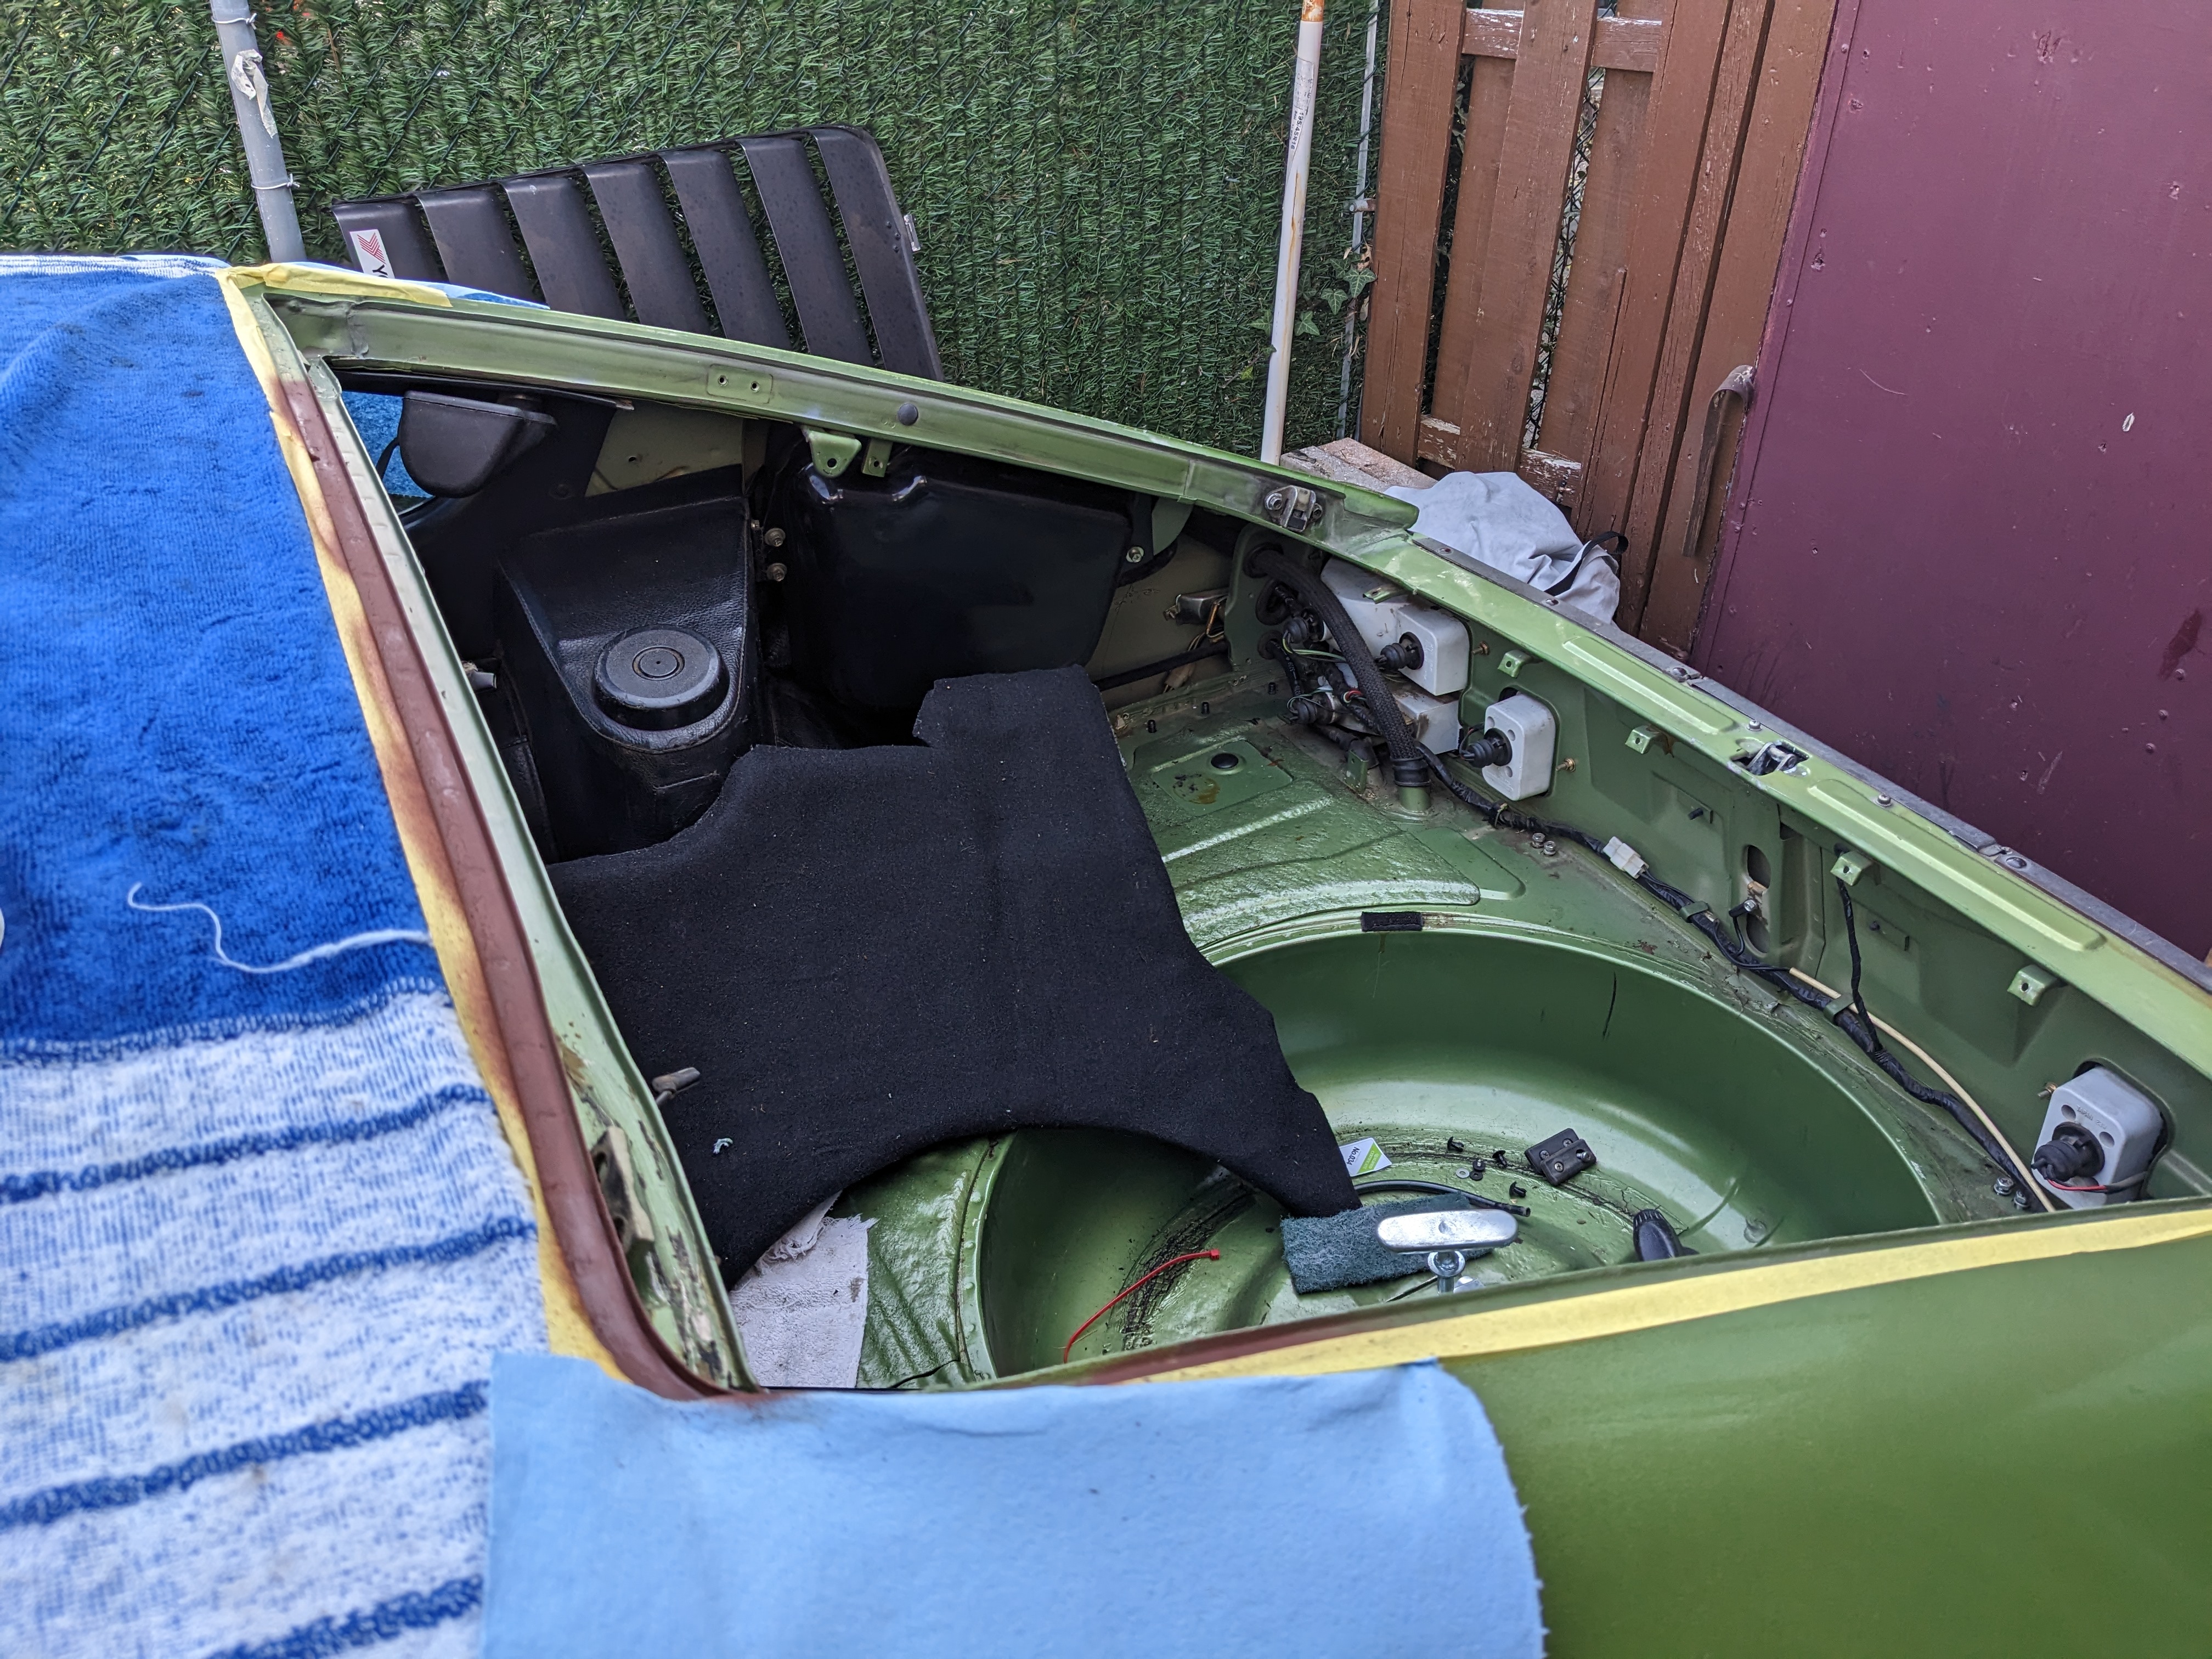
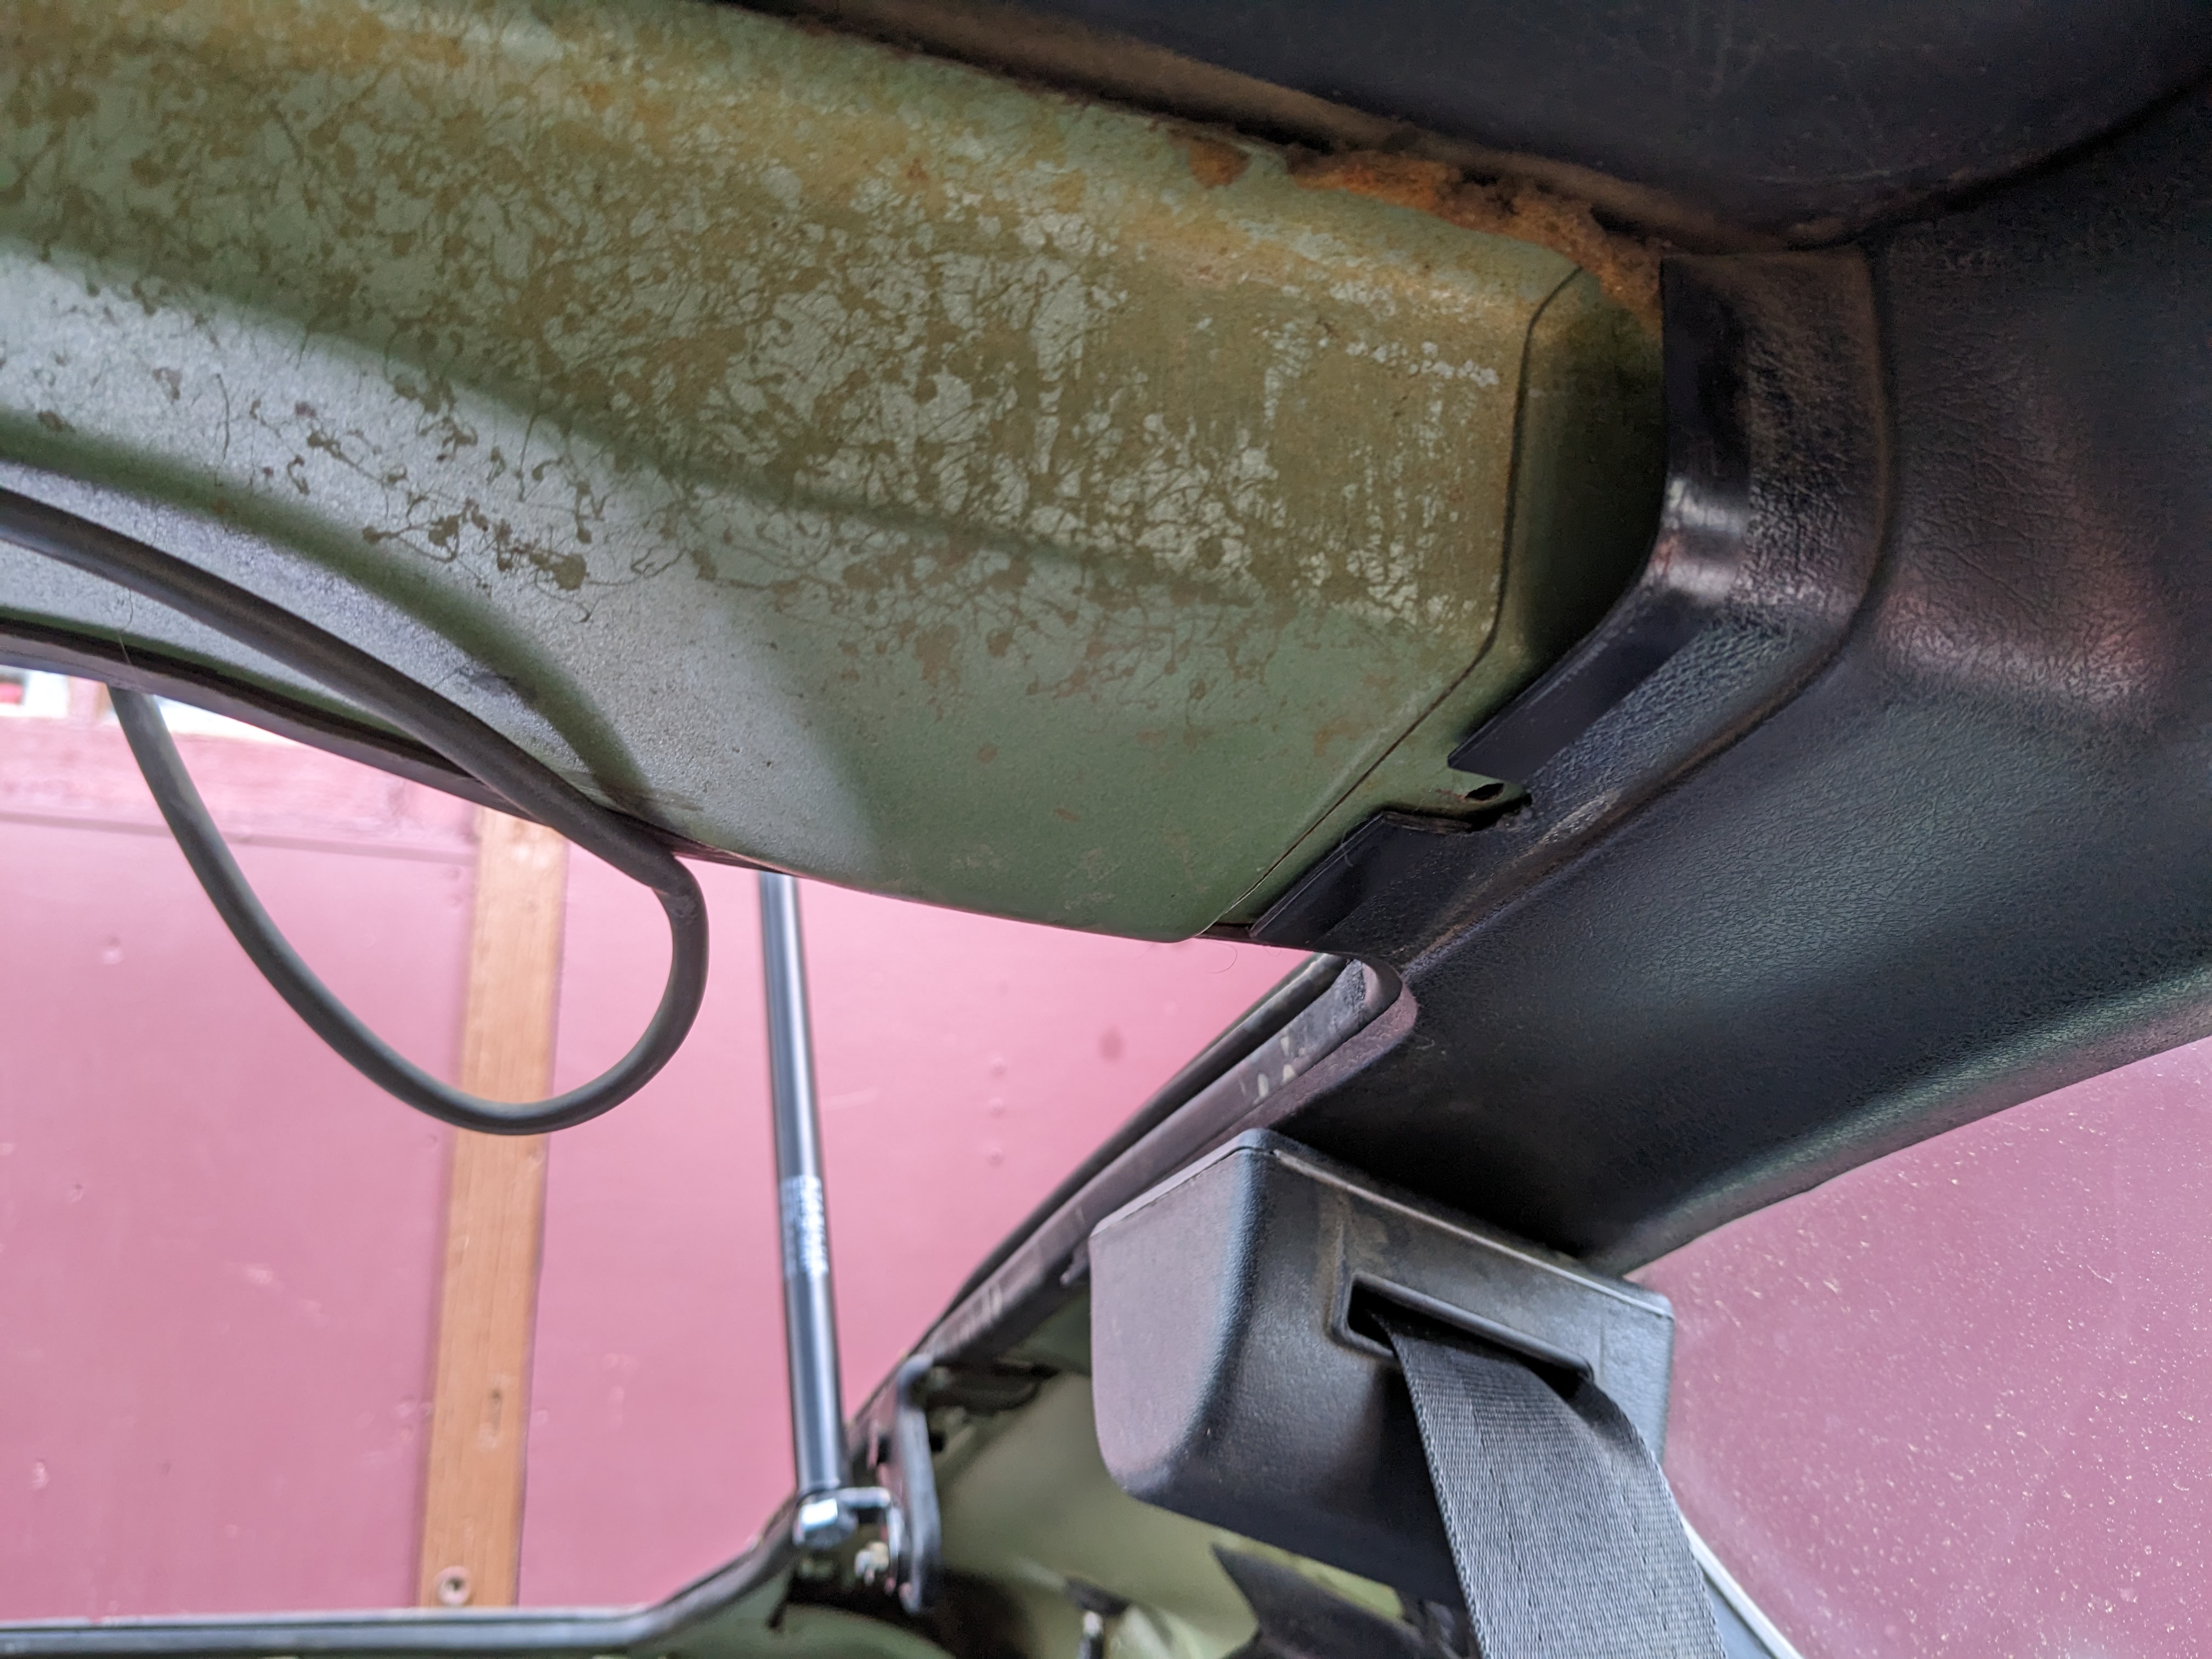
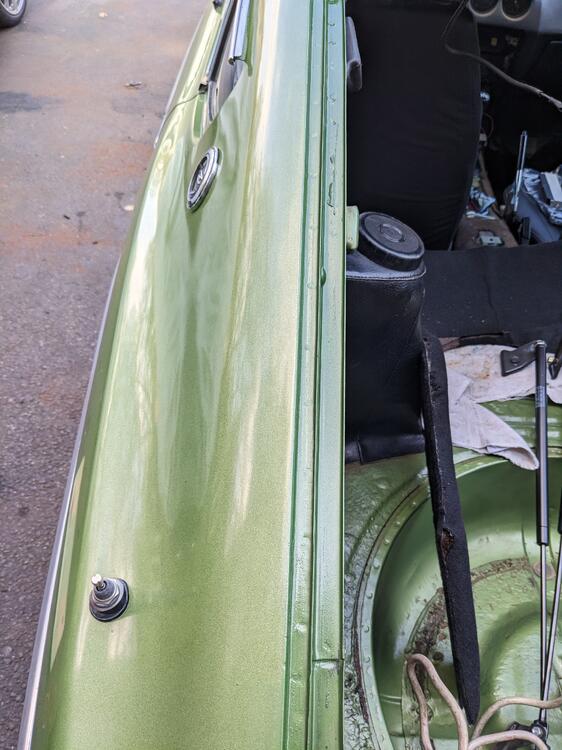
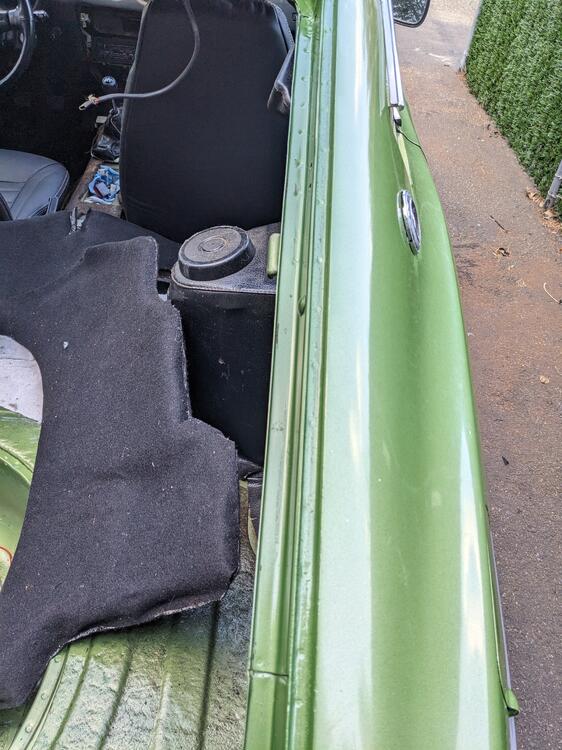
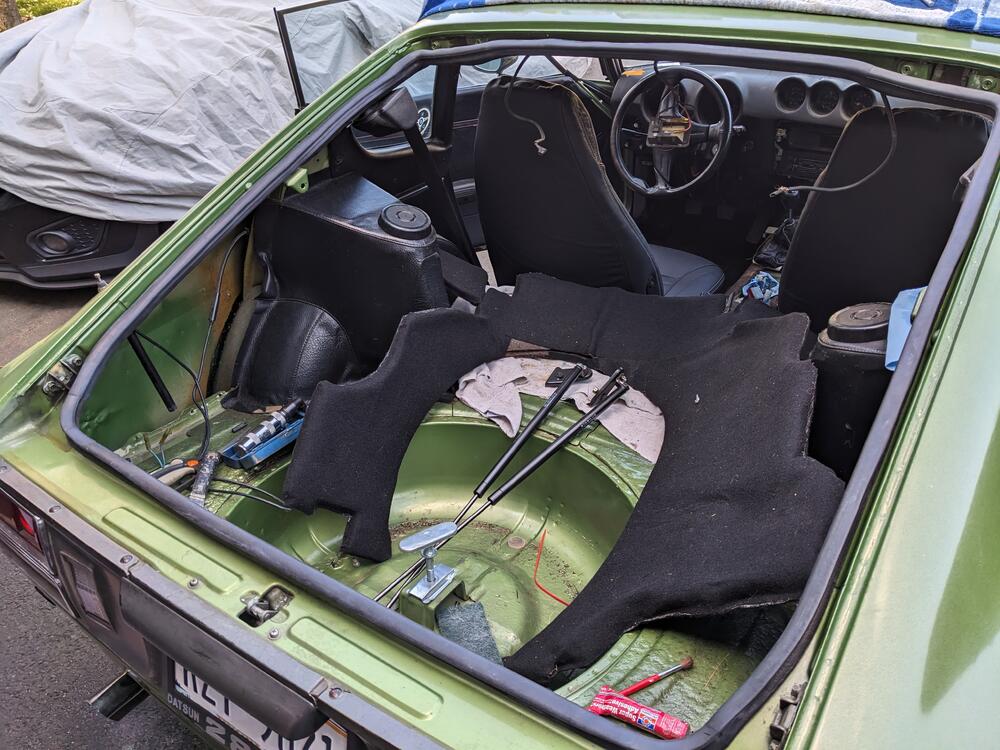
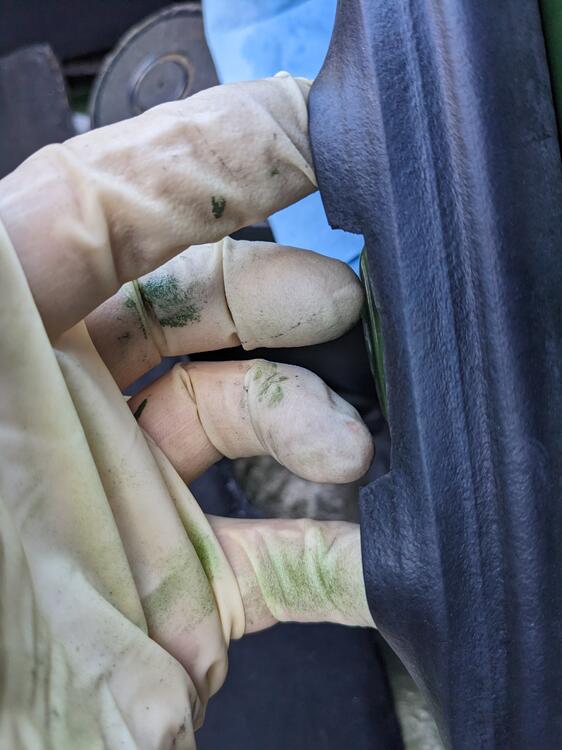
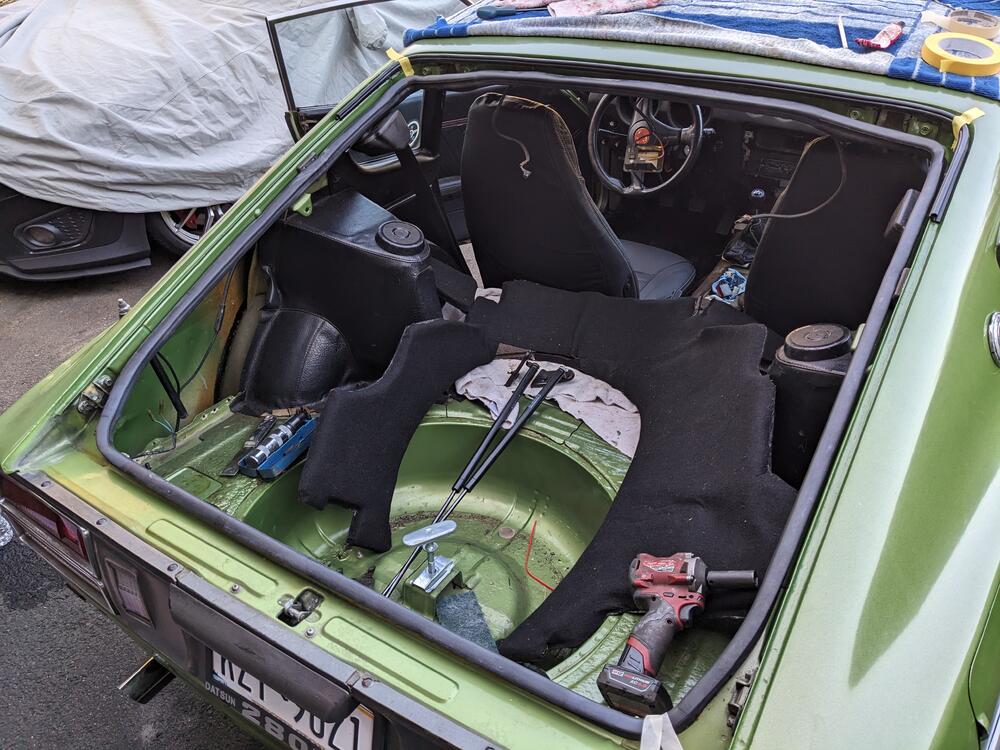
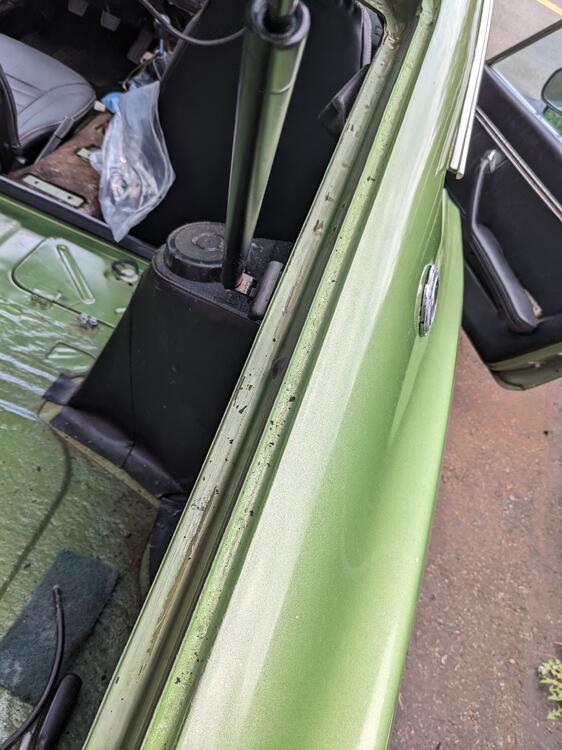
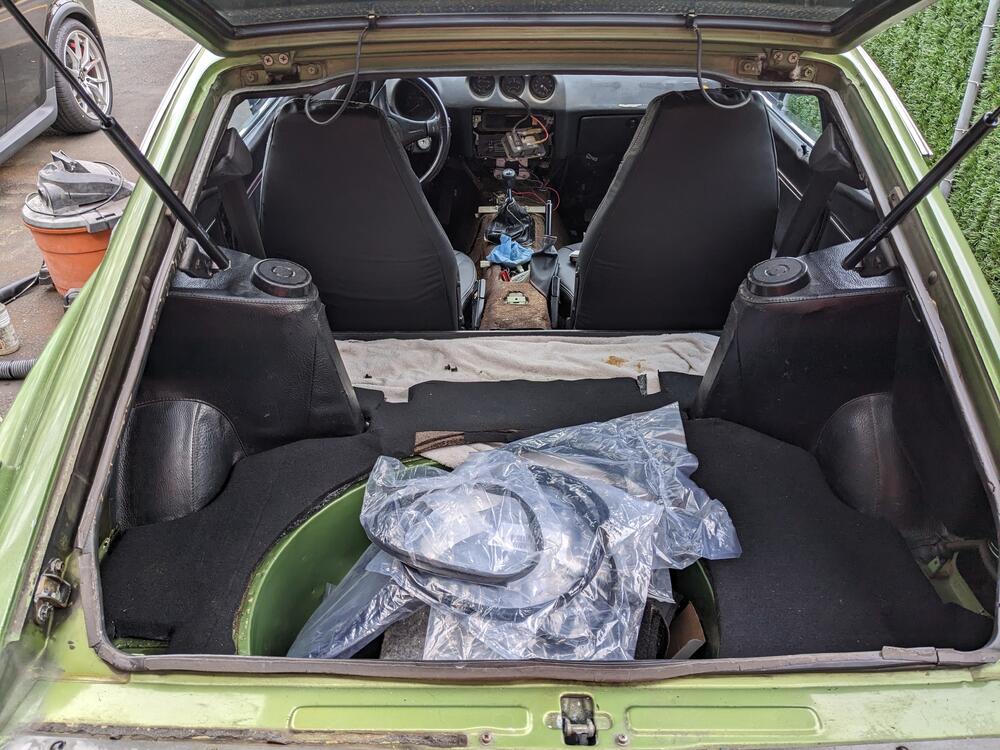
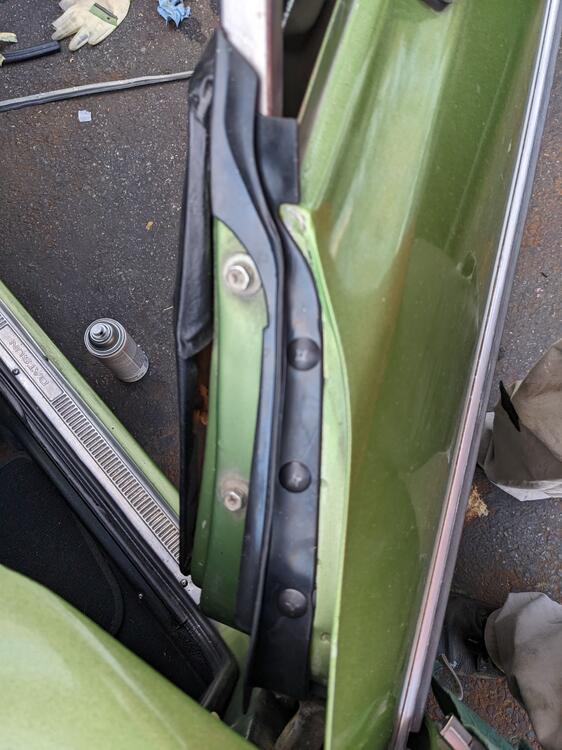
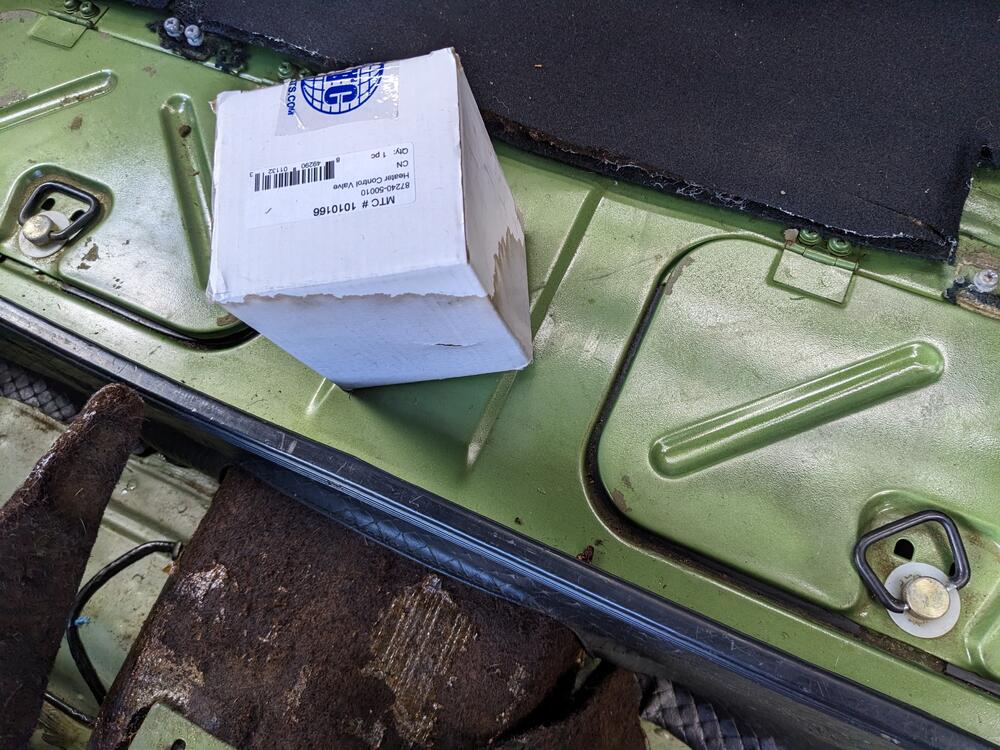
We had a deluge here last night. When I checked the car this afternoon, it was obvious water had got into the car, but I can't be sure where to look for the source. There are no stains on the inner roof trim that would indicate the passage of water, however most of the wet area was along the lip behind the seats, down into the pockets and from there out onto the floor pans. I had a box sitting on the ledge and it obviously absorbed an amount of water. This pic was after I mopped up the water by the ridge. Any specific places I should be looking? I have a new hatch seal I will be installing anyway, but I don't see how a hatch seal would cause water to drop so far forward
-
Thanks for the link! Not sure if I would go that route, the goal is to rubber mount the compressor in the bracket, to reduce vibration when compressor is running. I have the one on my K-swap Fiat hard mounted, and I've had to be careful with the mount hardware working loose from the vibrations. That one is a top mount, which does seem more of an issue in terms of susceptibility to vibration. I went through several revisions to get it properly mounted. Having it isolated when possible just makes life easier mockup with spare compressor
-
You did this on yours? I was leery of hand drilling the rotors without a lathe or other proper centering equipment, however the machine cost around here to re drill would be around $60 or so per rotor. Hopefully I have them close enough to not cause an eccentric vibration.