HusseinHolland
Free Member
-
Joined
-
Last visited
Everything posted by HusseinHolland
-
 Forgot to finalize this - I added the timer when I was dealing with the failing stock EFI system relay
 -
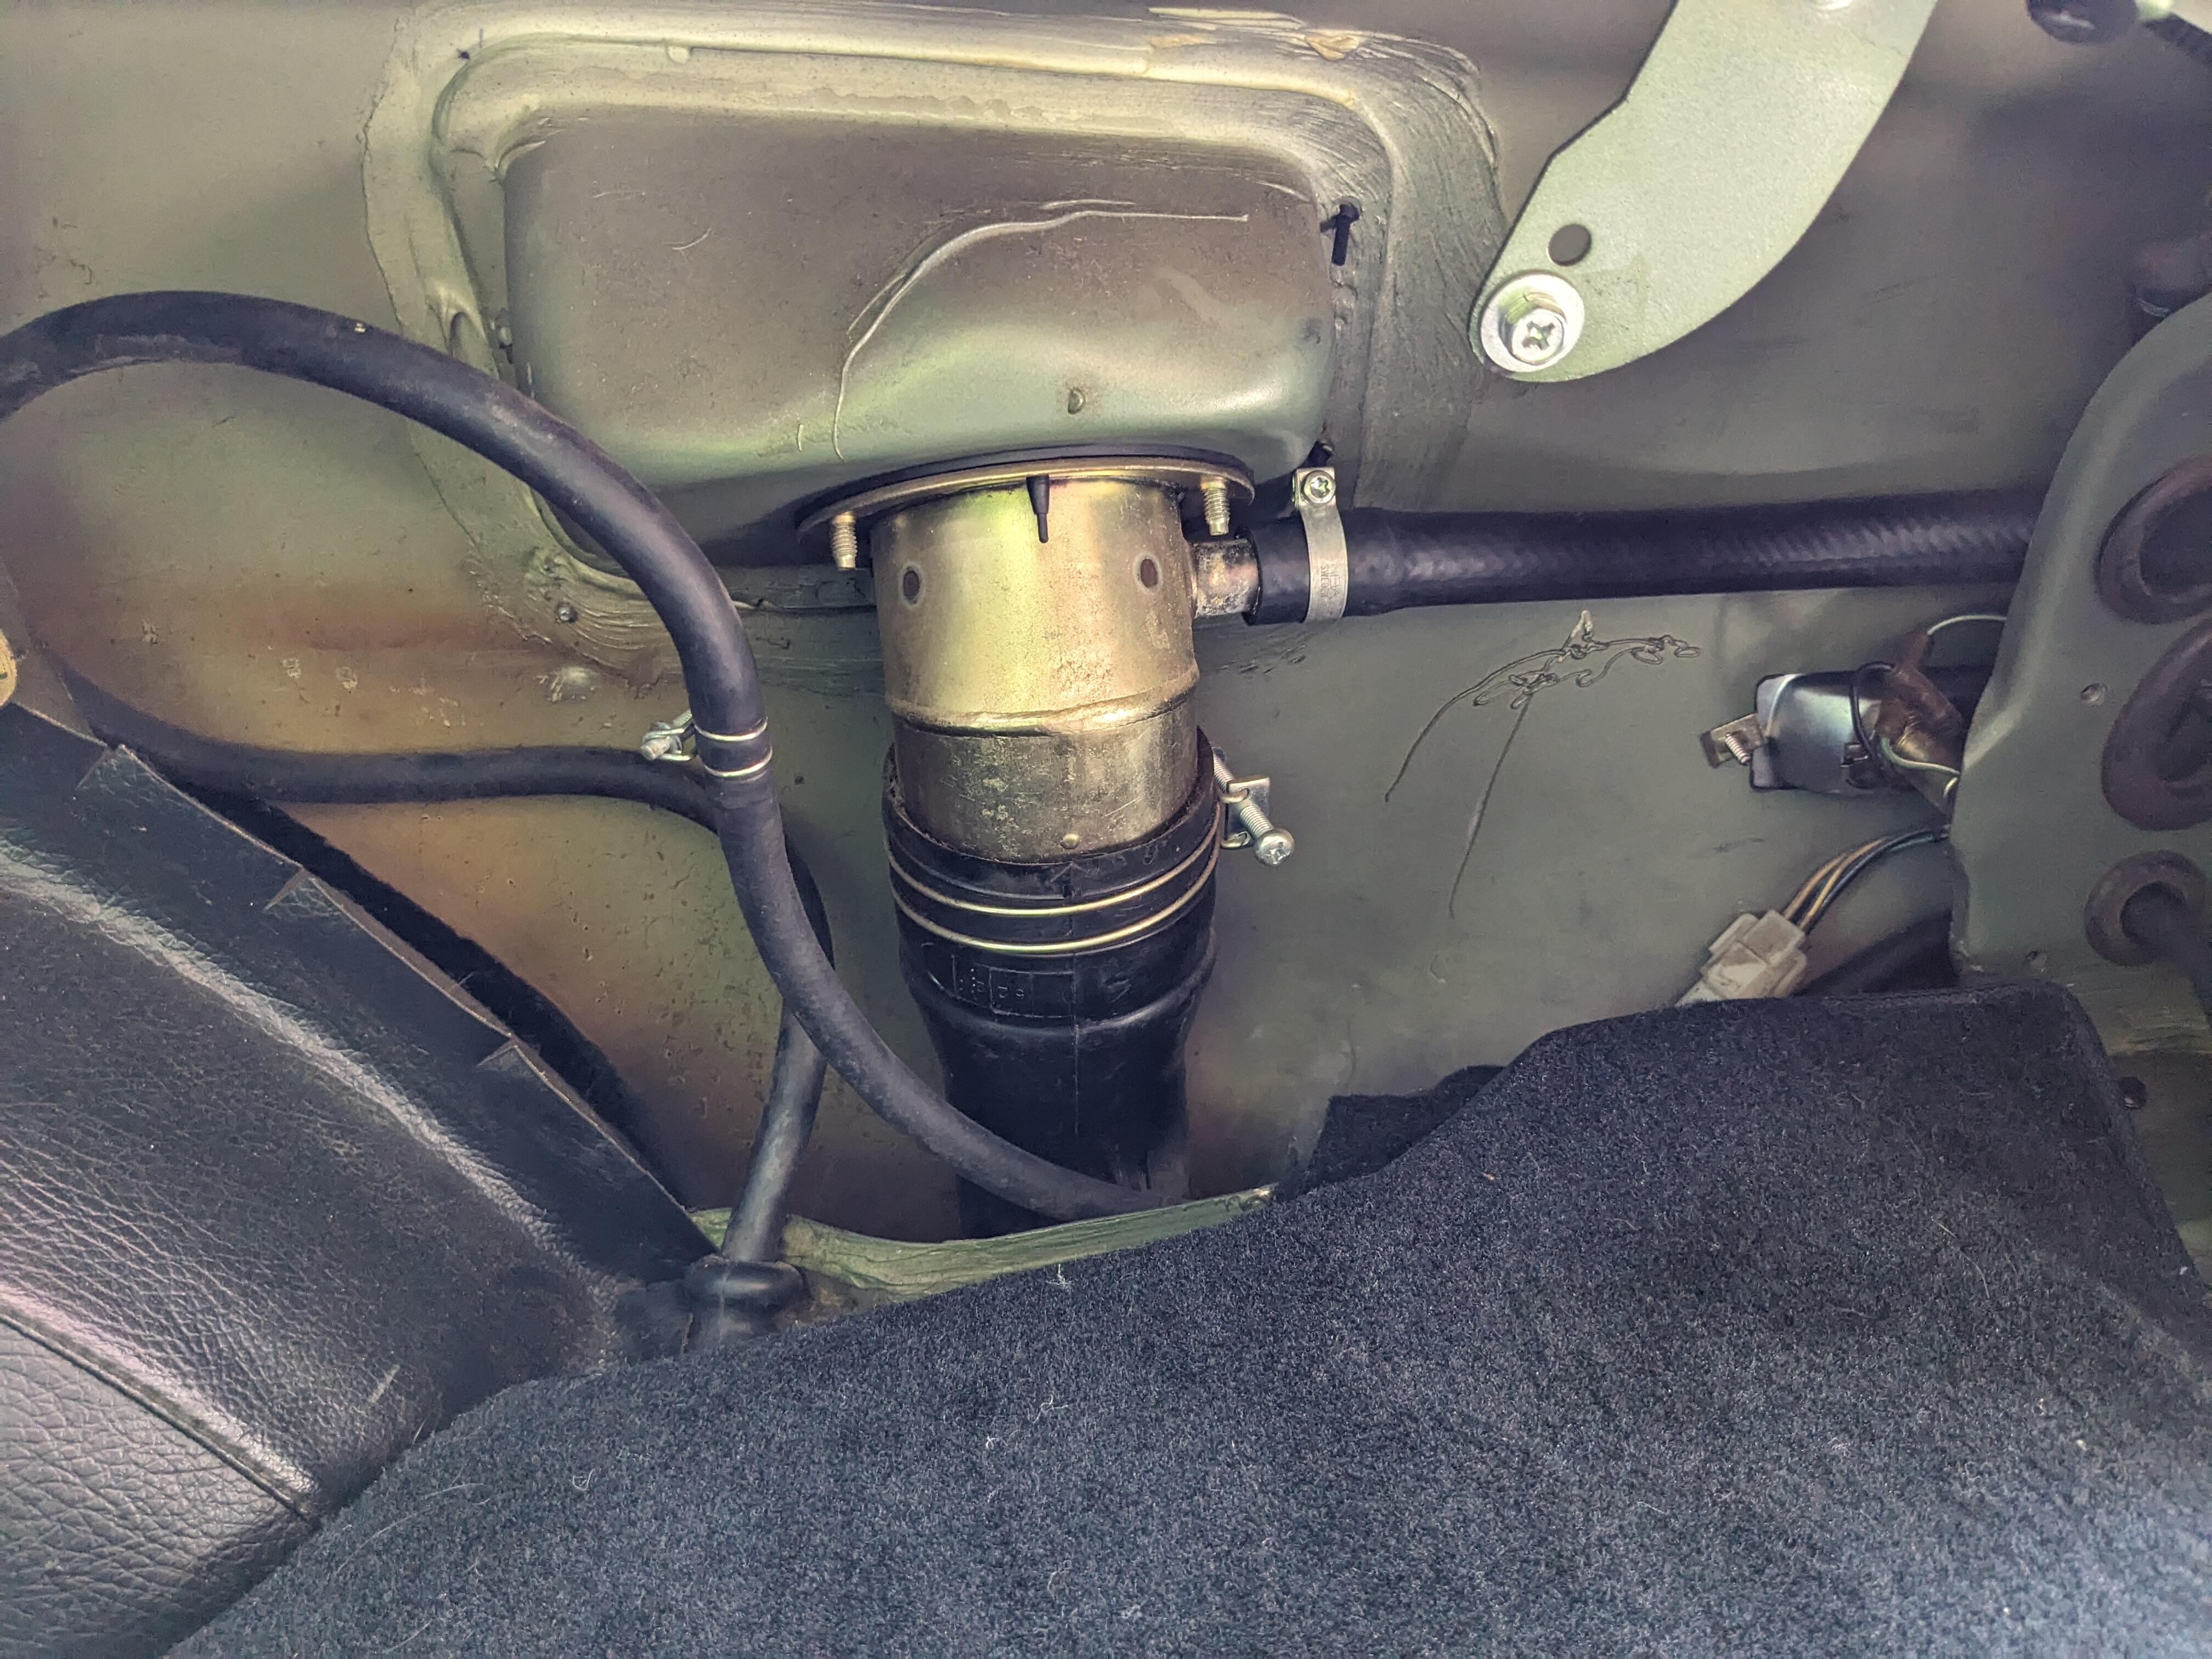
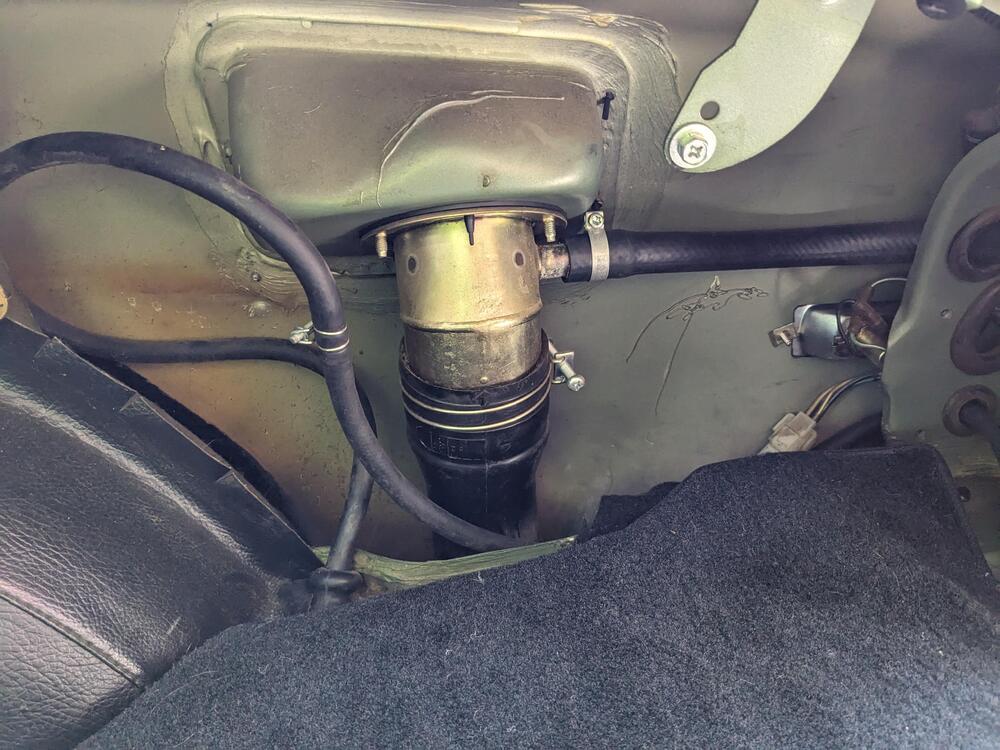
Eibach will send me new springs. Didn't give me a shipping date, but they will honor their warranty Removed the vapor canister yesterday - seemed like I was getting some fuel vapor in the cabin - did not have that prior to futzIng with the hoses back there. In all likelihood it was the old sections of hose I had spliced, so I removed the stock 5/8" ID (more like 16.5mm), and put a new section from the feeder I had already replaced, directly to the filler neck. The 1/4 hose I just spliced together for now - just wanted to see if the vapor smells went away with this. They seemed to have. I may ultimately put the canister back, I'm undecided on that. It's physically in very good shape. Or maybe I should just sell it, there's probably somebody out there who wants to keep their 280Z in factory condition...


-
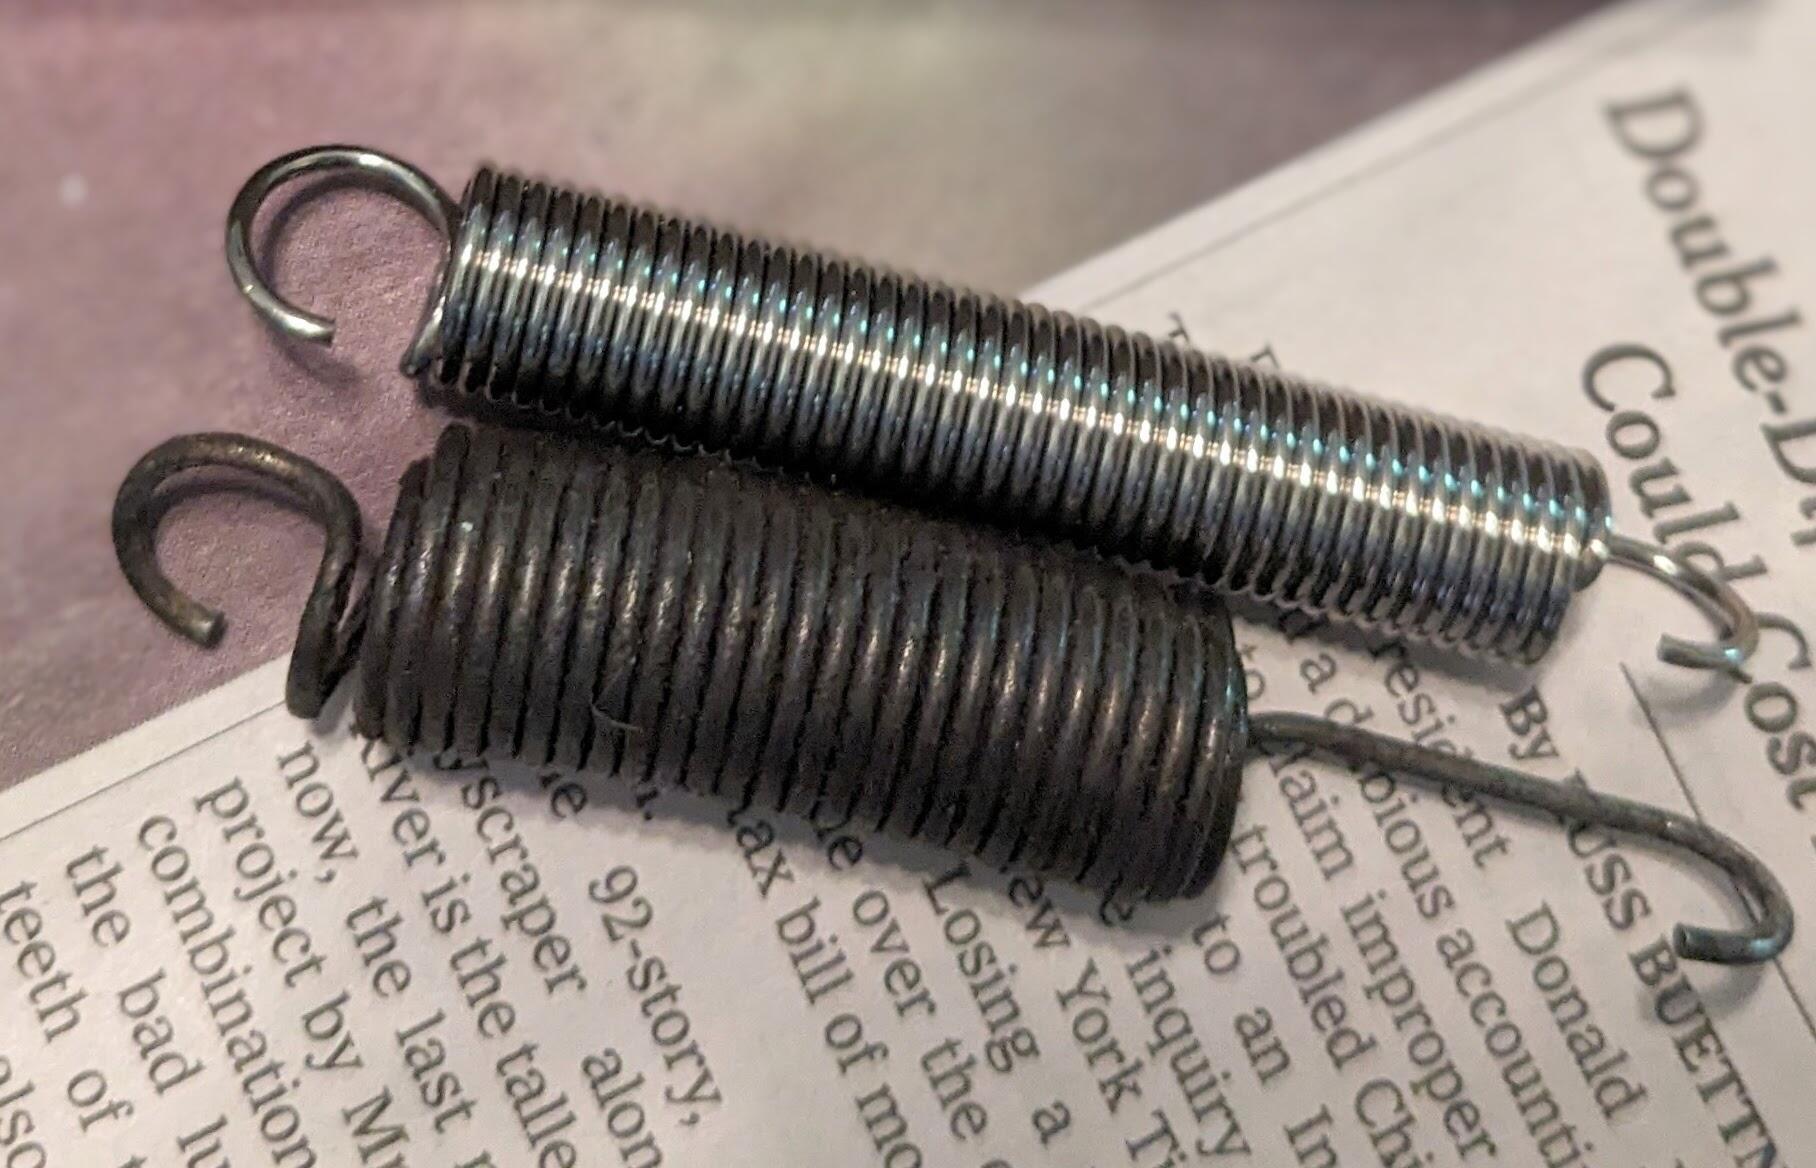
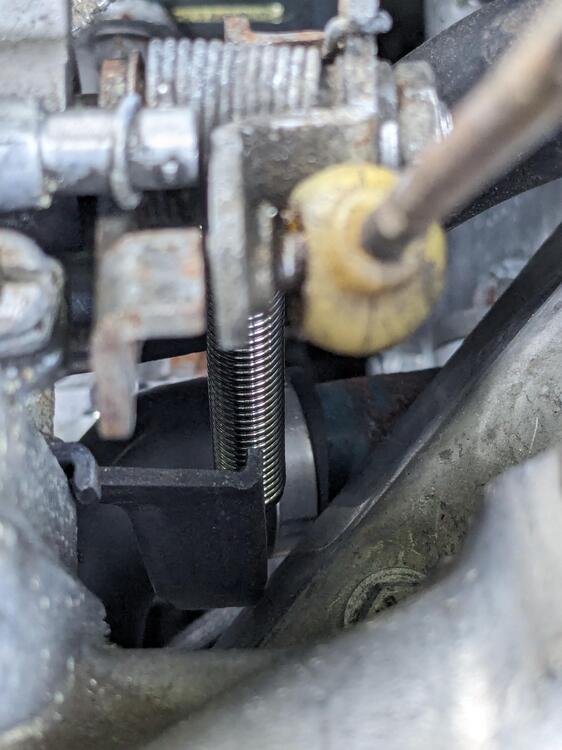
Too much math for me 😁 I did consider putting a weight on the spring to compare, however just pulling on the two to compare, the new one has more initial tension, which is needed to make sure the throttle closes fully, in my case.
-
OK - so the generic spring I got off Amazon works, and is not excessive tension, nor too difficult to install in place. We'll see how long it lasts. Since links don't last particularly long dimensions to look for are: 0.047"x0.39"x2.76" - "Stainless Steel Tension Spring Wire" or 'Extended Tension Spring Wire" comparison:

-
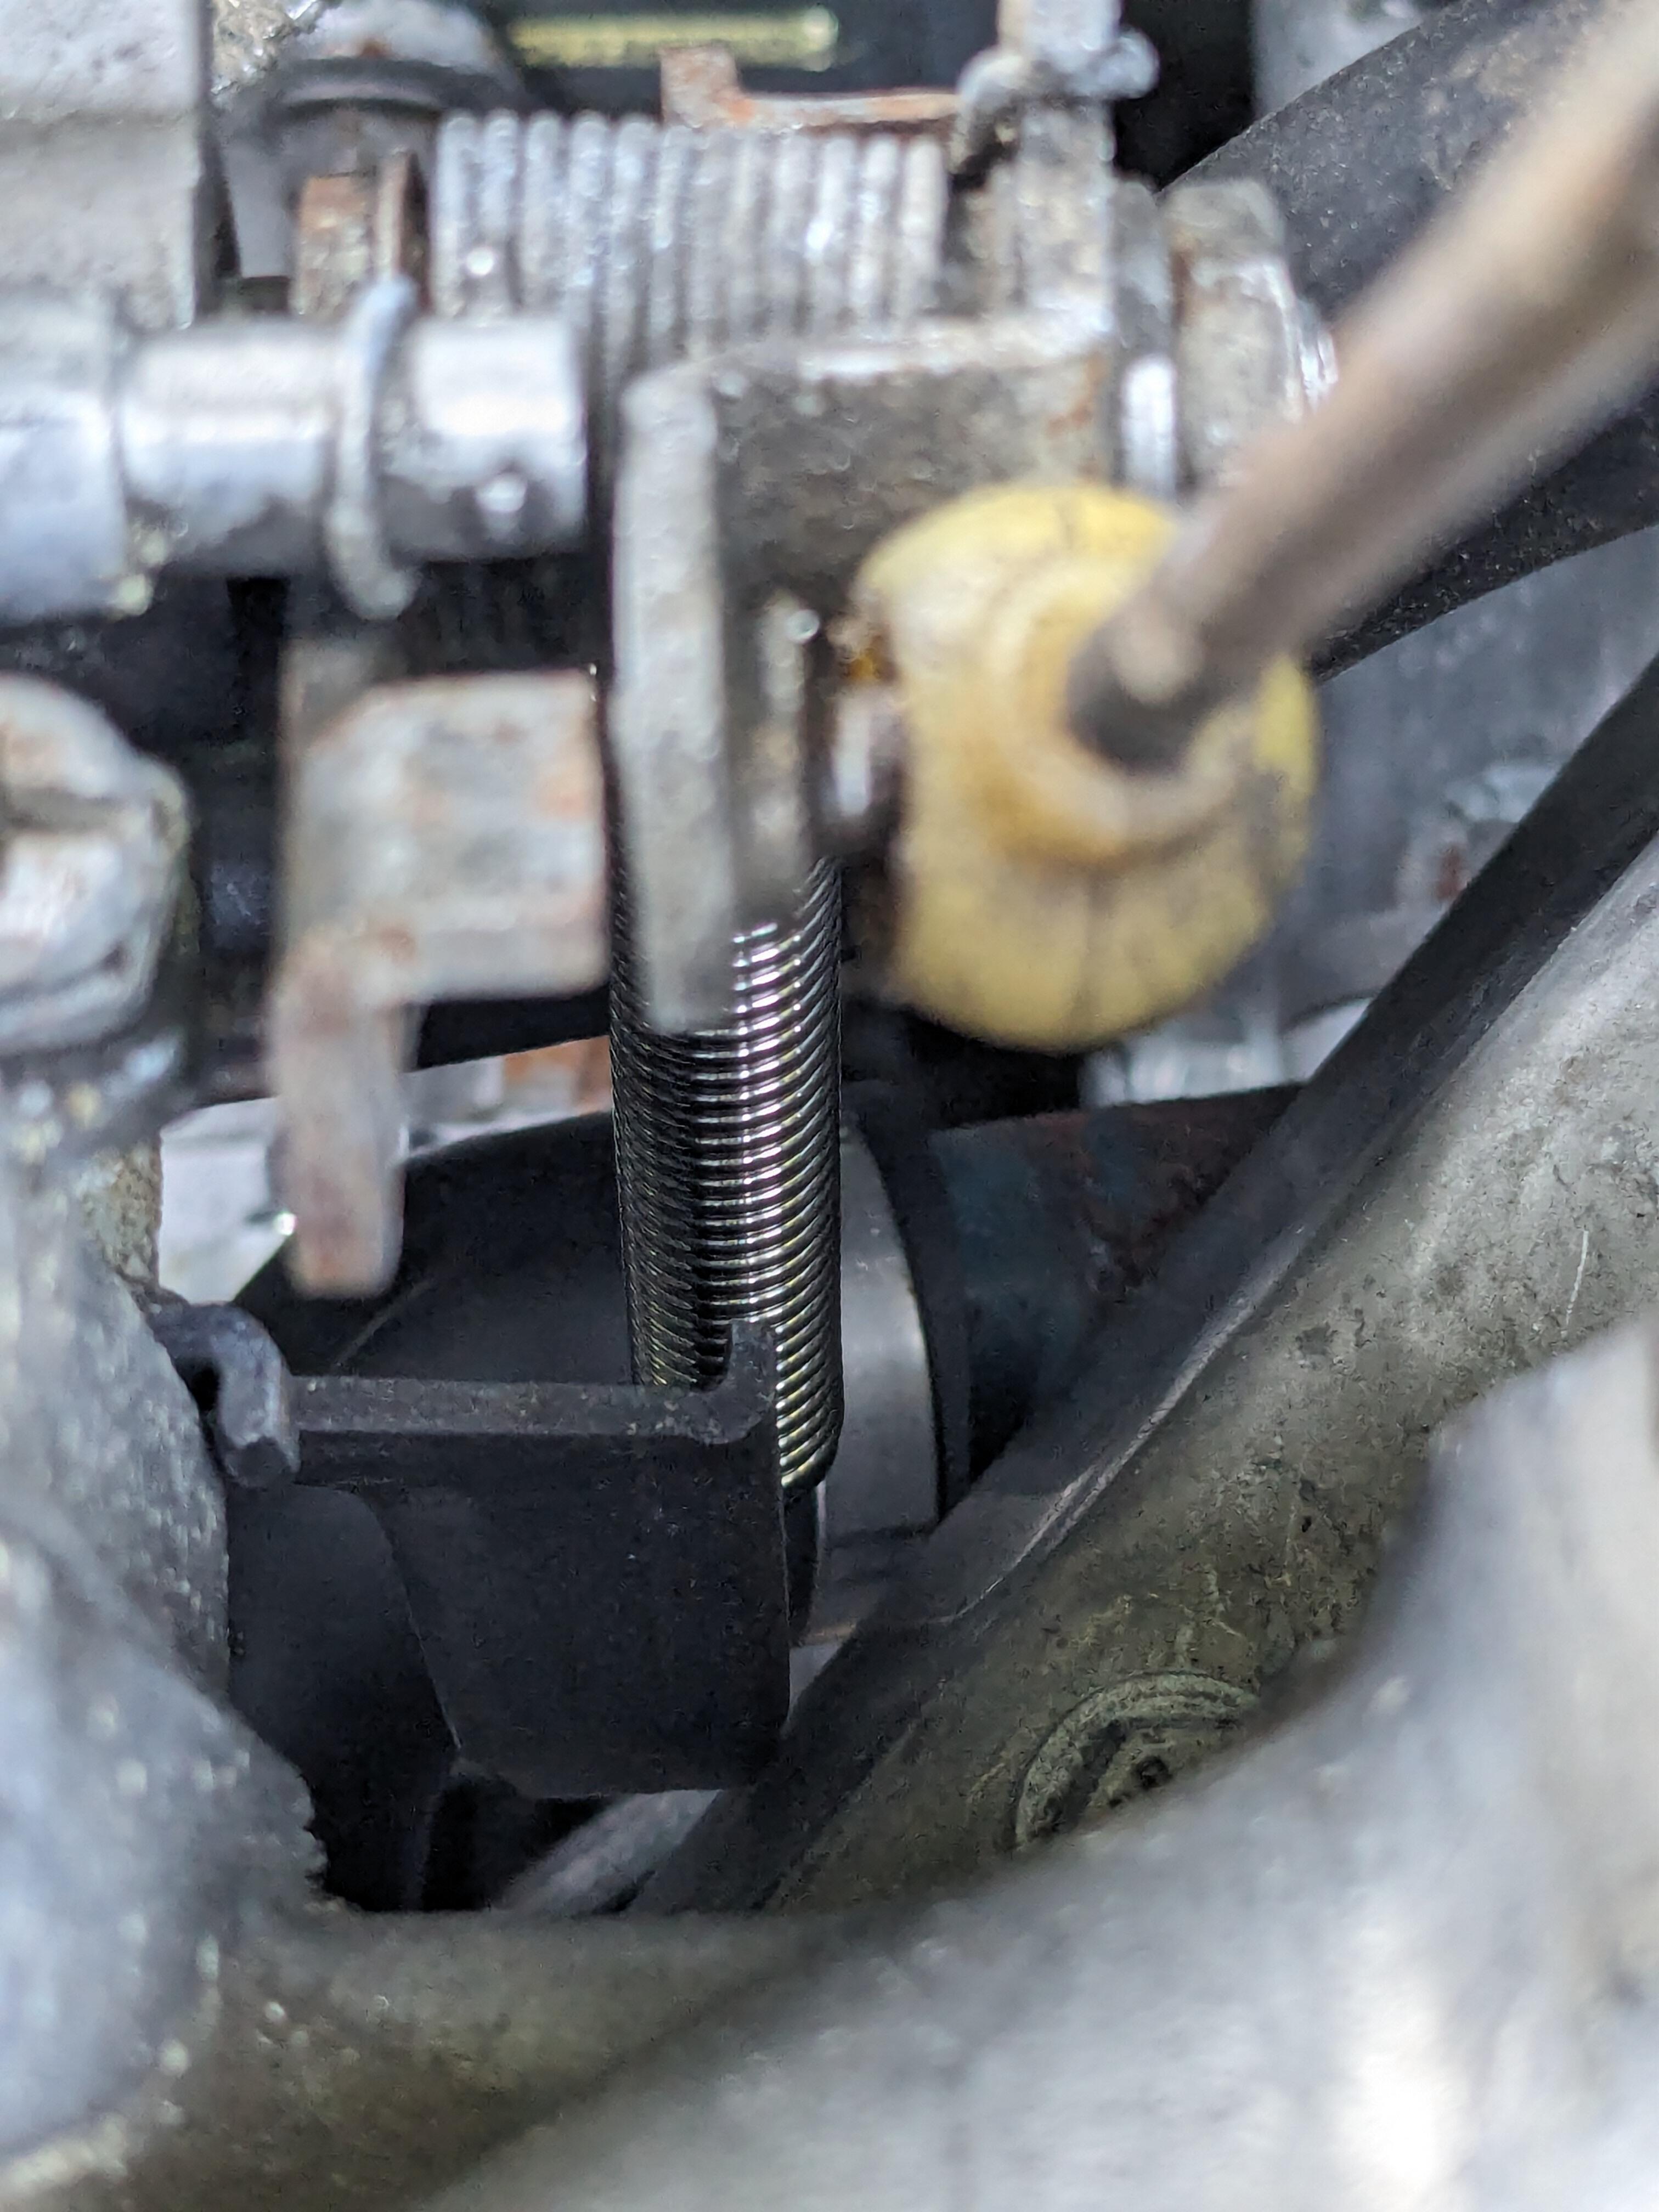
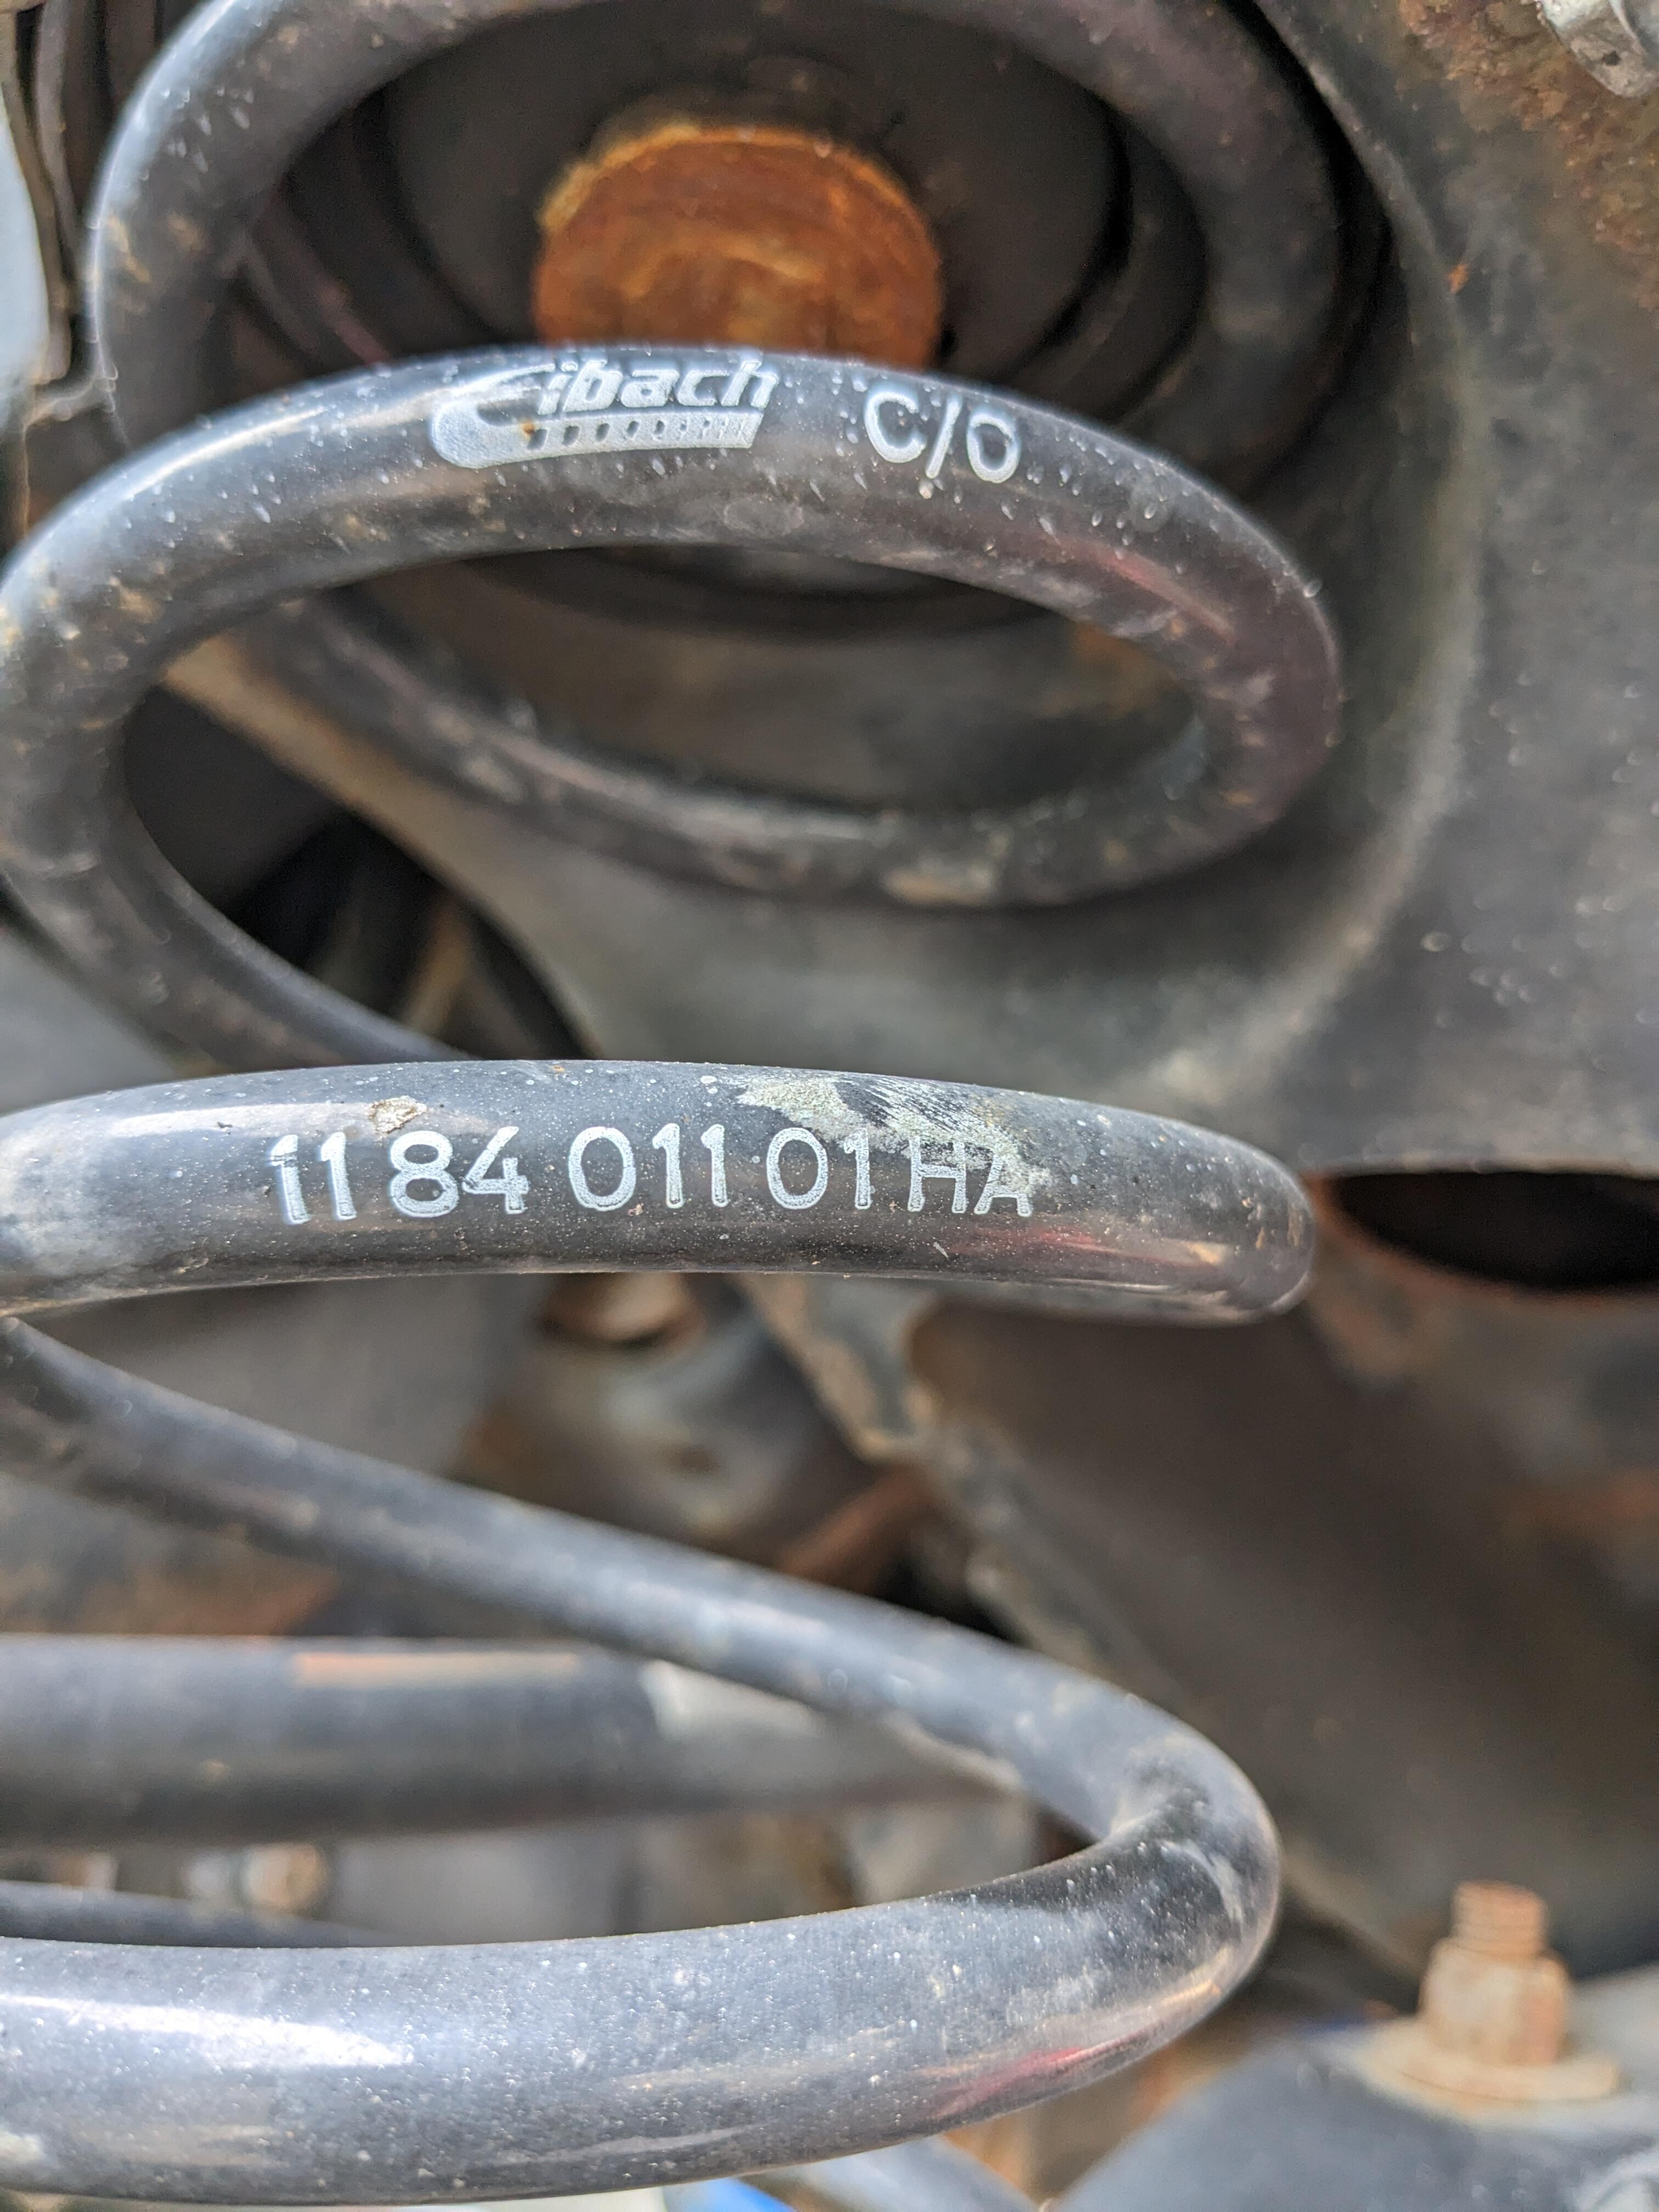
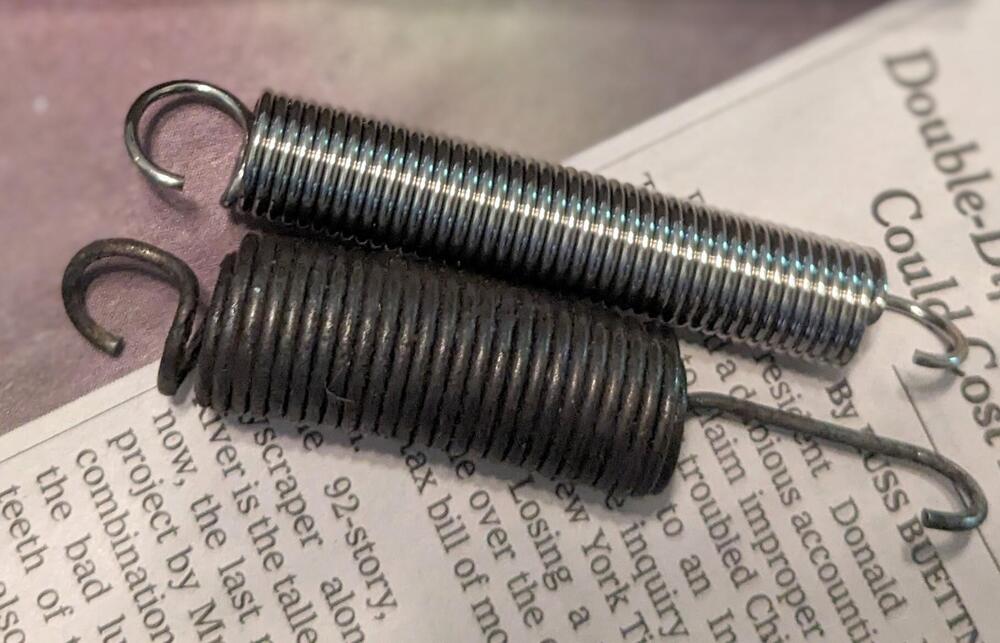
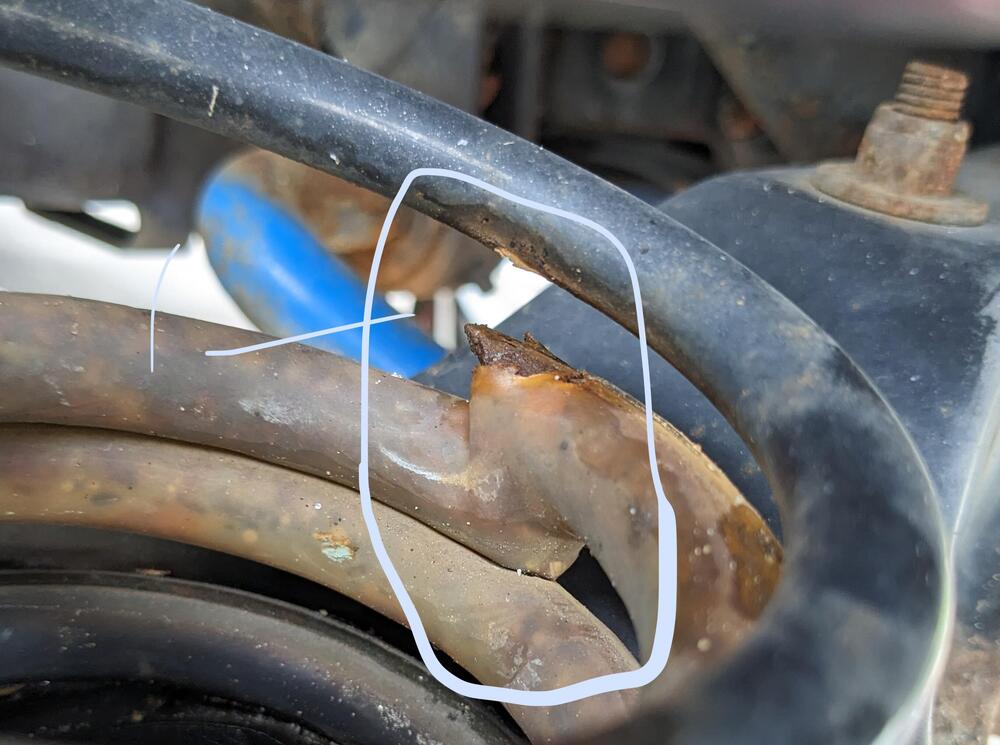
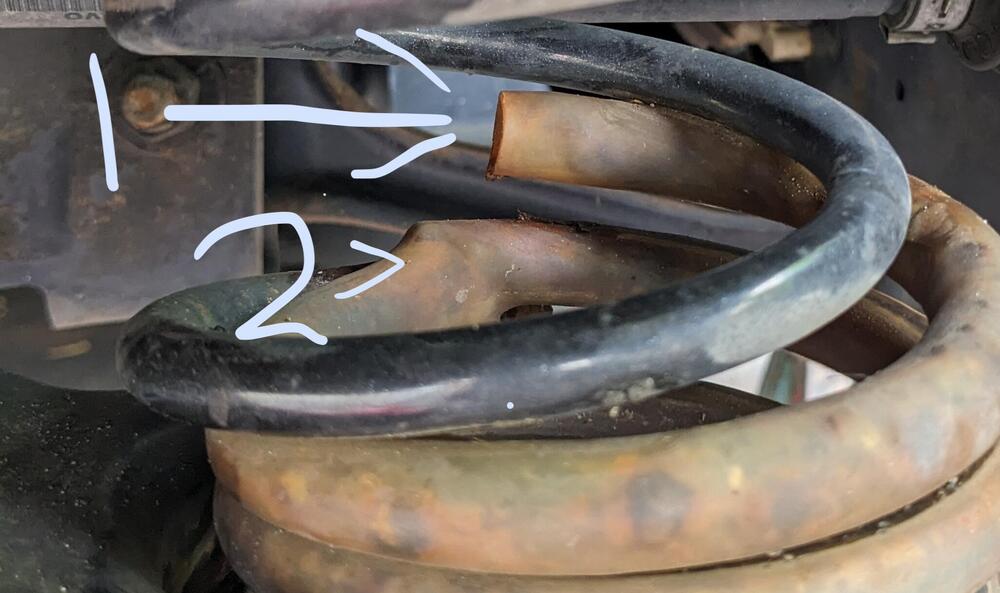
Apologies. What you are looking at is the Eibach spring which includes a plastic sleeve they add to the lower 1/3rd. The first pic you added arrows to, is one spring broken into 3 parts. The uncoated section is sitting down behind the lower break (2) \ The other side spring only broke into 2 pieces. You can see the break poking through the plastic sleeve here
-
That's not stacked - that's the one spring broken into 3 pieces - the lower portion has a plastic coating EDIT - I've used helper springs with coil over setups - this isn't that, it's a single progressive rate spring

-
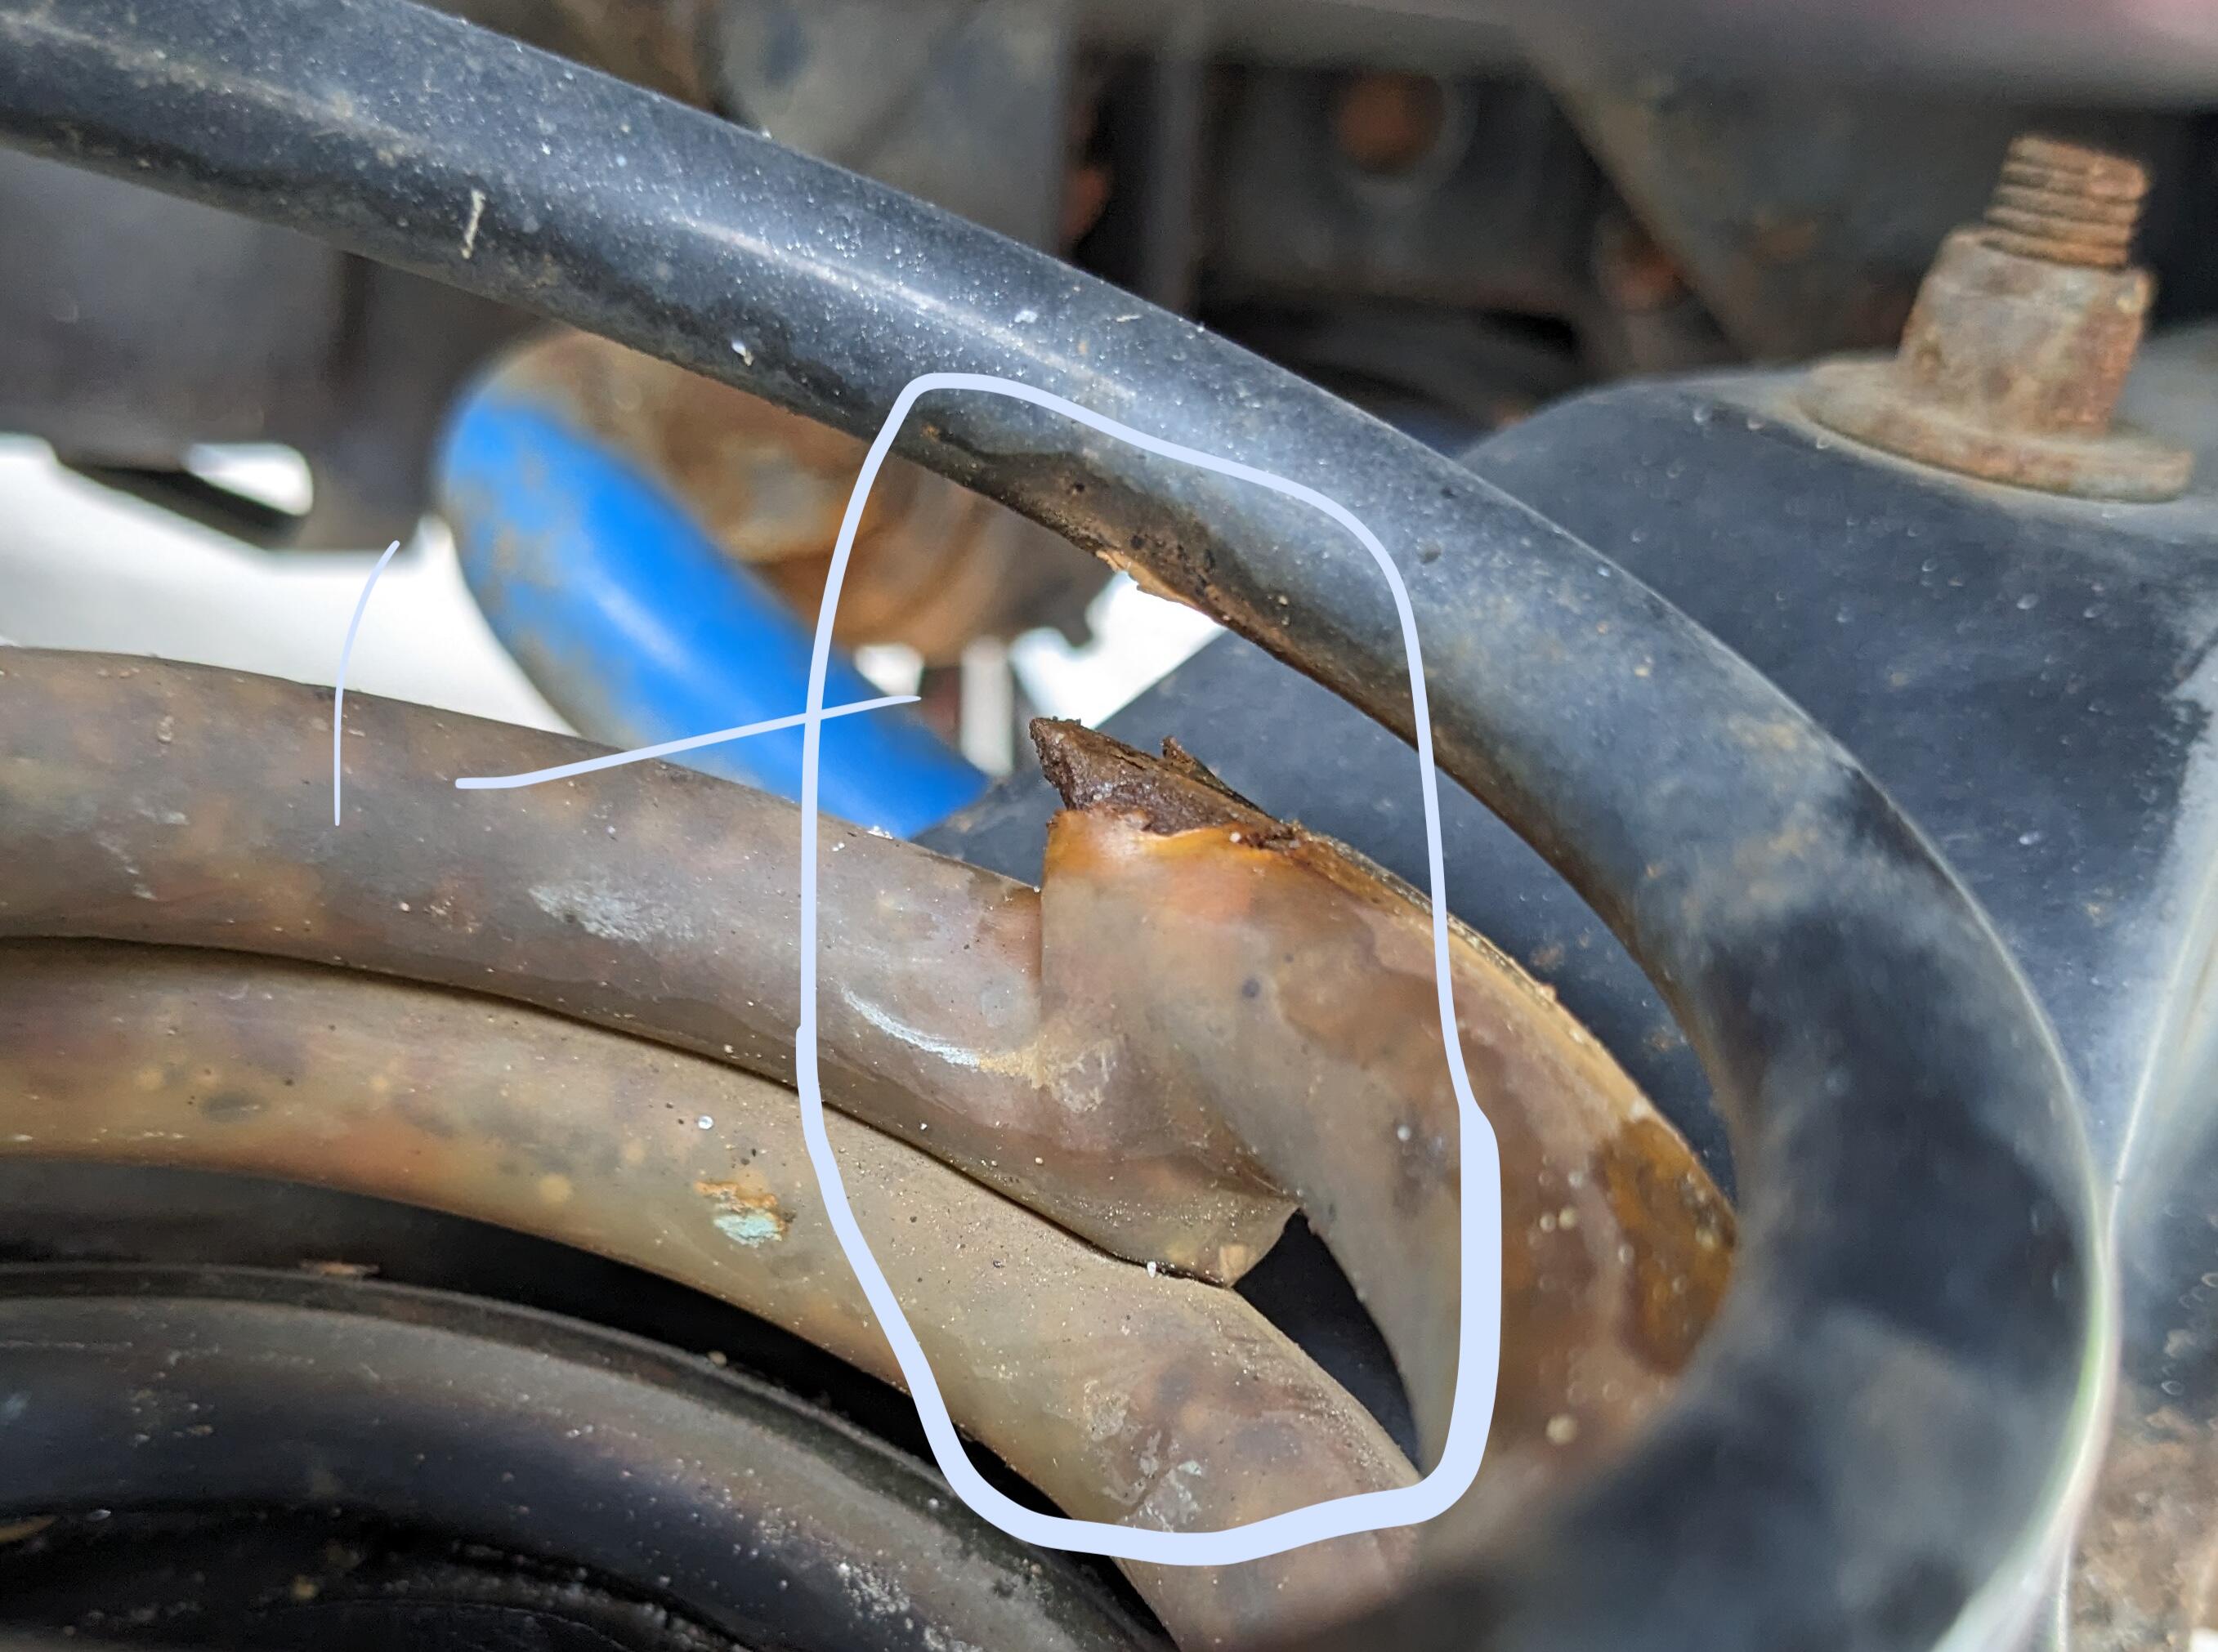
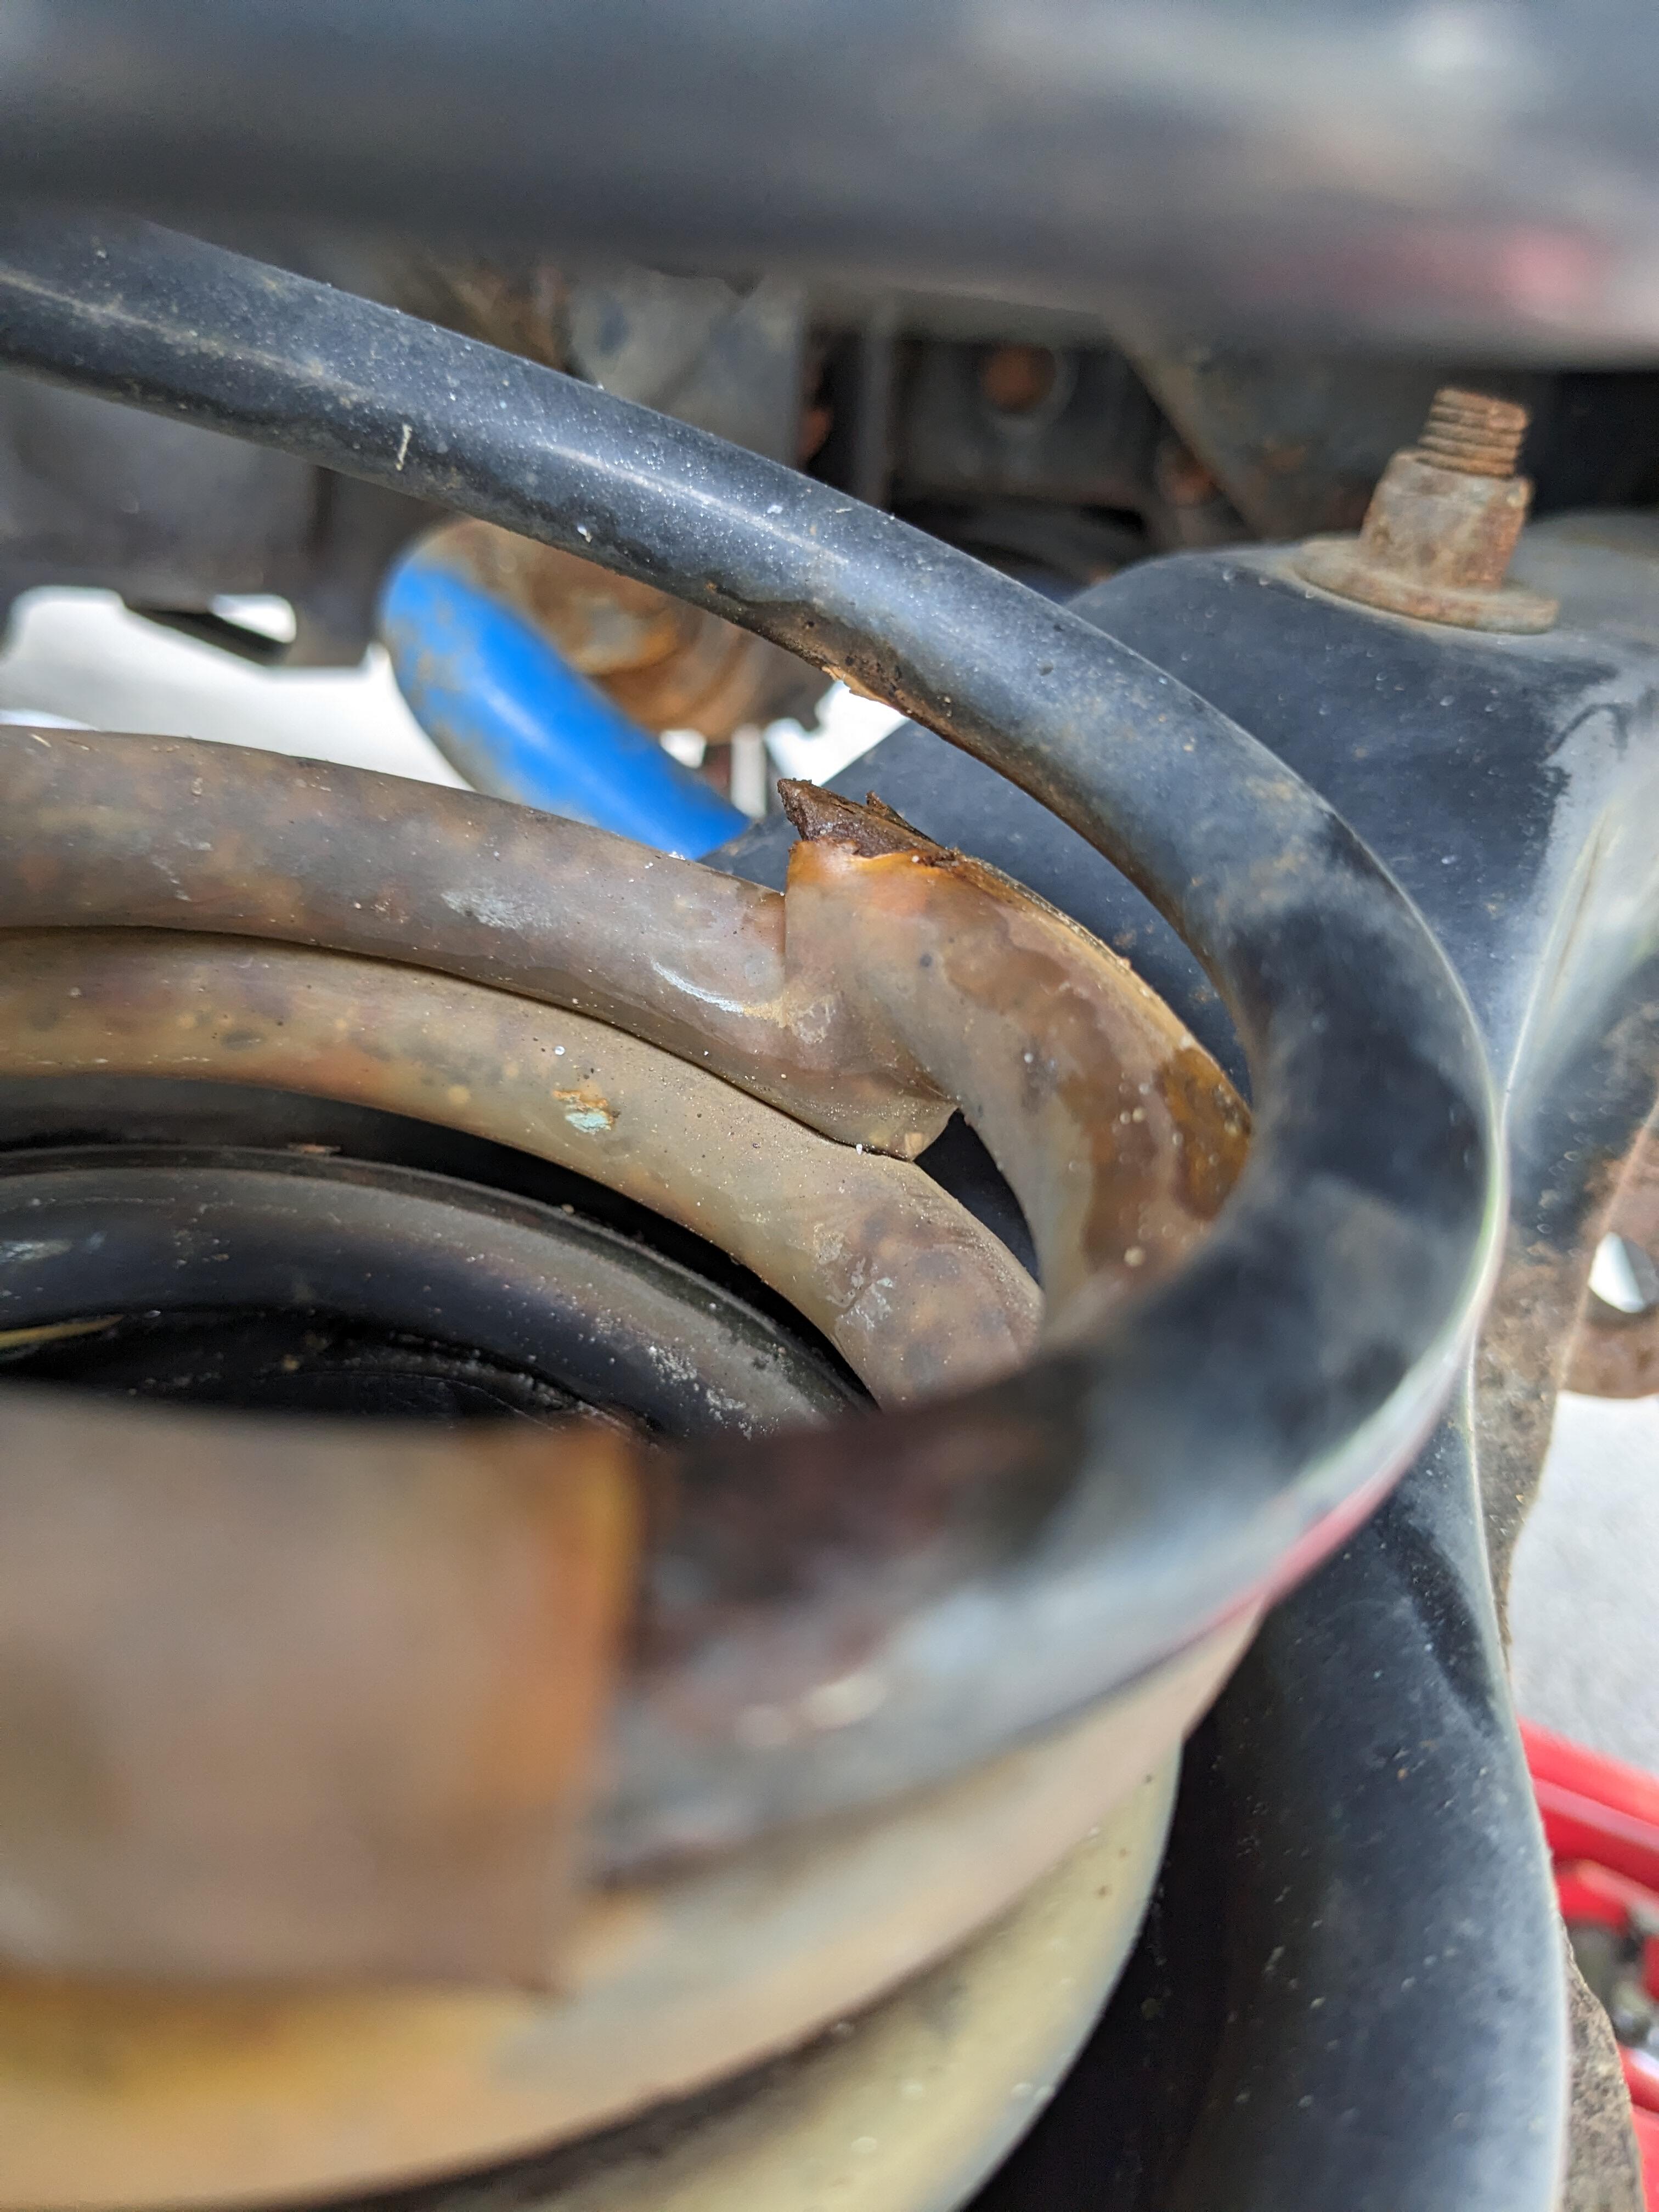
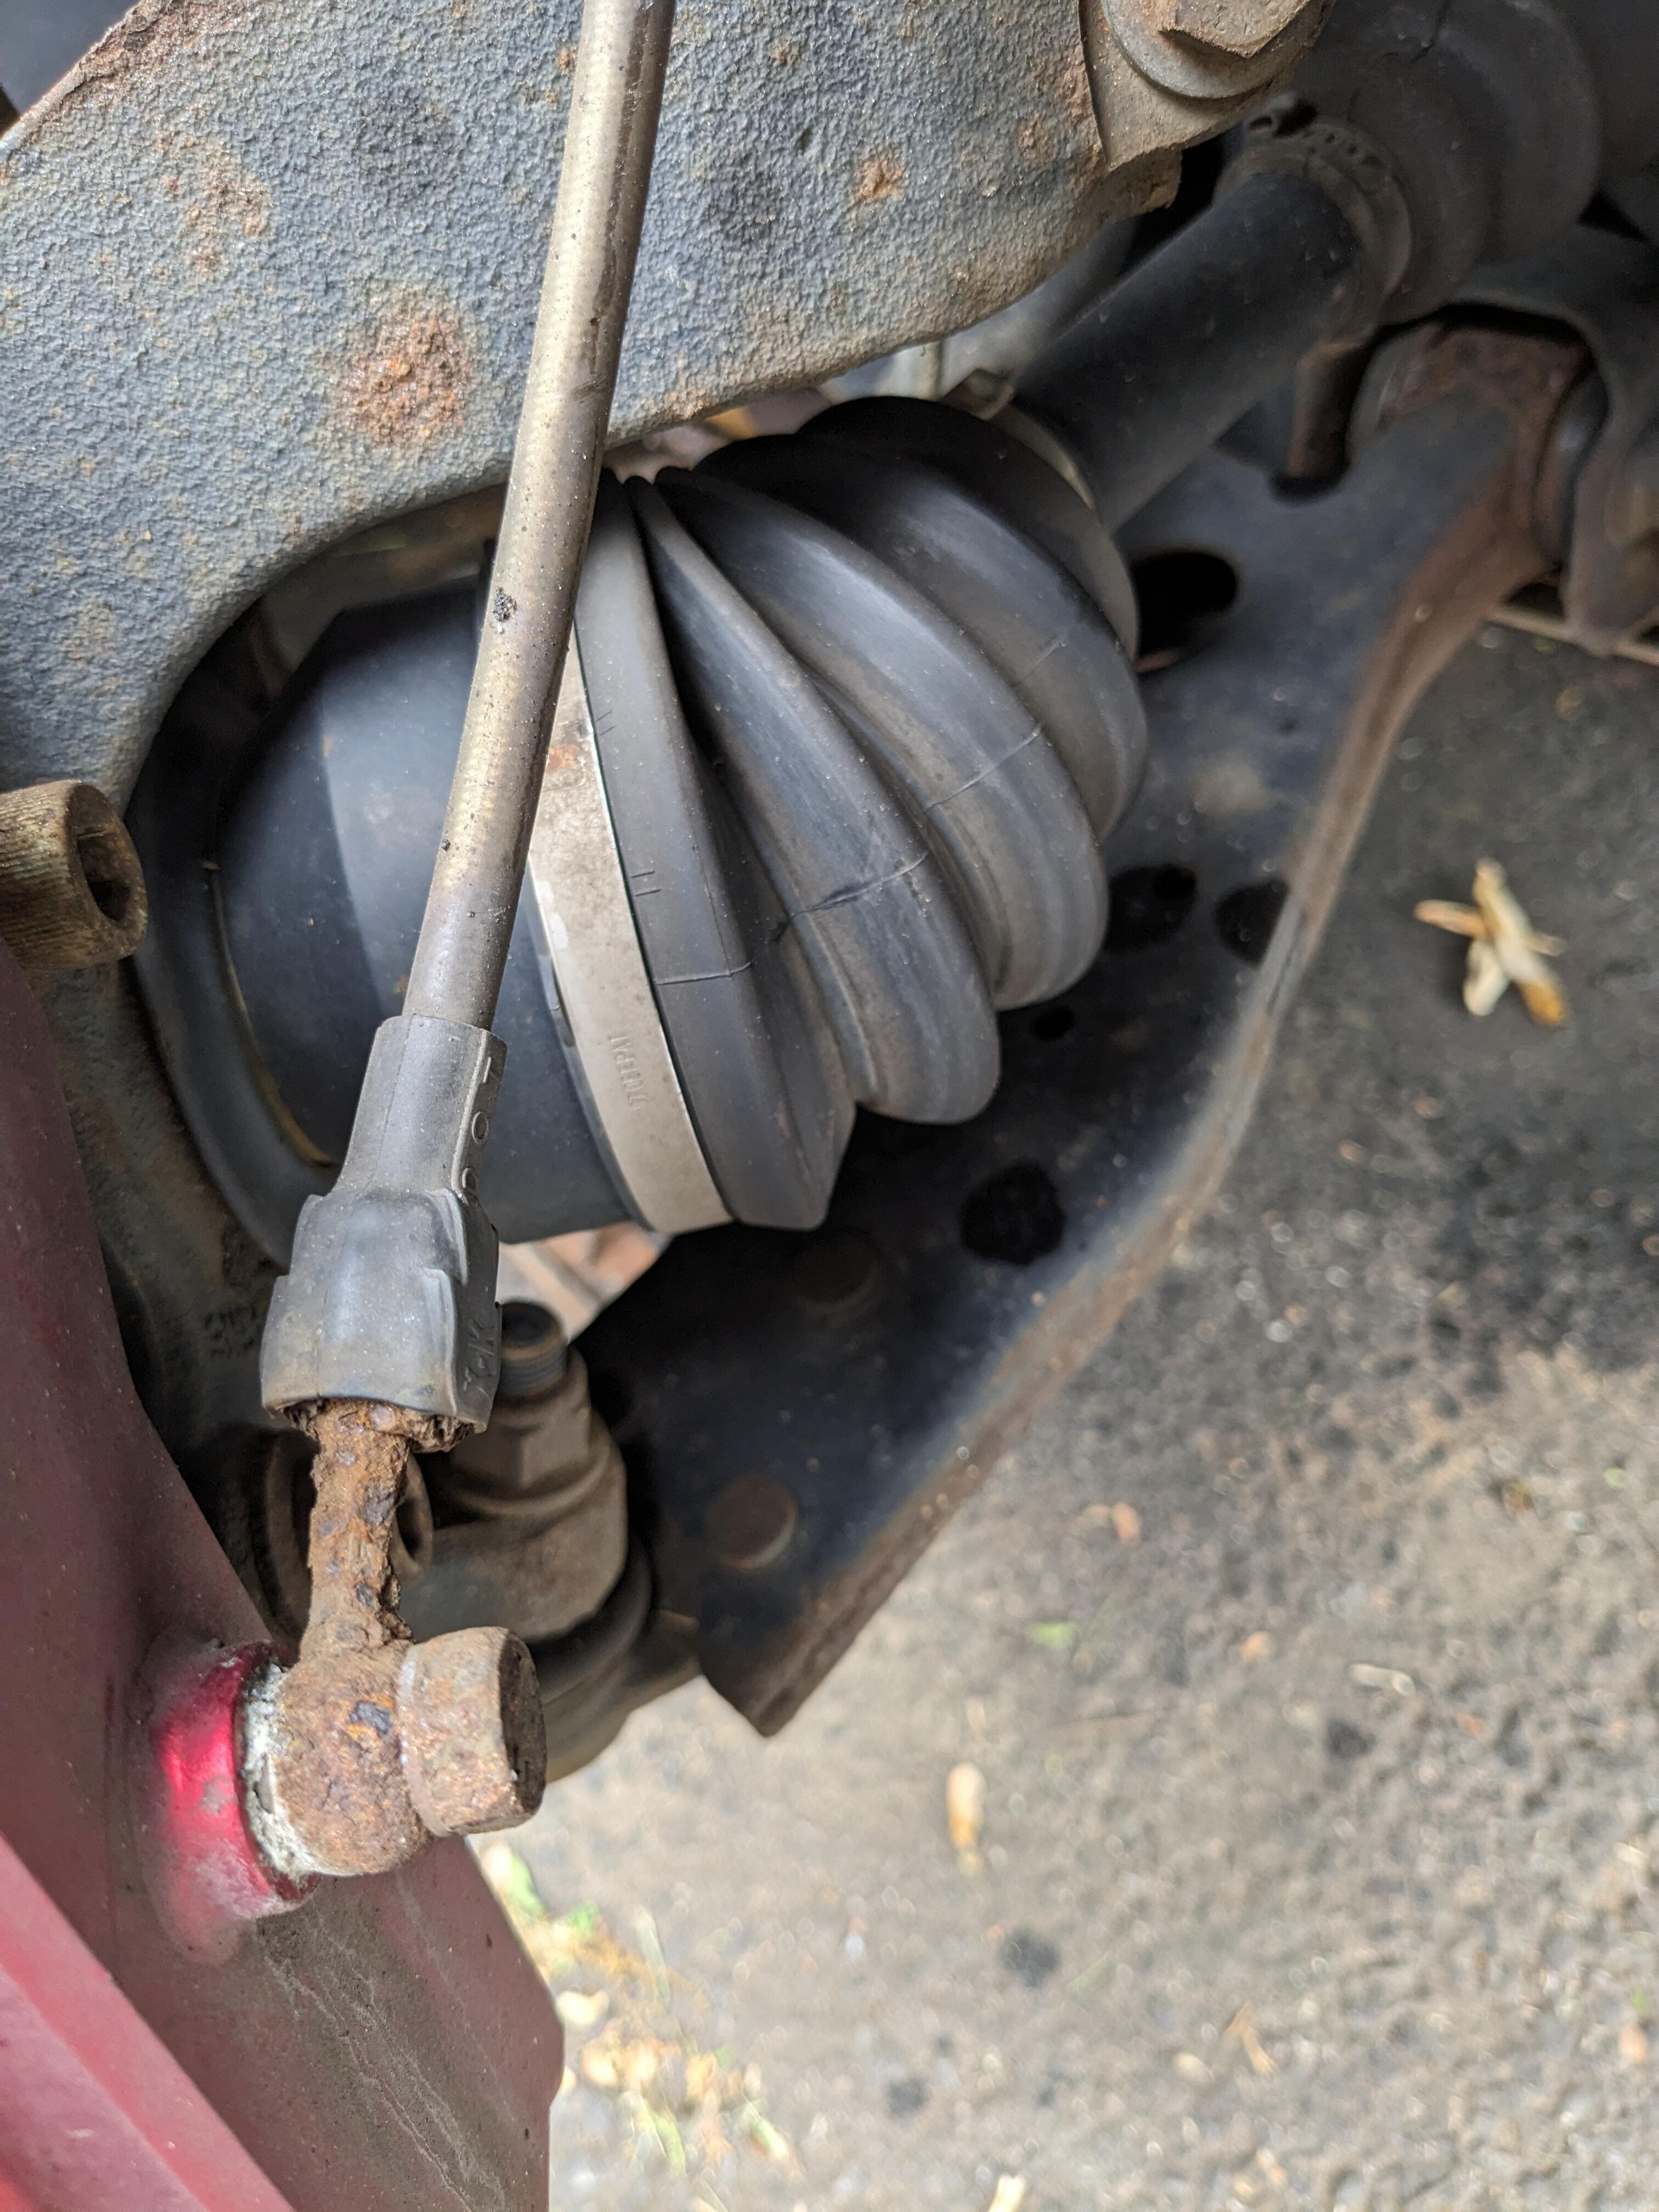
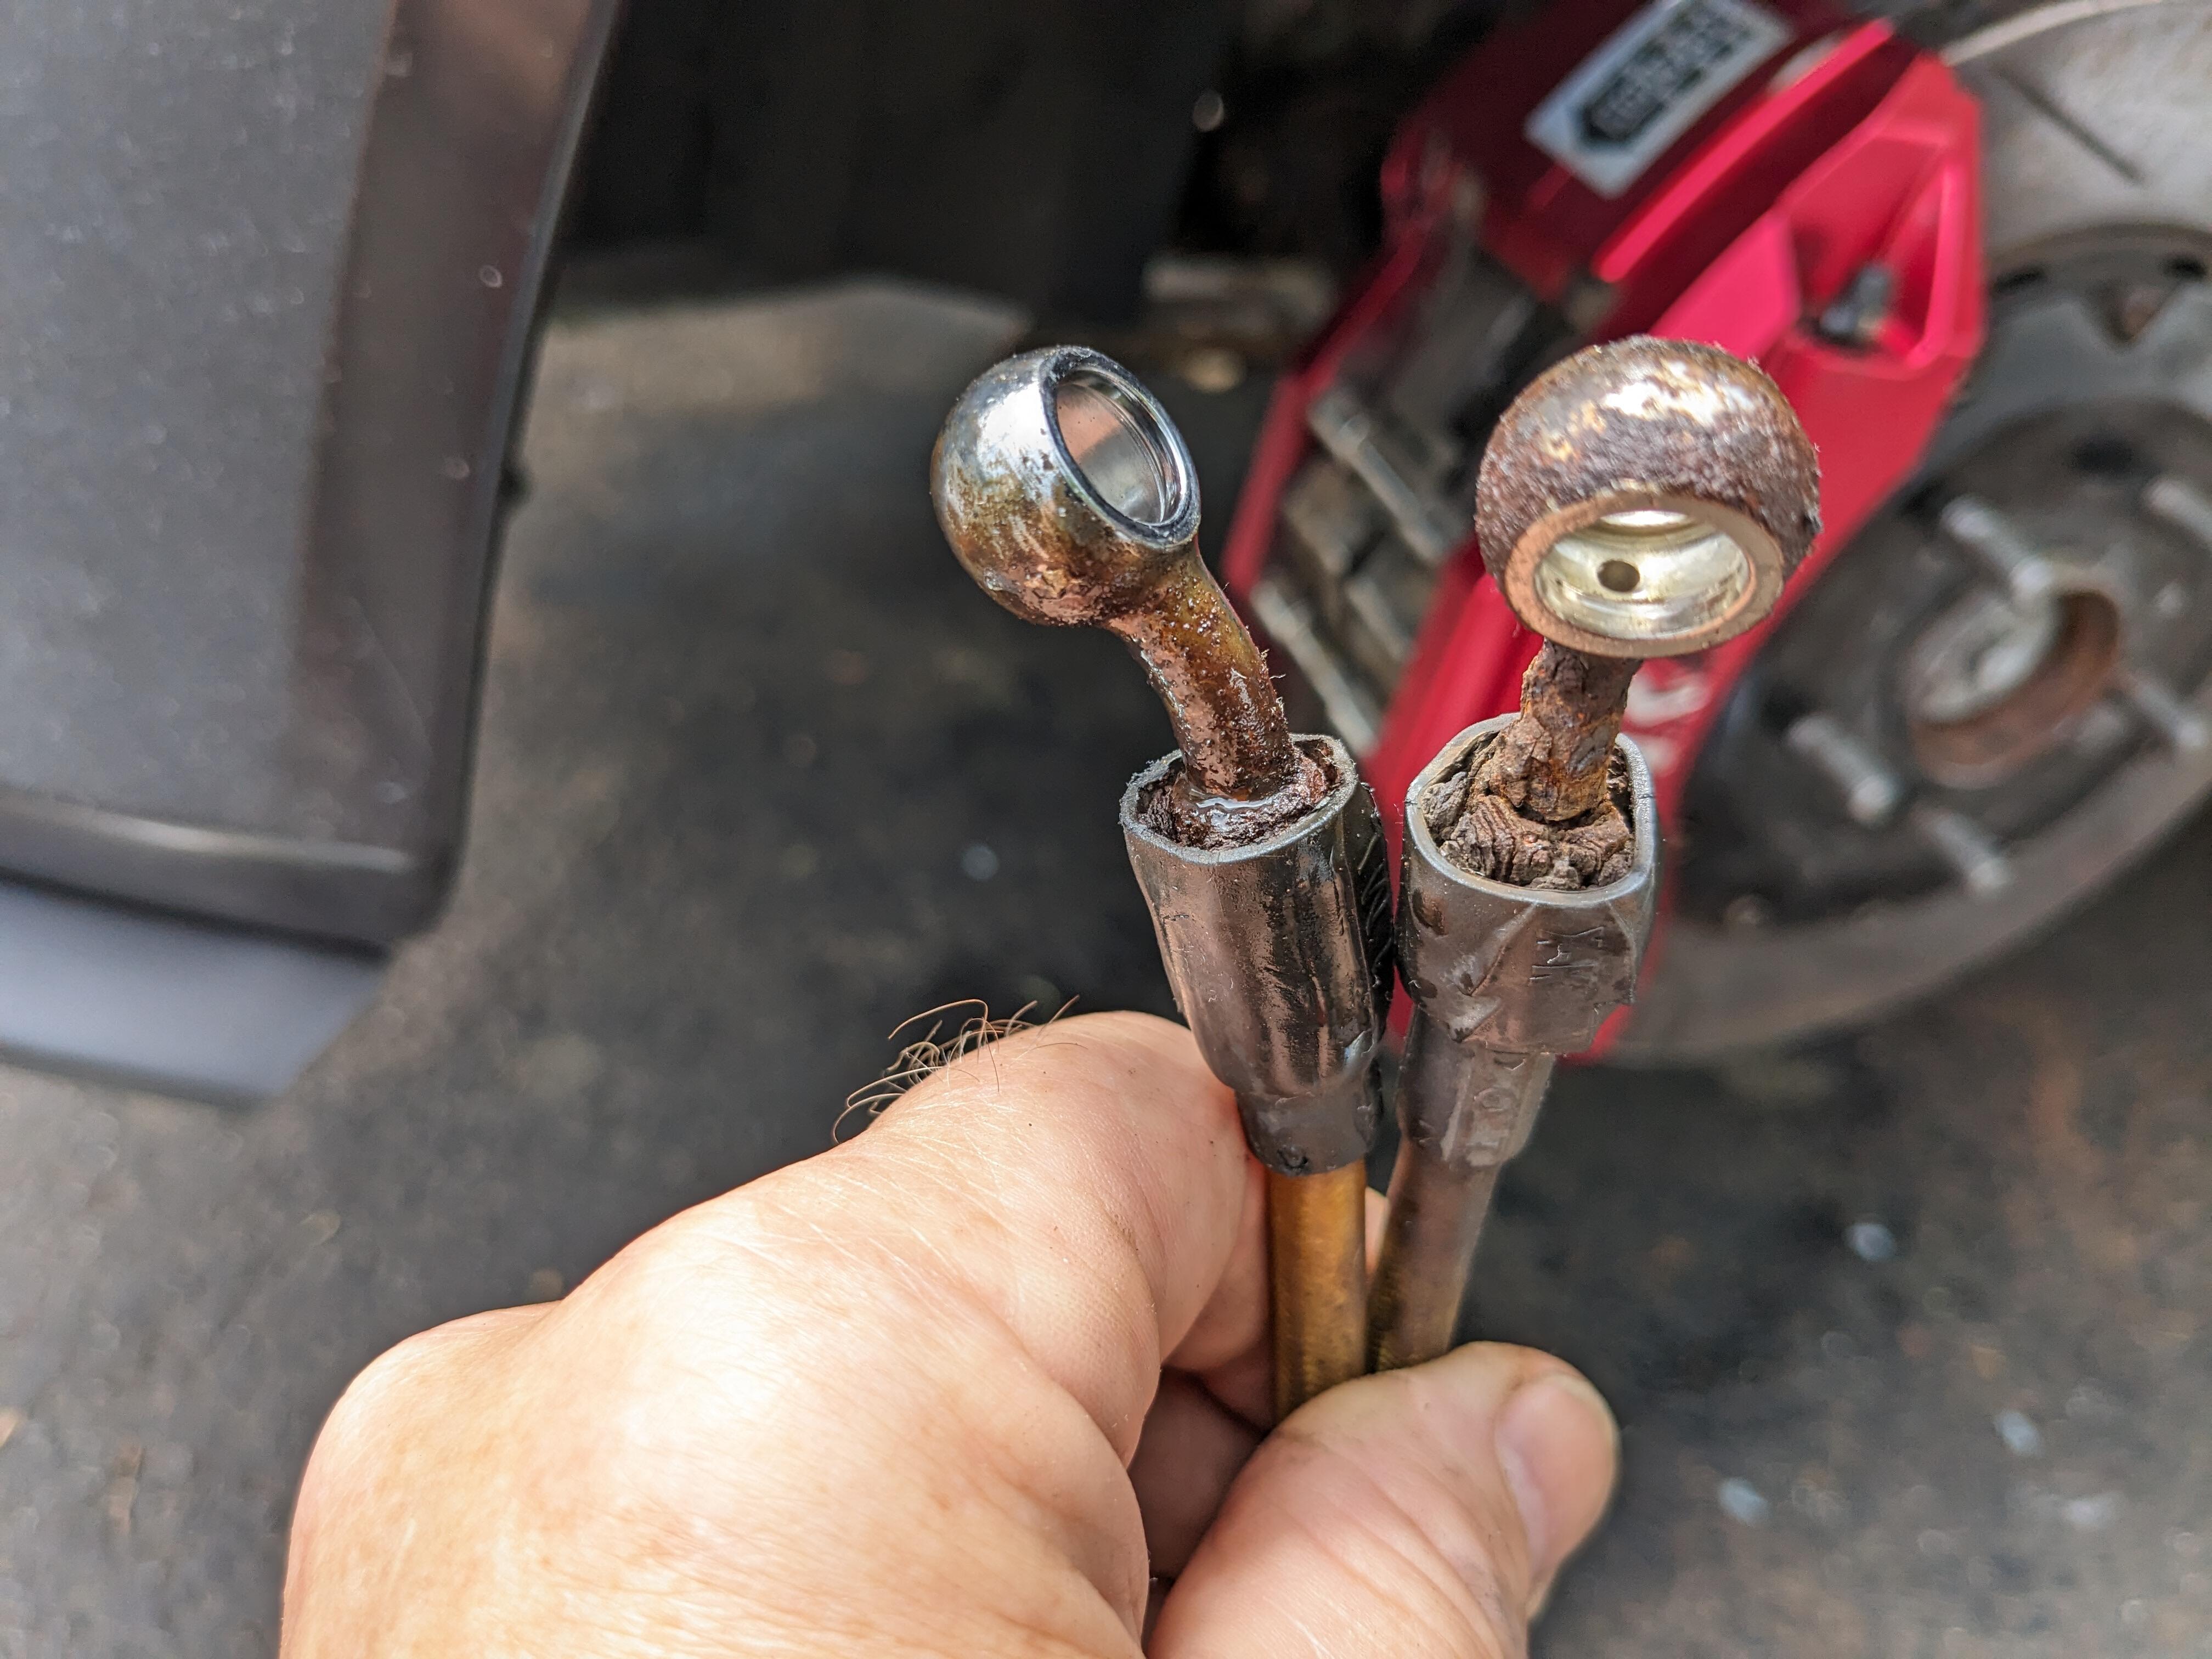
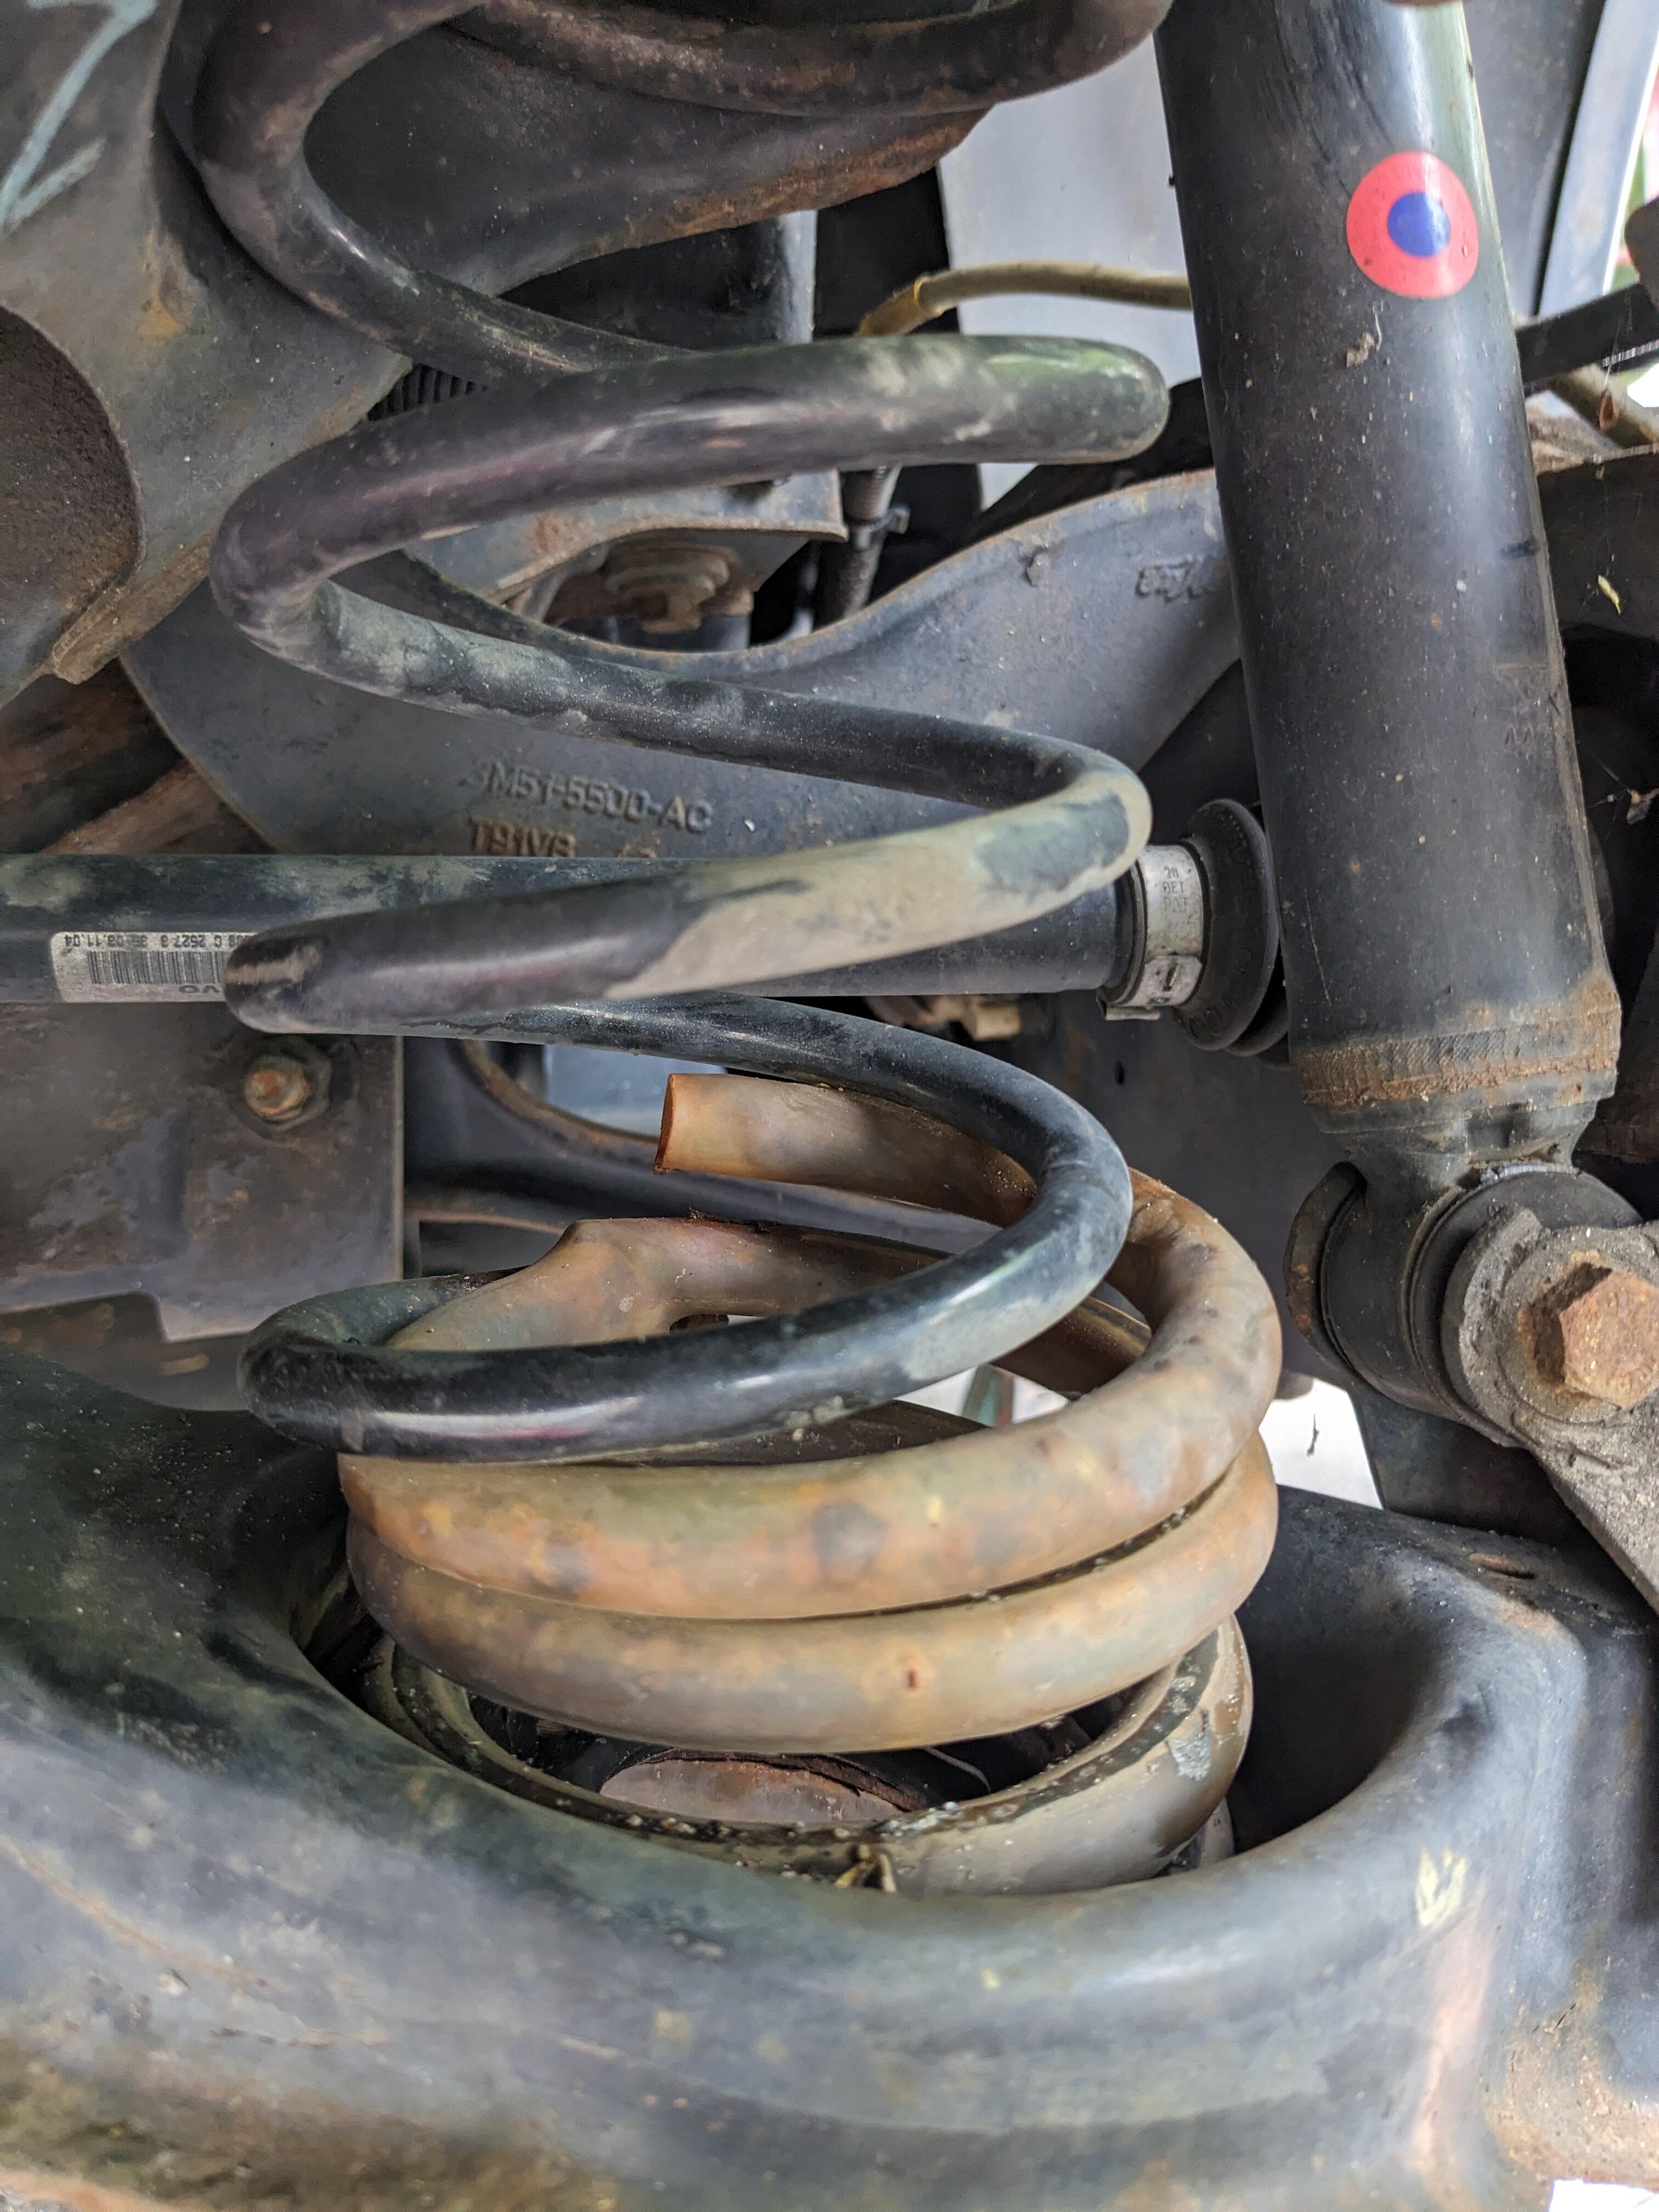
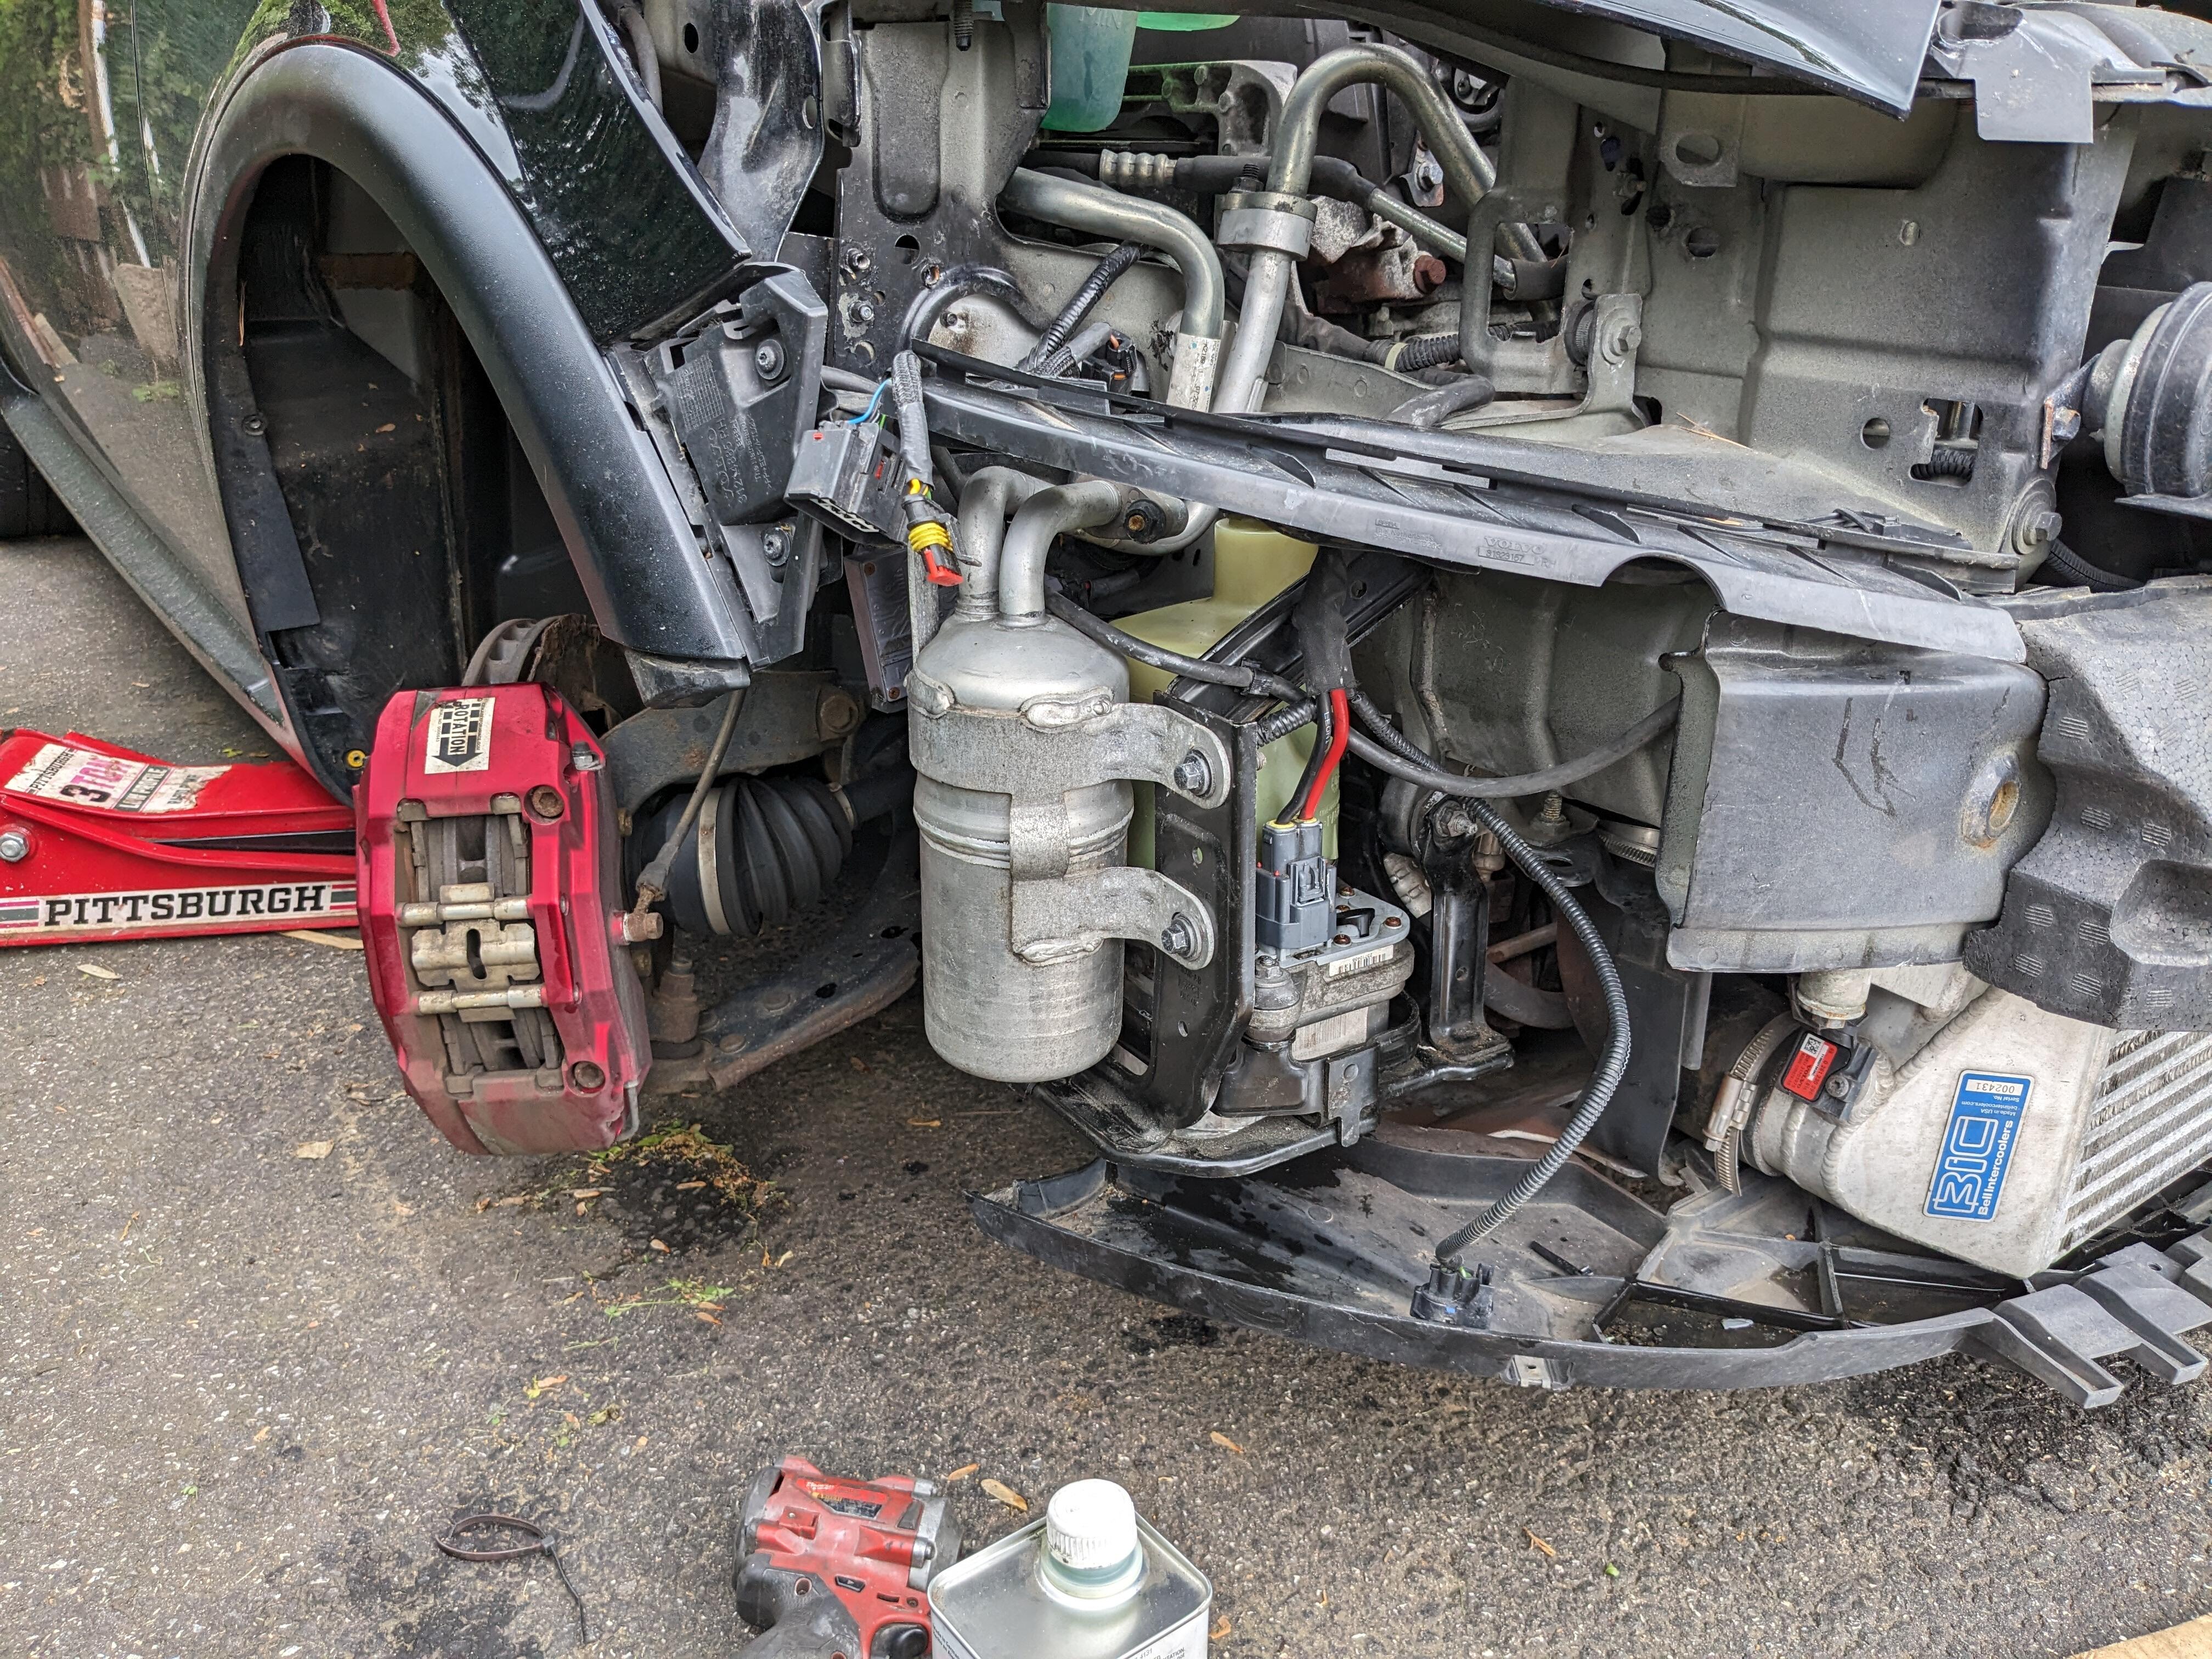
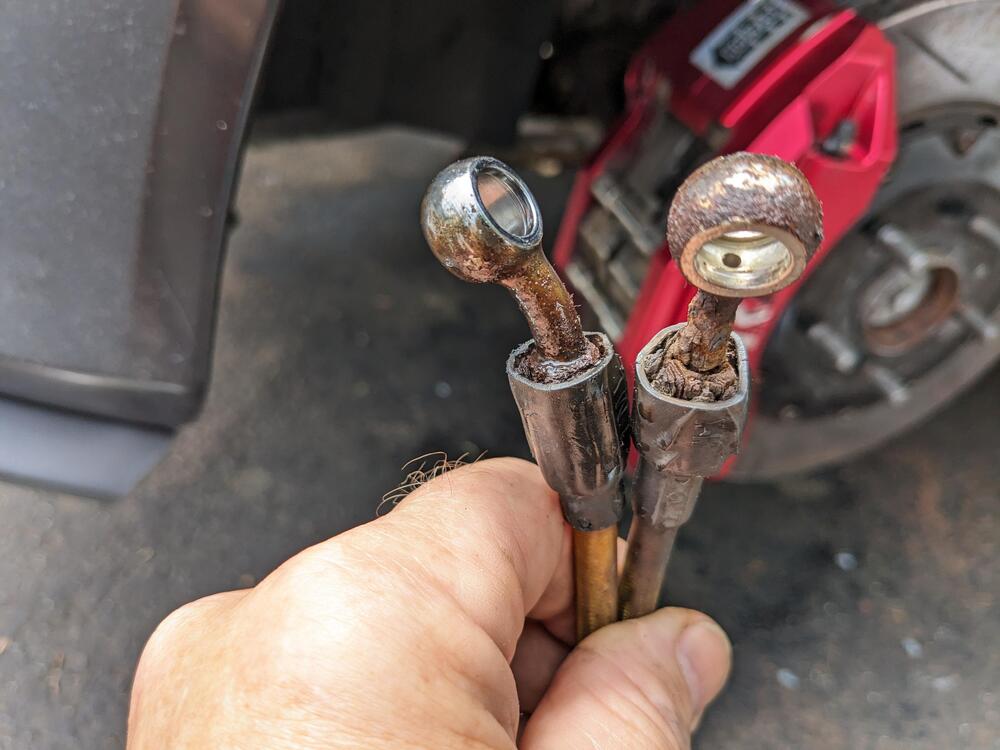
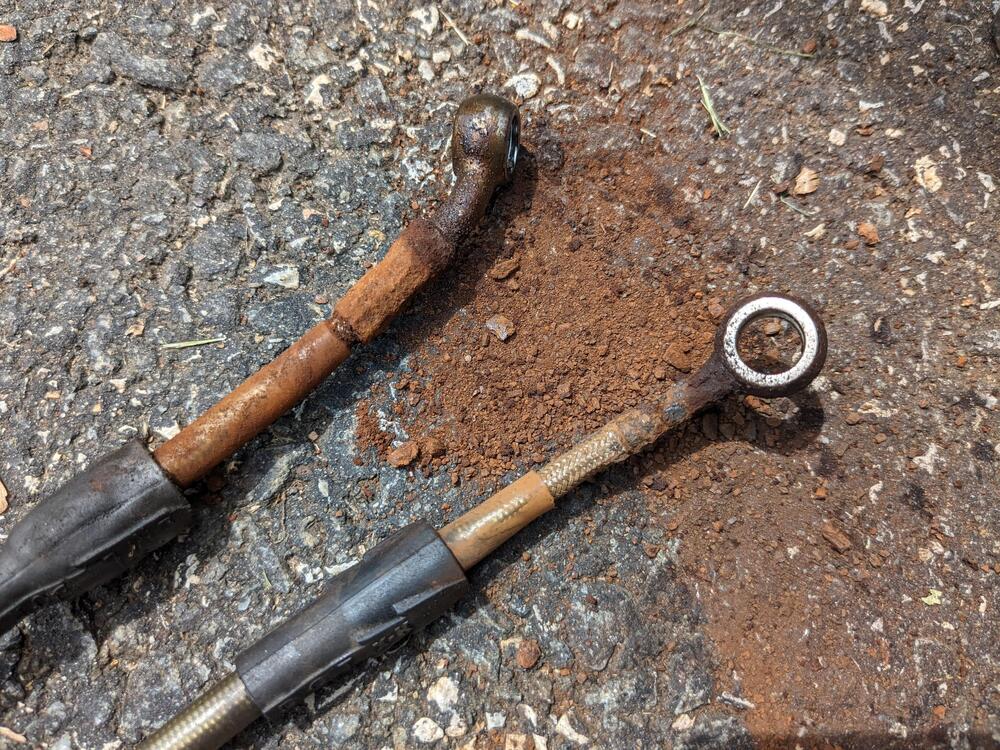
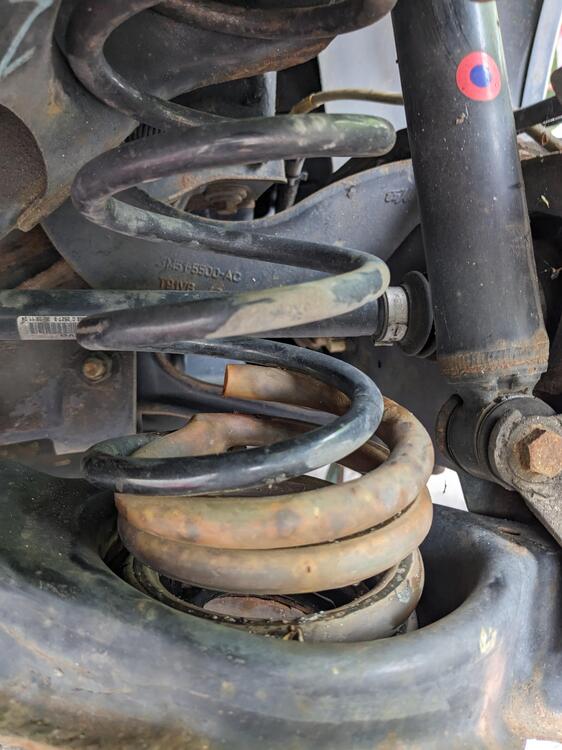
So, after doing the pump, I decided I should go over the brakes and suspension to make sure it's all good for our summer trips. Saw a surprise on the front calipers - these hoses from CEIKA are 3years old(!) The right side is in much worse shape than the left Which really isn't saying much. I messaged Ceika from their Facebook account, that seems to be the quickest way to get a response - at least it has been in the past. I replaced those, and drove the car to check the front for any noises. Everything good up front, no more scream from the PS pump - however I could hear that there were noises coming from the rear now that were masked previously.... Surprisingly, perhaps - it was just a little bit of a squeak and a pop over bumps. I put the stock springs back in, since I had saved them from back in 2016 I think when I originally did the Eibach lowering spring set. The original Eibach springs lasted 2 years, I replaced those in 2018. They have limited lifetime warranty - this clearly falls into that category. I don't Track the car or anything. Have to hear back from TireRack.com on that.


-
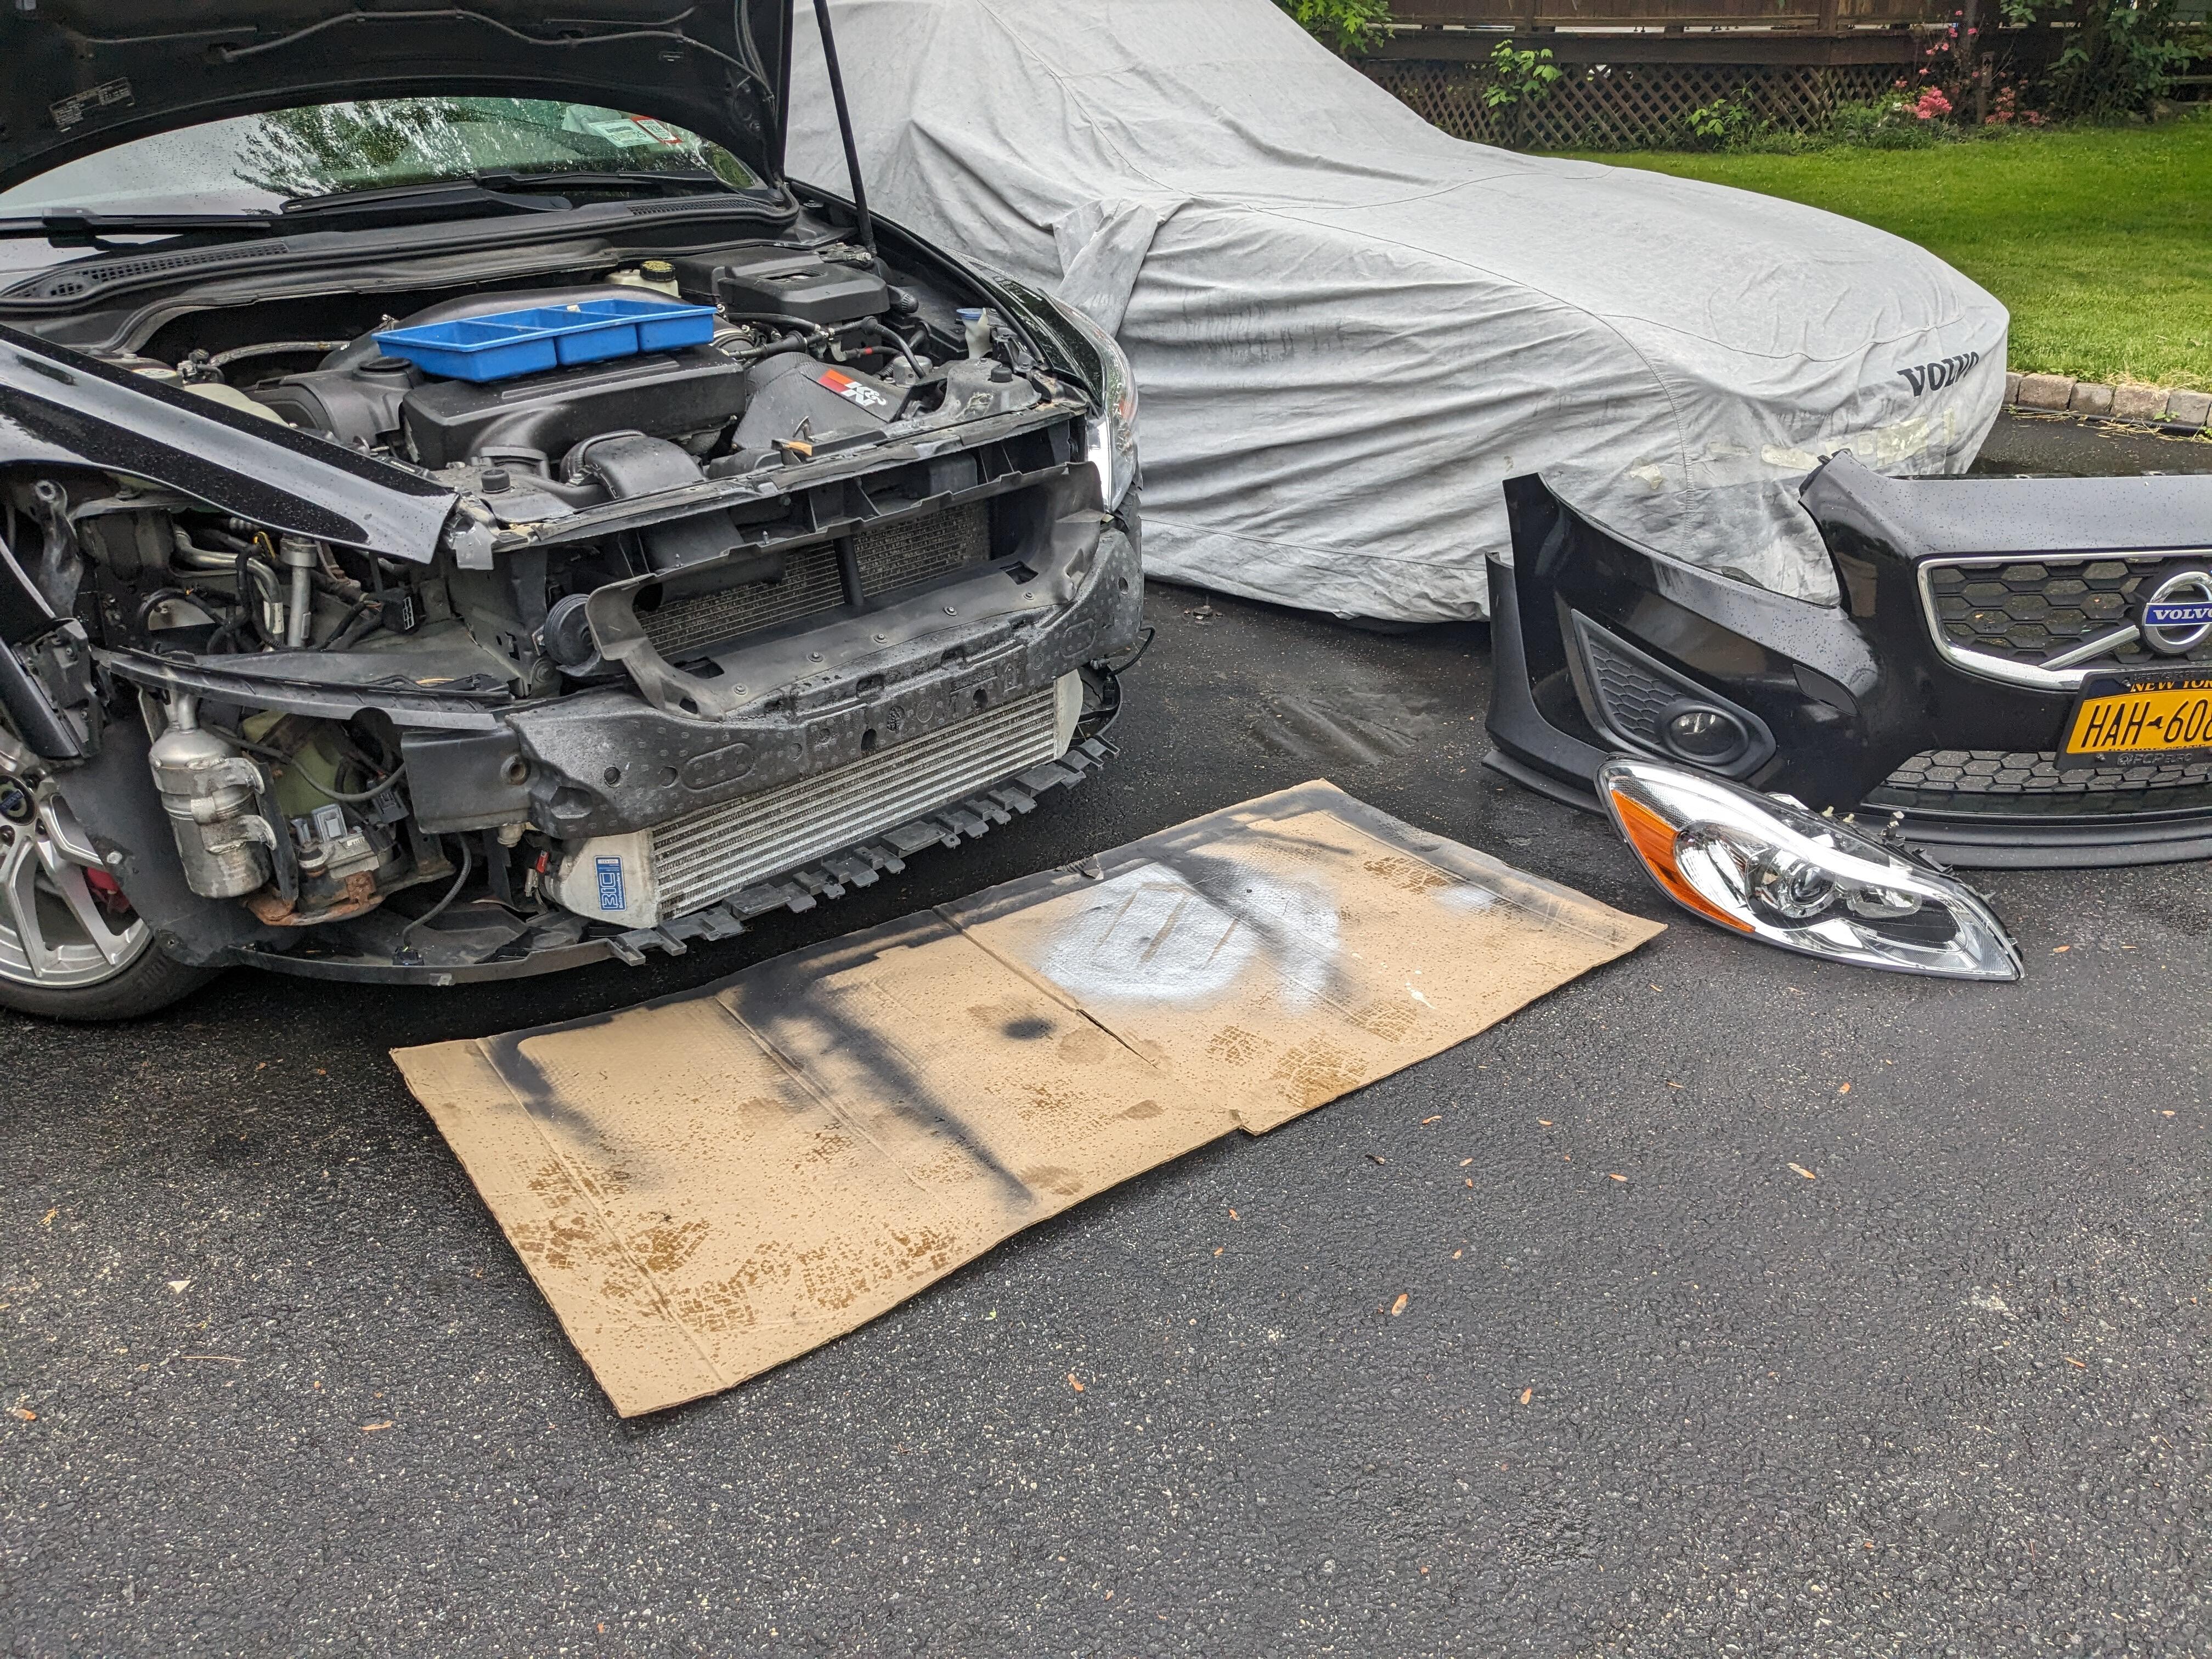
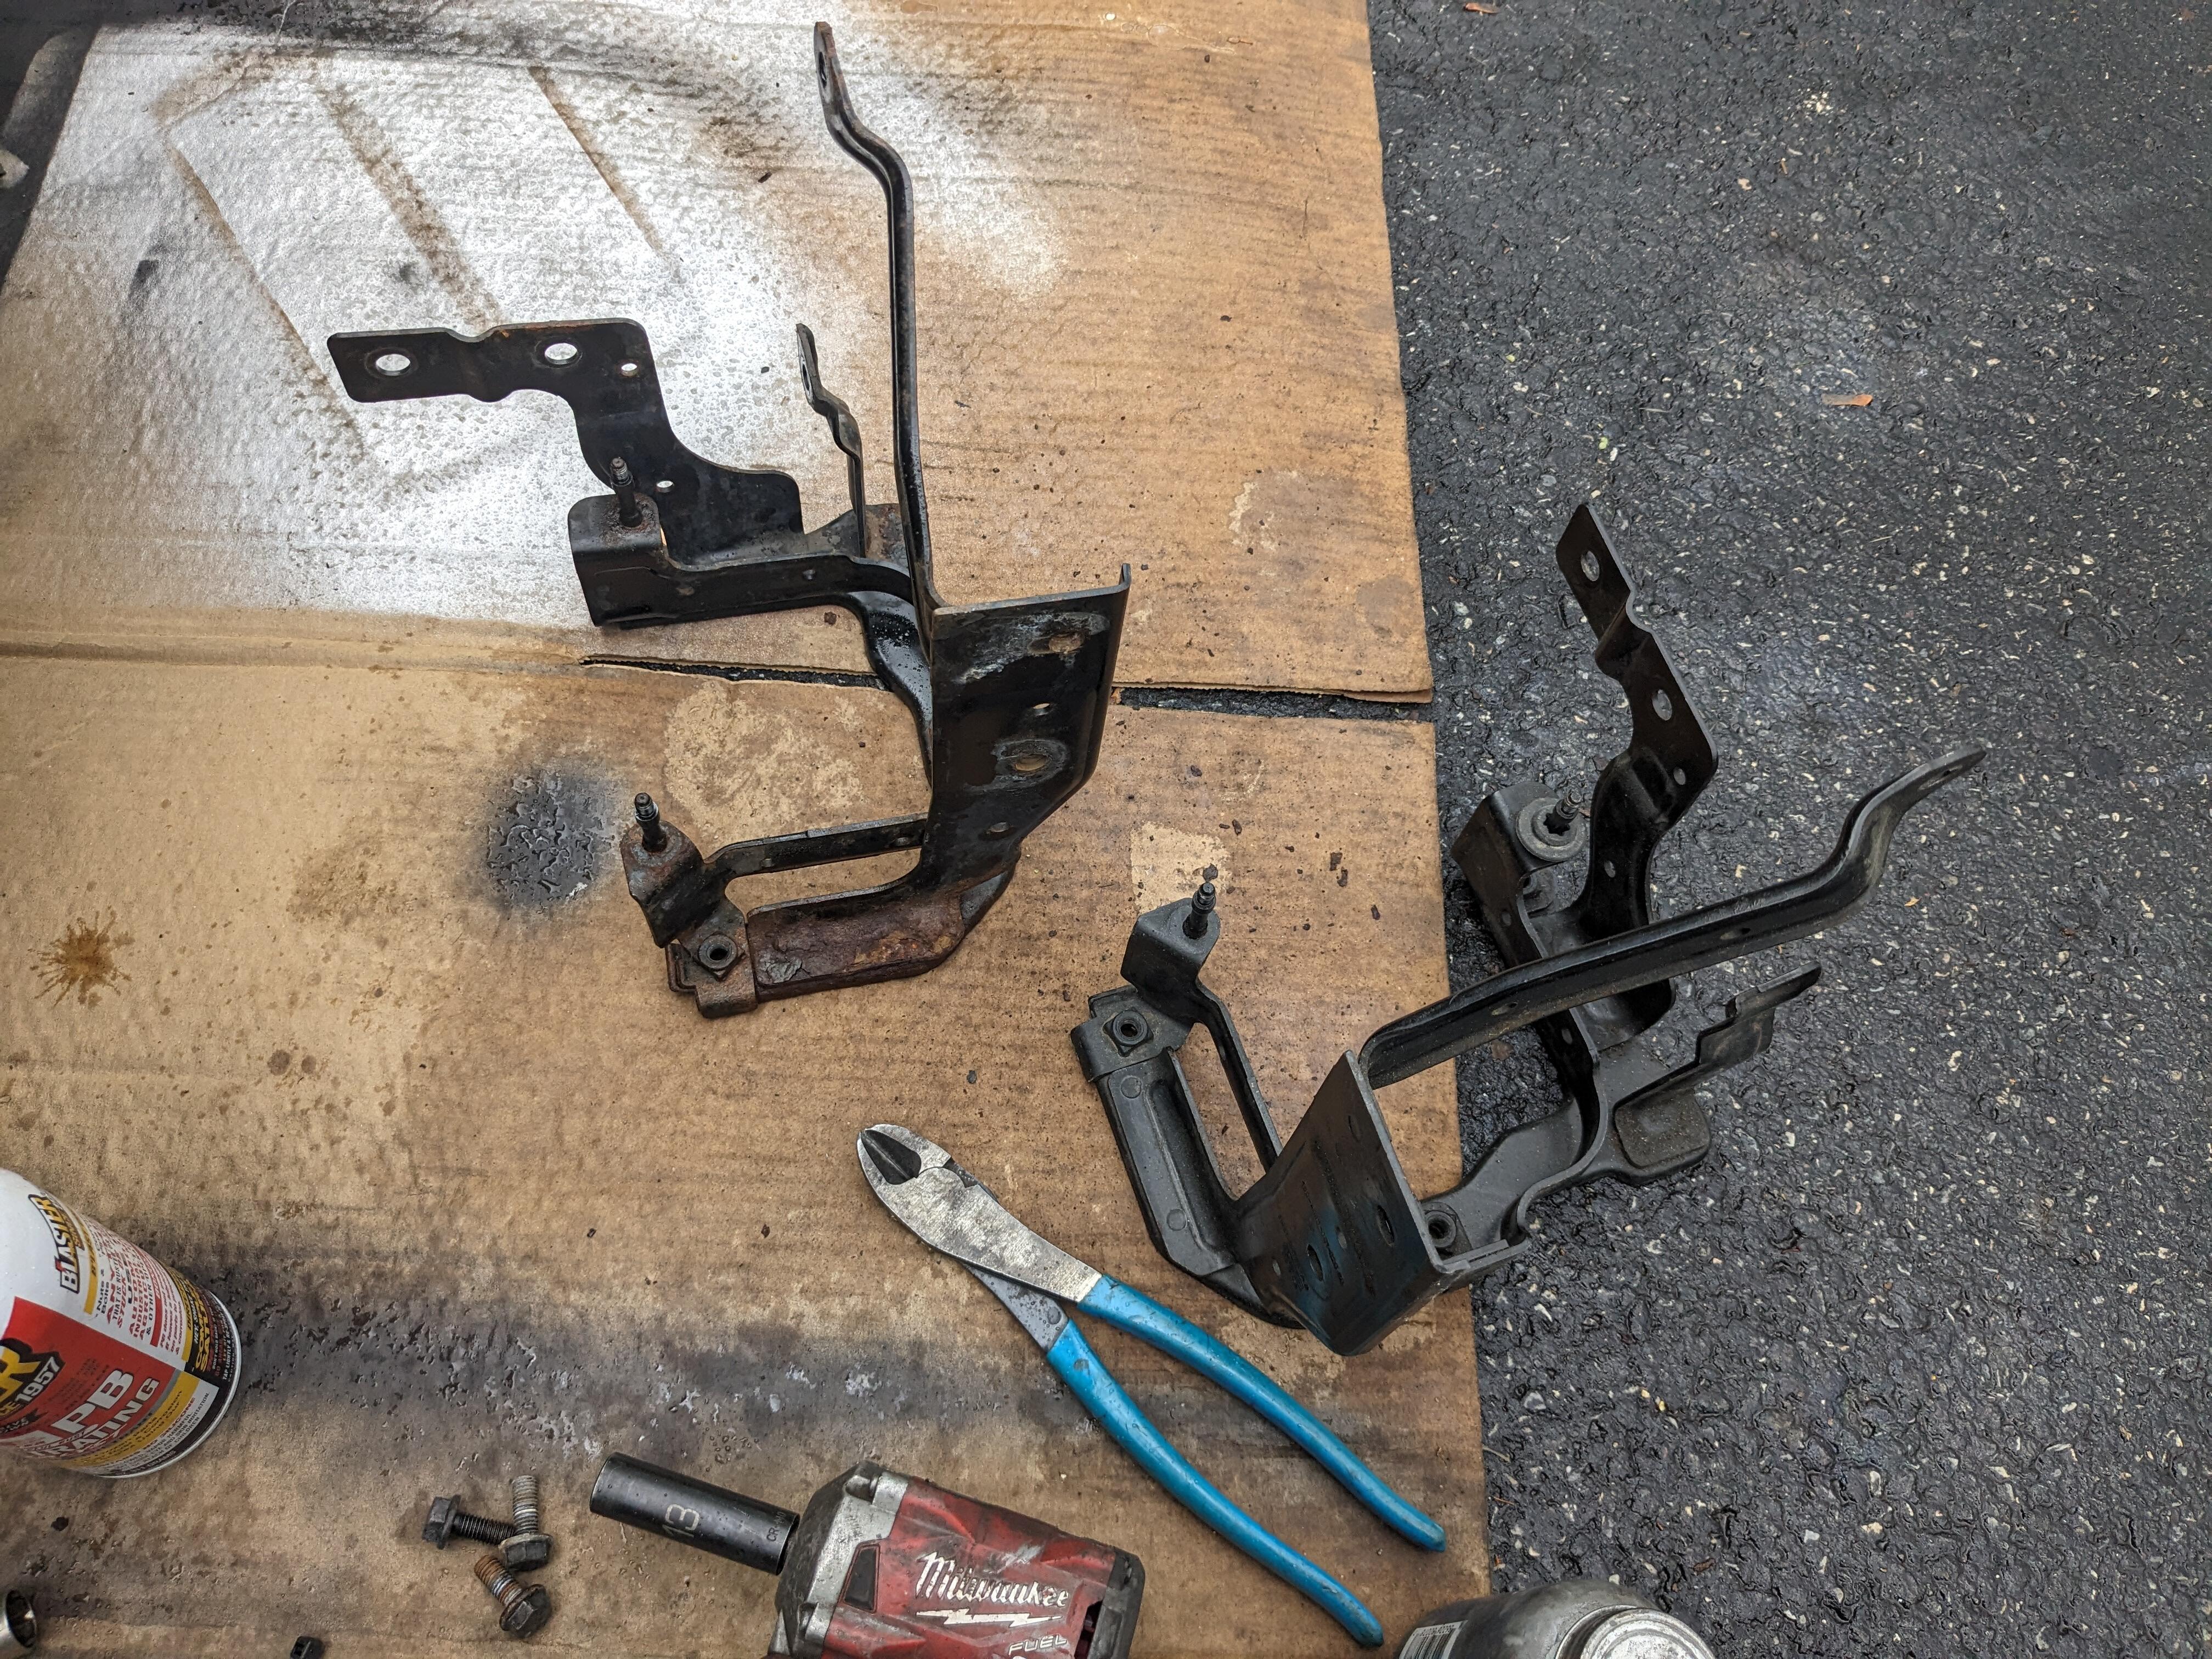
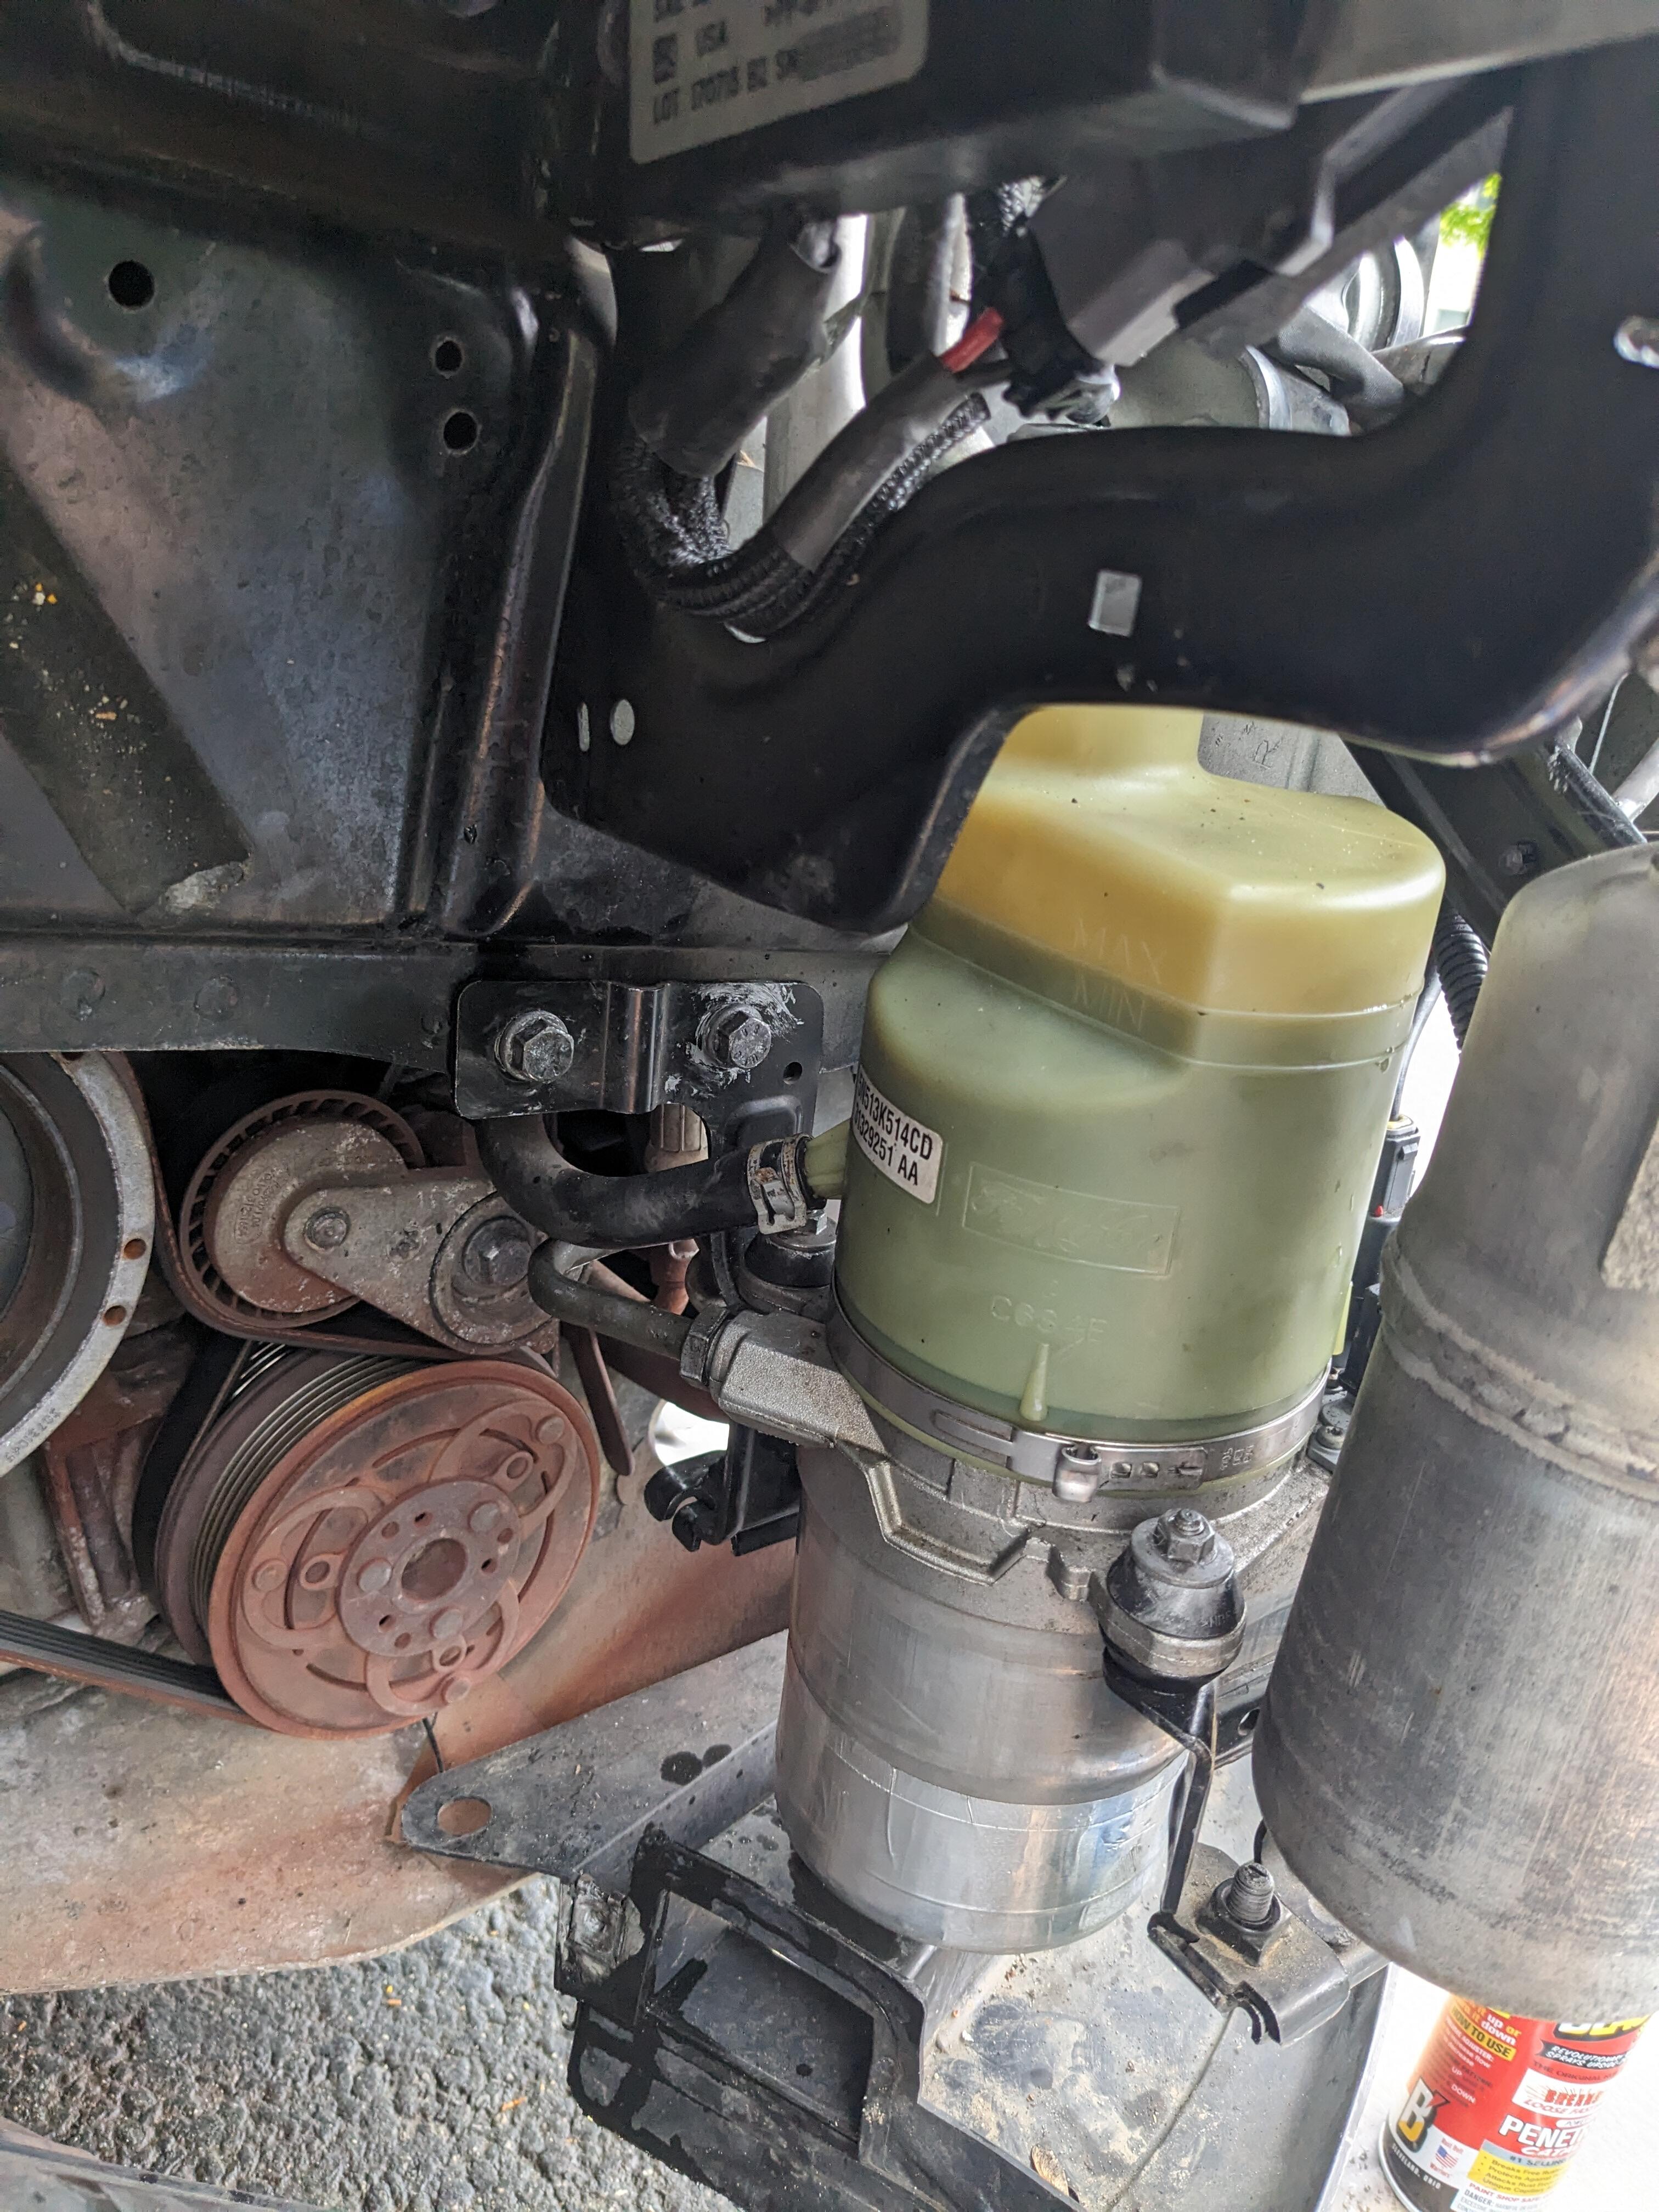
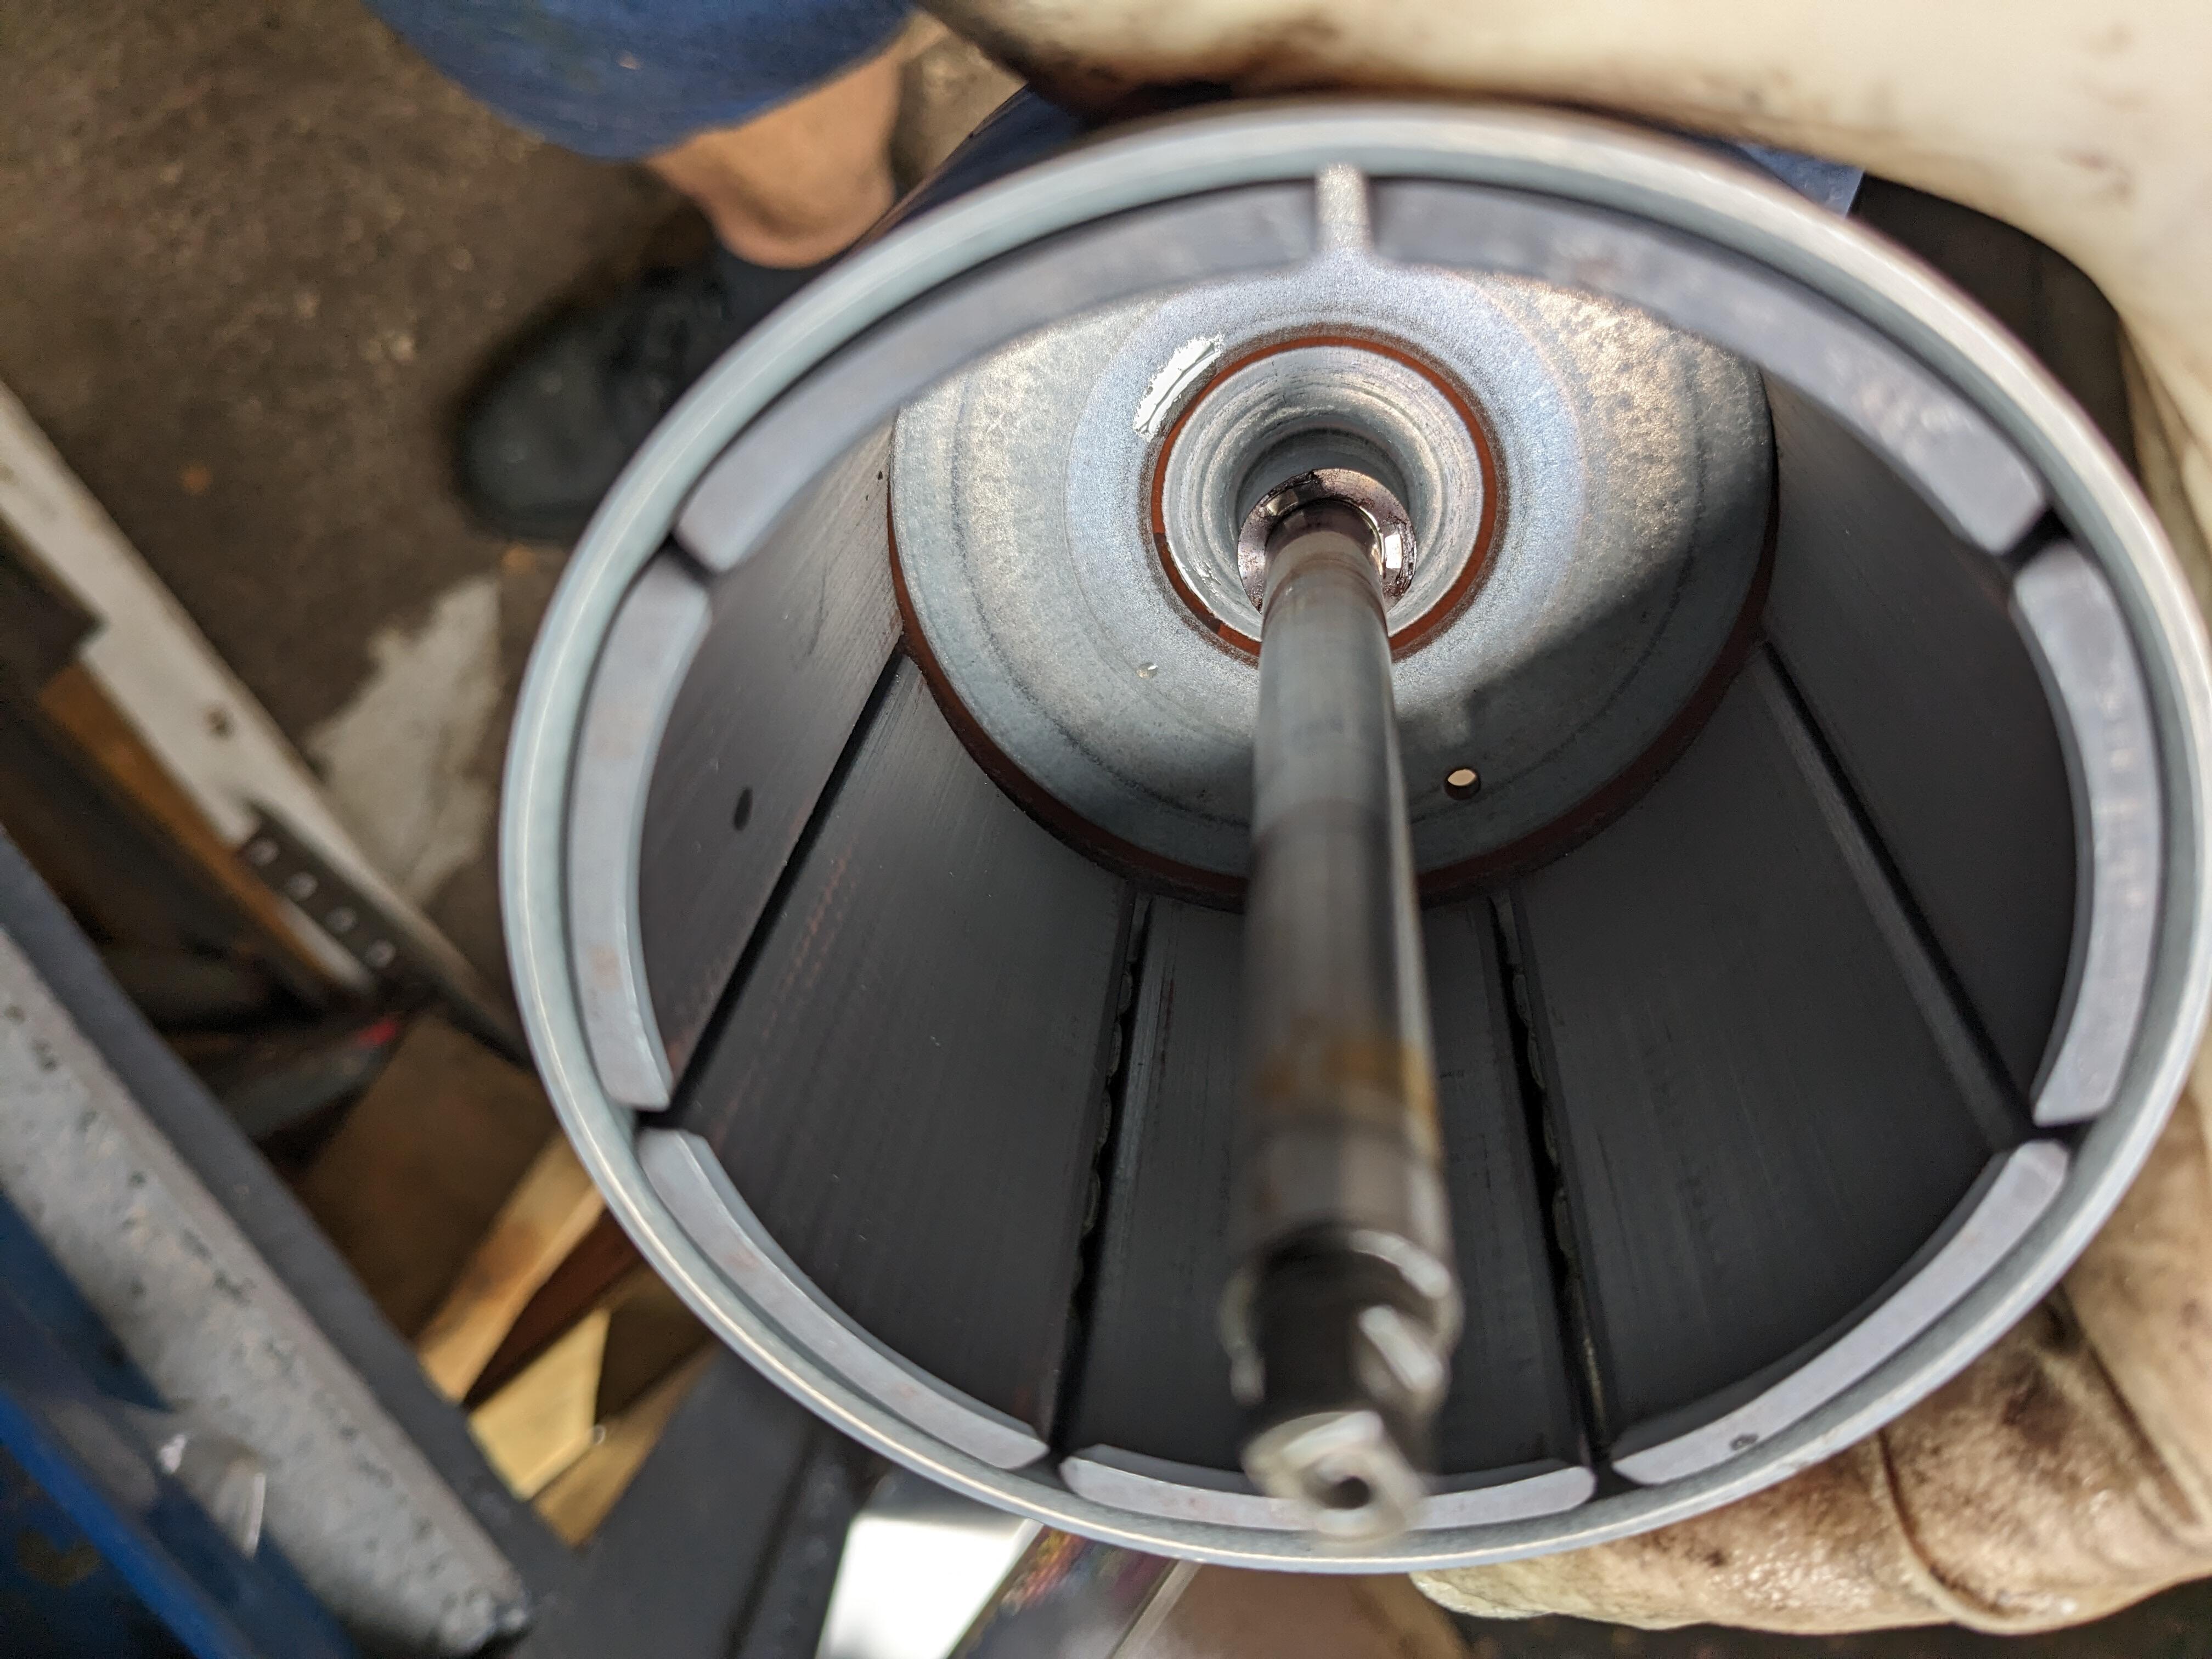
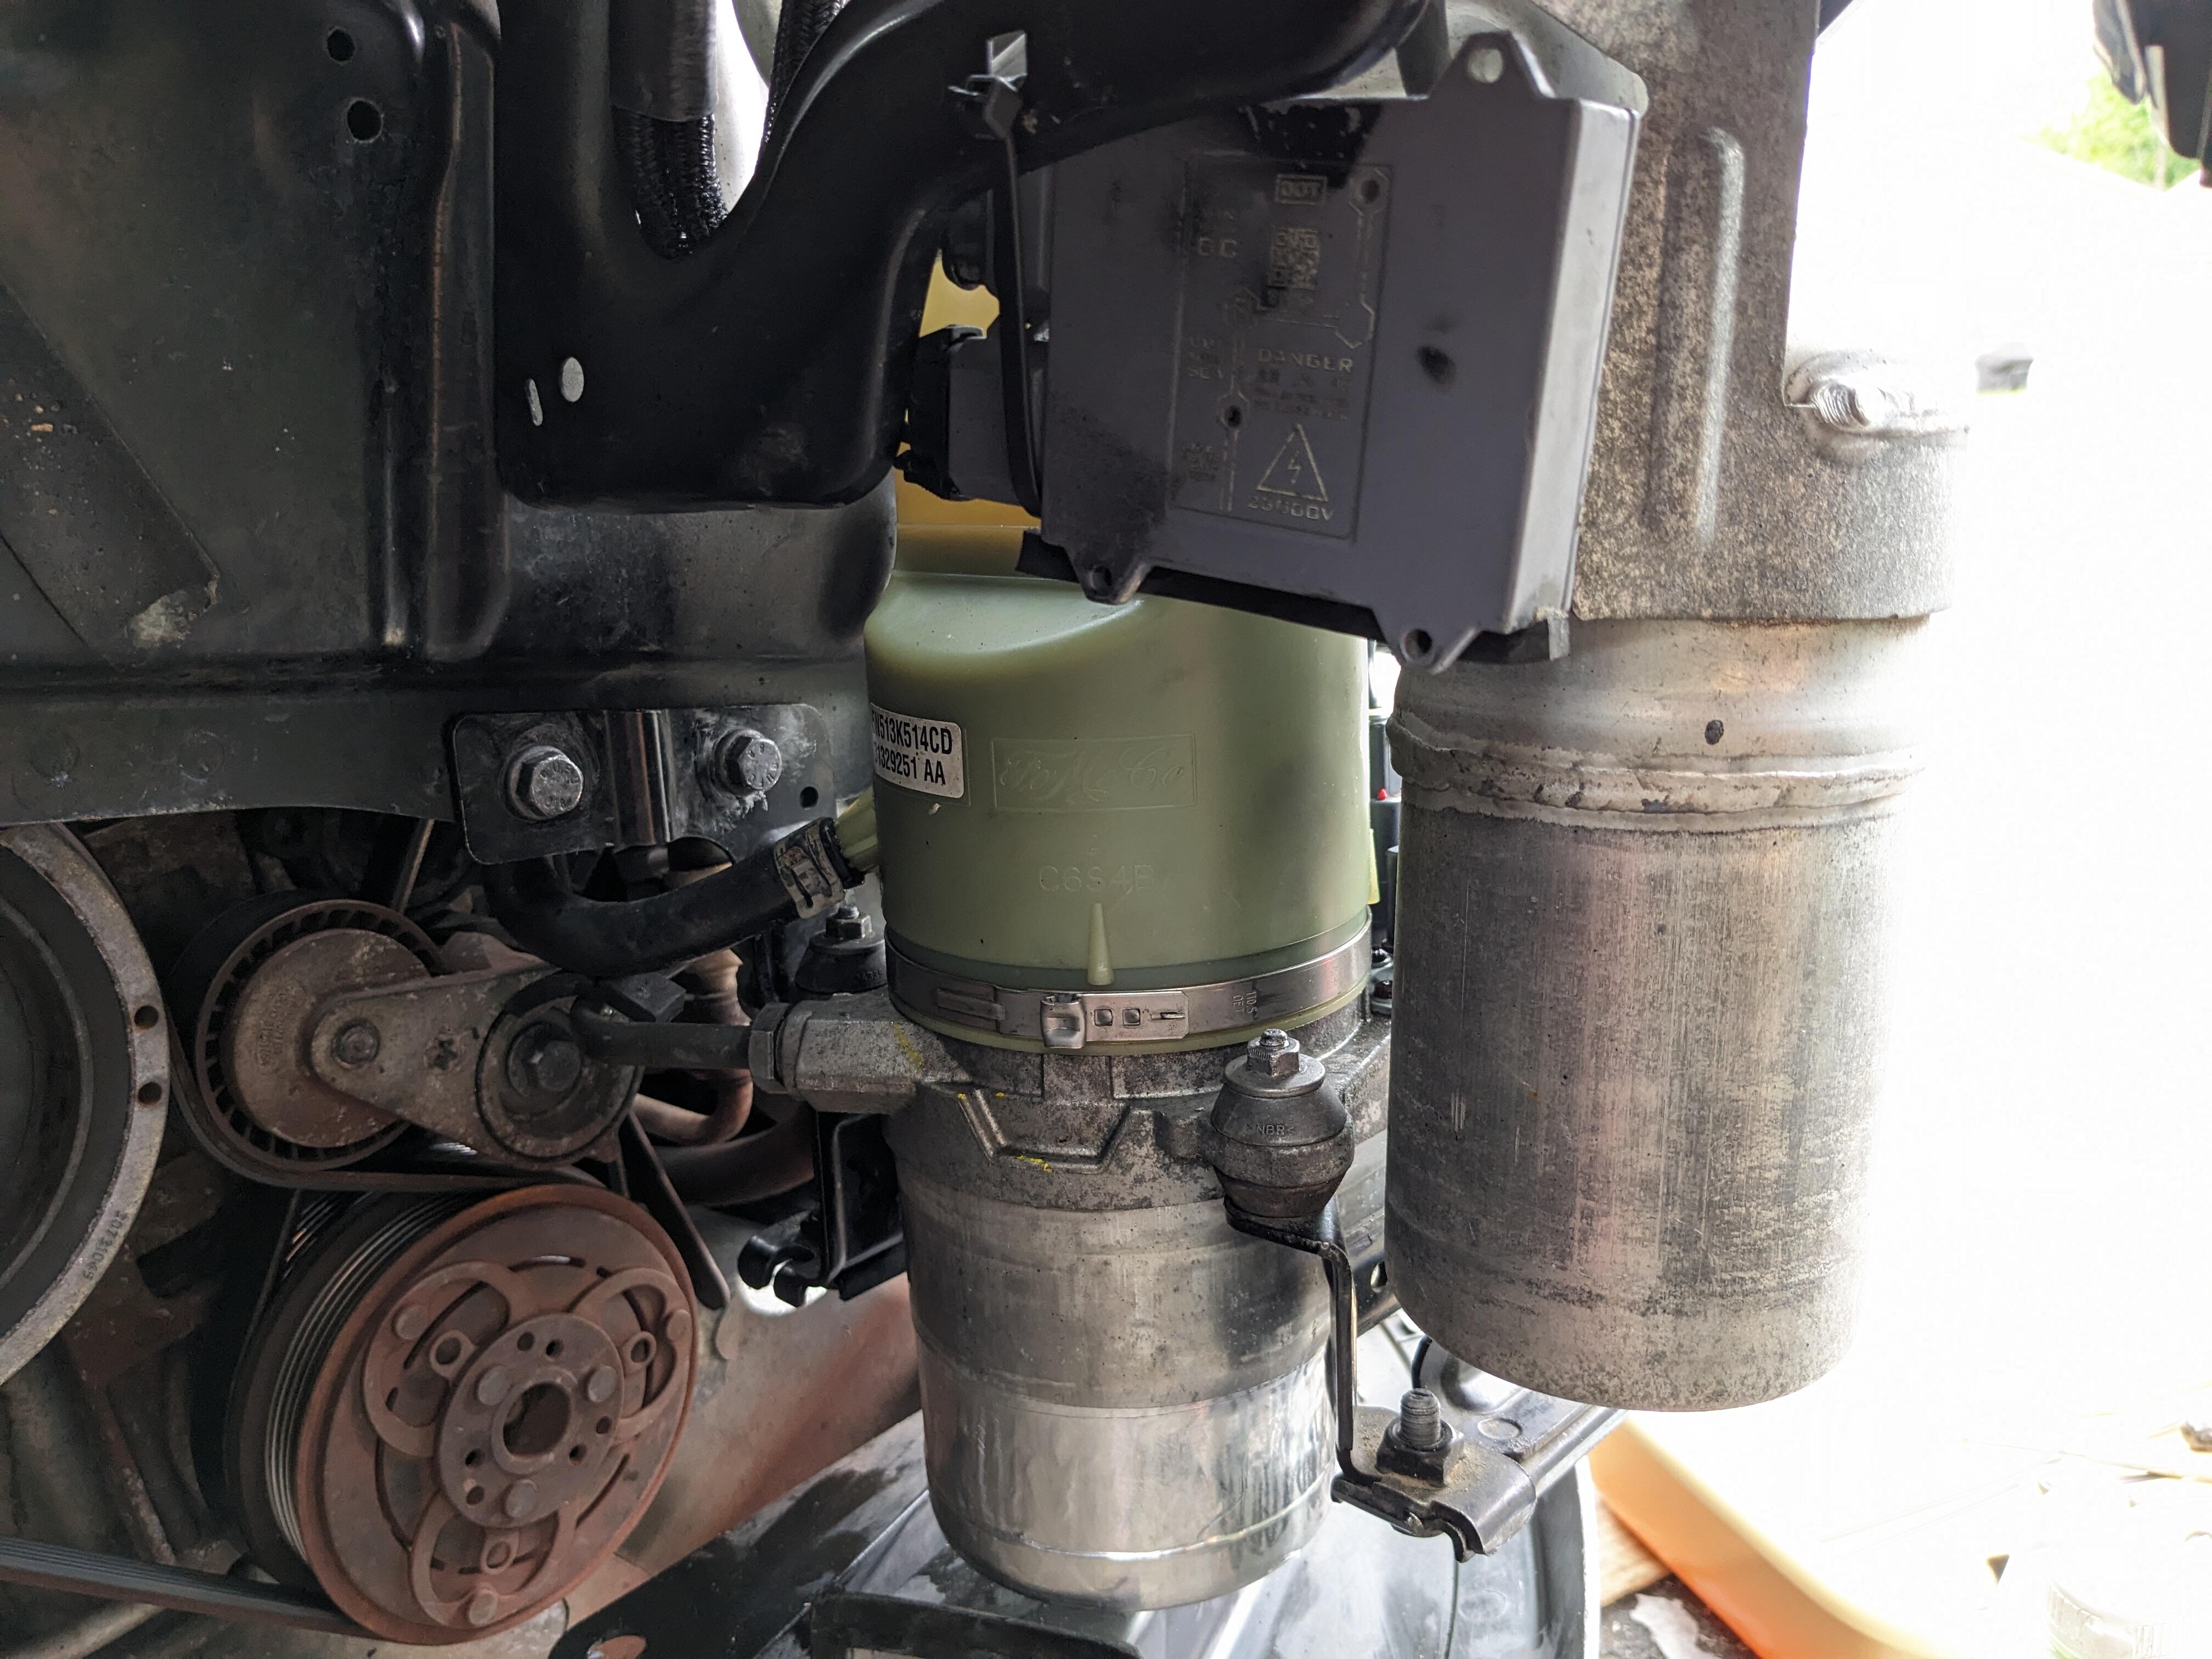
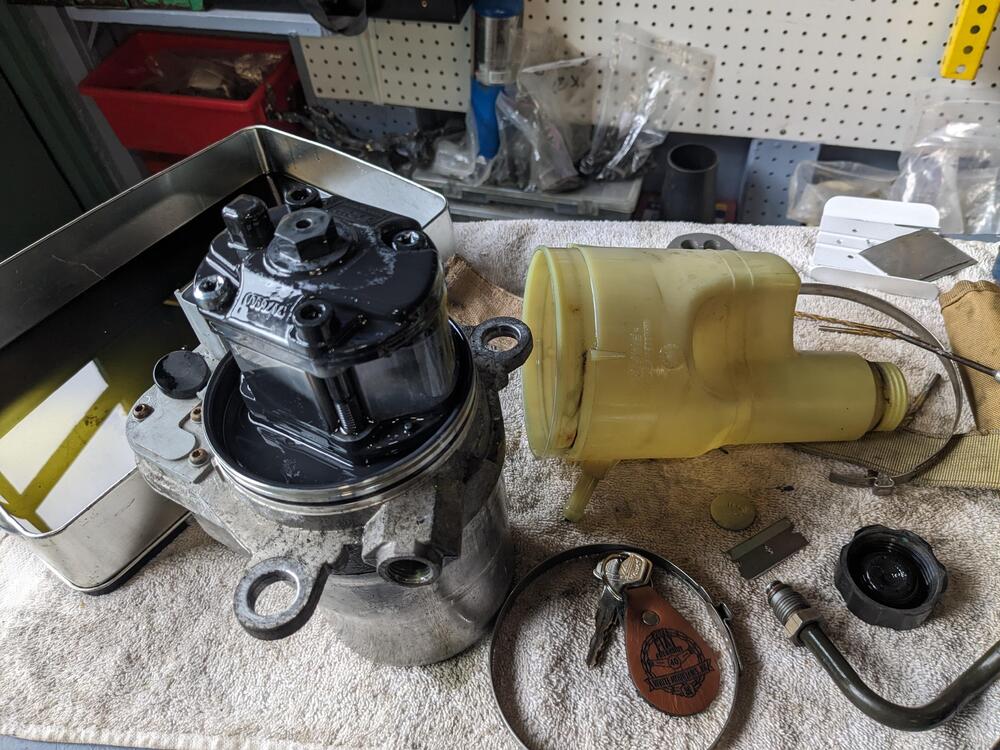
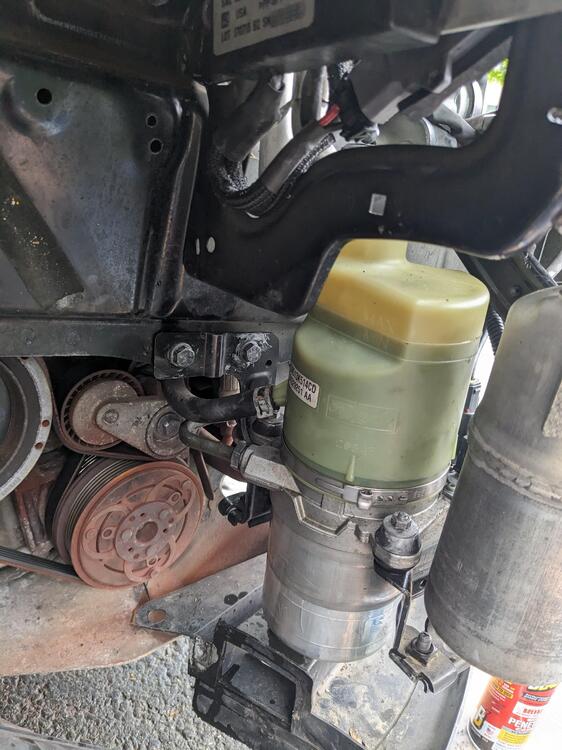
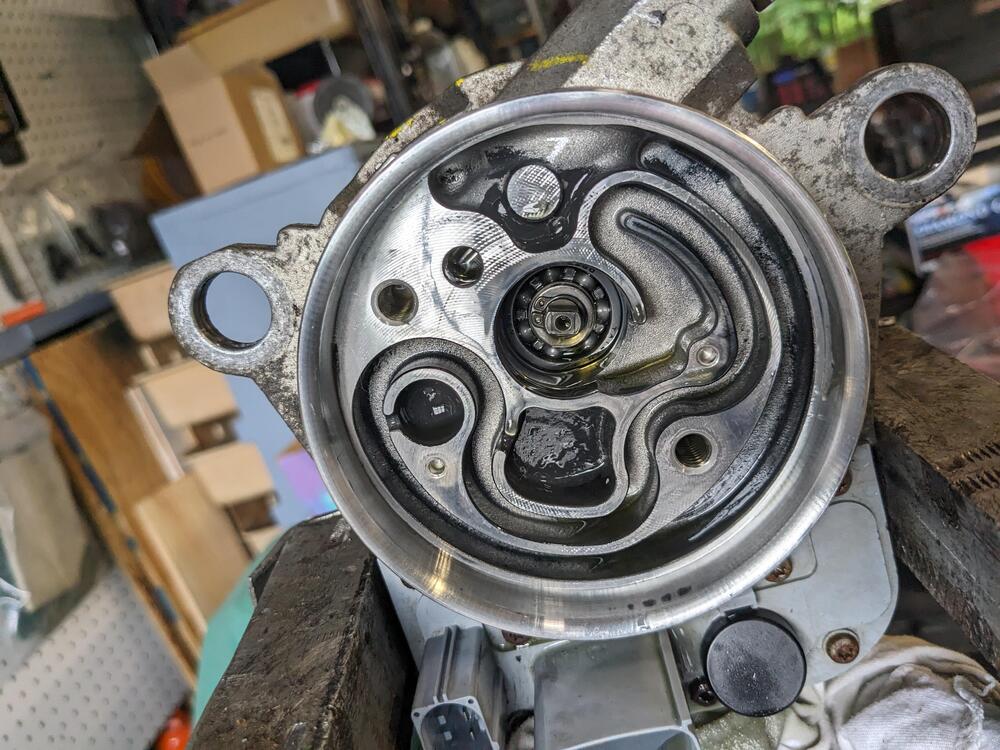
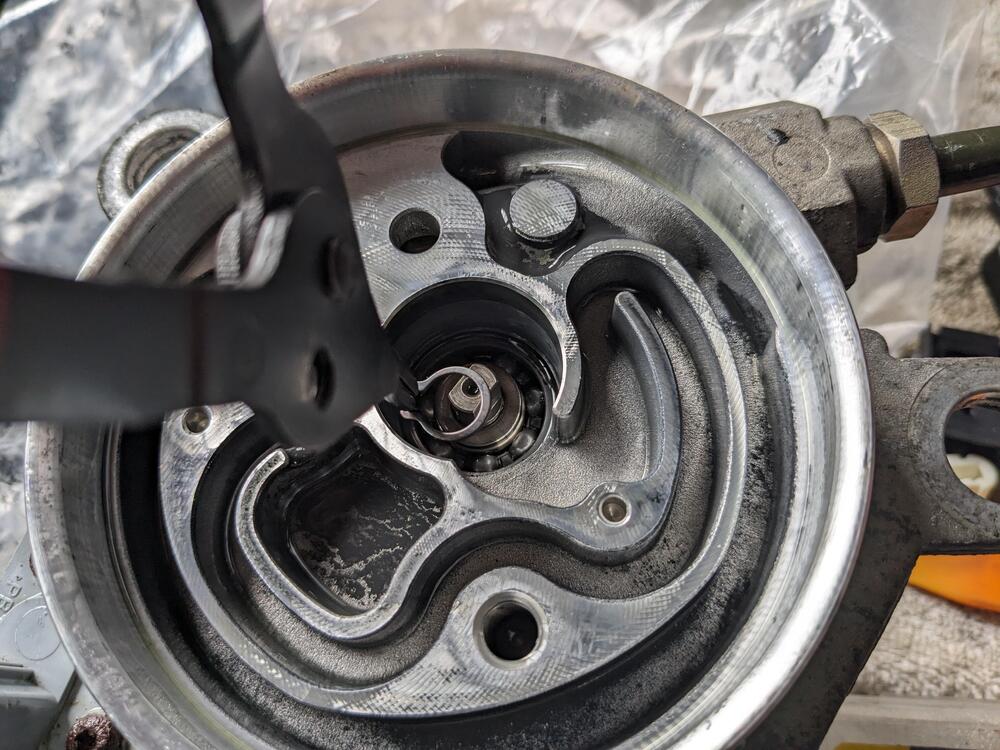
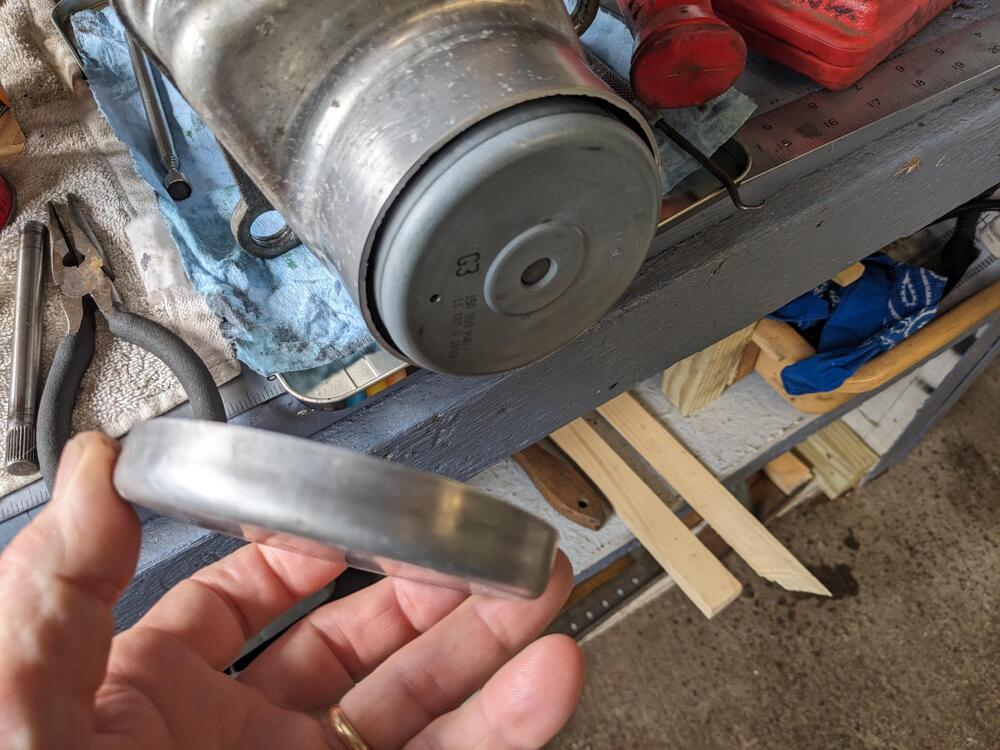
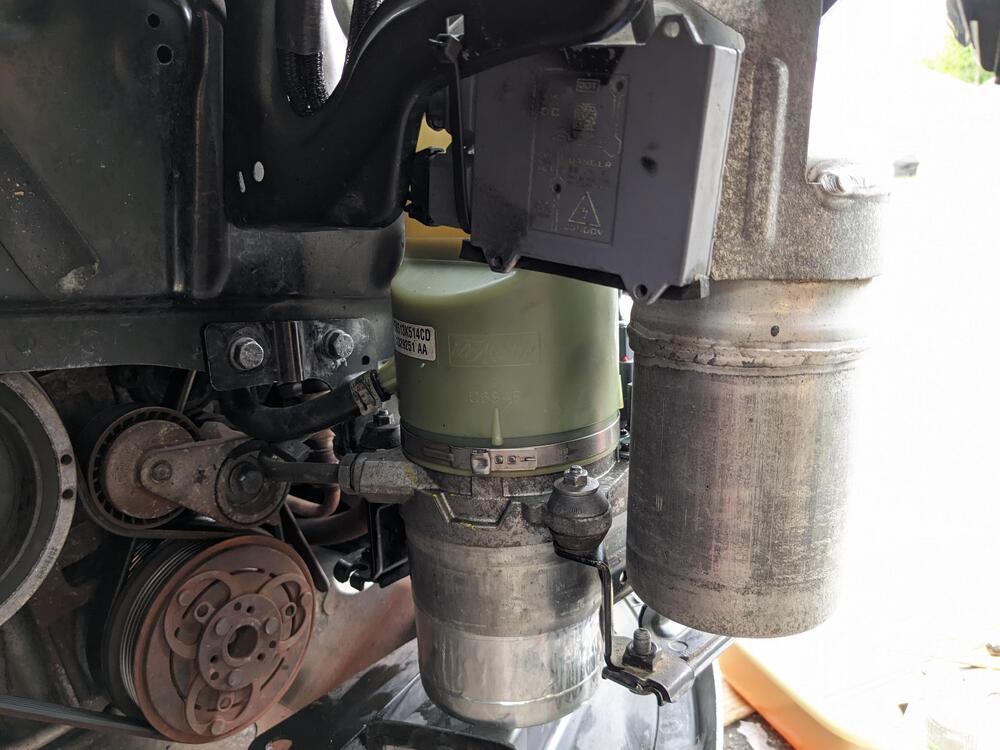
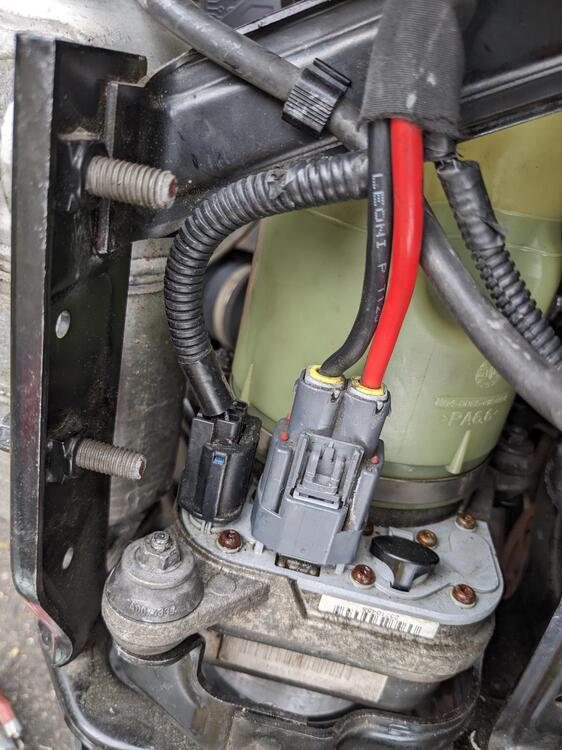
Yesterday I swapped out the EPS pump on the C30. remove reservoir transfer to rebuilt pump replaced mount brackets in place Problem is, there are more than one style power supply fitting, it turns out. I didn't think to even check that. All the online vendors that sell terminal/connecotr kits for these pumps (commonly used for EPS conversions) sell the Type 1 set, which is what is on my (2012) car already, not what's on the older remote reservoir pumps. So, today I rebuilt my original pump & reinstalled that. Remove pump no bearing remnants in this one cut off lower housing back together with new lower bearing back in, take 2. All good now, pump works, no noises


-
Many thanks ! Closest I could find is ..047x2.76", .39 OD. I'll give that a try
-
That really doesn't look bad in terms of the flow. I saw a few that have killed the hip lines, turning it into a large blob at the rear. I started searching for Z convertibles & came across this thread. I can't imagine driving one, since the exhaust fumes are bad in the Z as it is - unless chopping the roof off entirely resolves all the fumes sucked into the cabin area.
-
@Terrapin Z @Captain Obvious - did either of you measure the wire diameter & length of the 280Z spring by chance? It would save me another fiddly removal to do so myself - of course I should have done that when I took it out the other day to test fit a generic spring, but I didn't 🤪
-
Understood. Mine looks the same as the heavier one on the right, so I don't think I want to put a lighter weight spring in its place.
-
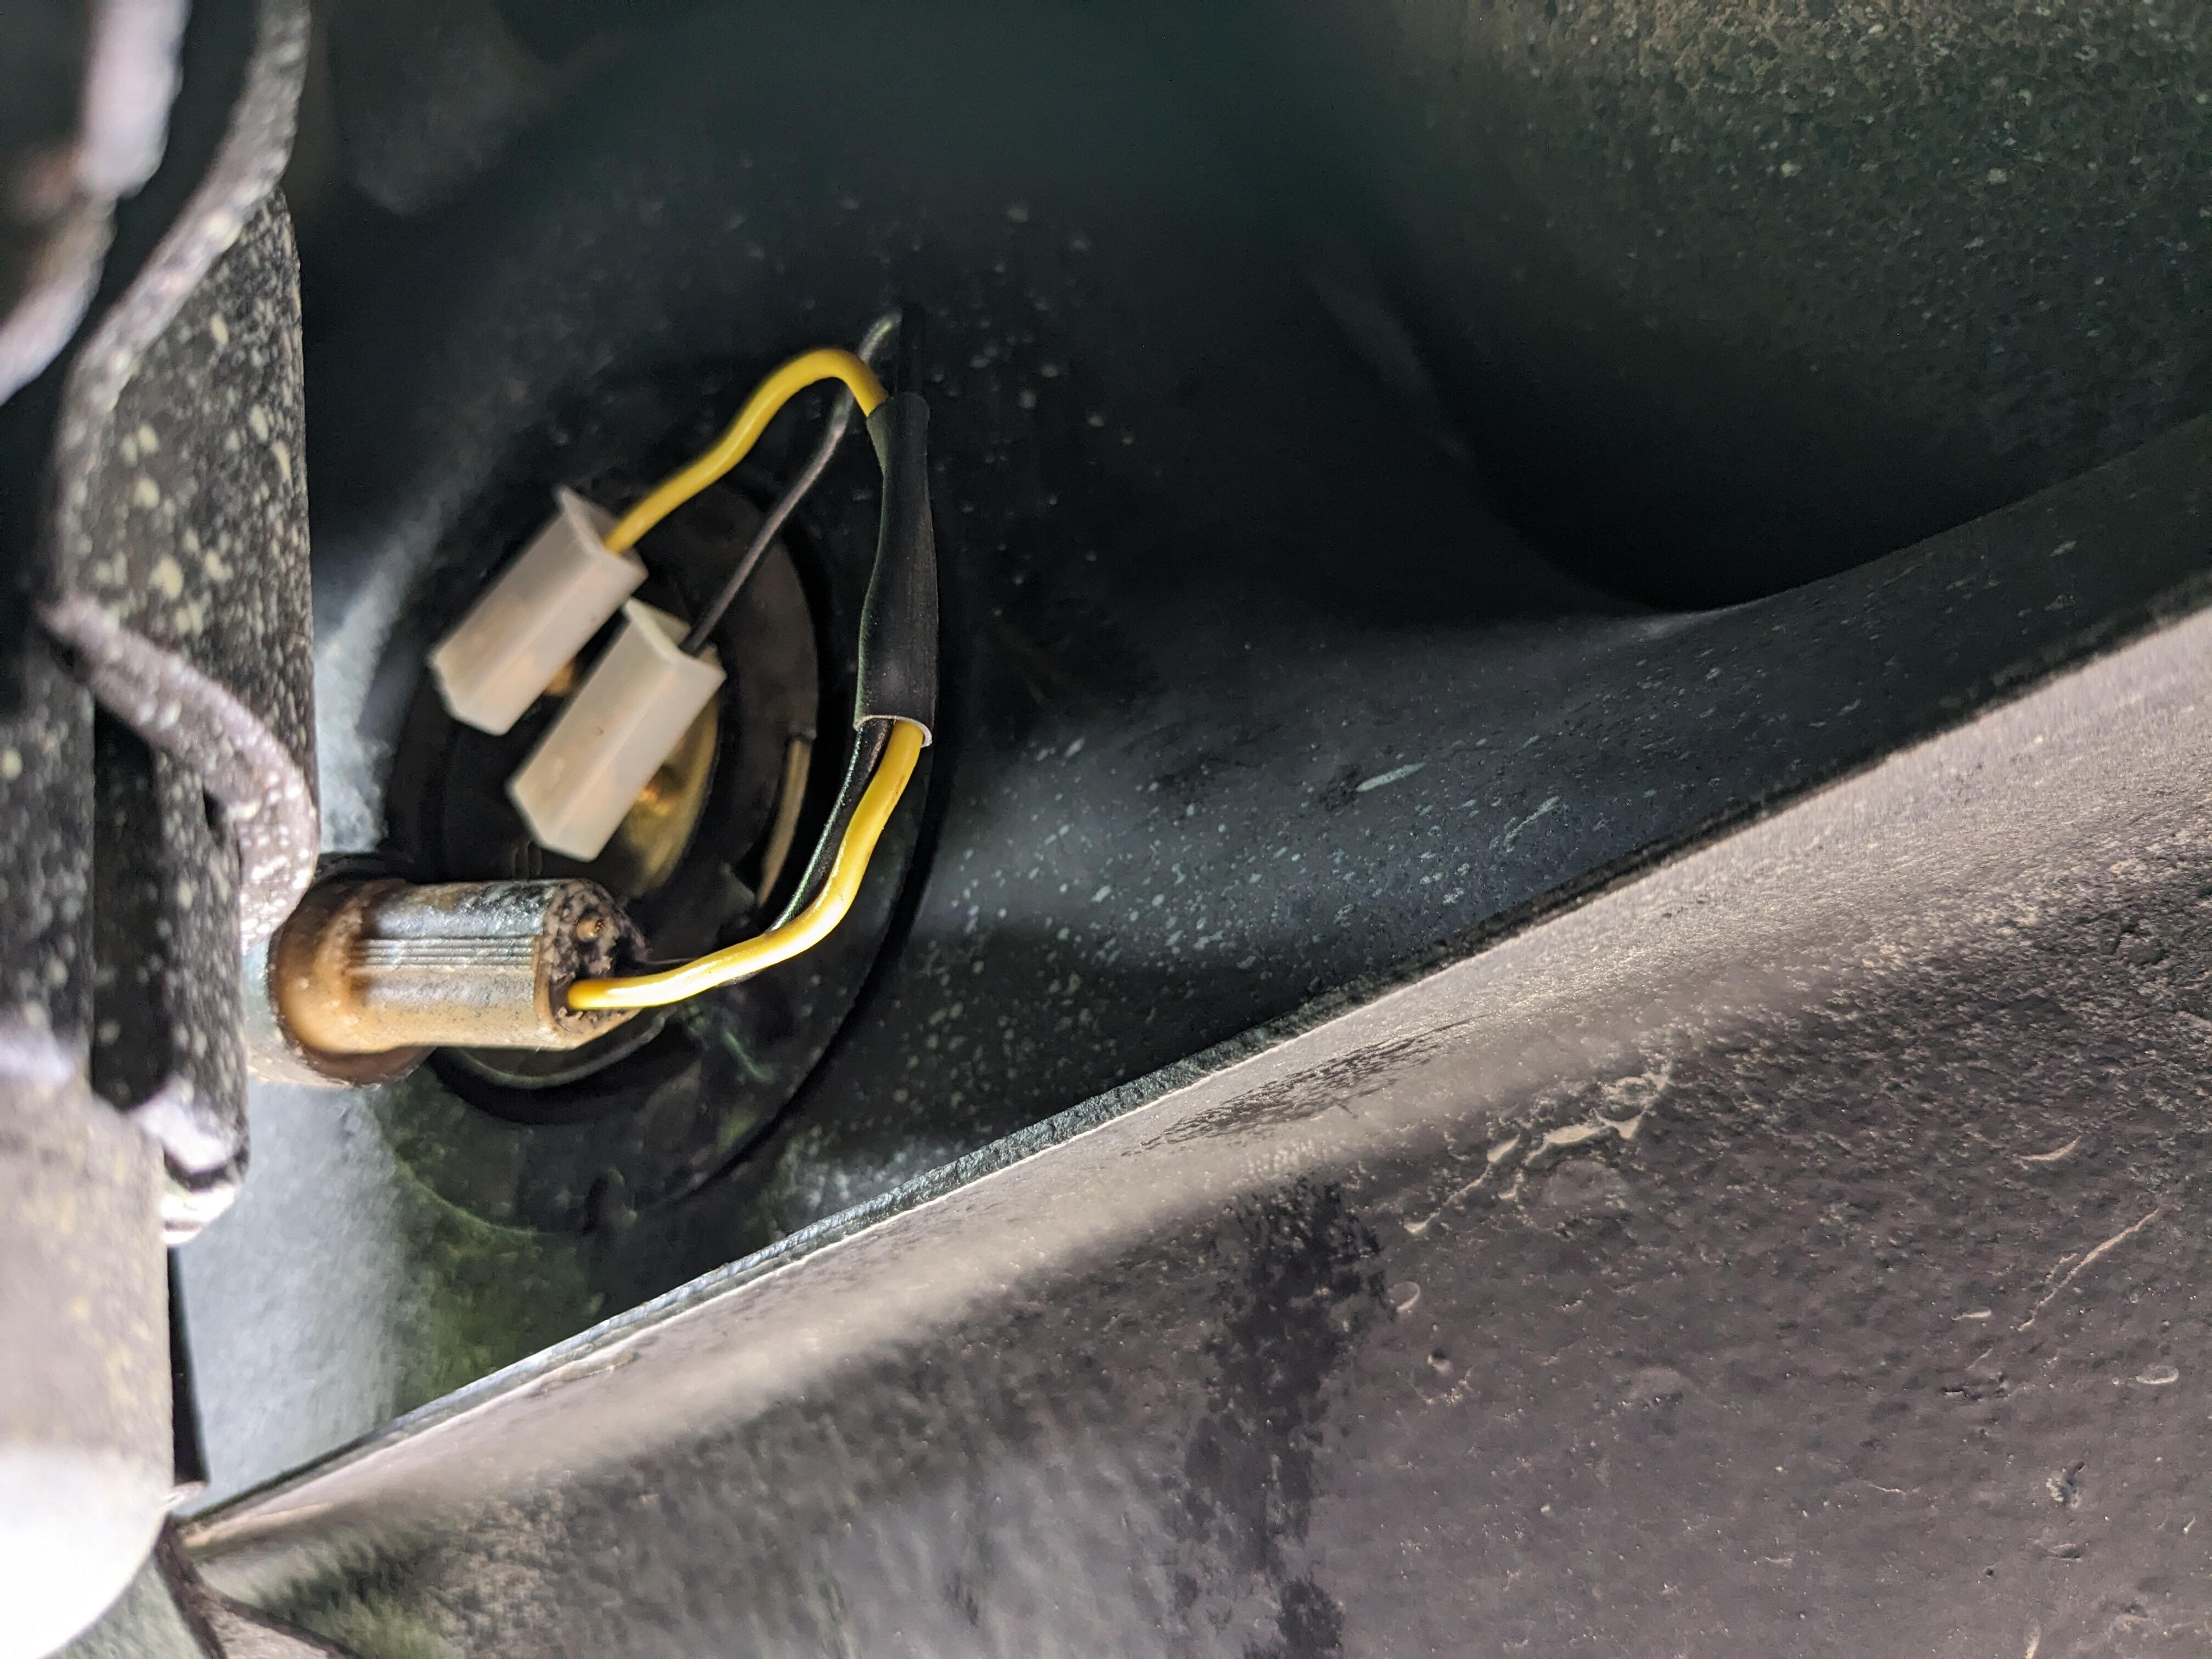
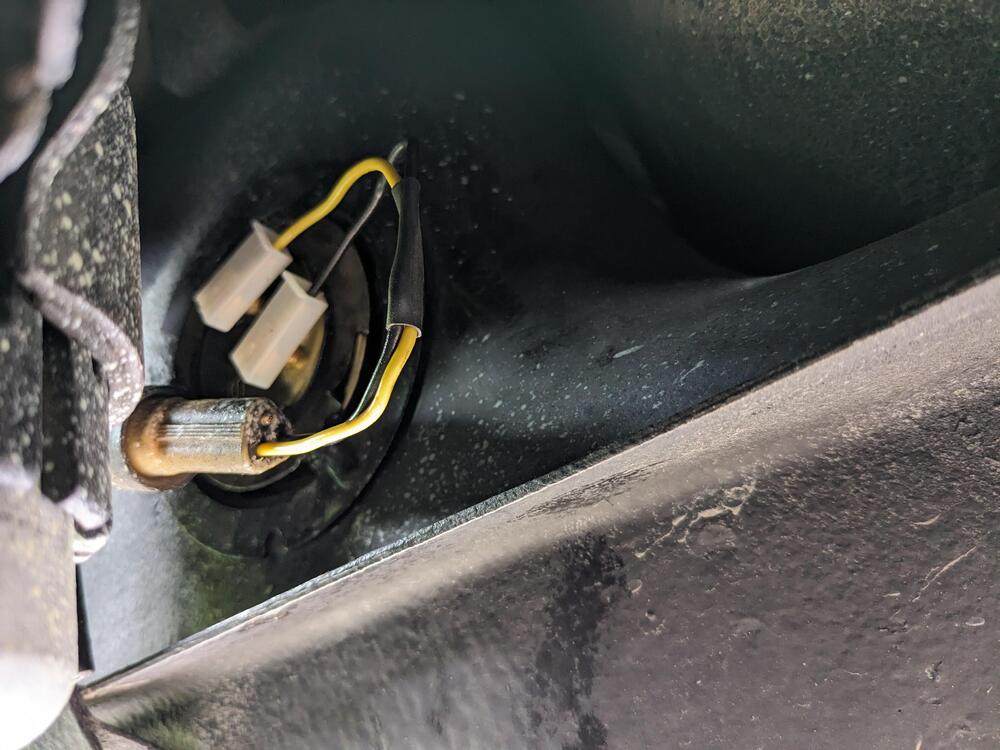
Put in the new replacement sender yesterday, since the rains hadn't started yet. I reused the factory o-ring as it is more substantial. Had to remake the short harness. I found that when I filled the tank after, I will have to remove & adjust the arm, as it doesn't register at the full mark. Made sure notch aligned with alignment tab.

-
I need to find a replacement that has better tension than mine - if you have used ones that are not rusted & weak, I'd love to buy one from you. I have not found anything generic that has similar tension at all....
-
@Dave WM - thank you for all the tips. I'll get the gutter. With the lock nuts, are you able to reuse them, or do you replace them? I've worked with peined-over locknuts in other cases, and have always been able to remove them without destruction, don't know if that's true here. I have a proper bench press, also not a fan of banging on critical parts with hammers - I've seen plenty of that (claw hammer, no less, not even a dead blow) in some of the YT videos on this subject...
-
hmmm.... I'm assuming no leaks for you. Not really a fan of that type sealant for things that are a royal PITA to fix should there is an issue. I think I still have HondaBond from the last transaxle I assembled, I'll use that if I still have a good portion.
-
I have this type bearing splitter tool I bought some years ago - I think it will work for that extension

-
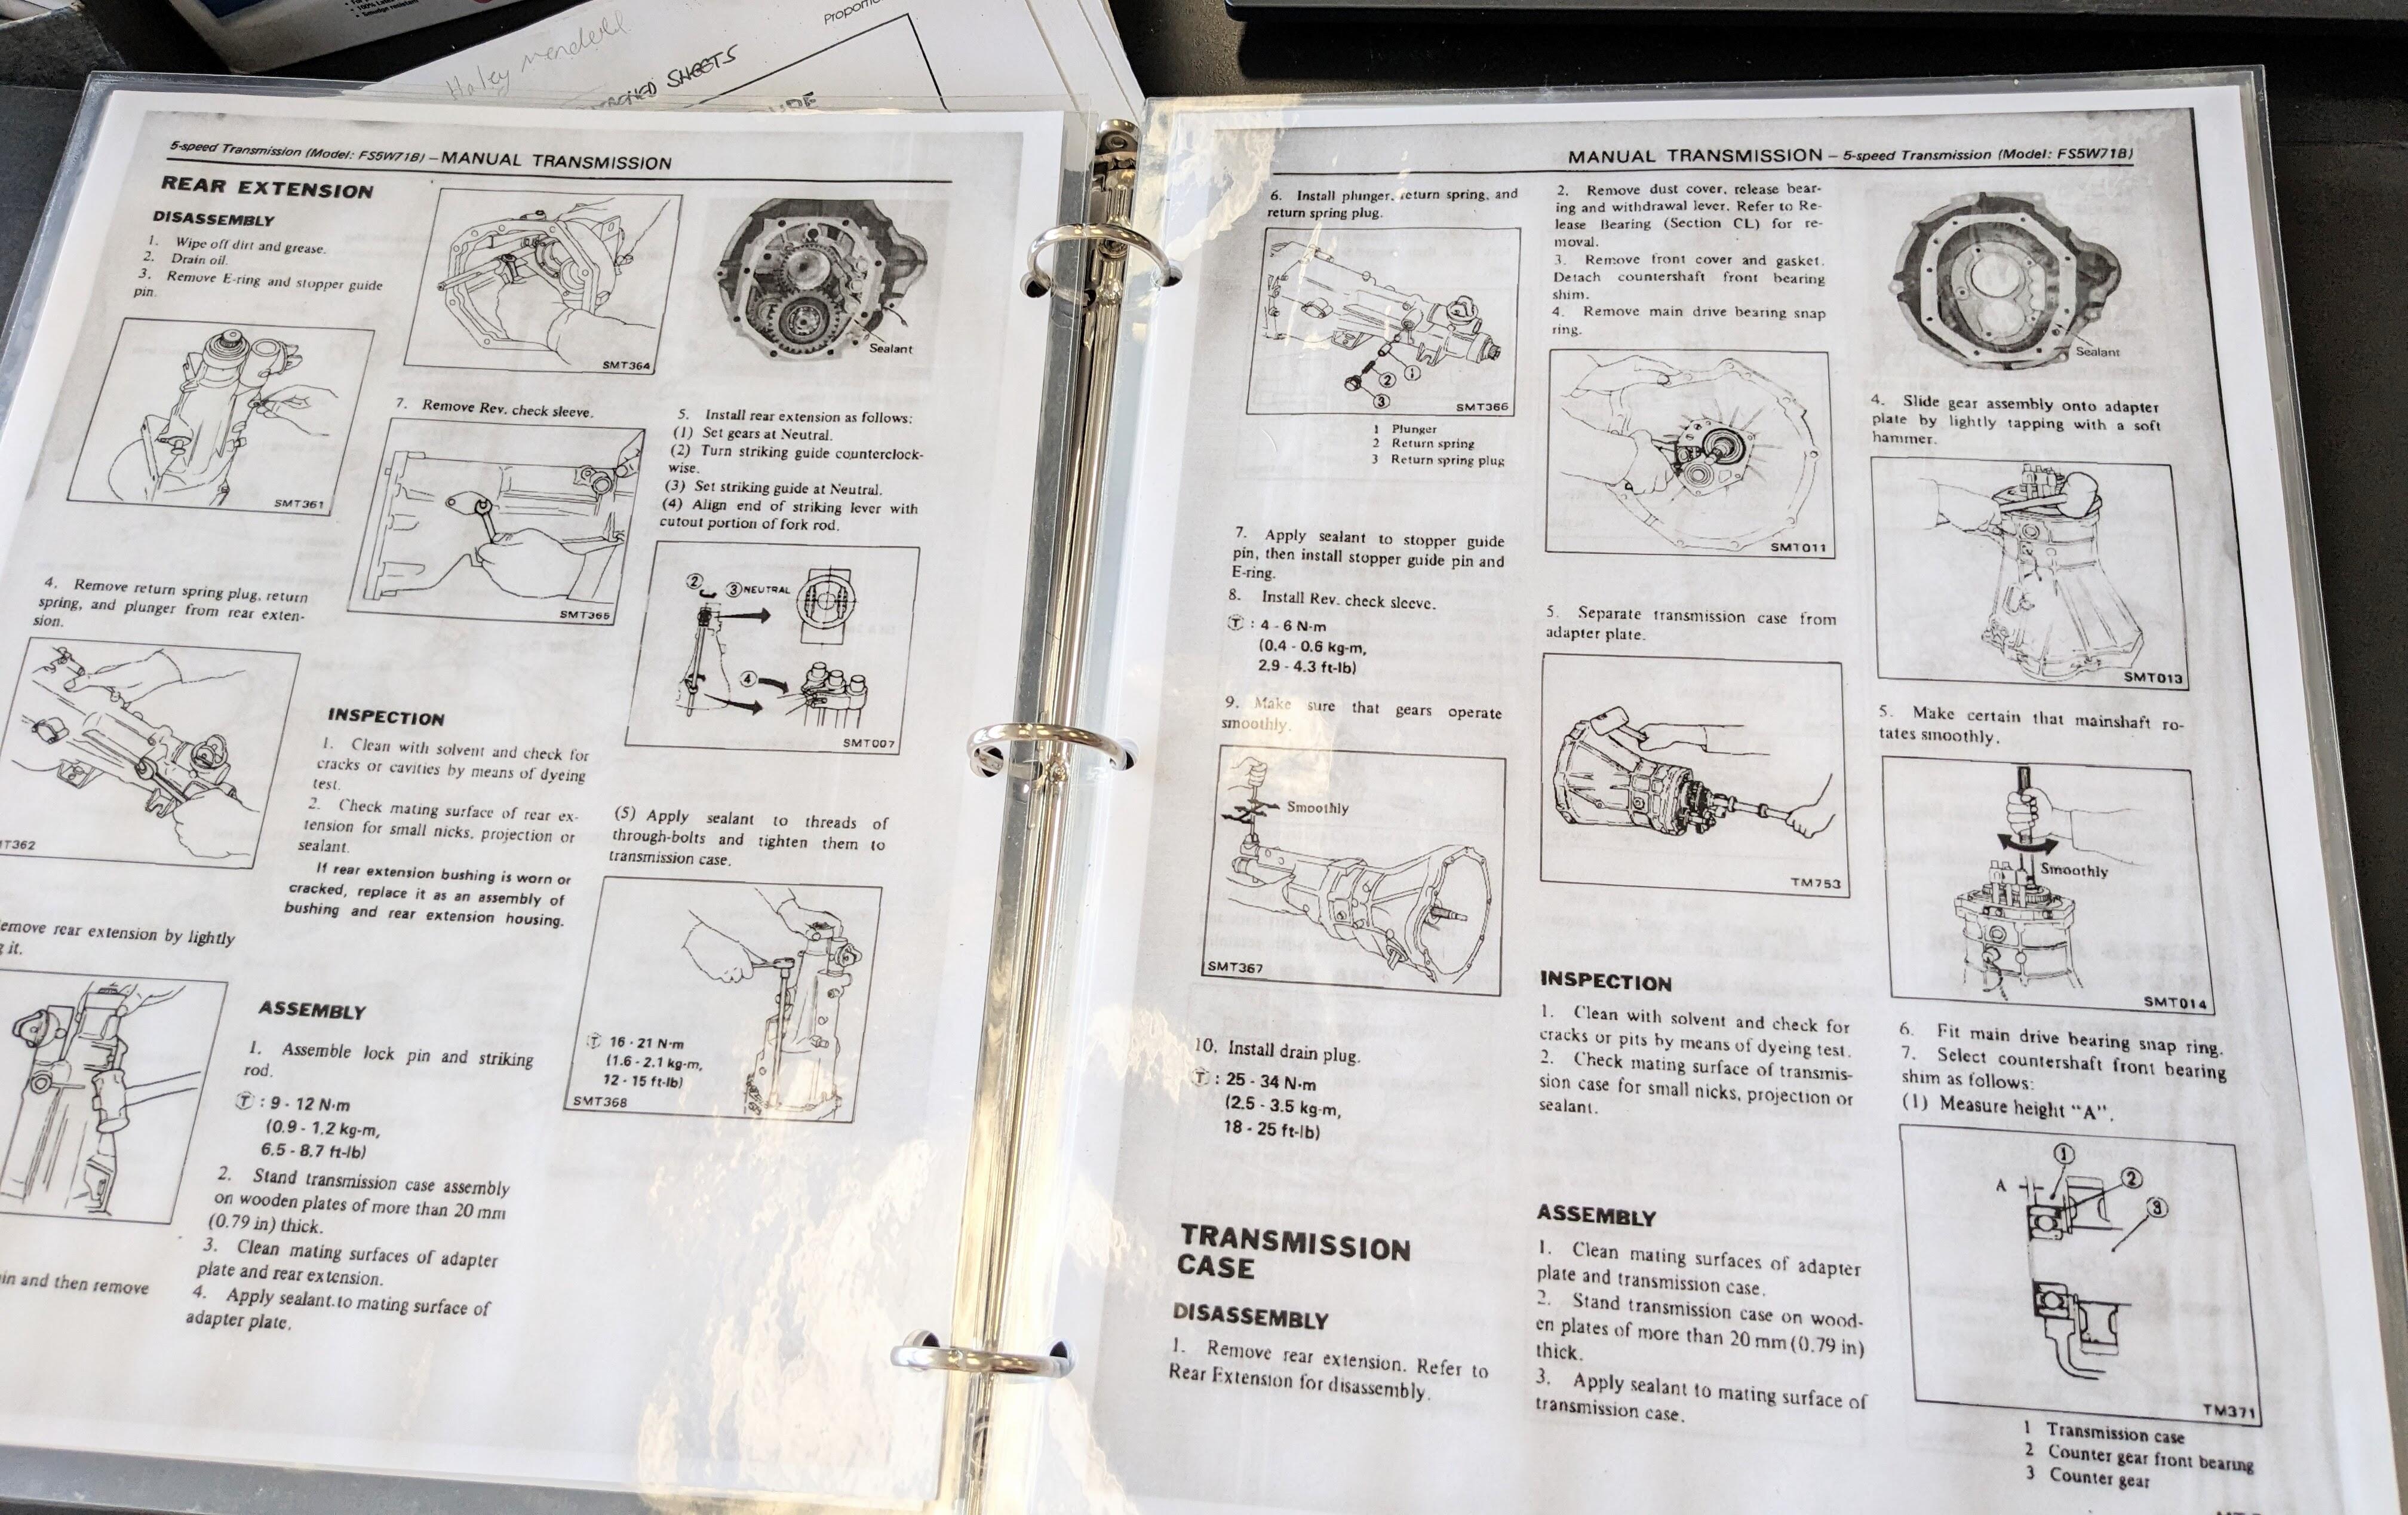
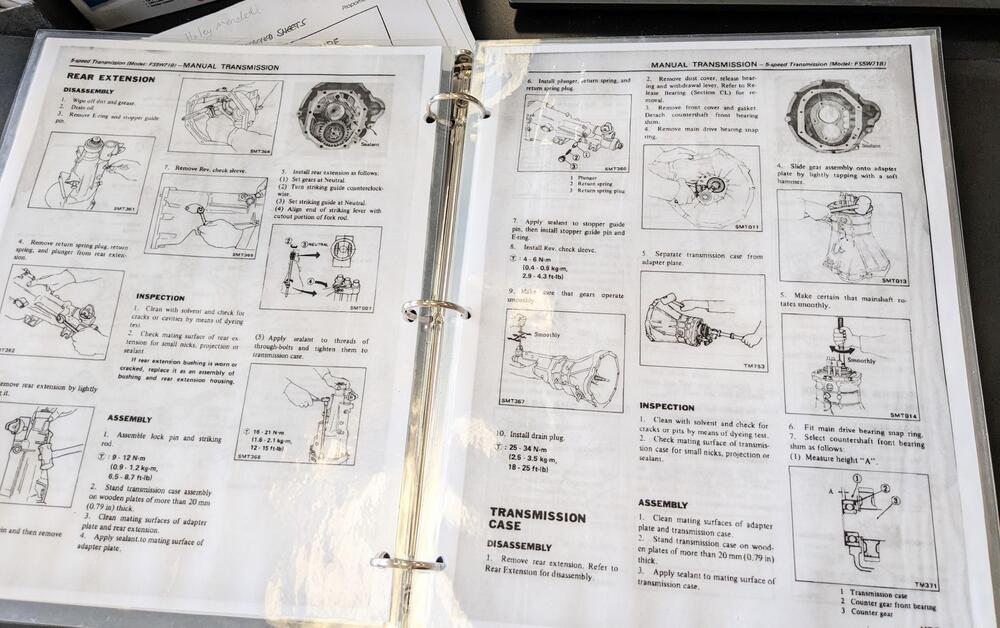
Looking through the FSM - it just says apply sealant to the trans case - what do ppl use? Hondabond or similar?
-
Thank you so much for posting the link. I'll download & print the relevant sections.
-
I was assuming the 280Z manual would not be accurate for the 5 speed - your opinion is that the 4 speed directions are essential;y the same? Or did you mean the FSM for the 280ZX?
-
Thank you - I'll check the shifter while the trans is out anyway, but good to note that's one less thing to be concerned with. I'm curious whether others found it a requirement to replace bearings on the later 5 speeds, or if they did it to be safe for long term. I'm only going to have this trans in the car a couple of years, so if they (in general) don't manifest bad bearing whine, I'll just look at the state of the fluid that comes out, and look for metal particles that would indicate an issue. Looks like the detent springs & BB's can be easily swapped out, and the input & tail seals.
-
So, another question - since search doesn't seem to help me find any of the relevant threads ppl have linked for me, is there also a thread that discusses the disassembly procedure? _ noted that the parts listing indicates one of the nuts is left hand thread, so clearly there is a particular method to the madness required...
-
Found Eurodat's parts listing Shift lever base issue Ground shifter
-
Extra bolts? I thought the flywheel is the same - there are additional holes unused in the 280Z install? Thank you for the input. I ordered a new collar to match the 280ZX clutch kit. It does not include the shifter. I will look at the linkage - at a glance the yoke looks the same as my '75. I did read that you need to use the 280Z shifter to get proper operation. EDIT - not finding anything re grinding shifter for 5th engagement - I'll look further. I'm contemplating 'rebuilding' the trans with new bearings & synchros, since it is a high mileage unit (190K). Not finding much in the way of disassembly directions though, so I may just put it in & see how it feels. Can't be worse than mine.
-
Post pics when you address it. Ultimately I'll need to do mine. Fiat used a plastic bushing, so on the X1/9 I had a bronze bushing made for longevity. Without images I'm not visualizing "tack a bearing to the pedal" in any meaningful way 🤪 More specifics on bearing dimensions would be helpful, when you get to it