Everything posted by HusseinHolland
-
4/75 Datsun 280Z; Leaf Green, CA market, 250K miles, Long Term Project 03/2023-
Another item arrived for install DTR - I will have to fill & paint the door caps for this job, do I'll likely do it in conjunction with the later window frame mod. If anyone has a link to the precise location for installation, I'd appreciate it immensely😀
-
4/75 Datsun 280Z; Leaf Green, CA market, 250K miles, Long Term Project 03/2023-
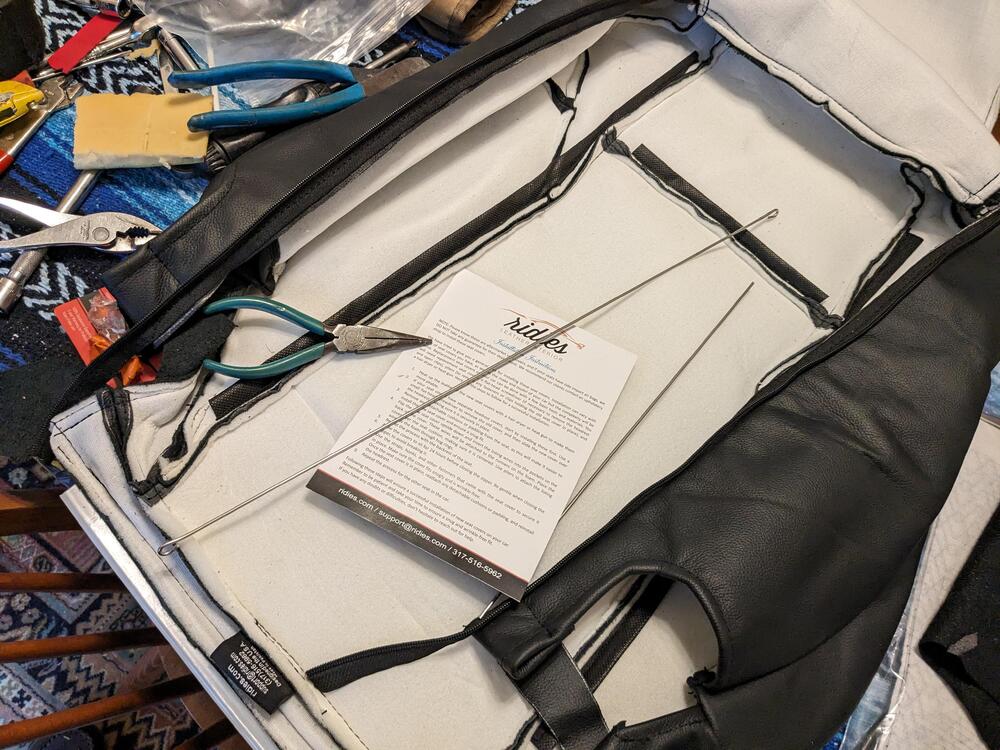
Thank you 😁 Unfortunately all the coat hangers these days are a thin gauge wire - I do indeed have plenty of those white coated ones, but they bend too easily for this. I used Stainless rod so I won't get rust should the seats get damp DTR
-
4/75 Datsun 280Z; Leaf Green, CA market, 250K miles, Long Term Project 03/2023-
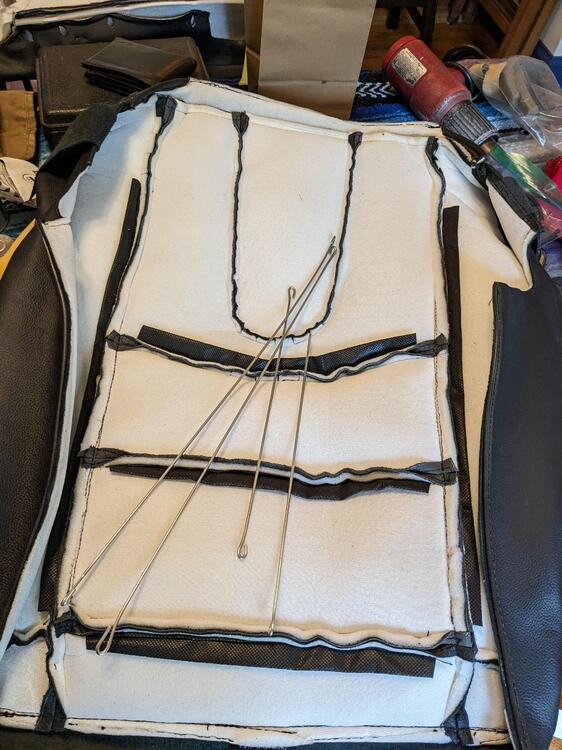
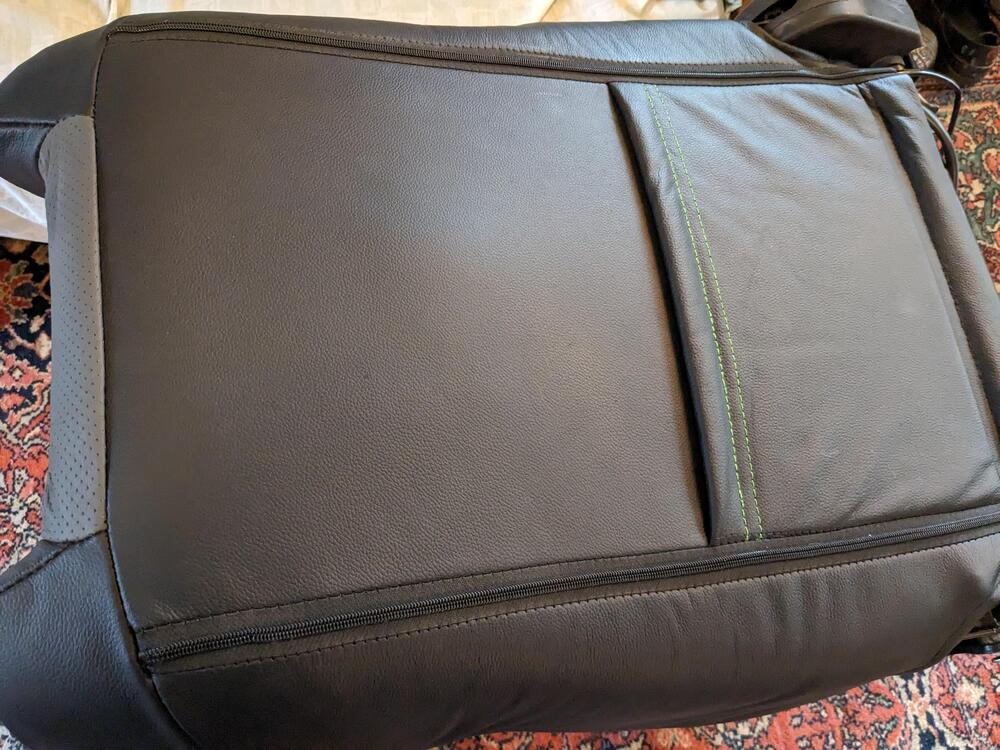
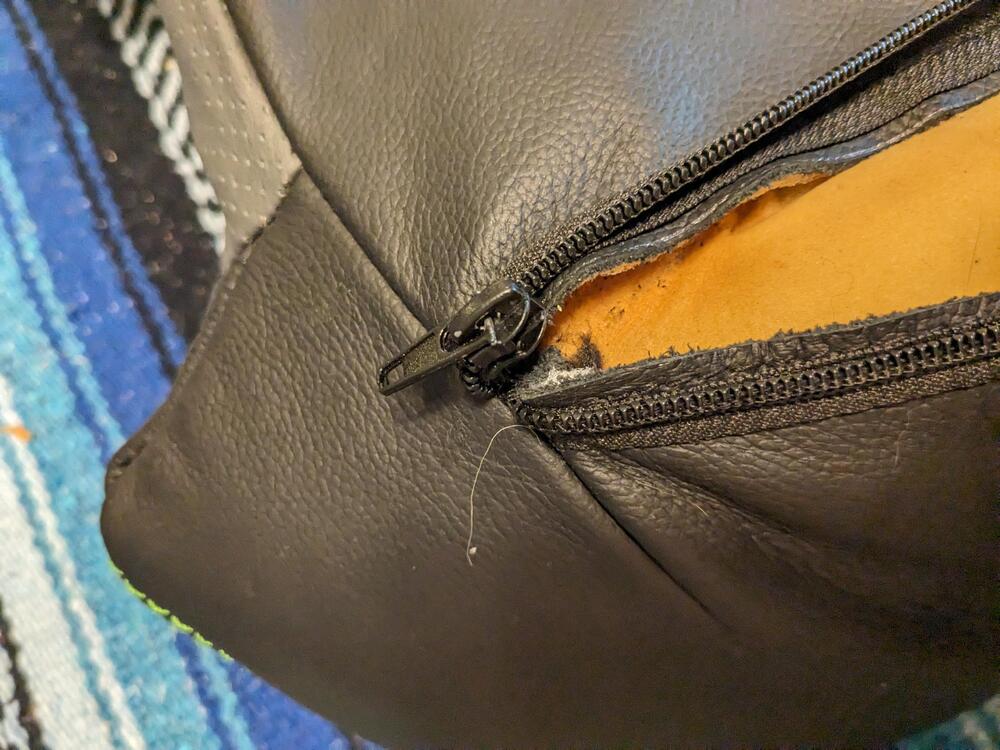
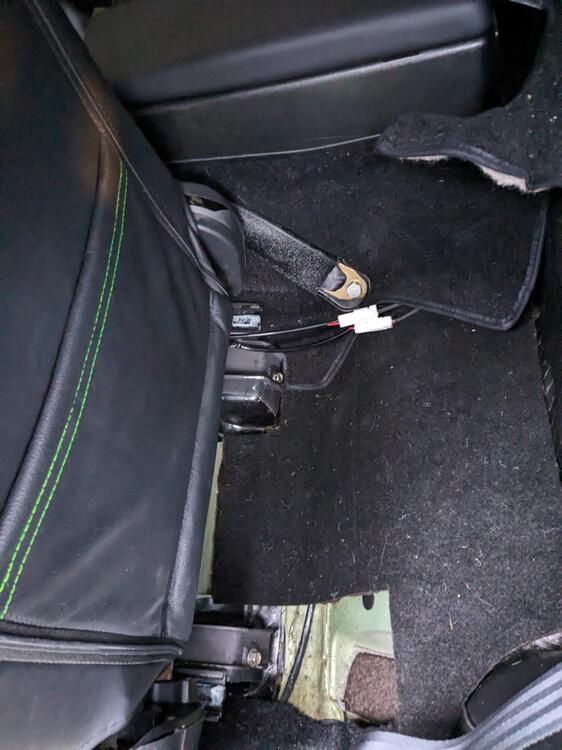
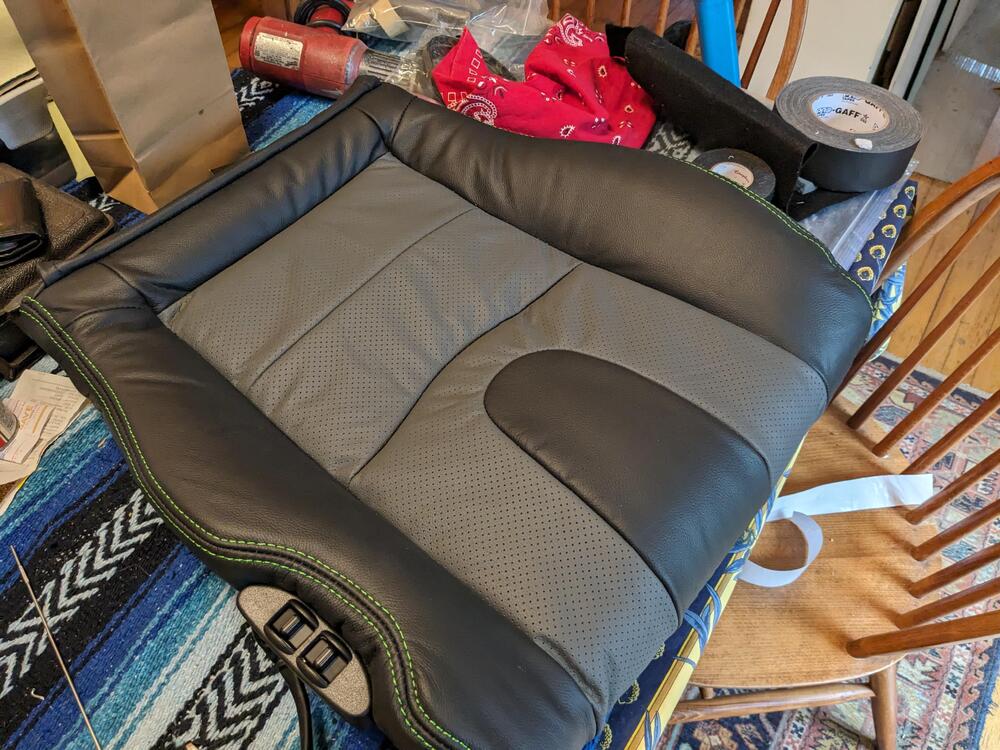
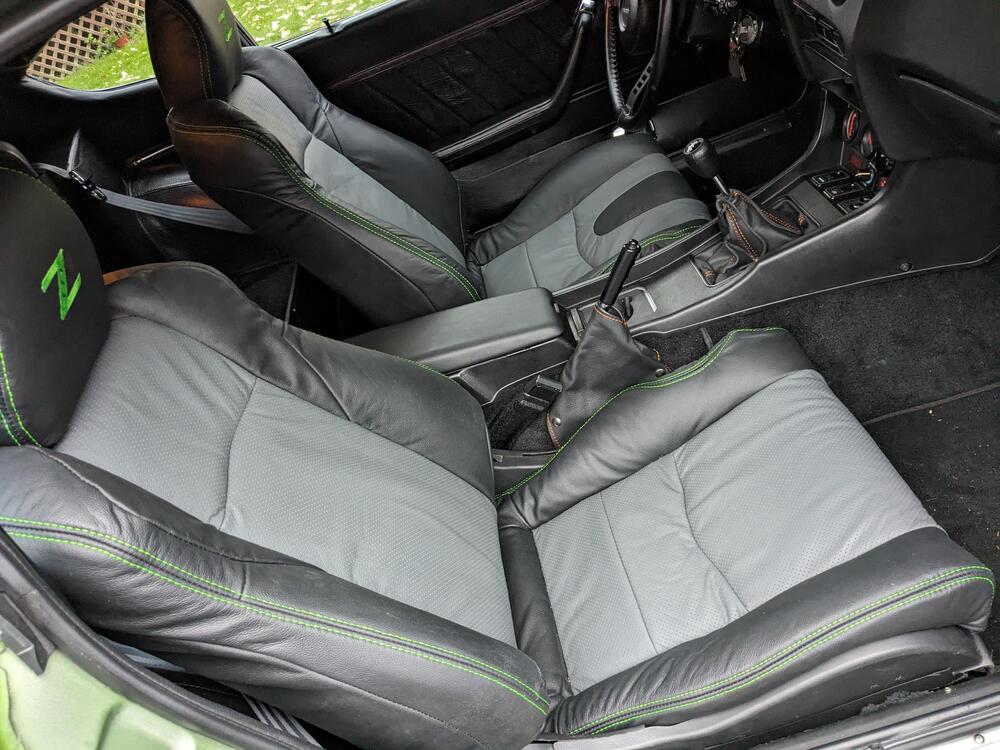
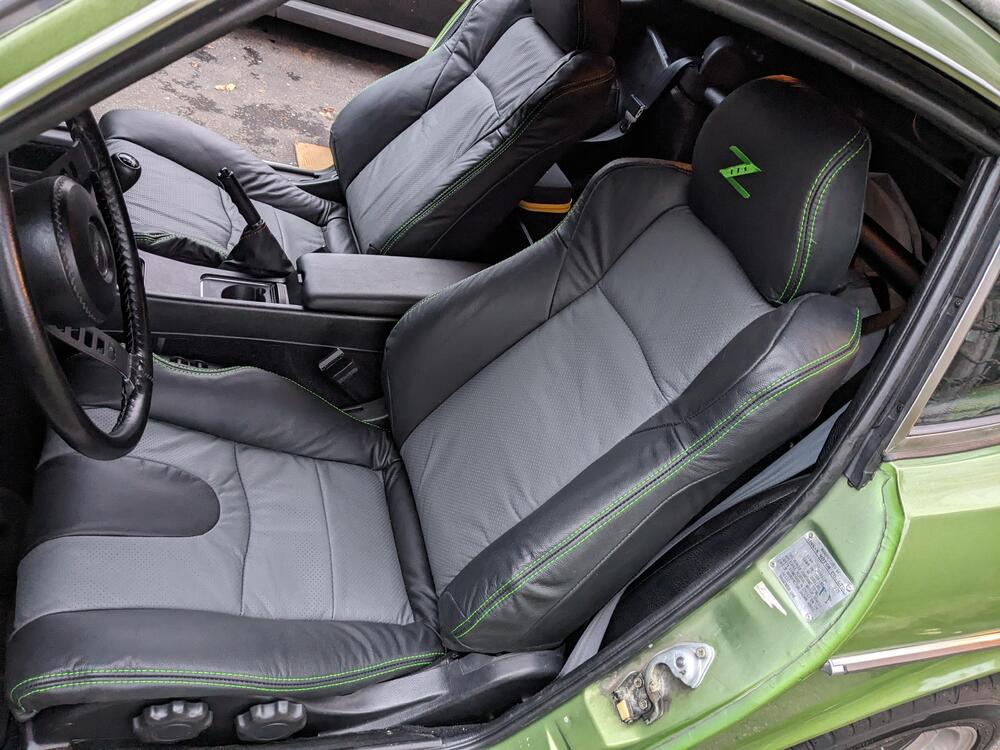
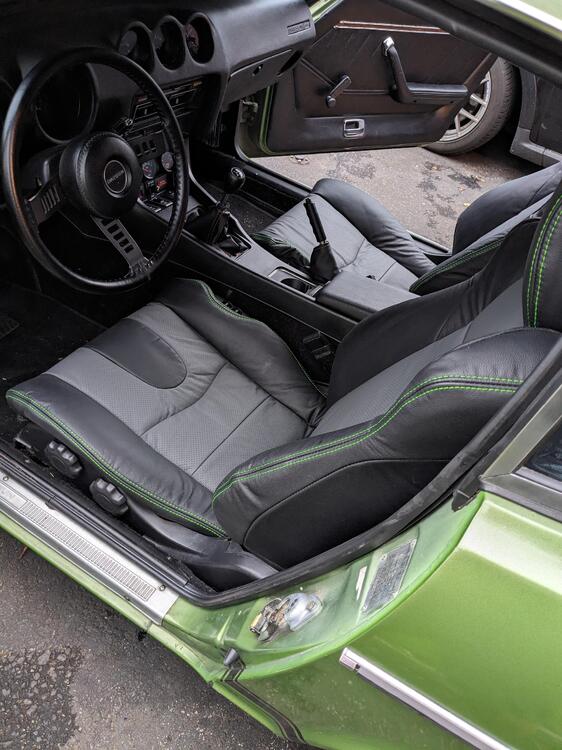
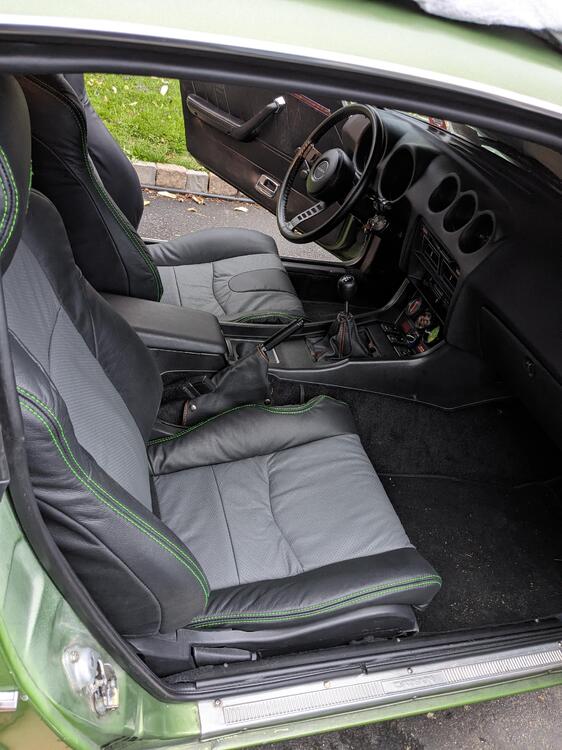
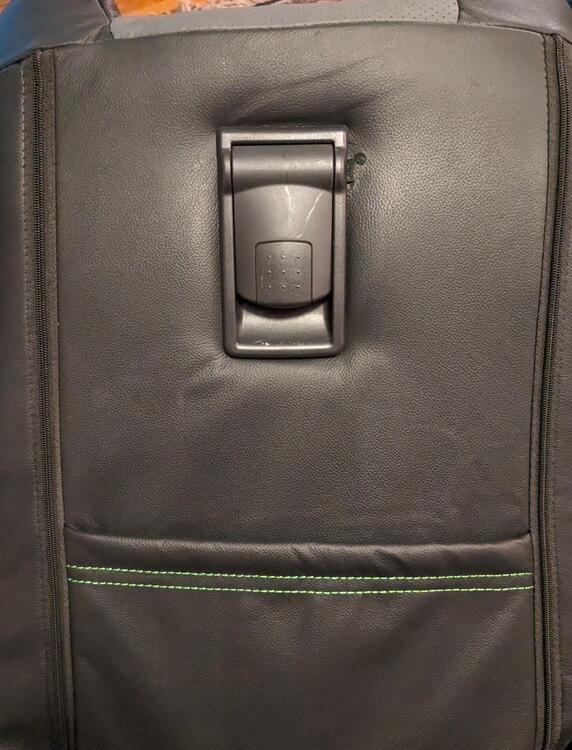
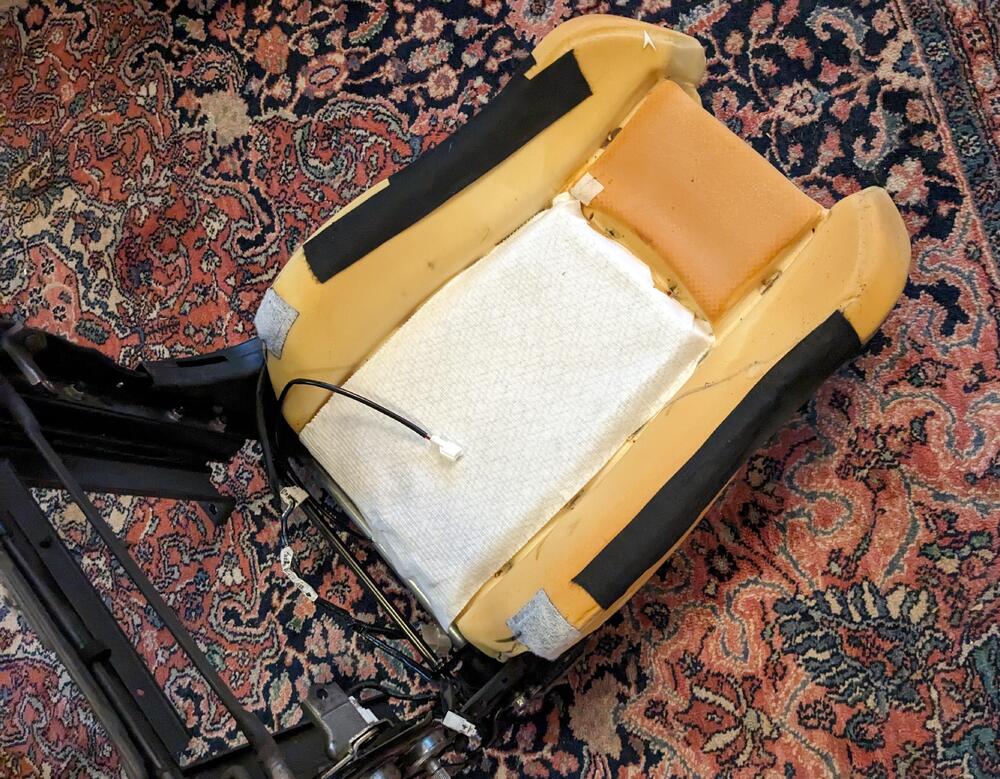
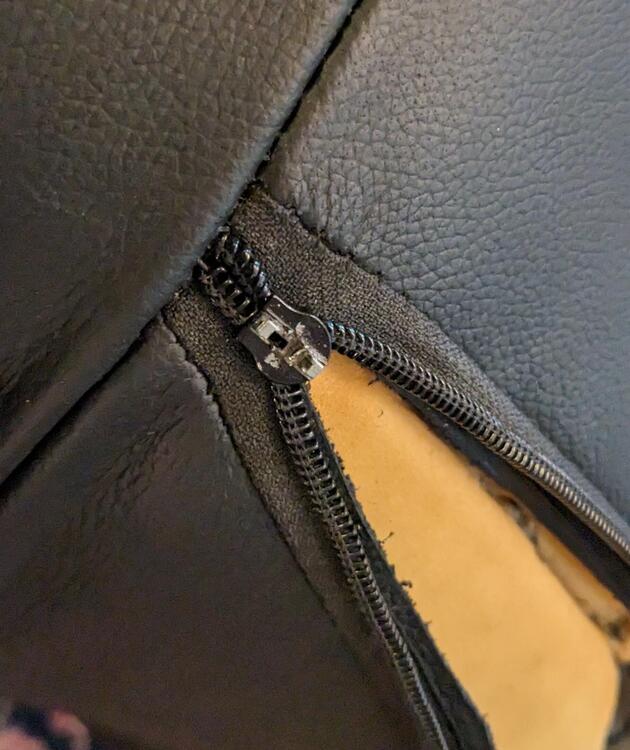
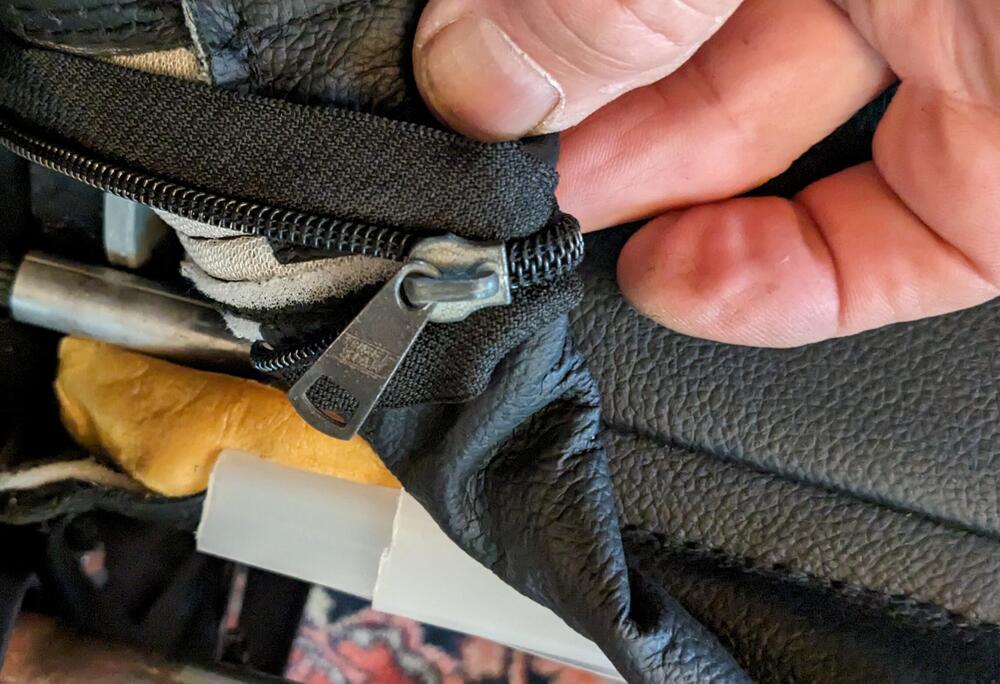
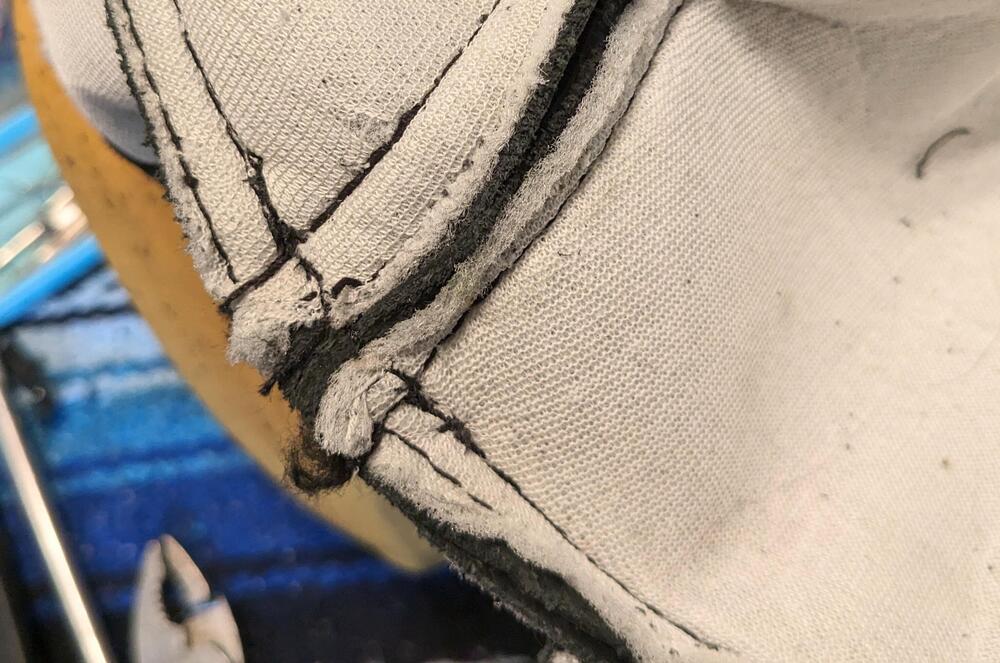
Did the upholstery today - I was off work, and just as well because it ended up taking most of the day to do it. One of the zippers was broken. I tried first to fix what was there, along with resewing the seam, that didn't work. So I had to take the seam part again, and replace the damaged pull/zipper with a better quality one. That ended up taking a couple hours. No word back from Ridies.com on the missing hardware or the broken zipper. Covers also didn't come with the required wire rods for attachment, so I made them using $$ welding rod Added aftermarket seat heaters that match the wiring I've already installed. The factory 350Z seat heaters are sewn to the upholstery. No practical way to transfer that, and it would have had to rewire the car to make it work anyway. Damaged zipper After first repair, pull tab also snapped off All zipped up Sewed over the zipper end so it can't open up on the backside of the pull Stronger pull Drivers seat cushion One self inflicted wound - I miscut the opening for the back release 🥺 Back in car. Plugged the seat heaters, but forgot to test them
-
4/75 Datsun 280Z; Leaf Green, CA market, 250K miles, Long Term Project 03/2023-
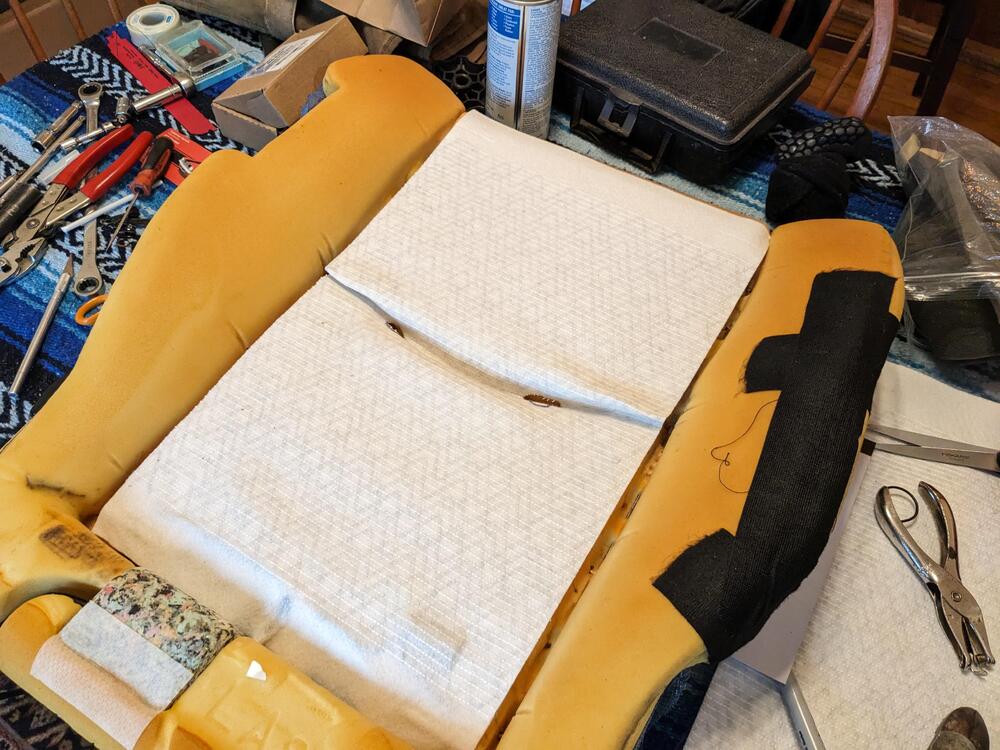
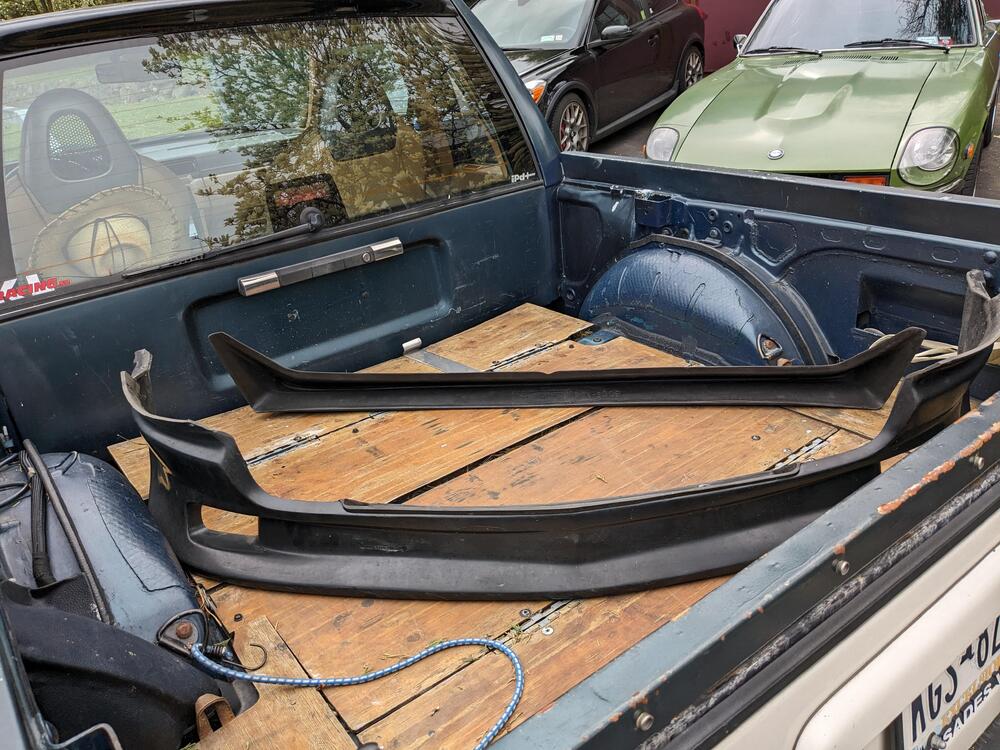
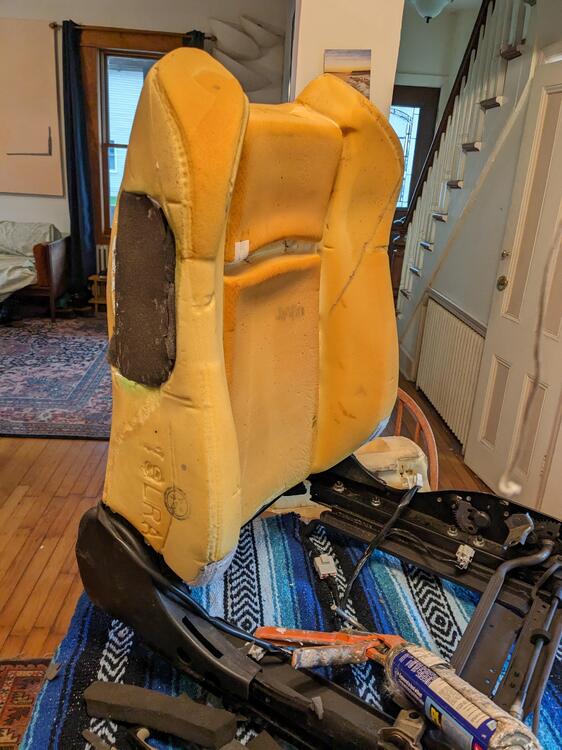
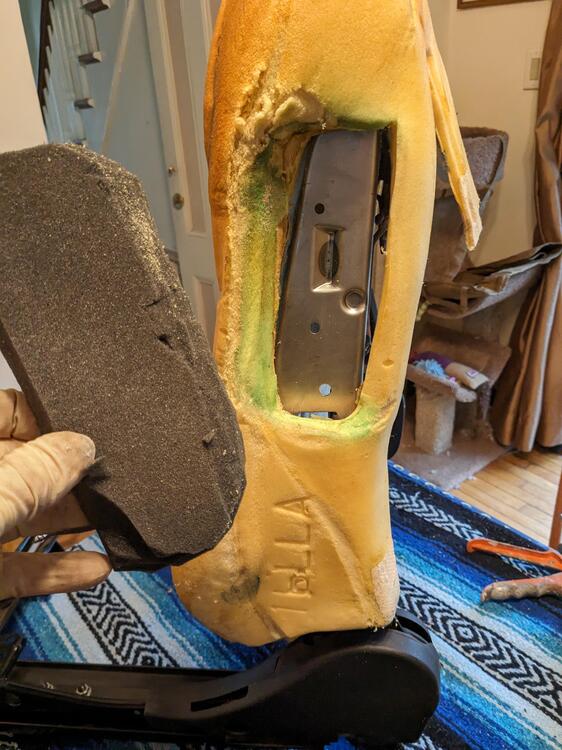
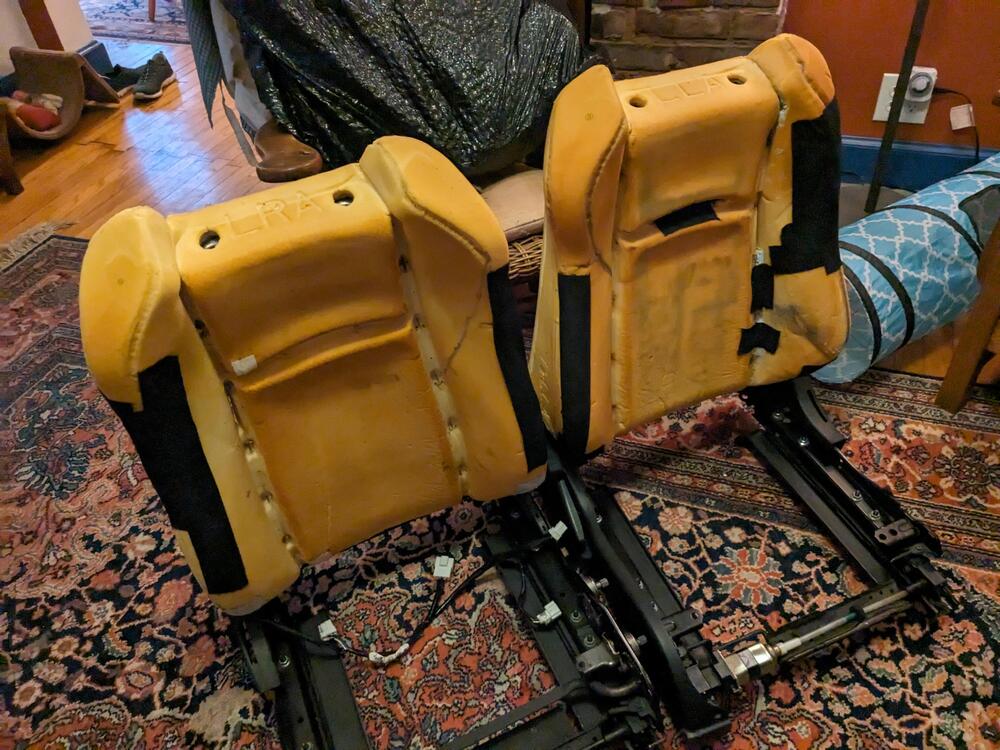
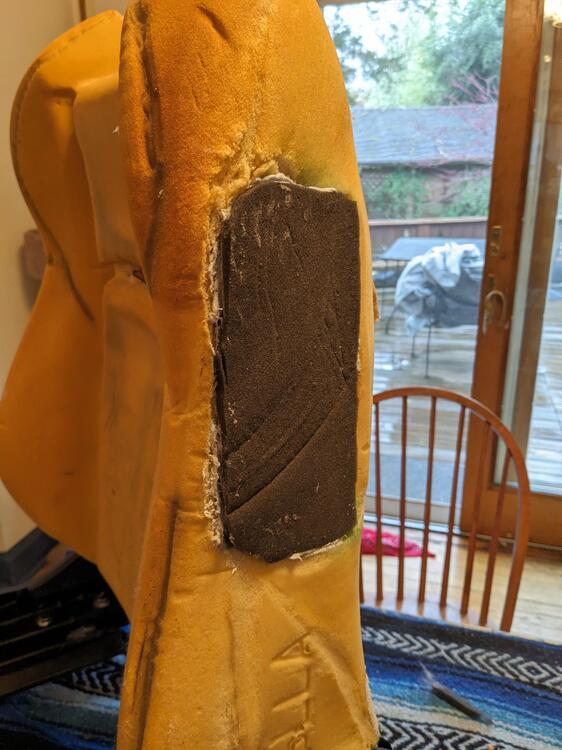
Took the front spoiler off after work & got it to the body shop for paint next week. Also got the front seats out just as the rain began - it's supposed to rain through tomorrow, so I figured a good time to get the upholstery done. Removed the upholstery & made a filler piece for the side airbag location. I'm also switching the cushions left to right, as the outside of the drivers one has more wear. The PO was on the heavy side and it shows in the compression and tears in the foam. Switching them means that the worn sides will be on the inside of either seat, so not likely to be an issue down the road. Had to cut a slot for the rear seat release on the passenger side. If I could get hold of the rights quick release I would put another on the driver's side since that has electric it's a lot slower to rake than the quick flip lever Dense foam was a large pad used as packing for my LUK RS clutch & DM flywheel kit, I really don't throw much out
-
New problem - Fuel pressure drops off - 75 280 L Jet, w/ composite injectors, ProtunerZ rail, 3 bar FPR
I've been driving the Z to work pretty regularly (as long as no rain is forecast), and the car has not missed a beat since replacing the original relay. Many thanks again to Zed Head for his input - it would have been a bitch to find otherwise.
-
Replacement Throttle Body Linkage Return Spring
So, question - has anyone determined a suitable generic replacement for the earlier (75) style external return spring? I'm looking online & of course can buy a generic set off Amazon or from Harbor Freight, I just want to make sure I get something that will be a suitable weight. I cleaned mine up when I did the TB cleaning, but the tension isn't enough - I often find the throttle not closing properly during light throttle (low speed, in town) situations TIA
-
4/75 Datsun 280Z; Leaf Green, CA market, 250K miles, Long Term Project 03/2023-
Thank you Pat. It would have been nice had it gone for more, however that does cover the cost of the 280Z and all the parts I have put into it so far, so that's not bad. The guy that ended up winning, actually lives about half an hour from me, so it's a good chance I'll be seeing the car on the regular basis. He did say he followed some of the builds I had done on the Fiat forum X-Web, although I don't think he ever signed in. He does actually have 2 X1/9s already. I don't think the guy has any in depth ability to work on them himself.
-
4/75 Datsun 280Z; Leaf Green, CA market, 250K miles, Long Term Project 03/2023-
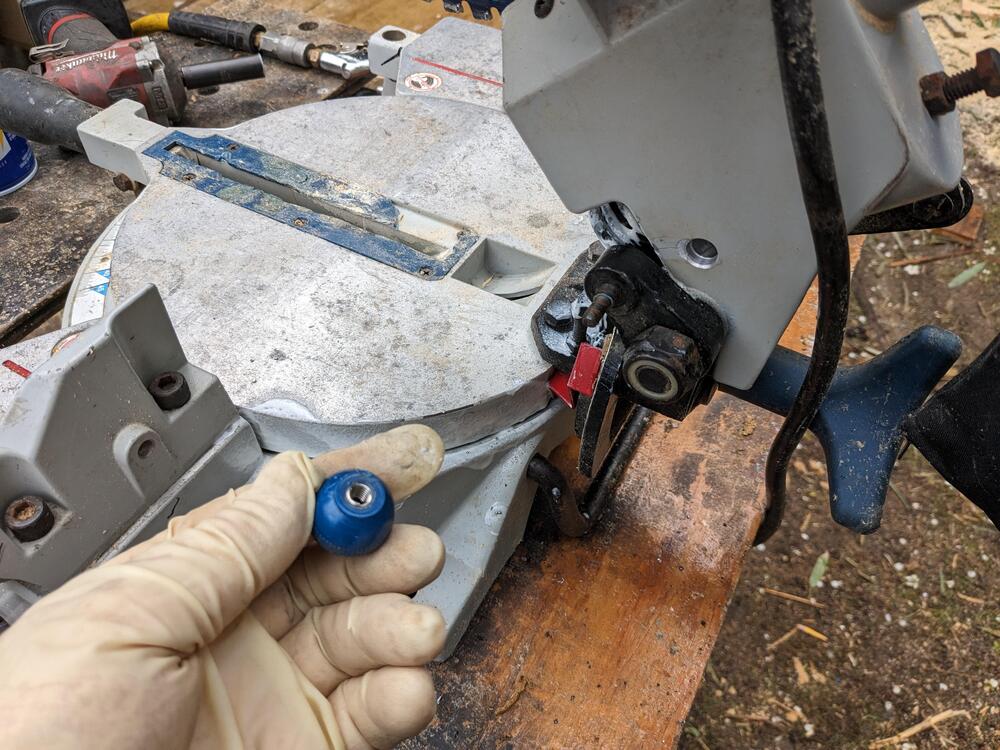
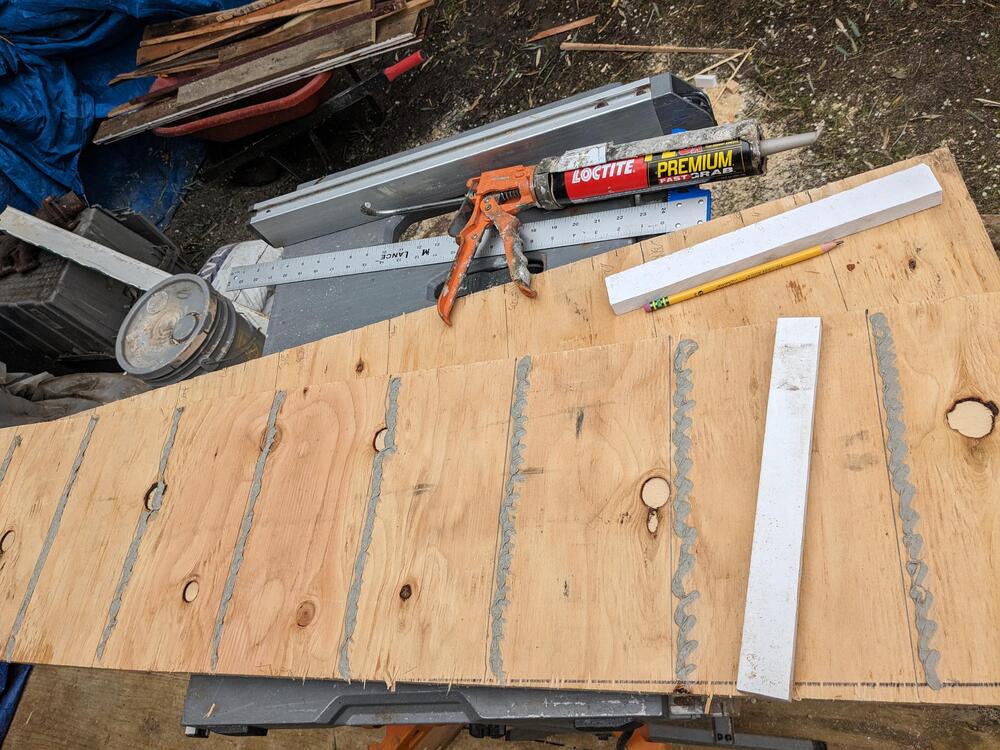
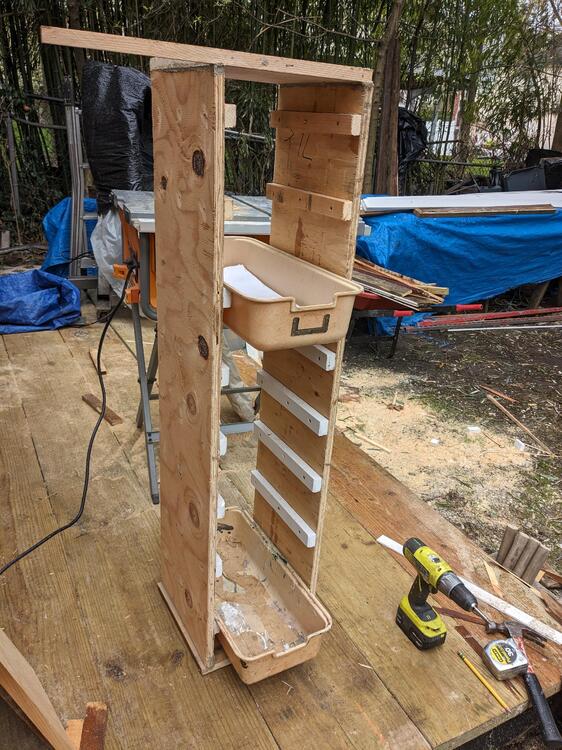
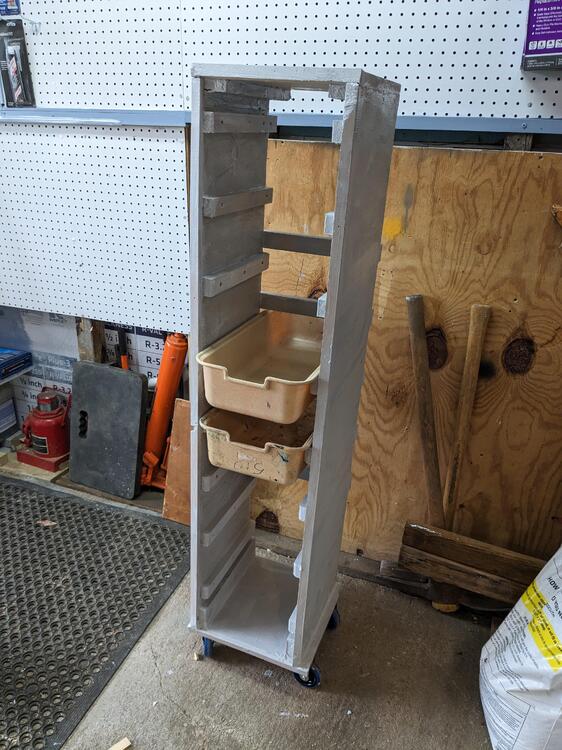
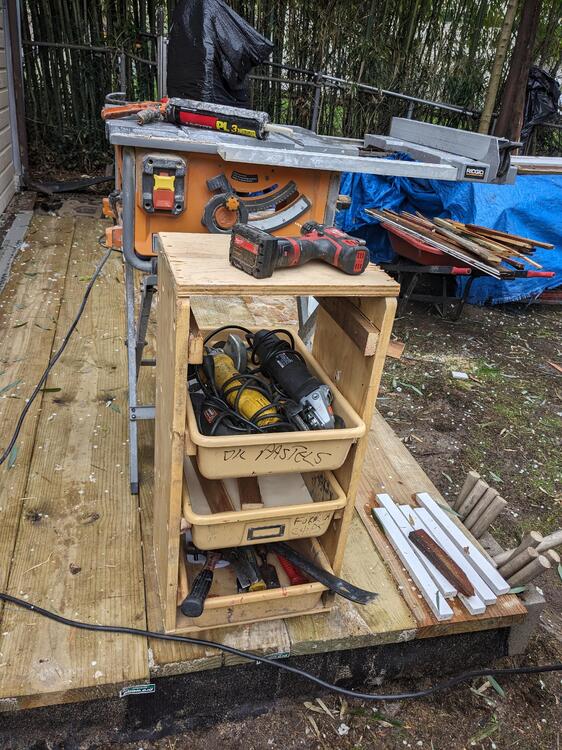
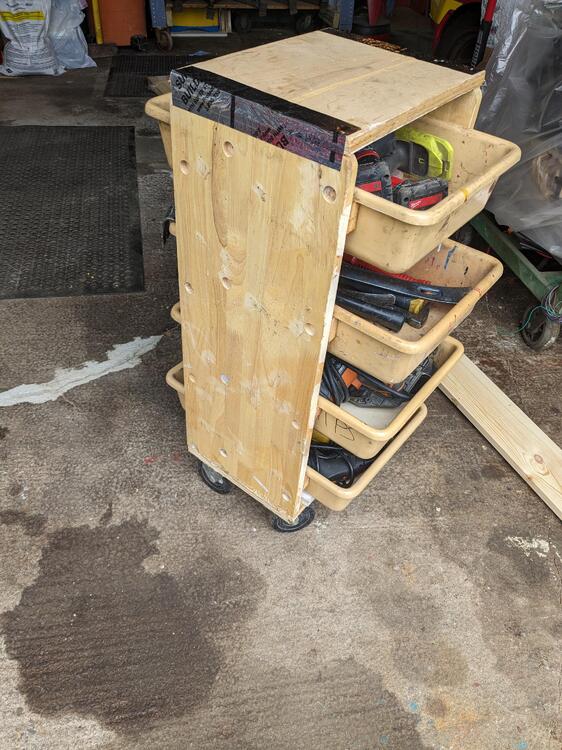
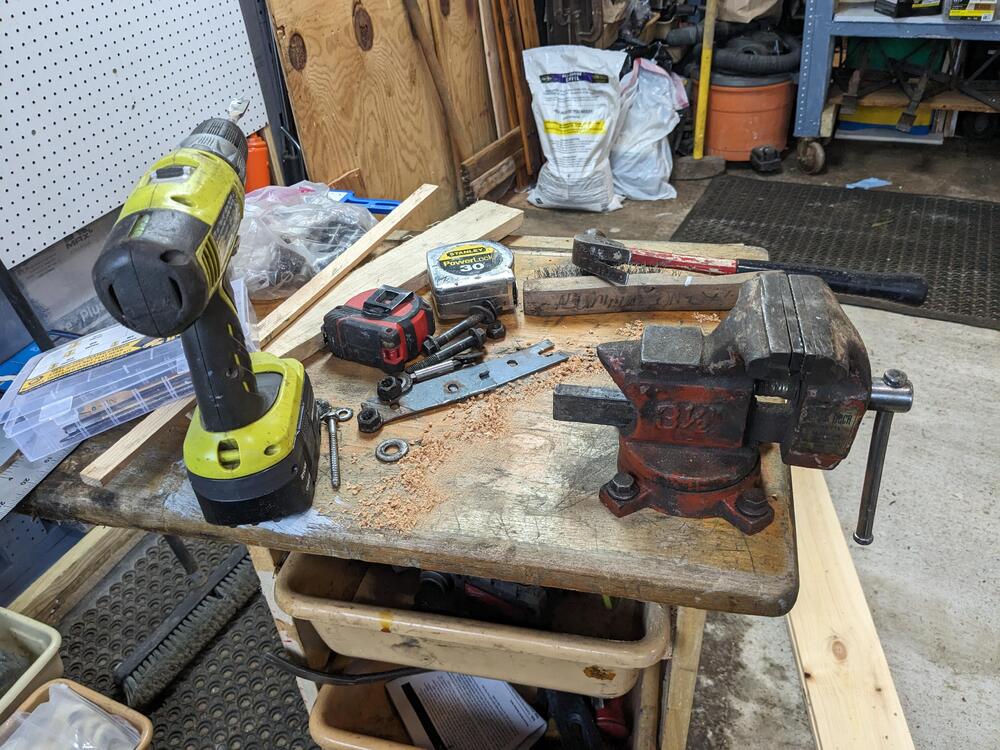
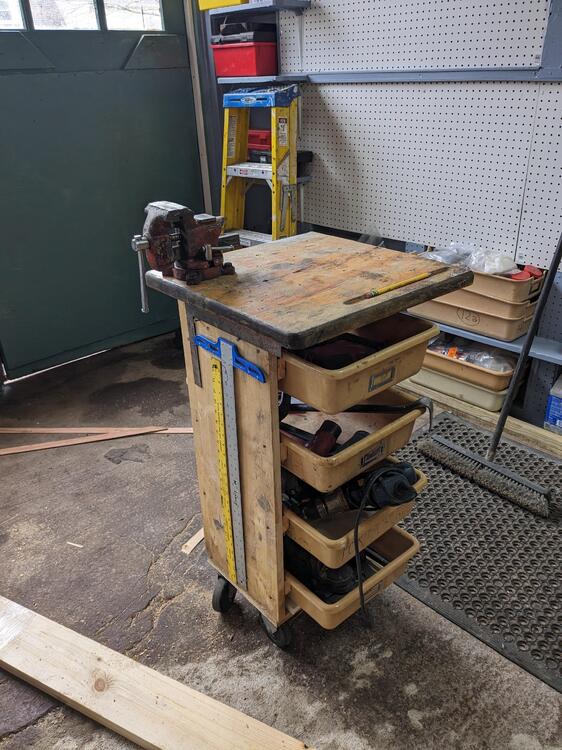
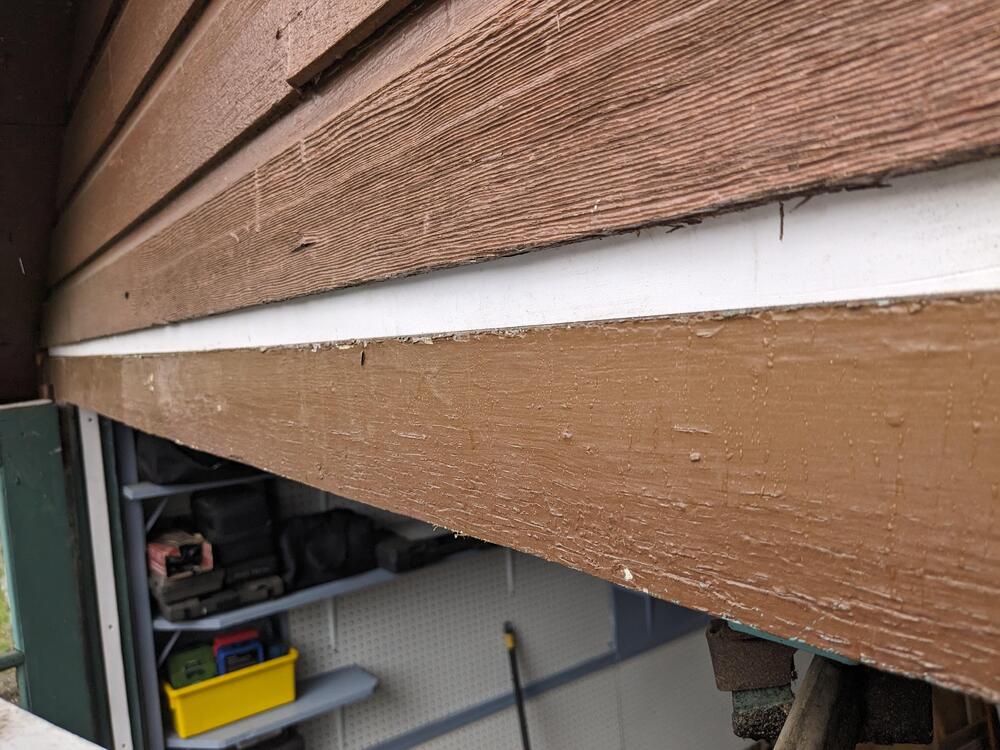
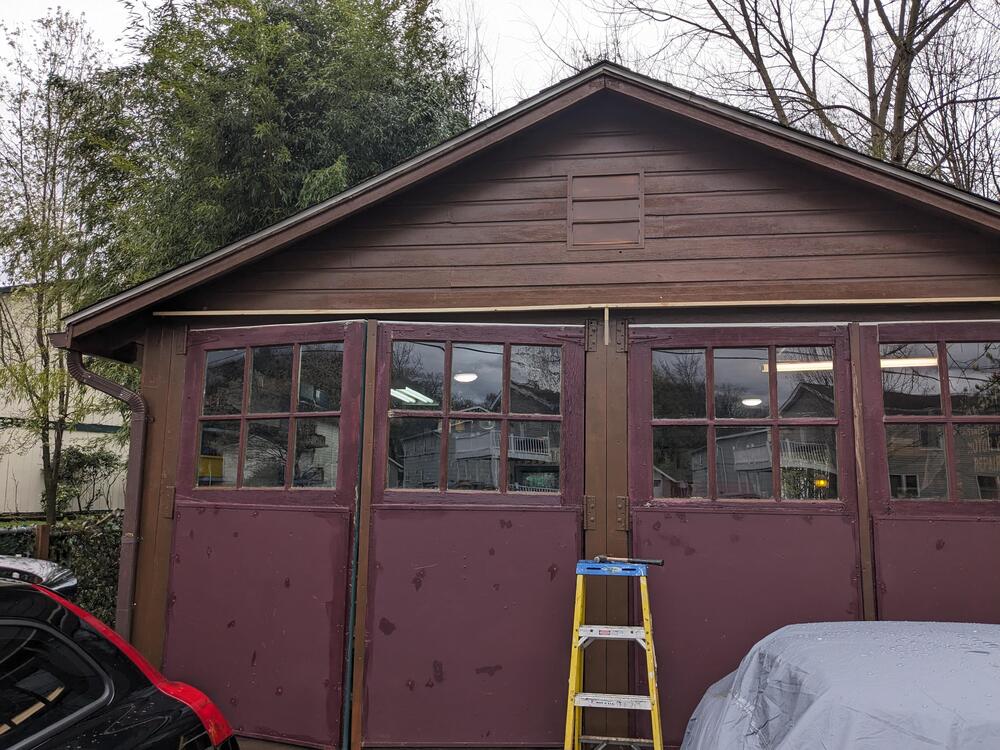
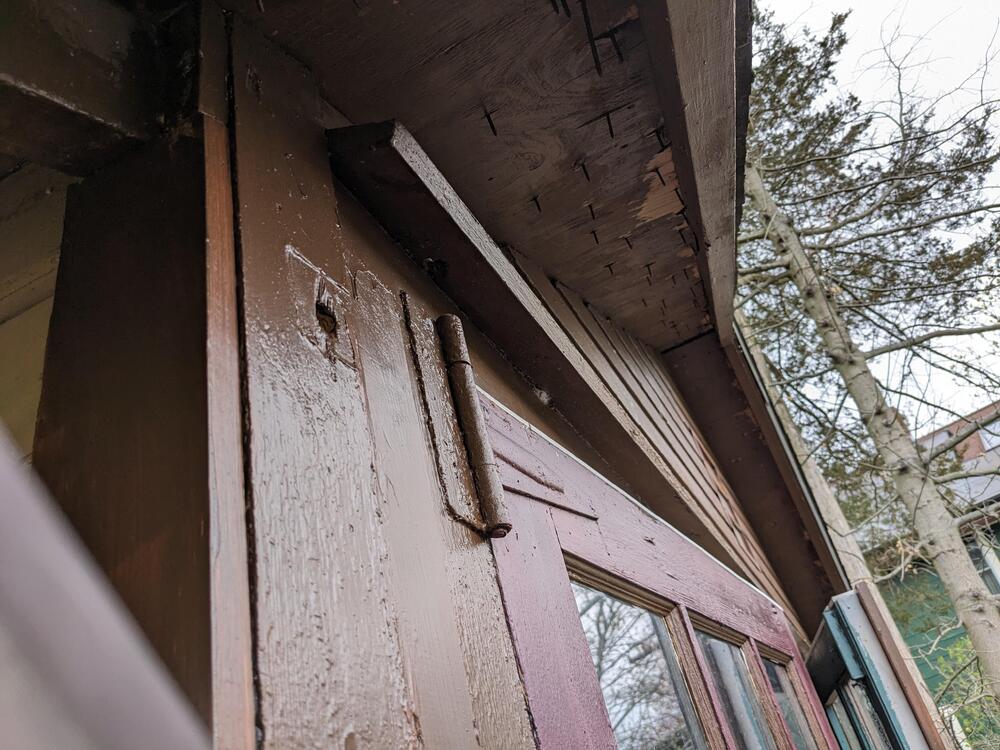
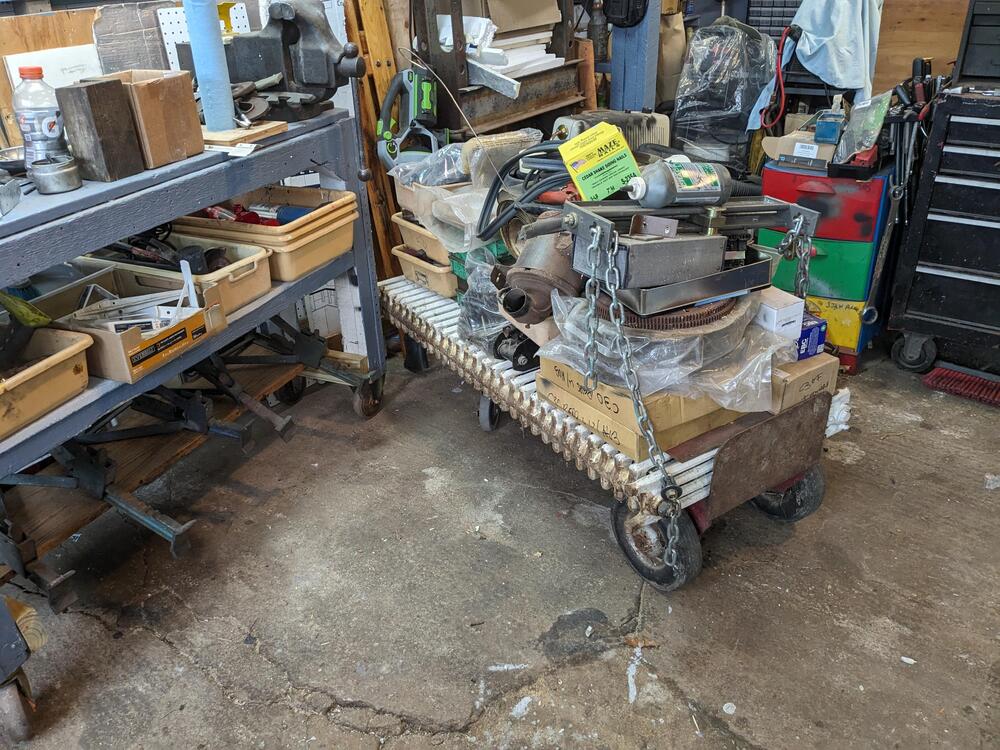
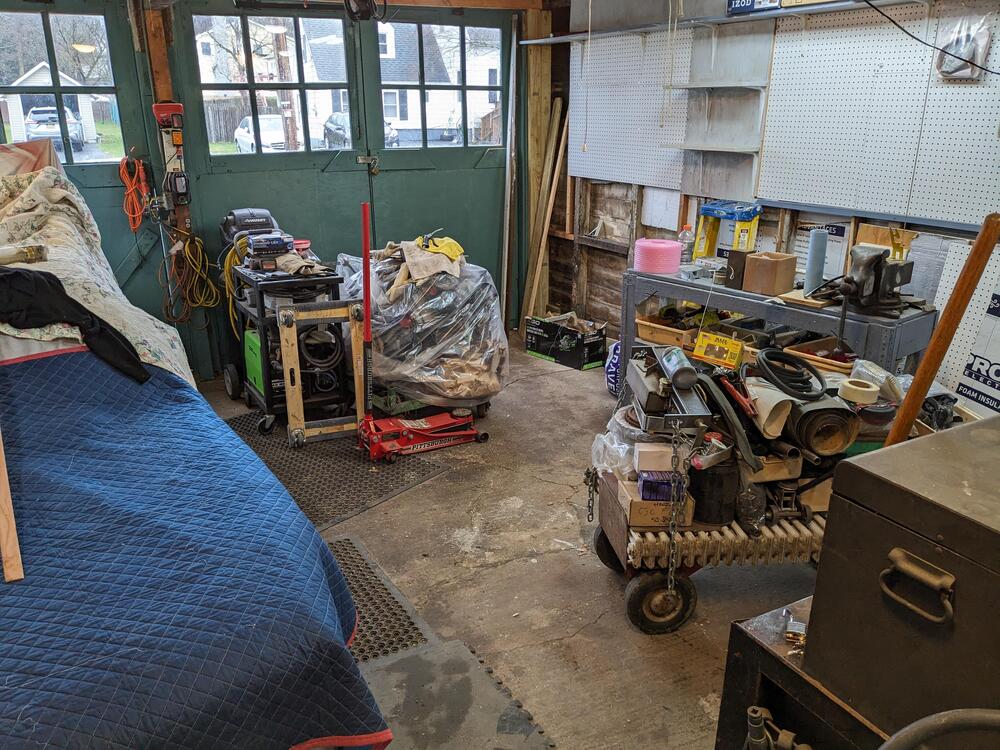
Hey Yarb - I didn't actually put a locking caster on it, I wasn't planning on using that small vice for anything industrial. I was thinking more just as a holding device for something that I might have to tack weid etc. I actually used it today to hold the ballnut from my chop saw, the thread strip and I had to put it insert in it. The vice was perfect for that . There is now a harbor freight, within about 5 minutes of my home, so I can easily get a locking caster if it should become a requirement. Fabricated the other wheelie cart for the narrow trays this one will hold eight, it is on the toll side, however they are all essentially lightweight as I use them to contain rubber bushings/grommets, body clips, various sealants, and so forth. Rained on and off all day today - so not much else accomplished. I did get this primed, and also I did get the caulking on the other side of the eave in the front of the garage. Really cool display yesterday evening - it's rained again after this one, and by the time we got to town, there was a clear double rainbow. Hard to photograph. It was also in the first one, but less obvious, to me anyway
-
4/75 Datsun 280Z; Leaf Green, CA market, 250K miles, Long Term Project 03/2023-
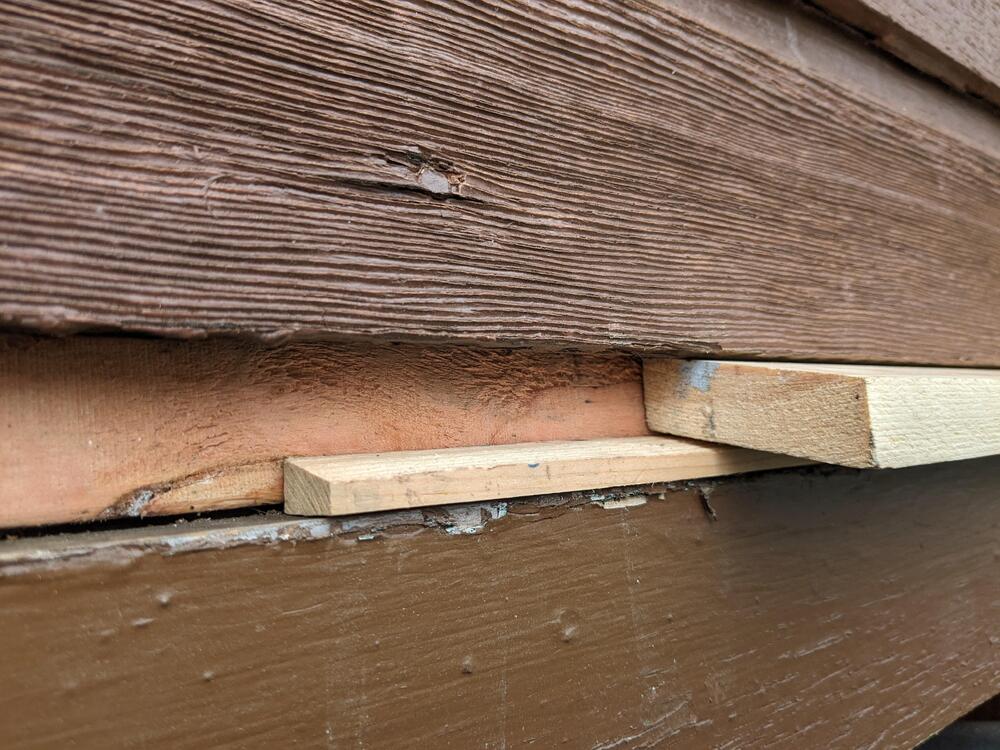
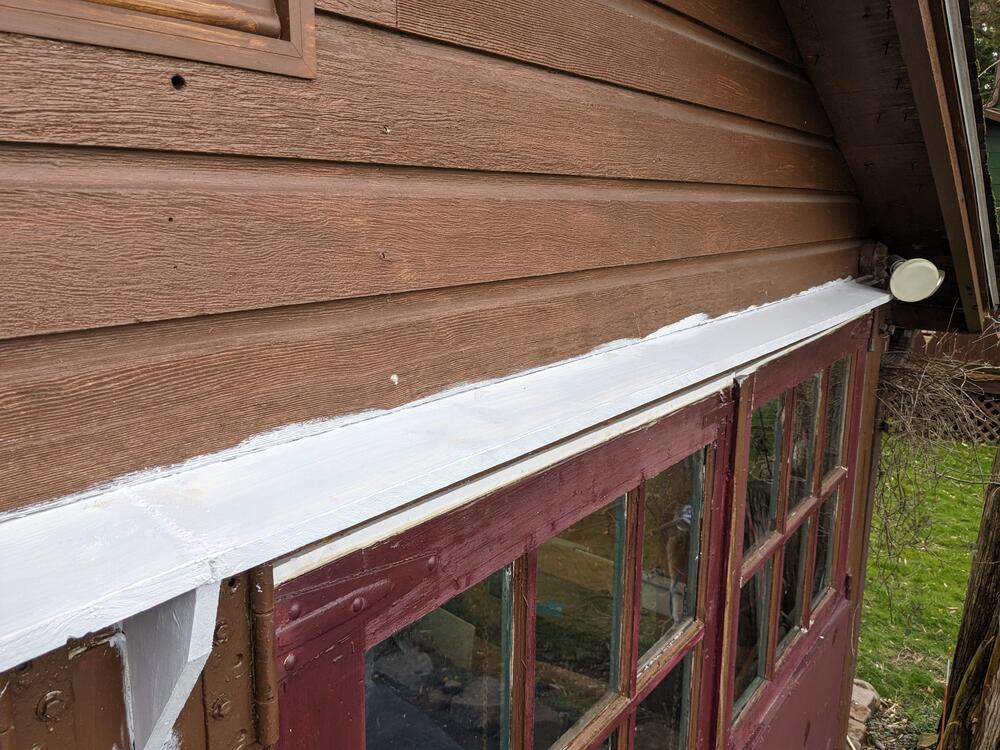
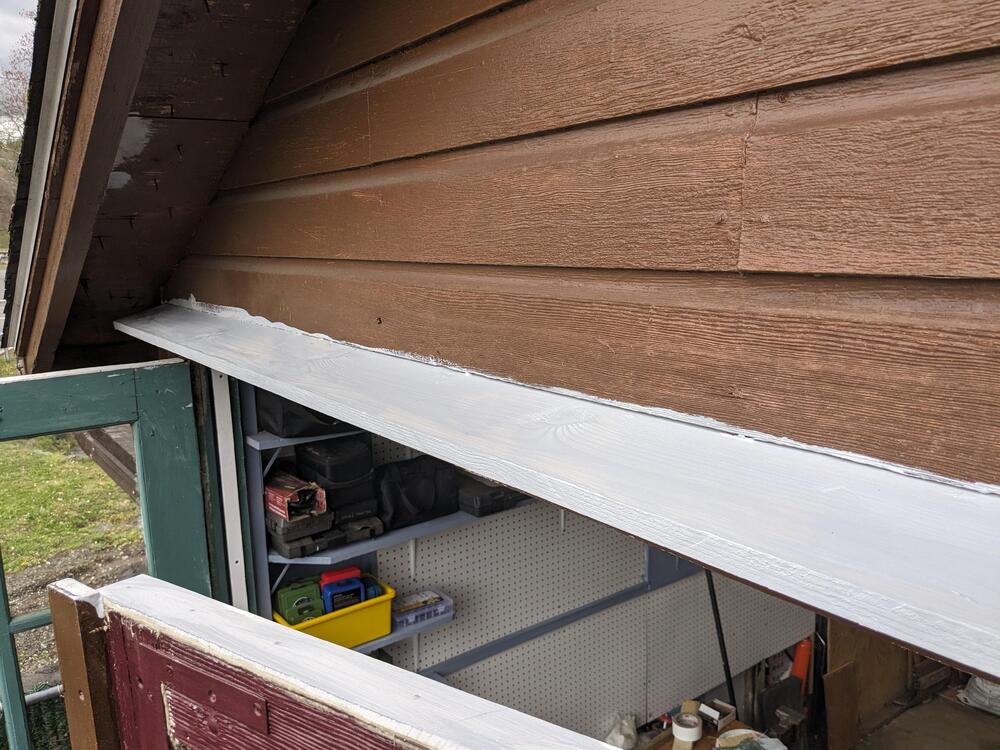
Made a wheelie cart to hold the bins I have. Now I need to make another for the narrower bins that I was going to put against the wall Decided I might as well make it a mini bench with a small vice Eave test with scraps - cut to 12 degrees, with a 3/8" filler also cut to 12 degrees put the PVA in the siding gap cut & fitted the actual eave. Made a center support, since I couldn't do a single 18' run and got primer on it. I'll caulk it tomorrow.
-
4/75 Datsun 280Z; Leaf Green, CA market, 250K miles, Long Term Project 03/2023-
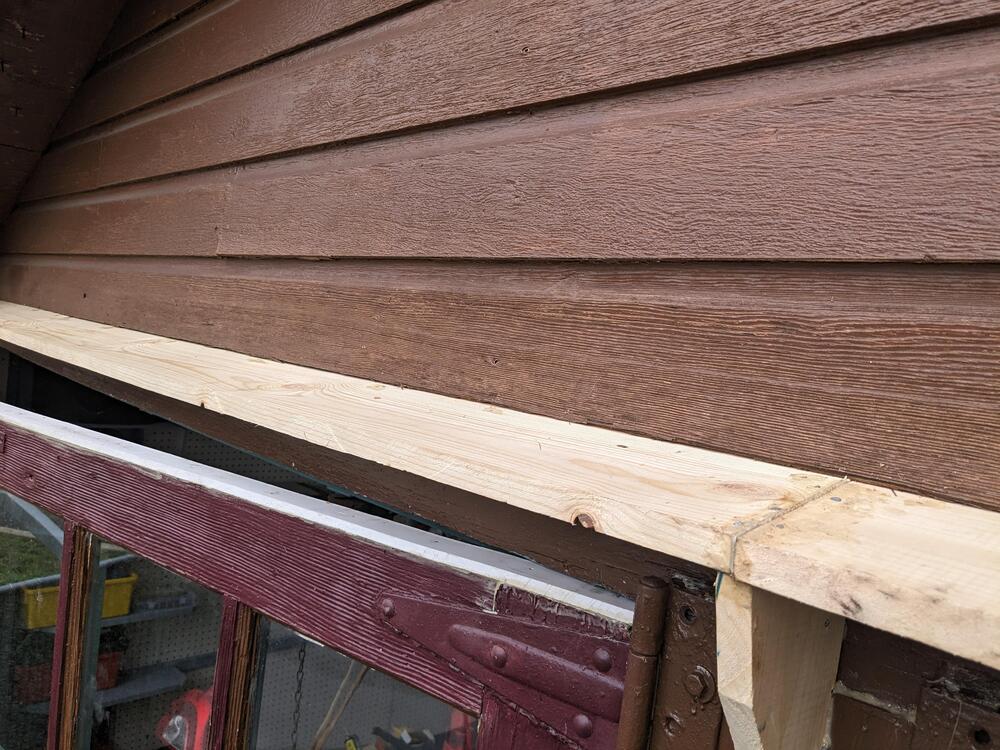
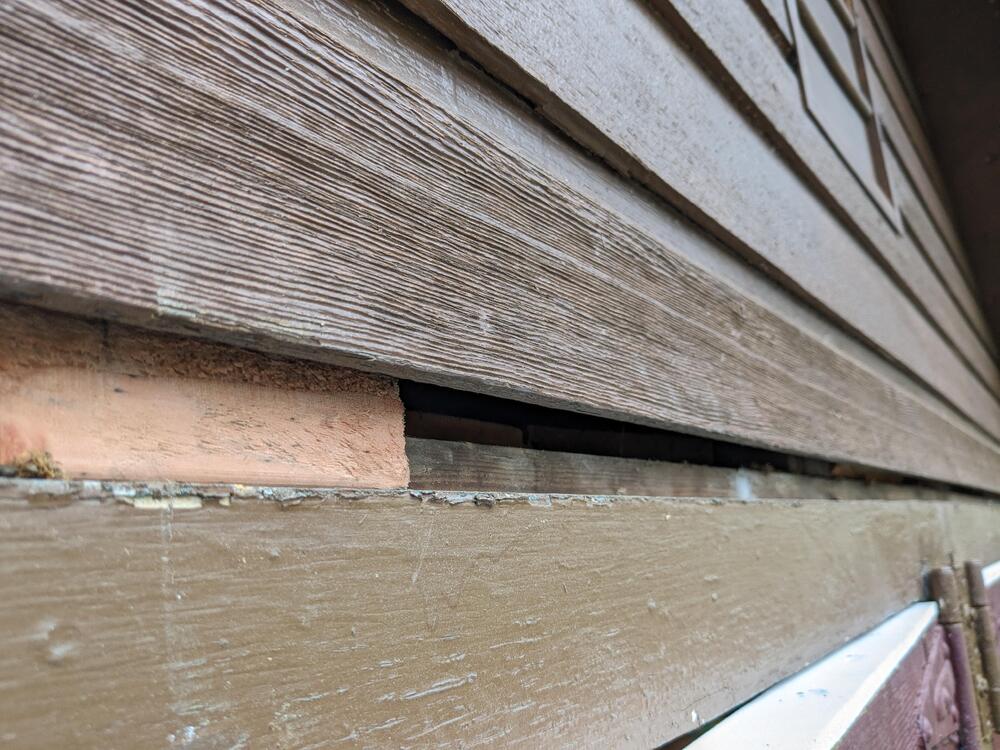
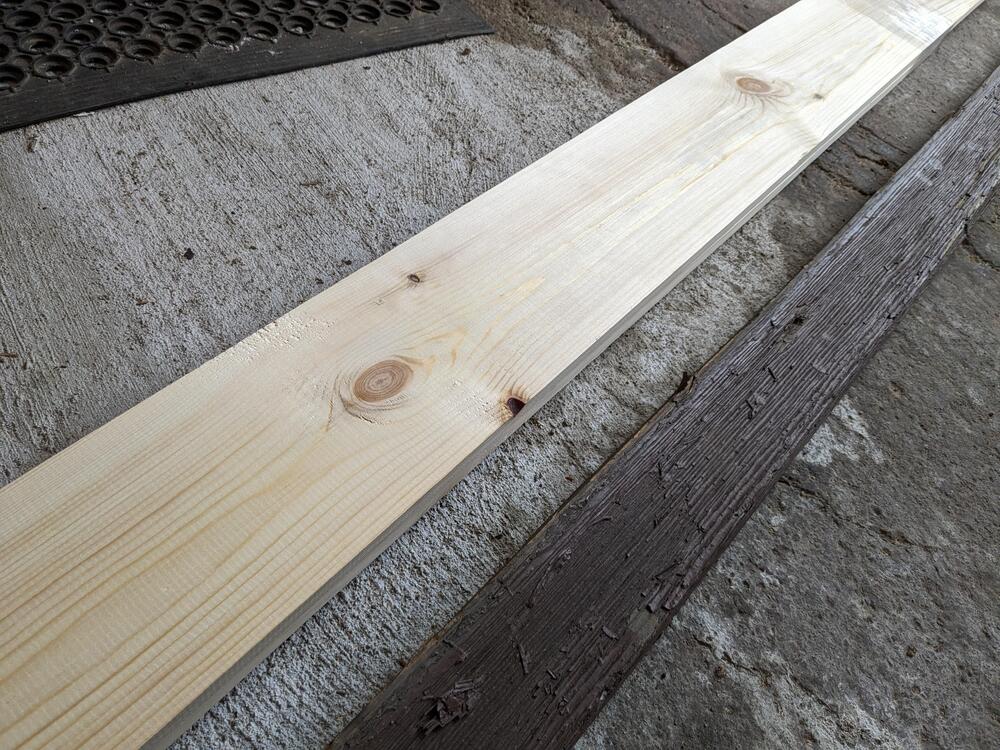
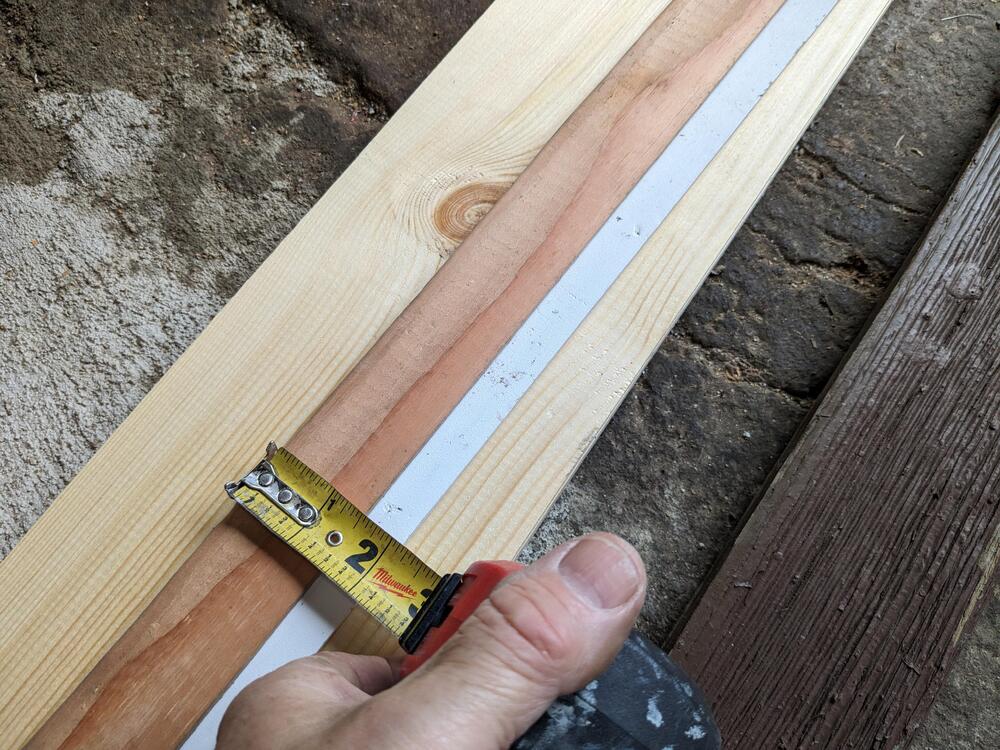
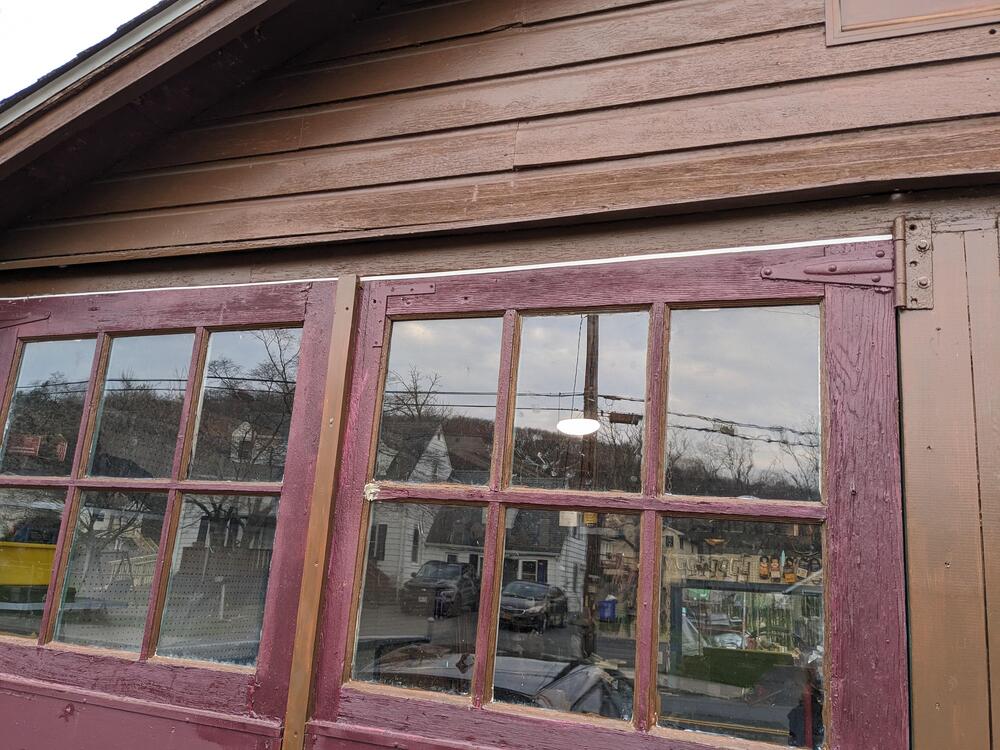
Thank you 😊 Started on the eave(?) above the doors. Removed the damaged one, to find (of course) that there are additional issues. need to add a 1.5" strip to seal the gap that exists behind the eave. I'm going to cut it from the extra PVA I have, don't have to worry about rot with that. I bought 1X6 pine instead of the shallower 1x4 for a deeper overhang of the doors
-
4/75 Datsun 280Z; Leaf Green, CA market, 250K miles, Long Term Project 03/2023-
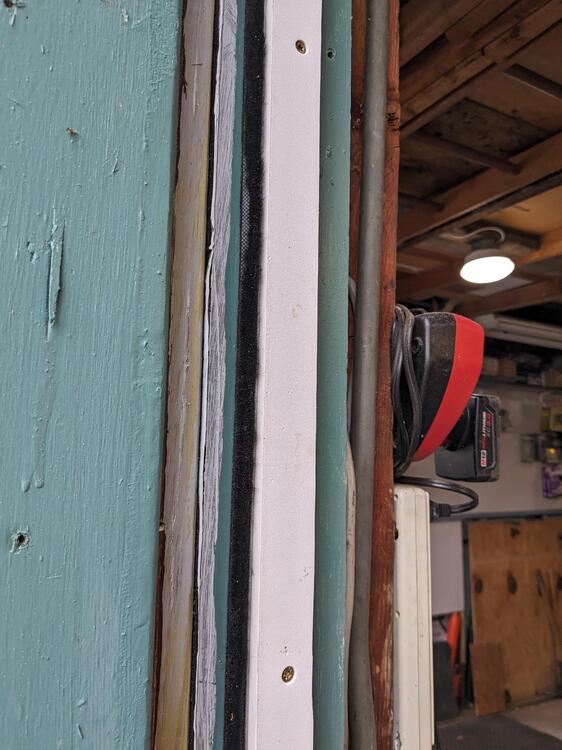
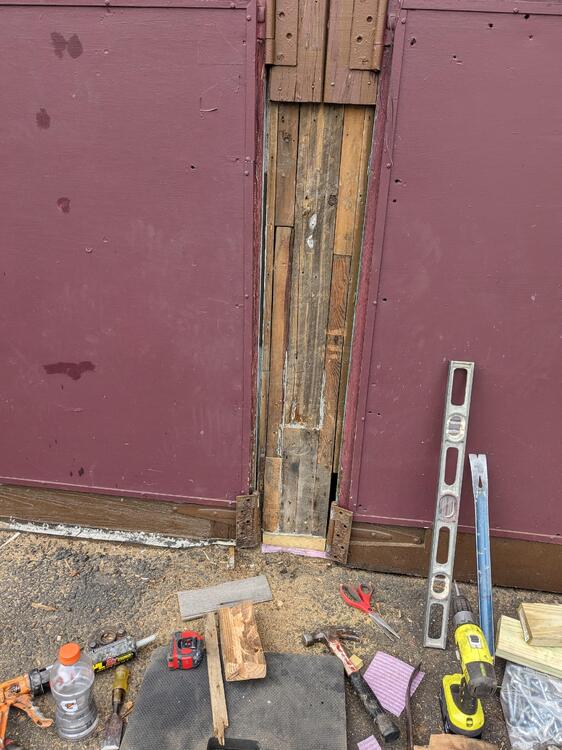
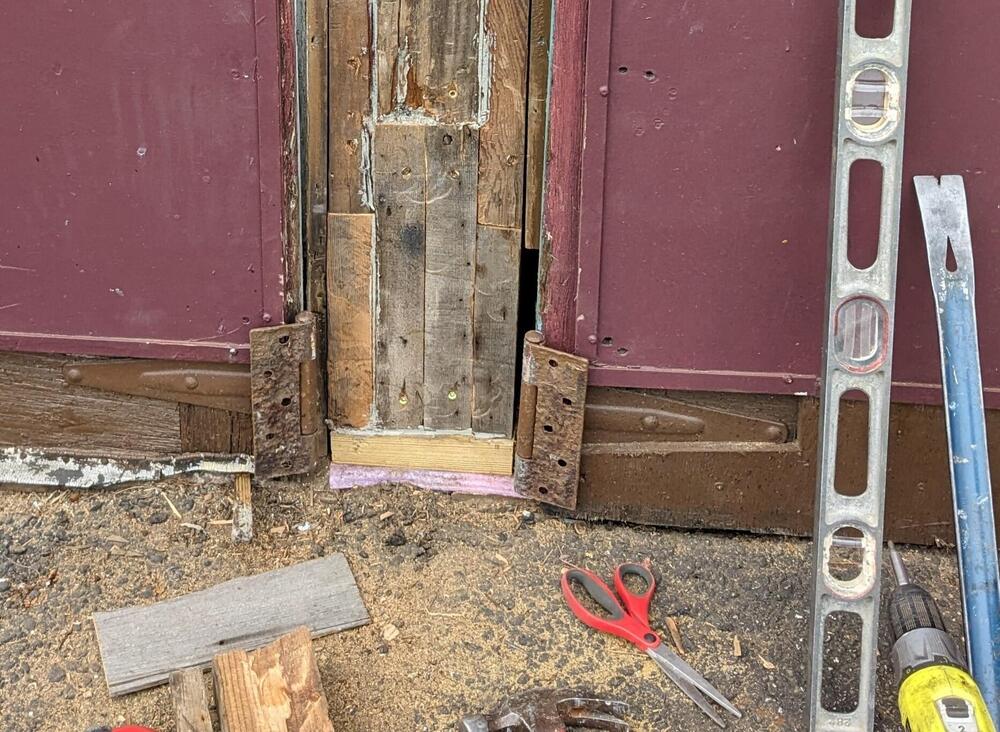
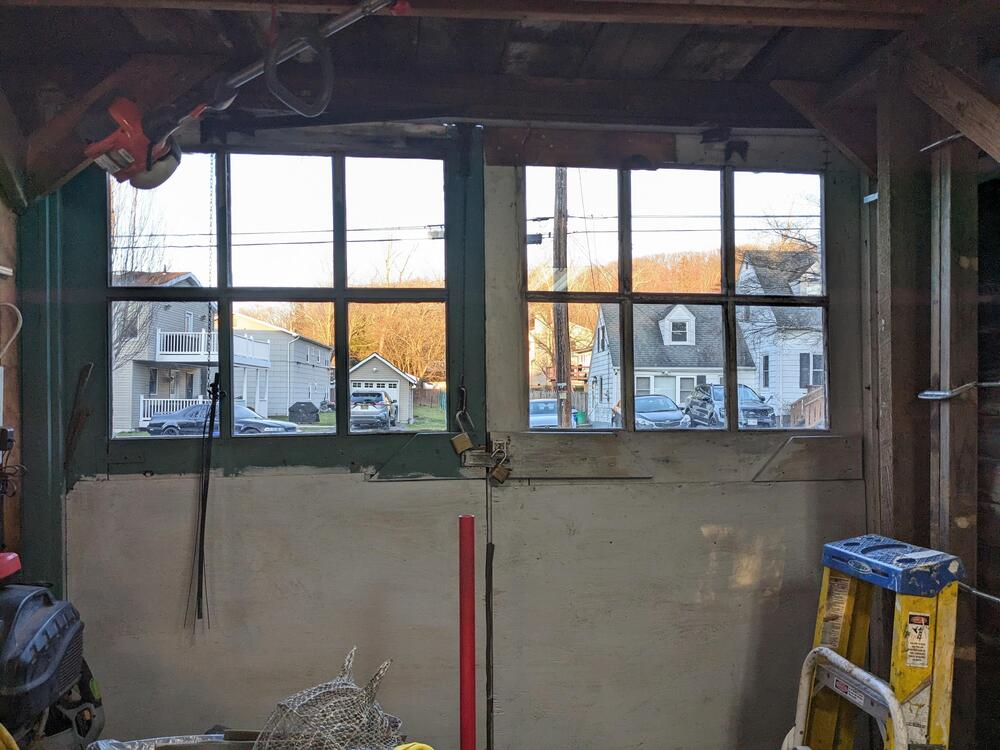
Just been futzIng after work - cut 4 PVA vertical strips for the door to frame "seal". I added the soft brush style sealing used for vinyl windows (at least I think that's what it's intended for). Also leveled the tops of the doors and added PVA caps to fill the gaps in varying sizes. I'll add a brush seal to them also, to minimize the air gaps. With those I'll probably put the seal onto the PVA on the door, as it doesn't really like to stick to wood painted or not. Sticks just fine to vinyl. Have to deal with the irregular door bottoms also, now those are the main draft (visible in last pic of last post )
-
4/75 Datsun 280Z; Leaf Green, CA market, 250K miles, Long Term Project 03/2023-
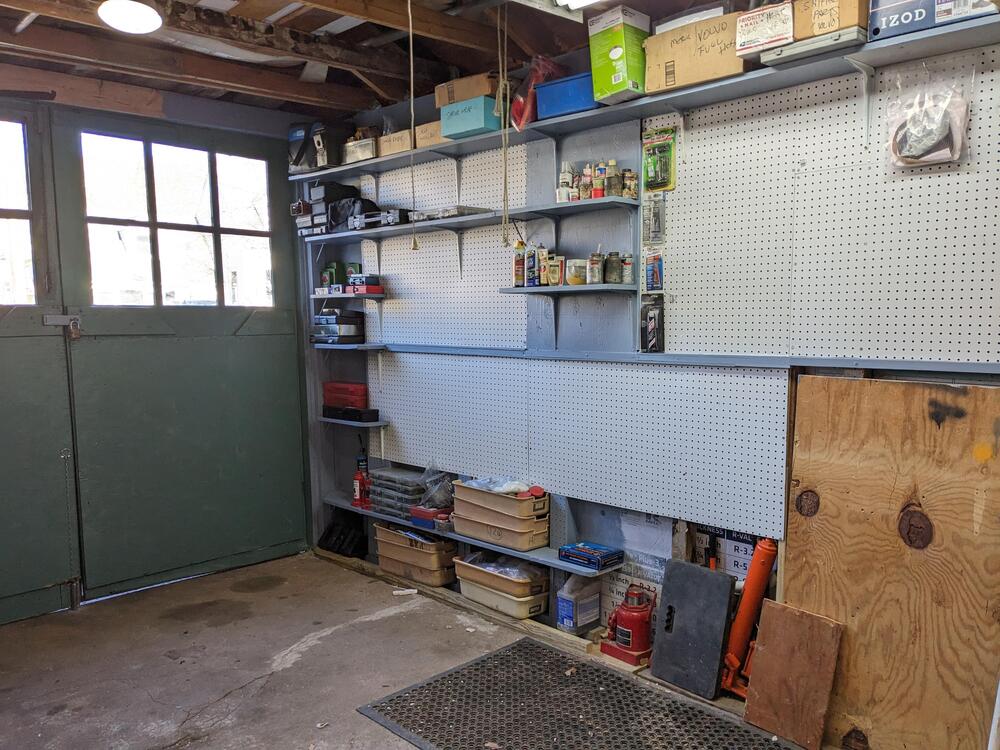
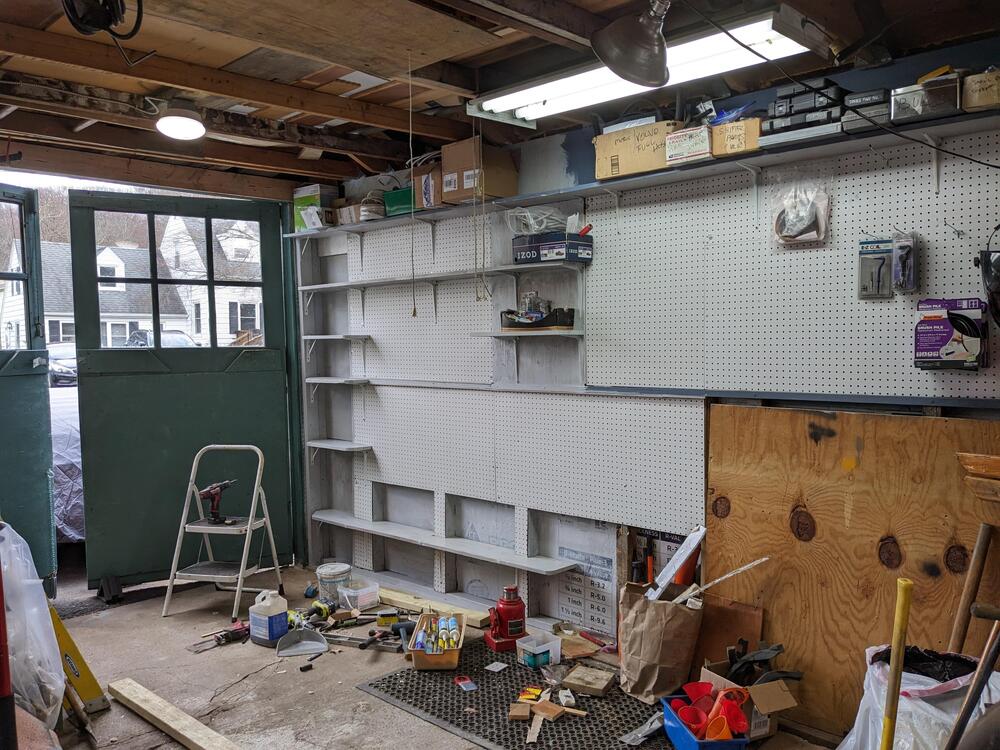
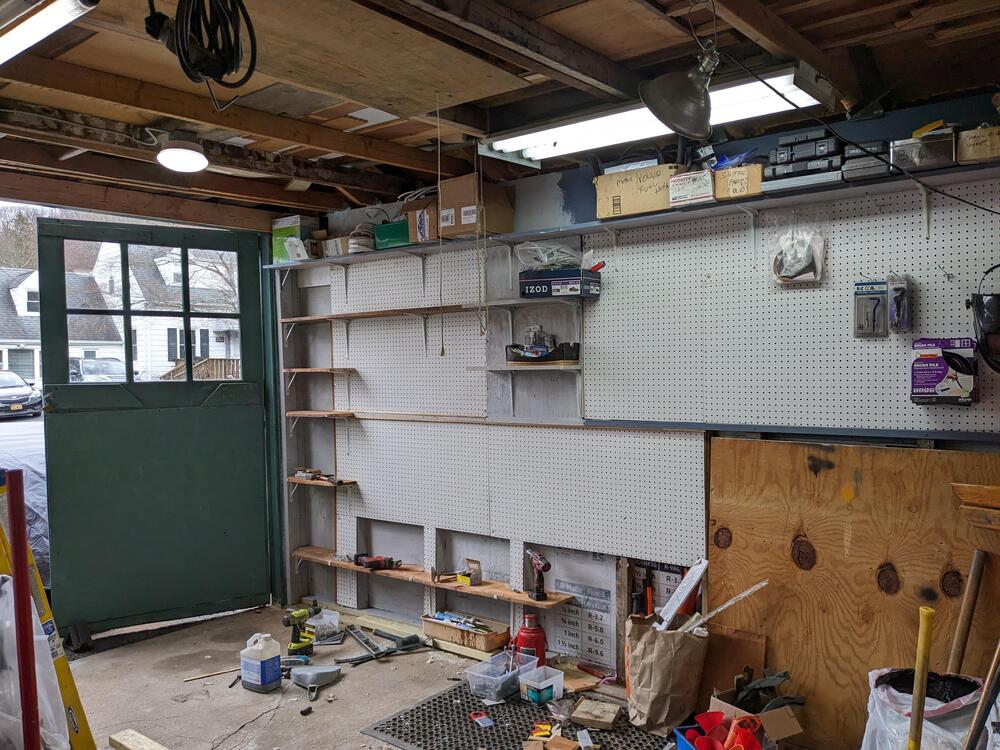
Many thanks. It truly is. This morning I had time to get a top coat on the shelves. I mixed a slightly lighter grey - the earlier version I felt was too dark for the sides Started putting stuff on them this afternoon. I'll be rearranging crap for sometime
-
4/75 Datsun 280Z; Leaf Green, CA market, 250K miles, Long Term Project 03/2023-
-
4/75 Datsun 280Z; Leaf Green, CA market, 250K miles, Long Term Project 03/2023-
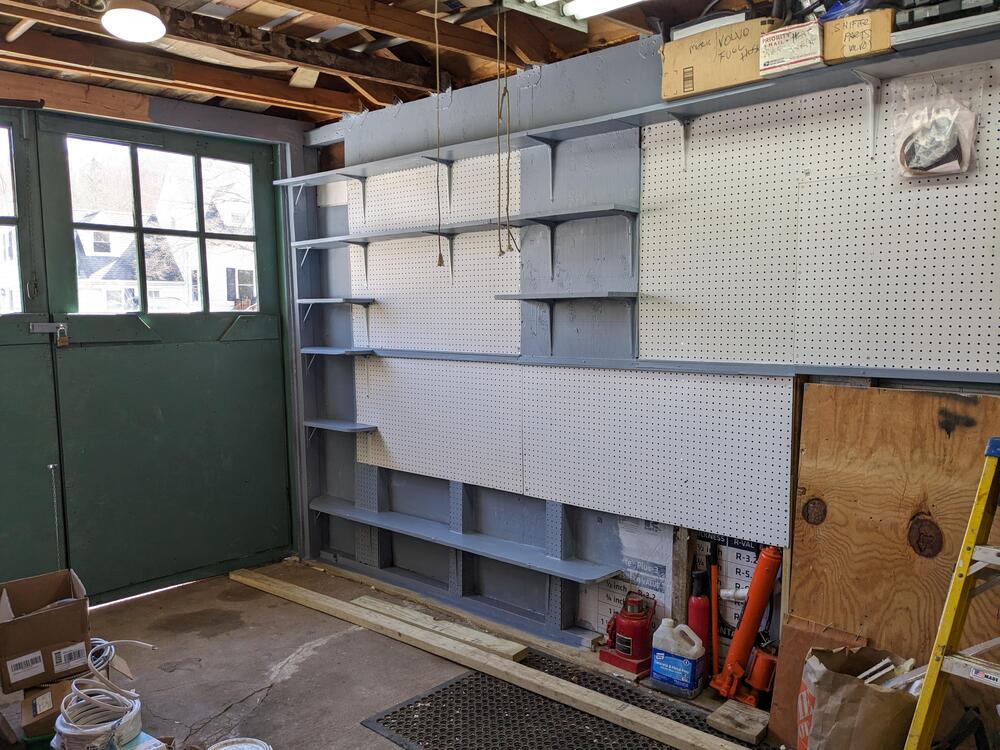
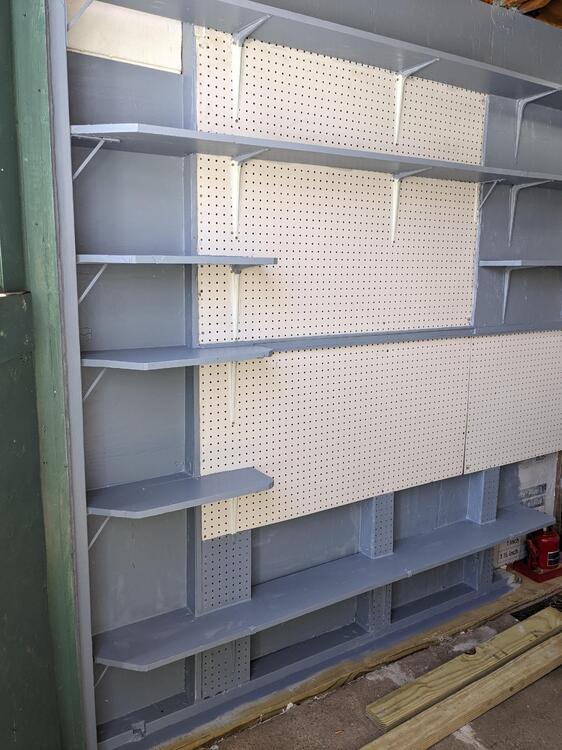
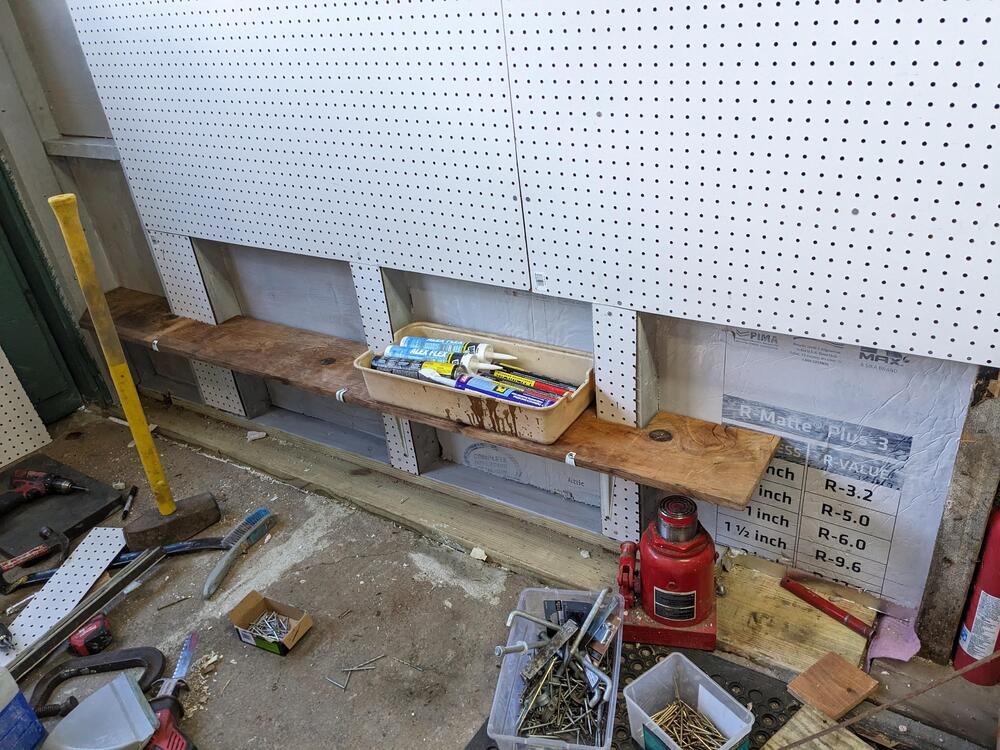
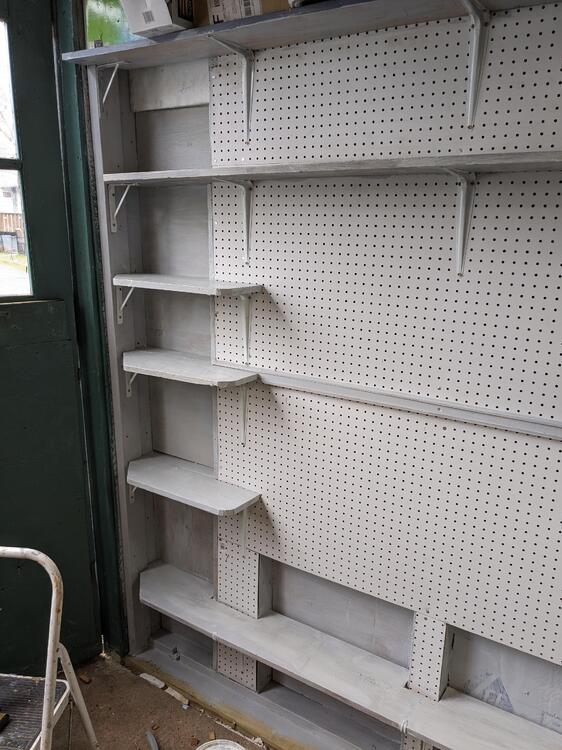
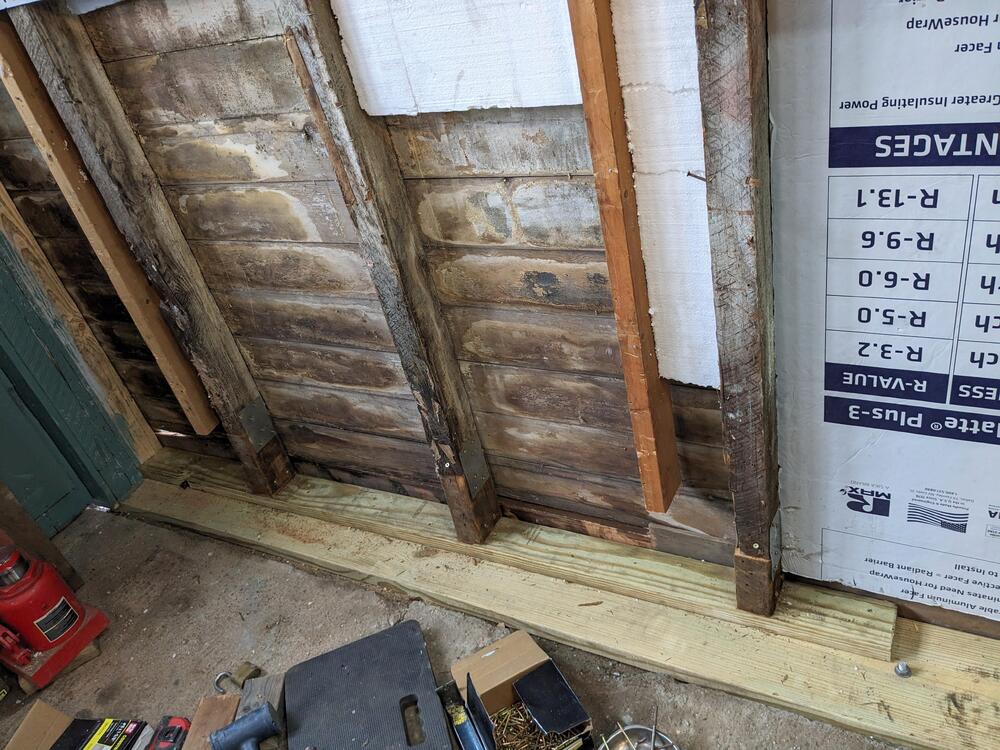
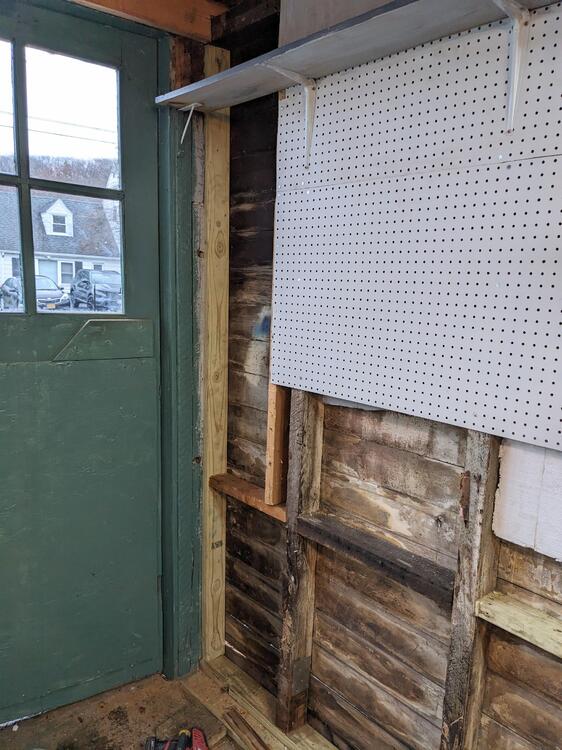
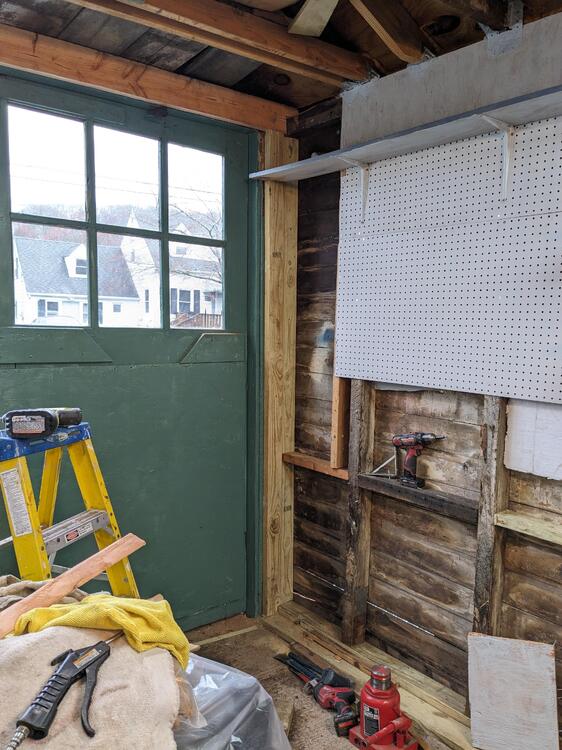
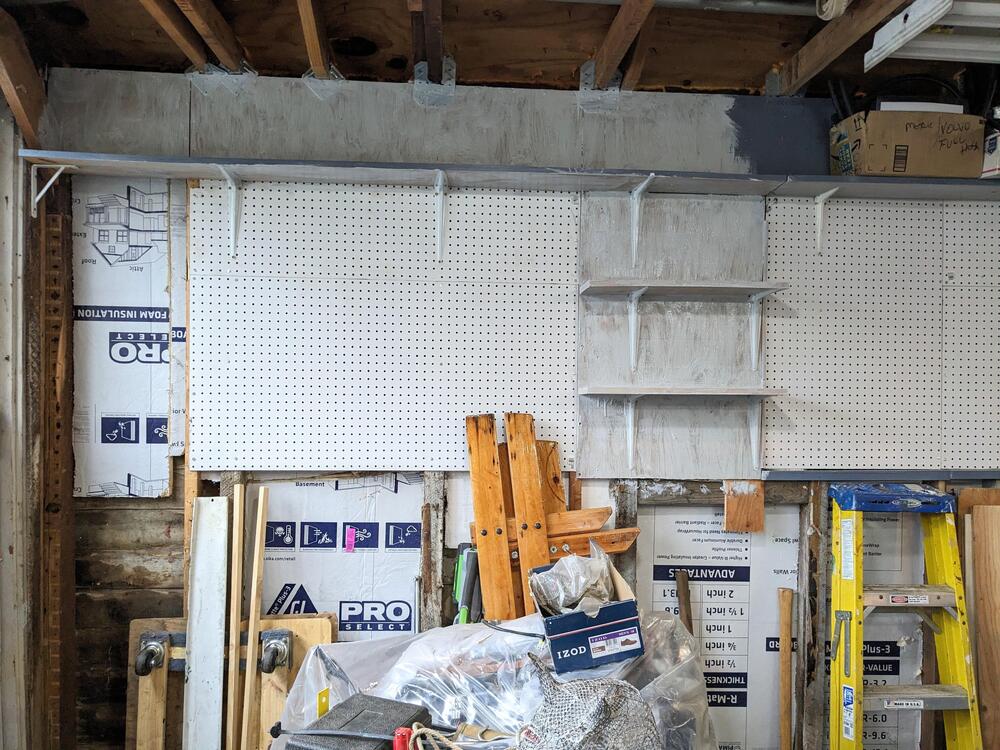
Small stuff in the garage. Trying to figure out what I wanted with the forward lower half of the (repaired area) south wall I decided to pegboard down to about 2', then I'm adding another 2x4 plate on the bottom to make a raised "shelf" - I need a place to store heavier odds and ends that I keep in these plastic bins. This will work out fine. The shelf is total of 8" depth, so doesn't extend in beyond the sill plate After I added the 2nd from the top 8" deep x 63" shelf, l added some more 7.5" x 22" corner shelves - I've set sheathing on top of the 1-in insulation, in between the studs, so I can use the maximum depth for the shelves (added approx 3" additional in the recess). I decided I didn't want any additional full width shelves, trying to keep this wall as open as possible. Had time to prime. I can't do anything with the other half of the lower wall, until I address the sill in that area. So that's going to just stay the way it is for the time being.
-
4/75 Datsun 280Z; Leaf Green, CA market, 250K miles, Long Term Project 03/2023-
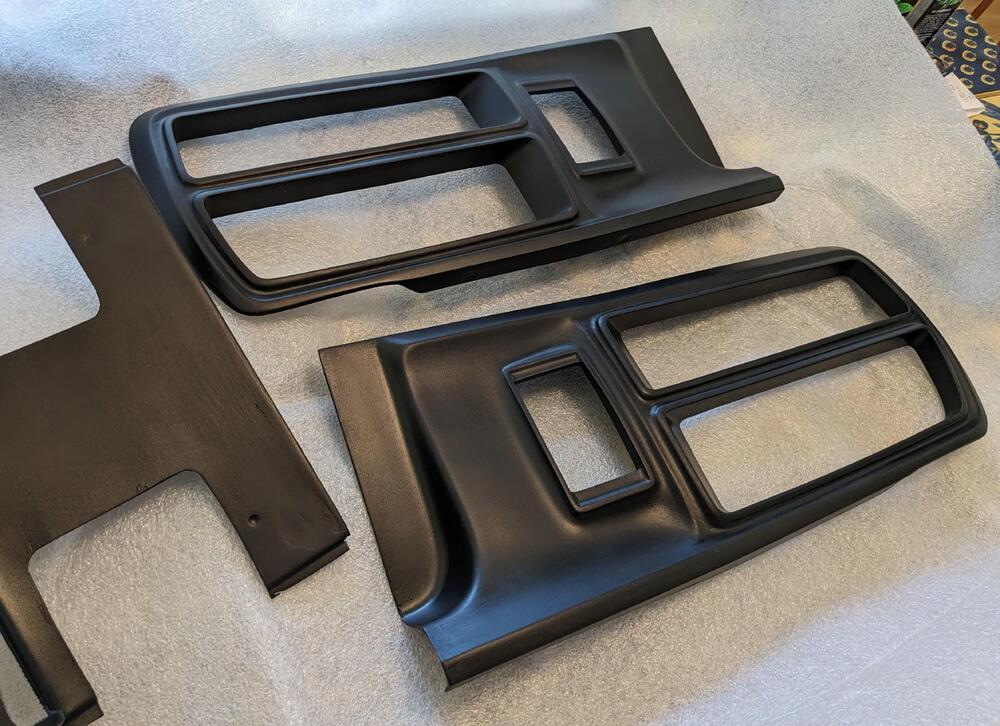
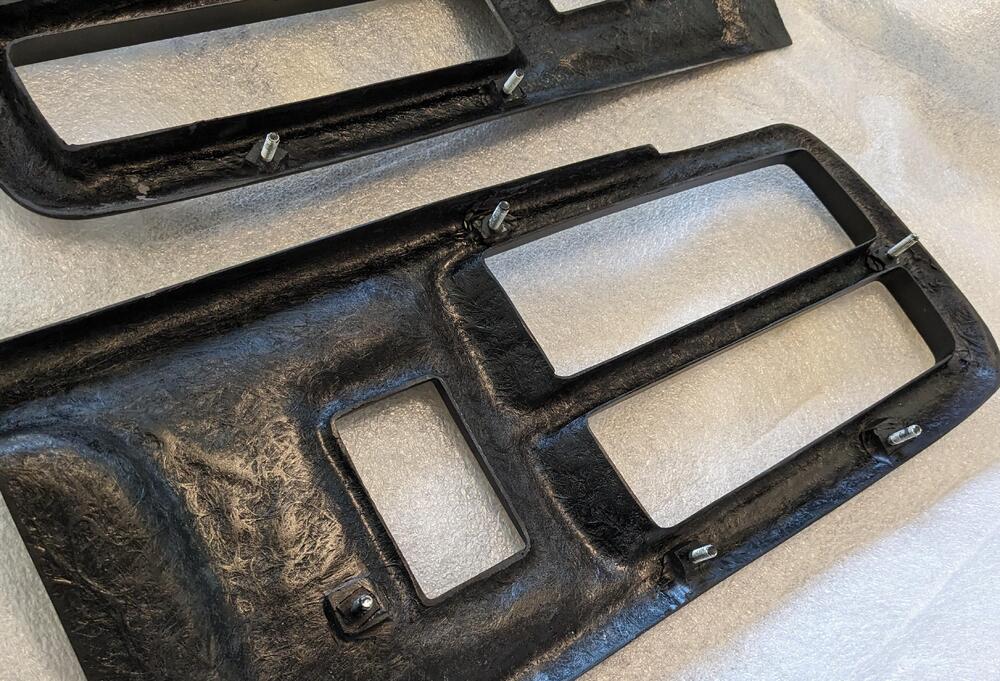
Fibreglass tail panels finally came - I placed the order in mid November with Zociety - I was getting worried that they were a scam. Oscar did communicate a couple times, but he always implied shipping was just around the corner. Anyway, he was very apologetic at the end there, and said that if I were to buy something else in the website they would give me a break. They appear solid enough. I went for the plain fiberglass finish. I have to paint them anyway & want the chrome edge, which they do not offer as a finish
-
Vapor Tank Question
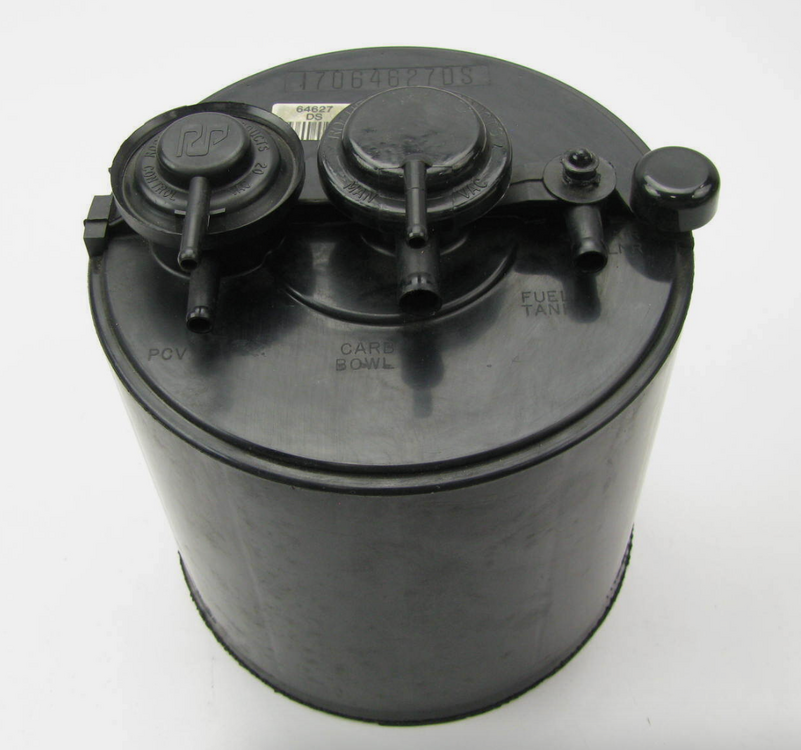
Looking a little further online for GM 80's versions - there is this brand new old stock one which certainly could be adapted. It has 2 diaphragms instead of one eBay listing
-
Vapor Tank Question
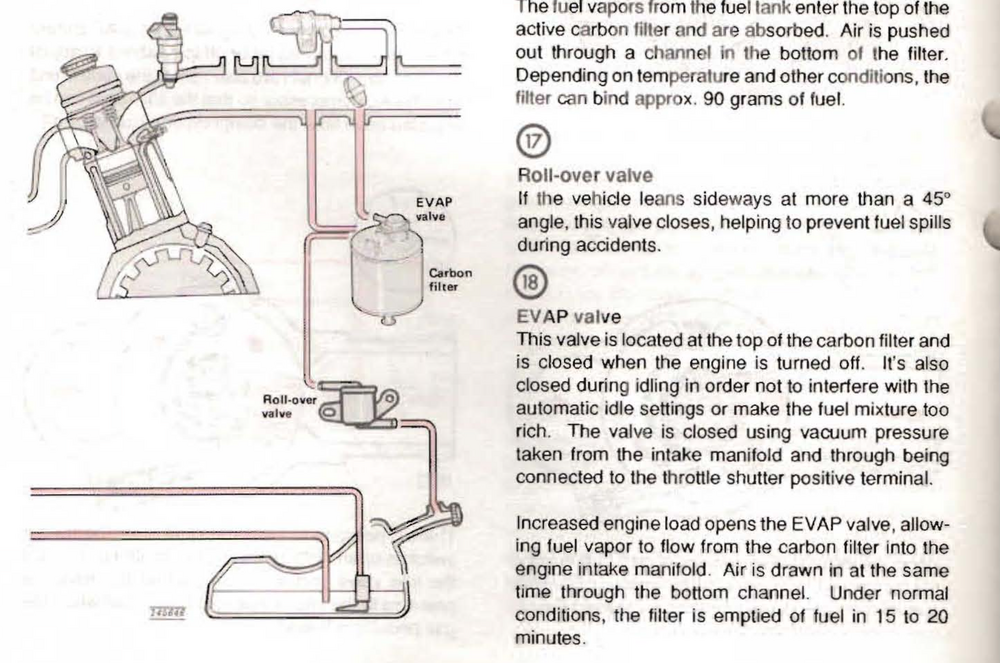
RWD Volvos from 85-98 (240, 740, 760, 940, 960, S90, V90) all use a similar charcoal canister (GM origin) with the same EVAP valve setup. Z version (brought forward from ZedHead's post)
-
4/75 Datsun 280Z; Leaf Green, CA market, 250K miles, Long Term Project 03/2023-
Much better temps than back home - still some inclement weather though
-
4/75 Datsun 280Z; Leaf Green, CA market, 250K miles, Long Term Project 03/2023-
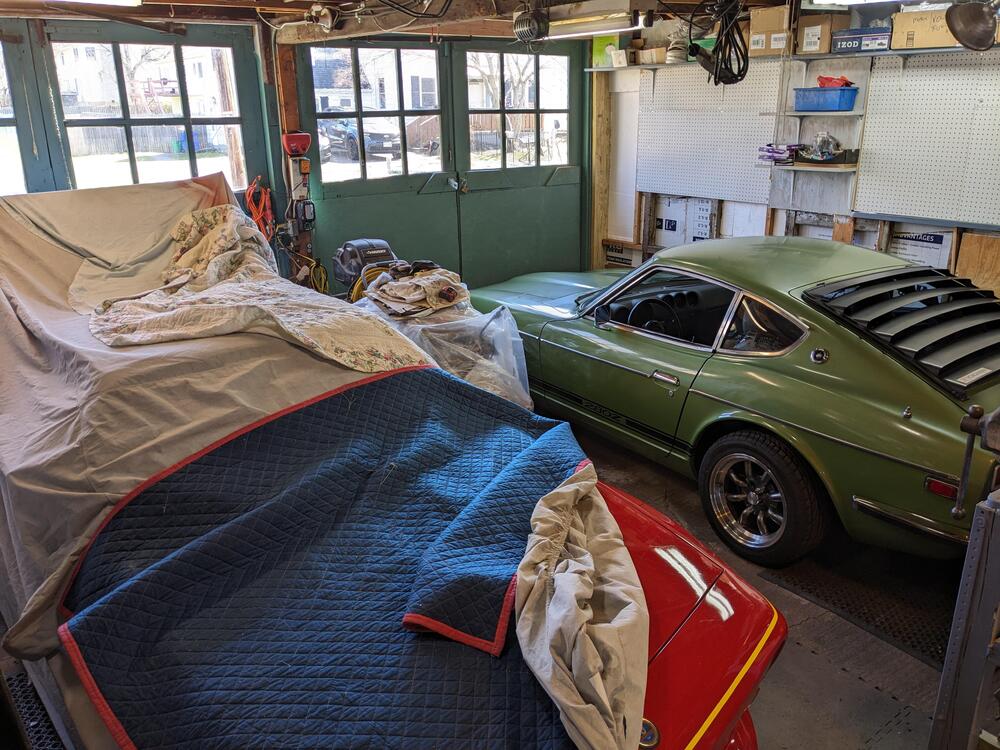
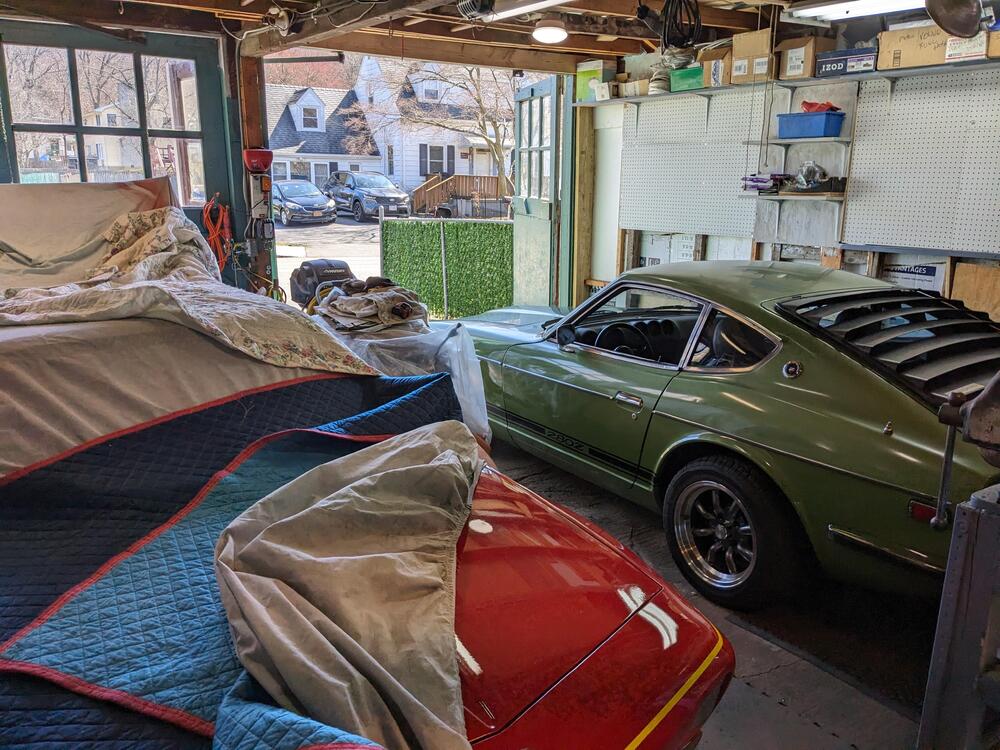
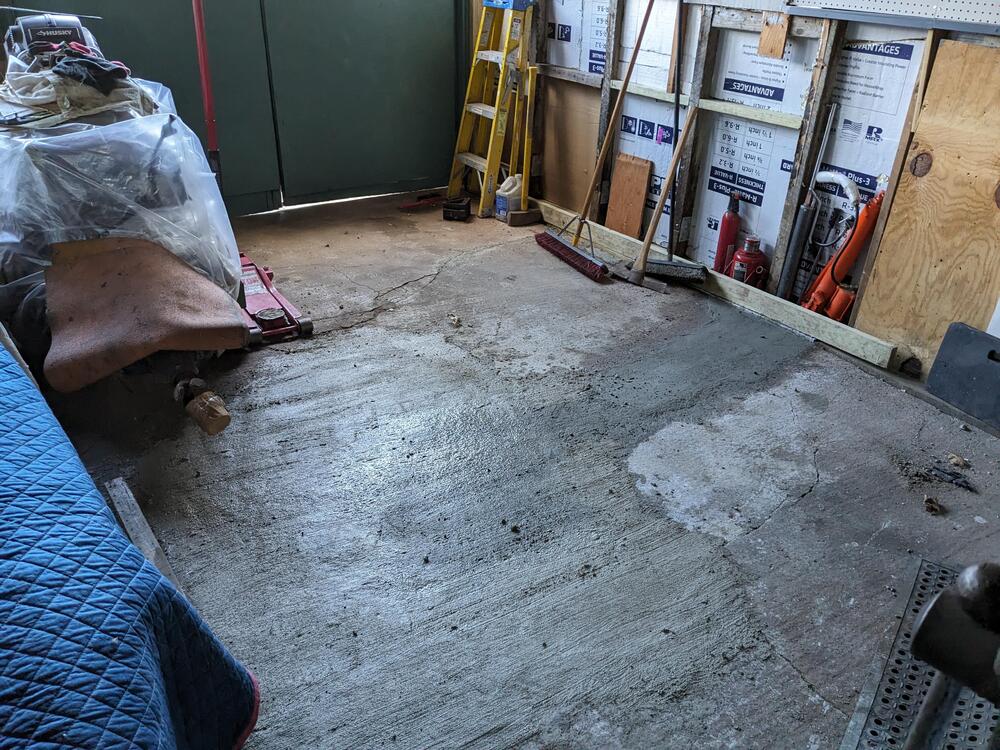
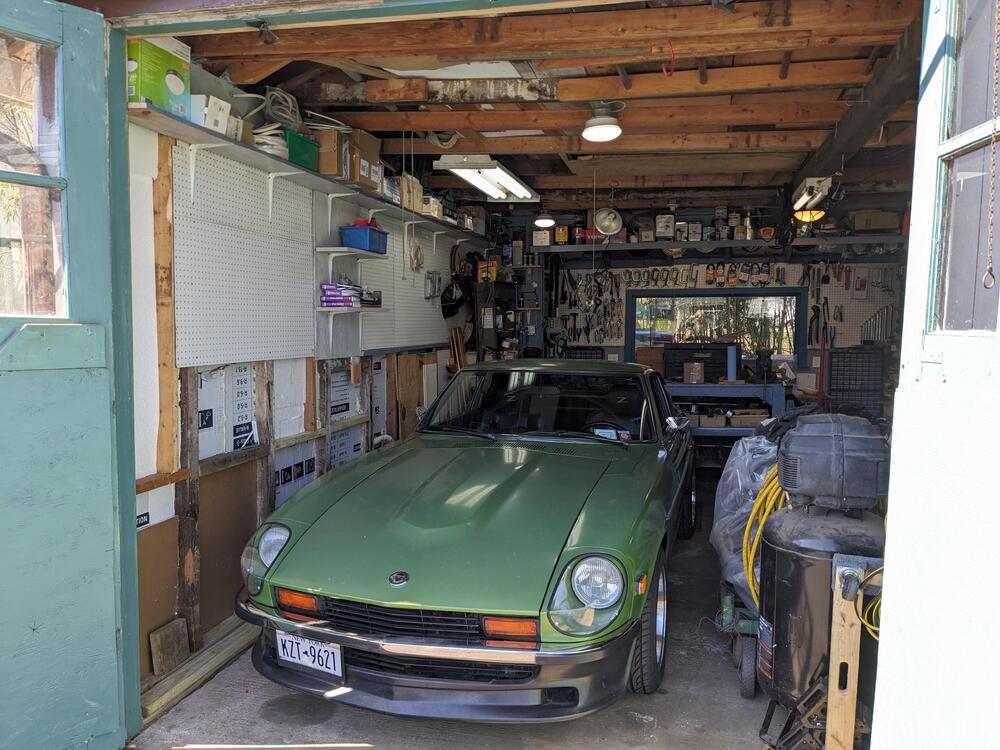
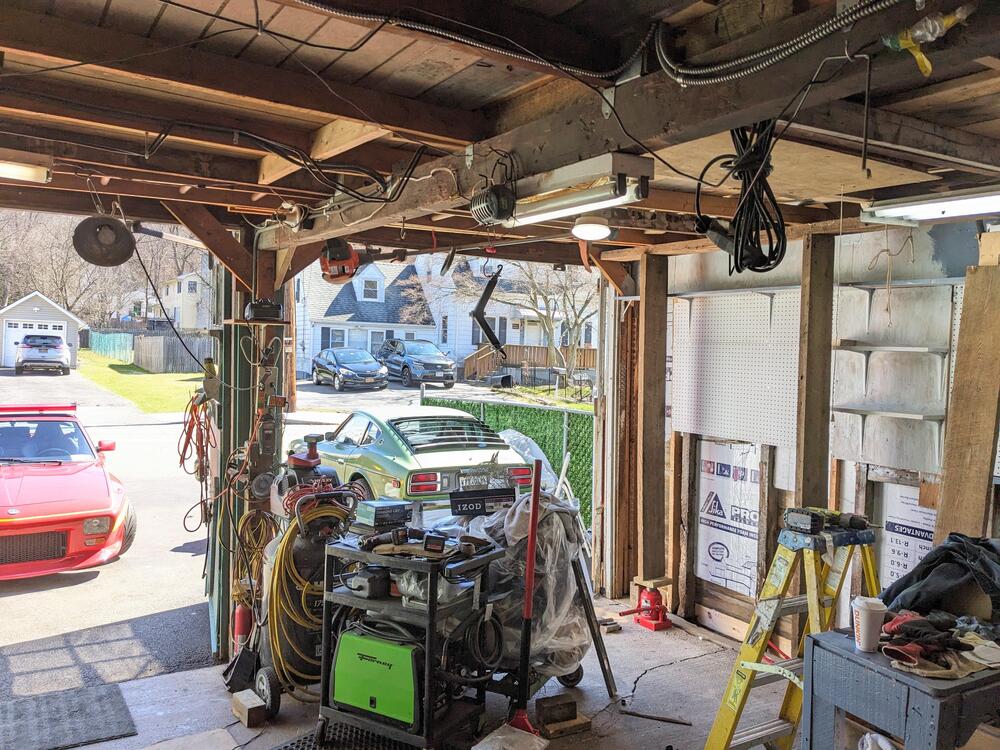
Took me at least a couple hours of rearranging & moving some stuff to the basement, but I made room & got the Z inside. Still have the V8 drivetrain sitting in between the two cars Made sure I could actually lock the garage doors... Ended up leaving it out though - I decided that since I was going to be away for a week, now was a good time to patch the broken concrete floor (from the roots of the very large pine tree on my neighbor's lot, that is now gone). That can set all week now without any floor traffic. Still a mess, but at least closer to level it was difficult to roll carts or the bench over that patch during to the rise/drop. I broke up the loose pieces so that I had a good 4" or so of depth, then used a mortar mix to feather it to the old surface, after cleaning with acid.
-
4/75 Datsun 280Z; Leaf Green, CA market, 250K miles, Long Term Project 03/2023-
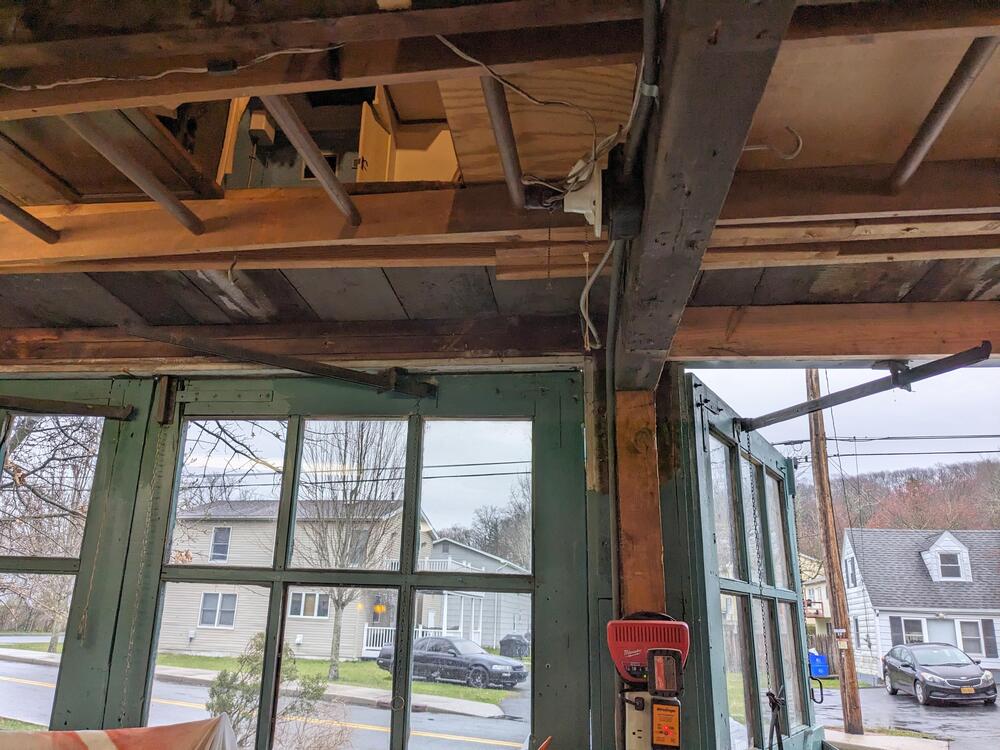
Worked on the replaced sill area today. Added a plate to further remove the studs from any possible damp/water contact. Spliced in stud sections. Added a 2x6 header(support?) above the Southeast door - there are 3 plates there (see left of pic for reference ) - I figure this should help stiffen it up a bit. I'll jack the center a hair before I tie it to the plate sandwich Added some cross braces to stiffen up the wall after the corner post for the existing top plate..... ......and the new header post were in place. Have to add splints(?) to the repaired studs Next I need to clear this out so I can get the Z inside while we are out of the country for a week Feeling better now it's going back together. I can't work on the cars until my stuff is out of the way & back where I can find things as needed
-
4/75 Datsun 280Z; Leaf Green, CA market, 250K miles, Long Term Project 03/2023-
After work yesterday I got the left door hinges attached, the pane of glass installed, and some glazing putty on a couple other loose panes, then primer on the replaced wood, in time for it to dry (hopefully enough) before the rain started. got some top coat on the doors and jambs, sorted out the door latches
-
4/75 Datsun 280Z; Leaf Green, CA market, 250K miles, Long Term Project 03/2023-
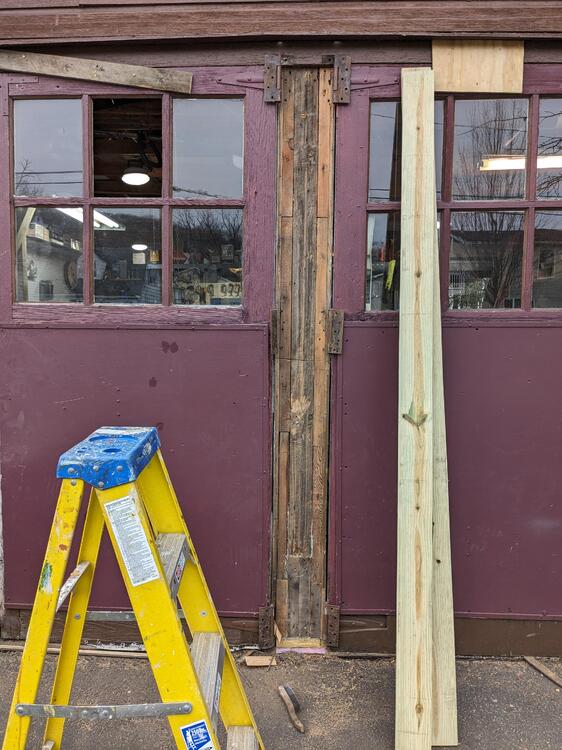
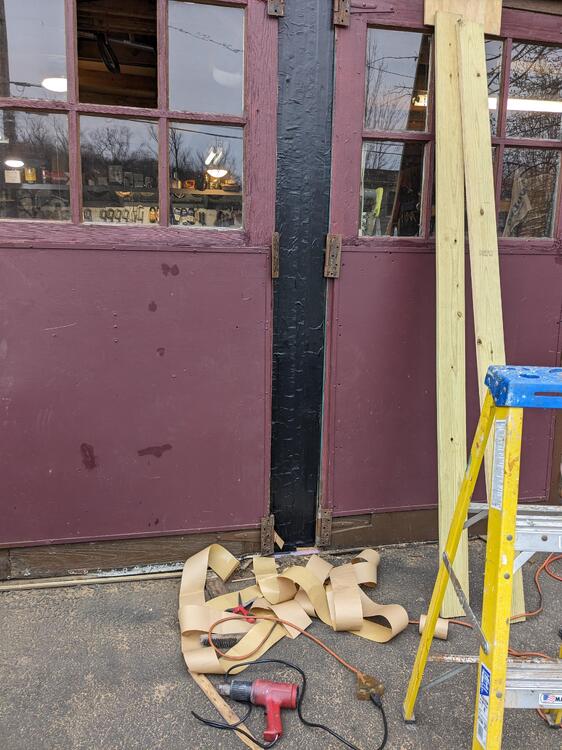
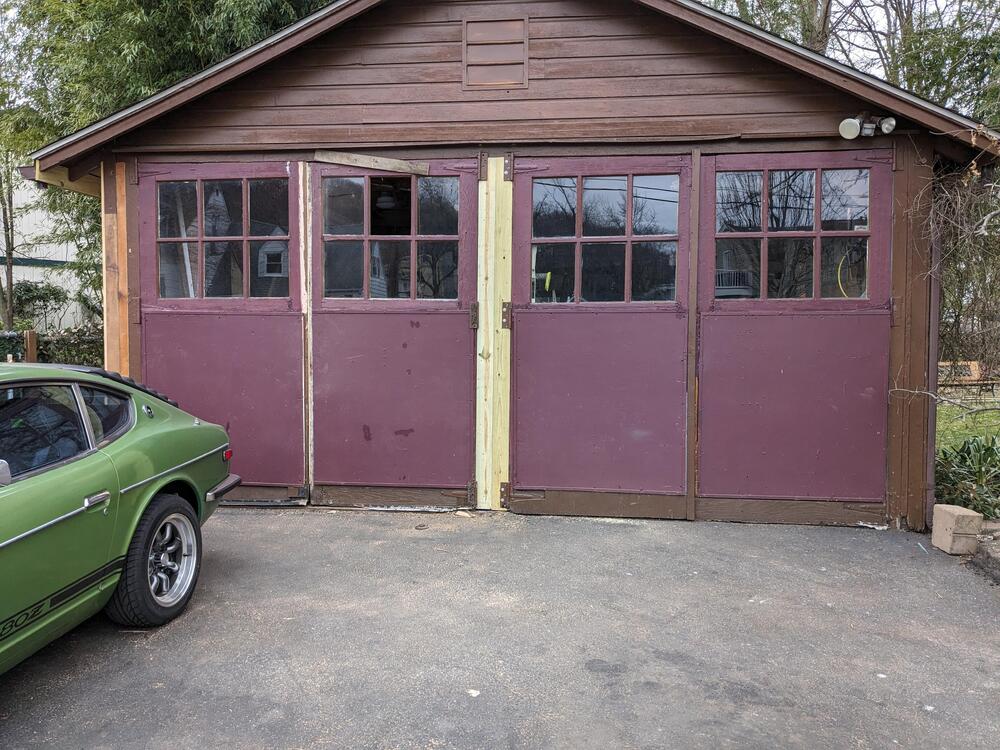
Another detour - since I started aligning the barn doors, I decided I needed to address the floating center post Had to cut out 16" of the dimensional 4x4 center post, and about 12" of the dimensional 2x4" door frame/posts. Fortunately I have saved sections of old posts I've cut up for other areas, so I had sufficient lengths to get clean sections for here. I tied two 2x4 together to get the center, set that on a piece of pressure treated sill, and then added the side posts The external plates needed to be actual 1x, so I got 5/4" x 6" decking & cut the width down to 4.5", to get the total 9" width needed Covered the center area with butyl wrap before putting the external plates in Replaced the wood screws with 3" 5/16" lag bolts, so that should hold up. Don't have any in the left door yet, ran out of time & light. I'll deal with that after work tomorrow.
-
4/75 Datsun 280Z; Leaf Green, CA market, 250K miles, Long Term Project 03/2023-
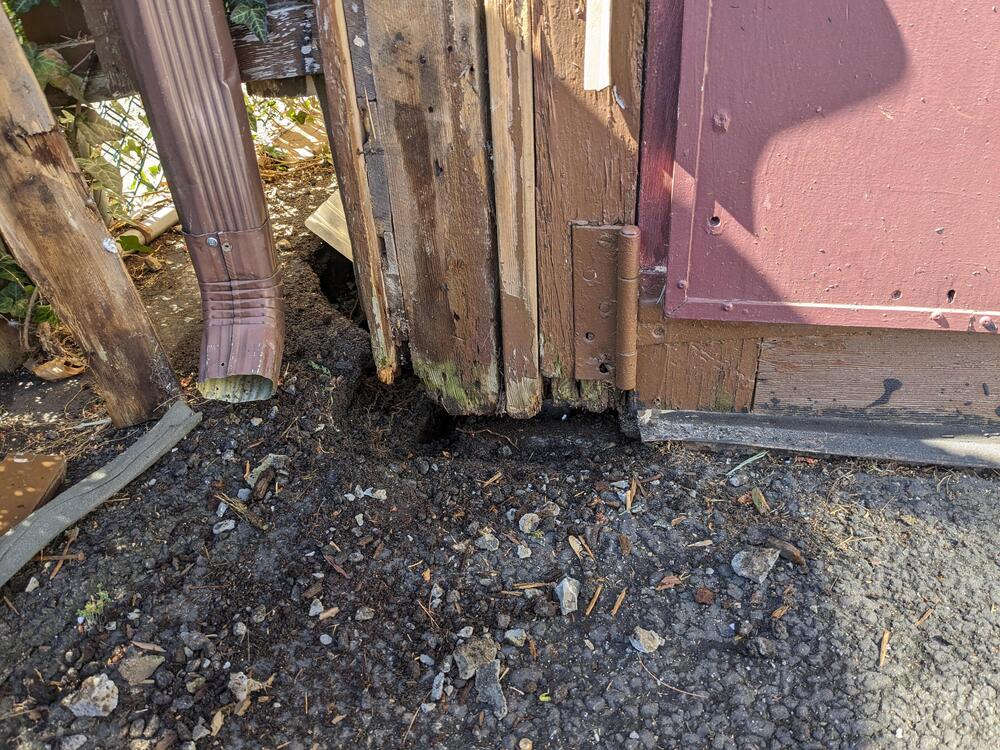
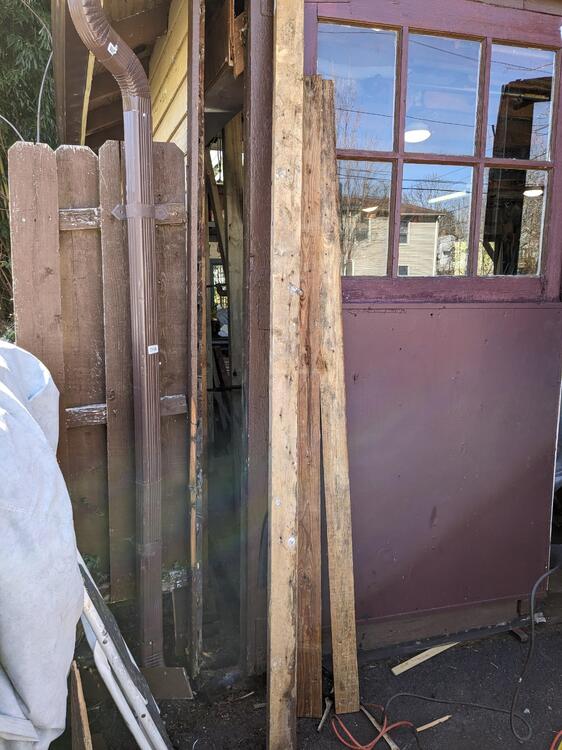
Thank you for your advice! Feels solid enough - definitely not concerned about working in/around it now. In order to make sure this is taken care of before we leave town on Sat., I took half a day today. Put down the sill seal, with a 1/2" strip of butyl squished along the outer edge. new pressured treated 2x10 sill plate, 8' section starting from the East end. 4x4" post in place, and dimensional 2x4" post for the door frame. Wall studs still to be addressed. Outer panels in place for this corner. Sealed the sill at the corner also. Have to get new siding for the bottom 1' of the wall - I'm going to use concrete backer board for at least the lowest run (6") off the sill These garage doors have been unusable for at least 10 years, wedged shut. Now I can open & close them (after trimming the righthand one), I need to address the latches to properly secure them, and replace the pane of glass I broke.
-
4/75 Datsun 280Z; Leaf Green, CA market, 250K miles, Long Term Project 03/2023-
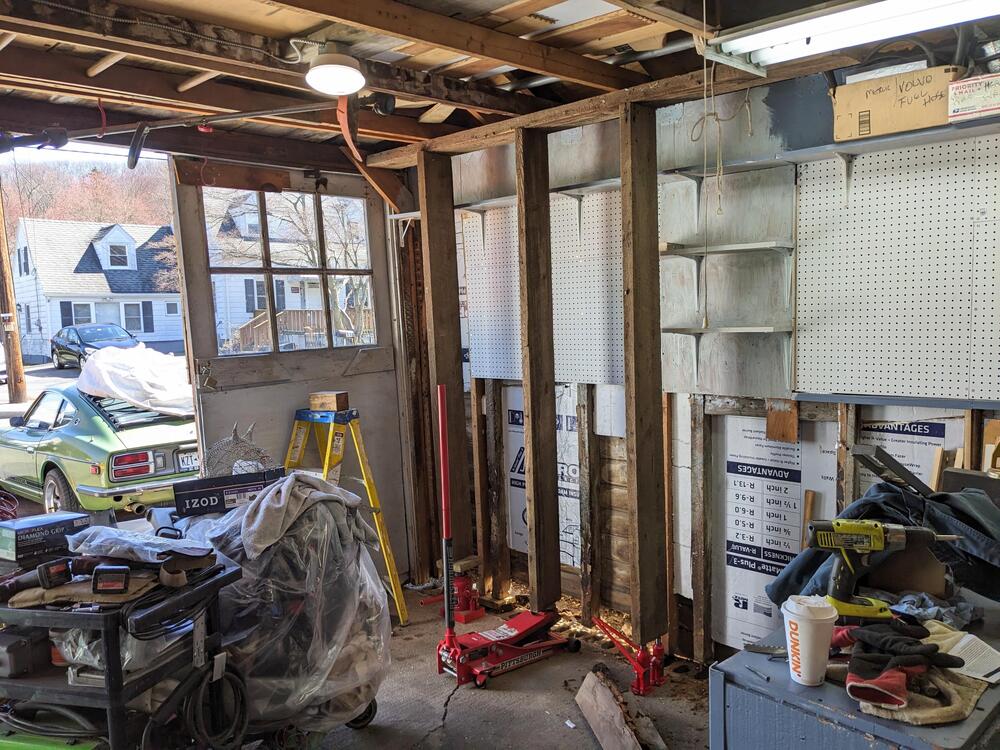
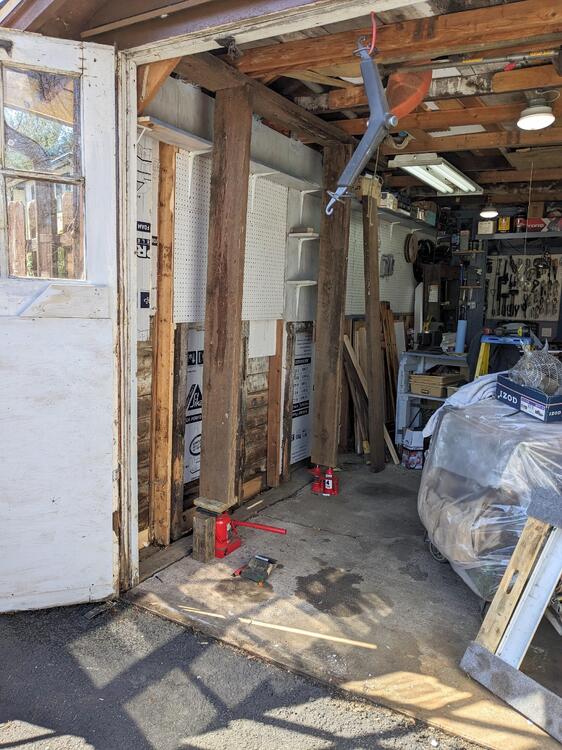
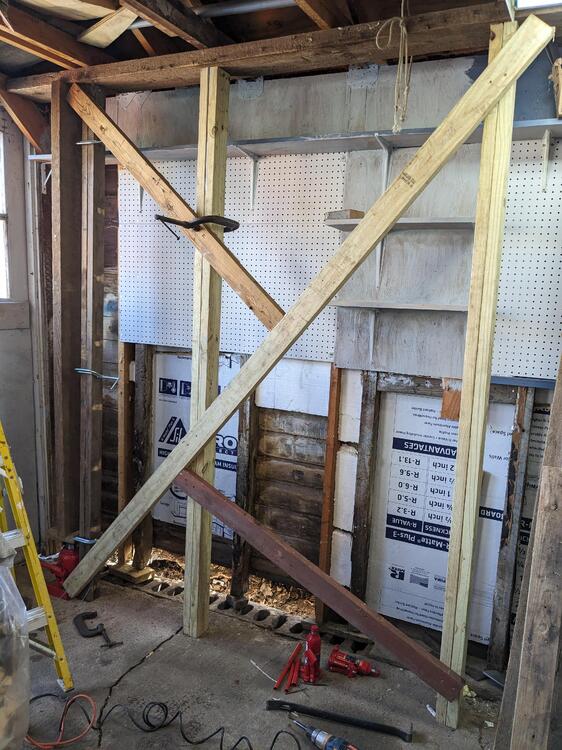
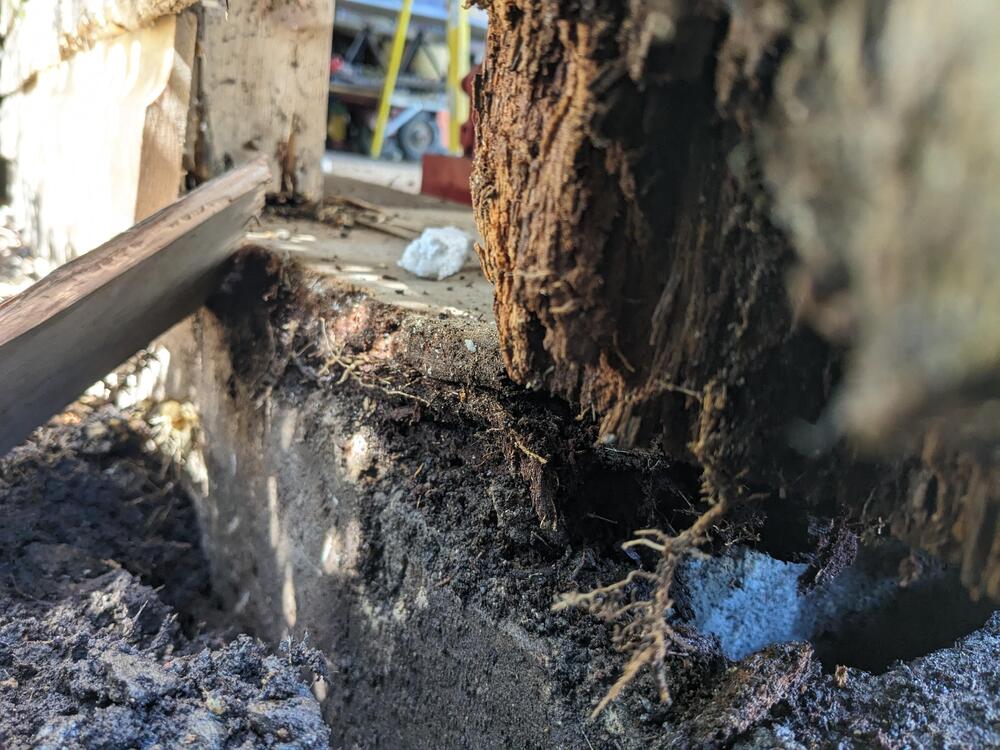
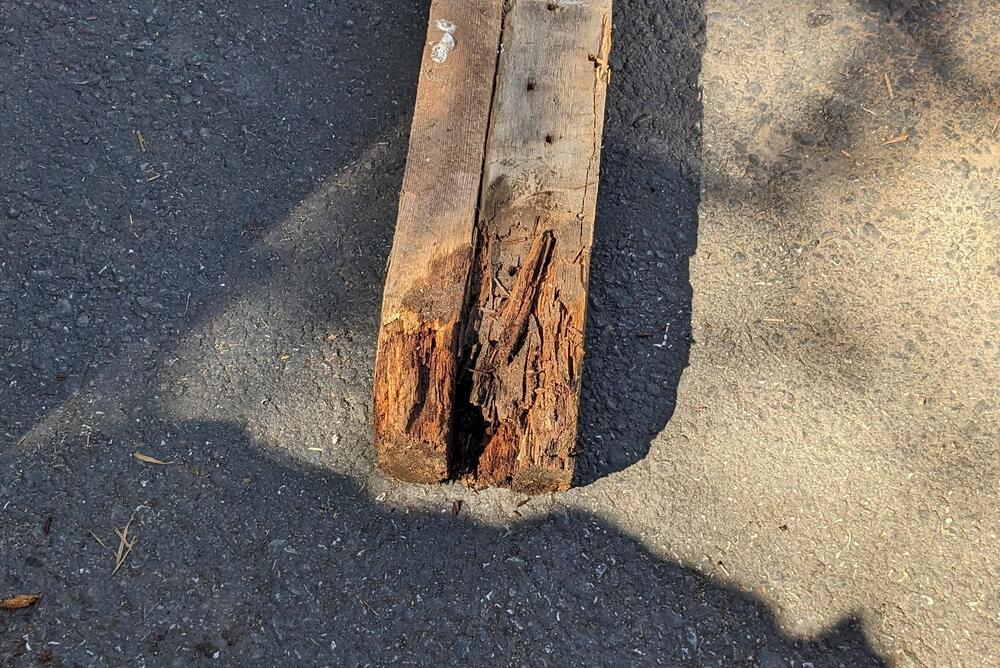
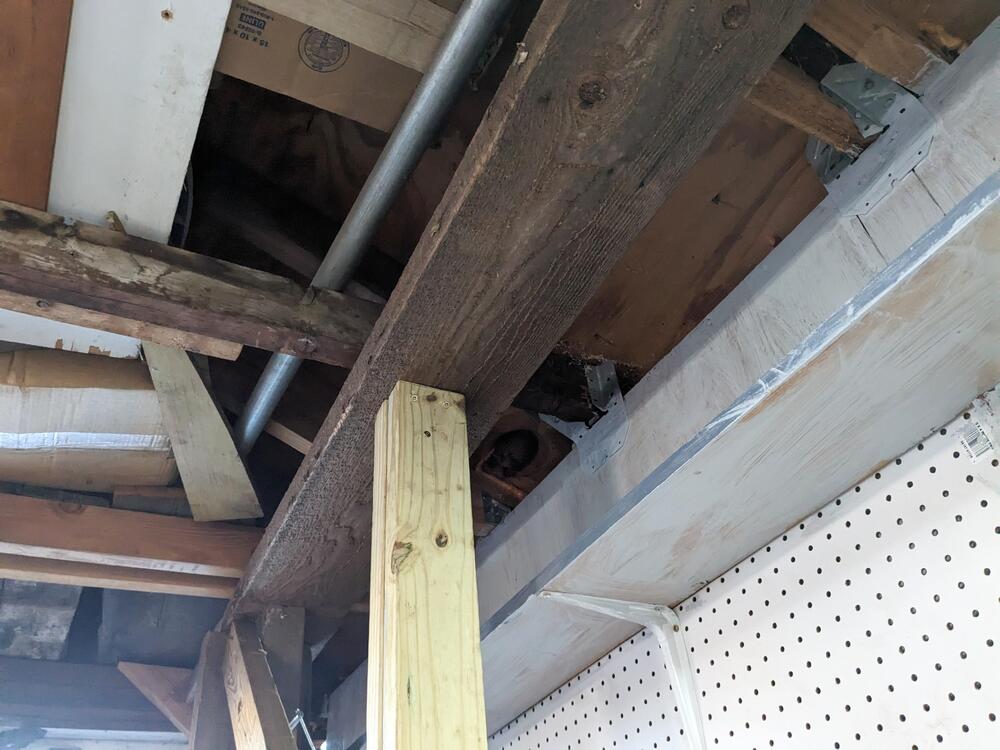
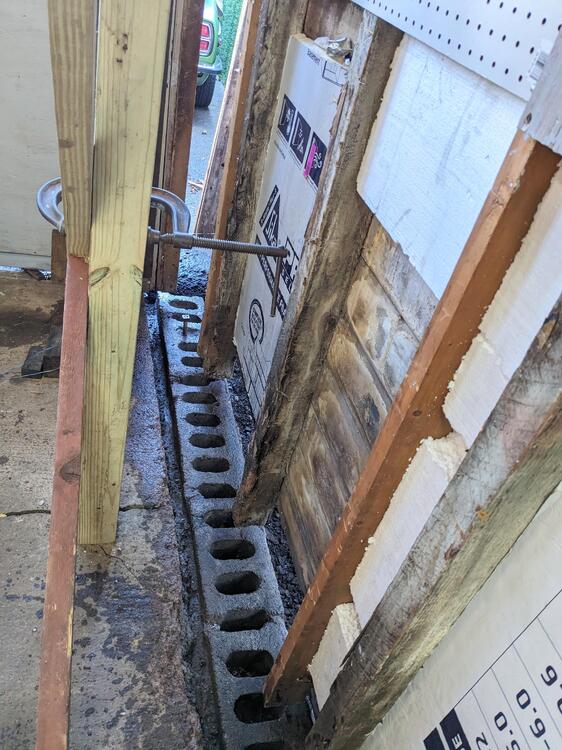
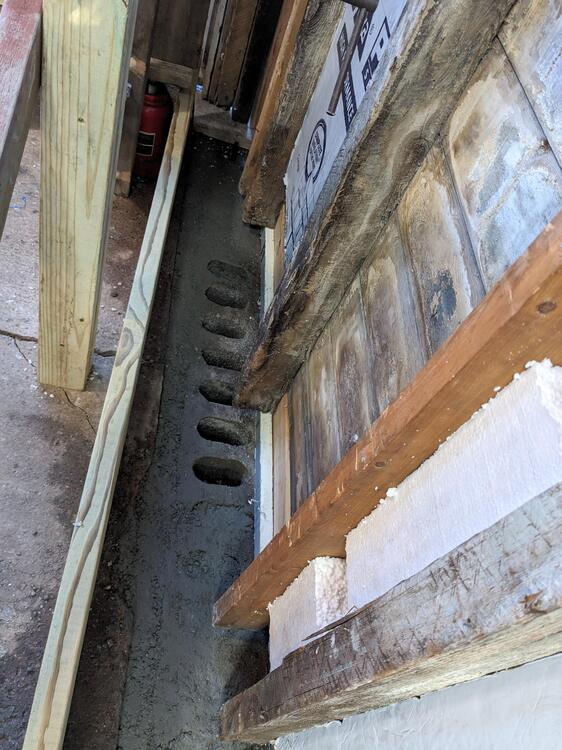
So it took me literally hours just to set up the posts & plate. First I screwed the plate to the rafters, then levelled the posts & jacked it carefully using 2 bottle jacks & then a floor jack in the middle (cut all the stud nails first!). Then I cut 2x4s to fit (95") & clamped then screwed them together Added some cross bracing, since it's gonna be there a couple days, since it took me so long to setup . Found after that that the corner post is toast so I removed it entirely Extra large end opening now. Have to do the sill first, then the corner post , then tie the door frame to the post, then address the studs Doors will be much more level than before, once it's all tied together Cleaned the foundation, packed some gravel in the openings & added some concrete (not finished) - I'm going to add another anchor bolt at the west end to the 8' section going in
-
4/75 Datsun 280Z; Leaf Green, CA market, 250K miles, Long Term Project 03/2023-
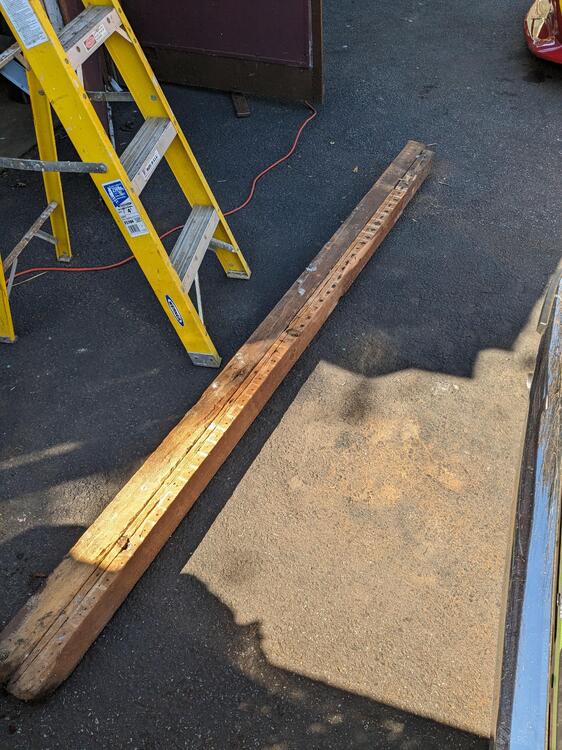
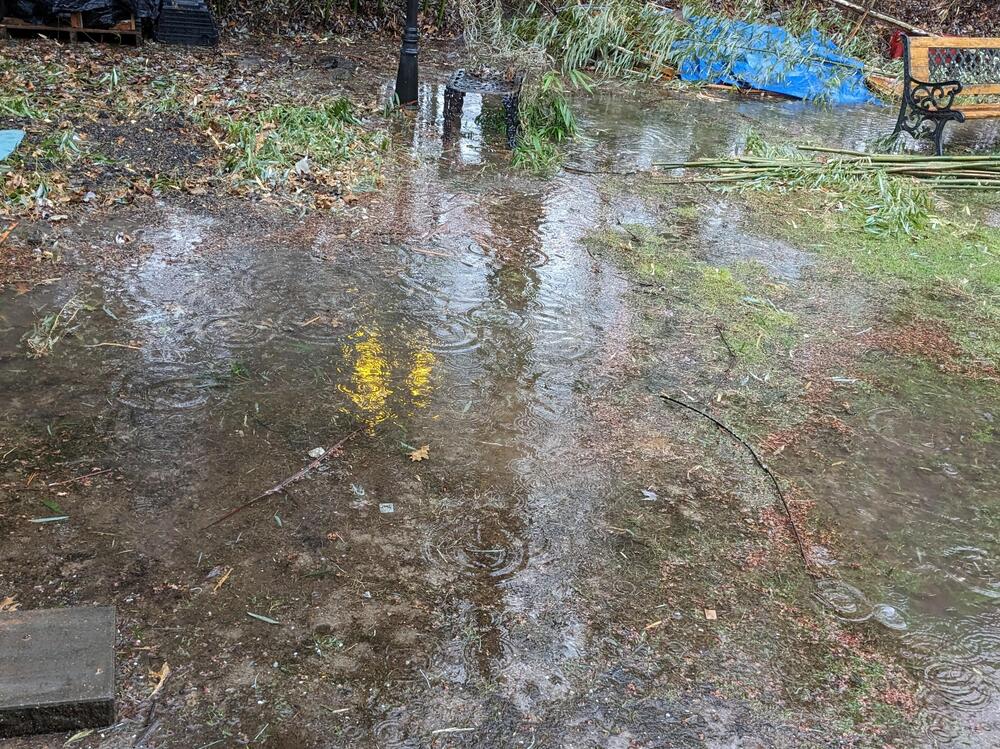
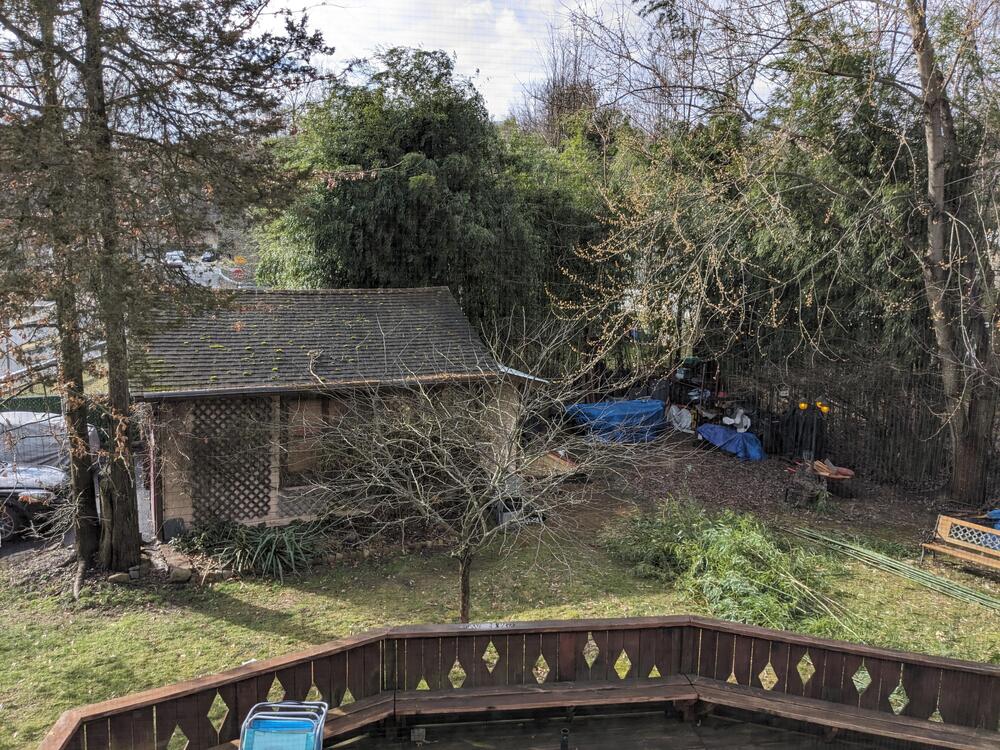
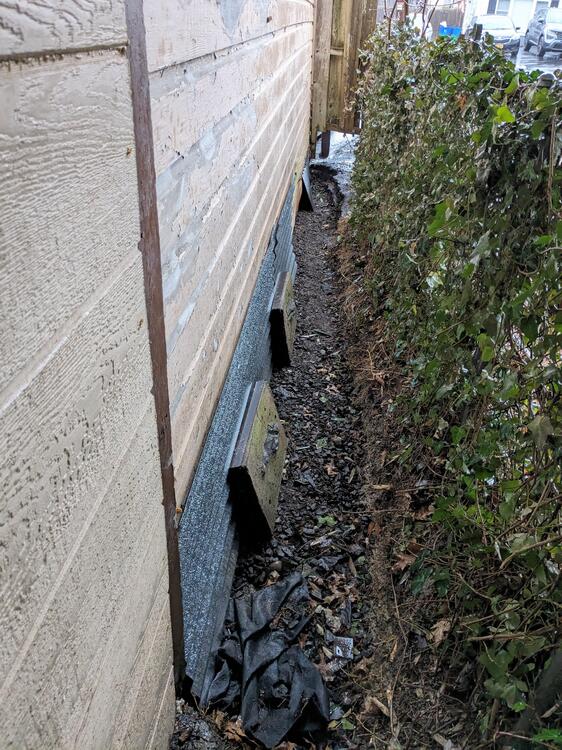
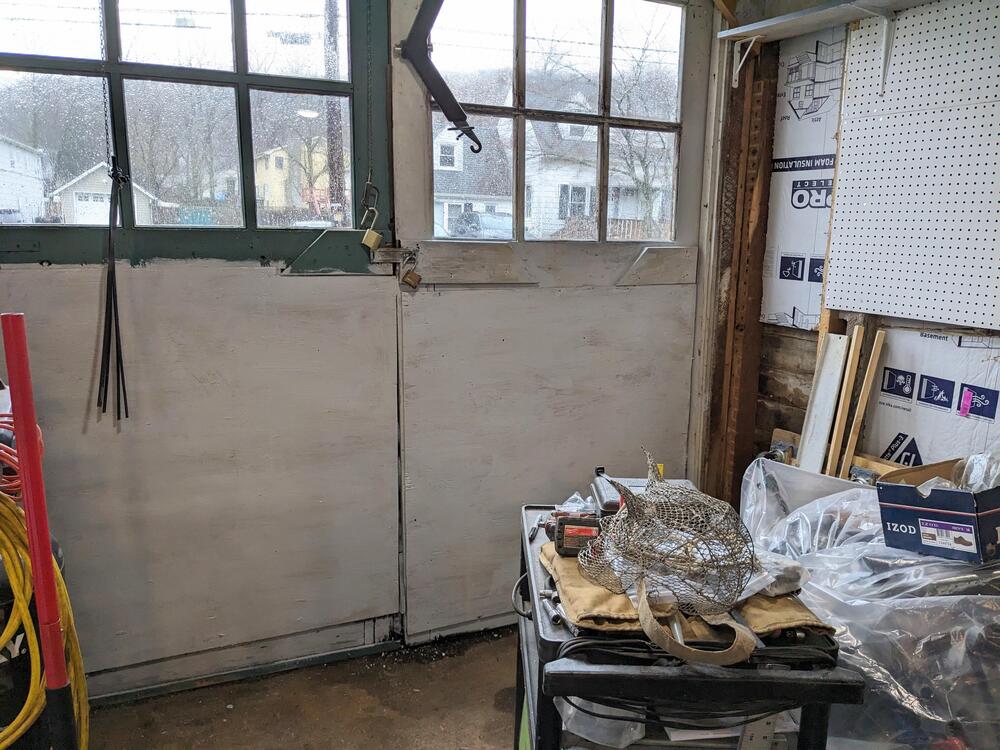
Thank you Pat. I still have a few good length dimensional lumber from the original wall - so that would be good for the top plate, and I think I have several in about 8' lengths which would work for posts. It did indeed rain all day today - this is what the back of my yard looks like whenever we have heavy rain. It's a very high water table, there is a stream that runs around the outside of the property between me and my neighbor, and the soil only goes down maybe 2 ft or less before it becomes clay For perspective, this is the view from the house (different day) right-hand side (West) is where it pools.. Even with that, the back of the garage did not get very wet or have any accumulation to speak of. So, I think I can just backfill that area with gravel. Since I couldn't work outside, I just did some more cleanup inside. Added sheathing to the inside of the garage doors, as those were pretty darn drafty and also a little wonky. While I was at it I also put some primer on the new shelves and upper sheathing Rain is supposed to stop later today, so hopefully tomorrow I can start with the jacking and replacing of the sill sections.


