HusseinHolland
Free Member
-
Joined
-
Last visited
Everything posted by HusseinHolland
-
 Parked next to a Wildcat after the Dr's yesterday
-
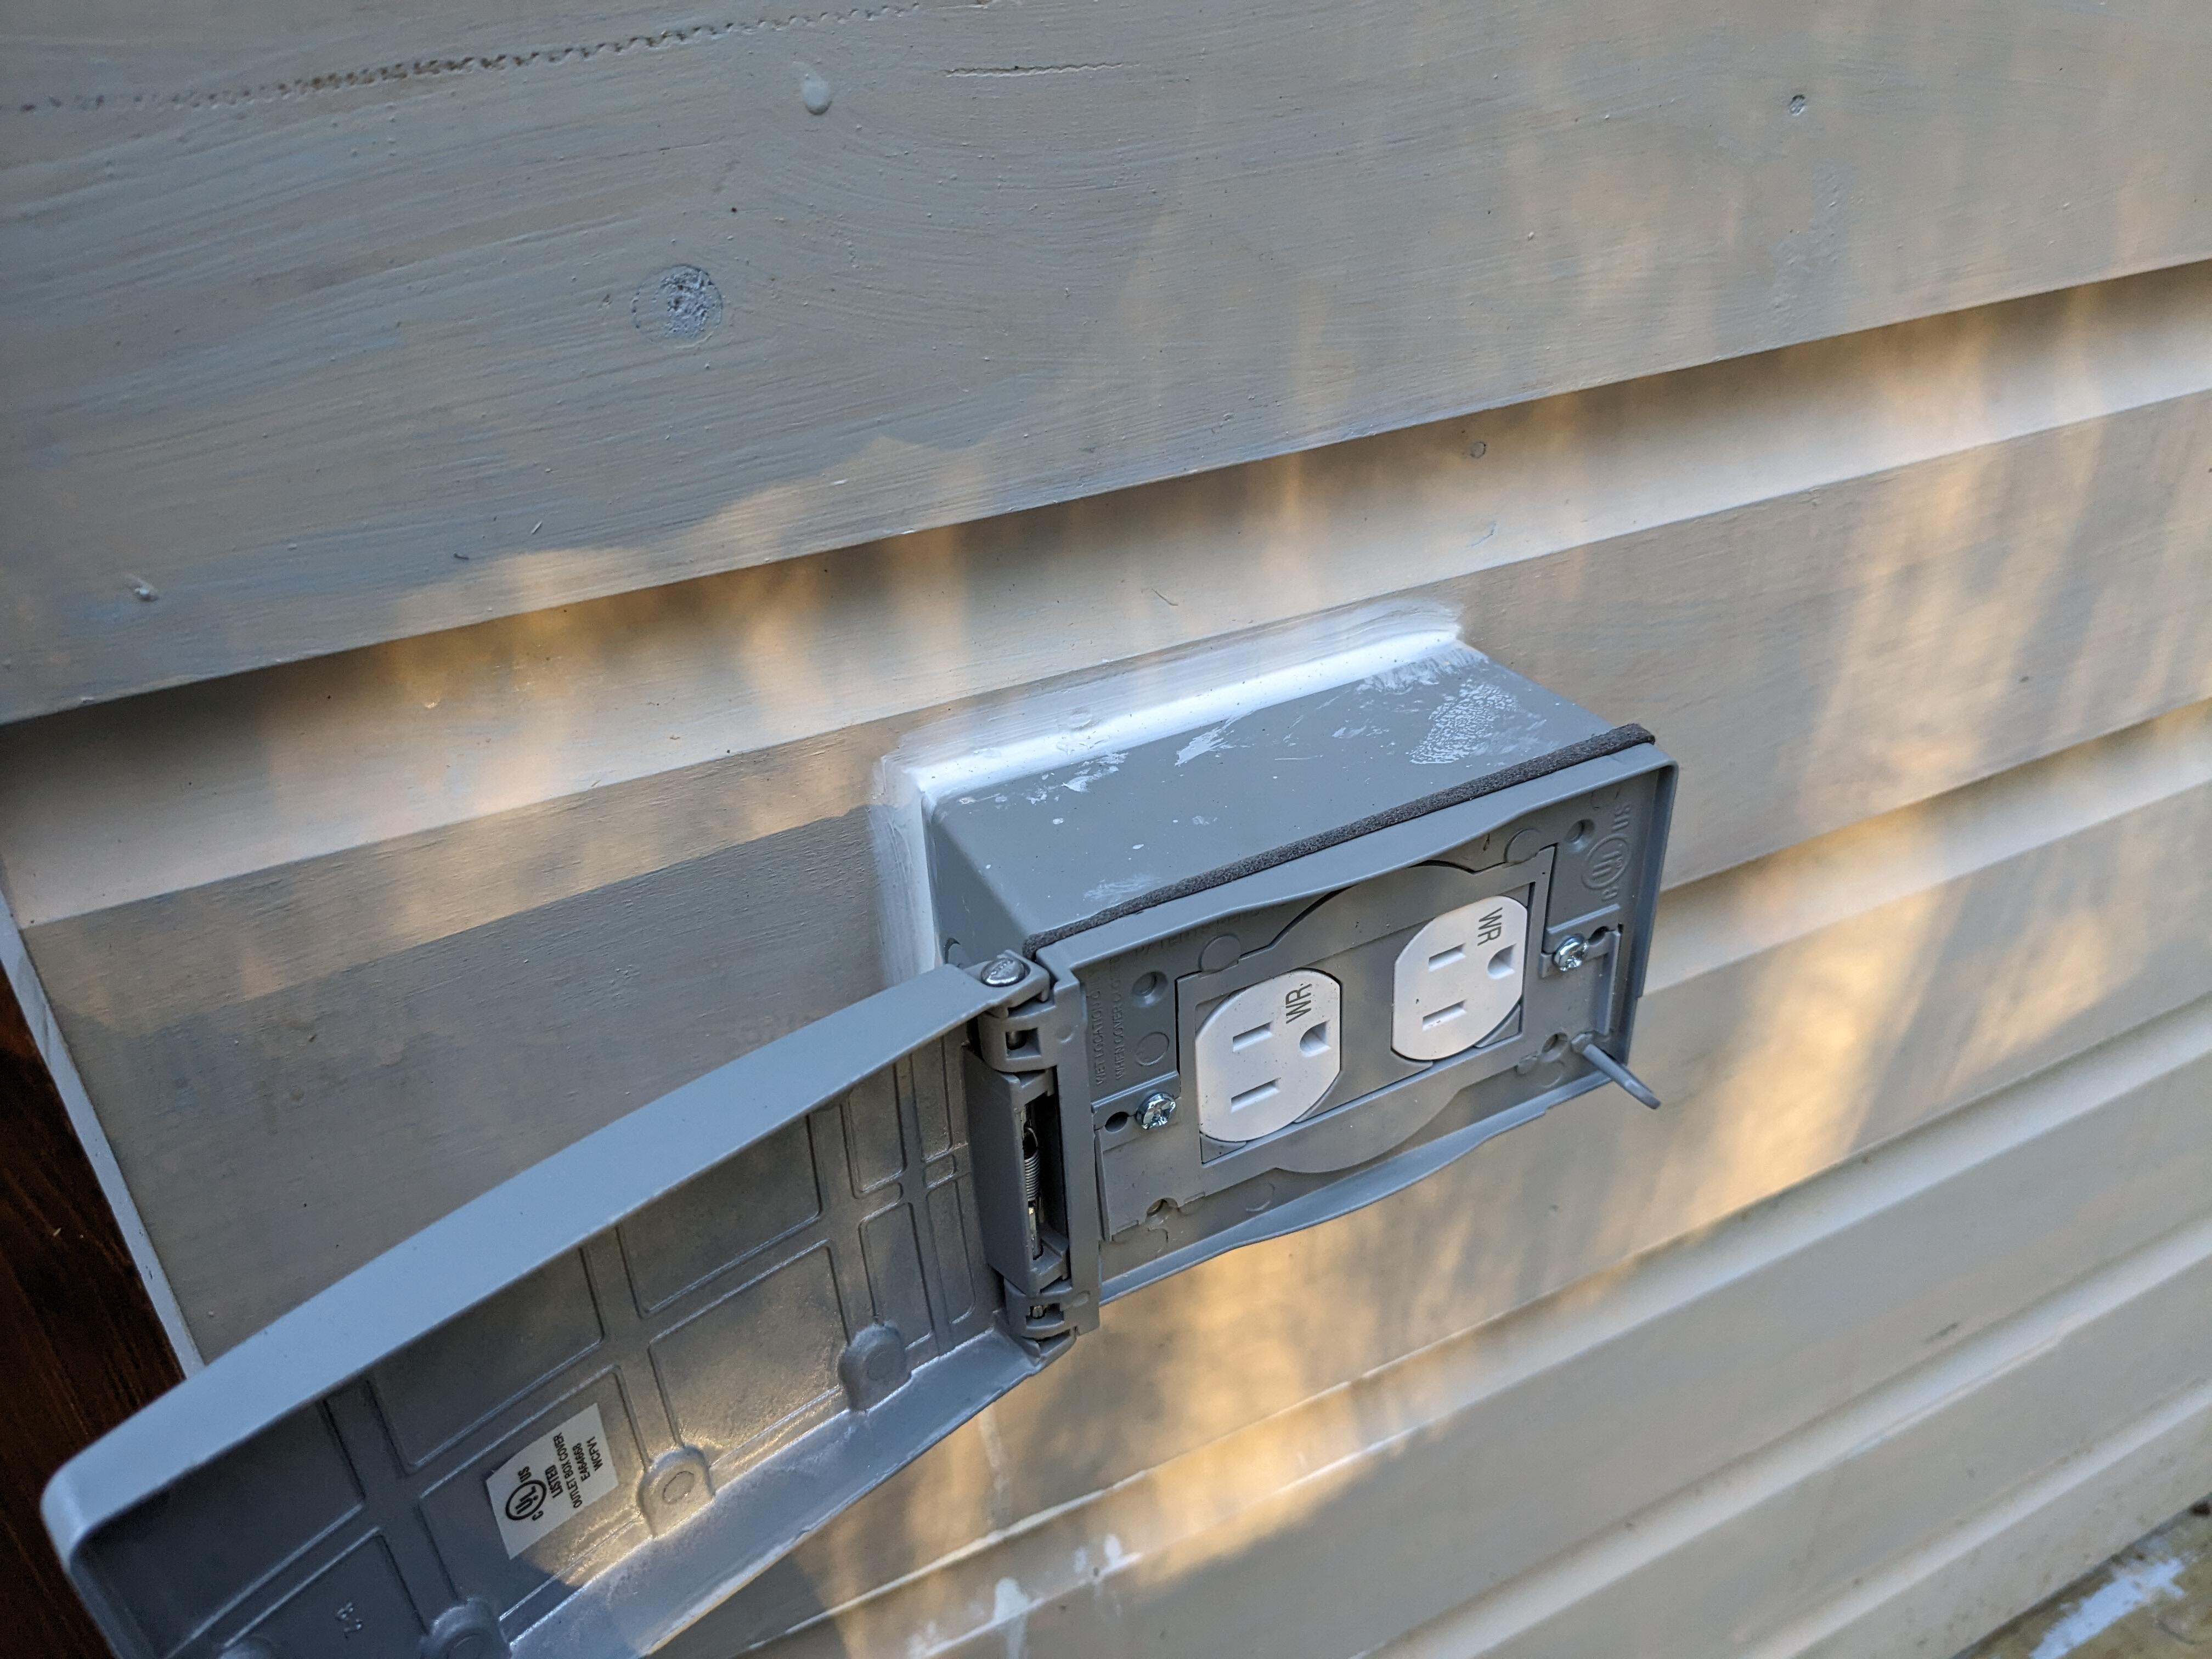
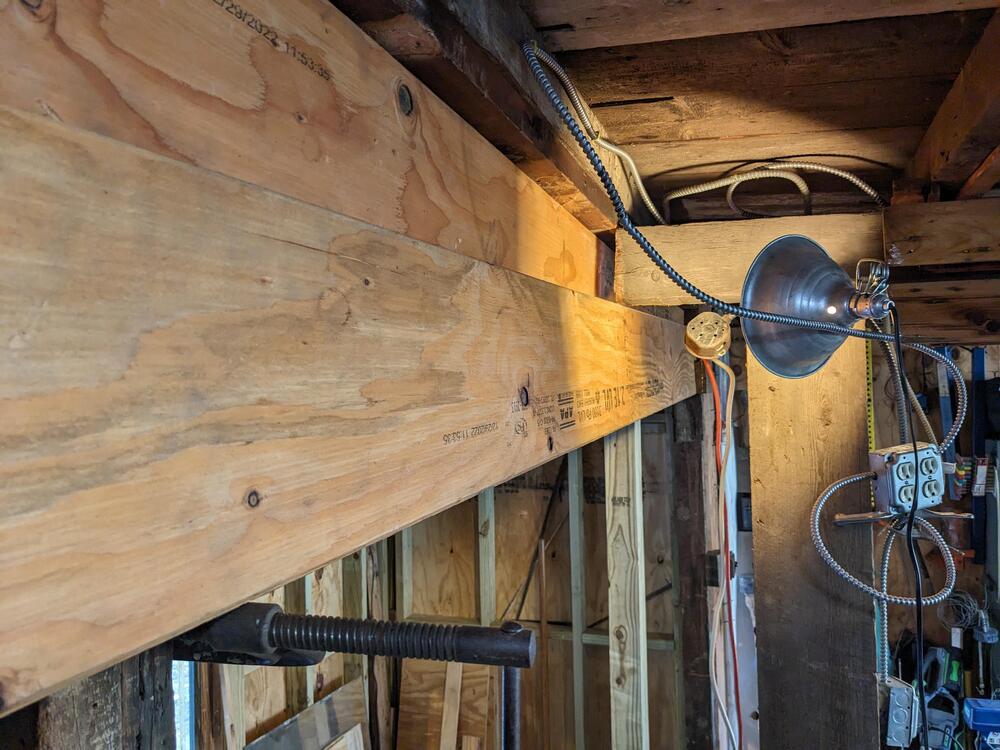
We have a high water table - I have a sump pump in the basement that operates much of the year, just less in the July/August time frame. That was the one that died just before we went to Baltimore & partially flooded the basement main area. I'm going to have to figure out what to do about the drainage behind the garage, however I don't want to get sidetracked on that right now, so I'm going to deal with the sill repair & siding, and leave the drainage until later on. Rained all day - so I got the receptacles wired (GFCI at the start of the run, shown earlier) & added a waterproof housing & switch for the new exterior door lighting Cover didn't arrive in time for me to add it before this pic This sucka is bright!
-
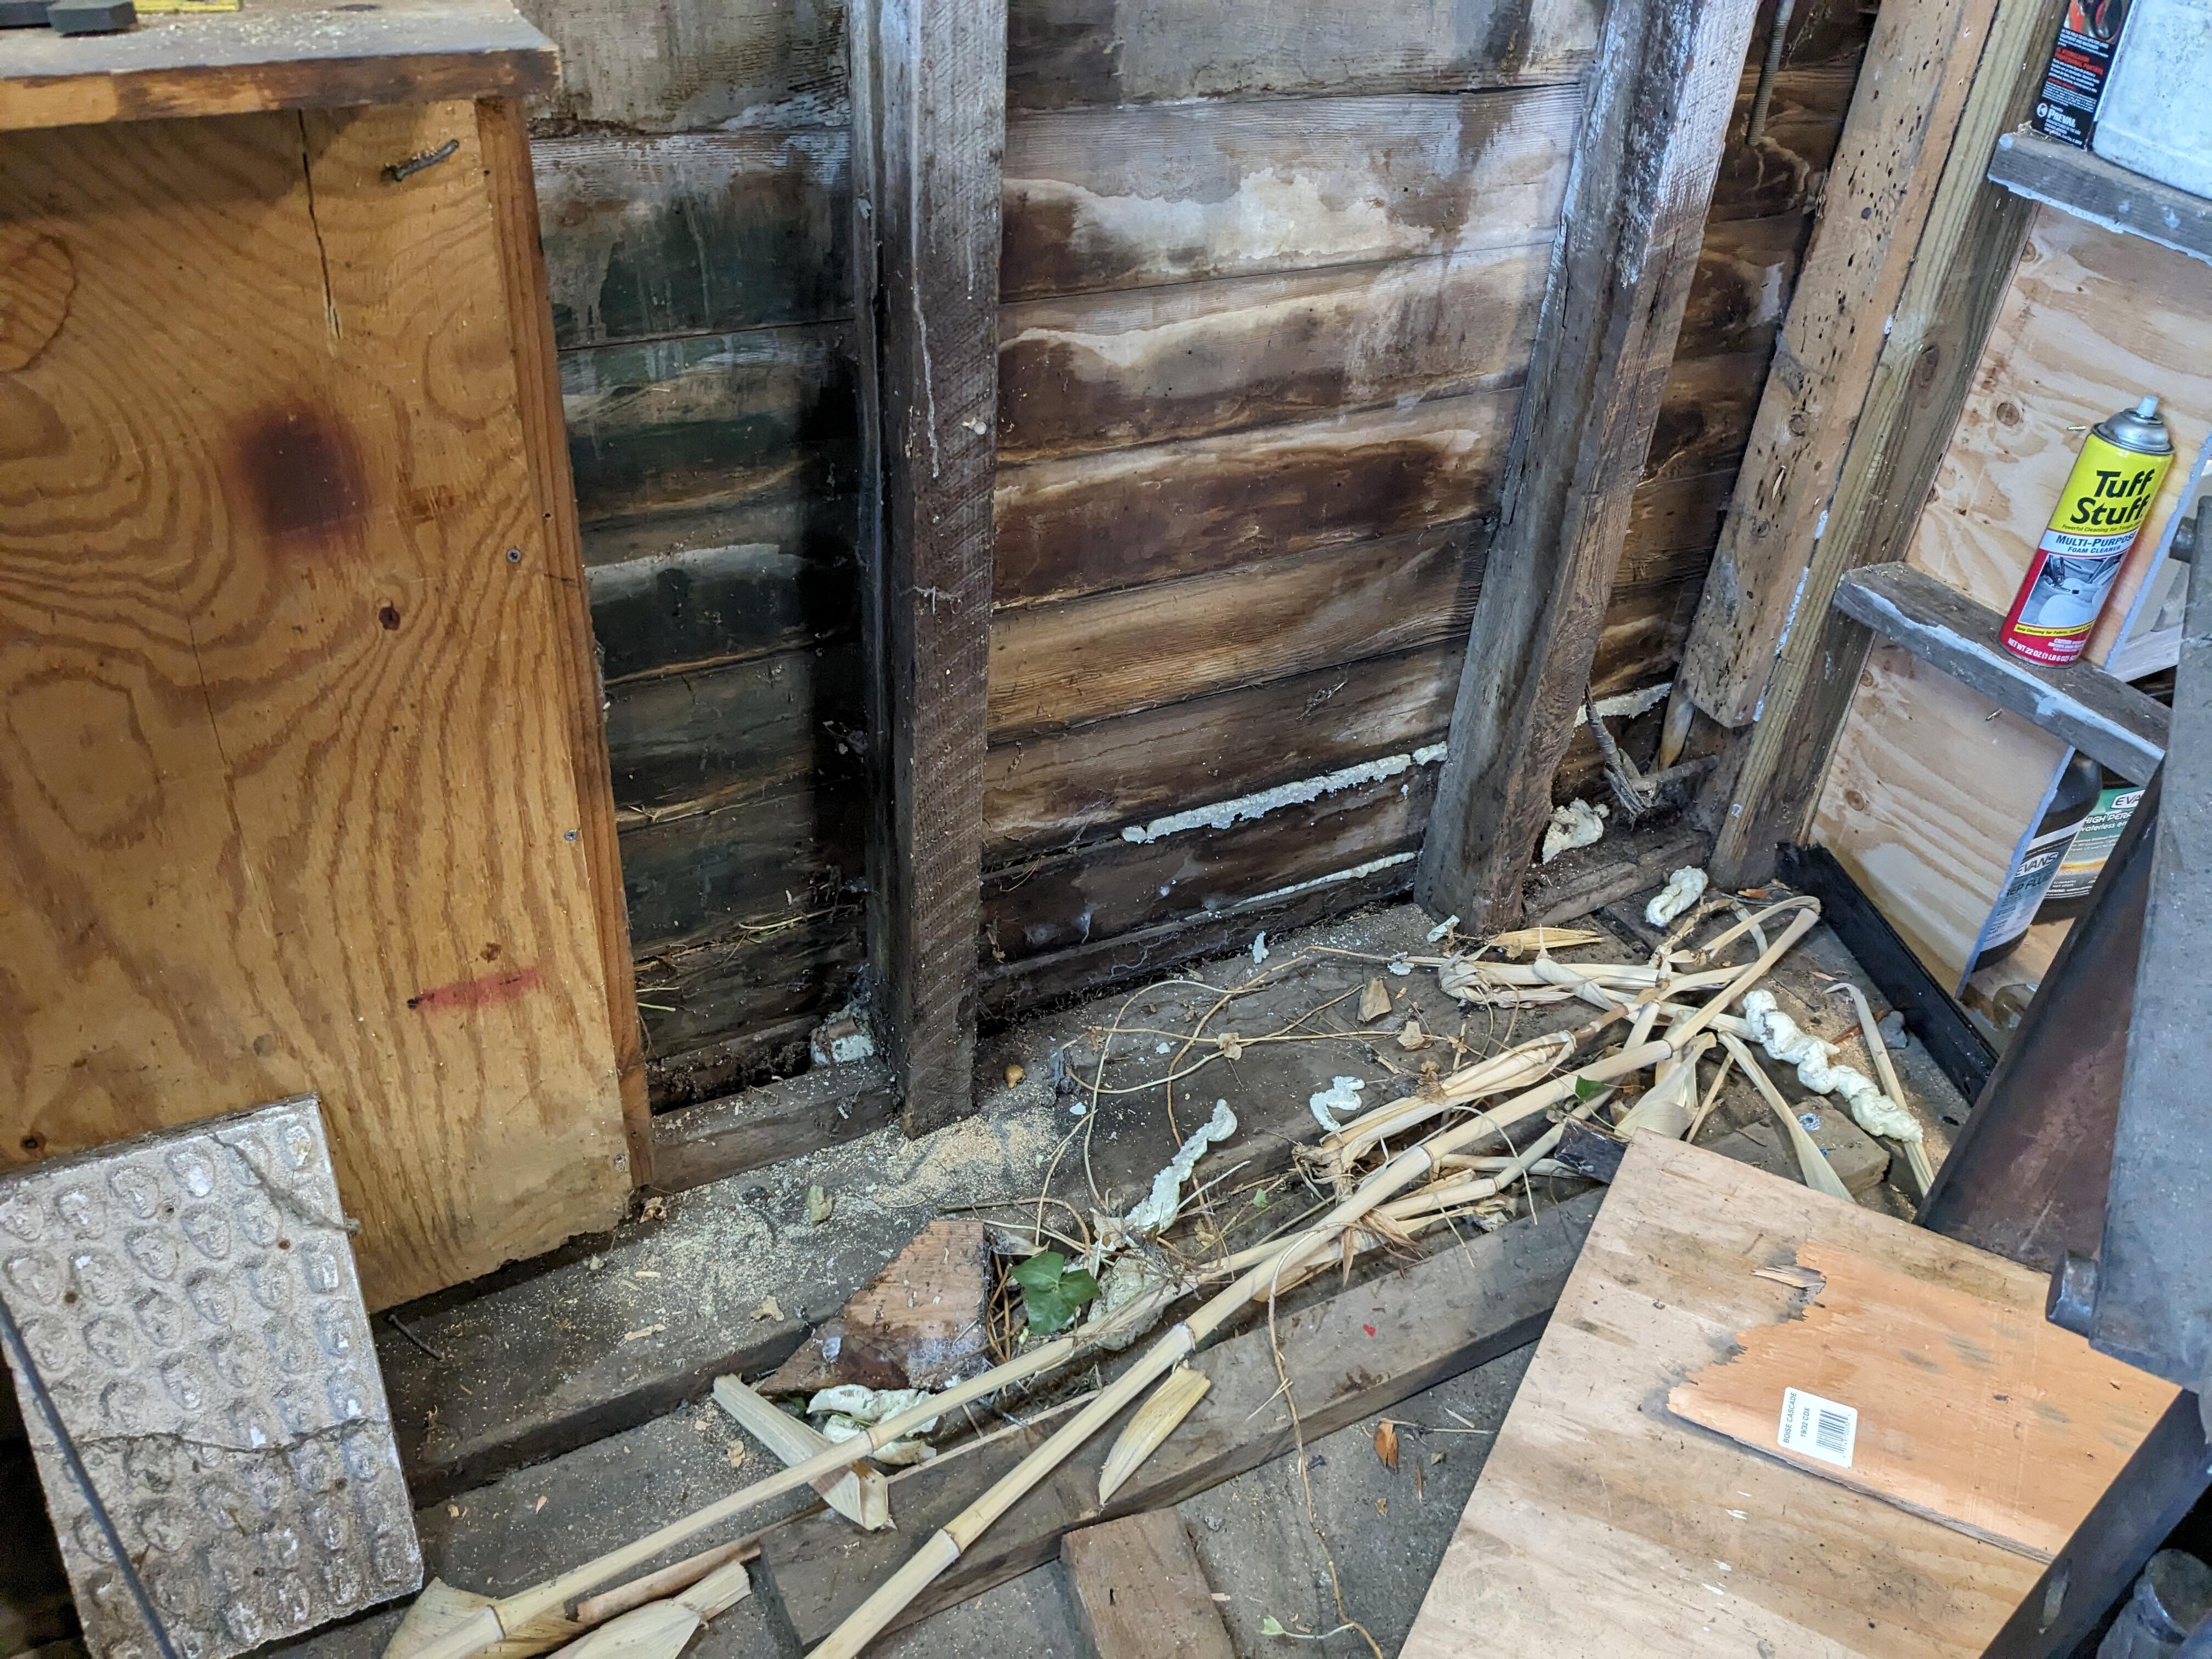
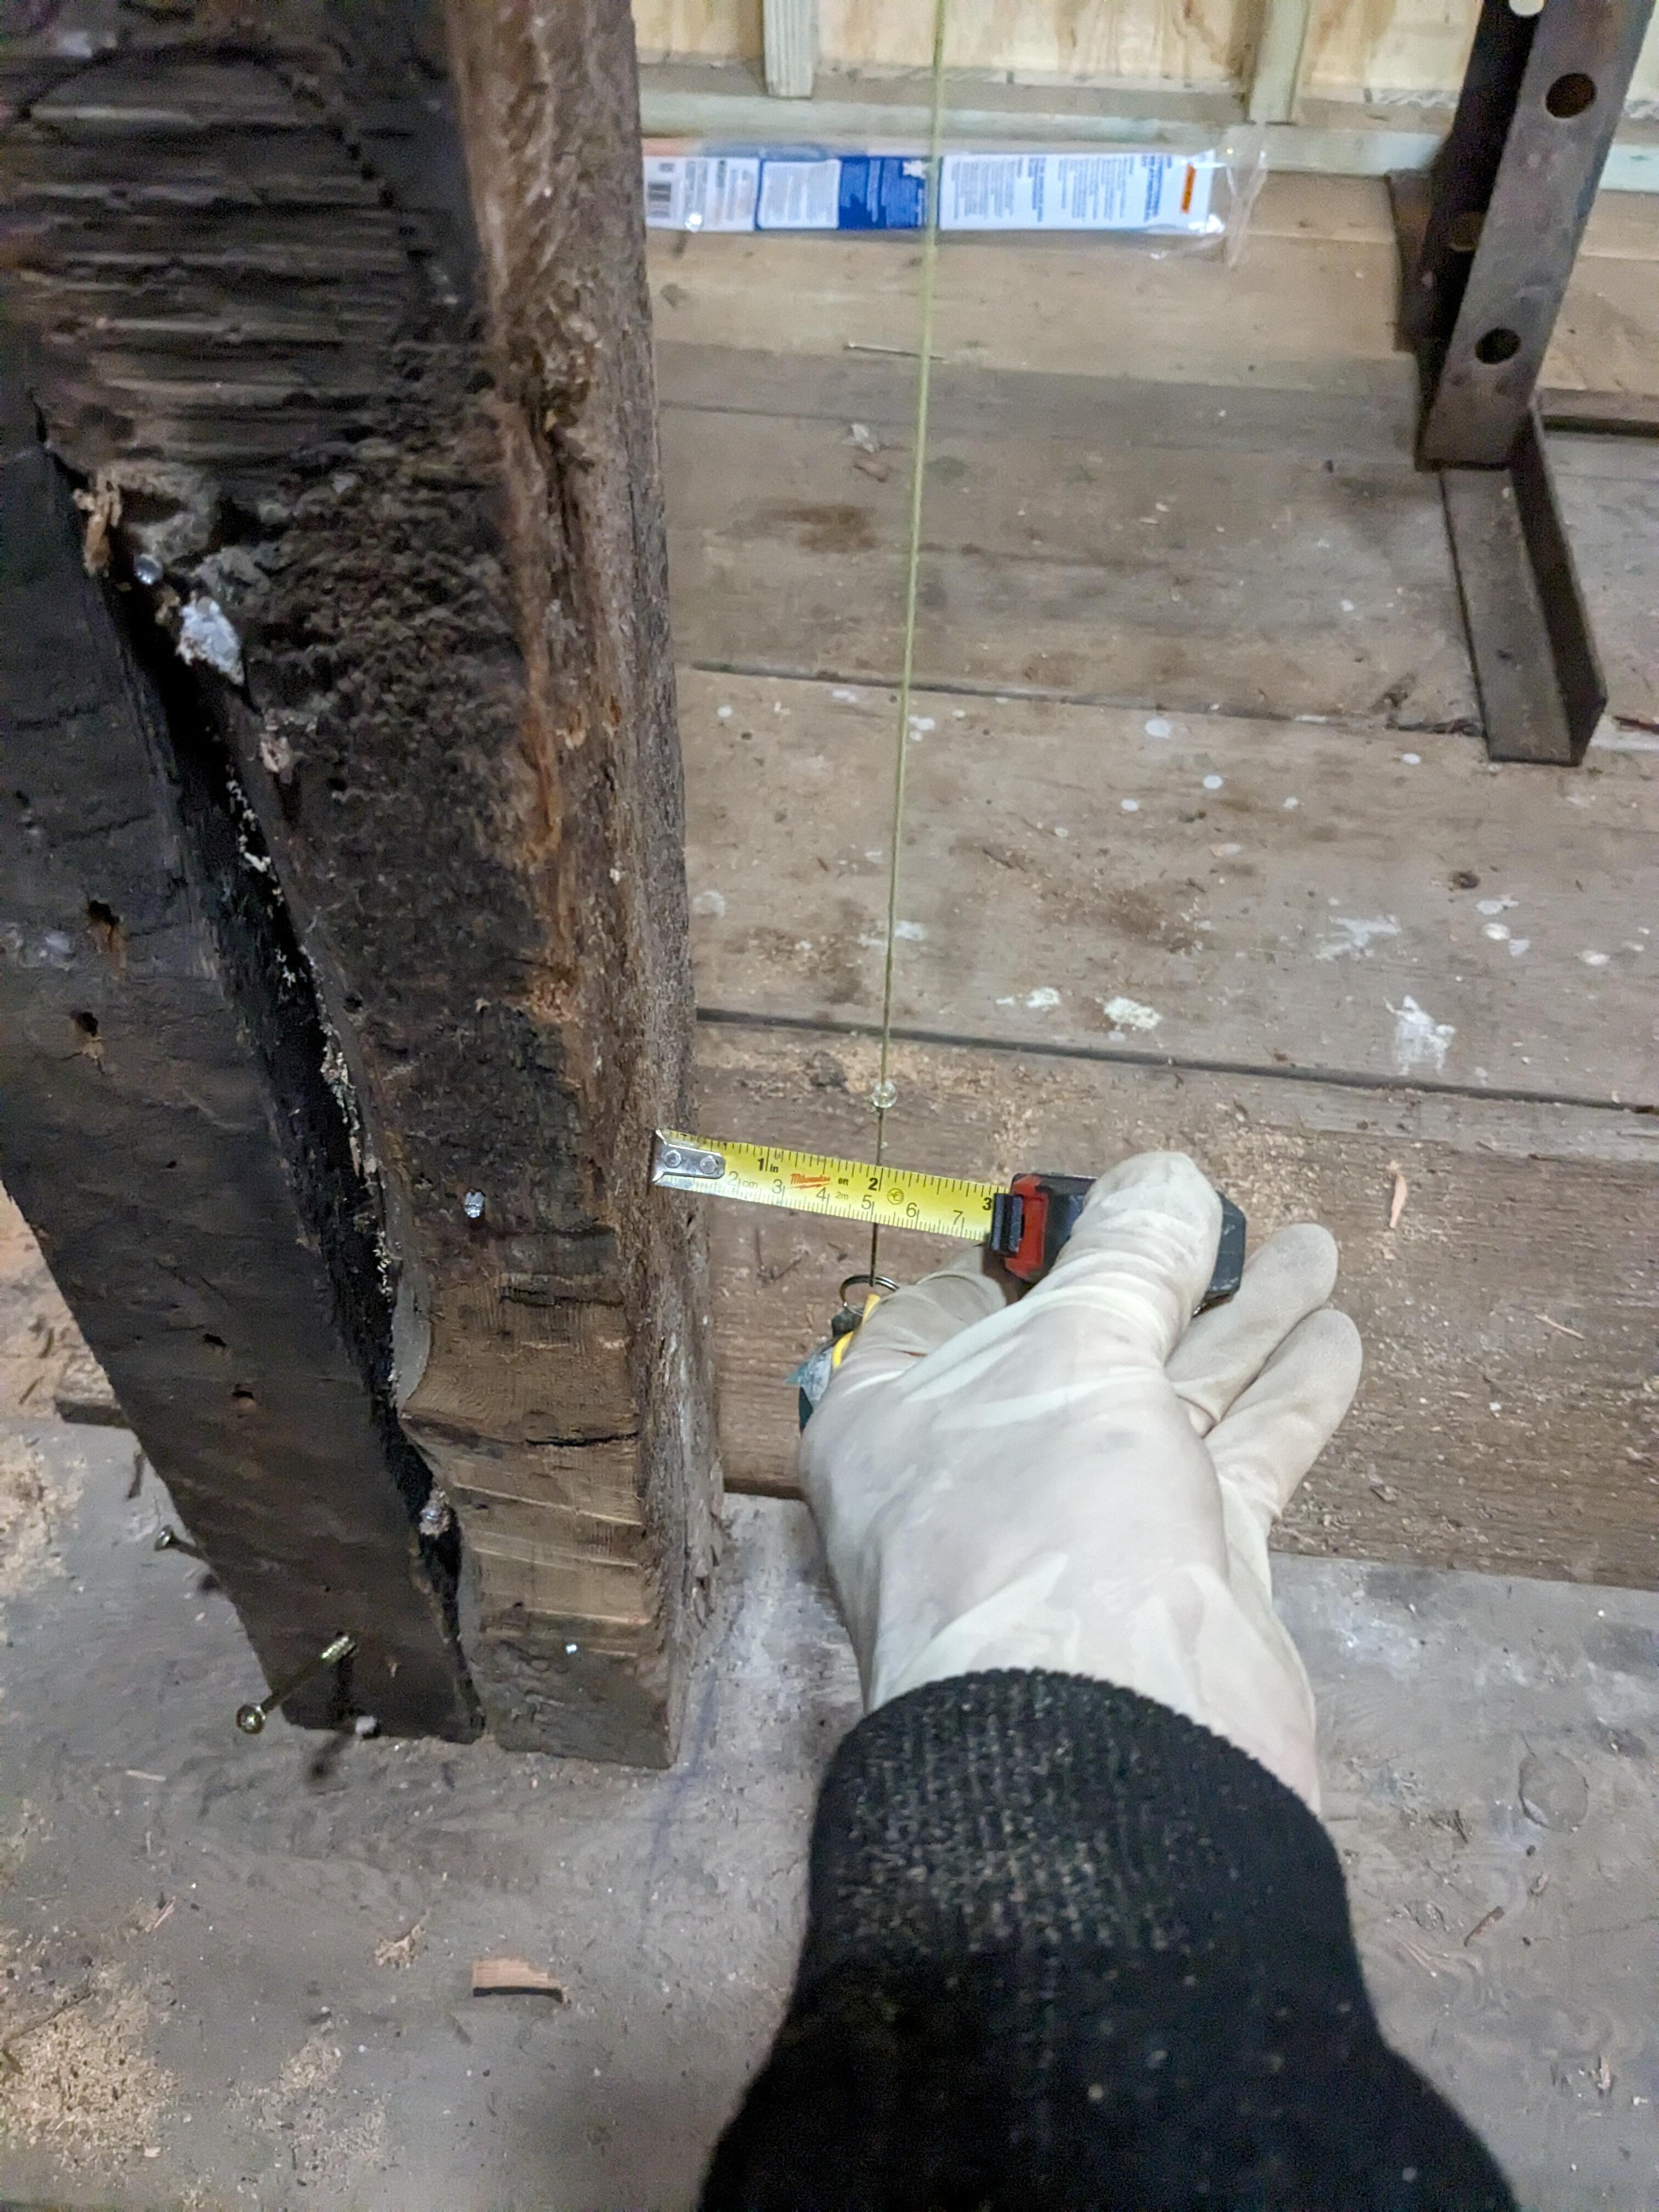
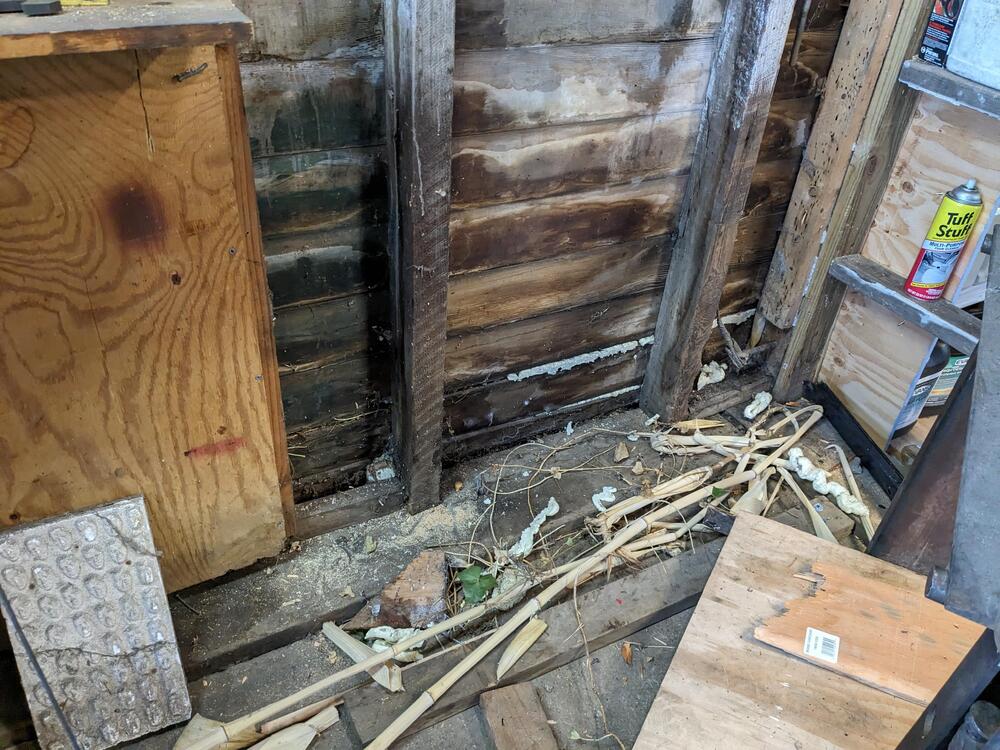
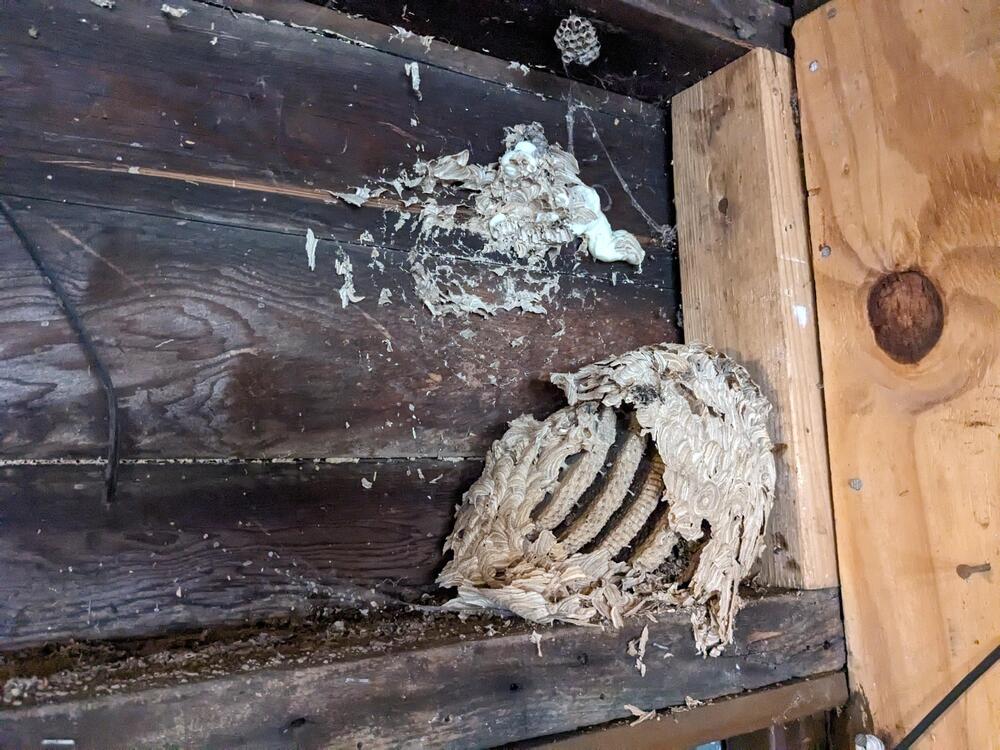
This is the first time I've tried them. I've never had an issue with the twist nuts, and I have plenty of them, so I will likely continue to use them. Yeah, I'm glad I didn't realize they were there in the warm weather. Since rain is in the forecast, I decided to dig off the south side of the garage, where I had just removed that plywood. So that I could figure out how bad it is. This is as far as I got before my back said that was enough.
-
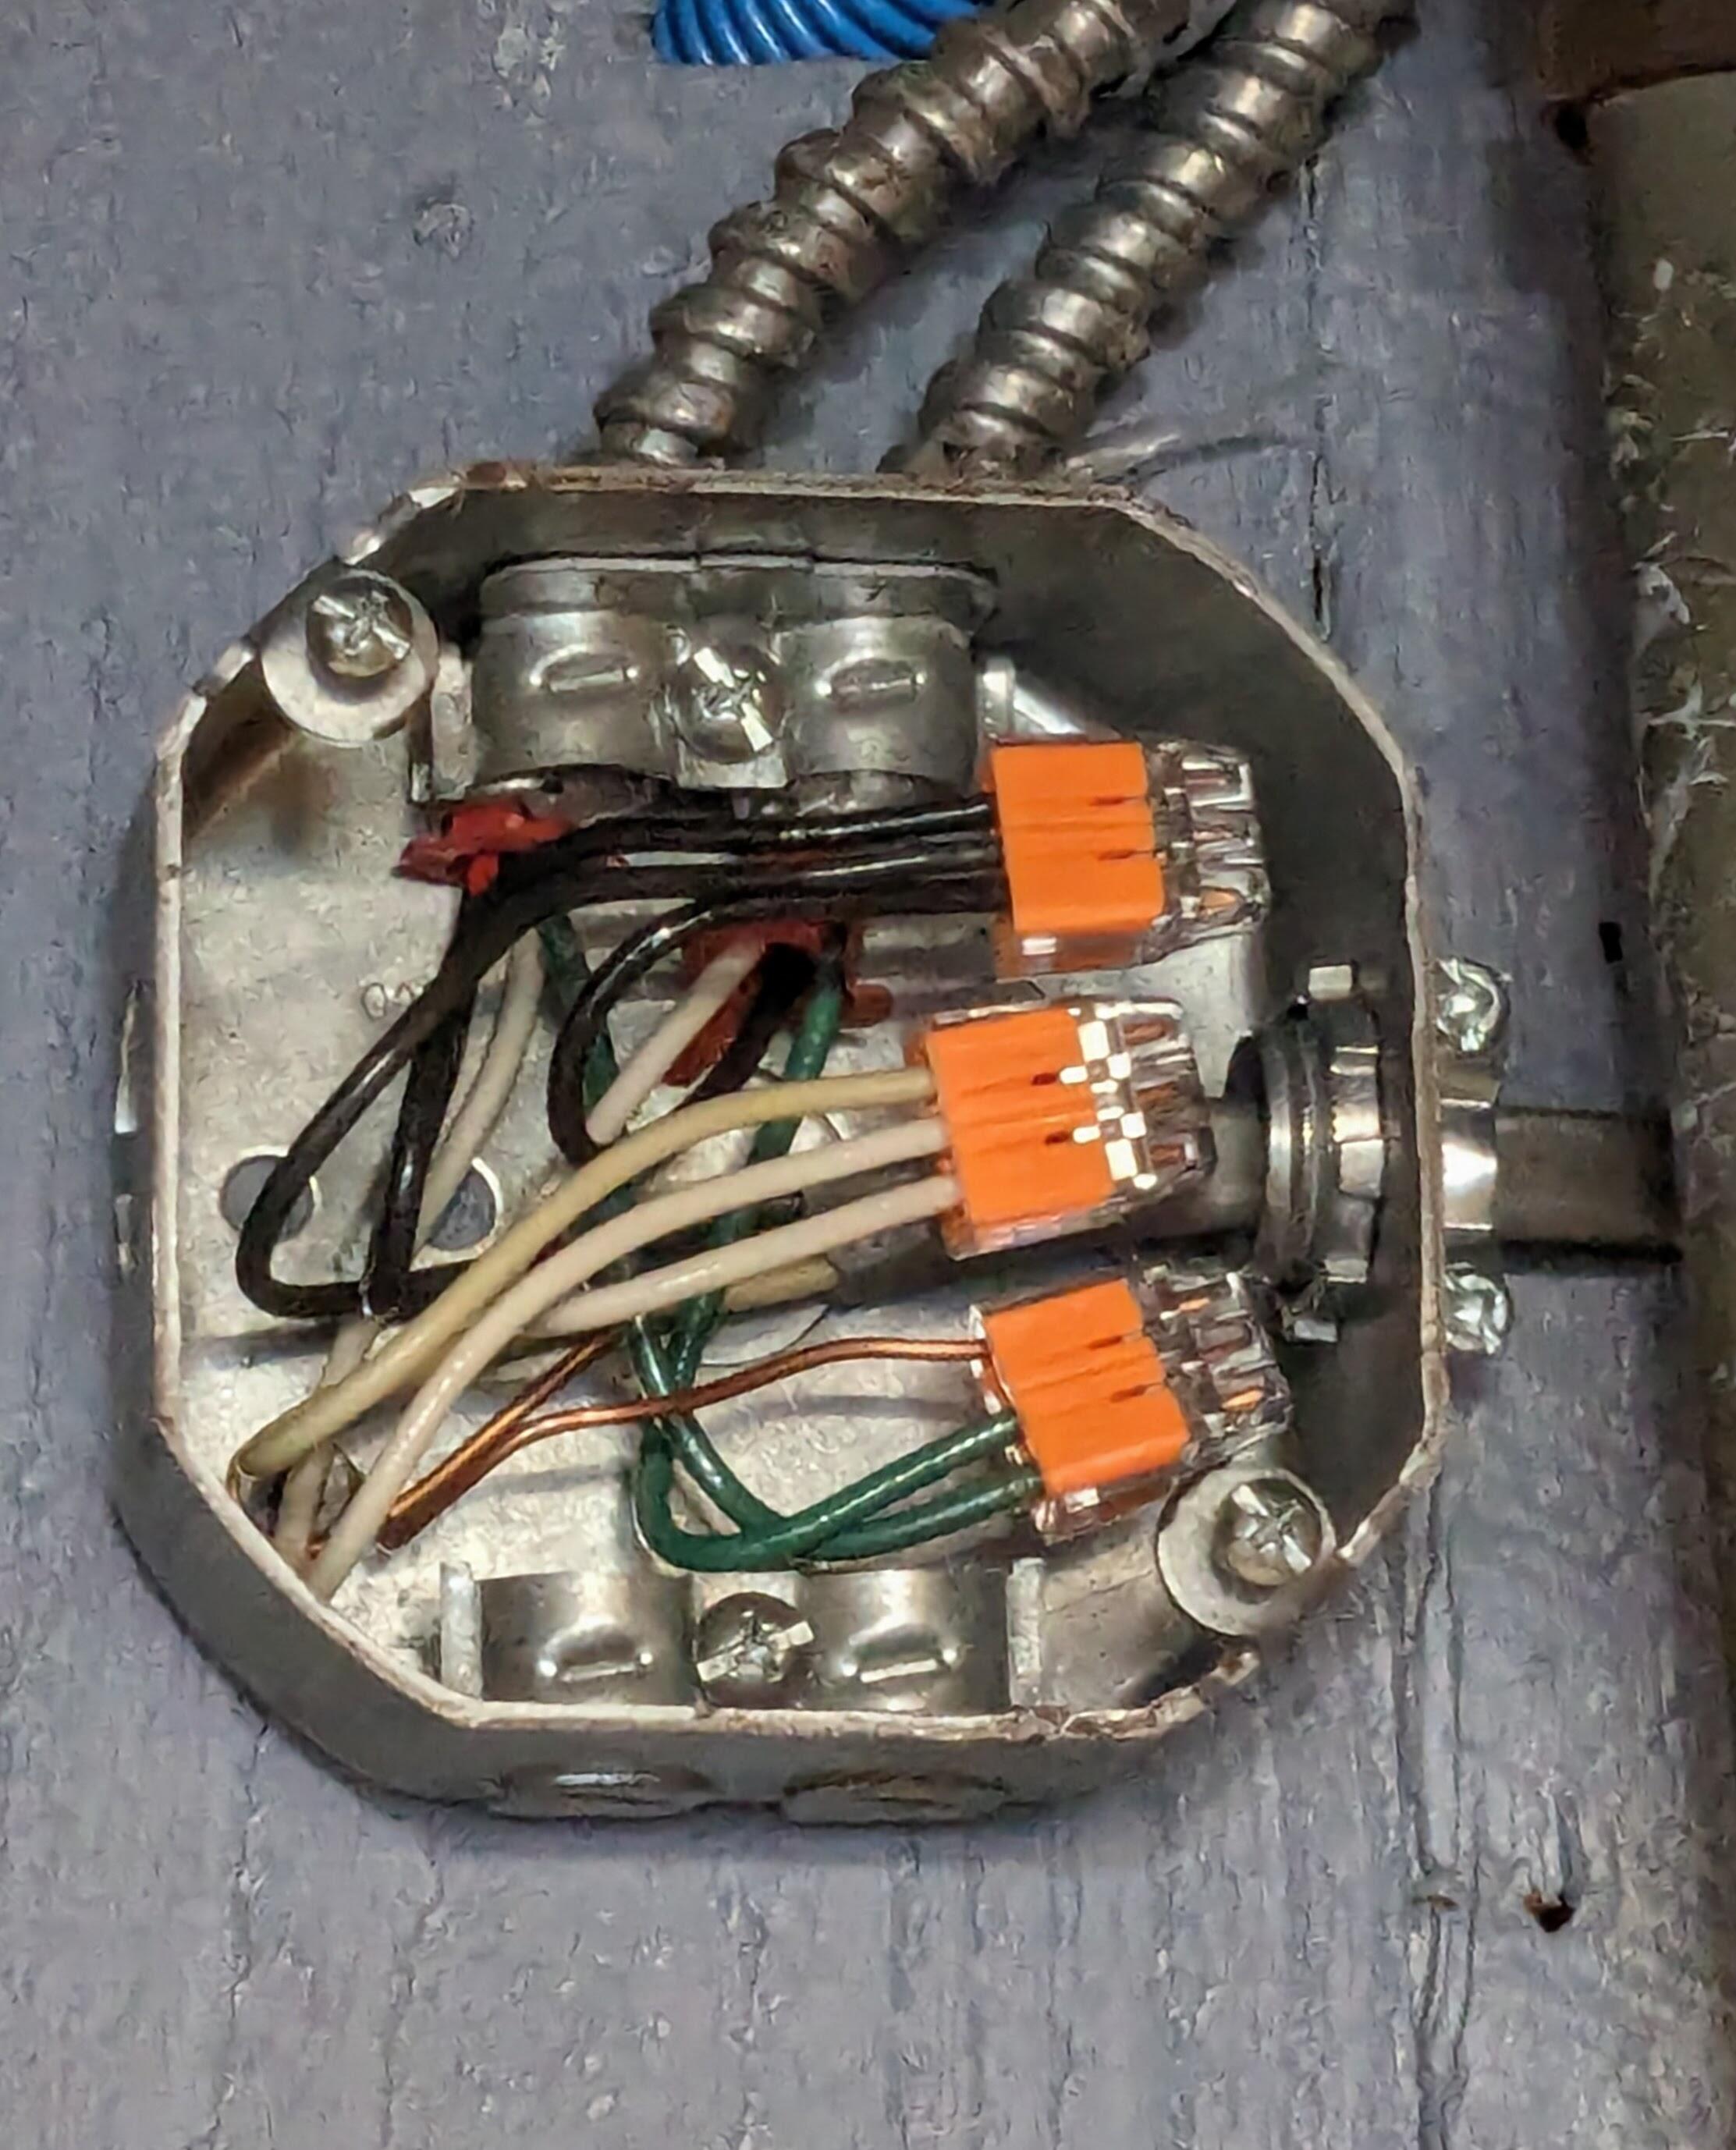
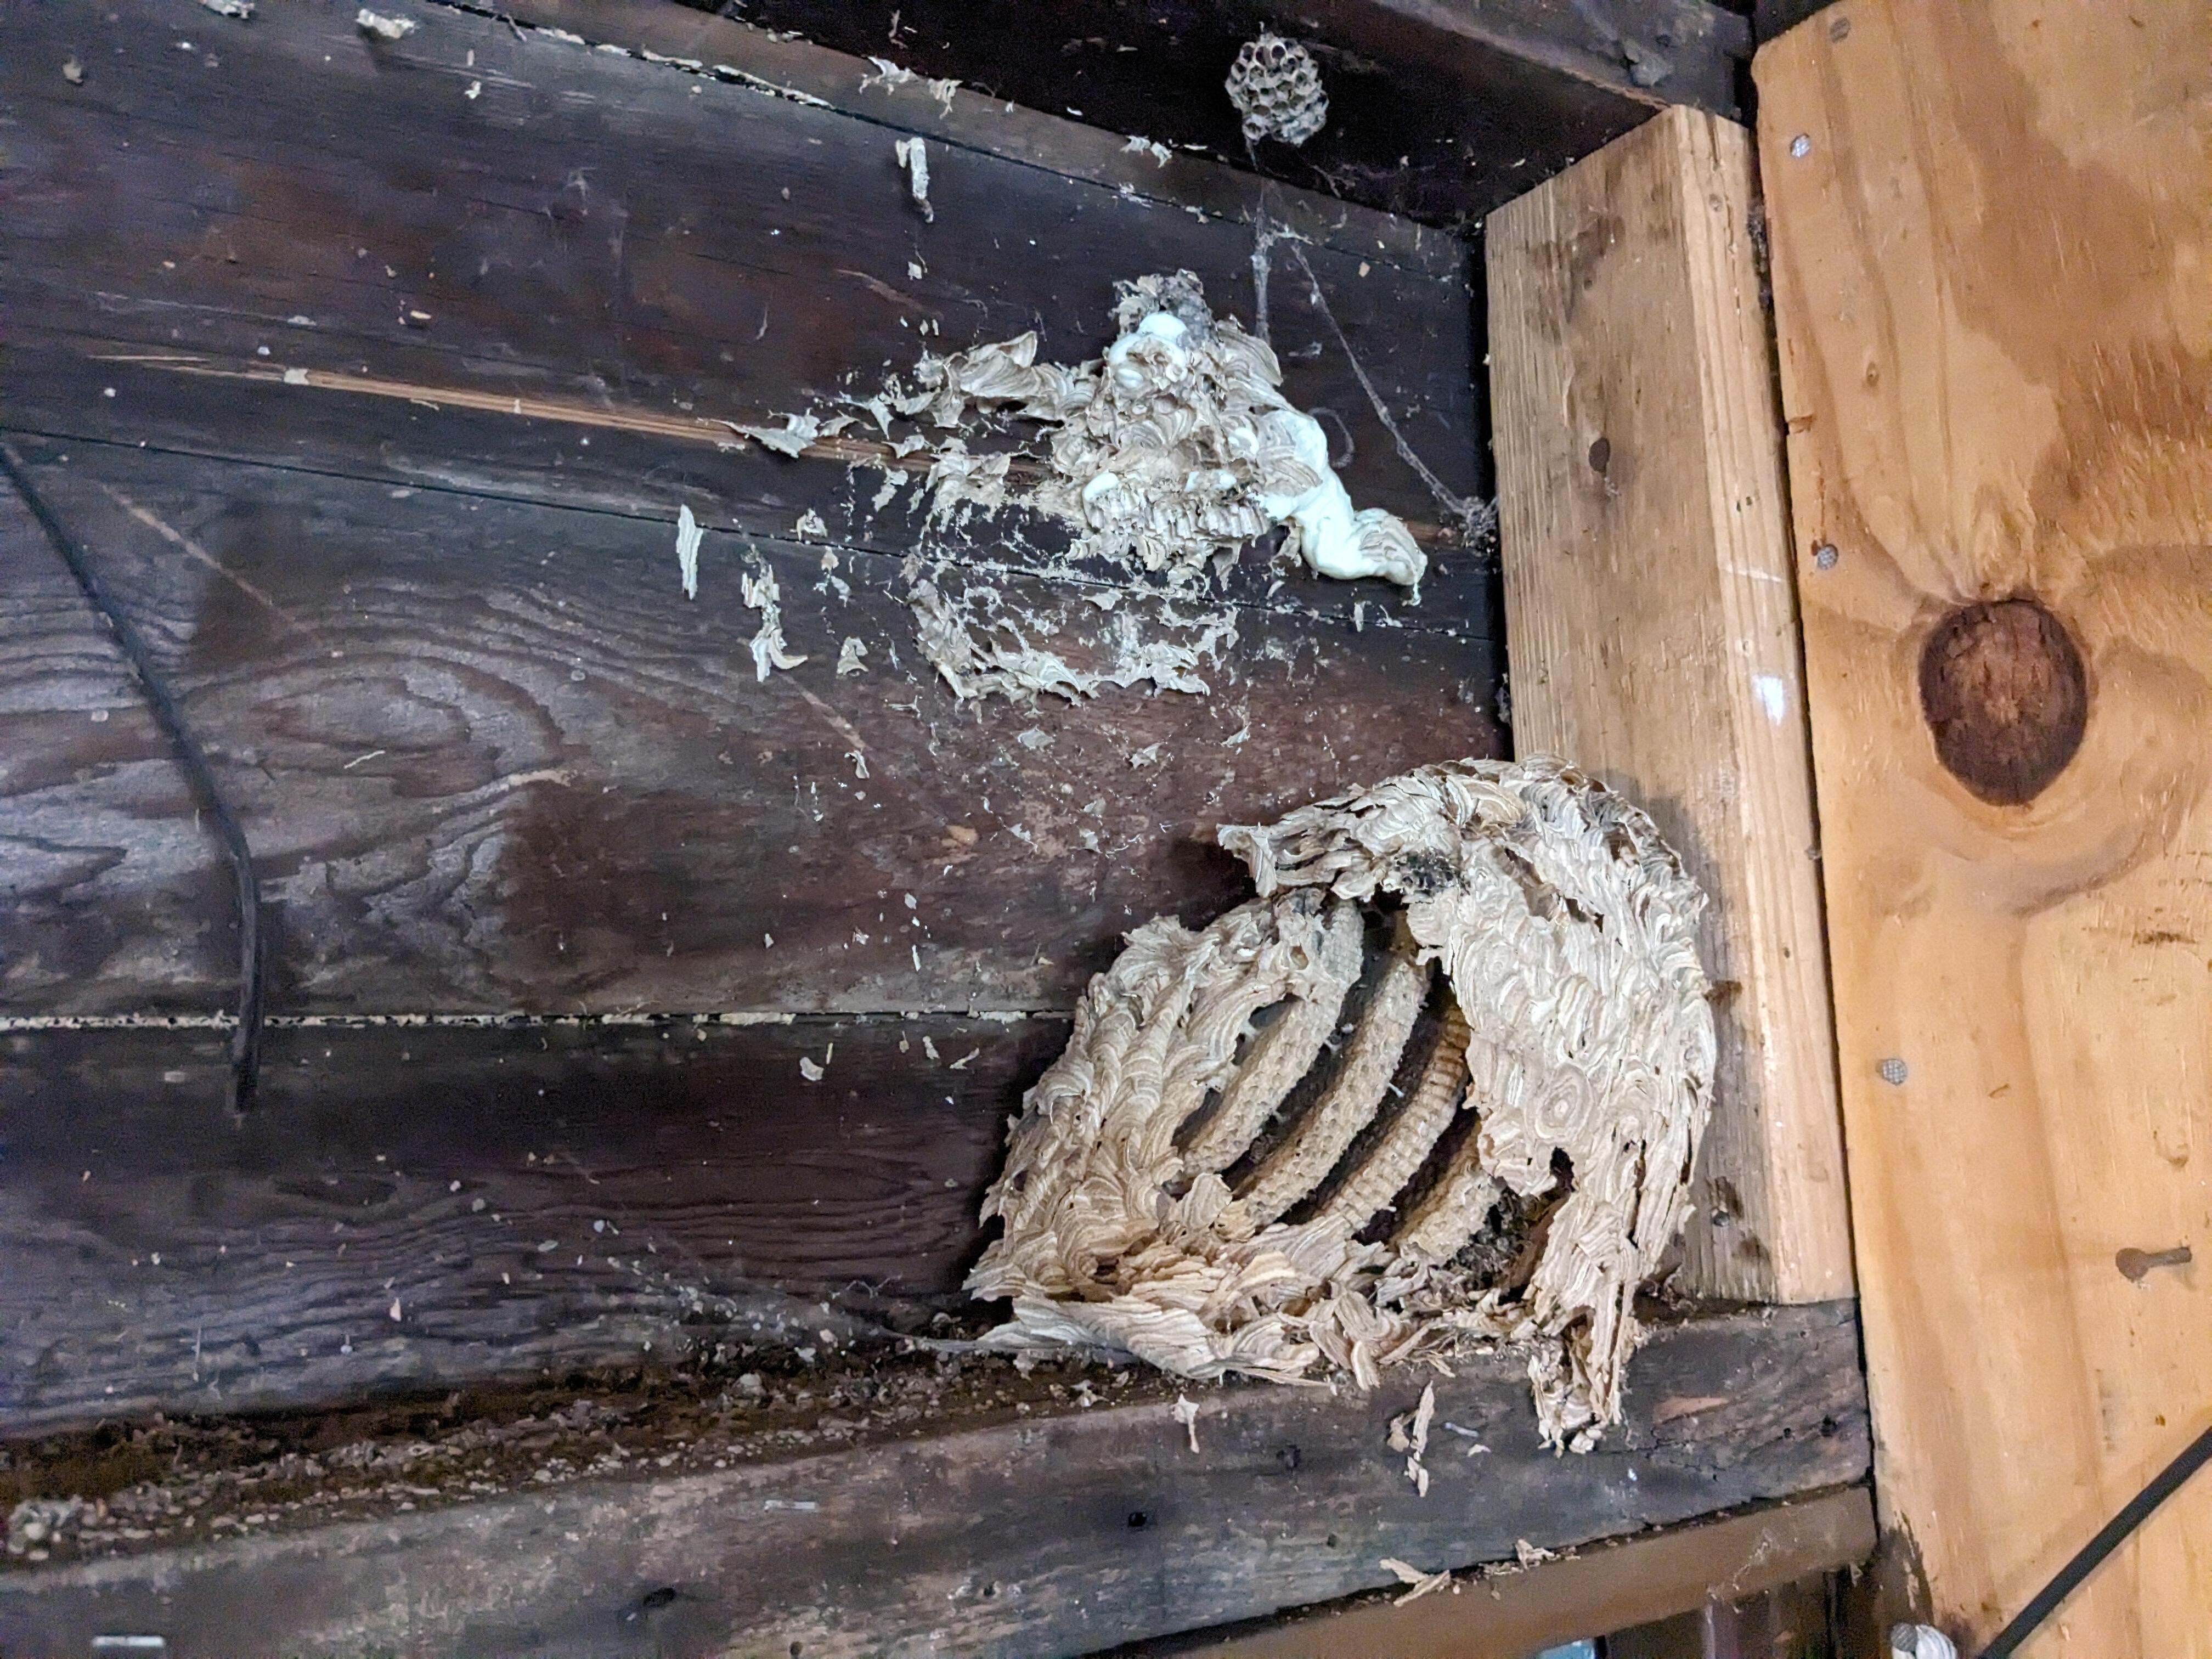
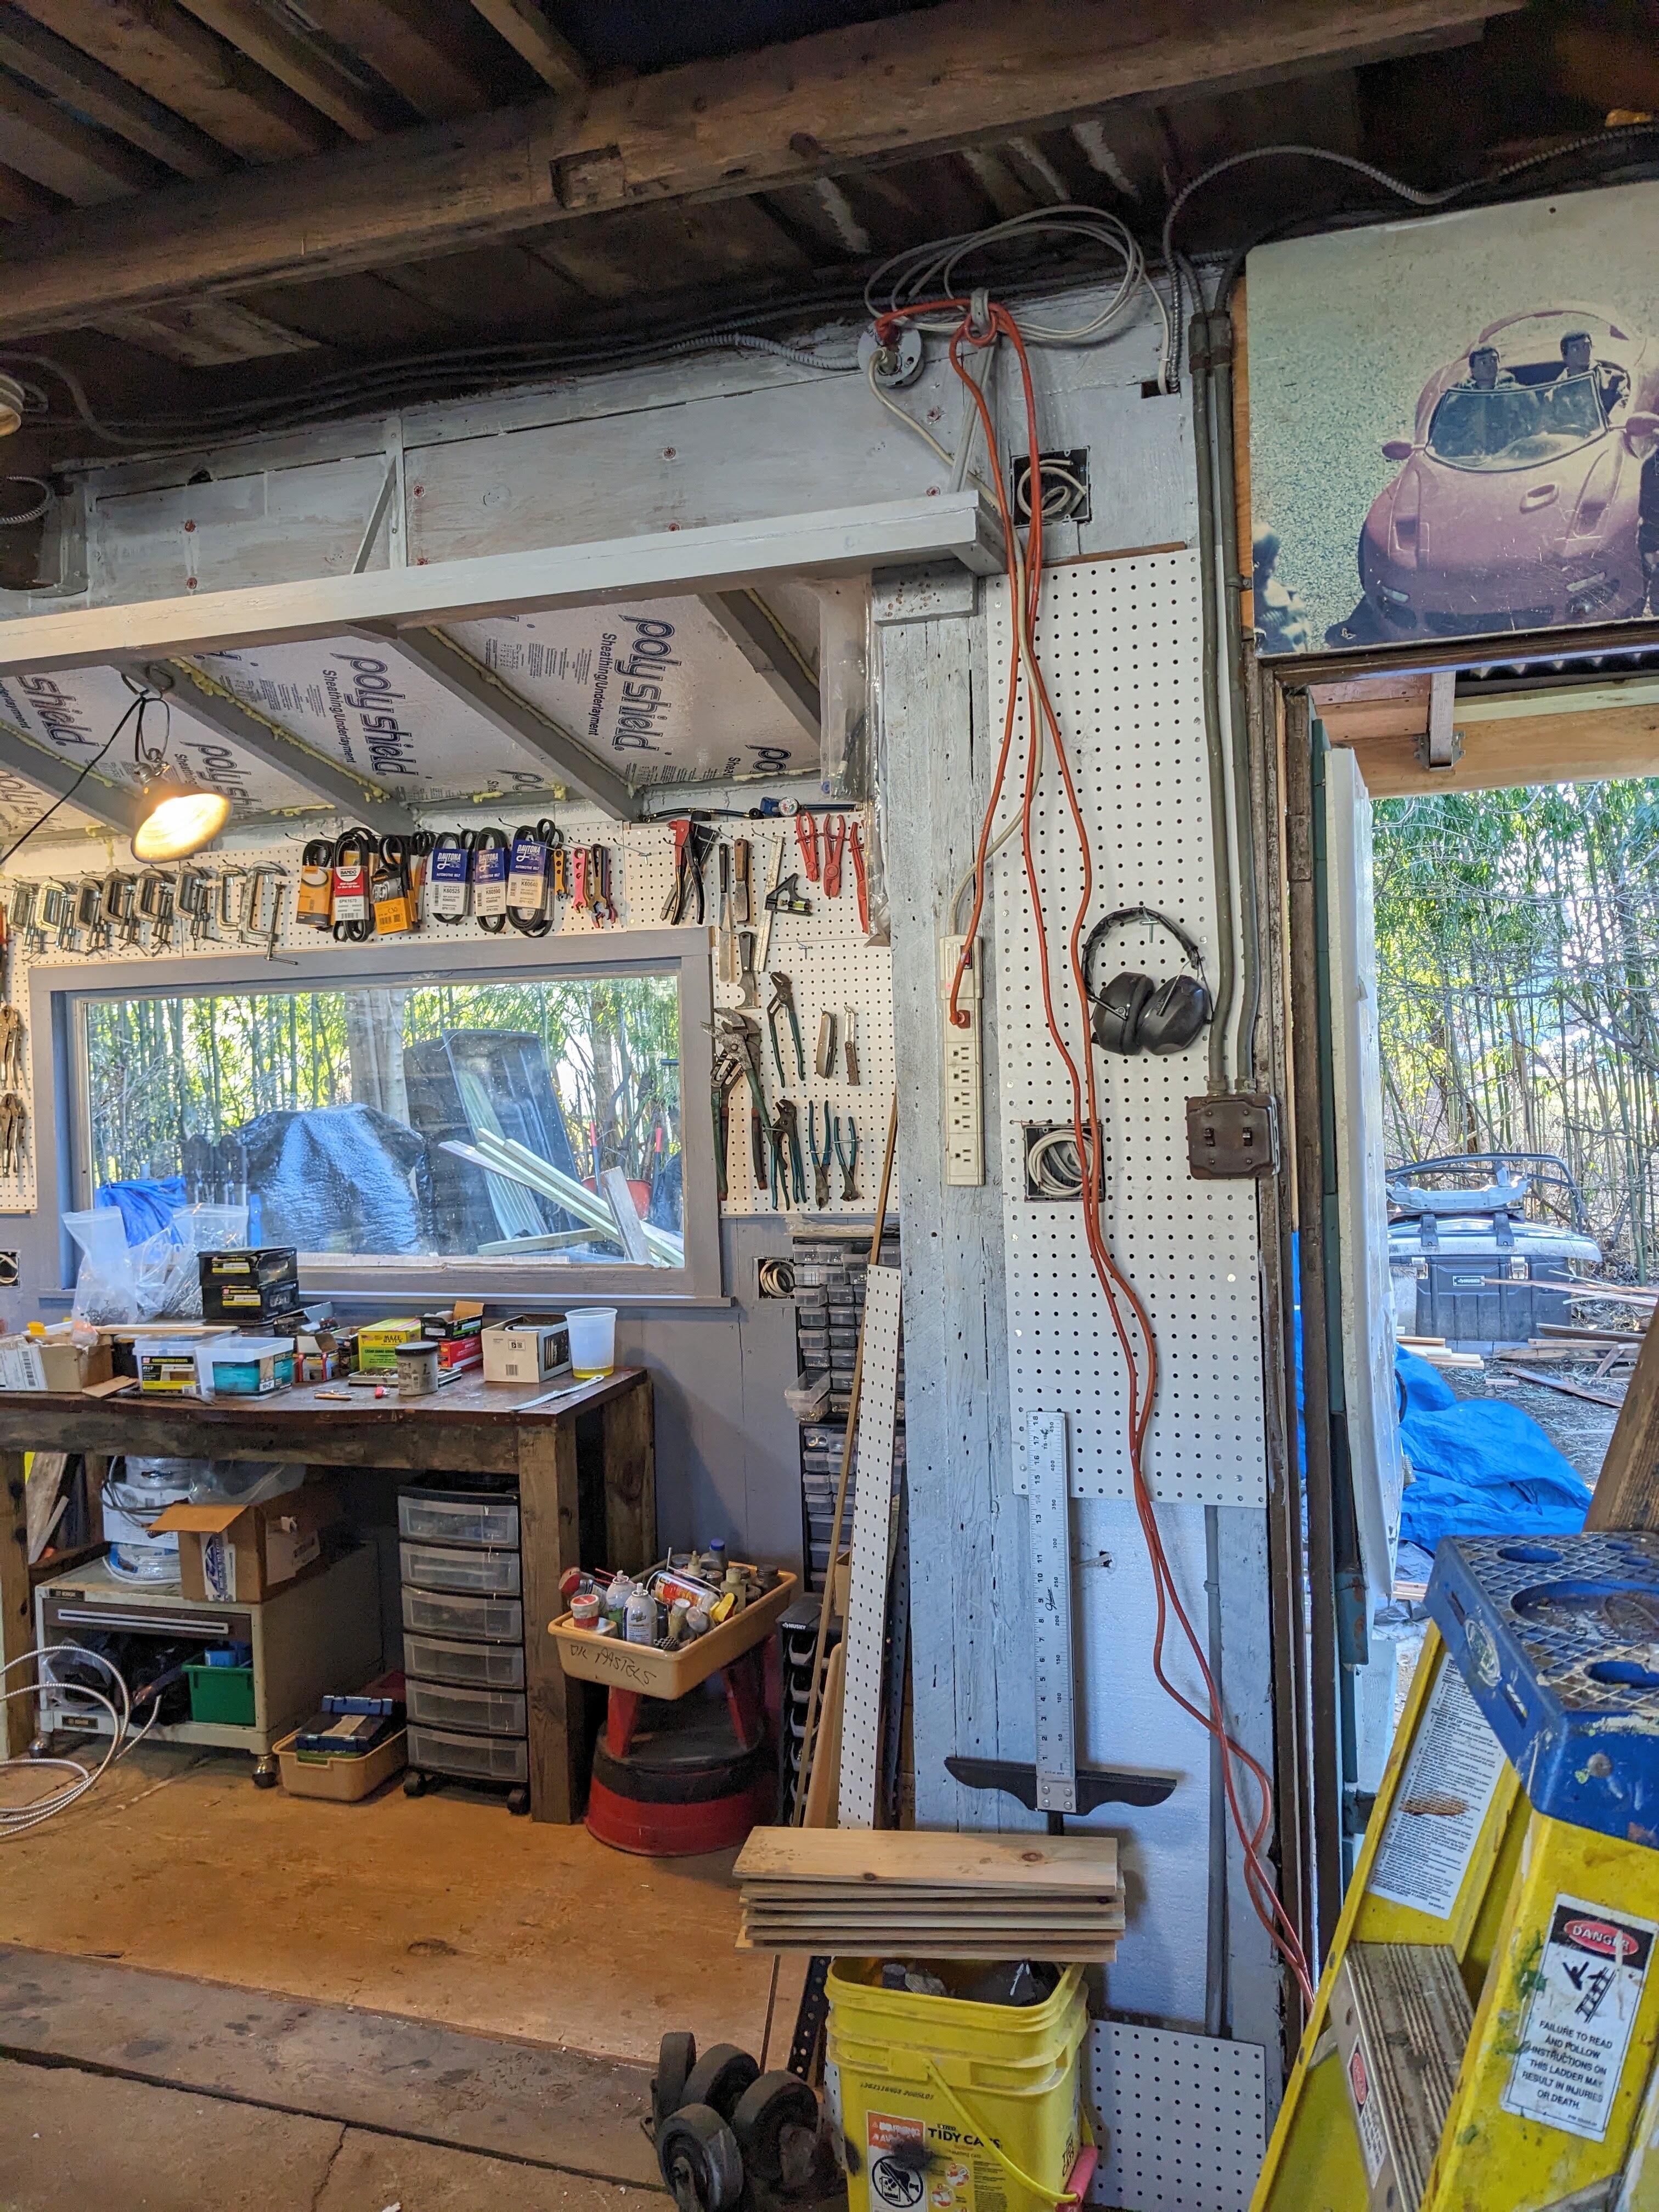
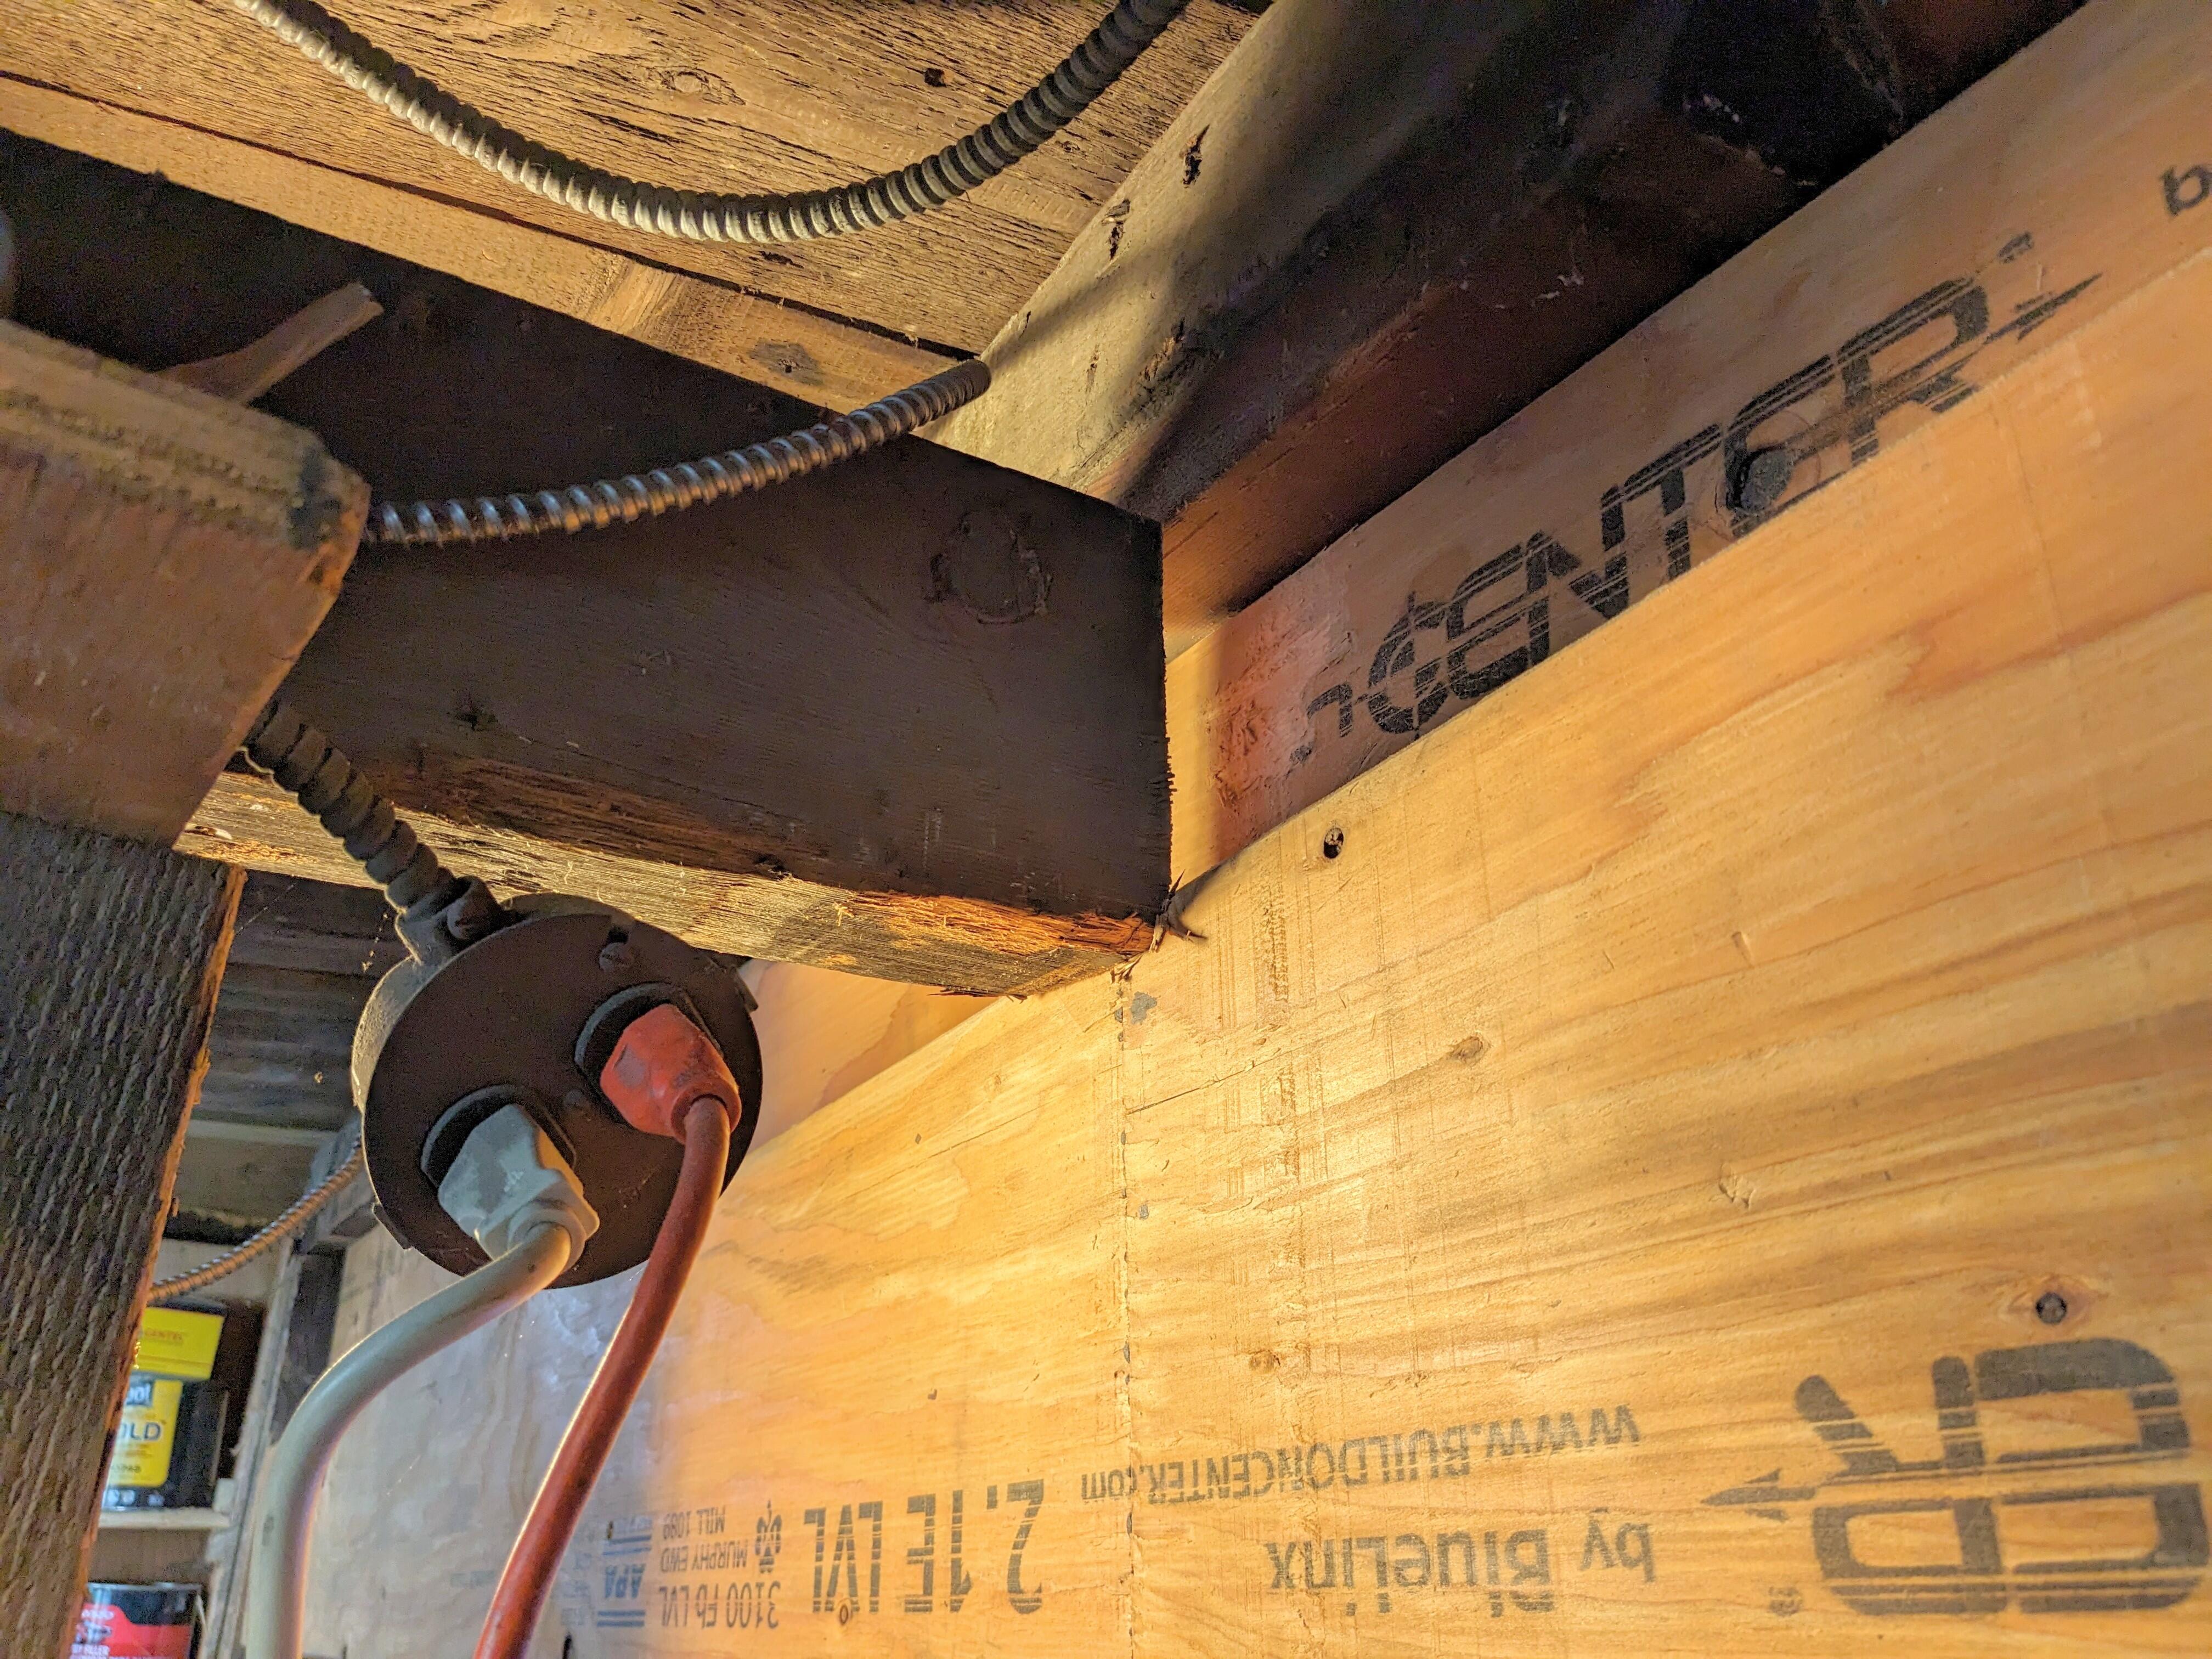
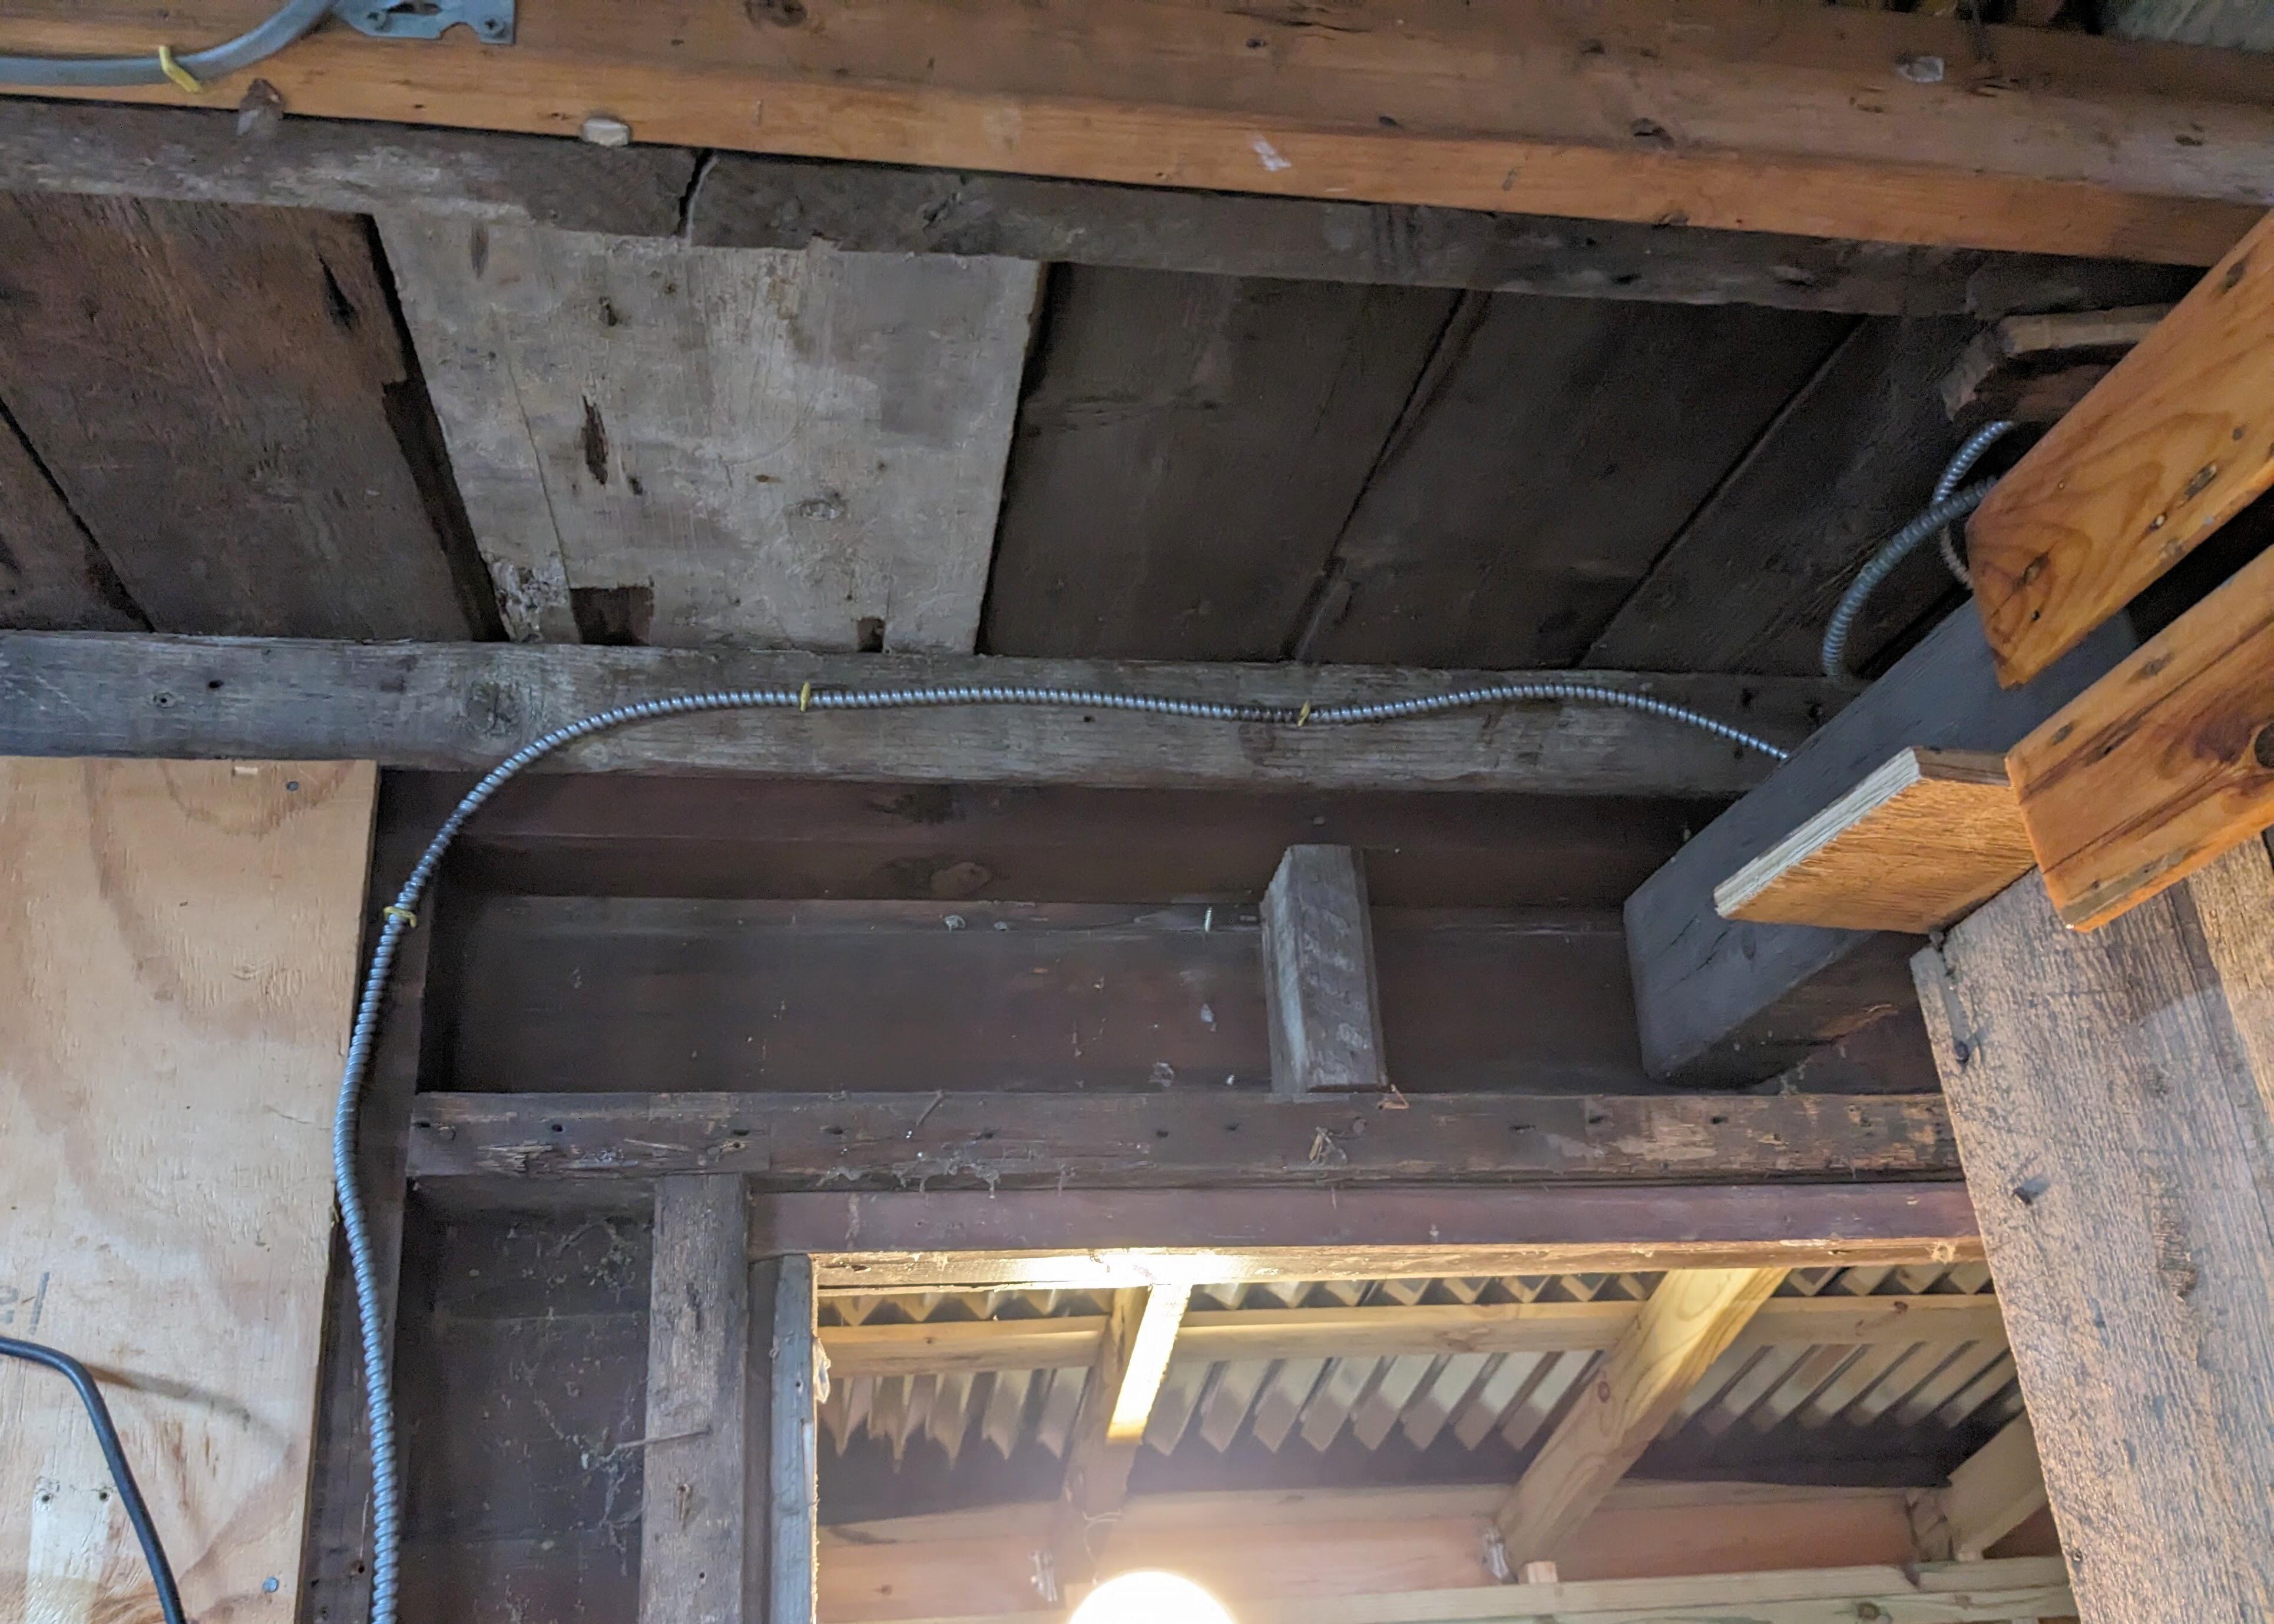
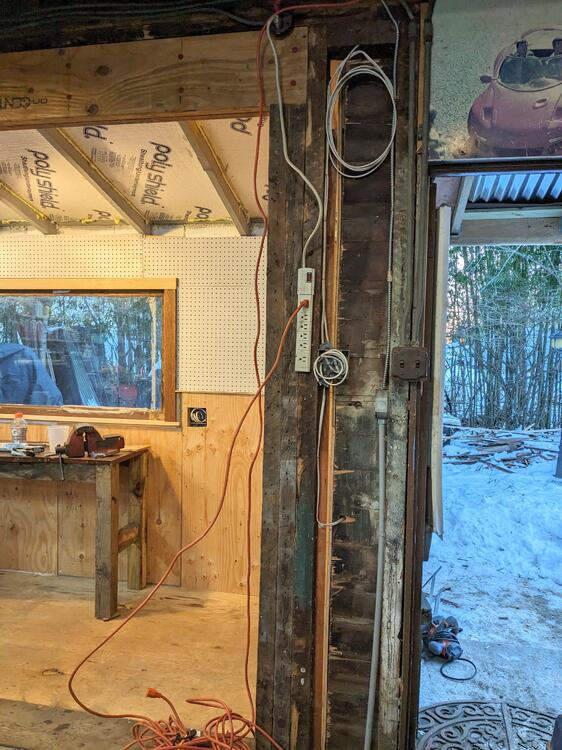
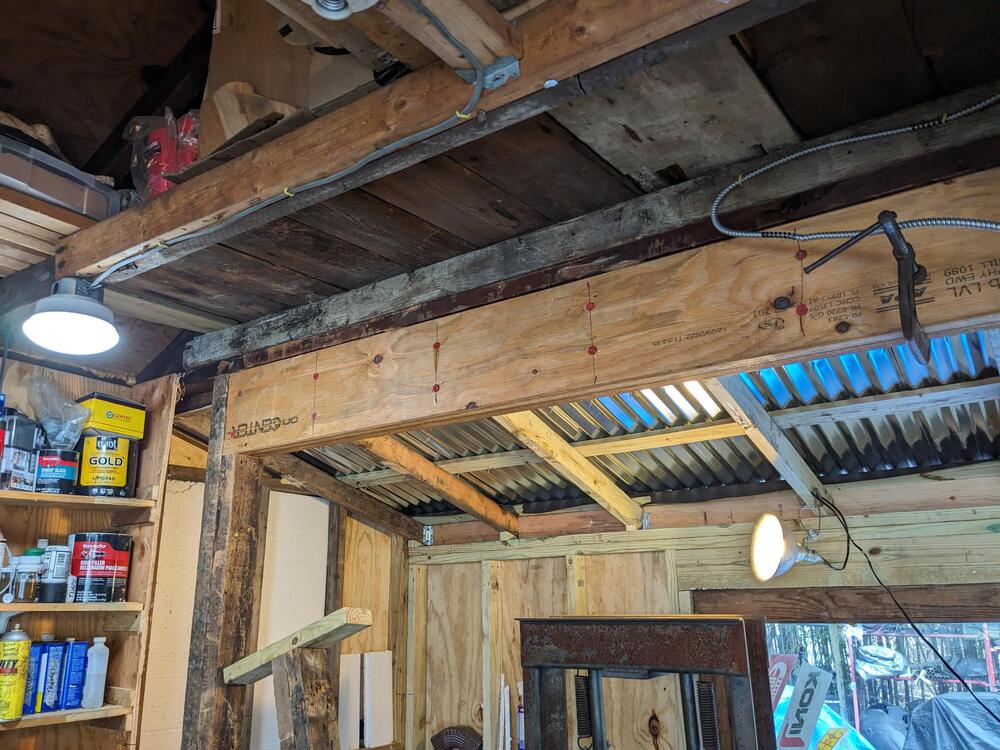
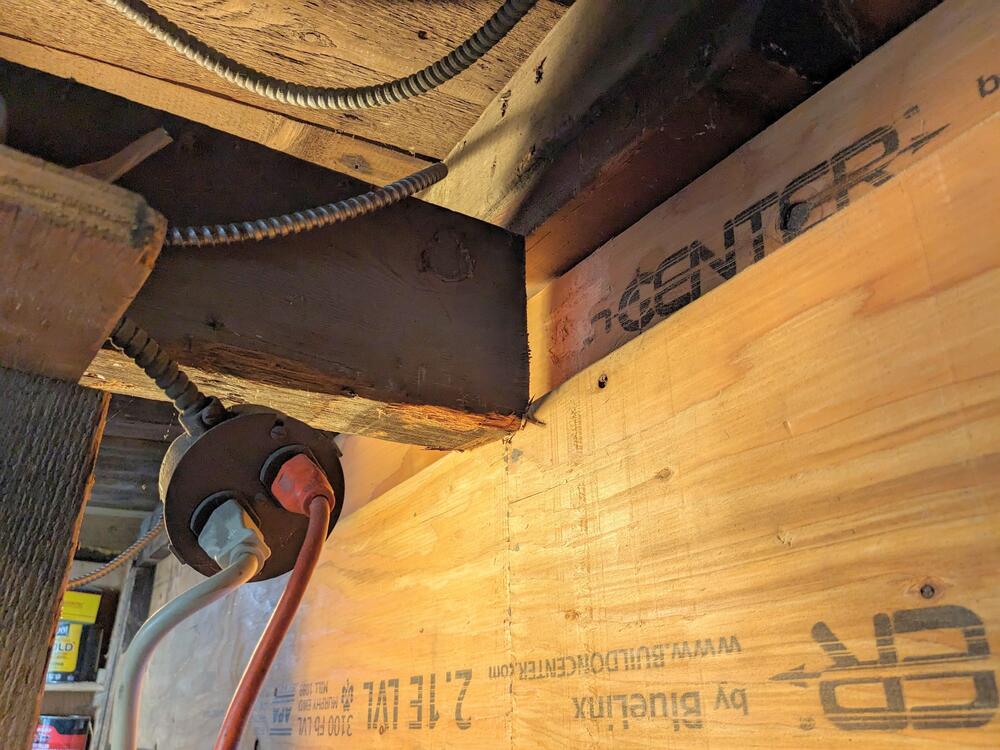
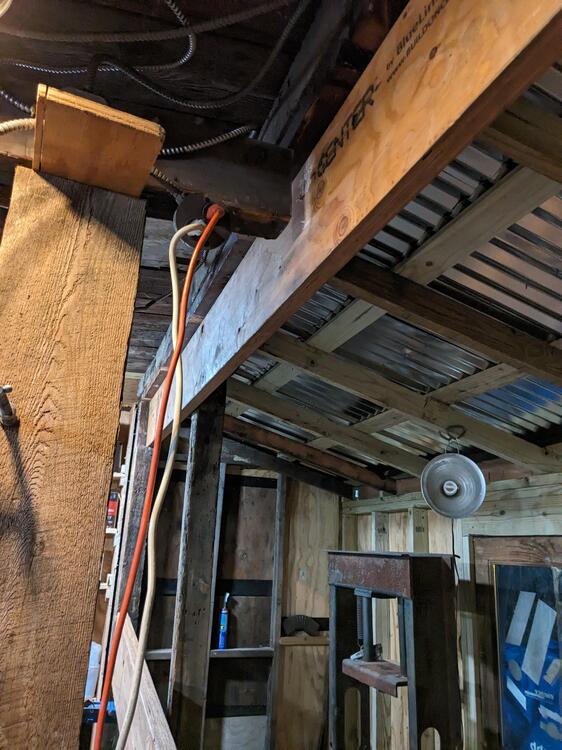
Wired the overhead LED for the new space Added a GFCI receptacle & switch for the light. The other receptacles will be fed from this one Wired the outside receptacles Added a shelf here - I'm going to use the right side for my laptop removed the 4x8 sheet of plywood behind the press - cut in half, I'll be adding pegboard above. I'll have to address this mess from the outside, so I won't screw the plywood back in place for now found this above the door when I removed the plywood to run conduit for an outside light fixture above the doorway I like these push-lok connectors - so much easier to confirm connection than the old twist nuts


-
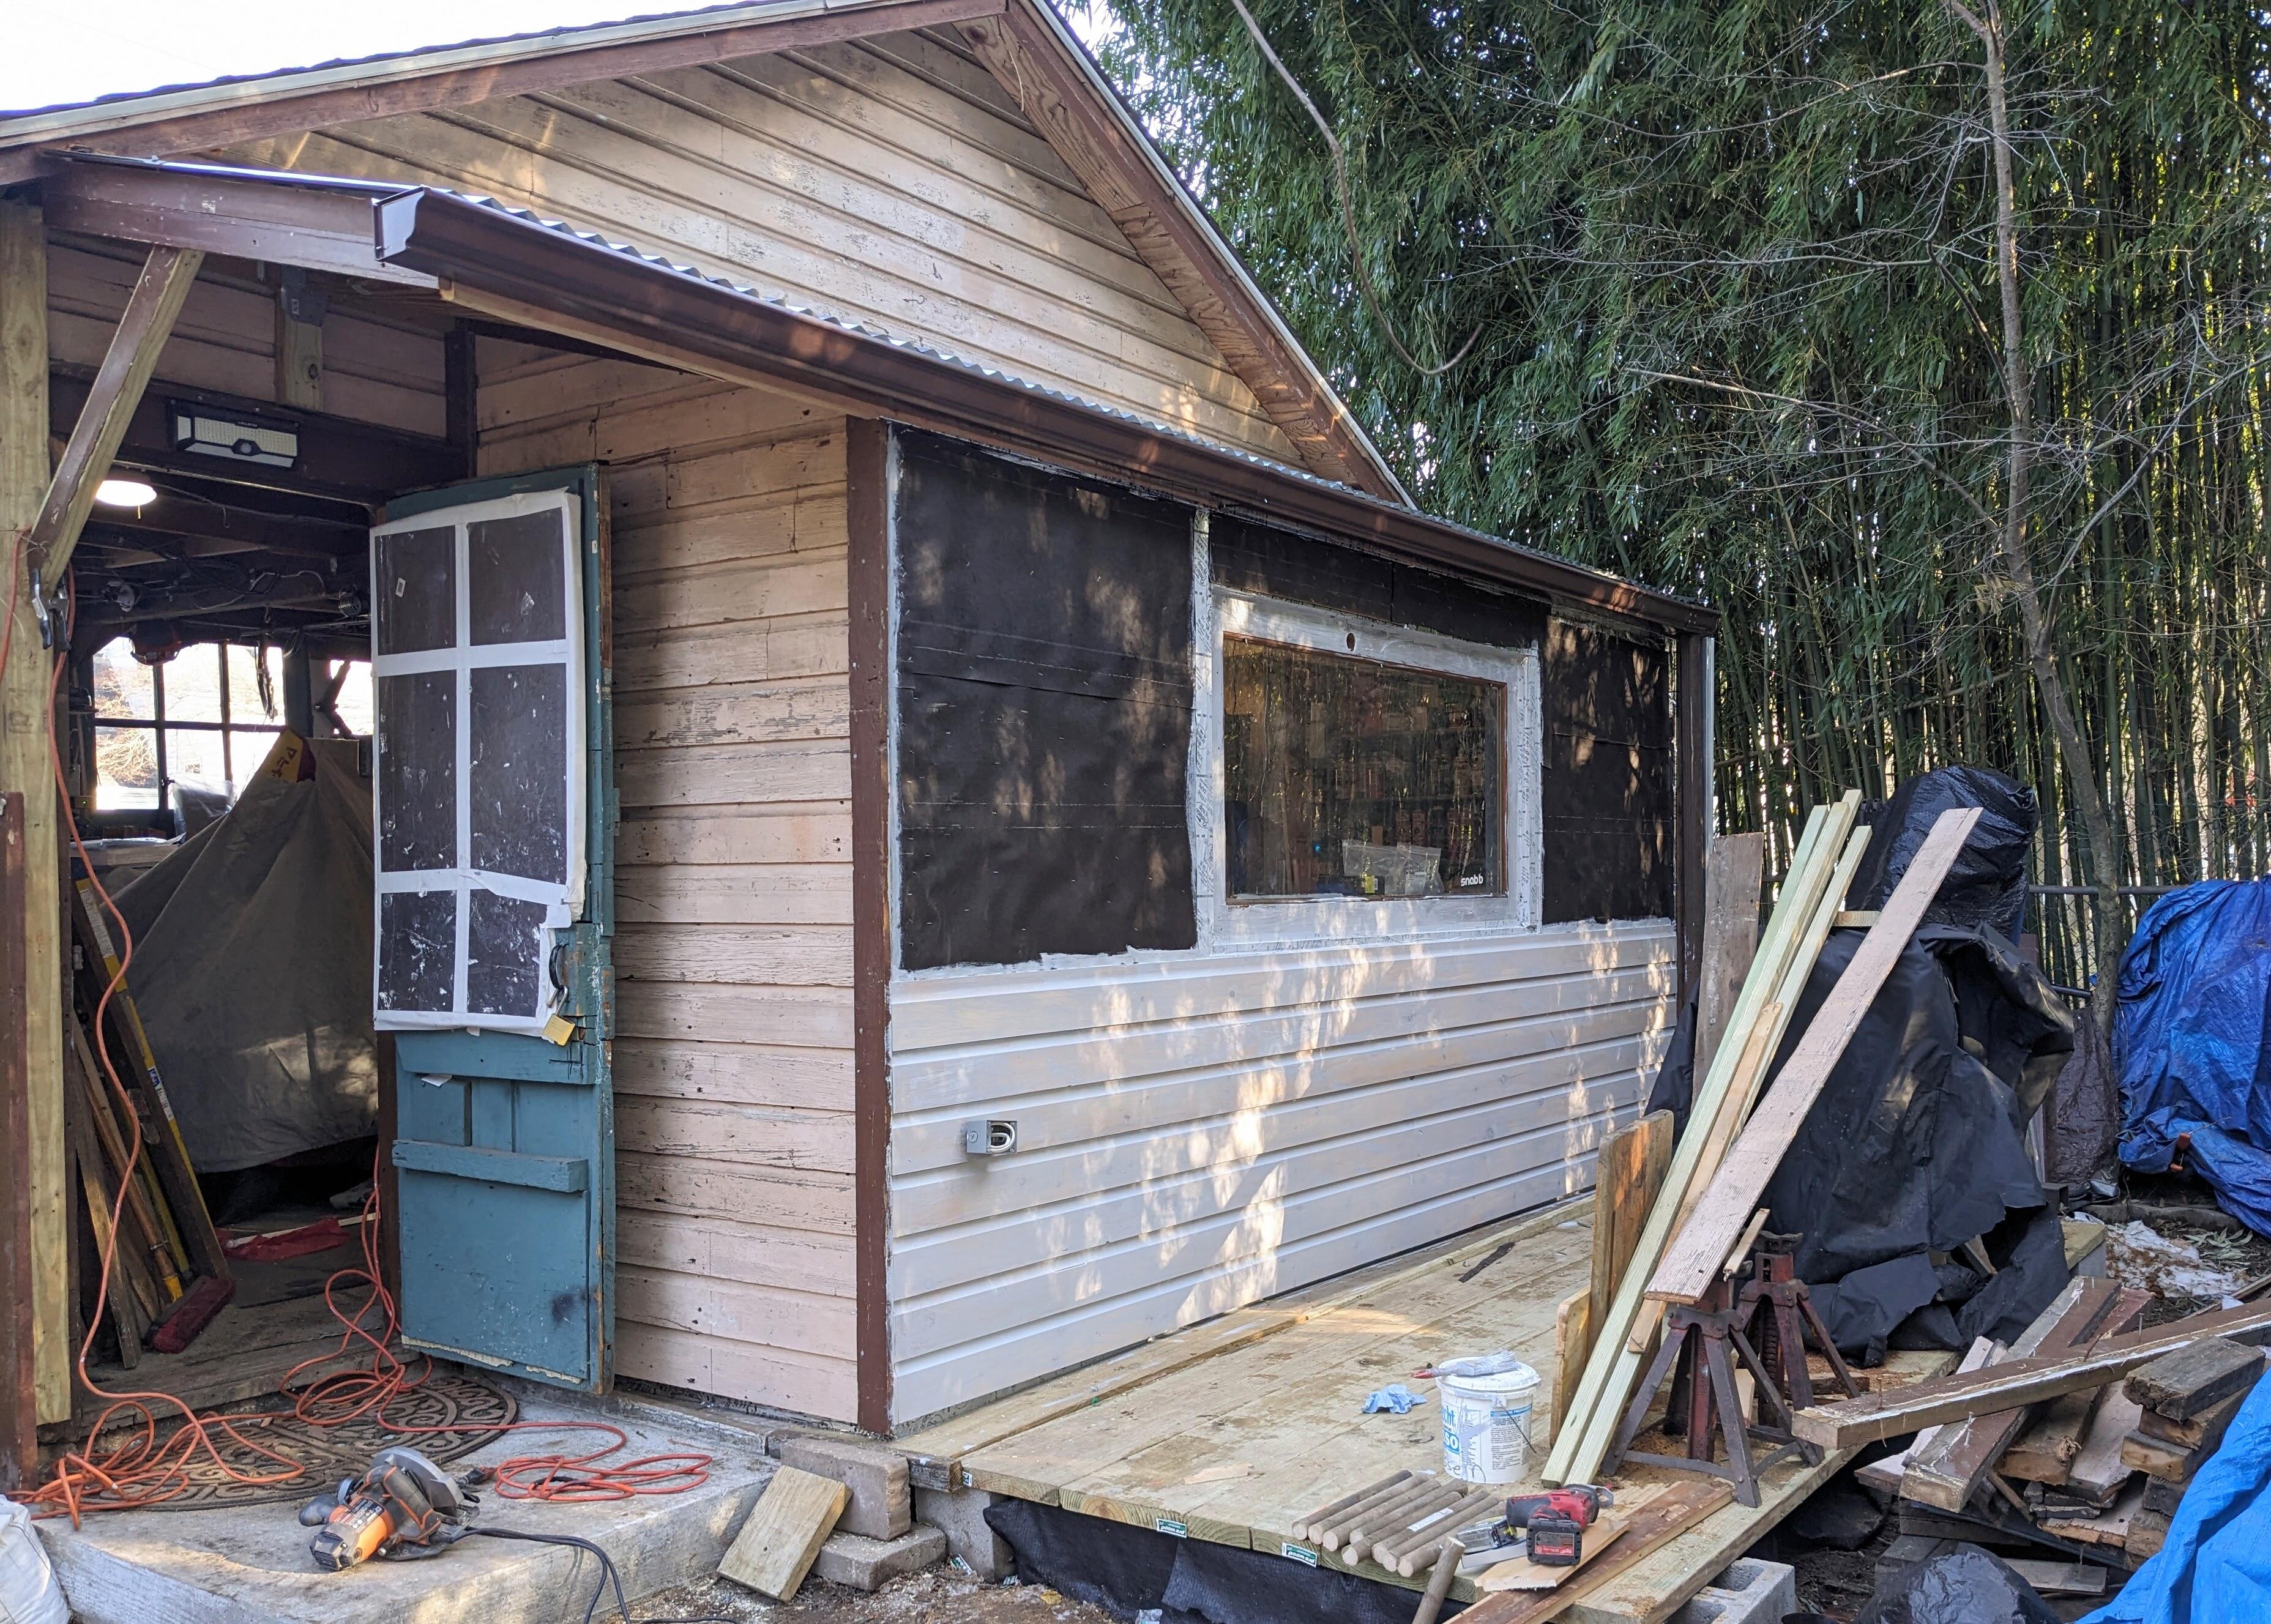
Was almost 50 degrees after work, so I got a first coat of siding & trim color up

-
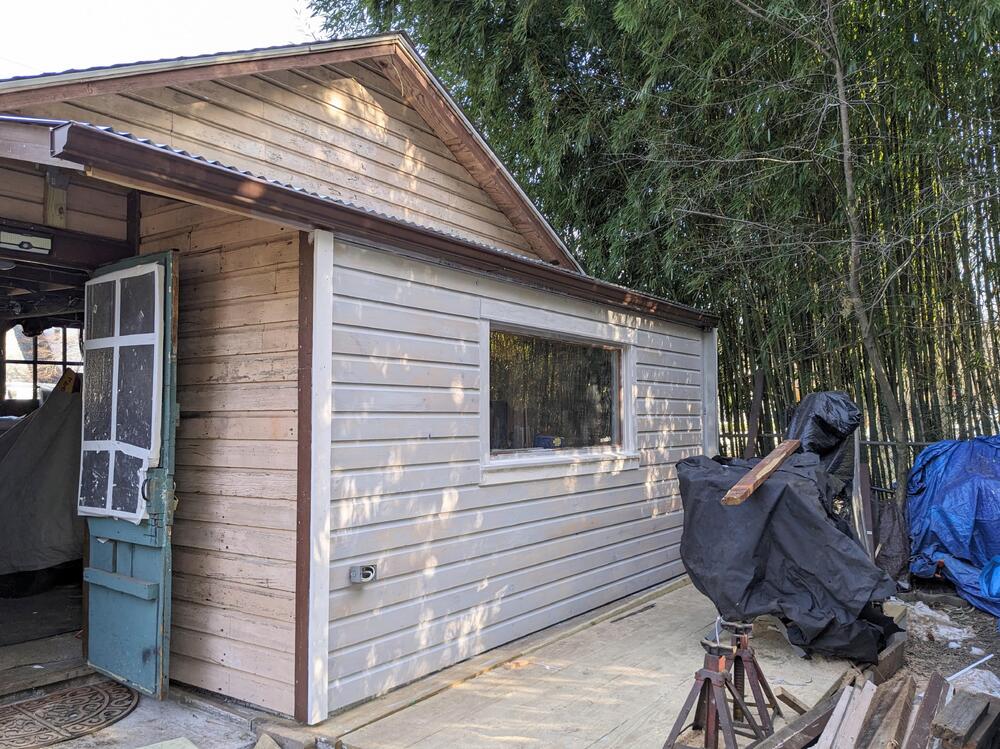
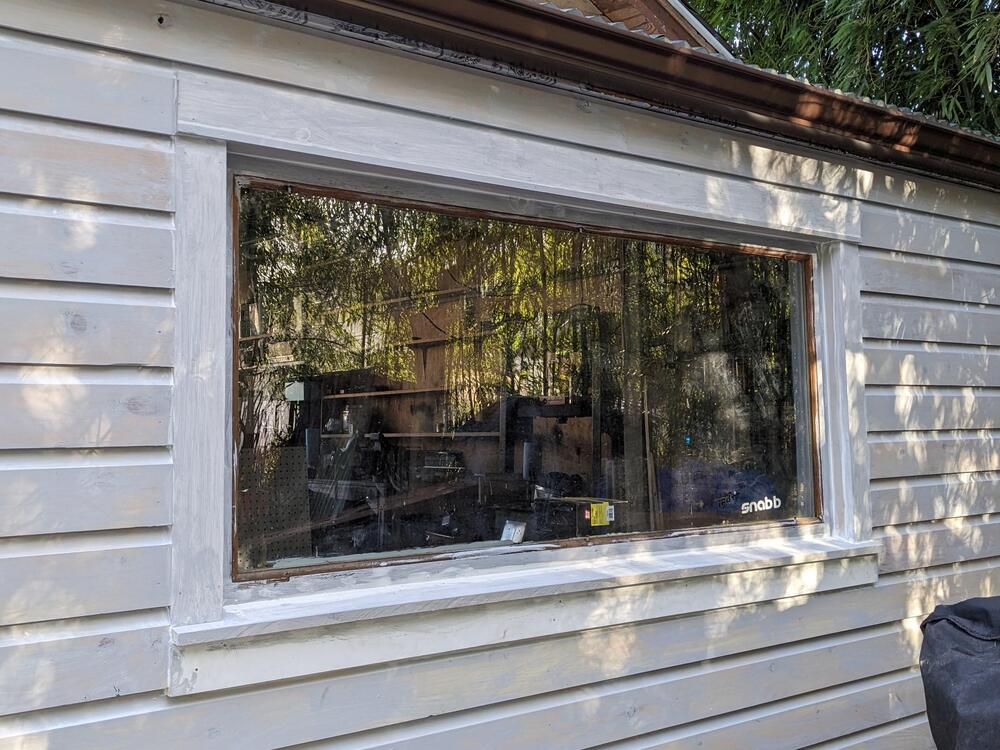
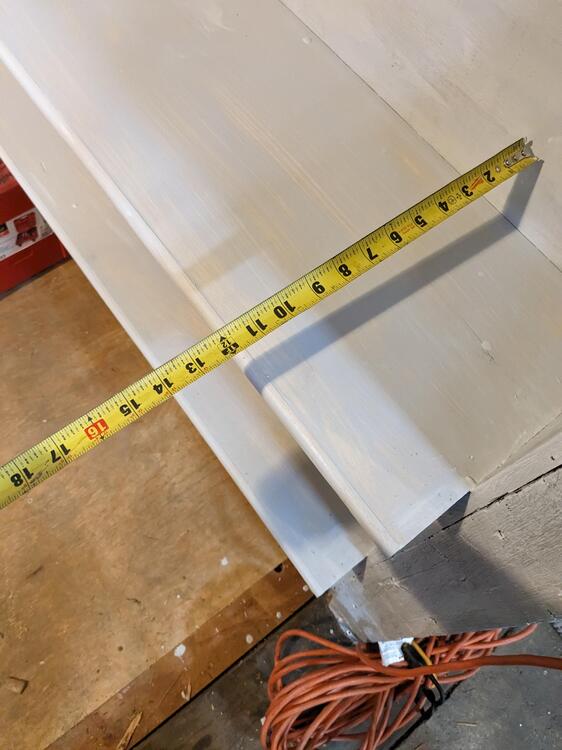
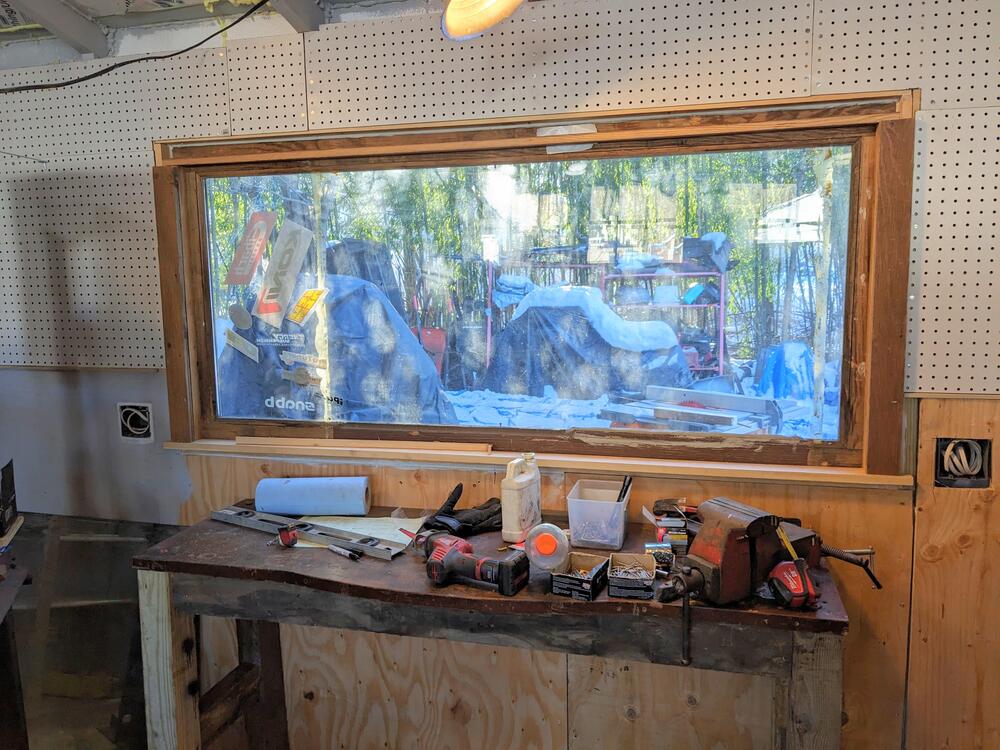
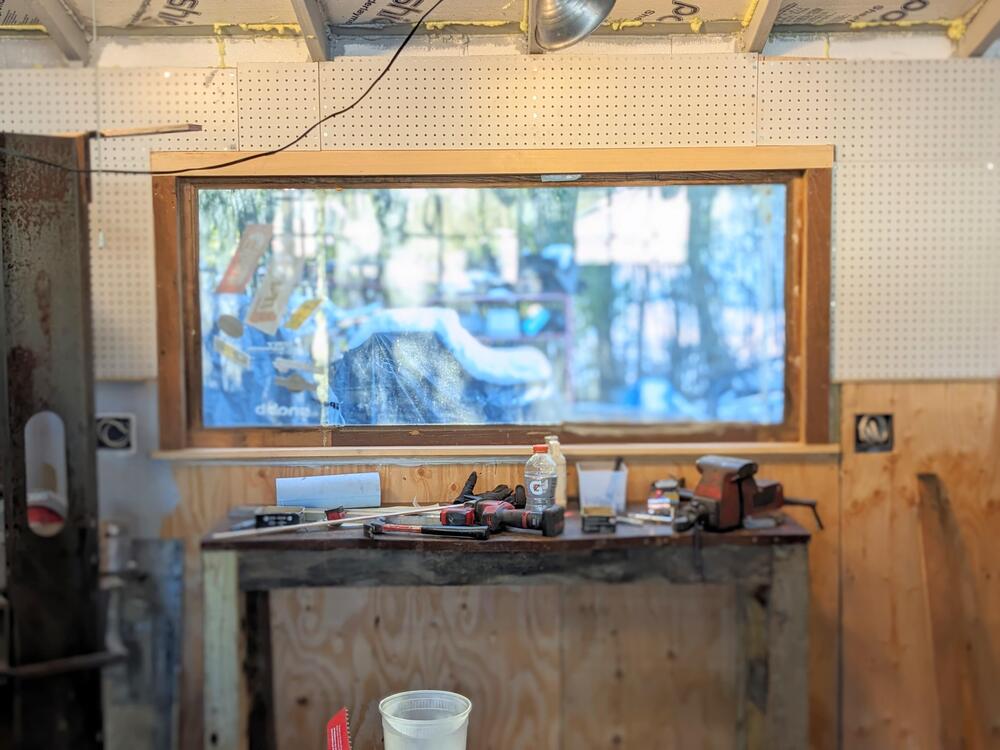
It was in the 20's this morning, but the sun was out. I framed out the casing on the window, and got the rest of the siding up & primed before it was time to clean up for the day. I cut the sill to 12º, and back-caulked everything. Have to get done with the exterior soon, I'm tired of looking at the tarped wood pile

-
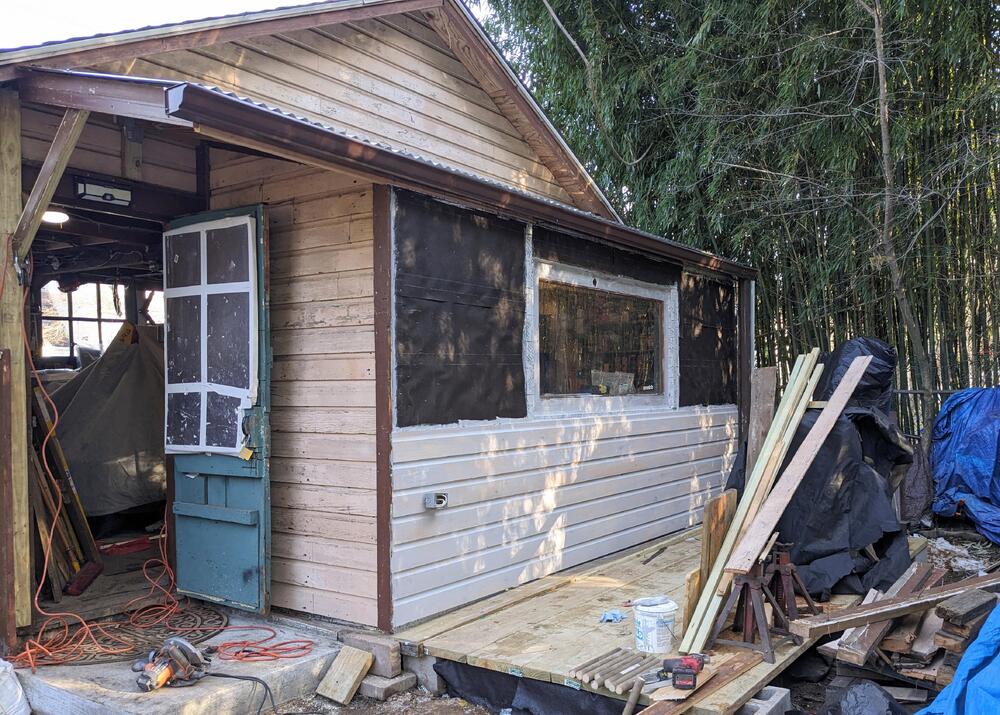
Small things again today. Primed some stuff inside, added some pegboard near the door, and since the sun was out the past couple days, the snow cleared outside. I started putting the siding up while I can, even if it was only 30ºF in the sun. Supposed to rain later in the week, so I'd like to get it done before then


-
Thank you - the garage footprint is only inches over 18' sq. I'm used to constantly moving stuff around anytime I work on a project - that more than anything I'd like to reduce. Adding the 4' on the back helps immensely (given the scale) - moving forward I'm going to draw up plans to add on to the North wall, again, not much because I don't want it to be too obtrusive going in towards the house/deck. Even if I add just a single floor 6' additional width over the 18' depth, it would give me room to clear the main floor completely as a work space, which would be great, and it wouldn't overly impact the side yard. I still prefer to work on the cars outside if the weather permits, but much of late winter & early spring is either too cold or too wet...
-
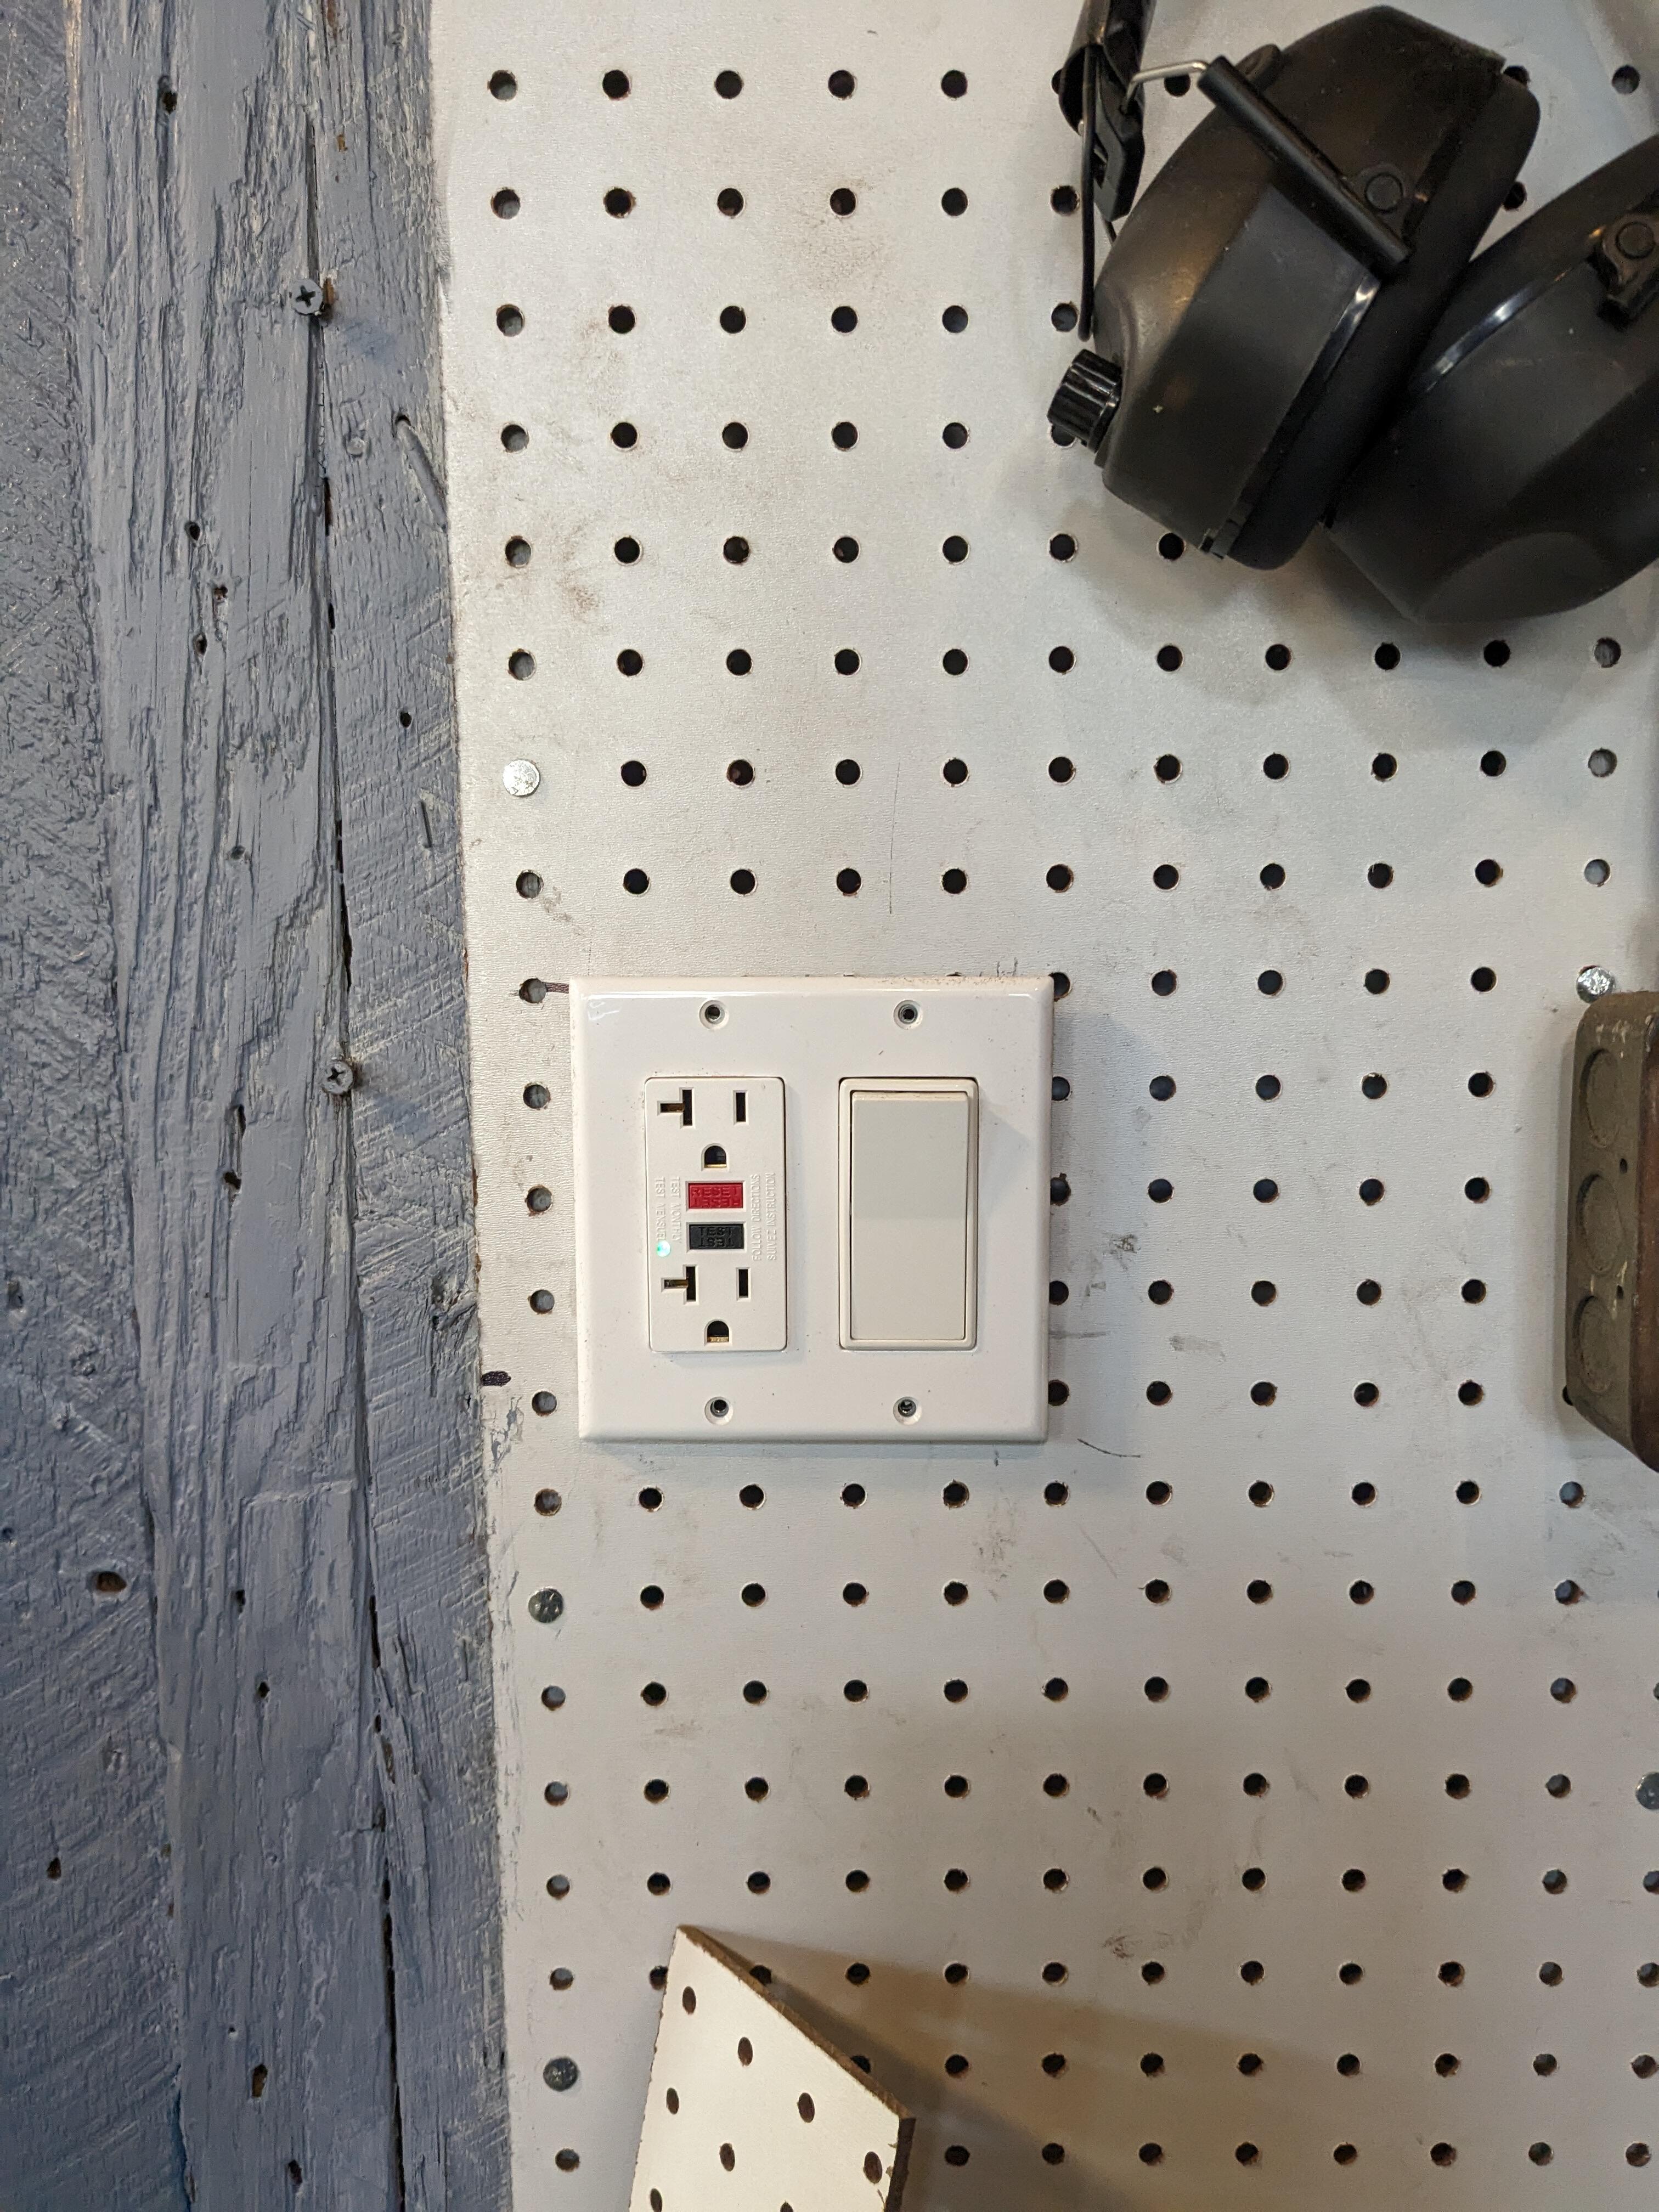
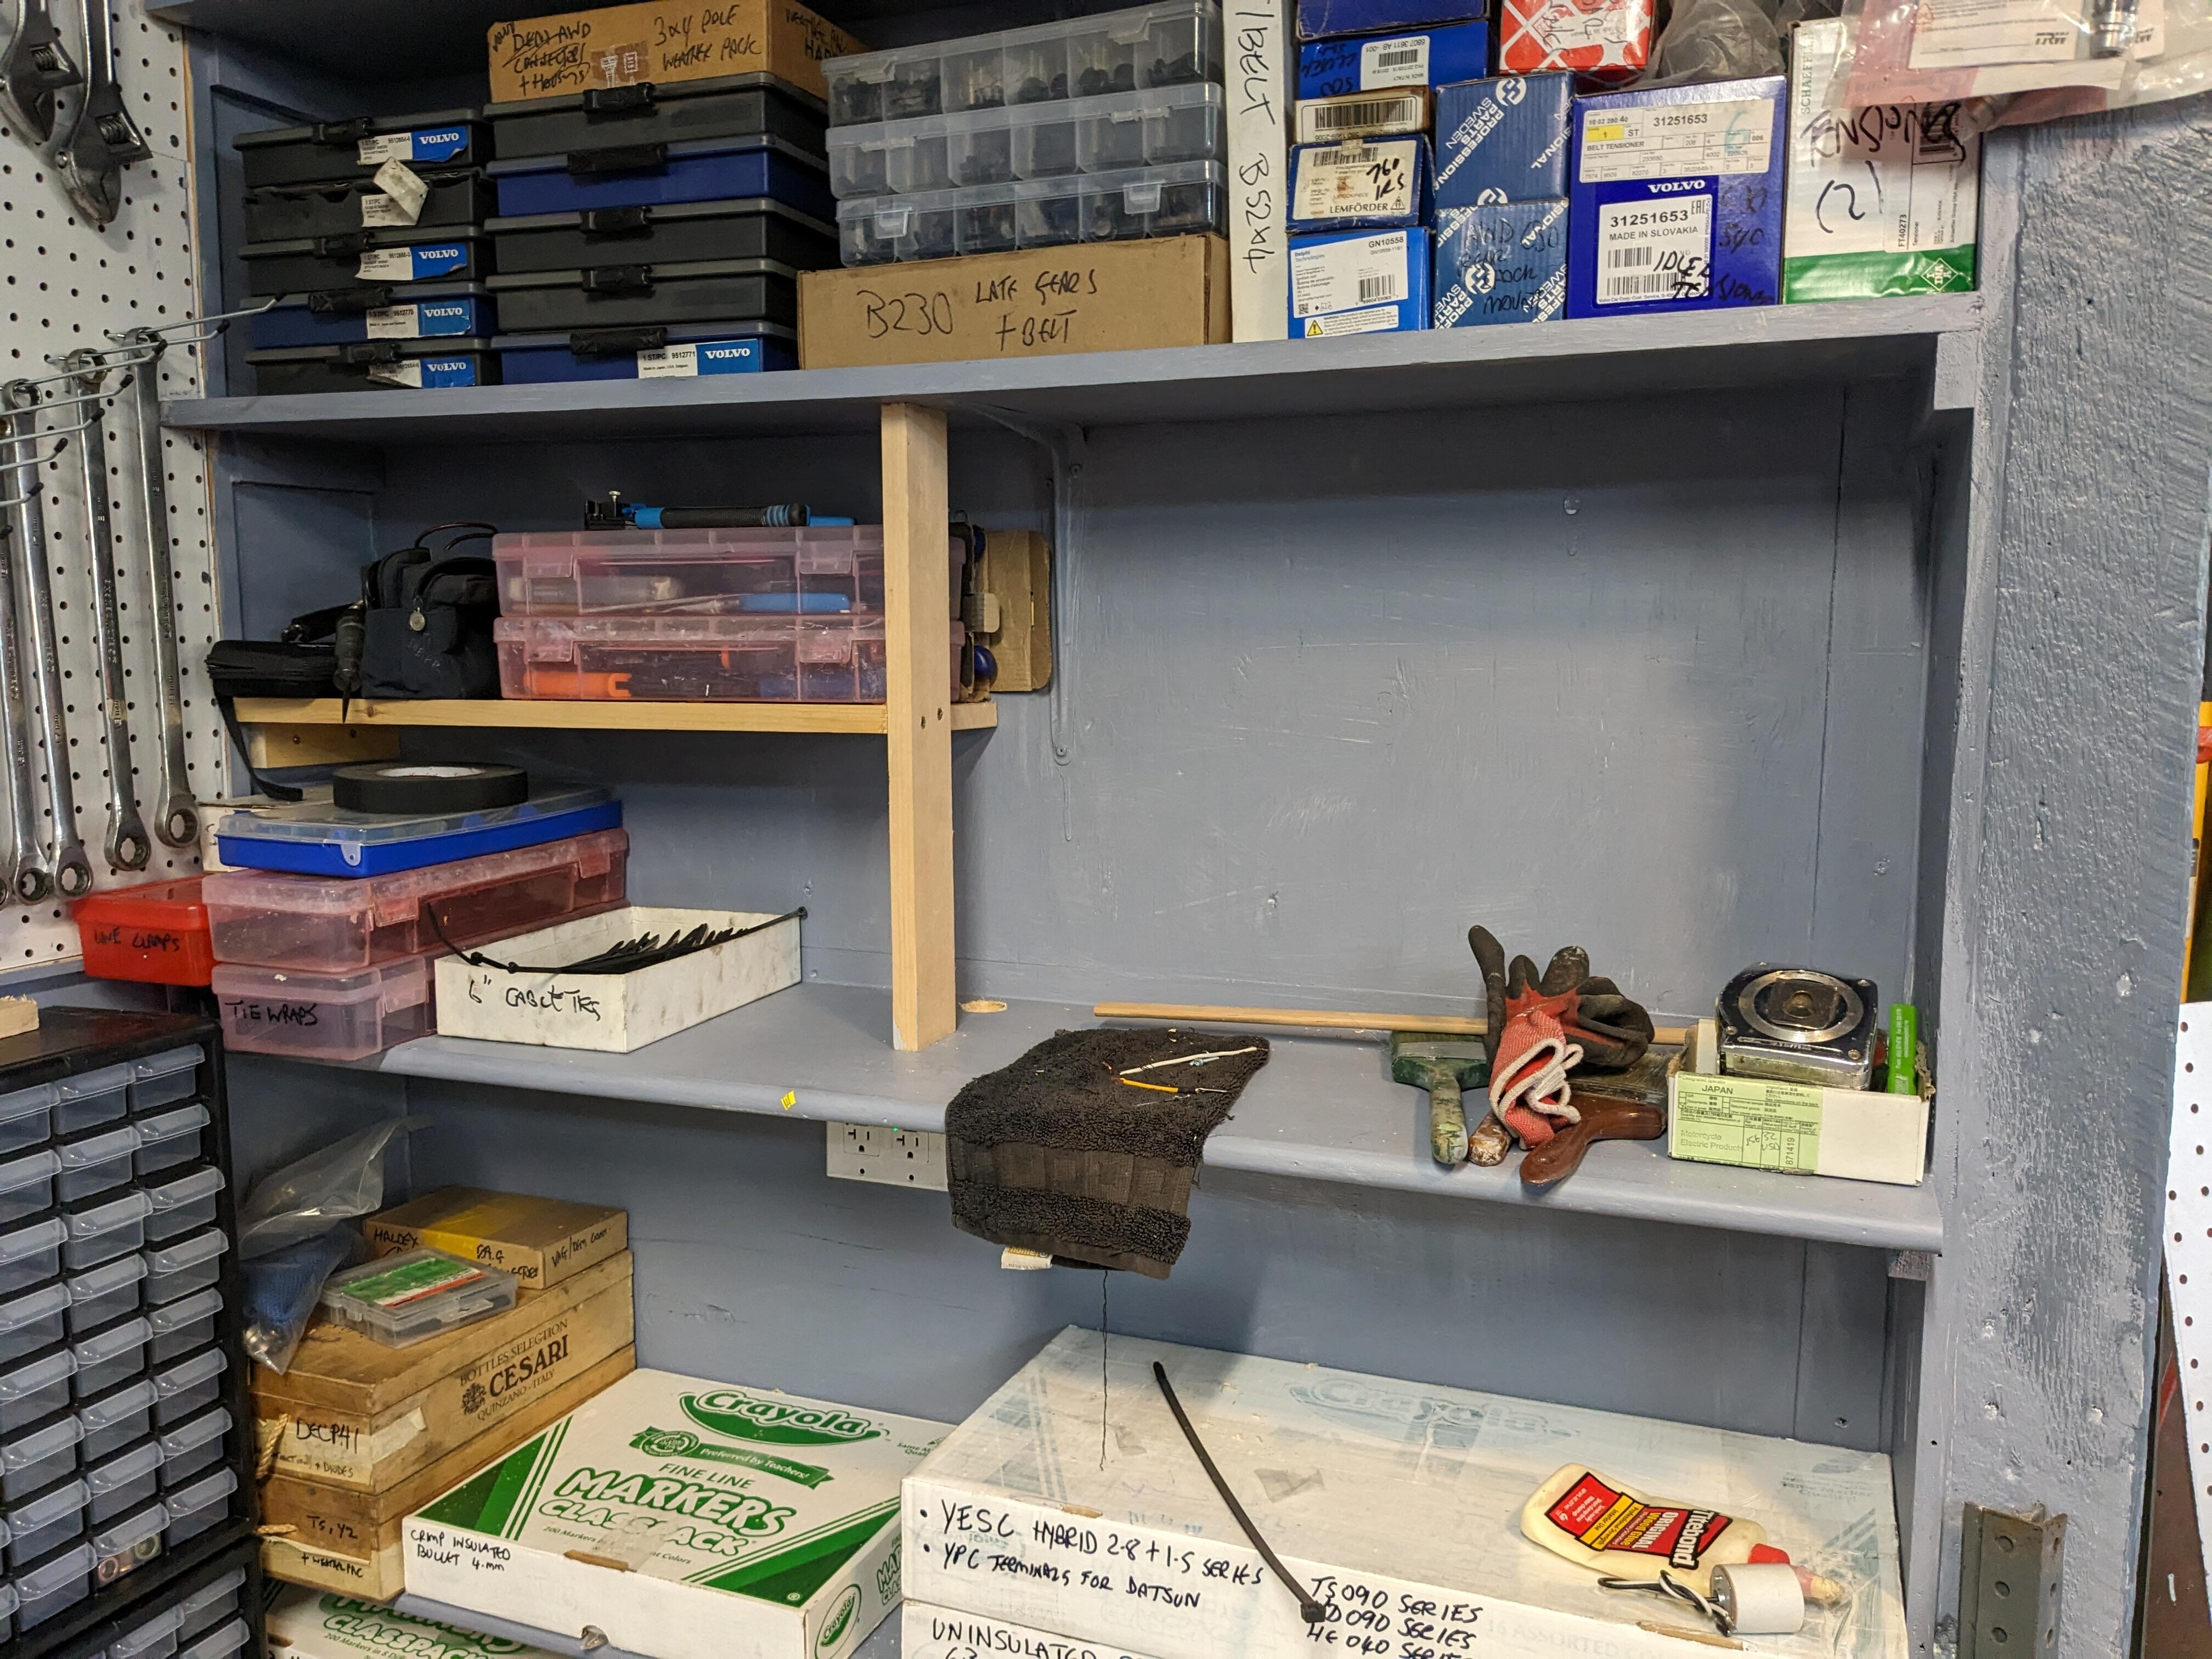
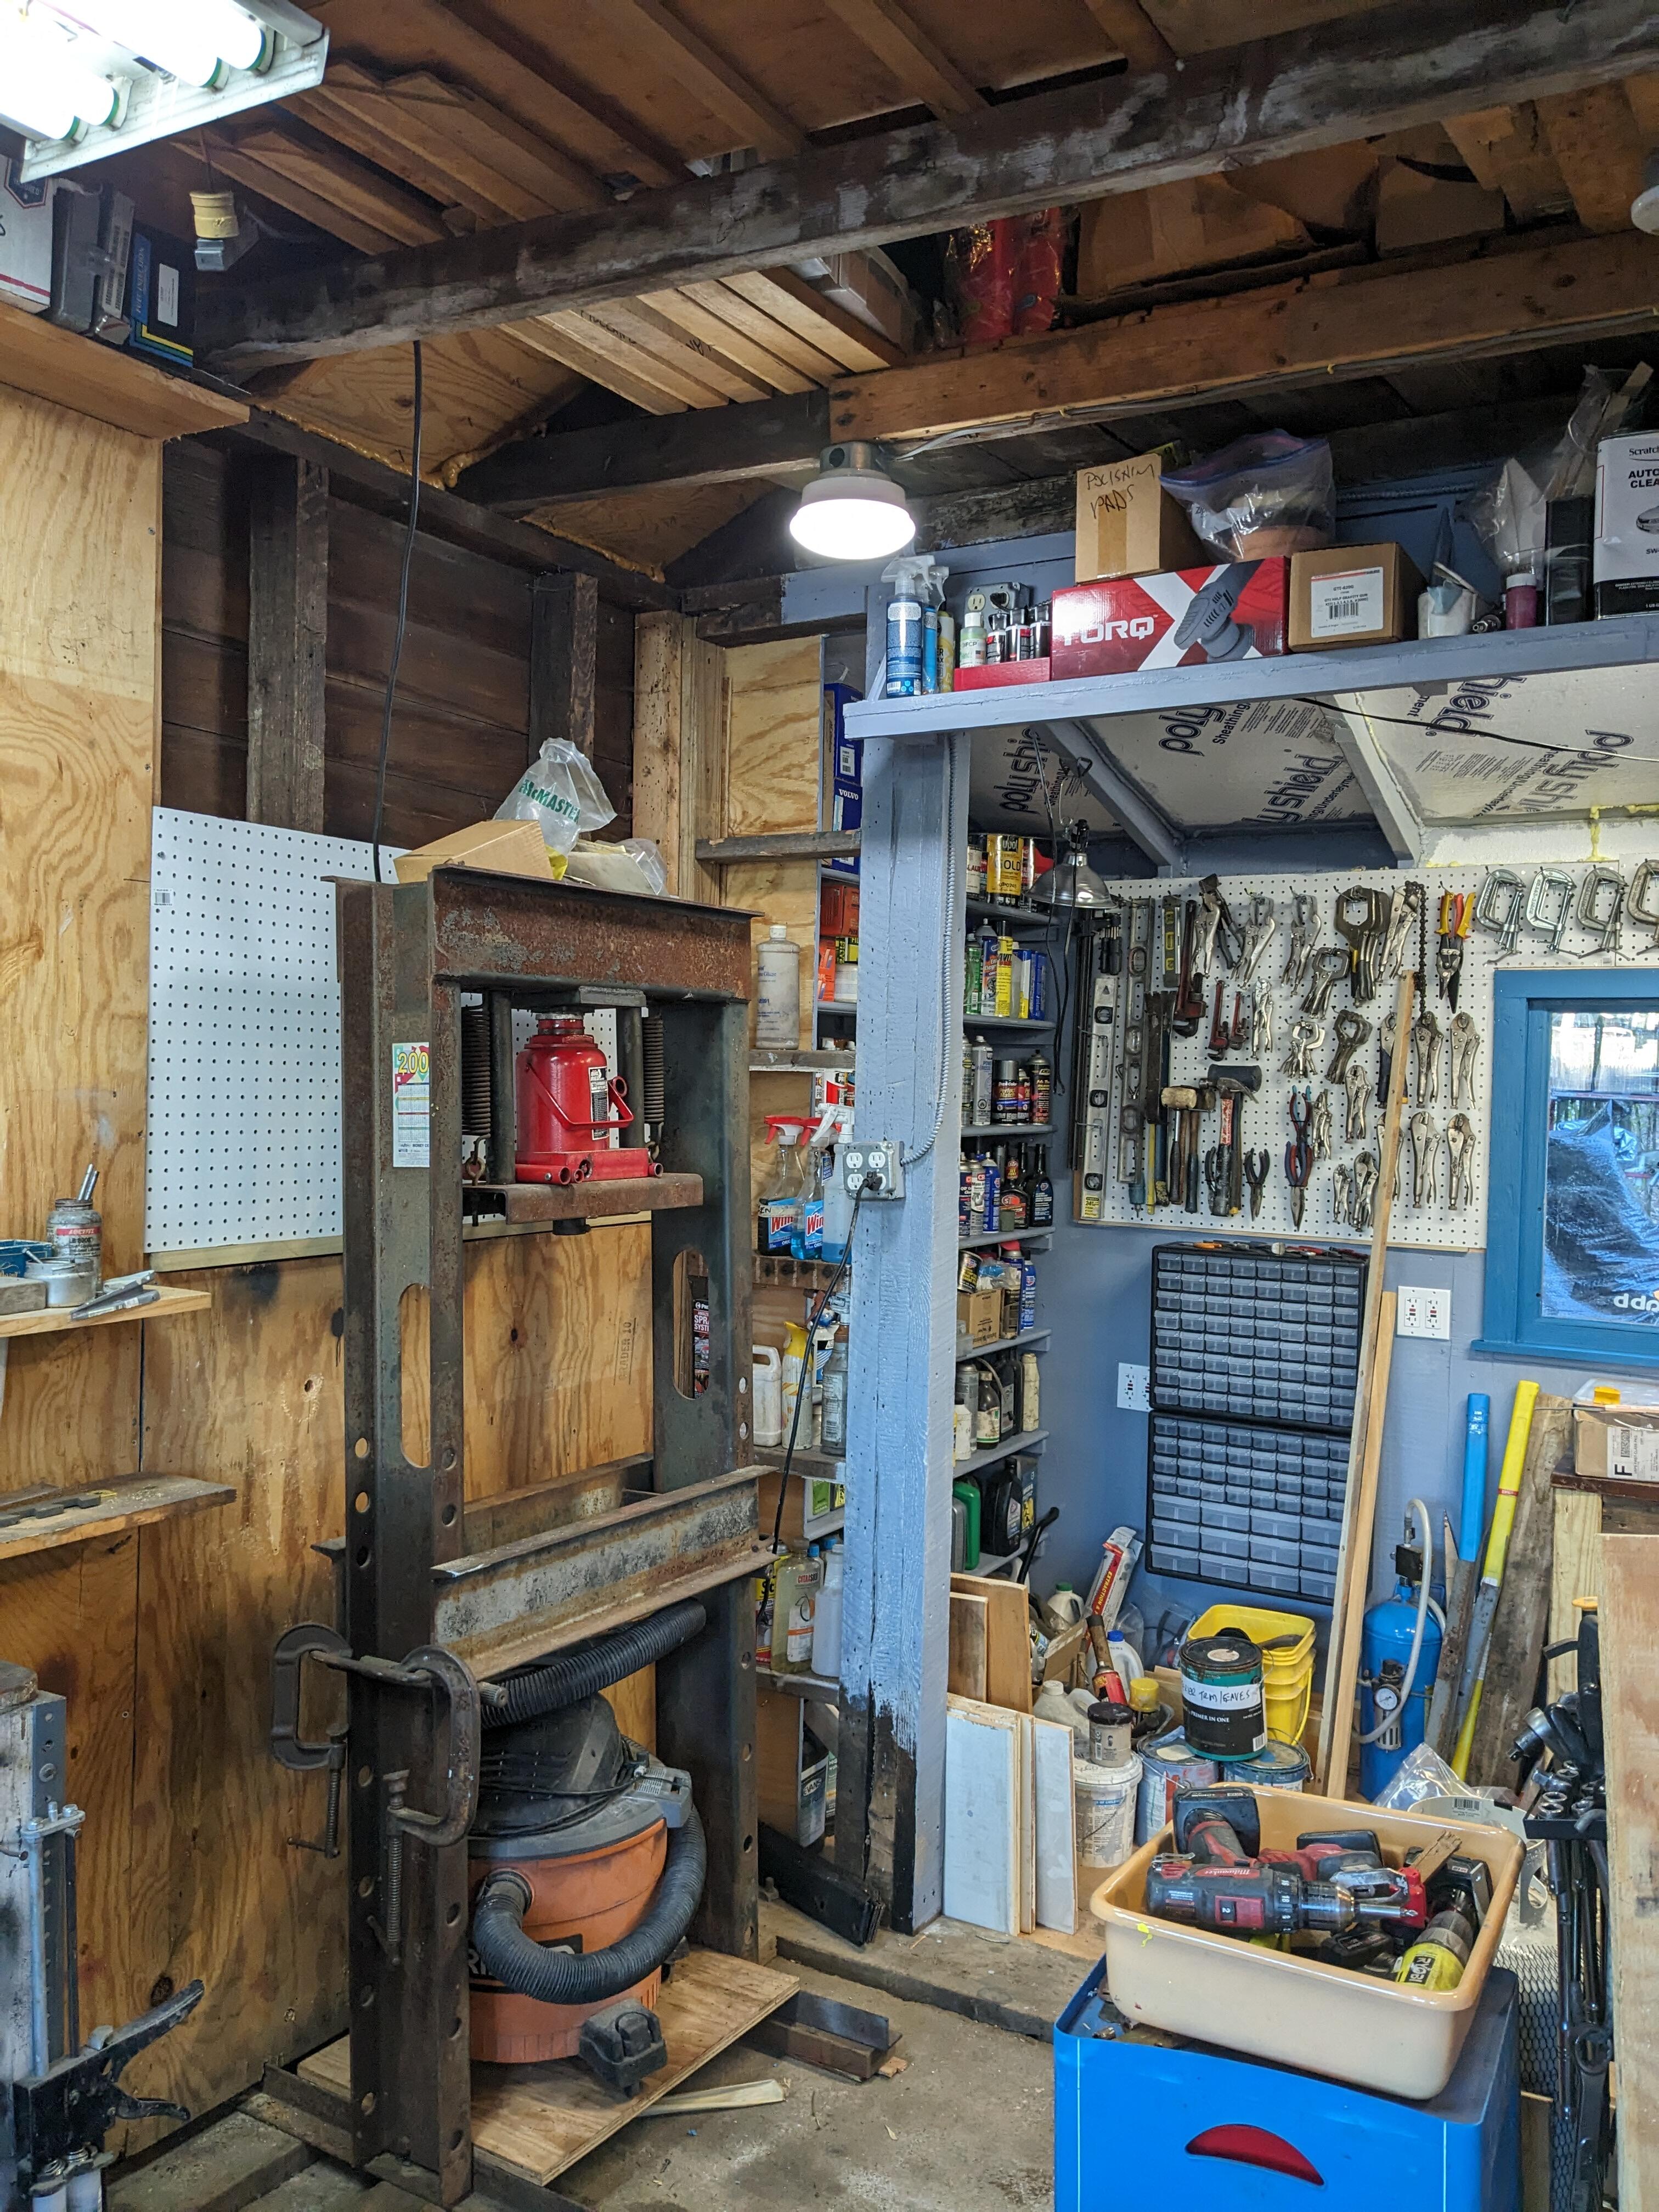
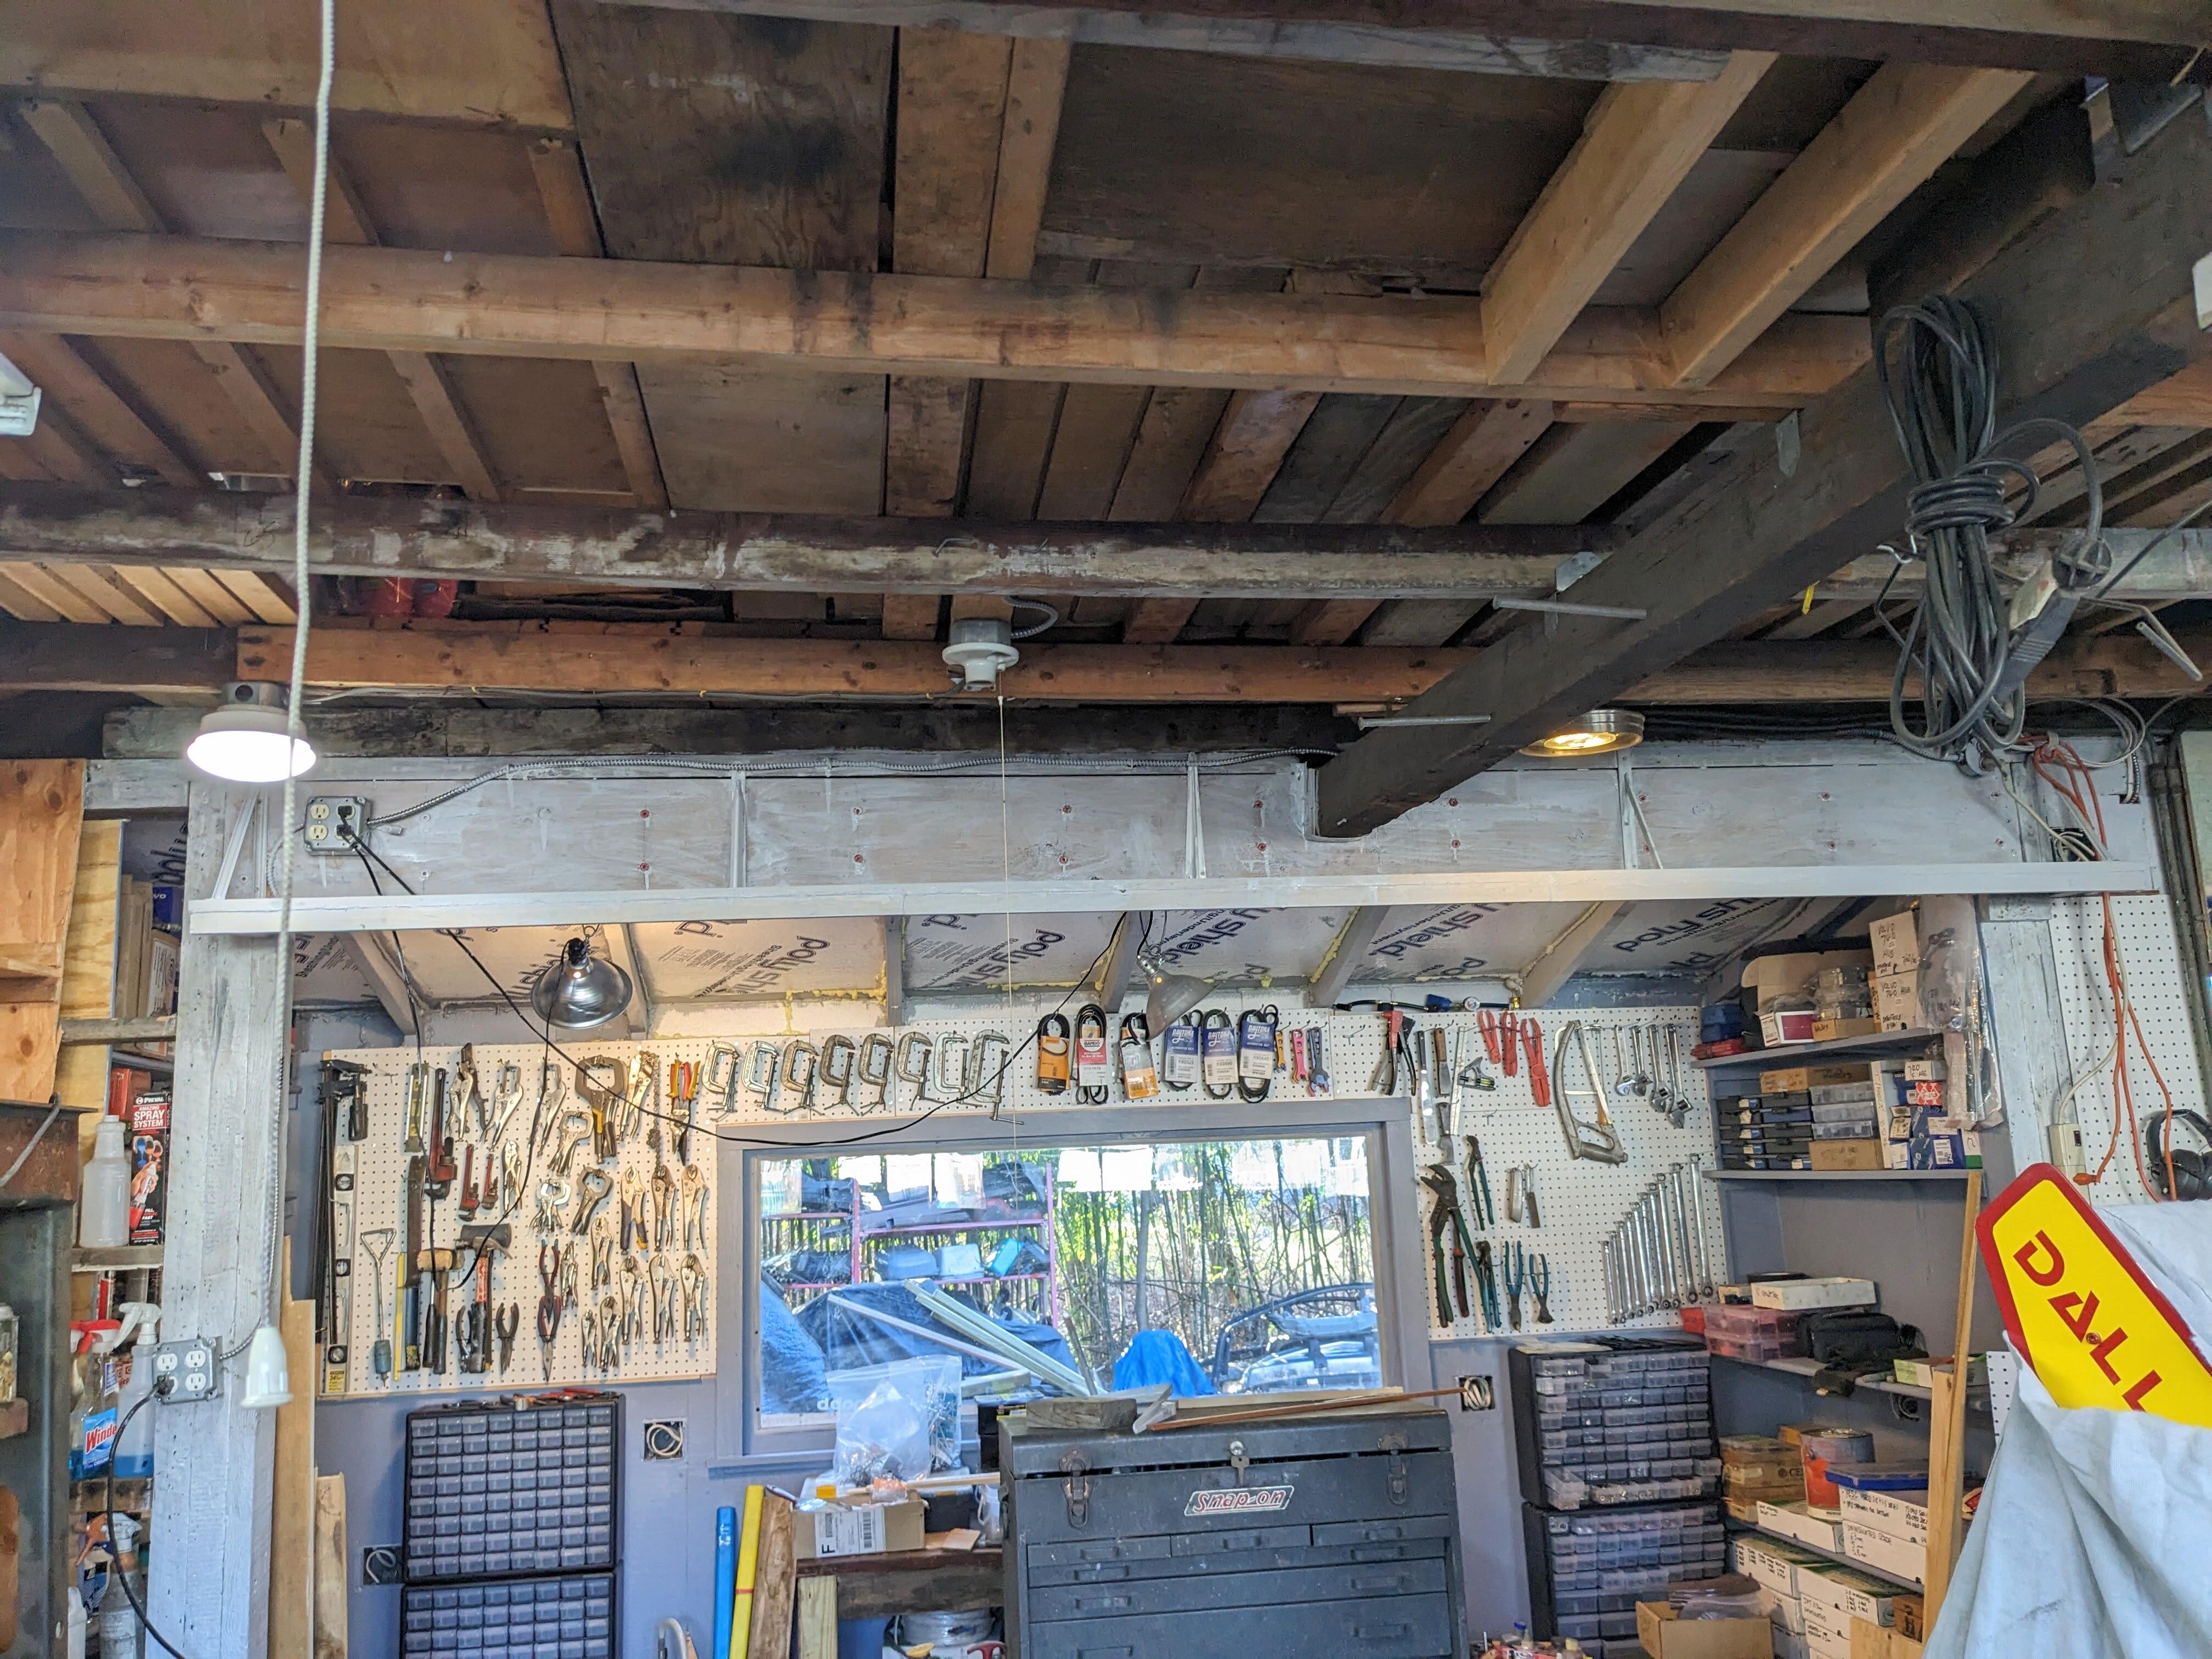
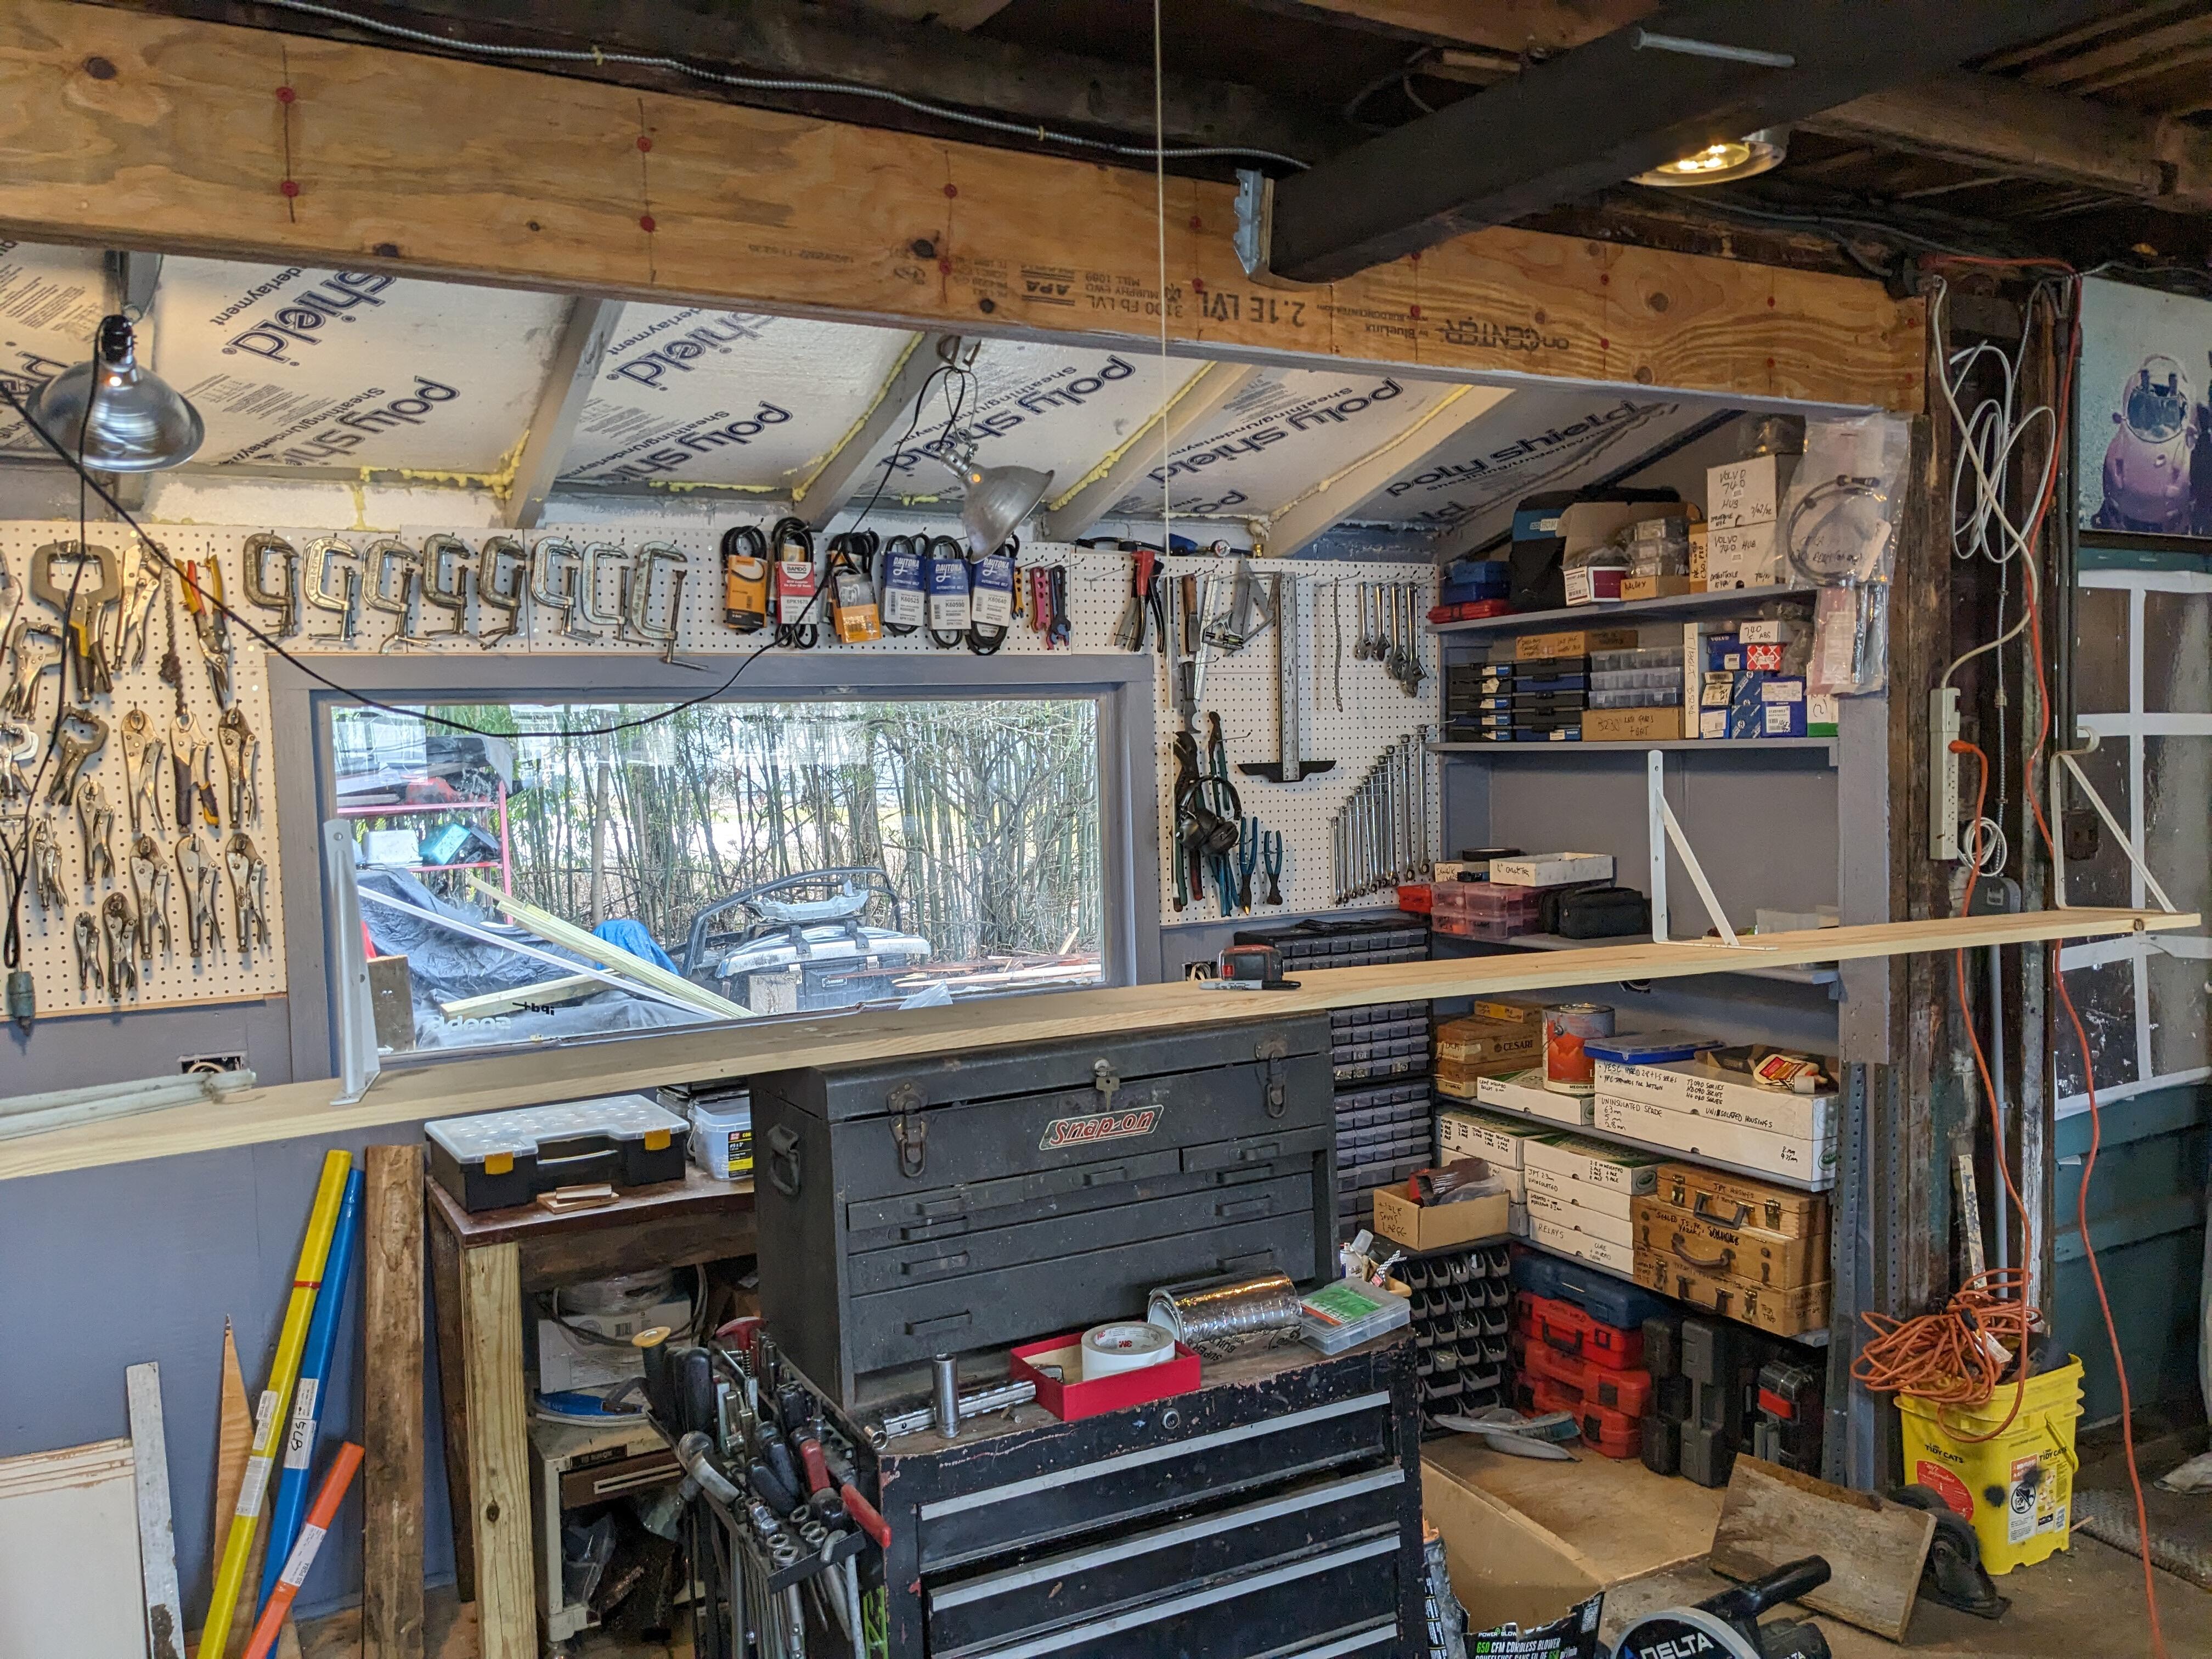
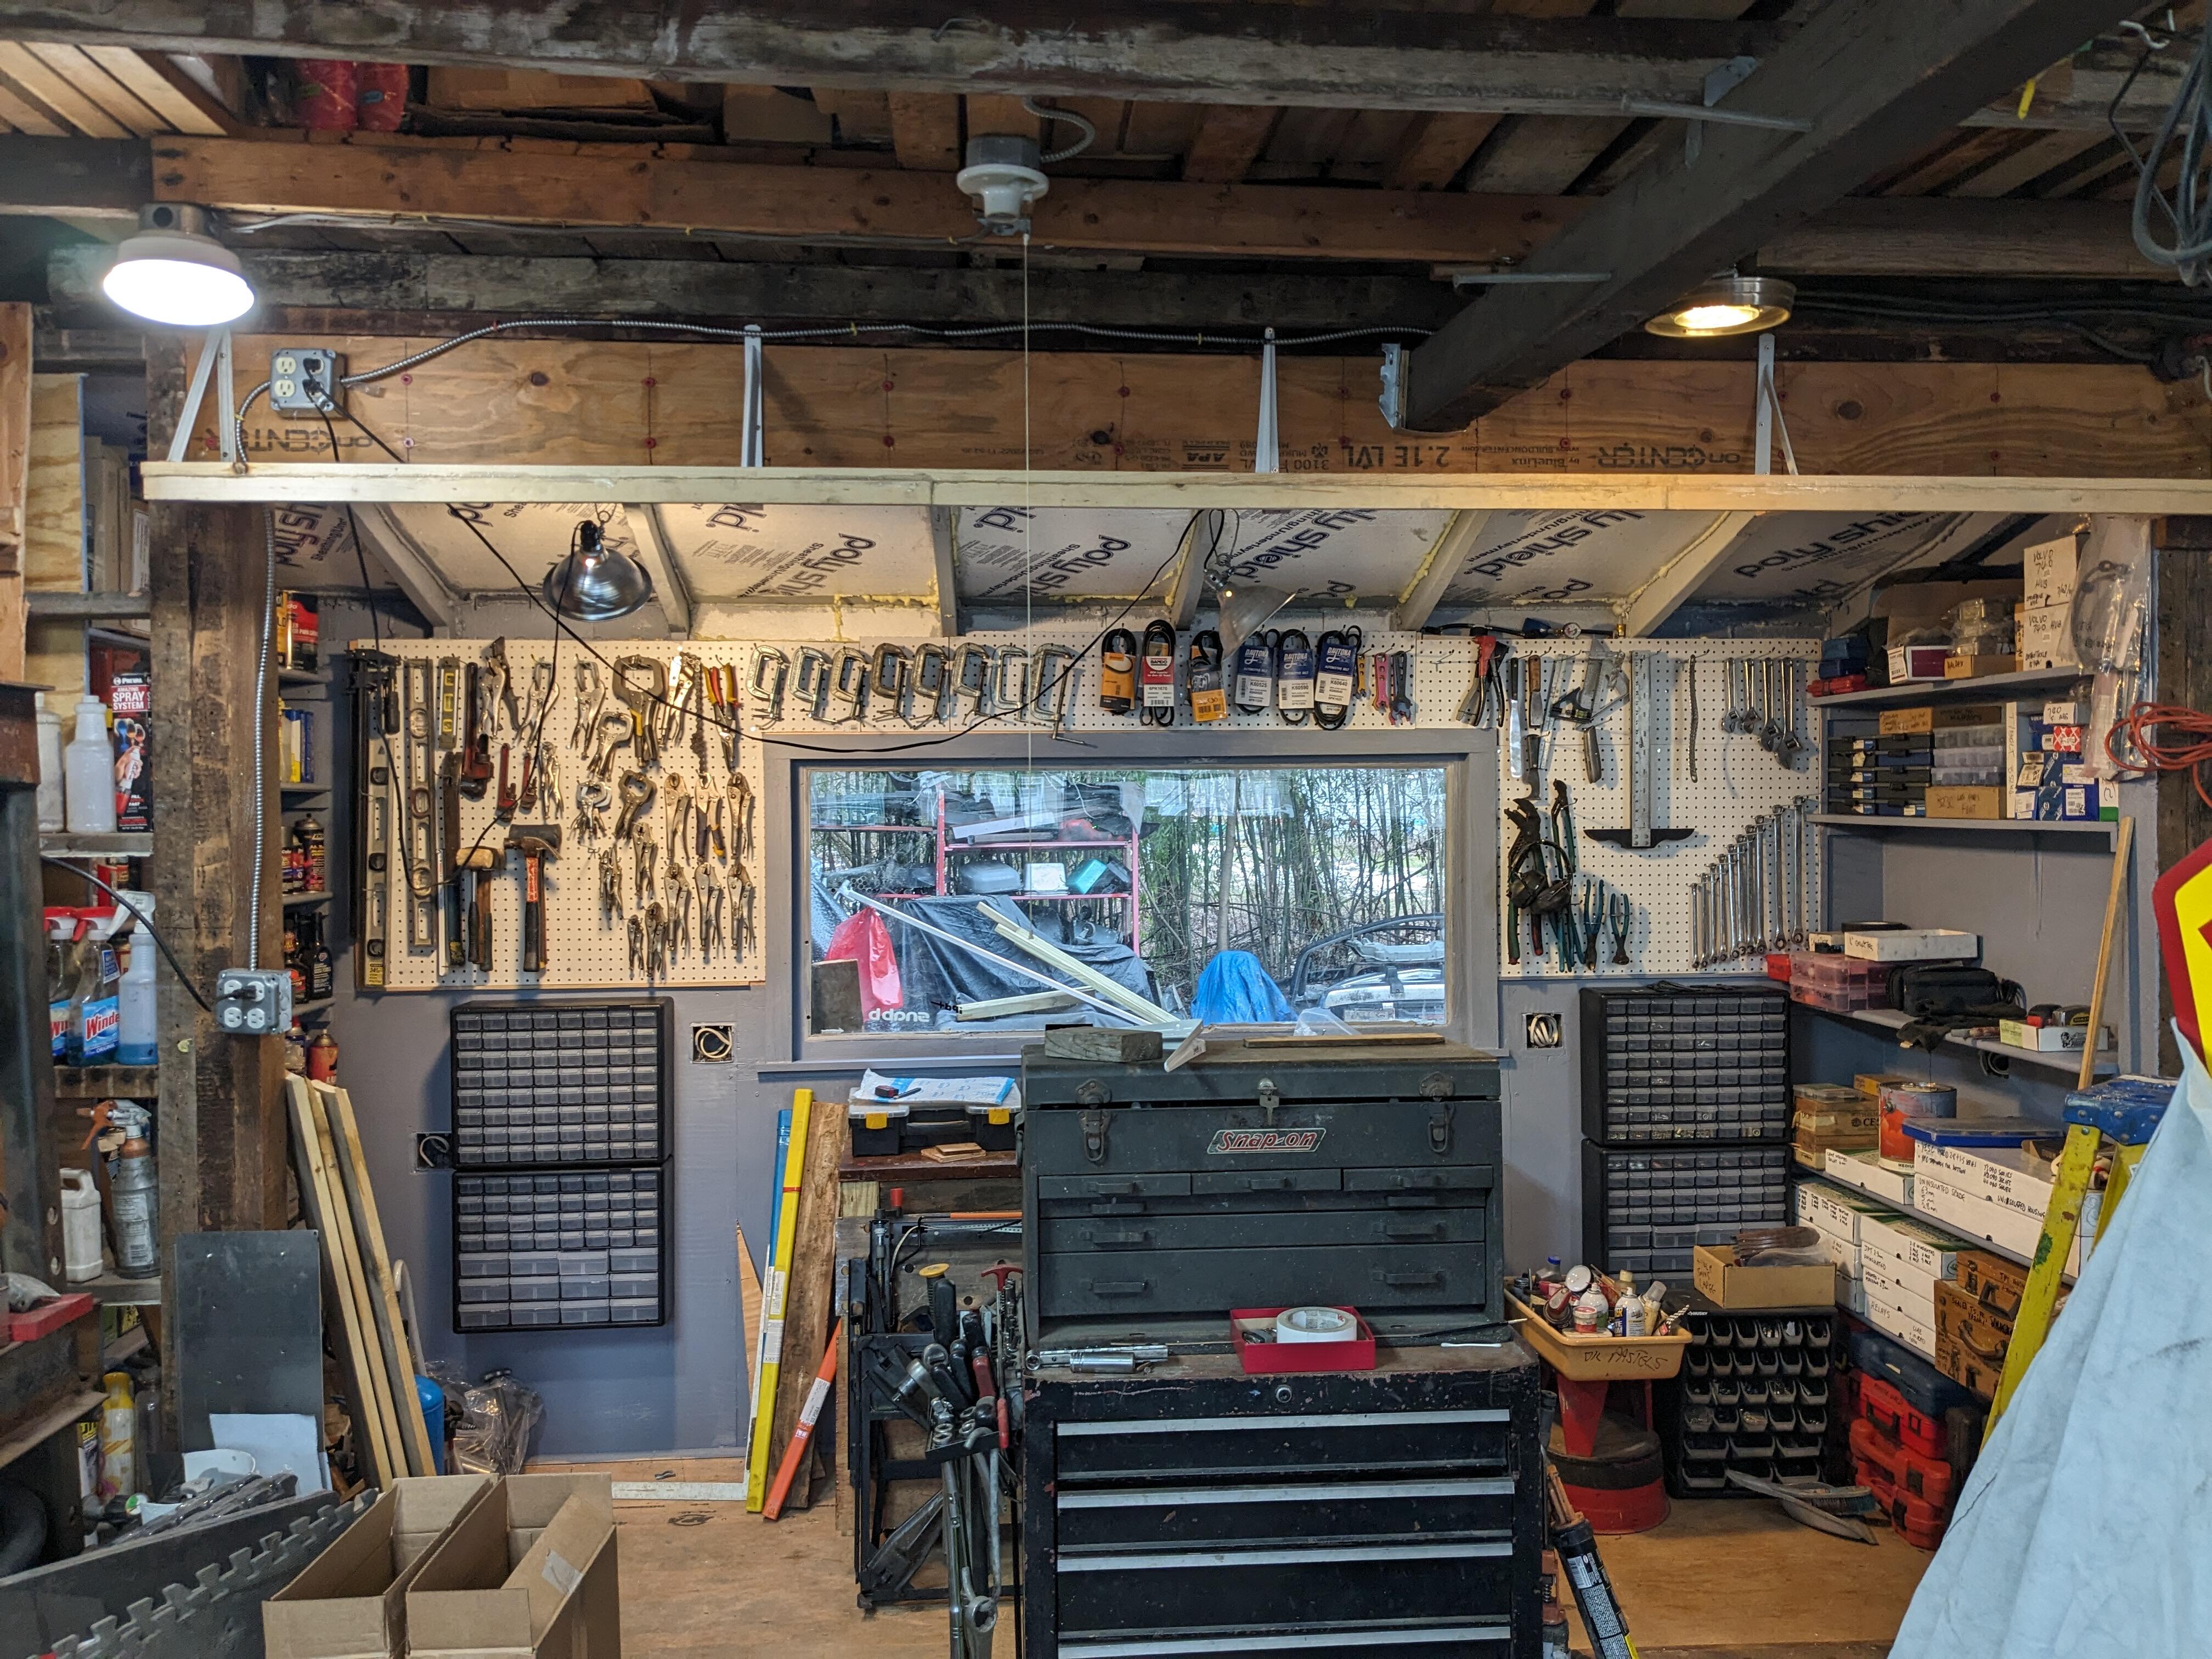
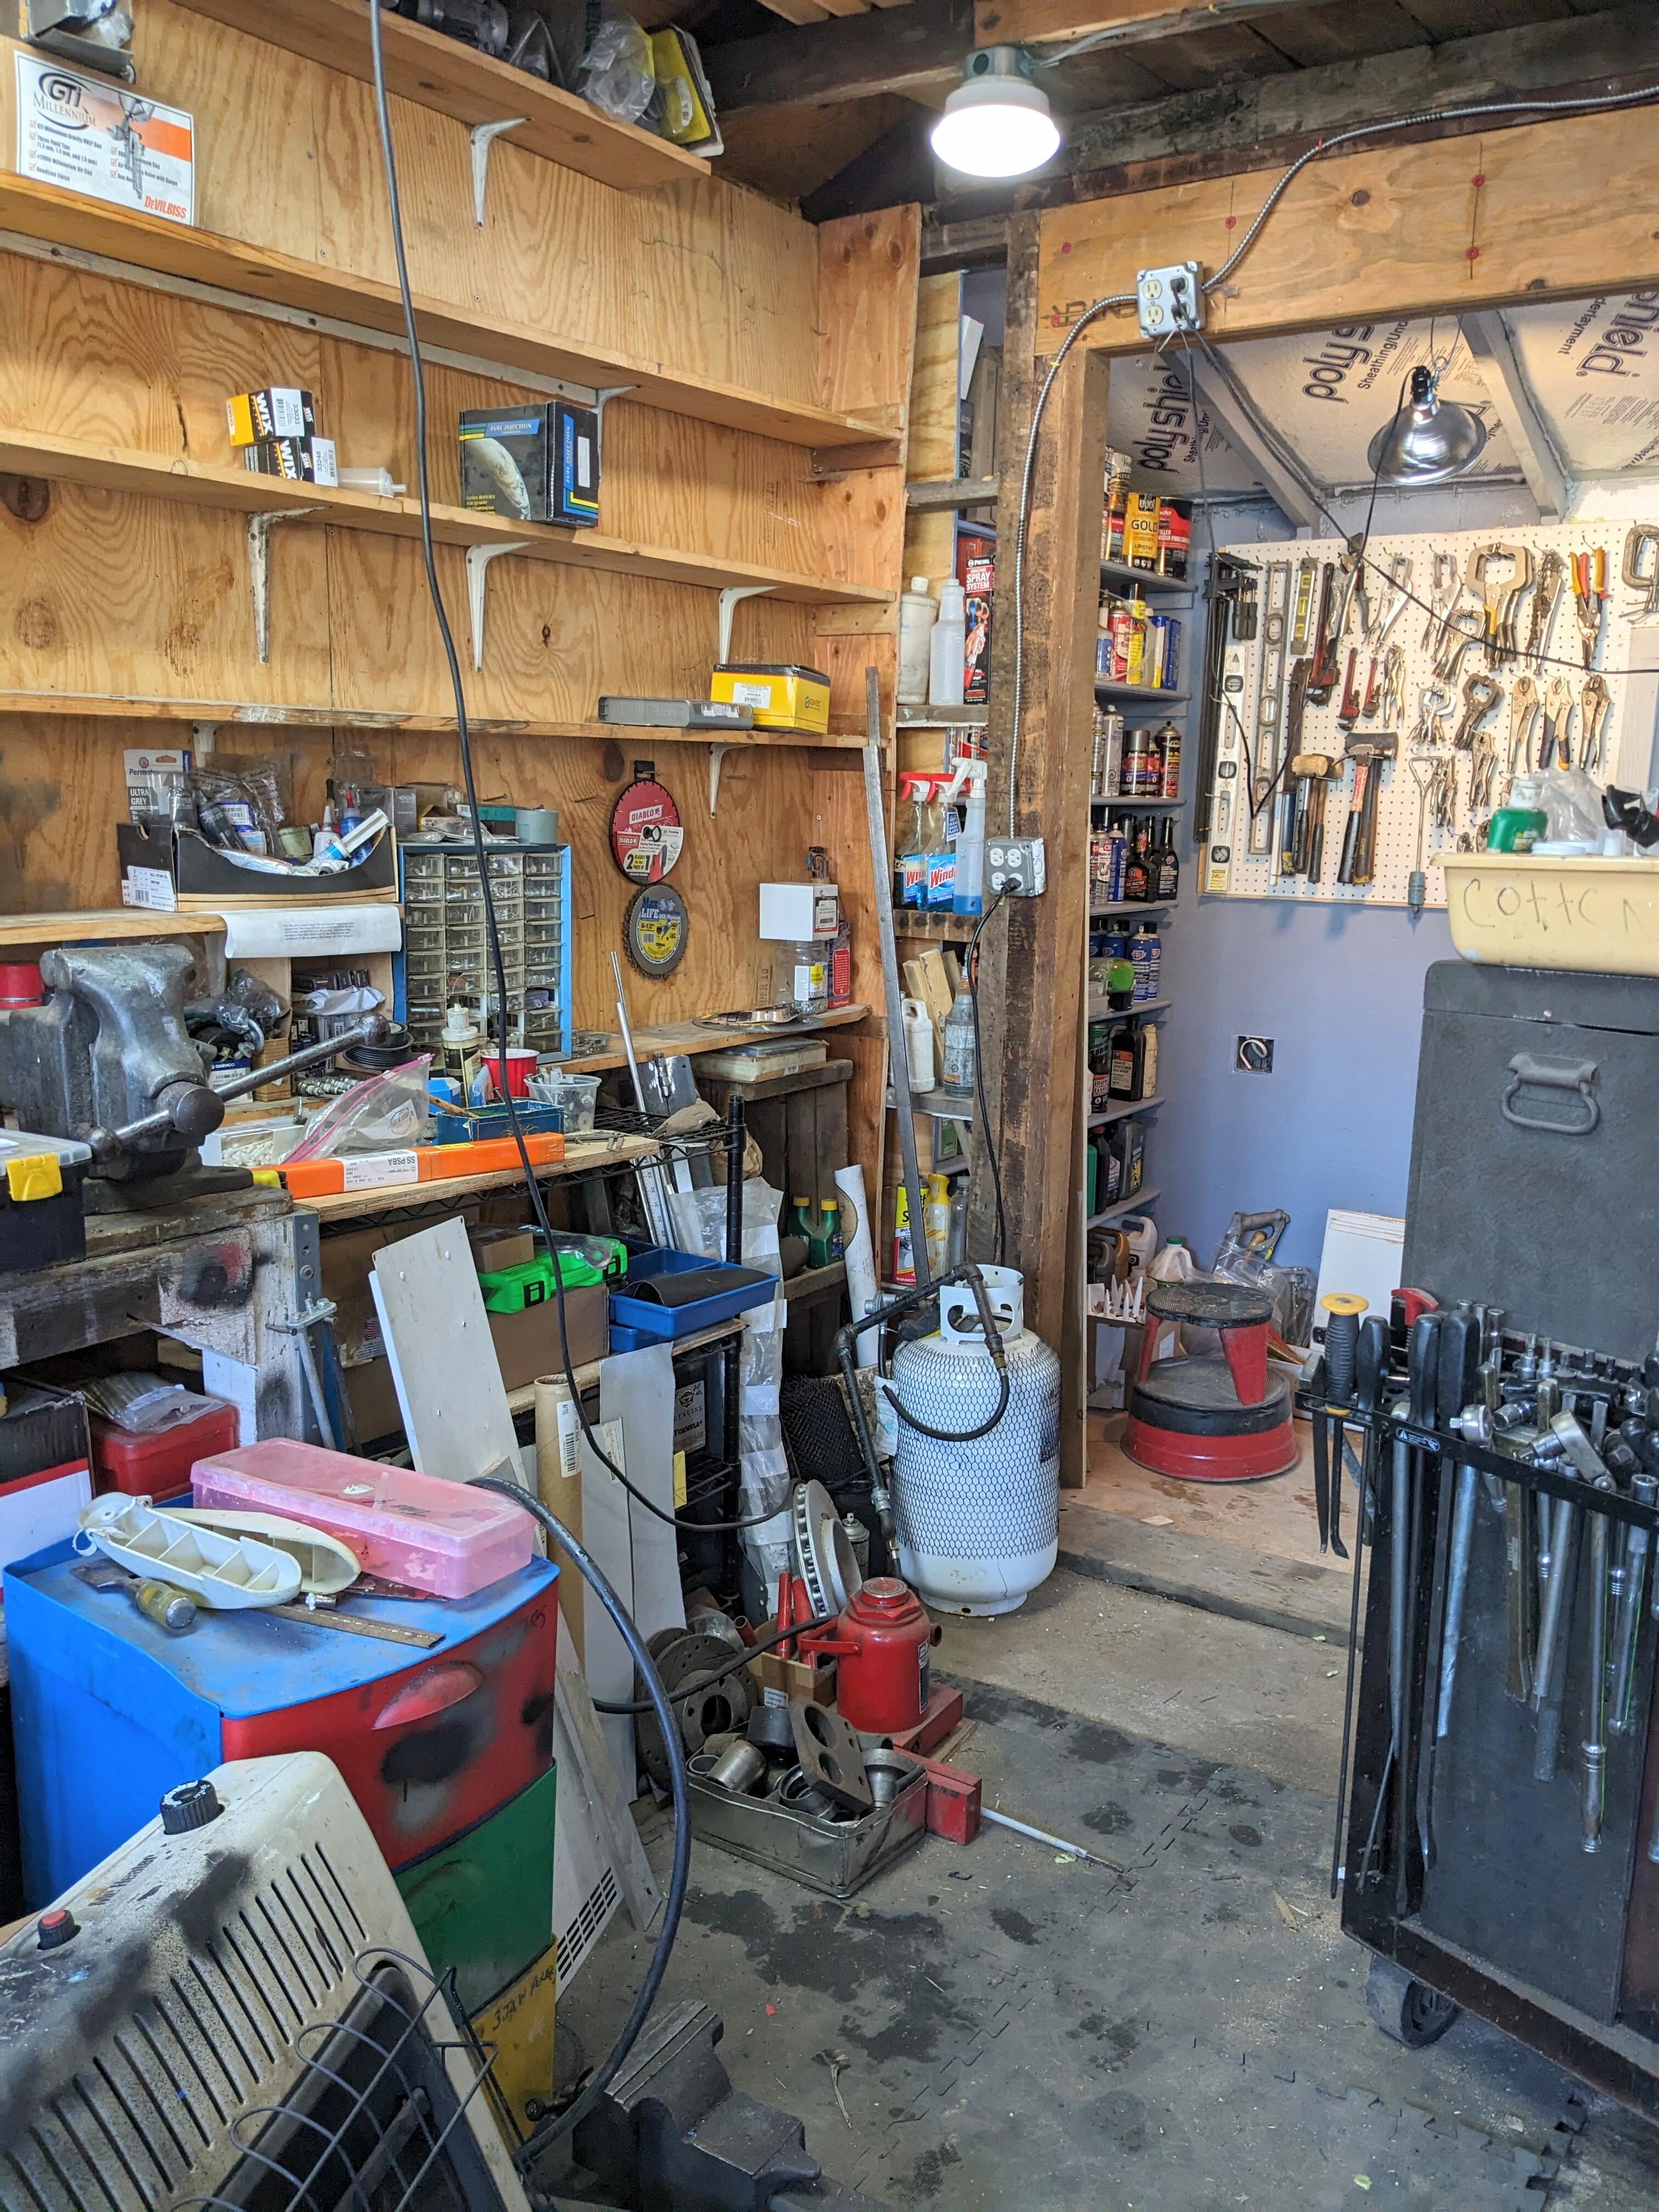
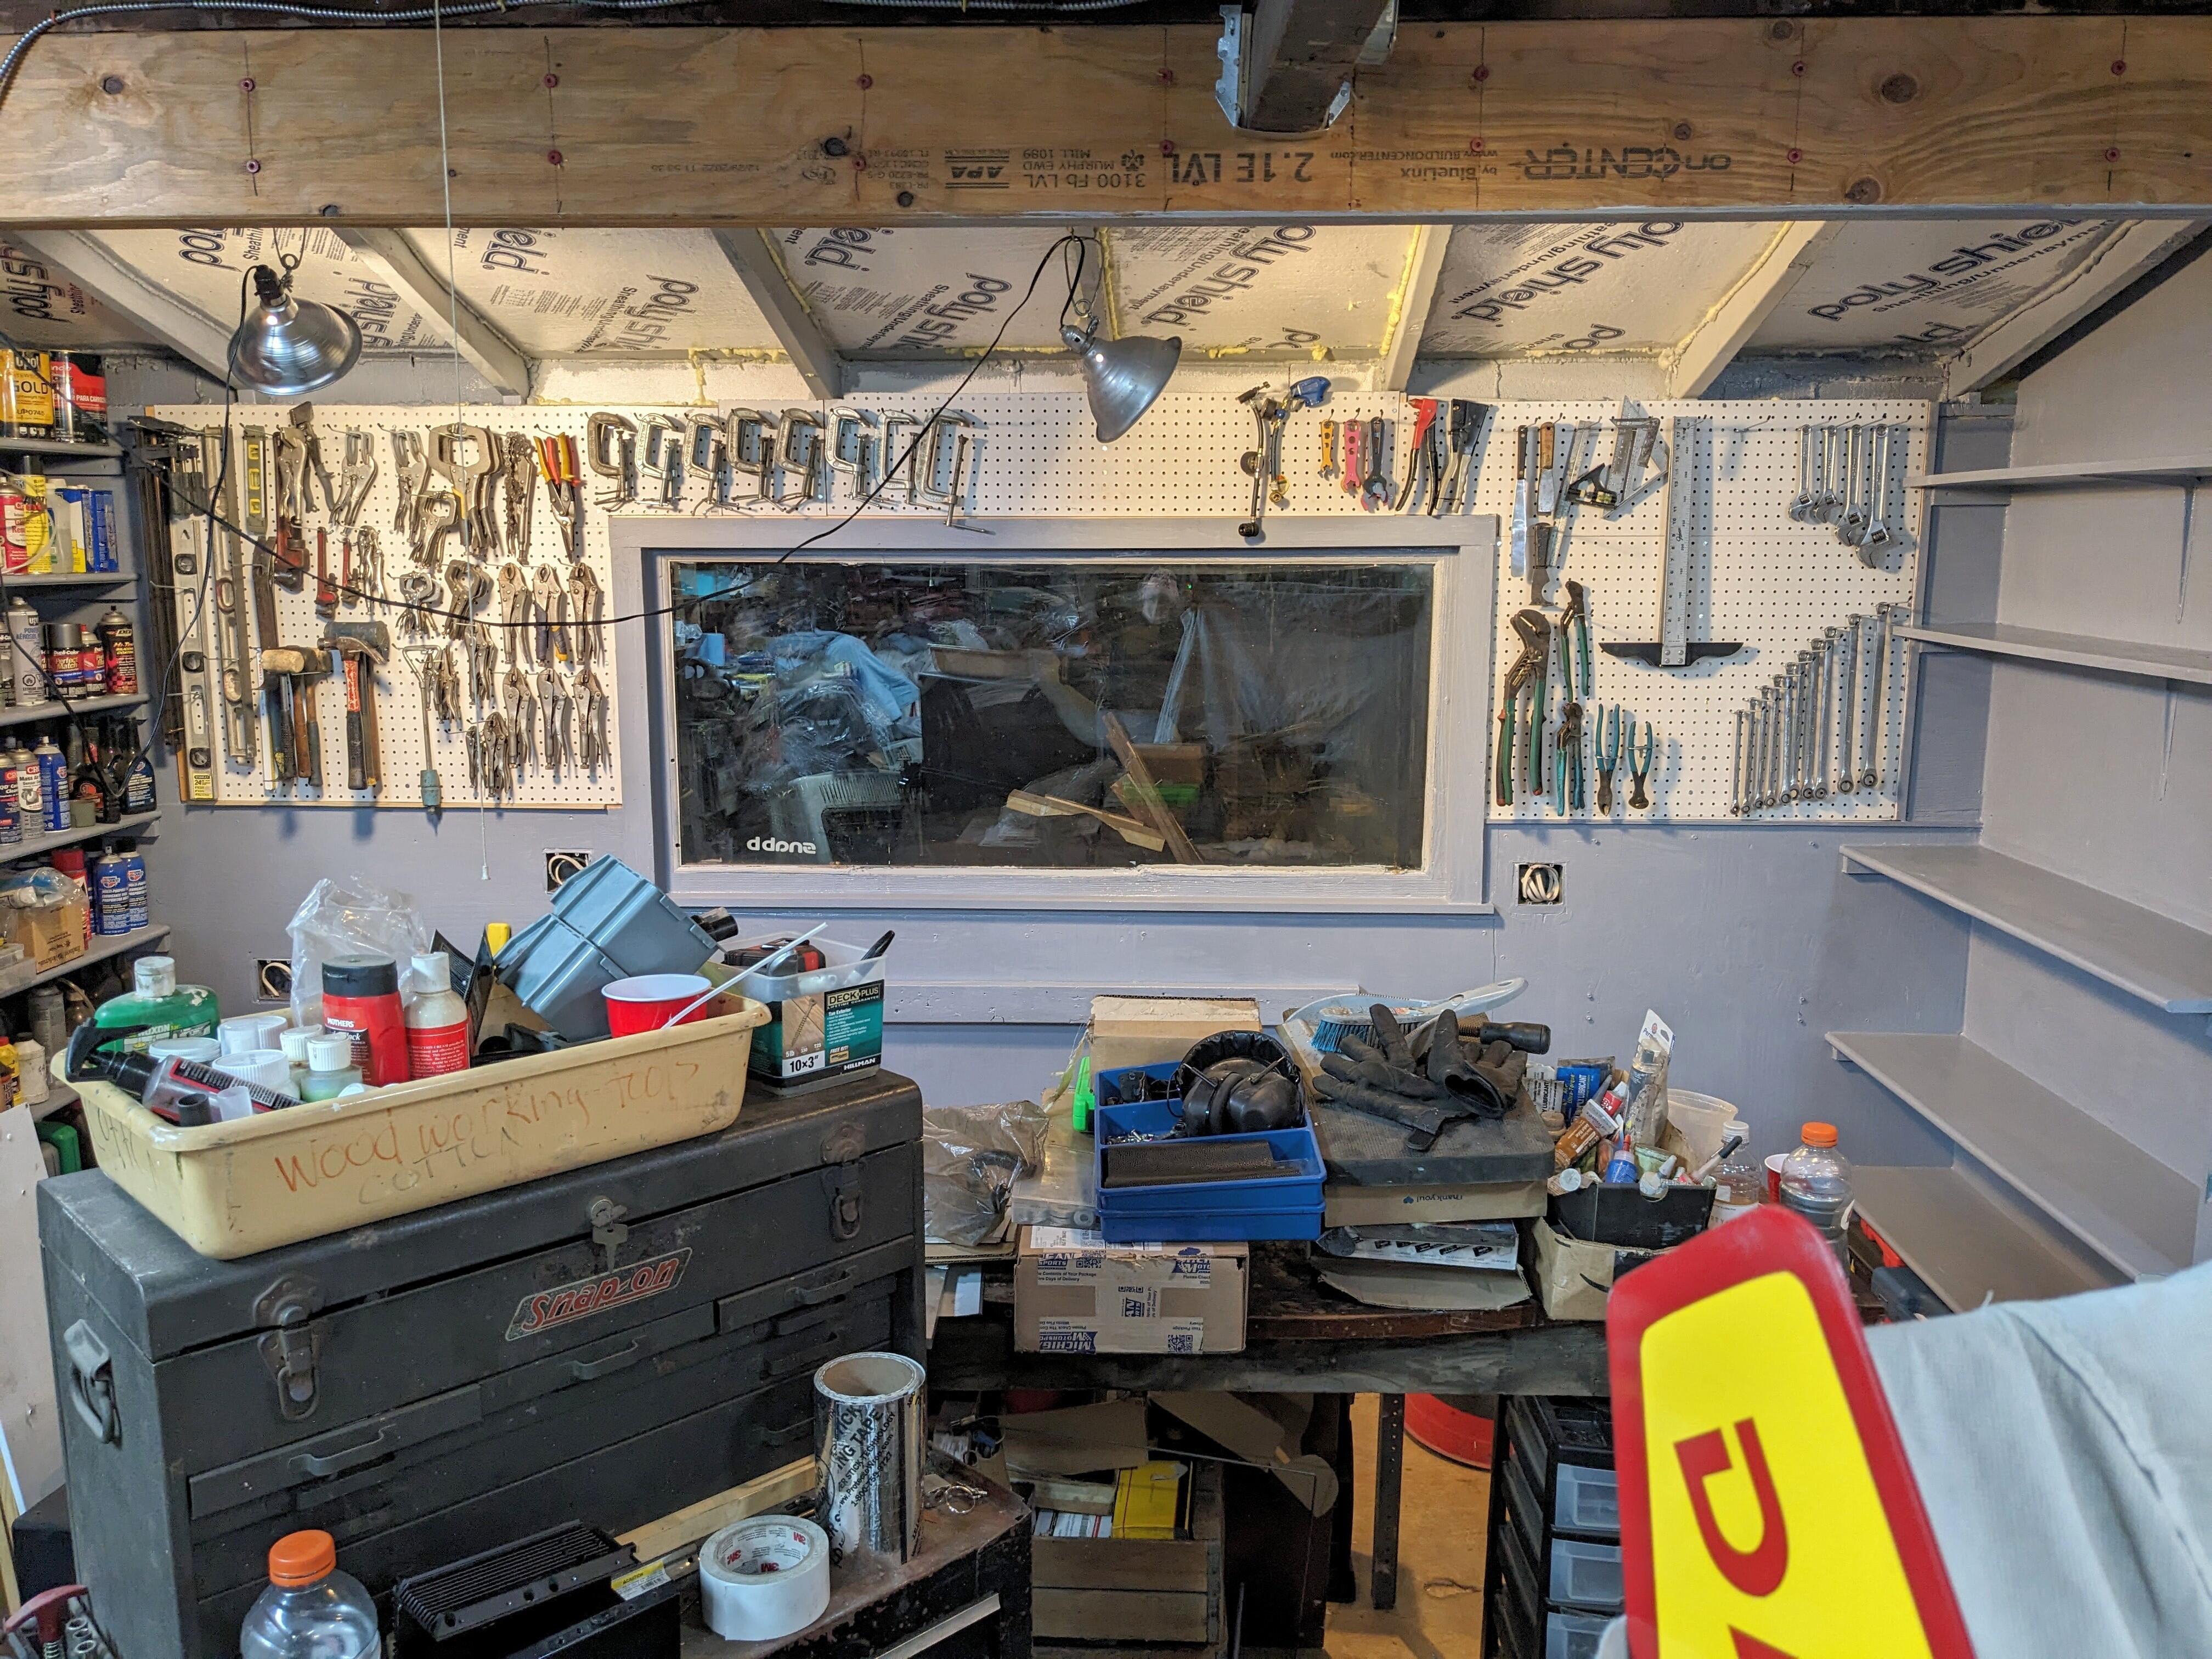
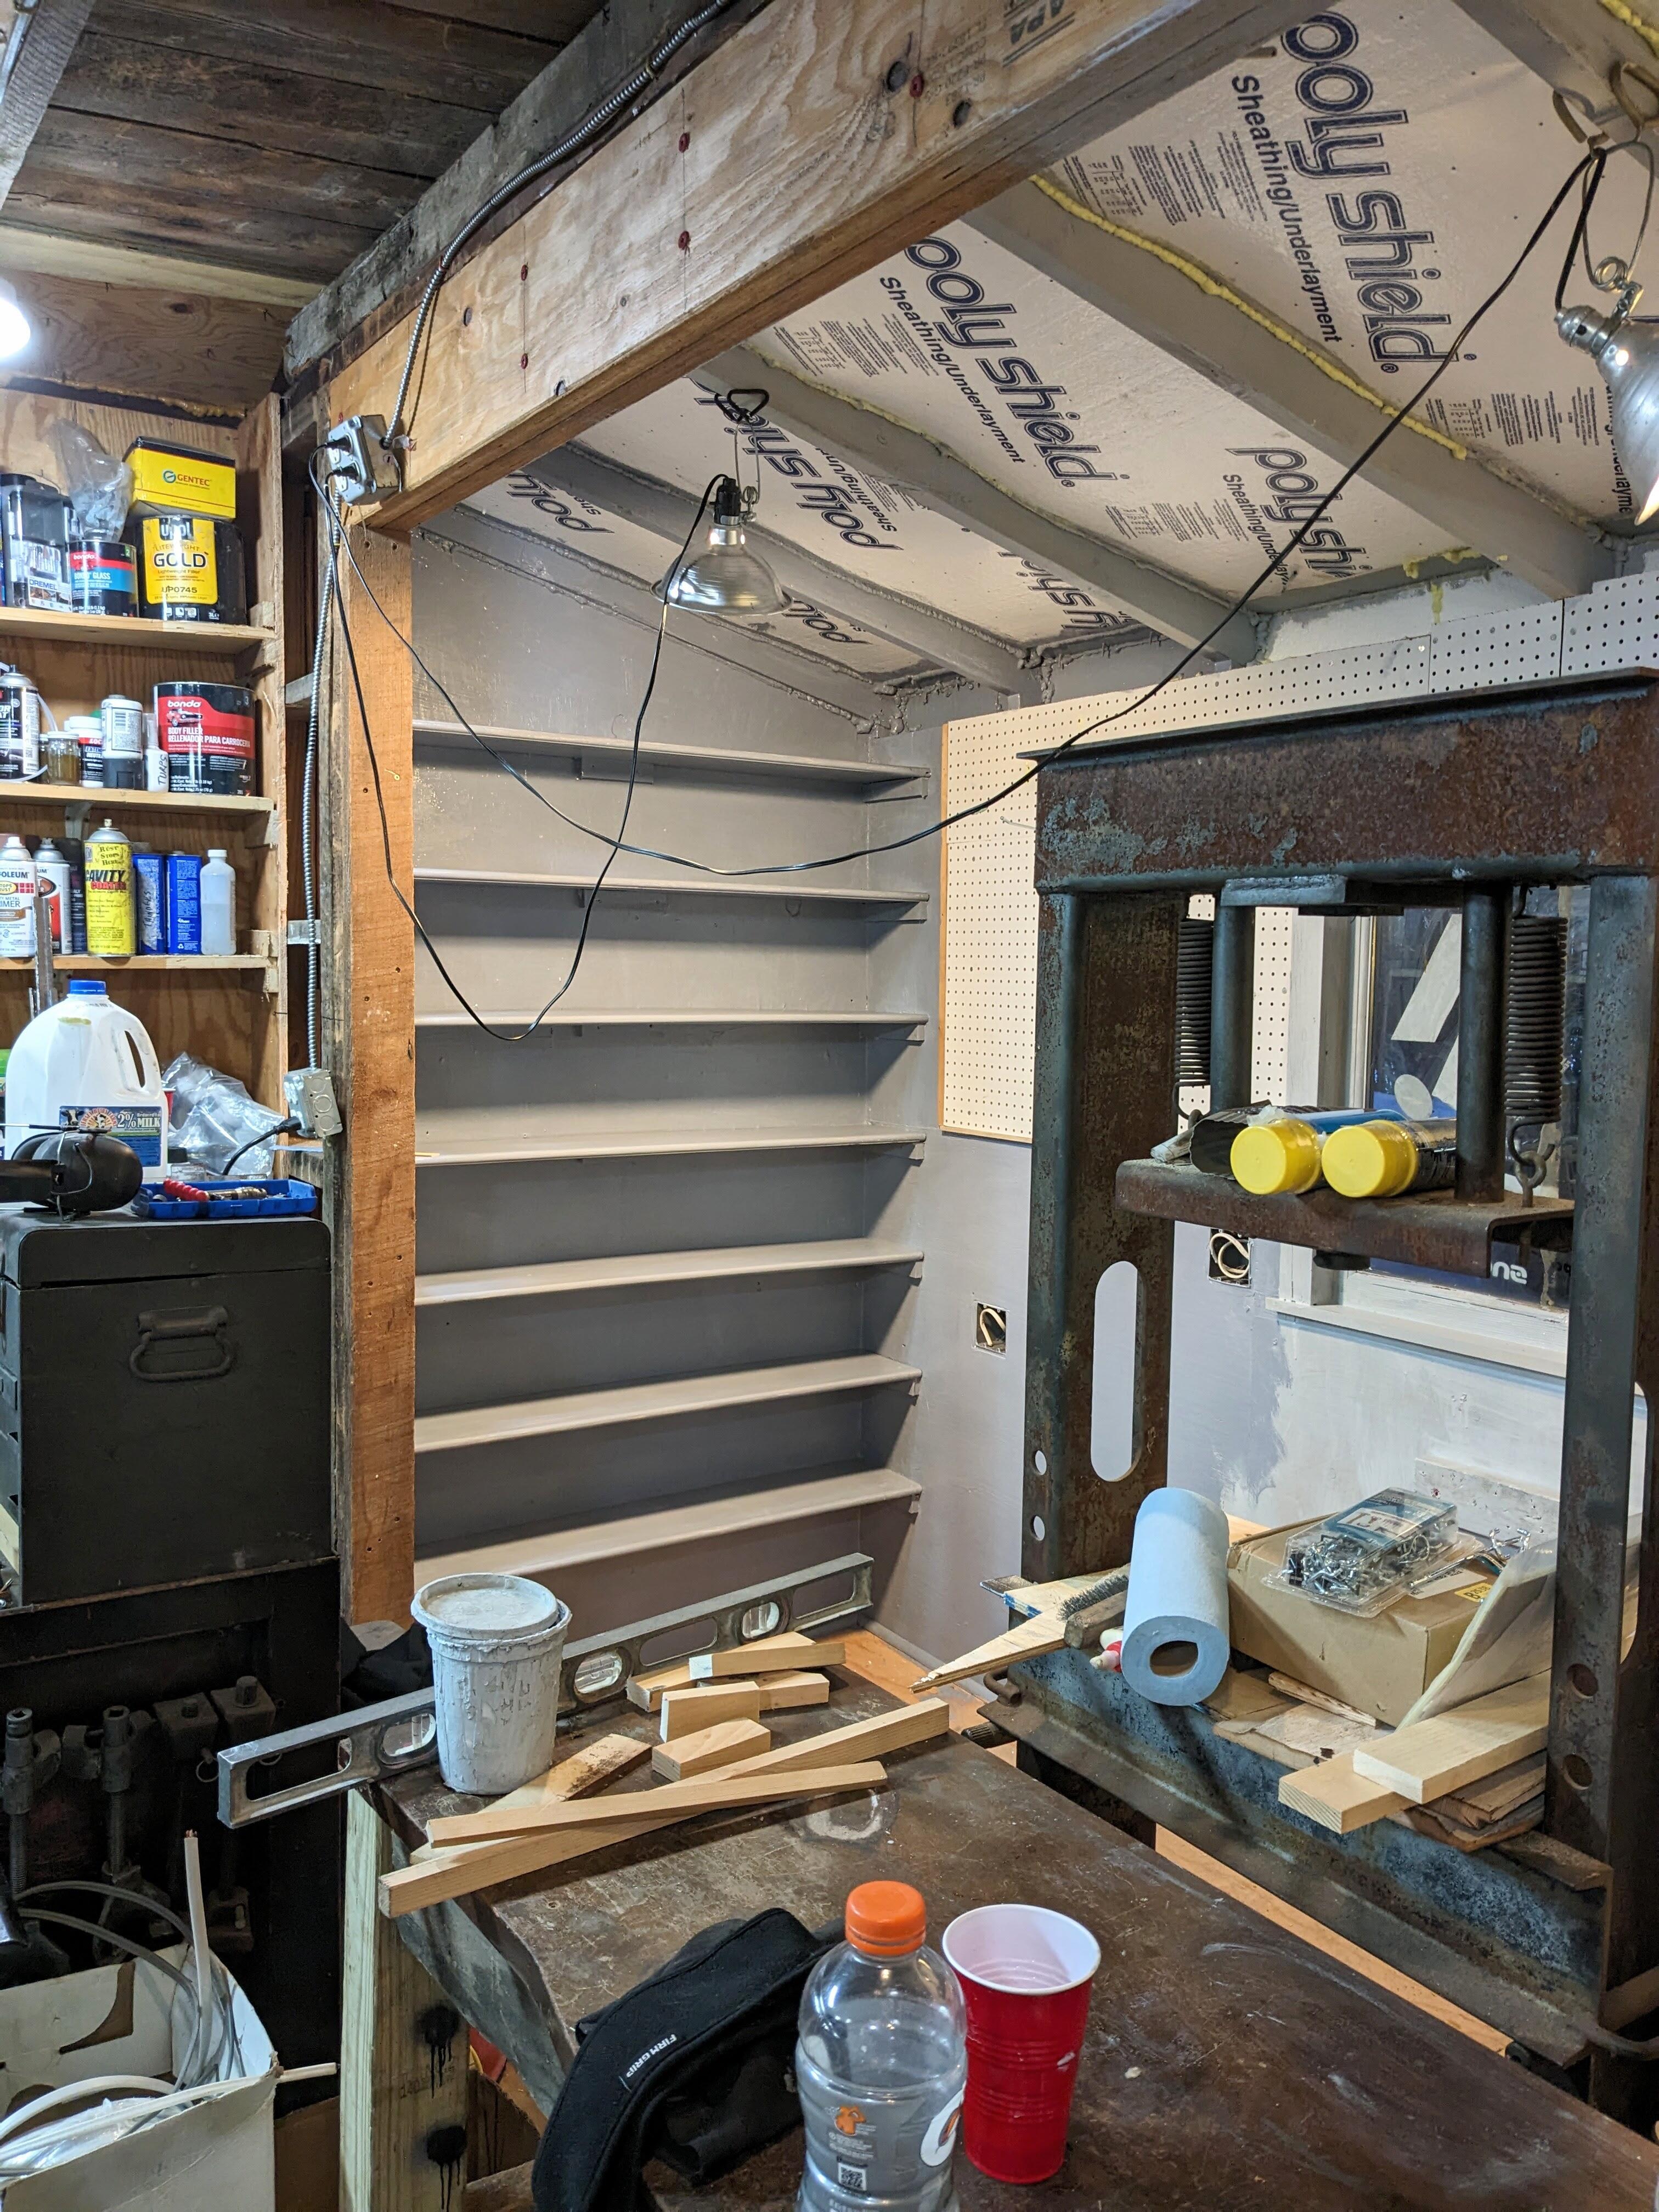
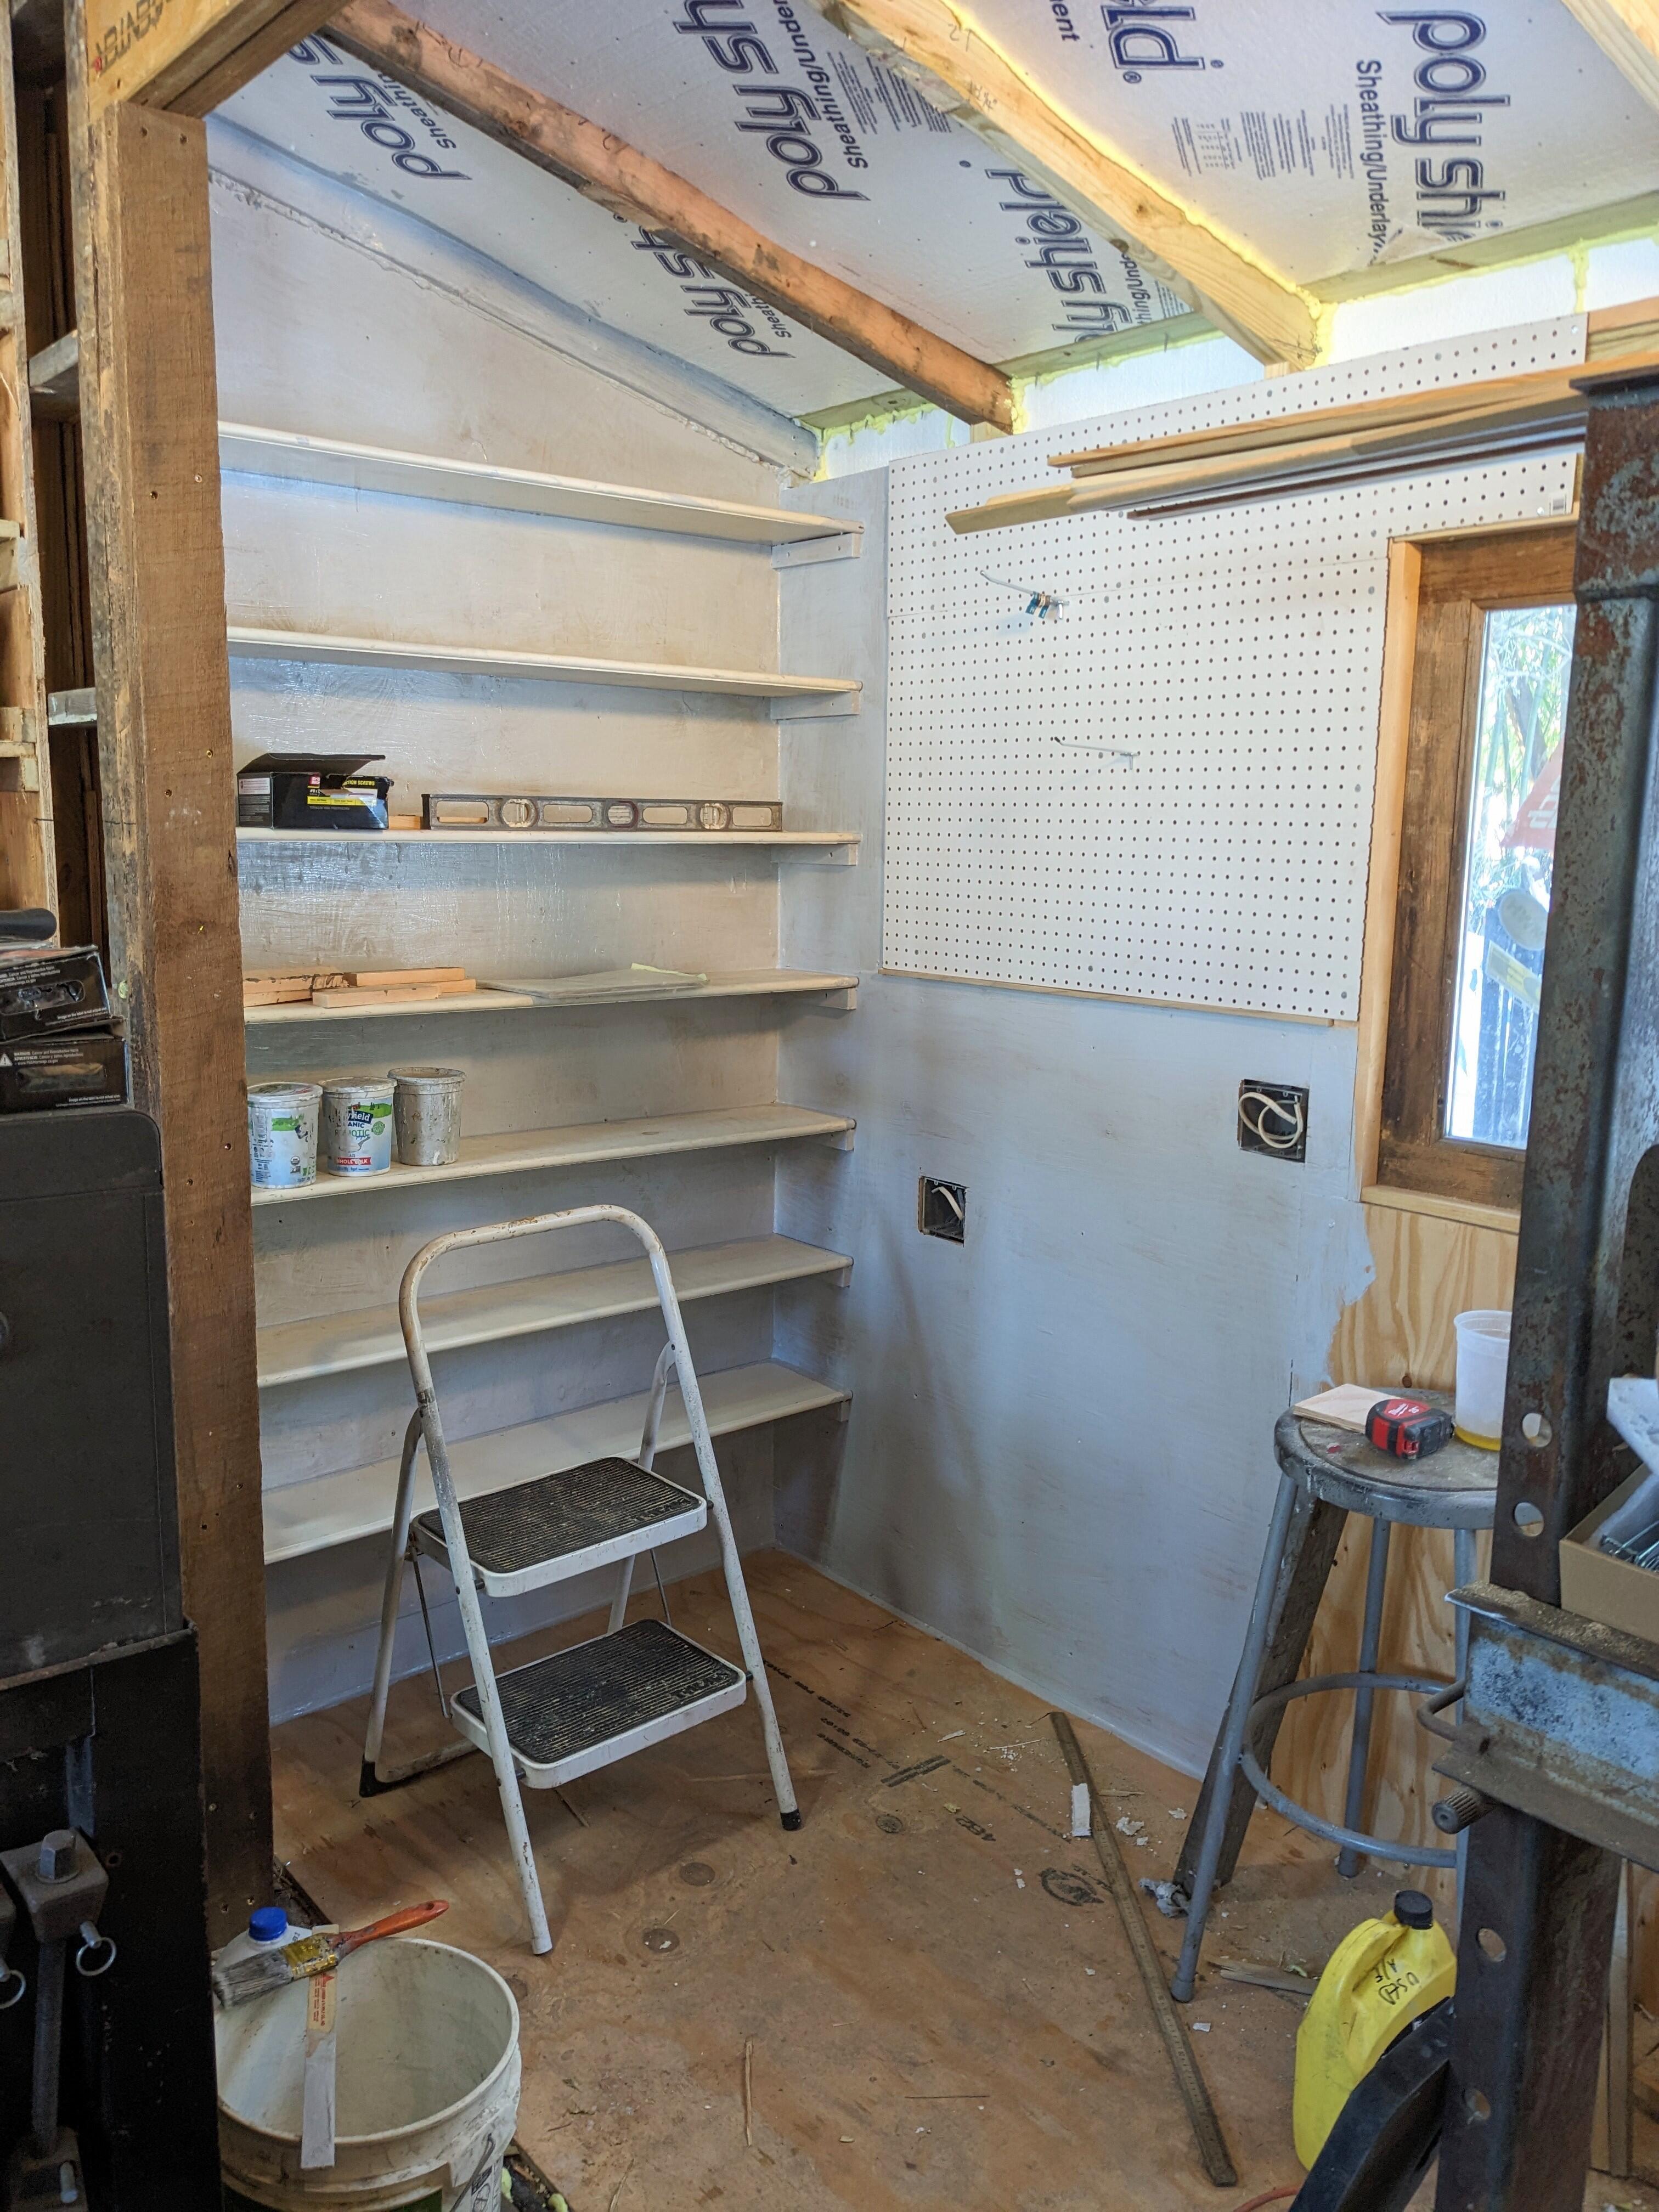
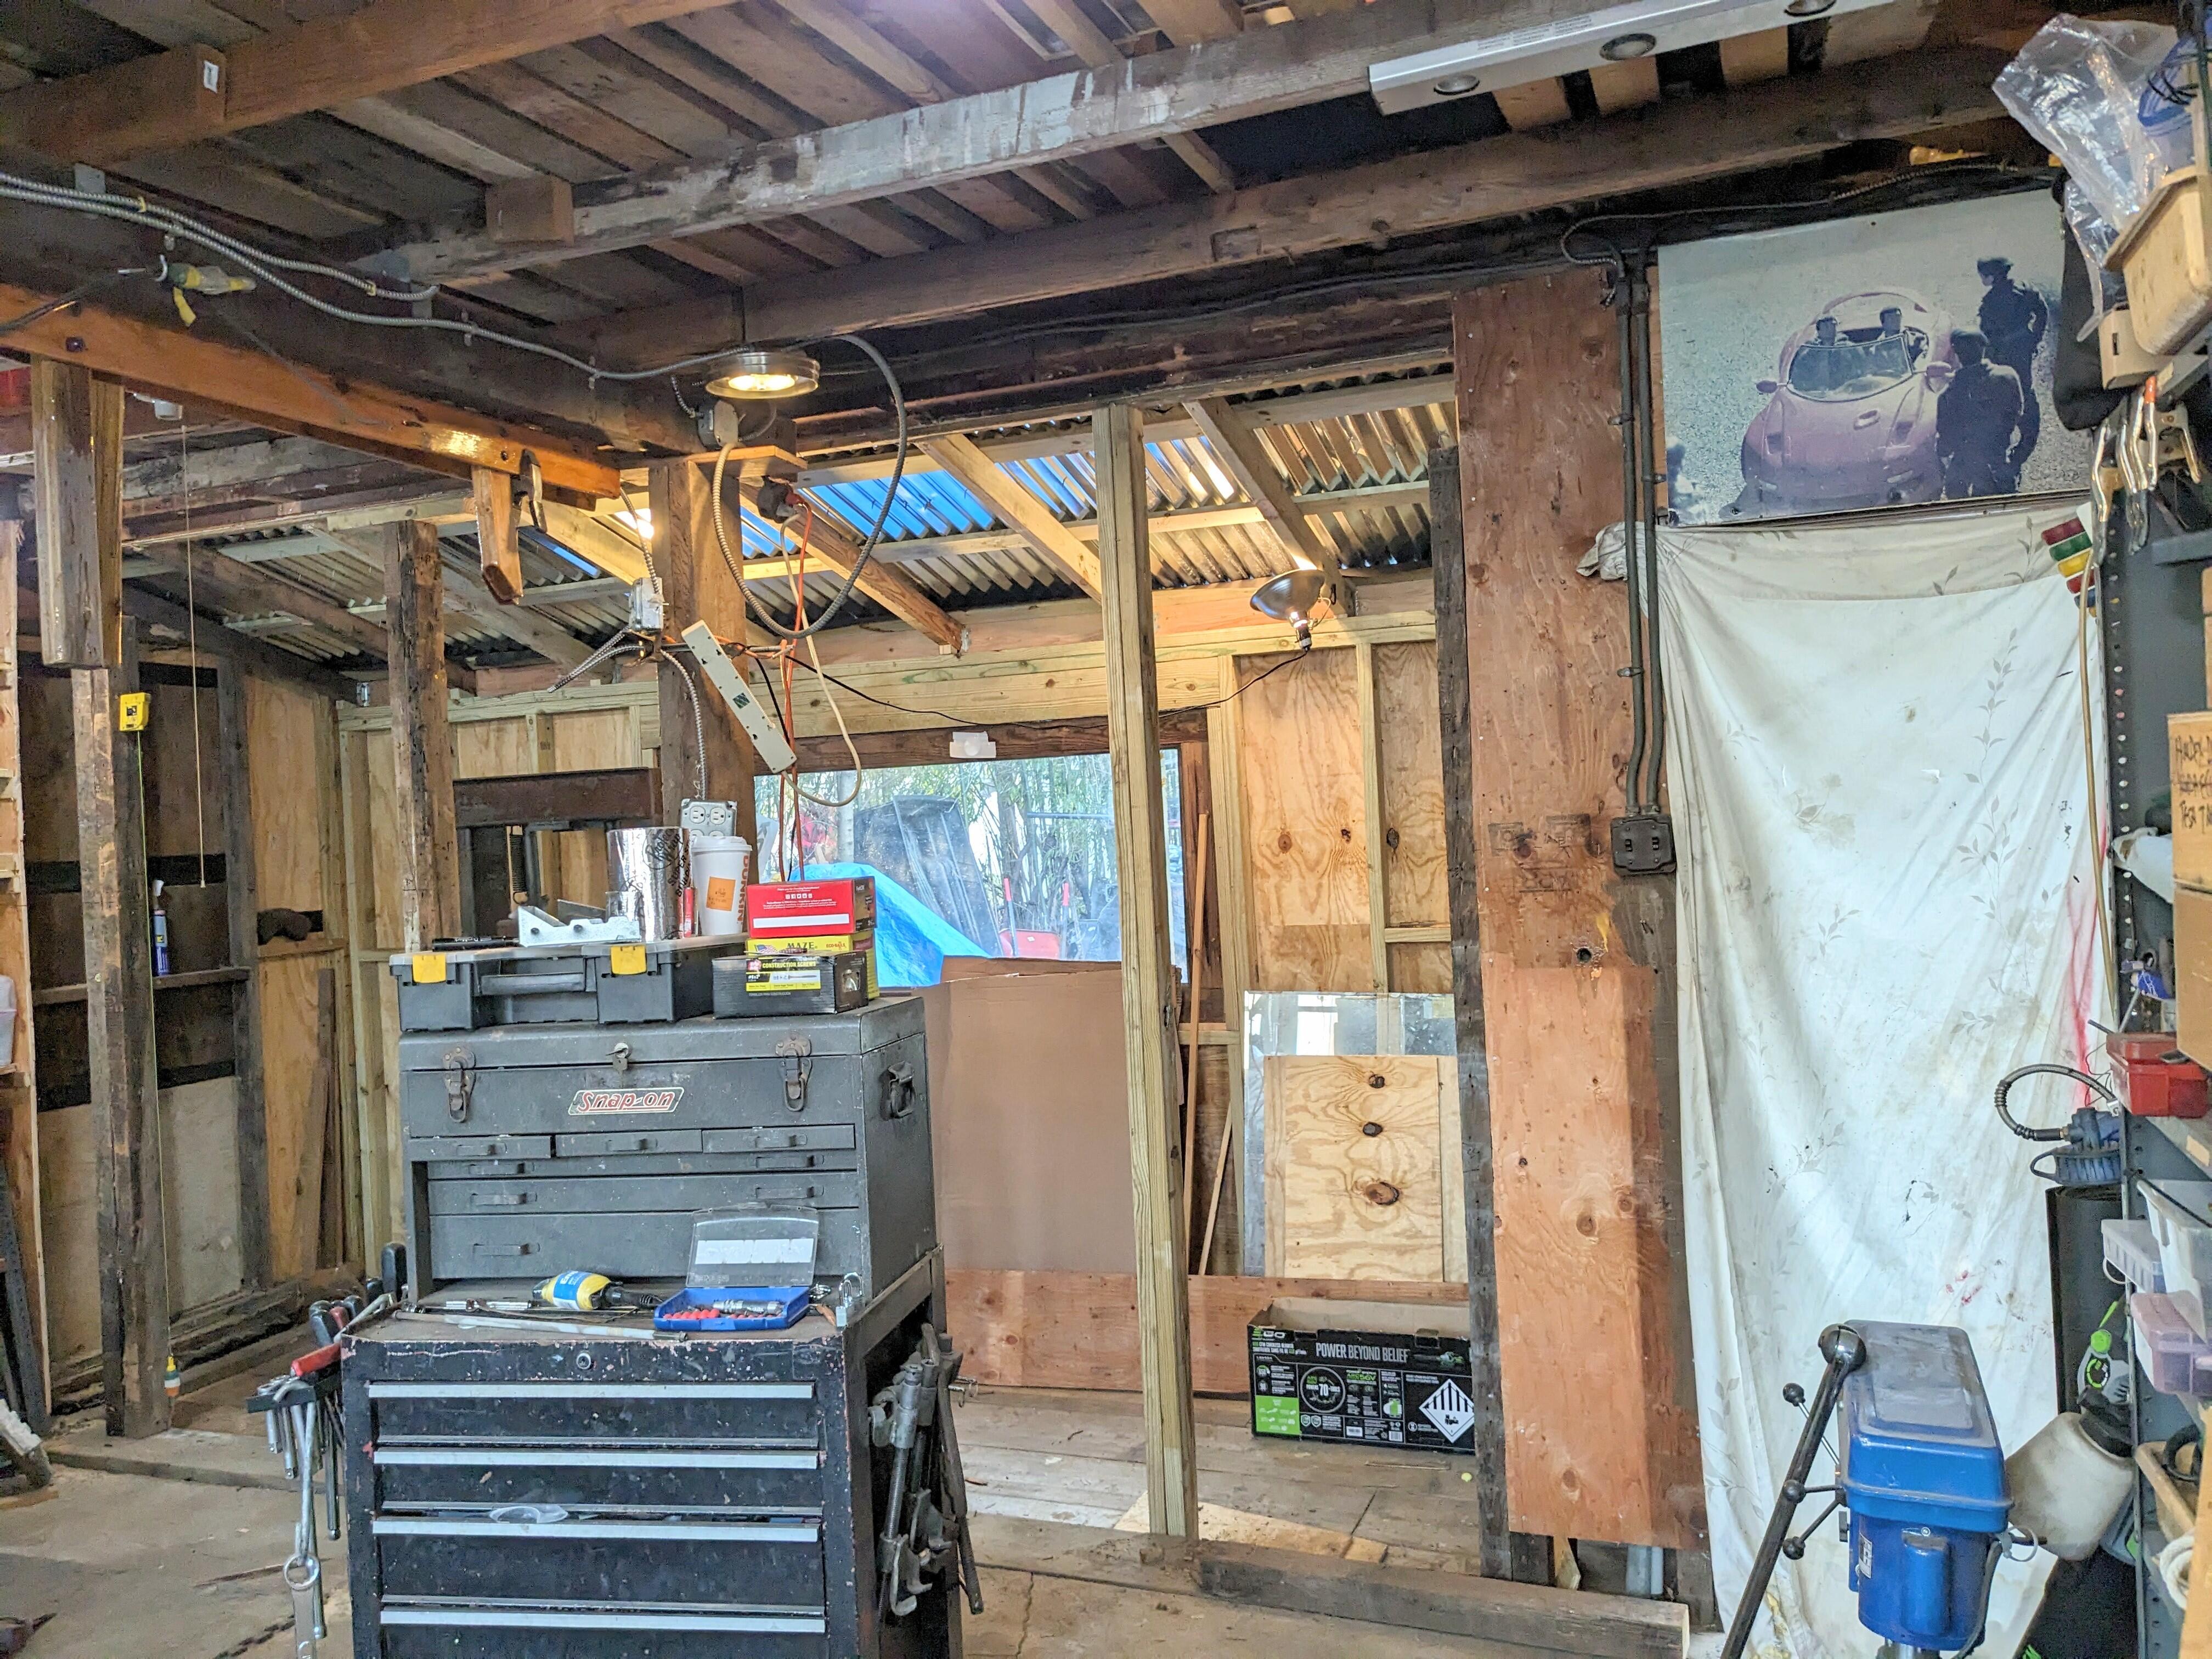
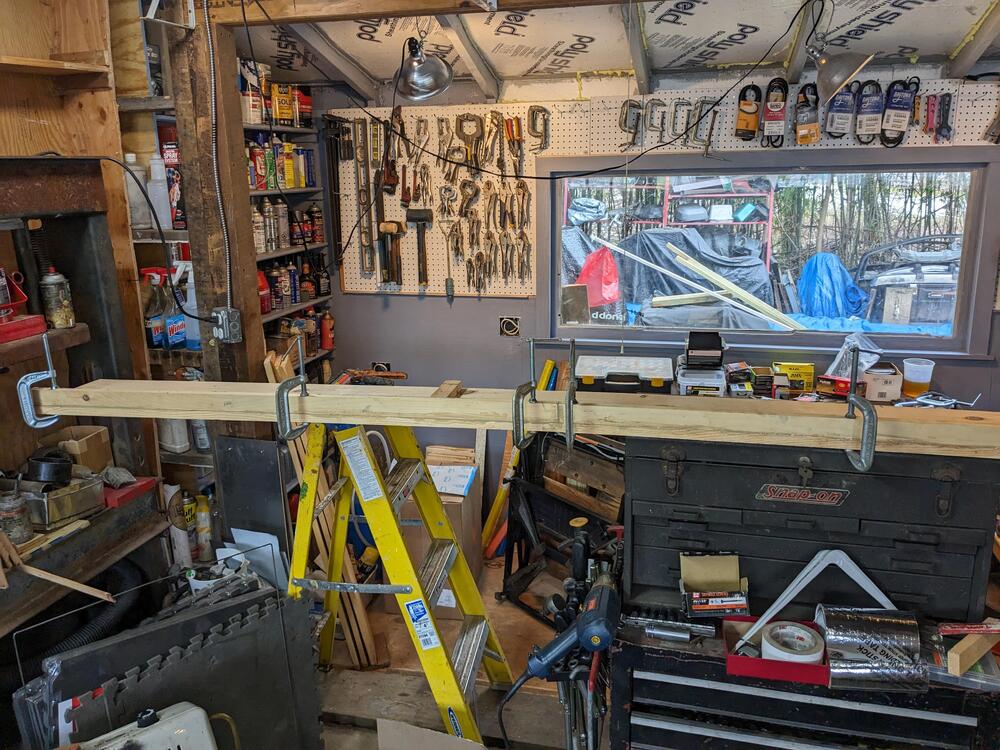
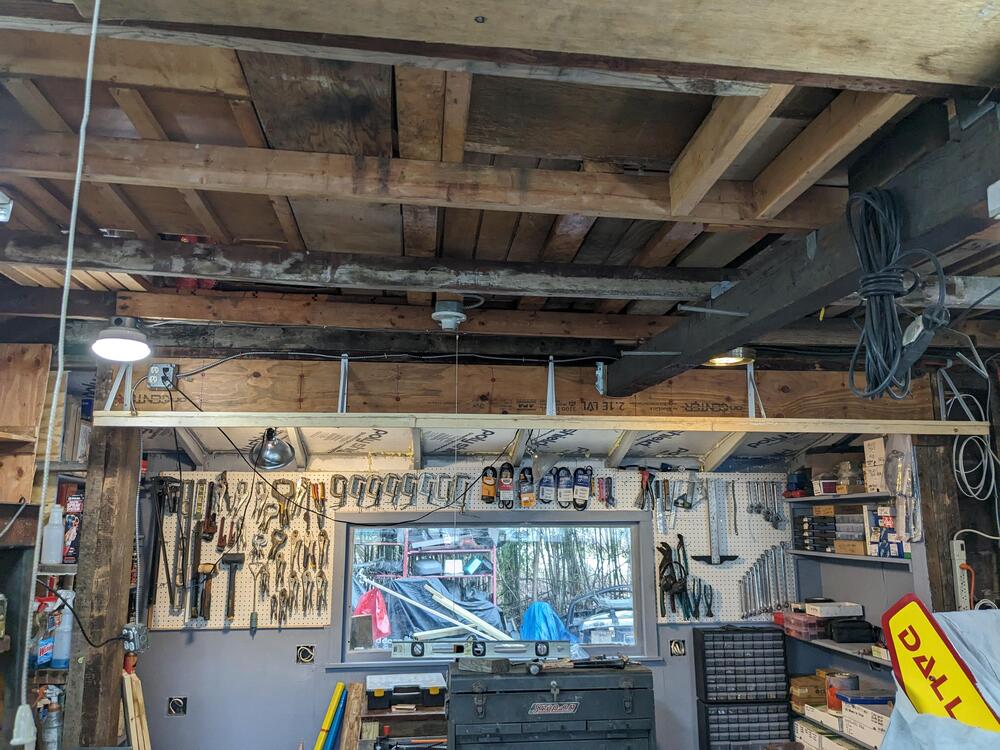
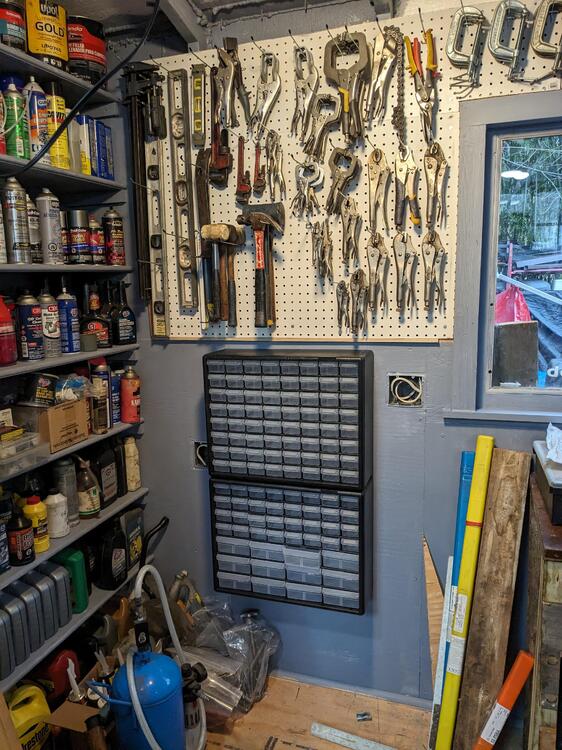
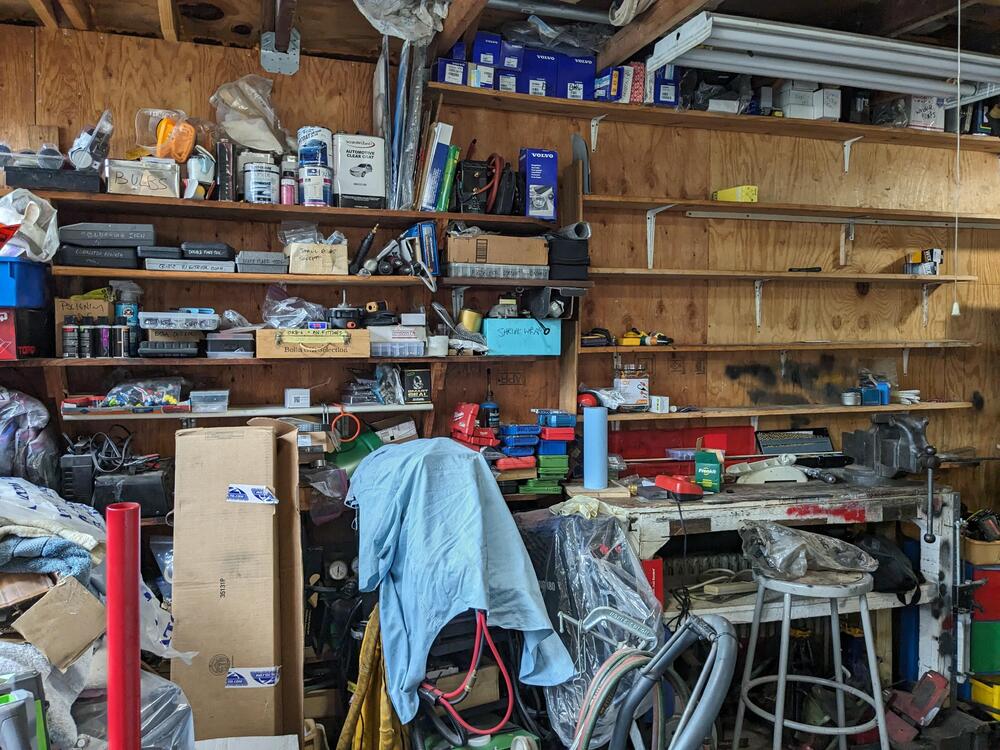
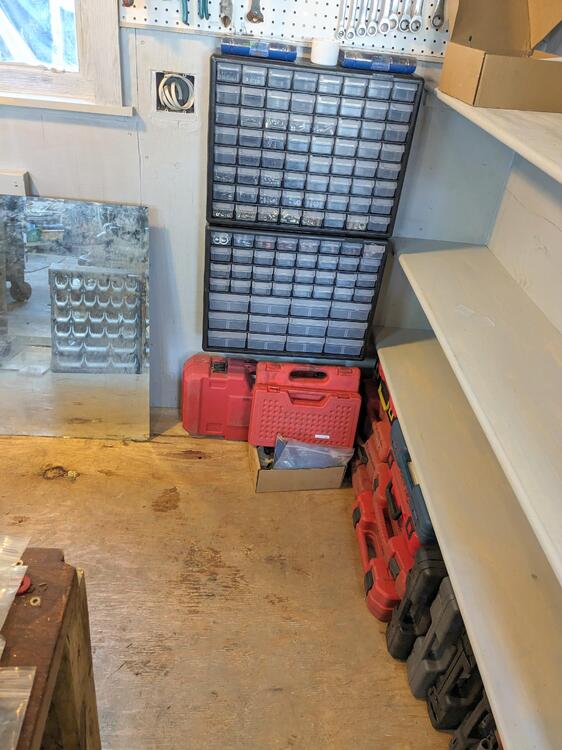
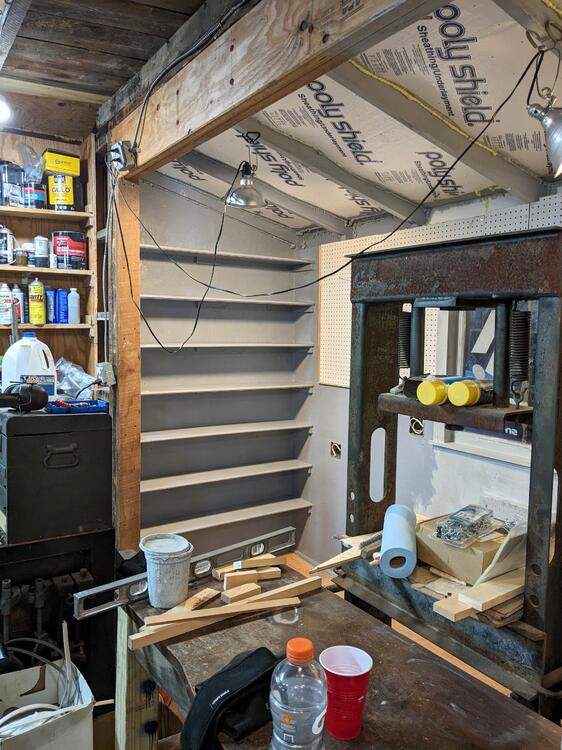
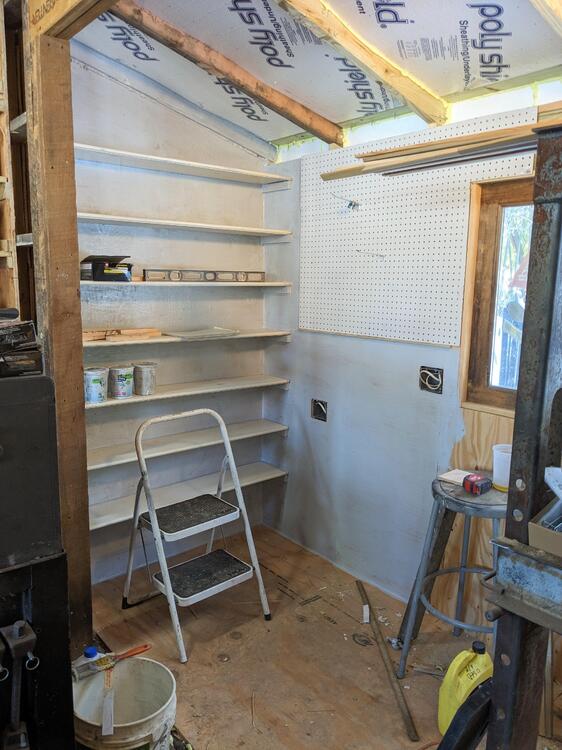
Got it. Yes, I do have a fire extinguisher in the garage, however I've never had to use it, so it's probably time for a new one. At least now, they won't be so close to where I'm usually welding... Only had a short time today, so I bought a 12' 1x10 board & made a storage shelf on the beam, so I have somewhere to stow the less used items I still need keep track of, vs. the stuff I put up above in storage & subsequently forget I own... Added a support ledge All of the boxes on the lower half contain electrical connectors and terminals. No point putting them in the storage bins, there are too many variants Put up the storage bins on the left So happy I got the pegboard Next I want to clear this wall, so I can make shelving more uniform, and maybe some more pegboard - I'm loving that stuff. It's already been useful. I feel like a kid in a candy store, can't believe it's taken me so many years to start properly organizing my tools & supplies. Much of what was here, is now in the back ,at least temporarily. There is also all this mess in the front to figure out - MIG, TIG, Plasma, Spot welder, Oxy/Acetylene, and the V8 drivetrain that needs to get installed in the pickup truck.. I also want to get rid of these shelving units on the North side (currently loaded with stuff that was on the other side) to make it easier to move the car in & out without occupying quite so much floorspace


-
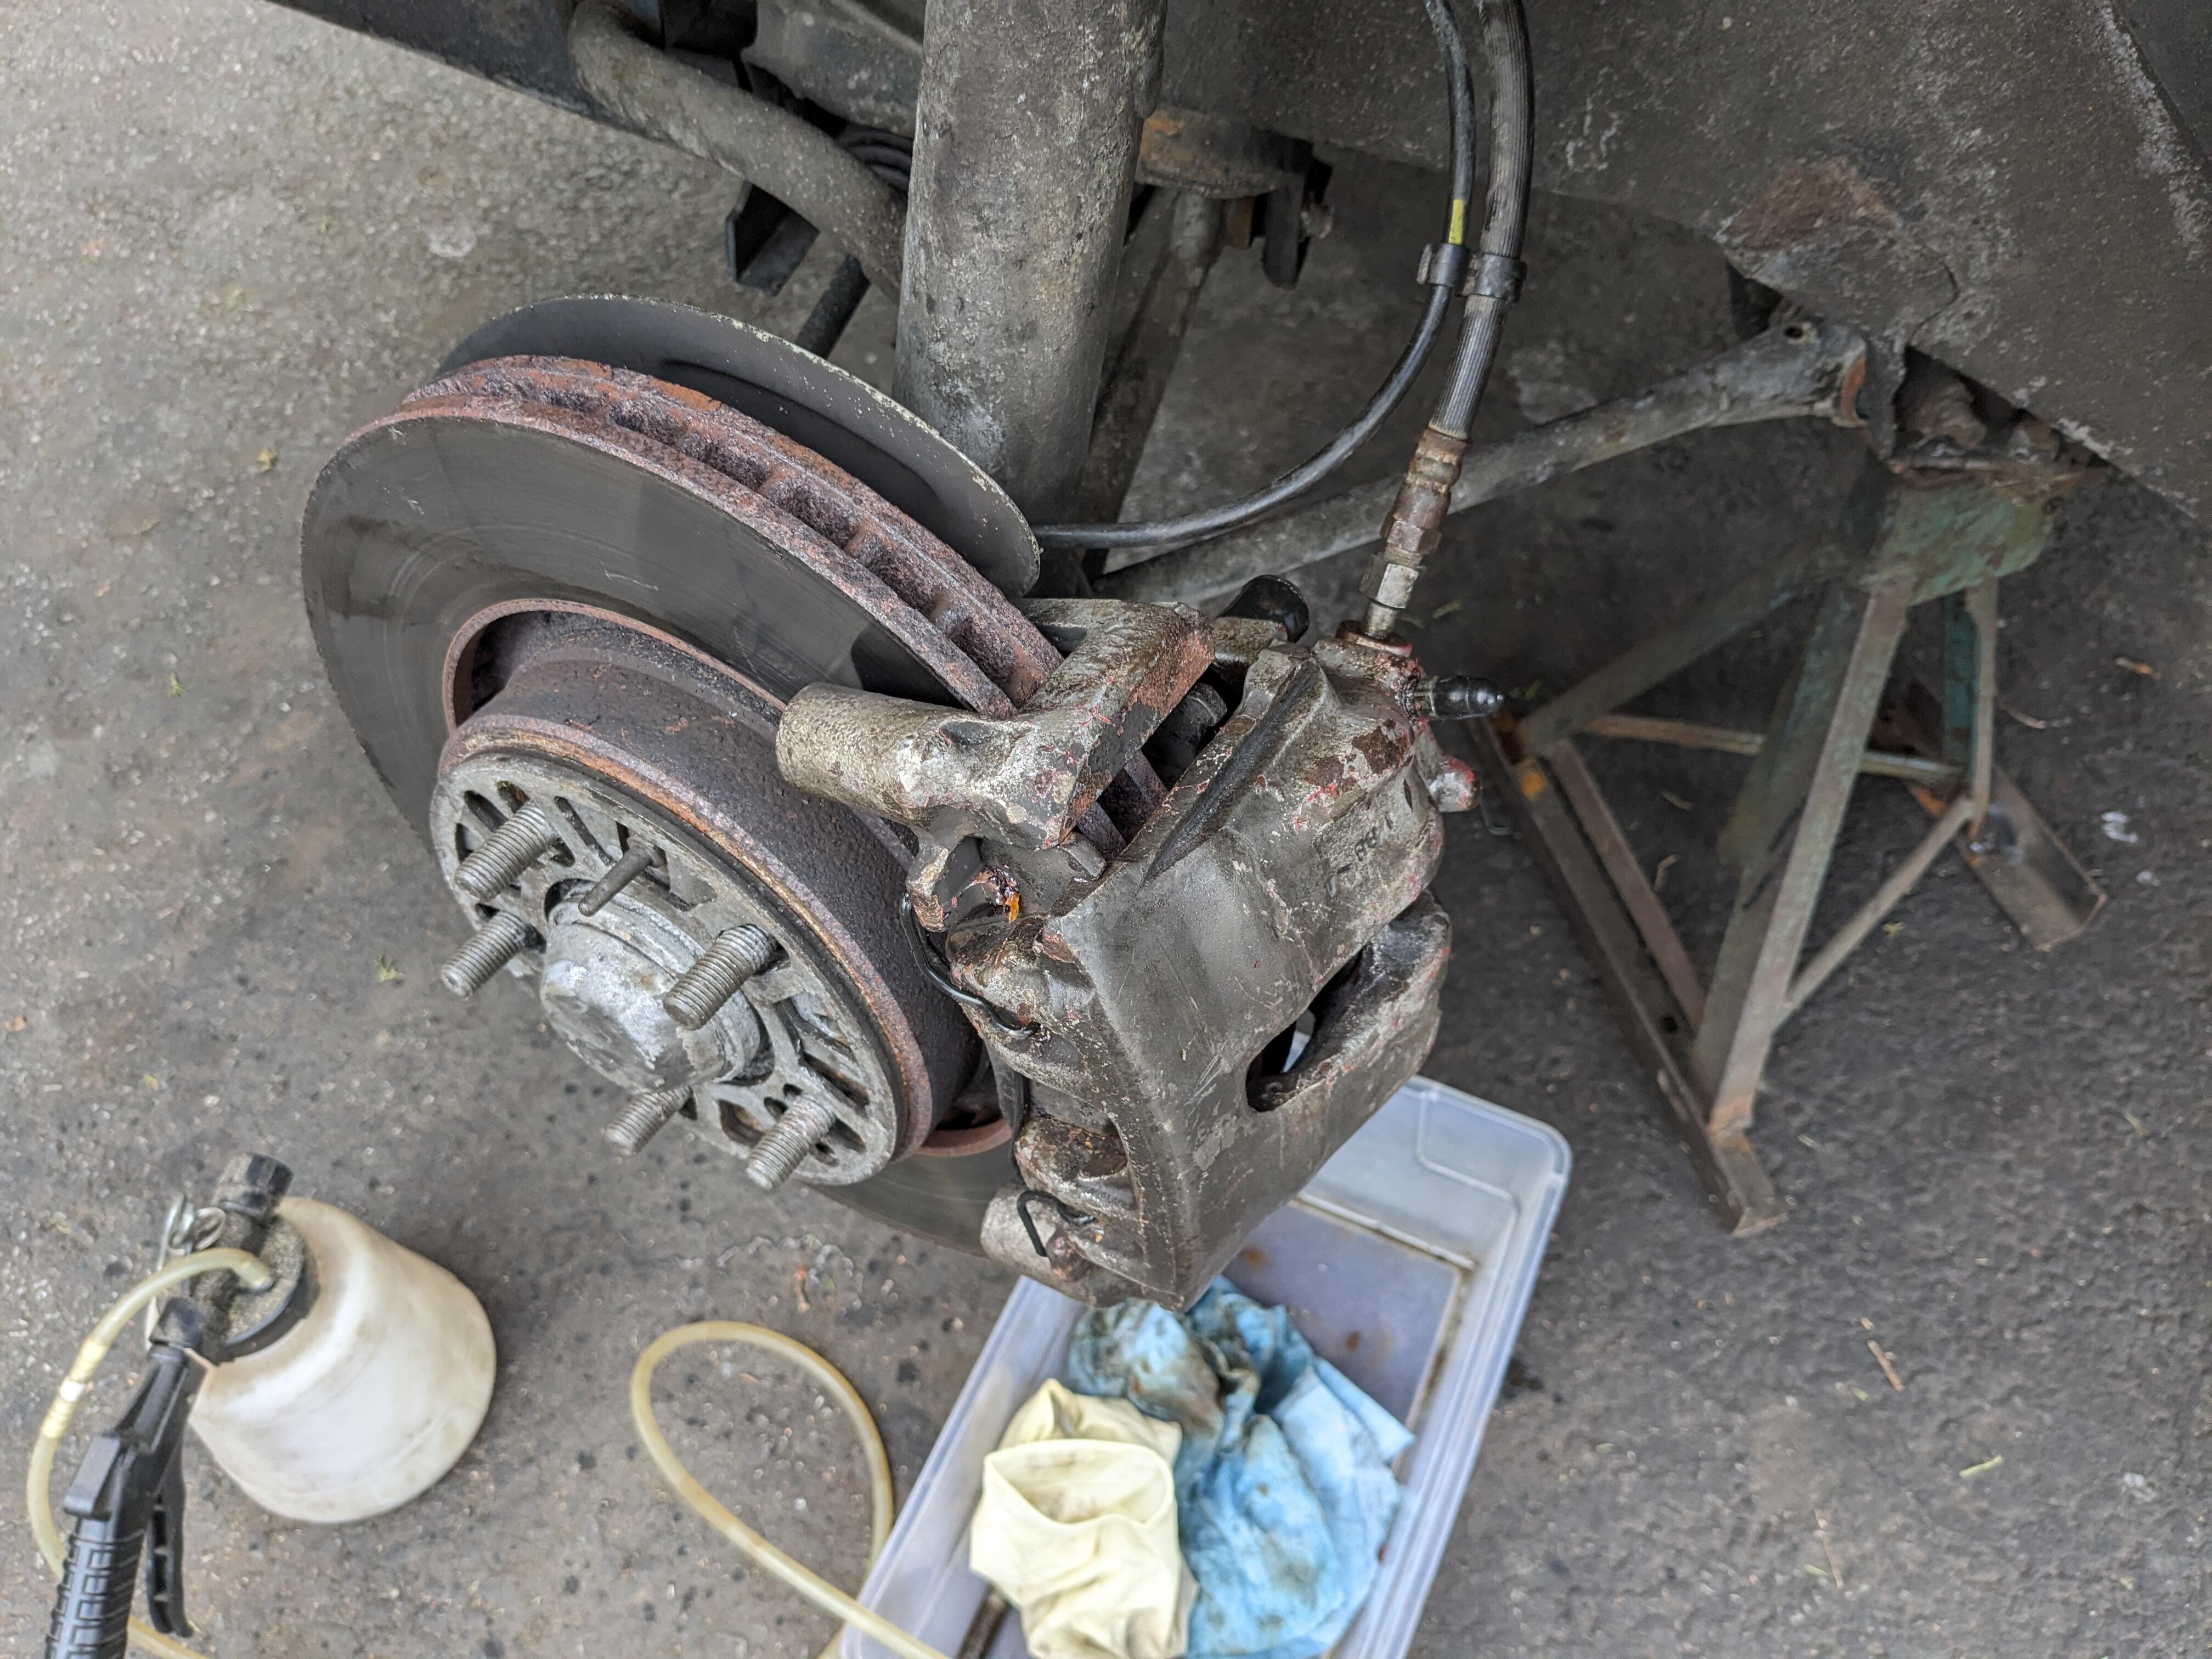
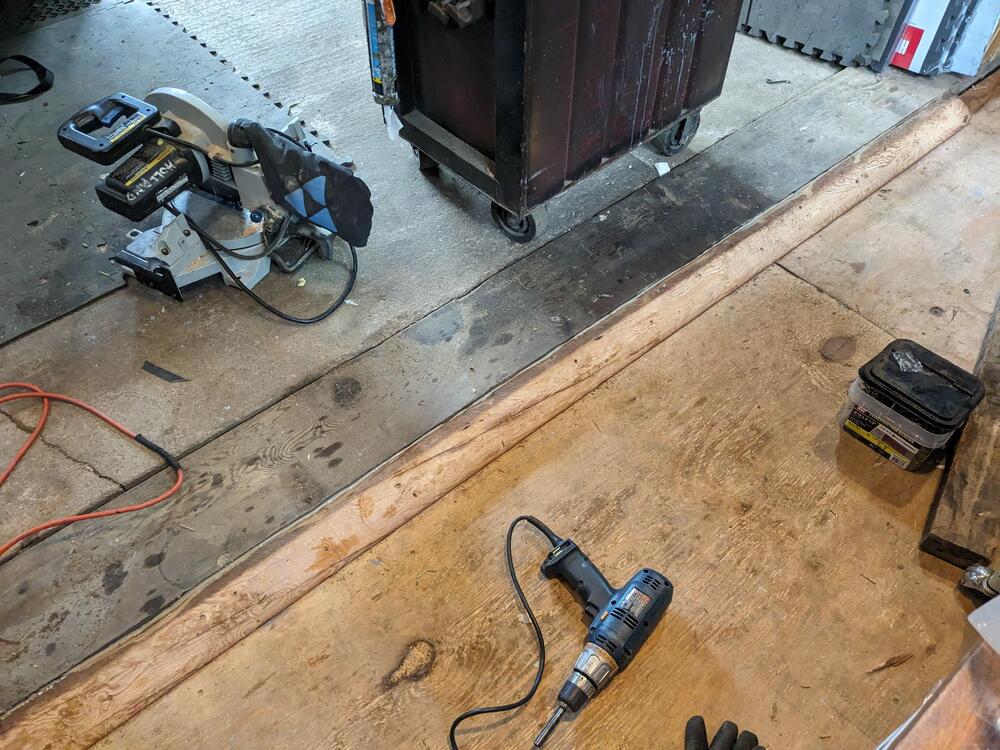
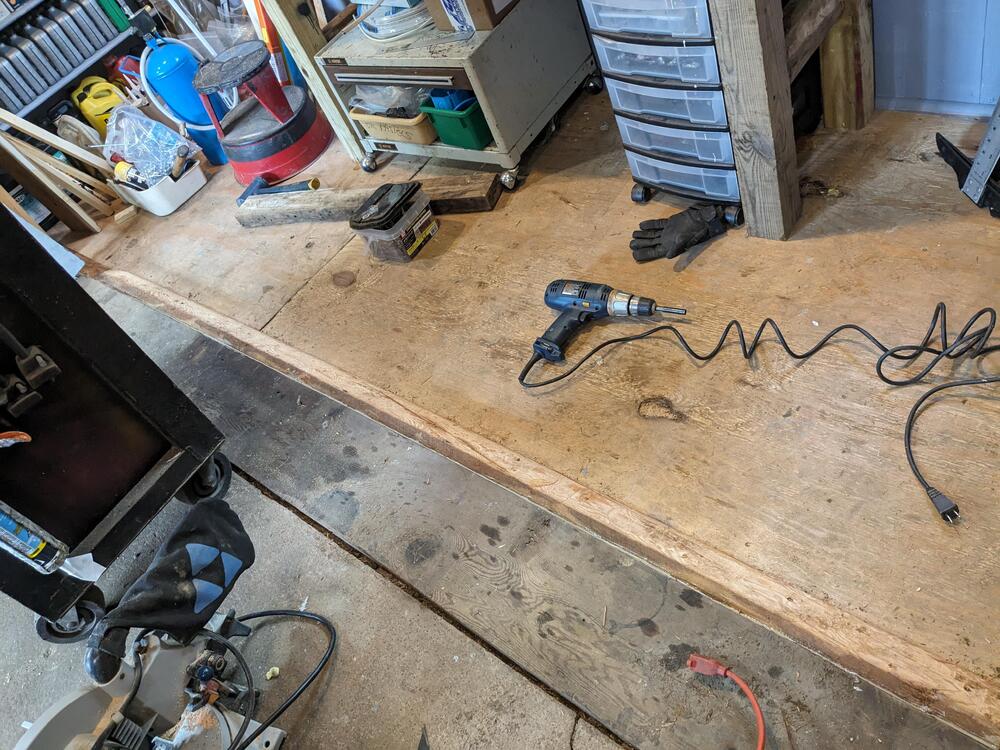
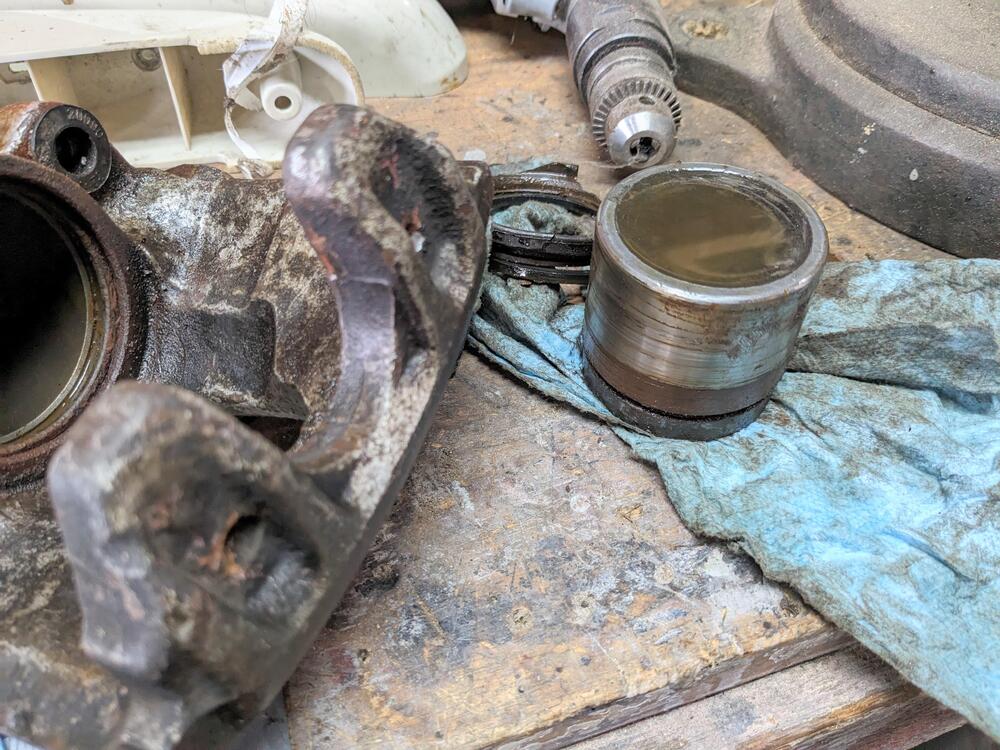
Sorry, the joke is lost on me Only odds & ends today, moving stuff around & made a ramp to offset the 2" step for wheeling stuff in & out Besides that I had to rebuild a caliper on my old Volvo. It was a reman I bought a couple years ago

-
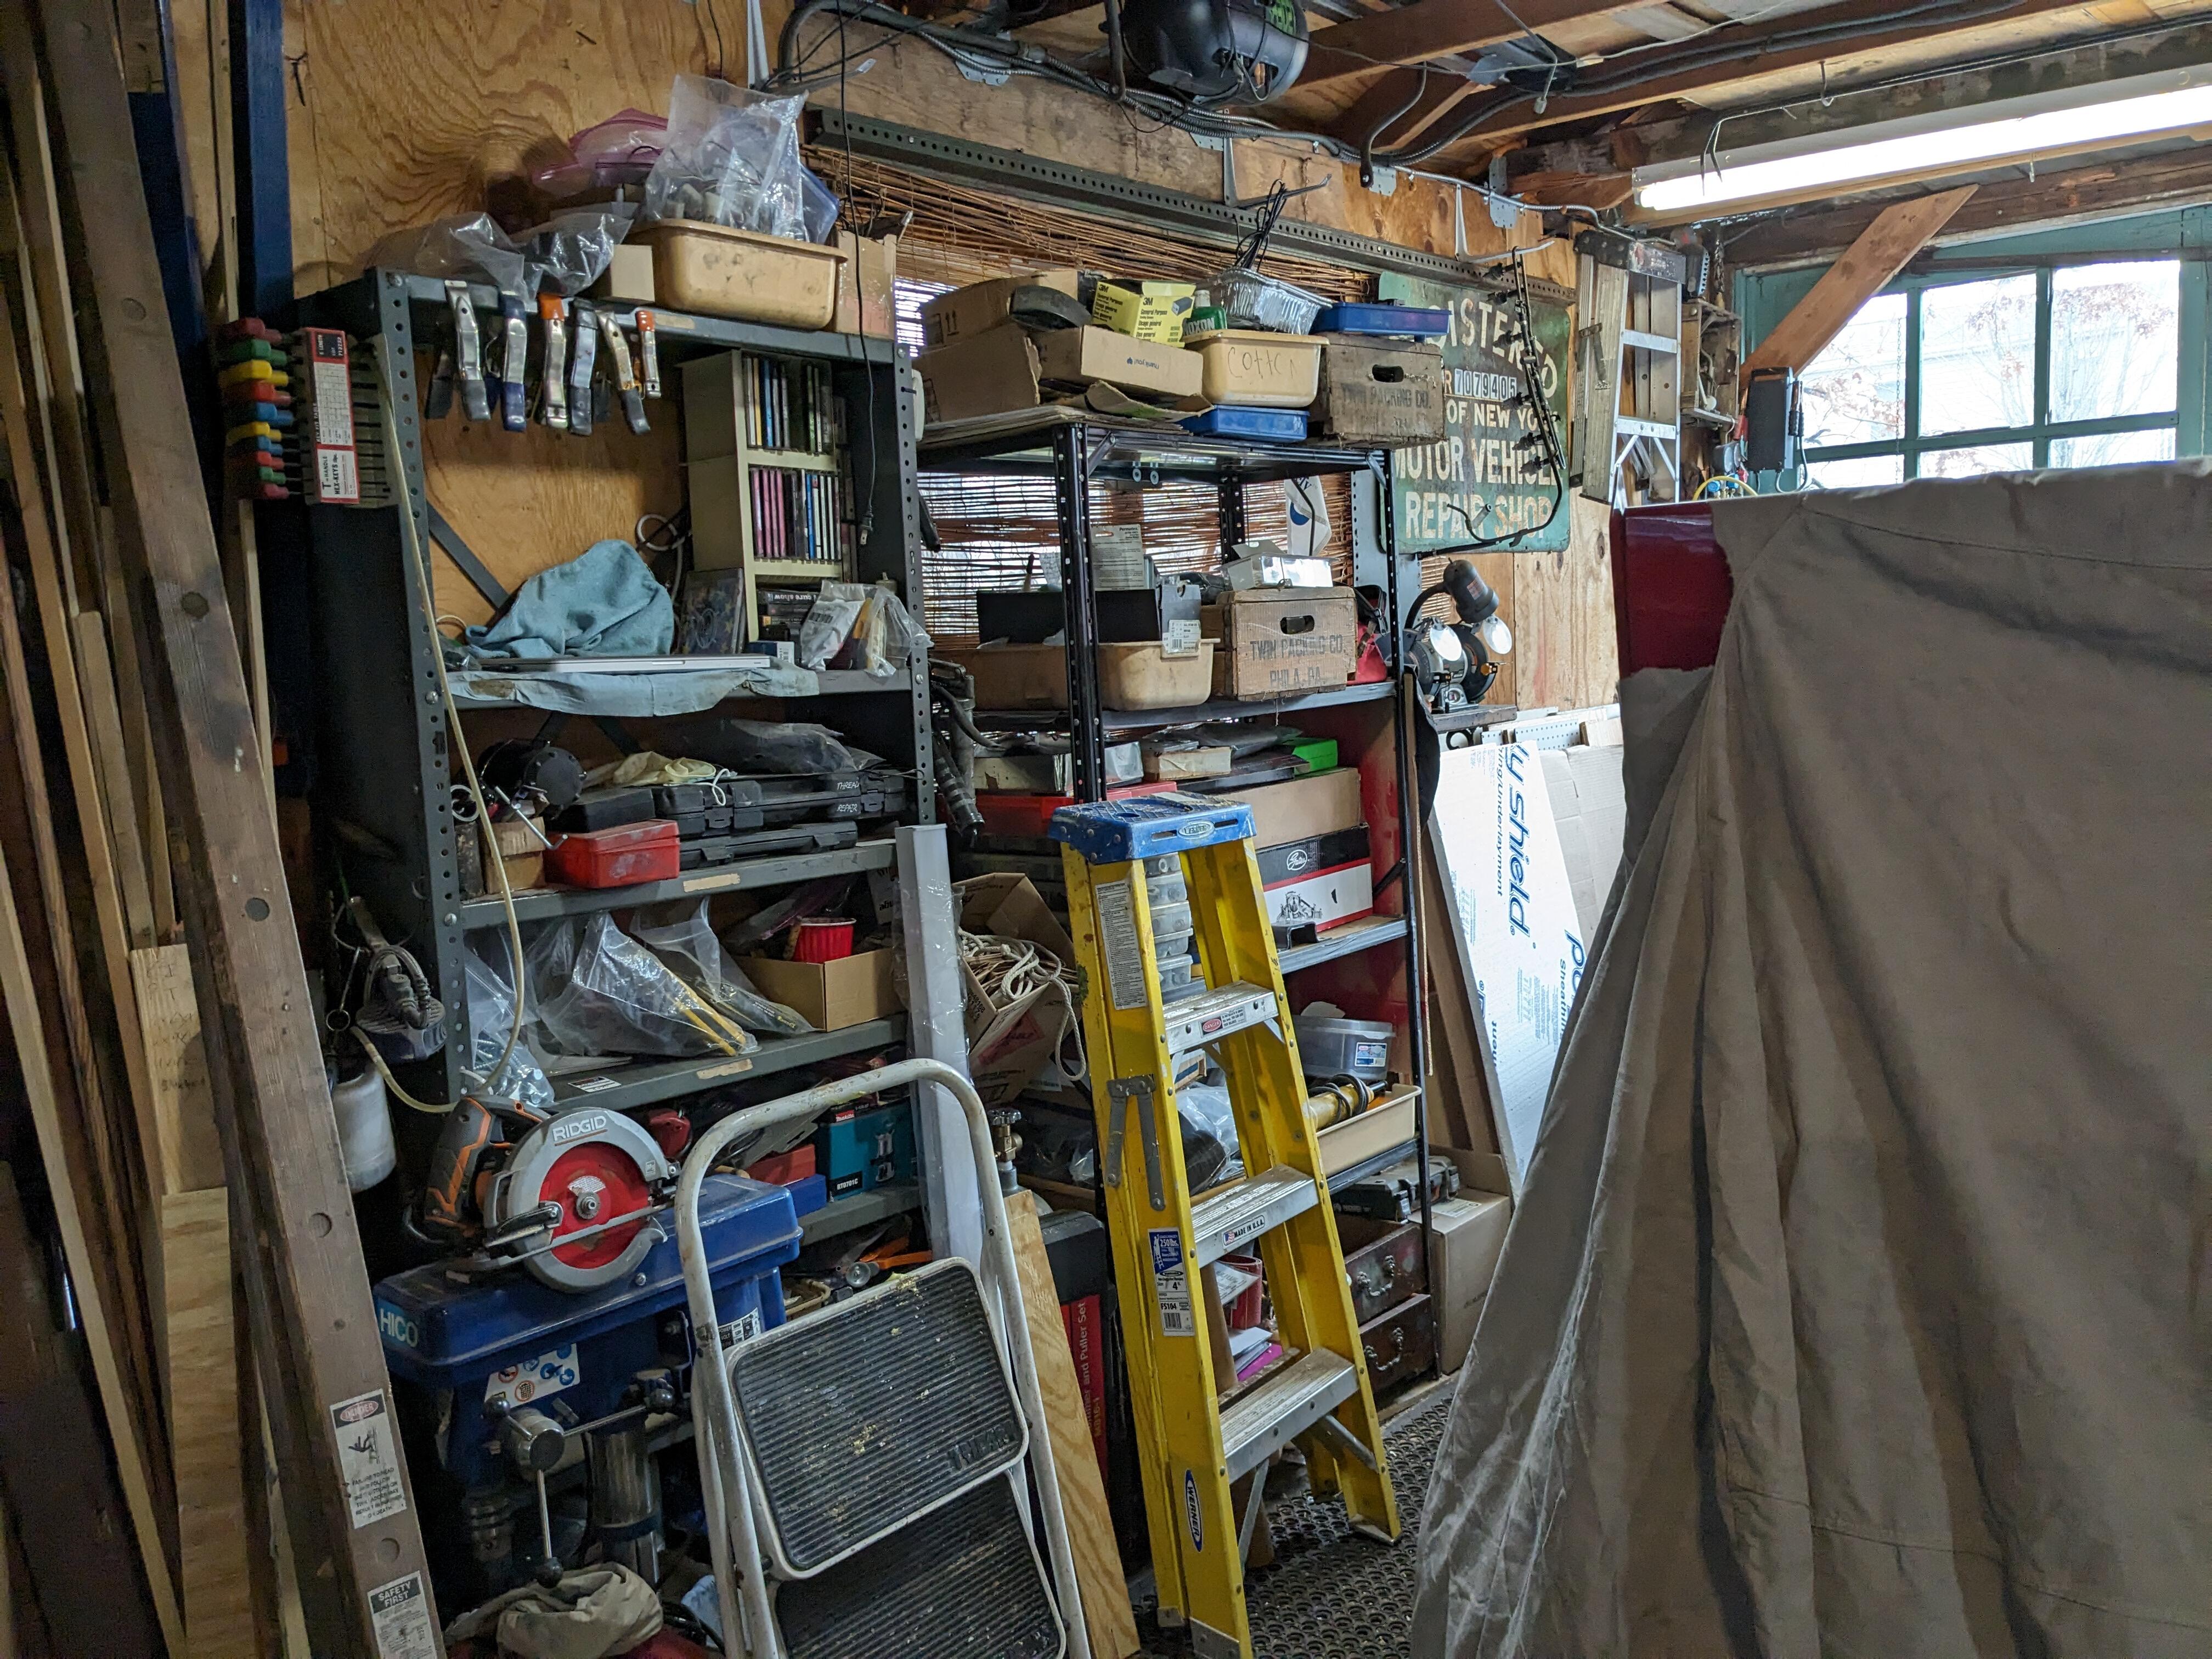
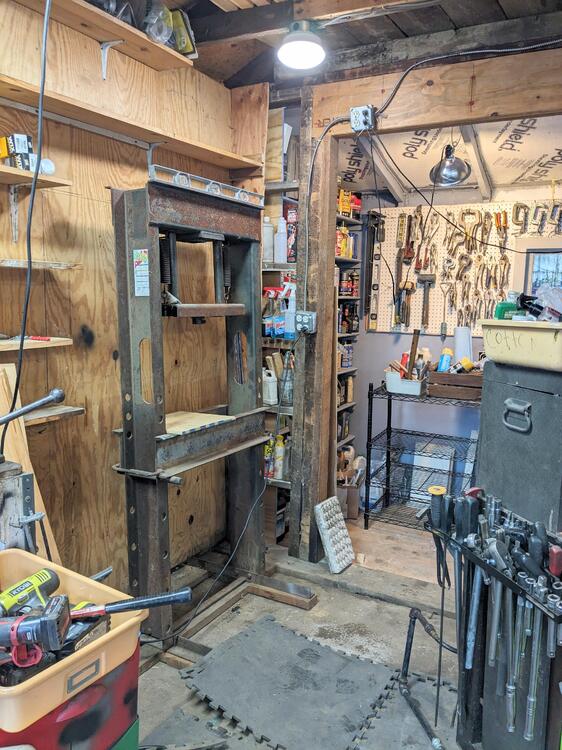
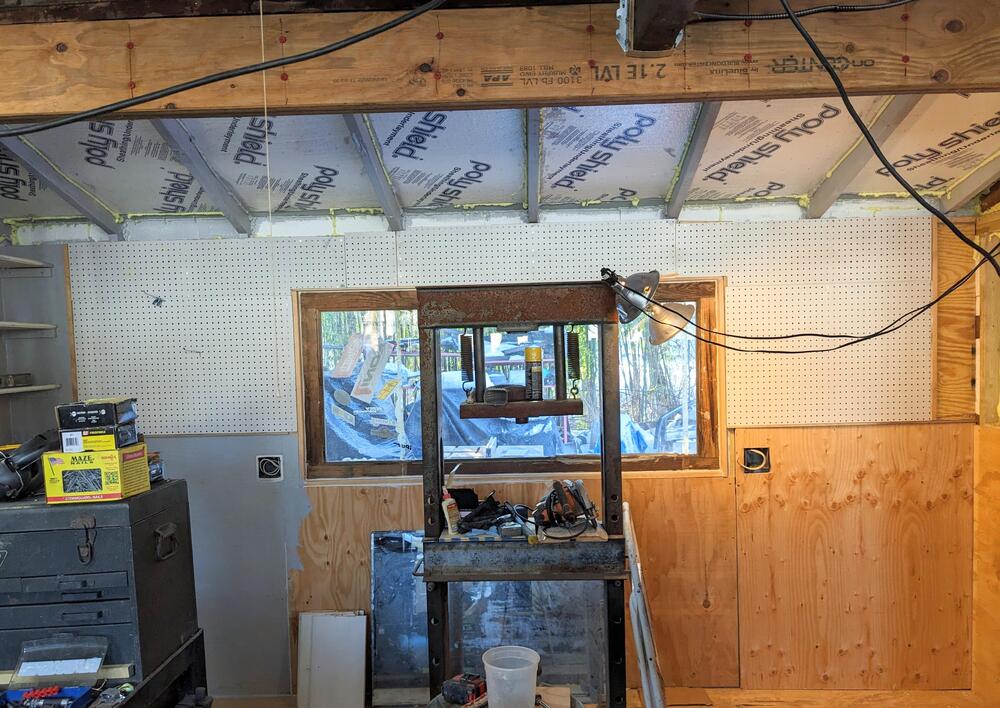
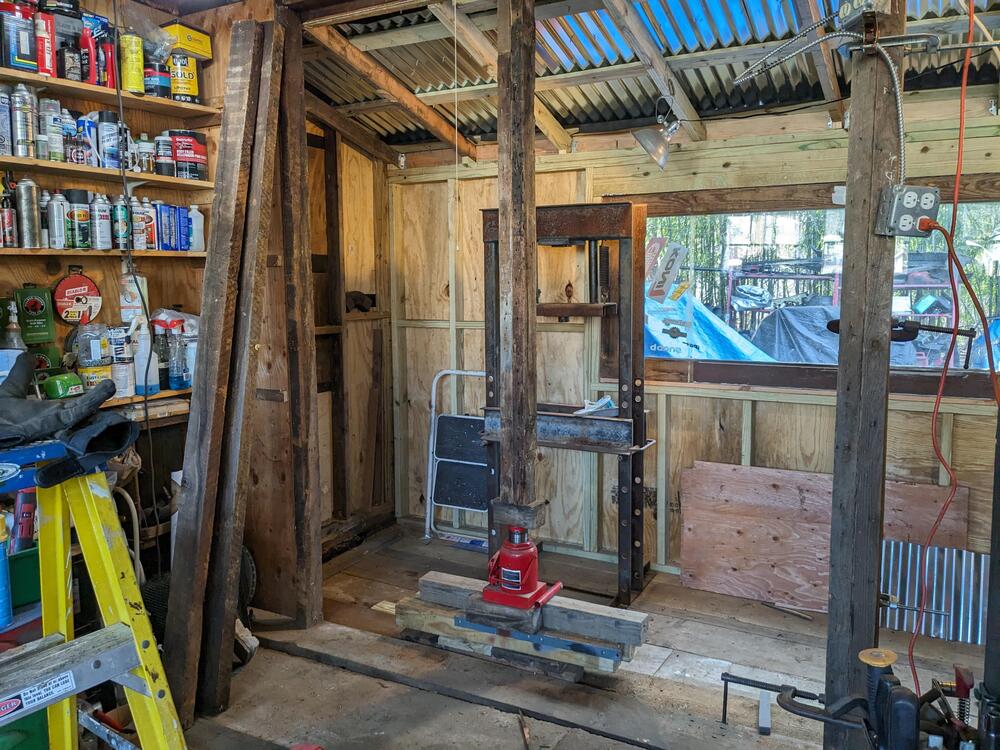
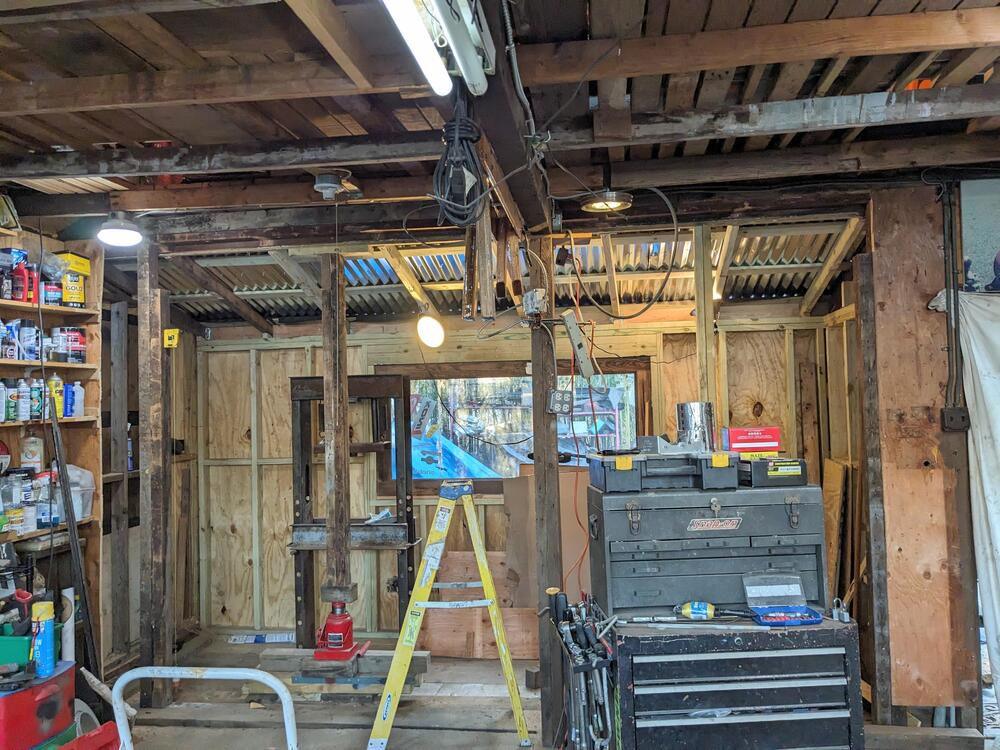
Slow going today. I had to start hanging tools & moving chemicals, I just had no floor space to move around in. I wanted to get the press moved into the main floor, and I did eventually, however I had to juggle a whole bunch of crap to make the space, just to be able to maneuver it. I got side tracked figuring out the storage bin ideas for all the small stuff current dispersed in individual plastic trays in multiple locations. I bought 2 containers to try - and decided that instead of wasting shelf space it made more sense to suspend them on the West wall, where I was vacillating on adding additional shelves in line with the ones I already added. The conundrum for me was that the shelves would not be the same height on either side of the window, and that would bug the crap out of me DTR. Put a bunch of M3, M4, M5 & M6 riv-nuts, and screws of different types (counter sunk, pan head Phillips and Allen in rows from L-R. That calmed me down a bit 🤪 I've ordered another matching pair to put on the other side of the window. I will make sure the spacing and offset matches 😁 Chemicals and tools I had moved earlier in the day. Probably not their final testing place. These were all hanging on nails in the old West wall, along with about 15 pairs of pliers that I need to find the correct pegboard holder for. Many of these hangers are too long - it was cheaper to buy 100 6" than 3". I'll just cut down the ones that need to be shorter. Finally clearing the shelves where the press needs to go Cut the shelving, cleaned up the area, moved & levelled the press After that I wrapped up with top coat on the west & north wall of the area Feeling better now about how the day went by.


-
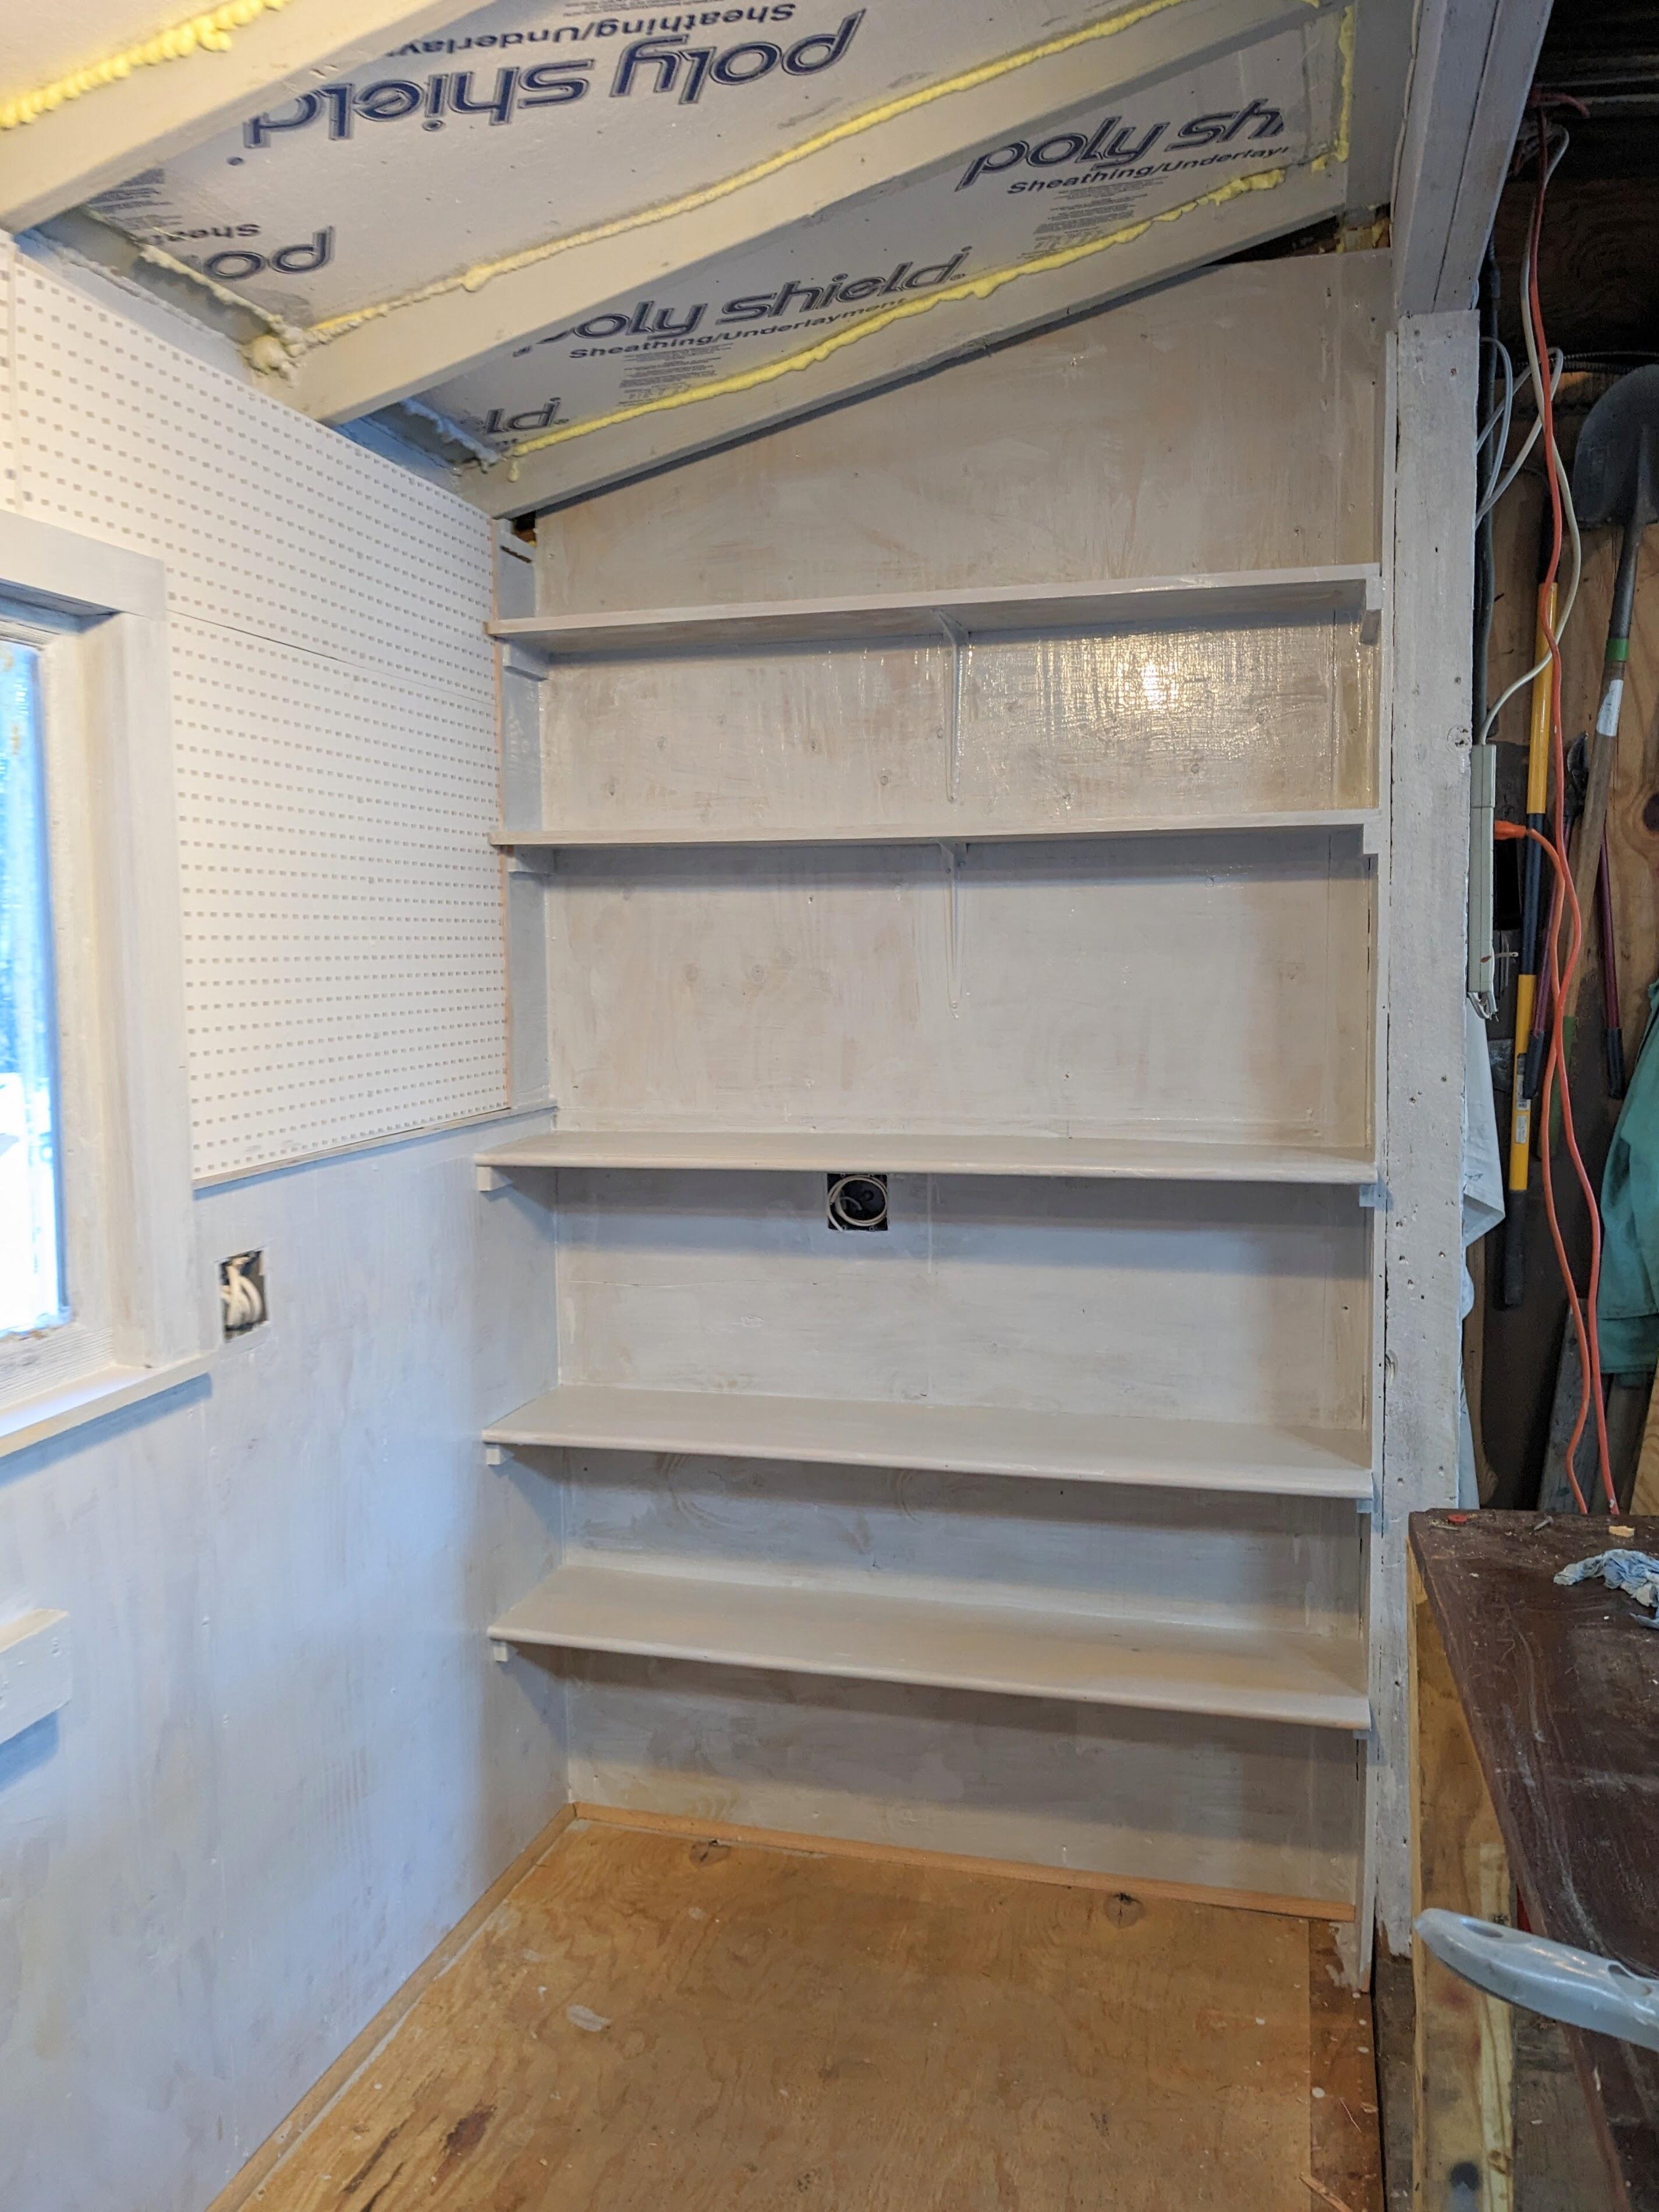
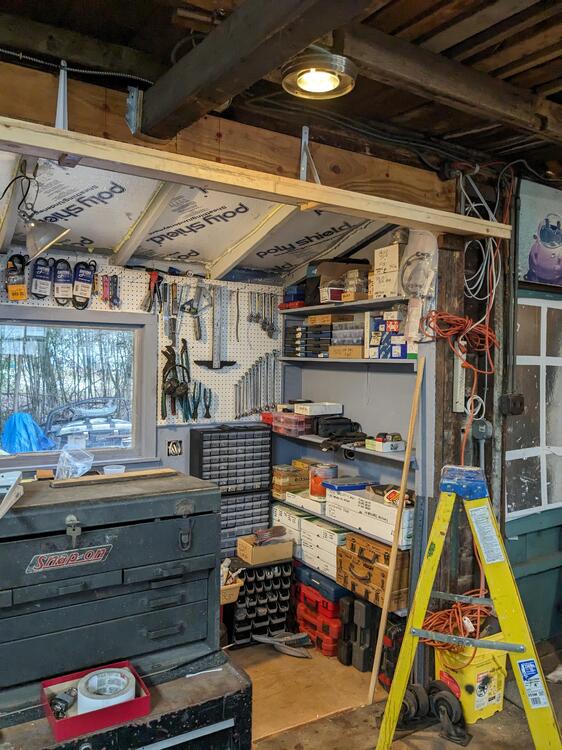
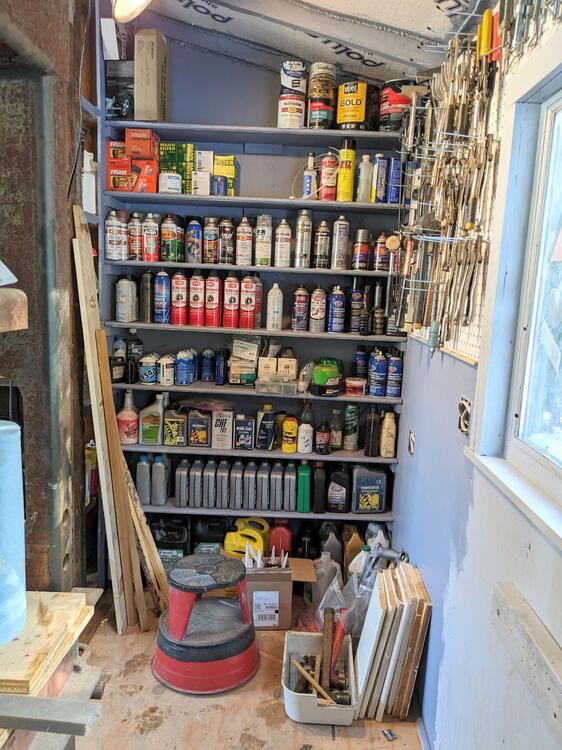
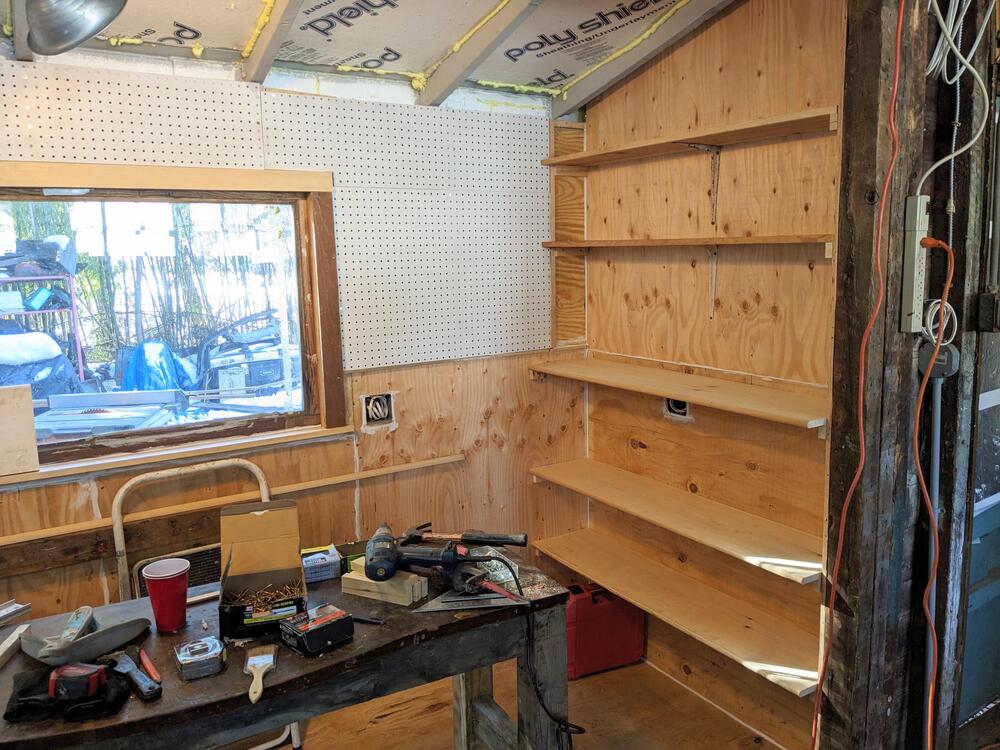
Thank you Steve. I'm retiring from my day job this summer, so I'll be spending much more of my day out there. I'm going to have to work my way around the rest of the garage eventually. Had to buy some shelving today - the ones I have left over from previous work were not deep enough for what I wanted on this side. Bought 15' of 1x12 to make the bottom 3, then used the old shelving to make the uppers. I spaced these wide so I can fit small parts storage bins (16-18" tall) on the elbow height shelf, and large tool cases under the bottom one. Trying to plan this out as carefully as possible. I always forget to take in account something, same as working on the cars... primed I'm going to add a 1/4 round to protect myself from walking into these Put the heat on in the garage so I could top coat the south wall shelving. Found I had 1/2 gallon of a medium grey left over from something. I haven't bothered with heat up to now, as I have the door open much of the time, going back & forth cutting wood, etc.,


-
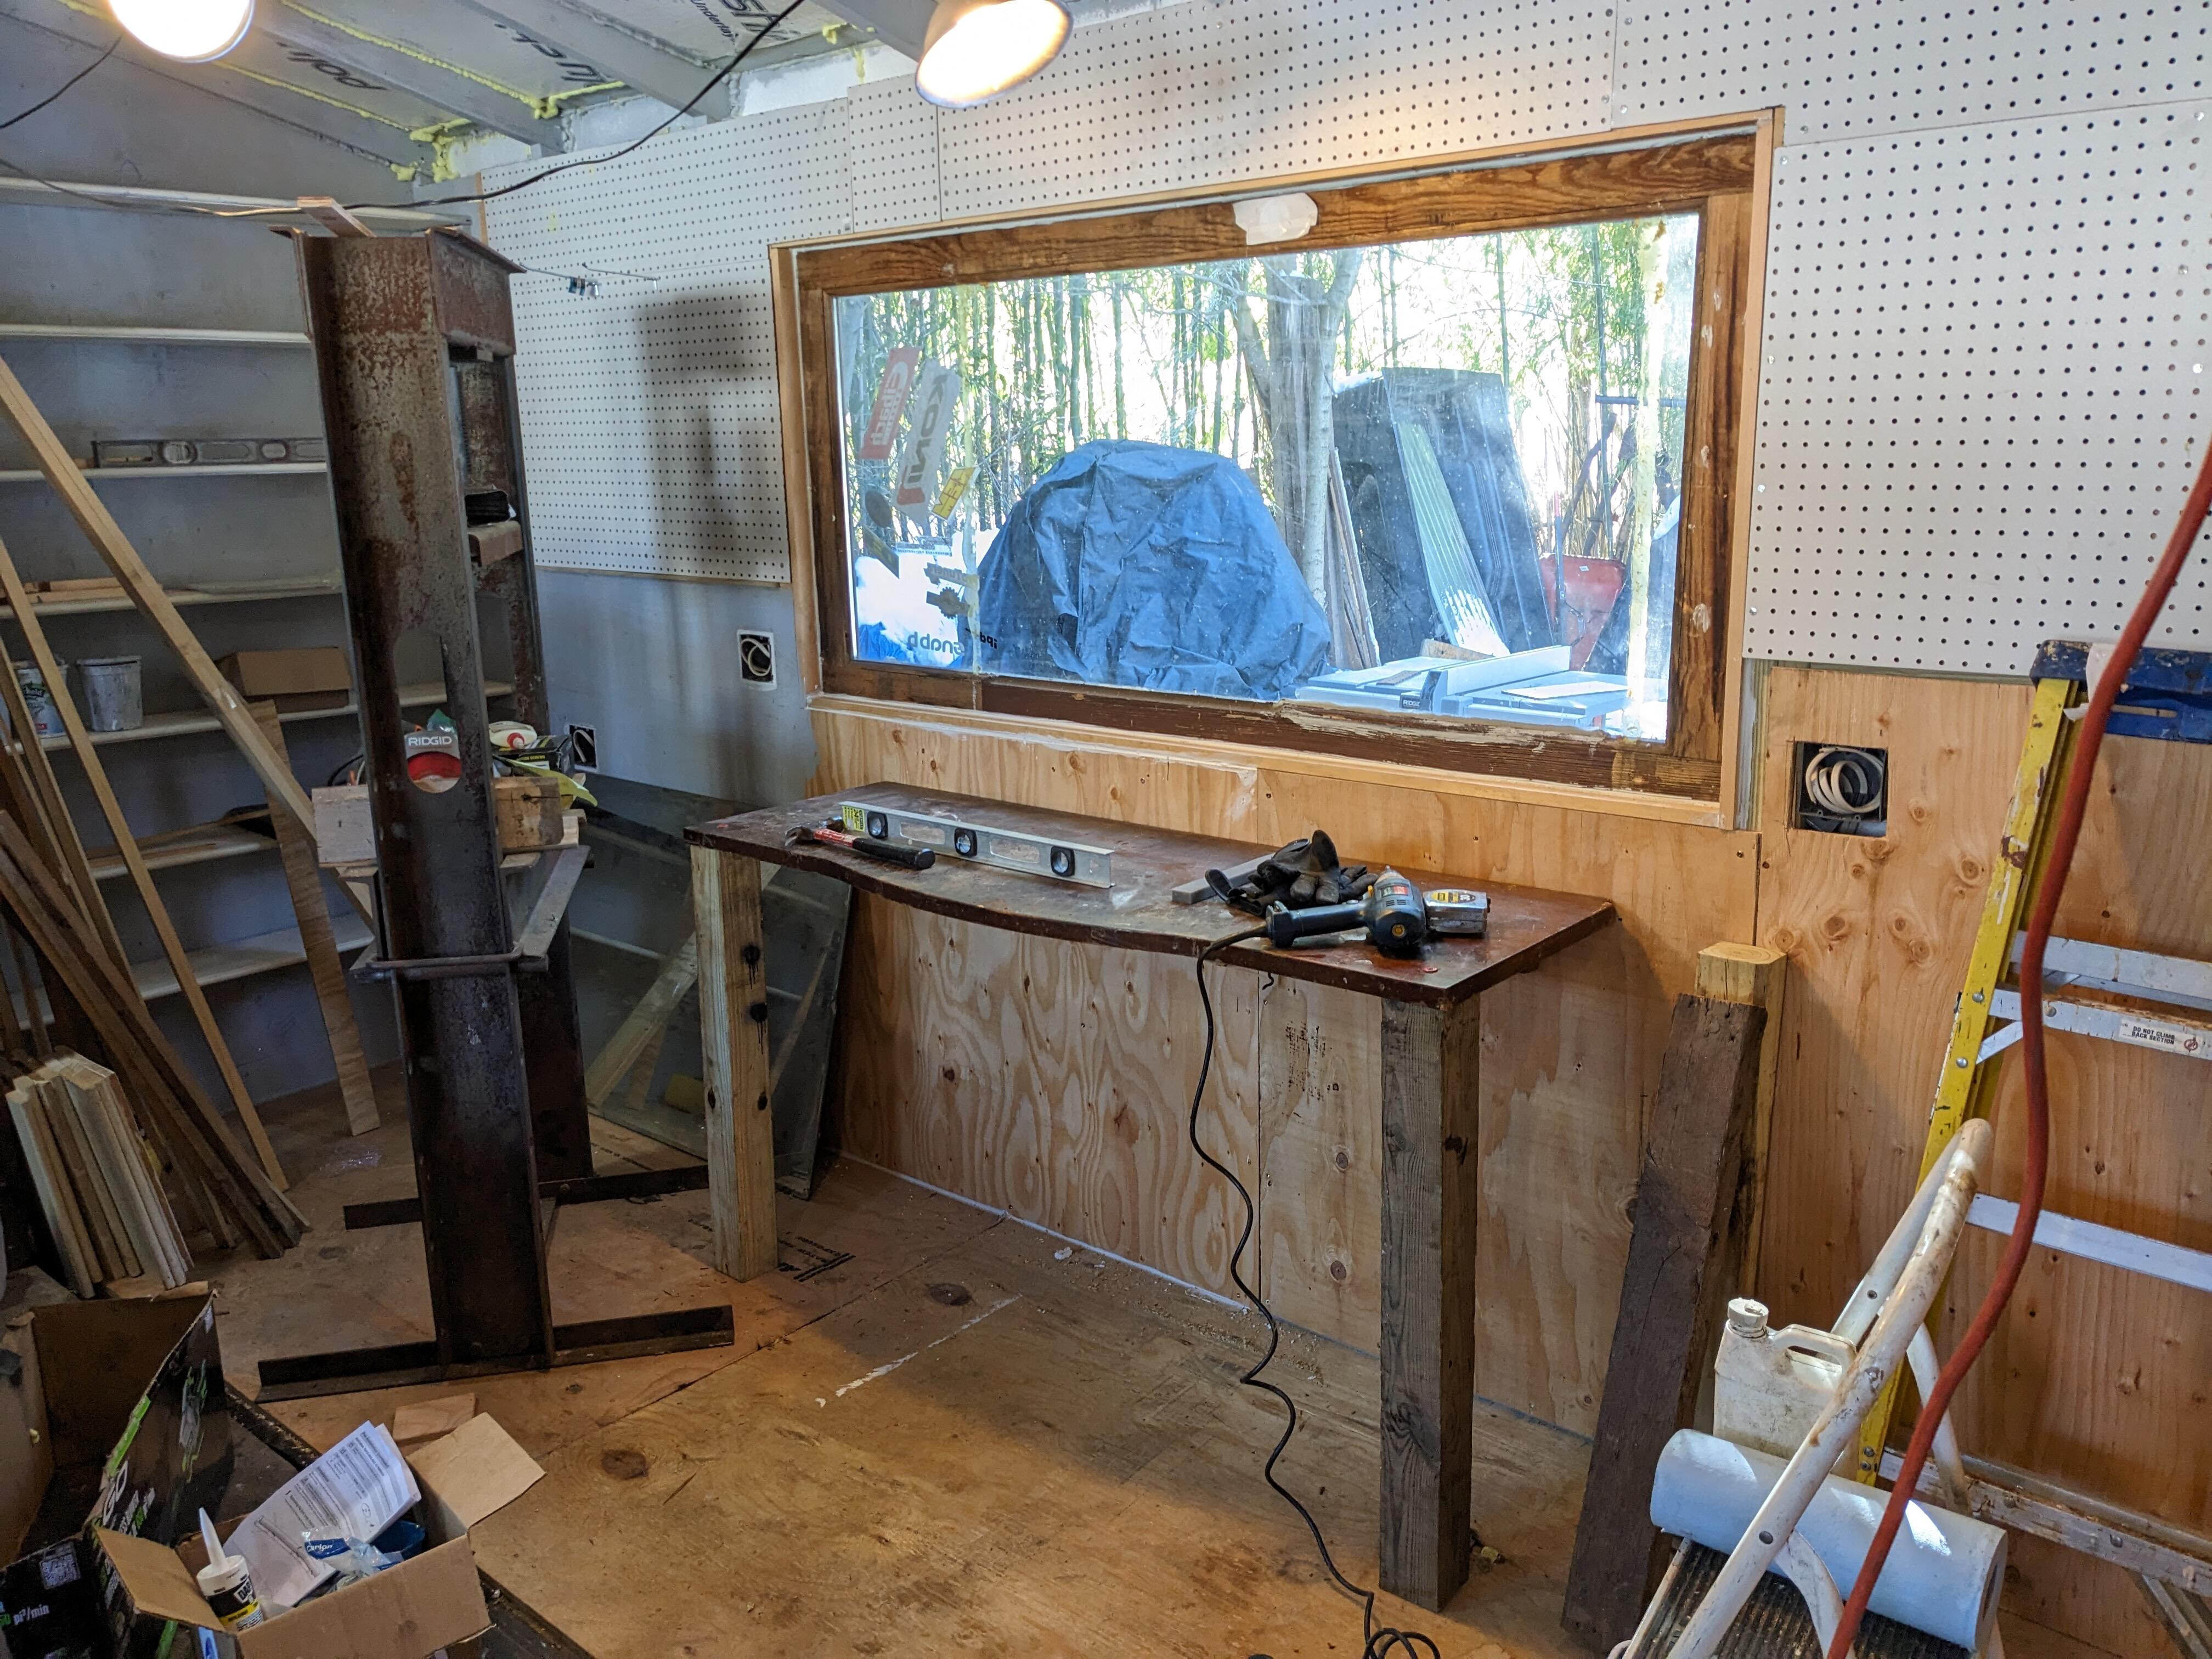
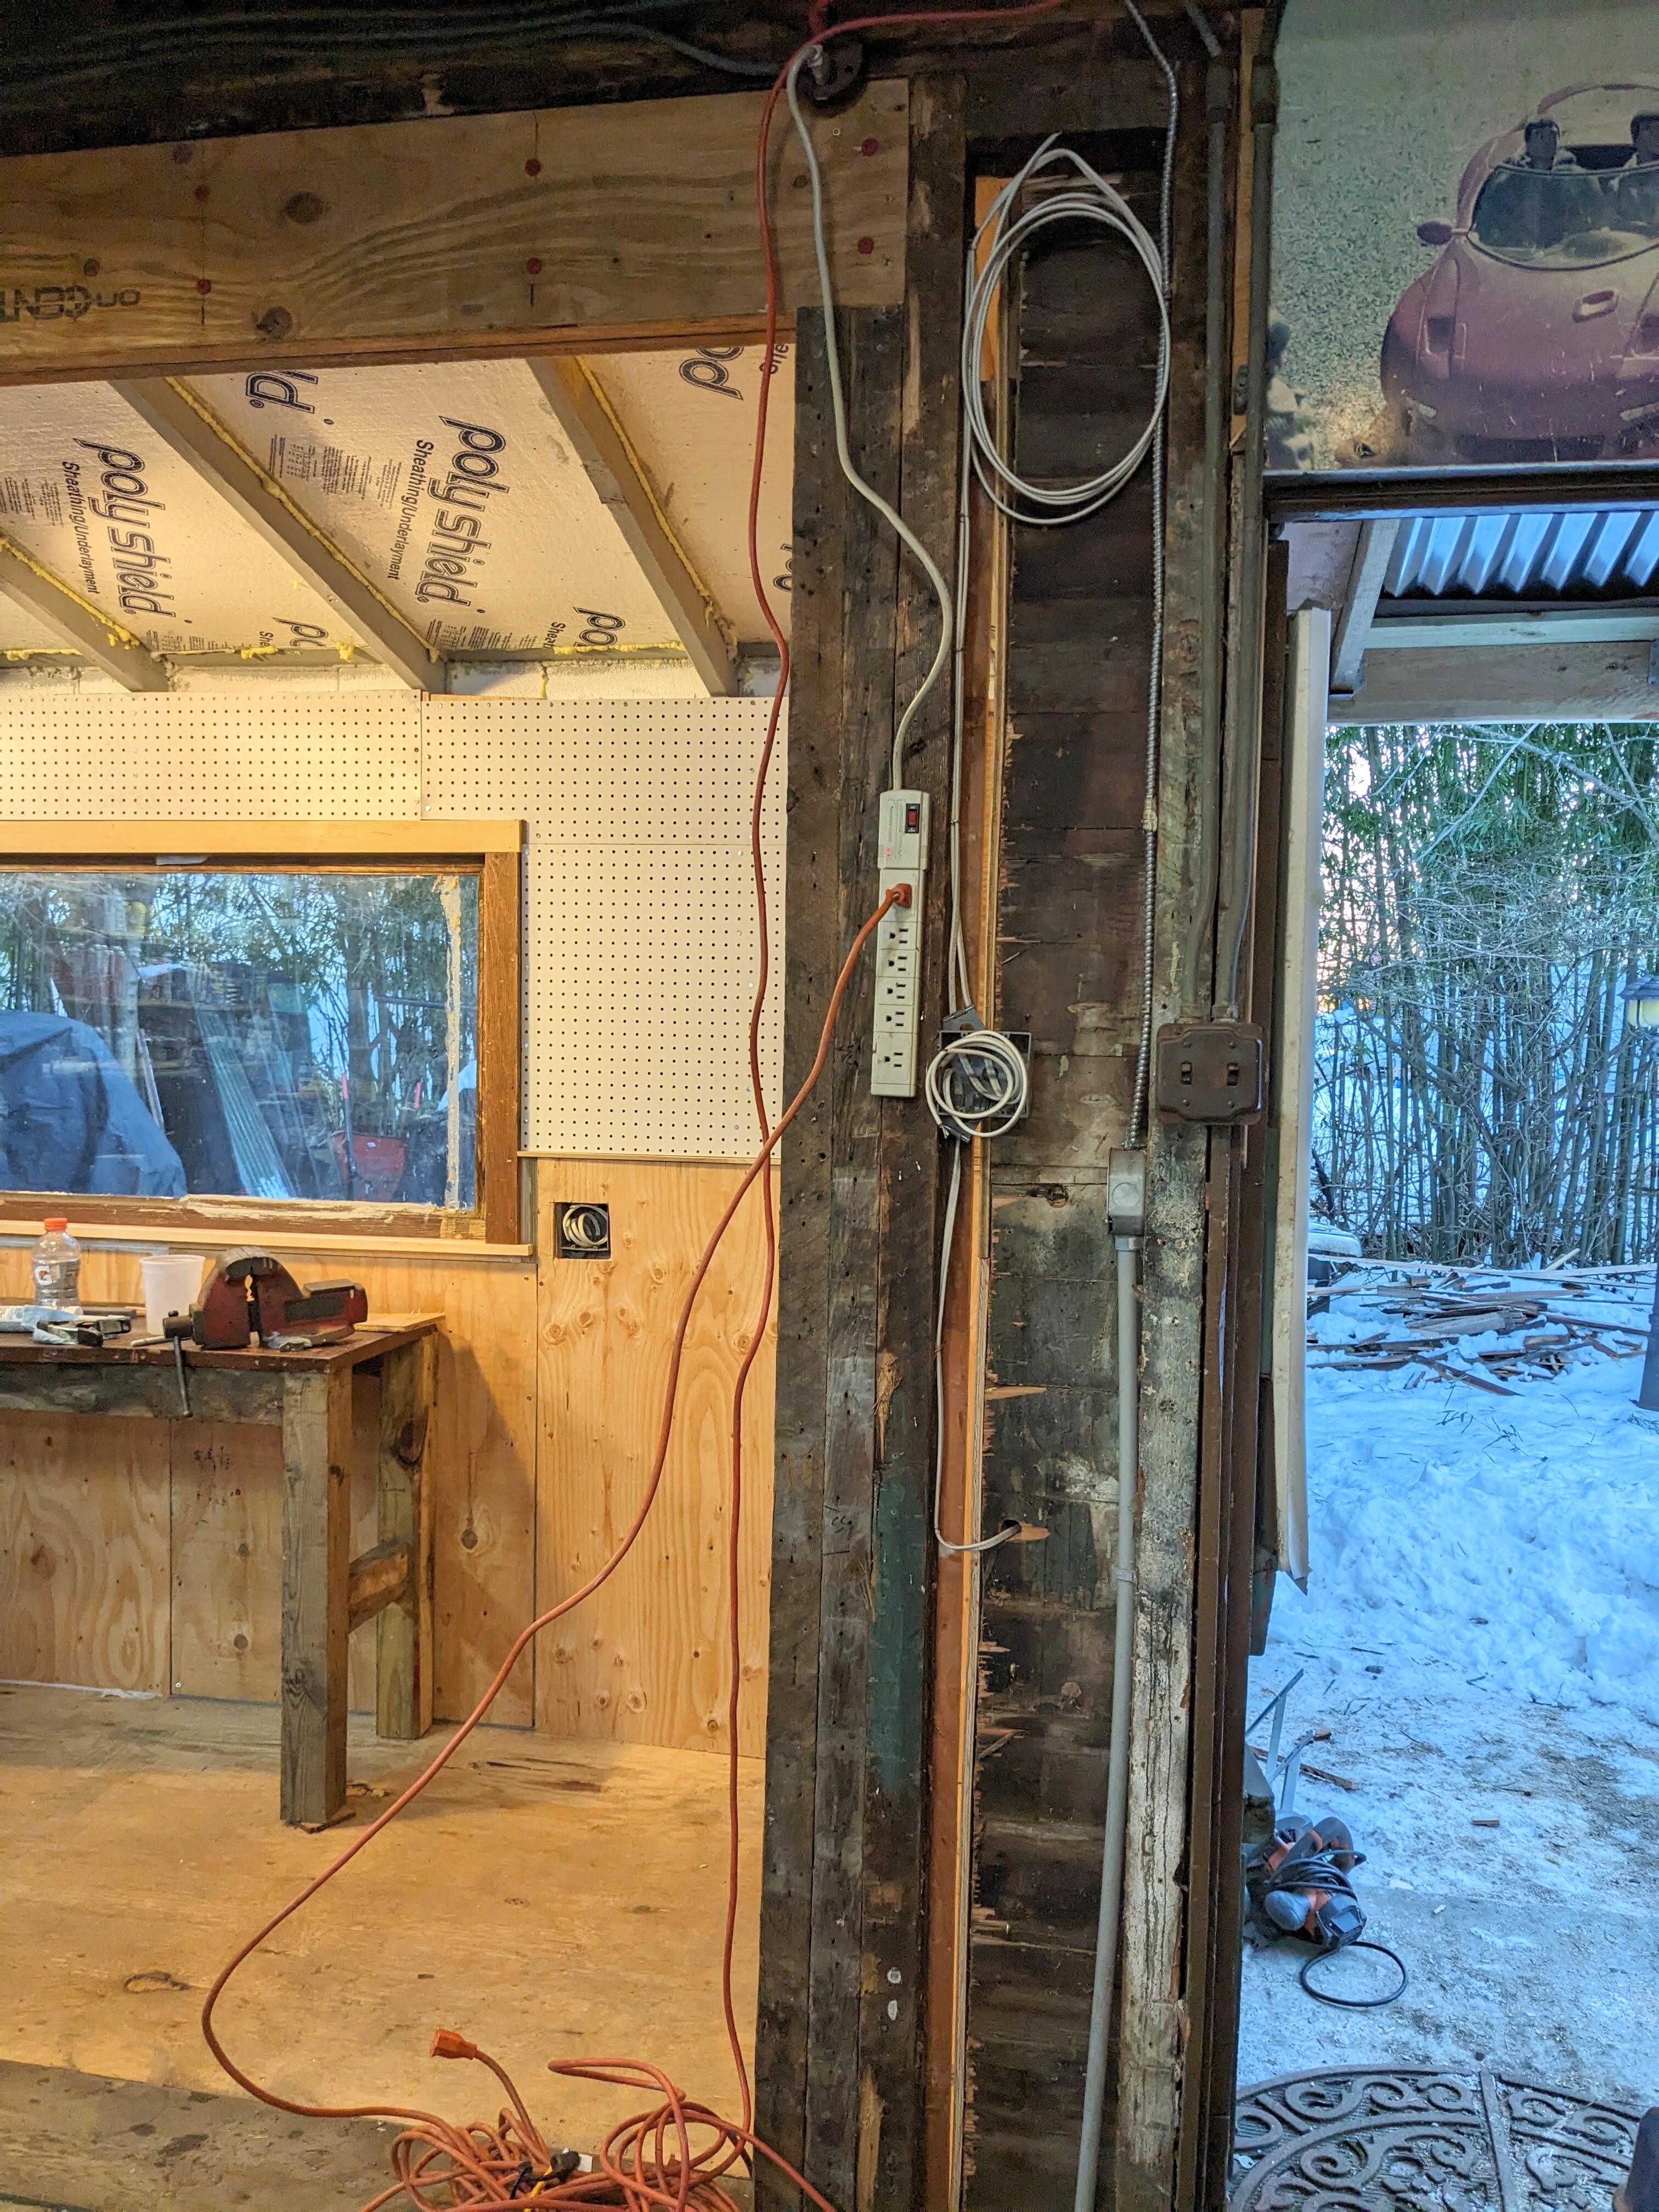
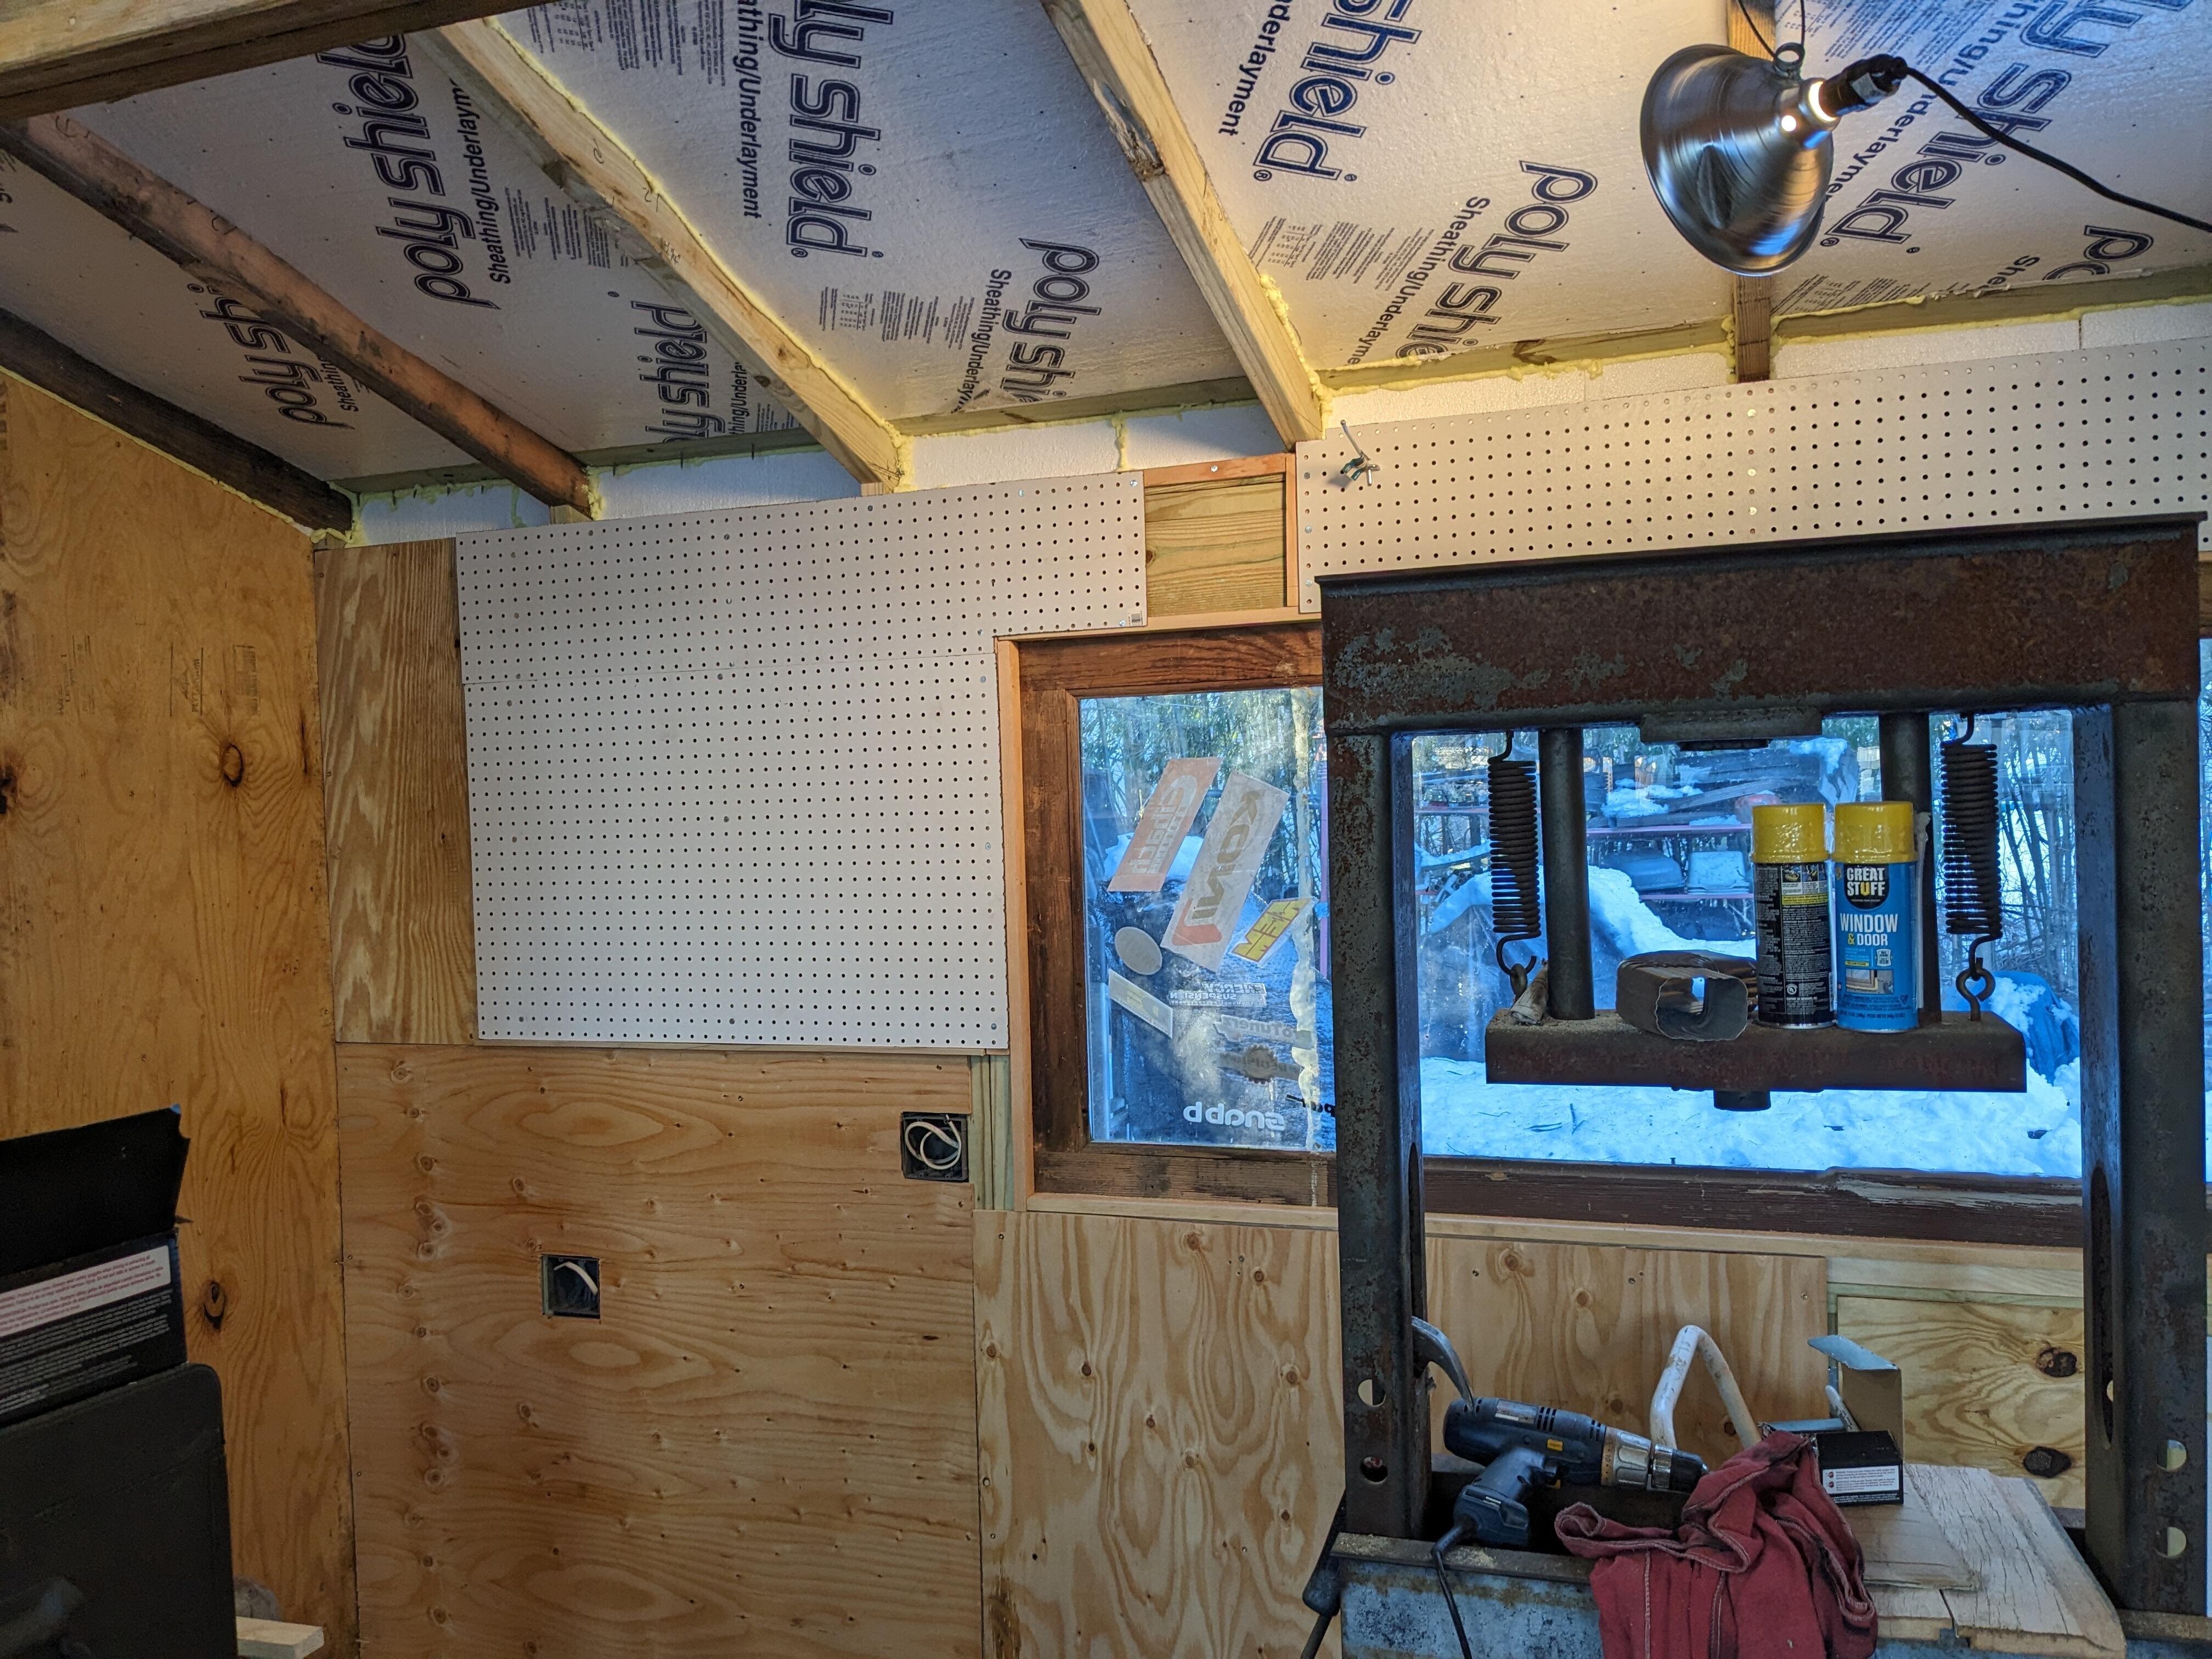
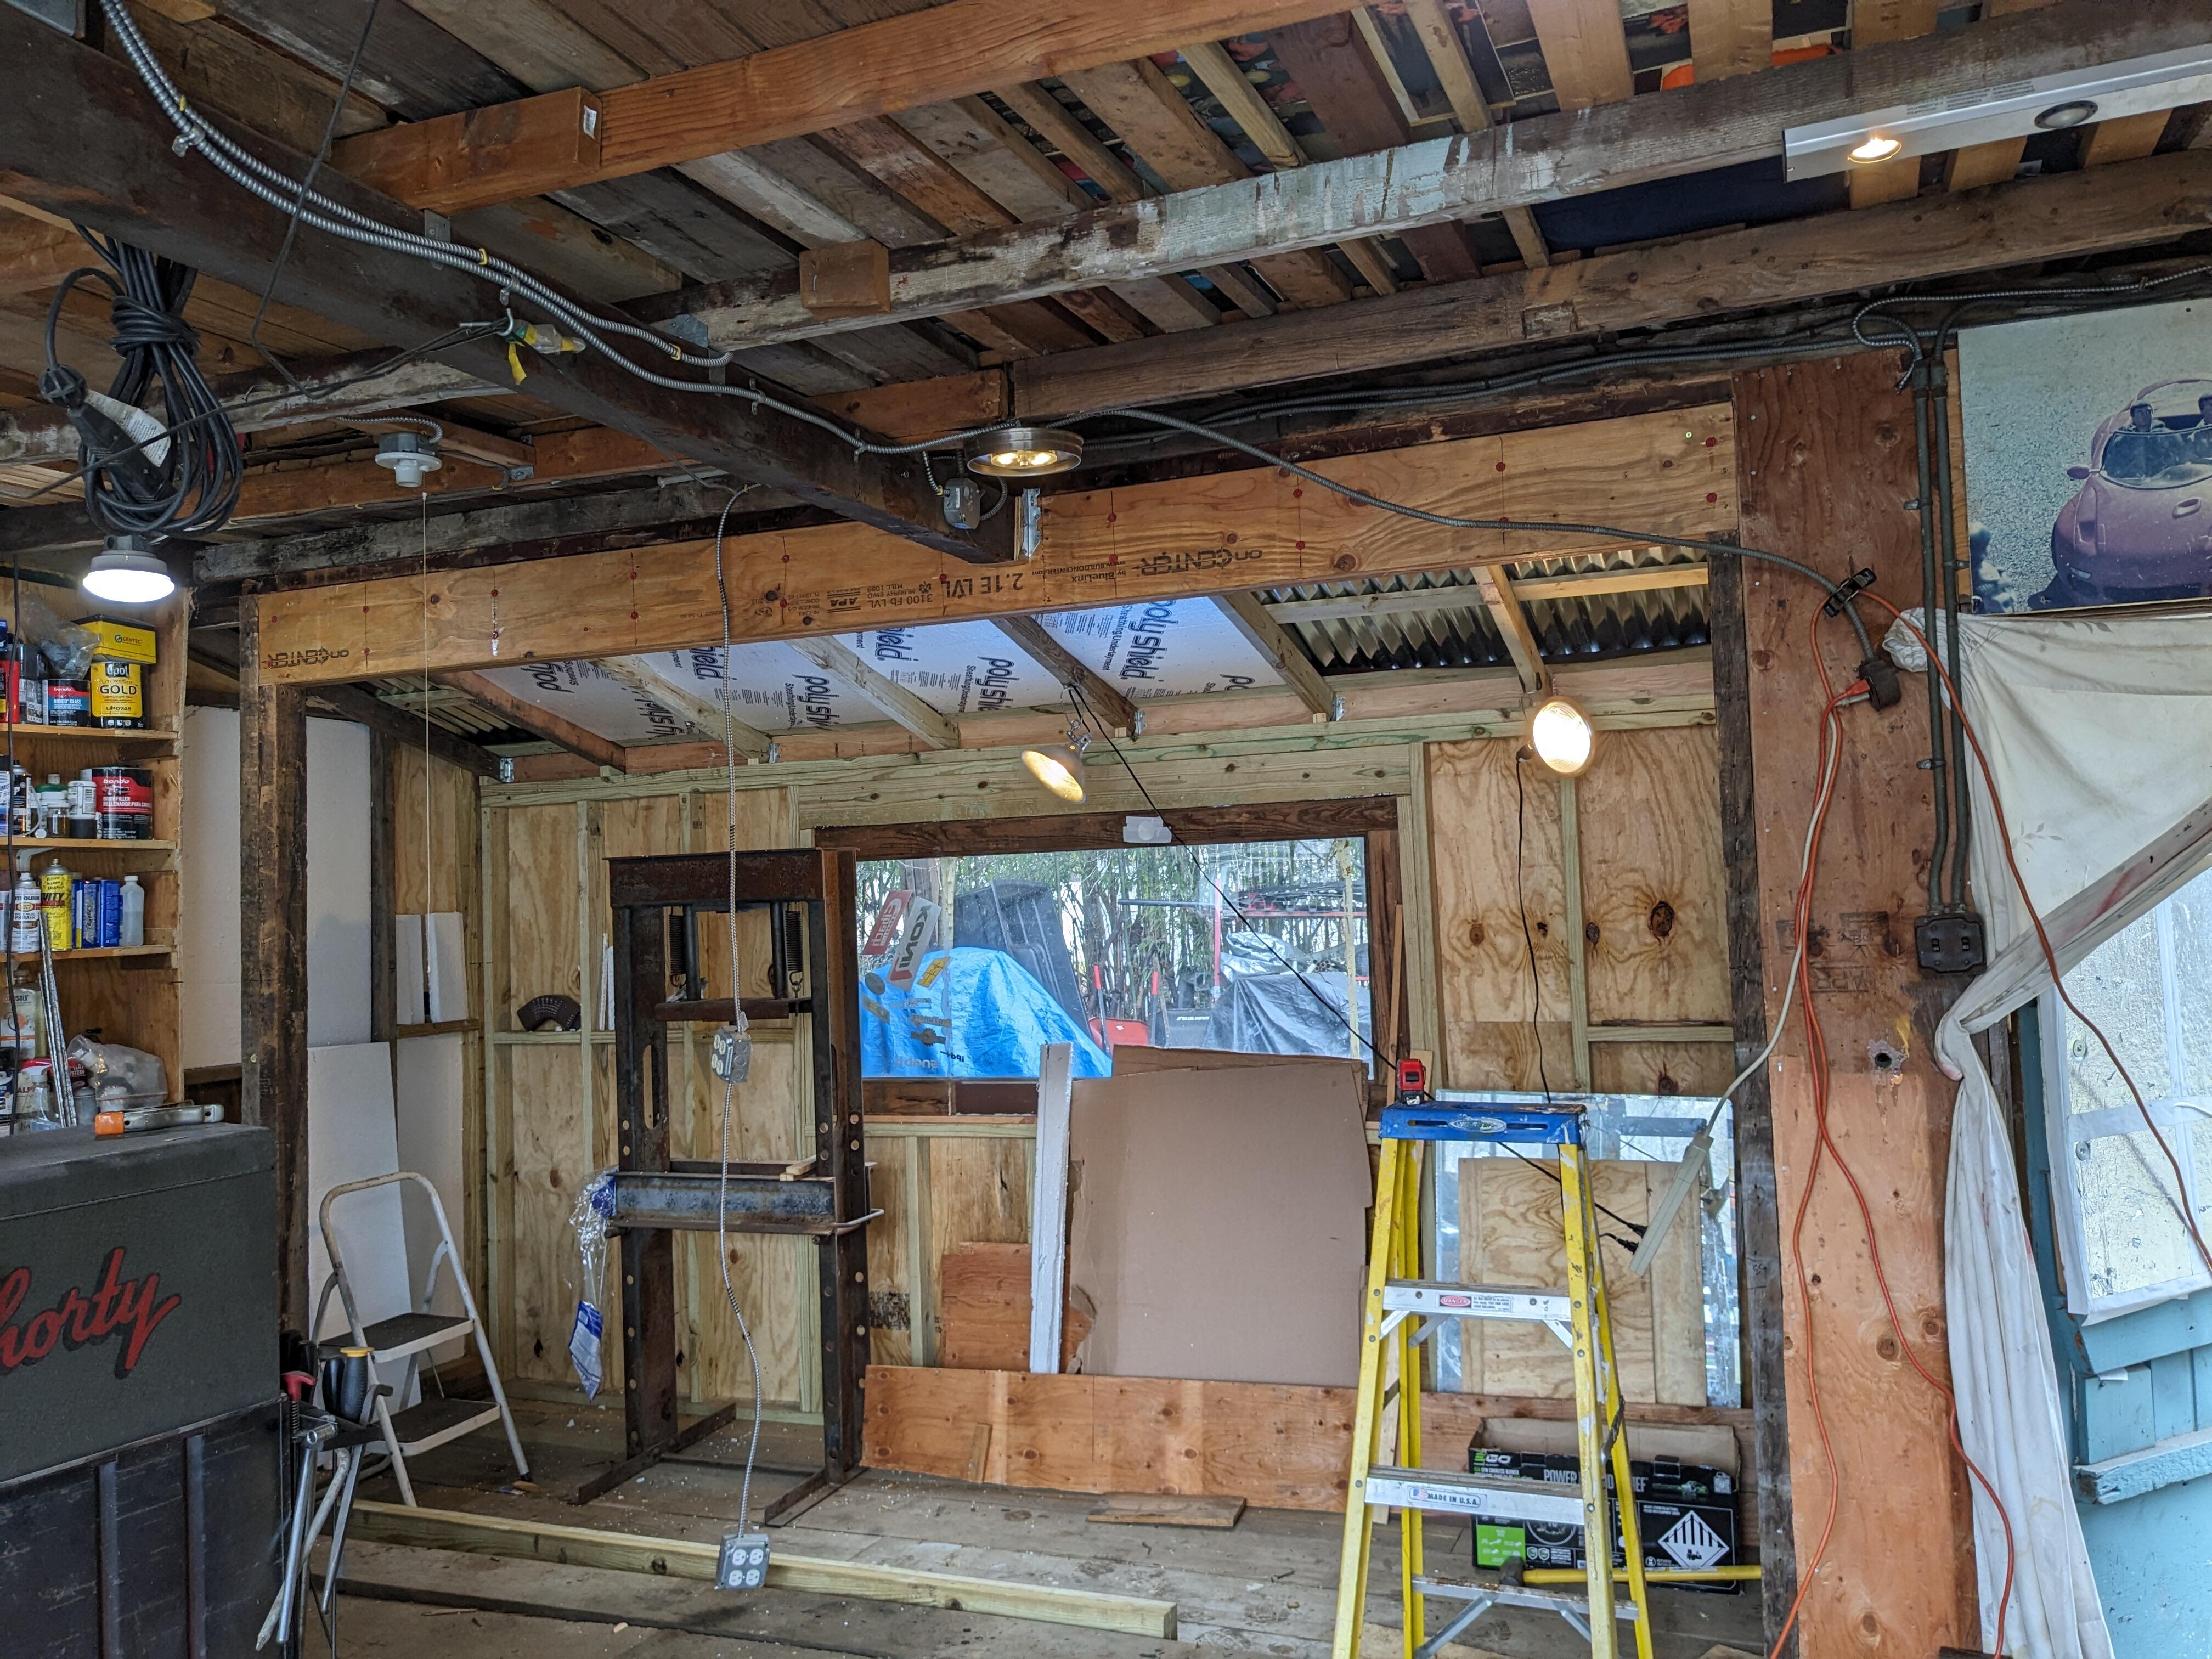
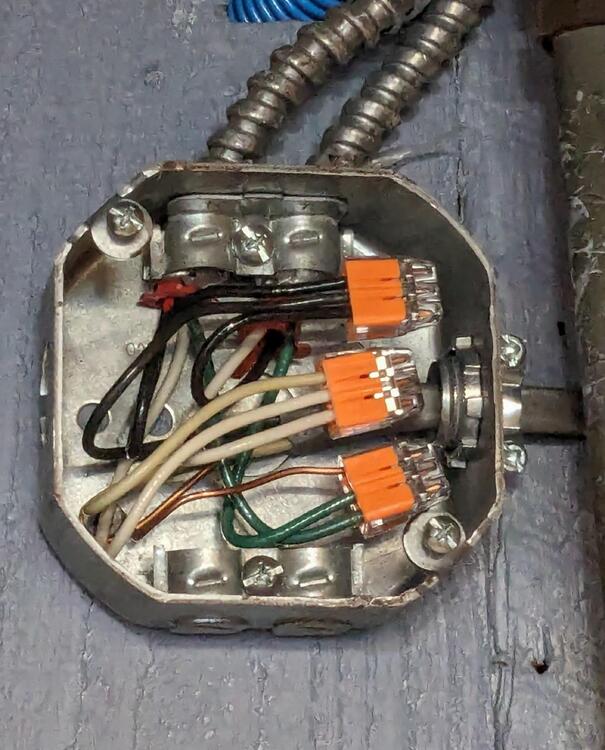
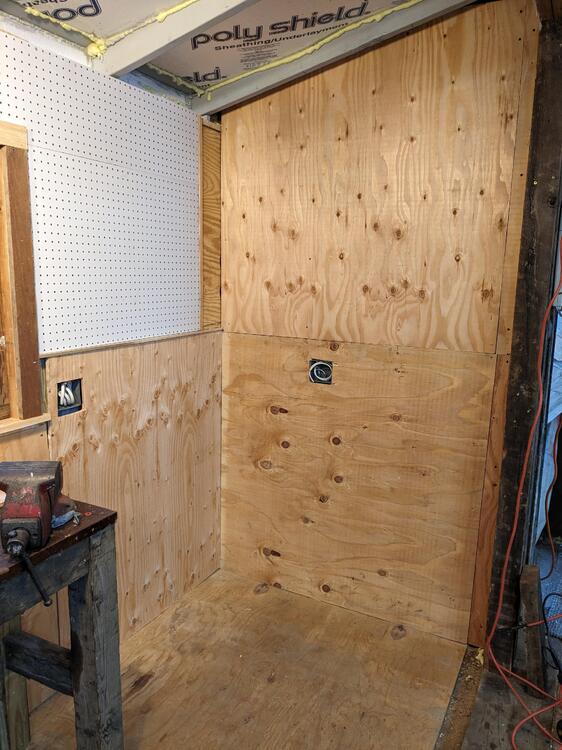
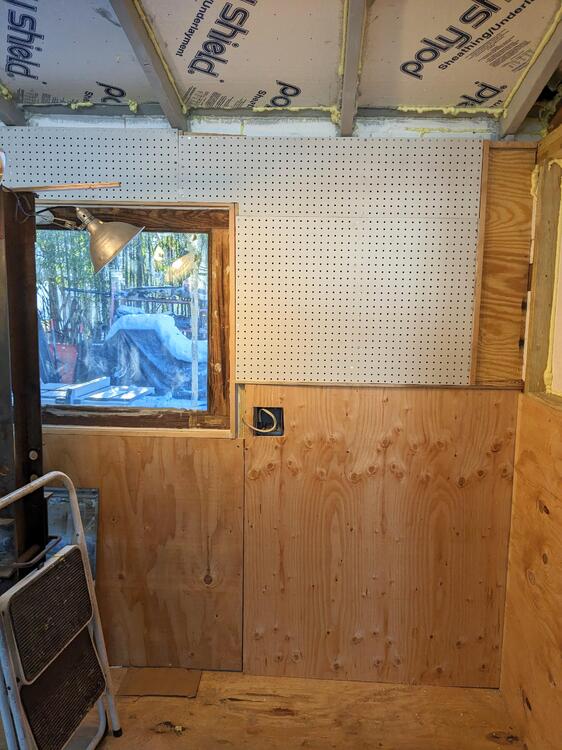
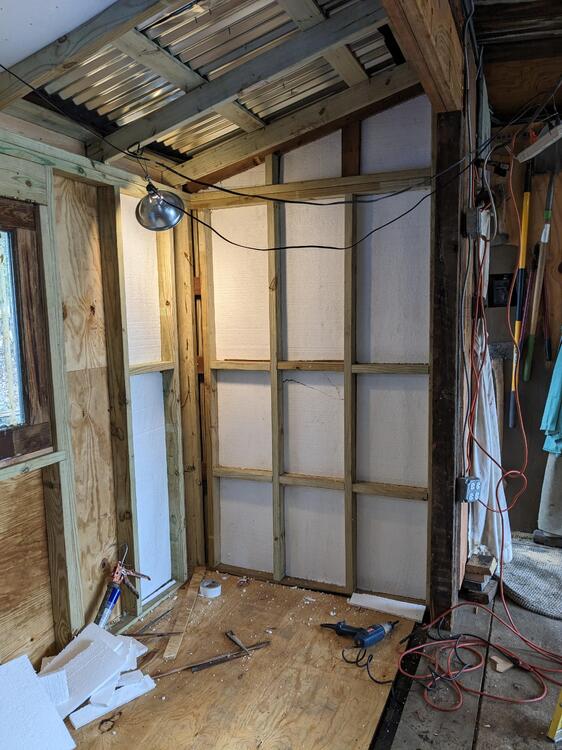
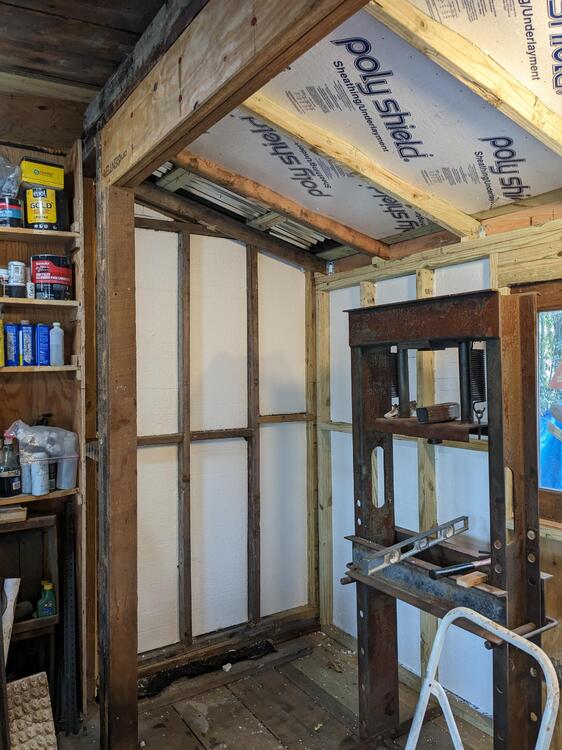
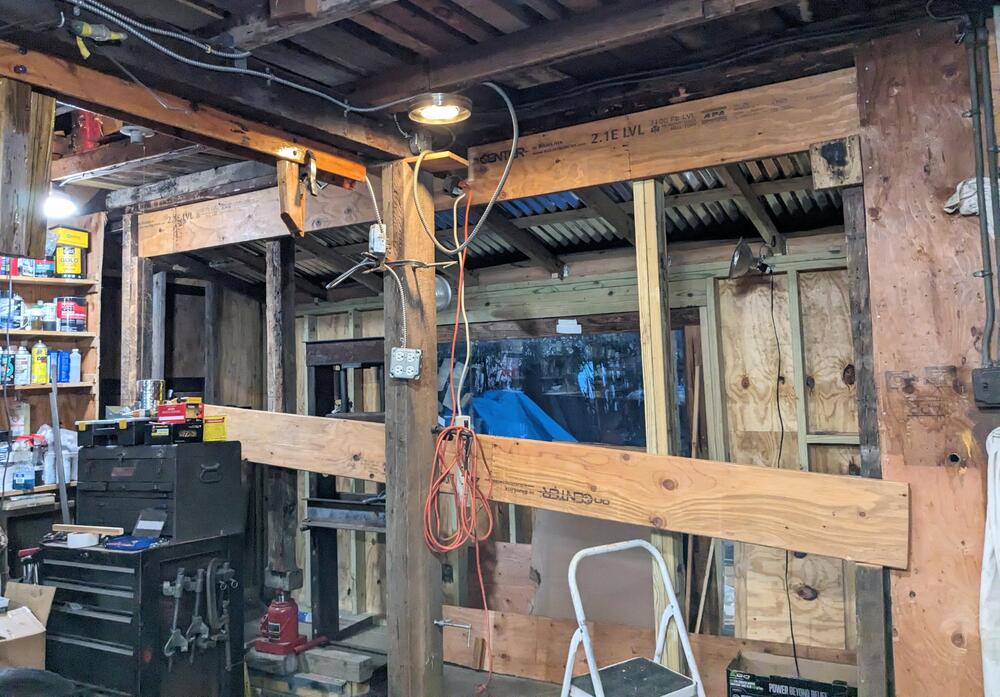
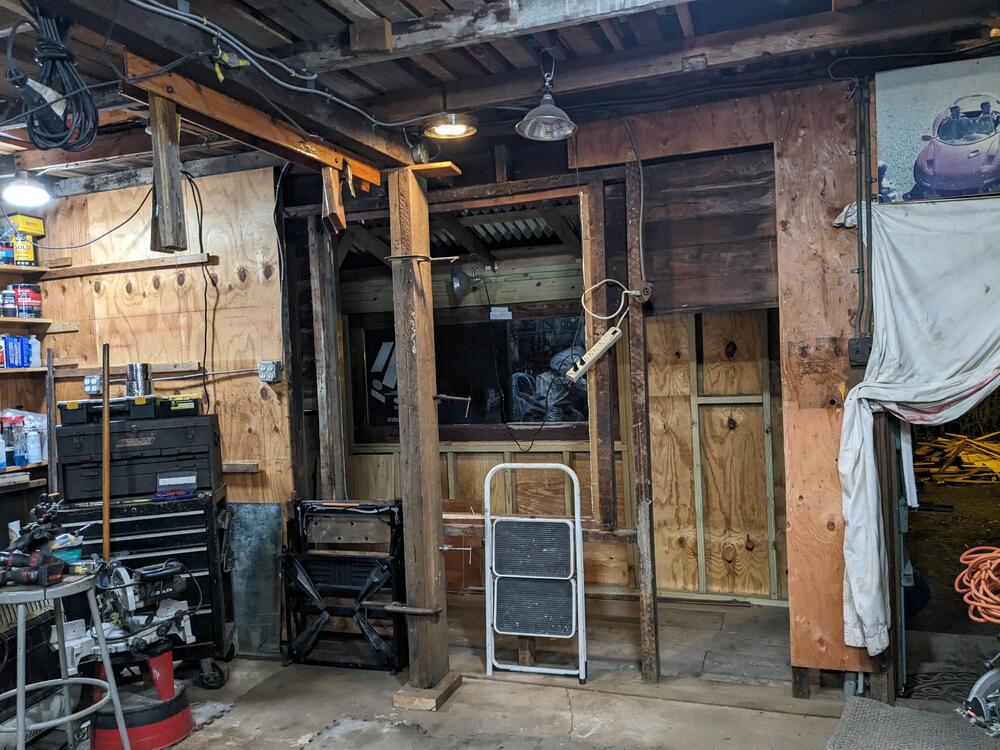
Added some more trim to the exterior framing Started on making the bench. setting it at 32", so that the added vice height will be around 40" or so framing for the window trim, sill cut, side sections cut from old 1x3 1x3 top plate installed cut & fitted the north end wall plywood. I'll make shelves for this side, 9" deep to edge of pegboard new wiring box (next to power strip) for power supply & switch that feeds the new outlets and ceiling light fixture, have to decide where to tie it into existing circuitry. At some point I need to install a new mains panel, with 240v supply.

-
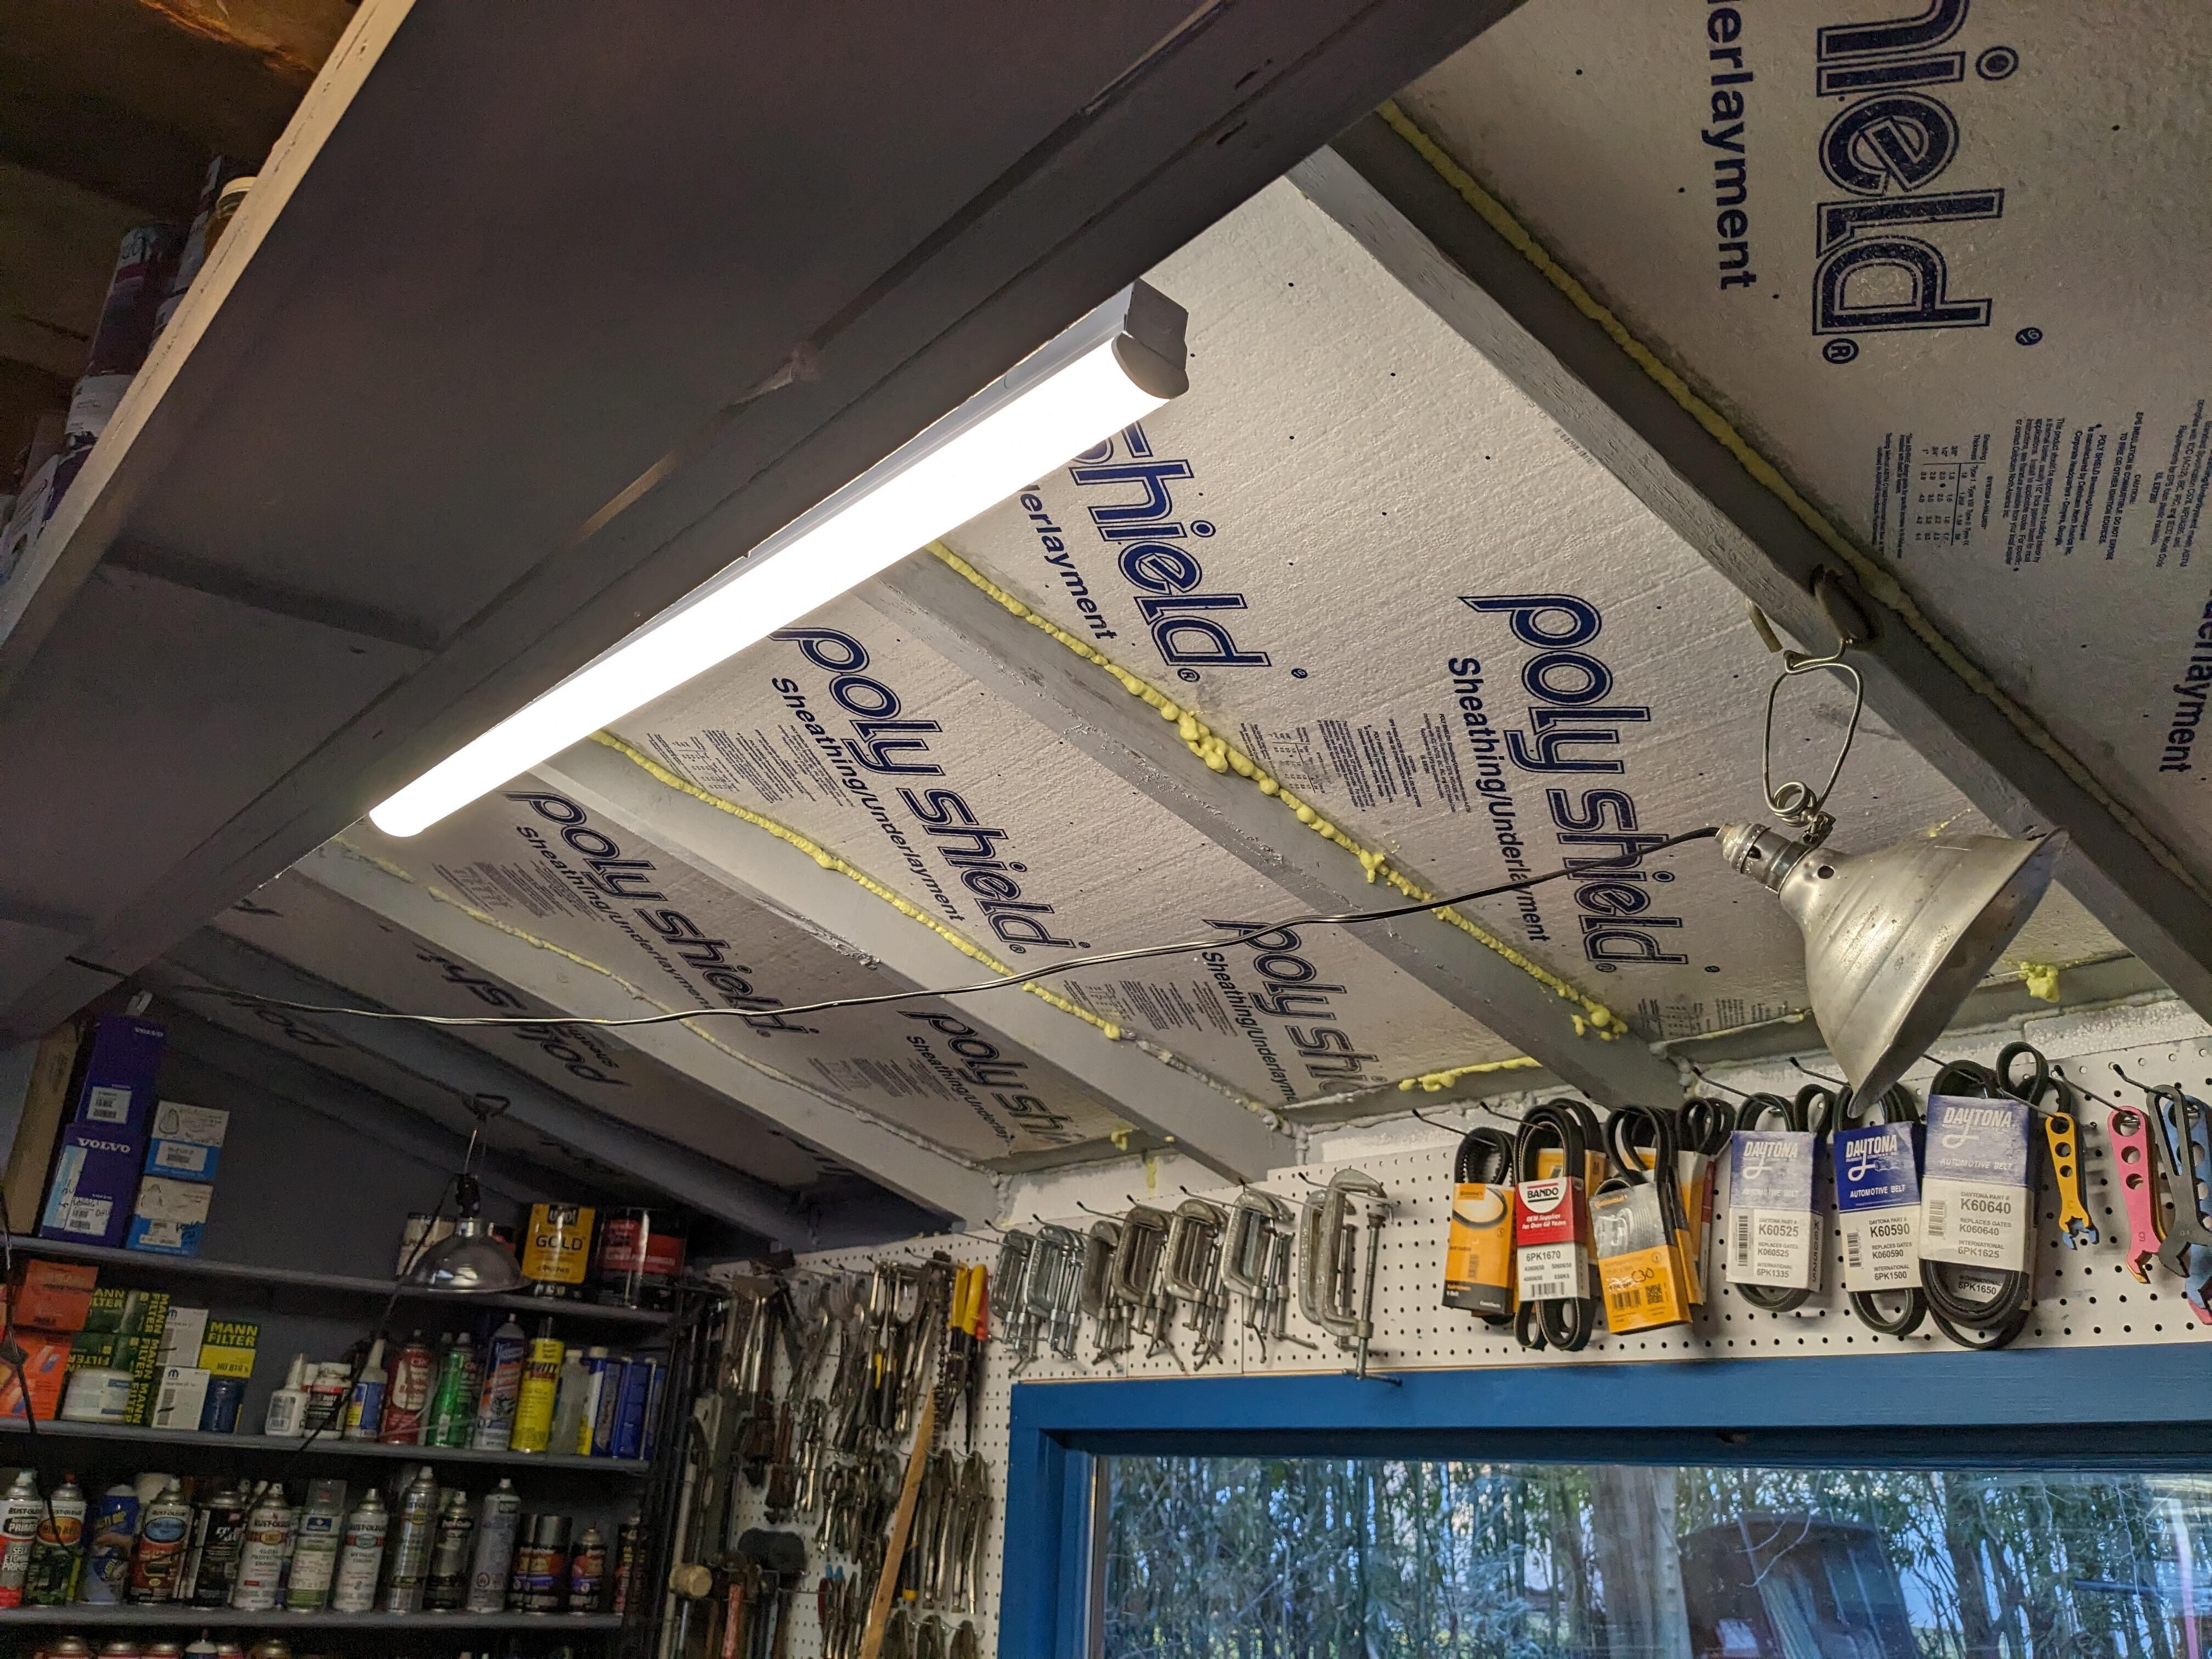
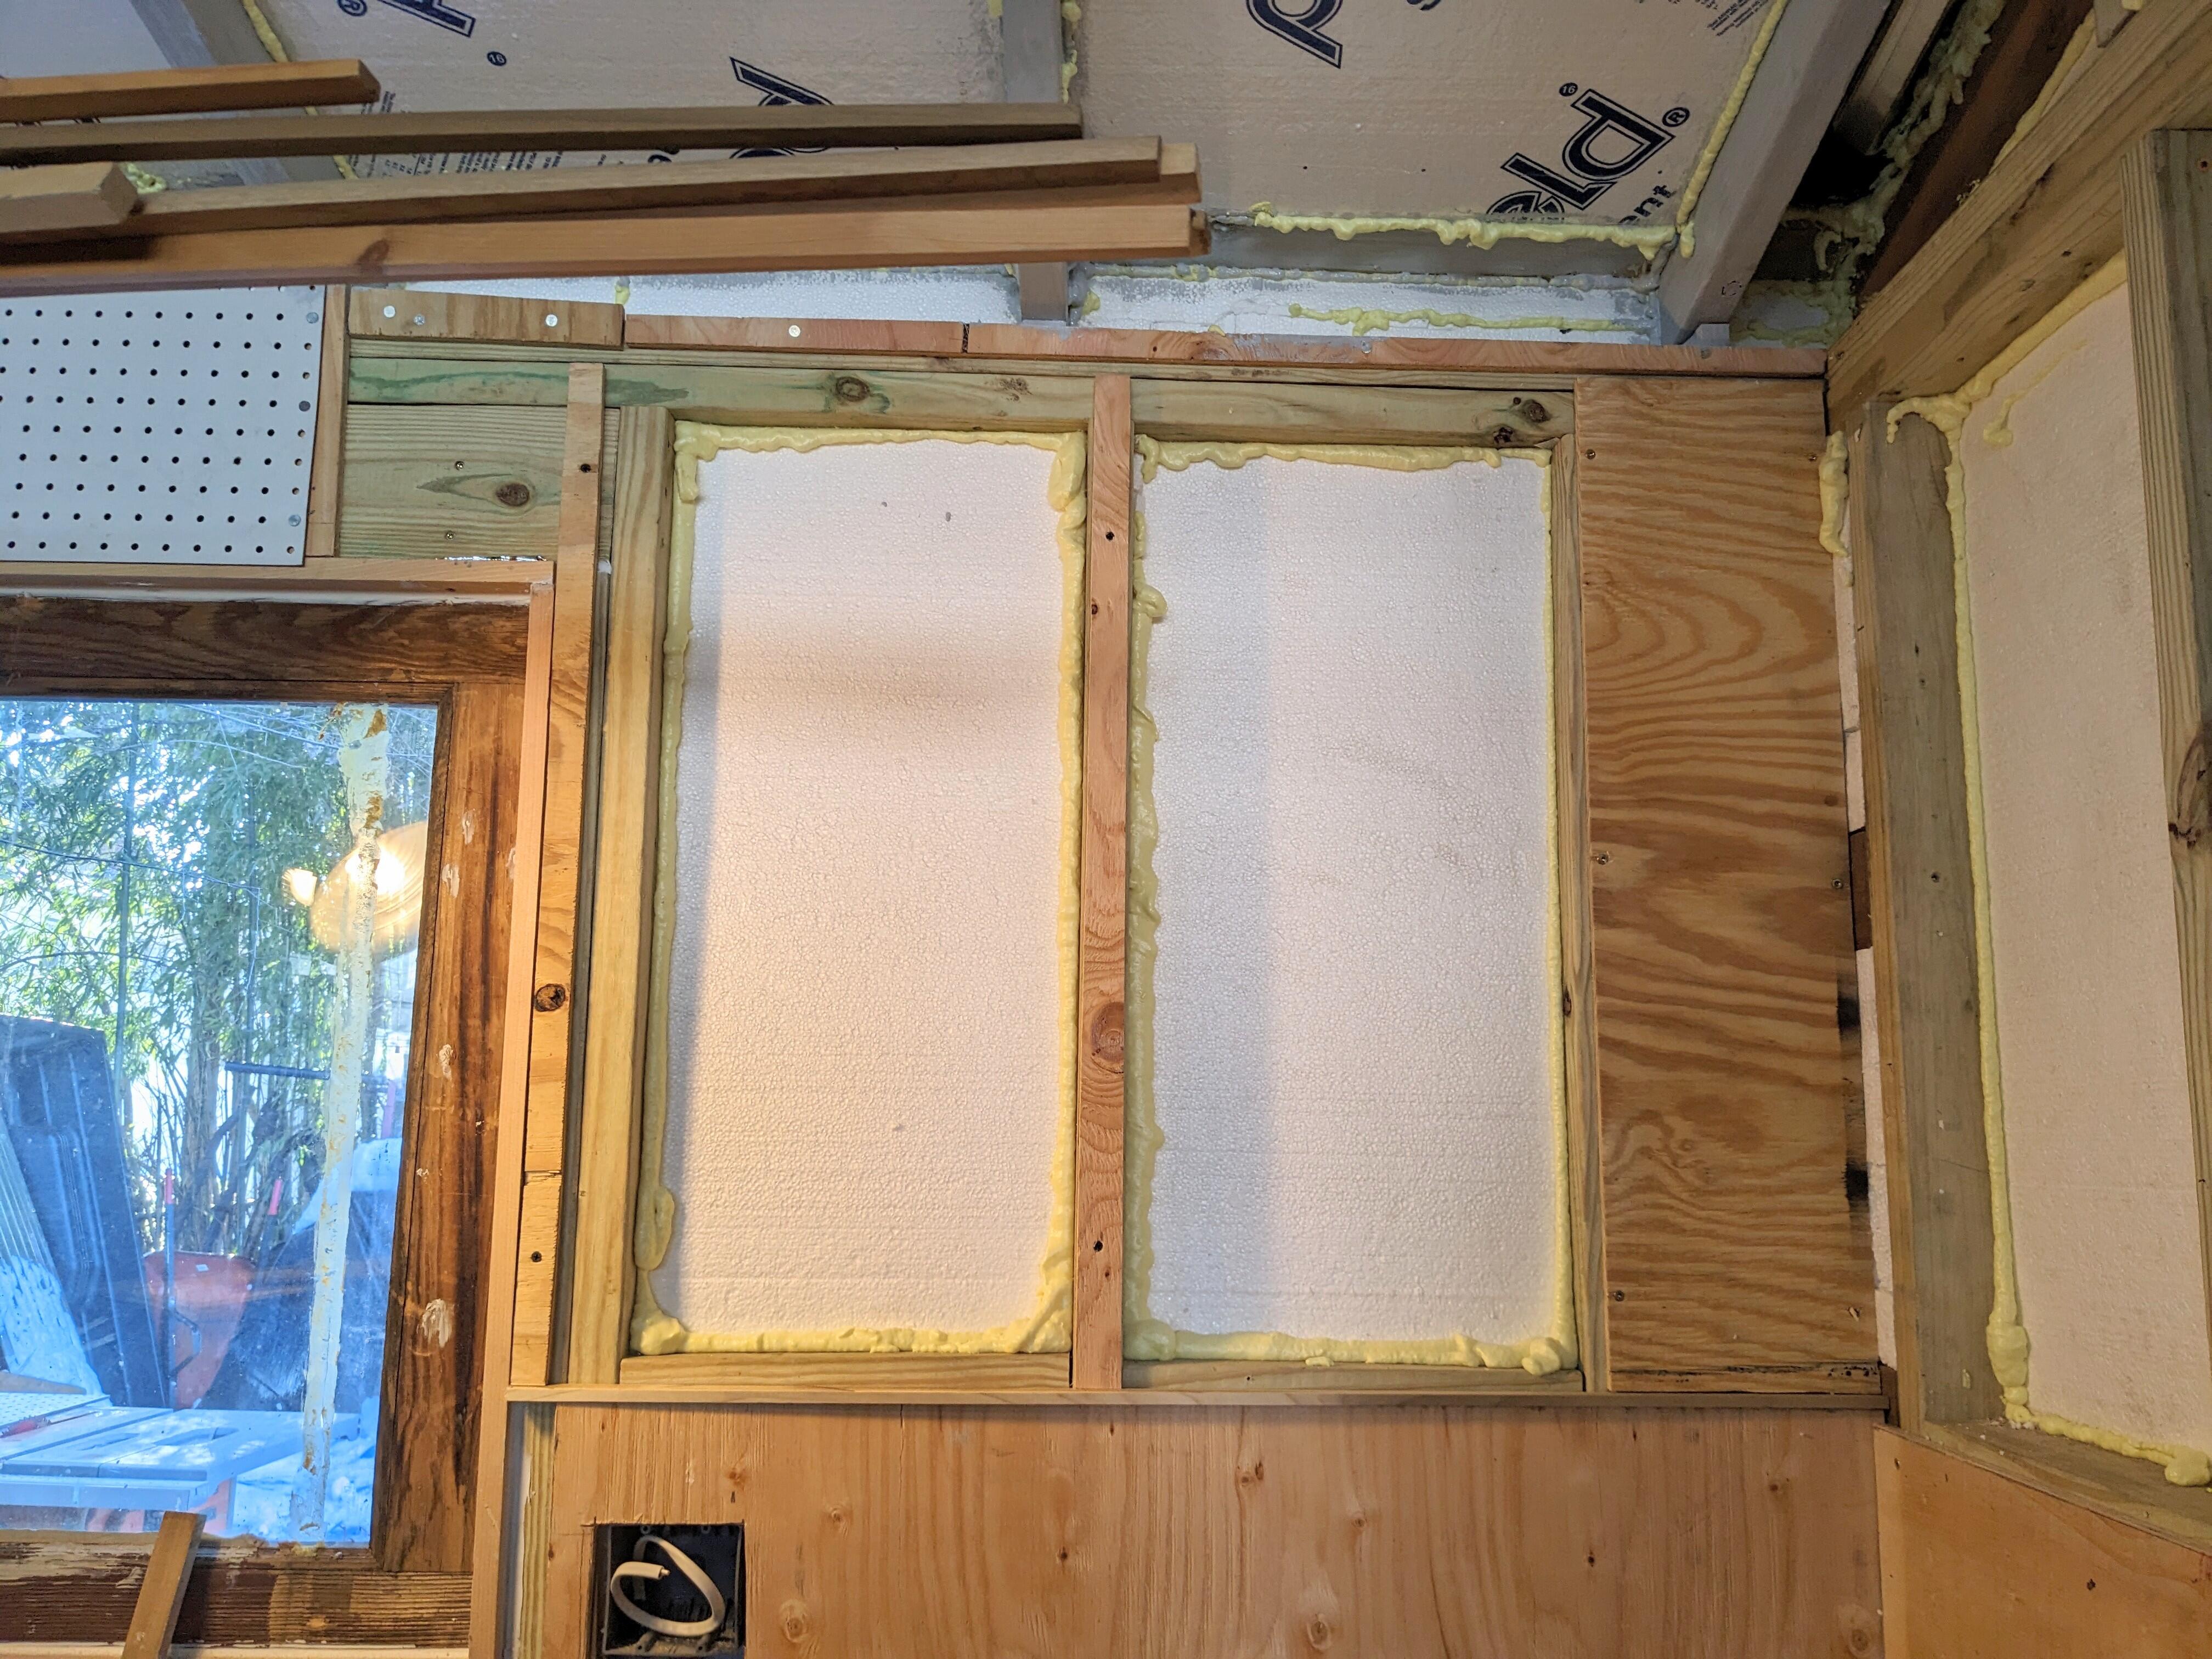
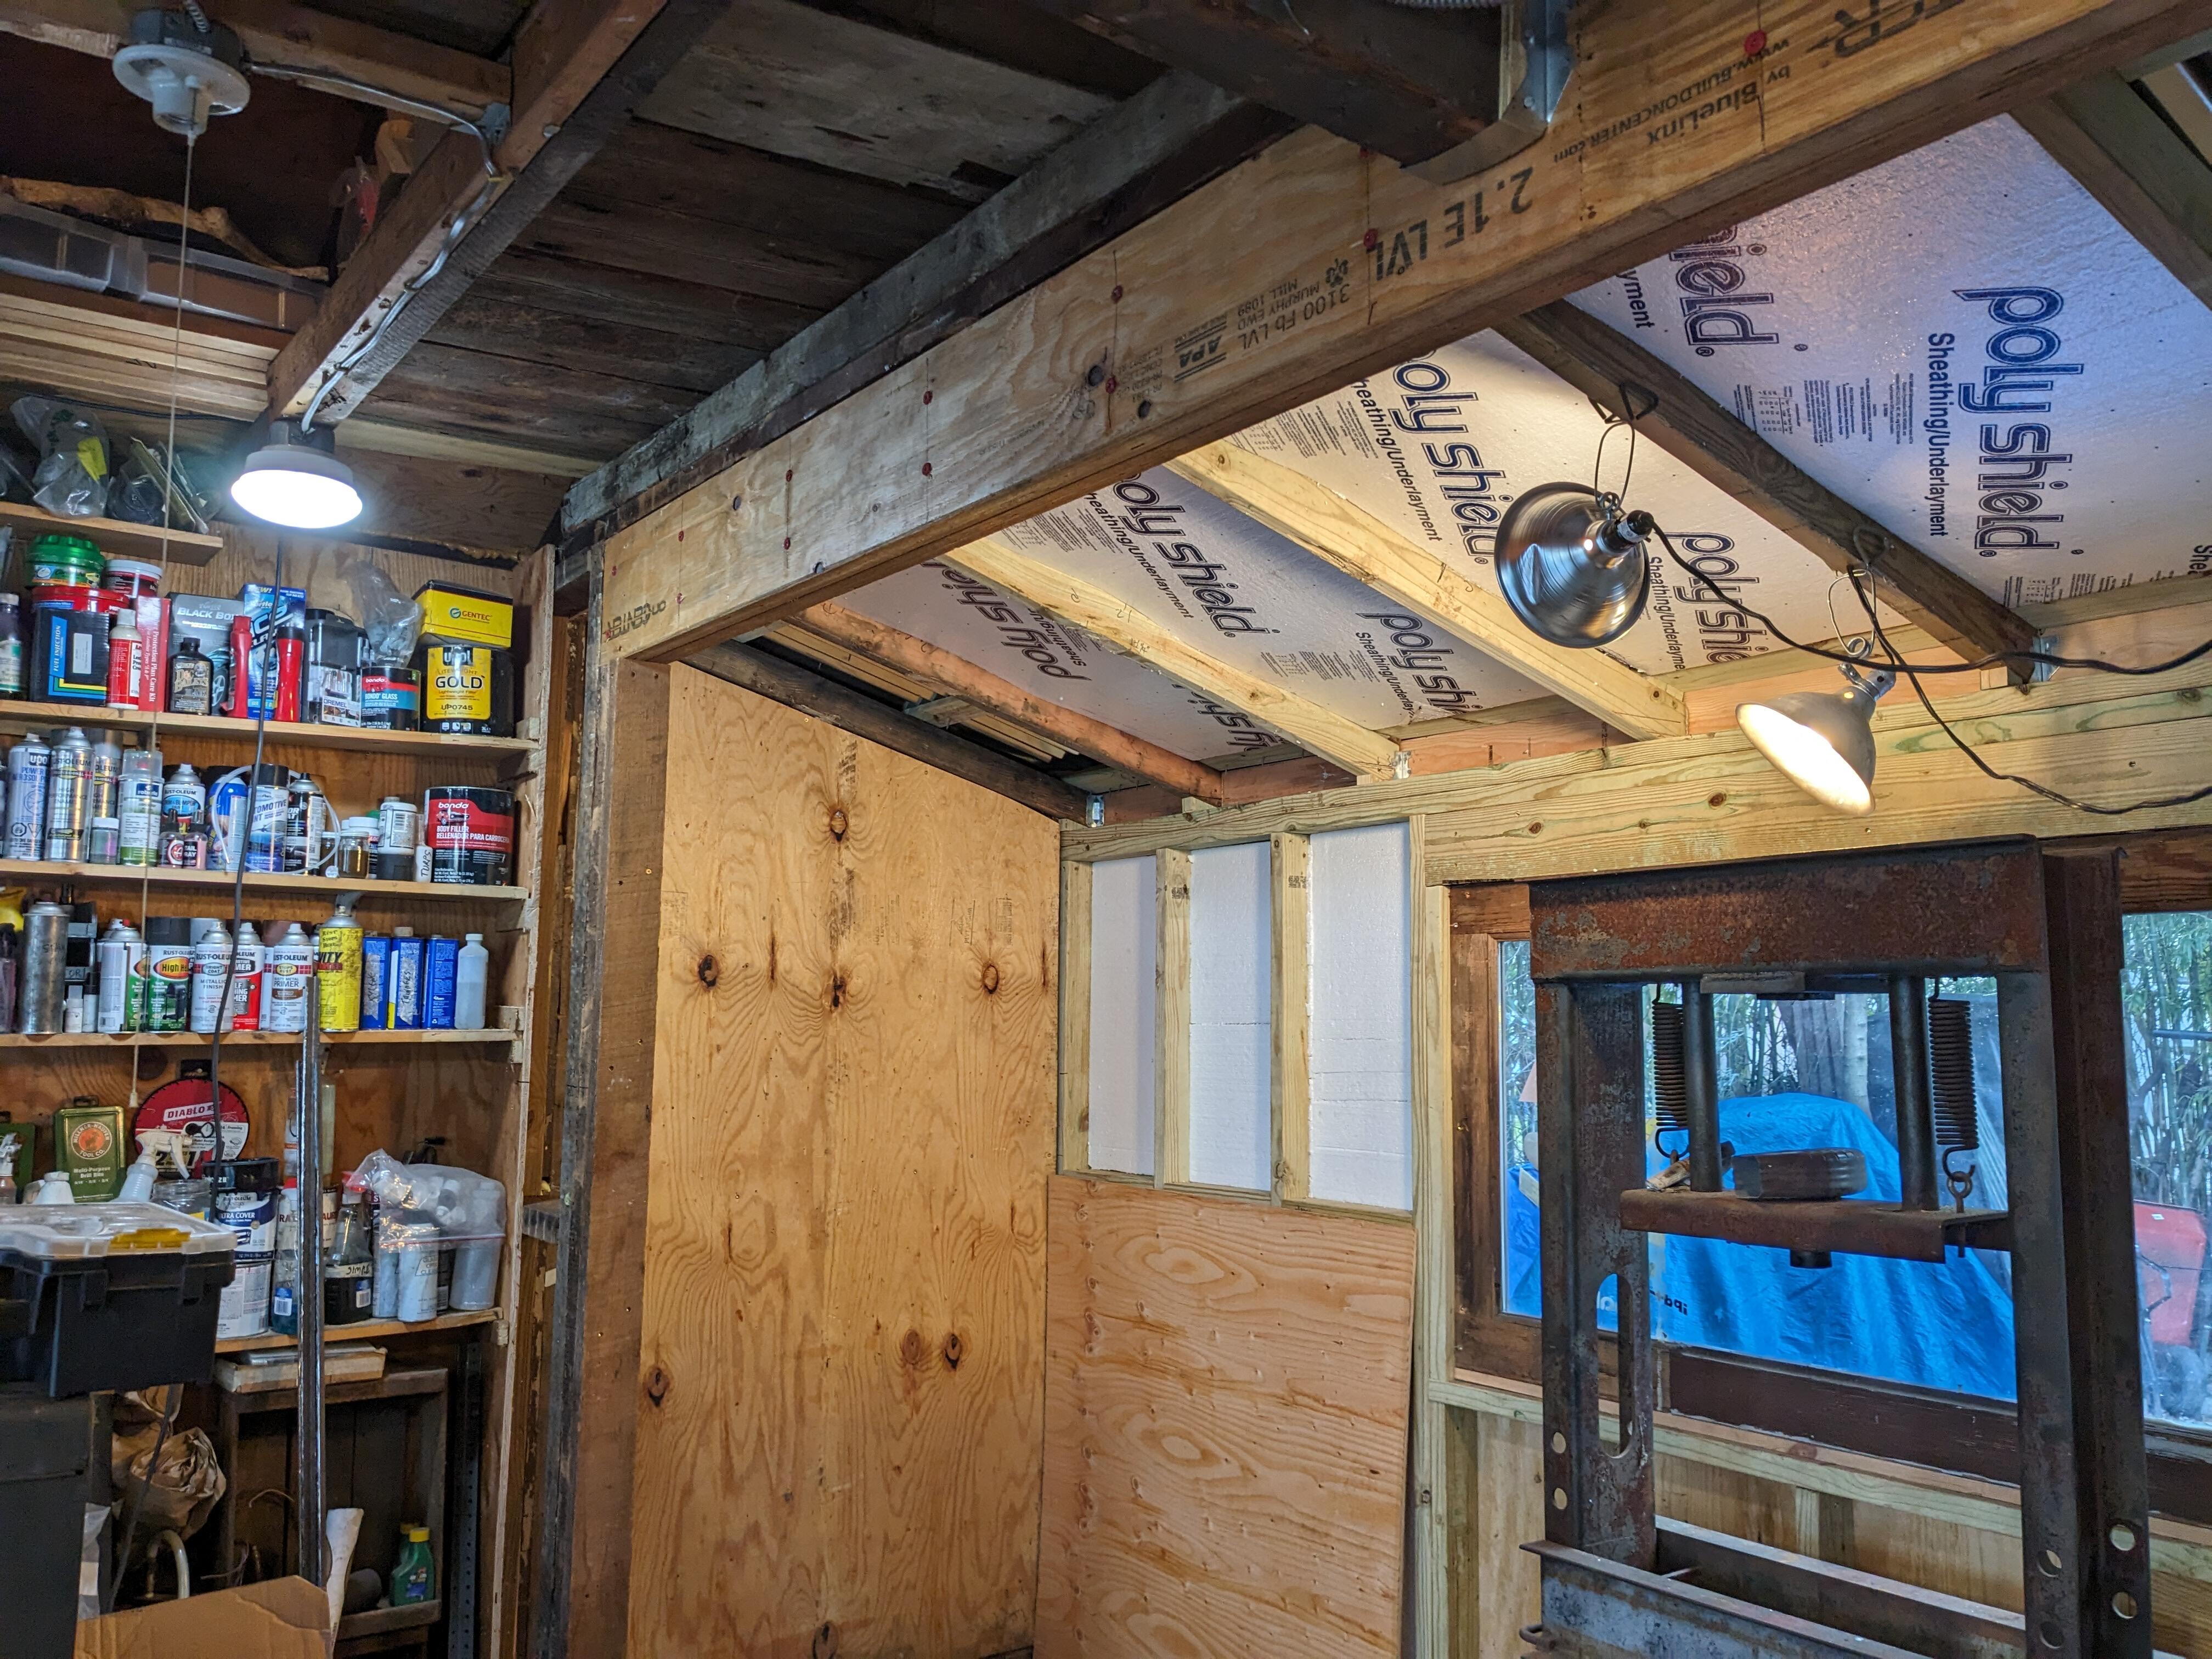
Primed the end wall. It's was about 20° in the garage at that time, so I'm not expecting it to dry anytime soon. I think I'm going to look for a light gray paint for the top coat. Added more foam and sealing foam behind where the pegboard is going, since it can't have that layer of sheathing like the bottom half. I did do the same on the left side. Cutting all the large pieces of wood outside, it was up to about 25°, so not absolutely frigid for short durations. Pegboard on the right is also done now. The panel below it is not secured yet, I still have to do some more wiring. I forgot to add an outlet to the outside wall. So I will run that through that North wall, behind that lower sheathing. Did a little more priming here and there to even it out. Have to do the inside facia for the window trim - I'm using 1x3, the old stuff was that size, so can I reuse some of it, and I bought two 8 ft lengths to do the top and bottom

-
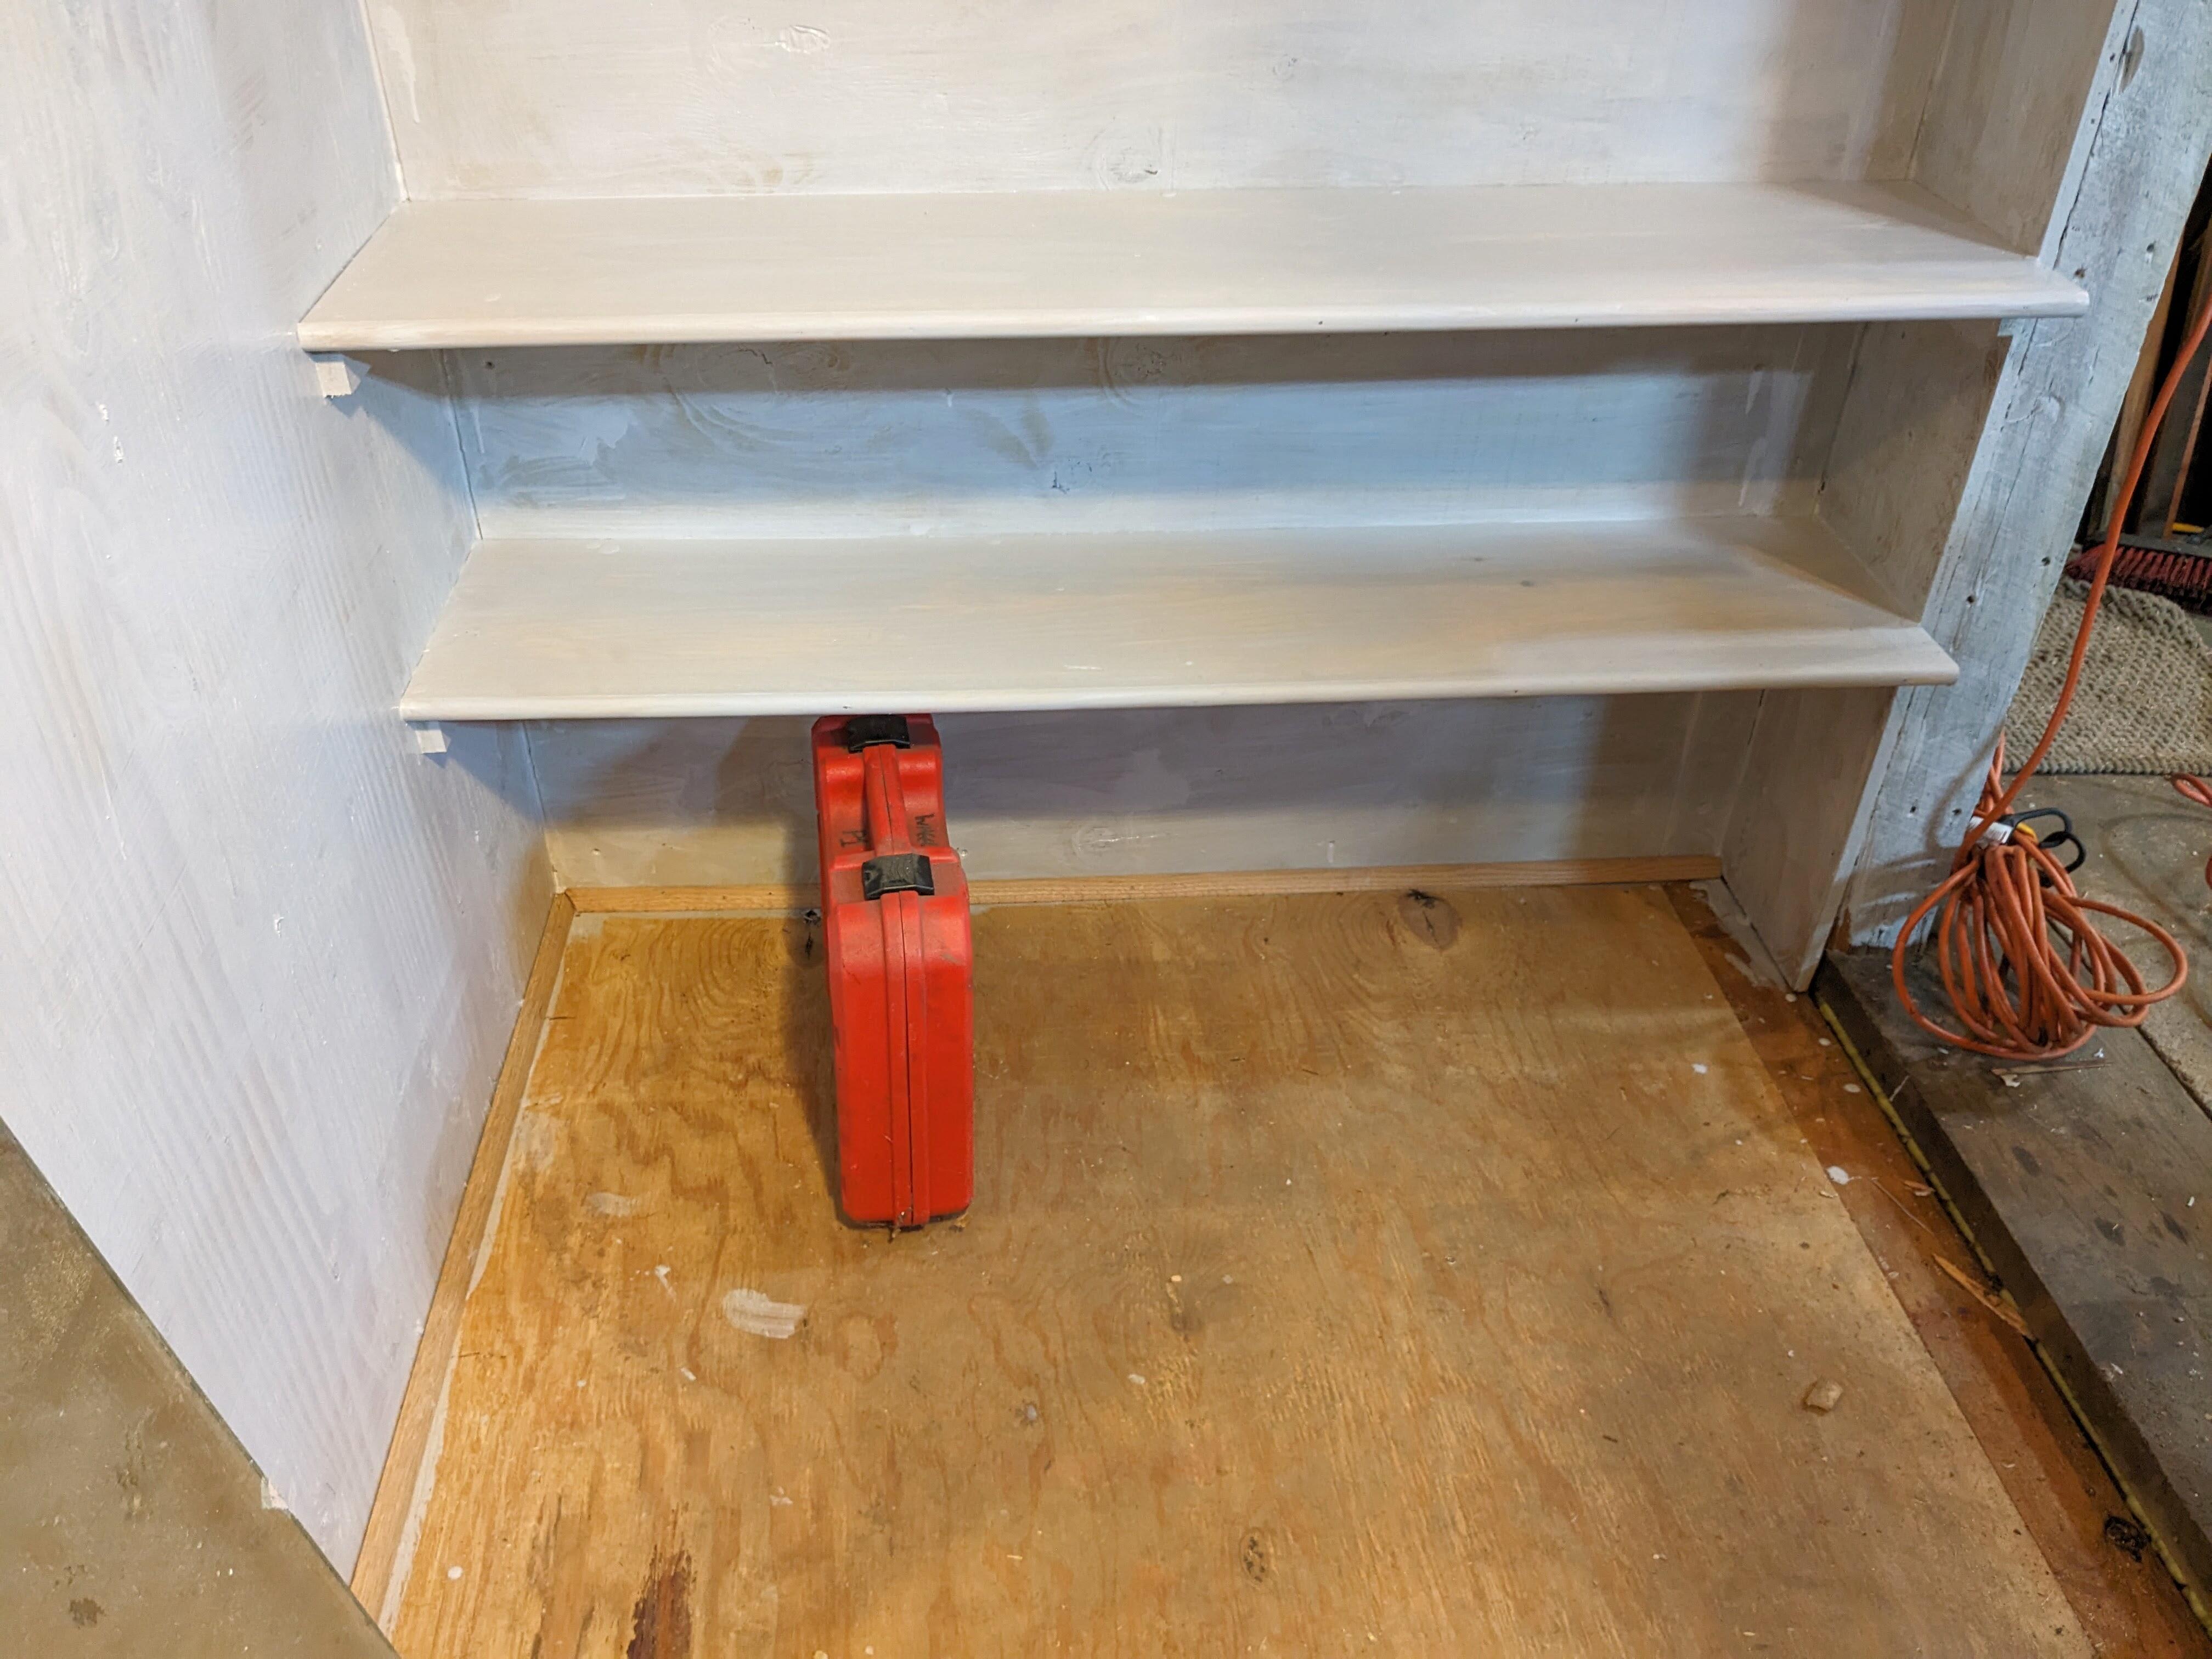
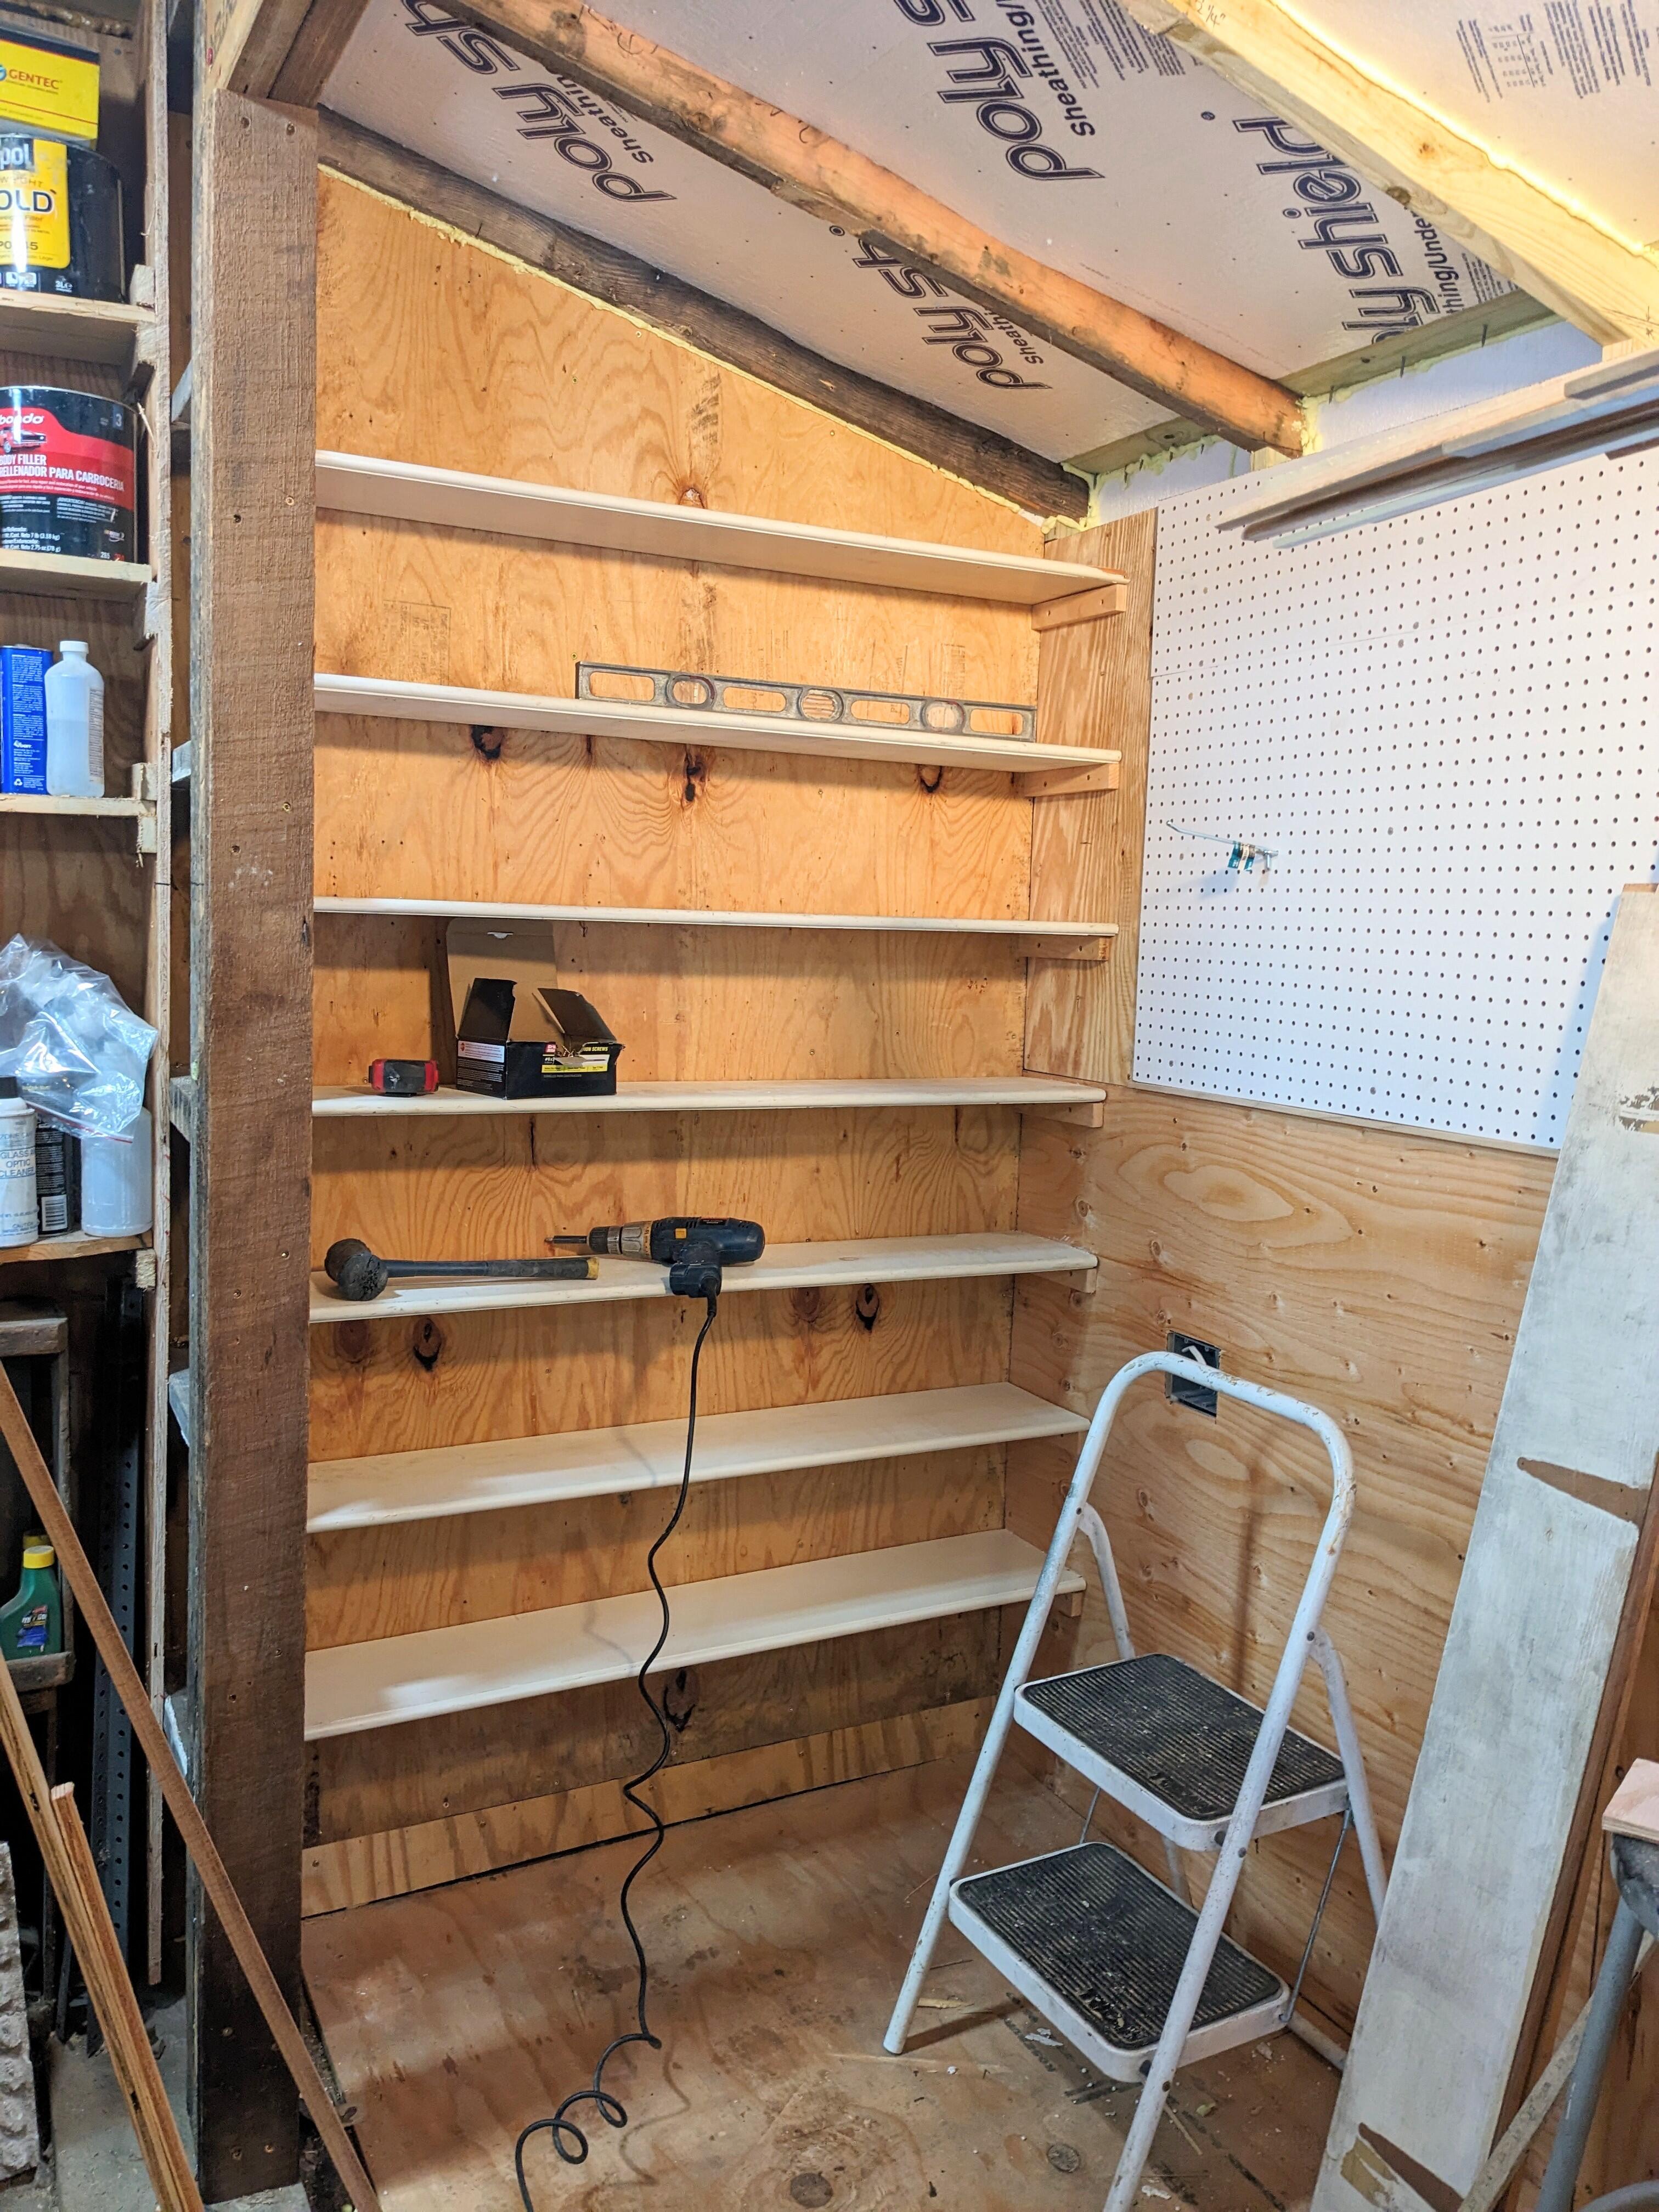
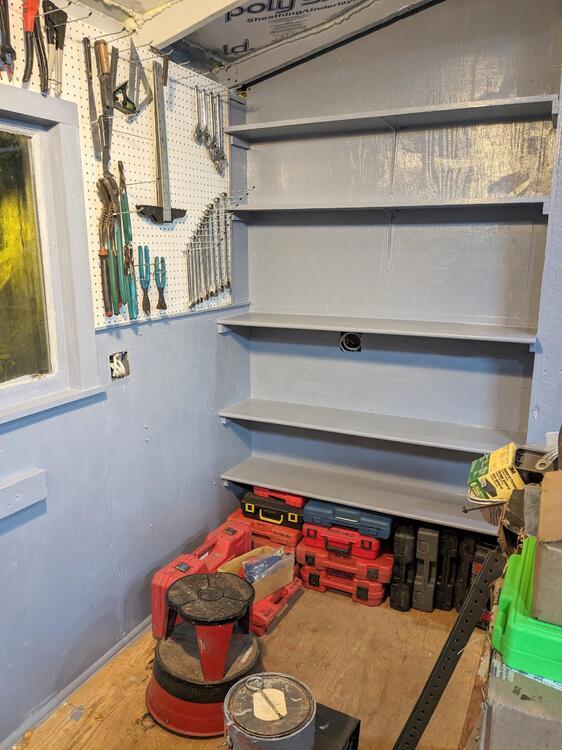
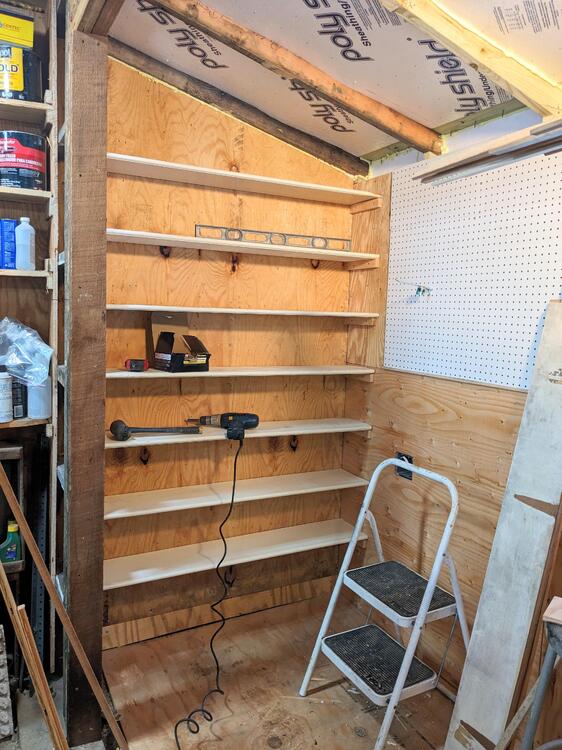
Had almost 2 hours after Pilates with the Mrs. this afternoon, so I managed to get the 9" deep shelving up on the end wall, about 10-in inside spacing between them, except for the bottom one that is a little over a foot to allow for gallons of coolant etc.,
-
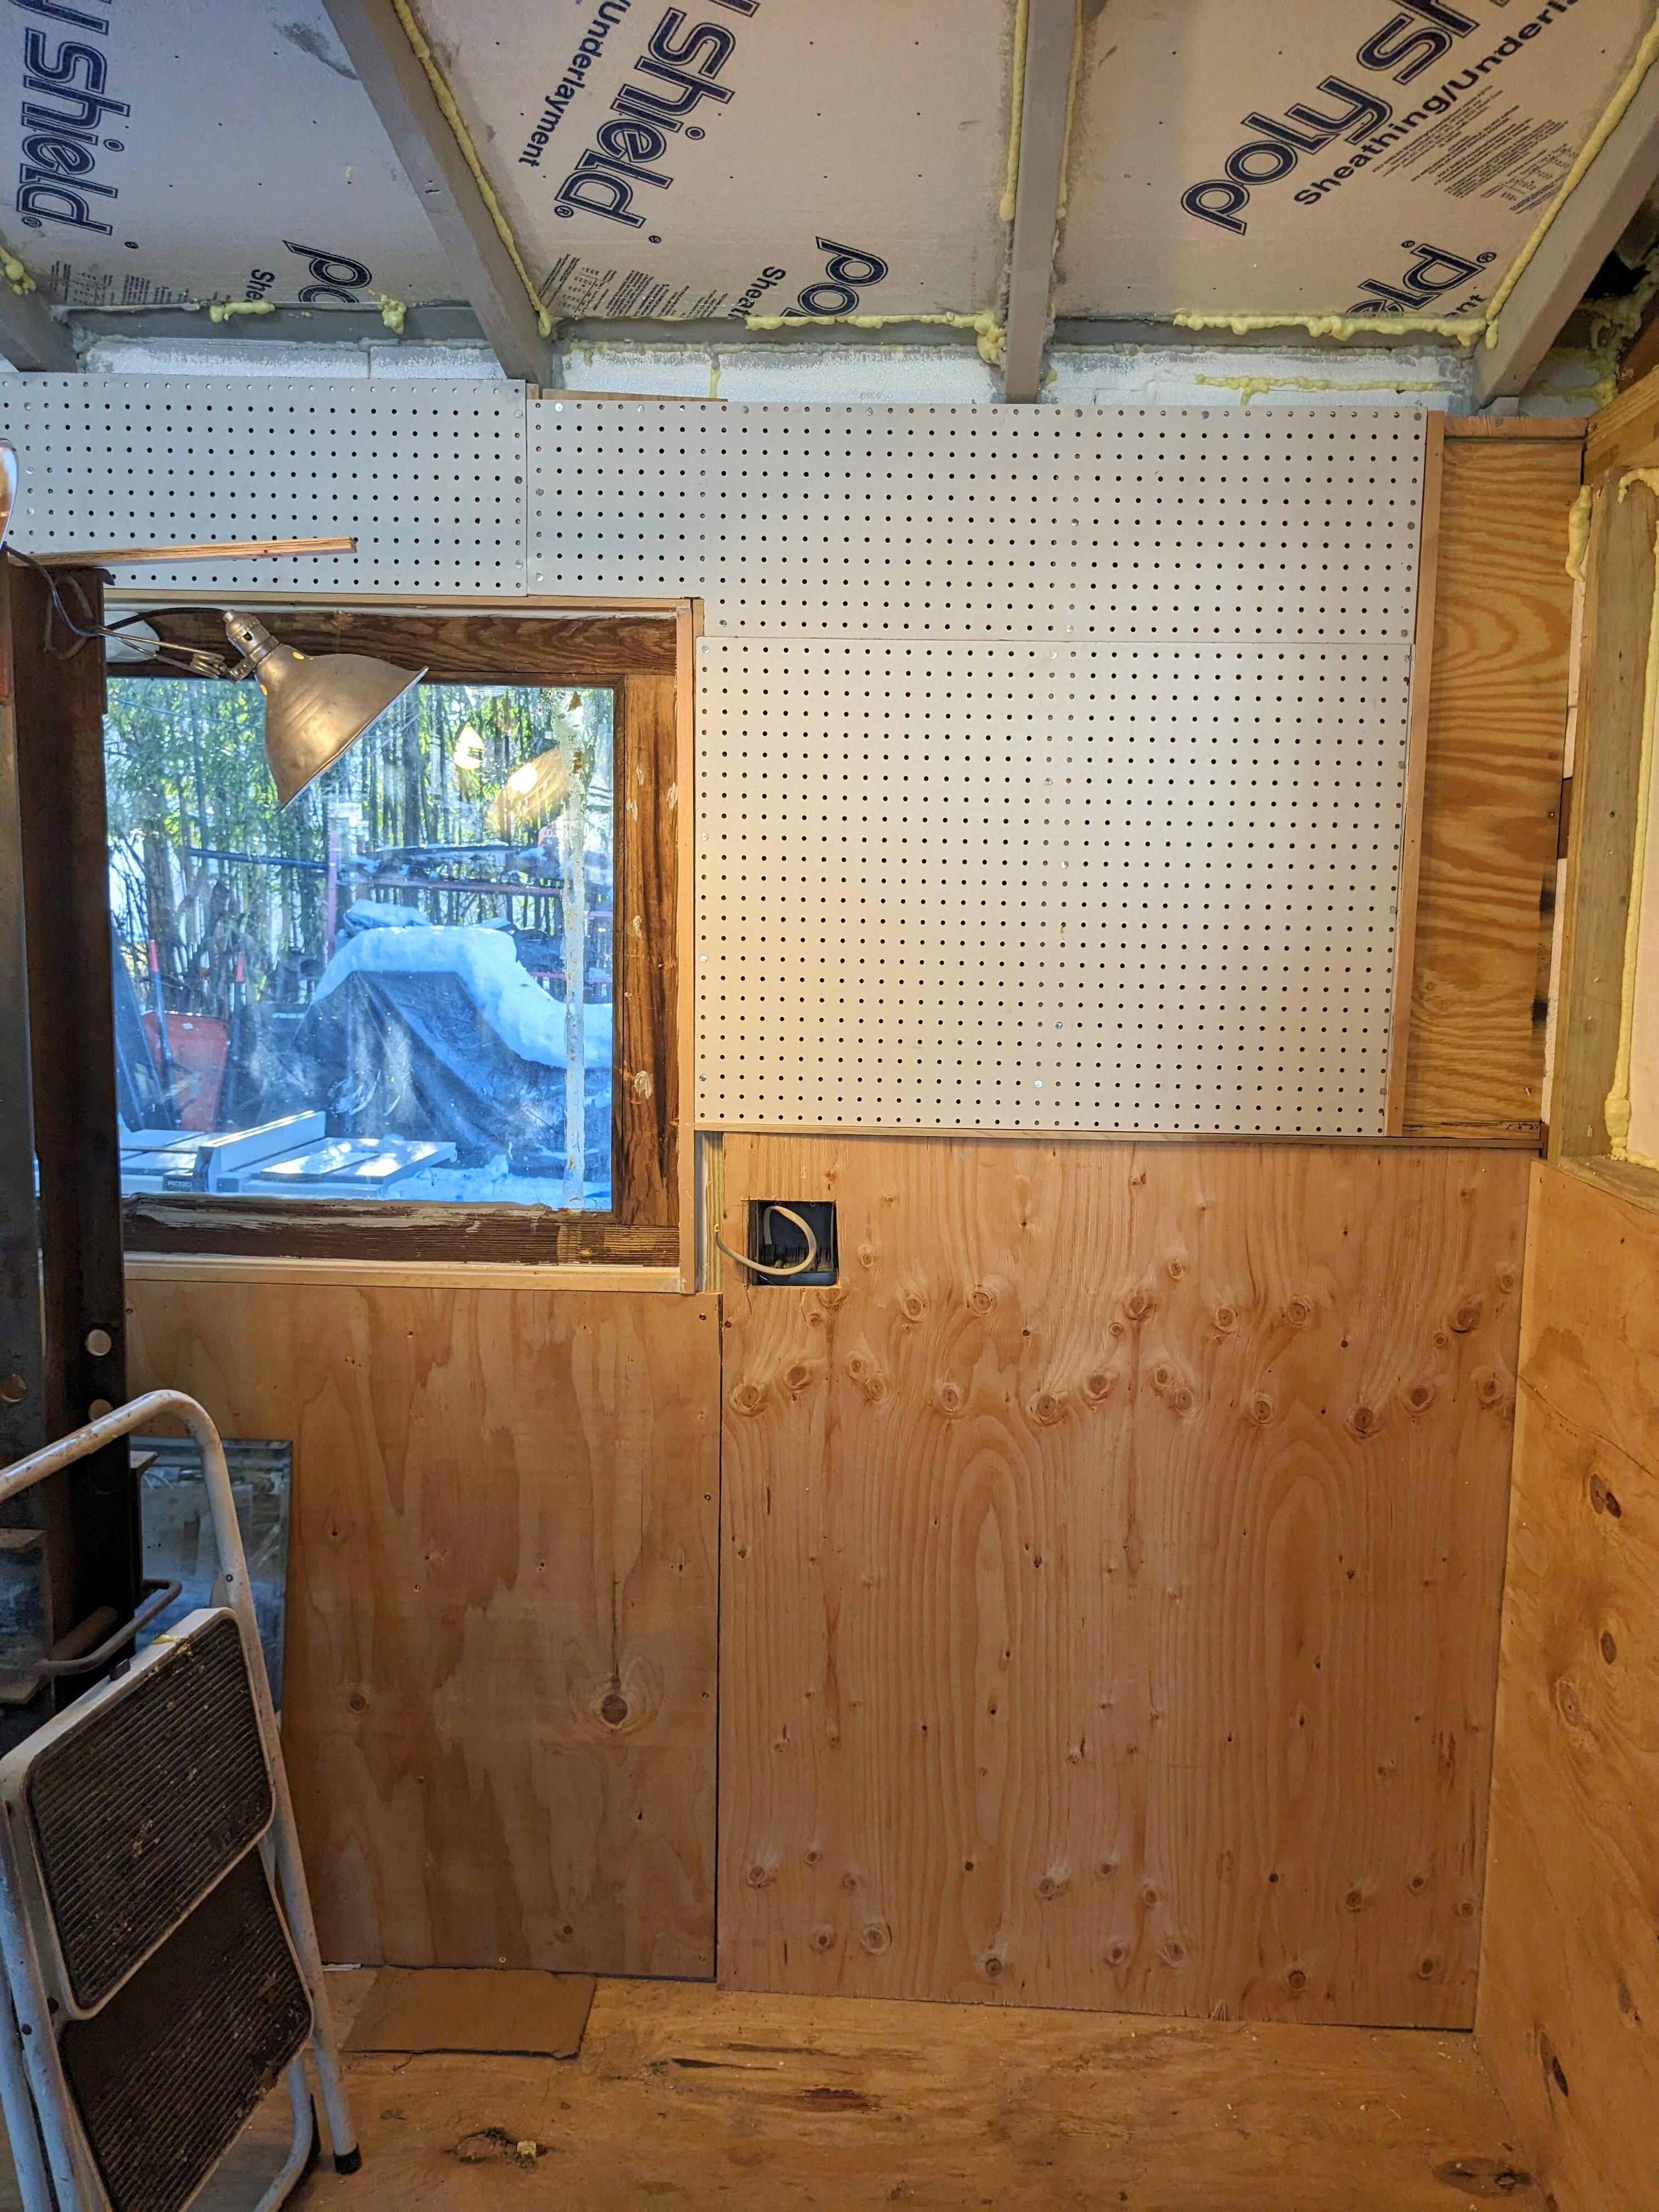
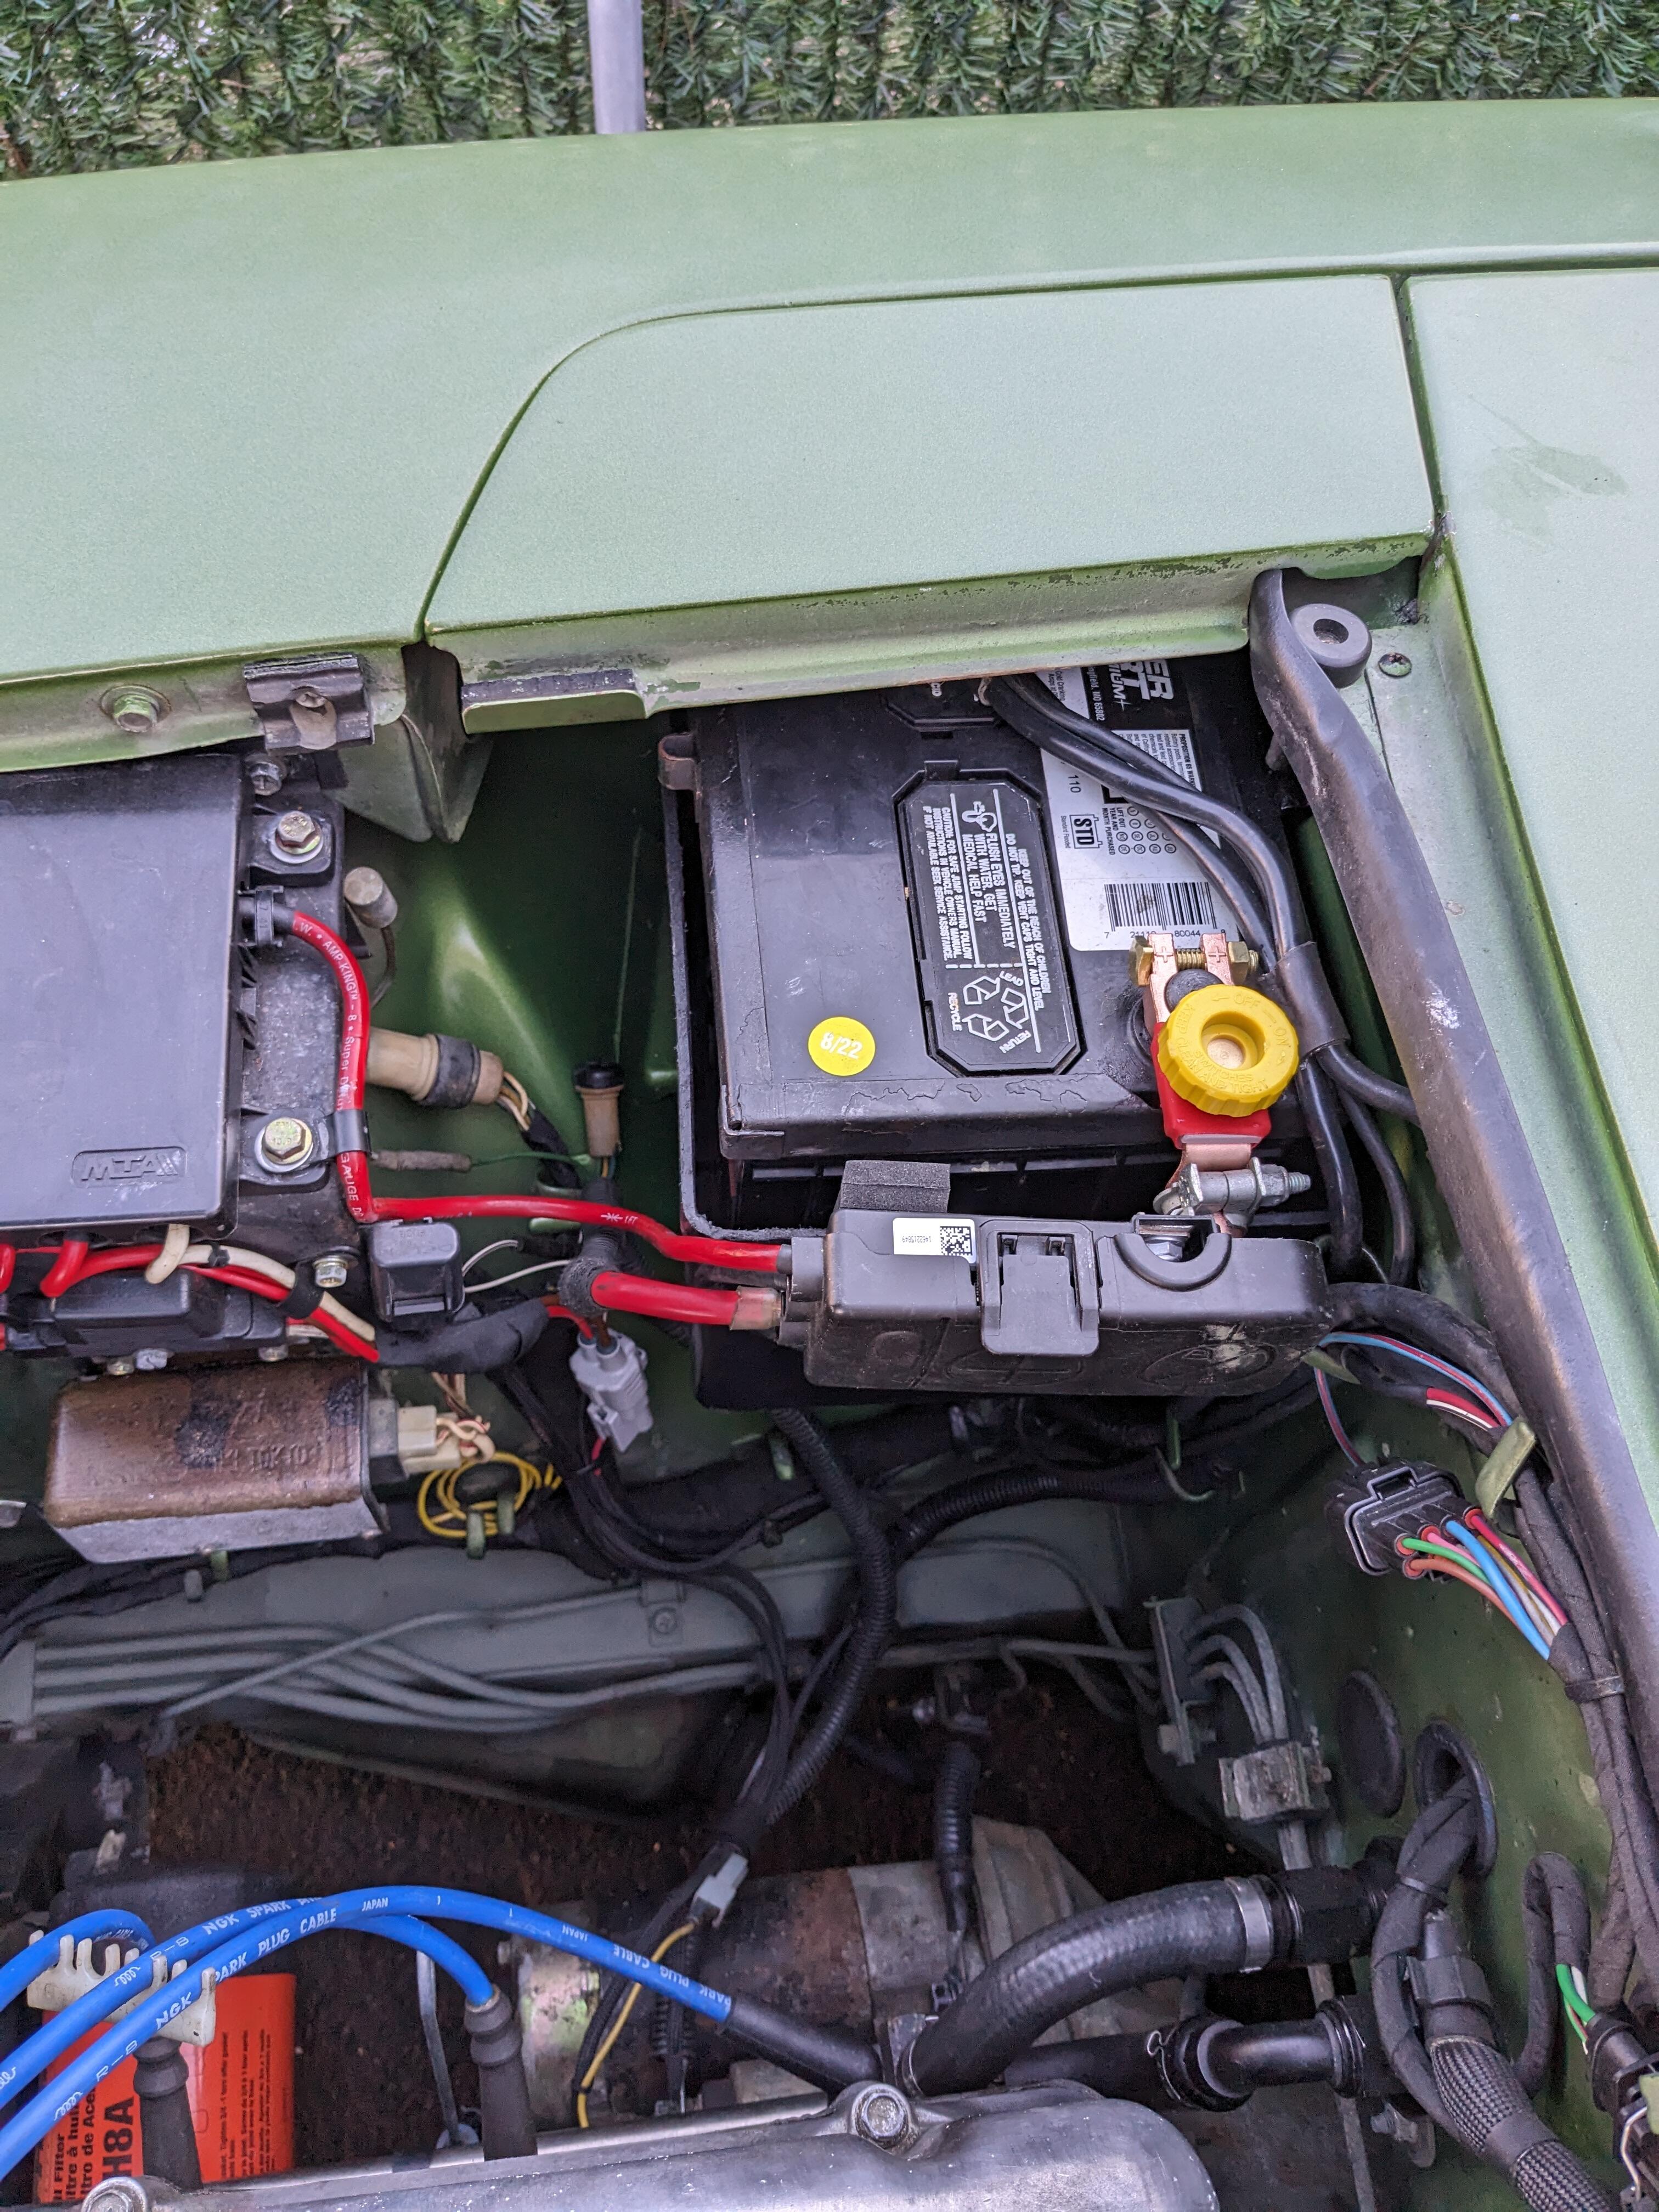
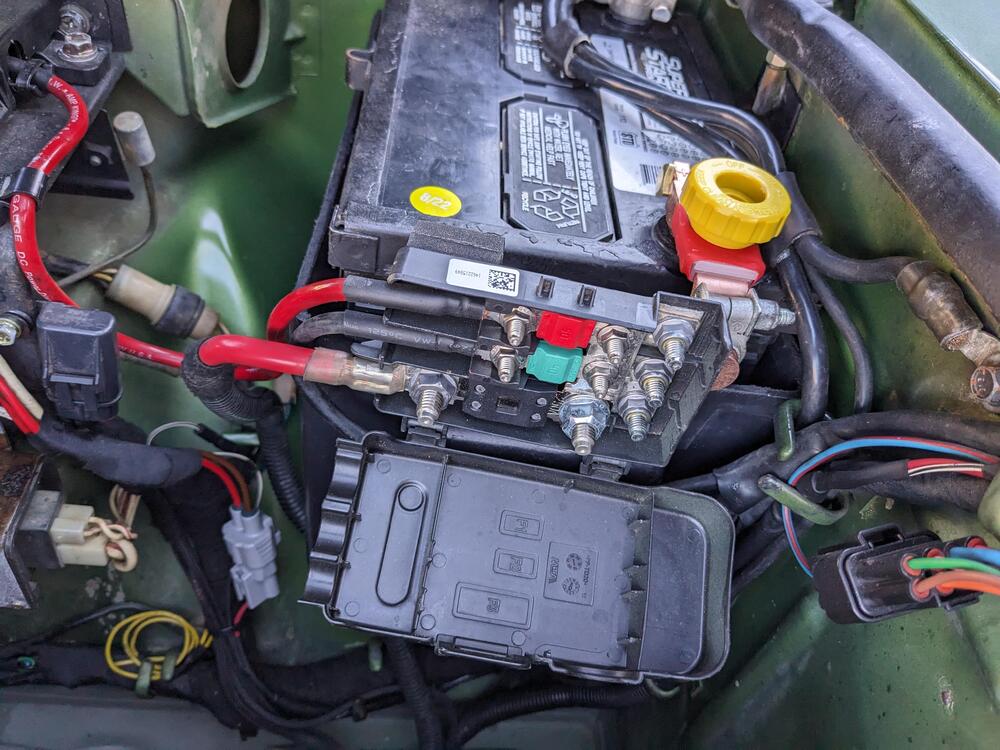
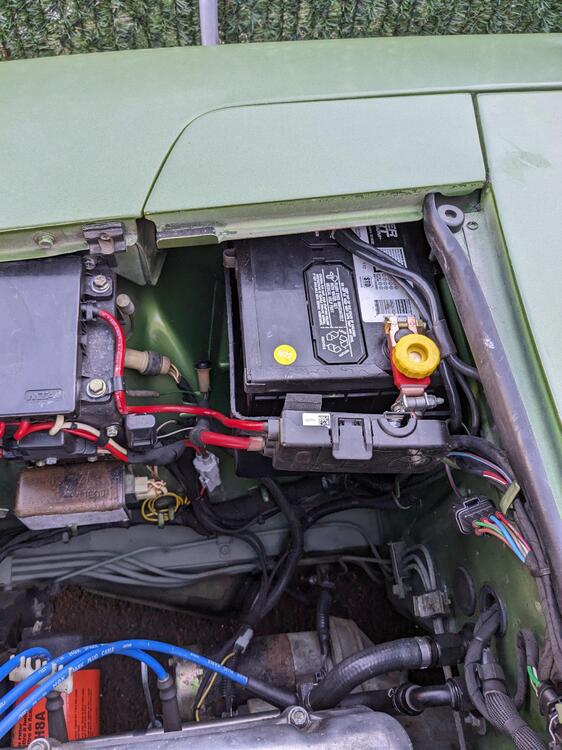
Added the positive terminal cutoff switch Edit- I had to bend it 90°, it was straight, and due to the offset, it would have put the fuse panel too high and hit the hood on closure. Started wiring on this wall, and sheathing/pegboard for the upper half. I've never used pegboard before, but it seems like a good idea for all the crap I have that was hanging off of nails for my old wall.

-
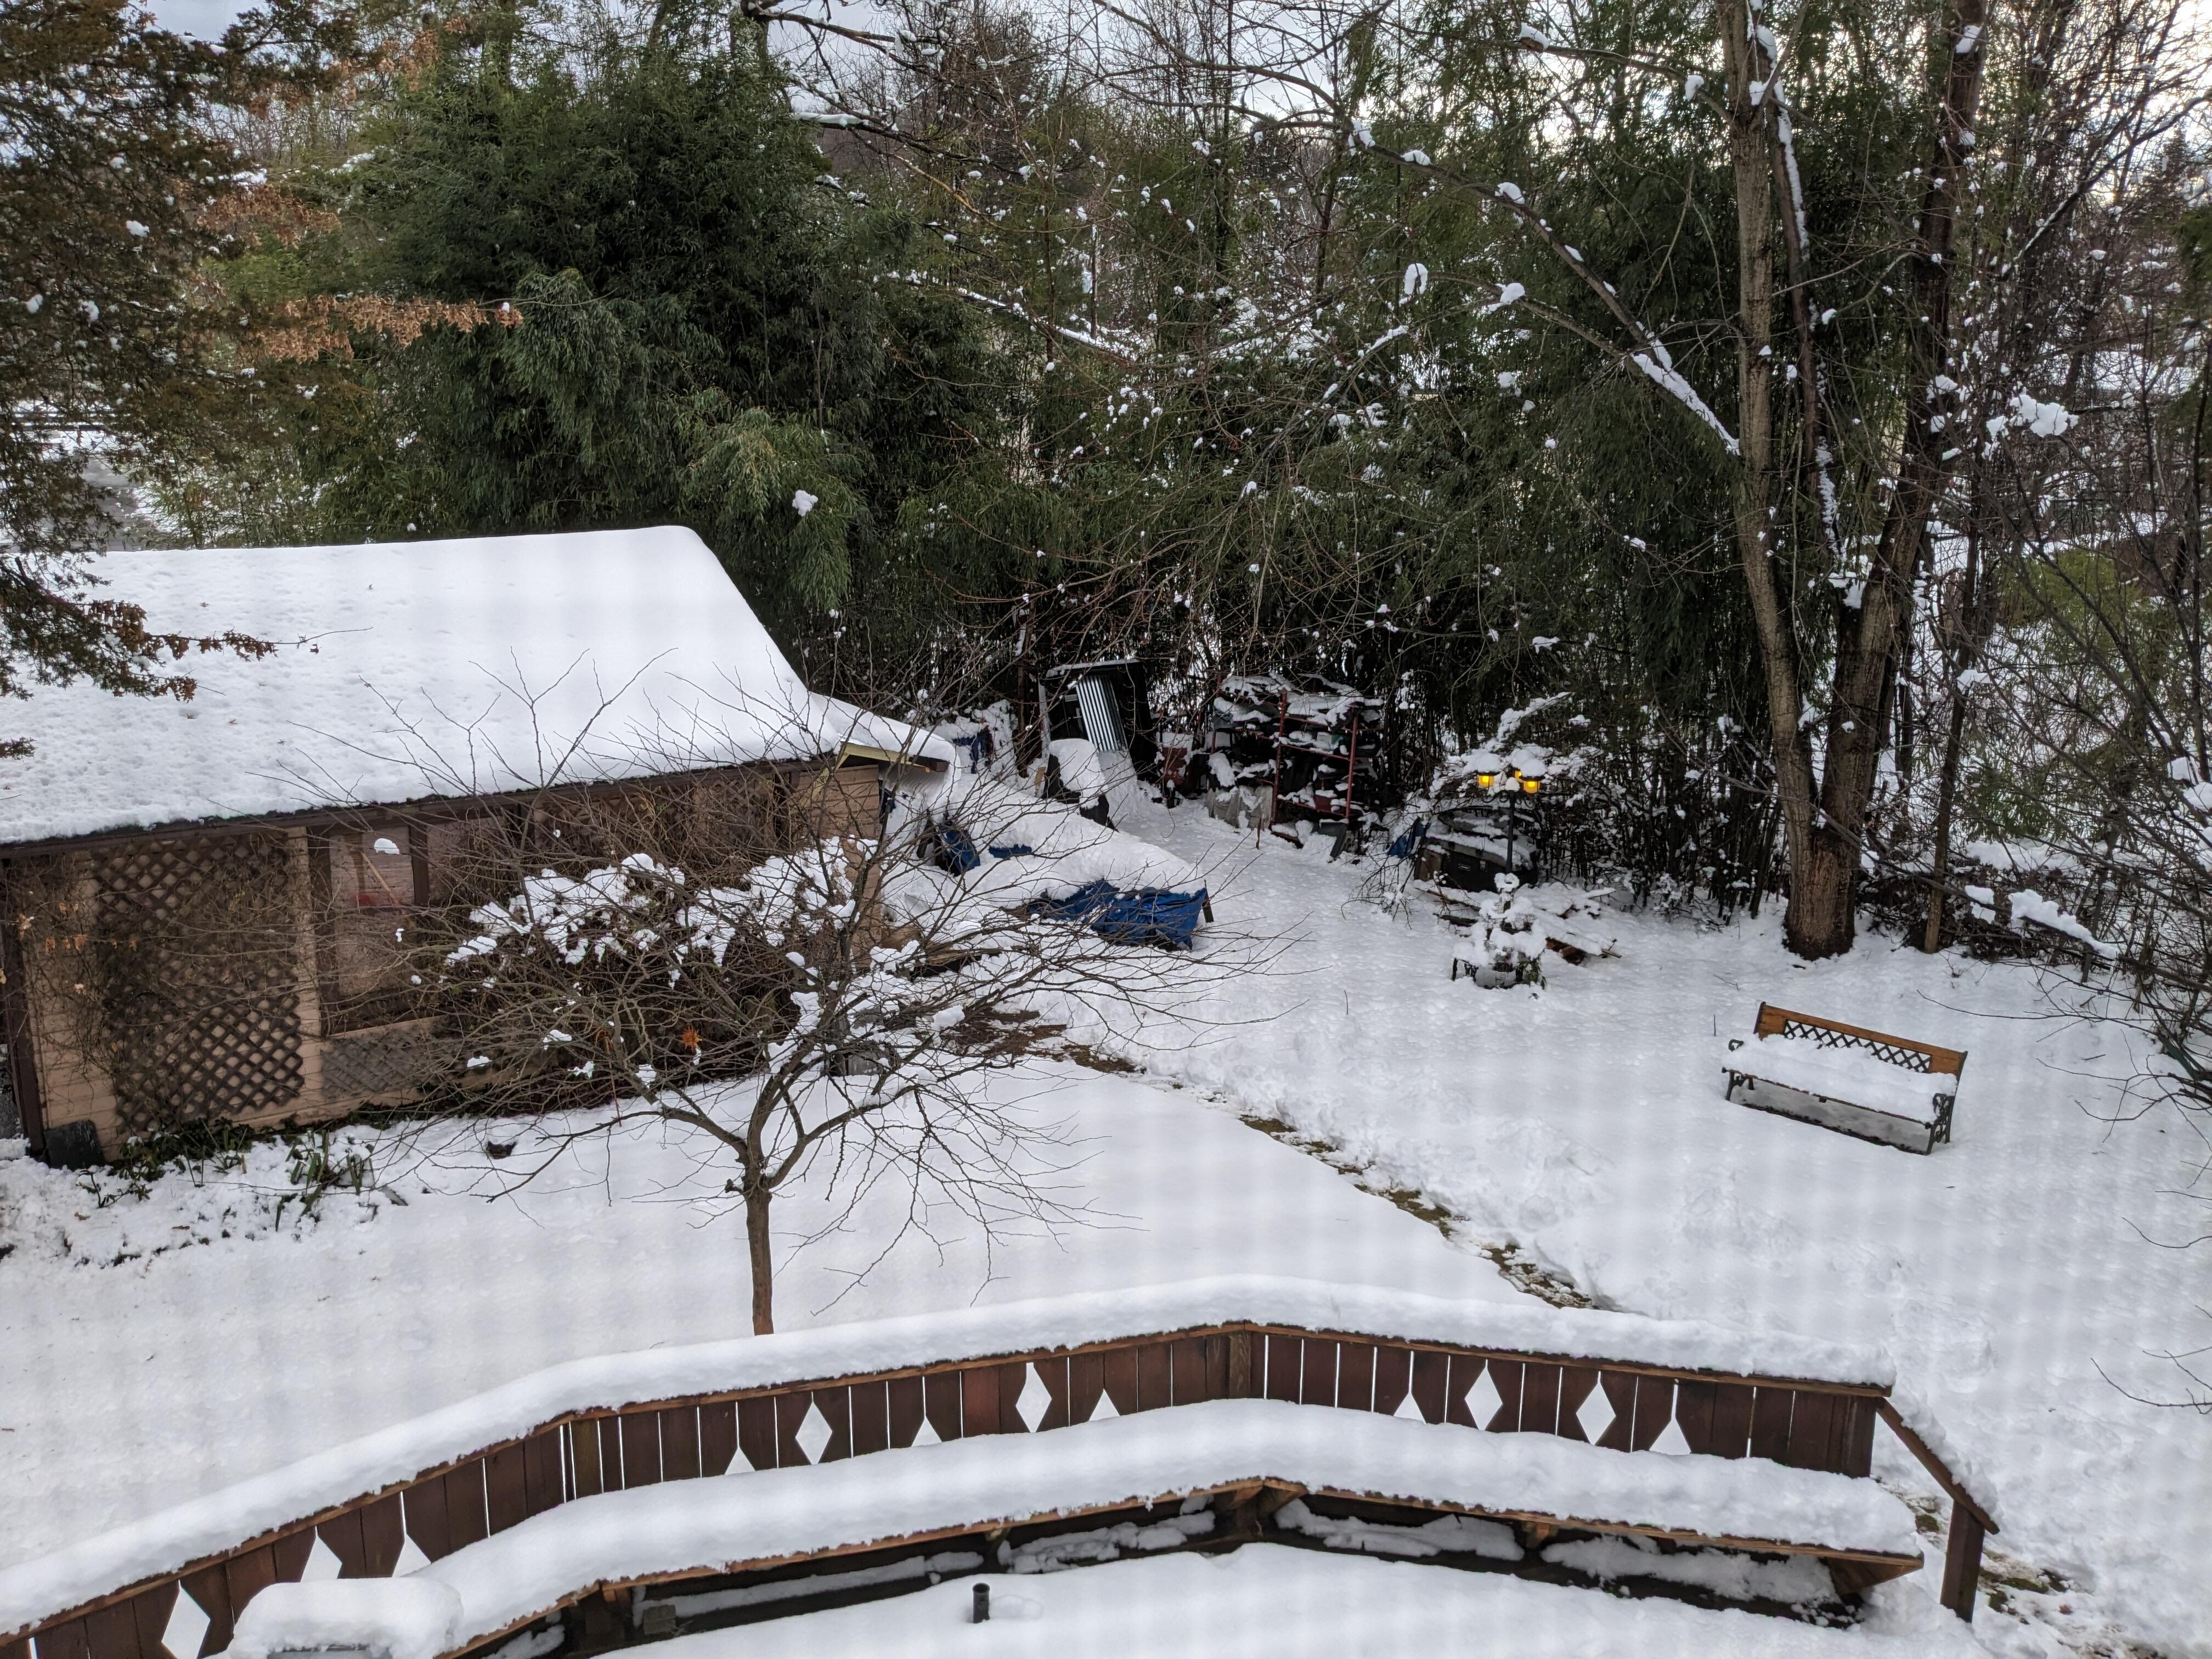
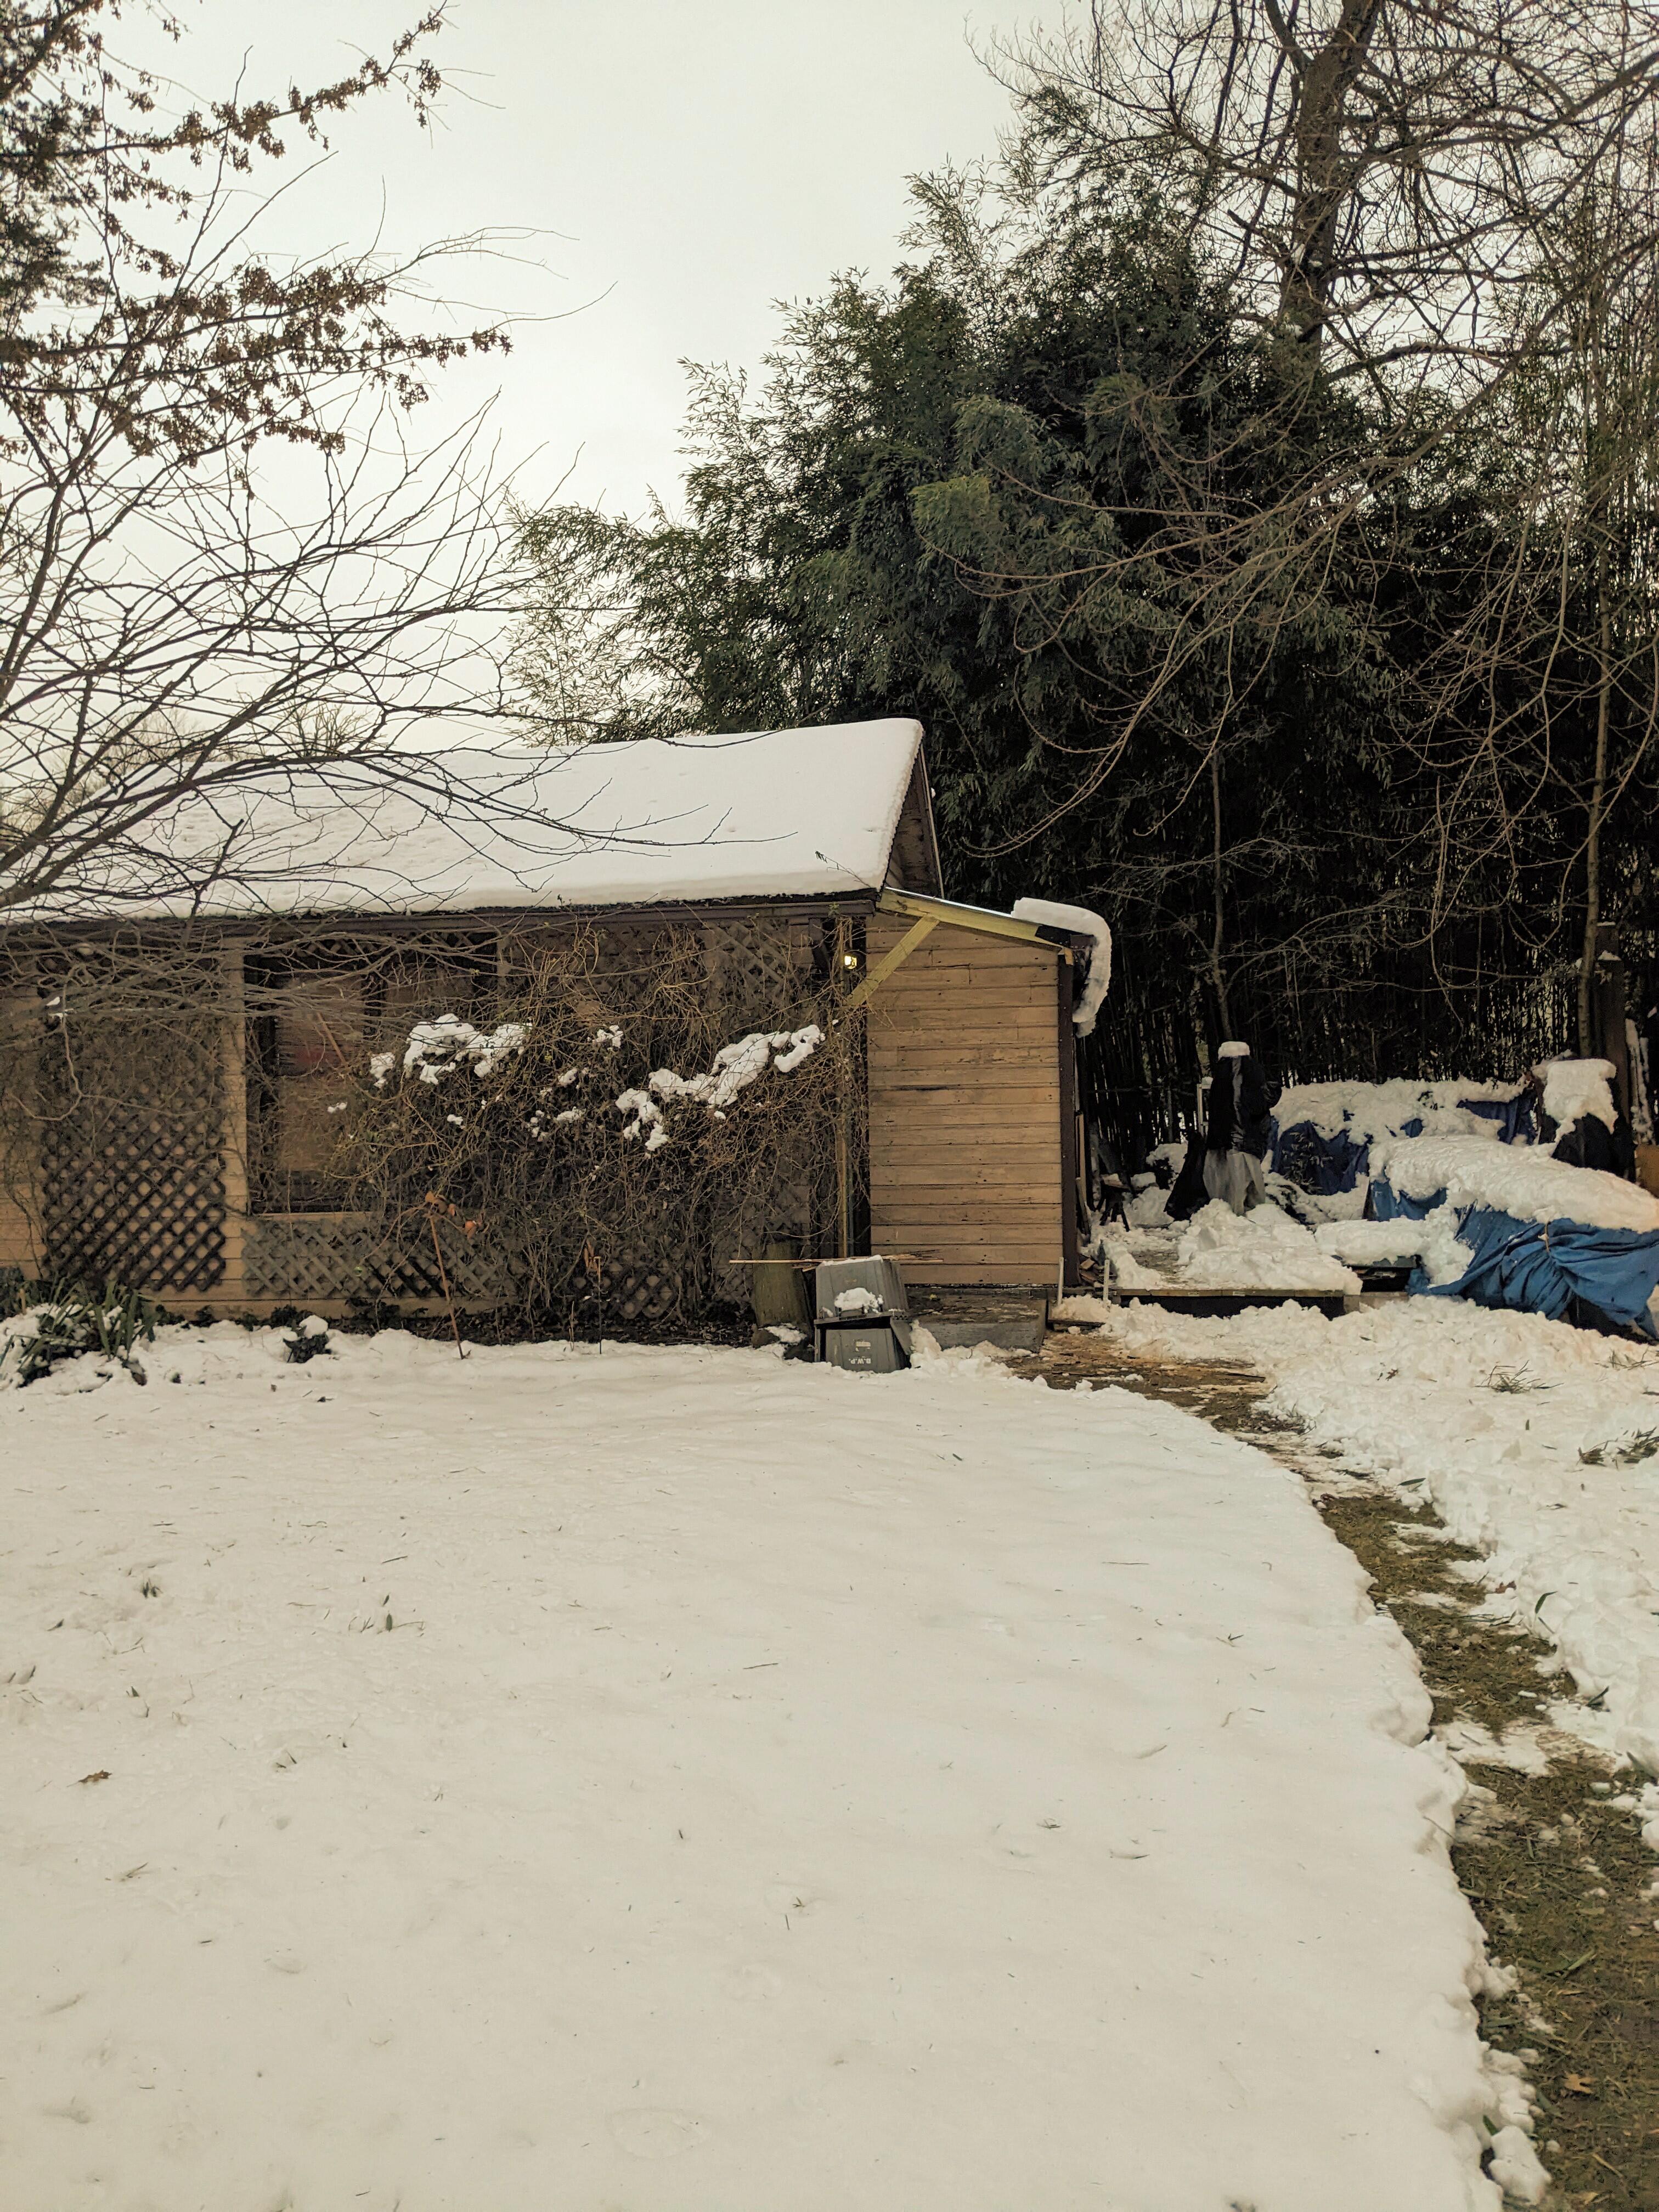
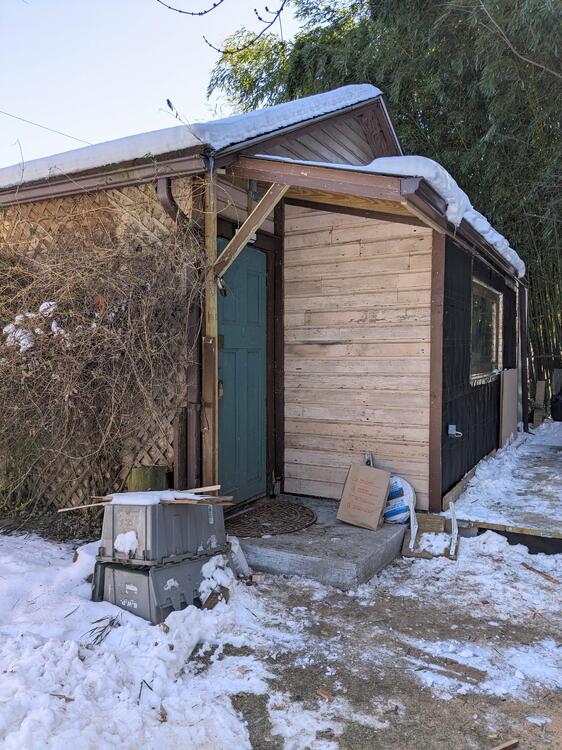
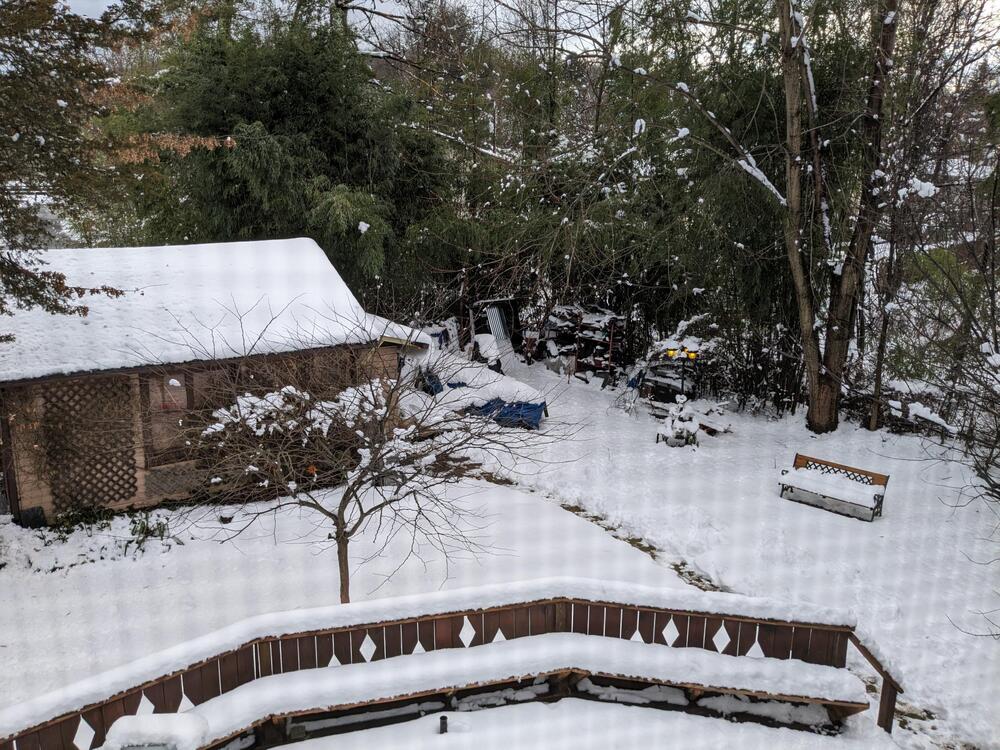
So the snow came Tuesday There were two 40+ ft pines behind my garage, on my neighbor's property - one came down yesterday while I was in the garage around 4:30 - I heard the ripping and crash where it came down alongside the front of my neighbor's home. Just missed wiping the whole front off. He wasn't home - so I called to prep him for the mess he would have to face. I was working on repurposing the old siding & facia trim on the short edge of the addition. I have new siding for the West face. The remaining pine (to the right in my pic, behind the bamboo) is mostly dead, so he is getting it removed ASAP

-
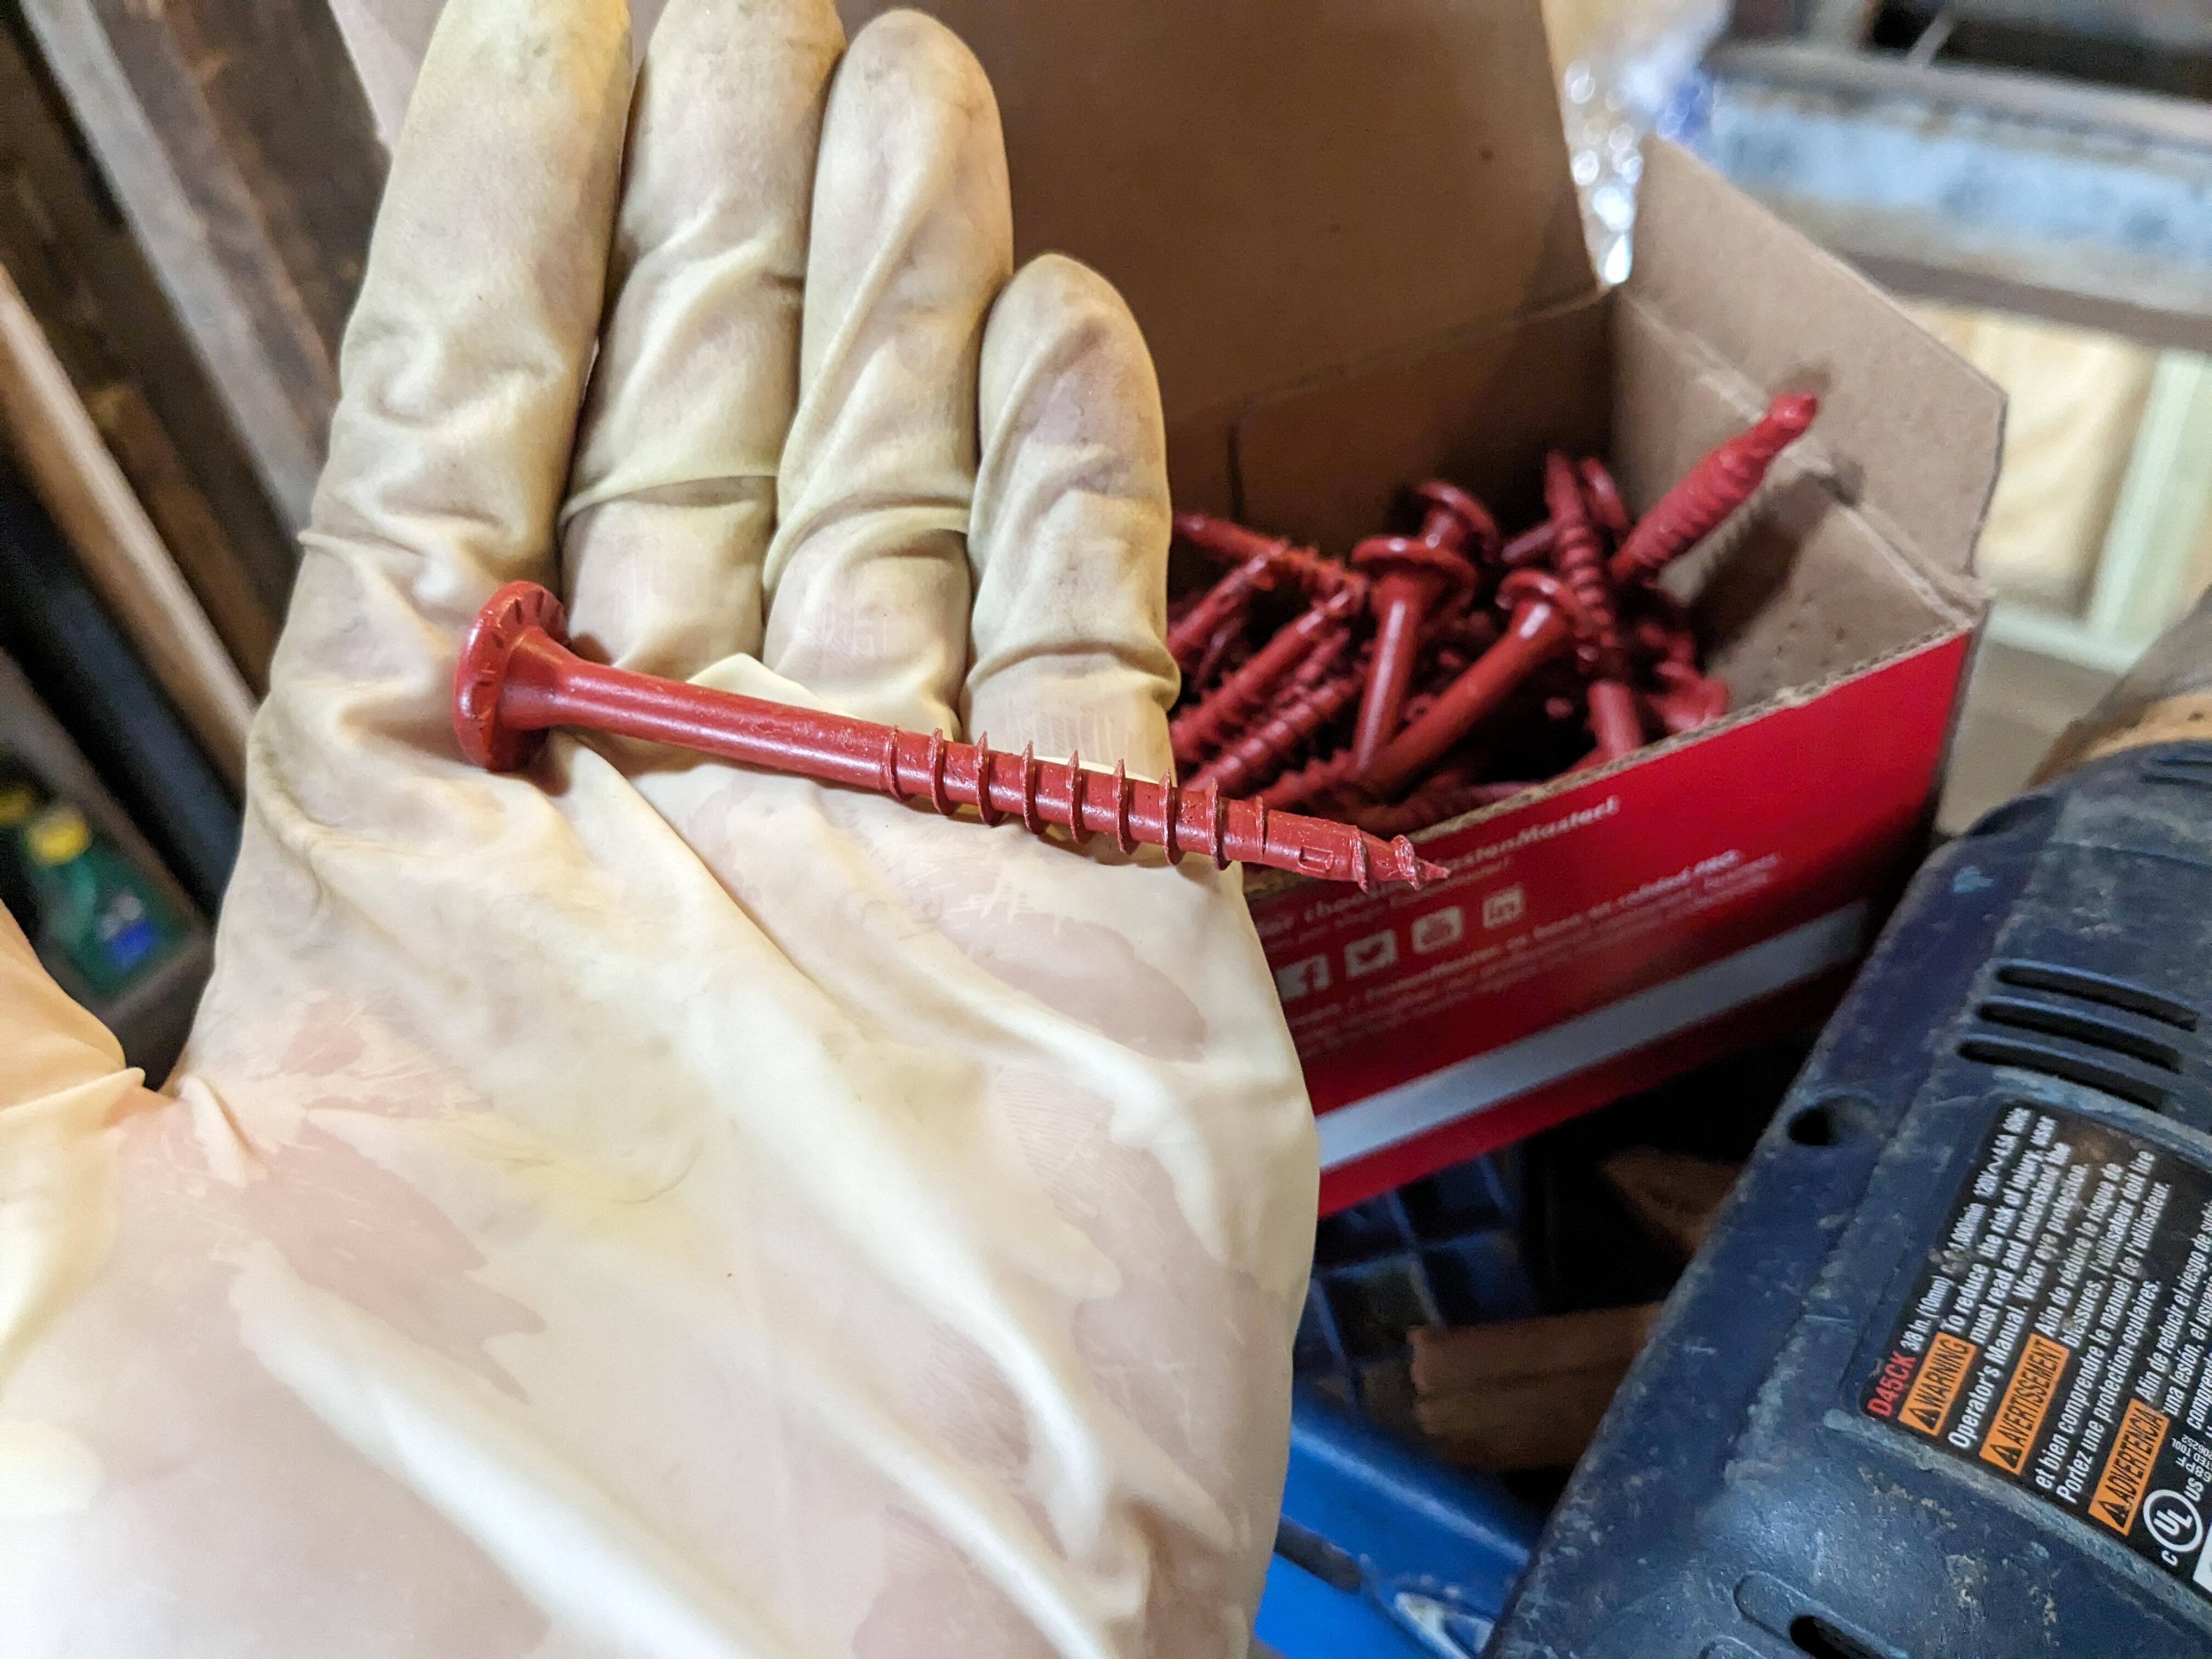
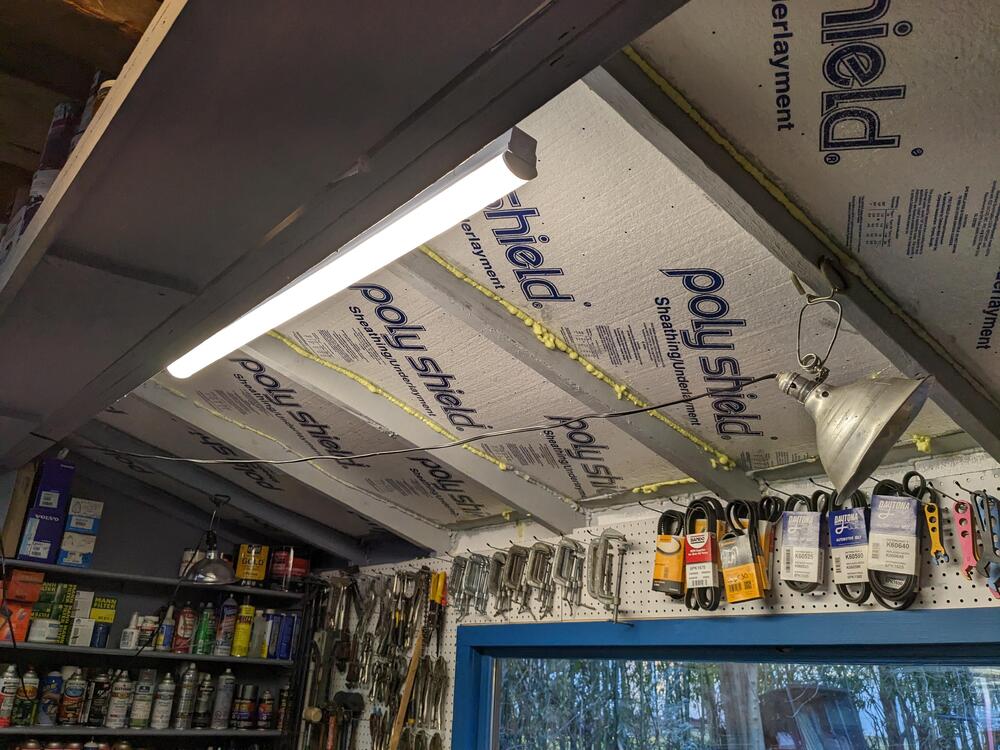
Missed this yesterday. Thank you. I don't know what a drop sill is, however running 100's of those screws sounds like an exhausting time! Odds & ends today. Finished up the roof insulation , just have to add some foam to some seams where there is gappage. Put another 3/4 ply on the floor on the left Finished the sealing of the window exterior, and the sheathing up to the edge of the rough opening. We have 5-7" or maybe more snow coming Tuesday, so I need to stow the new siding, etc , tomorrow after school. Have to make sure the Fiat is not being left outside the bodyshop, if they are not finished tomorrow.
-
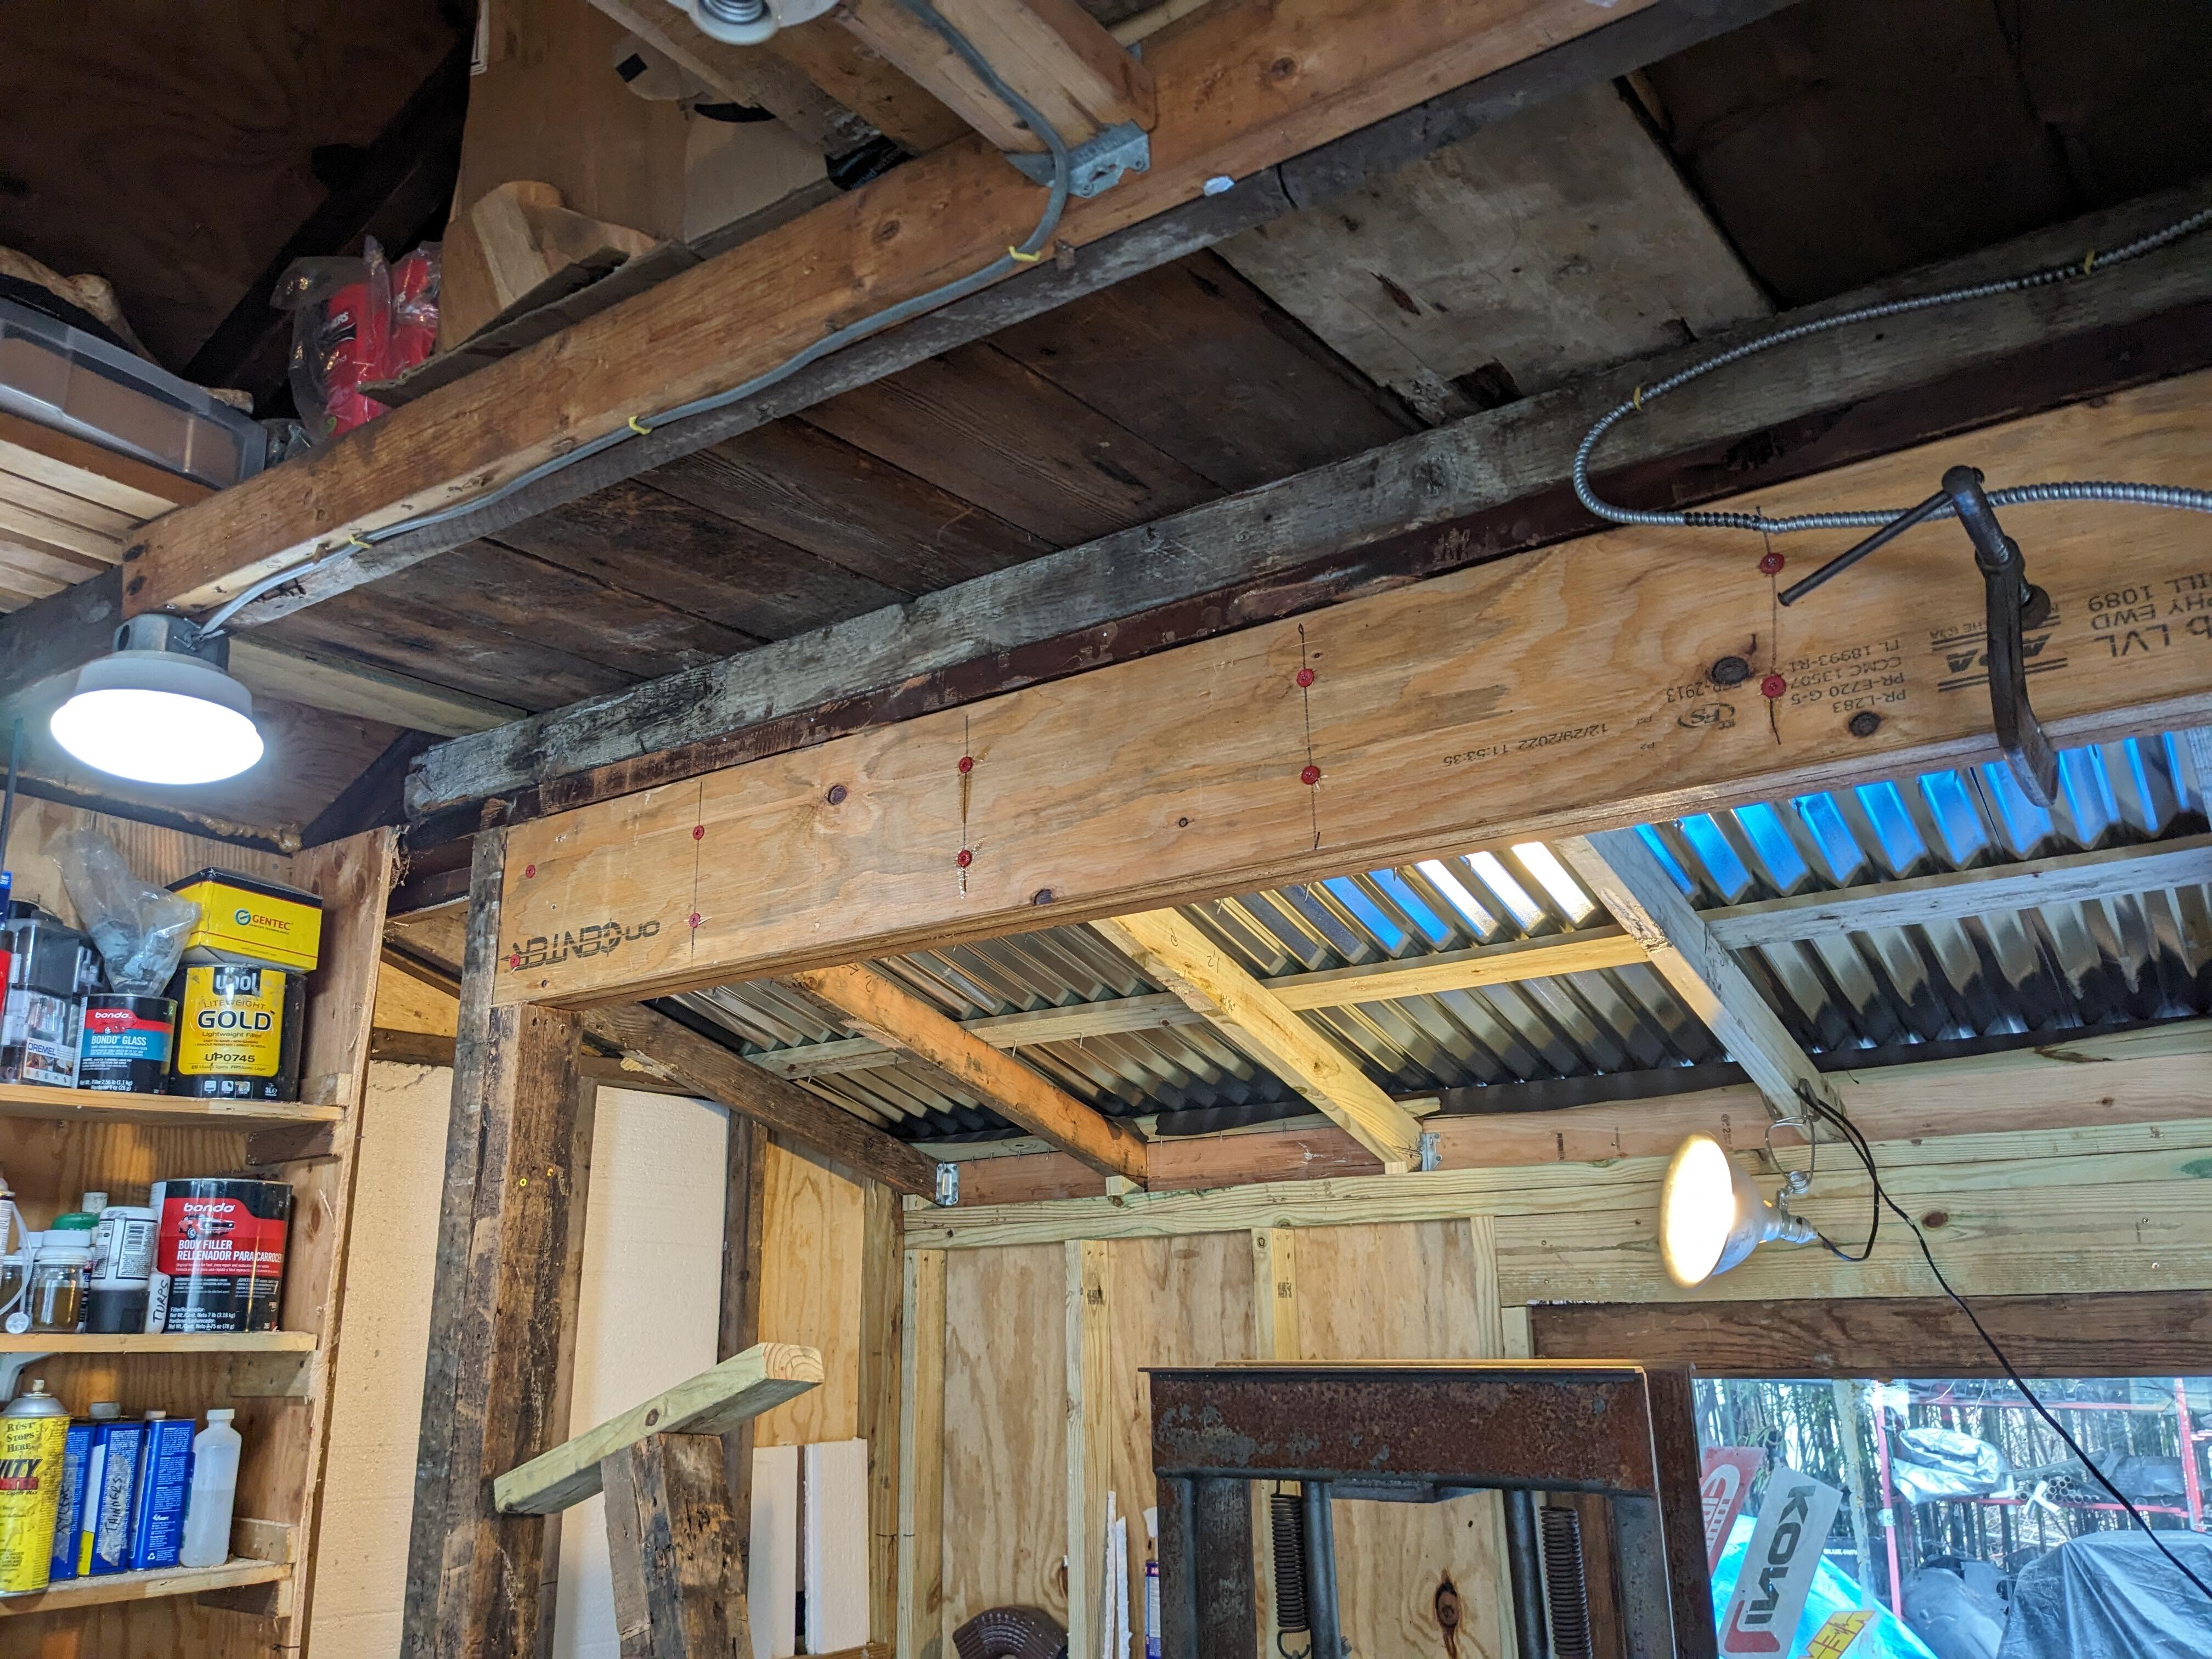
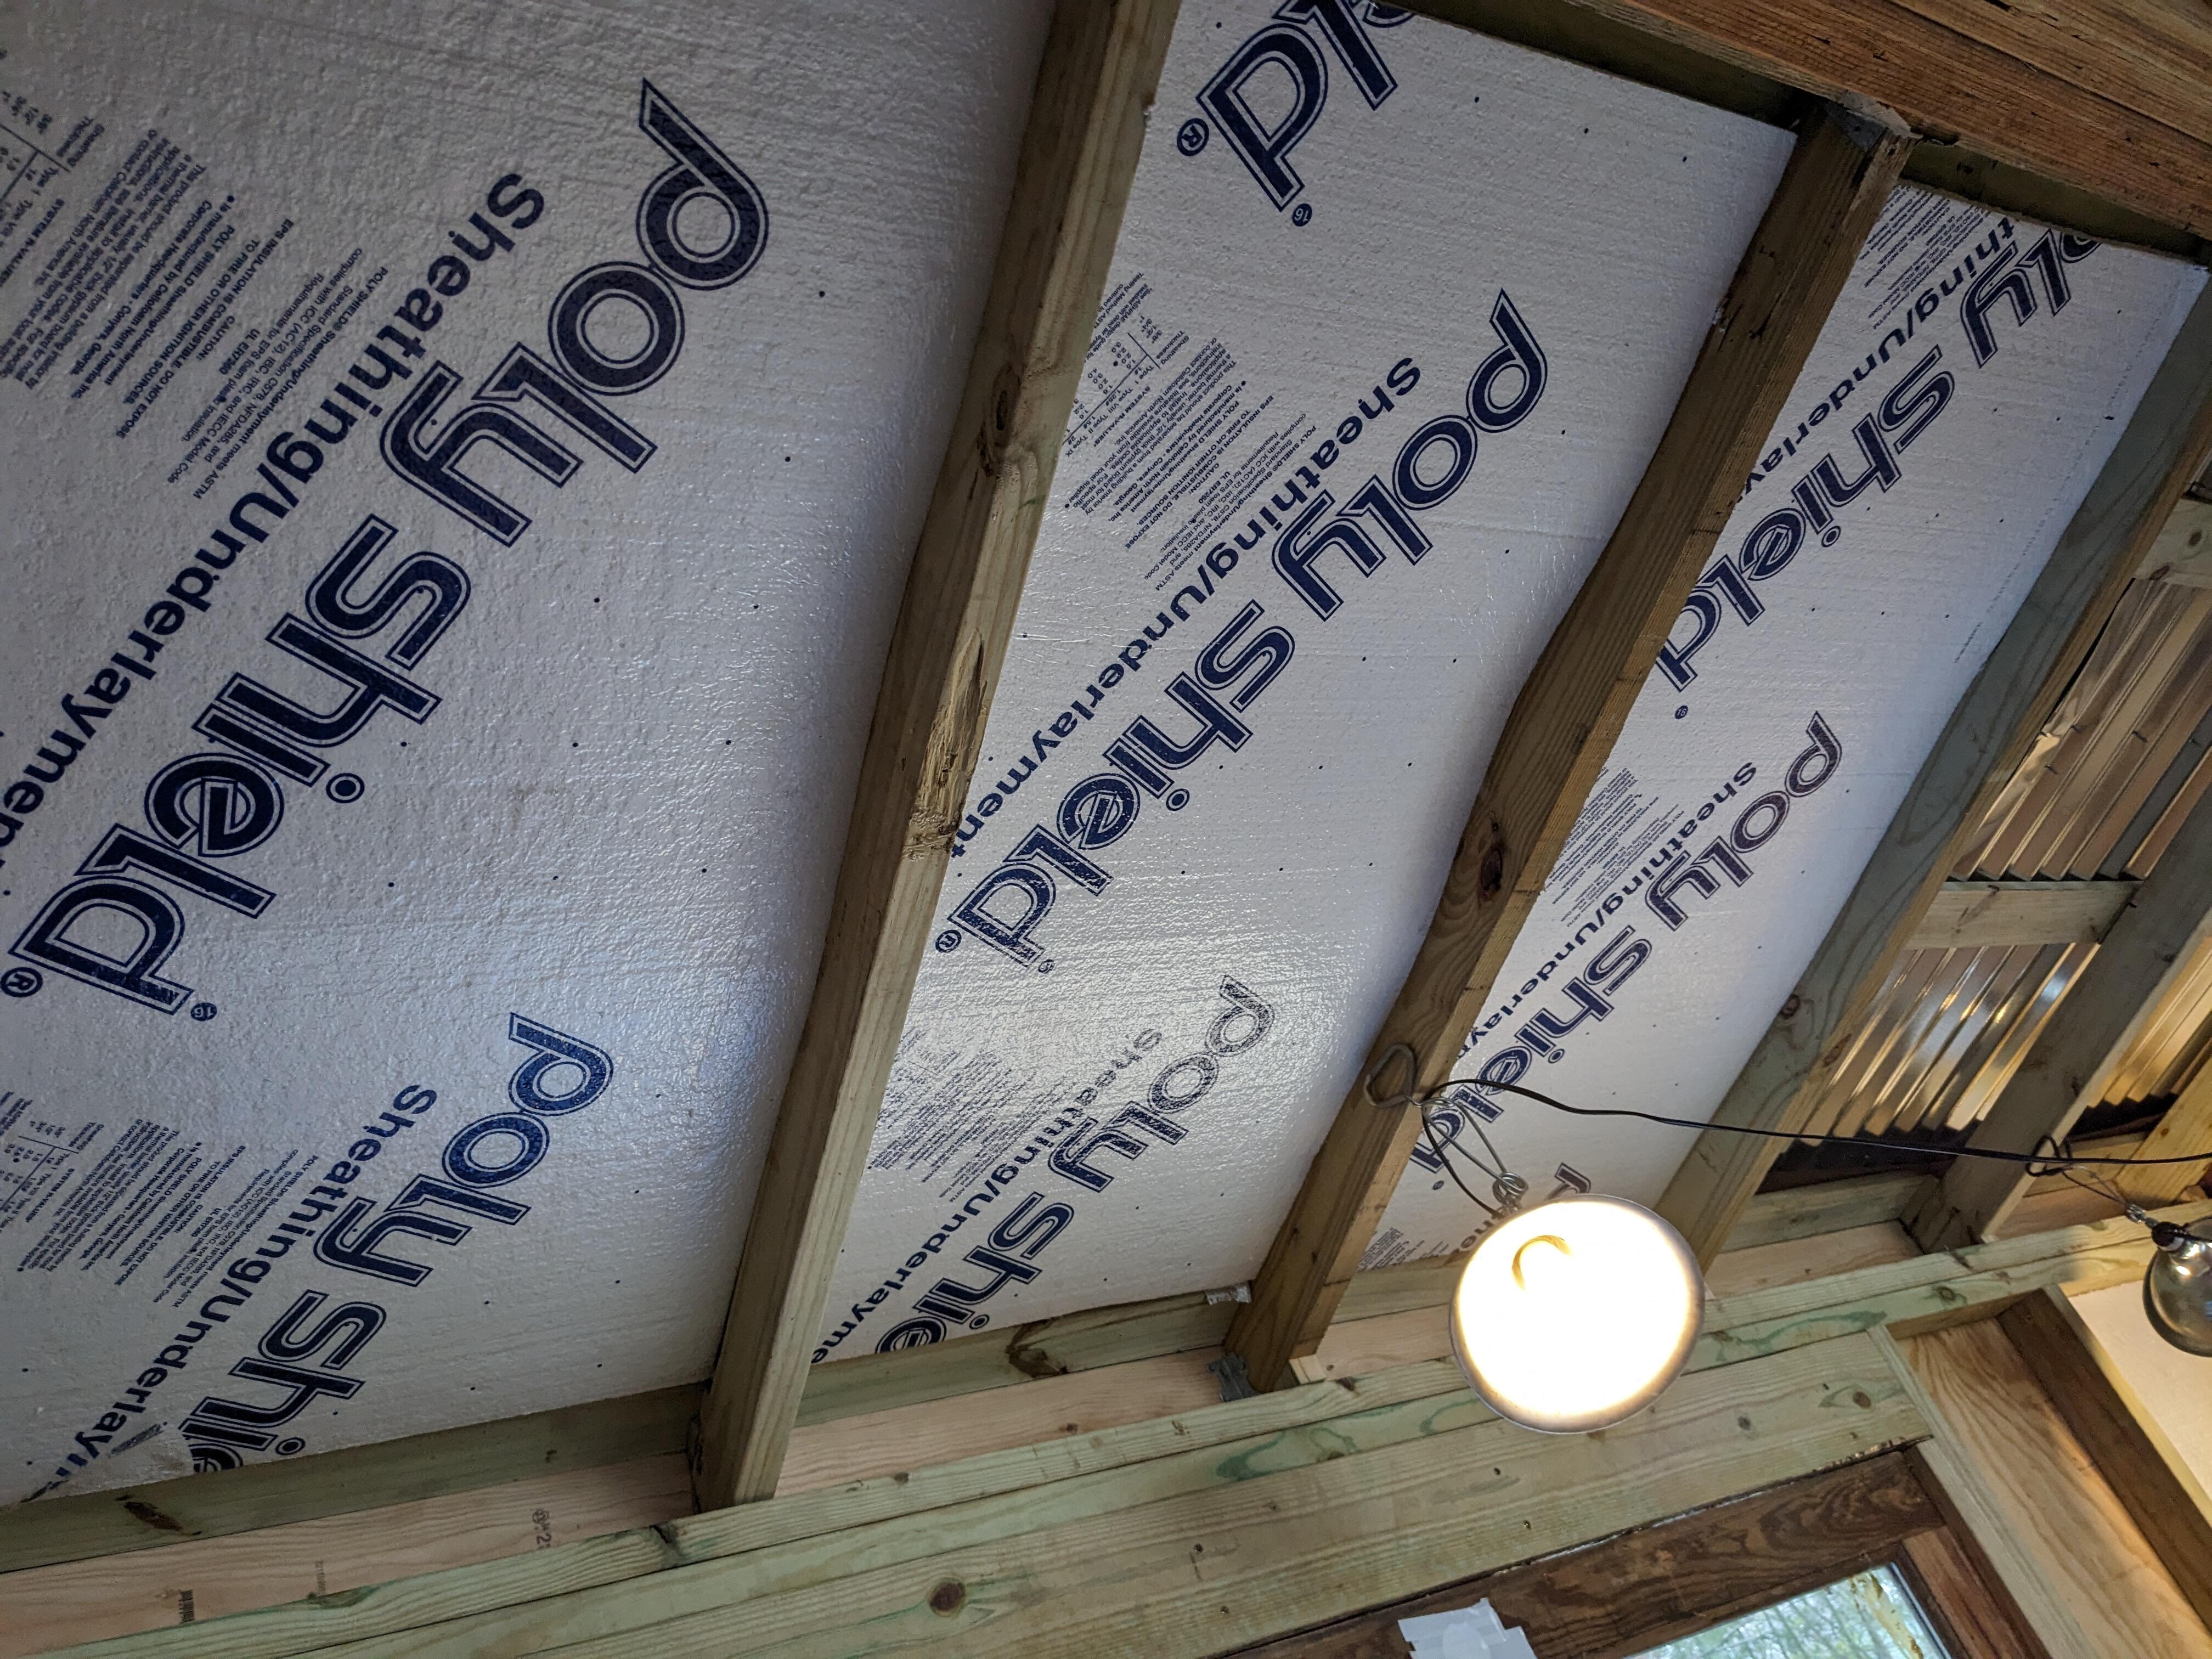
Finished up the header, added the double jacks. I went 2 row 16" OC for the structural screws, based on the advice from the local lumber yard I bought the LVL from. I don't think my drill would have liked 3 rows, I had to stop halfway & let the drill cool down, even with lubricating the screws. Joist hanger placed on the ridge beam. Started putting up foam insulation for the walls & roof


-
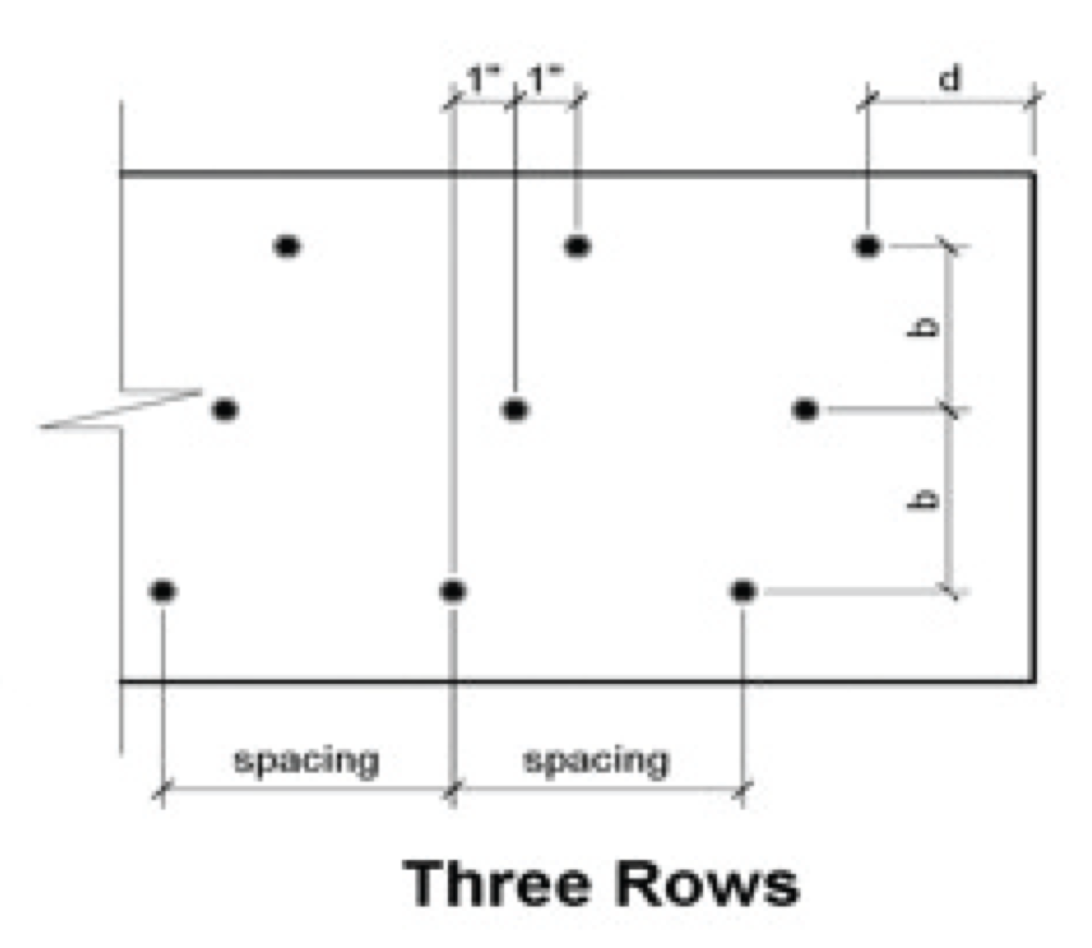
Thank you. I have them leveled at this point - I cannot find a nail chart from BuildOnCenter for their LVL, however I assume this would be similar to other brands. A google search suggests minimum 2 rows 12" OC for 9.5 LVL. I figured I'd do 3 rows, 12" OC staggered 1" intervals I found this chart for murphyplywood :

-
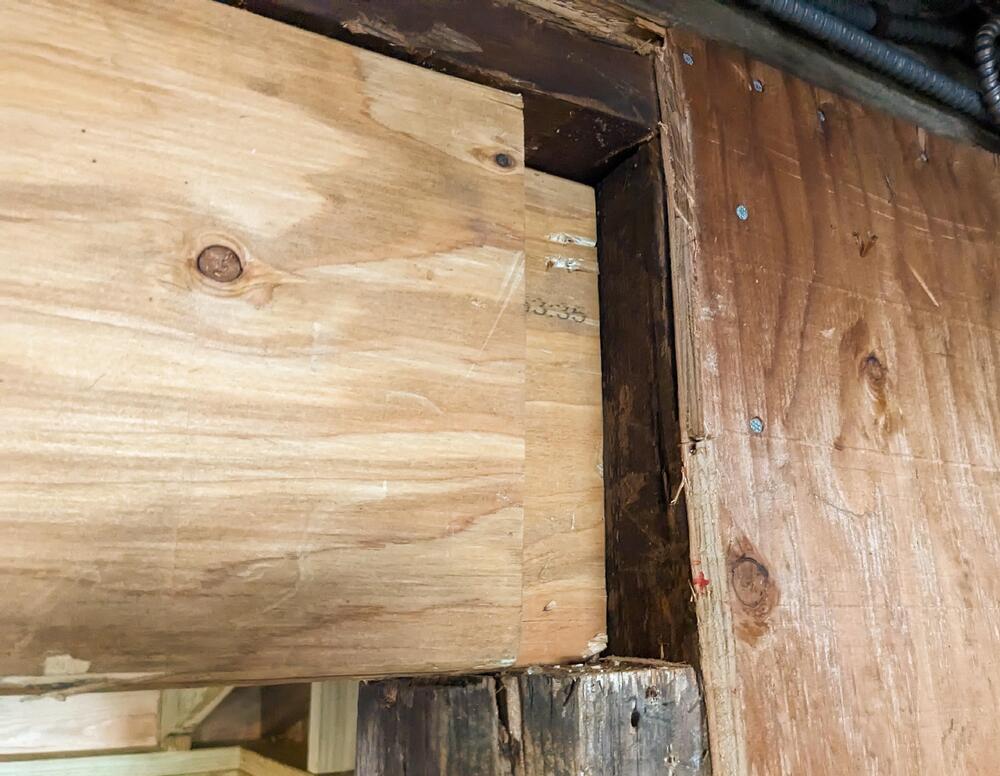
Got the second ply in after work. One issue I missed yesterday was that I only cut 2.75" off the beam, instead of the 3" required for the two plates to squeeze in. Fixed that, then got the ply up in the ballpark, and used a pry bar to get the ply started behind the beam. After that I was able to see-saw the ply up level, then I walloped the left end in until it was flush on the right side king - put the left side jack back in, and just added some screws to hold the header in place & level. Tomorrow I'll wrap that up & add the secondary jacks on either side Since I don't have any g clamps deep enough to reach over halfway up the ply, I'm using the long pry bar leveraged through the g clamps to push the two firmly together at the top, and I will screw the beams together this way, working my way along the top first, then the middle & bottom

-
Got it. I'll anchor the ply that's up, & then take at least the left jack out. Adding blocks to see-saw the ply in place would be safer for me than the way I did the first one.
-
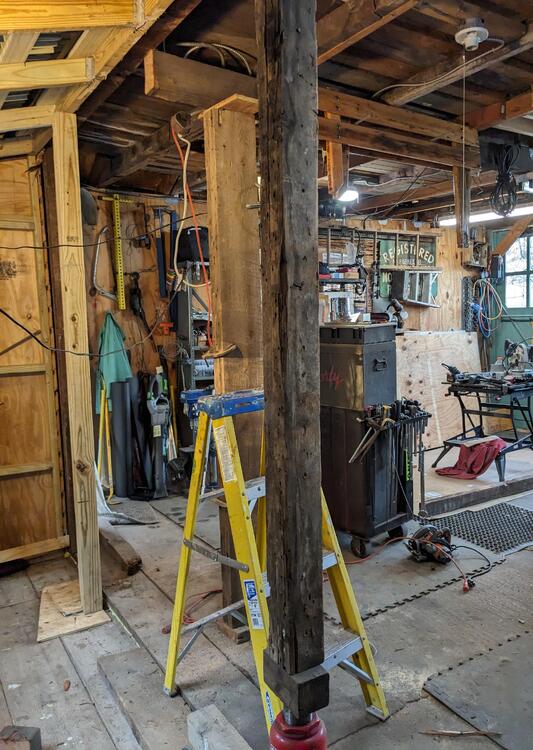
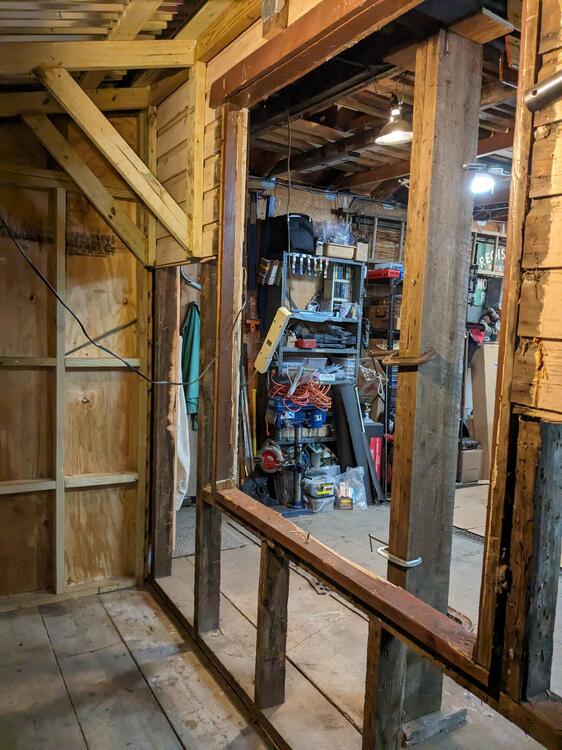
Still in Garage Mode. Many thanks to @Patcon for his input. Supported the outside wall & removed the studs that fall between the (just under) 12' opening. I started on the left - I jacked the post until I heard the top plate/beam creak & stopped. With that I was able to sawsall the nails & the studs came out with no effort. I checked the king & added jack for level. 2nd jack will go in after I get the 2nd LVL header up. I have fastenmasters 3.5" structural screws to tie the two plates once they are situated. Added a support on the right, and removed the one stud there. Cut 3" off the ridge beam so it will sit flush with the LVL header The conundrum here is how to get the 2nd plate up. If you look at the above pic, there is only room to pivot the 2nd plate straight between the beam & existing new header. That doesn't work when both jacks are in place, as the header had to be angled to navigate into the space. I guess I can screw the 1st header temporarily to the support poles, then move the left king & jack over enough to swing the 2nd in place. Can't really see any other way of accomplishing this, working by myself. I don't have anyone around at the moment that can assist me, and the space issue would still be the same problem. Just enough room for the Z


-
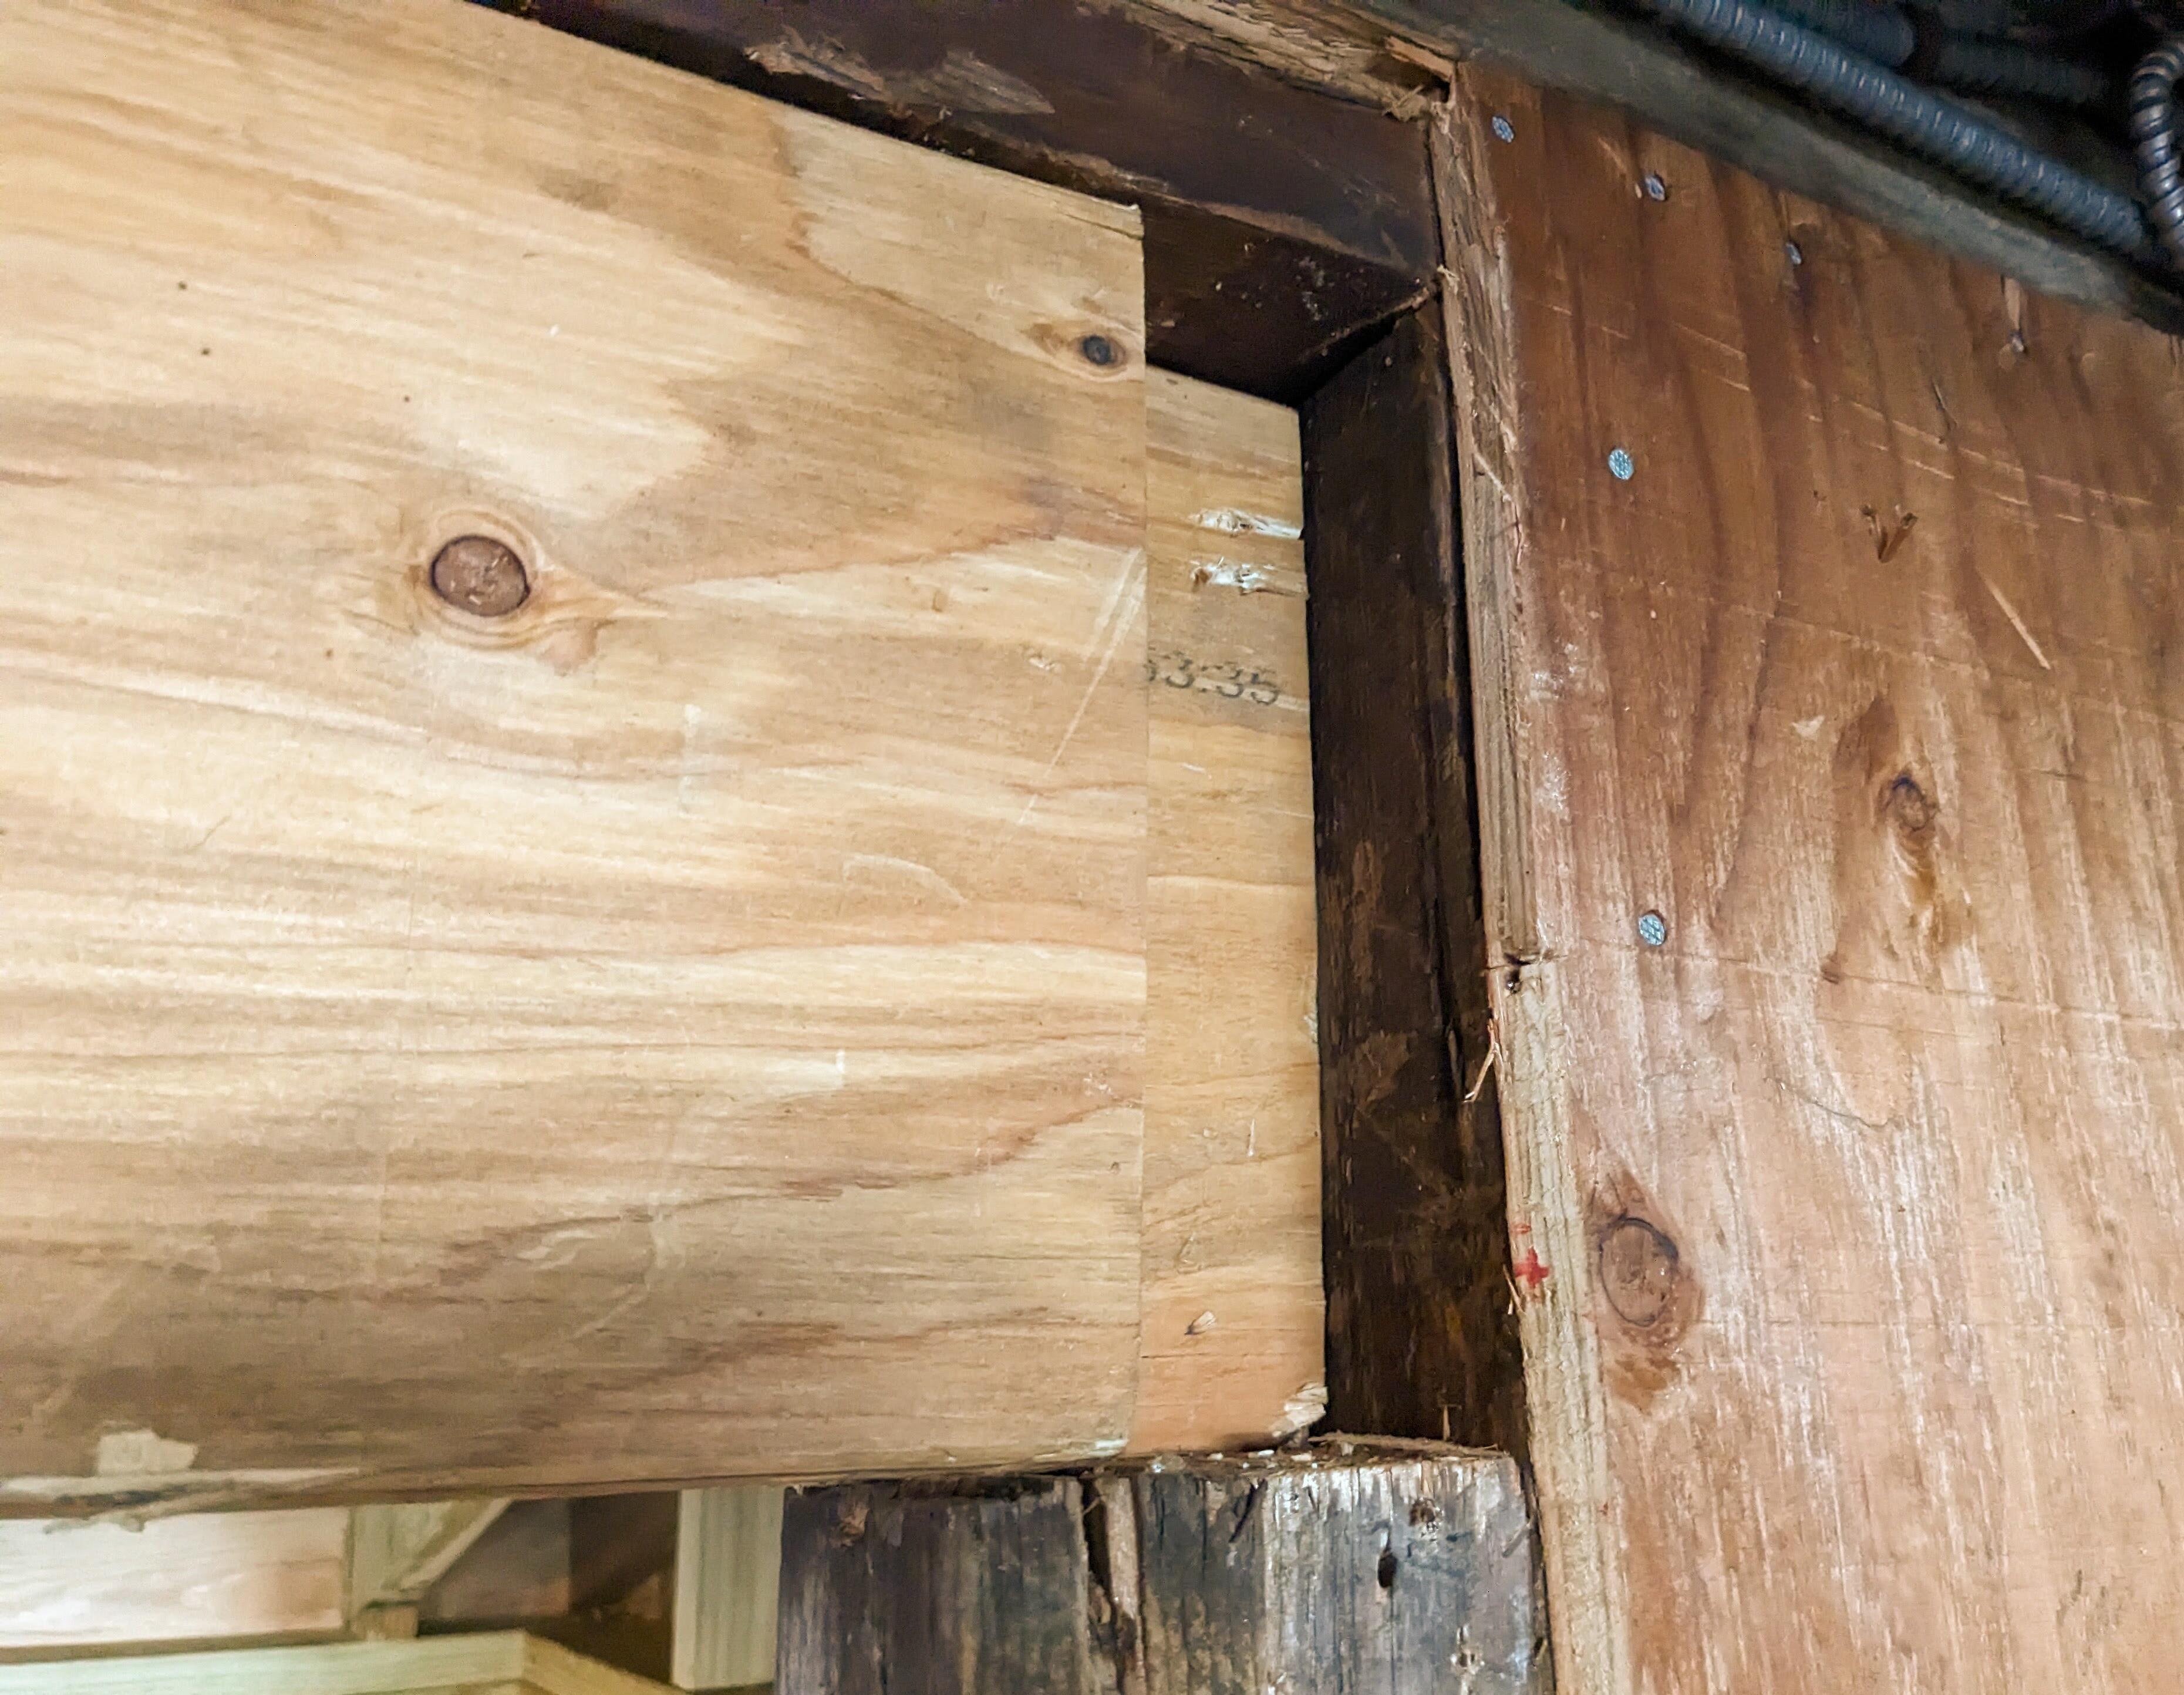
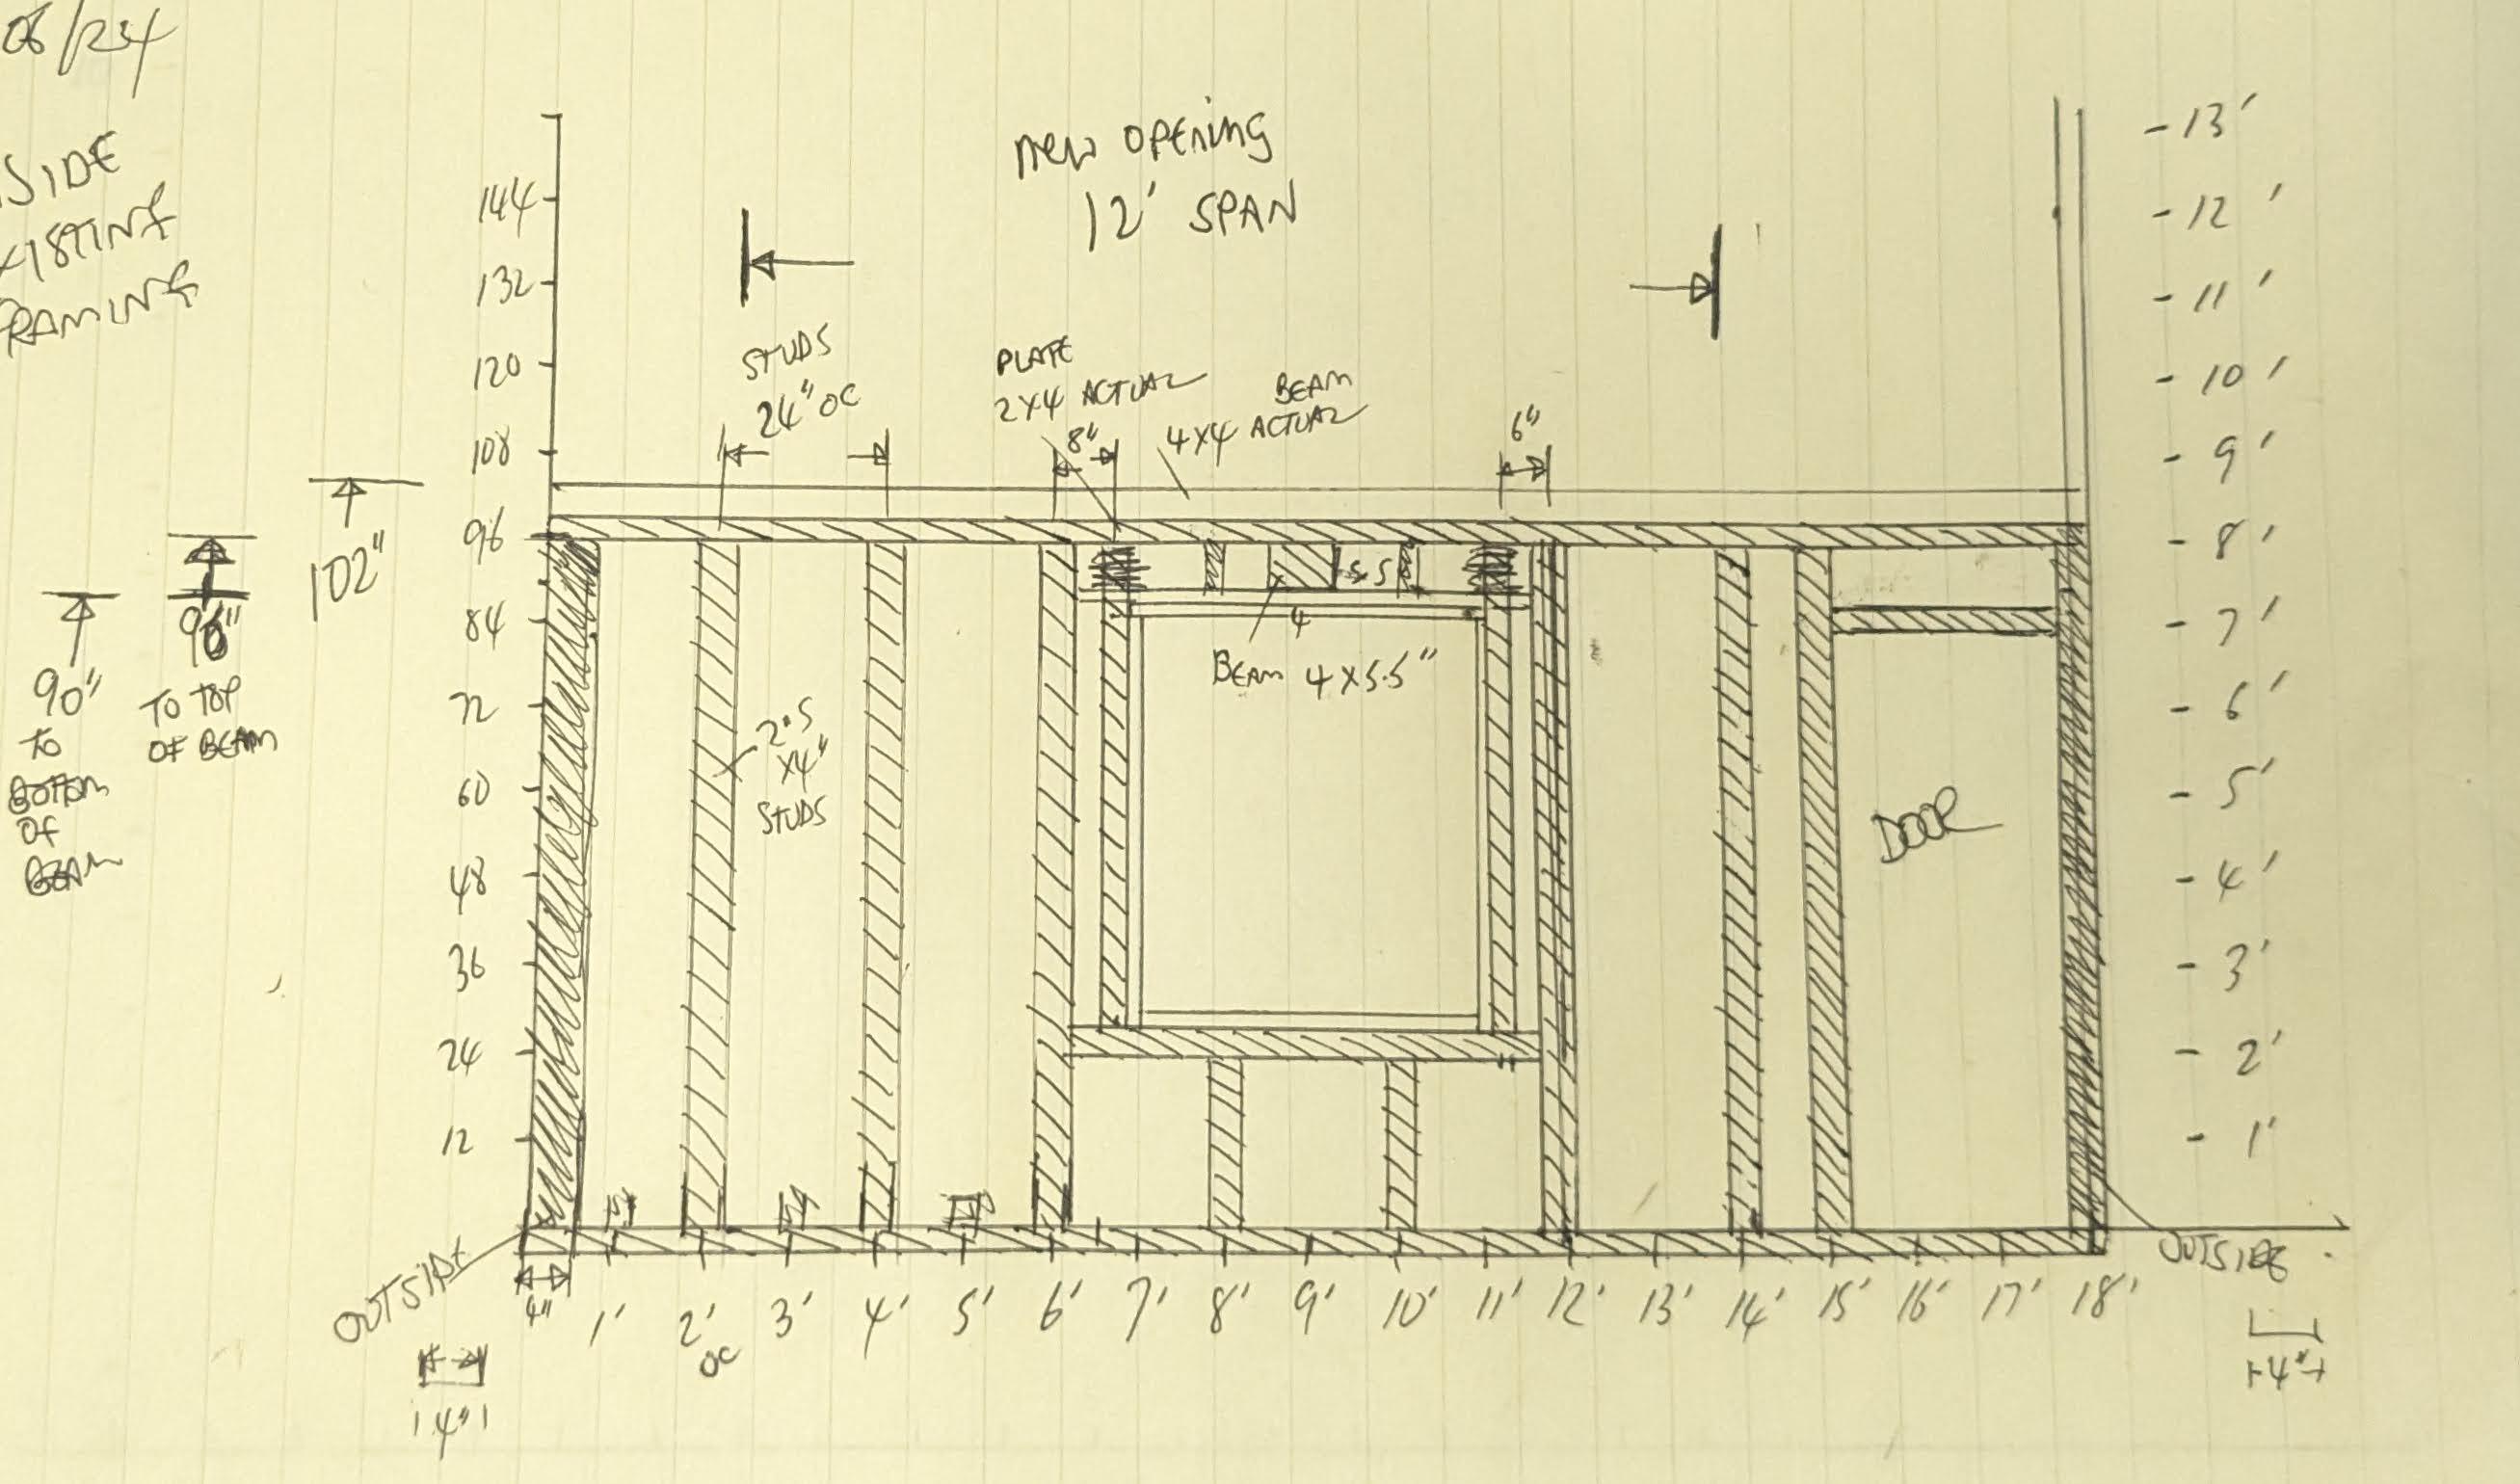
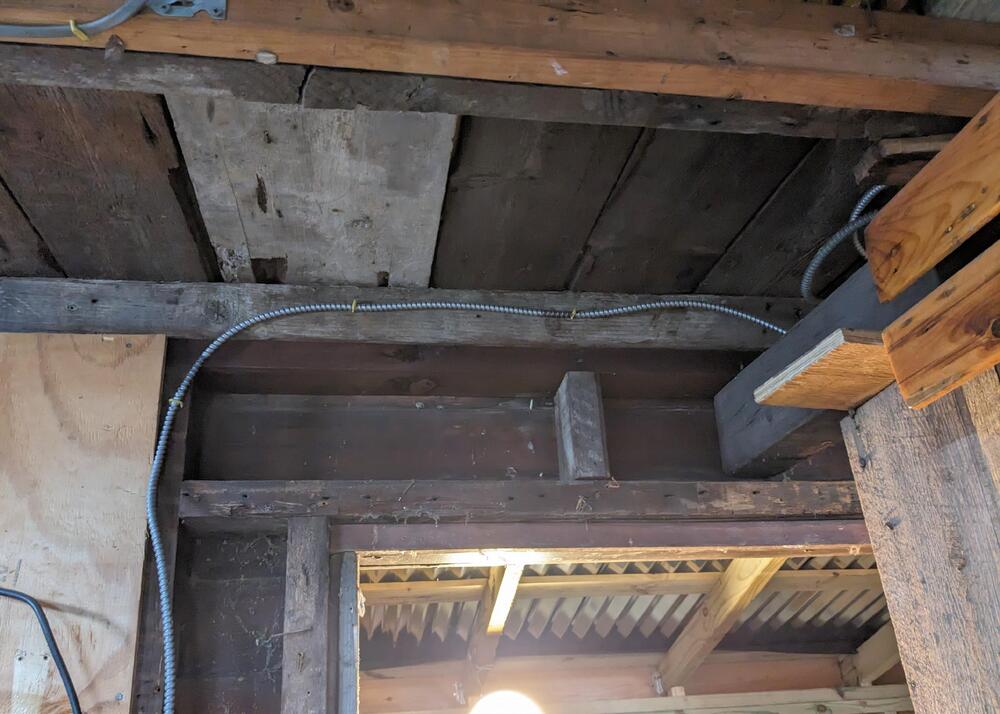
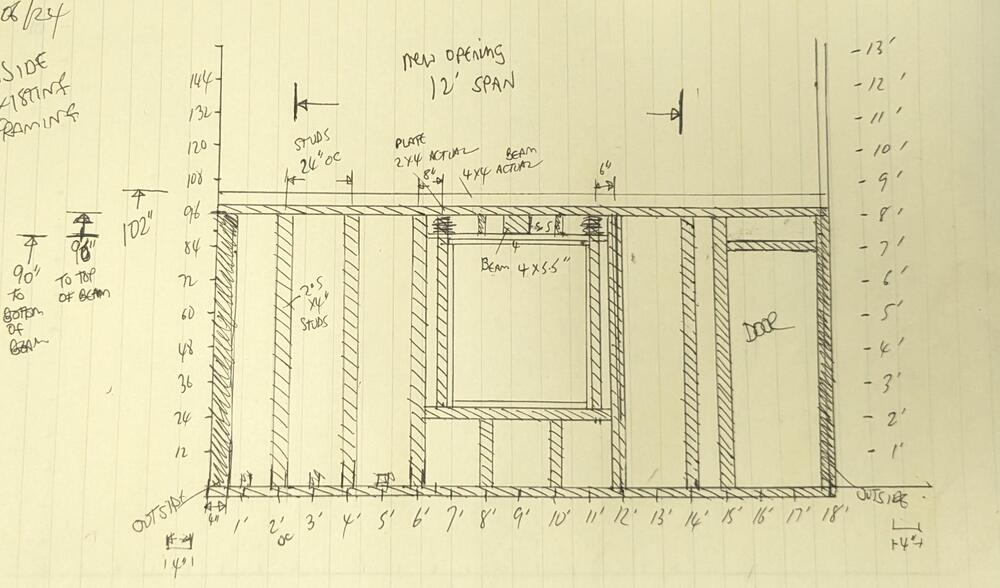
Started removing the siding & sheathing on the inside. Added the temporary support for the beam. Hot mess up here. I guess maybe the center beam was added later on? The cross beam above the top plate is actual 4x4". Can't understand why it would be placed as it is. When we bought the property 25 years ago, the garage had no attic, just the shallow (2'?) planked area seen here, and at the front end. There were very few rafters, and the entire garage had a serious tilt. There are metal tie plates in the side walls that connect the east & west ends together with cable. Back then, I tied the north east corner to a Cedar adjacent, and used a come-along to pull it square(ish) over the course of a month or so, then added tie plates & rafters. I can't say I followed any actual plan back then, I just tried to make it more rigid. Drawing of the west end wall as it exists. All the studs and plates are 2.5x4", 24" OC. The opening will be 12'. from the floor to the beam is 90", 96" to top of beam, 102" to top of 4"x4" cross beam
-
Thank you - I'll make a sketch with accurate measurements of the span & PM you. It may only be a 10' opening.