HusseinHolland
Free Member
-
Joined
-
Last visited
Everything posted by HusseinHolland
-
 One would think so, however searching through Amp/TE/Tyco I'm not having any luck
 -
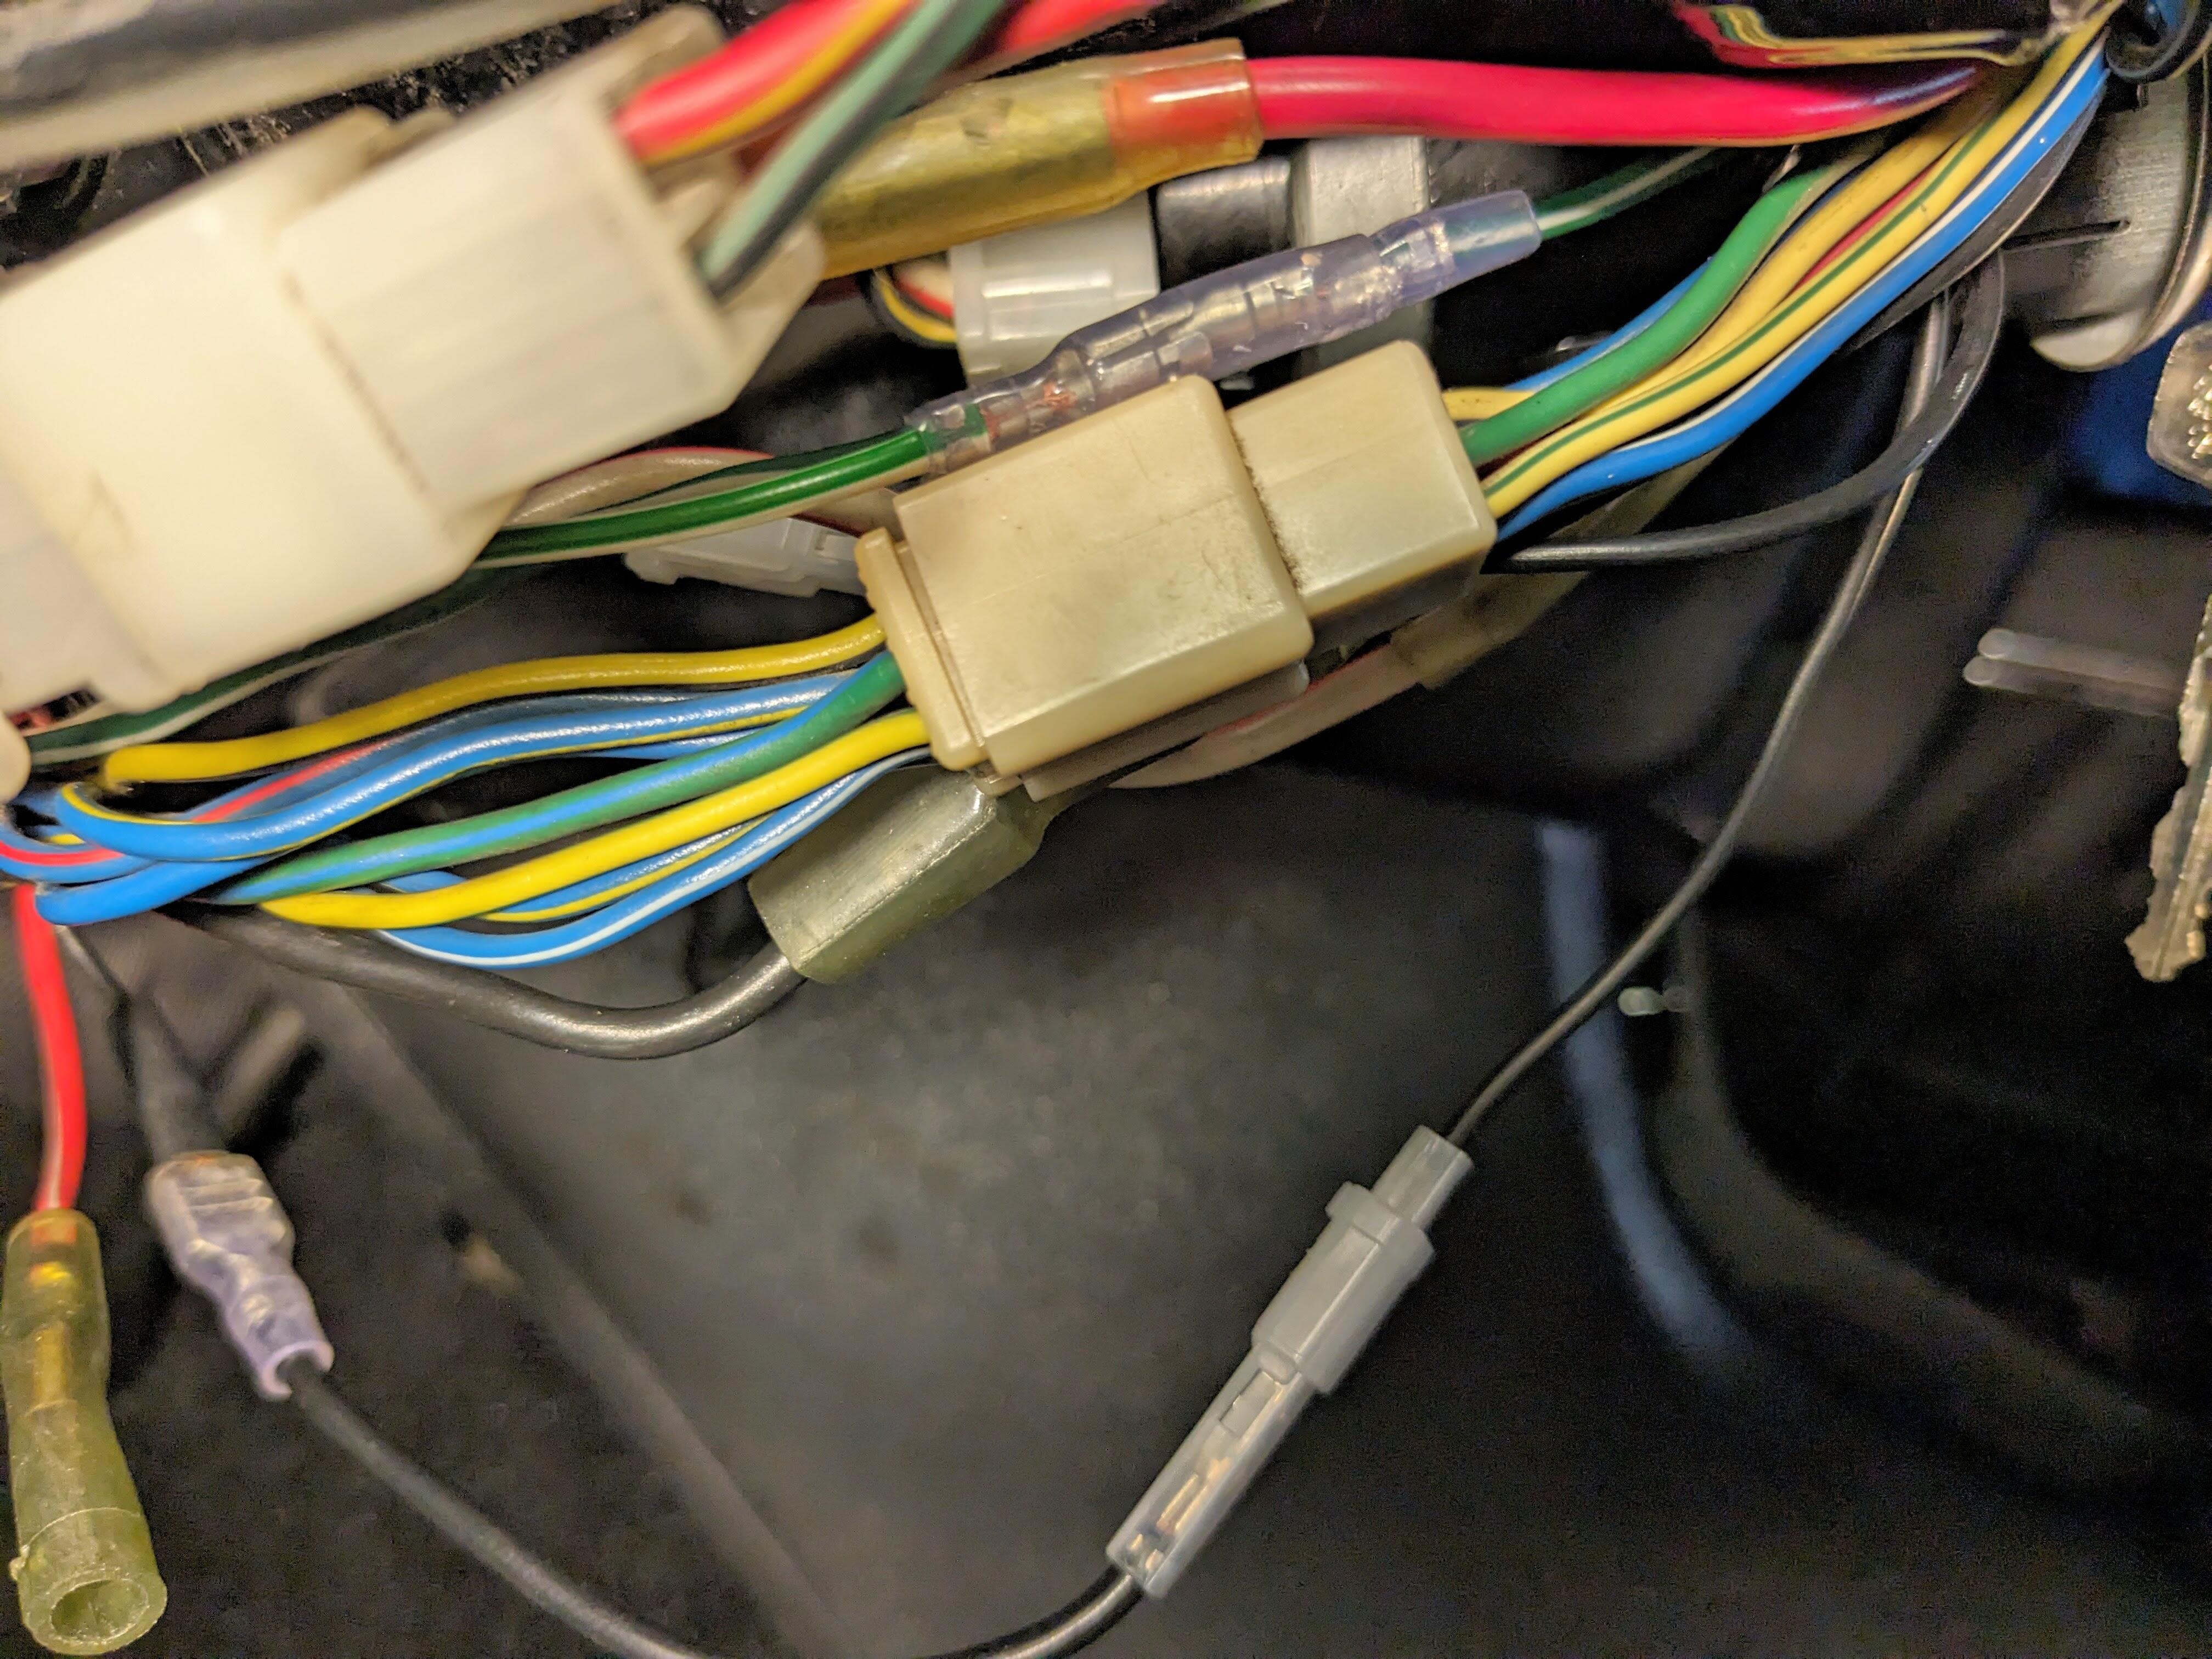
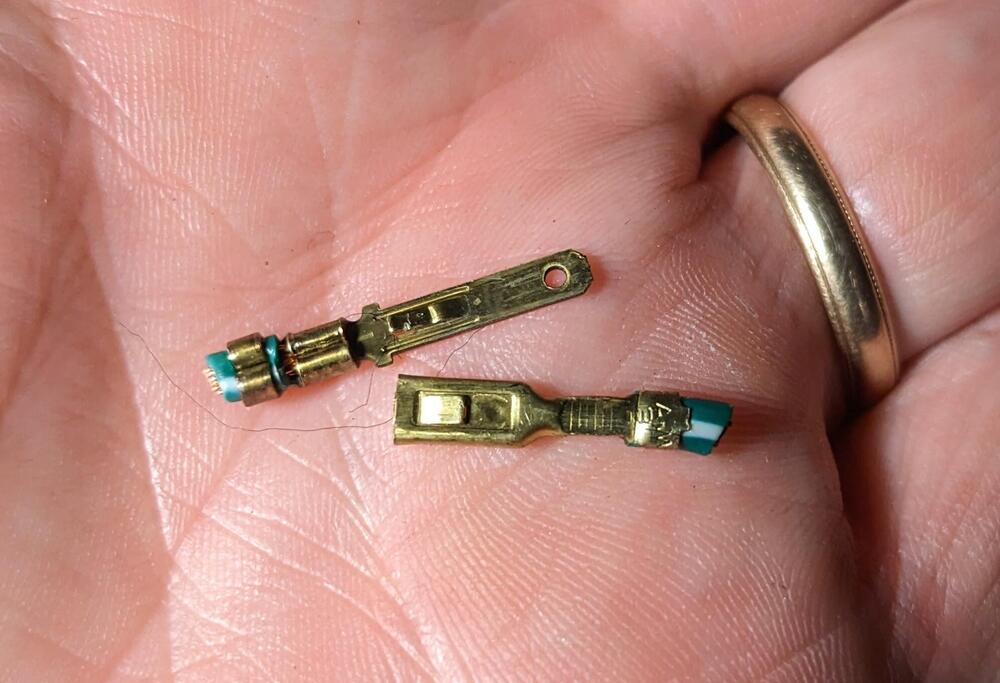
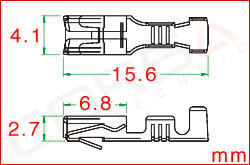
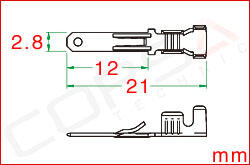
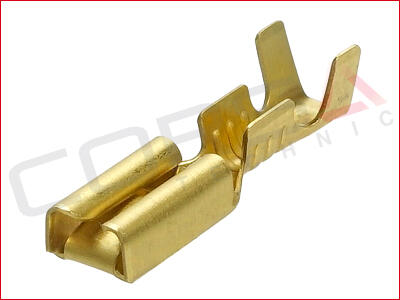
Hmm... I was hoping this including documentation on the connector & terminal identification on the combination switch assembly. I can't determine the manufacturer & type of spade used in the 9 pin housing, I've checked on Cycle Terminal & Eastern Beaver, not finding a match. I think it's the same as the radio connector? I bypassed the housing for the parking light circuit, when I added the bridge to tie it to the warning buzzer. I thought I had the correct female spade, however the ones I have are the wrong form factor EDIT - the Sumitomo MTW 110 (called Hitachi) series 'look' right - however the depth of the female spade is excessive & will not lock into the housing. I'll add a pic of the female if I can find where I dropped it in the garage. The difference is that it does not have that inner folded contact tang, it's a plain spade. images taken from CorsaTechnic

-
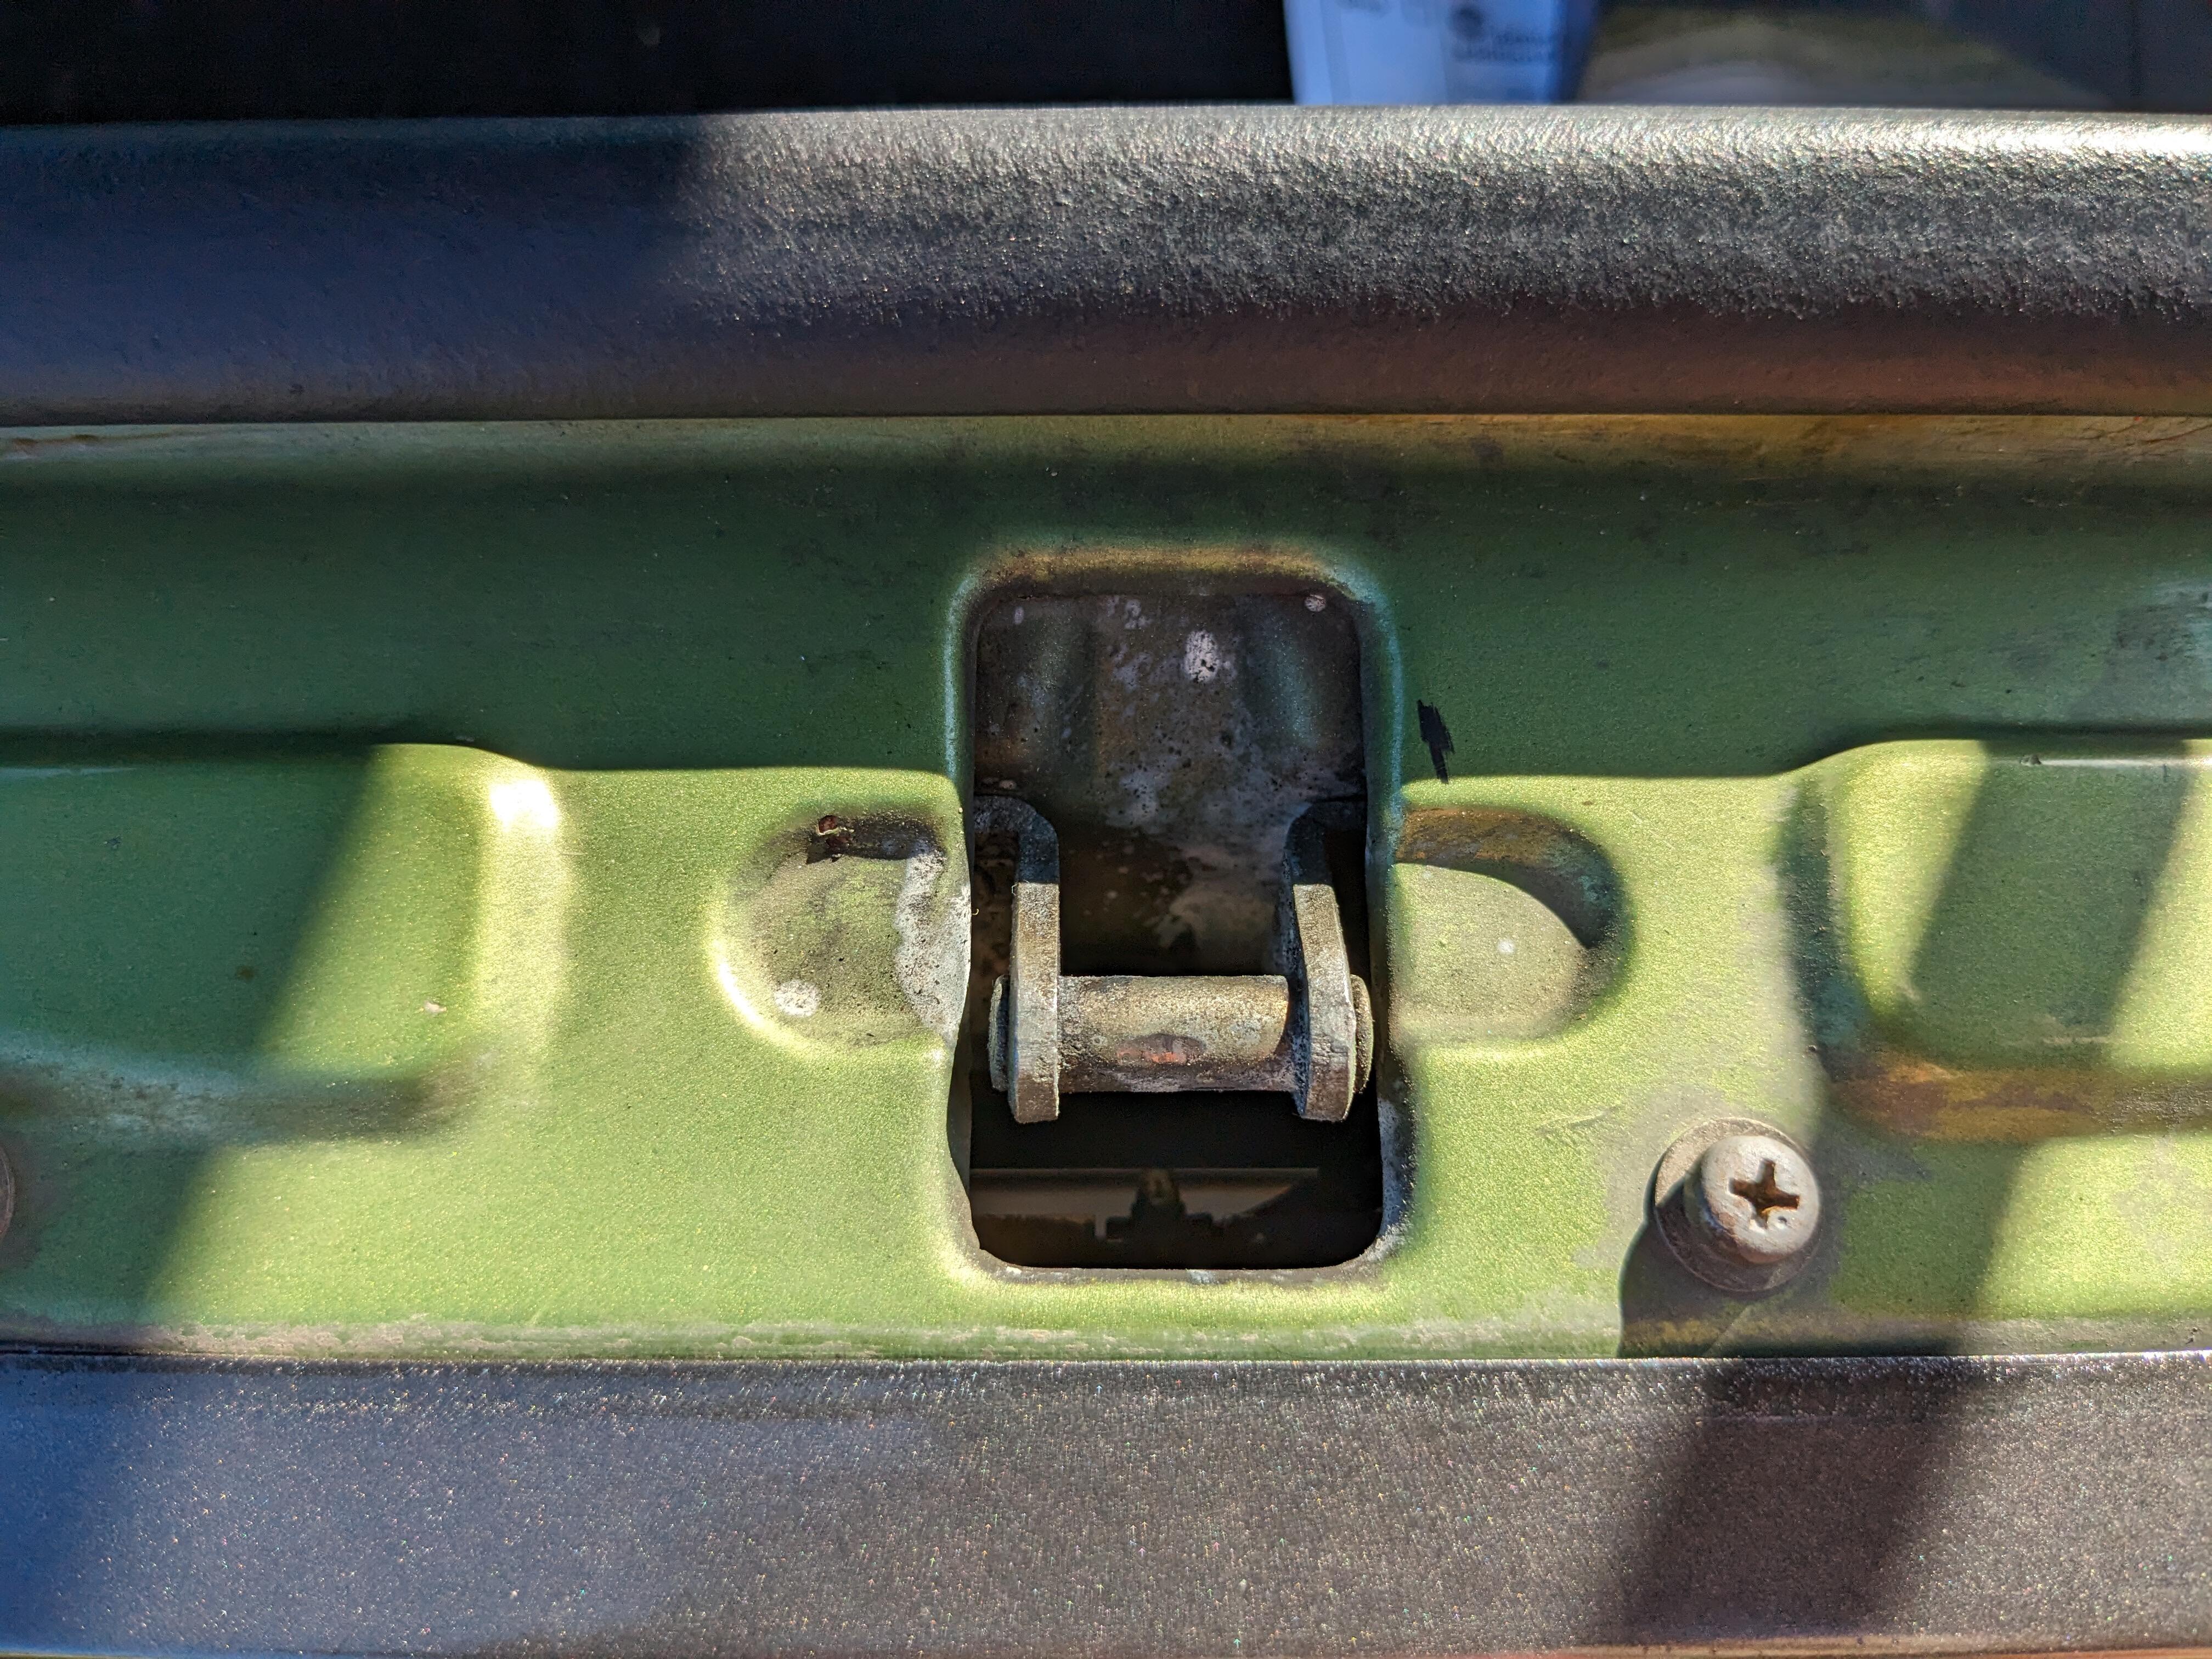
Those help - thank you - I can see it runs the length of the trough - that's what I wasn't sure of.
-
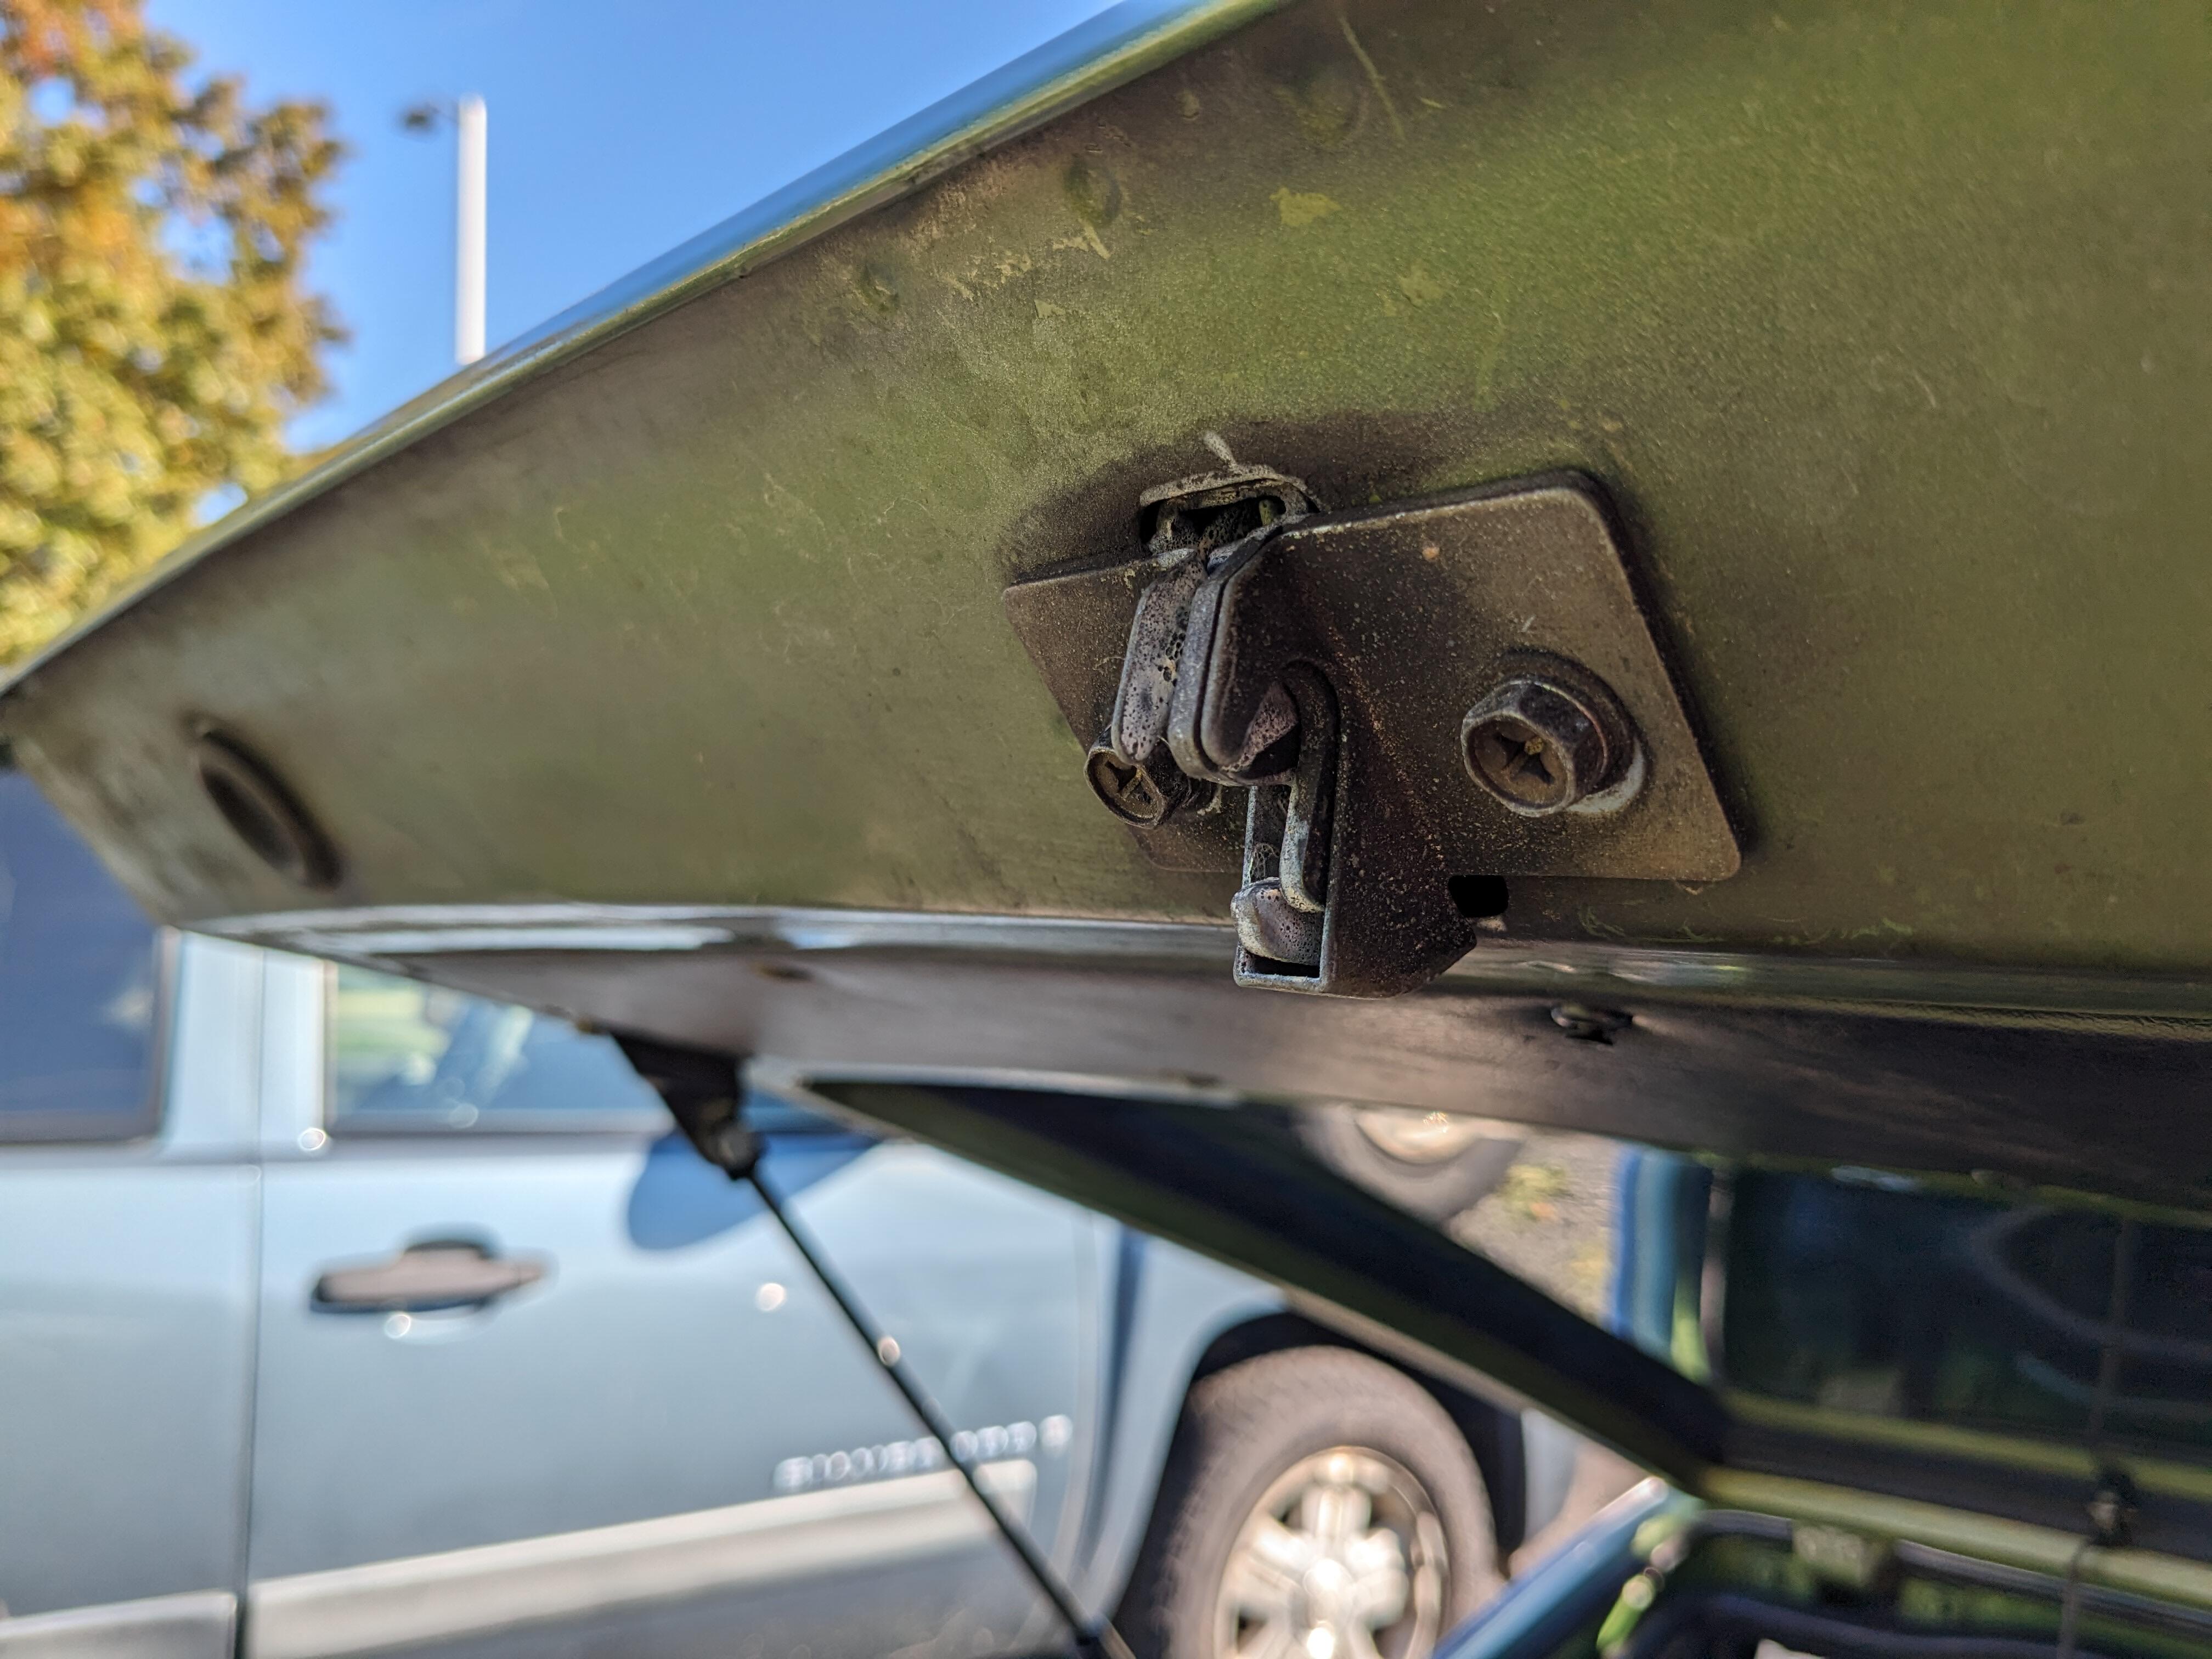
Many Thanks! I didn't realize the lower catch was adjustable. I'll take care of that tomorrow. 😁
-
The other opening - related issue is the hatch will pop open on occasion. Typically when the body is flexed over bumps or uneven roadway. Very annoying. I'll have to try readjusting the latch - I had to move it after doing the hatch seals, however it takes way too much effort to close it.


-
Many thanks for taking the time. I would also like a pic of the top of the frame showing where the top seal is located, if possible. I'll add reference pics of my door for comparison. Looks like the leading edge is the same, the rear inner, mine also has a dogleg anchor. I've ordered a pair of the later upper frames (not the inner rear lower channel) - the creeping surface rust on the inner face of mine is transferring to the new rubber seals, and I know that at a certain point, it will no longer wipe off the seals. I can't live with that. I know I will have to chop off the rear inner section of my channel to attach to the later upper. I'll figure that out. I can always cut the mount brackets off my frame & transfer as needed to the later frames, I have a TIG & stainless rod. I now need to find the channel seals I bought inadvertently, I don't know now where I stashed them.
-
Starting is so much better across the board, cranking speed is significantly faster. I hadn't realized just how reduced the rpm was, even under the 'normal' conditions. Looking forward to putting in the gear reduction though, less strain on the battery at the very least.
-
I assumed that was what you meant. I'll use the park light circuit, that covers any exterior lighting.
-
Going to change the trans & diff oil shortly - both whine, the trans moreso in 3rd, the diff most of the time. The Redline 75W90 got rid of the whine - not because the fluid was low? Just curious mine looks like it's been seeping for years. Should have done it when the rear suspension was apart - would have had easy access to the fill plug back then. I have a couple quarts BG shift II GL-4, so I'll use that for the trans, and I have Redline Shockproof HD, so I'll use that for the diff.
-
I prefer to drive with at least the parking lights on, so same deal - I have left the lights on by accident several times already, including today when I went out for coffee on my "lunch" break (10:30am - I'm a high school art teacher). I'll replace the feed to the buzzer switch with a tap from the parking light feed at the combination switch.
-
Now I have to wonder if that was part of the issue with the HEI module slow cranking. It starts so much better now. I'll see how it goes with the AM cold start.
-
I swapped the earlier starter back in, and this one cranks very nicely, regardless of starting after a short sitting period. I'll send the defective one back to RockAuto
-
75 has 3 wires - at least my 4/75 does
-
Found a new construction 280ZX gear reduction starter on RockAuto, WAN Global - I've used that brand before with my Honda K24 swap, so I have some faith in it lasting. I'll just swap it out when it gets here next week.
-
Going OT - that is a very good idea. Do you recall offhand how you wired it? Buzzes when key removed w/parking light circuit?
-
Now that I've driven the car for days in row, commute to work, local & mixed highway driving - I have found that there is what I would call a heat soak issue. When restarting a hot / normal op temp engine after a few minutes of sitting (after getting coffee, for example), it will crank REALLY slowly for a couple of revolutions, then pickup to normal cranking speed. Having redone the wiring with suitable gauge cables, added the starter relay to offload the switch, and changed the breaker on the starter leg of the battery cable to a higher amperage, I can't see what else it could be besides the starter itself. I did replace the one that was in there with a reman (RockAuto - Remy 16209) in June of this year. I'll have to see if I can measure the draw from the starter, duplicating the symptom when I have equipment available to test it is the trick. Maybe I'll just swap out the starter for the reman that was in there. A gear-reduction version would be nice, but I'm not sure I want to splurge since it only needs to be in there for a year or so. On the other hand, this is a real PITA to deal with, so maybe it's worth it, if one is available
-
Thanks for the input - I do see what you mean in your pics - I wish I'd seen it earlier before I spent $35 + on the other color 😞 Did you mean Rustoleum brand? When I search 261413 carbon mist comes up under that brand? EDIT - I scrolled further through your post, and see that you did mean Rustoleum Brand I don't get the flat top comment, unless that indicates you can be contrary? 😄
-
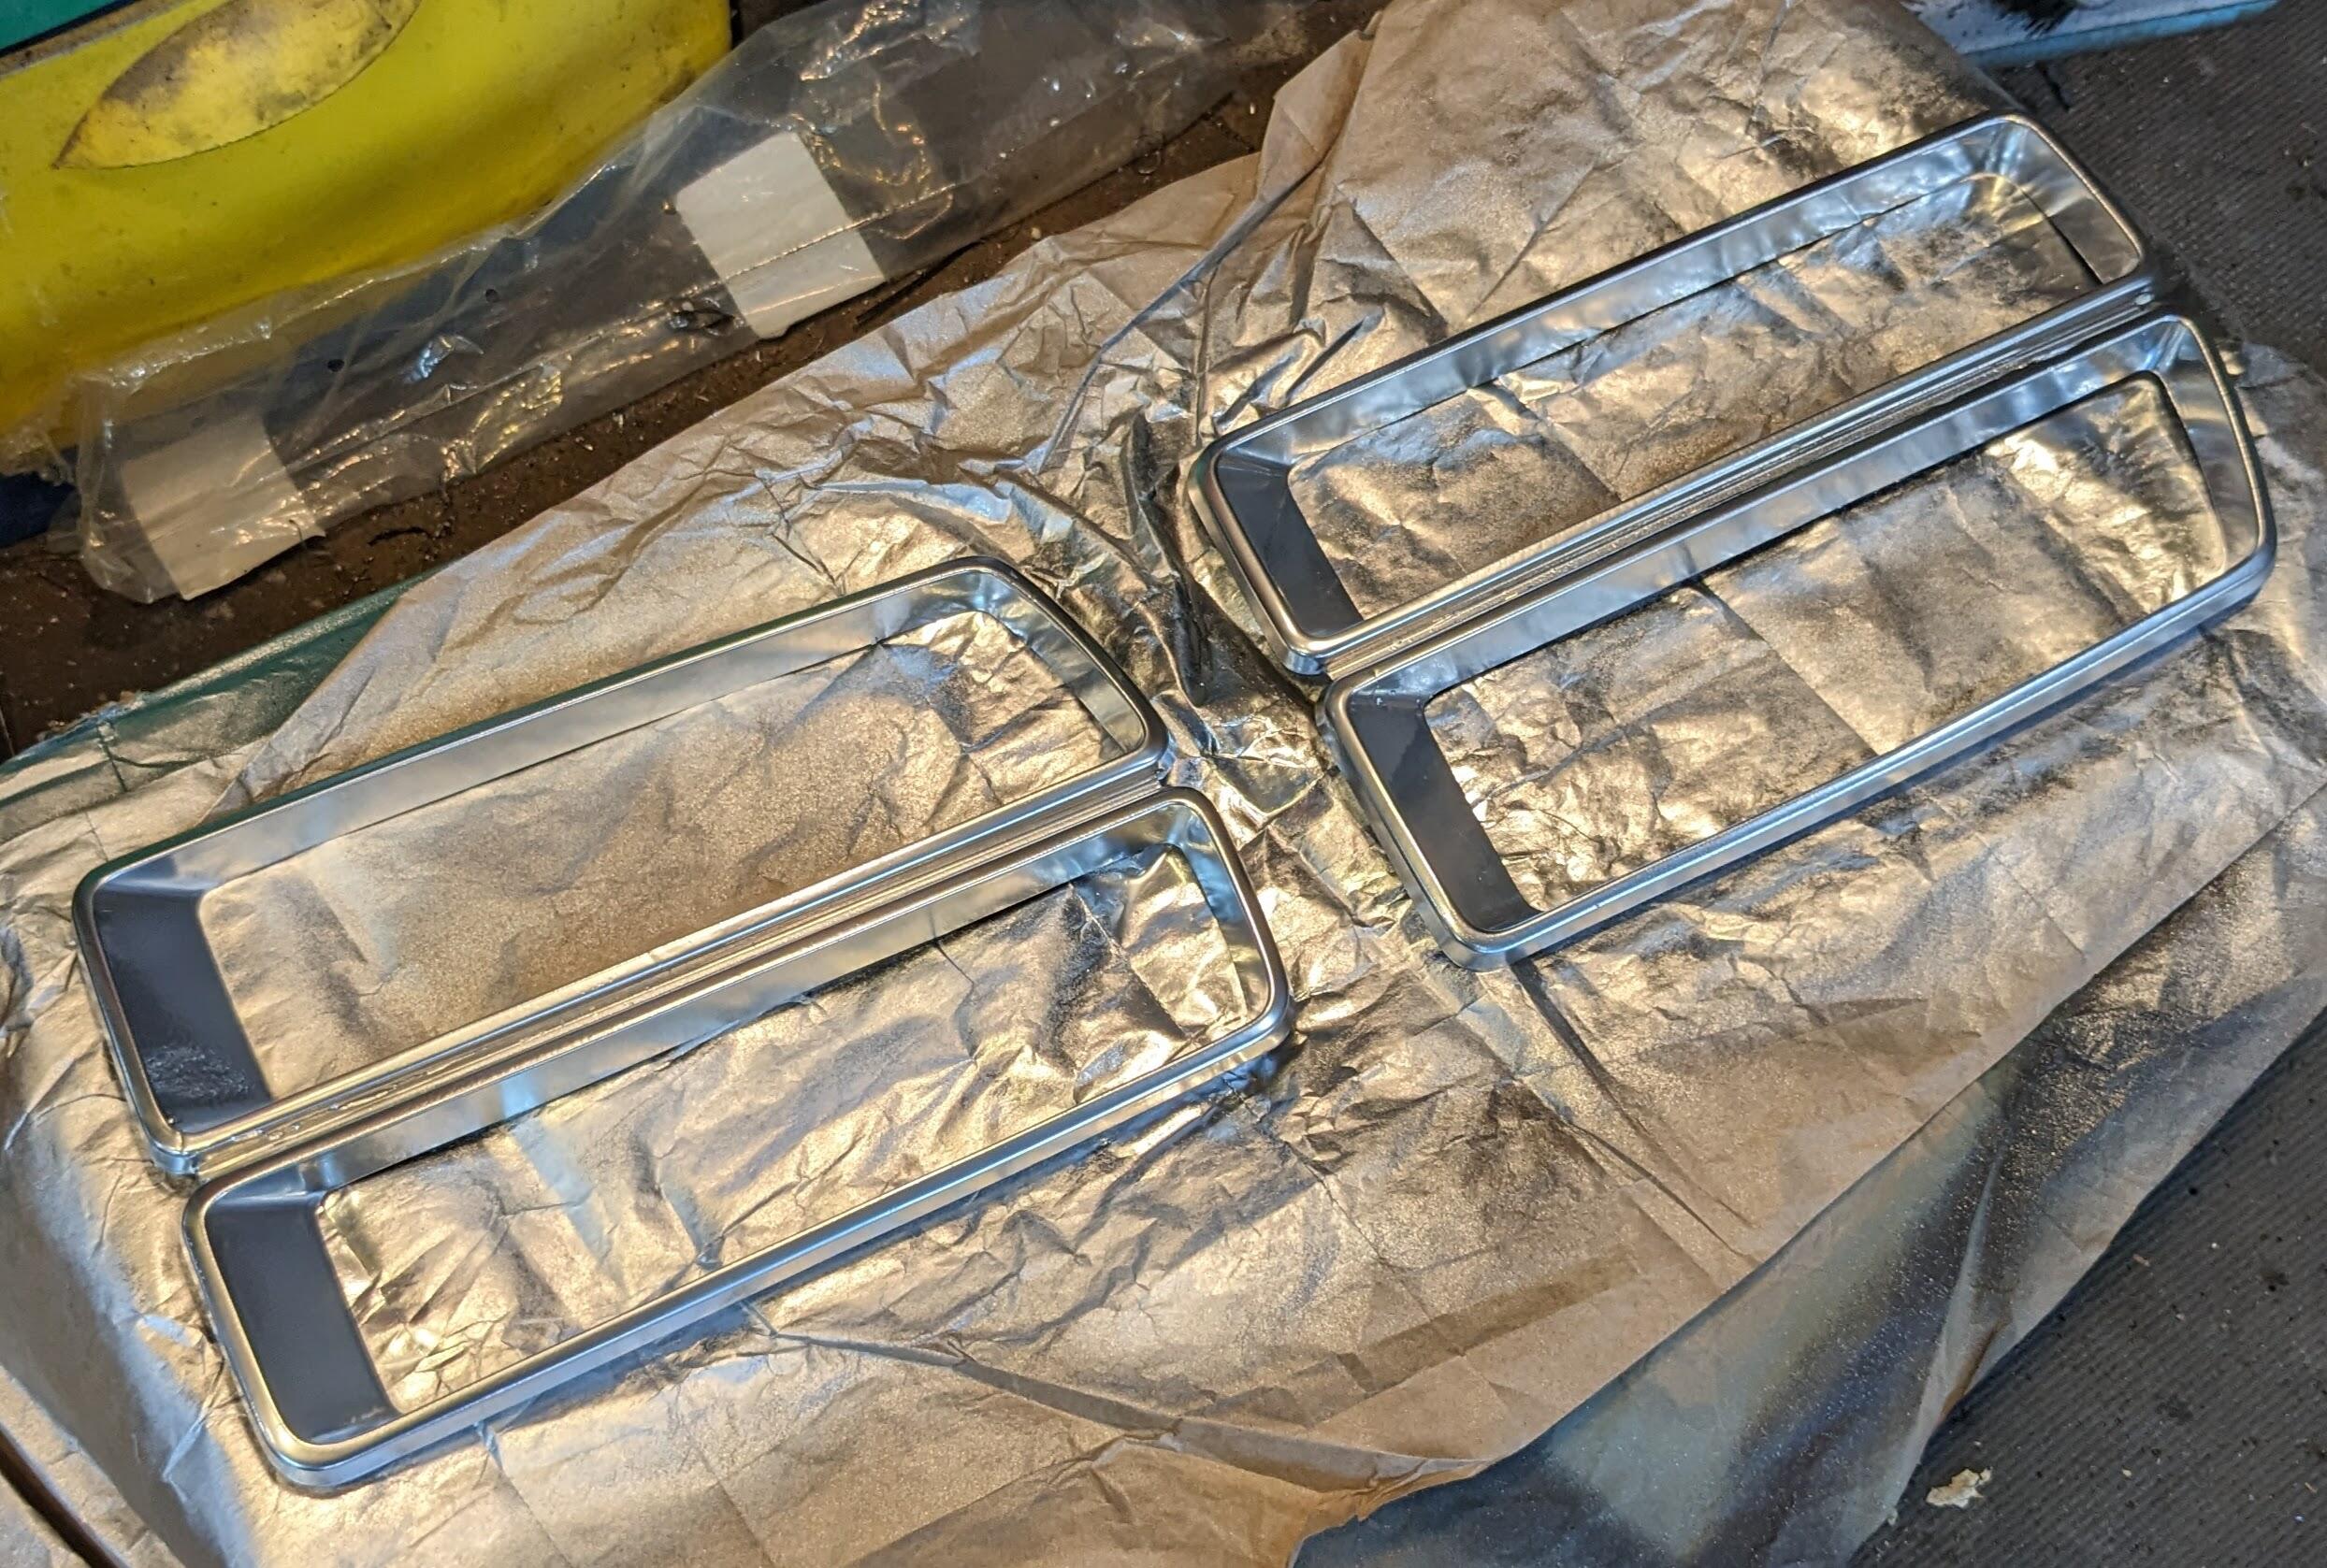
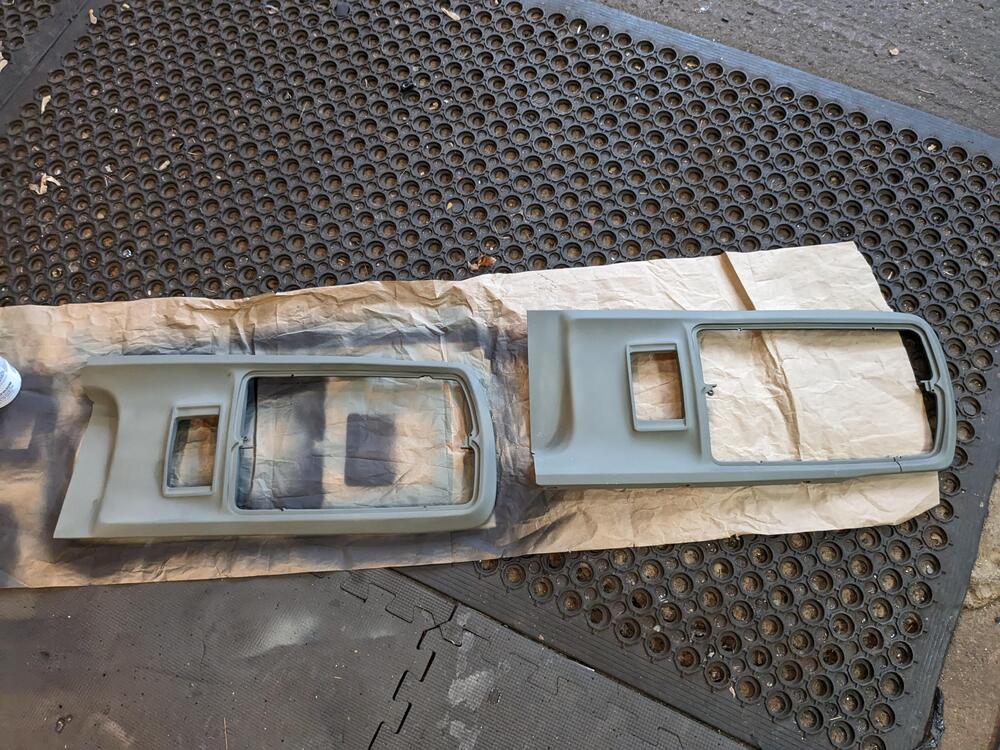
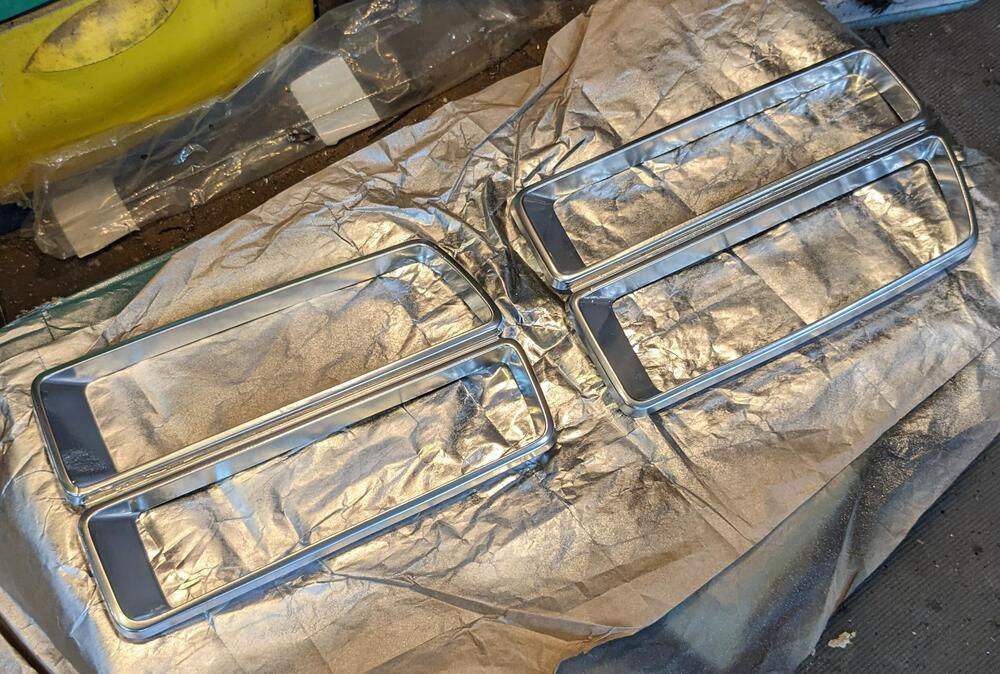
Thanks for posting this info - I'm in the process of reworking my 75 tail panels, so I bought the paint you have recommended. Mine are only primed at this point, and also need a crack repair, I just noticed... Have to redo the 'chrome' as well - mine had a bunch of wrinkles
-
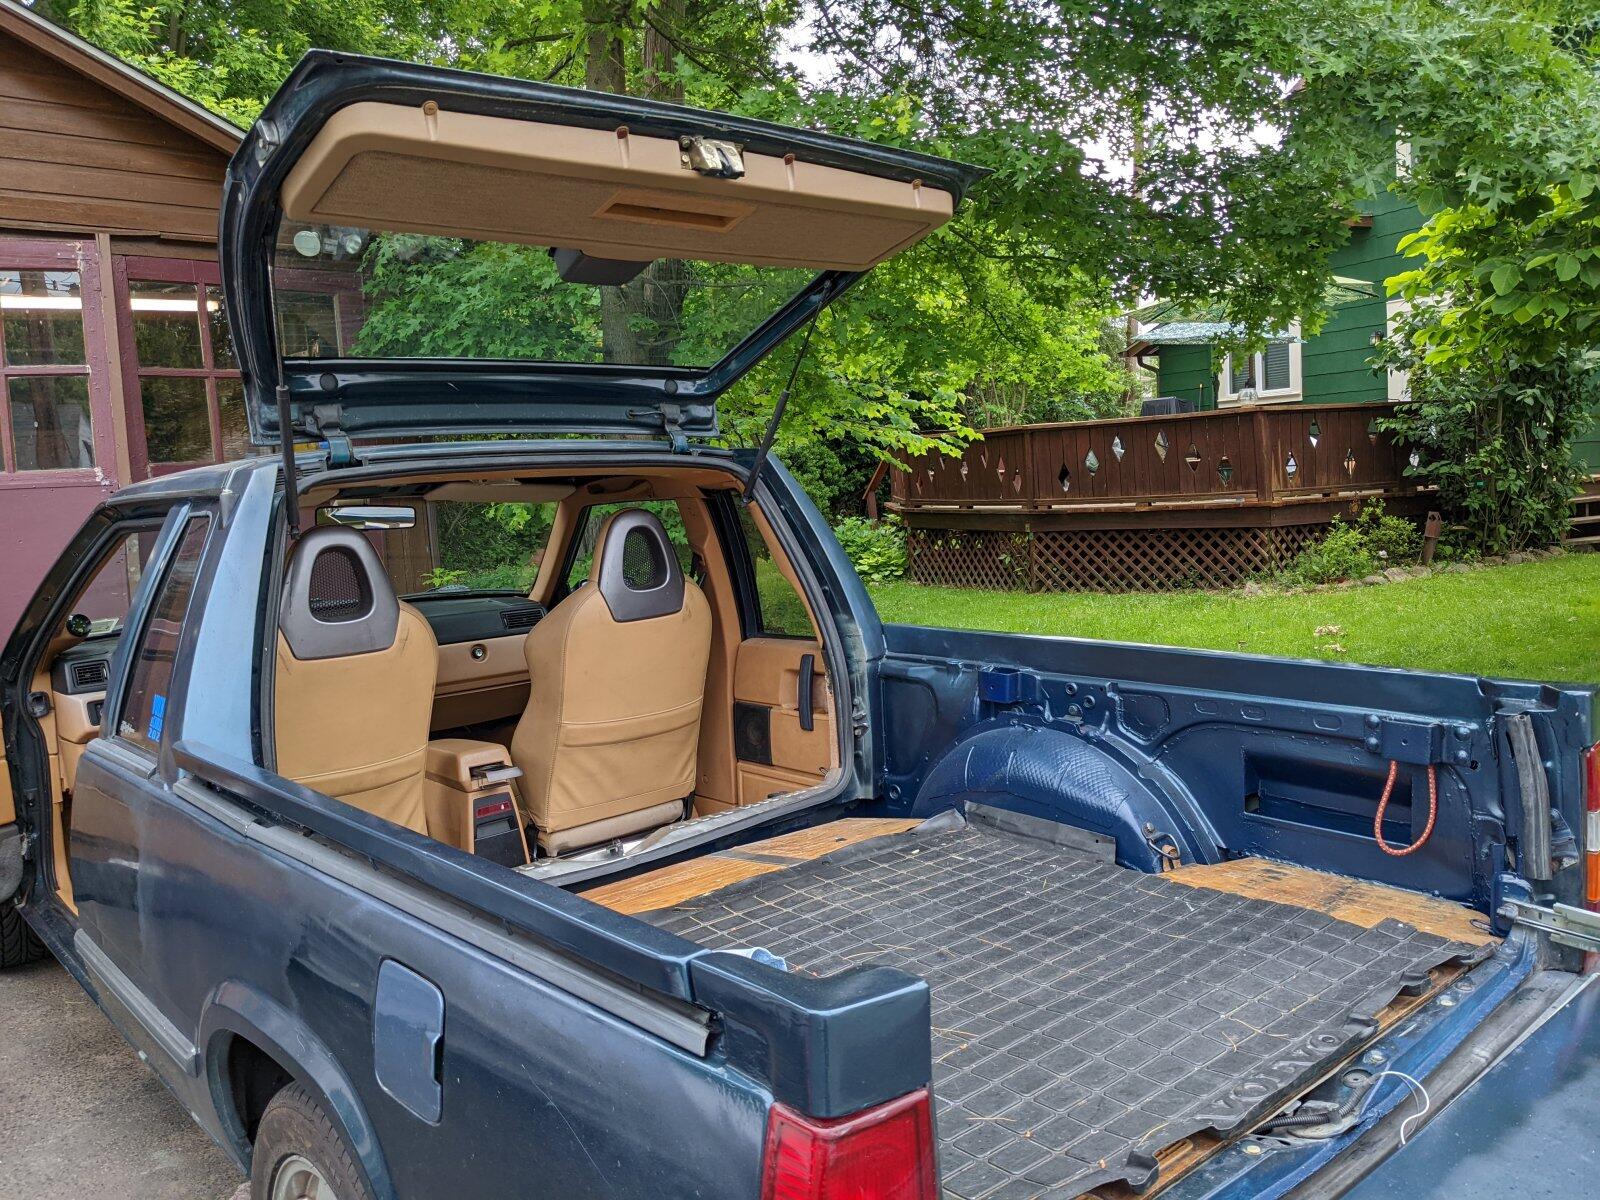
Finally figured out a solution for the annoying seat belts in the Z - I've been mulling over a way to deal with the fact that the seat belts suck - for both Ann & I, the shoulder belt rides into our necks. I guess they are meant for ppl with taller torsos. I tried making a guide bracket that uses a hidden 12mm welded nut below the 1/4 glass, couldn't make that work. In any event, I realized the S2000 seats I put in my Volvo pickup, have seat-mounted belt guides and I don't need them there, since the Volvo belts don't have this issue. drilled 2 holes into the seat frame/tub

-
Thank you for the caution Steve! I have H4 7" housings from my X1/9 original pop up headlamps. So, I would just need to get the Auxito H4 LED bulbs to make this happen 🙂 - Any chance you have a pic of the lighting?
-
Nice sleuthing! Having not removed headlamps on a Z yet - based on your post, it all removes from the wheel well with the splash guard removed, obviously. I'm looking at Holley 7" 'retrobright' style LED lamps. Not a fan of LED's at all, however an acquaintance has them on his Fiat Spider, and they look good and project well. Having reduced current draw compared to converting to H4 80W's makes sense.
-
Put the new GM HEI module on a heatsink with heat sink compound, and made a strip to bypass the ballast coil. I'll test it out soon. Trying to get the interior back together at the moment .
-
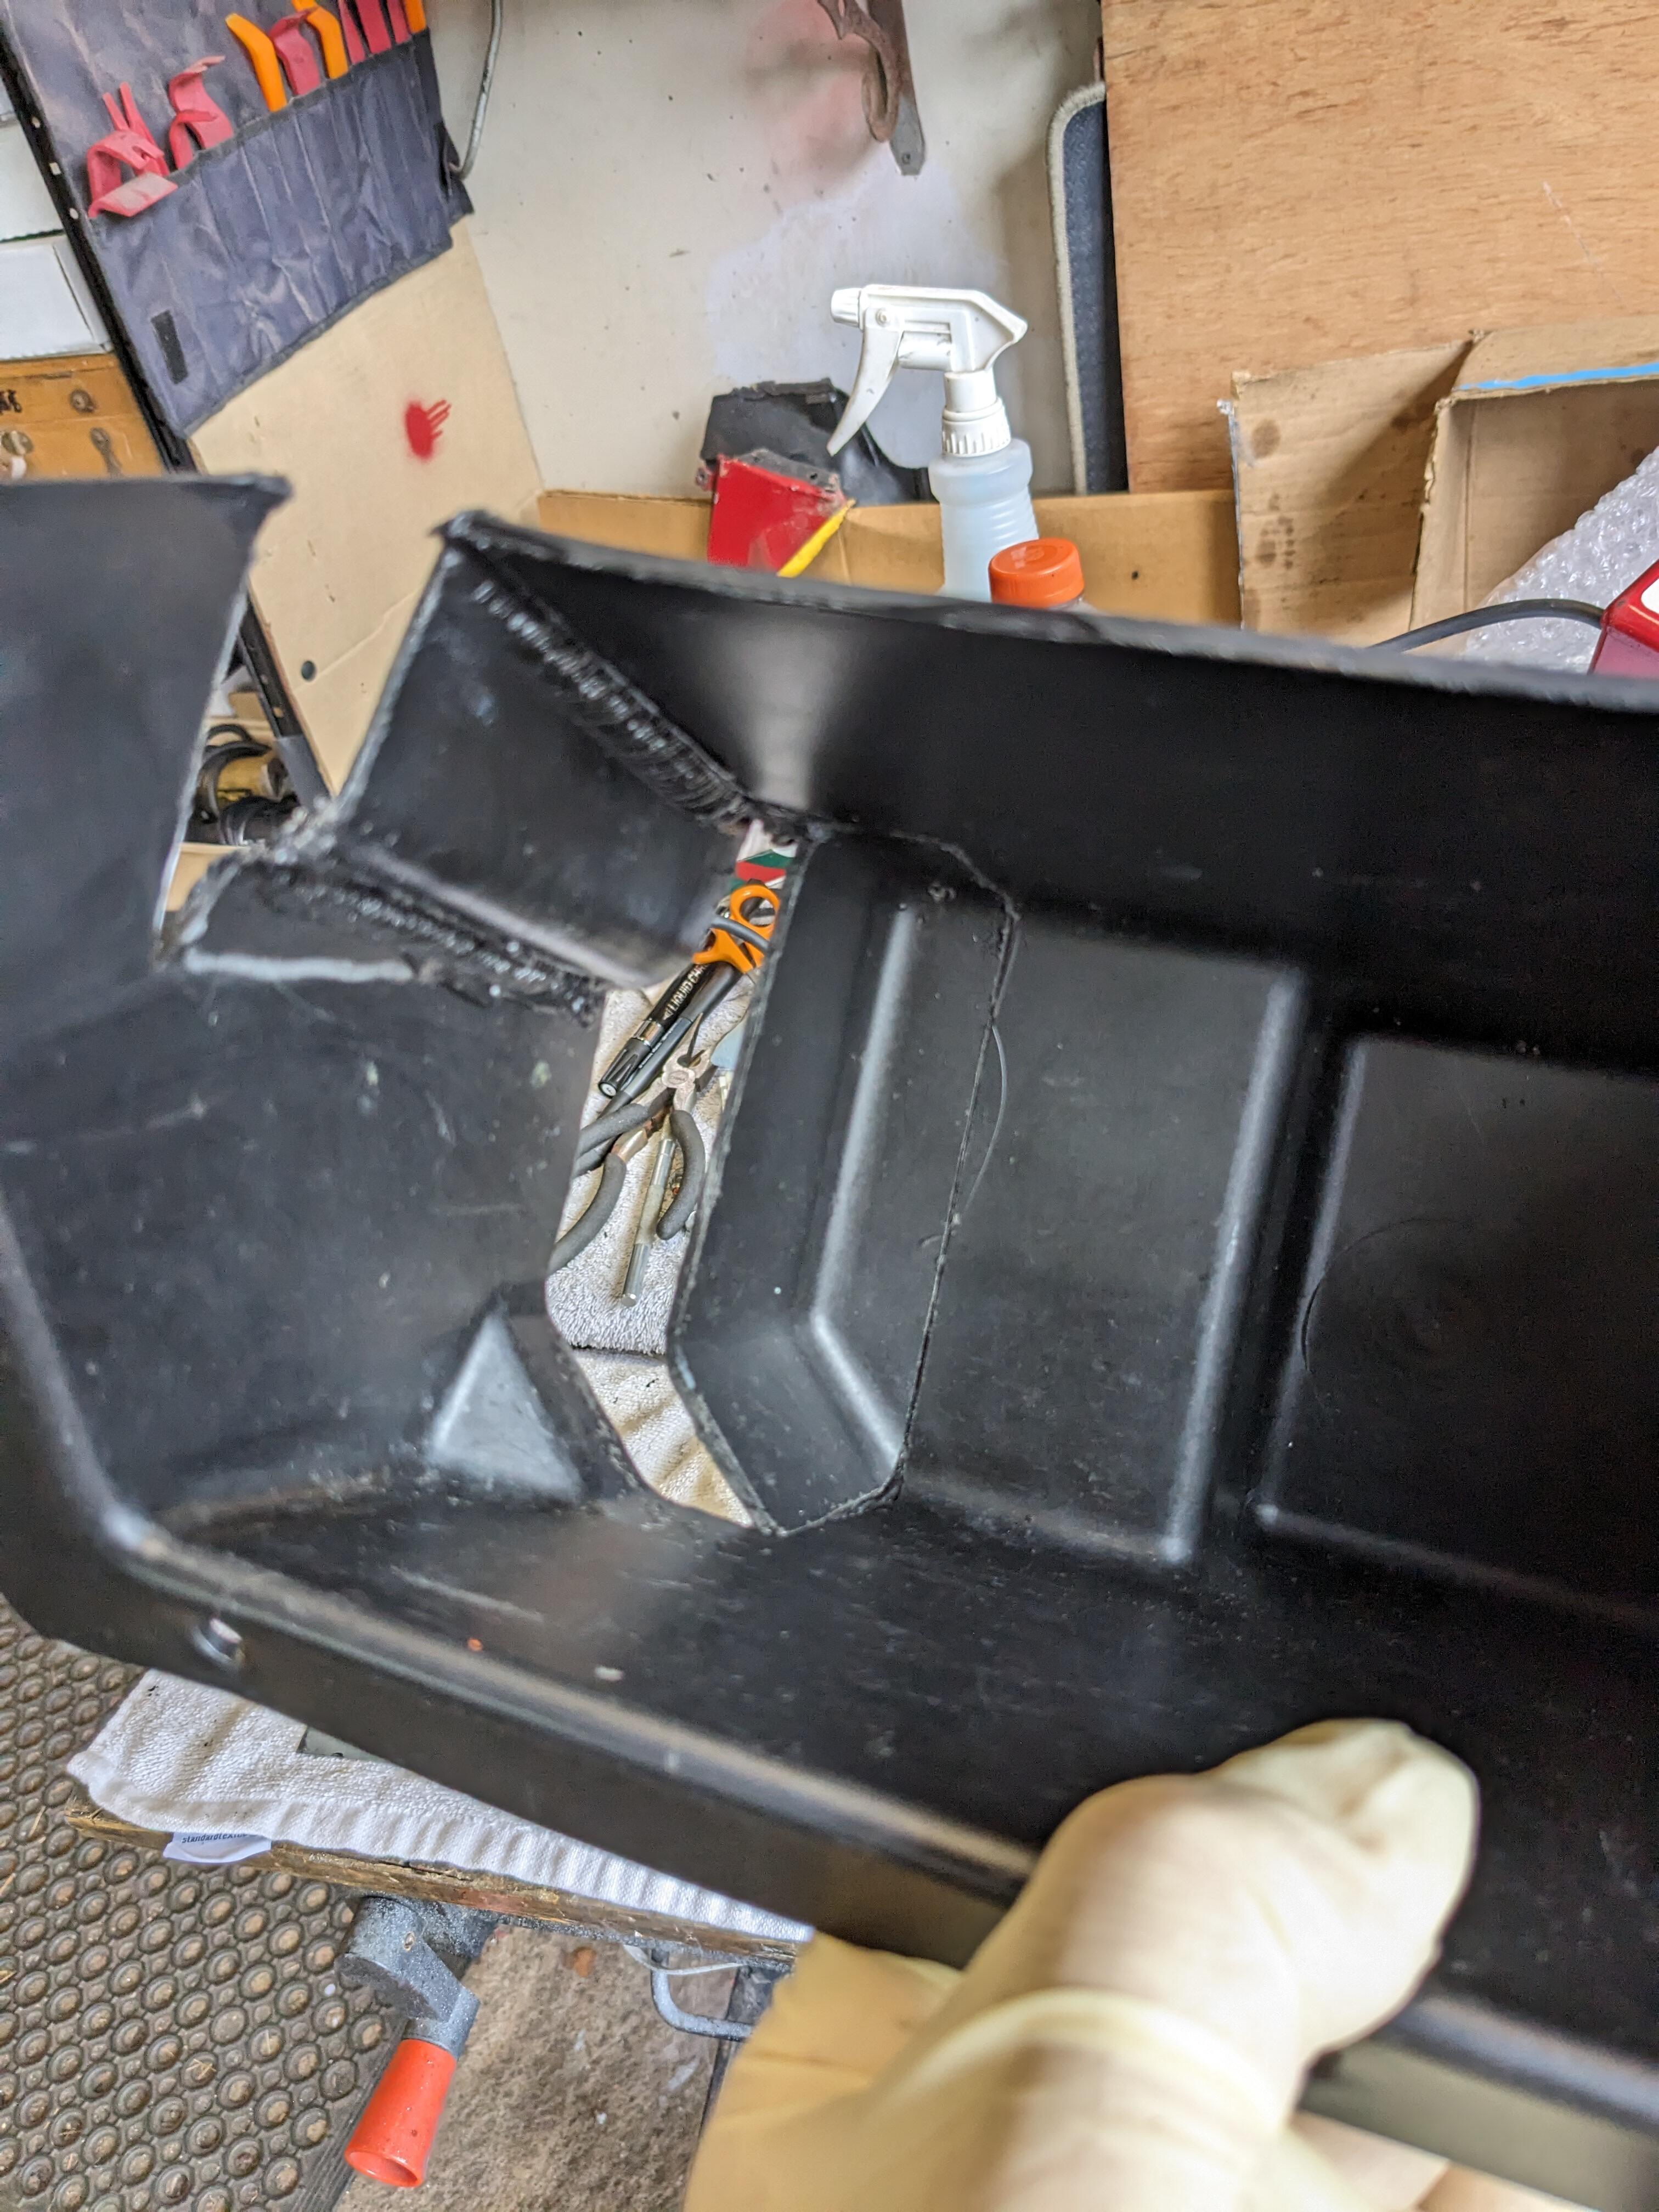
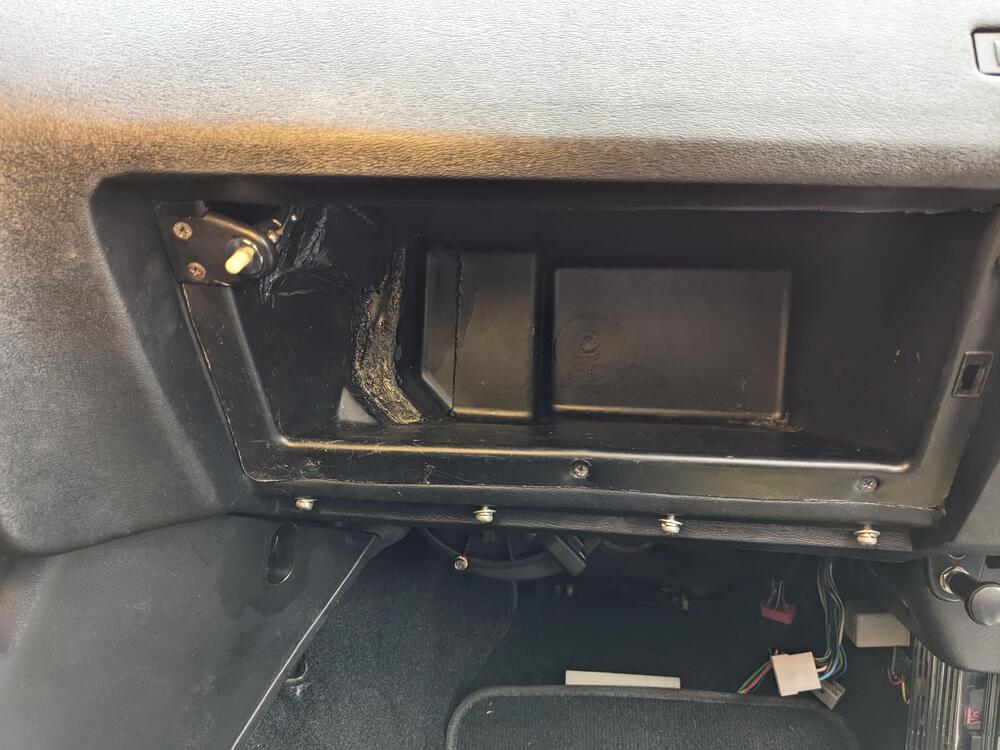
Installed the vent, and cut & welded the glovebox. Not perfect by any means, but functional repurpose the cut sections to clear the ducting test fit to check clearance before adding additional fill section


-
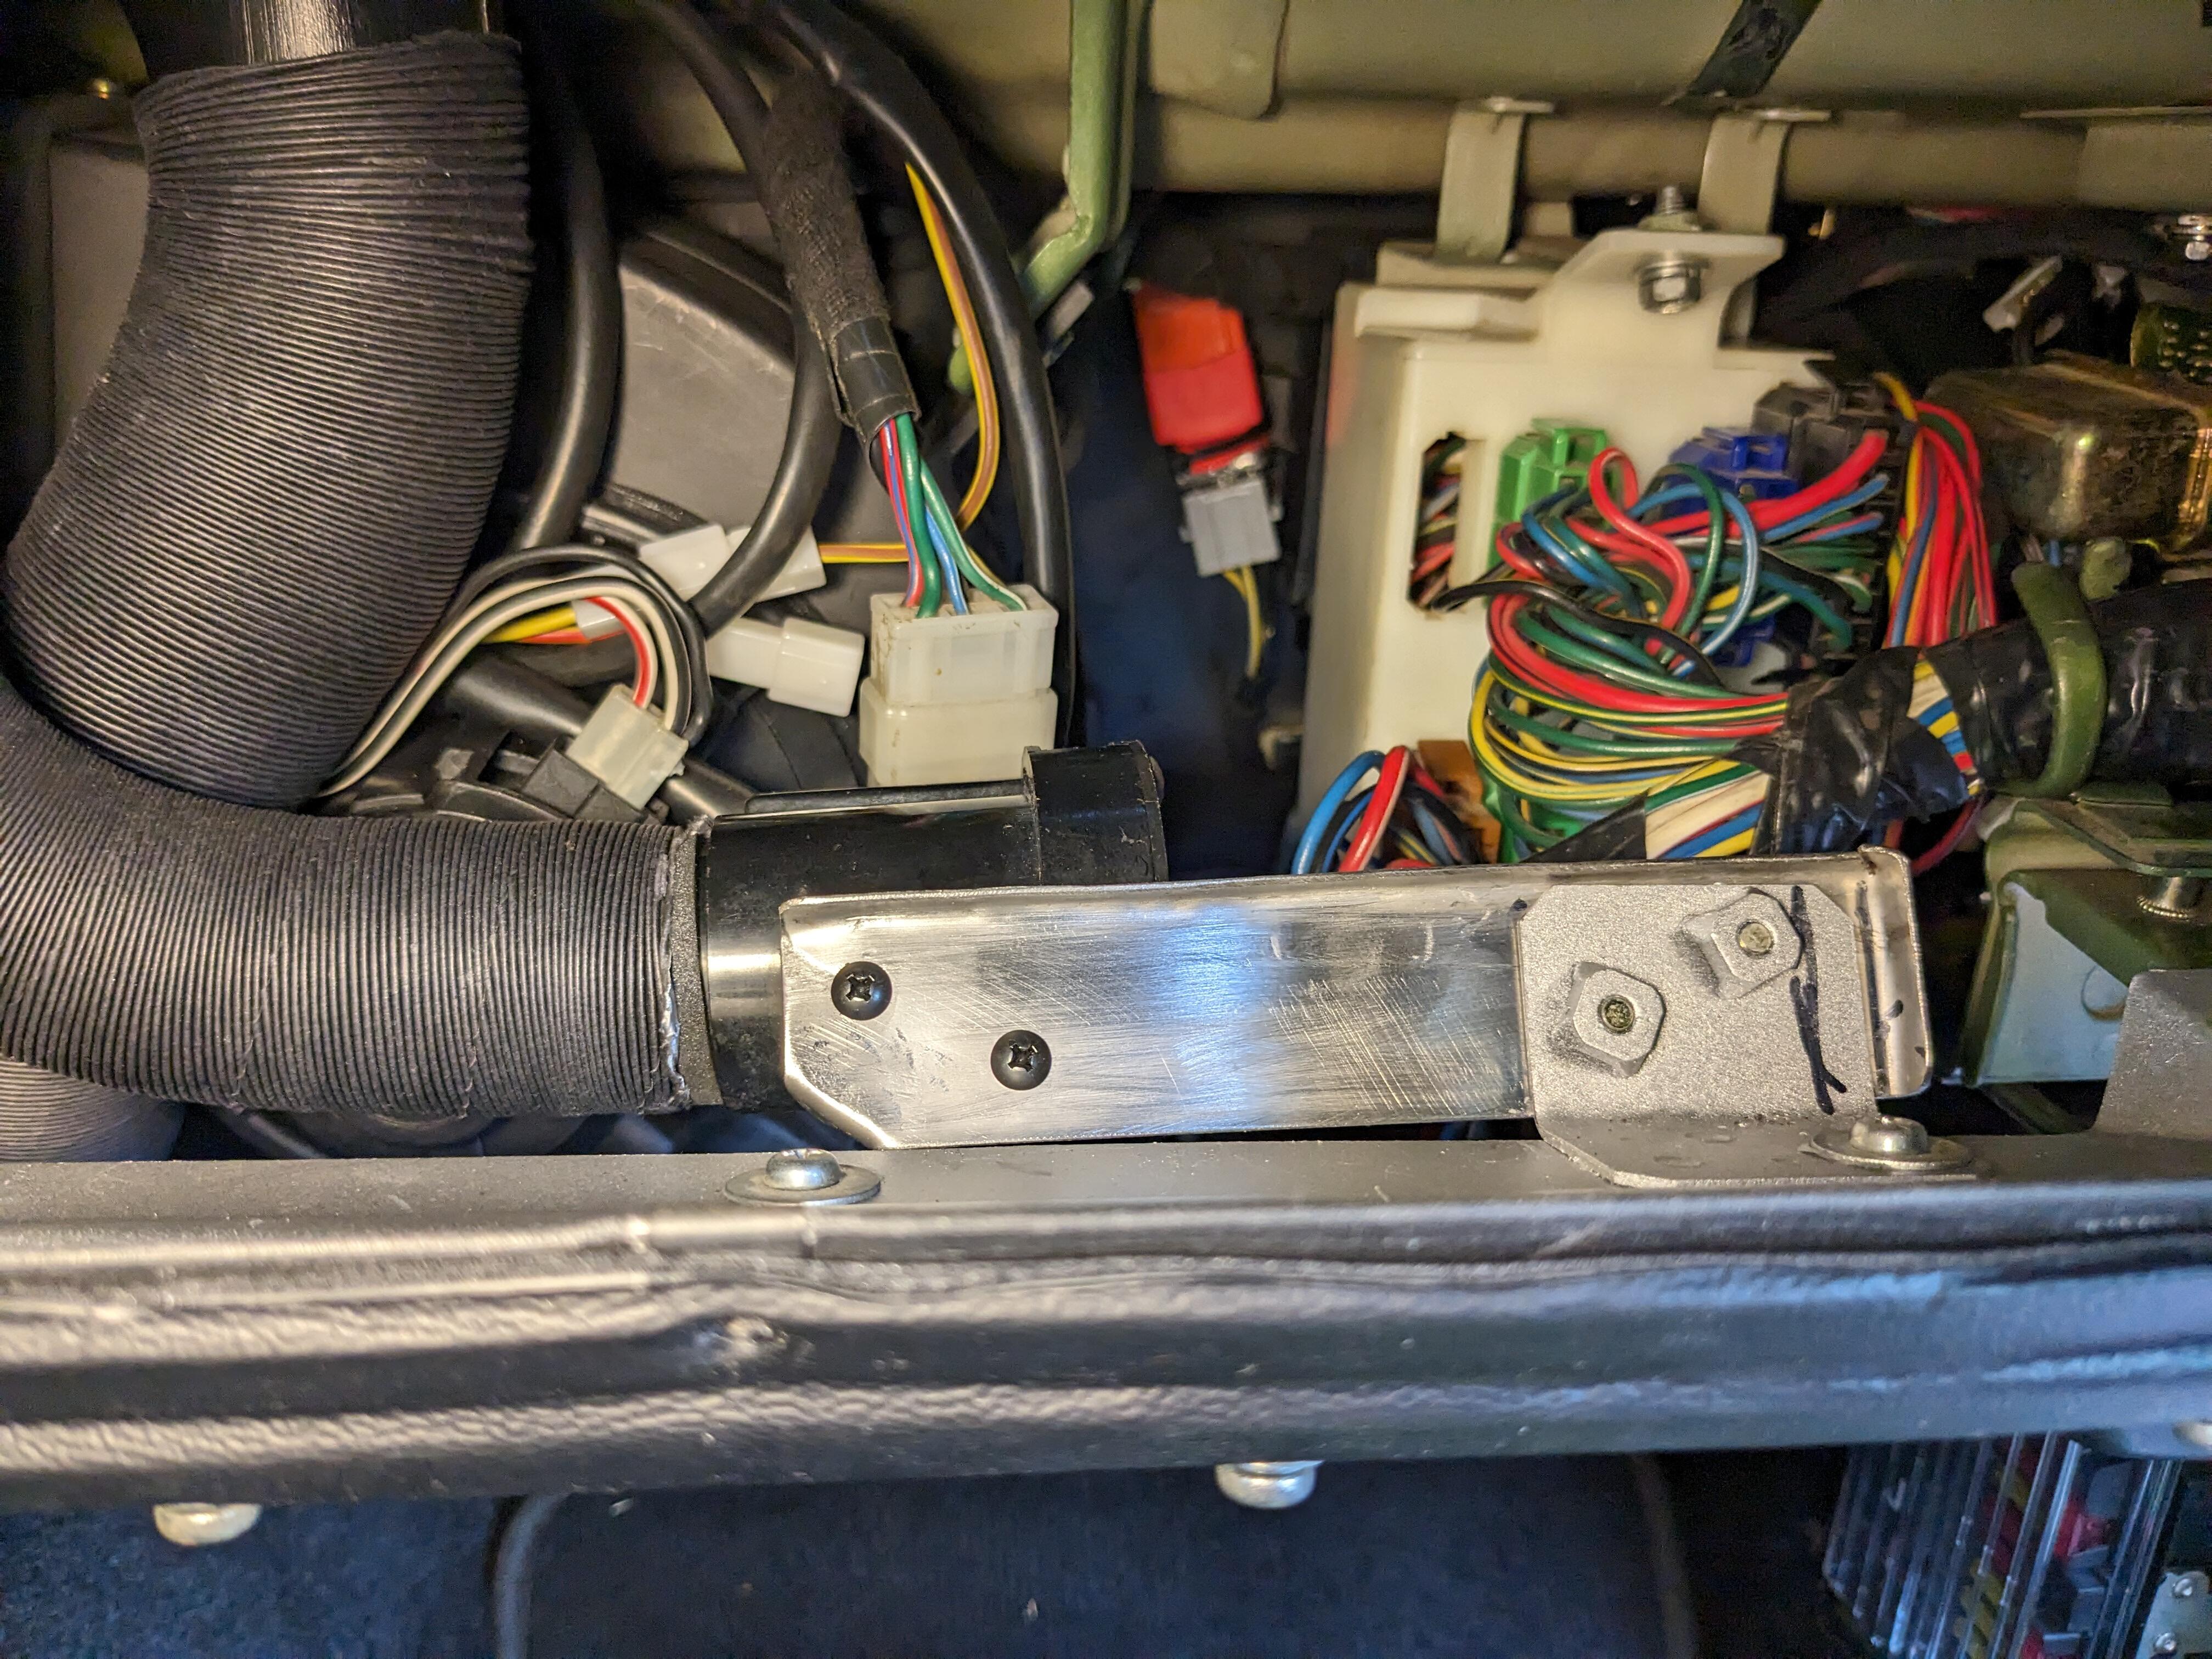
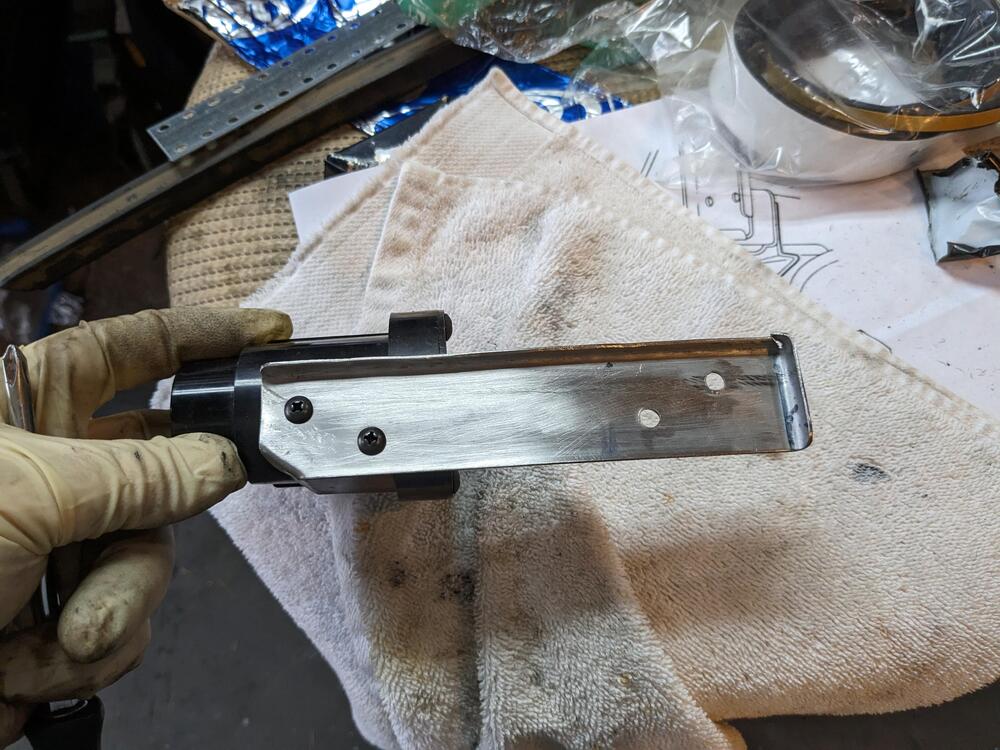
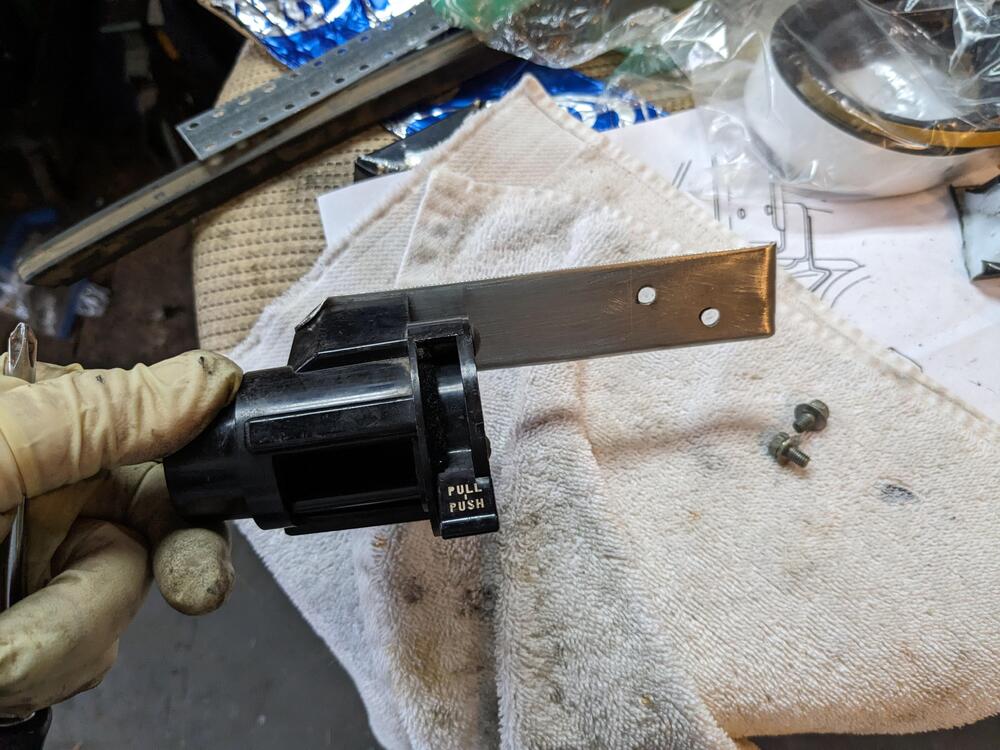
Rainy days. I made a bracket for the right AC under dash vent. Not sure why the factory one has an angle bend, I made mine flat & long enough to put the vent somewhat centered under the glovebox. Used relatively heavy gauge SS sheet metal, that way I don't have to paint it folded one edge for rigidity, like the factory bracket Hopefully the rain gives over later today to I can install it, and then get the glovebox modded to clear the AC ducting, and installed. When I put the DS duct elbow in, I dislodged one of the tach illumination bulb holders, so that has to come back out so I can access the bulb holder, or I can pull the tach out. Problem with that is the lower ridge of the tach body is scraping the vinyl of the dash opening 😞
-
Do you have pics of your frame with the outer seal? I'd still like to see how it goes. Which piece is the 'sash"? EDIT - never mind, I went & looked at the catalog - that's what they call the frame. 47 & 48 are called door window rail/guide As far as the lower section goes, If I can find pics of how the separate lower section combines with the upper, I would expect it will assist in figuring it out. Presumably the lower section was altered due to the lock/latch changes.