MyDatsun240Z
Free Member
-
Joined
-
Last visited
-
Thanks guys, I am going to make the wiring harness from what I believe are Dave's instructions. I picked up all the connectors, fuses and relays needed for it.
-
This may be a simple answer to my question but here it is. I have an early 1970 240Z with the headlight wiring that uses the ground circuit for the wiring. It also switches the ground for the high beam. I wanted to know if the wiring harness that is common (Dave Irwin's) will work on this model or do I need to do some sort of modification. I have run across threads that say its different for the early models that use the ground wire. So I just want to be sure. I hope this makes sense.... I am also going to make the harness myself so I just want to make sure I follow the correct method to wire it all up. Thanks, Tim M
-
I may not have mentioned but the car was sitting for over 18 years. As part of maintenance, I will eventually replace all the front end components but I am doing it a little at a time. I have been putting a good amount of $ into it so taking little chunks at a time. One thing that set me back a bit was the fuel tank. I also didn't think getting the interior pieces was going to be such a big cost. I have original blue interior and I have a number of missing pieces. For the front end I plan to do ... - ball joints - this also includes the lower bracket because I have an early 70 model. - tie rods - lower control arm bushings - sway bar bushings - steering coupler bushing - going to need to replace the lower ujoint in the steering column
-
Car is back on the road..... Yesterday we - - installed the new clutch slave - swapped out the strut rod bushings - swapped out the steering rack bushings I was hoping for a more stable feeling but it wasn't as drastic as I was hoping. Tim M
-
Well I think I found a rebuild kit so I will try that as well. An NOS is about $80 bucks so the $13 one may do for now. I do have an early transmission and its in desperate need of a rebuild but looks like parts are not easy to get for the type A. So investing in the NOS clutch slave that I may have to change anyways for the updated transmission doesn't seem like the correct way to go. Anyone have access to a parts list for the early type A transmission?
-
Yup that one from Beck Arnley looks like what I just pulled out. I am surprised mine lasted as long as it did as it is pretty crusty inside. I will take it apart and clean it up and see if I can repair it.
-
Had the slave cylinder go out today and had to tow it home. My son was on his way to school when it failed and leaked all the fluid out. I have the early 70 so looking for either a rebuild kit or a replacement for the early type. The early ones had the manual adjustable rod with a spring on the outside. There needs to be the hole in the slave cylinder to accept the end of the spring. Tim M
-
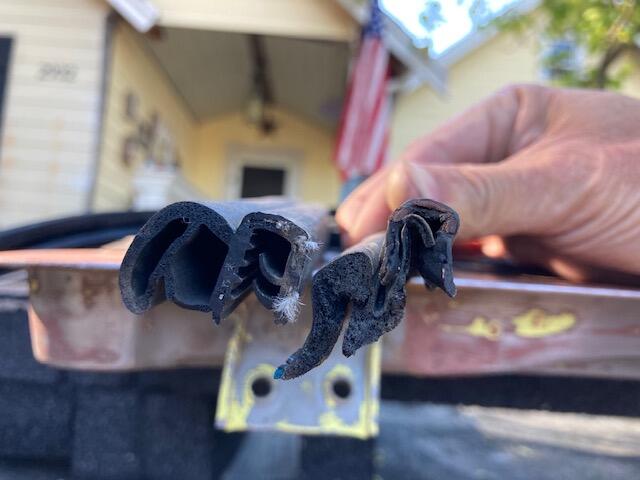
I just went to the pick-n-pull and got some weather stripping off a 1999 LandRover discovery. I pulled the back hatch and the two front door weather stripping and they fit really good. The doors and hatch are a bit tight as I believe the rubber has to settle for a bit. If you buy new they also indicate door need to be slammed shut as they rubber needs to be compressed. They suggest to keep the door closed in a warm environment. Well now that I think about it these are used so maybe they won't compress more. Well time will tell. Left side the new and of course my 53 year old gasket on the right. The best is the price......$1.50 each.

-
I remember you, I was in the blue one that is in need of a paint job. Where are you getting it tuned? Are you going to ZONC on Sunday? Tokyo calling was a break-in trip. We had recently gotten the car going after not running for all those years. We have driven it around town but a 300 mile trip was a good shakeout.
-
I have been needing to change my 53 year old door and hatch weather stripping but I have been spending a good amount of money getting the Z back to good standing after sitting for so long (18-20 years). I ended up going to the pick n pull and pulling some of the weather stripping from a 1999 Land Rover Discovery and they are an amazing fit. I had to trim it to fit but the rear hatch worked out great and the front door gaskets were pretty spot on.
-
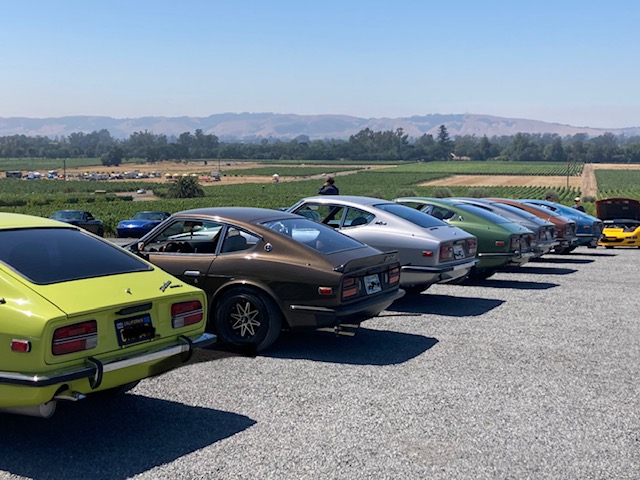
New member and not today but last week I meet up with other owners and more at a rally called Tokyo Calling. Lots of Z owners and a great drive through the wind country in Sonoma, CA. Here is a shot of a few of us at the end of the drive.