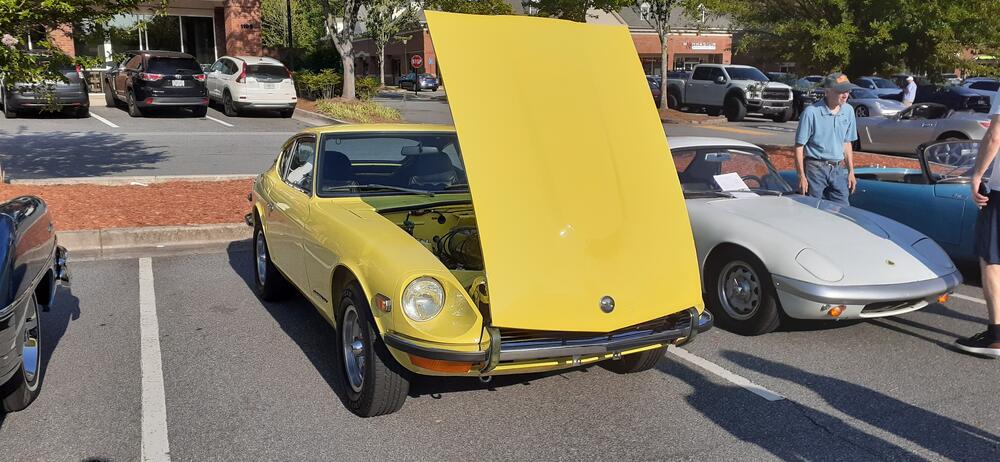
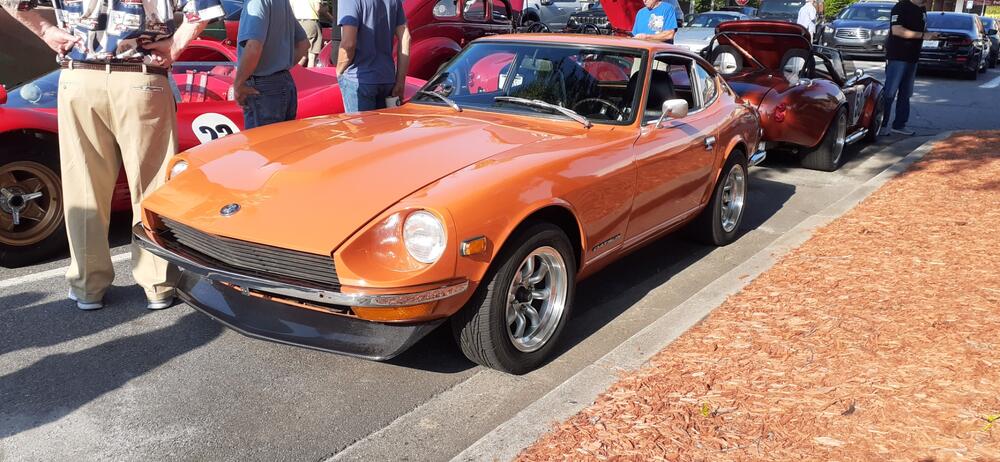
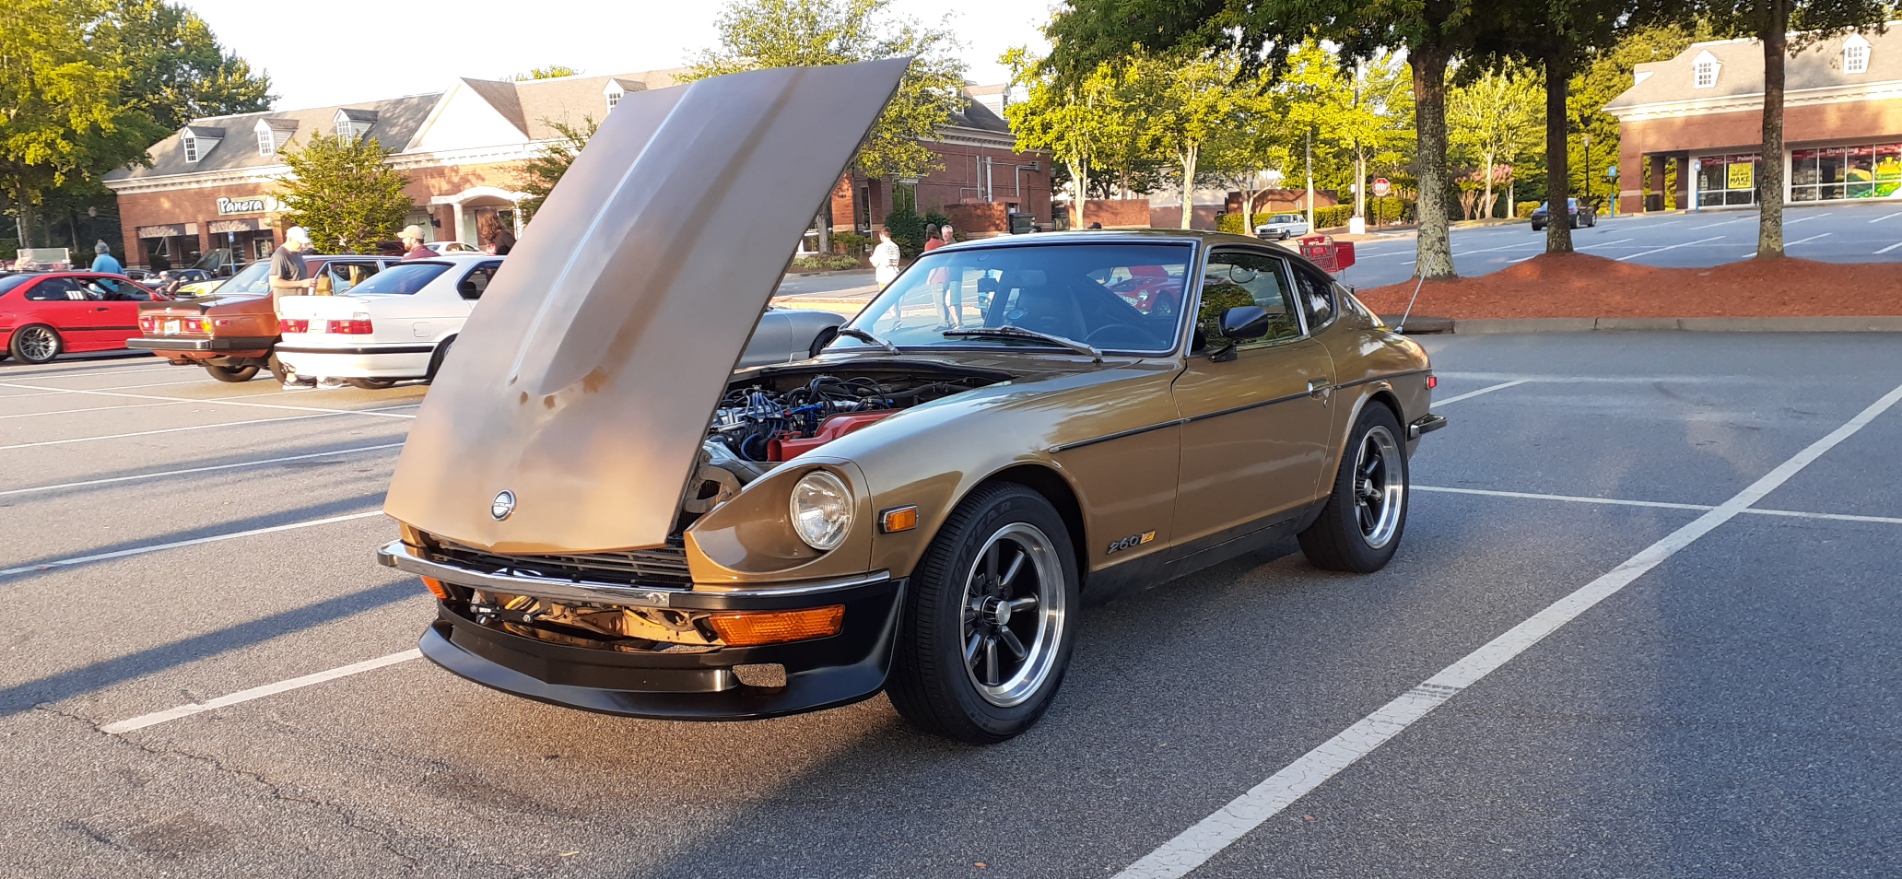
.JPG.cfcada9cf1c1b502df3f5f2f2ca3ff36.JPG)

SteveJ
Free Member
-
Joined
-
Last visited
Everything posted by SteveJ
-
 Two things: Post a picture of your airflow meters. Are they the Unisyn type? Personally I don't like them because they block airflow. I like using one like this: https://www.amazon.com/Latest-Rage-5385730856-Carburetor-Airflow/dp/B00CMC57R0 Consider getting a meter like this for tuning: https://www.amazon.com/Actron-CP7677-Automotive-TroubleShooter-Multimeter/dp/B0002LZU7K or a timing light with tachometer and advance from Innova or Actron. That way you have your engine speed with you right where you are tuning. Yes, that's the valve lash. You used cam lobe and rocker singularly. I hope you meant you checked all cylinders. Yes, it's pedantic, but I don't like assuming details. Did you do the other steps I listed? Have you touched the throttle adjusting screws?
 -
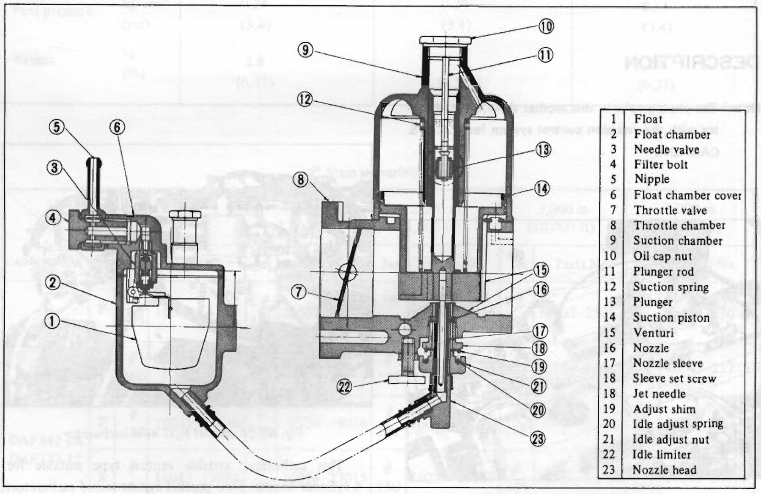
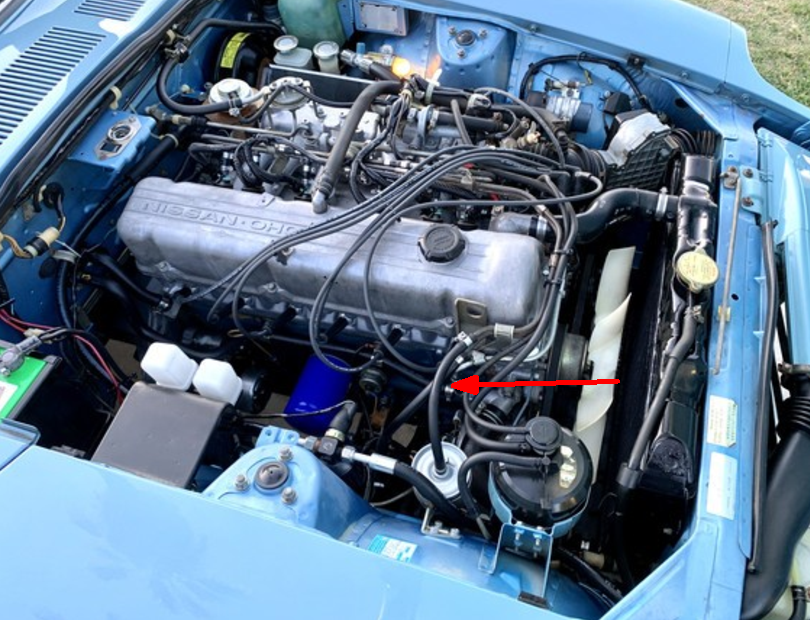
You have the carburetors biased too far to the rear carburetor. Let's assume that your jet needles are set properly and are straight. Other assumptions include your floats are set properly, the needle valves function properly, and the carburetors are jetted the same. Verify your valve lash! If you haven't adjusted your valves lately, now is the time. This removes a potential confounding factor. Turn your idle adjust nuts fully in (#21 in the first drawing). Back them out 3 turns each. (Okay, this may be a little rich, but let's do it that was for now.) Get the car up to temperature and turn it off. Make sure the first idle setting screw (#7 in second picture) is not pressing on the throttle. Ensure that the balance screw (#3 in 2d picture) is barely in contact with the linkage on the rear carburetor. If it's pushing down on the linkage, that will bias toward the rear. Try starting the car. If it won't idle, then use the first idle setting screw to get an initial idle. Check the balance, and use the throttle adjusting screws (#4 & #6 in 2d picture) to balance the carburetors.

-
No. There is an easier things to check first that are more relevant.
-
From looking at the photos, it looks like you can have heat or defrost but not both. That rules out this system for me.
-
I'm glad @siteunseen responded to this thread. It reminded me to talk about going to Resurrected Classics. Max did show me many of the products that he is offering, including the emblems. They are plastic, but they look good to me. If you can find someone who can make pot metal emblems like the originals, buy them. I think I still have a couple of old NOS type Datsun script emblems and pillar emblems in my parts collection.
-
I am using a Walbro pump since they have one that works with my modified fuel system. It hasn't given me any problems. https://walbrofuelpumps.com/walbro-gsl-series-universal-inline-fuel-pumps Also, for your curved sections, I had a friend buy some Sidewinder hoses for the fuel pump I put in his car. They are nice since they are pre-formed with curves. They aren't cheap, but you don't have to mess with them, much. https://www.amazon.com/Universal-Molded-Fuel-Line-Rubber/dp/B07C8YTNPF
-
Here's a link to the results page: https://www.mecum.com/results/?wp_posts_lot_feature_sort_asc[configure][filters]=taxonomies.run_date.timestamp < 1692403200 OR sold %3D 1 OR bid_goes_on %3D 1&wp_posts_lot_feature_sort_asc[sortBy]=wp_posts_lot
-
Another reason to get a different fuel rail would be to get one that incorporates an aftermarket FPR more easily.
-
If you are using stock gauges with stock wiring, the speedometer has reversed polarity from everything else in at least one bulb socket. 🤦♂️ Make sure your bulbs can handle reverse polarity. I know that's covered in a thread somewhere on here. I added the bulb to my list after another member told us he found one. I still don't get the obsession with dimming gauge lights. Jeeps with 20+ bright lights give me issues way more often that the gauges.
-
First do your research on auto AC basics. I'm betting there are a lot of YouTube videos and websites that can give you the basic knowledge of components and their function in the system. As for re-using old components, the drier is DONE. I wouldn't trust it even if it was sealed. Since 280Z driers are unobtanium, that does shift you toward aftermarket. Another factor that should push you toward aftermarket is the fact that expansion valves are also made of unobtanium. Without a good expansion valve, your AC system is a lead weight in your car. The design of the stock system doesn't facilitate using a different expansion valve. Just my opinion.
-
No need to apologize, @Mike, I think we're just glad that it was good things taking up your time. This site should be a distant third (or further back) behind taking care of yourself and your family.
-
Considering it's been about a month since @Mike has been here, all I can say is that I hope he isn't going through anything too bad.
-
That's just a random 280Z I pulled up. As for clamps, here's a starter set for you that won't break the bank. https://www.amazon.com/30pcs-Assortment-Automotive-Agriculture-Construction/dp/B07NPDMXM5
-
Here: And don't use worm drive clamps. Use the proper clamps for fuel injection hose. The worm drive clamps aren't designed for the pressure you can see in that part of the fuel system.
-
The first thing to check is fuel pressure. What is it at idle, and what happens when you try to accelerate? Is the fuel line to the fuel pump routed like the factory line, or is it kinked? If you put a fluid line clamp (https://www.harborfreight.com/4-piece-fluid-line-clamp-set-65116.html) on the outlet of the FPR, does that reduce the problem? (Tip, don't clamp it down too tightly, just enough to raise the fuel pressure some. Also, don't make us guess about what year your car is. While we can be sure it's a 280Z, some parts did change over the years. Have you downloaded the FSM and looked through the EF section? How about the fuel injection bible?
-
If you're not replacing the MC, drain as much fluid as you can out of it. I like using a turkey baster to draw out the fluid and then wipe the interior of the MC with clean, lint free cloths. That way you can pull a lot of debris out of the MC.
-
Was the fluid light or dark? Replace the soft lines when doing the brakes, especially if you don't know how old they are. Use flared nut wrenches when working on brake lines to prevent rounding the nuts for the fittings. Bleed at the master cylinder first, then bleed the corners. The pedal going to the floor could be air at the MC.
-
There's this: https://resurrectedclassics.com/collections/emblems/240z I'll be dropping by their place next week if you want me to put eyes on them.
-
Actually, I was just talking to Wendy about following up on if Nooga G/Z wanted to host a get-together around Chattanooga due to its proximity to several cities in the Southeast. I have to check with the GZC president to put it back on his radar.
-
The wiper arms for the pinned blades came from a 77 or 78.
-
Now Atlanta wasn't hot in October. Austin and Memphis in July? That's another story. I remember getting out of my car on the front stretch of the track for the group photo. The front stretch of the track was also a drag strip. Between the heat and the rubber from the drag tires on that part of the track, my feet almost became permanently affixed to the track.
-
Well, I have been involved with the planning of a ZCON. As you mentioned before, it's mostly about the track day. When the rest of the committee suggested October for the 2018 convention, I thought they were bonkers. However, I was COMPLETELY wrong. It just so happens that October is about the least rainy month in the Atlanta area. Z1 Motorsports was also generous enough to run the track day and People's Choice show for the convention when they normally would have held ZNationals. Yes, they got a cut of the convention proceeds, but I suspect it was less than they usually clear on ZNationals. The end result was that we had a great turnout for ZCON 2018. It was an incredible undertaking that I never wish to attempt again. 🙂 ZCON 2020 was a little different. Covid was threating the convention, but just before the ZCCA threw in the towel, Nissan approached them about the debut of the new Z. The convention was in September, and the pandemic kept the attendance down some. It was nice having it in September instead of the middle of summer. The weather actually started cooling off quite a bit around the time of the People's Choice show on Saturday. After attending two cooler month ZCONs and 3 VERY hot ZCONs, I certainly prefer the milder weather.
-
Post #5
-
Hottest part of the year at the peak of hurricane season with the hotel being right at the USF campus. Nope, nope, and OHFN.
-
Not all Zs are in California for ZCON this week. I made sure I parked in the shade. Maybe I'll install AC next year.