Aguyandaredhead
Free Member
-
Joined
-
Last visited
Everything posted by Aguyandaredhead
-
If you look on the barrel of the strut housing the round part where the stub axle goes through the housing there is a letter stamped. It is either a "A" "B" or "C". the spacer is used for variances when the housings are manufactured and machined to correctly space the wheel bearings when torque is applied for preload. Hope that helps. Jeff
-
Email sent... Let me know if you don't get it.. Jeff
-
Title says it all, I have in the last 5 years of my Z being apart misplaced the Spacer that goes between the wheel bearings in the rear strut housing. I know the dealer no longer has them available. I need 2 with the copper crush washers, if you have them let me know.. I am waiting in these to get the car on the ground. If nobody has them and are willing to part with them could you mic the ones you have so I can get a set machined..They will have a "B" stamped on them, they were either "A" "B" or "C"..I need the "B". Thanks, Jeff
-
I have a good stainless frame on mine for the passenger side but there is a scratch on the glass and on the drivers side I have good glass but the previous owner droped the frame on the corner and it is a bit dinged up. So I need a little bit of each side but I am prepared to buy complete units to get the parts I need.. If you have them you can email me or PM me here..I will be replacing all the seals so I don't care about the shape of the rubber seals. jeffmelissa@valornet.com Thanks, anxiously waiting.. Jeff
-
If memeory serves me correctly I think if you have a set of old head bolts they work like a charm. You might need to cut a few spacers to take up some slack but I remember doing that in a pinch one late Sat night when all the parts stores were closed. If I am wrong I appologize, i've slept many times since then. Jeff
-
I already have, look at the post titled " First pictures of final color"... Good luck with yours. Jeff
-
No it was shot in a professional paint booth, by a good friend and myself. Really he just let me paint a panel or two in the first base coat so I could say that I have either done all the work on the car and at least helped on the one thing I did not want to screw up, the paint..... Jeff
-
It's ok, I am very happy with the result as well. Plus I made the mistake of telling him to take as long as he needed to make sure it was perfect. It was my own fault. But you are right it was well worth it.. Look up one post. Jeff
-
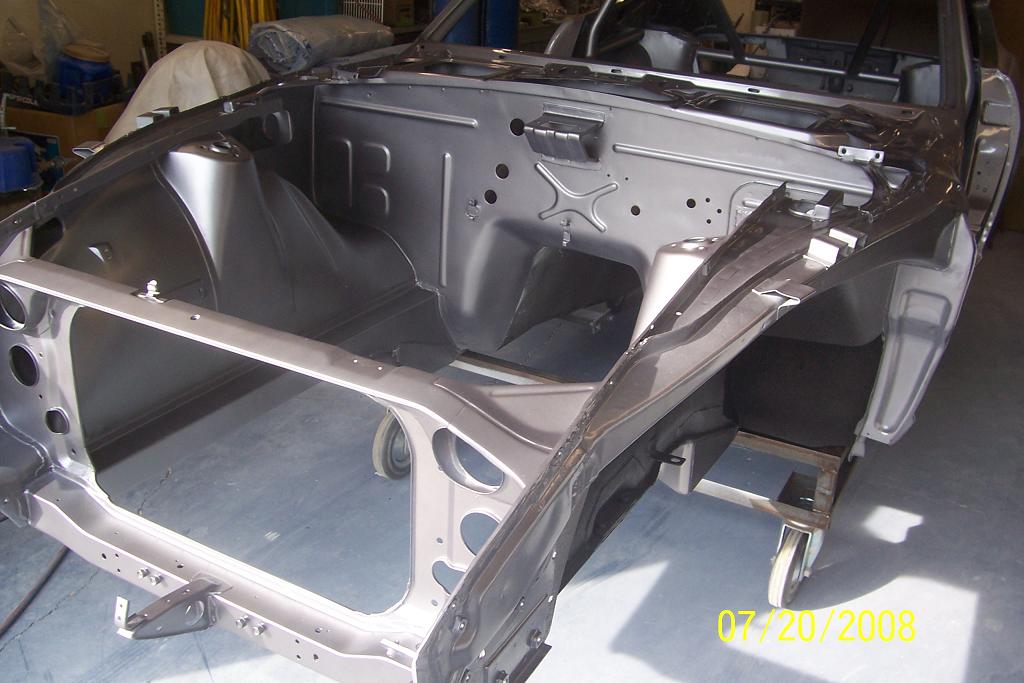
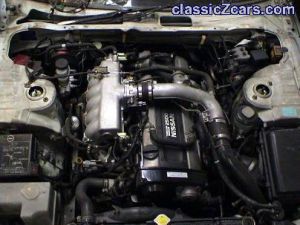
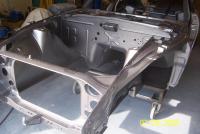
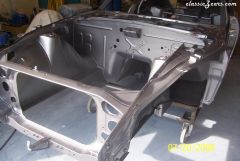
The harness for the RB25det will run into the frame rail from inside the passenger compartment, That way you will not be able to see but just a few lines that come out and run in hidden areas to the Engine and Lights up front. I hope to be able to hide most of them so under nornal examination you will not be able to see them. That is why I shaved the engine compartment. I wanted it to be very neat and tidy... I am using a Haltech E11v2 for the engine managment so there is really not much for a factory harness up front. Battery will be relocated to the back and either installed in one of the storage compartments or all the way in the back. If you notice there is no filler area for the Gas tank and no antenna for the Radio either. I have a cool plan for the both of those, I will save that for a secret untill I get closer and can show pictures. Jeff
-
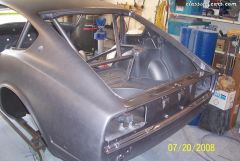
I'll see your May to July (they never seem to guess right) and raise you a Oct 18th 2006 - Sept 24th 2008 and still counting. The sad thing is I did all the metal work, patches, new quarter, new right front framerail, subframe connectors, cage and one floorpan. So all he was left with was a fairly straight car with all the nasties already removed. But I did tell him take however long it takes to be certain it is perfect. Guess I got what i asked for. Keep your heads up it will be worth the wait. Jeff
-
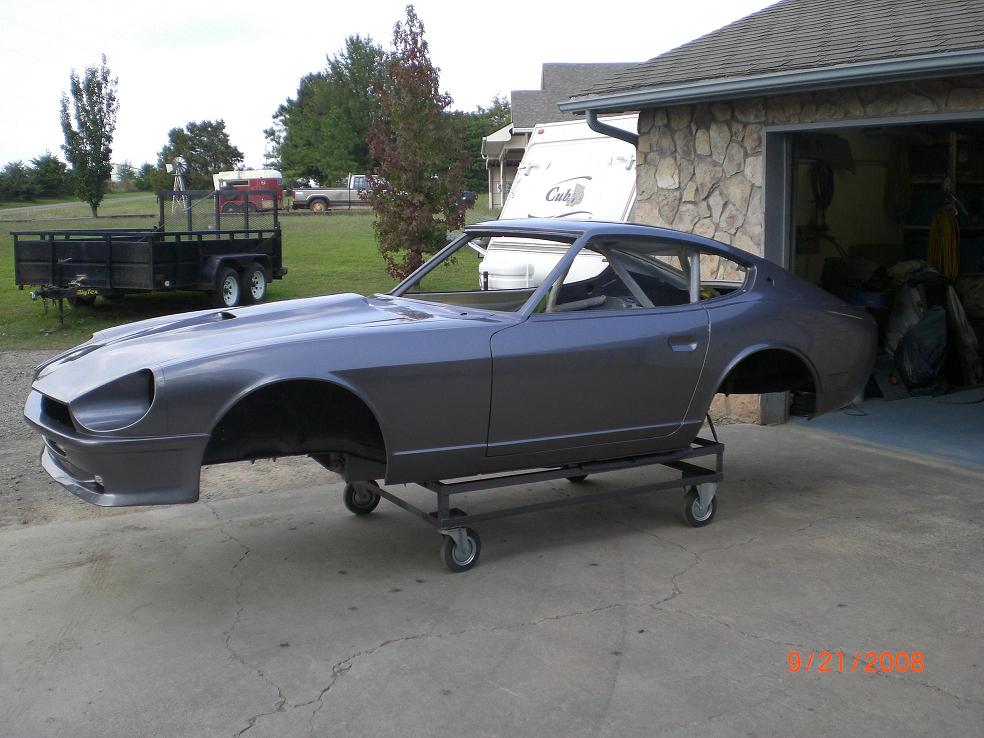
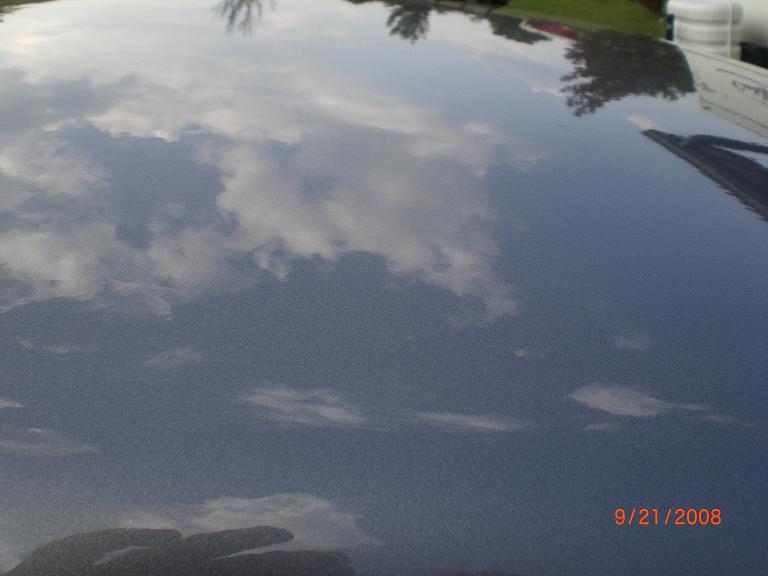
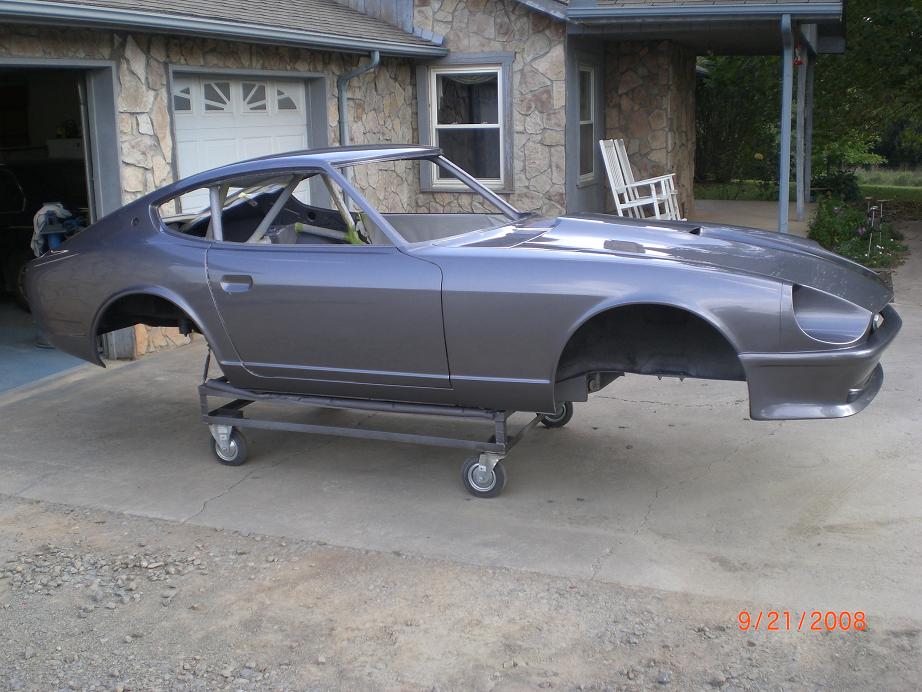
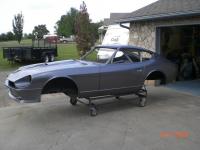
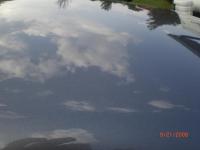
A few shots that are outside, however it was cloudy. Oh and there is one here of under the hood with just a single coat of base and no clear that I took early on. Just gives a good look at what under the hood looks like. There is a tiny bit of Orange peel that is in the final layer of clear that is being wet sanded off (always the plan) before buffing. Enjoy. Jeff

-
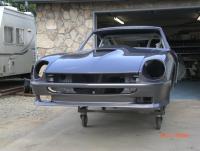
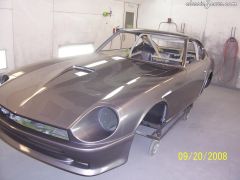
Hoss, I can't take credit for making that hood. I have done all the work on the car with the exception of the hood. The guy who made it for me can provide you with one as well, he has made a mold and is selling them. They are around 500.00 and he is quick to get it out. His name is James and his email is 280zone@cox.net tell him Jeff in Oklahoma sent you and maybe he will work with you a little on the price. The Color is a Ford GT40 color called Tungsten and the paint code is T8. Arne, I am not thinking in the event of an accident. More like if someone were to pull too close to it while parking I really just want it to protect the paint/body. The glass would crack or shatter and I would end up replacing it anyway. At least the steel I can just beat back into shape and then repaint. But I agree the 240 bumpers are worthless. GirlyGirlZ, Thank you for the Kudos. I feel it turned out as planned after we pulled it out of the booth. I also have been a fan of Gray/Charcoal's, My 06 Dodge Hemi Ram is Mineral Gray which is close to this but not the same. My boat has a Platinum in the color scheme as well, so I guess you could say I am a fan too. Jeff
-
Yes that is the plan, However I would like to have (even if very minimal) some attempt at a real metal bumper. I will be shaving all the holes as well as making it one piece and fitting it much closer to the body with even tolarances all the way across. I thought about that MSA one but I would prefer to TIG the steel one up and add metal where needed. I went the fiberglass route on the front and I did not like the way the MSA Type 2-3 (I can't remember which one I started with) had such a wide front bumper detail so I cut about 2" out of the center of the bumper detail and glassed it back together. Then after doing that I had to push the ends back out in the bottom part since it had been moved up. I can work with glass but prefer steel. Do you have any close-up photos of the fiberglass one installed? How close does it fit to the body? Jeff
-
Thanks Guys, I think I lost sleep over the color choice. I always seem to change my mind at the very last min. Anyone have an Idea on who to send the rear bumper to to have the chrome removed? Jeff
-
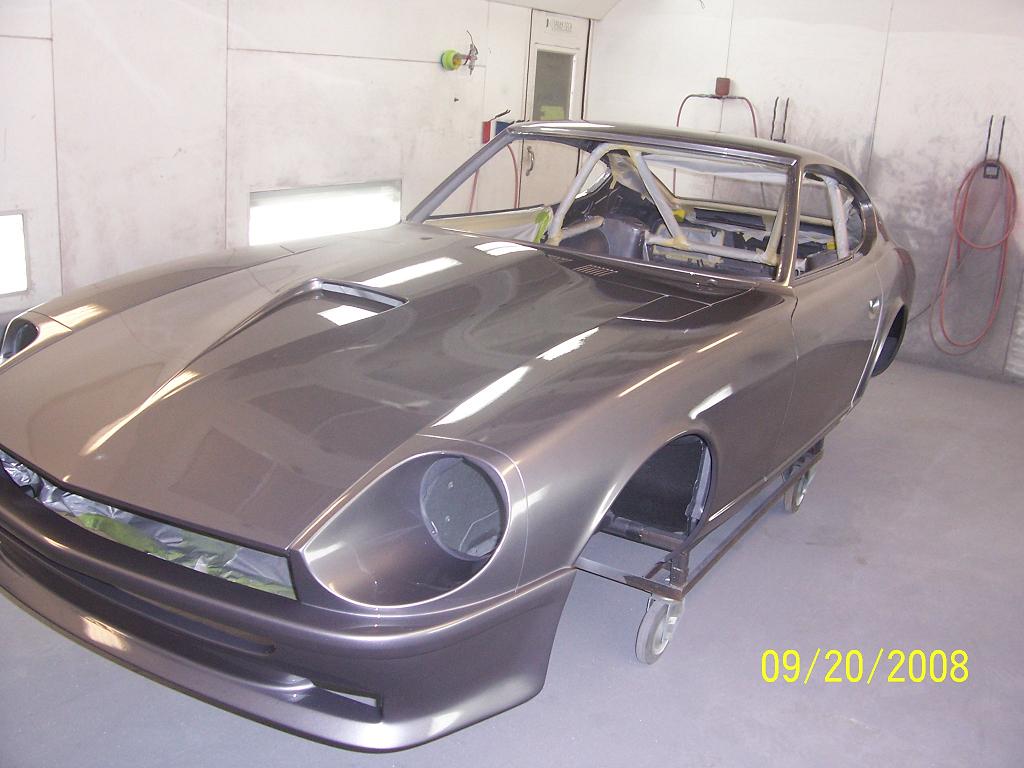
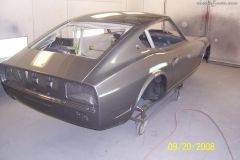
Well it was worth the hard work and wait. Here she is in her final color. I will try and grab a few shots of her out in the sun after she finishes baking in the booth. http://i299.photobucket.com/albums/mm289/Aguyandaredhead/100_2505.jpg http://i299.photobucket.com/albums/mm289/Aguyandaredhead/100_2503.jpg I guess it is time to start putting all the goodies back on. I am so stoked to start putting it back together, Jeff


-
 Time to bake......
 -
 Time to bake......
 -
 Thanks, Now to just get the sheet metal hung anf finished. I have a 9year old Akita that looks almost just like the one in your avitar...Love those dogs.
 -
 Jammed and just a light dusting.
 -
-
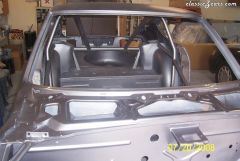
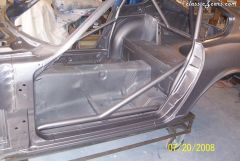
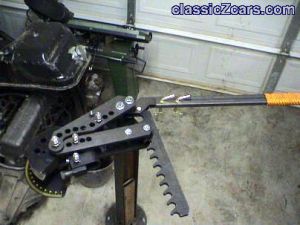
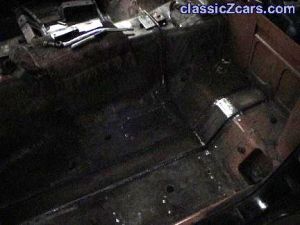
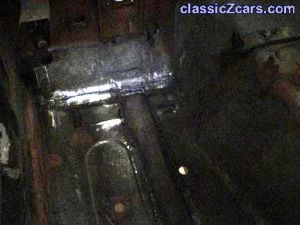
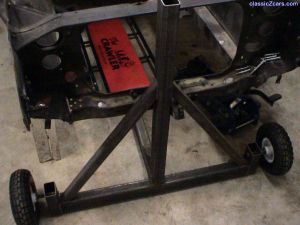
pics of my construction.
-
-
From the album: R33240Z
-
From the album: R33240Z
-
Thanks for confirming that for me. I was pretty sure but did not want to go buy them take them to my painter 2 hrs away and then them be wrong. I am not going to go with stainless for the reason mentioned above, I have gone way to far in details for this car and I don't want to introduce anything into the mix that would promote future rust. This has been a complete down to nut and bolt resto and every surface has been media blasted and preped Epoxy primered then sealed and painted so I think standard steel bolts that have the same protection as the body sheetmetal will be just fine. I will try and upload a few teaser pics for the help.... Jeff