kmack
Free Member
-
Joined
-
Last visited
Everything posted by kmack
-
 Most oil pressure cut-out switches have a separate terminal that is hooked into the starter loop. That way, whenever your starter has power (ie: you are cranking), then the pump will also get power. I added this setup to my motorhome. The switch I got was from Holley, and it ran about $8. Simple to install.
 -
If you have been convinced to avoid sand blasting, then disregard this post. I sand blasted my entire car in my garage with a portable baster unit from Northern Tools. (Not sure of the cost as I borrowed it from my Dad) The trick with blasting is to get a good media for use on the area you want to treat. Since you are talking about the engine bay and primer that is already coming loose, I would use regular play sand. The fine grain stuff you can get at Home Depot or such. I say this because 1) the sheet metal in the engine bay pretty structurally sound and a little thicker (it has to tie the lower frame rails into the upper frame members along w/ the radiator support), 2) the primer is already coming loose, & 3) play sand is pretty cheap compared to glass bead, walnut shells, etc., that way you don't have to worry about not picking all of it up. The rest of the process involves making an area that you can blast in w/o making a BIG mess, and protecting yourself from the media. I went to Home Depot (sorry for the plug, my bro-n-law works there) and bought a roll of black foundation plastic. This is a 6 mil thickness plastic. Pretty heavy-duty. It comes in a 20' w x 150' roll. (You can sometimes strike a deal w/ concrete guys building a house to get some of this also) Cut it into 10' wide strips about 30-40' long. Starting on one side of one of your roll-up garage doors, staple the plastic to the ceiling moving toward the back of the garage, across the back, and then toward the front on the opposite side of the same door. Then duct tape the bottom of the plastic to the floor. You have now sealed off the rest of your garage from the blasting area. You'll need a dust mask (at a minimum) and some good goggles that will seal to your face (or a hood face shield). Put the car in and get busy. It's not hard and it can go pretty quick. Plus, you won't run the risk of chemical burns on your hands/skin or splatter that will burn scars on your eyes as with paint stripper. (Ever seen what happens when your spray water on an irregular surface with acid coating the metal? It sometimes sprays right back at you!)

-
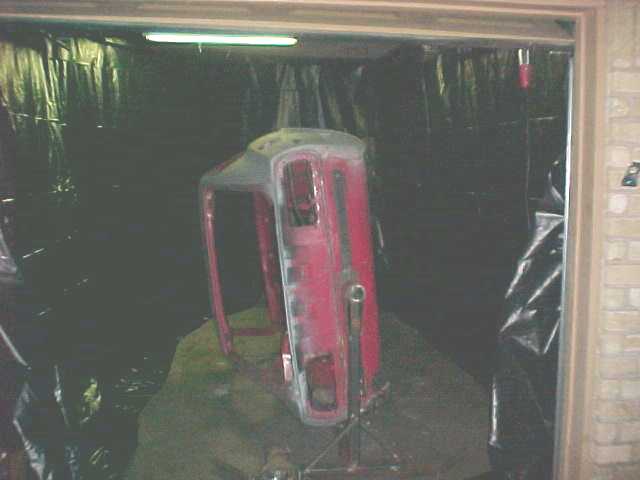
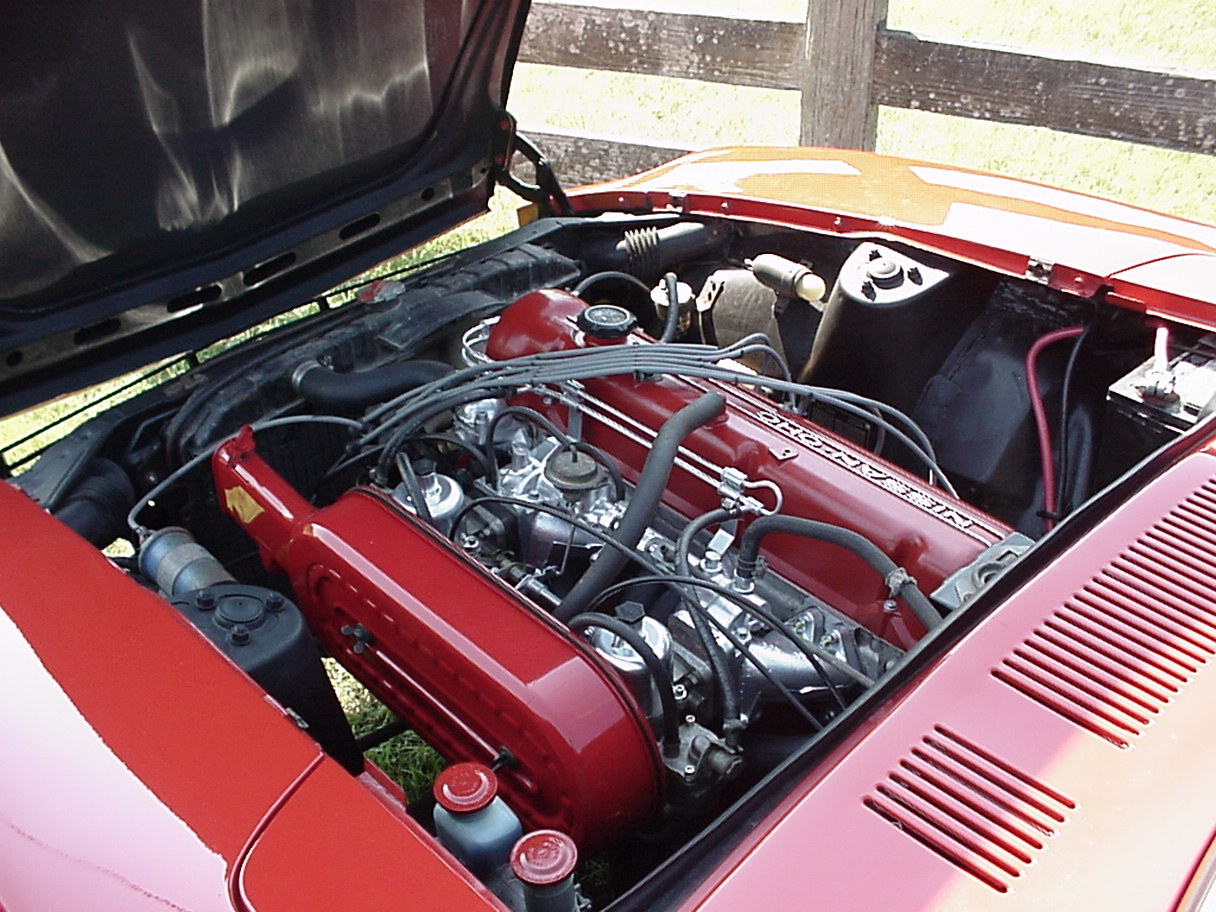
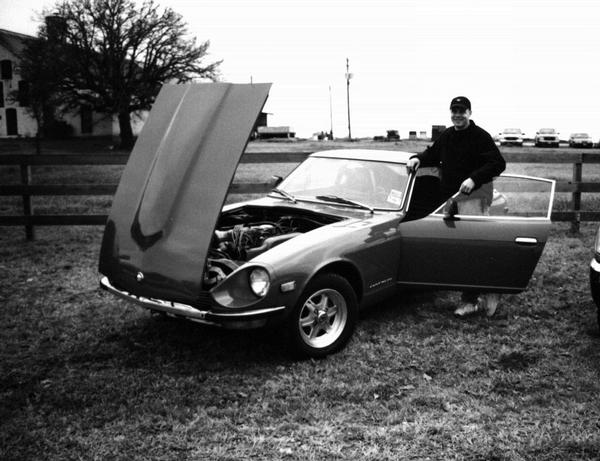
"The other Woman" I had an 8 year affair with this car while bringing it back from the dead. I spent more time in the garage than I did in the house. This is my wife's name for the car, of course. 4 years after I finished, she's still pissed at the car and flat-out refuses to go anywhere in it! But that's cool, 'cause I can hear the beauty of the L28 from under the hood and not have to listen to all the bitchin!
-
Based on your gallery pics, these holes are where the speakers are mounted. Most of the time, this was done to the "tool-box" doors in the rear deck on the later year cars. Since you have a Series I car, there are no "tool-boxes". Your only option to find a section of deck floor from another Series I car are weld it back in place. That's going to be a tough find. Plus you then run into the problem of finding another spot for speakers.Mine had holes cut into the doors for speakers. It was easier to just leave them there and replace the speakers. As has been mentioned already, auto vs. stick is really just a personal choice. Some autos are fairly quick, but then there's more to go wrong with them. The swap is fairly easy and can be done in a weekend (or less). My personal preference is the manual. Remember, all the really "cool" cars (Porsche, Ferrari, Lamborgini, Datsun, etc. [and I'm not talking about the luxury yachts]) have a manual tranny!Btw, very clean and nice looking Series I you have. It's nice to see another one out there driving. And I'll probably get flamed for this, but who cares.... What ever you do to the car, do it because you want to make the car yours. You want it to suit you and your driving habits. Don't let some of the "purists" talk you into keeping the car original if that's not what you had in mind. It belongs to you. Do what you want with it. But always do this....Drive it!
-
I'll throw another wrench into this.... Steve isn't the only one that has this setup. No, it's not me. Sorry (name with held,you know who you are), I couldn't resist!
-
You might have a bit better luck if this was posted in the correct forum. The "240K" Discussion Forum is for a non-US-spec car that is only a slight cousin of the Z car.
-
He's talking about the metal tie-down strapping used to secure mobile homes to the ground. It is metal. And it's not the same thing as tie-down straps used for securing a load to a pick-up bed.
-
To give you a baseline to start with, I used to run a bone stock '73 L24 w/ E88 head, stock '72 SU's, and a 6-2-1 header w/ 2-1/4" exhaust. Motor had just over 200k miles, w/ leaky valve seals and possibly one set of bad rings. Pulled 127hp at the wheels [san Antonio, Tx, approx. 850' above sea level] I then ran a stock '71 L24 w/ E31 head (orig to my car) w/ same carbs and exhaust. Pulled 137 hp at the wheels (w/ stock airbox) and 139 hp w/o airbox. [same dyno and shop as previous] For these setups, this is quite respectable. A little bit of money in port work, cams, triple carbs, and a bigger exhaust (2-1/2") will net you more HP, but you probably won't get much past 160-170 hp at the wheels. Unless you throw some really BIG $$$$ at it.
-
Well, if it wasn't for needing new tires, just starting a new job (last 2 months), and still having to pay registration fees, I would be up in your neck-o-the-woods next month playing at TMS and MSR for the National Convention. I've got the L28 in, 5-way adjustables, stiffer springs, and an hellacious desire to get back out on the track again. Just can't quite afford it just yet. But soon....real soon.....
-
I have one from a 280 also that won't work for me. It's painted white, btw. If anybody wants it make an offer.
-
Hey Dreco. So you're getting out of the racing scene and into the car shows? That's the opposite direction I seem to be going.... FWIW, I did the same treatment to my valve cover (high-heat paint), only I used a different color. I found the highest temp paint I could find (1200 or 1500 F) that closely matched my ext. color. Been holding up pretty good now. Just make sure that you're real careful with it until you heat-soak it. The paint never fully hardens until gets heat from the engine. That's the way mine was. (I repainted my headers 3 times before I realized this) Your car is going to look so good w/ the Panasports on.

-
Why don't you keep some of your spare panels and use them on the 280? Everything you have exterior-wise for the '72 will fit on the '75, including the doors (wouldn't if it was a '77-78). The 280 looks like a much better candidate, too. Unless, you just really want a 240.
-
The later series "B" 4-speeds that came out in the late '71 and '72 cars is much stronger than the earlier series "A" trannies. Mine "popped" after it had been sitting in a guys garage for over 20 years. I figured that was probably the reason. So I rebuilt it. Had no major problems, until I started racing. Now I have a series "B" tranny from a '73, but since I have a Series I car, I wanted to keep the console unmolested so I ran the early trans. I split the bearing again after 3 months of high-speed events w/ a Porsche club. Rebuilt it a 2nd time, and the same thing happened 5 months later. At the time of the 1st & 2nd rebuilds, I was only putting down 127hp at the wheels from a '73 L24. The last time it went, I had up the power to only 139hp at the wheels. Hardly a rocket by any means. If you compare the "A" vs "B" trannies visually, there is a big difference. The later ones have extensive webbing built into the casting. They are much stronger. To date, I have yet to hurt the later "B" tranny. And I just dropped my L28 in a few weeks ago. If and when it goes, I have a T-5 from a 280ZXT waiting in the wings.
-
I had this exact situation happens in my early "A" series 4-speed. Hammered the gas in 1st then heard a pop right as I was about to shift into 2nd. Pulled it out and apart. Discovered that the rear counter-shaft bearing cracked. The outer race of the bearing just split. If I hadn't been less than a 1/4 mile from my house, I don't think I would have gotten it home without major irrepairable damage. If you do decide to tear it apart and rebuild, keep in mind that you ought to go ahead and replace all the bearings. This will set you back about $80-100 for bearings and new seals. Keep that in mind while you look for a replacement.
-
If I remember correctly from my '73 parts car, the cables used on the flat-top carbs were longer as they came into the engine bay on the battery side of the engine, then over the top of the valve cover. The early Series I cars (like what it sounds you have, mine is also 1/71 production), come intot he engine bay on the driver's side. You can use the '73 cables, but they would need to be cut some. The early style cables are two separate outer sheaths, with one long single cable. The single wire cable runs from one carb choke, to the choke handle, around the little plastic piece connected to the handle, then back to the other carb choke. Also make sure that your choke tube is not sticking in the carb body at all. I watch a guy once break his console because the choke tubes were stuck in the carb bodies. The car had been sitting for awhile.
-
After having taken 8-1/2 years to finish my project, I'll chime in here. First off, you now know exactly what you have to work with. This is already a better position to be in than when you first started. Unfortunately, a little late in the game, but better late than never. The rust on the rear hatch deck is minor, and you already have a replacement panel. I had the same issue. The rust on the front lower rocker (behind the front wheel) is a minor issue. You can weld in a small cut sheet of steel and not worry about it; it's hidden behind the fender after all. the rust on the lower uni-body at the bottom of the front fender wells is also minor. Put a small cut piece of lfat sheet steel there and your done. Your floors don't look to bad and you can get replacements for as low as $200 for the set. They're under carpet, too. The rust on the rear fender lips (rear quarter panels) is a big issue. That much rust means it's deeper in there than you can see. To do this right (which the PO obviously hasn't done), you will need to not only replace the outer qtr panels, but also the inner wheel well panels and the inner lower dog-legs. Lots of steel and lots of work. The rust on the roof at the drip rail is a very big issue. This area is a major structural connection. These cars tend to rust from the inside out and that area not only require a new roof, but a lot of time to get in put back on right and to look good. You have already stripped the car of everything good. Keep those items. you will need them. Either to use on another shell, or to sell to help pay to continue the project. Spares come in handy on Ebay. Unless you have good knowledge in body-work and are good with a welder, find yourself another shell in better shape. You're in CA, just by that fact you've already got the best selection in good bodies around. This one, though, is too far gone. Plan to spend at least another $1500 for another car. Less depending on what is still on the car. Sell all the extra parts you can get with the new shell to help offset your costs. Consider this point the first punch in a fight. It may have knocked the wind out of you for a bit, but at least you're still standing and can continue the fight. Btw, when I finished (sort of, it's never really finished is it?) my car back in '02, I was into the project for just under $3800. That included all parts, parts cars, paint, misc, etc, minus all the spare parts I sold.
-
If you noticed the link on the ad, it was for Waskom, Tx. I've been there, won't go back. It's about as close to back-woods, up-in-the-hills, Deliverance-style, West Virginia as you can get in Texas. That right there practically explains it all.
-
Look at the picture close and you'll see that these headers are completely custom built. And I'd be willing to bet they weren't fabbed up at a regular exhaust shop. These probably cost somewhere in the neighborhood of at least $500 (just a guess, but that's what I'd expect to pay).
-
I've also heard that the early generation fuel pumps from a Mazda RX-7 are perfect for this conversion. But that's what I've heard, no personal experience.
-
The mounting post pattern on the "240Z" rear 1/4 badging is a smaller width than the later round "Z" badging. Mainly because of the air vent hole. If you weld in a piece of metal to fill the hole, you can make it work. But then you lose your cabin venting.
-
I have a few B&W photos to share of my own. These were taken old-style with regular B&W 35mm film a few years ago. They appear a little on the dark side because they had to be scanned.


-
Still have some stuff for sale. Any takers? I hate to throw some of this stuff away....
-
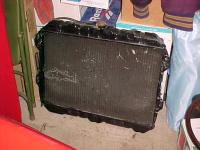
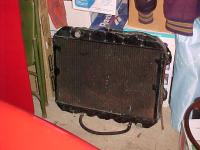
Radiator is sold. Sale still pending on wiper motor, but not finalized.
-
Ezzzzzzzz, you have a PM.
-
radiator pics (sale pending)