kmack
-
Joined
-
Last visited
Everything posted by kmack
-

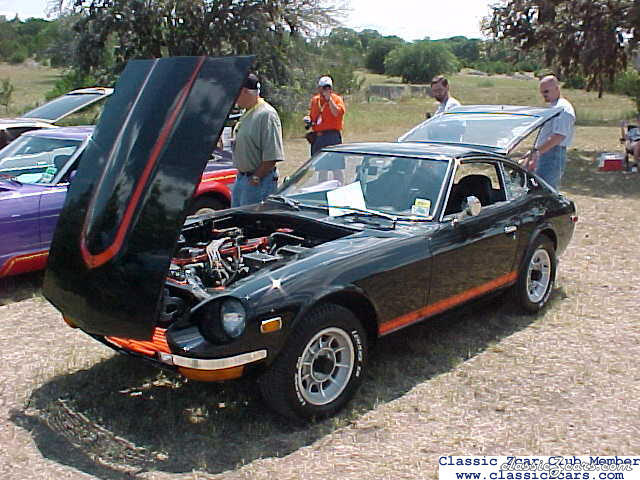
From the album: 2002 National Convention-Car Show
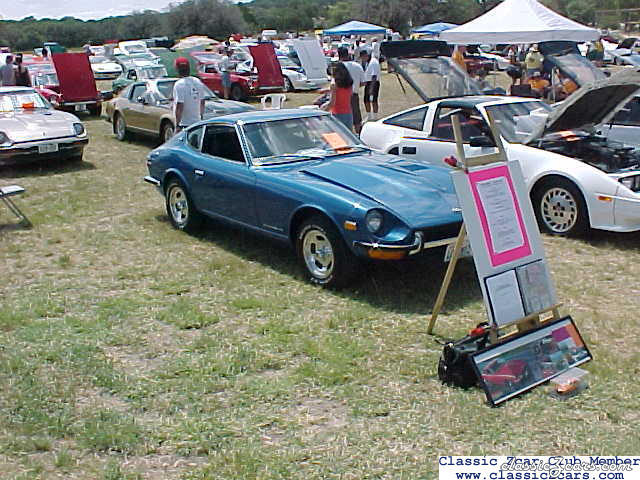
'71 240 - Troy Elms (Z-Sport President) This car looks black, but in the sunlights, it turns out to be a very, very dark, Midnight Blue metallic. -

From the album: 2002 National Convention-Car Show
'72 240 - Wayne Lousteau -
From the album: 2002 National Convention-Car Show
'73 240 - Pat Helmer (Z-Sport) This car was inherited from the original owner. It is a very, very nice, original car (except for the SU carbs which were changed out by the dealer in '74) -

From the album: 2002 National Convention-Car Show
'72 240 - Reedy Maples -
From the album: 2002 National Convention-Car Show
'71 240 - Charlie Gilfone (Z-Sport) -
From the album: 2002 National Convention-Car Show
'73 240 - Jerry Peterson -
From the album: 2002 National Convention-Car Show
'70 240 - Susan Husk (wife of our very own Son of Z) -
From the album: 2002 National Convention-Car Show
'72 240 - Edward Greder (Z-Sport) -
From the album: 2002 National Convention-Car Show
'73 240 - Eddie Radatz -

From the album: 2002 National Convention-Car Show
'72 240 - Bill Hayden -
From the album: 2002 National Convention-Car Show
'72 240 - Richard Shelton -
Views since I have somewhat finished my car....
-
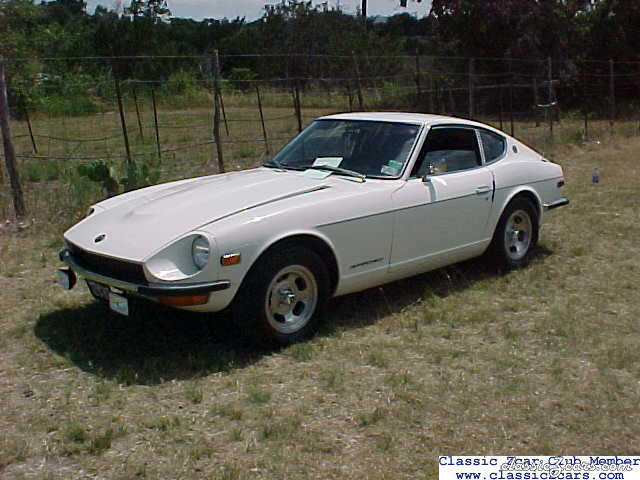
From the album: '71 after shots
'77 280 Convertible - Walt Bailey -
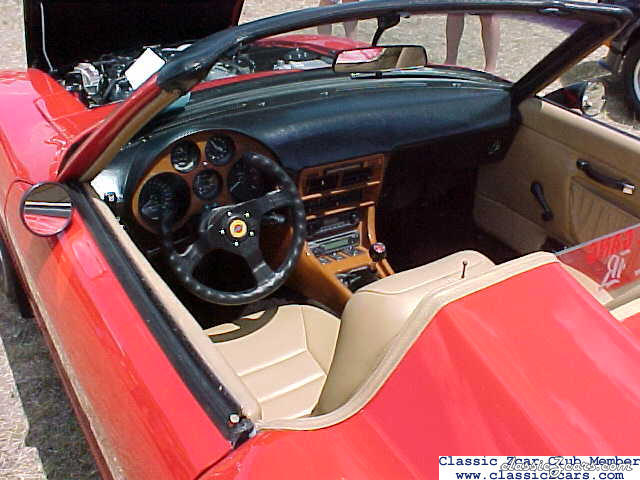
From the album: '71 after shots
'77 280 Convertible - Walt Bailey -
From the album: '71 after shots
'77 280 Convertible - Walt Bailey -
From the album: '71 after shots
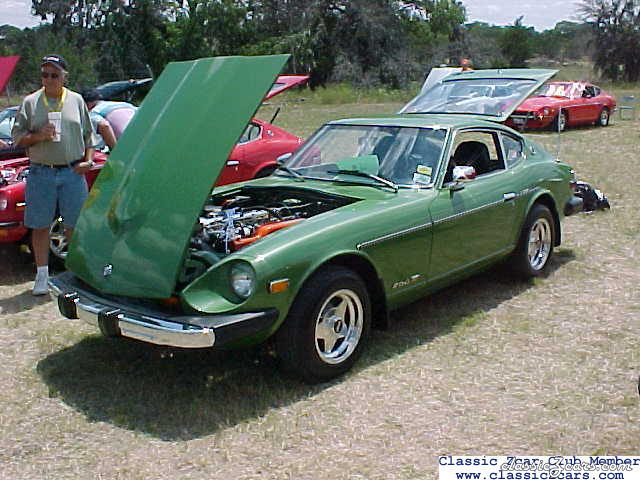
'74 260Z - Charles Fisher -
From the album: '71 after shots
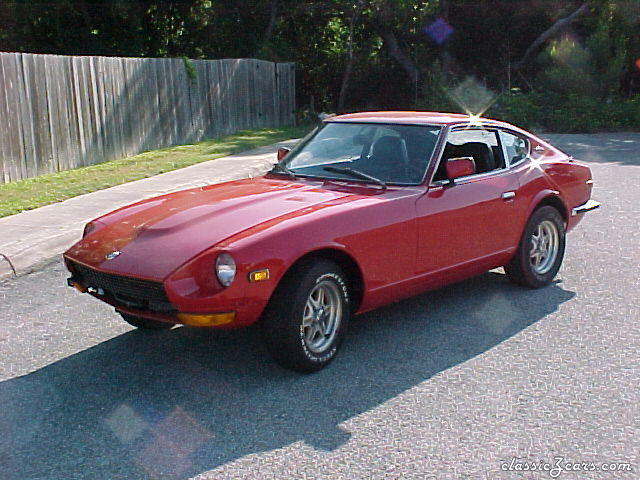
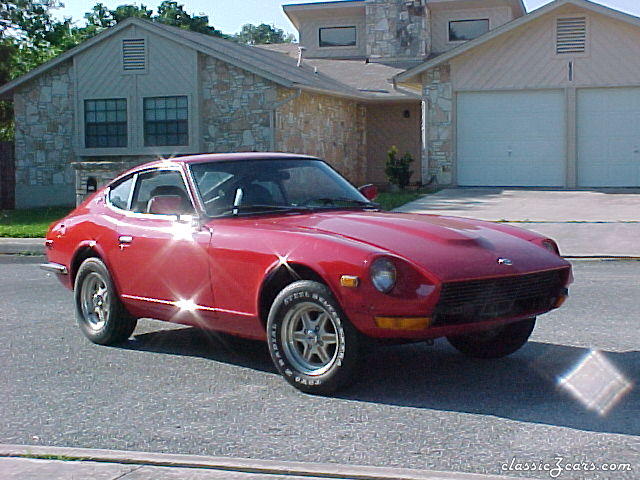
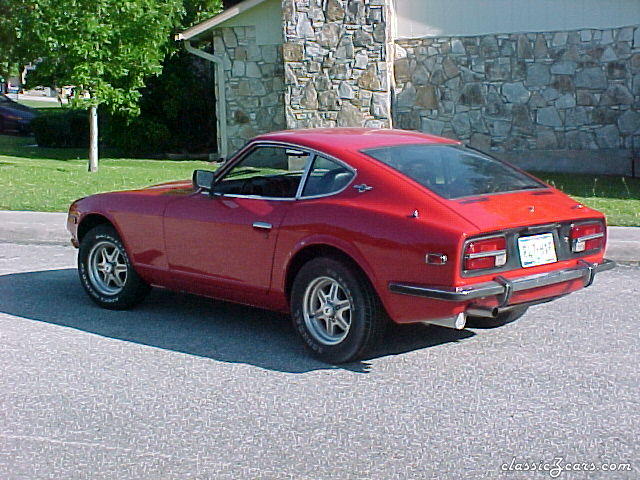
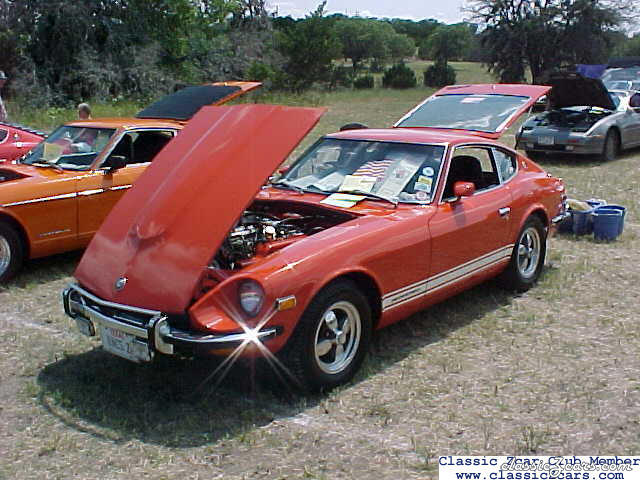
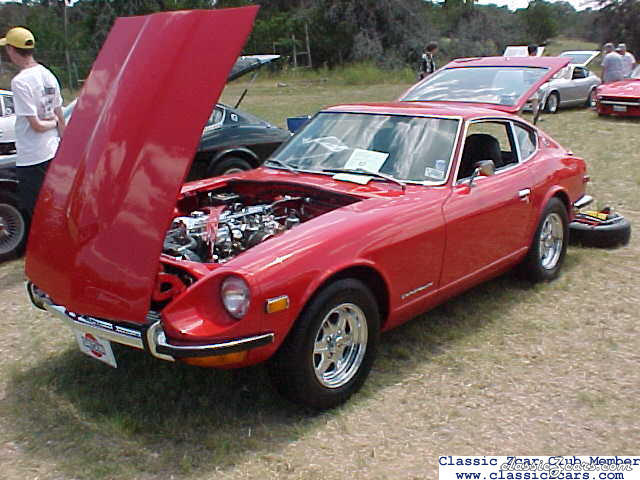
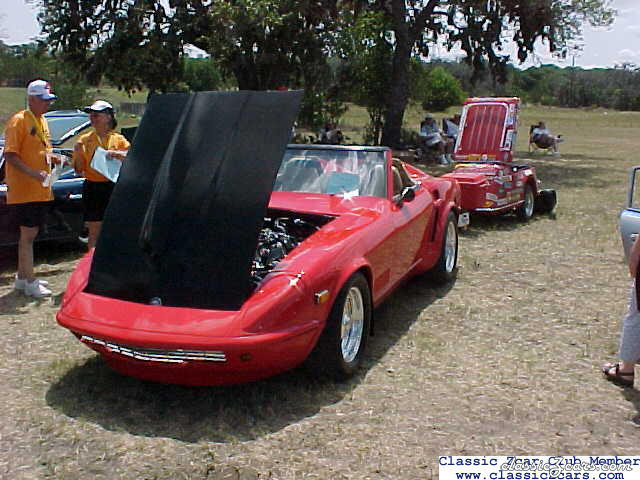
Yep, guess who's car ended up in the show? Anybody recognize that red one up front? -
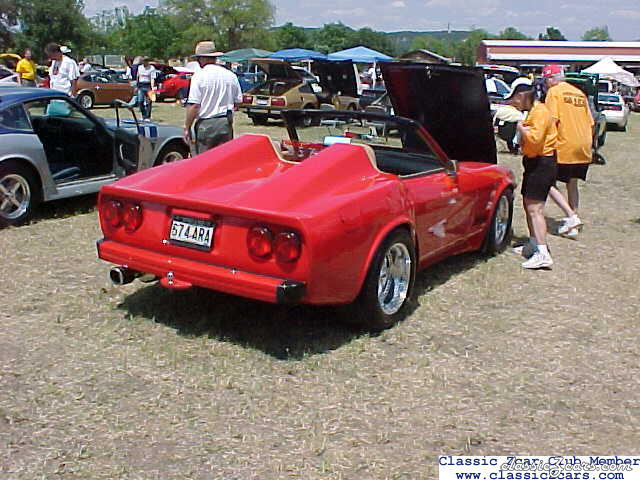
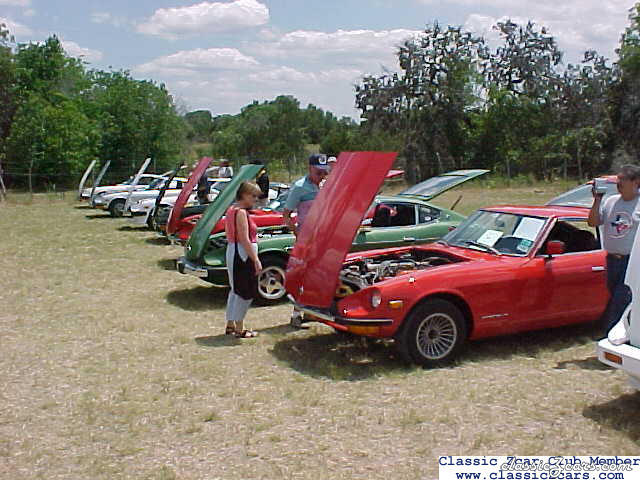
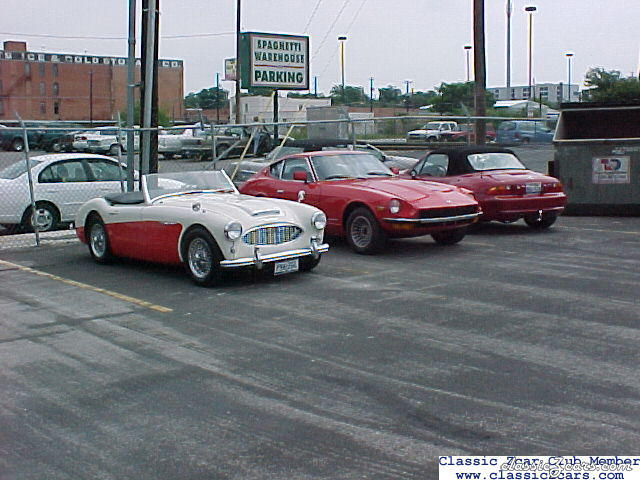 Went to the Great race kick-off party and got to park next some pretty good looking cars.
 -
I'll say hi when I see him at Registration!
-
EScanlon, I'm not sure what the wattage is(was). I still have the lights, but I'm not using then right now. I do know that from 6" away, you could feel the heat coming off the lights. They were that bright. Could possibly be the reason why my wires all melted into one big glob and why I saw smoke coming from my steering column!:eek: Eventually, I want to put them back in, I think I put in the relays just for safety reasons and it can't hurt with 31 year old wiring.
-
You can replace them easily enough with a halogen unit. My car at one time had the Hella conversion. Fit is nice and looks great, but unless you take the added current out of the column switch (by using relays), you'll burn it all up. Mine has done it once already.
-
There are pretty much 2 ways to pull the headlights out. 1- pull the retaining ring off through the headlight extension (from the front of the car). Might be a little difficult since the ring screws may be hard to see (and they are a little small), but it can be done. 2- pull the headlight assembly out through the backside of the fender (out through the wheel-well). There are 4 screws (most likely phillips-head type) that hold the assembly onto the fender. You'll need to clean the area real good before attempting this. The heads of the screws will be clogged with dirt and road-grime. Take your time and don't strip them out. Once you have the assembly out, removing the headlight sealed beam is relatively easy.
-
Have you checked your fuel filter yet?
-
I got the complete kit from MSA. $175. They price beat Victoria British, so I got a deal. A lot of people swear by Precision ReplacementParts kit, which sells for over $200. The MSA kit is that exact same thing. Says it right on the parts bags. Only cheaper! Fit of the seals was excellent. And everything glued down nicely. Make sure you get the black weatherstripping adhesive. The yellow shows a mess easier. It's very easy to do and well worth not having to smell exhaust while you enjoy your ride!
-
I just finished rebuilding my car and have those strut cartridges in mine. But, as I've only really driven the car once so far, it's hard to tell how well things will hold up. So far it rides very nice. Not harsh and not overly soft either. I have used that brand of shocks on 2 Explorers so far and have had no complaints. If you're trying to stay on a budget and only going for a street ride, then go for it.