kenz240z
Free Member
-
Joined
-
Last visited
-
 I purchased new door panel skins from DatsunParts.com (http://www.datsunparts.com/2334) a while back. These may be an option for you if your door panel boards are ok or salvagable. I used fiberglass to fix mine. Here's a link to a thread I started: http://www.classiczcars.com/forums/showthread.php?40558-re-skinned-door-panels&highlight=
 -
I am not familiar with the 280Z, so take what I say with a big grain of salt. But, the "radiator" you see at the top appears to be the AC evaporator. The heater core should be in the airbox behind/below that (box that the defrost ducts are connected to). Any 280Z owners, please chime in!
-
You are making good progress with the cleaning and repairs. Degreasing/repainting the block will be difficult unless you can remove everything on/around the engine. Painting the block will require a lot of masking which is time consuming even with the engine out of the car, unless the engine is disassembled (no head/timing cover/oil pan, etc...). But, take your time and you should get good results. As far as A/C, you can have your existing system recharged. May require some work to get good cooling, such as sealing any air leaks between the blower housing and the evaporator. There have been a few threads about this, do a search for more details. Another option is to install a Nostalgia Air or Vintage Air system. Again, there are several threads about these systems, search for more details.
-
Air, fuel, spark. I think we can rule out air, since the engine runs once you do get it started. That leaves fuel & spark. Both easy to check. Before doing so, have you verified that the choke is indeed working properly? With the choke lever pulled all the way back, the fuel nozzle at the bottom of each carby should be pulled about 1/4" down from the bottom of the carby. Have a helper pull the choke lever while you watch/feel the fuel nozzles to make sure they move. Your hard start issue could simply be that one or both nozzles are stuck. If the choke is indeed working properly, then check for spark & fuel. Pull a plug wire and put it about 1/4" from a good ground (not touching). The strut mounting nuts at the top of the strut tower work well for this. Crank the engine and look for a spark. You may need a helper to crank the engine for you. You should see a nice, healthy spark. If not, you need to dig into the ignition system. Check the cap, rotor & points and all the associated wiring. Could be a sketchy connection at the ballast resistor or at the coil. To check the fuel, pull the coil wire and remove the dizzy cap and secure it out of the way so that it doesn't get hit by the the fan or something. The idea here is to prevent a spark, as the next step involves working with raw fuel. Next remove the fuel delivery hose from one of the carby bowls. Wrap a rag around the hose as you pull it off to catch any fuel that spills out. Hold the hose in an empty soup can (or similar container) and have a helper crank the engine. Fuel should flow from the hose within a few seconds. If no fuel flows or it takes a while for the fuel to flow, then check the fuel filter, fuel pump and fuel lines. Could be a clogged filter, defective pump or cracked fuel hoses that allow air to get sucked into the lines. Also check that one of the carbies doesn't have a stuck needle/seat in the float bowl. There should be enough fuel left in the float bowls to start the engine after sitting a couple of days. My car can sit undriven for weeks, yet the engine will start on the first turn of the key. Hope this helps. Keep us posted on what you find.
-
Welcome to the club. Looks like you got yourself one very nice Z car!
-
I believe the o ring goes between the tank and the sender. The tank is 'grooved' for the o ring. I've replaced a few and had no issues with keeping the o ring in place when putting the sender unit back in.
-
Is it white, billowy smoke with a sweetish smell? If so, there is coolant getting into a cylinder (or more than one...). My guess is a head gasket issue or pitting on the head. Had this on my Z a few years ago. As 5thhorseman suggests, it could be a cracked insulator between the carbie and intake. Check the insulators for any signs of a coolant leak. I have had one crack. Fortunately, the coolant wasn't being sucked into the carbie, but it did cause a small puddle of coolant on the garage floor.
-
71 240Z, 73 240Z, 73 240Z V8 project, 64 Impala 2dr coupe, 66 Mustang convertible, 65 Buick Special convertible, 75 Caprice convertible, 96 Camaro Z28
-
Lee, that is going to look real sharp (no pun intended) when the car is painted.
-
Drop the tank and clean it with a high-pressure washer. If you don't have one, then go to a car wash and use the high pressure wand to clean out the tank. I have cleaned 3 Z tanks with my pressure washer and fortunately all 3 were nice & clean inside afterwards, so I did not use a coating on any of them. After washing, I stuck a heat gun in the filler tube and let it run awhile to dry out the tank. Then primered & repainted, replaced the sending unit seal (as mentioned by Zed2) and re-installed in the car.
-
You mentioned hooking up the electrical pump. Is it an aftermarket electrical pump, or original factory electric pump? If it is the factory pump, there is a fuel filter inside it that is likely clogged up with crud from the tank (ask me how I know...).
-
If you are handy with a soldering iron, then get ahold of a wiring diagram for your year and repair the harness. Banzai Motorworks has the bullet style connectors and 6-wire connectors (http://www.zzxdatsun.com/catWiring.php). There have been previous posts about other sources for the connectors, search the site and you should stumble across them.
-
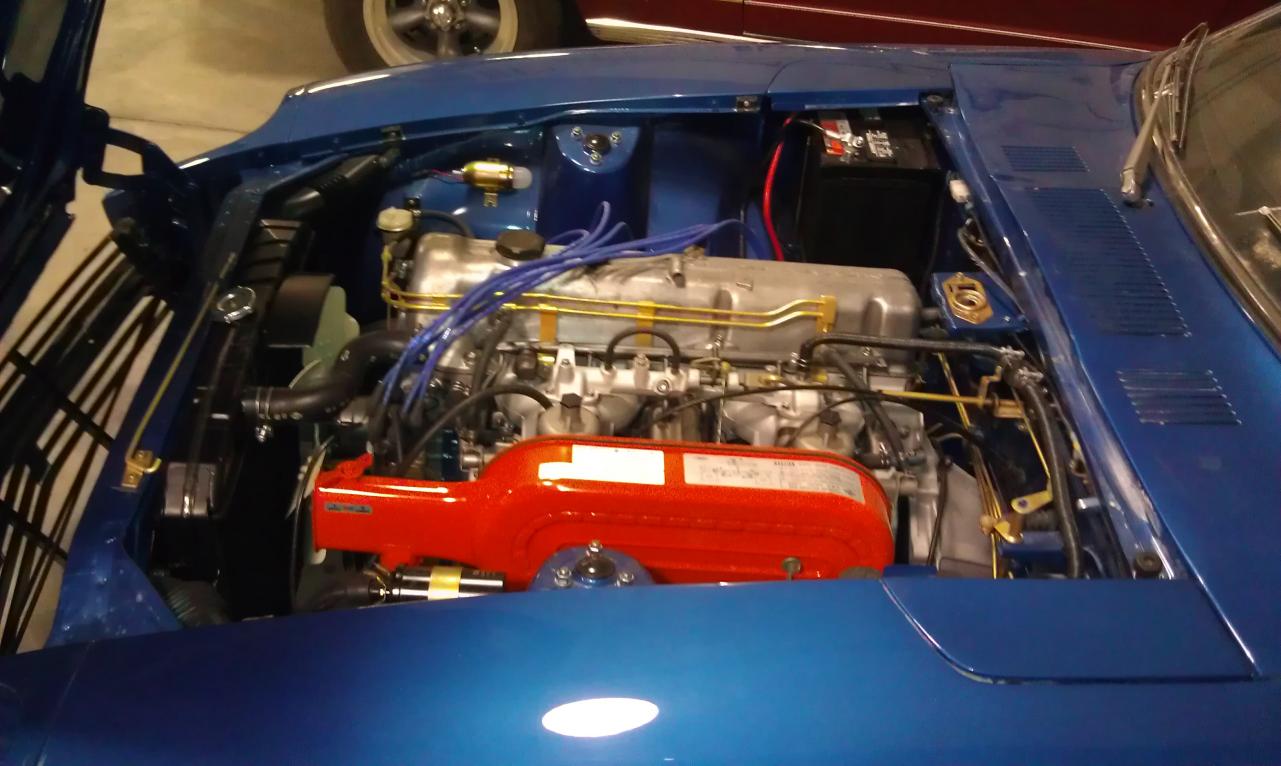
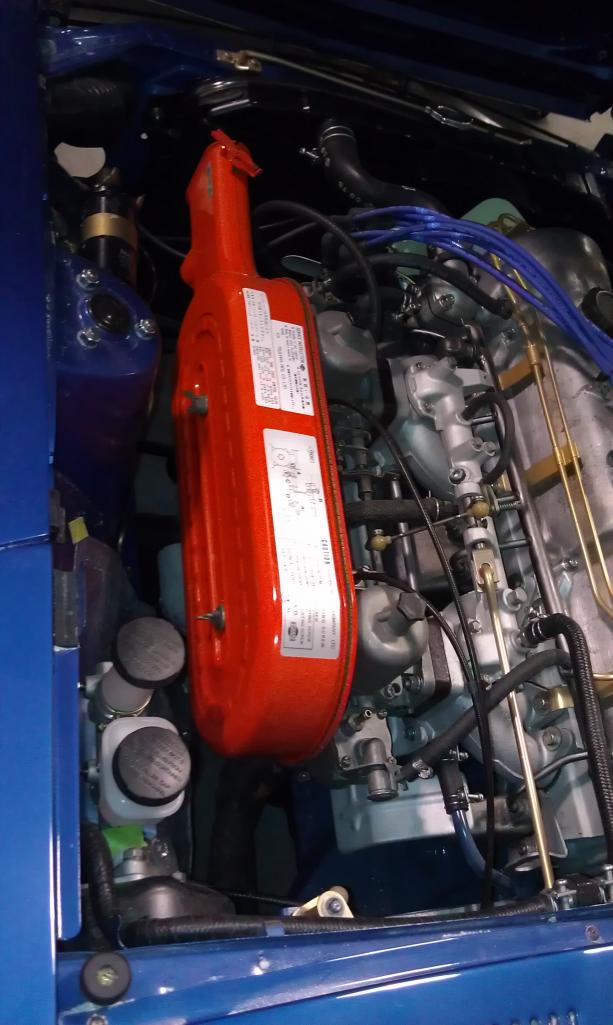
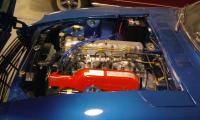
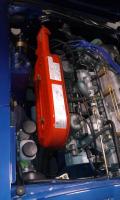
While powder coating will provide a nice, durable finish, consider that Chevy engine orange paint is a near match for the original color. I refinished the air cleaner on my '71 with Chevy engine orange and only sprayed the outside surface of the air cleaner and backing plate (that mounts to the carbies.) I figured no one will spend too much time looking at the inside of the air cleaner... . I left the rubber seal in place, as it is in marginal shape and I feared ruining it if I removed it. But, as FastWoman mentions, weather stripping would work fine as a replacement.
-
Hi Slight, good luck with your search for a Z. You might consider getting acquainted with other Z owners near where you live. All the better if there is a local Z club. That way you might get to know a few people who have been there & done that with a Z. Hopefully someone can show you firsthand where these cars tend to rust and how to deal with it. Same with making mechanical & cosmetic repairs. Then, when you do get a Z, you will know a bit about them and have others who may be able to lend a hand when you start to tackle the repairs.
-
Hi Tim, the dash is looking great. How did you mount the Speedhut gauges? Did you retain the stock clear plastic lenses? I have a set of Speedhut gauges I need to install in the dash of my V8 Z project.