kenz240z
Free Member
-
Joined
-
Last visited
Everything posted by kenz240z
-

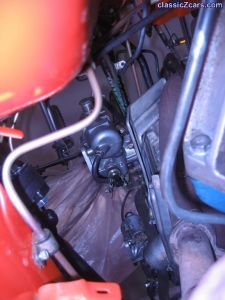 Lookin' at the carbies while under the car, lying on a creeper...
 -
 Lookin' at the carbies while under the car, lying on a creeper...
 -
 Another shot from the creeper...
 -
 Another shot from the creeper...
 -
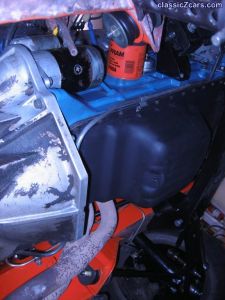
 Lookin' up at the engine while lying on a creeper under the car...
 -
 Lookin' up at the engine while lying on a creeper under the car...
 -
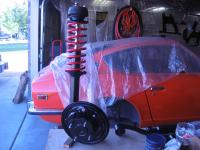
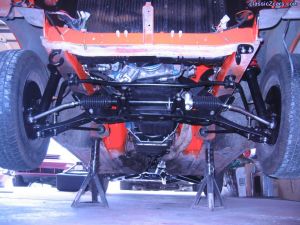 A shot of the underside of the car up on jack stands. Had to grease the ball joints & tie rod ends before hittin' the road!
 -
 A shot of the underside of the car up on jack stands. Had to grease the ball joints & tie rod ends before hittin' the road!
 -
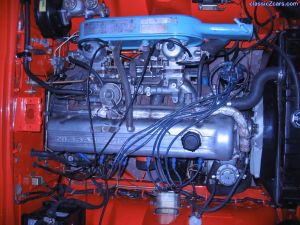
 Another bird's eye view of the rebuilt engine!
 -
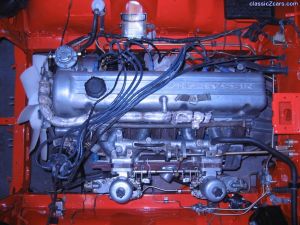 Another bird's eye view of the rebuilt engine!
 -
 Looking at the spark plugs!
 -
 Looking at the spark plugs!
 -
 A shot from the left side, looking at the carbies!
 -
 A shot from the left side, looking at the carbies!
 -
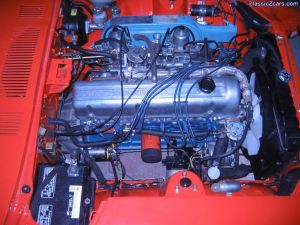
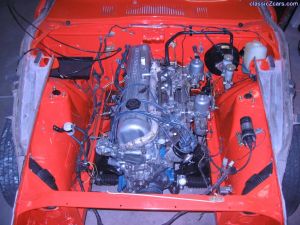
 Ah, all everything put back together under the hood!
 -
 Ah, all everything put back together under the hood!
 -
If you have a digital multi-meter, it would assist you in trouble shooting the battery drain problem you are having. Set the multi-meter to measure current (amperes). Disconnect the positive cable from the battery and connect the + lead of the meter to the positive battery post. Connect the - lead of the meter to the positive battery cable. The meter should display the current drain on the battery in amperes. Now, disconnect one electrical connection at a time and watch the reading on the meter. When you find one where the reading goes to zero you have found the circuit that is causing the drain. Once the offending circuit has been identified you will have to trouble shoot further to find out what the problem is. Most likely it is a short in the circuit somewhere, meaning that either a conductor (wire) or a device in the circuit is making a connection to the body somewhere, thereby completing an electical circuit and causing the drain. :mad: Be careful when tracing the bad circuit out, because there could be a fire hazard. If a small, un-fused wire is shorted to the body the amount of current through it could heat it up to the point where it will get so hot that the insulation will burn off. :eek: I would suggest having a helper ready to disconnect the meter from the battery to cut off power to the car if that happens. Best of luck! Kenny P.
-
A good, thorough cleaning of the interior might help reduce the "old car smell." If you are really adventurous and have the time, then take out the seats and front carpets and really clean the floor pan. Remove the rear hatch carpet & padding and clean the rear hatch area, too. Finally, remove all of the interior plastic trim parts and clean out the body cavity areas. To do this you will have to push the center stems of the trim rivets into the cavities. I recall seeing a post here by Escanlon that demonstrated using a small vacuum attachment with a bit of pantyhose over the vacuum nozzle. The pantyhose would allow you to vacuum up the stems without having them get sucked up into the vacuum. The suction holds them in place, at least until you turn the vacuum off... If your car hasn't spent too much time sitting in one spot then you shouldn't find anything too nasty during the cleanup. Years ago I bought an old Chevy Impala that had been sitting for a while. When I dismantled the interior I found mouse nests under the dash, under the seat, and up between the headliner and roof. Oh, and I also found four mummified mouse carcasses. Gross. But, at least that car doesn't smell anymore! Fortunately, my Z was only filled with a few dead flies, dirt, dust, and the usual garbage under the seats...candy & cigarette wrappers, sunflower seed shells, bits of old food. Cleaning all this junk out of your car will go a long way towards making it smell better! Kenny P.
-
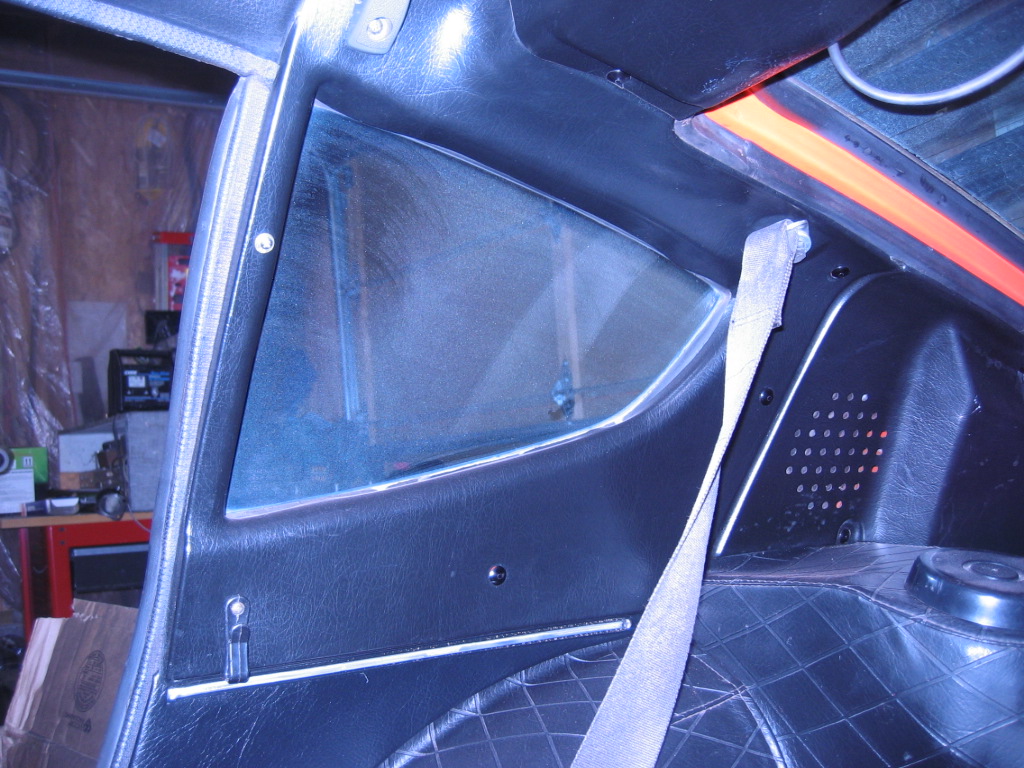
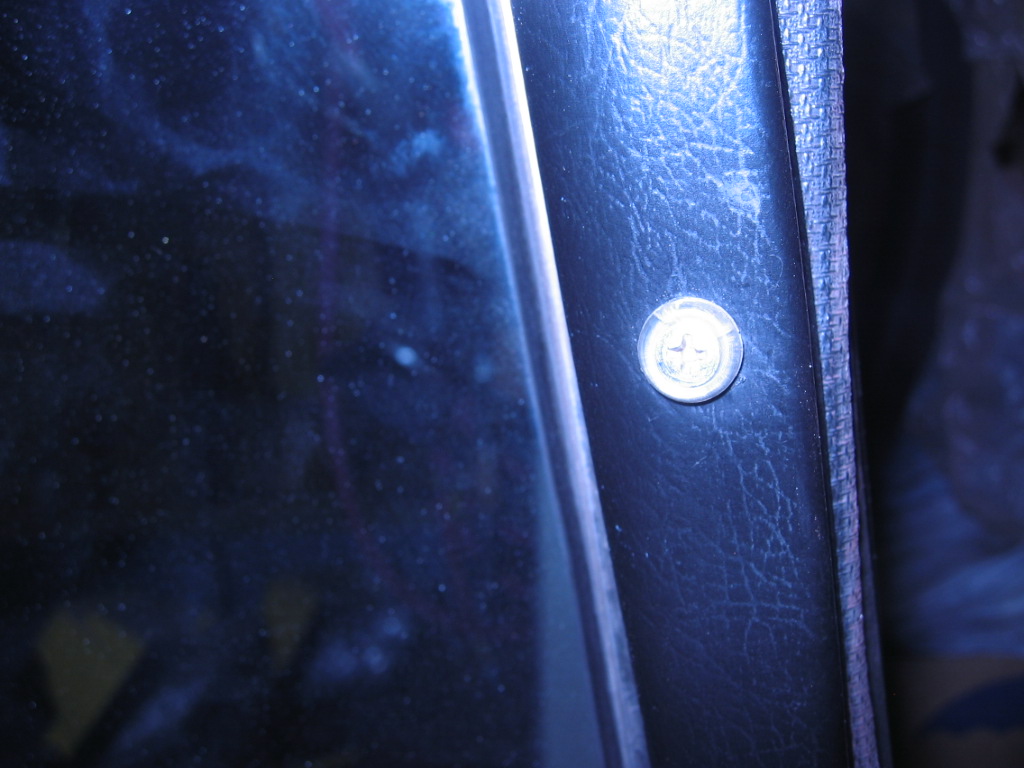
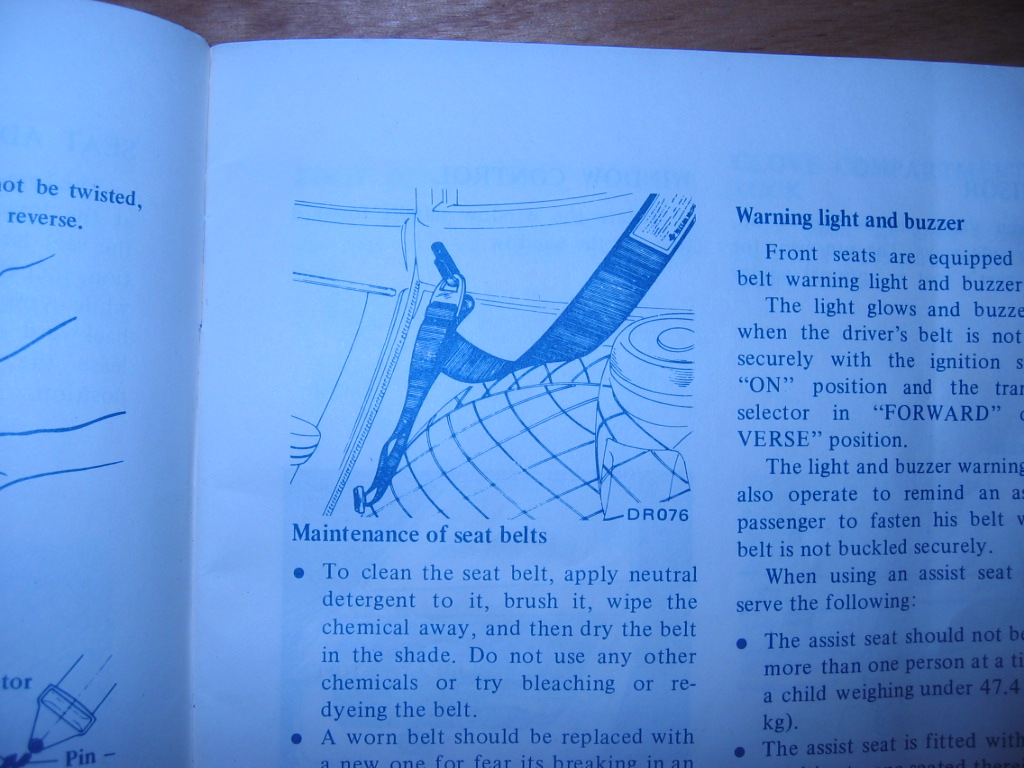
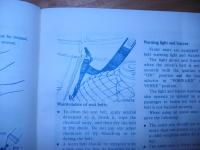
Here are a couple of shots I took of the seat belt hanger and rear window trim screw with clear plastic washer. I also took a picture of a page in the owner's manual that shows how the seat belt hook is used. The interior of my '73 240Z was disassembled when I bought it. I found the seat belt hangers among a bunch of small parts that came with my car. The trim screw and plastic washer for each side were missing. I scrounged through several salvage yards to find the ones I have. :cross-eye I have seen similar plastic "washers" at Ace hardware, but I think they were more of an off-white color, not clear. And, I haven't tried to find a new one that is the same size as the original. Kenny P.


-
I thought about using a spindle pin puller. I already had new spindle pins and lock bolts, so I knew I wouldn't be re-using the old ones. I started on the right side and was encouraged when that spindle pin came out fairly easily. I think that the right side transverse link and spindle assembly may have been replaced at one time. The left strut assembly and transverse link were quite rusty and pitted under all the dirt and grime, whereas the right side was in good shape with minimal surface rust. Anyway, I'm glad I'm finally finished with the suspension work. I started back in March. The most time consuming part of the whole project was cleaning all the parts to prepare them for new paint. Now I can focus on finishing the installation of the rebuilt engine! Kenny P.
-
It took awhile, but I finally finished the rear suspension rebuild on my '73 240Z. I found the hardest part to be cutting out the old outer bushings on the transverse links. :lick: I used an air powered body saw to cut the old shells, but it took quite a bit of hammer & chisel work to persuade the old shells to come out. The right spindle pin came out with just a bit of persuasion with a brass punch & hammer. The left side was rusted together pretty good. I ended up taking the strut assembly & transverse link to an alignment shop and they were able to use a press to separate the two. Once I had everything apart, I spent a few weeks cleaning all the pieces. Once clean, I sprayed the parts with Eastwood rust encapsulator, followed by Eastwood's Extreme Chassis Black. The parts turned out very nice, but the Extreme Chassis Black is glossier than the original black paint. I think that Eastwood's Classic Black chassis paint is closer to the original. But, for a weekend driver I think I can live with the glossier paint! There are a few before & after shots in my gallery. Kenny P.

-
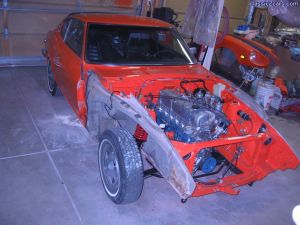 After pushing my Z around again I got it back into one garage space. Now it's time to put everything else back together under the hood!
 -
 After pushing my Z around again I got it back into one garage space. Now it's time to put everything else back together under the hood!
 -
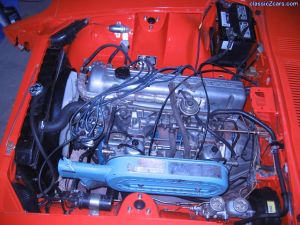
 The rebuilt engine looks even better with the carbies back on!
 -
 The rebuilt engine looks even better with the carbies back on!