jepherz
Free Member
-
Joined
-
Last visited
-
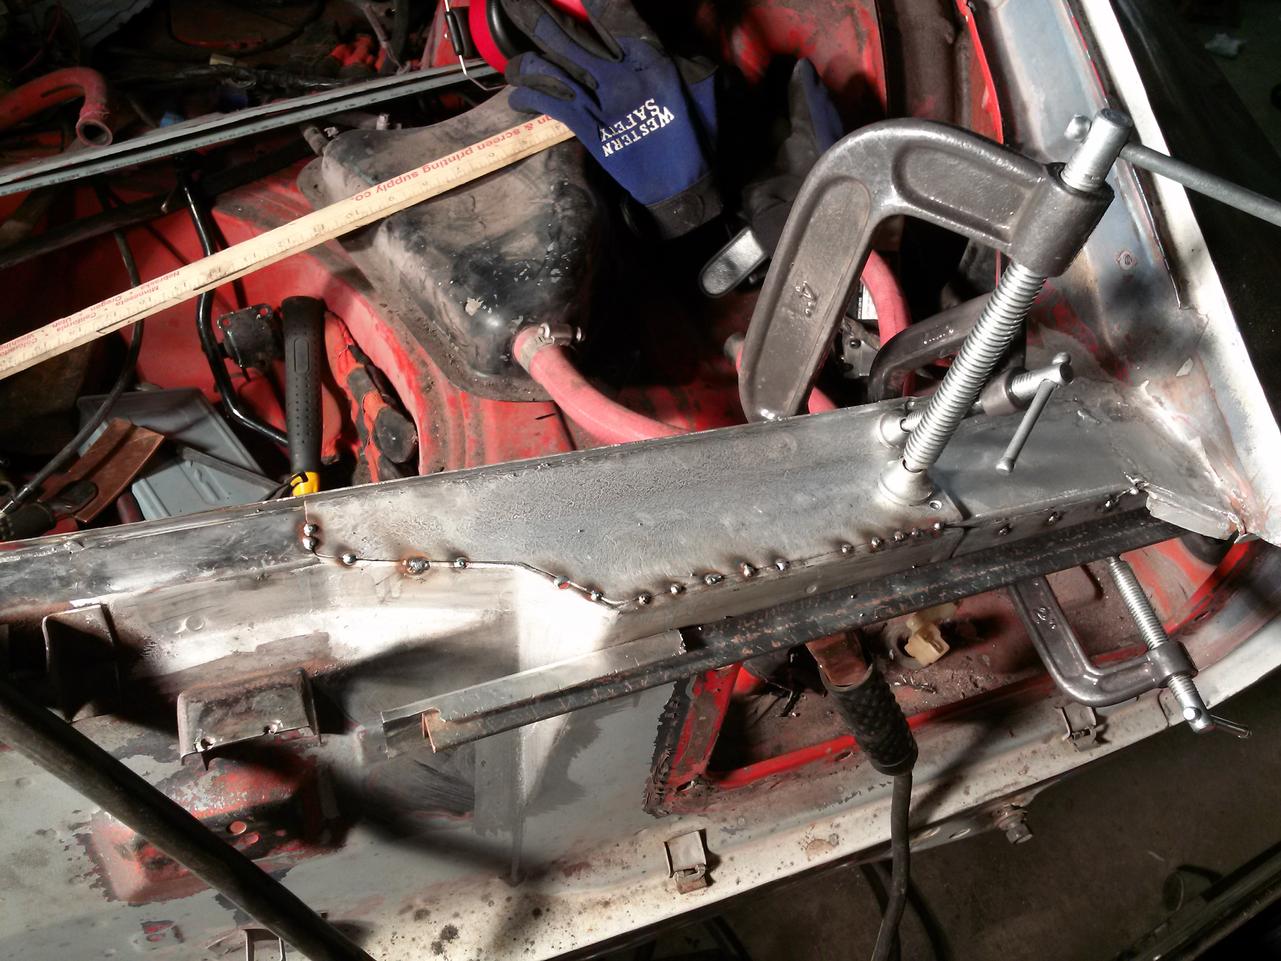
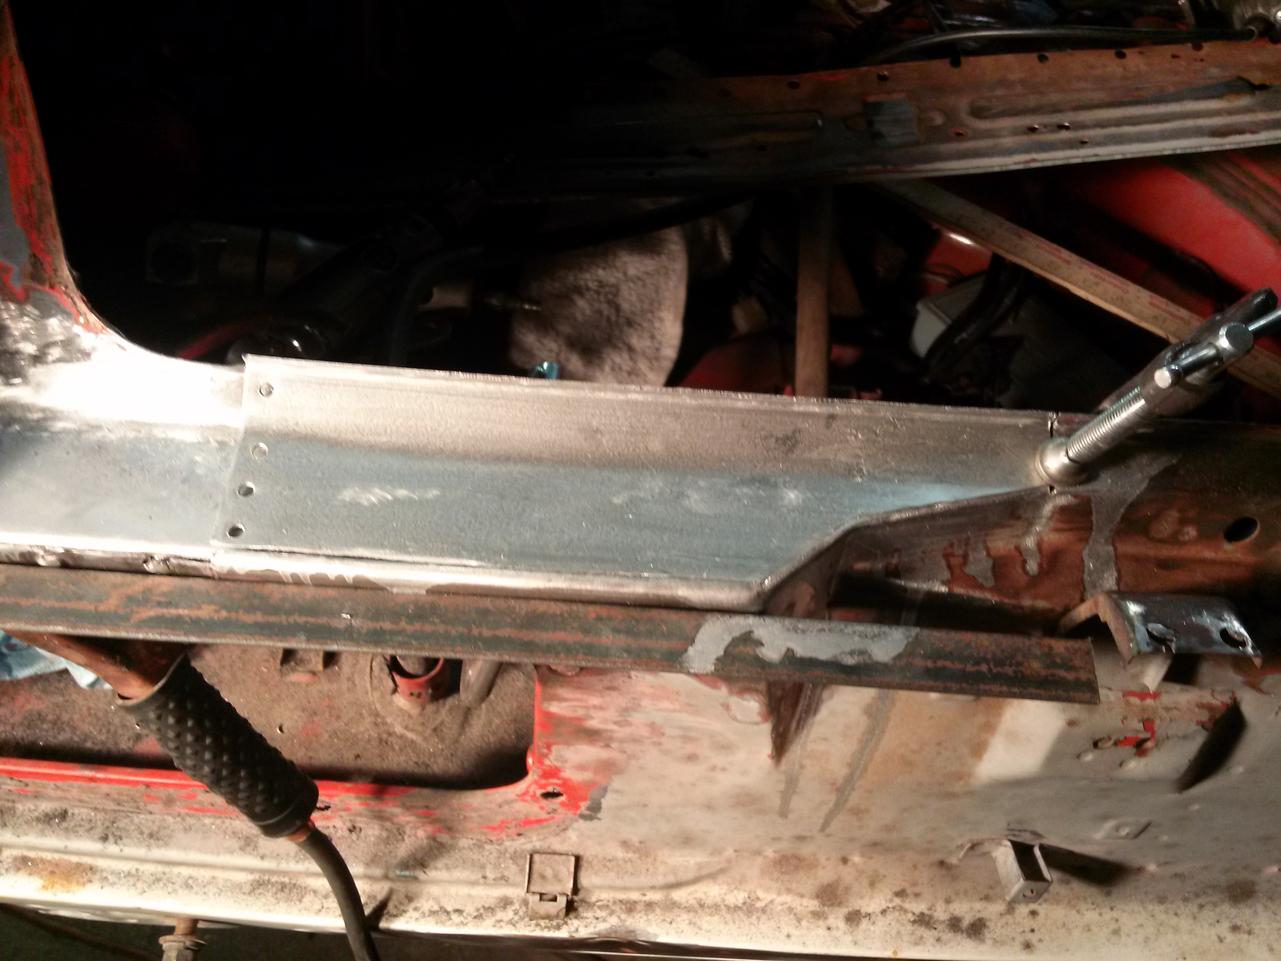
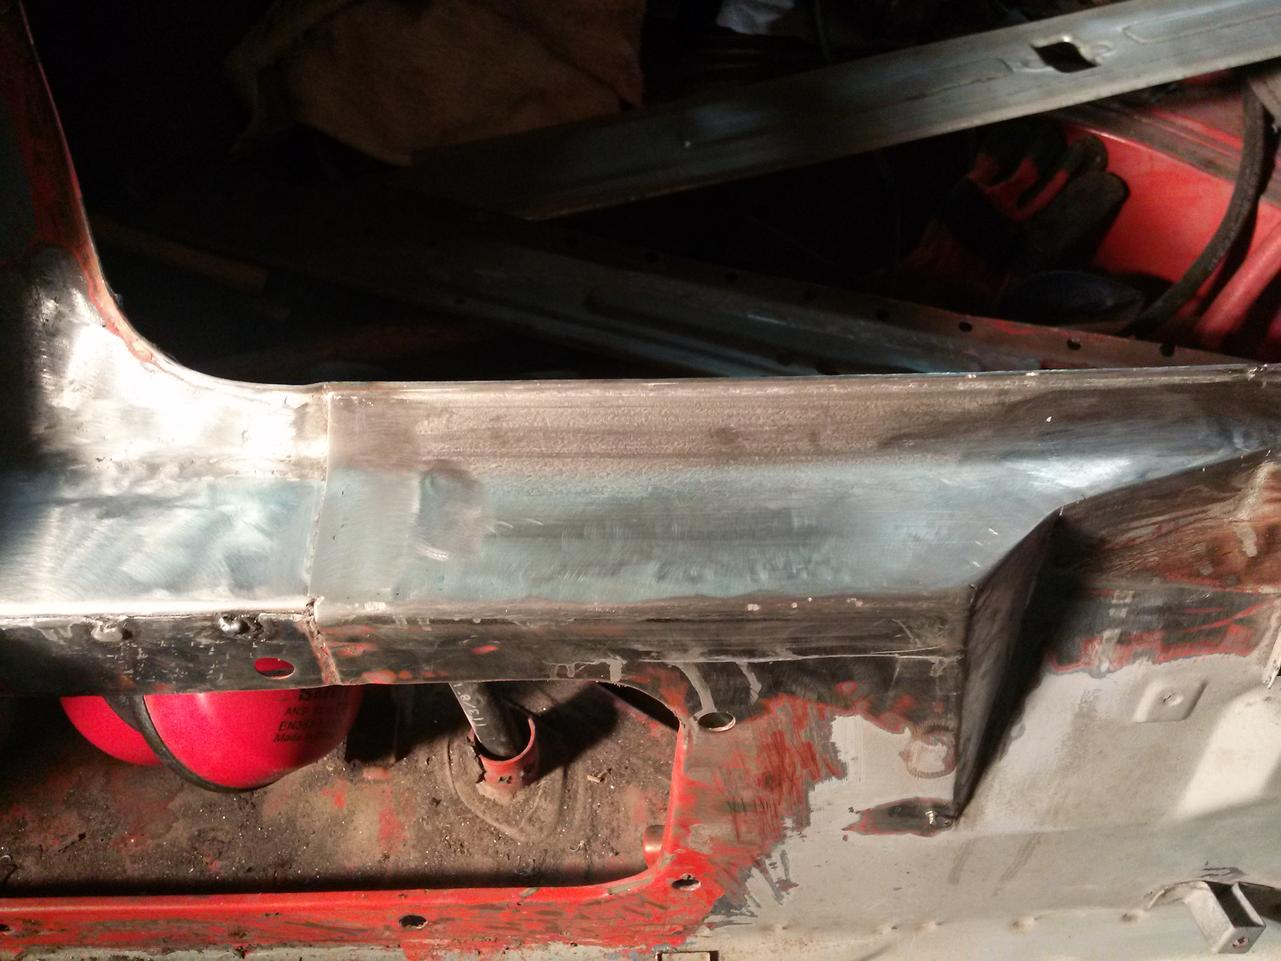
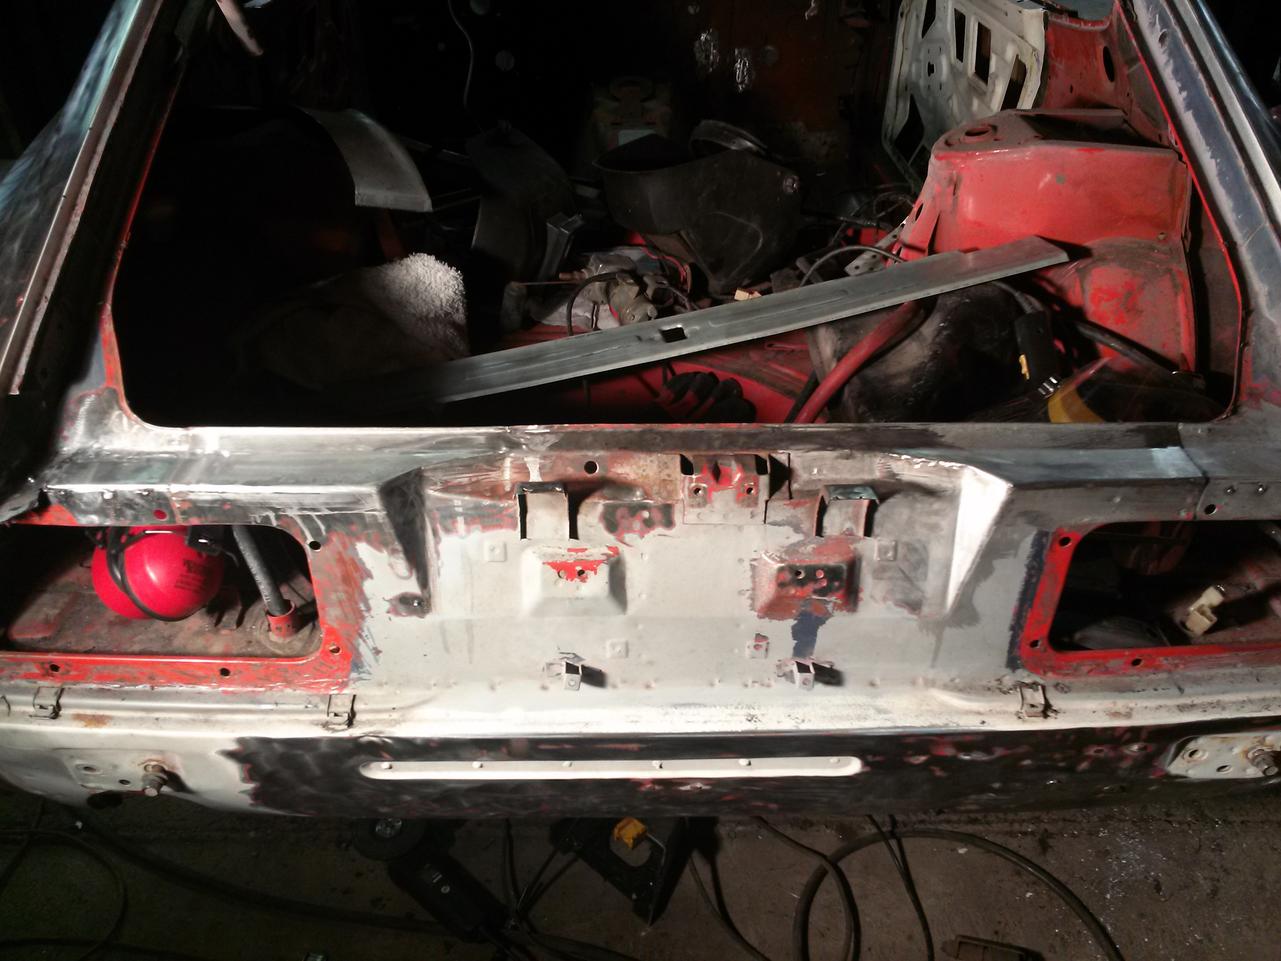
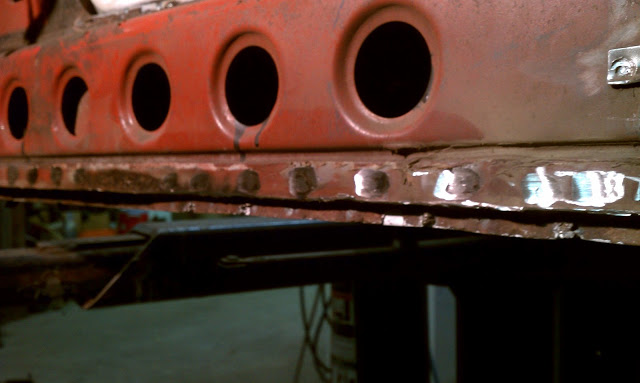
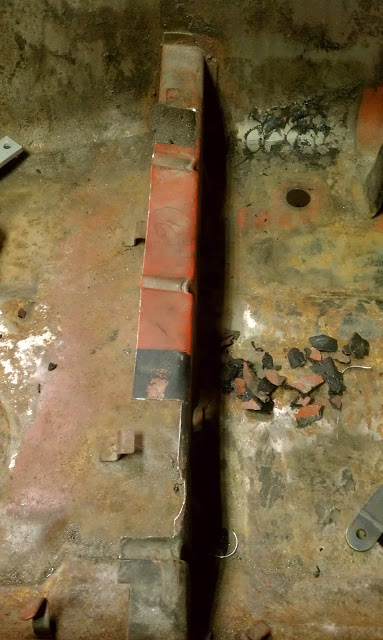
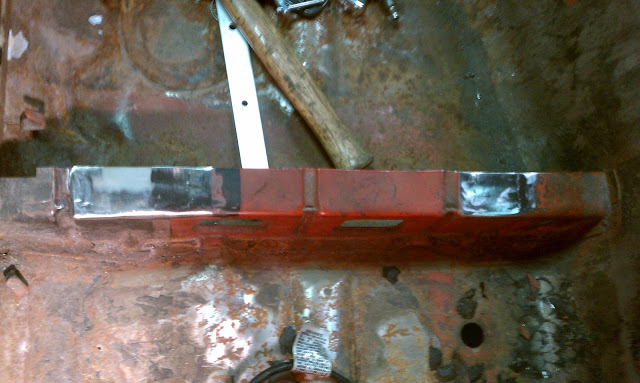
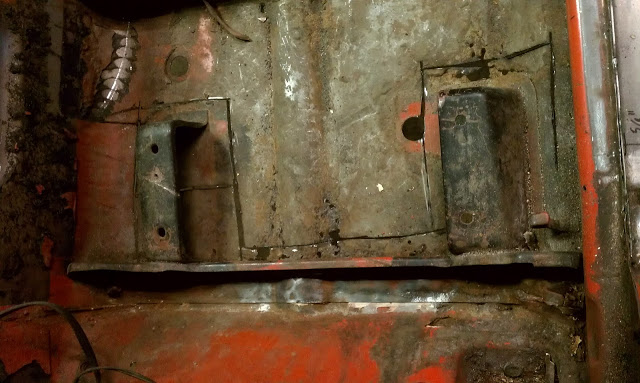
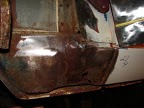
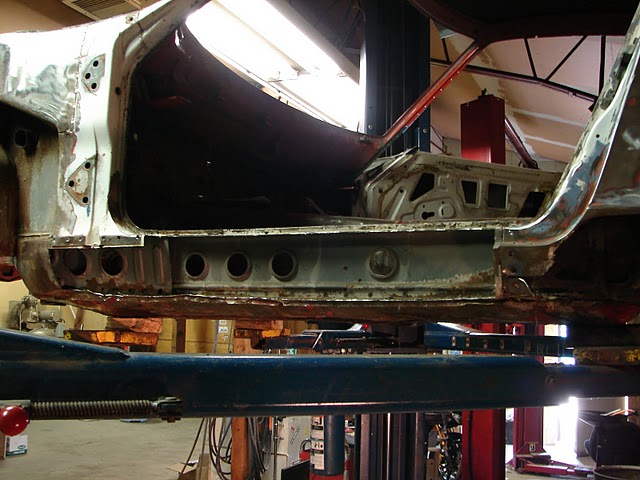
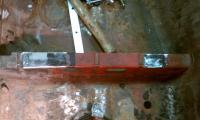
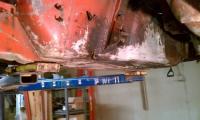
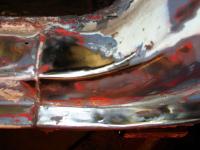
Well, I'm really ashamed to admit it, but I got burnt out and ran into frustrations with metal fab for a while, so I basically took a year off from the restoration. I recently got back in the game and I'm building up confidence again on my skills. I wish I had a grandpa to guide me in my ways! Anyways, working on the rear trunk sill. Hope to have it cleaned up and finished in the next month maybe. Comments appreciated!


-
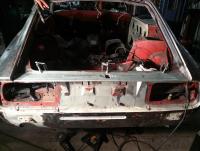
And it's out! Cutting away at the front seat mount Front seat mount out! And removing the remainder with grinders etc. to take out spot welds

-
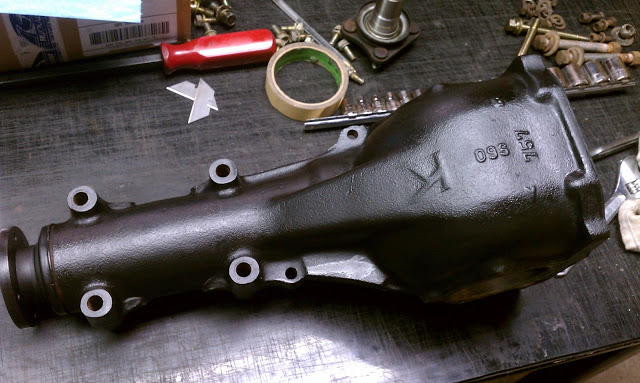
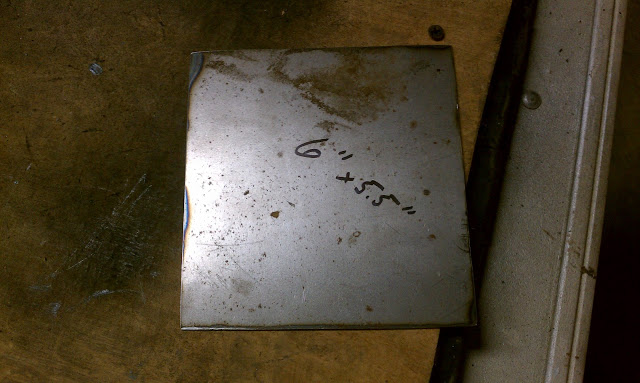
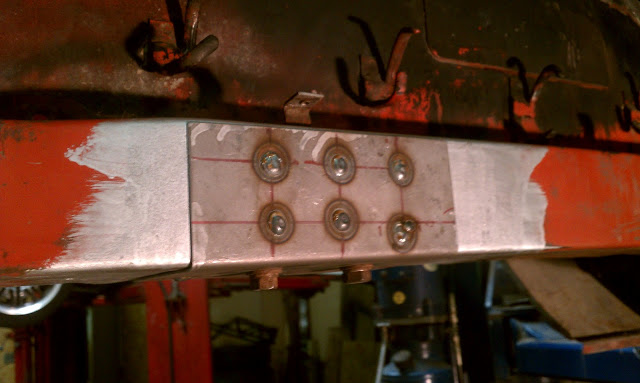
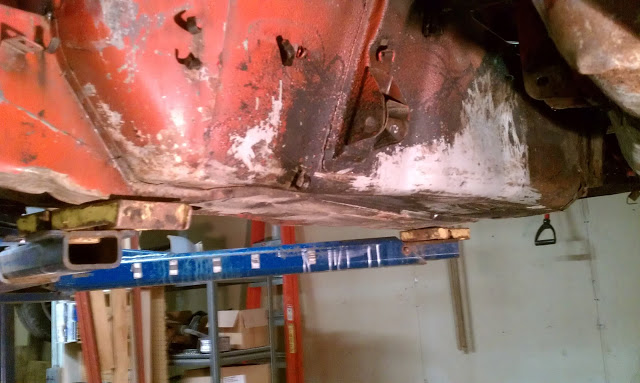
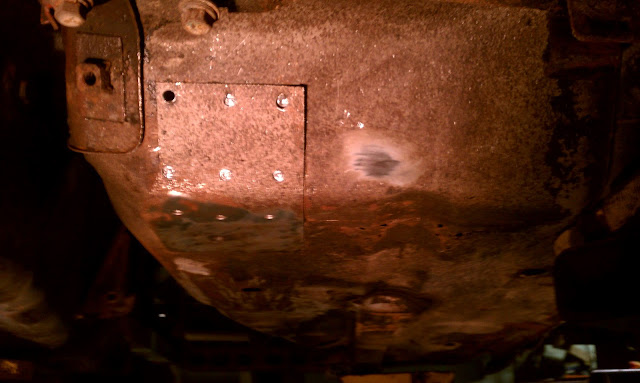
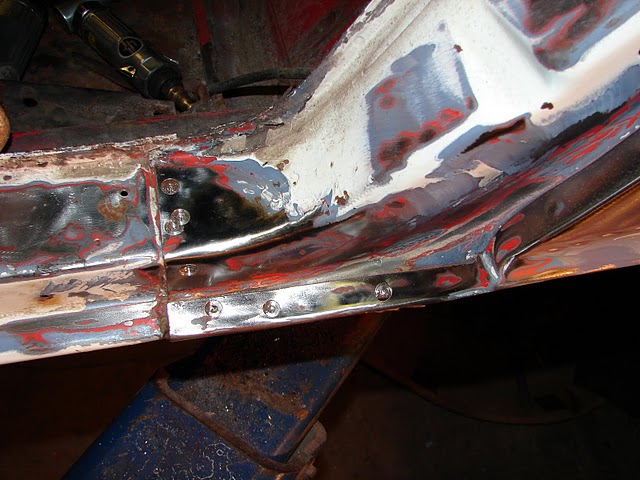
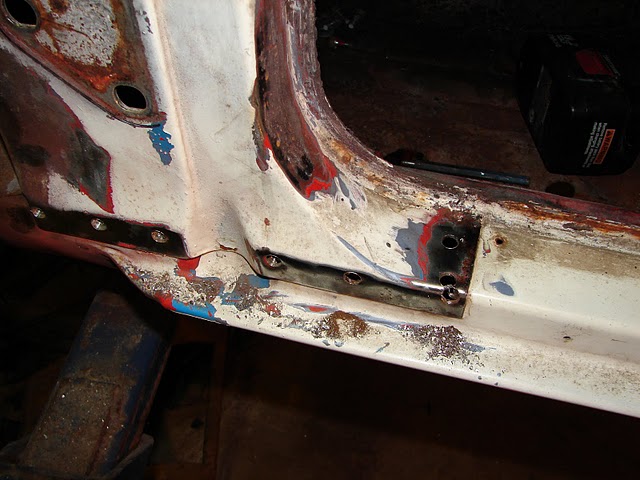
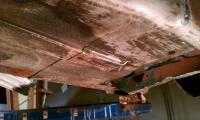
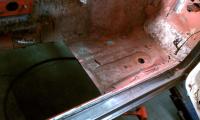
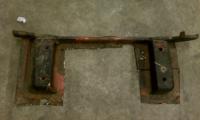
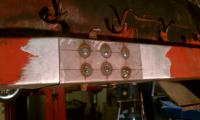
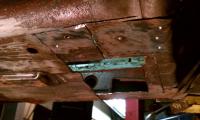
Wow, it's depressing to see that it has been over a year since I last update this thread! Admittedly, I got caught up in work and burnt out working on the car, so I had some months of no progress. However, I've gotten back at it. A few pics for you guys that are interested: I got the rear diff all cleaned up and POR-15 coated. I found that it's a 4.11 rear end! It looks good though! Some fat bastard must have abused this car, because the seat rails had been broken and cut out All fixed! Since the front swaybar is about 1" (I'm guessing larger than stock) I decided I needed re-enforcement plates: Plates formed and spot welded in. I plan to do some TIG welding around the perimeter just to seal it up Got burnt out from doing rocker panels. That was a horrible place to start! So, instead I decided to tackle the floor panels Part of the reason I am replacing the floor pans is because they are somewhat rusty. Another reason is the damage that was somehow done to the passenger side of the car. You can see how the floor is punched up in this picture You can see in this picture that I cleaned up the undercoating pretty easily by using my needle scaler. I also started to drill out the spot welds on this re-enforcement panel. I later decided to scrap it because drilling out the spot welds wasn't worth it. Here I said 'screw it' and just started cutting out the rear seat mount to preserve it The rear mount is almost out here


-
I can second this. Good luck!
-
An inspiration to us all! Thanks for sharing, Mike!
-
Those lines look great! My car had a total of 7-8 colors on it, including various primer stages etc. and some of the body lines are dented up, etc. I hope I can come out looking that good!
-
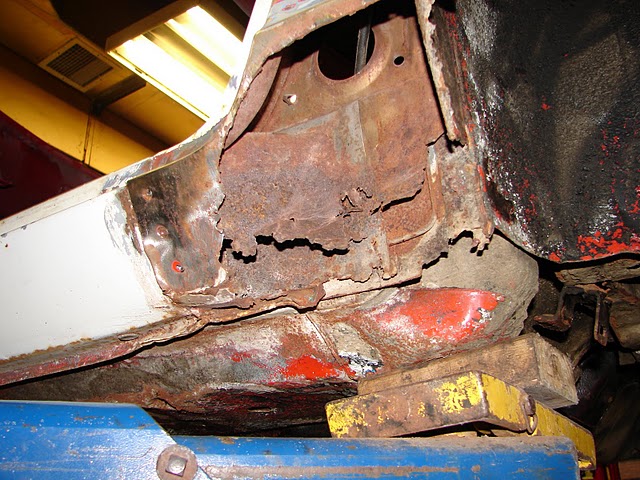
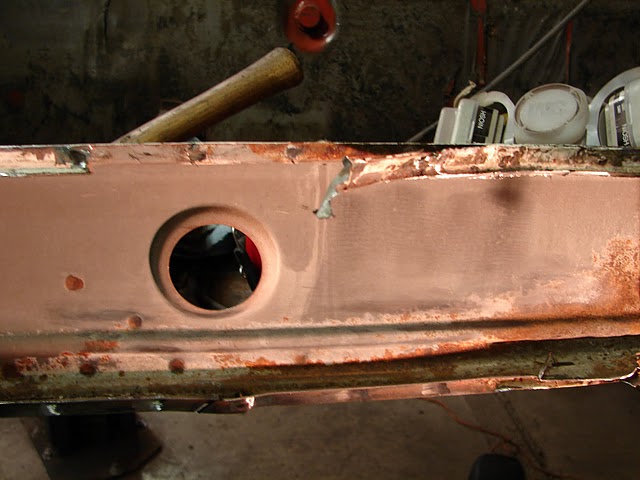
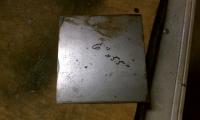
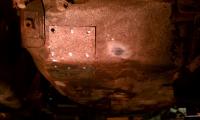
Got a bit more work done this past week and didn't get a chance to upload any photos. Trying to cut away to solid metal far enough that I can treat any surface rust that exists: [ATTACH=CONFIG]48054[/ATTACH] I assume even any "rust free" Datsun has surface rust like this on the back of all of the panels. It's only a matter of time until it eventually rusts through. [ATTACH=CONFIG]48055[/ATTACH]
-
Crazy, just saw this car on ebay since it's local to me. Strange this car ended up in Missouri...
-
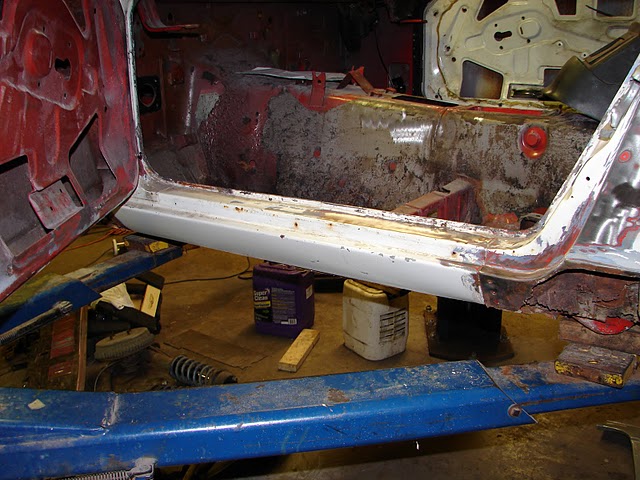
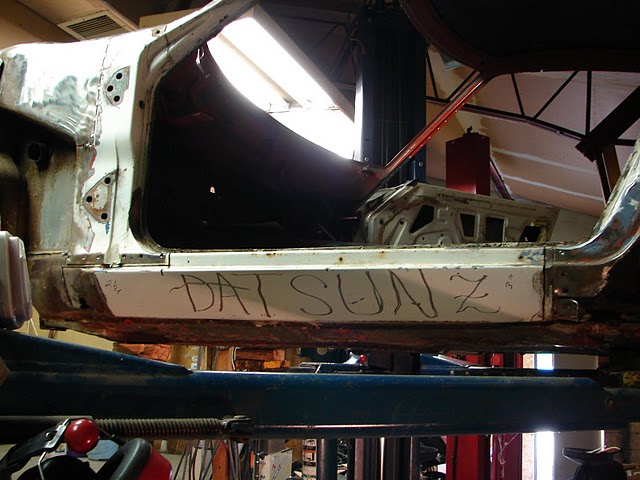
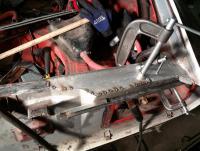
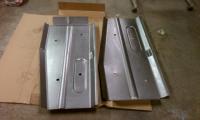
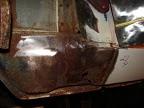
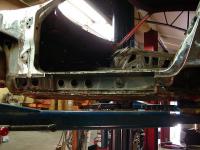
Had some company in town over the weekend, so I'm a few days behind, but I finally got the entire rocker panel cut out of the driver side. I am working on fabbing up the metal portions that are heavily rusted underneath, and cleaning up the entire area for weldable primer/POR15. Should be able to start fitting in the new rocker sometime this week. It's amazing how much I learned the second time around. It was much easier to remove the old rocker by cutting it into small, manageable pieces. When removing all of the individual pieces, it really helps preserve the material that will be needed to weld the new rocker in later.

-
Yeah, why, is that some rare item?
-
If you're referring to the actual switch that was posted above by Yugo, no, that won't affect when the key is able to be pulled out.
-
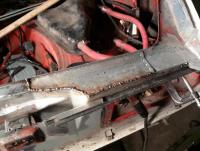
I was able to get a bit more work done this weekend. I finished up the welding on the passenger side rocker panel, and got a good start on the driver side. Here are some pics: Before cutting anything out: Removing the paint to expose the spot welds I needed to drill out: Process of drilling out the spot welds: Expressing some creativity with the grinder while cutting the panel out :-) Most of the rocker removed. I decided to just cut things out in pieces and then go back and grind off all of the parts I had access to, rather than spending hours with the spot weld drill bit and doing more damage to the parent metal: This picture didn't turn out too well, but if you squint your eyes enough, you can see that I'm not even making a scratch on the parent metal (inner rocker panel). This way is working out much better for me! I hope to have the rest of this cleaned up sometime this week: Hope you guys enjoy! -Jeff


-
Decoy, my Z is '73 body, but has a 2.8 litre with the earlier carbs.
-
Is there an acceptable way to post up a WTB here? Not sure if I need a high post count or anything, but if anyone can help me out on getting the lower grill mount (the one that is welded to the lower core support) mine is cut off and I'd like to actually replace it for the restoration.
-
That's one of the guys that I share my shop with. They are pretty cool cars; rare and they drive much like the 240 did for me when I bought it and drove it home. His is a '99 I think, so it only has the s50 in it (around 235 hp) but a fun, cool car. I too have been looking around for s2k's, but they jumped up in price so much since they were killed!