jepherz
Free Member
-
Joined
-
Last visited
Everything posted by jepherz
-
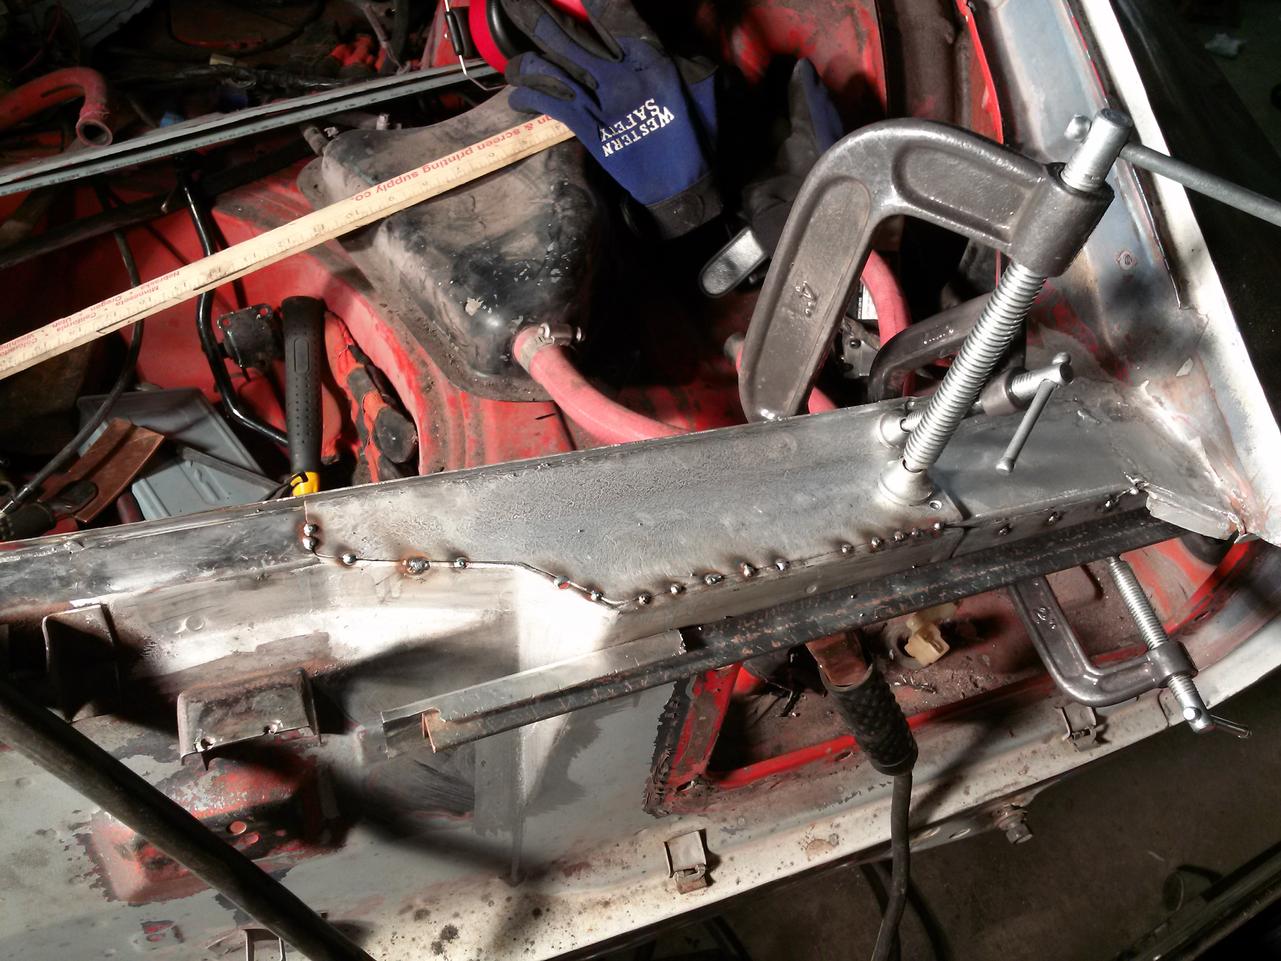
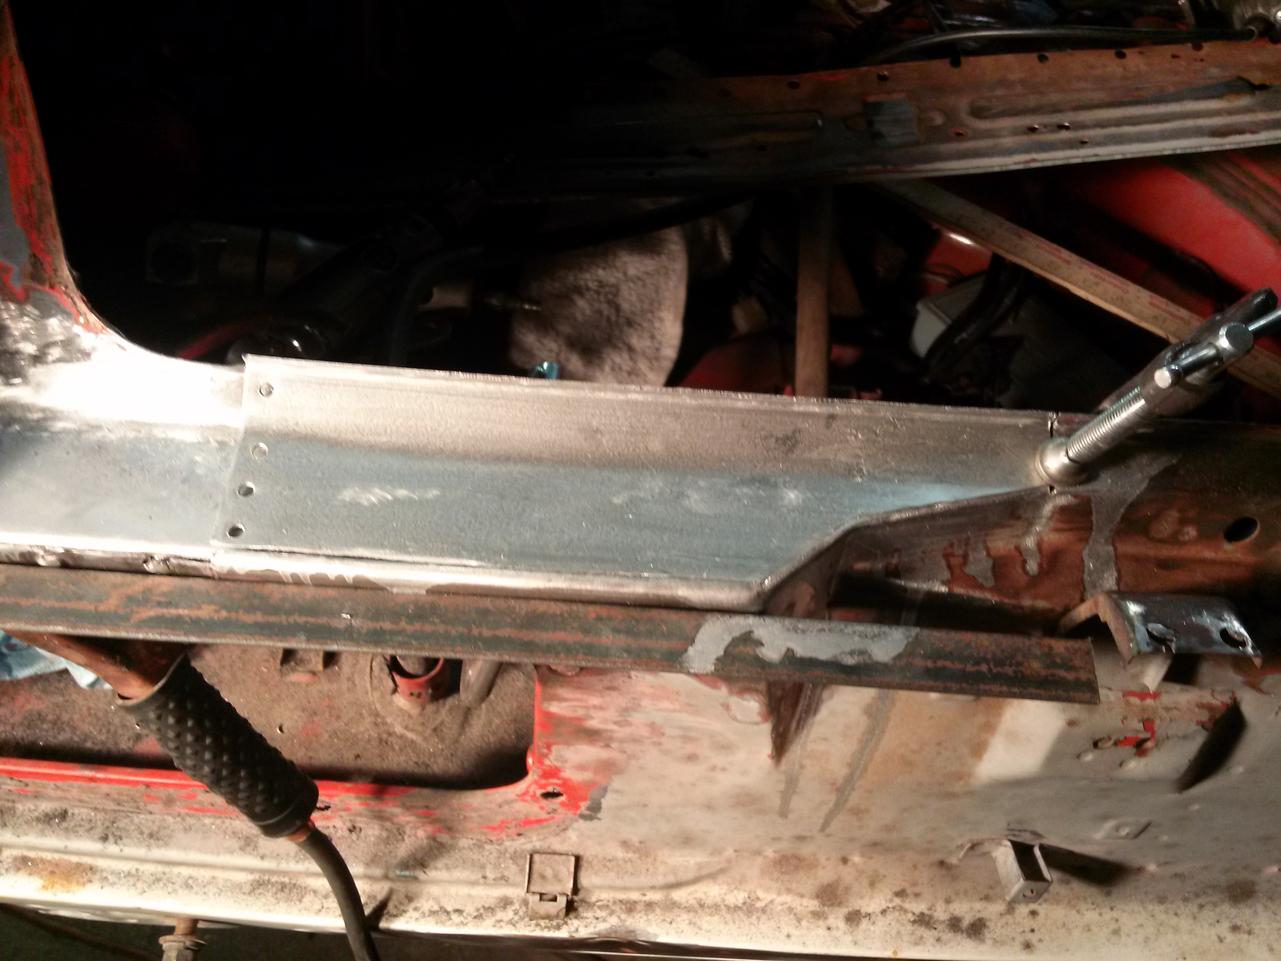
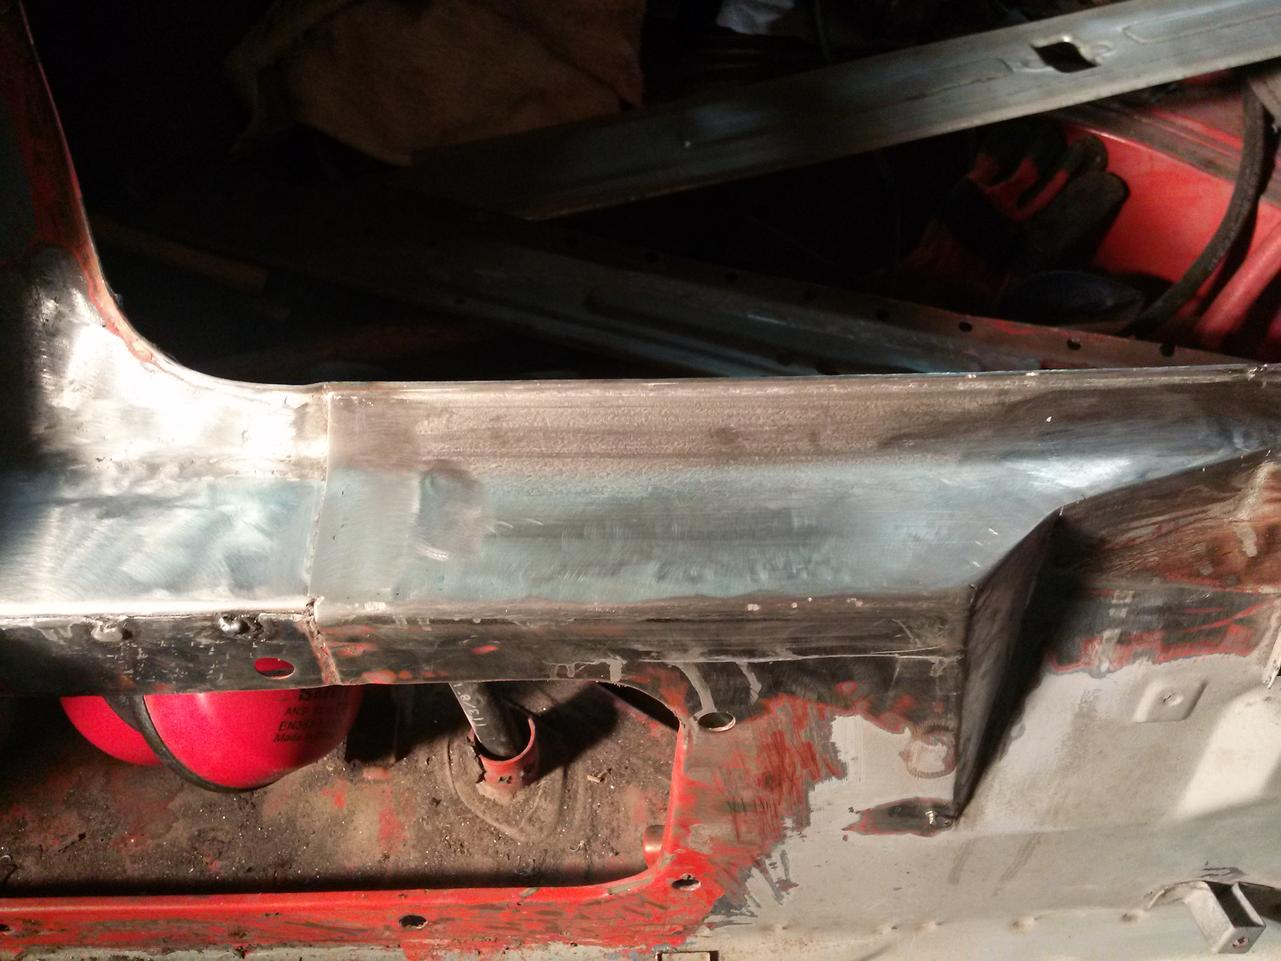
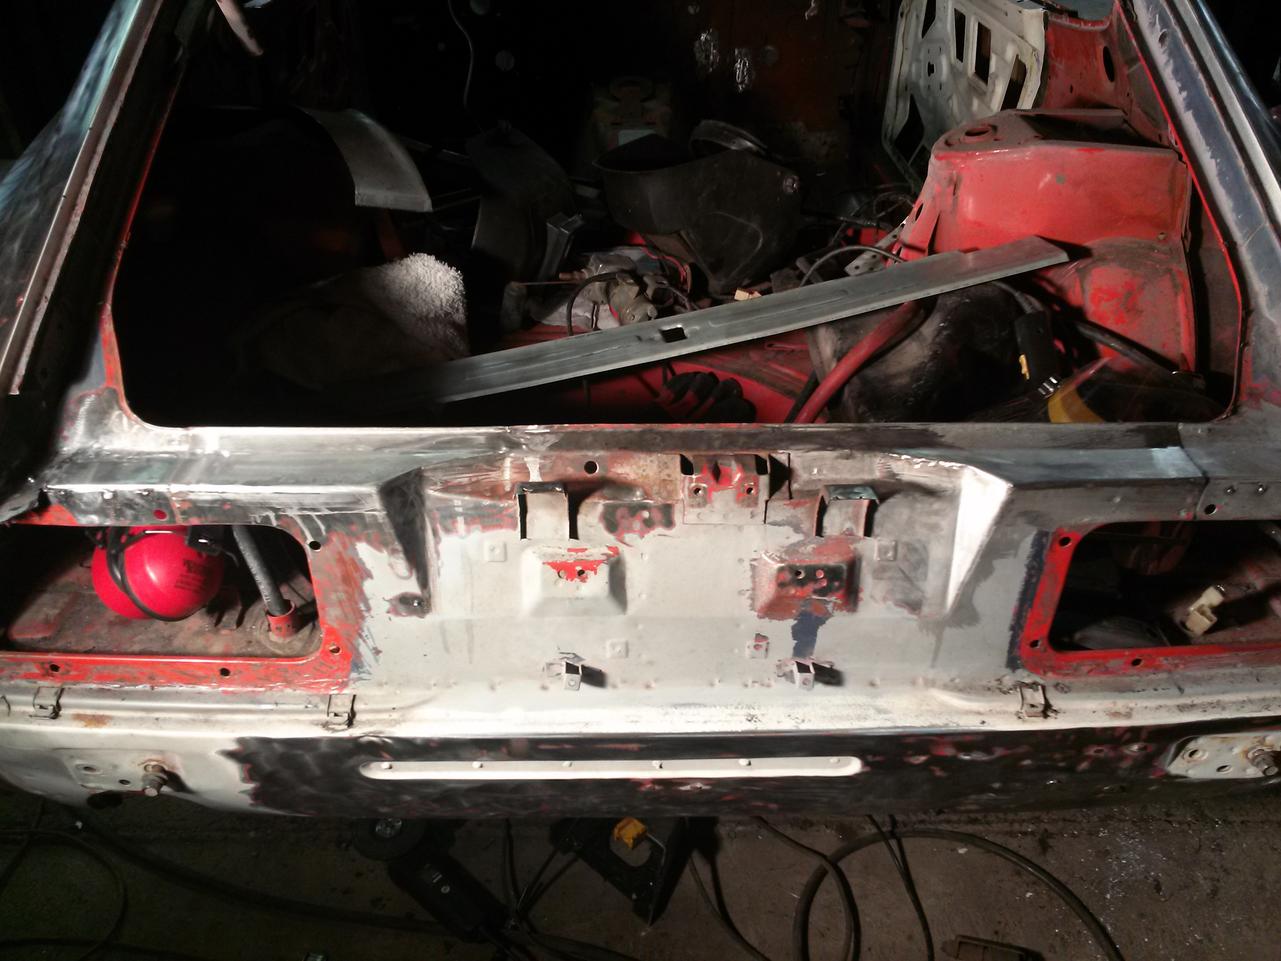
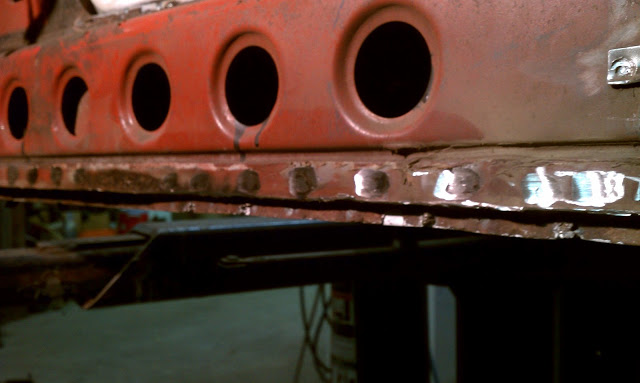
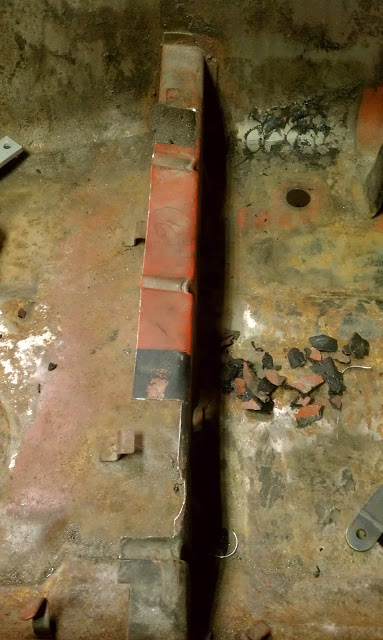
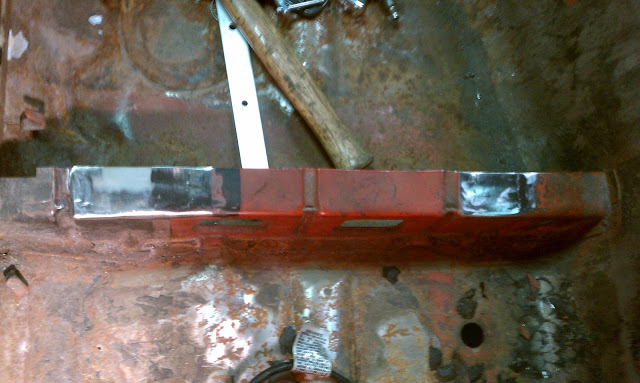
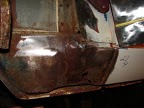
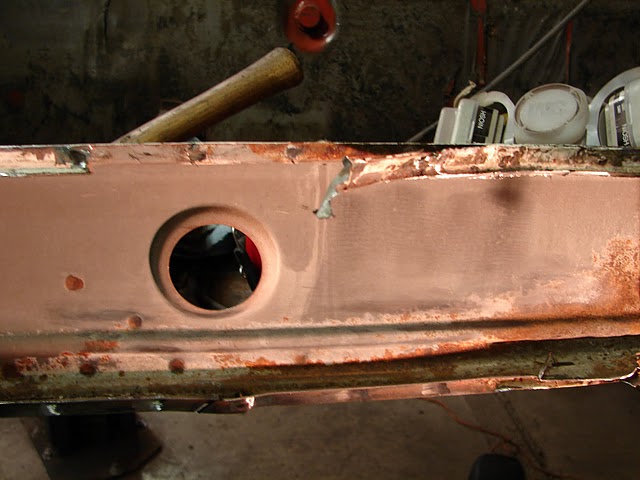
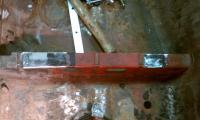
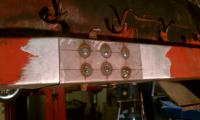
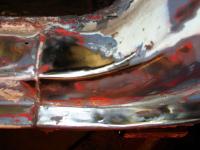
Well, I'm really ashamed to admit it, but I got burnt out and ran into frustrations with metal fab for a while, so I basically took a year off from the restoration. I recently got back in the game and I'm building up confidence again on my skills. I wish I had a grandpa to guide me in my ways! Anyways, working on the rear trunk sill. Hope to have it cleaned up and finished in the next month maybe. Comments appreciated!


-
And it's out! Cutting away at the front seat mount Front seat mount out! And removing the remainder with grinders etc. to take out spot welds

-
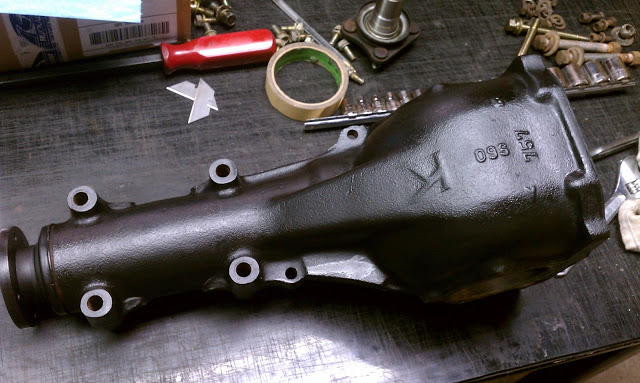
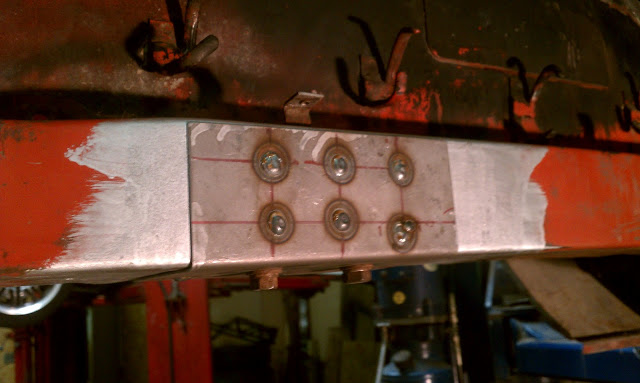
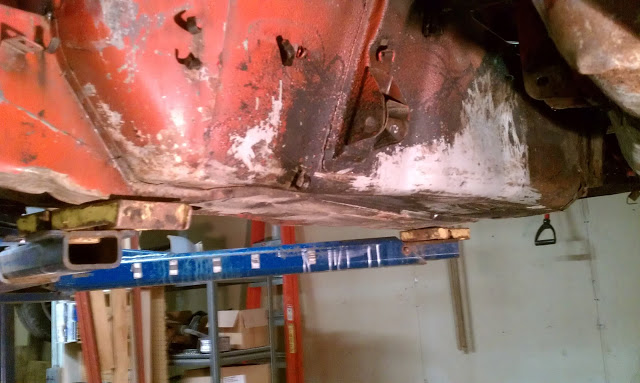
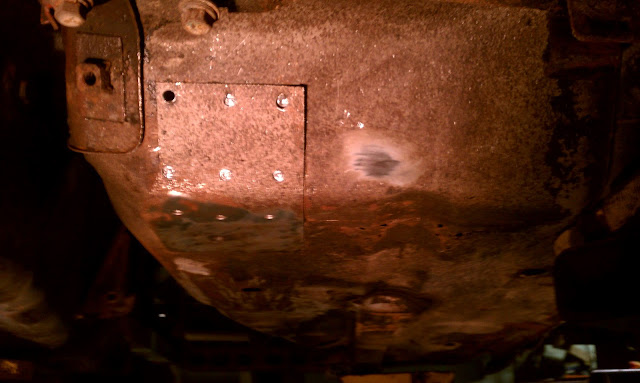
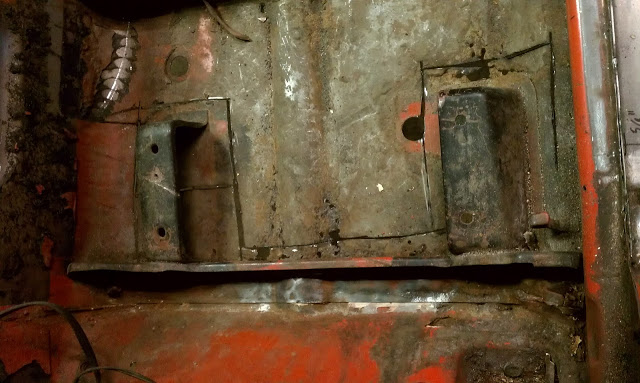
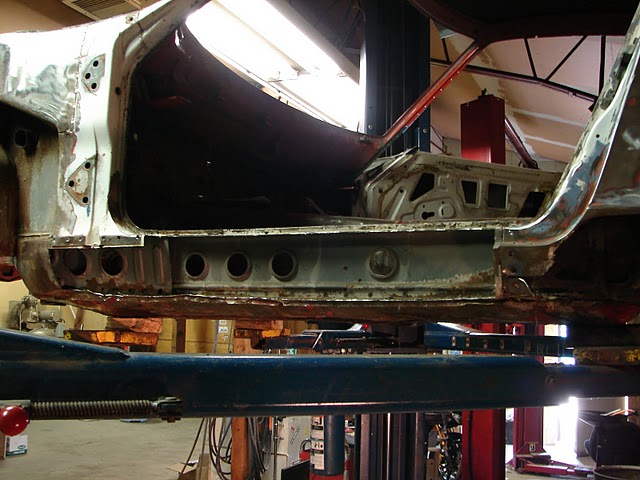
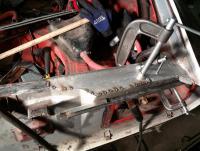
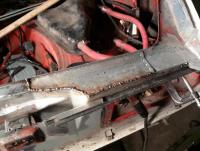
Wow, it's depressing to see that it has been over a year since I last update this thread! Admittedly, I got caught up in work and burnt out working on the car, so I had some months of no progress. However, I've gotten back at it. A few pics for you guys that are interested: I got the rear diff all cleaned up and POR-15 coated. I found that it's a 4.11 rear end! It looks good though! Some fat bastard must have abused this car, because the seat rails had been broken and cut out All fixed! Since the front swaybar is about 1" (I'm guessing larger than stock) I decided I needed re-enforcement plates: Plates formed and spot welded in. I plan to do some TIG welding around the perimeter just to seal it up Got burnt out from doing rocker panels. That was a horrible place to start! So, instead I decided to tackle the floor panels Part of the reason I am replacing the floor pans is because they are somewhat rusty. Another reason is the damage that was somehow done to the passenger side of the car. You can see how the floor is punched up in this picture You can see in this picture that I cleaned up the undercoating pretty easily by using my needle scaler. I also started to drill out the spot welds on this re-enforcement panel. I later decided to scrap it because drilling out the spot welds wasn't worth it. Here I said 'screw it' and just started cutting out the rear seat mount to preserve it The rear mount is almost out here


-
I can second this. Good luck!
-
An inspiration to us all! Thanks for sharing, Mike!
-
Those lines look great! My car had a total of 7-8 colors on it, including various primer stages etc. and some of the body lines are dented up, etc. I hope I can come out looking that good!
-
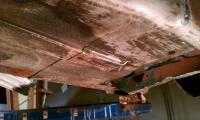
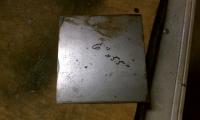
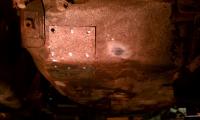
Got a bit more work done this past week and didn't get a chance to upload any photos. Trying to cut away to solid metal far enough that I can treat any surface rust that exists: [ATTACH=CONFIG]48054[/ATTACH] I assume even any "rust free" Datsun has surface rust like this on the back of all of the panels. It's only a matter of time until it eventually rusts through. [ATTACH=CONFIG]48055[/ATTACH]
-
Crazy, just saw this car on ebay since it's local to me. Strange this car ended up in Missouri...
-
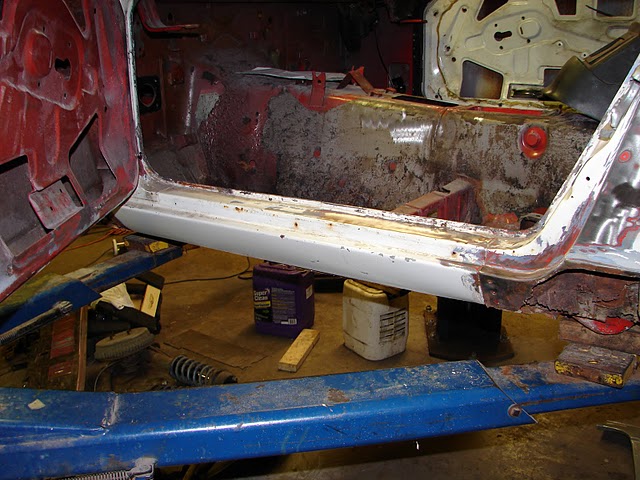
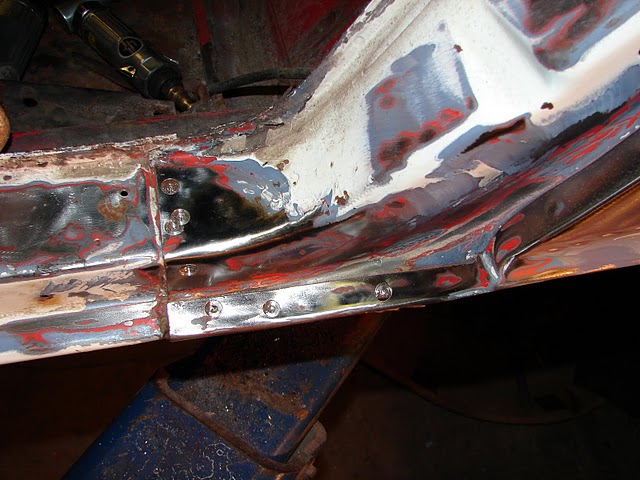
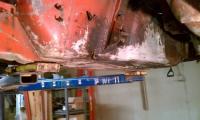
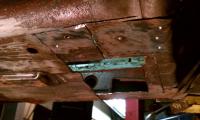
Had some company in town over the weekend, so I'm a few days behind, but I finally got the entire rocker panel cut out of the driver side. I am working on fabbing up the metal portions that are heavily rusted underneath, and cleaning up the entire area for weldable primer/POR15. Should be able to start fitting in the new rocker sometime this week. It's amazing how much I learned the second time around. It was much easier to remove the old rocker by cutting it into small, manageable pieces. When removing all of the individual pieces, it really helps preserve the material that will be needed to weld the new rocker in later.

-
Yeah, why, is that some rare item?
-
If you're referring to the actual switch that was posted above by Yugo, no, that won't affect when the key is able to be pulled out.
-
I was able to get a bit more work done this weekend. I finished up the welding on the passenger side rocker panel, and got a good start on the driver side. Here are some pics: Before cutting anything out: Removing the paint to expose the spot welds I needed to drill out: Process of drilling out the spot welds: Expressing some creativity with the grinder while cutting the panel out :-) Most of the rocker removed. I decided to just cut things out in pieces and then go back and grind off all of the parts I had access to, rather than spending hours with the spot weld drill bit and doing more damage to the parent metal: This picture didn't turn out too well, but if you squint your eyes enough, you can see that I'm not even making a scratch on the parent metal (inner rocker panel). This way is working out much better for me! I hope to have the rest of this cleaned up sometime this week: Hope you guys enjoy! -Jeff


-
Decoy, my Z is '73 body, but has a 2.8 litre with the earlier carbs.
-
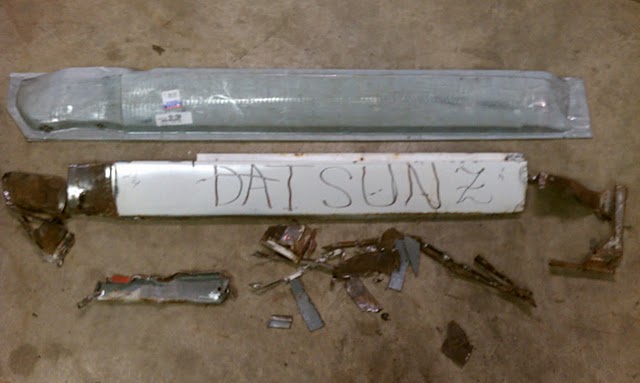
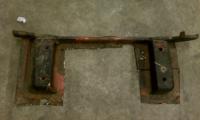
Is there an acceptable way to post up a WTB here? Not sure if I need a high post count or anything, but if anyone can help me out on getting the lower grill mount (the one that is welded to the lower core support) mine is cut off and I'd like to actually replace it for the restoration.
-
That's one of the guys that I share my shop with. They are pretty cool cars; rare and they drive much like the 240 did for me when I bought it and drove it home. His is a '99 I think, so it only has the s50 in it (around 235 hp) but a fun, cool car. I too have been looking around for s2k's, but they jumped up in price so much since they were killed!
-
Good question :-) There was a huge crack down the center and it was all yellowed. I found a brand new one (basically) at the junk yard and was able to get it out by pushing it out with my feet from the inside, as there was only a rubber seal. The one that was in the car wouldn't come out that way as someone had used window weld to hold it in. You can see the crack:
-
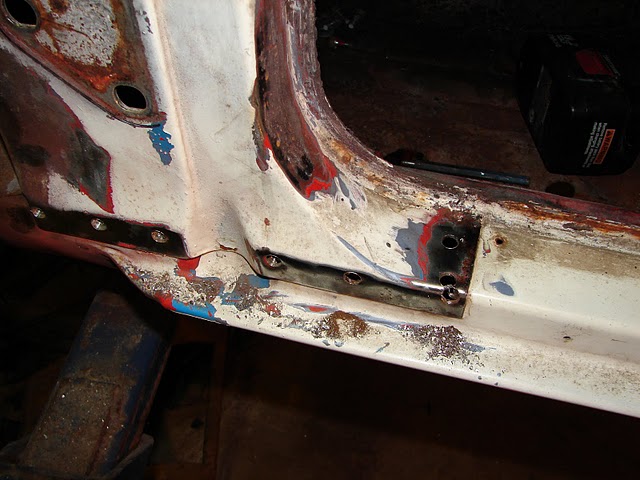
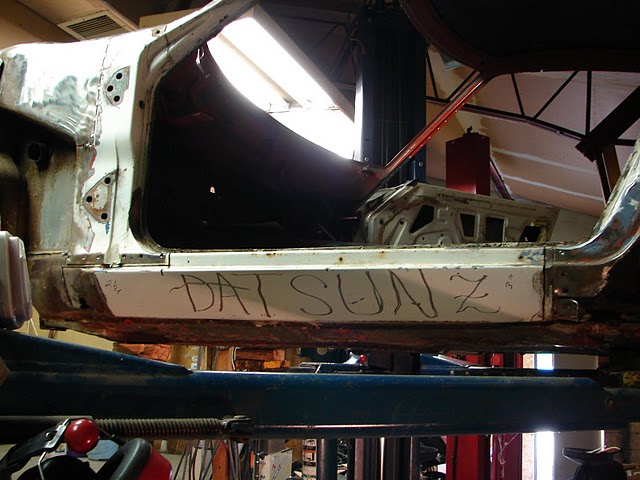
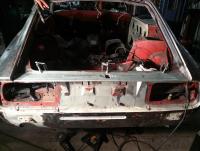
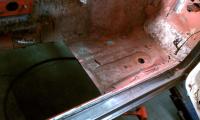
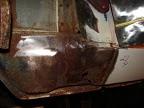
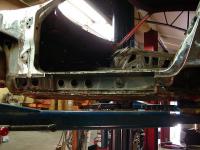
Not sure if this is the correct place for this, but I figured since it's a huge amount of body/paint work, it'll do. Mods, feel free to move it if it's not! I can't believe it's been 6 months since I purchased this car! I figured I'd be done so much sooner... However, it turned out to be in worse shape than I originally thought, and I got hung up on a few things so far. Oh well, at least I'm making some progress. If anyone is interested, I can keep adding pics to this thread. I started cleaning the interior out, and it was nasty: I removed all of the crappy wiring that someone had done: Tore out all of the wet, rotten carpet (the previous owner was parking it with the window open in the winter) *puke*: I started to remove one of the few panels that I knew had a little rust beforehand. This panel commonly rusts out on these cars. I was looking to learn some about major body repair when buying this car: I got ballsy one night when my ADD kicked in. Took out the angle grinder and decided to expose why there was some rust popping through the paint in a few small areas. *eek*: At this point, I knew my perfectionism (or anal-ness) would require me to take this project to a whole new level, so I busted out the windshield: Another ADD session; decided to cut out the rocker panel on the passenger side. The car had been hung up on some huge rock or something at some point, so this whole side was dented as well as rusted through and bondo'd up: Perfectionist again; coating everything in POR15, even the inside of the rocker! Also fixing the dent damage and fabbing up all of the metal that was completely rusted away: Prepping the tank for a POR coating. This is the first time I've used POR correctly with all of their cleaning and acid etch products: Prepping the new rocker panel to go in. Cleaning and acid etch were done before coating the middle area in POR. Outter edges are coated with weldable primer: Marking out some material to cut away and then to fab a replacement: And finally tonight, I started welding the rocker panel in: For all of the pictures, the album should be public here. Enjoy!
-
Looks gorgeous! Any tips on cleaning the interior for paint? Or didn't you do it yourself?
-
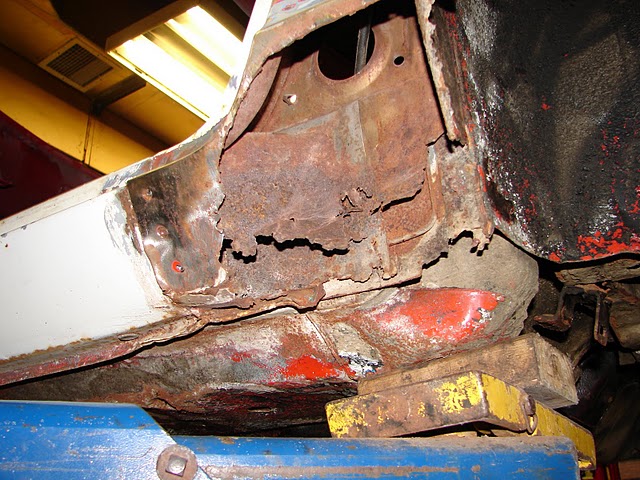
Well, thank you for all of your help on my door alignment issue. I lucked out and found a guy selling a door that needs some rust repair locally for $20. I decided to pick it up and try it since I found a bunch of bondo under the 7 layers of paint on the door that came with my car. I put the new door on and voila! No more alignment problems! The gap is still fairly large at the bottom in my opinion, but I believe they came that way factory. I will put up some pics in the next few days. I'm now looking for help on what to do about the portion of the A and B pillars that meet up with the rocker panels. Mine got a bit destroyed from removing the rocker panels and I'm hoping someone has pictures of a similar repair that they did with small shop fabrication tools and welders. Fingers crossed....
-
Do it! Love the color and I'm thinking about some shade of green like that for mine!
-
Which piece are you talking about? Pics? Is it the one in the wheel well? If so, there's a how-to on it.
-
Ahh, I see Larry, I didn't understand what you were talking about when you said "cracks". I repaired the cracks while both doors were both installed, and neither door had cracks that extended beyond the window trim ledge. I am replacing the outter rocker panel and the few pieces back by the dog leg that have rusted away, but the inner rocker panel is completely OEM. Besides the fit of the curved curners of the door and where they meet the rocker panel, the rocker panel seems pretty spot on as far as I can tell.
-
Well, unfortunately I wasn't able to come to any conclusions tonight. The hinges all looked to have identical dimensions. The only difference I saw at all was the casting differences of the lower hinges. For example, one side had raised lettering, and the other had stamped lettering. Still no idea on the originality of the hinges or the doors. Unfortunately the car was repainted so many times and so shottily that I just cannot tell. One side has white overspray all over the hinges and the other has red and blue? I may have to try and come up with another way to line up this rocker panel as I really need to get moving on this portion of the car. I sure wish I had a better answer...
-
Great, I found his thread http://www.classiczcars.com/forums/showthread.php?24503-Door-hinges&highlight= I'll be making similar measurements in a few hours.
-
Just doing some brainstorming on this subject since I'll have plenty of time before finding the opposing door. Anyways, can anyone shoot any of my assumptions down here? The external of the body of all 70-73 cars is the same. The door support (A pillar) of all 70-73 cars is the same. This means that any 70-71 door+hinge would work fine on any 72-73 and vice-versa. Therefore the problem only arises when you use a 70-71 door with a 72-73 hinge or vice versa. If this is all true, and I do indeed have either a early model door with a later hinge or early model hinge with a later door, I should be able to repair the problem by just putting the other hinge on. Then even if I have an early model door, an early model hinge should fix the problem. I will be pulling off both doors and hinge sets tonight since I know my driver's side to be good, and checking for any differences via measurements. Another solution for my problem would be to face the lower hinge, and a similar solution for those with the opposite problem would be to place a shim in between the hinge and the door support on the car. A few washers may work fine. Although, if the upper hinge is at all different, this would pose a problem as the two hinges may be mis-aligned. Another interesting find was that brand new hinges are available from the Z store, but it lists the same hinge for 70-75... Maybe the difference is actually 240/260 compared to 280's? That would make more sense to me. Maybe someone here is nice enough to take a picture of their 280 hinges for me to look at :-) Again, I will post back up if I find anything out. Thanks for all of your help so far.