Sean240Z
Free Member
-
Joined
-
Last visited
Everything posted by Sean240Z
-
 I made a video summarizing my install of the Silvermine Motors EPS on my 1973 240z. I'm impressed with the kit and 1st impression in the garage is that the system works really well. Just waiting for the salt to be washed off the roads before I pull out my 240z for the season. https://youtu.be/fF24zOops2M
 -
Thank you for the mention. It looks like you did a great job and well documented! I love my S2000 seats and I'm sure you'll enjoy the additional support afforded by your new seats! Cheers,
-
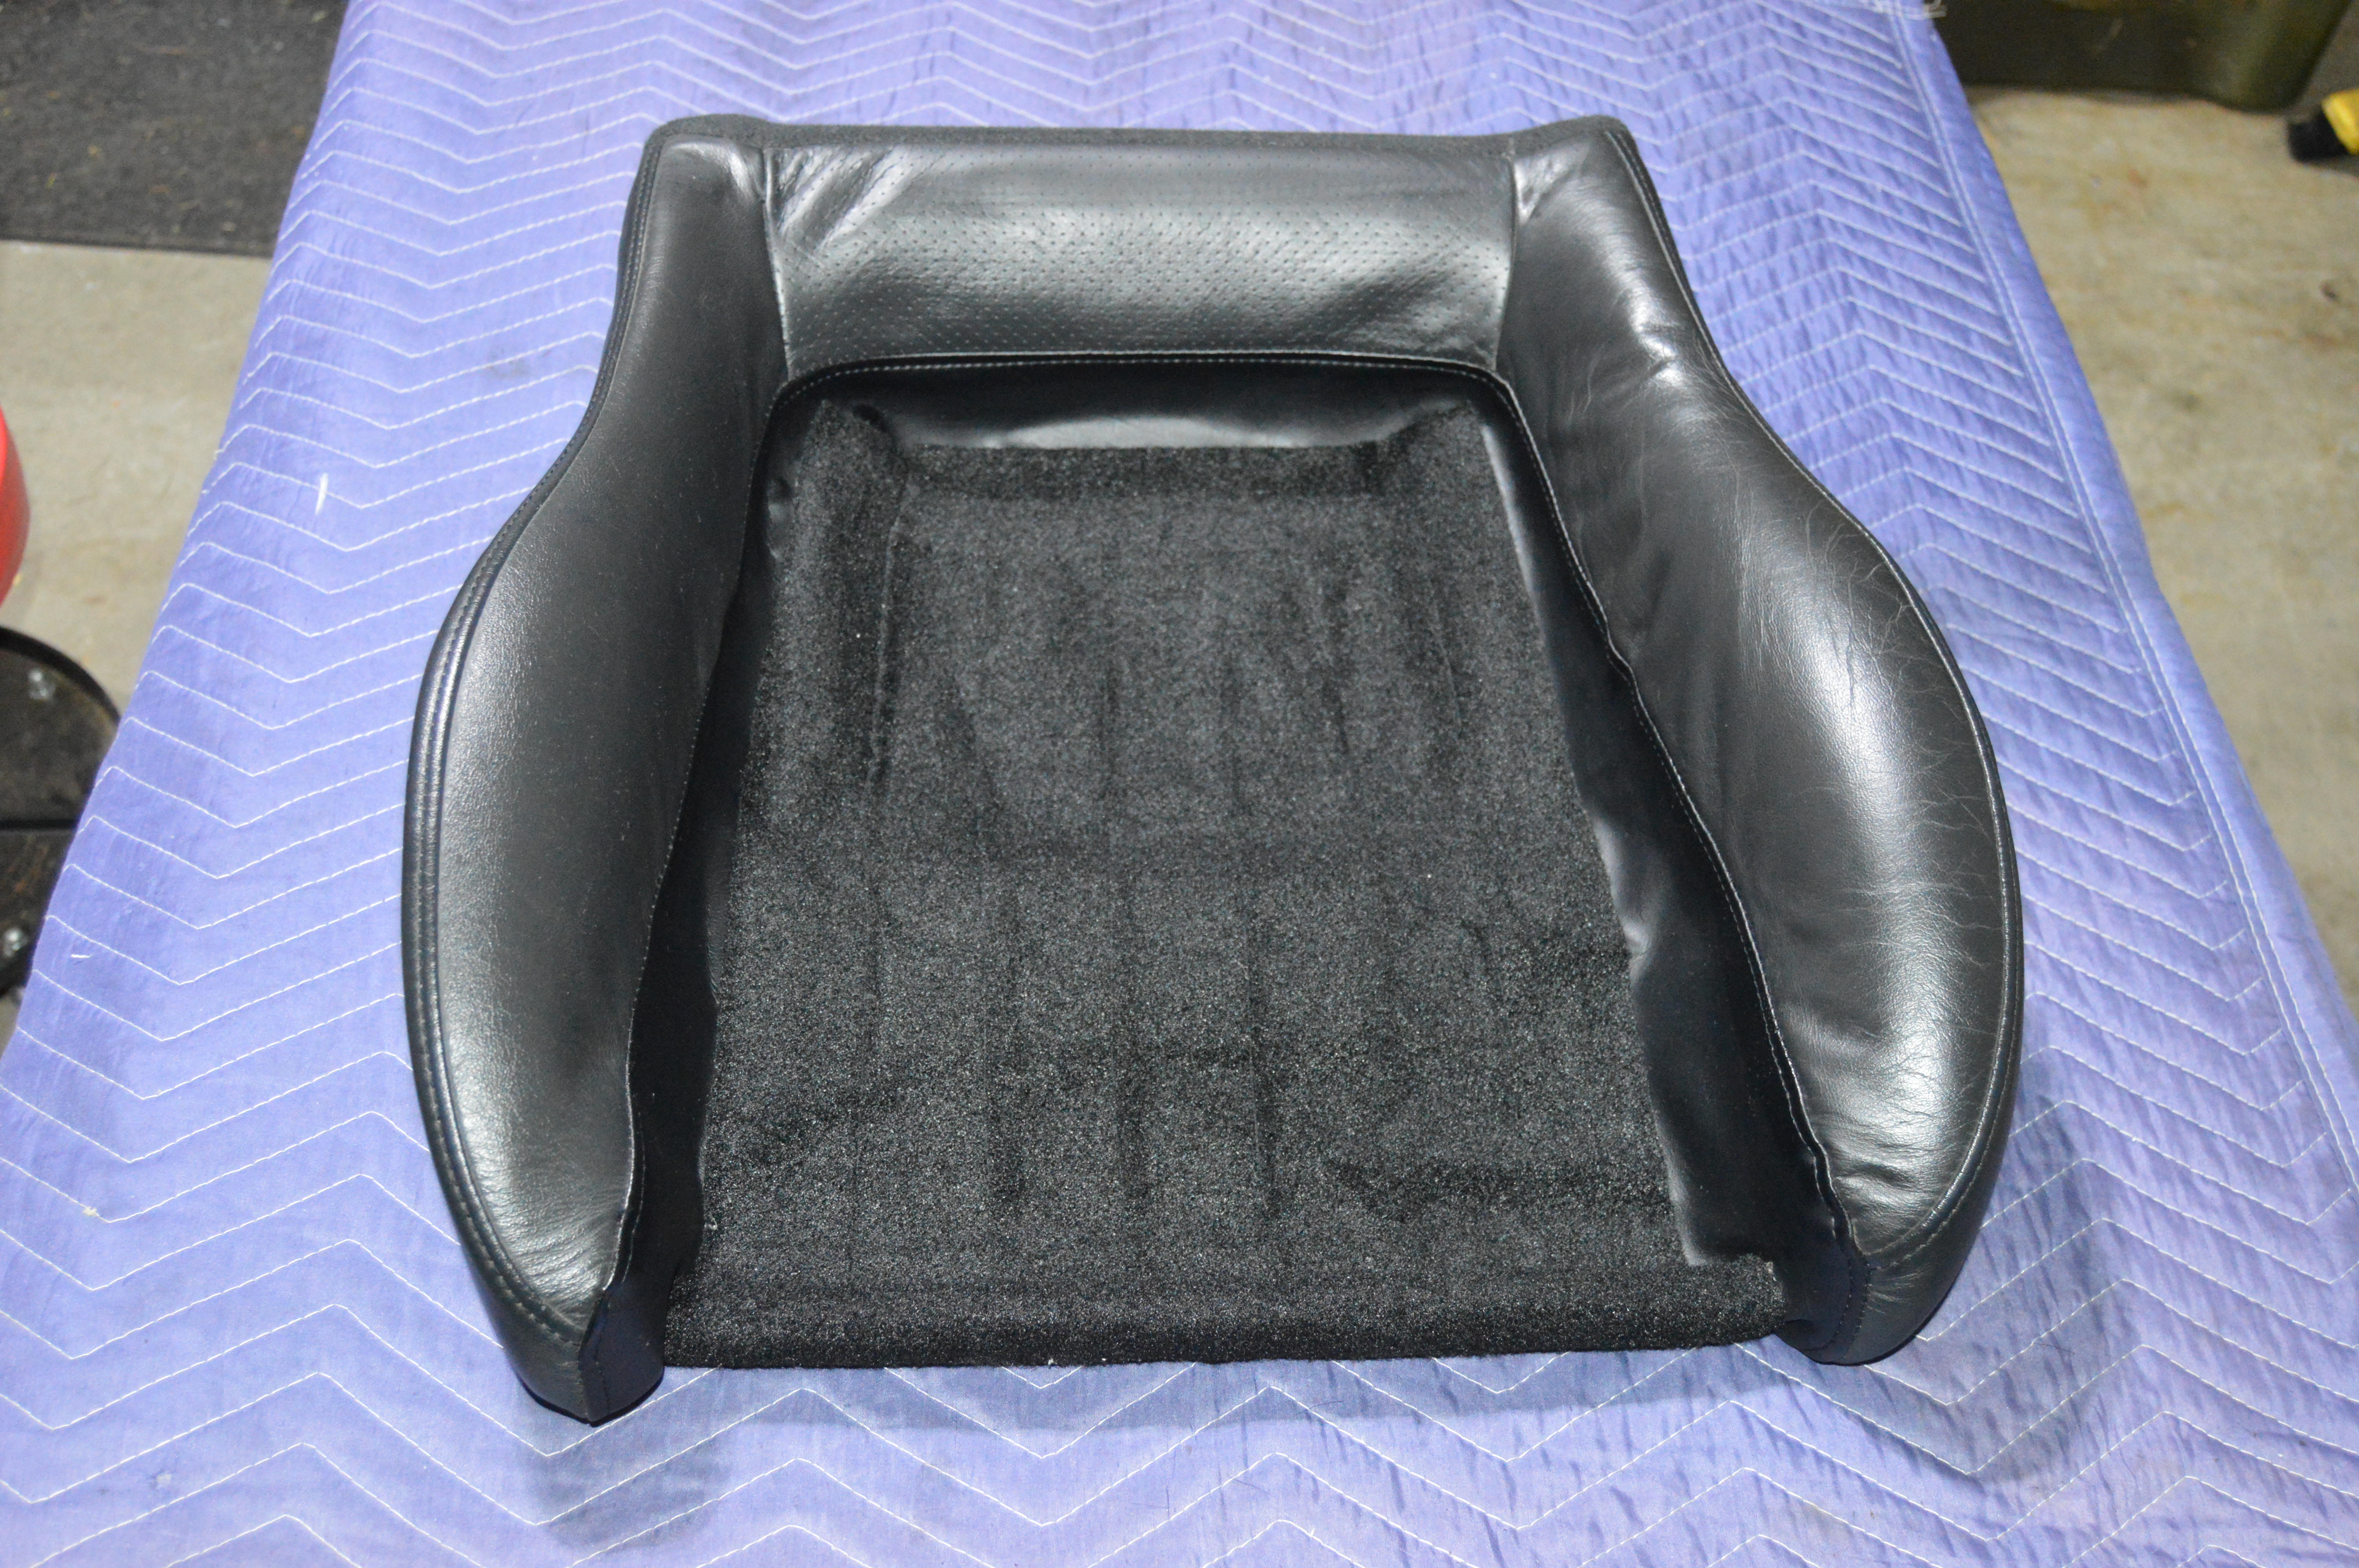
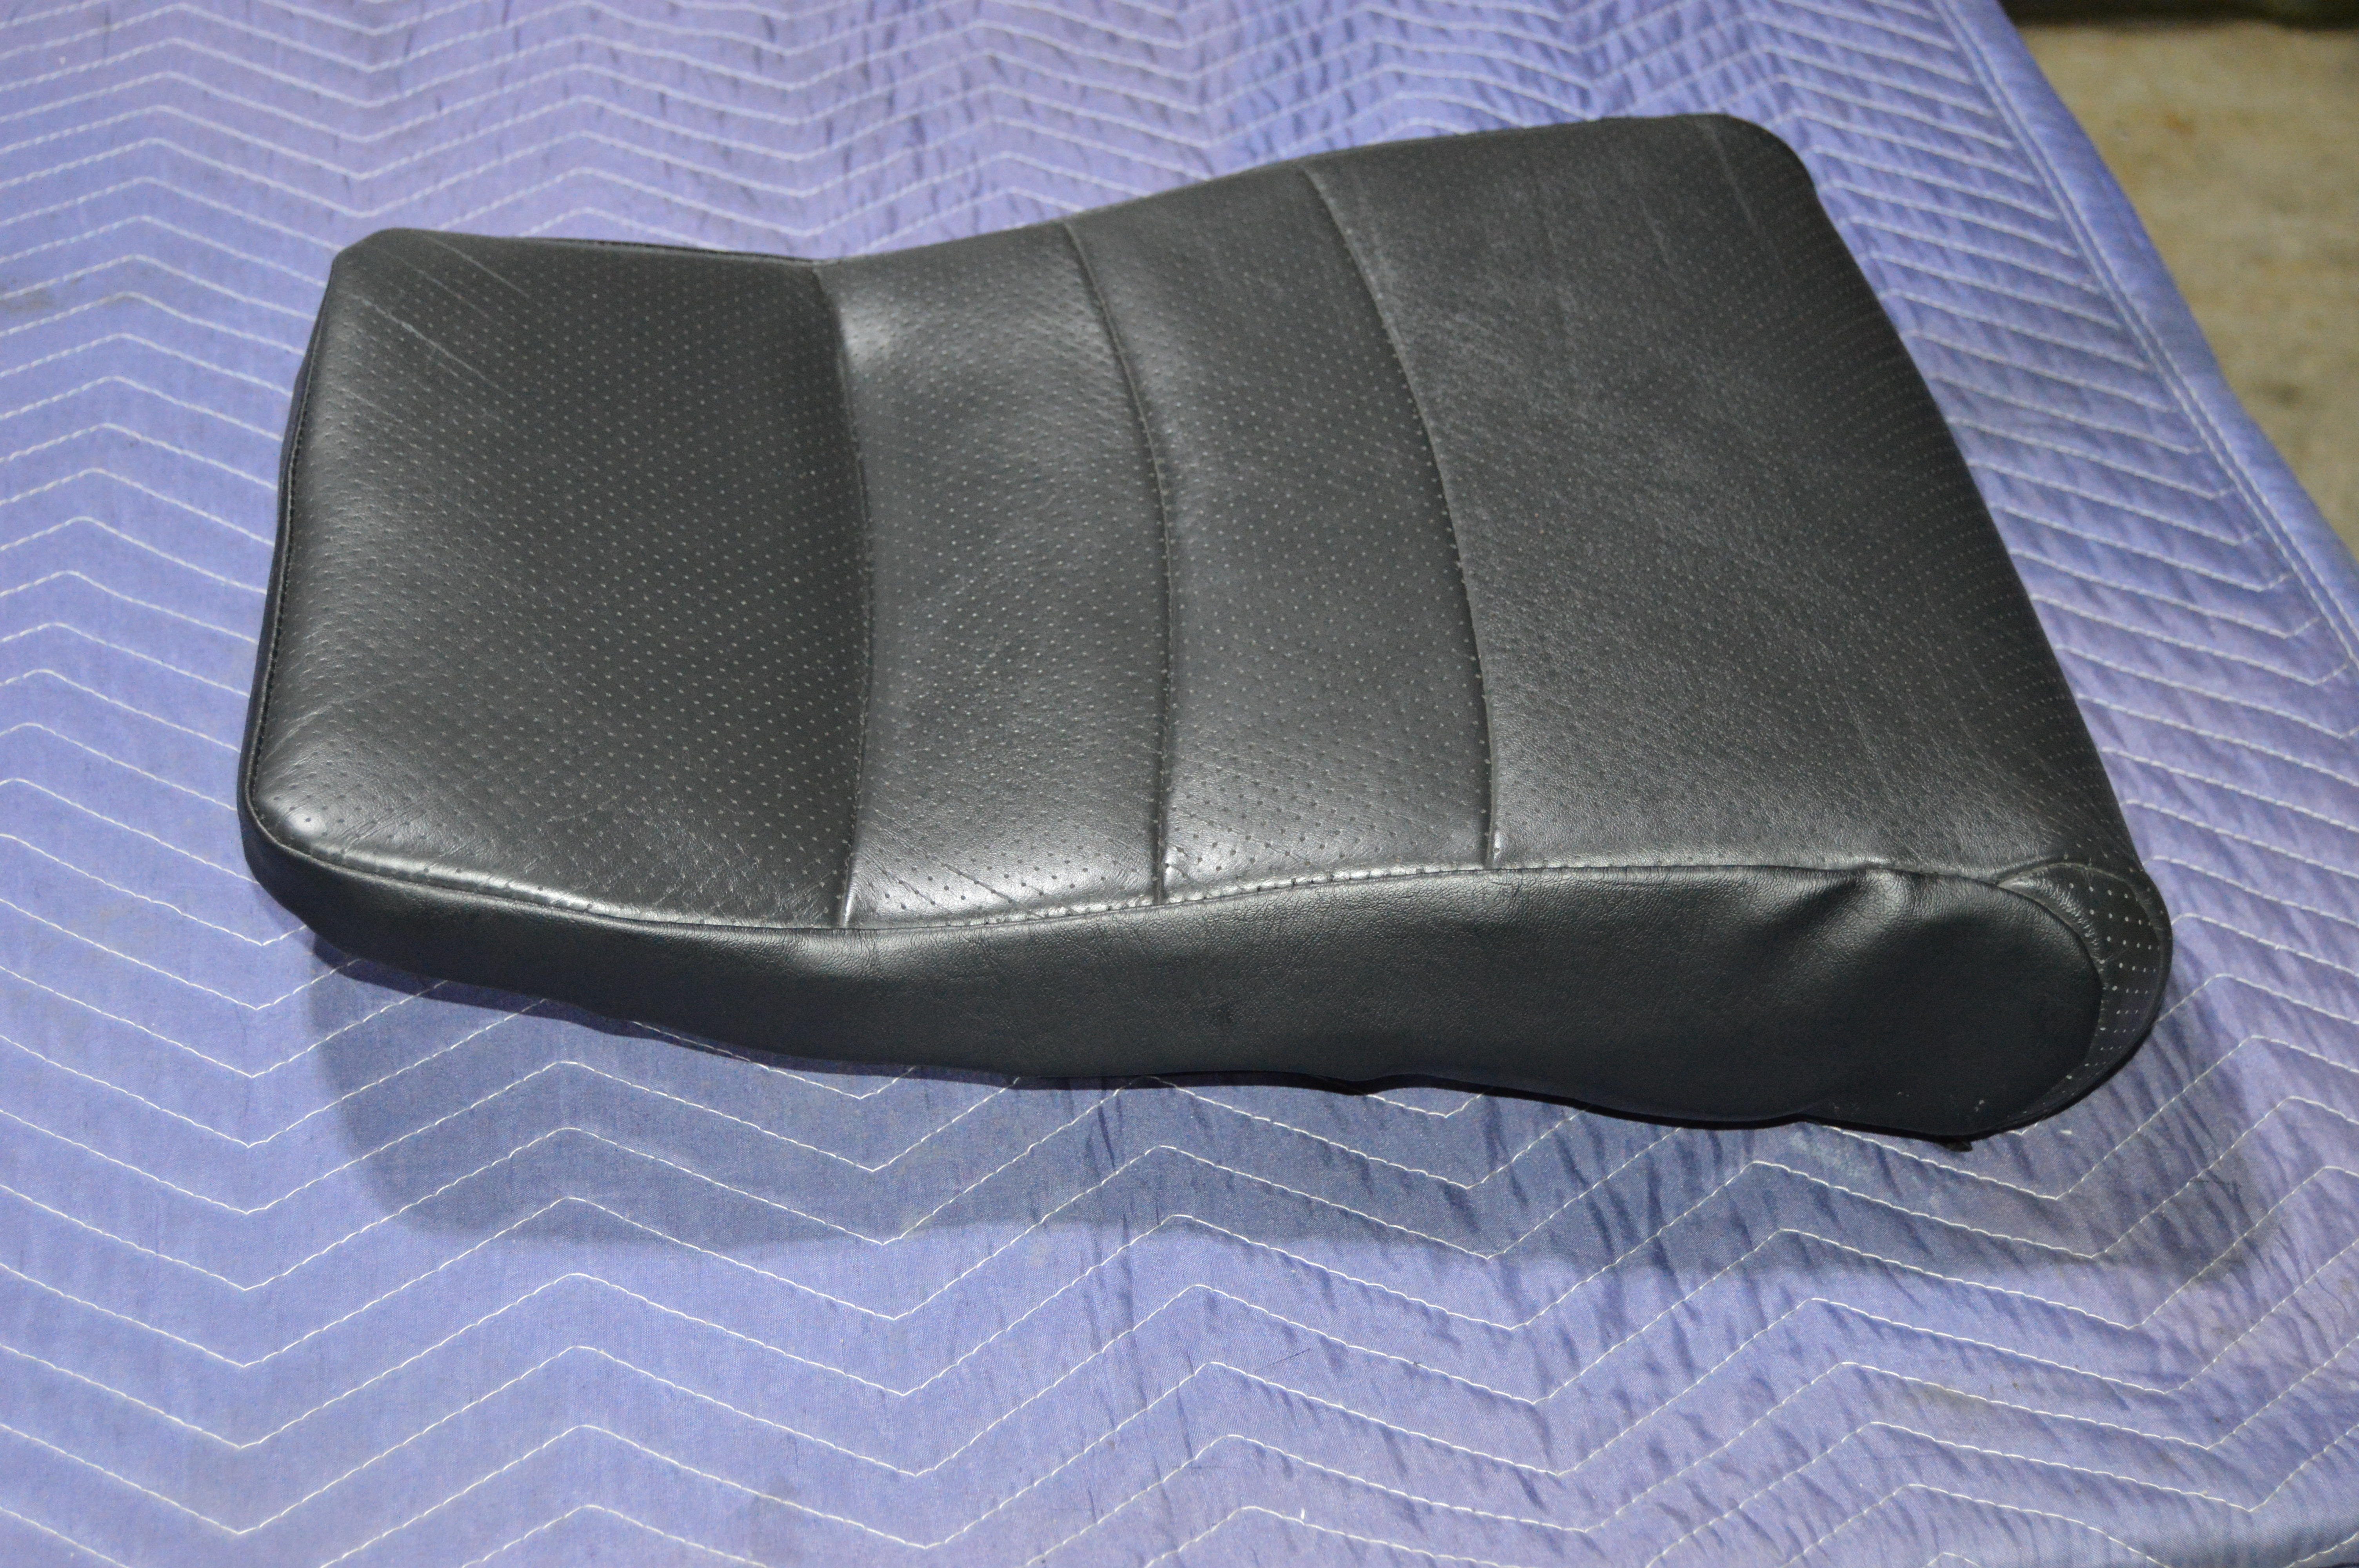
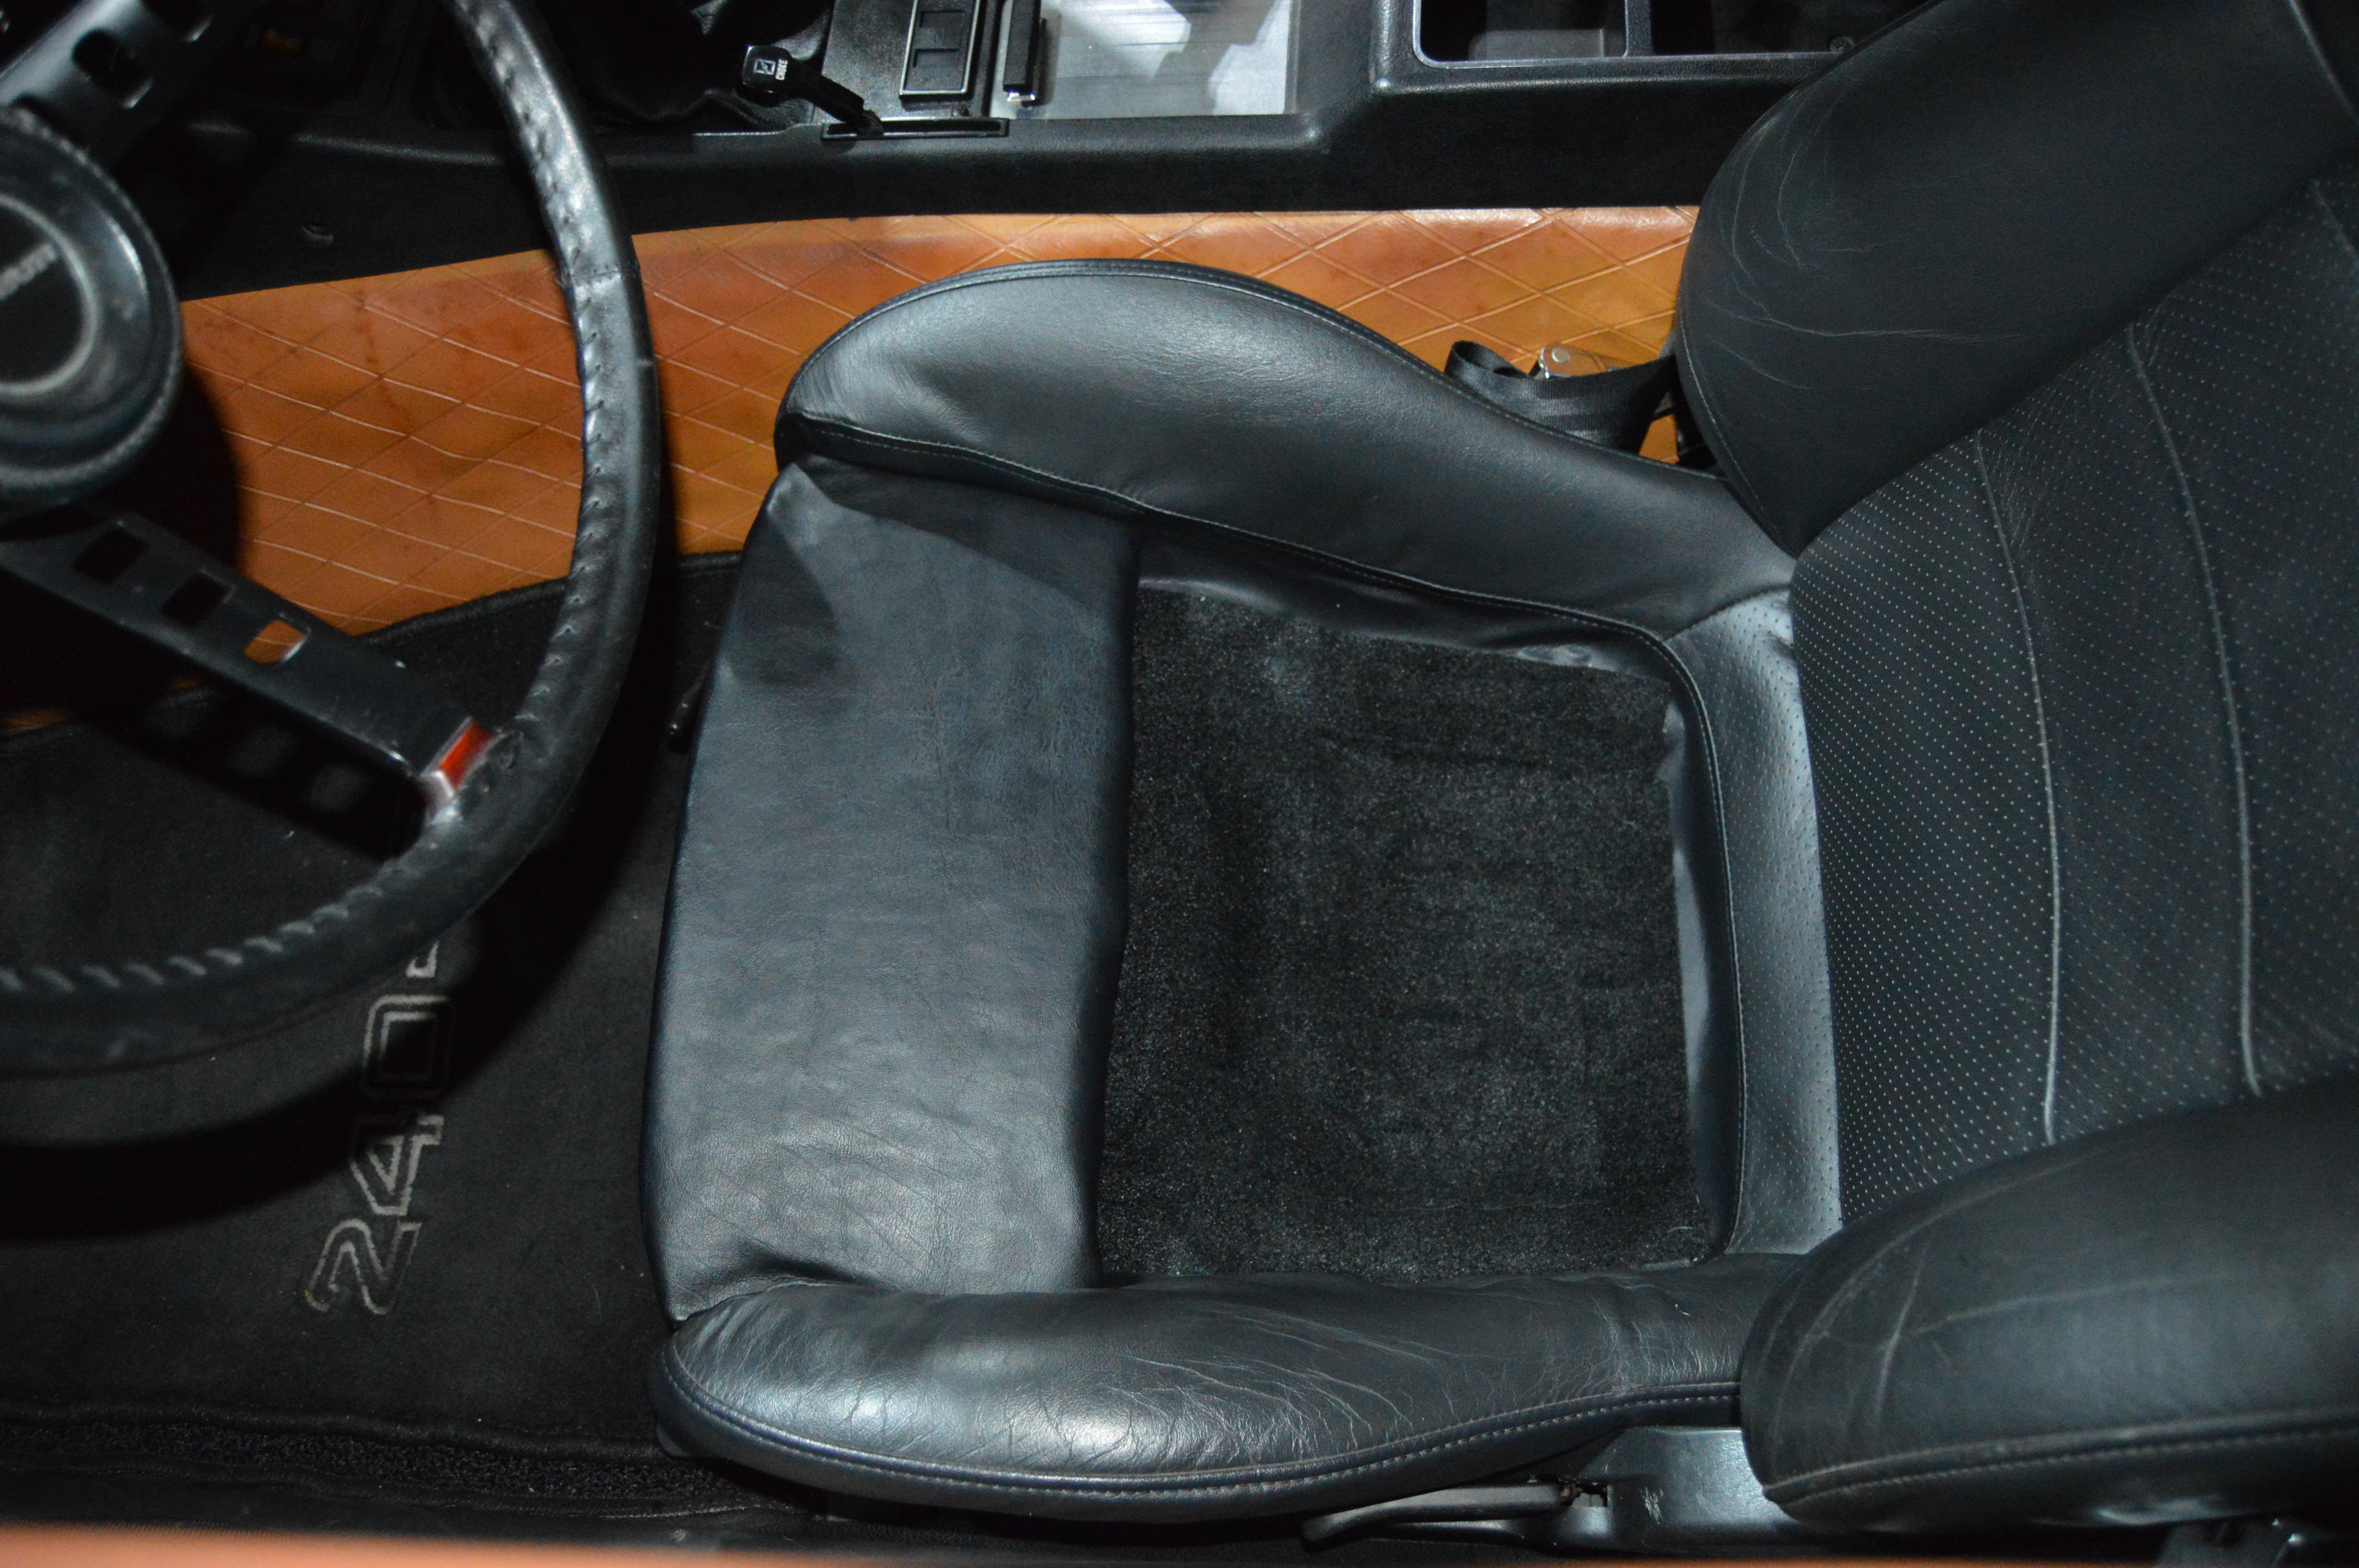
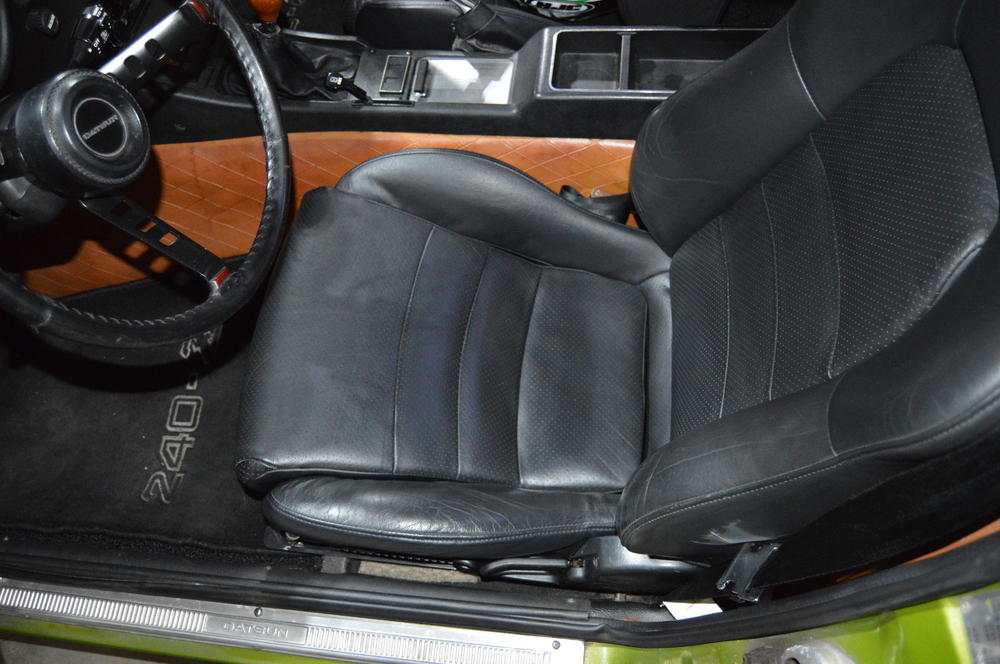
Here's another update: This past year, I started competing in autoX and it is my new obsession. After a number of events, I found that I had to scoot my seat forward and recline the seat way back to be able to comfortably fit with my helmet on. As a reminder, I'm 6'1" tall with a very long torso, my seated height is ~38" (i.e. measurement from butt to top of head when seated). So I looked at a couple of options to get me more head room so I can sit in a good driving position with my helmet on: I investigated lowering seat rails for the S2000 seats; I considered modifying my Z's seat mounts; but what I finally did was to take my lower seat to a local upholstery shop and had them reconstruct the lower seat cushion to make the centre section removable. Here is the modified lower seat with the cushion removed: Here is the normal removable seat cushion: Here is the seat with removable cushion installed in the car: They also built me a replacement cushion that was thinner but still not thin enough. I ended up removing cushion material until I was just left with a pad under my thighs. Here is the seat in the autoX config: Not only can I now sit in a good driving position with helmet clearance, but I am also seriously "in" the seat. For me, this is an ideal solution. I can drive around for hours with the stock cushion in place. When I arrive at the autoX track, I swap the seat cushion and I'm good to go. With the ability to swap the lower seat cushion, I am now completely happy with the S2000 seats in my 240z, on the street or the track!


-
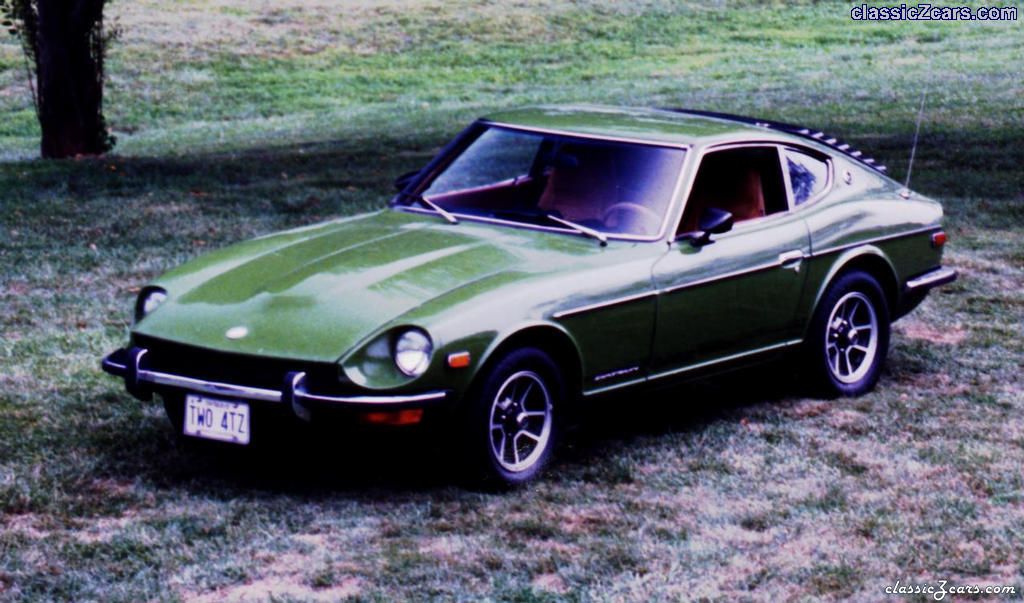
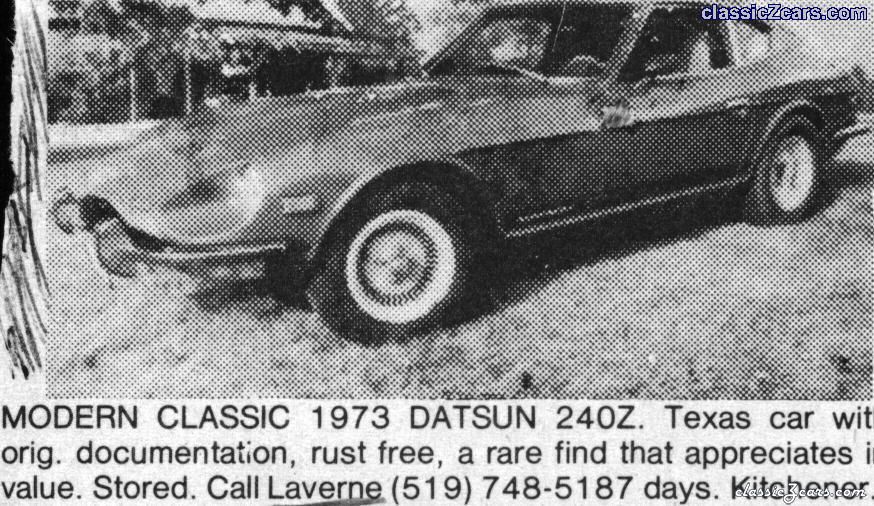
When I bought my 1973 240z in 1991, it had 72,000 miles. This weekend, after 26 yrs, I surpassed 172,000 miles in my Z (I wanted to pass the 100,000 mile mark in my Z, before I put it away for the winter). This got me wondering how many other Z owners have driven their Z car more than 100,000 miles? It also got me thinking about how my journey with my Z started (see pics below): The article that introduced me to the 240z: The Auto Trader ad that led me to my Z: A pic shortly after I bought my Z: A recent, and my favourite pic of my Z:


-
I'd be interested in a set. Sent from my iPad using Classic Zcar Club mobile
-
UPDATE: So last fall, on one of my last drives before I put my 240z away for the winter, the outboard, front bolt through my adapter plate broke the driver's side, front seat cross mount. [Note: In the below pics, I have already drilled a new hole, inboard of the failed area]. Because the outboard seat mount extends forward of the front seat cross mount, pushing back on the seat back put additional tension on the bolt through the front cross seat mount, and caused the metal to fail. I decided to use an 18" section of angle steel to sandwich the original front cross seat mount, stiffening and strengthening the installation. I had to drill a new hole through the adapter plate, inboard of the hole that failed, to secure the mount. I drilled four holes through the angle steel, notched the inboard end to allow me to put a washer and nut on the bolt, and painted it in satin black. Since there are strengthening channels in the front seat cross mount, I used two washers to act as spacers between the angle steel and the front seat cross mount. The driver's seat is now solidly mounted once again. Though the passenger side does not show any signs of failure, I will do the same modification to the passenger side next winter. If you have installed S2000 seats in your 240z or are planning to, I'd recommend you use a section of angle steel, to stiffen and strengthen the front seat mount. Sent from my iPad using Classic Zcar Club mobile
-
I've previously used the soapy water method to find a header leak. If you already suspect where the leak is, you can apply the soapy mixture when the car is cold. If the exhaust is leaking, it will immediately blow bubbles, as soon as you start it. Sent from my iPad using Classic Zcar Club mobile
-
Siteunseen - Thanks for the info and link. I'll have to order some of the black ABS cement. I can only find yellow, grey and white here. Sent from my iPad using Classic Zcar Club mobile
-
So the ABS cement would work to fill holes? Sent from my iPad using Classic Zcar Club mobile
-
So I decided to clean-up my centre console. At one point in the past, the choke bracket, mounting screw receptacles in the underside of the console cracked. The owner decided to mount the choke to the console, by drilling two holes and bolting the choke bracket through the top of the console. Also at one point, my car had dealer installed Aircon which had a control mounted on the centre console, just aft of the gear shift. This control housing covered the heads of the bolts securing the choke bracket. I wanted to remove the Aircon control housing as I've never had Aircon installed, the housing was cracked and I wanted to clean-up my console. After looking at options and searching the forum, I made a mounting plate from a piece of steel, mounted the choke bracket to the plate and the plate to the transmission tunnel. It took a bit of trial and error to correctly position the bracket so the choke lever was centered in the console slot. I also decided against screwing the plate on the passenger side due to the fuel / brake hard lines that are located in the transmission tunnel. The choke is very solidly mounted now. I picked up one of the dash plates from Motorsports Auto and will mount that through the existing holes in the console. The problem is, that I am now left with five screw holes in the top of the console. I'm looking for advice. I can either: - clean-up and fill the holes with something (I'd rather not have to paint the console); or - cover the area between the ashtray and the gear shift with a "decorative" metal plate and mount the dash plate to that (I'm considering a plate either painted black or with a brushed finish, or perhaps with groves to match the ash tray). Thoughts? I'm also missing the screws / plugs on the left and right side of the console, and was wondering what screws / plugs are supposed to be used? Cheers, Sean Sent from my iPad using Classic Zcar Club mobile
-
One thing I forgot to mention, is that the driver's side holes where the hinge mounting screws went into the hatch, had enlarged over time, likely due to movement or vibration. So I tapped all the holes in the hatch and installed slightly larger diameter screws. I also applied silicone before fully tightening the screws to hopefully eliminate water ingress down the threads. The hinges are now tightly secured to the hatch. Sent from my iPad using Classic Zcar Club mobile
-
Siteunseen - Given the rear hatch is pretty much the same 240 thru 280, I'd guess that the louvers and hardware were the same. Sent from my iPad using Classic Zcar Club mobile
-
I took a few more pics of the "finished" product as I didn't take any during the overhaul. Here is a pic of the finished louvers (needs a wash). Here's a pic of the underside of one of the louvers with the black caulking applied. Taped up before I caulked, smoothed with finger and removed excess. Drilled out and replaced all the rivets on the centre spine. Here you can see the globby weld job on the centre spine. The first time they welded up the spine and ground back the weld, it cracked while I was moving it around to prep for paint. Second time they welded the centre spine, they did not grind back the welds. Lots of material there now. I had to grind back some of the centre spine as they slightly misaligned the louvers when they welded them. I wanted to buy some new weatherstrip from McMaster-Carr but they won't deliver to Canada! I ended up cutting the metal off some door seals I had in the garage. I had to cut slits in the top corners and remove some material to make the 90degree corners. I also had to join two pieces as I had to remove the weatherstrip corner. At the hinges, I removed some material on the backside to allow the weatherstrip to sit flat on the louvers. I used weatherstrip adhesive the first time (yellow) but I wasn't happy with the adhesion. I decided to use black caulking to stick the weather strip and clamp in place (much better). I still need to clean up the extra yellow adhesive. As with most of my projects, if I had to do this job again, I think I could do a better job with the weatherstrip, and I'd find a better shop to do the aluminum welding. Overall, I'm extremely happy that the louvers are now quiet and freshly painted. Sent from my iPad using Classic Zcar Club mobile
-
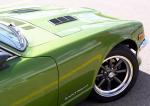
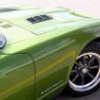
Over the winter, I restored my aluminum louvers. Above is a pic, before I restored them. They are the screw in type, with the hinge at the top and barrel latch at the bottom. They were installed by a previous owner, I like them and they are my preferred style of louver for the 240z, but I wouldn't have installed them myself (don't like the idea of putting screws into the hatch). The louvers rattled A LOT, and once removed and weatherstripping pulled off, it was easy to see why. The outside frame was cracked, clean through on the right side, and the center spine was cracked through, both above and below the middle louver. The only things keeping the louvers together was the left side of the frame and the weatherstripping! Over time, the rivets get lose, allow the louvers to rattle, leading to fatigue and cracking, which allows more movement, rattles and cracks, etc... I took the louvers in to a local shop, and had the cracks welded (not entirely pleased with the welding job, but the cracks are fixed); I drilled out the rivets along the center spine and replaced them; I applied black caulking on the underside of the horizontal slats at the center spine (the idea being to further reduce any movement between the center spine and horizontal slats, the caulking can't be seen when the louvers are installed); Repainted them in satin black; Polished the hinges (would have liked to replace the hinges due to some corrosion, but couldn't find a good, chrome replacement); Modified some door weatherstripping I had in the garage and installed (1st used weatherstrip adhesive, but wasn't happy with the adhesion so used more of the black caulking and clamps, instead). Overall, I'm extremely pleased with the results. The louvers no longer rattle at all! The trunk closes with a thunk, and my 240z sounds SO much better put together over rough roads. Truly, I can't believe the difference this has made in the driving experience! So if you have louvers installed, and they rattle, they can be fixed to eliminate the rattles. I'll let you all know how the repairs stand up, following a season of driving. Sent from my iPad using Classic Zcar Club mobile
-
-
Madkaw - Those seats are awesome and look like they belong in there! I think the curves and style of those seats fit well with the 240z interior.
-
I recently ordered a set of the "improved" door Precision weatherstrip from Motorsport Auto (just the door, not the complete set), and the weatherstrip I received was still too thick and stiff. I had been living with the Precision weatherstrip since 2006 but last fall I broke my second door handle. Given that the new weatherstrip was still unsuitable, I decided enough was enough. Yesterday, I went to a local auto salvage yard and got two sets of front weatherstrip off a 2001ish KIA Sportage ($10). OMG the weatherstrip is awesome! I wish I'd done this years ago! No more slamming the door to close and one finger to open. The only negative is that the stiff part that clamps to the door opening is slightly wider then the stock, so the sill trim does not fit as well as it did before (I might try tweaking the sill trim later). I washed my car yesterday and sprayed water around the door opening and no leaks! Do yourself a favour, if you need new weatherstrip, don't waist time and money trying to make the Precision weatherstrip work, just go with the KIA Sportage weatherstrip.
-
Madkaw - You might want to reconsider mounting the seat belts to the seats. The original seat mounts were never designed to withstand the seat belt loads resulting from a front end collision. Originally, the belts were mounted directly to the cars structure. During an accident, the belts hold your accelerating body back, while the seat and mounts do not have to withstand significant loading, at least for a front end collision. When I installed S2000 seats in my 240z, these seats also had the seat belts mounted to the seats. After thinking it through, I decided to use the original seat belt mounts.
-
-
We had one of each as well! We were able to hammer one out using a drift without too much effort. The second spindle pin wouldn't budge. We cut the spindle pin in two places to seperate the strut assembly from the rear control arm and Dave will be taking the piece to a local shop to have the spindle pin pieces pressed out. Overall, not too bad.
-
http://huddleston240z.weebly.com My friend, Dave, is in the process of restoring a 1971 240z for a second friend, Iain. He is doing a great job of documenting the process in the above blog, along with lots of photos. I thought some might find this interesting. This afternoon, we're going to tackle spindle pins. This is a job I have not yet done on my 240z, so I thought it would be interesting to help Dave out, to see if the spindle pin and bushing replacement is something I might want to tackle next winter.
-
http://www.ebay.com/itm/221794309515?rmvSB=true Buy it Now - $29K I know its not a "Classic Z", but I've always loved these cars and this is an amazing example.
-
For carpet, I ordered the ACC kit (part #4512230) for my 240z from RockAuto.com: https://www.rockauto.com/catalog/moreinfo.php?pk=6070065 Very pleased with the quality and price ($170). For seats, I looked at re-upholstering my original seats (new foam and leather) but decided to install seats from an S2000 instead (similar overall price). My 240z is a rest-mod so I wasn't concerned with the seat swap. I couldn't be happier with my seats and will never go back. My $0.02
-
I just installed the MSA TC rod bushing kit, so I'll have to keep an eye on the ABS ball. I had not previously heard that was an issue. Do you know if you can purchase replacement ABS balls?
-
TD - I've also got a '73. If I were you I'd do the following: - $158 - Relay upgrades for headlights http://www.thezstore.com/page/TZS/PROD/classic10d06/12-4651; - $62 - Parking Light Relay Harness from MSA - which one depends on date of manufacture of your '73; - $199 - MSA fuse box (I installed mine 10+ yrs ago and have had no issues since) http://www.thezstore.com/page/TZS/PROD/classic10a03/50-5010; - $130 - Upgrade to internally regulated alternator - http://www.thezstore.com/page/TZS/PROD/12-4068 - ~$100 - if you're still running points, do as suggested by Siteunseen, upgrade to the ZX E12-80 electronic distributor, I did this in 1998 and have had no issues since; - ~$160 - inspect & replace ball joints, tie rod ends if required - ~$100 - high performance brake pads, I've been running Hawk HP+ pads on my 240z for ten years, dusty, noisy if you don't brake hard occasionally, work good when cold but OMG do they work when warmed up! IMHO the stock brakes with upgraded pads work very well; - ~$20 - speed bleeders for front and rear brakes, can't believe it took me 24yrs to install SB's, makes bleeding brakes a simple one man job! - ~$20 - quality brake fluid to flush and bleed your brakes; - $35 - MSA Tension rod kit, http://www.thezstore.com/page/TZS/PROD/classic20j/23-4190, just installed it this winter, wish I'd done it years ago - $14 - 2x Tension Rod Rubber bushings for the back side ot the MSA Tension rod kit (IMHO you don't want urethane bushings on the T/C rod mount); - $600 - replacement strut cartridges, I just installed Tokico Blues - $45 - don't forget to change the front strut bearings and rear strut spacers when you change the inserts - $45 - strut bellows to protect your shiny new strut inserts - http://www.rockauto.com/catalog/raframecatalog.php?carcode=1209170&parttype=7592 - $240 - lowering stiffer springs, I installed Suspension Techniques Sport Springs 15yrs ago and love the way the car handles - $230 - sway bar kit, I installed Suspension Techniques kit 15yrs ago with above springs, love my Z's handling - $720 - front and rear JDM style clean bumpers, http://www.futofab.com/index.php?option=com_content&view=article&id=131&Itemid=118 - $70 - early 240z front bumper mounts, required to install smaller front bumper on '73 240z, '73 rear bumper mounts will work with early rear bumper Total - $2,938 + shipping, tax, etc may be close to $3,000. If you do the above, I think you'd be very pleased with the results. Let us know what you chose to do and how it turns out.