xray
Member
-
Joined
-
Last visited
Everything posted by xray
-
 ...of my finished product. For 1972, with manual trans. Feel free to download it--maybe someone has a good idea on how to print it on material that will withstand weather without getting ruined--hopefully we can make a workable solution for the club! I know everyone wants to have a restored harness tag visible in front of their rad support....:stupid: I had some trouble with the bitmap file earlier, so let me know if it won't download correctly. Steve engine harness tag mod.bmp
-
Yes, I'm familiar with that guy and his auctions. His work seems quite nice from photos, but I don't know of anyone who's bought them...$550 is a steep price to pay, especially when everything on my harness works and will look 90-95% as good as his with 100% functionality. My harness doesn't look brand-spanking new, no--but the car will not be quite to concours level when finished, either. (I'd hate to feel guilty driving it around, so some small aspects will be sacrificed....brand new rubber protecting the plugs on my harness is likely one of them!) Still, thanks for the idea about emailing him. I may try to contact him through this auction, but I have a feeling that may be "rude"...maybe I can locate his website or something.... Thanks, Steve
-
fixed...I hope....
-
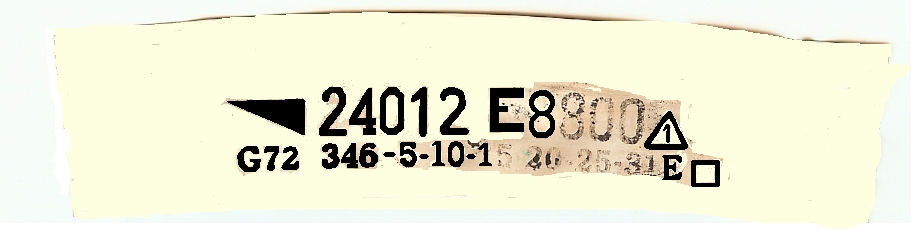
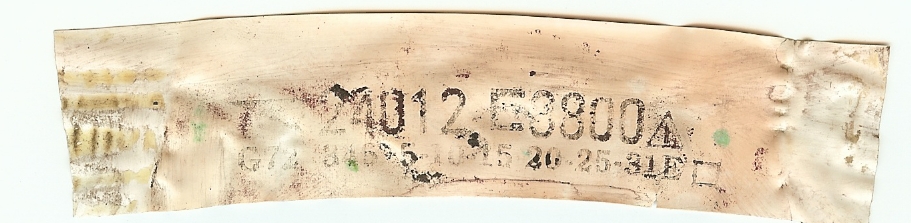
Now that I can see the end of the body shop saga off in the distance, the time has come to attend to wiring harness issues:sick: The retaping part has come along fairly well. I discovered some variability in quality of splicing within the harness...some splices are secured by brass/copper crimp-style connectors, some are soldered, but all were protected by electrical tape under the outer layer of loom tape. No burned spots, little to no corrosion at the exposed splices, although some terminal spade and bullet connectors will need replacing....After de-corroding all connections with DeOx-It, a light coating of Kopr-Shield and subsequent retaping of the splices and branch points I'm at the final retaping stage. But I've hit a snag--the ID tag. Here's a pic of my original. Faded ink, some red overspray, some tar flecks but still legible. Barely. I've scanned it into my photo-editing software and am in the process of manually retouching the numbers and unifying the background color. It's tedious, but may be my only option..Has anyone had luck in this area? Is there a way to restore these? I've not seen anything like it on the aftermarket, so I figure I'm on my own...The material is a thin plastic that I may be able to get my printer to print on, but I have no leads on where to find something similar.... Any ideas? Stay with the weathered original? Thanks, Steve


-
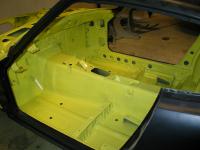
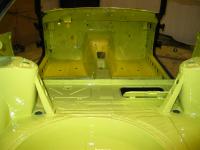
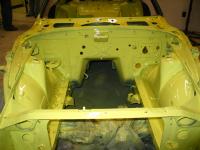
Candyblue 2+2, Don't think I didn't consider it! There are a few errors in the floorpan paint, but I decided to enforce the touch-up in other visible areas--under the rear deck carpet, engine bay, etc. Actually, it's not exactly correct as the paint went on before any sound deadener-like material (opposite of the factory application)...I may bring it back after putting some Dynamat on it...or not. You were spot-on about the use of black primer to better identify waves and imperfections--that's what he told me as well. He plans on using a base coat/clear coat on the exterior for better durability and shine--he used single-stage elsewhere because the base coat wouldn't hold up well on its own without the clear...How well do you think the two different paint types will match up color-wise since they'll be mixed separately? I would expect them to be nearly identical in color, even though the overall finish will have some subtle differences. Sure would hate for it to end as two different shades of lime! Thanks, Steve
-
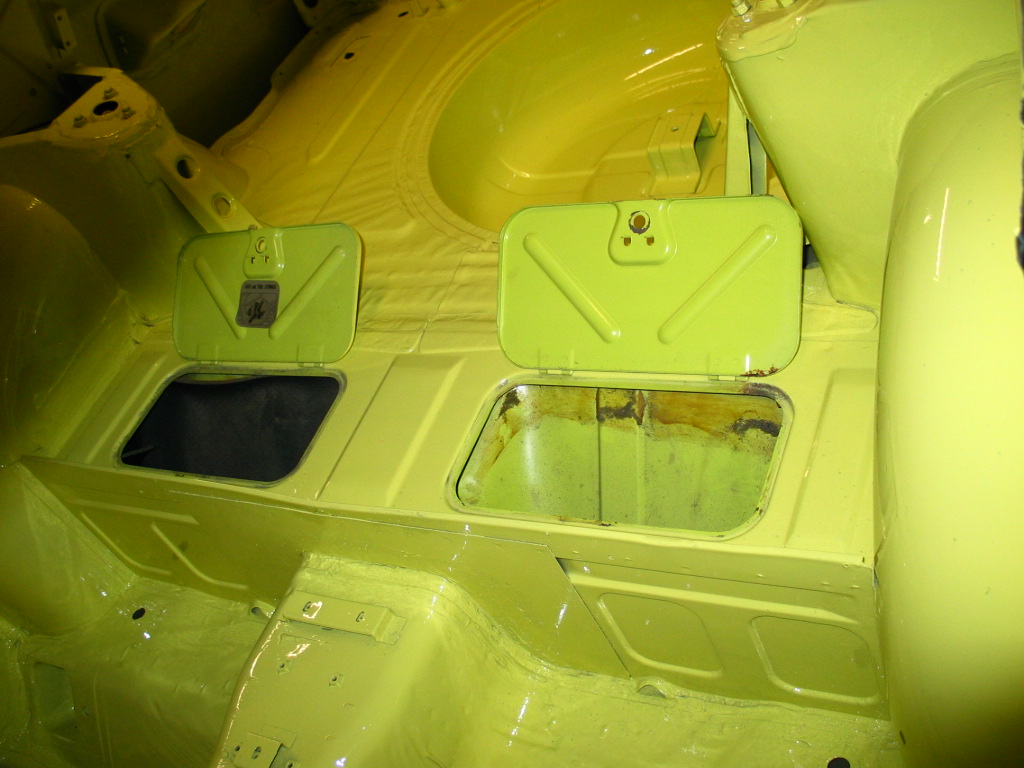
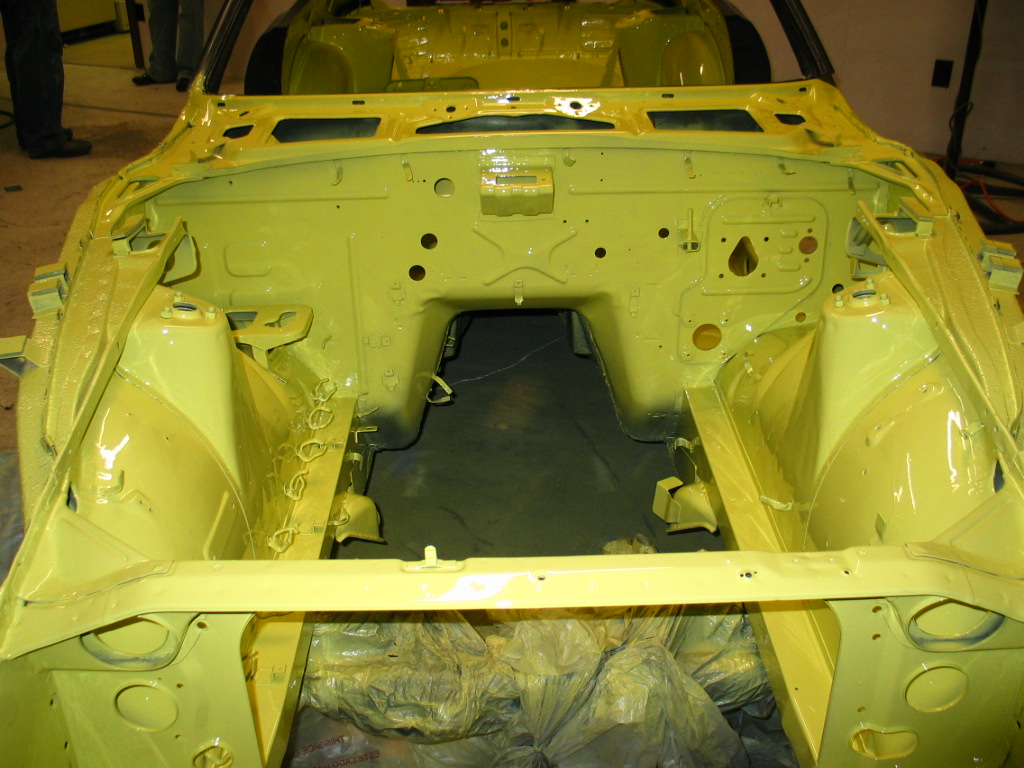
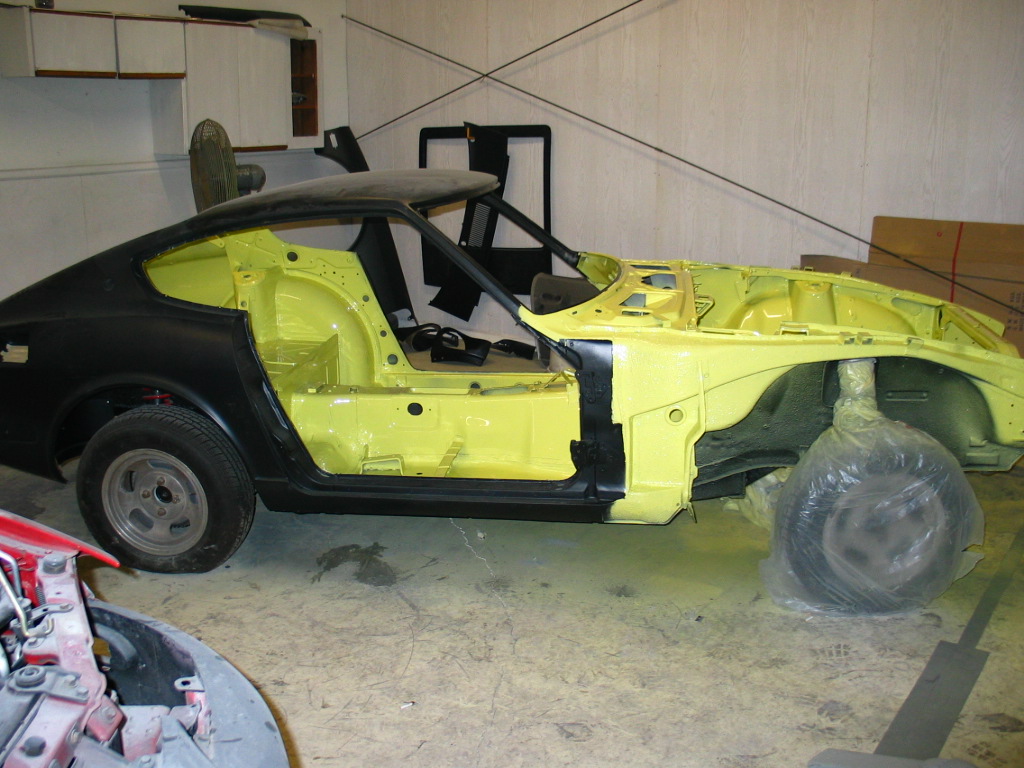
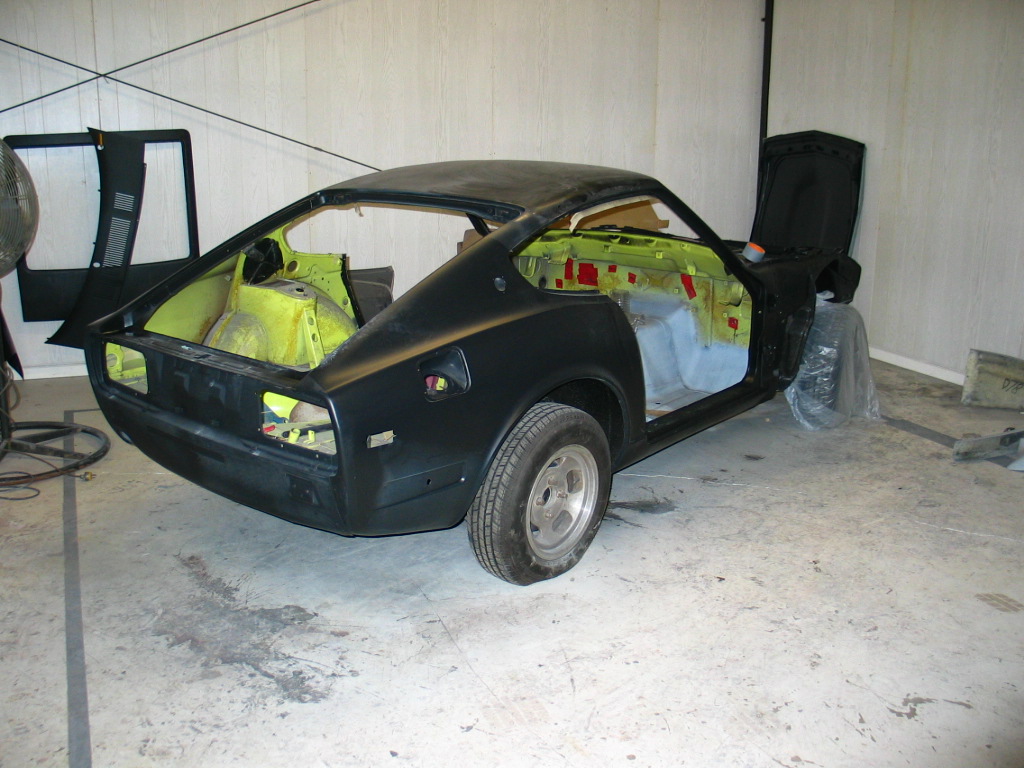
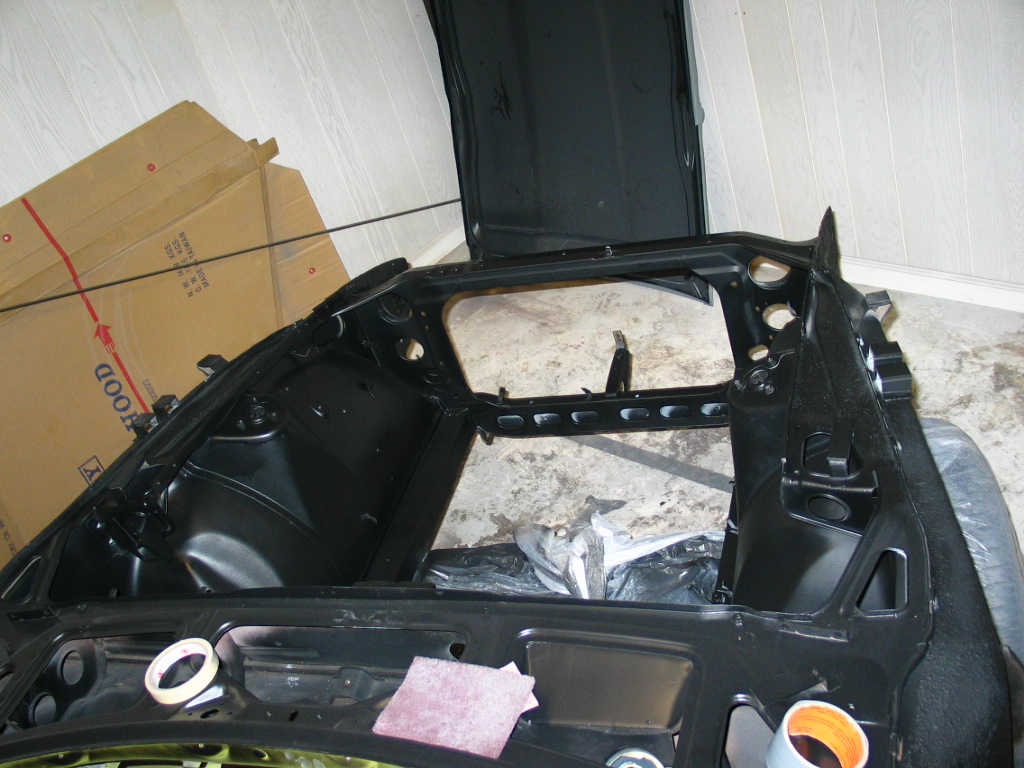
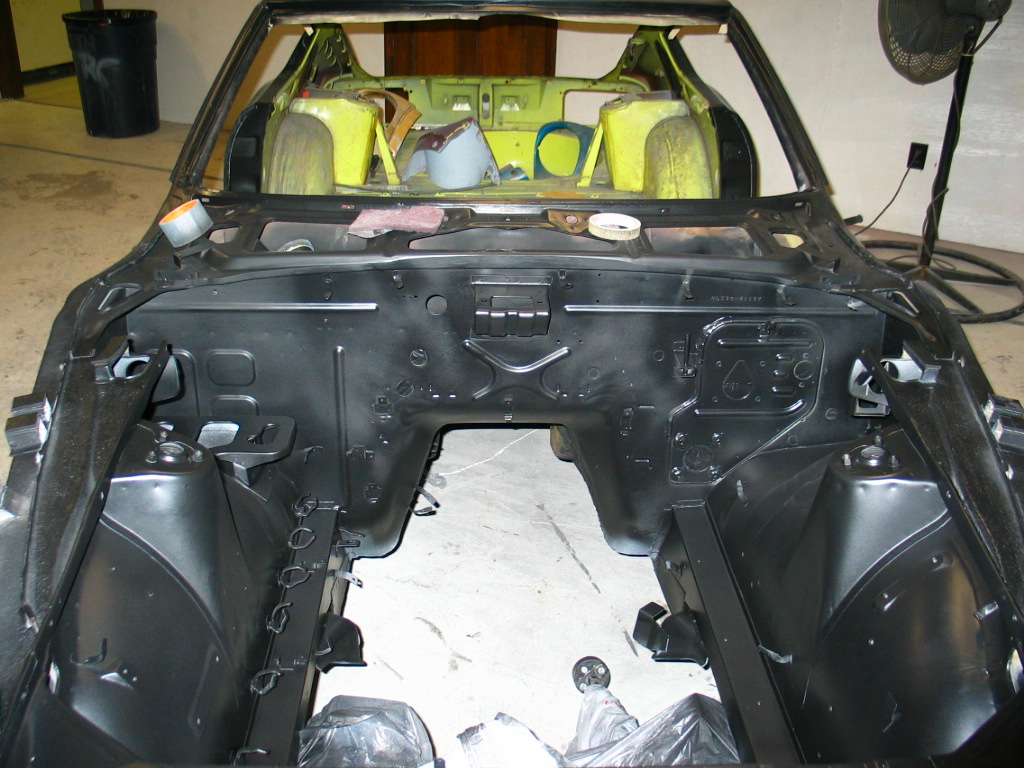
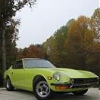
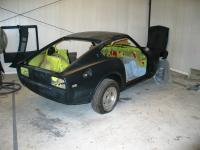
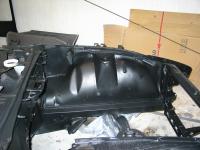
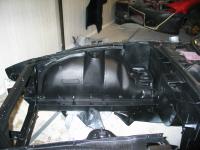
The interior and engine bay are painted!:classic: Aside from some minor runs and imperfections, it's coming along nicely. The color (as mixed by PPG according to their number and recipe) is 95% spot on (see the pic of the tool lid underside original paint against the rear inner fender wall.), the new missing just a touch of the green... Any thoughts on it? I know it may not be an exact match, but I feel OK about continuing the same color for the exterior. He's also going to paint the wheelwells, so that should look better too... ...Of course, having the black primer really sets it off--should look like 1972 very soon! Still has to do the roof straightening using a stud welder and slide hammer to pull up the dents and then smoothing with filler. Hoping for a quick (but well done) end to this part of the restoration! As always, opinions are welcome. Thanks, Steve


-
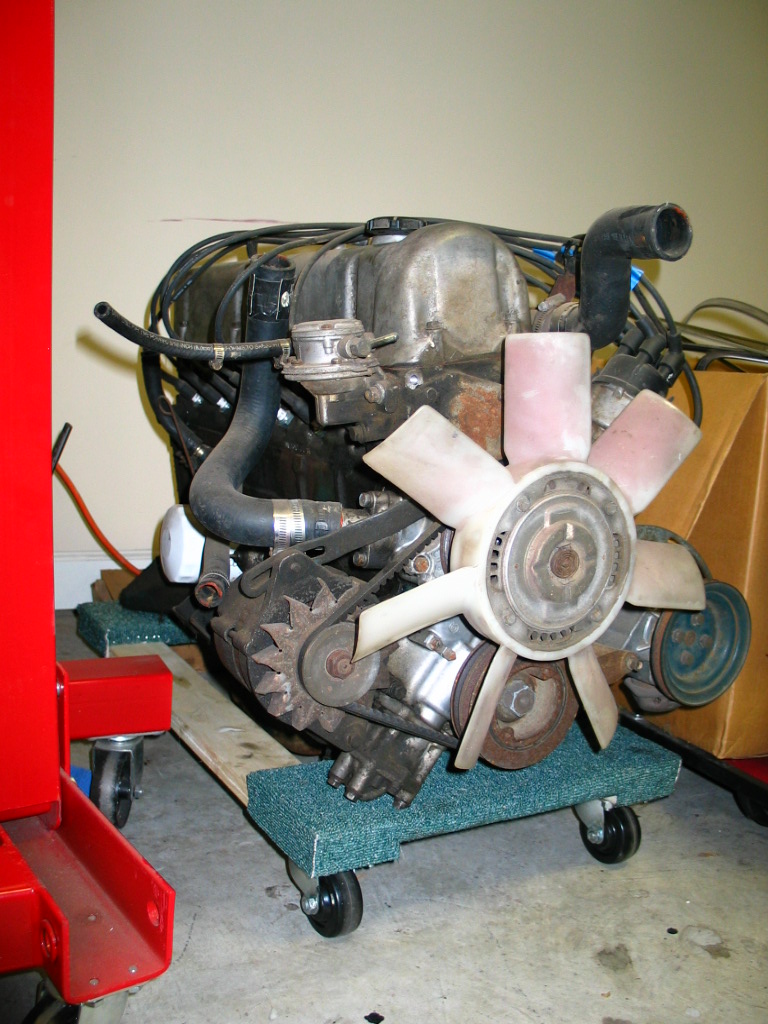
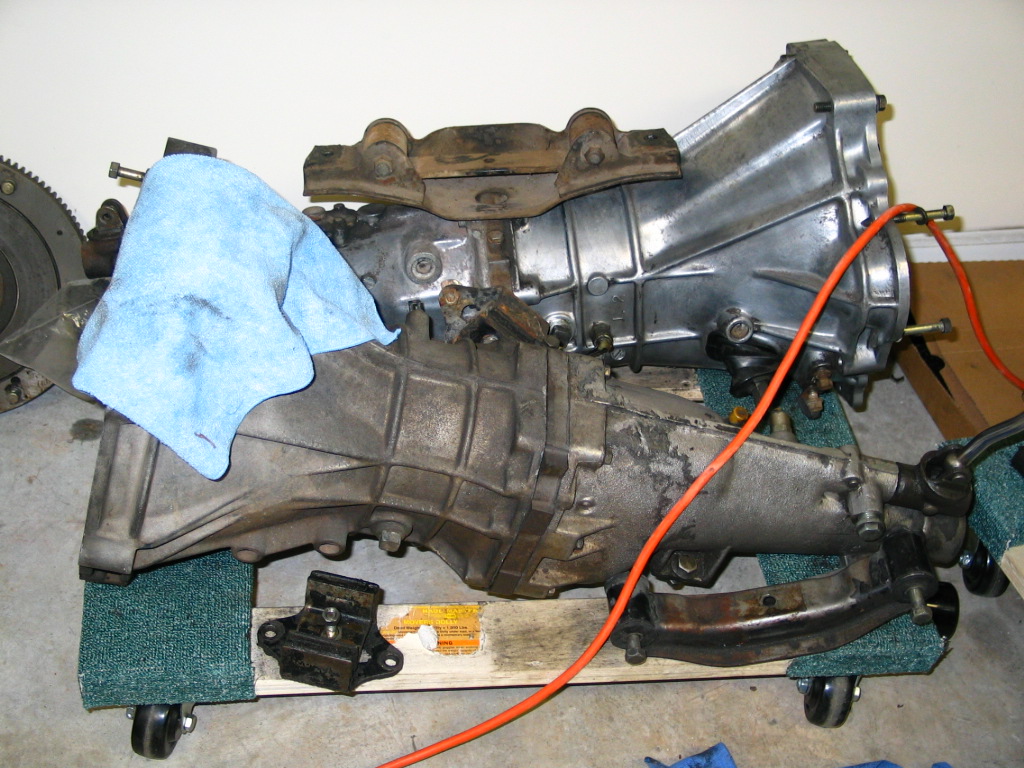
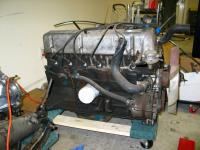
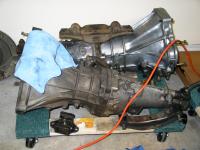
Thanks for that important addition, Steve.... I also realized while browsing in harbor Freight that the $15 furniture dollies will hold a Z engine PERFECTLY with the oil pan nestled right in the hole. It also holds two transmissions, as well. Makes for easy shuffling when space is at a premium! Of course, they aren't great for working on them--just storage

-
GUesstimate: Transmission: 60 lbs or so Head: 40 lbs or so Block and internals: 250-300? Too heavy for me to lift, for sure! Eastwood's economy engine stand holds it with no problem. If you get the kind that attaches to the bellhousing bosses, make sure it's NOT the tripod one. Four wheels on the ground are much better....
-
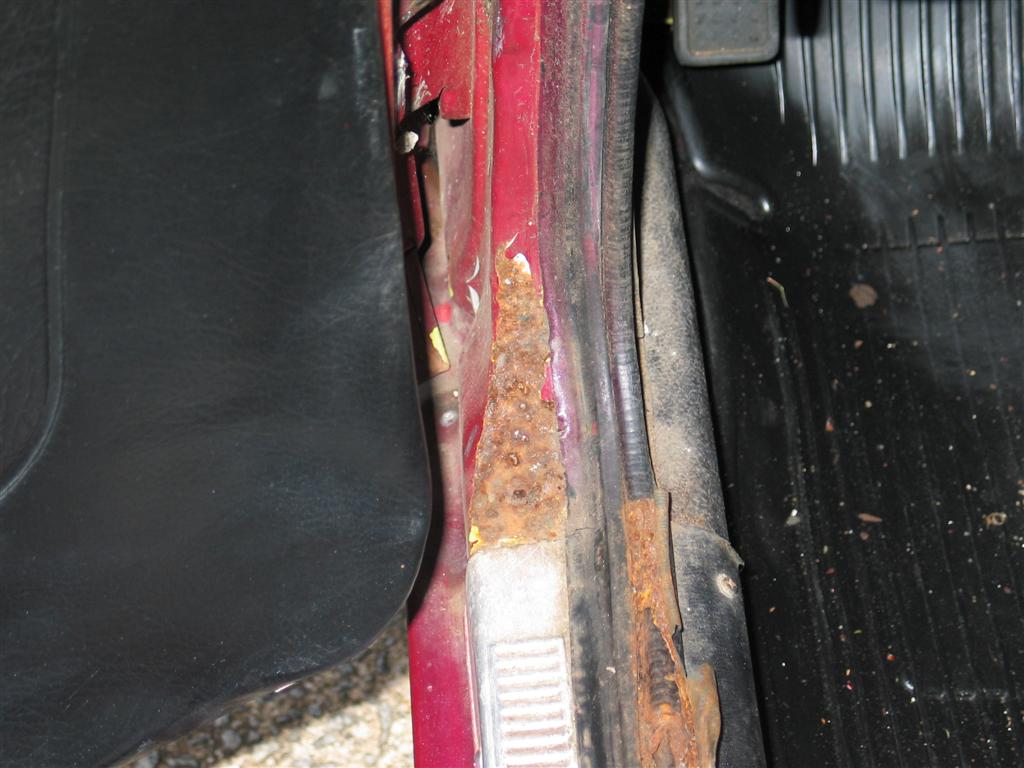
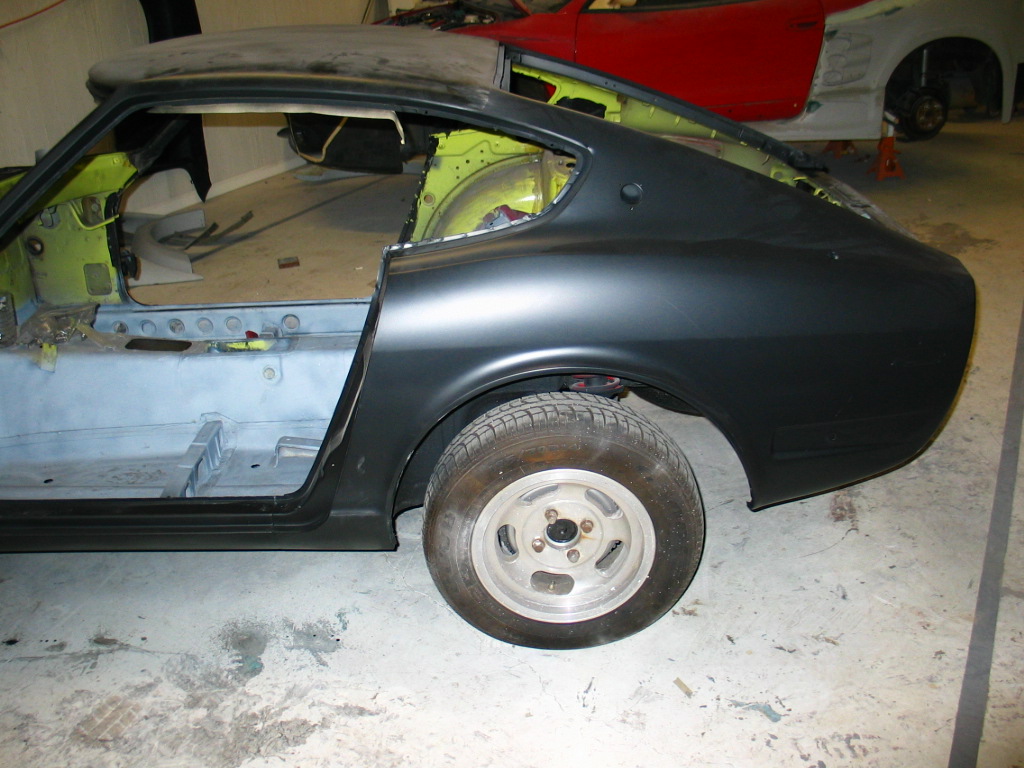
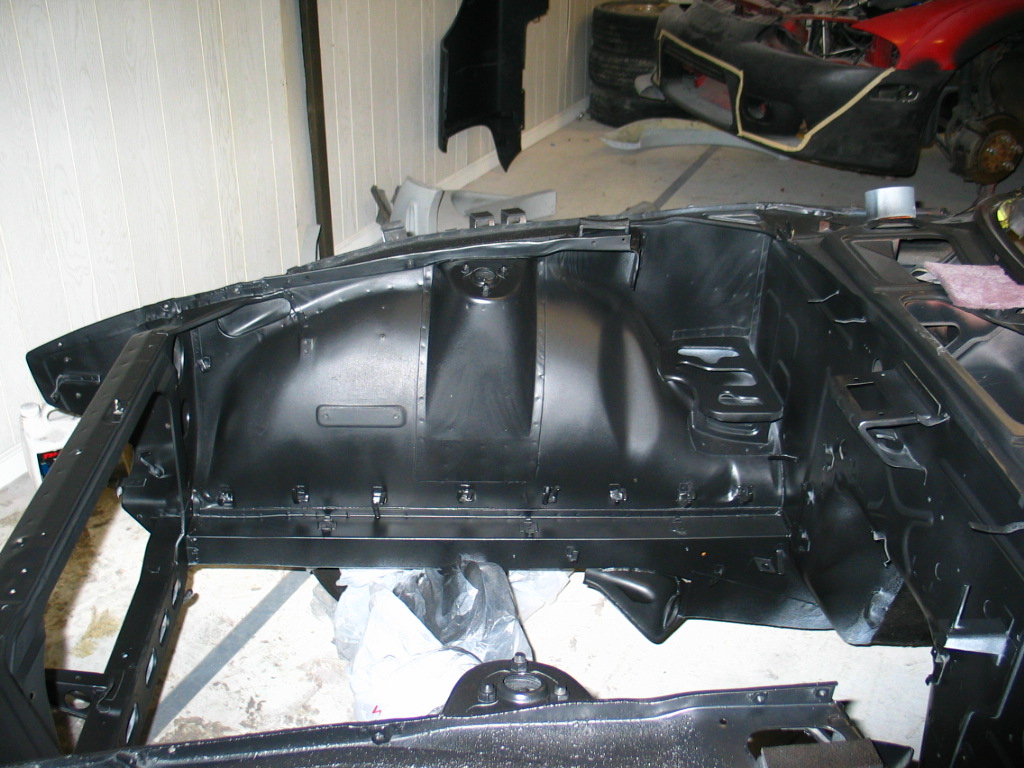
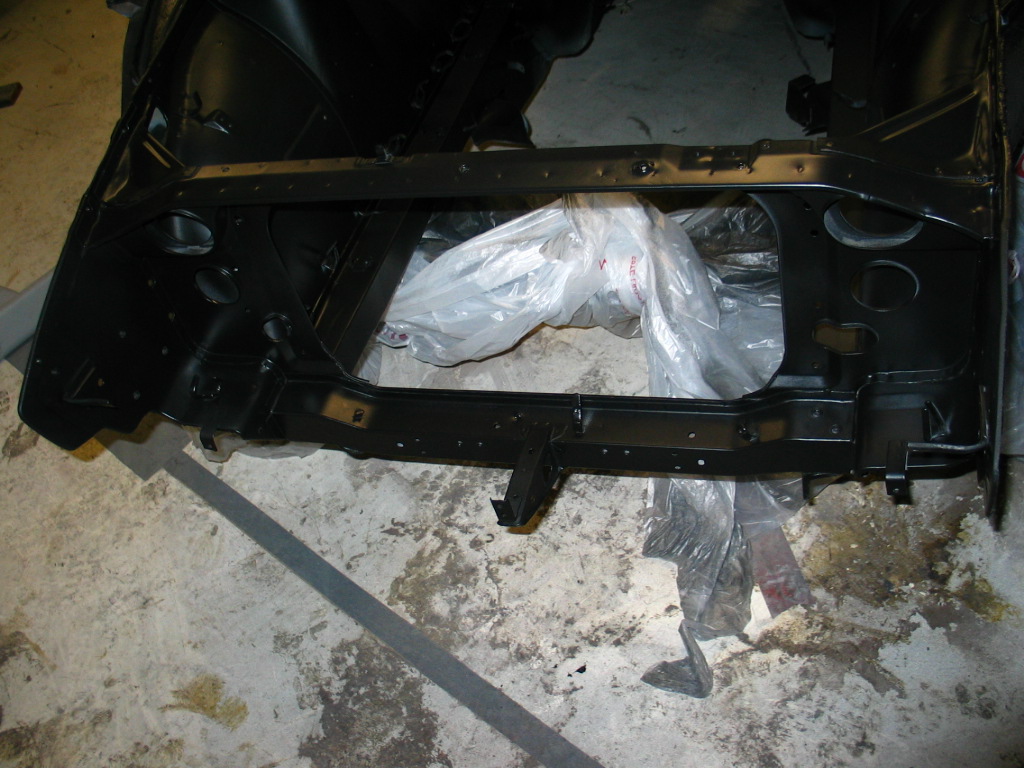
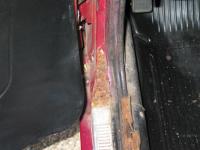
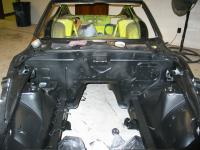
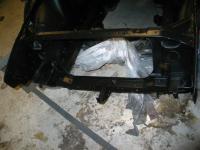
The vinyl top scares me, mainly because of the recent resto job ongoing on SpeedTV's "Dream Car Garage." They stripped and blasted the car (a Chevelle or something similar, IIRC) --the roof had the landau top on it which had trapped water and made the roof like it was a victim of a buckshot drive-by! I worry the same fate may befall this one.... With that said, I like it, I hope it sells well..especially because it's lime! Your concern about the door sill is valid. I had a similar situation with mine (see pics) Bad door seals caused water to collect around the inner sill plate, which is what has rusted there. BUT, since the vinyl on the inner rocker goes under that sill plate, there was NO rust on the rocker. There was however some rust at the bottom front of the A-pillar where it met the rocker which had caused some pitting but no terrible rust-out situation. Not sure what to say about the rocker to rear quarter alignment. It's welded there, so if it's misaligned it must be from trauma. Usually bubblies indicate trapped debris and interior rust on the dependent side of the quarter, probably in the rocker. Need to replace it? Maybe, but maybe not. Better to examine in person--or hope for a low final bid! (Edit: I'd pay $3500-$3800 for it, knowing how my car looked compared to this one. Despite its pretty good appearance, it's only a good startng point, I give it a 3- on the 5-point scale.) Good luck, Steve
-
Hi Mike, I just did an image search, and most folks' triple setup had fuel line running in series through each individual carb. Some had it dead-end at the front carb while others had it feed into a return line...Didn't see many with a dedicated fuel rail. Is that a better way to run a triple carb setup? Thanks, Steve BTW, Top End Performance sells a fuel rail for their triple ITB setup which may also work for carbs, but it's $239. www.racetep.com
-
Thanks for the encouragement. The anticipation has been killing me, don't worry. I just keep it under as best I can! It's given me the chance to work in the garage, though, with all the extra space. Everything's just about ready to go back into the car with a few exceptions--engine harness, brake/fuel/clutch hard lines and some miscellaneous stuff. Hopefully the Z will be back on the road by June/July in all of its lime glory! Steve
-
More progress since the last updat in October...6 months and counting. ...It'll be done by end of the year:love: ...It'll be done by February:nervous: ..It'll be done by late February:tapemouth You get the picture (especially those of you getting your cars painted currently--Mally002 et al) But don't get me wrong. This guy has been thorough, methodical and does excellent work. Bumps out every dent, primes, sands, primes, sands, fills here and there (Evercoat, IIRC) and finishes with primer sealer prior to painting. Everything's done but the roof, and hopefully that'll get smoothed out over the next week or so. I have a little concern over whether the lime paint will look OK over the black primer, but I trust this guy's 20+ years of experience. He's very happy with how things have progressed (including finding NO unpleasant surprises during the stripping process!), and I'll rely on his judgment about paint color over primer color... Yeah, I'm over budget by 10% with lots of work to go. But I knew the original estimate was a ballpark. And, if the final product approaches what it looks like it will, I'll be very pleased indeed! More pics as progress allows! Thanks, Steve


-
Yes. It would be better to find a way to keep it. But, life happens and people's circumstances change. Some folks need the money tied up in the car, some don't want the hassle/money involved in long-term storage, etc etc There will be fewer Zs on the road in 10 years, but it's effect on value may or may not impact it. I sold my 1973 240Z in 1989 for $1800. I bought my current Z in 2004 for $2100, and it was in better shape than the one I sold! Of course, restored cars will be different, but demand seems to drive the value of collector cars more than supply (how many Camaros and Mustangs were built between 1967-1970? Millions? And we see their values now....) The real question is: "Will people still care about the Z-car in 10 years?" Of course, I hope so! $0.02, Steve
-
Excellent Randy! I mean, about the TR. I, too, am "almost" back together with my Z. Sorry yours has taken so long, but I'm encouraged by how you describe the nearly-finished product. Enjoy the Triumph! The Z will be home soon.... Steve
-
Bob, That's a great pic--Thanks! As I suspected, the Gloss Black has too much gloss, so I'll repaint it with the base Chassis Black (70% gloss) Thanks again, Steve
-
I think we can't exactly tell the severity of the hatch rust. Mine looked similar (also bubbled up through a bad paint job), but was very minimal after pulling the hatch glass and weatherstrip. Certainly could be worse, but may not be...Like McKrack said, the presence of rust truly is simply the "tip of the iceberg." Do a search on rust, or visit Carl Beck's site for a quick tutorial on where to look. (hint: anywhere on the car below the beltline!) As for the sill, I can't see very well how bad that rust is. Looks like surface rust where something wore off the paint/primer and bare metal has now rusted? The fact that your inner sill plate still looks fine tells me that moisture is not the main culprit there (mine were badly rusted from leaking door seals), but trather may be due to the denting and paint damage. Looks almost like something (like the seat belt maybe?) got stuck in the door when it was closed rather abruptly. Whatever the case, and however you decide to proceed, don't mess with the wirewheel. I recommend buying 3M paint stripping wheels (4" diameter)--they are a much better product for stripping paint and rust. Dremel works well, but only for small spaces. Using a phosporic acid solution like SEM's Rust-Mort or POR-15's Metal Ready will help as any residual rust will be reduced to a blackish iron phosphate. Then coat with an application of which ever rust prevention paint you like, Eastwood, POR-15, etc. Good luck, Steve
-
Arne, Thanks for the pic. It's a tough call for sure, but I'm thinking my coating is too glossy...I'll have to pay attention at a car show to confirm. Steve
-
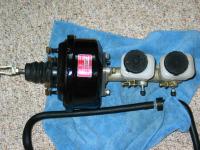
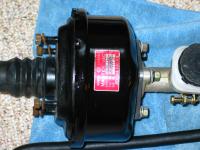
Bob, Arne: Pics please. I thought mine (as I stated above) wasn't quite right and if there's a NIB booster I'd like to see its finish.... Anything you can post would help all of us out.
-
Begin rant...Non-directional flaming imminent...Please take no offense.... I'm no smog expert, but what's the logic in making an updated FI system smog-illegal? Up-to-date FI is cleaner-burning than original, and puts out lower emissions, not to mention better power!!! Here in NC, one can put in replacement engines, provided they are "newer" than the body...One could then put a 280ZX engine in a 280Z with no problems, so where's the difference between that and swapping out the 25-year L-jetronic and replacing it with a more modern system???? Of course, since 1972 and older 240s are 35+ years, the state emissions and inspections don't care to see 'em in the inspection stations anymore so we can do with them as we please...in a few years the 280Zs will be there too... I know, I know...it's a rhetorical question. No flaming intended. Just makes me mad when states make it illegal to update our old cars to be cleaner, more efficient sytems.... End rant. Steve
-
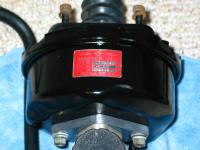
Jeff, Thanks. I got lucky with the sticker as it's the original. There was some discussion earlier about replacements, but I can't come up with the thread. IIRC, a suitable replacement has not been made. Do a search, and there may be more info I'm unaware of... Also, search the photo archives here for brake booster, brakemaster cylinder, firewall etc. You may get some other examples to help out. Good luck, Steve PS: My BMC is not original....
-
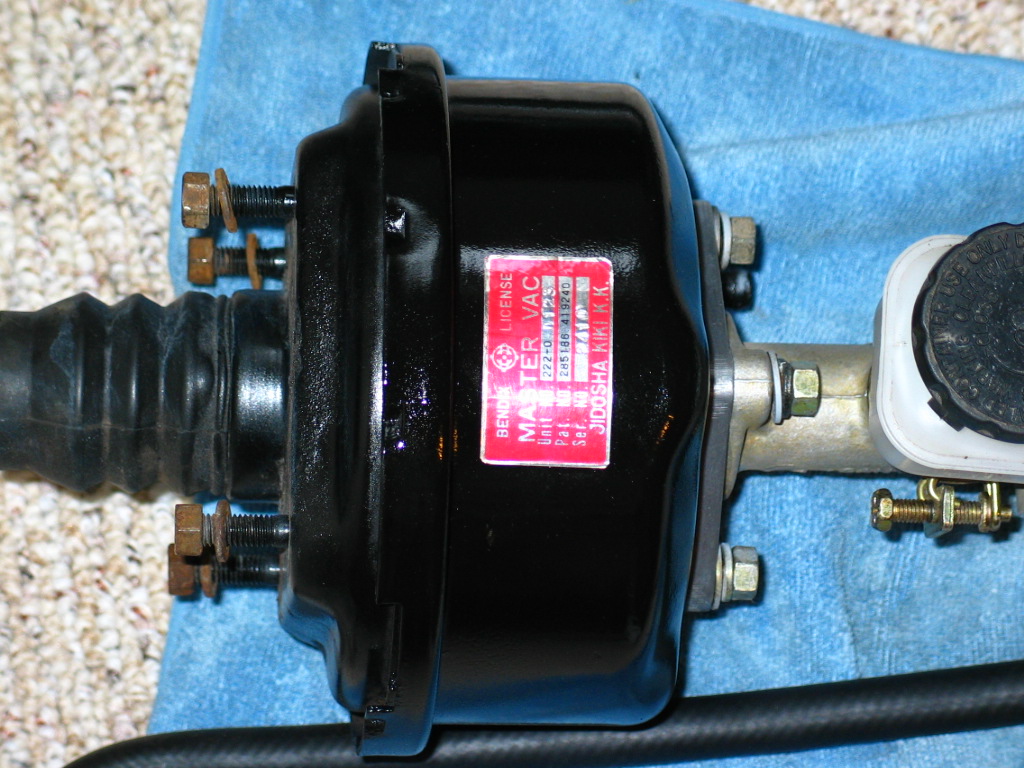
Hi Jeff, I don't have any good leads on the "correct" finish for the booster. Humble's book and the FSM are not much help. I had been using Eastwood Products for the black components, and to me it looks like a higher gloss than the Chassis Black which is a 60-75% gloss, and definitely glossier than Underhood Black (10-20% gloss). So I ultimately went with an 85% Gloss Black. Not sure if it's right. Here are some pics so you can make a better evaluation/informed decision... Sorry if the detail's bad. I can try to get some better pics, but getting a good photo of something black can be tough. Thanks and good luck! Steve
-
Note to self: Don't buy Superlites...... Sorry to see/hear about your problems. I hope they're resolved soon! Steve
-
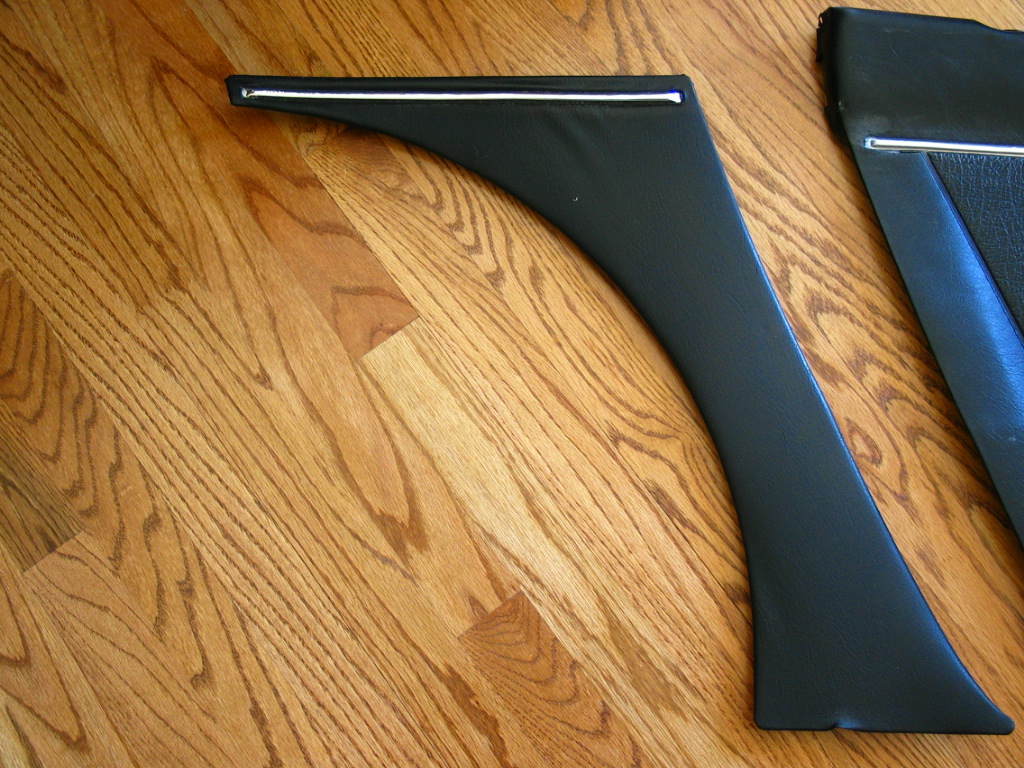
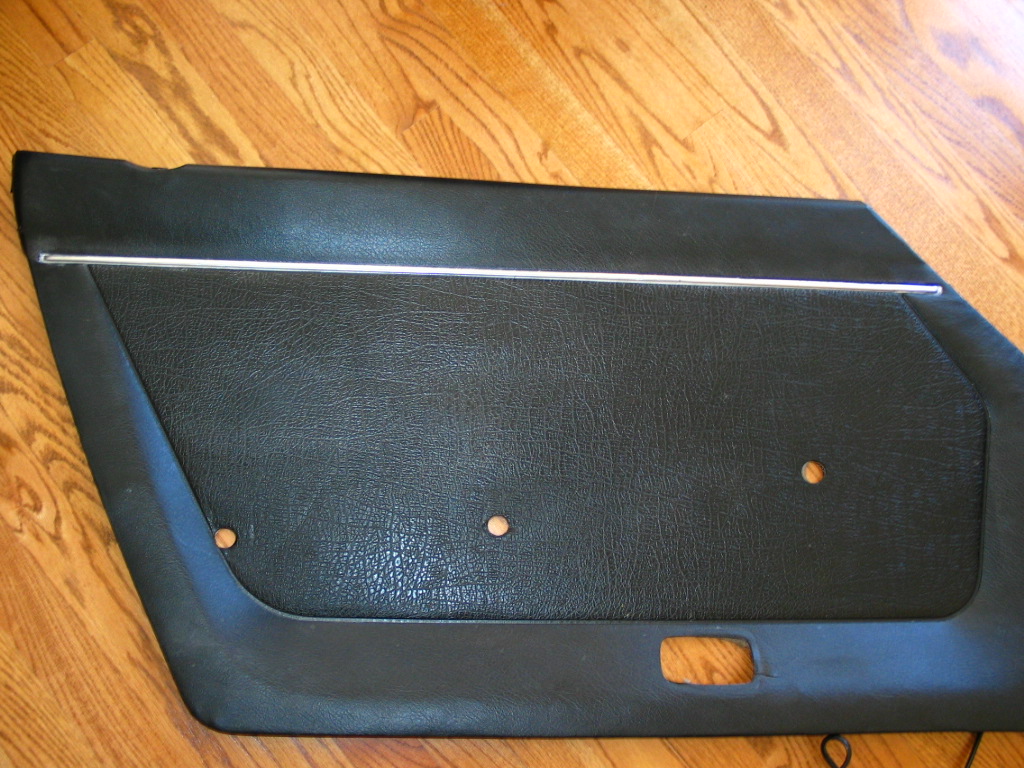
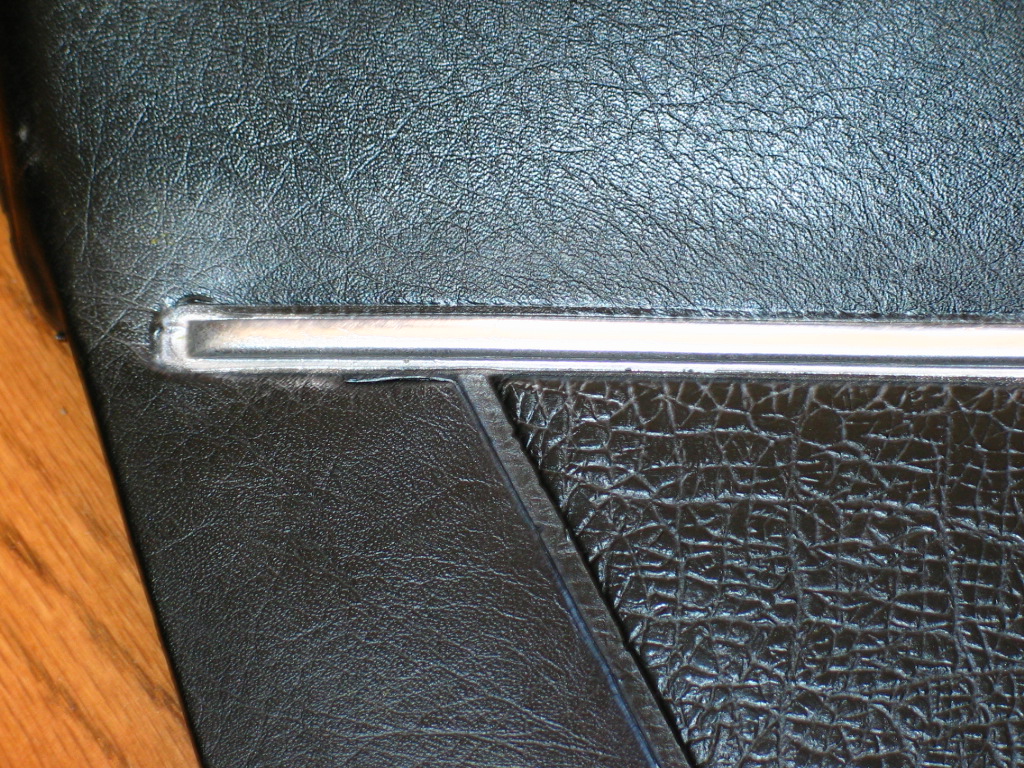
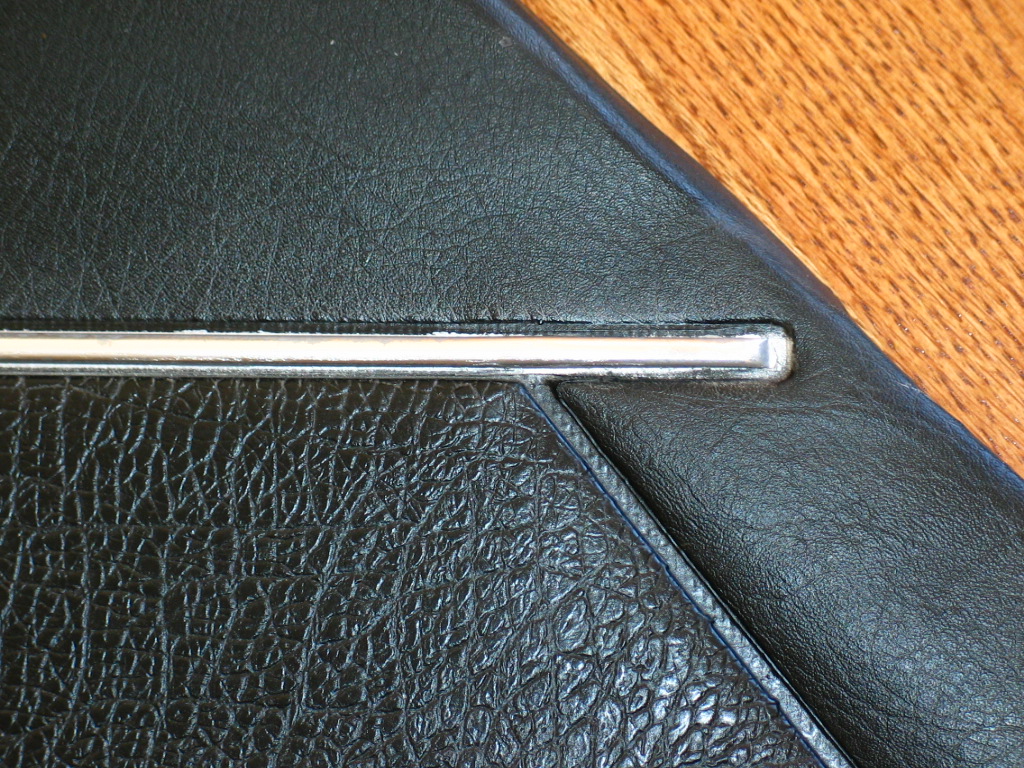
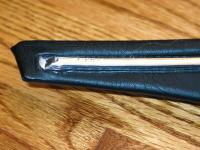
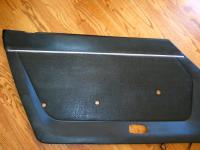
I used the Eastood "Almost Chrome" paint on the door panel strips after light sanding and primer. After three coats, it looks OK, but not shiny enough. Definitely looks like paint. Sorry for the purple-fringing on some of the pics. It is due to the much higher reflectivity of the chrome tape over the chrome paint. So far (six weeks), this has worked for me on the dogleg interior pieces. As you can see, there's a little bit of non-adhesion on one end, but otherwise it looks good. If it continues to hold up, I'll do the doors the same way: 1) Buy self-adhesive chrome trim from the hobby/RC shop. Cut 1" width strips slightly longer than needed. I tried cutting strips to the exact width of the strip (including all three sides, as there is a slight shoulder), but adhesion on the sides and at the ends is very poor. 2) Lightly sand the plastic strip (320 grit or similar) 3) Apply thin coat of contact cement per directions 4) Place the self-adhesive chrome strip in place, apply pressure on all three sides of the strip to ensure adhesion. 5) Use an exacto-knife to trim the excess. By oversizing the chrome strip, you've allowed the chrome to adhere optimally to the sides and to the fore and aft tapered sections. If your chrome tape is like mine, the adhesive on the tape is pretty poor, so it comes off the adjacent vinyl quite easily. I plan on the chrome tape solution to be temporary until I can devote funds to proper restoration/replacement. But if it holds up, and I learn from the doglegs, the door panels will look even better! Good luck, Steve


-
I don't get it...Les at CDM will recover your panels for $300, and his materials are spot-on....A recent visit to MSA shows that they are doing the same thing (but pricing wasn't available.) $750?? What am I missing? Steve
-
Arne: The Z I bought here on the East Coast was in better shape, and I paid $2100 for it. The quarter panel rust seems to be a harbinger of worse things underneath. New fenders for sure. The floors look similar to mine, which I ended up replacing after removing the soundproofing/undercoating stuff. Don't know if yours is as serious as mine, but it looks similar from the pics. If I was looking to make a Z track car, I bet this is a good starting point. If it's for restoration, it's an easy 15-20k to get it right. IMO, it would still take at least 7k in parts, labor and paint to have a good DD. If that car were in North Carolina, I think 2000-2500 is about right. Here's a reference auction for a Z in Winston-Salem: http://cgi.ebay.com/ebaymotors/1971-240Z_W0QQitemZ300081722773QQihZ020QQcategoryZ6187QQssPageNameZWDVWQQrdZ1QQcmdZViewItem The above-mentioned car will probably go for higher than yours, simply because of it's "20-foot" appearance. Just my $0.02. Good luck, Steve