madkaw
Free Member
-
Joined
-
Last visited
Everything posted by madkaw
-
 Where or what did you read about the 5 speed that was so bad
 -
When you did the engine swap, did you actually remove the plug wires from the dizzy? If so, are u 100% sure #1 wire lines up with rotor at TDC? I know you checked your order, but does 1 start in the right place?
-
Chris,I would assume they are matched.
-
my money is still on electrical problem. Kind of fun on-line troubleshooting at someone elses expense-sorry Chris. We'll get it figured out, usually it is stupidly simple:stupid: Here's a bit of an article pertaining to this. The primary resistance is a HUGE factor for the HEI. It wants much more current than a stock coil(3 ohm) will give. Might not seem like much( 1ohm vs. 3ohm), but as far as amperage it is a lot. This is an important factor since all the ignition companies we spoke to stressed the idea of properly matching the coil and module. The best way to do this is to use the coil specified by the manufacturer for its specific module. For example, ACCEL offers a stock replacement and two different performance modules for the typical four-pin HEI. Each requires its own coil to create optimal ignition power. What this means is that you should not mix and match coils and modules. In one particular situation, we combined a stock replacement module with a Pertronix coil and the engine just seemed to run flat—as if the ignition timing were retarded, even though it wasn’t. As soon as we replaced the stock module with the matched Pertronix module, the engine instantly responded and was again crisp and fun to drive. Read more: HEI Coils And Modules - Tech Article - Chevy High Performance Magazine
-
Was that Pertronix matched for your HEI module? What application was the HEI from? Is this EXACTLY the way it came off the running engine?
-
Steve j , Sure you dont have it backwards as far as resistance readings? Chris, You are running a ballast resistor? Which coil are you running?
-
My car has the ballast deleted and reads .9 I run a 81 dizzy. I came up with those numbers by googling typical resistance readings. I'm not an expert spark chaser, but this is what I found
-
Chris, Did you find the specs for your coil ? After some research, I found the normal reading from + to - posts should be .5-.9 ohms. My coil reads .9 and from center output to post is 6k Not sure if this relevant it not, but you need to verify yours .
-
He stated earlier he had 3 psi - so it was good. Not sure about the spark tester- what does the results mean? I would think you want a strong blue spark and you could have done that against a bolt.
-
If you can-watch the spark and see what color it is. It's pretty ease to do.
-
I guess I'm having a hard time understanding when or how this happened? When did the pedal or brakes start acting like this? Has it always been like this? Air in the line can be difficult to get out sometimes-even after you have bled a gallon through the lines. I had a mustang do this to me and it drove me nutz. It was air in the front line that somehow avoided being flushed out. Only after removing the front calipers and letting the pads come out past their normal travel and then shoving them back in(reverse bleeding) did I get the air out.
-
Have you actually looked at the spark when arcing to see the color of the spark? I would not start messing with carbs until you have tried EVERYTHING else-especially since you knew this motor ran fine before. The color of the spark will tell you if you are getting full voltage. What have you determined about the coil-do you know or have you tested it?
-
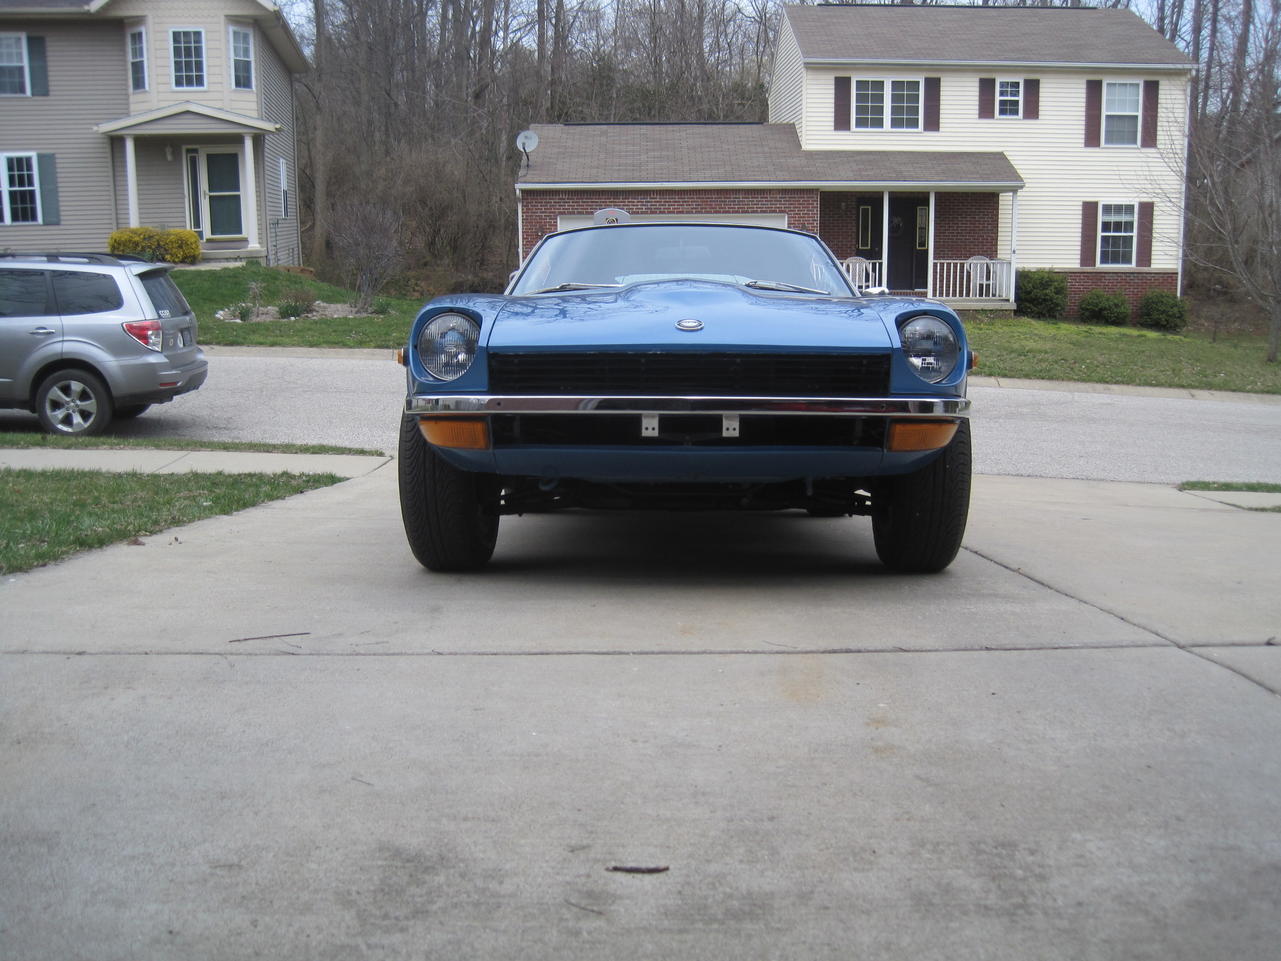
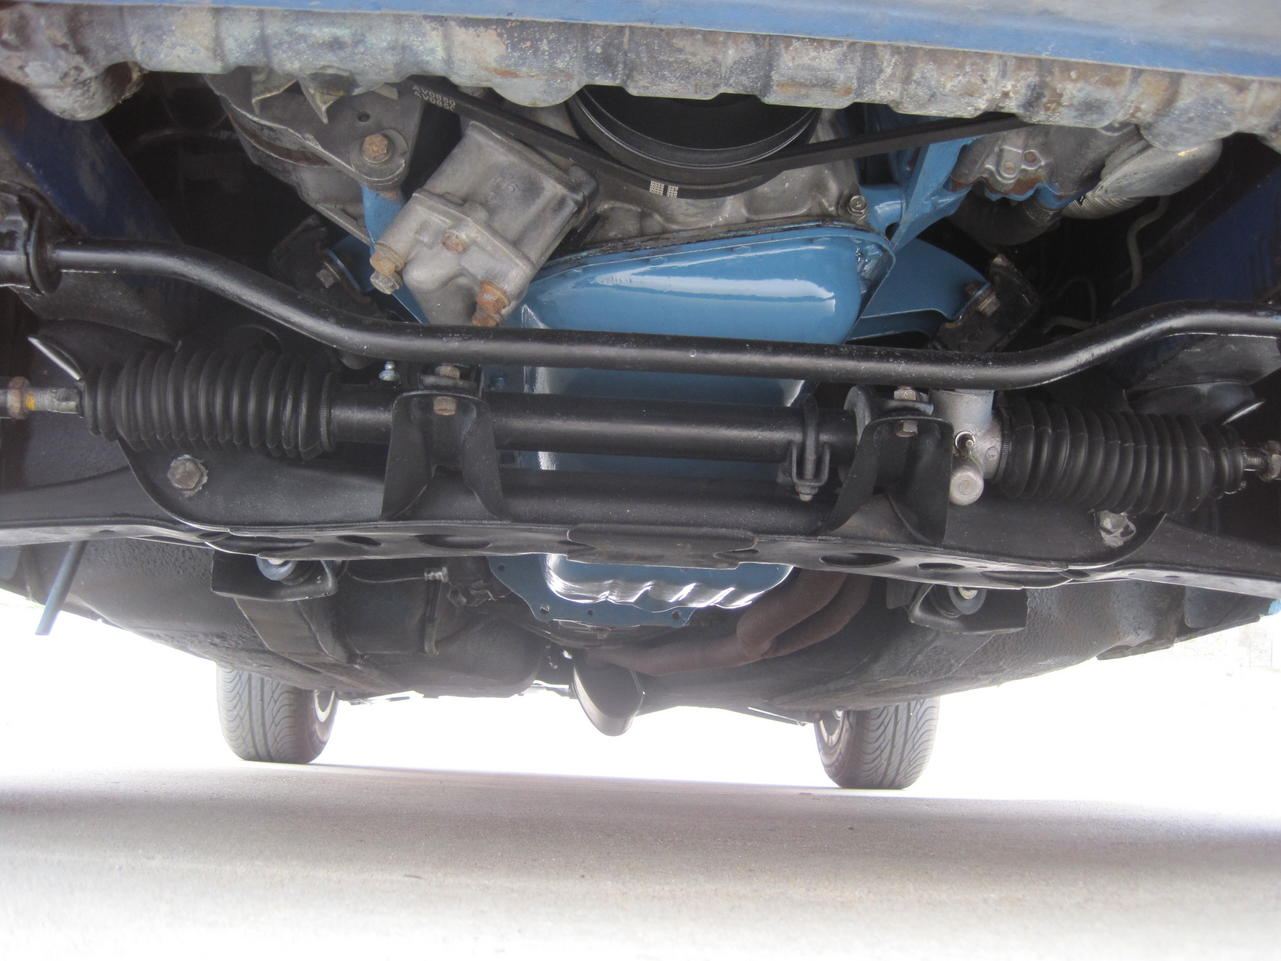
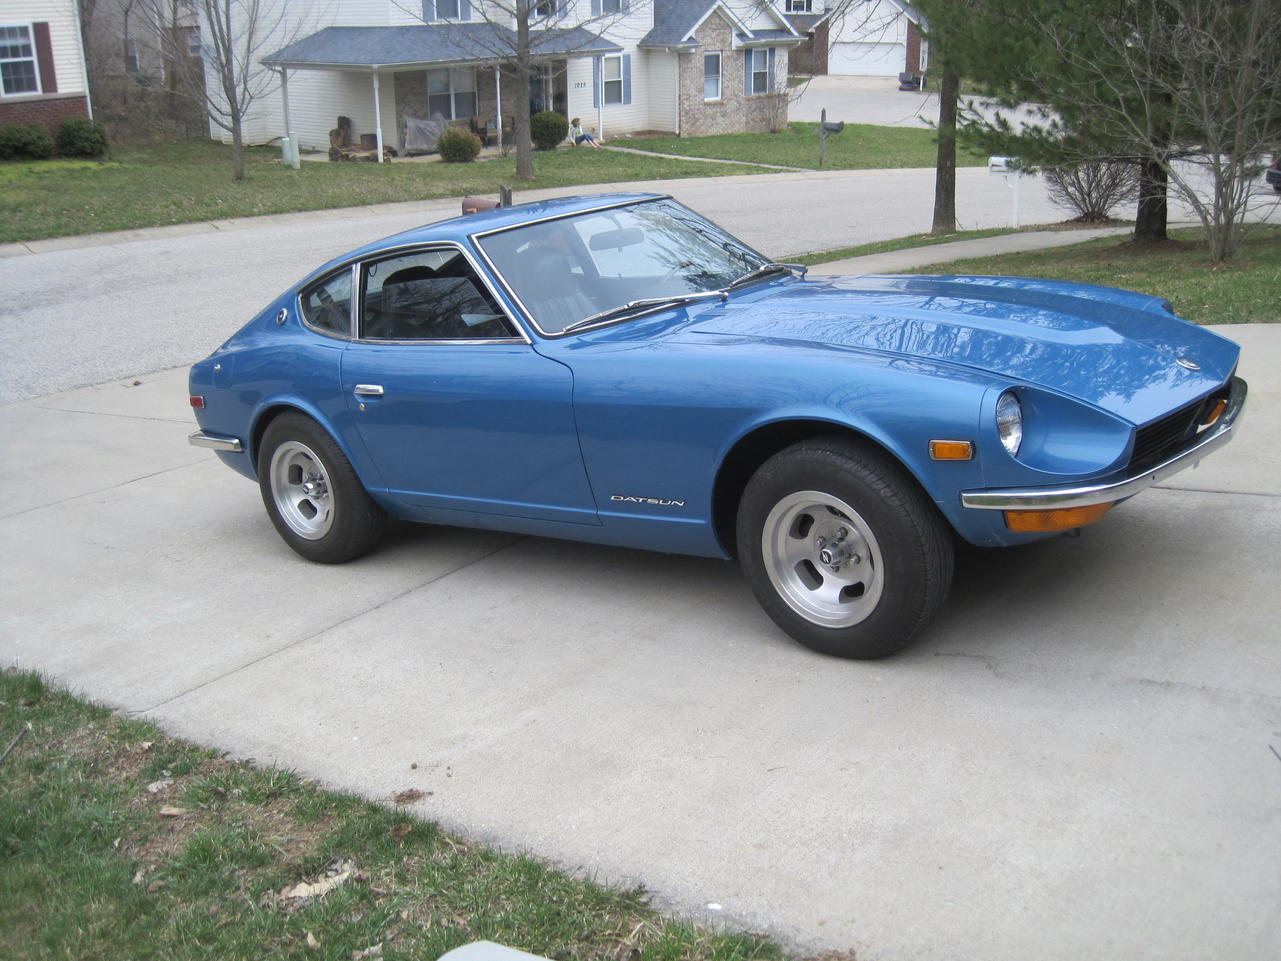
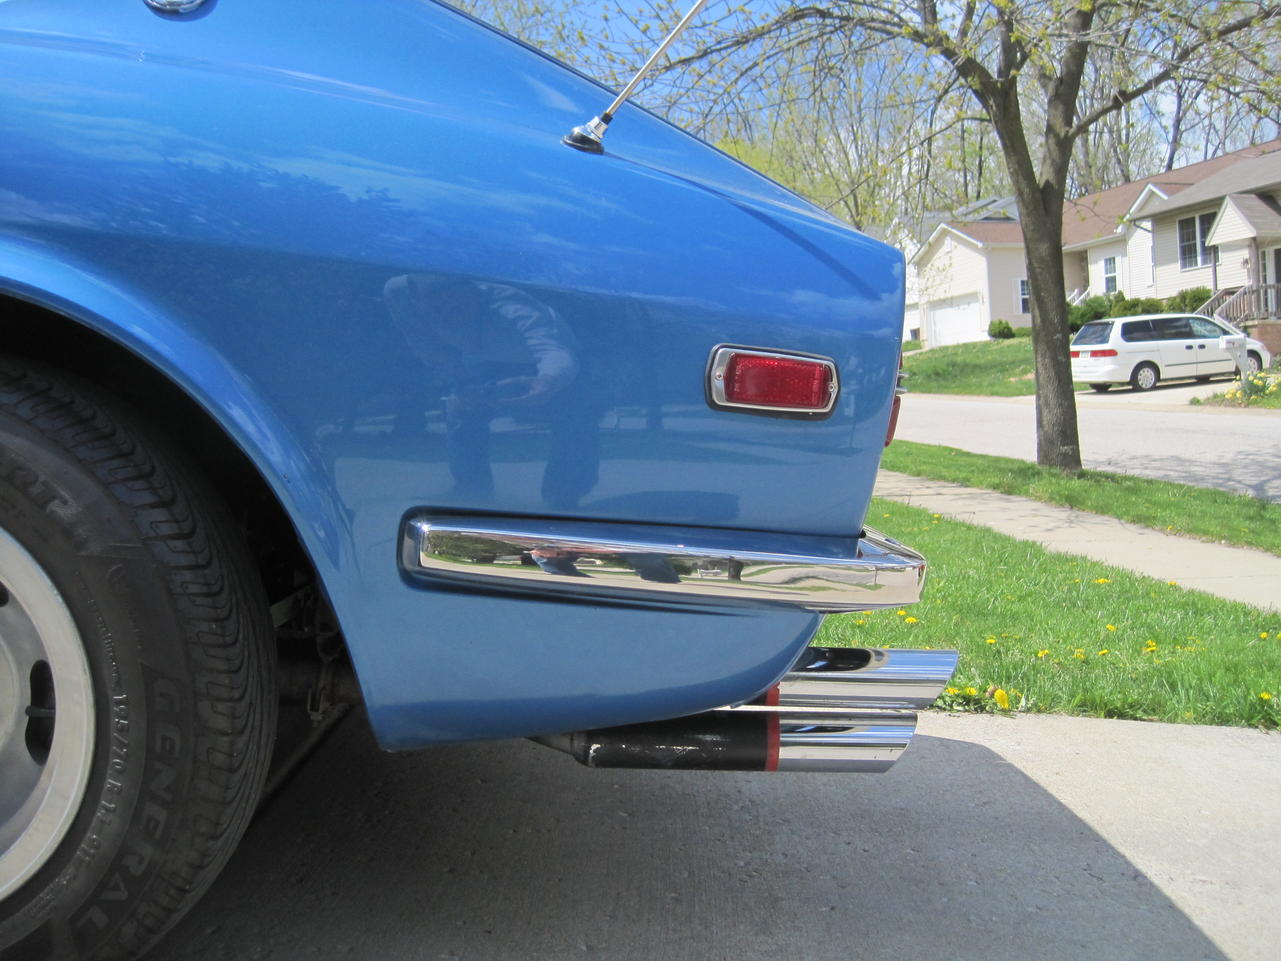
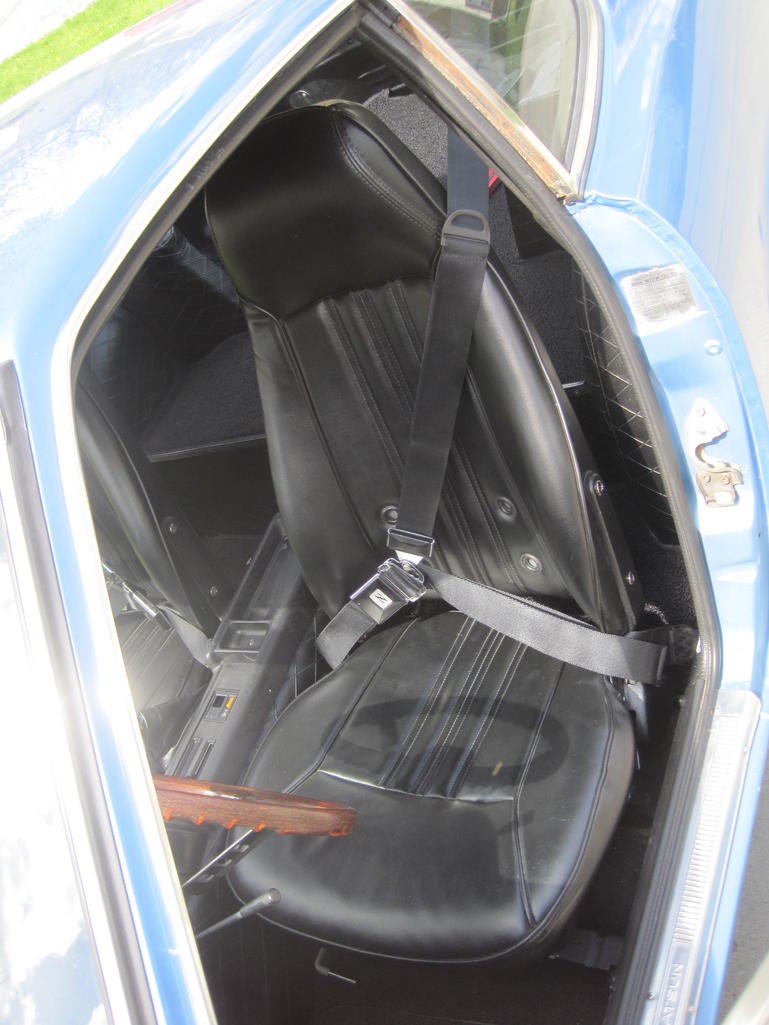
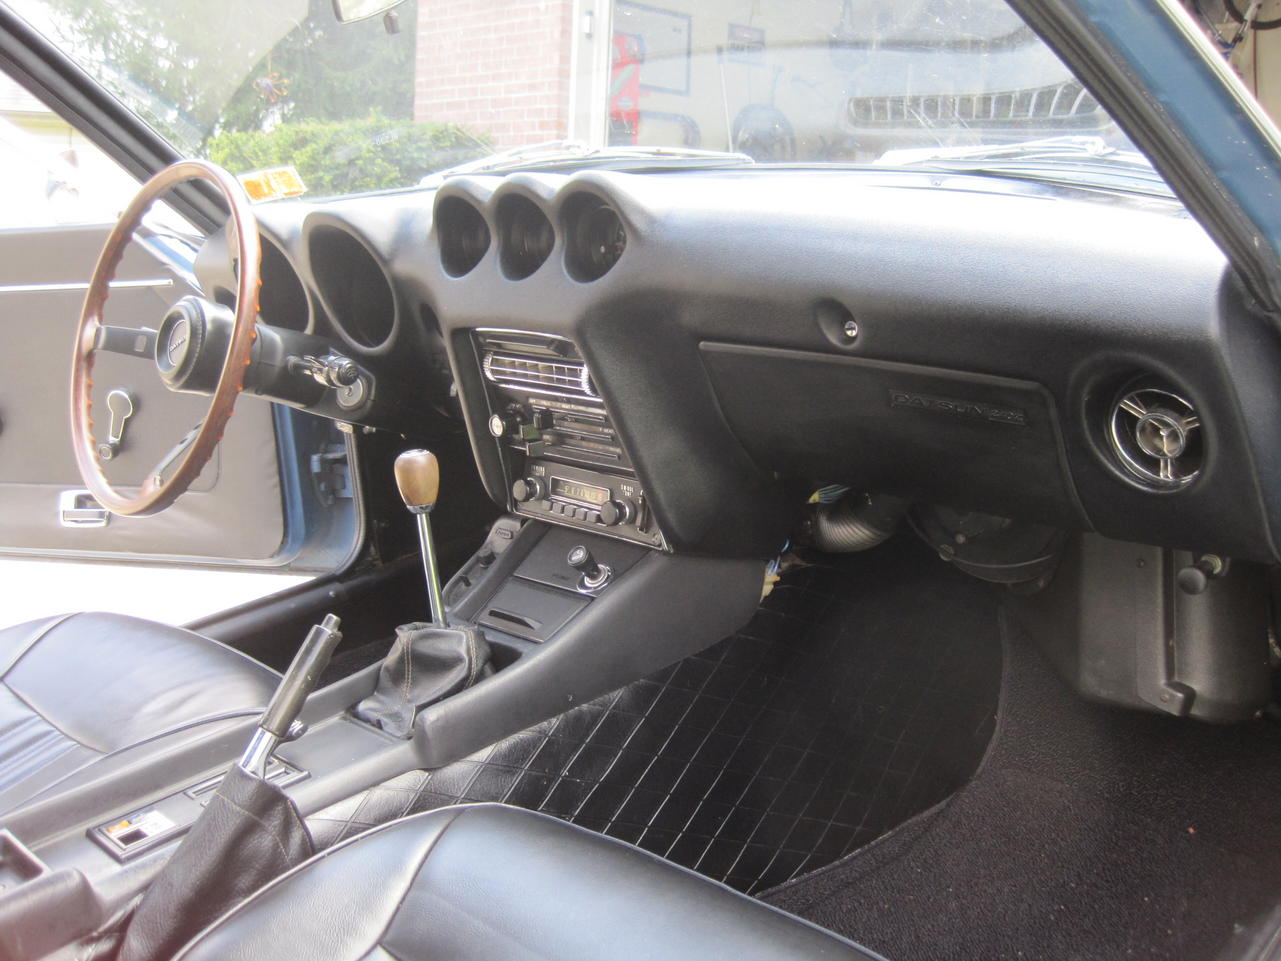
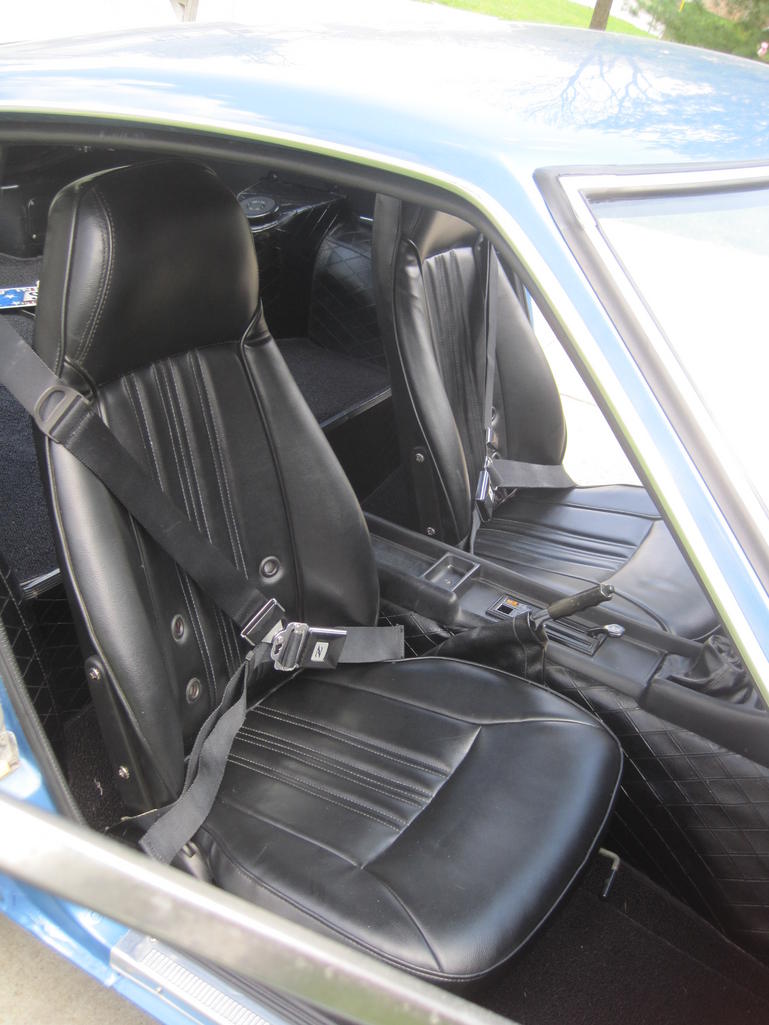
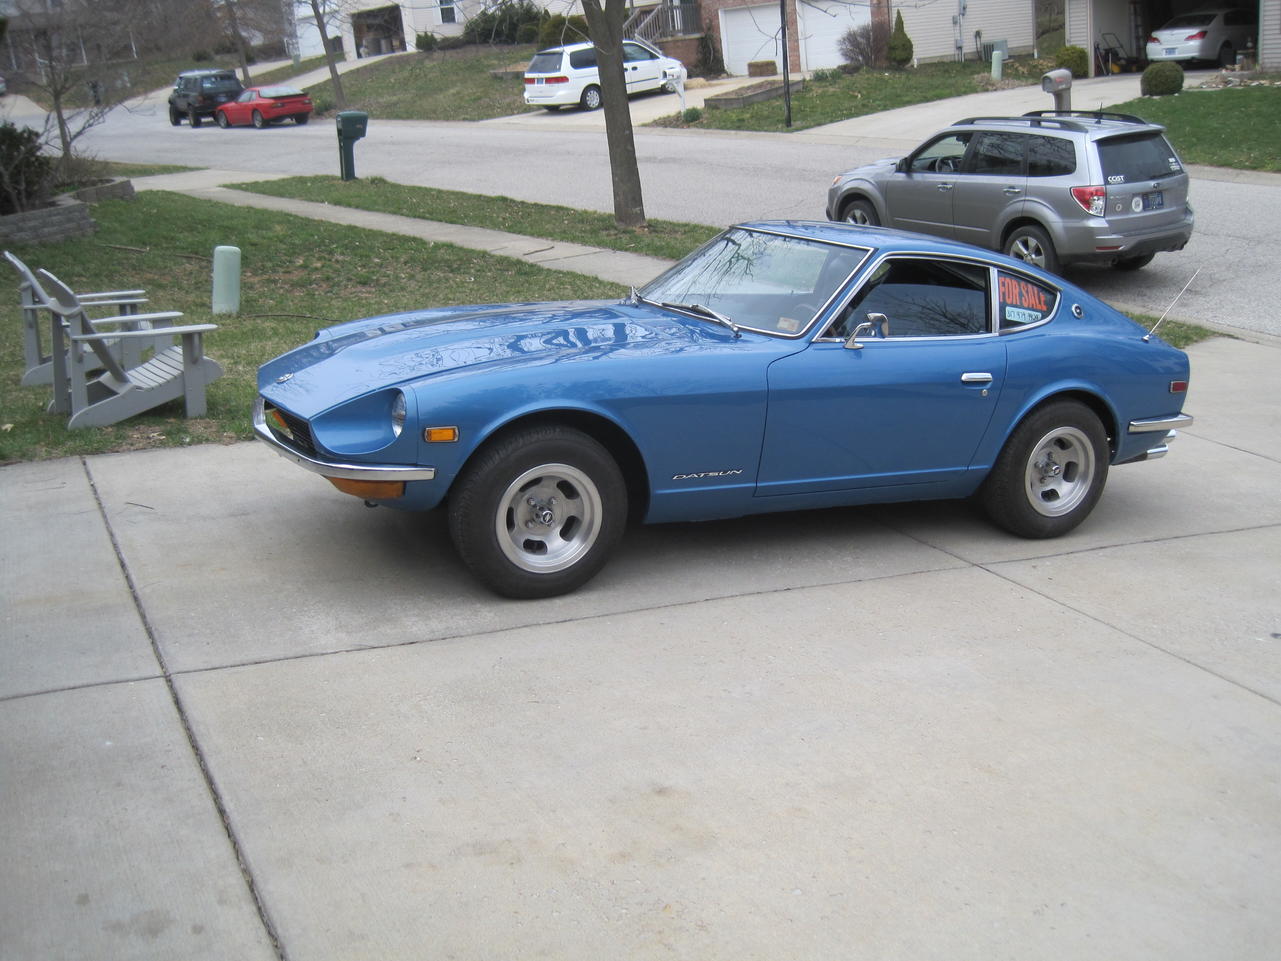
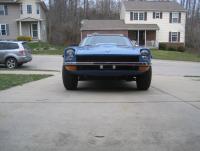
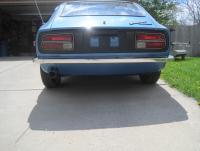
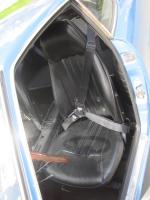
Wanted to ad some pics and get more comments. Just days before this goes on the market.


-
Swap away- just get it wired right!!!
-
The only other Nissan color that is close is the 307-which I could see someone mistaking a faded 903 numbers for 307. I will see if I can get a paint shop to match.
-
All I can say is RAISED WHITE LETTER TIRES!!
-
Now Blue- I thought you would be the expert, you know what i mean Blue- I tried 115, still too dark. I will try someone that does color matching, not sure where that is.
-
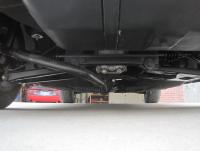
I have always wondered why I have seen so many RB's running without the caps. I have all of mine on, but don't remember if or what I did to make them work. It might have something to do with my Wildwood rotors? I think I did wind up smashing the bearing cap slightly to give the cap room. My wheels are +4 offset
-
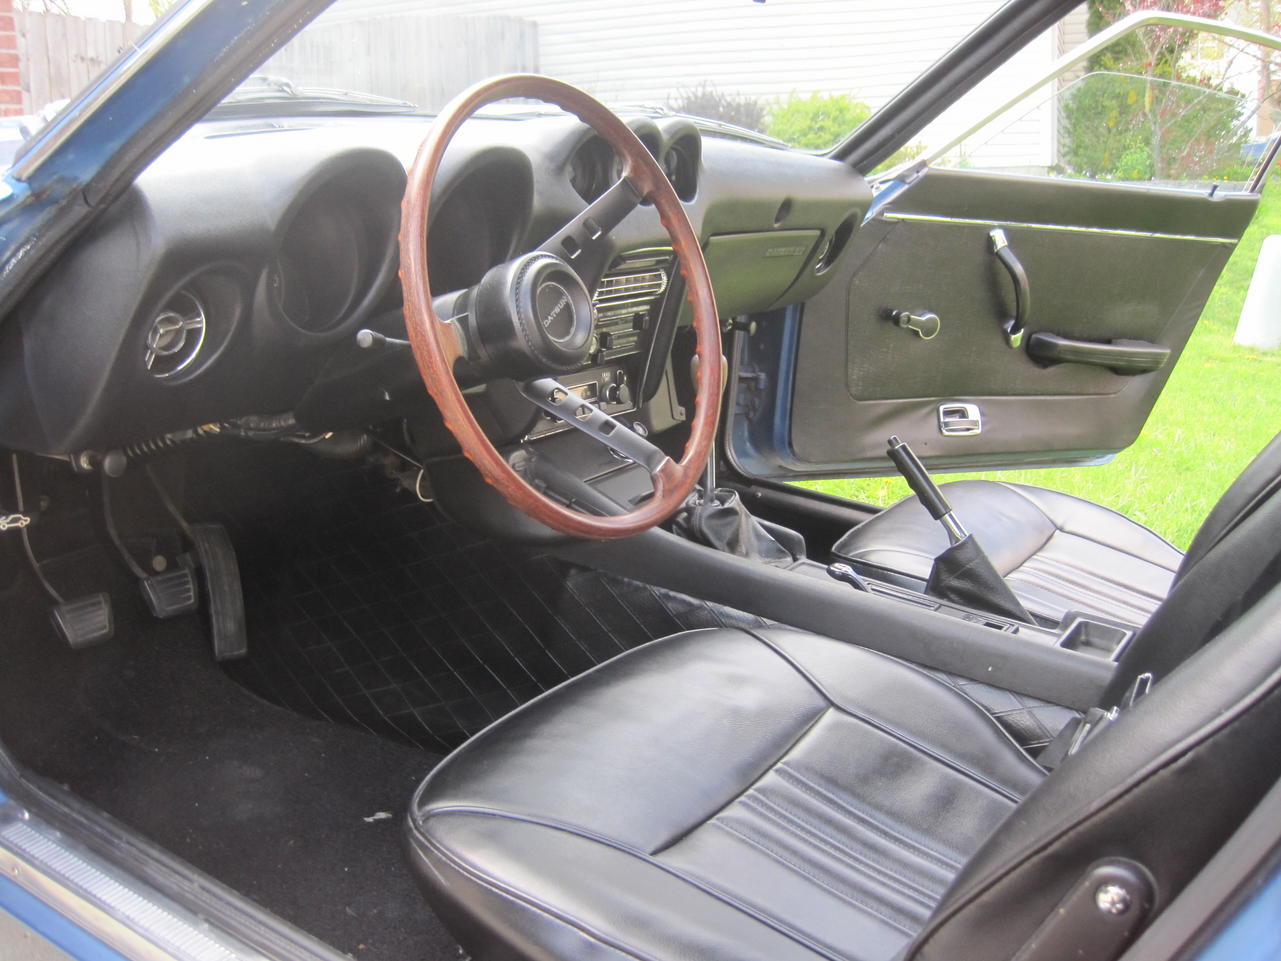
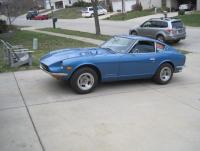
Take a look at the pics of this car. I have been trying to match paint for some touch up. I was convinced it was Nissan 115 code, but that color is darker then whats on the car. The paint code by year should be 903, but 903 is much darker. The story goes, that when the car went to the painter, they guessed the code by looking at a faded code sticker on the radiator core. The numbers are so faded that they could have put 305 color on this car. Anyway, if you think your blue paint is this color, please chime in. Like I said, this color is several shades lighter than the 903.
-
You can still test it at any parts store
-
With ignition on- what voltage at the coil+ The more I have read, the HEI hates low voltage- even for starting .
-
Well it seems that you have exciter voltage, so if the alternator is good, then your okay. When you purchased your alternator- did they test it before you took it home. I haven't had much luck with rebuilds. The wet plugs part bothers me. It sounds ignition to me. Maybe you did fry your hei or there's not enough voltage to run it properly. It's not as forgiving as the old points set up
-
Chuck, it seemed he was having an issue just starting the nut. Good point of trying it without the strut in. The threads look useable, but if the tube is out of round it will be tough. Have you used a big washer or something to drop into the tube so you can see if it is out of round and where it's out of round? You might need something better than a c-clamp to pinch it back in shape. You need something that clamps with a radius like curved-jawed- vise grips or something. My vise actually has a curved section under the jaws for gripping round objects.
-
You can test for exciter voltage with ignition on. Got to have 12 volts at the alternator to make voltage. Maybe your alt swap is not wired correctly
-
No way to clean out the threads with a dremel? I know it's a long shot, but maybe a little cut off wheel on a dremel to dig out the threads. Probably not enough room for a thread file