madkaw
Free Member
-
Joined
-
Last visited
Everything posted by madkaw
-
 Looks like you might be off one tooth/gear . Looks like you are sitting close to 12 o’clock. Good advice above , spark plugs out and crank till you see oil. I actually use a separate spindle that has no crank gear on it to spin the pump with a drill. Good way to prime motor
-
Drive the Bw-t5 and you’ll be hooked ?
-
I think you have to get them really far off to leak actually . I read all the FAQ’s about installing them , and I guarantee I didn’t get some of them ‘ perfect’ on my last motor, never had an issue . If there’s no gaping holes and you don’t plow them all the way down, I think you’ll be okay. The ones I suspect as leaking -HAD to be tapped on quite forcefully.
-
I made a spacer that straddles the guide . I also invested in some guide seal pliers. With pliers I didn’t have to tap the seals on . I had enough control with the pliers to ease them on and avoid the bulge .
-
Yes - “stacked “ gaps was a concern . Still hard to explain why top ring would be covered with oil and second ring not
-
We there was no smoking gun found. I took apart the head and put new guide seals all the way across. I used that Fel-Pro Ford seals that I’ve used before . I also pulled #6 piston to look at it. Nothing looked bad except all the oil on the top compression ring . Pretty soaked actually . Oddly, the second ring was pretty damn clean. The expansion ring was properly installed and not overlapped. Kind of hard to believe the oil is coming from the bottom of the piston and not getting on the second compression ring. Makes me think the oil is coming from the top . None of the guide seals “looked “ bad . I put it all back together and will be firing it up shortly. Checked cam degree and it was about dead nuts , so nothing changed there. I did play with putting together my coolant manifold . Not that it will do any good with a none running motor -lol.

-
My son just doesn’t want to get greasy dirty - clean freak, but at least his room was clean. My daughter probably understands cars more then most men her age (30). At least my son will have a degree and already has made his fame and the daughter will always be employed - SO - dad won’t be supporting anyone but the Z -lol
-
Interesting
-
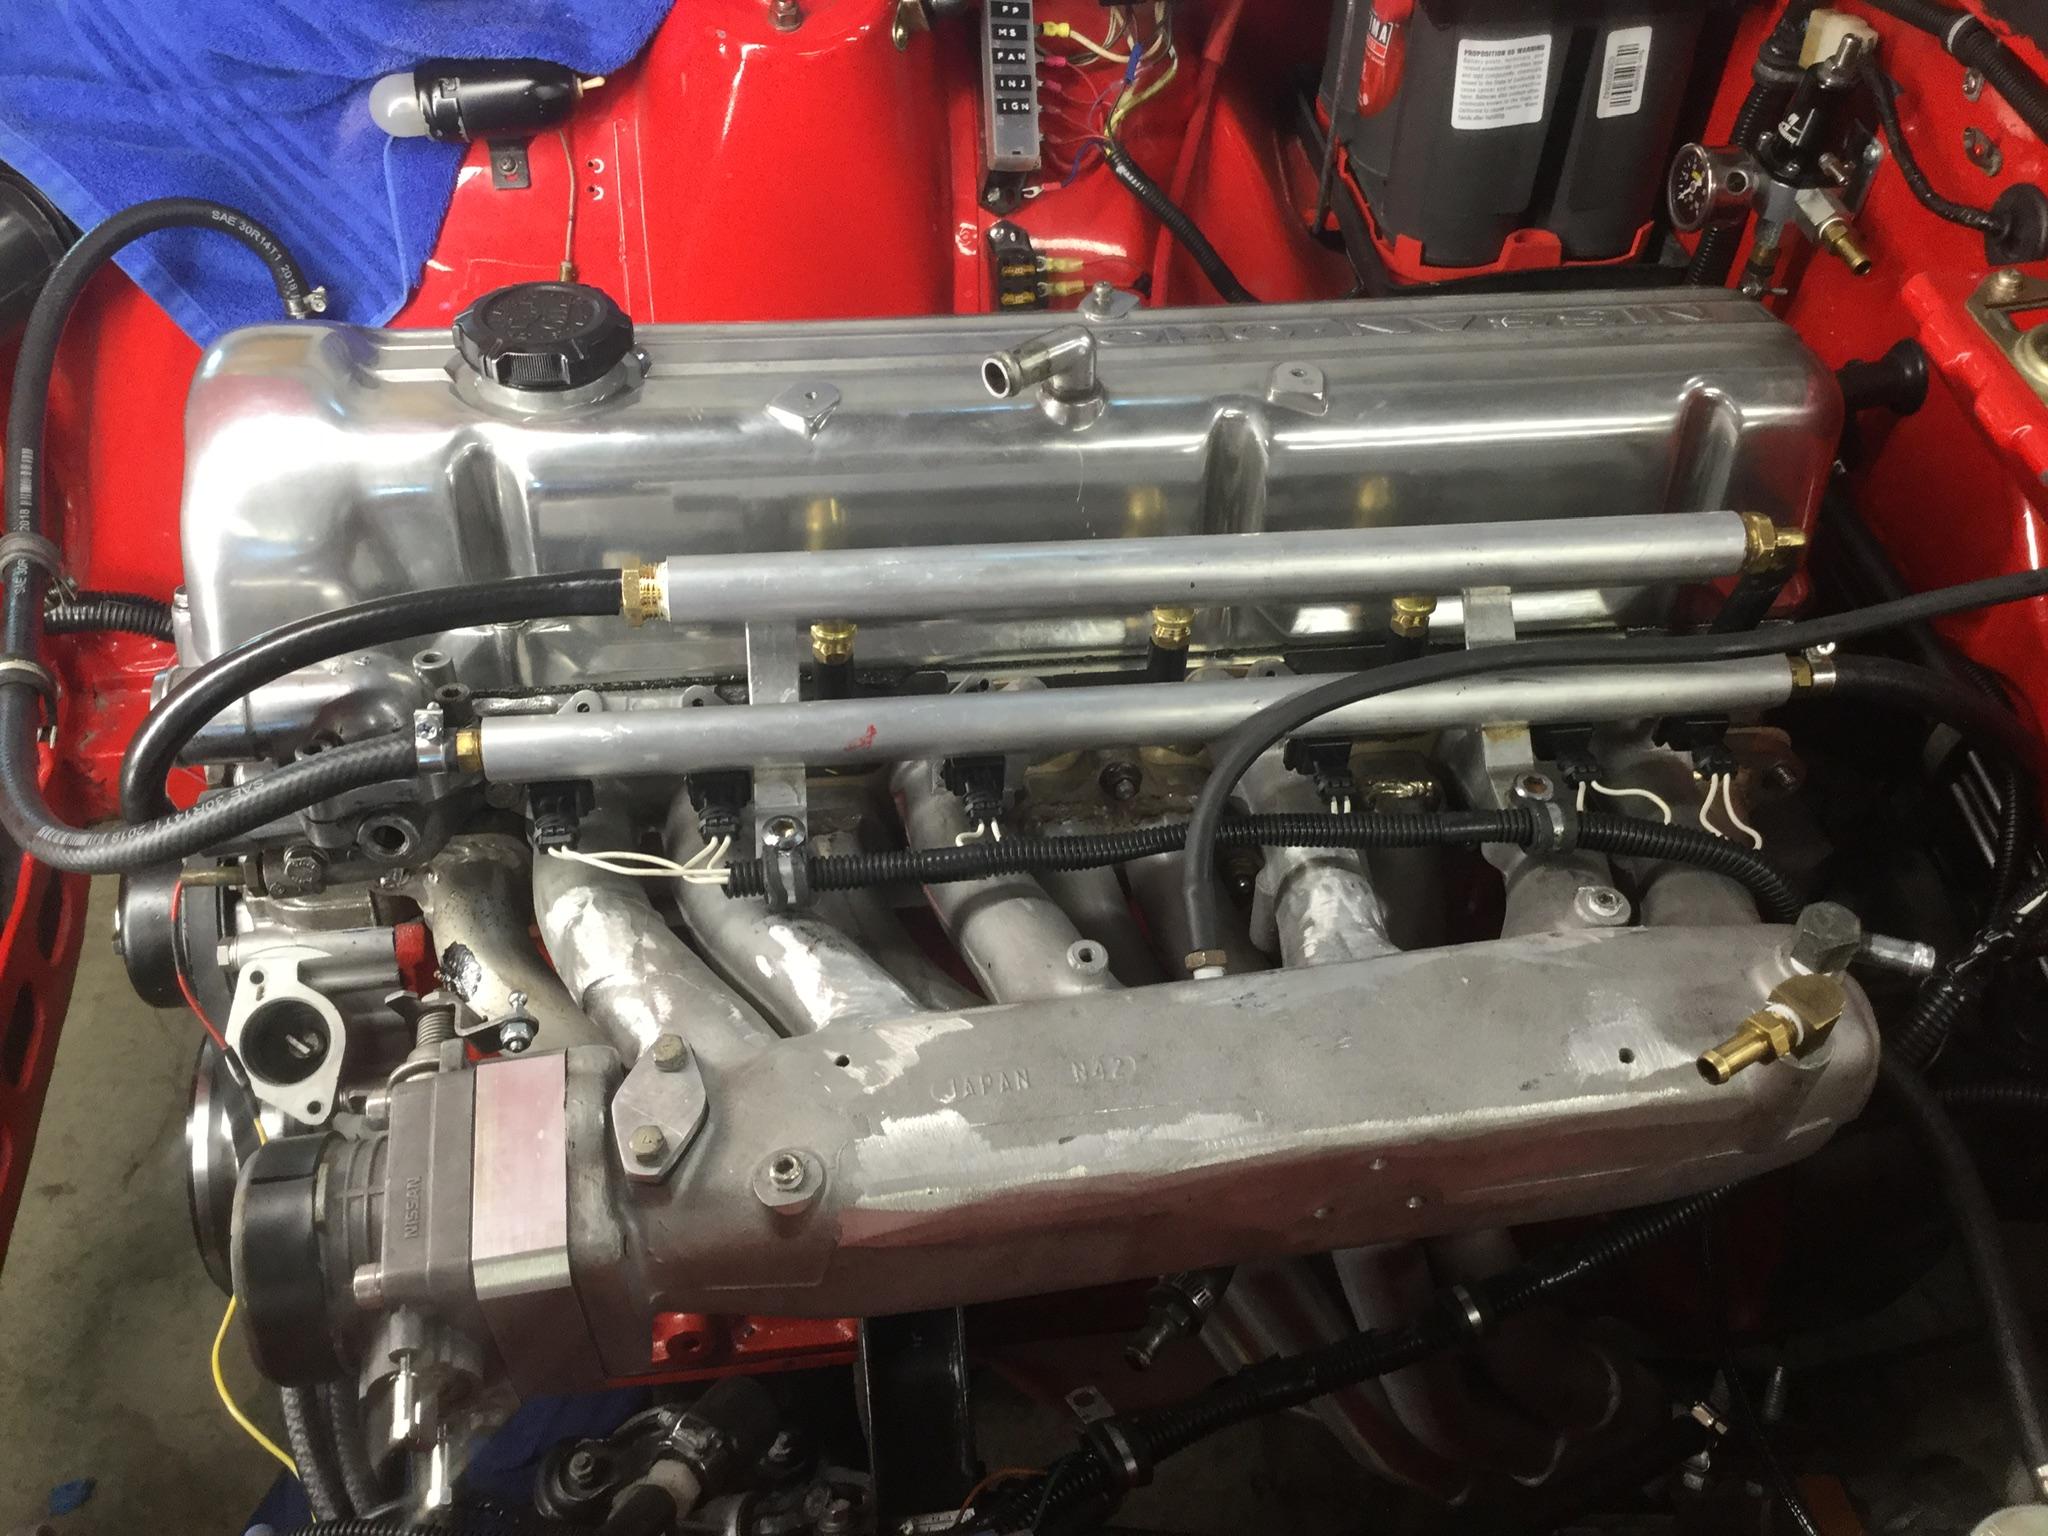
https://images.app.goo.gl/s7MedL1SofYUqDMXA Set up has not changed from the last motor . Motor swap only . PCV is basically centered or even biased towards to front runners. I would also think #4 would be worse in that case .
-
I think it’s one cylinder supplying the oil and it’s being dispersed into the other two because of proximity of the n42 intake .
-
That’s the question!
-
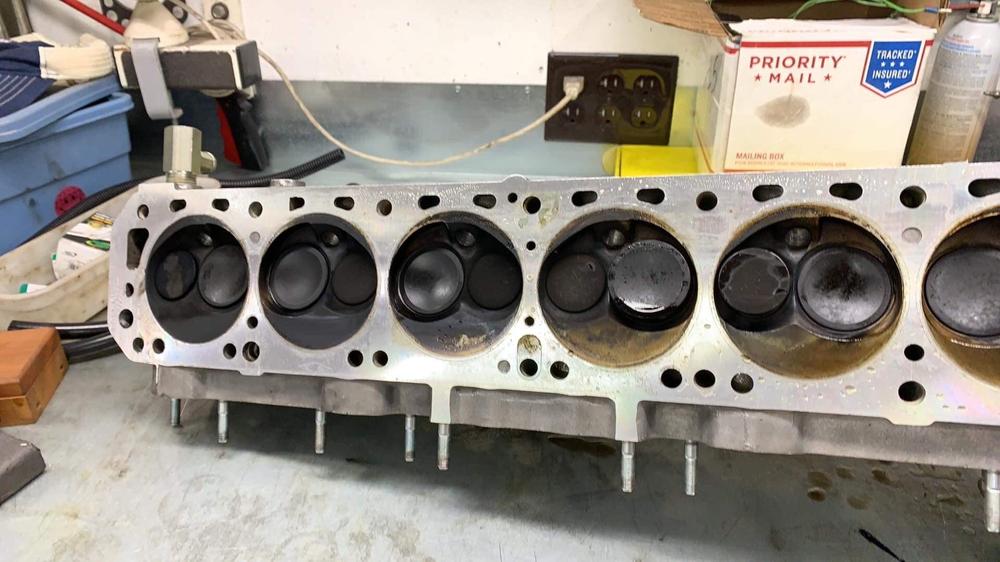
Okay - turns out I have an oil issue . Oil is getting into to cylinders 4-6 , progressively worse from 4 on . The oil is diluting the charge and causing a misfire - especially in 6. 4&5 seems to be able to burn it off . I removed the intake to check for vacuum leaks to find an oily film in the runners 4-6 . Runners of intake and head both had oil film. First suspect was/is the valve stem seals. I tried a different kind on this build vs my L24. Visually they looked fine . They took a lot of persuasion to install and thought maybe I used too much . Last seals were a Ford seals , which were difficult because they are finicky as hell to install. Actually replaced #6 seal while head was in motor - ran motor and still have same results . Not being able to pin this down I decided to pull the head and look at the guides and anything else . Getting good at this now I guess - 1 hour later the head was on the beach . But no smoking gun found . I ordered more seals anyway. Decision time now . Do I go deeper and pull pistons or throw all new valve seals on and reinstall head and keep fingers crossed ? I was getting ready to leave town and really wanted an answer so I dropped the pan and pulled 6. Still no smoking gun - as far as my experience(novice) eyes can tell. Got on the phone to my machinist - but didn’t hear back yet. My inspection was very quick , so when I’m back in town I will scrutinize closer . Just trying to determine source of oil . I was expecting to see a collapsed expansion ring or another failed ring . There was marks on the bores on the thrust side that were fairly significant visually , but nothing you could feel. I have an extra assembled f54 flat top short block sitting there untouched by amateur hands with 110k miles with perfect wear in the bores . Also pulled a couple of bearings and everything looked spot on. Depending on what I find or not find it might be the next plan. With the head off it makes assembly decision equal. Though this is frustrating , the hobby of engine building will have these outcomes I guess . Not being a stock engine makes this more of a challenge . Missing the L24 right about now because I enjoy driving my car - a lot ! I was hoping for more engine swap and tune - not engine swap and troubleshoot . Hopefully I learn from my mistakes
-
Maybe I’ll sneak in there too with a fresh motor - if I ever get the beast to stay together - lol
-
There’s also the option that the machinist used bronze inserts vs knurling the guides and they were/are too tight. Maybe material from wearing on the inserts ruined the seals ? Several possibilities
-
I doubt a seal would stick a valve under running conditions . Does sound like the oil burn is a valve seal though. This is a problem I’m having now is finding the source of oil. Like you said , a leak down test won’t help find it.
-
There’s no specific numbers I can brag on , but there’s no contest , especially if you want to run a performance cam or performance engine . I run 45 degrees at cruise and can idle at 18 degrees . You can’t hardly get a dizzy to do that since the vacuum advance is linked to the total advance . Cam sensor really helps for smoother idle and getting that last % of precision from EFI .
-
I would argue the statement of probably not better power . Timing control is a big part of these motors . To have full control of timing in any load situation is a far and above the compromise of a dizzy - however it might be recurved . I think it’s safe to say power improvements are about guaranteed . Cam sensor is nice , but not necessary . I’ve run years without it .
-
Well you’ll need a way to control the spark - ECU . Then you need a way to tell the ECU crank position . Then you can do what you want . The options are many .
-
With 3.90 gears I drive around town in third gear with my TEP lightened flywheel . That was with a 2.4 with a 490 cam. If your engine is strong with those gears you will be fine.
-
I realized after rereading the thread that this is an untouched used bottom end - so your numbers are healthy for sure . I would be happy with the vacuum readings for sure . I have a 54 block with 110k miles that I need to put a head on . I don’t plan on touching it either since the bores look perfect .
-
I forgot to add that the other good thing was my cable linkage has been flawless so far - but I probably jinxed myself now -lol
-
It’s a bit contradictory that you have that high of vacuum numbers but 12% loss on leak down? My engine runs 10 at idle but only 3-5% leak down per cylinder . Plugs don’t look terrible, maybe still burning of residual oil?
-
Not yet . Put everything back together and drove it and she ran good . Got back home and noticed a puddle of oil under the car after parking . I caught the oil pan seal putting the cover on and tore it. So off with the oil pan . Today I drove around and noticed the engine wasn’t building temp. I could hear the fan still turning hard when the engine was cold. Checked to find my clutch fan had gone bad. I’ve had this a long time so I can’t complain too bad - but damn it! i ordered a new clutch. Currently the engine struggles to get to 170. It has always ran right up to 180 and stayed . Temps dropped around here but I think the stuck fan is prolonging warm period to the point that it’s showing on the plugs - but there’s more. THEN I drove it some more to find my brakes were weak. Checked out my vacuum was low - why? Eventually found PCV elbow was torn around the clamp . Now troubleshooting some dirty plugs on 5&6. Thought the worst - HG- but engine leak down test, coolant pressure test, vacuum test are all good. So at least the long block is sound . Power is great, but could be better . Last time I had the mysterious miss it was my fairly new plug wires were bleeding over to each other . This seems similar , but not a dead miss, just carboned plugs . I think I knee jerk reacted to the last issue and went too cold on my plugs. I have 8’s in there now to compensate( at least I thought) for the increased CR. I am putting 7’s back in for now and maybe I’ll find my way back to 6’s yet. I’ll run the 7’s and see if that makes a difference . Good things? The new CV axles are great. My clutch MC fix transformed the shifting experience of the car . It lightened the pedal pressure by 25%.
-
-