madkaw
Free Member
-
Joined
-
Last visited
Everything posted by madkaw
-
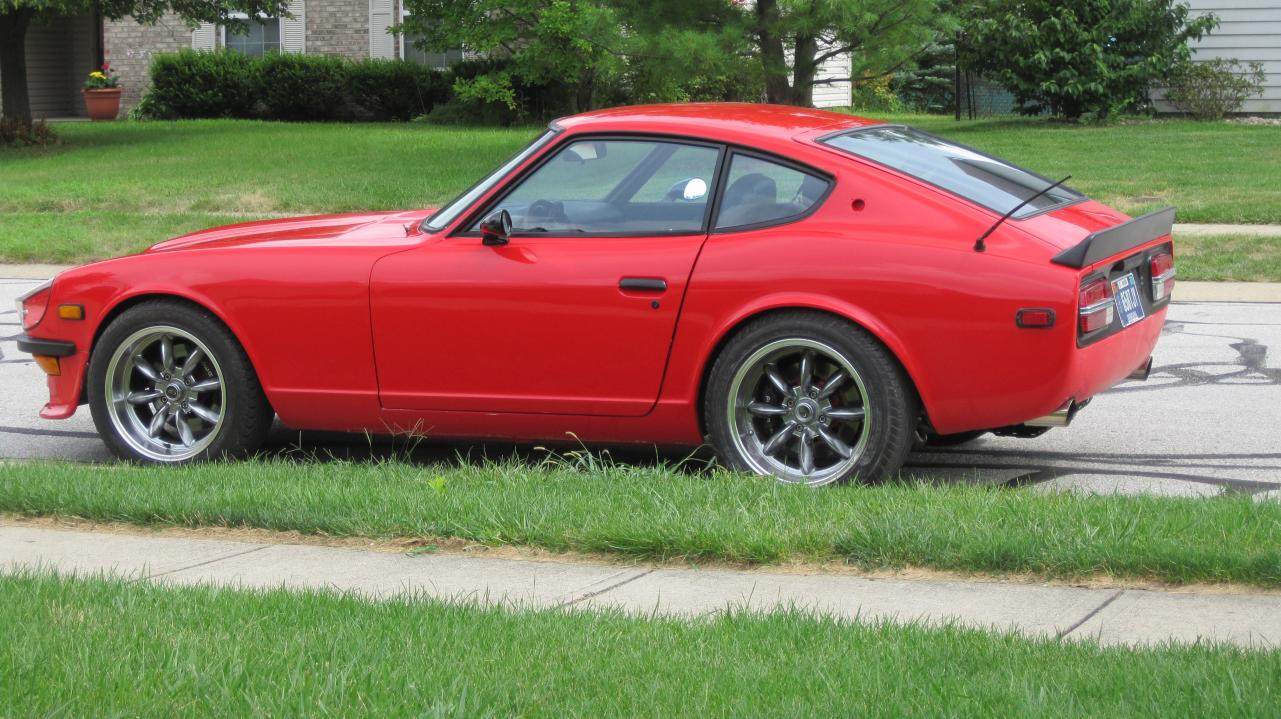
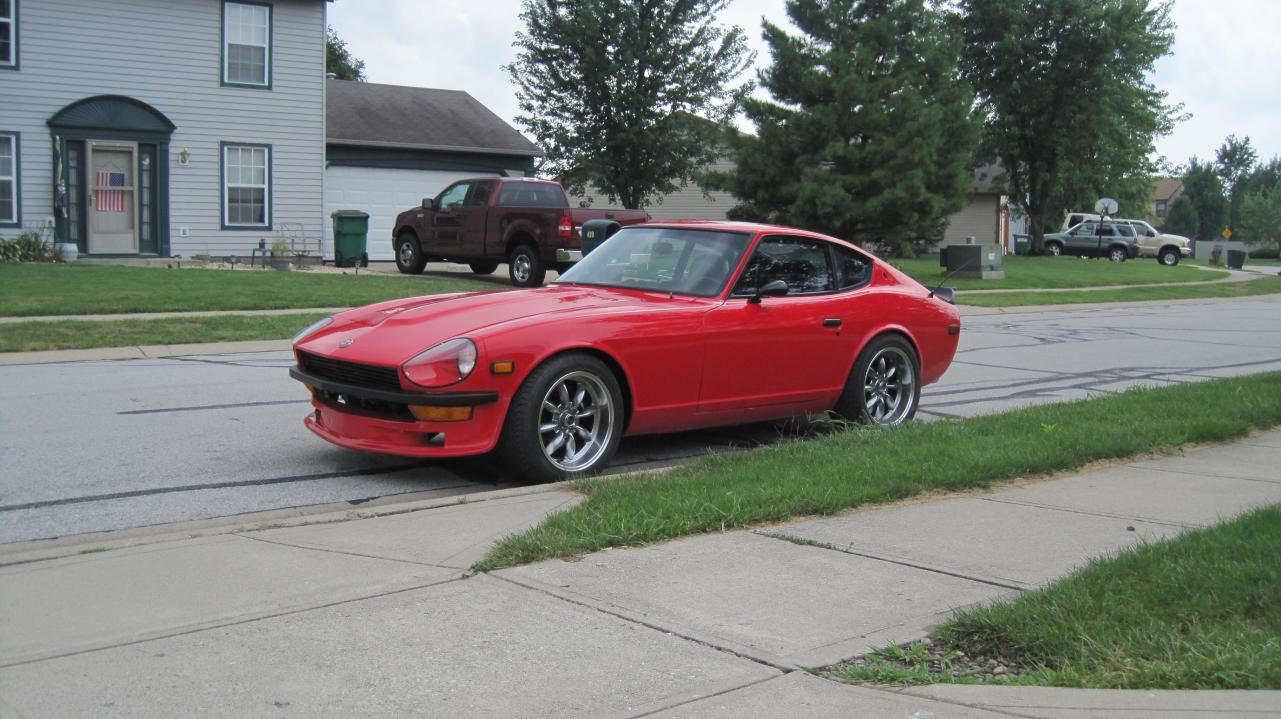
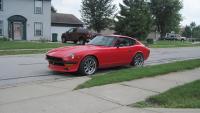
 Well guys I was sweating it for the whole trip, but she made it with flying colors.The last few days were hairy since I was fretting over a noise in the rear, but the noise never got worse or any better during the trip. I also had a SU problem with the front cylinders running rich, so I decided to adjust the float-well that almost became a disaster. It seemed to get worse, but somehow straightened itself out at the last second. I was supposed to join up with the Indy z club and come down with them, but I missed the connection by about 5 minutes. It took me about 75 miles to catch up to them, but I finally did-and I felt better traveling in a group incase something went wrong with the car. The pace was faster then I wanted with an untested car, but my car does like to cruise at highway speed. We must have averaged 75mph, which was about 85mph on my speedo. Good thing about that was I couldn't here that damn diff noise. What was really cool was that I made it all the way on 1 tank of gas. My odometer showed close to 350 miles, which is a little inaccurate because of the speedo being off, but it is pretty close since mapquest showed this to be a 300 mile trip(and I started with about 40 miles on that tank).I didn't fill up to check mileage because I didn't want all that weight, but I must have got +25mpg minimum. That BWt-5 with overdrive is great. I will check the mileage on the trip home. Everyone is great and this is a lot of fun. Going to the track tomorrow-to watch-I'm not ready for prime time yet. My rear tires bottom out in the wheel well so I guess it's ZG time. If I hadn't got greedy with tire size(245/17/45) and went with maybe 235's I might have cleared. You can't hardly see on the tire where it rubbs, but in an autocross style race it might be worse. I hope everyone shares the luck I've had in making it here-and back home. I will post some pictures soon.
 -
Hopefully Todd you will have the same luck i had with this 71 i worked on a year ago that hadn't been running in over 15 years. The car ran good and the compression came up nicely after running for a while-these are great motors. Are you in Bloomington?
-
I saw that on craigslist-500$ I think someone should call the police. Congrats. If I didn't have a garage full now I would have been interested.
-
Thanks guys. Greg, I think you will be happy with the paint if you go with Steve. I had to overcome some issues with the clear(which you saw i believe), but it polished out beautifully and the body work was about flawless. The mirrors were some off brand, not sure I like them for the utility. The passenger side is about useless, but I screwed up the mounting place somehow. I thought I had it all lined out before paint, and when I went to mount the other day it was like--'what the hell did I do, I can't see a thing with this mirror.' Well off to check my pinion angle.
-
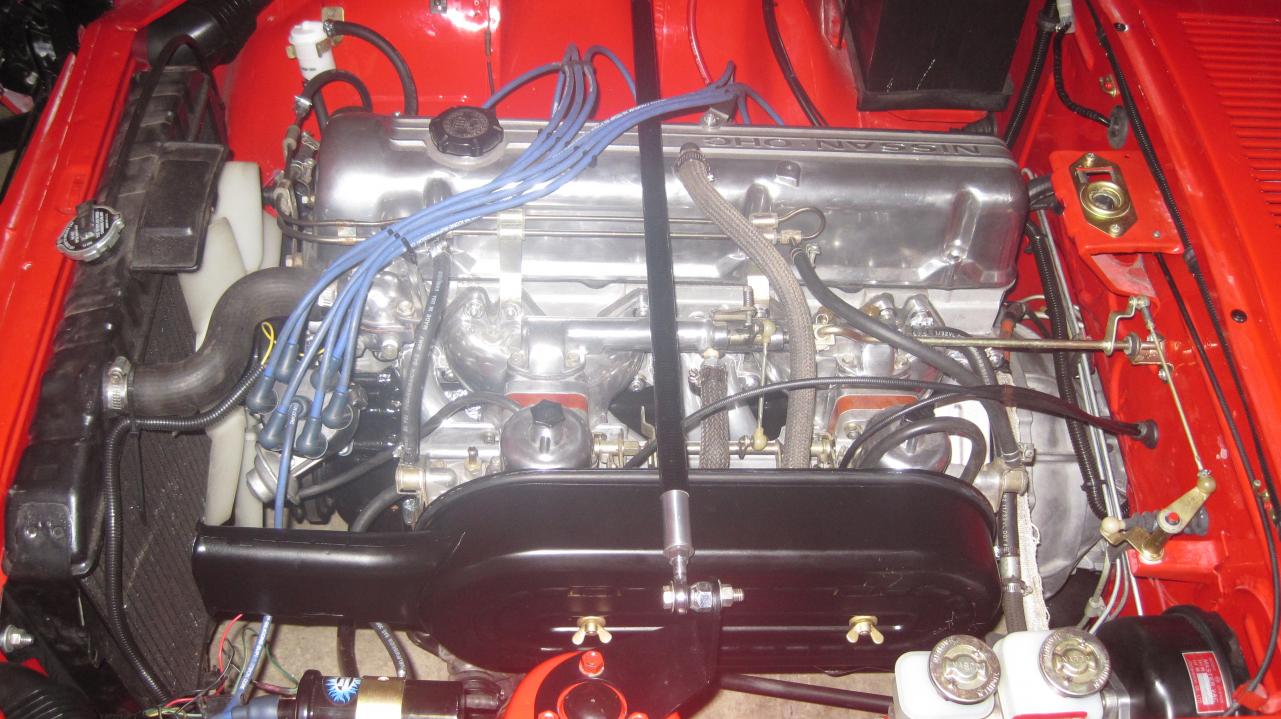
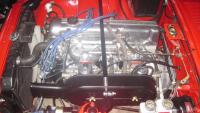
Hoping to meet all you guys too and exchange war stories:) Well my son swims at State Competition in Indianapolis, at least it is close to my house. There is 3-4 hour breaks between sessions and my wife and i swap out watching the comp. The car is finished enough to take to zcon except for that pesky driveline noise. I have consulted one of our driveline gurus(jon morteson) and it sounds like I need to check my pinion angle today for sure. yesterday was knocking out other things like doing a compression test to see how the rings are seating; 190-195 all the way across, so that was good. I also had an annoying tick in the motor and found a valve lash needing adj.(by the way, the screwdriver/stethoscope idea really works well) Also the car smelled rich and the front plugs were pretty dark. So I started looking the SU's over. Found an interested problem. The mixture adjustment knob(3 screw type-large wheel) was hitting the metal strap that holds one of the hoses against the air filter box. What this did was fool me into thinking that when I turned the adjustment all the way in-I was all the way bottomed out-but I wasn't-I was just hitting this strap so I couldn't get anymore turns. Thus I would adjust way too rich------Anyway-make sure nothing is in the way of the adjustment knob!!!!!!! Besides the driveline noise the only other thing that bothers me is the smell of raw fuel. My build included putting a different gas tank in to accomidate my dreams of dual exhaust. Now in hard left turns I get a raw gas smell as if the fuel is running up my vent hoses into the vent box, or running up the filler neck. I cannot find any trace of fuel visually, but i know that will be tuff to spot. By the way, I finished buffing!

-
Don't come by this week or I will put you too work:). Your's is next brother.
-
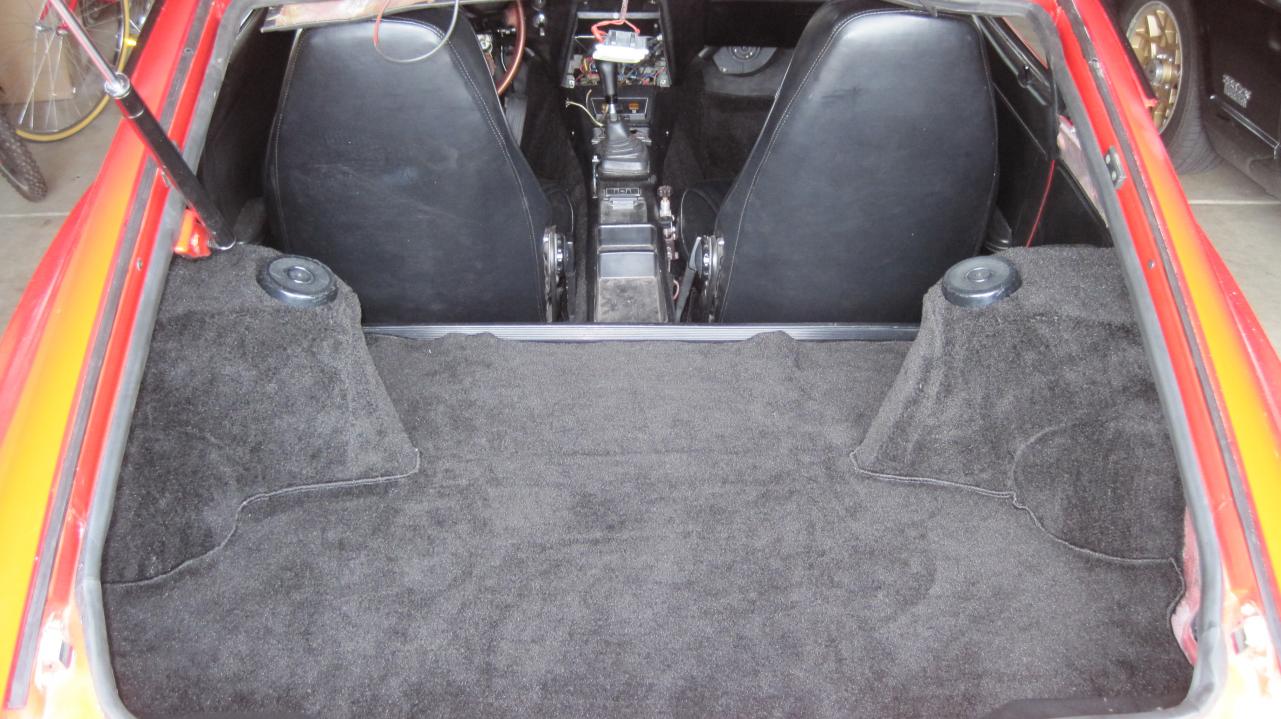
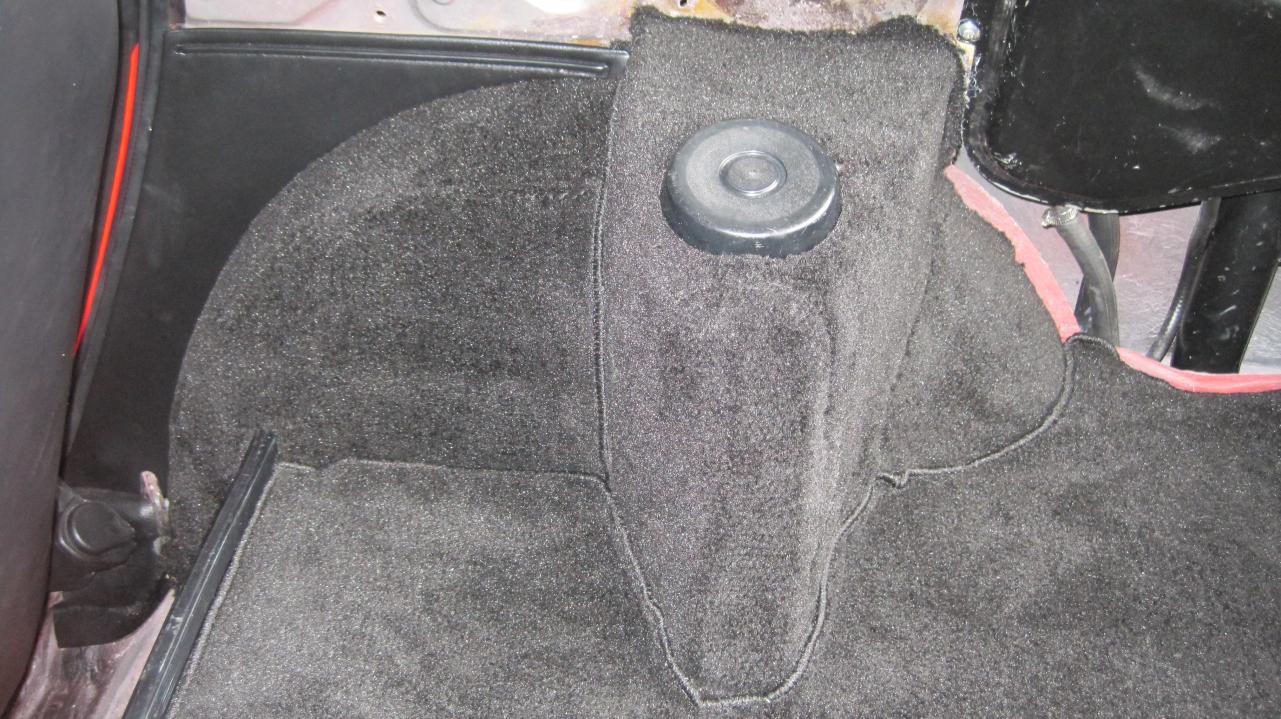
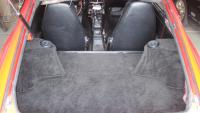
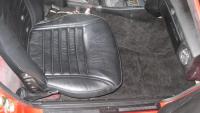
Steady progress, but too much to do in the amount of time, I will need to prioritize my to do list so I can get to Zcon. The interior is done, except for the 2 pieces of carpet behind the seats(got shorted by MSA). I have the front of the car wet sanded and buffed and I am very happy with the outcome. I still have a lot of buffing to do and it will eat most of my time. I still have only about 250 miles on the car so I need to get out and drive-but that takes time, time I don't have a lot of. I am waiting on my halfshafts to get back from the driveshaft shop from beeing balanced. Still have something going on in the driveline that I have to narrow down. Somewhere in there I need to sleep too! Oh yeah, and watch my son swim in state competition.

-
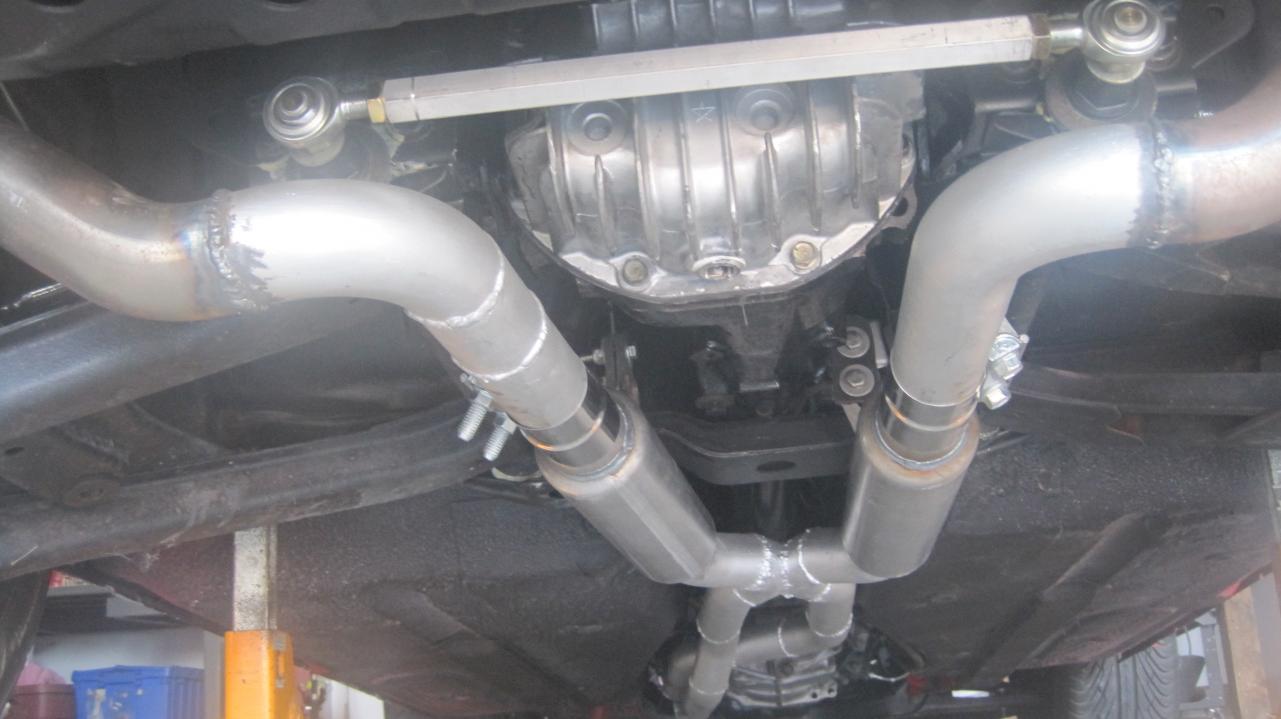
I might have found the culprit. I have some definite play in the diff side bearings. The left side being worse. The main driveshaft is solid with no play and balance weights are in place. I imagine there should be no-up/down play in the side bearings. This is a lsd with unknown history. I guess I need to see what is involved in changing out the bearings. Changing the load by shifting is maybe putting more or less load on these bearings-thus the noise-what do you think?
-
Tranny came from a cherry zxt that was wrecked. It has a total of 60k miles. If I get under there and start trying to move things in the drivetrain-it seems to have some slop-but anything I would worry about. Maybe I need to check out the pinion area for slop.
-
Exactly! That's why I'm baffled. But is the torque the same given the different rpm at the constant speed. The engine would be putting out more torque at 3000rpm then at 2400rpm-4th gear to 5th respectively. So I maybe going off the deep end here, but does the difference throw the shafts(driveshafts) into an angle that maybe promotes a slight out of balance-thus the noise. A liitle background here 2.4 motor 81 zxt bwt-5 speed driveshaft shortened and balanced halfshafts had universal joints replaced around 5k ago-but don't know if they were balanced-doubt it. New tires, wheels, wildwood brakes
-
The noise seems rotational-like as in a tire balance issue-so i can't see how it could be exhaust. The only resonance issue I have is at 2500-and it's just a low rumble. I also thought it could be a rear bearing-but once again the sound is effected by gear selection. Could the gear selection cause a slightly different load on the driveline which would make some noise more apparent?
-
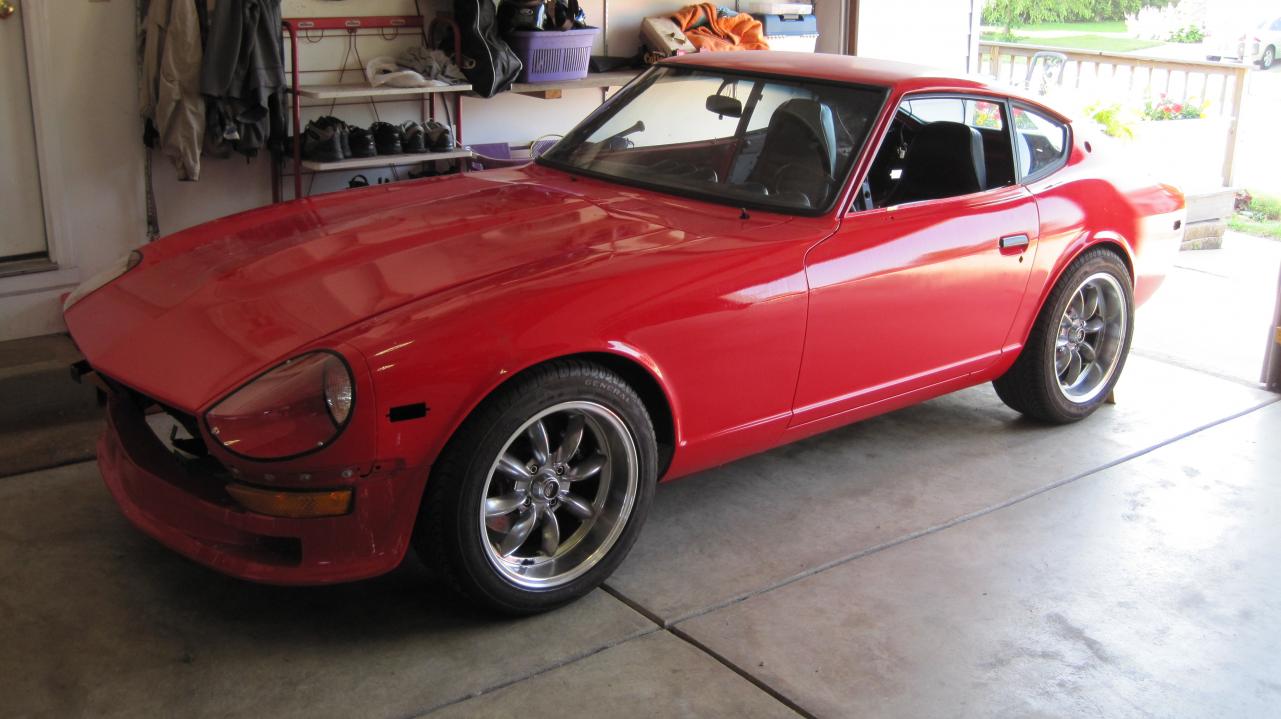
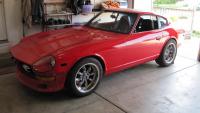
Some of you have been probably following my zcon thread, but I have been doing a complete resto and I am nwo just driving the car around for the first time in years. I am very happy with the way the car handles and performs, but I have one of the 'weird noises' that I am trying to figure out. The noise seems to be coming from the rear and it sounds like a tire with a slight imperfection or slightly out of balance-but there is no shimmy or any vibration. The noise comes in around 55 and goes away around 70mph. Here is the weird part for me; at a constant speed of 60mph where the noise is the greatest in 4th gear, if I shift up to 5th gear the noise almost goes away. Shift back to 4th and the noise is right there again. At first I was sure it was a tire balance issue and had the NEW tires rebalanced and I even rotated front to rear-no change. I then suspected maybe that a halfshaft is out of balance, but the discovery of the gear change - changing the noise- makes we question all of my assumptions. Or even if the noise is coming from the rear, maybe it just sounds that way. any ideas??????
-
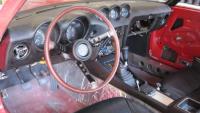
Welll I wanted to use those brighter bulbs because they do make a nice improvement over the smaller wattage ones. I believe the that they are too long, but my fix was to file down the solder on the positive tip. There is quite a bit on the end of these bulbs and I probably took have of it off with a fine tooth file. Now the bulbs don't flicker at all. It does seem that this problem doesn't exist on all the sockets. I had issues with my oil pressure guage and speedo. I haven't takled the speedo yet because I'm not ready for that kind of pain. But for now the other guages are great. Drove the car around all night without a flicker:classic: If anyone sees any issue with this kind of fix-please speak up!!
-
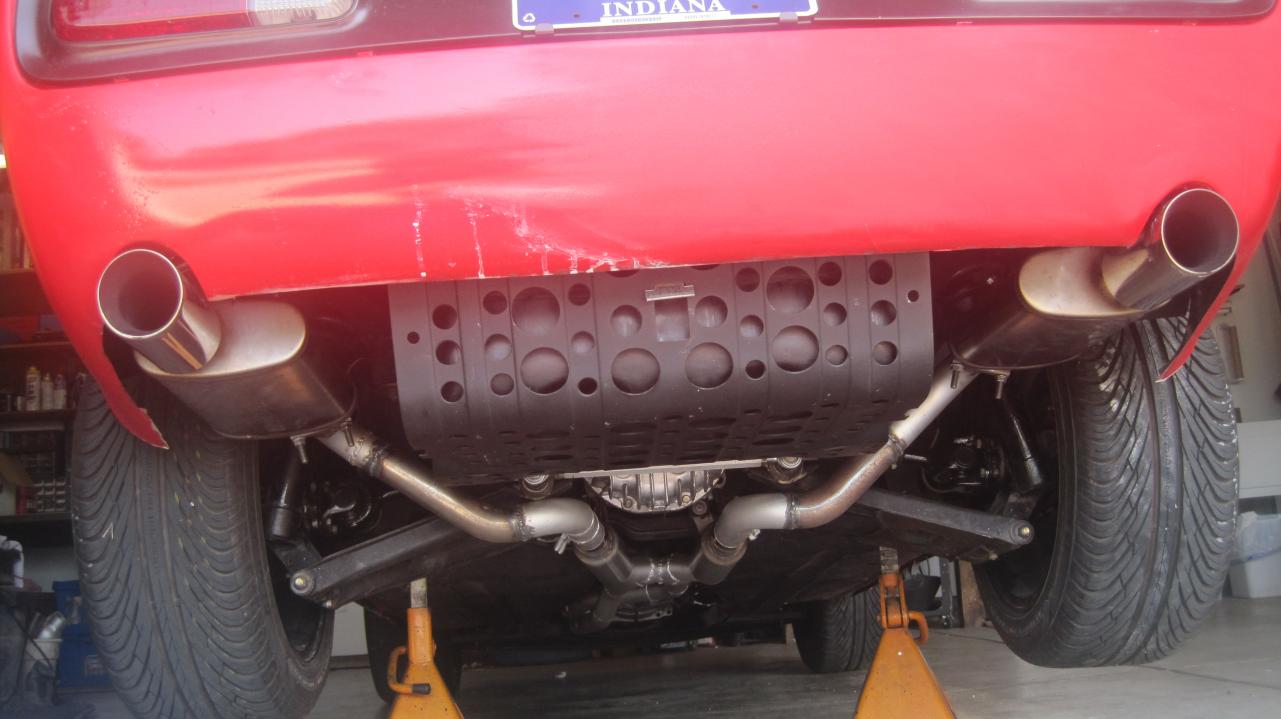
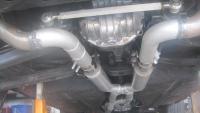
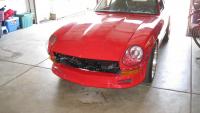
Well I had several issues going on at once-but by far the brake issue was the scariest. The skim cut at the machinist cleaned up everything and the brakes will put you thru the windshield----but smoothly now;) The exhaust needed some resonators to help calm the resonance at 2500rpm. The drone was too loud and annoying to deal with. So I called Summit and ordered some cheapy 20$ resonators and installed them. The installation went smoother then I could imagine(it all actually fit under there), so I couldn't be happier. I still get some raspy resonance at 2500, but it is negligible. The only other thing to do is put some tail pipe resonator in. I've put about 125 miles on her now and I couldn't be happier with the sound and performance so far. I have limited myself to 4000rpm, but she pulls strong all the way from 1500rpm. Cruisin rpm at 80mph is about 3000-3200-I think I could put 390 gears in this thing. Temperature is rock solid, as well as oil pressure. My only conplaints are that I think I have a tire out of balance that is making a lot of road noise and I get tire rub on all corners-but it is very light. I don't know if i can squeeze anymore room out of my fender lips-so anyone selling their ZG's. I am going to make a last ditch effort to make the stock fenders work on Wed. Big items left to do are install carpet install plastic interior panels install front bumper change out faulty MSA instrument light bulbs:mad: Color sand and buff out car

-
Well I actually put some miles on the car, but with some issues. I believe i have brake rotor issues so I took all my rotors to the machine shop this morning to have them checked. the rear was really bad and I hope it is just the rotor. I had the hubs turned before I modded the rear kit on and I hope it was done right. Well the machine shop called as I am typing and said all the rotors need a touch. The rear was out .006+, so I hope that was the issue. He said the rotor had high spots so maybe that was the audible part that I was hearing. The good part was the motor felt good-although still pretty loud. i had to go with SM needles in my SU's since it was to lean-and it did make a nice change. I got to say that my family-especially my wife has been wonderful thru all of this. I am spending my entire week of vacation busting my arse on this car and doing NOTHING else. I need to make a decision whether I am going to make it to Zcon this weekend. A good day today would make a difference. I am also realizing that my body is not up to this pace. I have taken more tylenol this week then i ever have.
-
I finally got the car out and drove it around after sitting around years during resto. I have some issues right off the bat with my WILDWOOD brakes. I have a front end shimmy like a warped rotor and I have a knocking noise from the rear. I have to do more investigating, but I did find the front left bearing was loose and i tightened it-yet to test drive. Could or would a loose bearing cause the same symptoms as a warped rotor? In the same line of questions-would a loose rear wheel bearing cause the same thing? I can rock the rear wheel at the 6 and 12 oclock position and get a very small amount of play. The bearings were replaced, but i question whether I got enough torque on the bearings. The noise from the rear is almost like the rotor or pad is contacting something under braking. I've have pushed and pulled on everything under there, but the wheel is the only thing that has play.
-
I believe I use the stock crossmember with slight modification. I had to modify the tranny mount more then anything. Drop me an e-mail sometime and I had foward some pics.
-
damn, I wish i had read this before I installed these MSA bulbs. I am pissed that MSA has not done their homework-again. Don't they realize they are cutting their own throats with this kind of mistakes. Doesn't anyone there do and R&D work. This is not the first time or item with MSA-I thought they were the experts:angry: I have atleast 2 guages winking at me now and the speedo just goes dark sitting in my garage. Atleast my heater panel is not in yet so some of the guages will be easy to get to, but that speedo will be a lot of work.
-
BW T-5 trans with a pro-shifter, stock 280zxt boot.
-
I had a pretty decent week of progress even though some of the time was towards the redo of my exhaust. What i find interesting is that I spent more time redoing my headlight assemblies and installing them, then i did hanging new mufflers. Installing headlites also included putting on my lens covers-which is kind of a pain to get on straight. The best part is that most of my ventures ended successfully so my only complaint was the HEAT. After installing my new mufflers I drove the car around the block again and thought that this will work nicely. Besides the noise of the tire grinding on one of my fender lips, the other noises coming from the exhaust were muscular, but not overbearing. I called the insurance company and now i'm insured ready to drive(except for a plate). I need to install the hatch seal and door seals so the car won't rattle me to death, and possibly roll a fender so I don't eat too much rubber, but I'm ready to break this engine in. Just from my little put-put a round the block I can tell this engine is very strong!! http://s2.photobucket.com/albums/y9/_mad_kaw_/?action=view¤t=MVI_2290.mp4
-
Thankyou 26th for clarifying things about the show. I guess i will be looking for a large shelter type umbrella instead of a canopy. I guess I'm not sure what to expect at a big shindig as this show, just looking forward to making it there with my car and talking Z's with everyone-face to face:)
-
thanks Mike
-
Being optimistic that I will make it to the show, I have a few questions about how a big show like this works. I read the schedule of events and I see- Z car store hours- throughout the week-what does that mean? Is that just hanging out at the place, showing off your car? Do folks bring any kind of canopies to put there car under for sun shelter? Is there a market place to bring Z items to sell, or does everyone do there on thing if they want to sell some stuff-or is this not proper show manners? Hate to sound like such a newbie, but never have participated in anything this big:)
-
Well I left off with the dash lights giving me headaches. Well I realized after investigating that I put some of my dash lights in the wrong holes in the speedo. The bad part is there is no way to get in there and swap out with the defroster ducting in the way--soooo, out comes the dash. I also noticed that my ampmeter guage wires were not tight-bad scenerio that had to be fixed. so I lost a half a day, but all lights working-almost. I had traced all my wiring and have assigned all the loose ends to where they need to hook up to, except an ignition hot plug(green wire and black/white stripe), not sure what it hooked up to. All guages work-even the fuel guage(small triumph since this is a CJ5 tank and fuel sending unit), all lights work and my combination switch operates the way it should-any ideas on the plug? I recieved my airbox back from the powder coater, and of course it needed some tweeking too-can't anything just bolt on!!!!! The airbox would not slide on because of the M/C bleeder on the M/C just stuck out too far on my 15/16" upgrade. well I just had too cut off the end(1/4" worth) and it slid on. My new mufflers arrived to tame the wild beast. My twin magnaflows(all of 11" casing length) should fit in there nicely-after lots of work of course. Maybe this next week can think about plates and insurance and start breaking this baby in
-
I was told the BD(from their customer service) that they don't use precision. Then again-she wouldn't tell me who made their kits. I don't have any experience with the BD weatherstrip except fron t windshield weatherstrip and it looked like a nice piece.