madkaw
-
Posts
4,338 -
Joined
-
Last visited
-
Days Won
18
Content Type
Profiles
Knowledge Base
Zcar Wiki
Forums
Gallery
Events
Downloads
Store
Blogs
Collections
Classifieds
Everything posted by madkaw
-
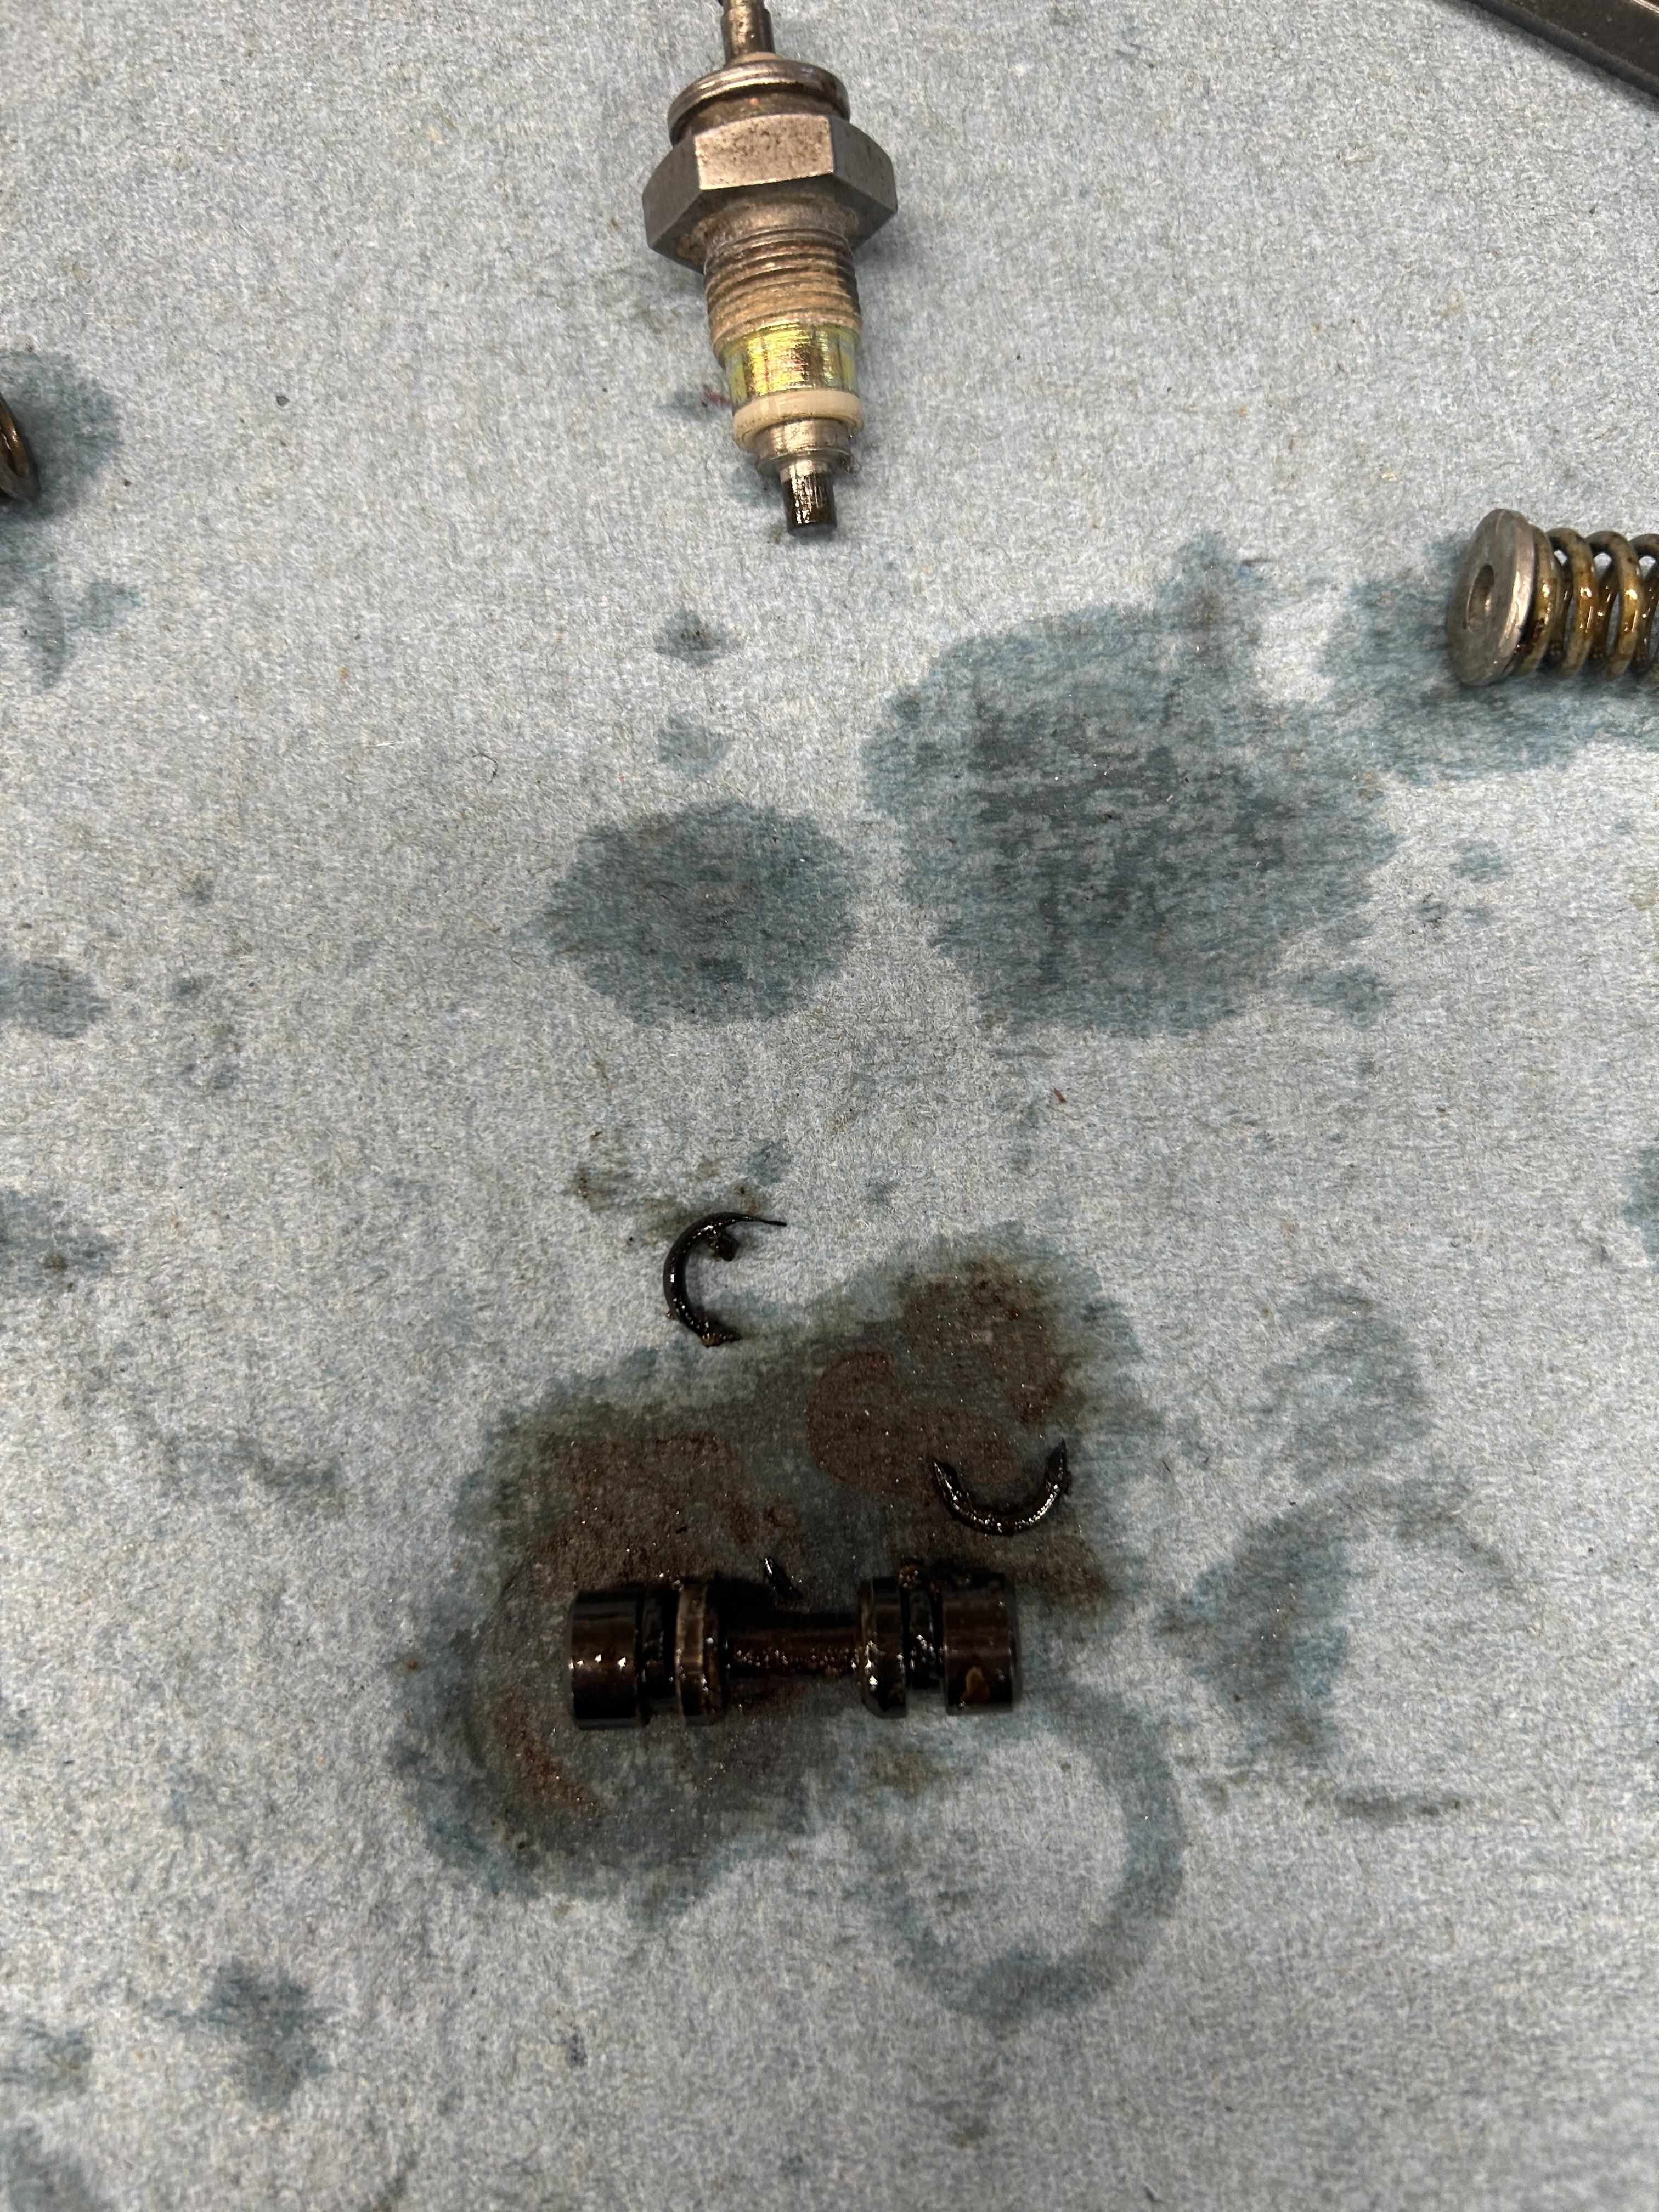
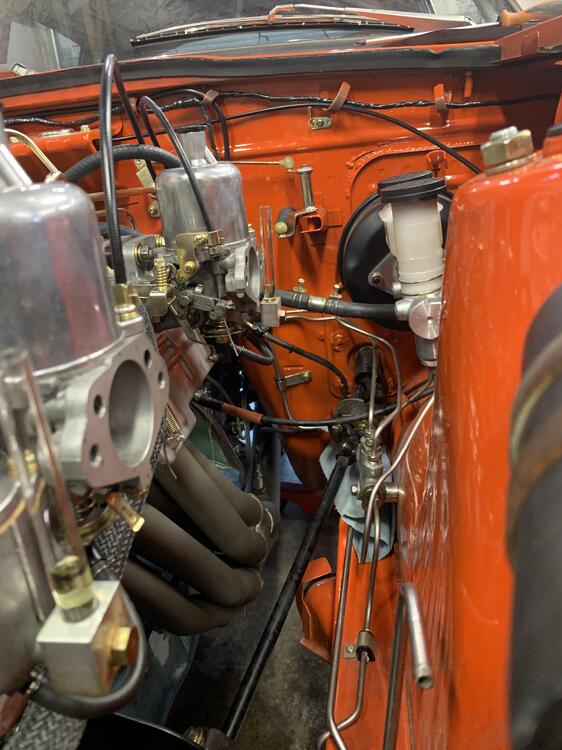
Not a very good pic but you might be able to make out the busted O rings on the piston . I’ve ordered some O rings . I will “ rebuild “ the prop valve and reinstall the MC with the lines routed properly

-
Well I guess I have my lines crossed . I replace the originals with SS - but the replacement lines were routed the same way as the originals . I contacted my Datsun part expert and shared a pic that helps . The F&R lettering on the BMC didn’t seem to correlate with the plumbing of the proportioning valve . Still not sure that would cause the transfer of fluids though

-
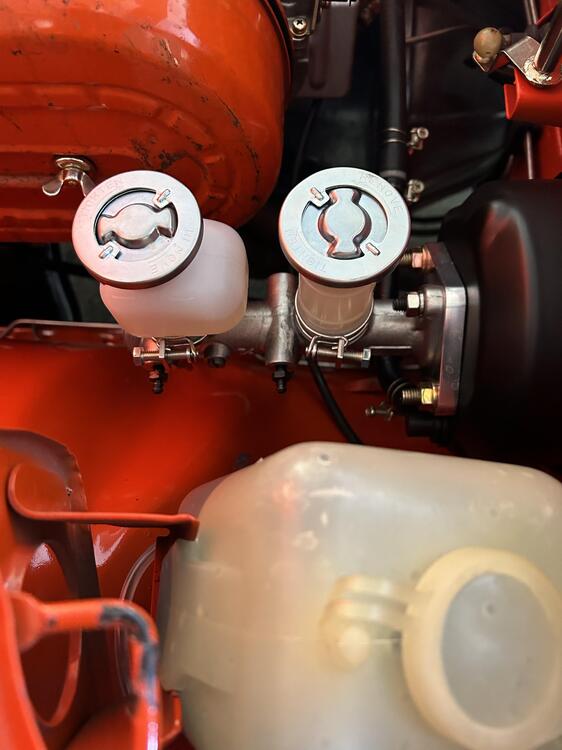
There is a transfer of fluid happening between reservoirs so it is overfilling - that’s the issue
-
1972 with all new brakes . Master cylinder is a NABCO , or whatever is being sold by Nissan - but made in Japan . I am losing fluid but in a strange way . After a long period of driving I check the MC and the front reservoir is low while the rear is full to the top . I have brake fluid oozing out somewhere from the rear reservoir . Not sure if it is somehow getting pressurized and coming out the bottom or what . I’ll have wetness around the band clamp and around the MC body . The band clamps are tight . This is driving me nuts . I’ve never read of this situation . The front brakes are upgrade with the S12 calipers .

-

Video - Tightening the Rear Suspension Bolts
madkaw replied to SteveJ's topic in Suspension & Steering
Another reason to get to HB ! Lol -
Video - Tightening the Rear Suspension Bolts
madkaw replied to SteveJ's topic in Suspension & Steering
Another job that I utilize the dead blow is valve adjustments. I probably should make a video now because folks will be wondering . Lol -
Video - Tightening the Rear Suspension Bolts
madkaw replied to SteveJ's topic in Suspension & Steering
Yes- please folks -invest in a good dead blow hammer. It’s great for such jobs as this . A 3lb dead blow is a useful tool and save your hands . Curious is why you didn’t just drop the car on cylinder blocks to weight it? It’s tight , but you can slide under there if all you are doing is smacking them tight . Just asking - thanks for the video Merry Christmas -
I’ve been working on a 2/72 and the owner wanted to keep it original . I was getting a battery drain . The VR looked new. When I plugged it in it would click and cause a drain . Ordered another one and it did the same thing . So now I think it’s the alternator. Took it to an alternator shop and he said it was fine . He also said he had an issue finding a good VR - period . He could a box of them and they would all test bad . I got rid of the VR
-
Yes - I just went and looked . Only two screws at the top of the frame . Wondered if folks were glueing them in - in order to facilitate a seal .
-
Curious if these can be made to work on the early models ? I saw another sale ad that said they would . These were meant to deal with wind noise I imagine ? I’ve seen ads for the bottom front seals for the quarter window , but not the top . https://www.datsun-garage.com/collections/datsun-240z-260z-280z-s30-weatherstrip/products/reproduction-front-quarter-window-weatherstrip-1974-78-260z-280z
-
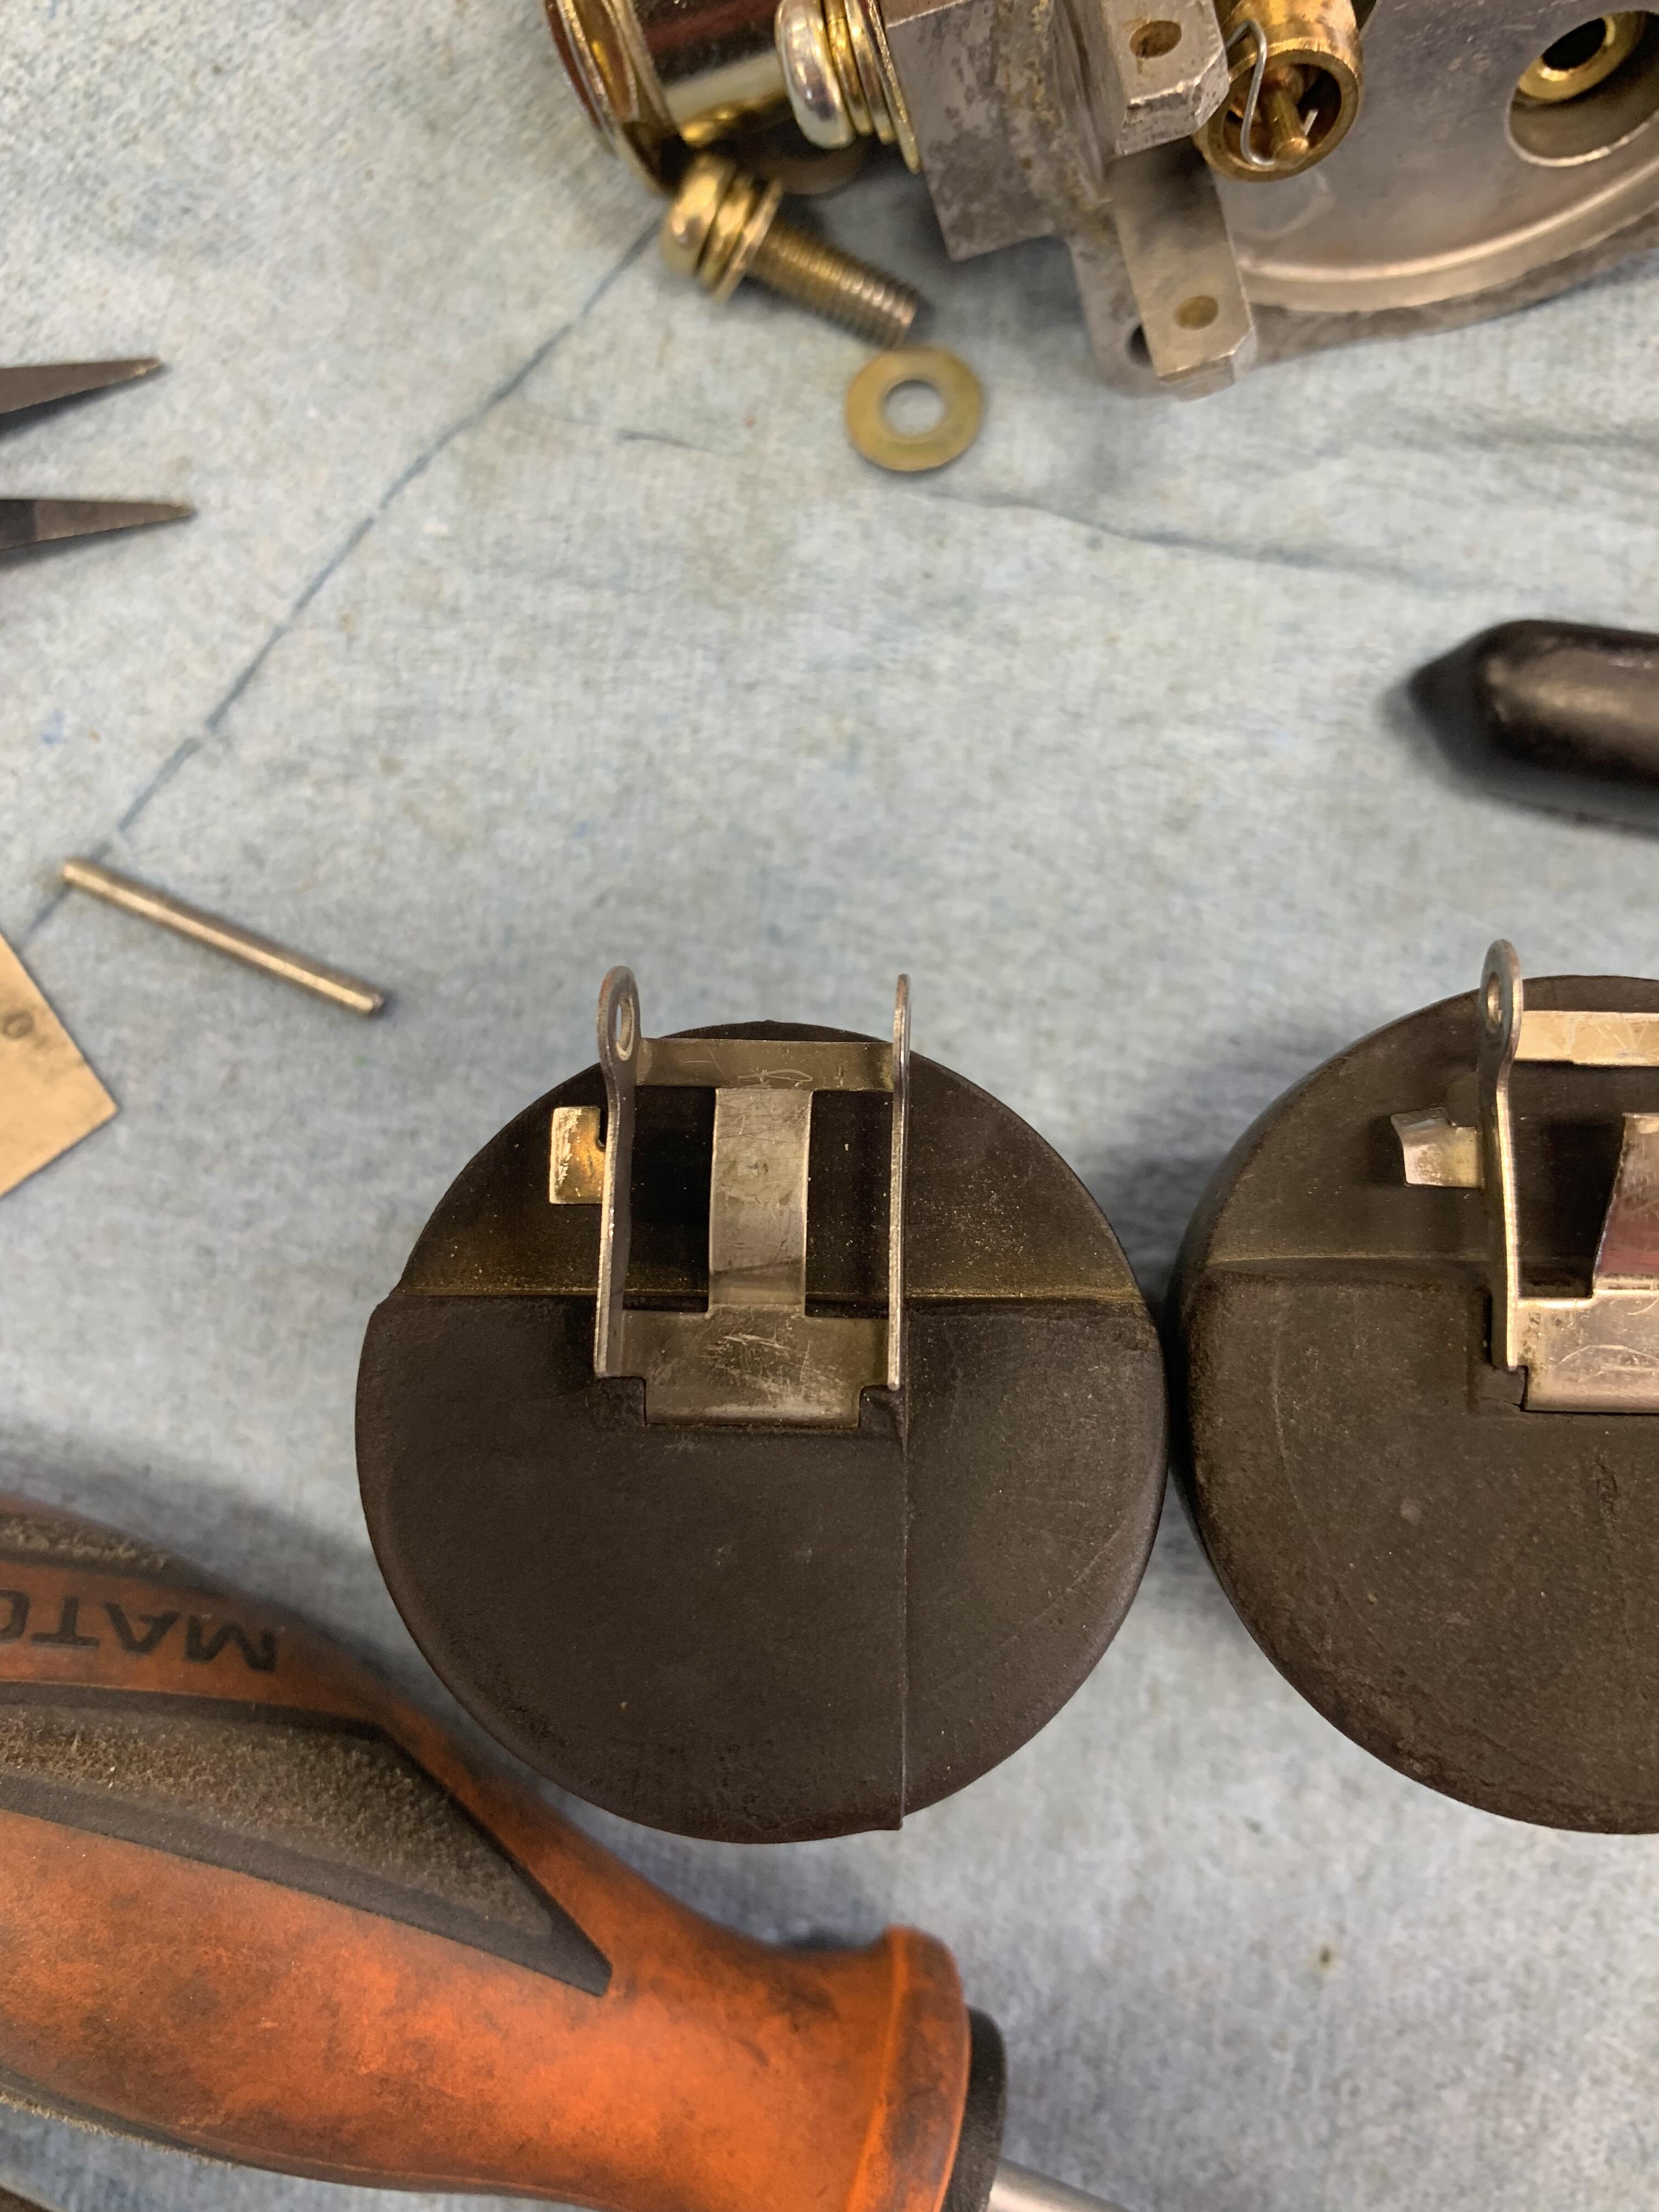
This basically how I did mine - thanks Cliff. I think the speed bump tang is important . Floats seem more consistent .
-
My 9/71 has vertical lines
-
Working on a customers automatic 72 . Engine is modified L28 with close to 200 rwhp . New territory for me as far as trans . Trying to protect the engine and drivetrain from an inadvertent shift to neutral while the engine is spooled up . Decided to try some gate mods on the shifter . It seems to work excellent on the bench , but haven’t tested yet . These trans will shift out of first regardless whether the shifter is still in 1st . Selecting second gear the trans will stay there —until you blow the engine up or shift. This trans( 83zxt) has had the valve body modified , so not sure what shift points are under WOT . Need more test and tune ! I have the engine protected with a rev limiter , but don’t want to shock the drivetrain by an accidental slide in neutral. Made a vid IMG_6098.MOV IMG_6098.MOV

-
I paid for the VR kit . 3X the price of a precision kit . Didn’t notice anything much different in the door seals . My advice for doors is do the Kia seals or try and find a copy of theIr seal .
-
Most important part is the ground done correctly
-
I worked on an early 71 that had the original 4 speed - A . The shifter was terrible and that’s what I learned what monkey motion meant - lol. Anyhow - I don’t even remember how I made the connection with Lou Mondello in Australia that had a make potion for the A trans shifter . I ended up sending the tail section down under to get reworked . It took time and money - but boy was it worth it . The owner texted me - OMG- YES ! It transformed that A trans . The shifter was great and made for fun shifting regardless that it was just a 4 speed .
-
I stand by my statement 🙂
-
Well I did get another lid and have both short ears on there . I have my float sync tool and messed with float levels forever . I come up short- no matter what I try to get the correct height . I said time to try it . It seems the engine want at least 4 turns out to be happy . That also varies from start to start . I need to check the incoming fuel pressure to make sure it’s adequate or maybe too much . I do have my wideband working so I am shooting for about 13.5 at idle . . Did I say I hate carbs :-0
-
Just got off the phone with my car friend and PHD physics guy. His thought was as long as you had a reasonable amount of fuel in the float bowl, the Venturi will pull the fuel pass the jet fine . It’s more critical that the jet and needle are the same on both carbs than it is to get max amount of fuel in the bowl . I like the idea of the floats being more level , but it doesn’t add any more fuel to the bowl ( volume ) . I think getting the float needle to sit in the float tang properly is important too - especially with these flat tipped float needles
-
Very interesting read and right on target for I’m dealing with . I’m a little intimidated to boring holes in my SU’s , but might have to do that . I’m building a high performance engine for a customer and I can’t get the floats to comply . I’ve been at for days - literally . My floats are slammed against the lid to get proper level using a float sync. I can’t afford for this engine to go lean . Instead of a fancy slug I was thinking a coarse screw into the side of the float . Maybe a brass vs an aluminum would give me options as far as weight - even steel . Any thoughts on this approach ? I am using two short lids hoping I could duplicate my approach easier
-
Well it’s not my car or I would consider that option
-
Hey Cliff , if you have any pics of those tangs or maybe sketch out the shape of your tangs that worked . I’ve been at for days now and actually bought another set of SU’s so I had more floats to choose from . I got the front one nailed , but it’s seems whatever I do to the rear one comes up short .
-
So today I went for a pleasant 90 mile trip to meet with a fellow Z'er who had a crucial part for me . He said he found an extra float for a SU in his Weber stuff. Believing that the float was the issue I was happy to find one and try it out. So I noticed that the tang was longer on the replacement . I also noticed how flat the tang was compared to mine that was bent straight up it seems. I set it using the 'blow thru the needle and seat method. When I put fuel to it the fuel level actually stop rising and didn't overflow. It was too low so I proceeded to tweek it . And wouldn't you know it overflowed -SH!T So I made another adjustment . Long story short I come to realize that if I empty the bowl by completely draining it( usually when I remove the float sync tool) , the needle and seat had a harder time stopping the fuel then when there was fuel left in . I can only presume that the fast filling empty bowl made it harder for the valve to stop the incoming fuel. So I started making float changes by just removing the lid and leaving the float sync tool in place . I was able to get pretty close to the 23mm from the top of the lid. When I moved on to the front carb I saw another mangled float tang -ugh. To be continued

-
I've done a lot of playing around with timing since I have a programmable ecu. You should have most of your advance in by 3000rpm, but sometimes you might have to drag out the last few degrees beyond there. You can run quite a bit of vacuum advance especially when you can control it with this 123 ignition. I run 45 degrees of advance on my stroker in high vacuum/low KPA areas .
-
Probably the lack of use is the biggest culprit. Valve probably hung up and the rocker went off the rail. Worst thing you can do to these engines is to NOT use them. Just starting them up now and then is not enough. I'd put it back on and go thrash on it down a back road .