madkaw
Free Member
-
Joined
-
Last visited
Everything posted by madkaw
-
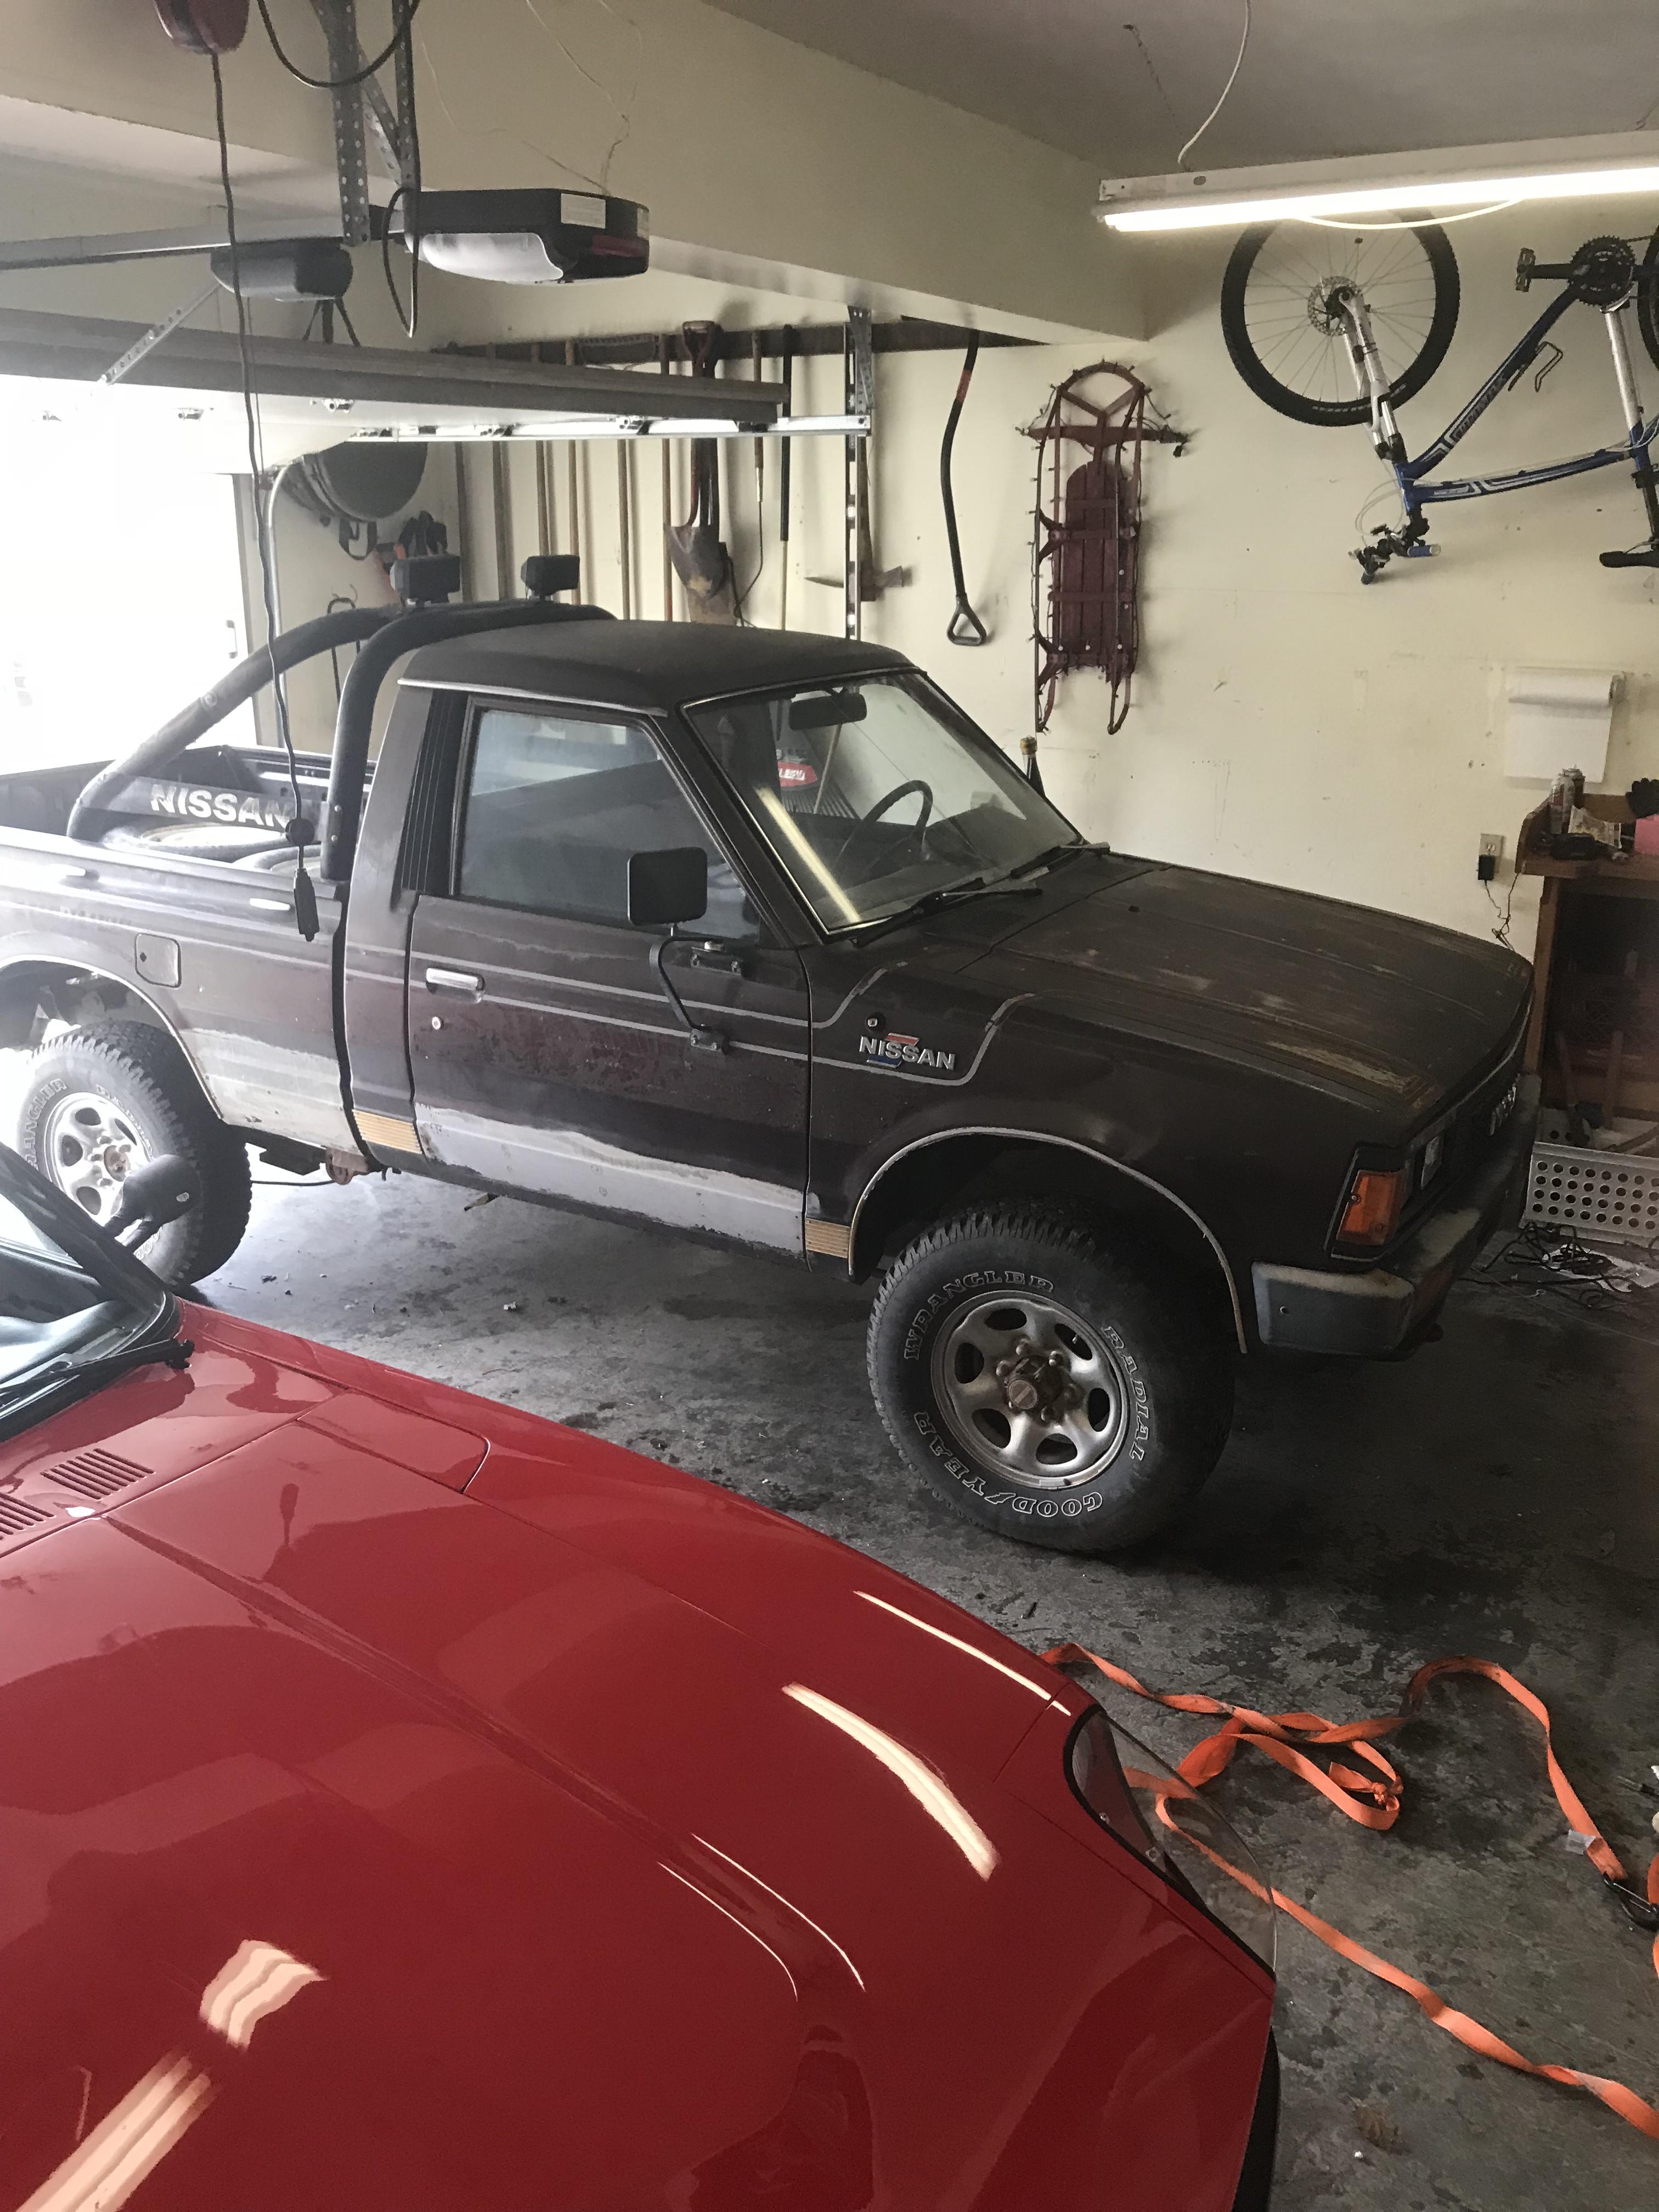
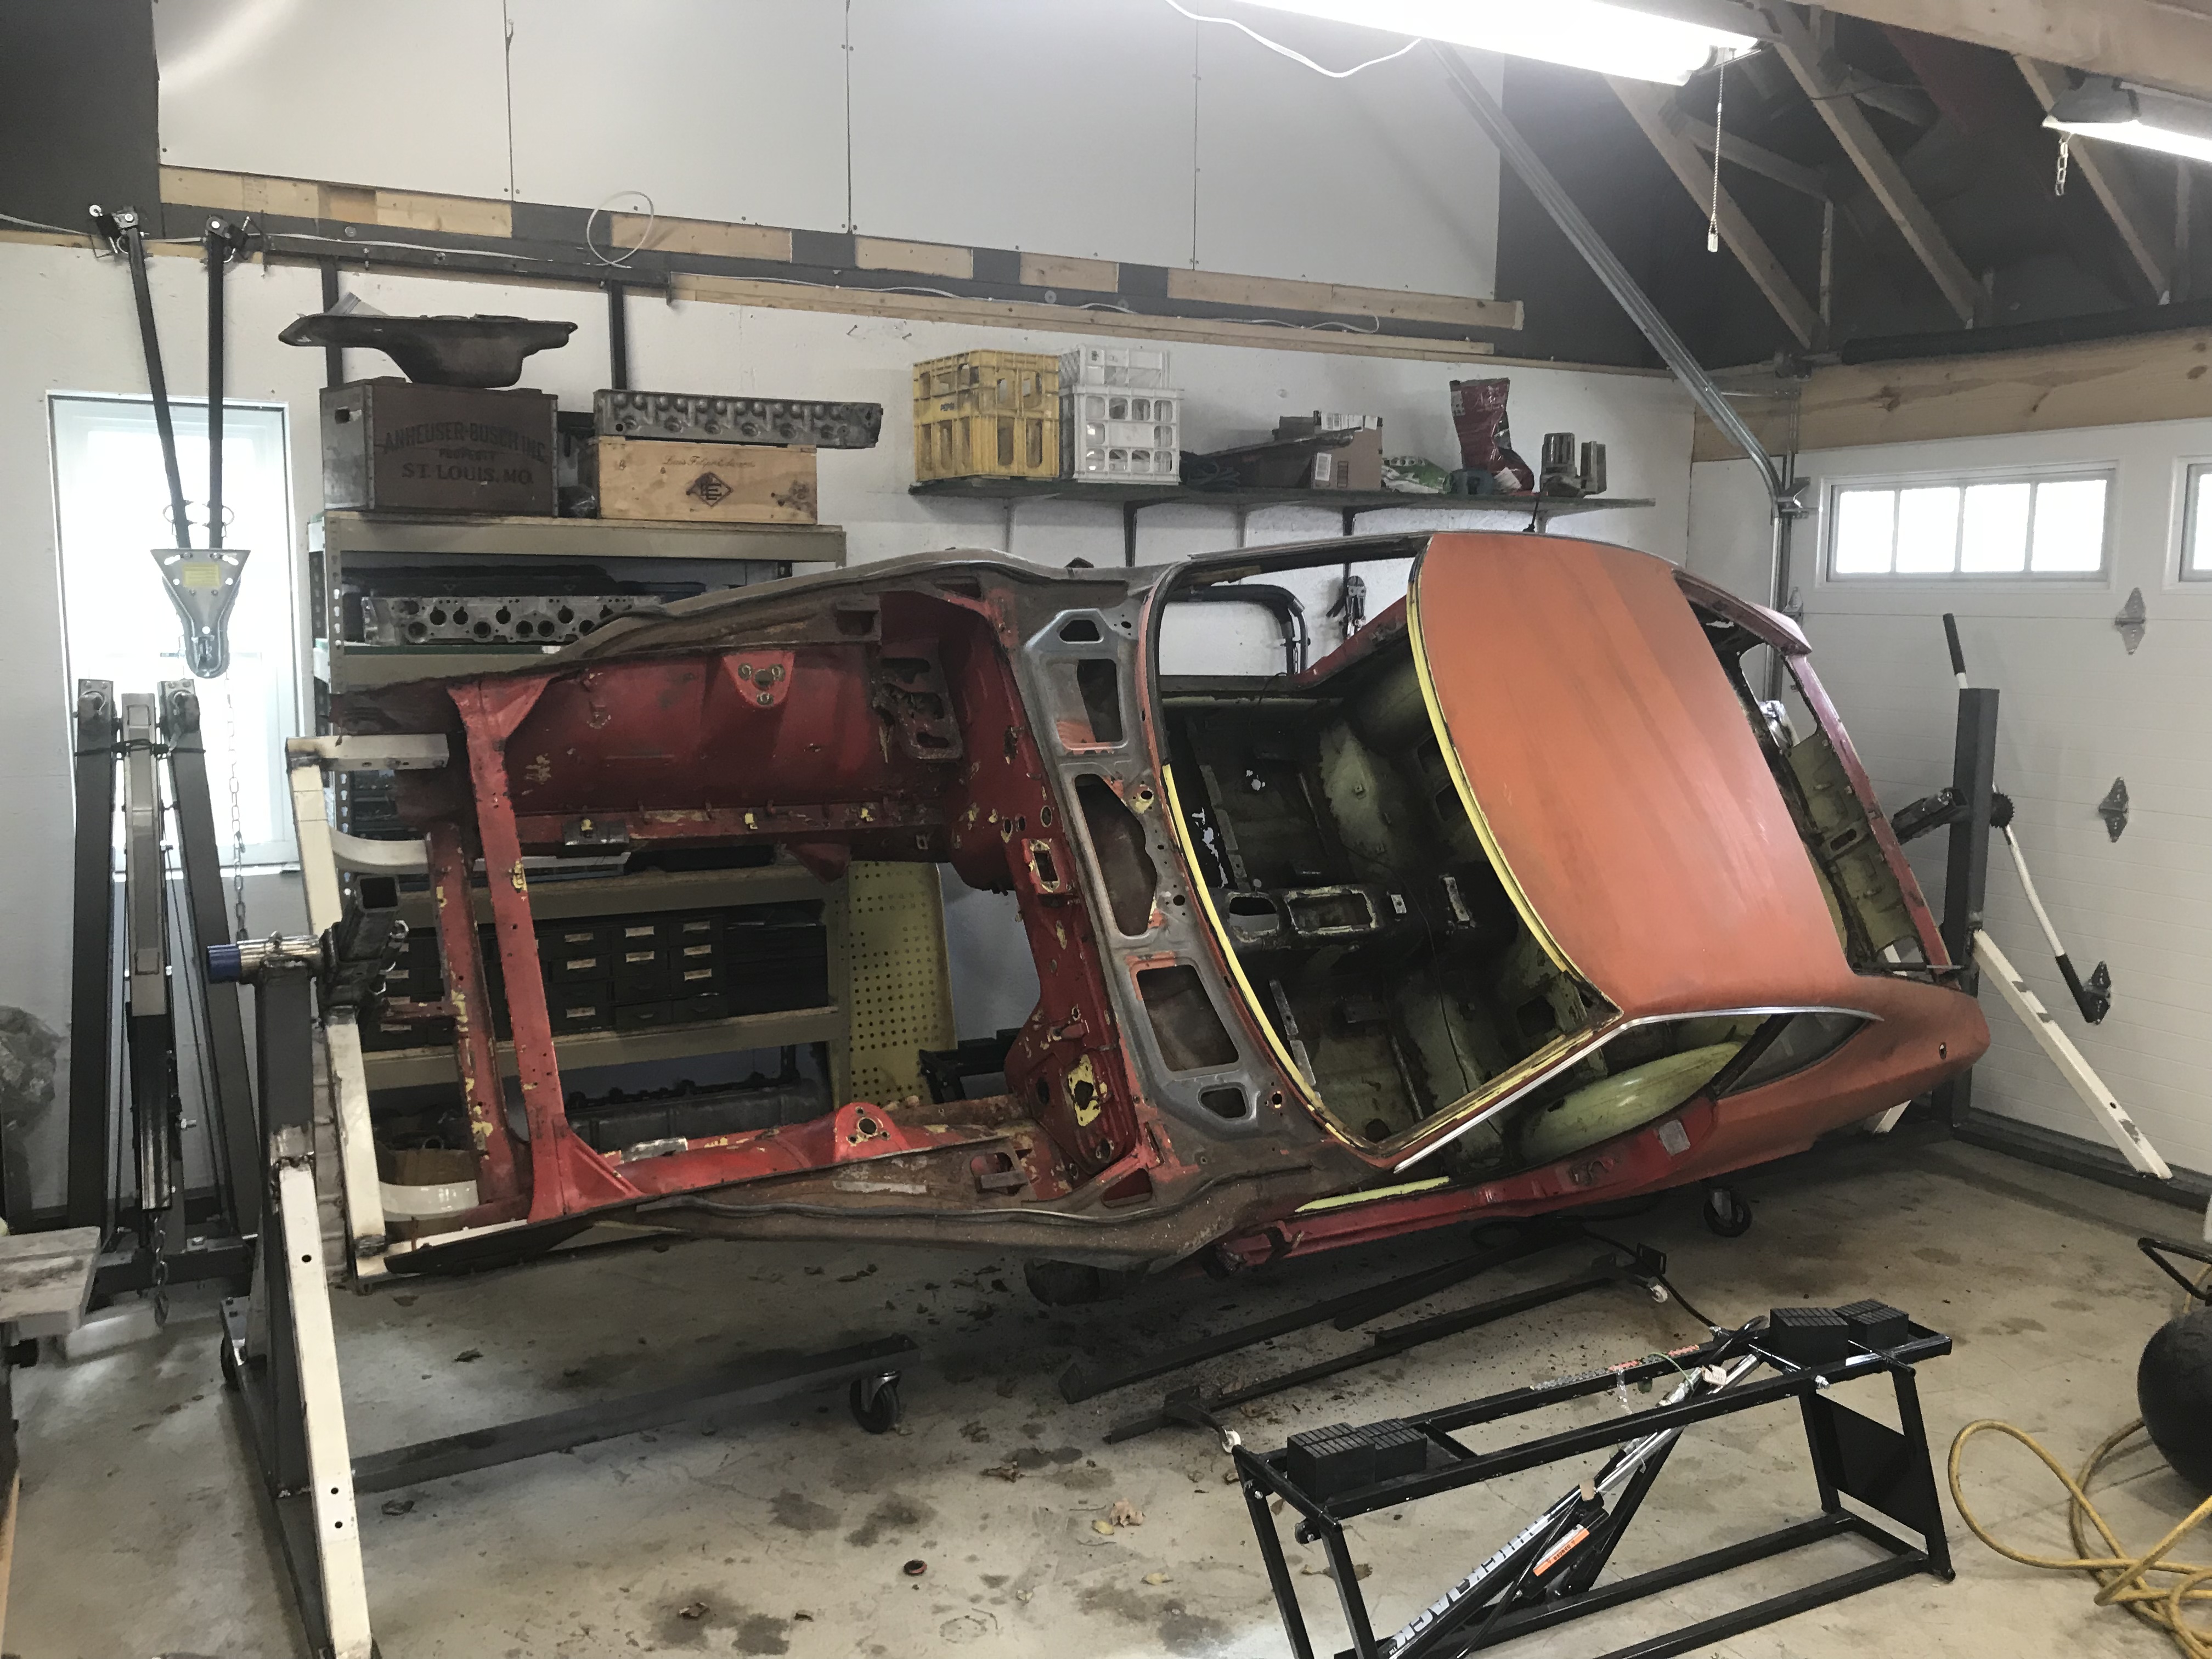
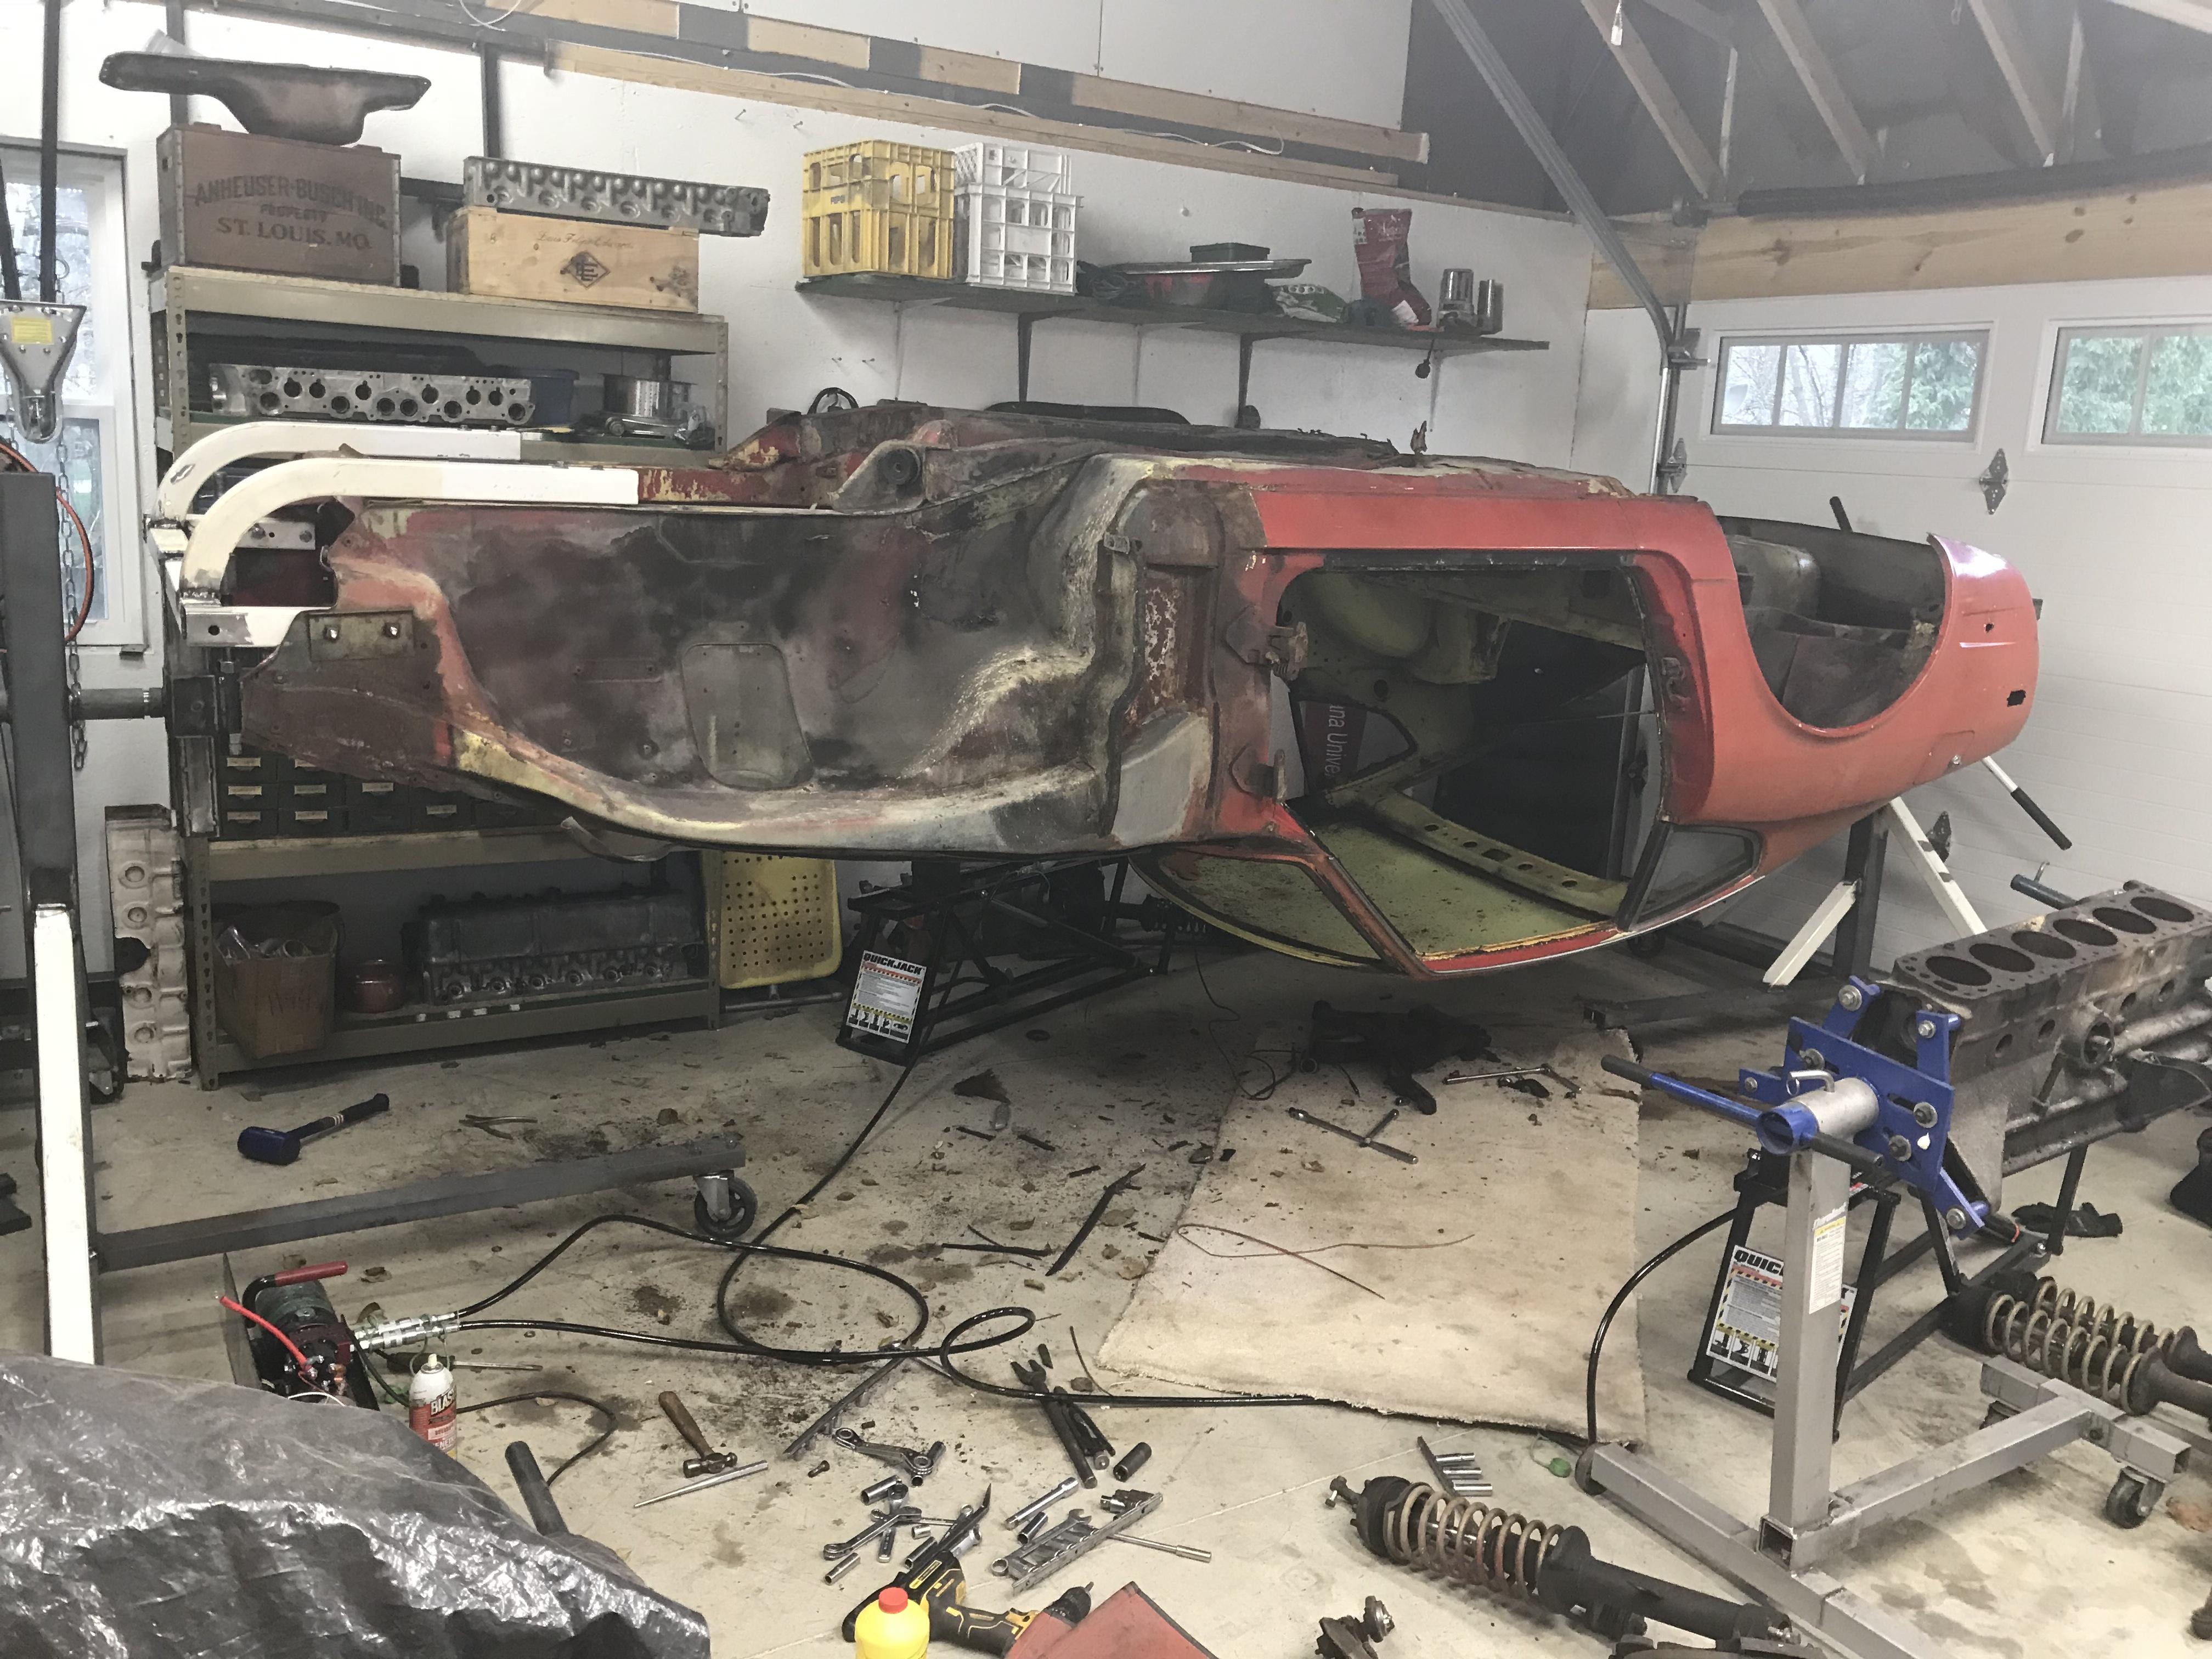
 Well rotisserie is done after several versions were tried. Now the car spins pretty freely with one hand . I can actually think about starting some work in it . I actually have a possible buyer coming to look at it this weekend. I said it would be for sale once it’s a rolling chassis and the metal work is done, but he wants to put his bid in now. Turns out that after meeting him at one if my sons swim meets that him and I were stationed in the USAF together at the same base , squadron , barracks , but weren’t buddies , just ran into each other in the hallways .30 years later our sons are in the same swim team at college - small world. Funnier even was when he found out my passion for Z’s , he went nuts because that was his first car and he has been looking for one . Anywho- lots of work but this solid 70 will make someone a beautiful car. Floor boards and spare wheel well are first up, then fixing the radiator core support next. Really not much for 4858. Somewhere in there though I bought another project - man I’m a dumb arse or gluten for punishment. Picked up a 83 Nissan/ Datsun 720 4x4 . Nevada body is great , everything needs work . I call it my retirement truck .

-
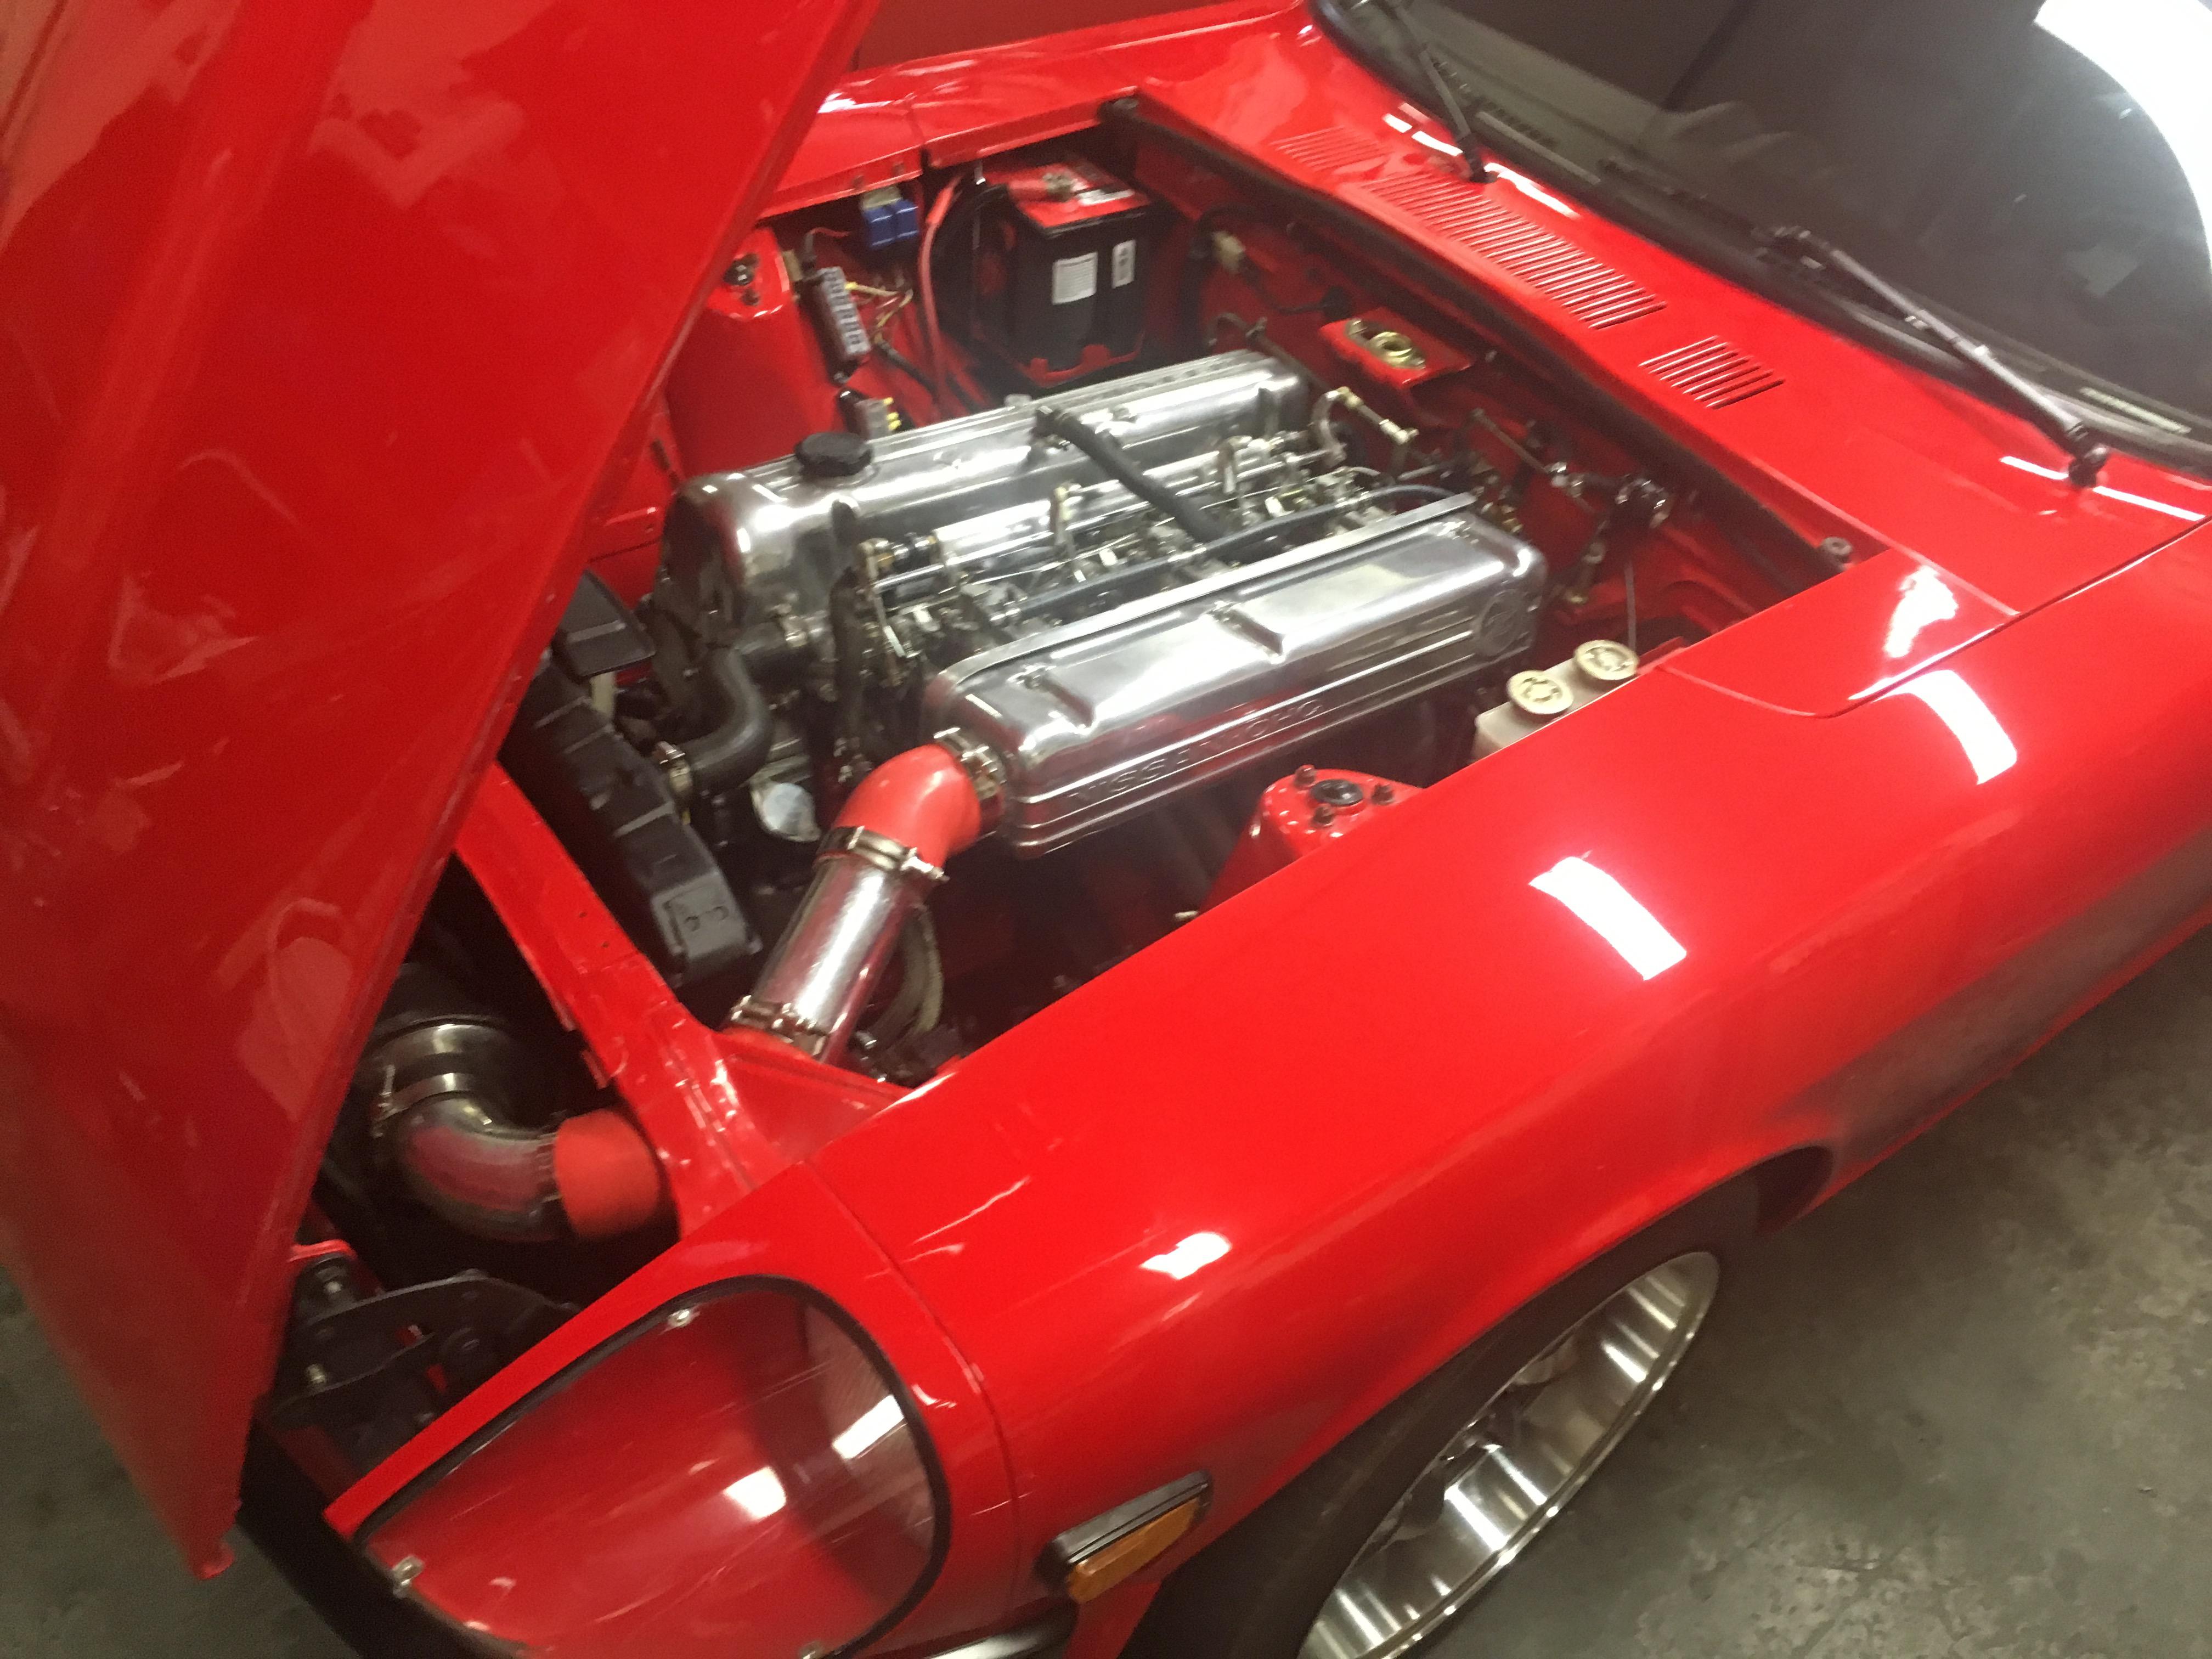
12.8 is fine and probably as good as you will do with a performance engine with triples . I run my EFI converted performance L24 at about 13.5. What rpms is the idle? What’s wrong with the idle - spitting , popping or just seems high. If it’s a high performance cam then a higher idle might be best - but that can bug folks that are use to a 800 rpm idle. Some times idle is increased for cam oiling with spray bars . More specific info is needed as far as EXACT info on dizzy type, curve, points or electronic. I imagine that dizzy has been curved if it was set up with 20 initial How does engine perform otherwise . What’s your mechanical experience with these engines ? We need as much detailed info as posssible.
-
20 might be a tad high, but not unreasonable for idle with triples . I would be curious what the mechanical advance is tuned to and if your running vacuum advance? Timing has many variables but WOT full advance could be anywhere from 30 to 38 degrees depending on CR , cam, fuel grade availability. I’m pretty sure that Rebello curves their distributors for full advance after 3300 or so rpms. Mine comes in earlier with my engine . I am using Megasquirt to control ignition. In low load areas of my table I run as much as 45 degrees advance. Not afraid to run high thirties cruising .
-
So did these parts ever go into production? Will the tea mounts be made also?
-
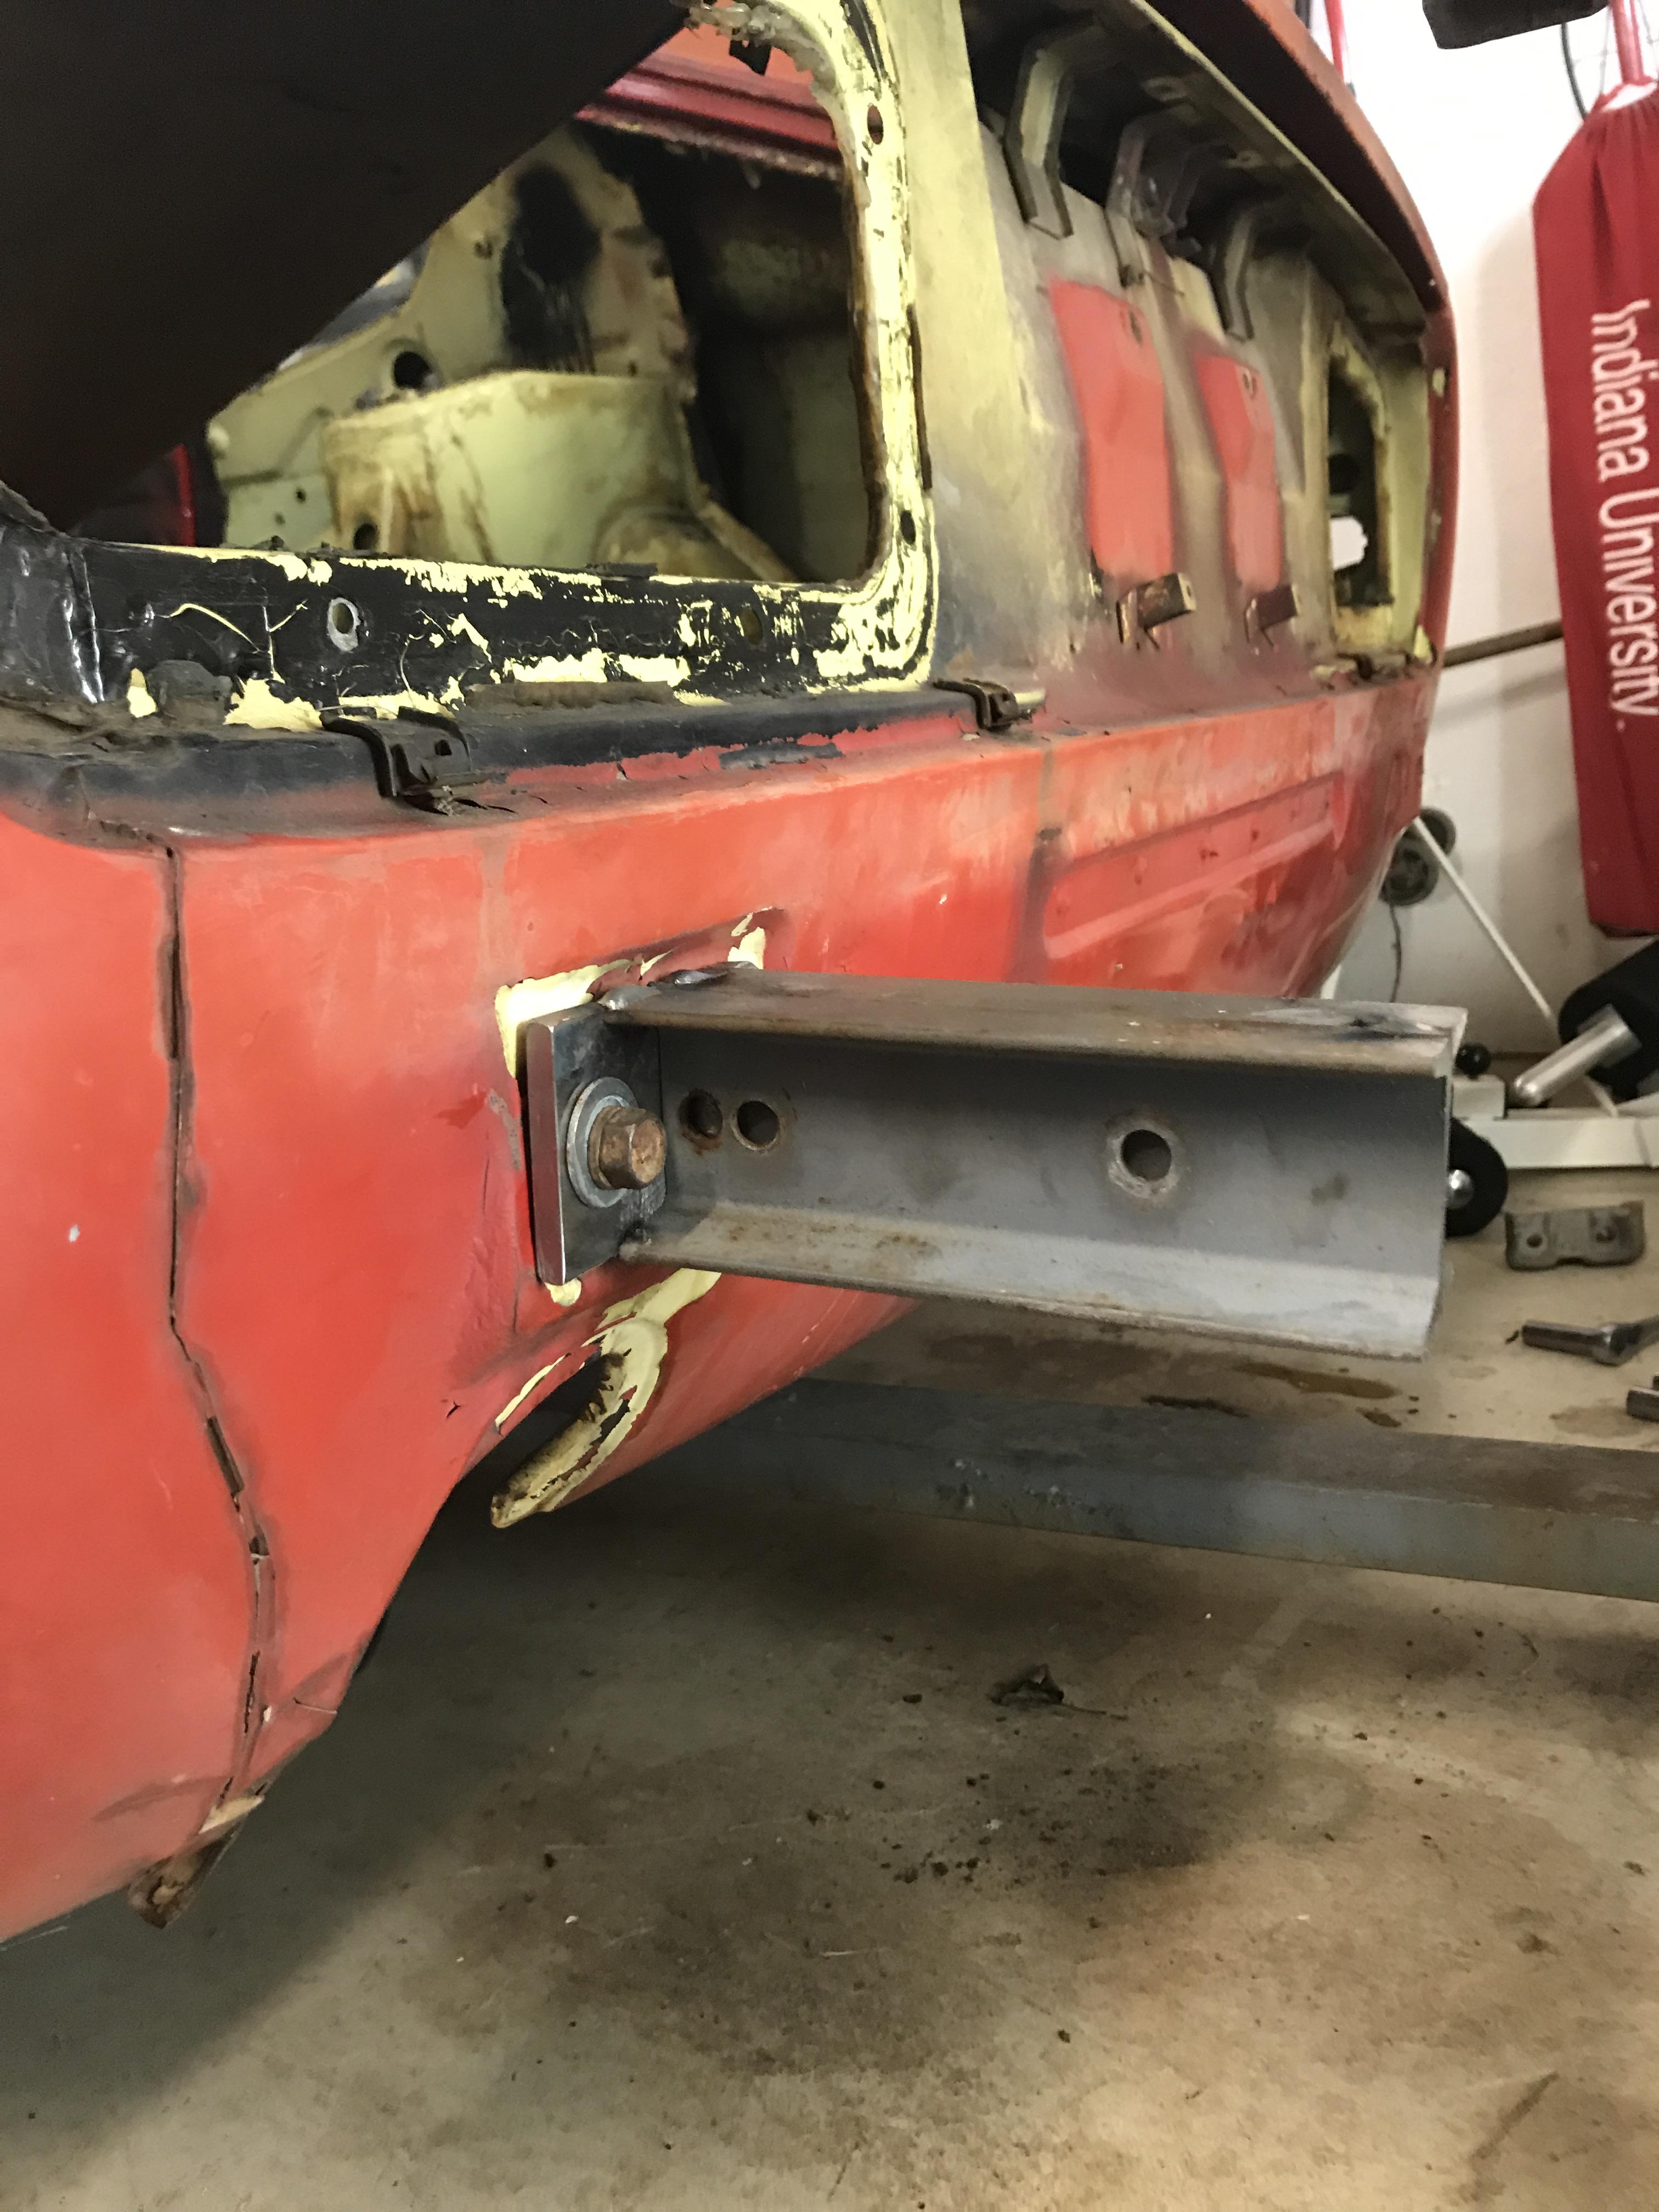
Okay - so the issue for my set up was that the center line of the support bars was not raised high enough . Basically I threaded my adjustment bolts almost all the way up and the car became more neutral the higher I went( see pic above). Now it’s easy to spin with one hand . I’ve even scratched the winch idea since now Ive used a engine stand head on one side with a locking pin . Now to actually get some work done.
-
Just remember that the power is in the head and tune on this motors. Any serious monies should be on the head ( cam, valve job, ) and induction system. Of course if want a decent bump in power you want to significantly change the cam specs. But then that leads into the relationship of CR and cam. These motors like cams and can be very street friendly and still make power to 7k. Most go with flat tops for bump in CR , but as mentioned you would have basically a ZX motor . The 79 head would have to be shaved to bump compression , but that’s not too $$. Don’t forget about gearing . Proper gearing with differential and trans can make for a fun , quick car with less power.
-
I believe the 79 head has a bigger combustion chamber so compression would much less , but doable with flat tops. 79 head has the better of the combustion chamber shapes - which helps with fighting detonation. So many choices ....
-
-
I would say it more of piece of mind for new head bolts, I’ve reused bolts several times with no issues. Rebello doesn’t even use studs on his engines , he says Nissan head bolts are just fine. I would not recommend using studs . Just make sure you get everything clean on the block surface . No break in is necessary with that head
-
Ummm- I was responding to the OP - and relating what I found to hope help him . All good info and should help OP And welcome aboard - we always need fresh help
-
Car sitting for an unknown amount of time is a big clue. Addding fuel as you did probably stirred up years of yuk in the tank. When you buy an old car / classic like this you have to expect the worse. I went thru a similar issue and it turned out to be a clogged return line on the pick up tube. The fuel sending unit looked new when I pulled it out of the tank but the return had gunk in it and barely flowed and it would shut completely and it made the engine studder
-
Gotcha ! I might be expecting too much . I read somewhere - maybe here- using a winch handle and gear . Happy to have it mostly done anyways. Need to make a runner between the two stands . Need to get cracking on 4858 !
-
It might be close to neutral - not sure what to expect as far as force required to spin it upside down. I was hoping to be able to set it on it’s side and stay there - but not neutral enough for that. If all else fails I will put a winch gear on there to put it where I want . yes 1970
-
Well I have it twirling but still bottom heavy. I can man handle it around but it isn’t neutral . Being trying a basically 2” difference front to rear based on Charles numbers . I can have an effect on the effort by adjusting things but can’t seem to find a neutral balance . So is it a very small window of adjustment to find neutral?

-
Wish I had something to trade!
-
I wonder if newer concepts concerning rings can be applied to older engines(pistons), blocks, etc... I went with recommended gaps for our engines with stock pistons. The second ring is a smaller gap , though I went closer to the wider end gap averages
-
Or just buy my CAI and be done with it

-
Any specifics on the head? Stock valve sizes? Doesn’t look like any bowl work was done. Looks like 44cc Chambers so pretty big cut on the head.
-
Maybe they can pull some numbers from previous shows . I want to say less than a 100 cars for all categories . Its some beautiful country in that neck of the woods . Speaking of necks , hope mine isn’t getting surgery then or I’ll miss the whole show in my back yard .
-
Nashville is also only 17 miles from the college town of Bloomington. Lots to see and eat there also.
-
-
Loving my Rage saw


-
Thanks Charles- that helps . My center bar won’t be that high off the ground plus you said you had 5” of clearance . Gives me an idea if I’m in the ballpark
-
I need to move this , so 900$ shipped in the USA .
-
Datsun - front engine - exhaust under sests Porsche- rear engine(most) A lot owners go with aftermarket performance exhaust which usually causes more drone. Counter with more insulation . Personal tastes. I love my exhaust except when the drone comes in to play. I drive my car all the time when I’m home, and at 55 year young, I like a little civility for a DD.