


madkaw
Community Member
-
Joined
-
Last visited
Everything posted by madkaw
-
More importantly I would measure deck height of Pistons . Unless they are waaayyyy out of the top of the block I would go with what ever cam you want. I'd say with reliefs you could go 550+ Sent from my iPhone using Classic Zcar Club
-
That's the way I'd do it. Pull a bearing cap and look. If the pan looks that clean I'd run with it. The bottom ends are tough! Sent from my iPhone using Classic Zcar Club
-
Cliff, any deeper and pistons are coming out, but I hope he gets a few mile out of it first. At least everything else will done if I have to rebuild the engine itself. Most of the items I reworked or replaced was out of sheer necessity , nothing subjective here. I do believe in doing it right for sure. Don't want to have to double back because I let something go.
-
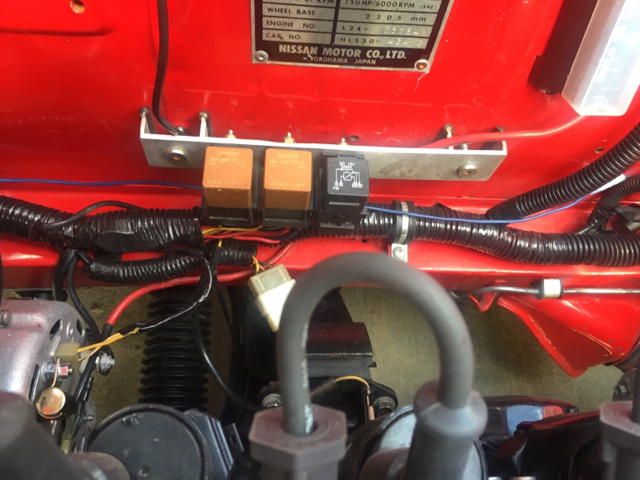
Problem solved 99% sure. So I pulled the relays off the sockets to remove sockets and install new grounds. Then I noticed the trigger wires on the headlight relays about falling out of the sockets. These were part of a kit and I installed all the wiring. So I guess I didn't get the trigger wire pushed in until the spade catch caught on the socket. Pushing on my relays caused them to about fall off, so I was having a weak trigger signal . Must of been like this for years , but just now really started acting up. Now I can bang on the relays and nothing happens Sent from my iPhone using Classic Zcar Club
-
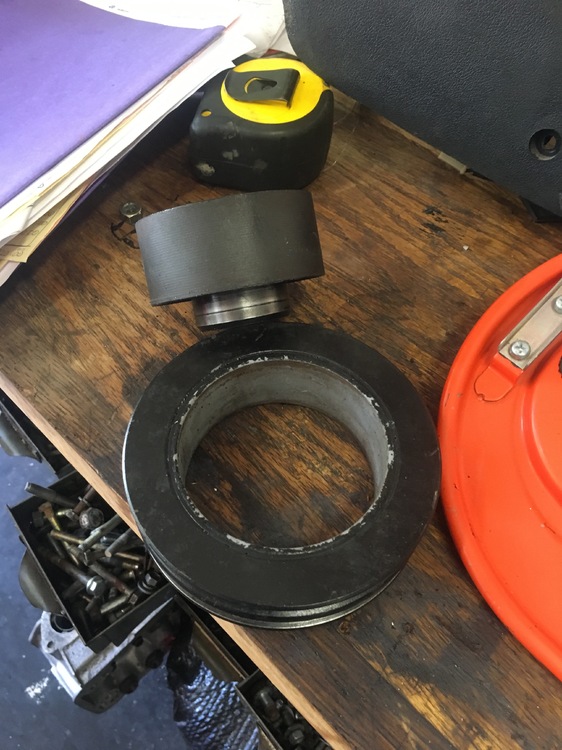
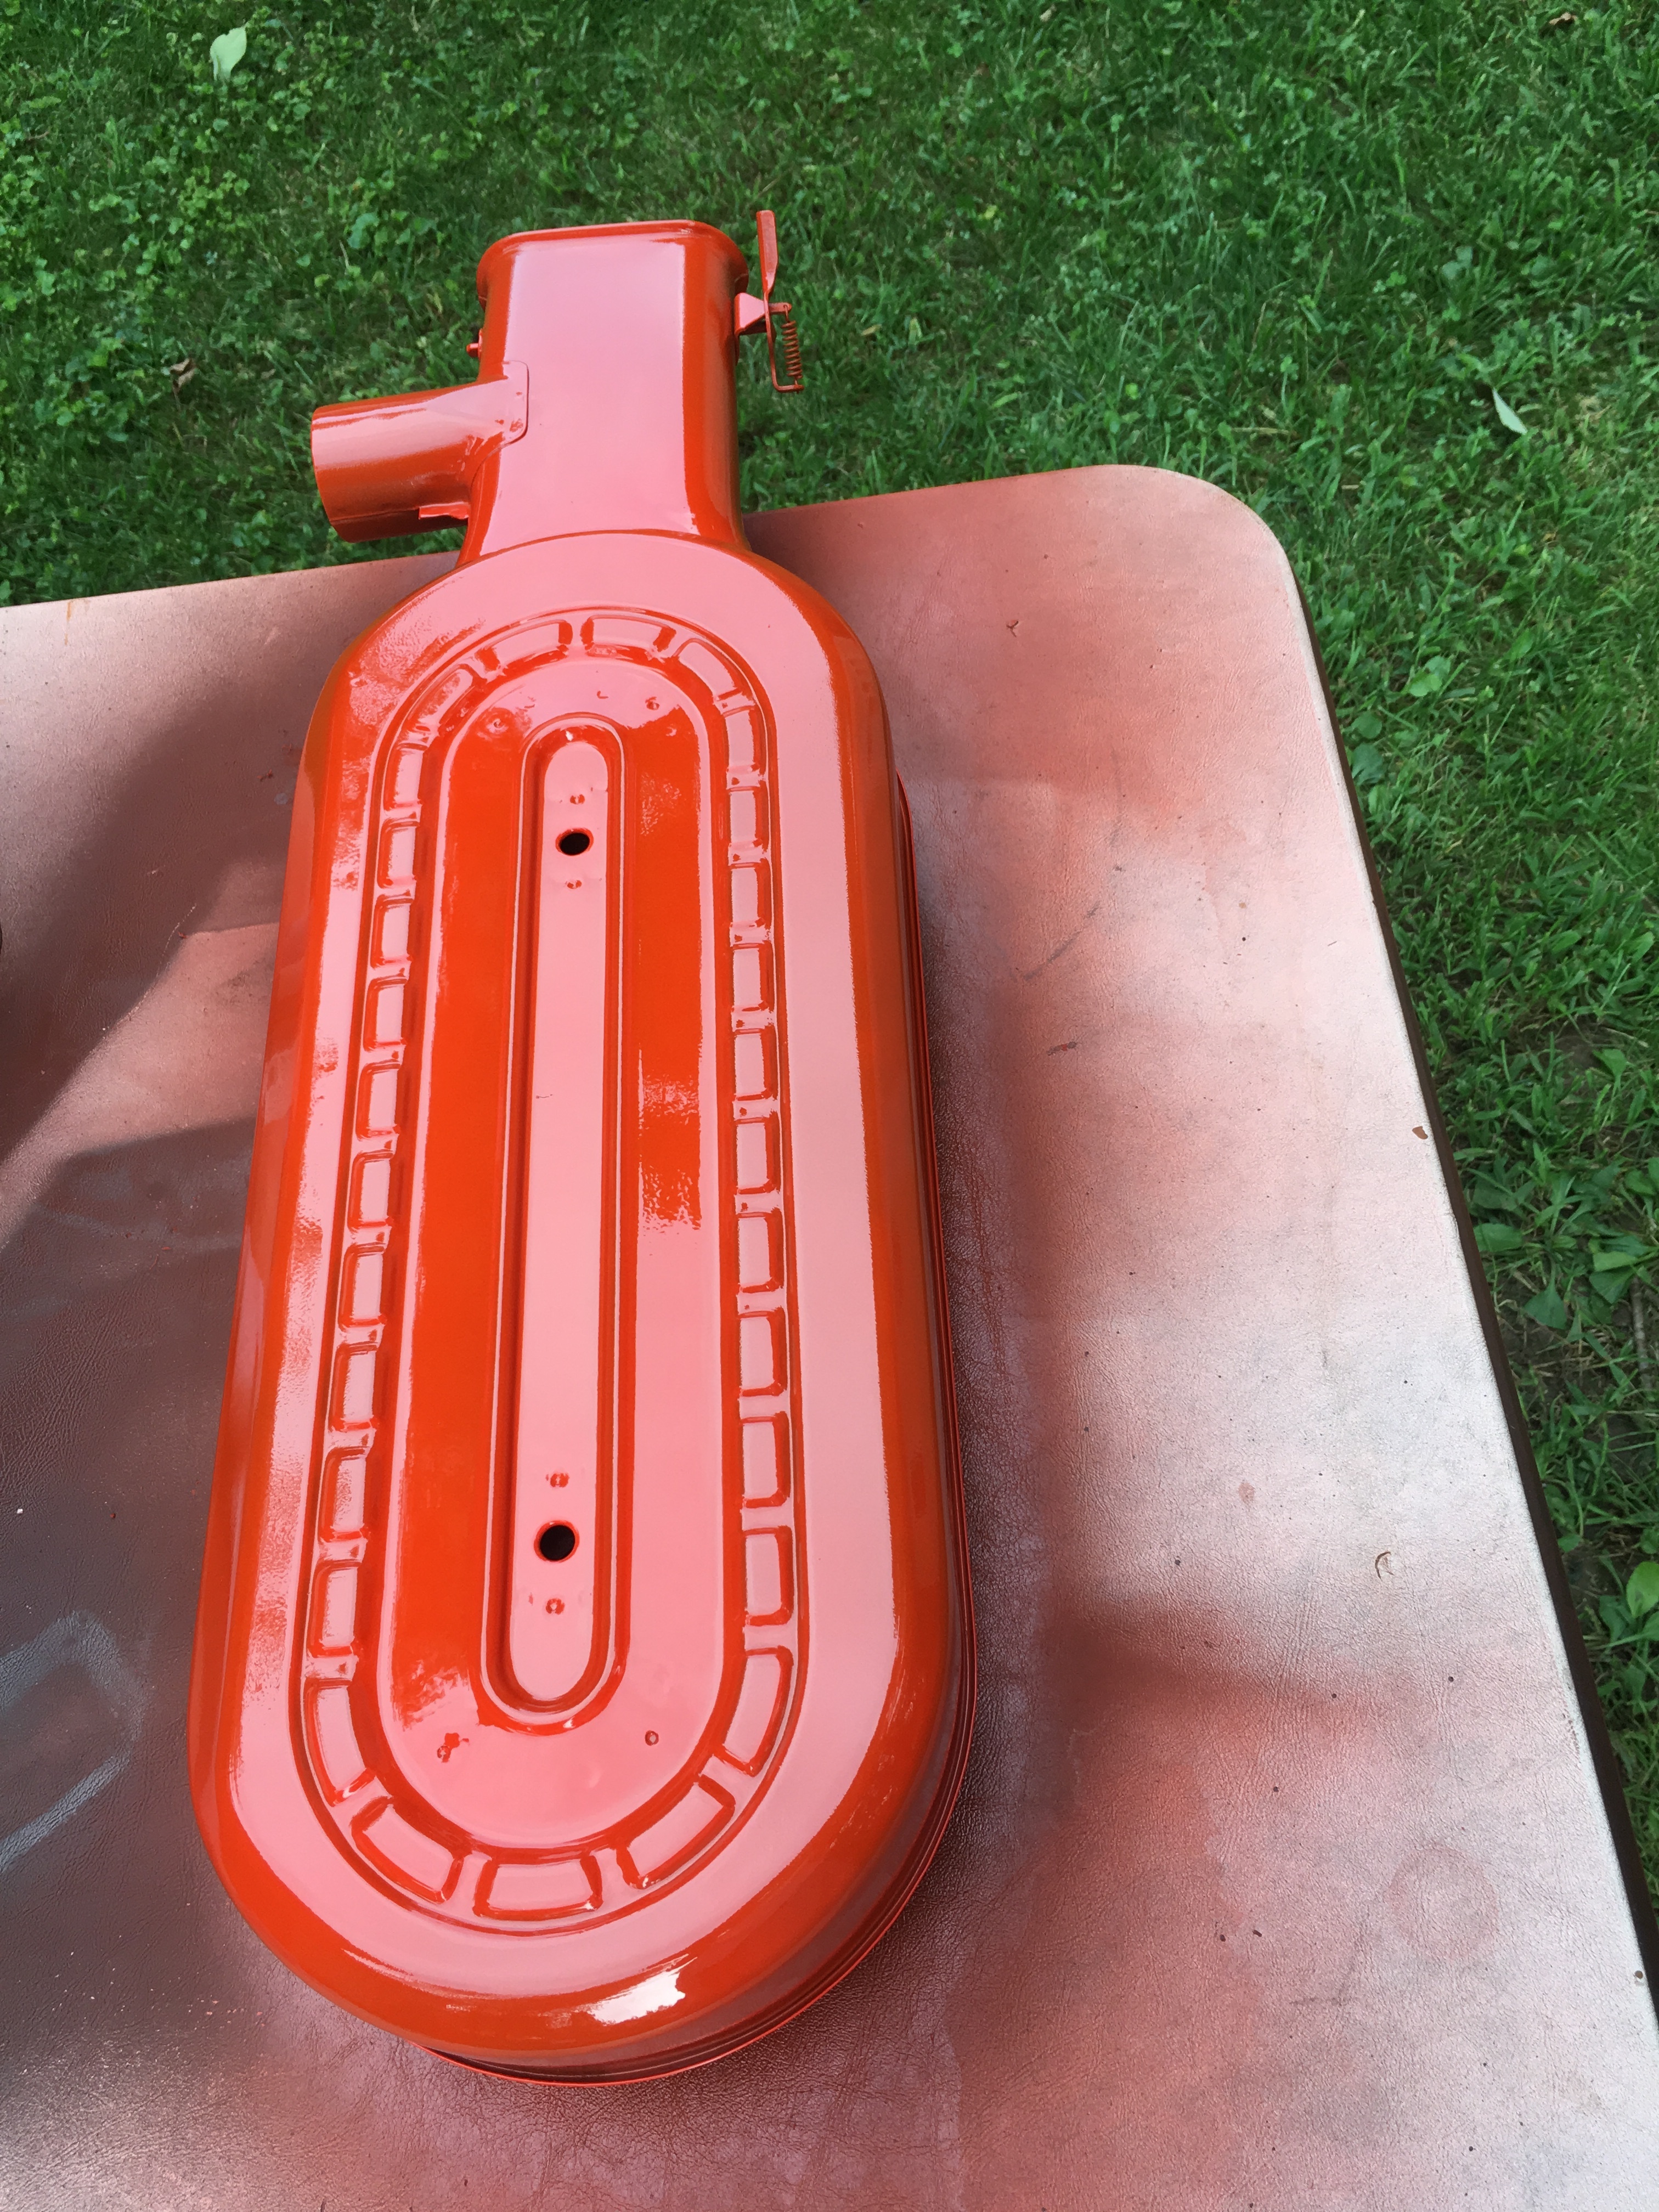
The impeller looked okay. It was not original since it was a stamped steel one. Damper Doc did the one on my car and it hasn't flown apart yet. Going to give him a chance to see it before I ask why. Sent from my iPhone using Classic Zcar Club
-
Sent from my iPhone using Classic Zcar Club

-
The only common factor with all these is that they are grounded to the relay mount I made. Maybe insufficient for the power Sent from my iPhone using Classic Zcar Club
-
Sent from my iPhone using Classic Zcar Club
-
I have each headlight on a separate relay, so good point whether they both flicker . It seems both do Sent from my iPhone using Classic Zcar Club
-
Need some help and direction. Headlights flicker sometimes over bumps. Found that if I tap on my relays with the lights on the lights flicker and the relays chatter. This is a 71 which I upgraded to relays . Oddly I have my fuel pump on a relay also and I can get it to chatter also by tapping it. Only thing I think they share in common is the power source. The main power comes from a power strip that I have connected directly to the back of the alternator . Pretty sure the grounds are different between the headlights and fuel pump. Appreciate any testing methods
-
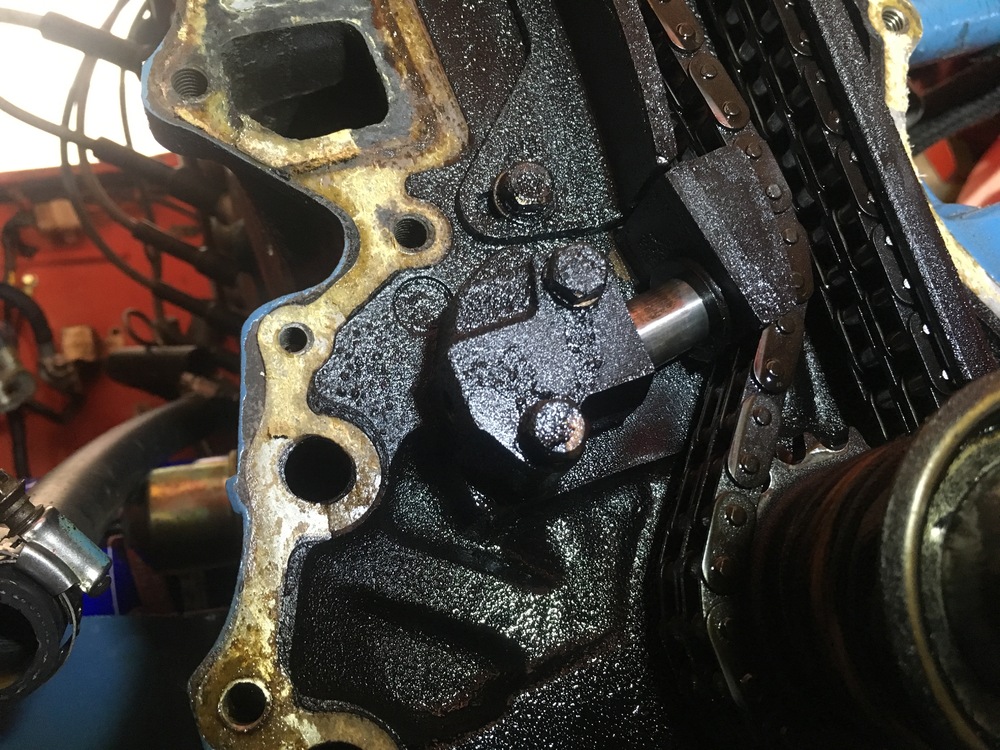
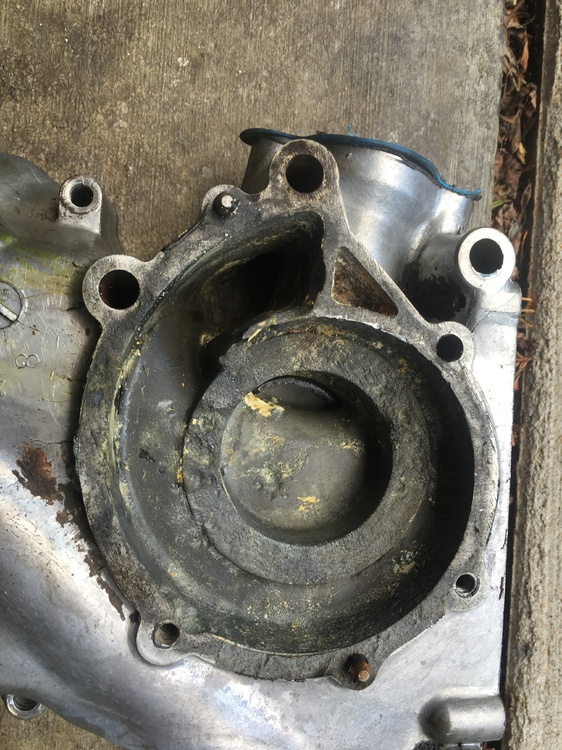
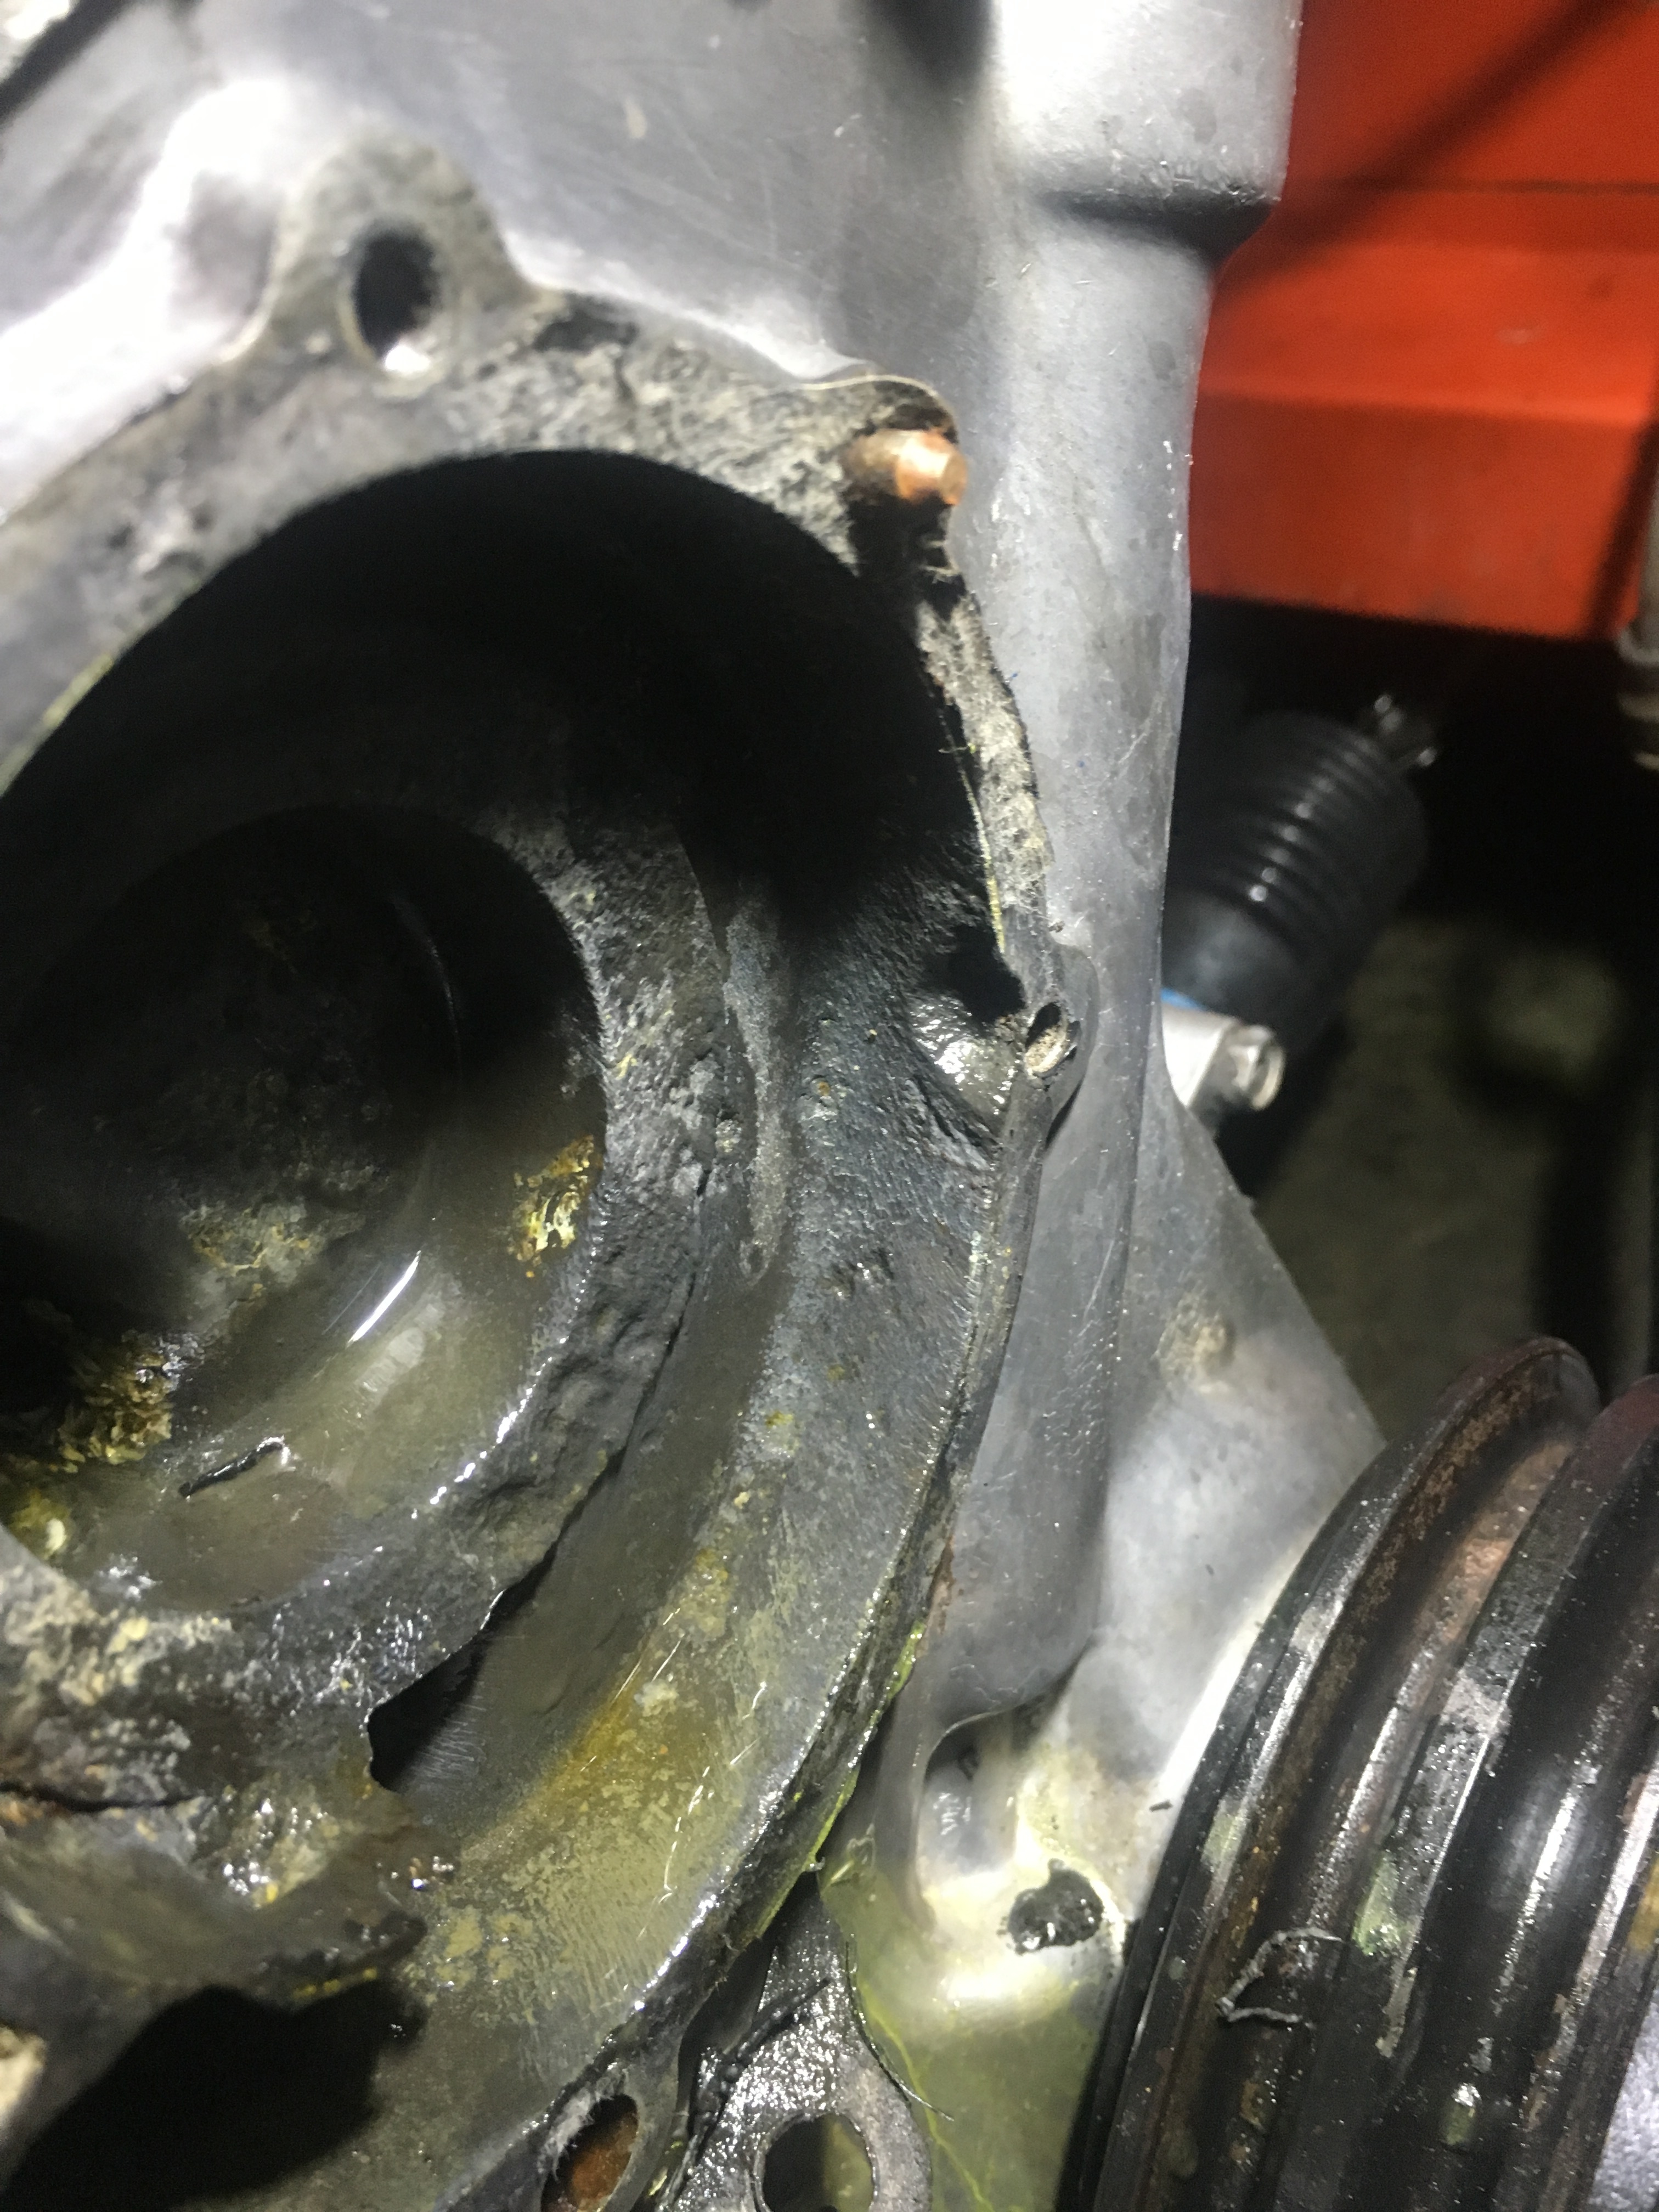
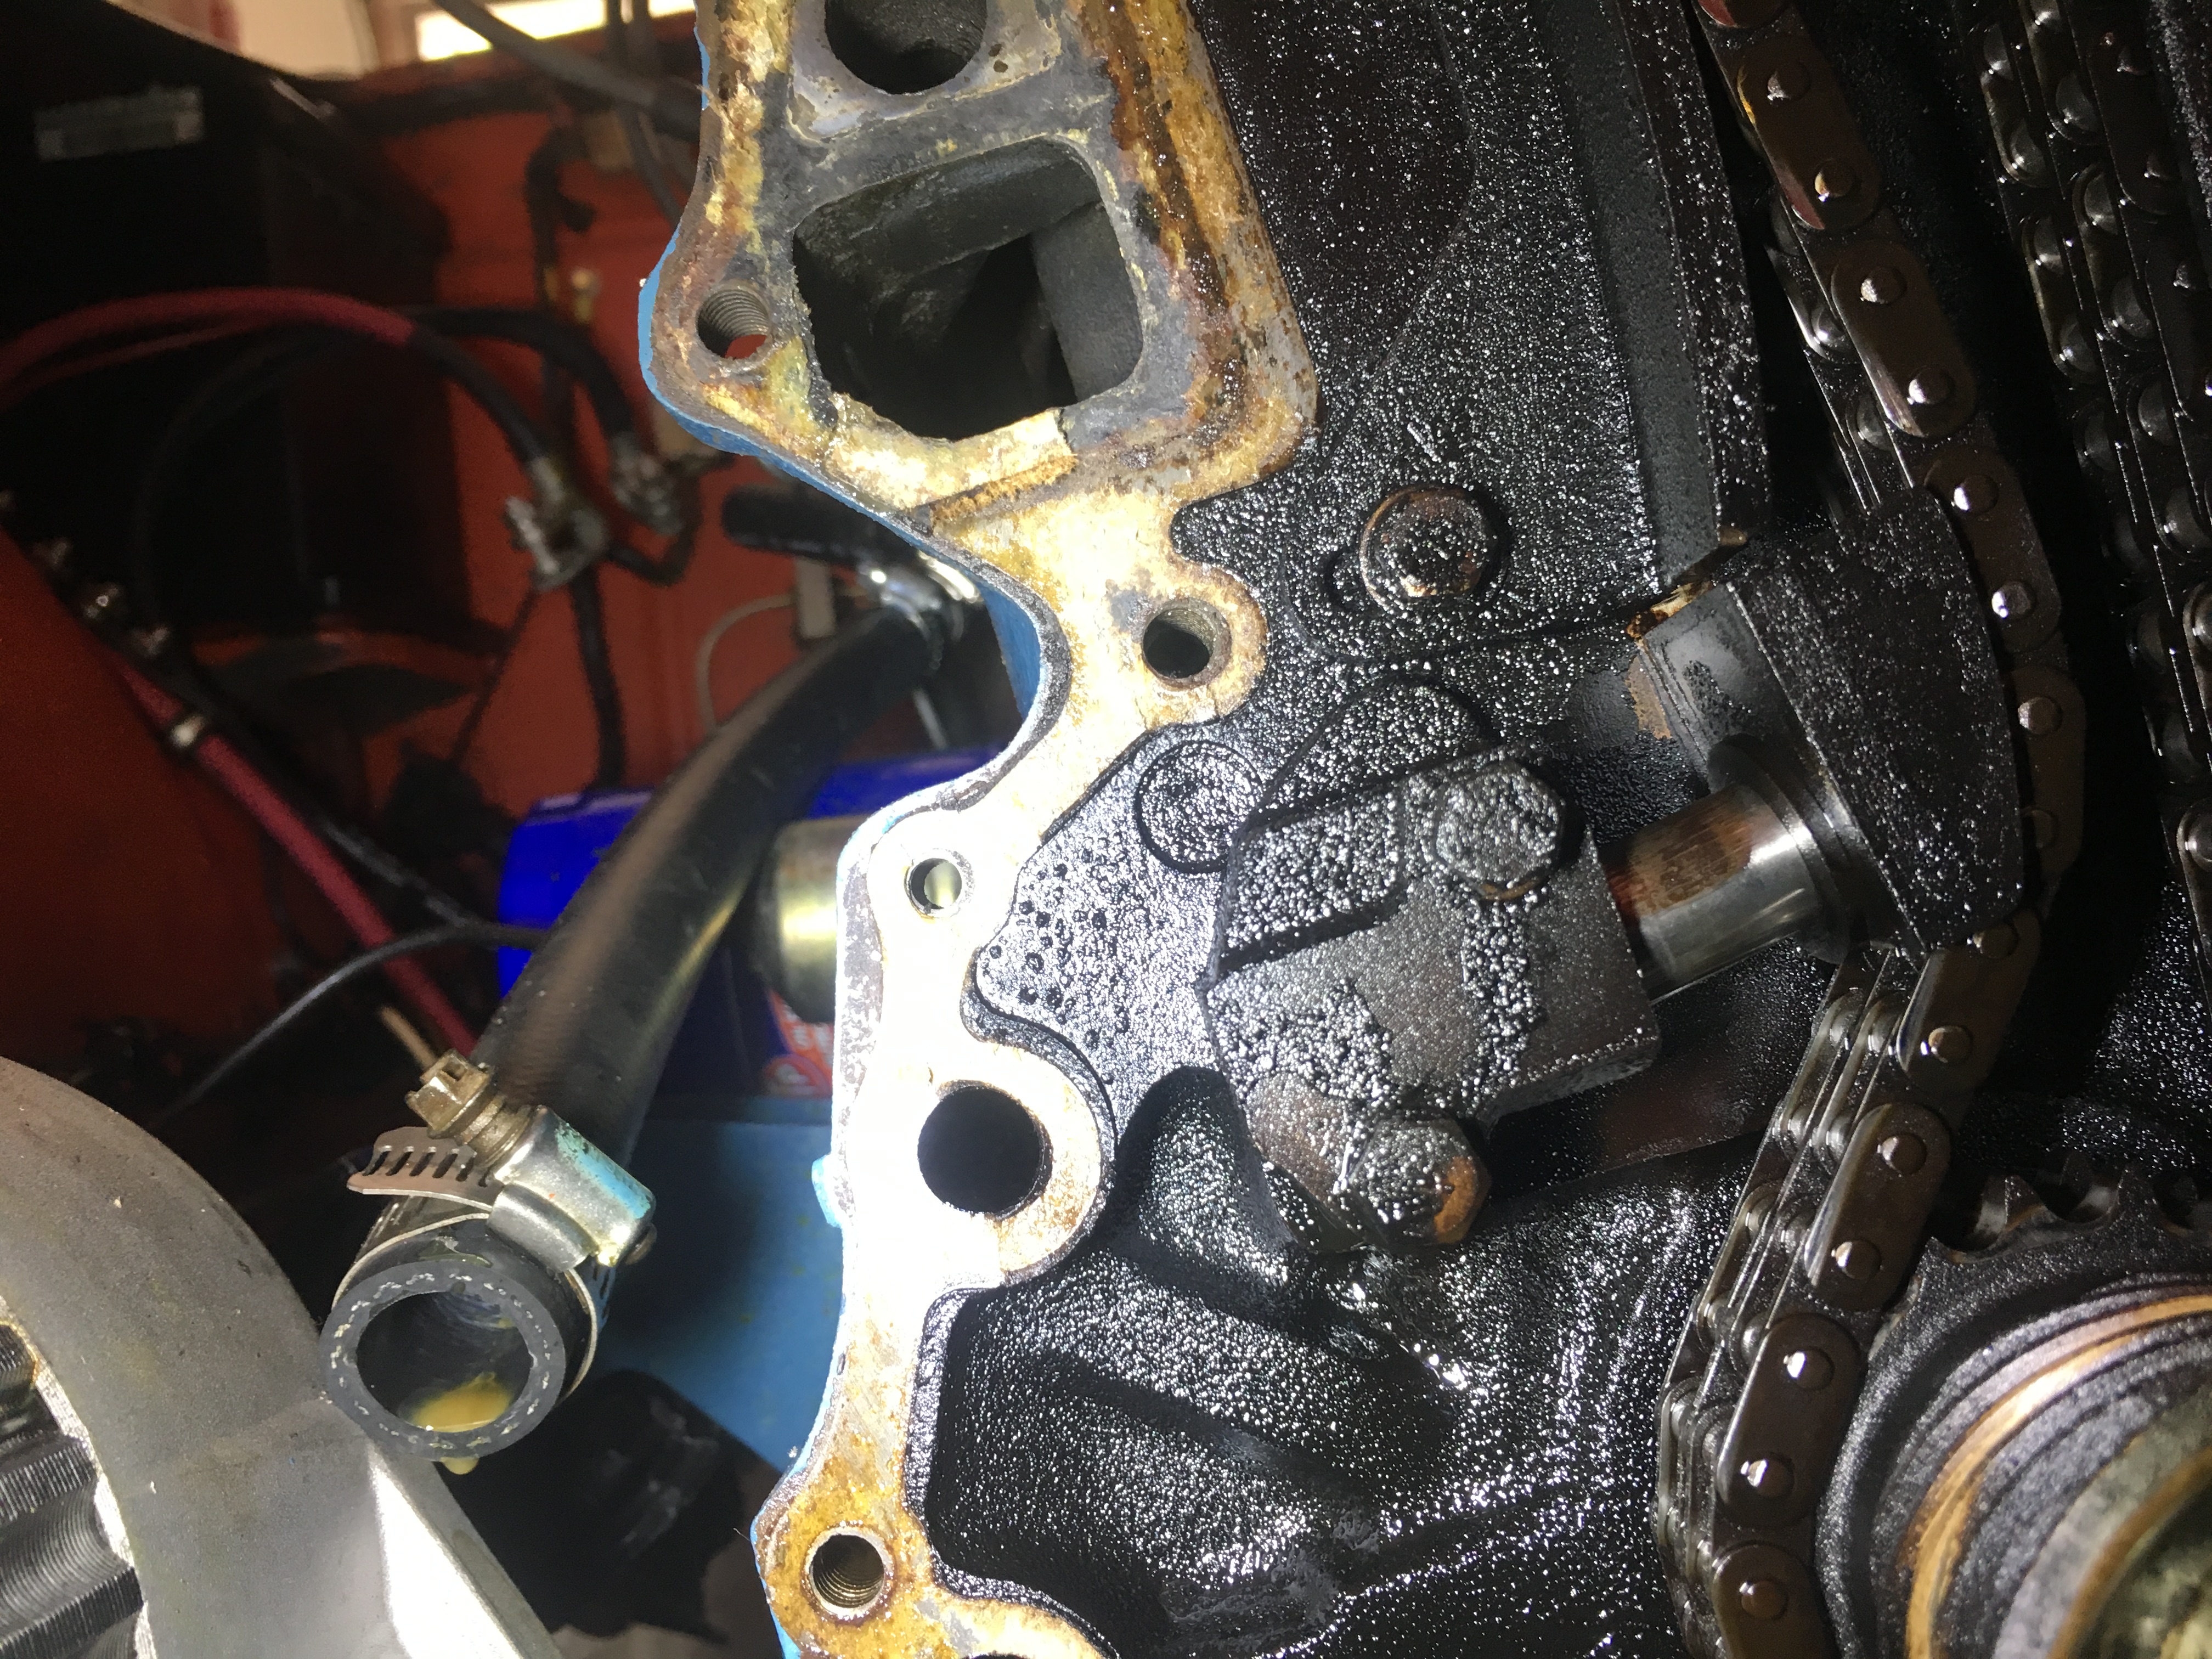
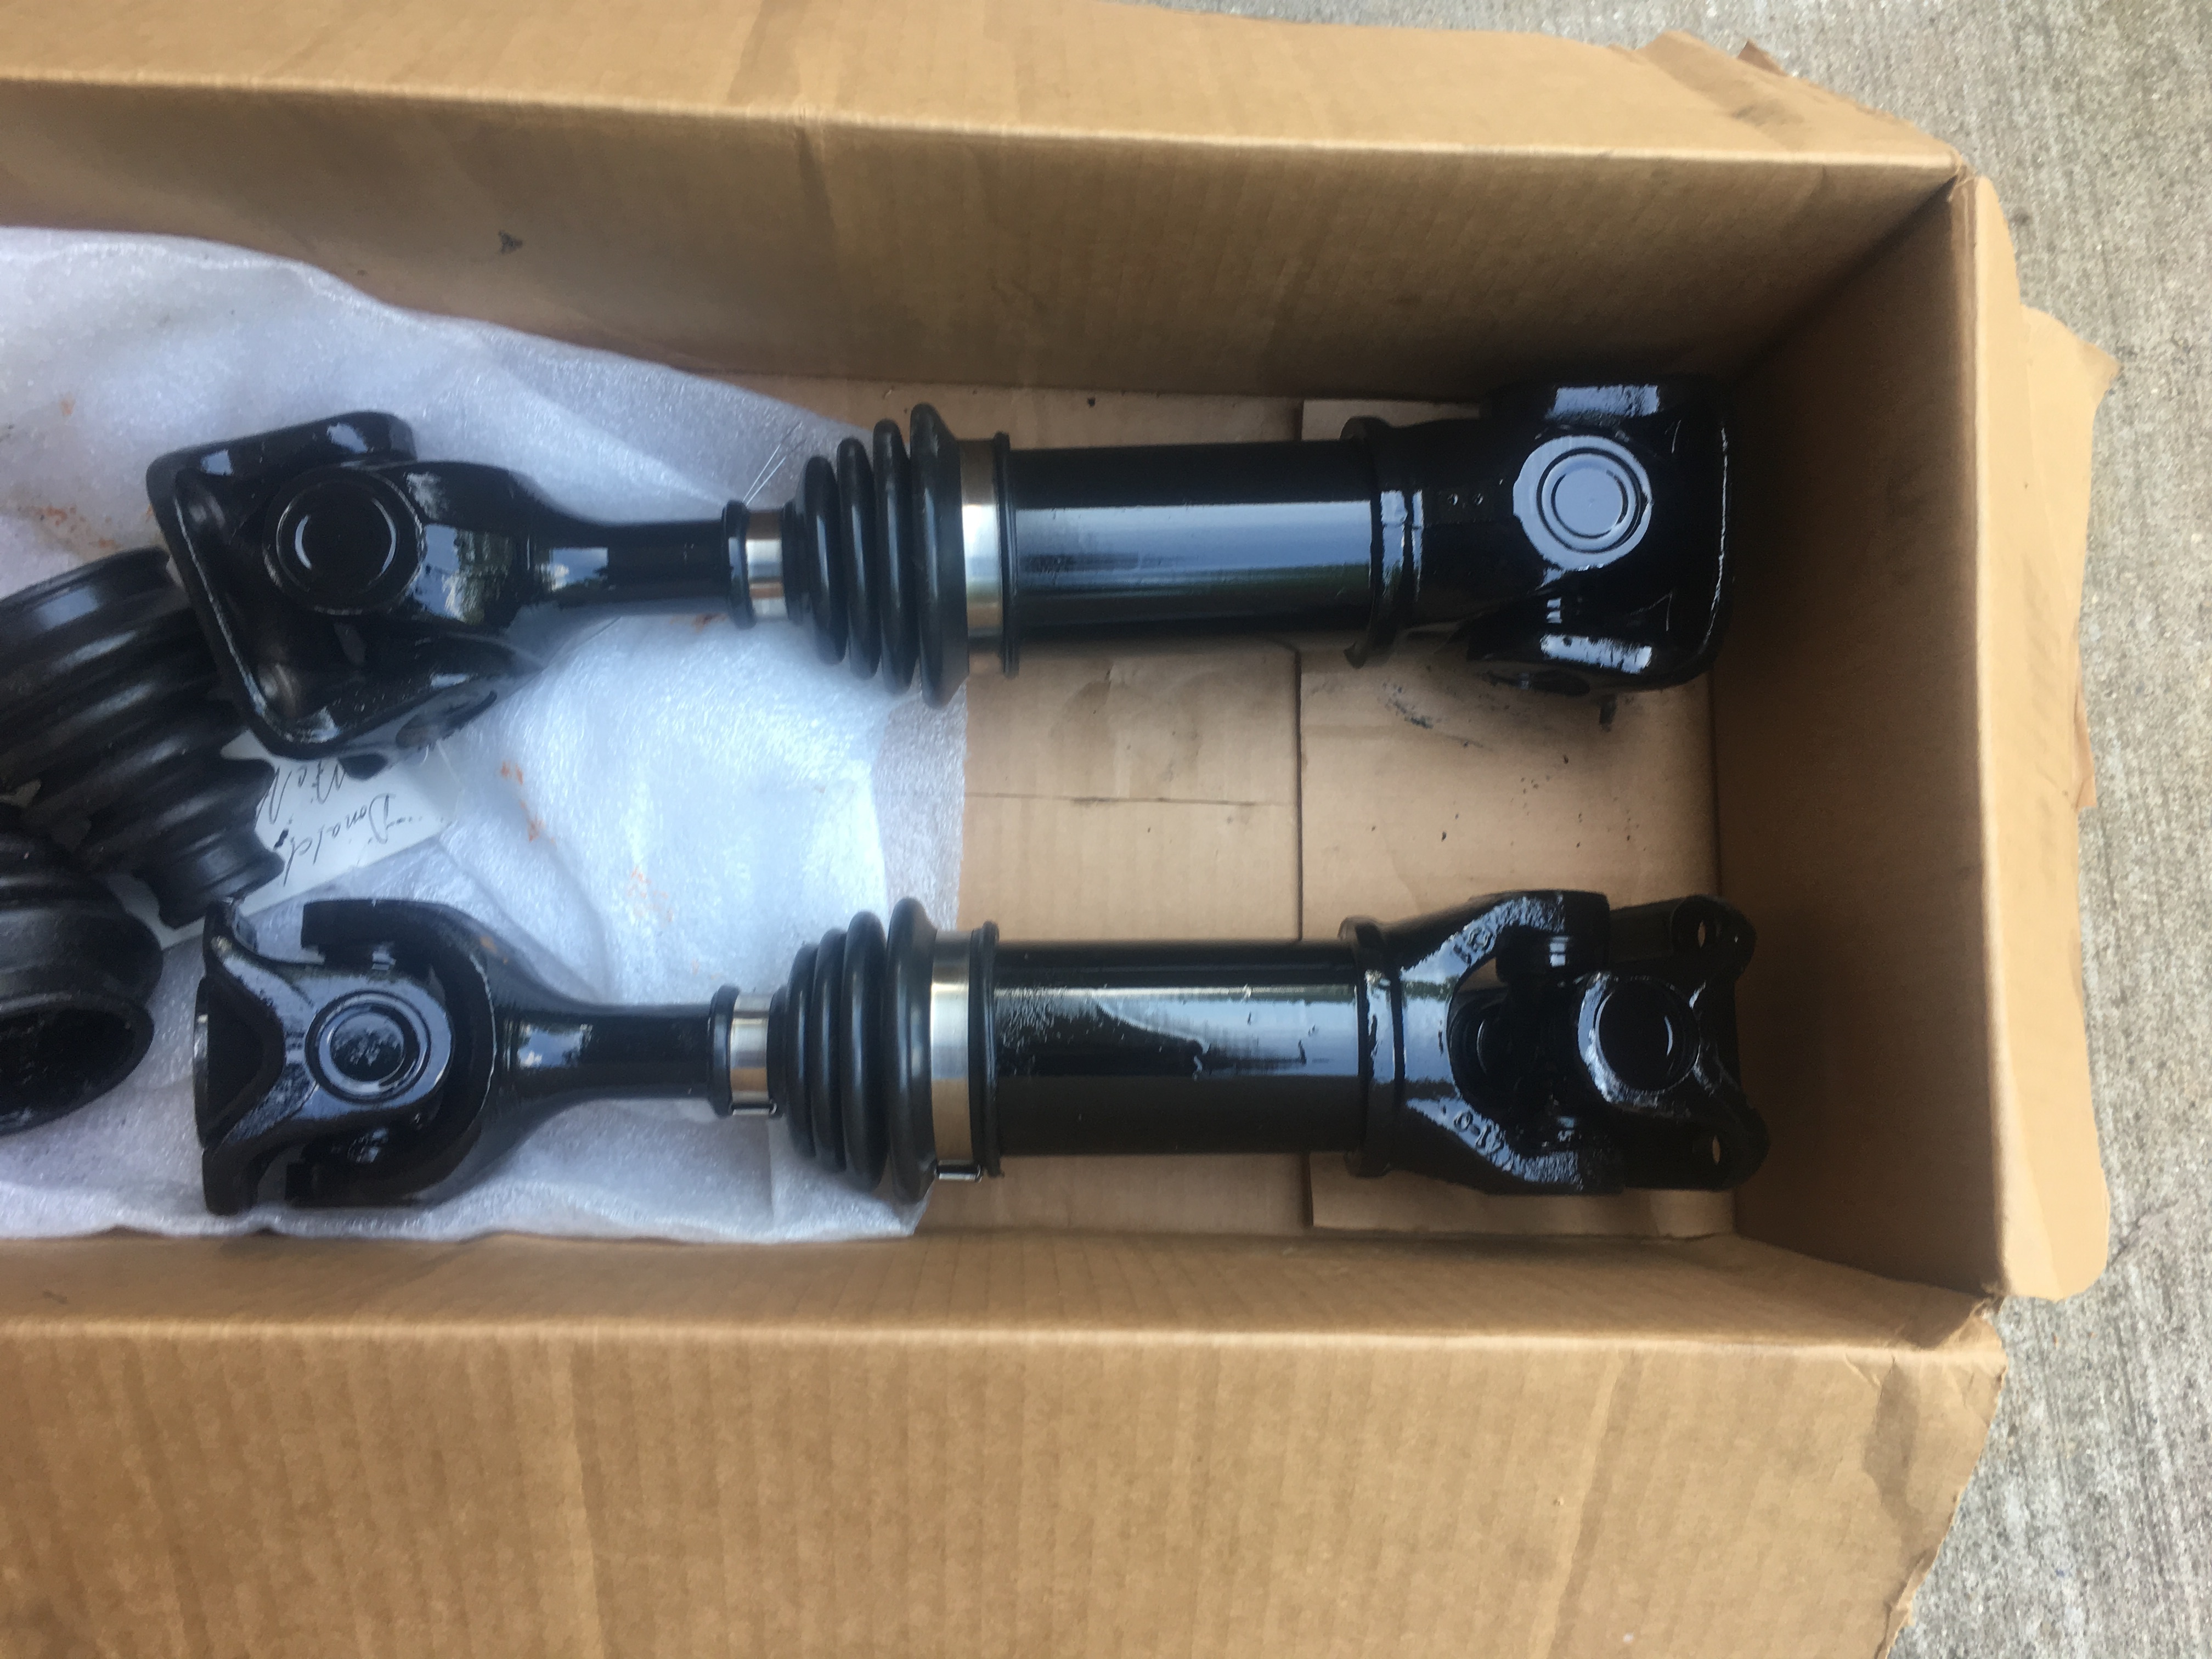
Well not a great day for Bo's ride. It started out innocent enough to replace the water pump that have out. Rust bolts were expected , but the corrosion on the timing cover wasn't so much. When I pulled the pump off I could see that the years of water had ate away at the pump cavity. Almost ate all the way thru near a bolt hole . It was a matter of time before it leaked or worse. I told Bo I was pulling it since I already had everything drained. Went to pull of the harmonic balancer and it came off in 2 pieces. This is the one Damper Doctor just rebuilt. I actually got the cover off without much fuss and didn't tear up any gaskets . Only to find the timing chain issue. In the end though, if the pump hadn't gave out I wouldn't have found these other issues that would have detonated at 60mph on a back road leaving him stranded- so a silver lining . Ordered a new chain kit and damper got sent back to the Doc. He seemed to know exactly what he did wrong when I talked to him briefly. He apologized for the issue


-
How weird , maybe I can just see it? I will have to take another pic, I can't find mine now Sent from my iPhone using Classic Zcar Club
-
Thanks Sent from my iPhone using Classic Zcar Club
-
Yep Sent from my iPhone using Classic Zcar Club
-
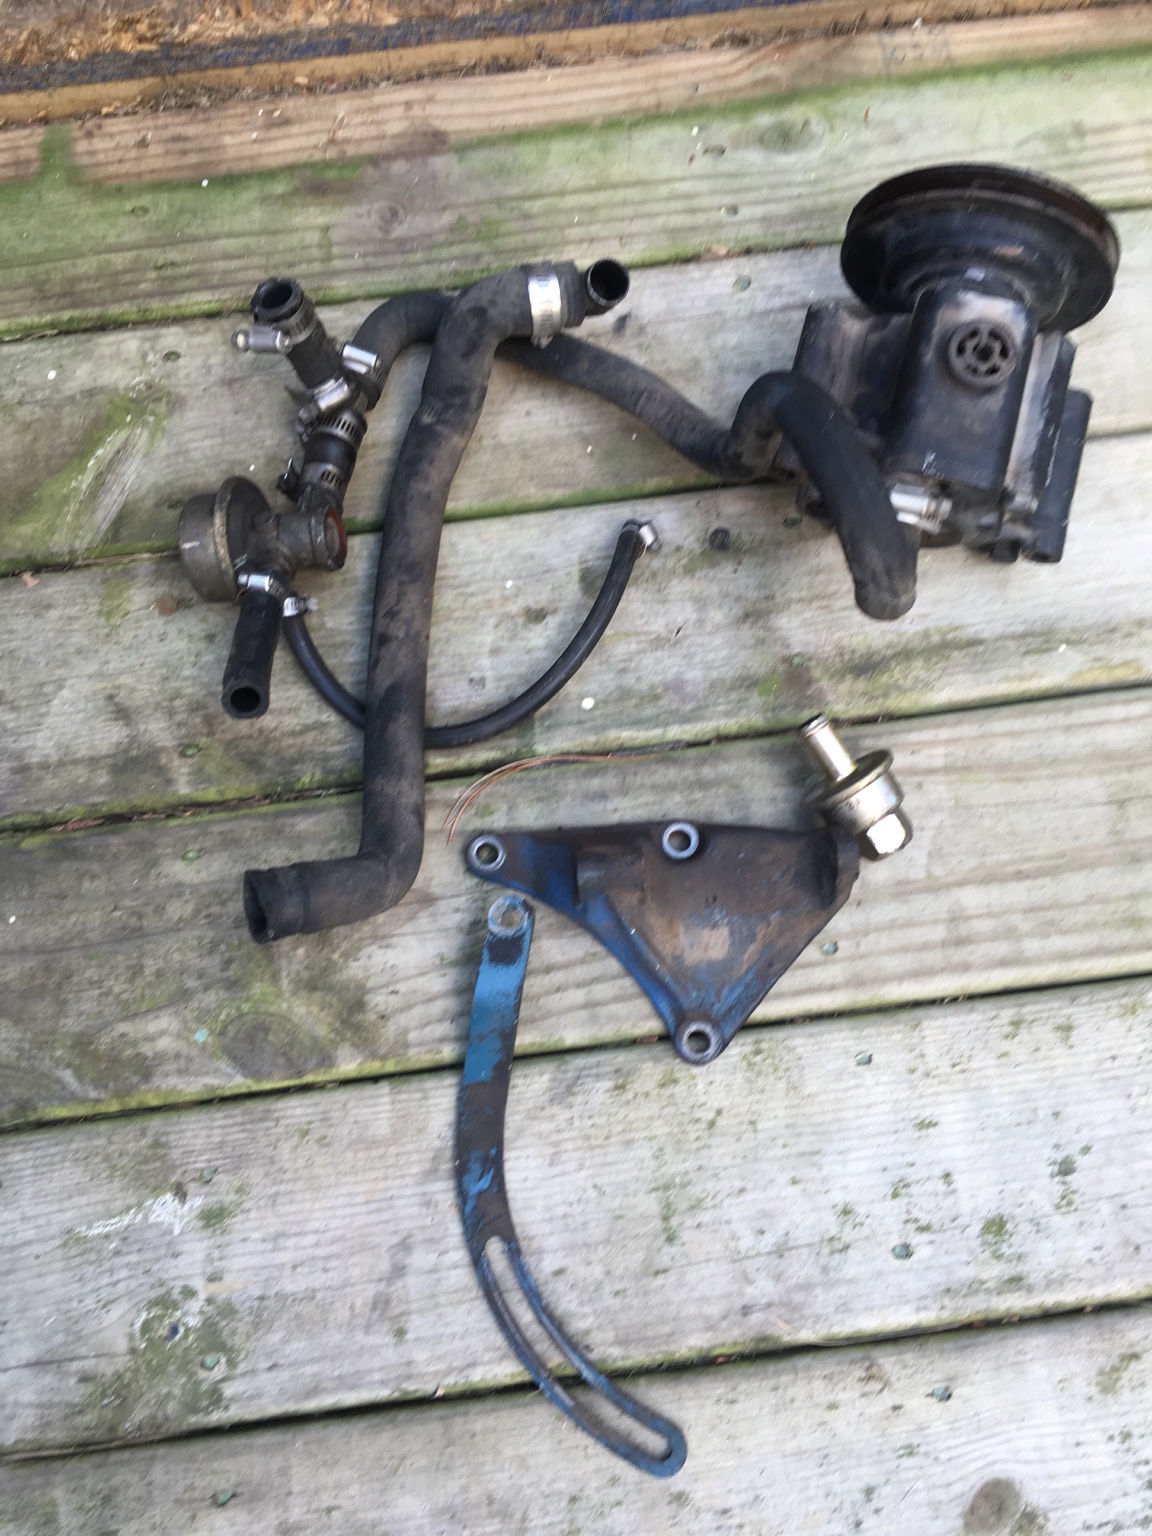
Charles , Don is the owner of the 72 I'm working on. He doesn't know I already posted for these , but it's the ones in the backing plate that have the threads for the cover box Sent from my iPhone using Classic Zcar Club
-
Not going to wait long for other responses. Need these for the 72 I'm redoing. Ready to drive !! Sent from my iPhone using Classic Zcar Club
-
I'm needing the bolts that hold the backing plate on. Just need the ones that are the female receptacles for cover bolts. Sorry don't know what the proper name is. I seem to have misplaced mine somewhere . PayPal ready -thanks s_finnerty1018@comcast.net
-
Drivability will not be an issue with a performance cam. Go with as much performance as you want. Go 490 lift !! My point is don't limit the cam size based on what you think will be street friendly . My 490 /290 idles at 750rpm and pulls around town in 5th gear at 1500rpm just fine. If looking to keep stock springs and valve guide seals , then that's a different story . Sounds like you caught Ron on a good day, but I have seen 2 times that he sent the wrong cam card with the cam. Not much support after the purchase also. Stock cam regrinds are common and best . I would make sure I go with an internally oiled cam . Sent from my iPhone using Classic Zcar Club
-
Mine MS has been about flawless now for a long time. So once you get it, you got it Sent from my iPhone using Classic Zcar Club
-
Alright!! Sent from my iPhone using Classic Zcar Club
-
I think it's doable to try it with the engine in -especially since all the accessories are out of the way. Get a jam gun or even an airbrush and go for it. You can crawl all the way in the compartment if you need to and get a better angle. Engine out means you can paint it easily as well as any service or paint to the crossmember . Without engine you could pull the brake lines further away from the firewall to have an easier time painting.
-
-
You have too many heads- . I'll take any left over p90a - you want to get rid of Sent from my iPhone using Classic Zcar Club
-
The easy remedy is to buy the inserts for the hydraulic head so the mechanical lifters just screw in. But maybe pics will verify that we are all talking the same thing Sent from my iPhone using Classic Zcar Club
-


Important Information
By using this site, you agree to our Privacy Policy and Guidelines. We have placed cookies on your device to help make this website better. You can adjust your cookie settings, otherwise we'll assume you're okay to continue.