240260280z
Free Member
-
Joined
-
Last visited
Everything posted by 240260280z
-
 Just to add to this old thread. There is a dollar store product that is a bake pan made from silicon. It would make a nice insulator sandwiched between two pieces of aluminum. $5 for an 11" X 17" now at Canadian Tire.
-
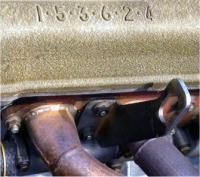
Power wash then paint that motor to make it very nice now that you have it out. Even painting with a brush would be fine.
-
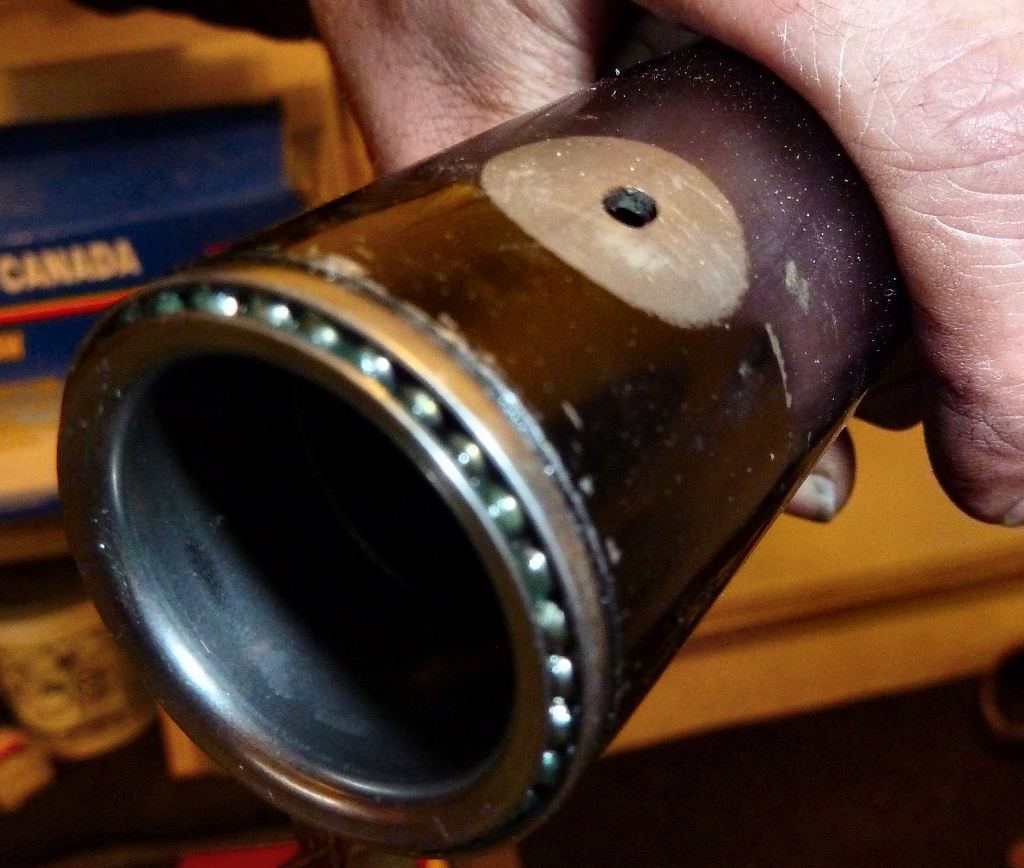
I stopped there and flushed them on the top end and bottom end with a solvent and straw tip. I repacked them with fresh grease. I researched after and read that some have removed and replaced them.
-
Love this:
-
I am glad to help! I think that tightening hose clamps should be done once a year as preventative maintenance for the first few years of installing a new hose (FYI I had the same experience as you ).
-
Bulgaria: http://www.dnevnik.bg/biznes/2012/10/03/1918717_vuzrodeniiat_datsun_gotvi_avtomobil_za_3000_dolara/
-
JAPAN WSJ: http://www.motorward.com/2012/10/jay-leno-drives-1966-toyota-2000gt/
-
Ahhh I think I see it now. In an old photo I took. I'll have to adjust it in the spring when I close off a snag list. Thanks E!

-
To remain stock, you will need to get a few 240z distributors and scavenge the best parts to make one good one. If you need to change the bushing then look at this site: http://www.jrdemers.com/280ZX/distributor/distributor.html
-
In theory, with projected plugs, the flame front will be closer to the encroaching piston face so it may act like advance. The flame front will also travel down towards the piston, sideways towards the cylinder wall and back towards the dome roof. It may give the intake valve a wee bit more time to close, or even help it close. With the a non projected plug, the flame front will be guided partly by the dome roof and travel forward along the curved roof and also and outward. That's as much as I have thought it through.
-
Wow that is low mileage! Congrats
-
Just keep tightening it until it runs well. You can calibrate it hanging a soda can. Take a look at tech tips. The quick and dirty way to get into the ball park is to tighten it until it runs OK then, with the engine warmed up, have your dad hold the engine at 3 to 4,000 rpms while you use your finger to move the AFM wiper CW and CCW from where it naturally sits. If the engine runs faster in either direction then you must tighten or loosen the spring a few teeth and repeat until the AFM wiper sits at fastest rpm point. Lots of into here: http://atlanticz.ca/zclub/techtips/EFI&fuel.htm
-
That explains it! What tab are you talking about? I did not have one on the 71 thus I had too many degrees of freedom to screw it up...and I did!
-
Yup that will work fine, but if the connectors are "clumpy/lumpy"; and/or the turn indicator and wiper stalks are in too far; or out too far; or clocked funny; then there will be interference (I know from experience with each of these possibilities :stupid: )
-
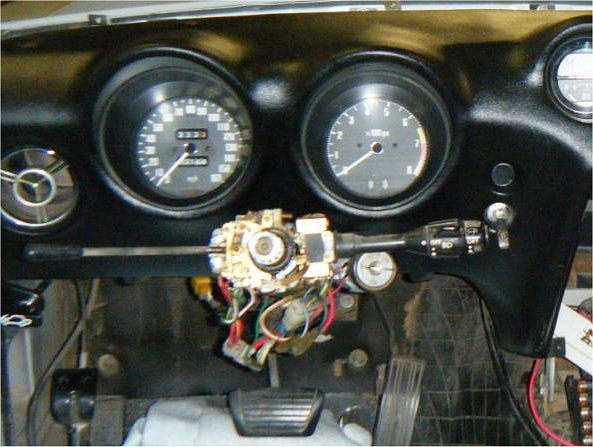
When I did the 240z resto, I dressed the connectors in close to the column. You have to get it right and also get the wiper and indicator stalks in the right spot (forward backward along the column and rotation) before the plastic enclosure sits right. Then you have to ensure the back of the steering hub does not scrape the plastic enclosure. DON'T TIGHTEN ANY SCREWS UNTIL THE TWO PARTS OF THE ENCLOSURE MATE AND ALL SCREWS ARE IN A FEW TURNS. PUT THE IGNITION RING IN LAST AND NOTE THE CUT OUT IN IT.
-
-
http://books.google.ca/books?id=P9gDAAAAMBAJ&pg=PA126&lpg=PA126&dq=240z+1970&source=bl&ots=1jZXnLicho&sig=kfH4HU_31-lDW6Bj5lOMUZRR1mY&hl=en&sa=X&ei=ardtULzfIubs0gGR5YCADA&ved=0CI4BEOgBMBQ#v=onepage&q=240z%201970&f=false
-
Just run a choke cable to hold the throttle open "a little".
-
The Dec 71 240z I just picked up has AC. The plastic panel above the passenger's feet says "DAT AIR" on it. Anyone know about this mfgr. and the configuration?
-
Hey CO. Sure! I hope to be in NJ soon so I'll take some time to come over.
-
Cool... but I bet he now wants to buy it back
-
Friendly for sure! Another way to get more fuel is to buy 0mm bleed-back (pump spill) (pump exhaust) valves for the bottom of the fuel bowl. 3 X $5 http://www.piercemanifolds.com/product_p/79701.000.htm
-
http://www.lizardskin.com/prep-for-spray-insulation.html
-
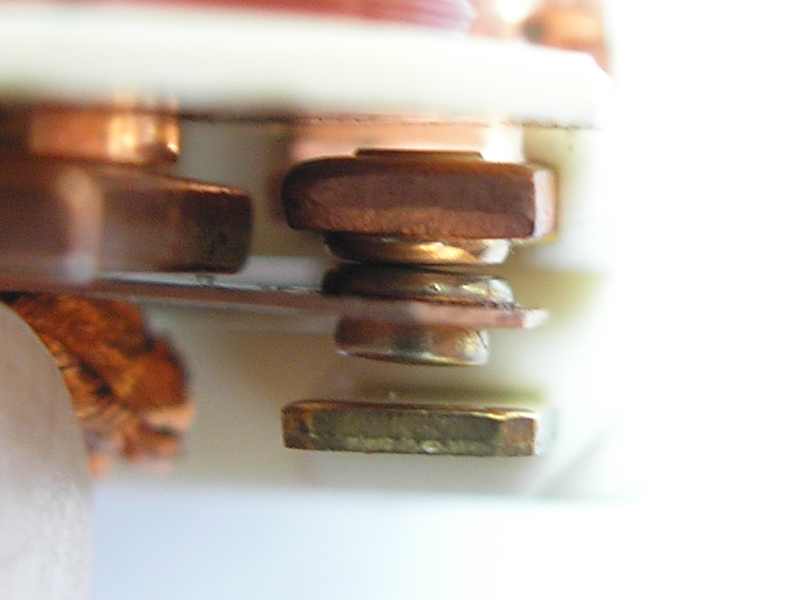
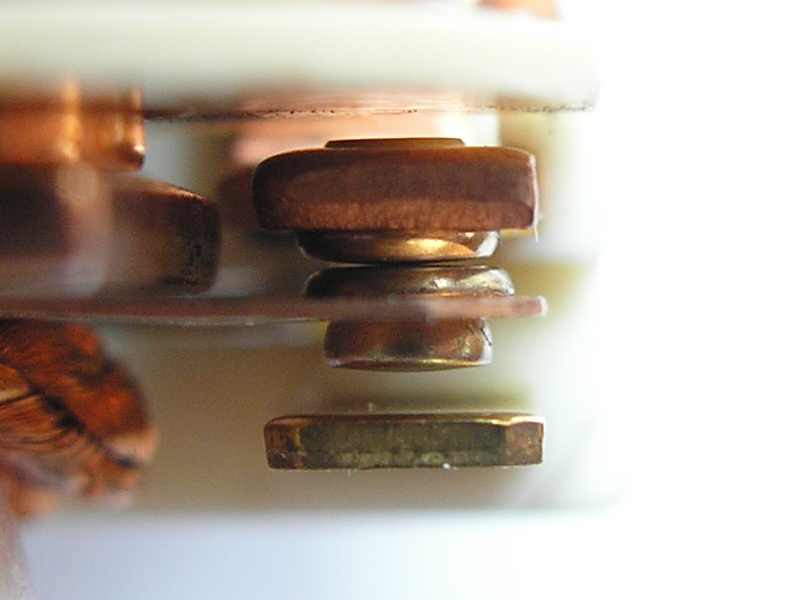
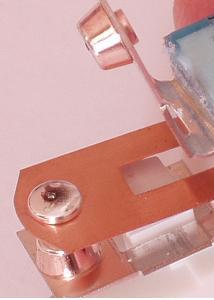
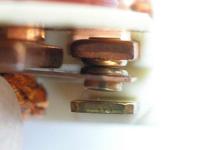
Before Bending After Bend)ing (new contact area

-
Just found this warning that confirms my worry about plating: Do NOT burnish or file low-current relay contacts! Using any abrasive, even a mild abrasive on low or medium current relay contacts will damage the relay. Low or medium current relays almost always have a thin gold or silver flash. This overlay prevents oxidation and improves low current connections. The flash or plating is easily removed, and if it is removed, low signal level connection issues will reappear quicker.