240260280z
Free Member
-
Joined
-
Last visited
Everything posted by 240260280z
-
 It looks like the 72 has potential. White interior? Have a look under it for rust in the rails under the seats and where they rise behind the front wheels. If your dad has a shop, go for it. A $900 72 is a good investment.
 -
Moving AFM flap away from the sweet spot on a tuned and functioning Z will affect motor's operation almost instantly. It will slow then stumble and you may get back fire (rich) and intake popping (lean) If you are over-fueling from some other cause then the AFM flap may not make as big a change. If you think it is the exhaust then maybe disconnect at base of manifold and try it. Maybe wee critters nested inside and built a clog. However I am not sure how a clog will cause plugs to foul from excess fuel?
-
But what about those huge tail pipes I see on wee lil' civics.... there must be some performance gain from huge pipes... surely all those folks can't be mindless, stupid, uneducated, copy-catting, money wasting, idiots? .... or can they?
-
You can use 240z strut insulators on the back of a 280z to lower it. You can also heat up, remove the rubber, cut it down, then glue,bend metal surround to shorten the front towers.
-
You can try to get one w/o the 90 degree and run the hose along a different path. Since you are in Arizona, you do not need an AAR or the heater below it or the cold start valve so you can unclutter the top of your intake manifold.
-
Keep it stock, invest in tools, tune it and learn how it works first. Optimizing SU carbs, adjusting valves, refreshing suspension, drive train, steering and interior and tending to problems as well as reading should keep you busy for a while and give you time to digest what you bought and where you want to go.
-
A wire brush, anti-seize, and a variety of metric dies and taps makes reassembly a pleasure as the hardware turns like it is new and knowing the next time there will be no problems whatsoever.
-
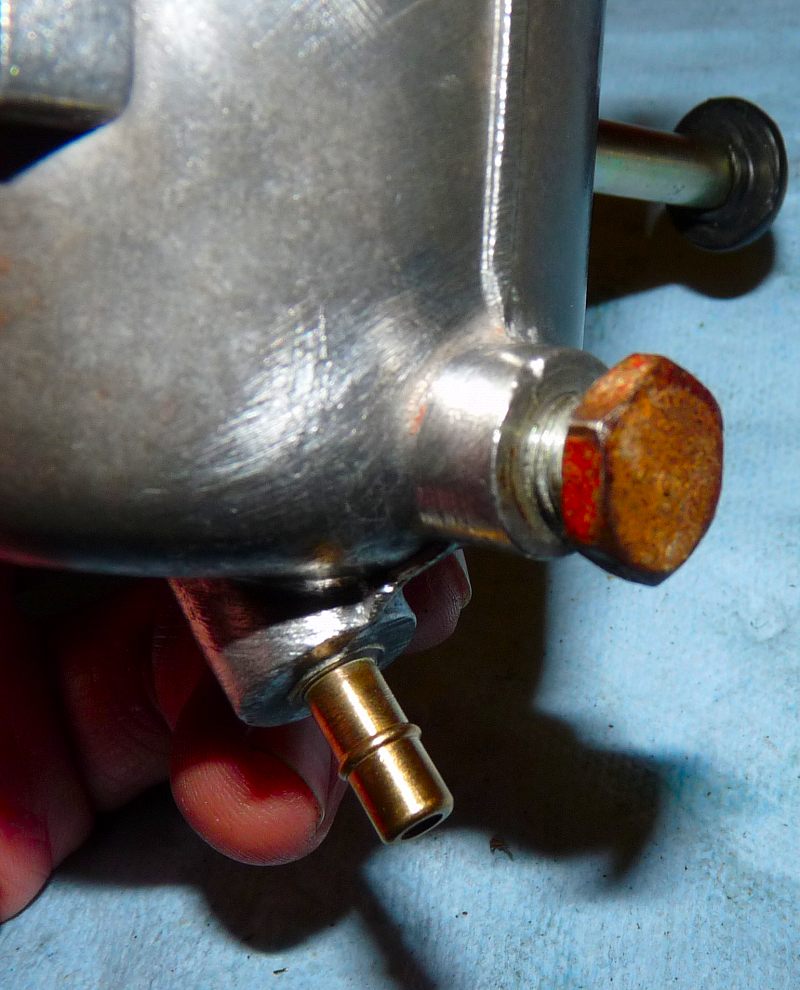
For later FI cars it is the return from the heating base under fast idle device. For carbs it is the return from the carb heating system.
-
I set these links up for your convenience. They are for Z's in the Southwest USA (You can change the filters to suit your needs). Check every day to "catch" one. 1969 240z 1970 240z 1971 240z 1972 240z
-
I'll be there in a silver s2000
-
1989's and early 1990's had valve metallurgy issues. Buy 91 or later to be safe. I know the 5speed manuals had some inherent problems with 5th gear from club members. I only worked on 1.5 of these: 1991 300zx and 199? J30 (same motor). The 300zx was pampered and it only had a loose boot on the intake manifold. We installed an electronic boost controller and had some fun. The J30 had a water leak that took out some of the leads in the ECU due to corrosion and it killed some of the injectors or coils ( I forget). Changed some transistors, cleaned up the PCB and jumpered some traces and all was good (I did a similar fix in the power supply of a Moog Source synthesizer way way way back long ago). Some 300zx buying info here (note the automatic transmission info (yikes)): http://www.300zx.co.uk/tech/BuyingZ.htm
-
Below is a video showing how to match pistons so that they rise and fall at the same rate due to differences in mechanical tolerances where the piston is sealed by the suction chamber: (the process is simply to remove the piston and dome, tape the two holes on the bottom of the piston shut, then measure/compare the drop time of the pistons). This process only compares mechanical sealing. If your pistons don't fall at the same rate, don't worry, there are some solutions: I just experimented further and the oil well plungers AND the type of oil in the well AND the temperature affect these fall rates. In theory you should be able to match piston rates by using different oils/fluids of different viscosities in each well to better match pistons that are mechanically different and have unmatched fall times. You can also sand the outer surface of a plunger to decrease the drop time. (Sanding the sealing edge of a piston or sanding the inside of a suction chamber is not recommended).
-
What do plugs look like now?
-
My 77 has spray bar. I have read that some have swapped cam towers between heads due to this reason but I have also read that this is not recommended because the towers are bored In situ on the associated head. Why not just get the p90 cam reground?
-
some reading material: http://www.google.ca/search?tbo=p&tbm=bks&q=datsun&tbs=,bkv:p&num=50
-
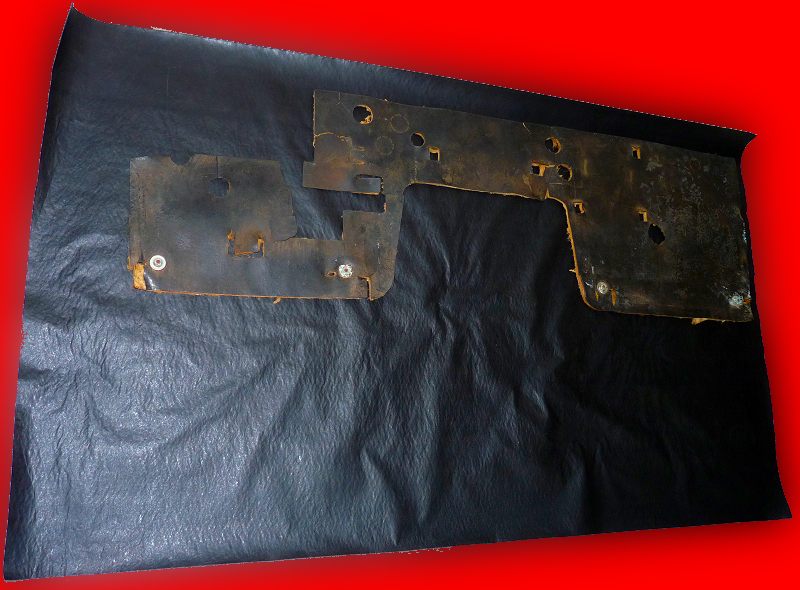
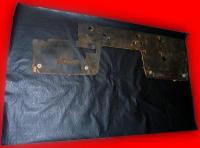
I think I found something: Garage Guard by Oil-Dri at Pepboys. It is pretty tough rubbery material with one fuzzy material side and one black rubber side which is close in appearance to the original 240z part's rubbery side. I should be able to glue a thin backing on it to strengthen it.... maybe even clean up the old and glue the two together. There was also a foam anti-fatigue mat that would work but it was light gray and I would not want to paint it. 240dkw Dan, I'll also look for the art board material. Sounds like it may work well with the rubber.
-
Bedrock Nissan Dealer?
-
I got a T and measured between the fuel filter and the fuel rail. Equus / Innova Brand are the common man's low cost choice. Most autoshops have these gauges. Even some walmarts. http://www.walmart.com/ip/Equus-3620-Innova-Vacuum-Gauge/14644669 http://www.walmart.com/ip/Equus-3640-Innova-Professional-Fuel-Injection-Pressure-Tester/14644670
-
Get these. No need to stake/peen. They are from a 280zx and fit fine. The last threads have a "ripple" that holds them in place.
-
I also had a 6/70 SN HLS30- 05121. RoostMonkey (Brad) found it for me in NH. Here is the link to photos: http://hammondsplains.com/zcars4sale/240z/blue240zNH/index.htm
-
I concur with Anne G. Kay
-
From the above it is clear there are pros and cons to both sides. It also seems to depend mostly on the ability of a pump to have an internal short cycle bypass path, if it sits in the tank, and the pressures and flow rates for the application. My opinion (old school) for adding an electric pump to a carbed 240z is with Z train, the pump should have flow when on and not be dead-headed so as to minimize strain and to promote removal of internal heat. My opinion is weighted more for longevity of the pump rather than any other priority (safety risks, looks, convenience, etc.).
-
Looks like couscous, porridge or mashed potatoes...what does it taste like?
-
OK so it is not temp sensor or wiring. 1.5 and 1.75 kohm are fine. There are other items in the efi system but only two typically cause so much excess fuel. If return line to tank is blocked or your FPR is blocked/malfunctioning then fuel pressure could be too high. Another possibility is that your ECU is malfunctioning and holding the injectors open too long or your injectors are oversized. Here is a graph showing sensors and ECU logic that contribute to the amount of fuel used:
-
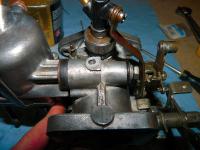
Fuel bolt captive retainer in place Fuel bowl drain installed. Fuel bowl attached to carb body. Note the rubber shock mounts. That's all folks!