240260280z
Free Member
-
Joined
-
Last visited
Everything posted by 240260280z
-

-
I agree 100%.... the western world is becoming lazy and incompetent (Gee I sound like my friend TonyD)... nobody can do much anymore. This presents a big opportunity. If you are prepared to roll up your sleeves and "just do it" you can make $$ serving the lazy and incompetent masses. Minor car repairs, home renovations/repair, etc. When I lost my job, I was thinking of this and doing house calls for oil changes and getting people to sign on to "private mechanic/consultant" who looks after routine maintenance and gives advice/2nd opinion when garages try to rip them off. The sheepish masses need an ombudsman in their corner and tooth-fairy like magical repairs of their cars in their driveways.
-
Funny you mention it because I was thinking about it actually. Maybe we should start a Zclub support group like the Freemasons to help one another.... a Z shaped handshake and we are good to go! I lucked out because the company I worked for was dreadful (huge foreign multinational telecom) and the new company is fun (smaller and better positioned in the energy sector but my experiences can be directly applied so no re-training is required). Sometimes loosing your job is a good thing.
-
Hang in there; you are not alone. I was laid off three weeks ago and got a job with a much better company. It was a good thing in the end. There are a lot of companies that need experienced engineers. I don't think they are "making them like they used to" and good companies and managers now realize this. For stability, you should look towards the energy sector...bad times are coming but energy is always in demand and the companies have become so powerful and greedy that they will hang in there. Also be sure to get on LinkedIn.com to search for jobs and align with headhunters. In fact,they may come to you.
-
I think it is too hard to reach back there to make it functional. The 1978-ish 200sx in North America has cool roll down rear quarter windows but it is a 4 seater.
-
Sold the Small Block Chevy 350 and automatic transmission from my IMSA. This winter will be a fun resto.

-
Your drawings are excellent professor! Especially how they show the short path for the air to bypass the well.
-
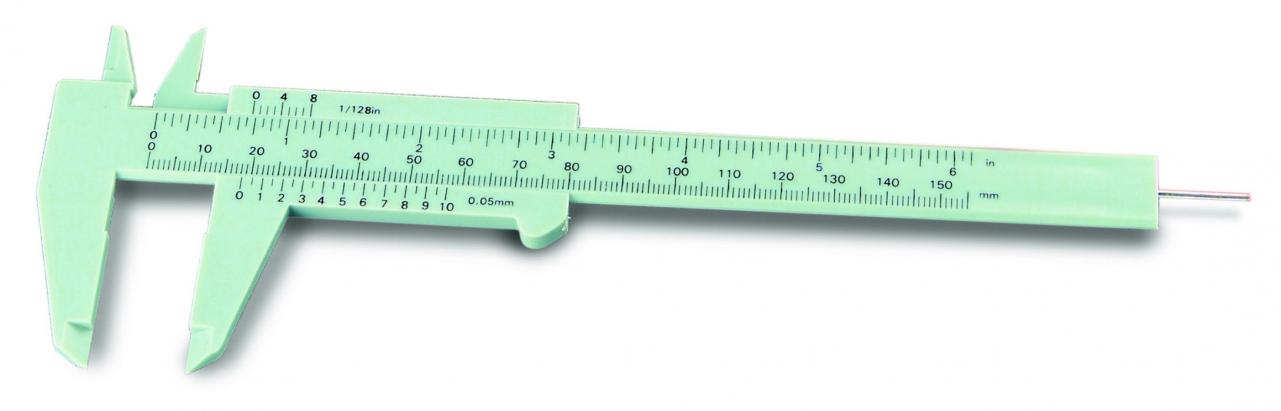
Great! Thanks. I will try 25mm tonight. For measuring fuel depth, the wire end of a $1 plastic vernier caliper works great. I can easily see it touch or not touch the fuel surface as it deforms the well meniscus and reflects light differently. My accuracy is less than 0.5mm and the plastic end of the tool fits squarely across the top of the well If I had to do more of these, I would just buy 3 calipers and lock at 25.5mm, 25.0mm and 24.5mm for go/no-go testing.

-
That is great high level explanation. I wish I could add more of the details but I am still lost: Here are other parts of the main circuit to address: "bubbles" The emulsion tube causes the fuel to bubble and flow in a different fashion from a liquid or a gas fuel drop in the main circuit well. As the fuel draw increases, venturi pull on the gas and air from the main circuit increases causing fuel level to drop in the well emulsion tube resistance to air and fuel flow. The physical design of the tube (gap to well wall, as well as all of the holes(dia, qty,location) all play a part dynamics of fuel drop, wet to dry hole exposure, short circuiting of air correction flow and other interesting things all play a factor in the main circuit And on top of this, the accelerator circuit is leaking This is all too complex for my little brain thus I am now in the trial and error camp
-
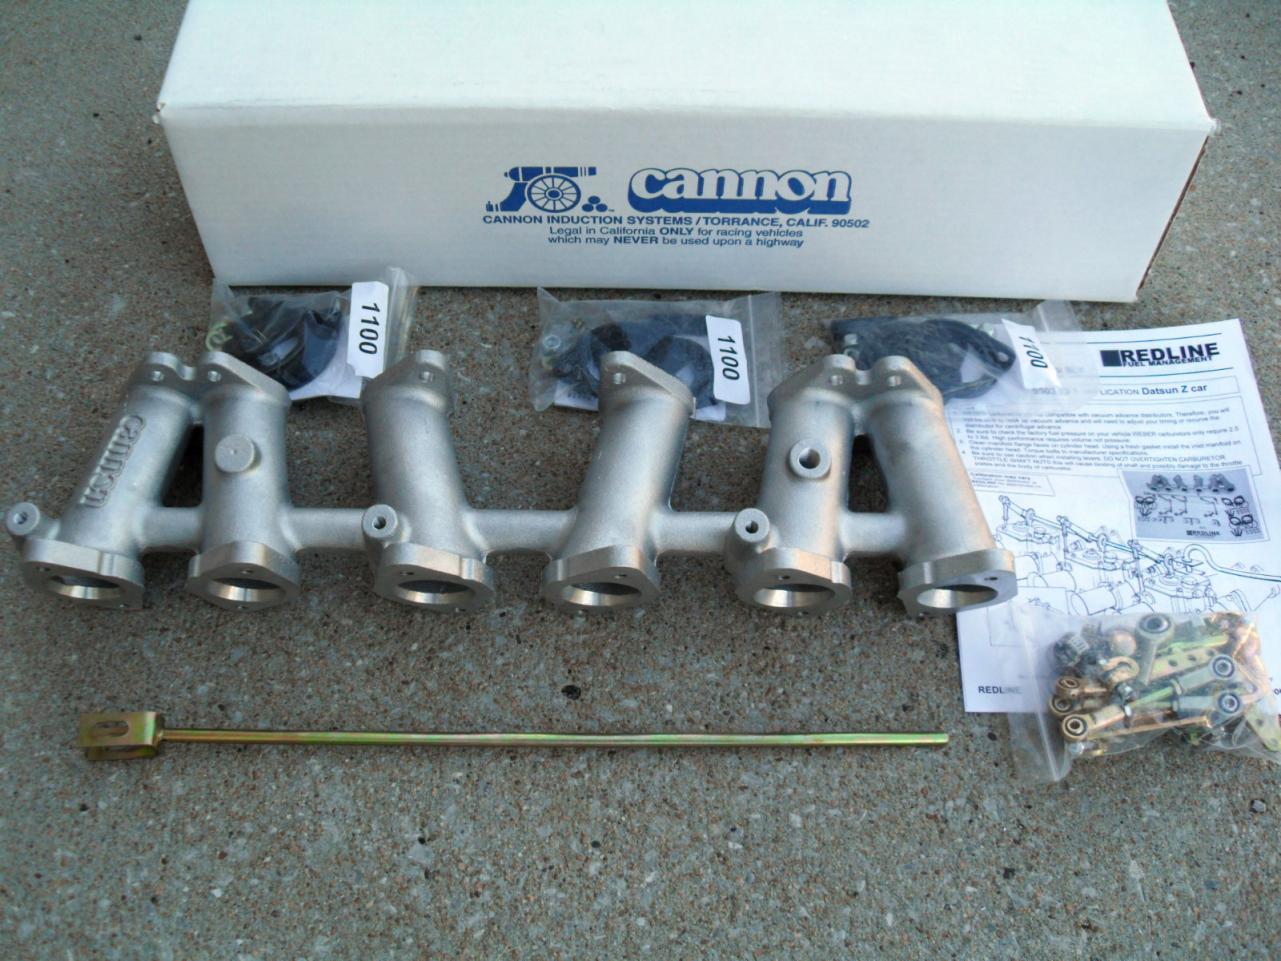
The kit was $439.95 at black dragon auto. The details are in the first post.
-
I just ran it tonight with 29mm fuel level (measured from top of main well). Is 25mm down a typical level for an L24? (i.e. my fuel is 4mm too low)? Thanks
-
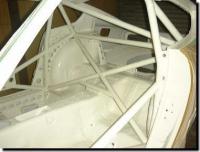
Here is a Japanese variant. It has a lot of strong gusset's but I think the main loop in Greg's resto is the stronger design for driver protection. The Japanese design puts the cross-members so far behind the driver (at the rear wheel well) that there is very little side-to-side protection at the seat compared to Greg's.
-
Yeah, I need the "U" shaped end and the ball joint end as one unit. The middle is too long.
-
I am looking at online pics and it seems the 260z has a shorter rod from the firewall to the manifold...I am thinking the cannon kit was designed and marketed for flat top carb swaps.
-
Just installed a cannon intake for triple webers on the '71 240z last evening but the stock rod from the firewall to the cannon is too long. Is there a year that the 240z rod was shorter? Presently the rod is at the machine shop getting shortened.

-
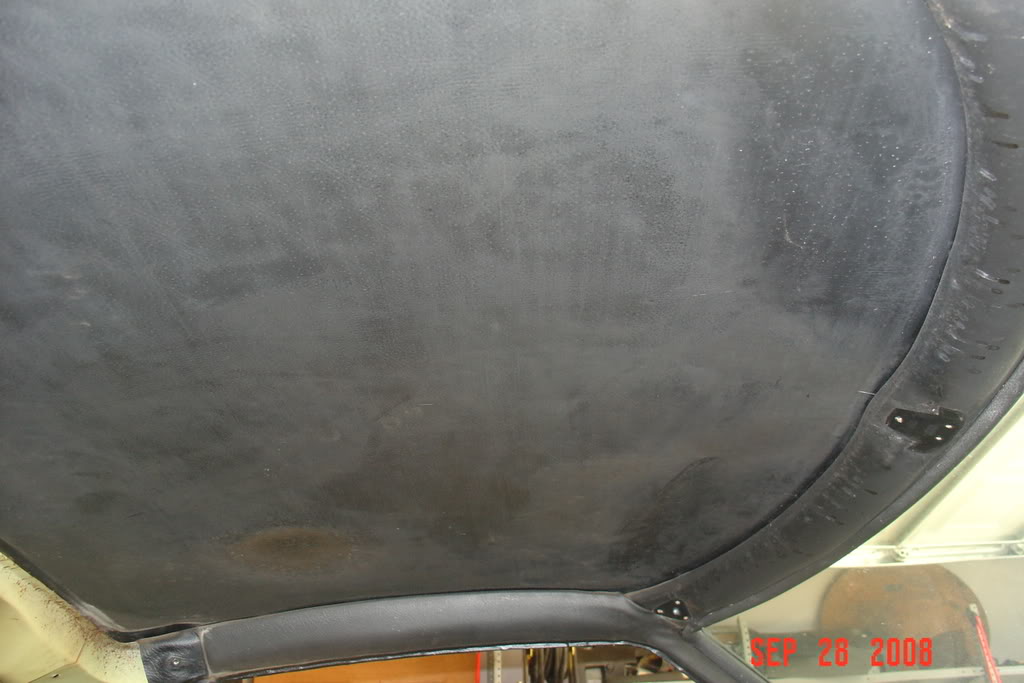
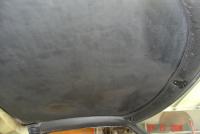
Here is a great shot from this site showing orientation and locations of mirror, coat hanger, and sun visor mounts
-
For completeness, I did this 2nd wrap too and no change. The early 240z distributor will not work without modification.
-
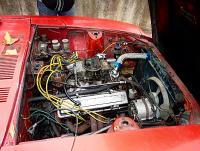
Closing Snag List - adjusted nose on master-vac push rod to better engage the master cylinder....brake pedal is much better - took steering column plastic enclosure apart and addressed a broken wire on the turn indicator switch. Re-did all solder joints and better-fit the enclosure... now the interior is 100% complete! - disassembled and refreshed turn indicator clicker and switching element - installed triple Webers (was able to idle but the linkage to the cannon intake from the firewall did not fit... off to the machine shop tomorrow AM) - just need to address tach problem with 280zx distributor (I think I will try to get a 280z tach). Installed an alternator on a 2000 Maxima
-
Not much. I used a ZX oil pressure switch with the analog output and also with the switch output (for a future electric pump safety control). I used the typical corrugated plastic loom to protect the cable from the OP switch to the alternator. (I also used this to protect the harness between the lights to the horns and also when passing through the rad support openingl.
-
I had to look it up online. Here is what I did: double check everything before starting: water hose clamps very tight valve lash set plug wires correct yellow water temp wire connected at thermostat housing mechanical timing set correct at distributor carbs and linkage set correctly car in neutral and level ebrake on engine rotates by hand w/o valves hitting exhaust and manifold bolts torqued have all diagnostic tools connected and ready O2 WB Timing and RPM light synchrometer flat screwdriver for carbs thermometers fuel pressure gauge [*]I used a gerry-can at the front right tire with lines to/from fuel filter/rail and an inline squeeze-pump to prime the clacker pump. [*]prime oil pump (I forced oil via vinyl tube into opening where oil filter screws on) [*]pull plugs and remove hv cable at coil and crank motor until oil pressure gauge creeps up [*]verify fuel flow [*]FYI (you may also be able to set timing with just timing light and remote starter if you connect hv cable to coil and plug 1 to a gnd) [*]remove valve cover and verify oiling of all lobes [*]open heater valve in cabin [*]start engine then get busy look at rmp (aim for 2000) look at A/F ratio (aim for 13) look at fuel pressure set timing look at bat voltage (it should be ~ 13.5to 14.5...if so then alternator and belt are OK) look at temp (it will be higher during break-in...don't let it get too high) ensure dash gauges are working use candy thermometer and/or infrared thermometer to monitor water temp and compare against dash gauge squeeze rad hoses (upper and lower) to ensure flow and temperature gradient look for leaks (oil, water, gas) listen for bad sounds [*]run it for 20min, blip throttle once in a while [*]stop engine then do hot valve lash
-
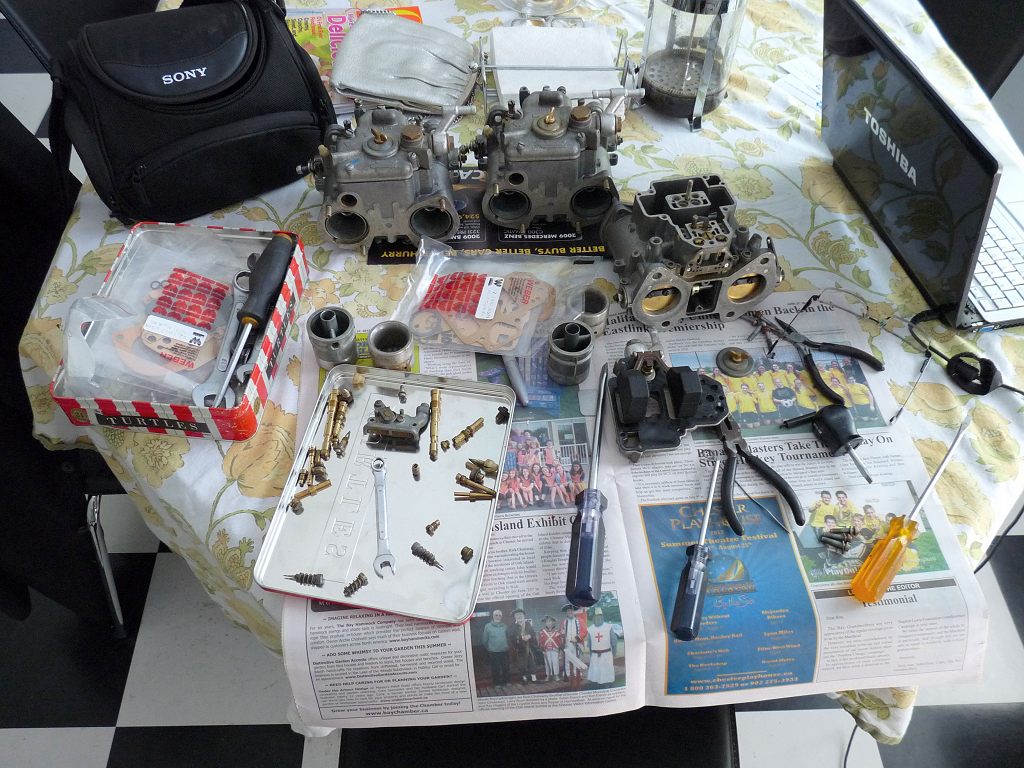
Rebuilt first of three 40DCOE151's. Even installed a new throttle shaft in the puppy. btw new return spring is a must when refreshing a weber DCOE. FYI plastic float came in at 19.45g

-
I would guess a smaller diameter nozzle is needed or maybe a single carb feeding 6 cylinders . Running 14.7 A/F with no turns on nozzle is very rich.
-
I love the scientific method! Experimental observations backed up by data. btw my eyes still hurt from running so rich
-
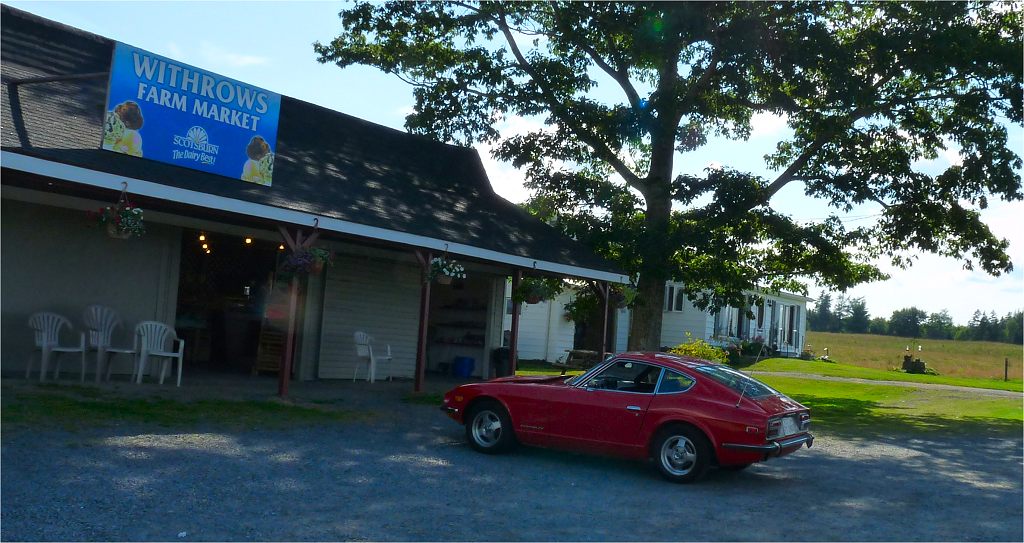
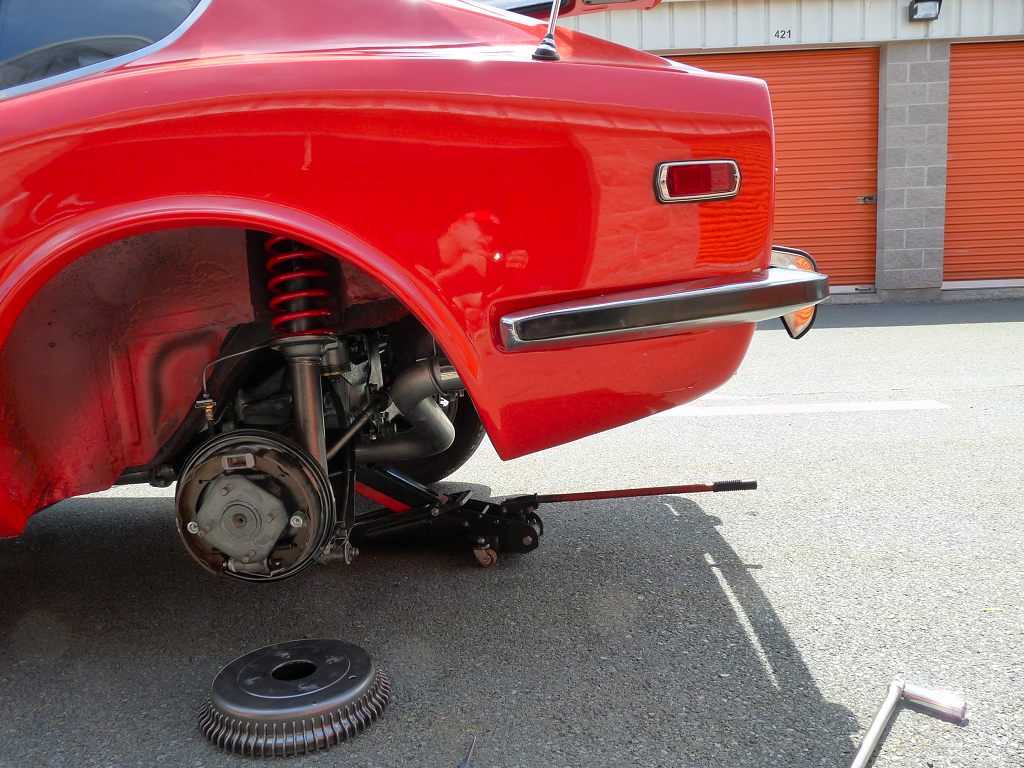
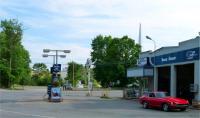
Prep work, here the rear brakes are being adjusted: Stop for drinks Stop for air: Z attracted some people with an old roadster,went to see it: Stop for timing and plug check: Scenic trip home And finally picked up something for Jim Karst A nice day!


-
- 1.1V is much closer to the 280z coil's specs. - when taking a resistance measurement using a voltmeter, first touch the two leads together. The reading should be 0.00 ohms.If it reads 0.XX then the XX is the resistance of your leads and you should subtract that from your measurement of the coil. Real World Advice: The ballast resistor (current limiting resistor) is to prevent too much current flow from burning up your points (on an old distributor) or from burning up the switching transistors on an electronic distributor or from overheating your coil primary. The 280zx distributor (with the transistors in a little black package on the side of the distributor can easily operate w/o the ballast resistor. You can also buy $30 coils that can operate w/o the ballast resistor if your's fails. For better reliability, ensure your ignition module (electronics) has adequate cooling AND also that your coil has adequate cooling.