


Jeff G 78
Free Member
-
Joined
-
Last visited
Everything posted by Jeff G 78
-
 While everything you said is theoretically correct, I had to chuckle at the thought of an accurate Z speedometer. Most are wildly optimistic even with the correct tire OD. My odometer is incredibly accurate, yet my speedometer is about 10% off.
 -
I might have some pics of when I did one of my cars. That was several laptops ago though, so I'm not sure where they might be. I'll look.
-
You might consider doing the subframe LCA pivot mod while it's apart. Since you are lowering the car with springs, you might have some undesirable bump steer. You can move the pivot holes up 3/4" and out 1/4". It's not hard to do once the subframe is out. Just pop off the doubler washers (I used an air chisel) and then mark the holes and drill them. Tack weld the doublers back into place in the new locations.
-
Most people prefer the stance to be wide and the tires to be flush with the fenders. Positive offset pulls the tires inboard which helps fender clearance for sure. A +11mm offset means that the track width is nearly an inch narrower than the same wheels with a zero offset.
-
Based on how much of the rear fender weld flange I had to cut away to fit 225/50R16 max performance summer tires, I'd say +11mm should make the tires fit with no rubbing. That said, they won't look as good as zero offset.
-
That's awesome. Is TPU possible with common consumer 3D printers like the Prusa? Having the ability to print with TPU would be great for making NLA boots and formed elbows. Most rubber parts are small enough to fit in a typical home printer. I don't have a 3D printer, but several friends do and they make all kinds of cool stuff.
-
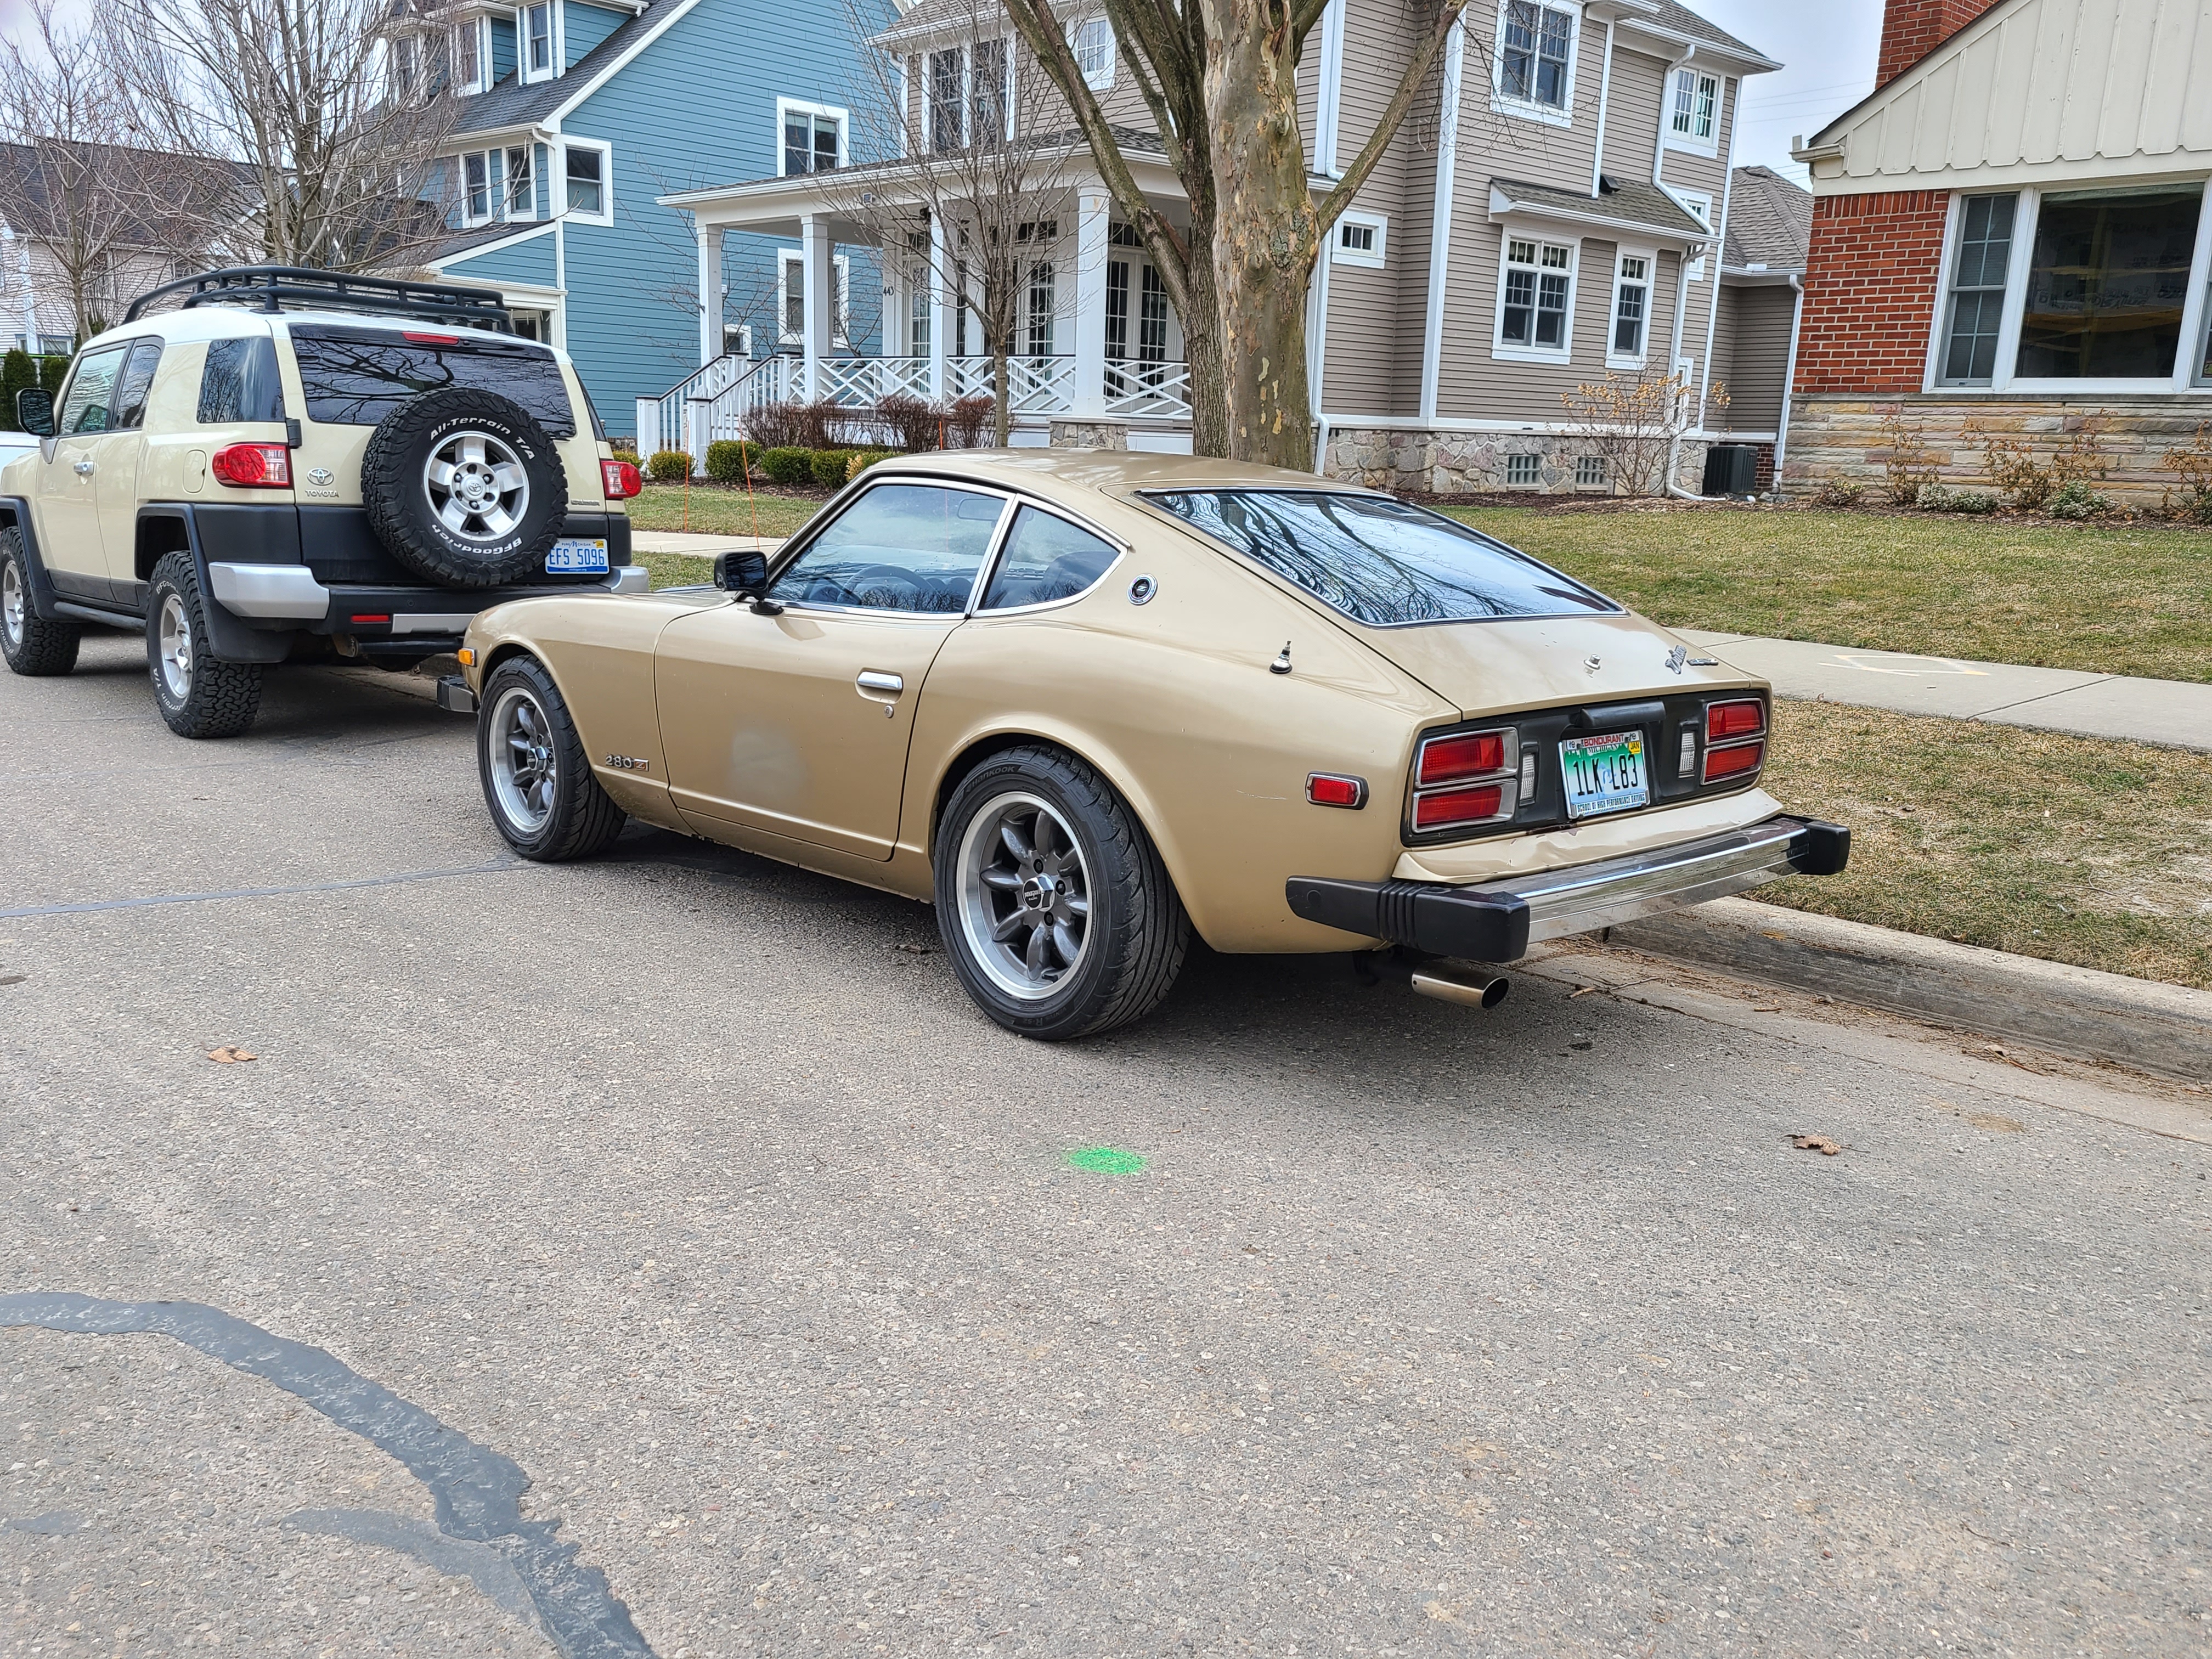
After living and driving my all-poly 1"-lowered 280Z in NE Ohio, SE Michigan and now in the Phoenix area, I would tailor my mods to the roads I drive on. Ohio roads are bad, but well-kept compared to the horrid roads in Michigan. Arizona roads are coarse and can be bumpy, but there is one huge difference between the three states. Frost heaves and other freeze/thaw cycle vertical features are terrible on full poly Z's. I found myself never driving the Z because it always felt like the car was being destroyed by the bad roads. I took my Z to NE Ohio several times and their roads got the same exact weather conditions, but were nowhere near as bad and the car was fun again. Of course, there were always potholes and other vertical inputs, but they weren't constant like in Michigan. Fast forward to this year when I moved to AZ. I haven't driven my Z a lot yet, but it's a very different car here. The rough roads don't phase the Z here. Yes, there are bumps that shake and rattle the car, but it's very acceptable. EDIT: Sorry, I misread this and thought you were in Canada. I see that you live in Toronto and from what I recall, I'd say your roads are more similar to the Ohio roads than the Michigan roads. I'd strongly suggest not going full poly. At a minimum, I'd run half rubber on the TC rods. Use poly in front and rubber on the nut side of the body. I'd probably run all rubber on the TC's, but you will lose a bit of track performance. Keep the poly in the front LCA pivots and steering rack for precision. The rear didn't seem to be as sensitive as the front. I'd still do half rubber/half poly in the TC mounts. I agree on the front subframe mod for bumpsteer. I have not yet done it on my 280Z and it sucks. I modified it on my 260Z race car and it's great. Both are about 1" lower than stock in the suspension and both are full poly other than the half-rubber TC mount. The subframe mod is easy once you have the subframe out. It can be done in a few hours once apart with the right tools. You need to knock the doubler washers off, mark and drill the holes and then tack weld the doublers in place in the new locations. Of course you could get fancy and get an Apex Engineered subframe and have the ability to properly correct the bumpsteer.
-
Yep, super clean inside. It's definitely a FI tank with the baffle tube as well. That should be worth some $$
-
Looks like a '75 - '76 tank. Check to see if there is a round tube inside as a baffle. The late '74 tank is the same, but without the round baffle.
-
There is a giant box right next to that box with my new Xenon air dam. Someday...
-
I recognize that car! 🙂 I actually totally forgot about that thread. Five years later and the second system is STILL in the box awaiting install in my '78. At least now, the car is driveable. I would have installed it by now, but I need to get a resonator and a flex pipe and weld a 3 bolt flange on to mate to my AZC 6 into 1 header.
-
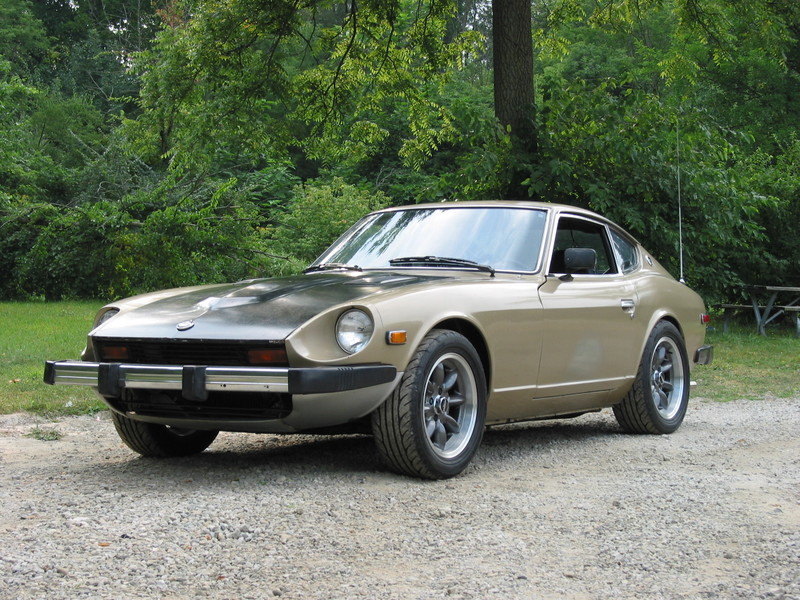
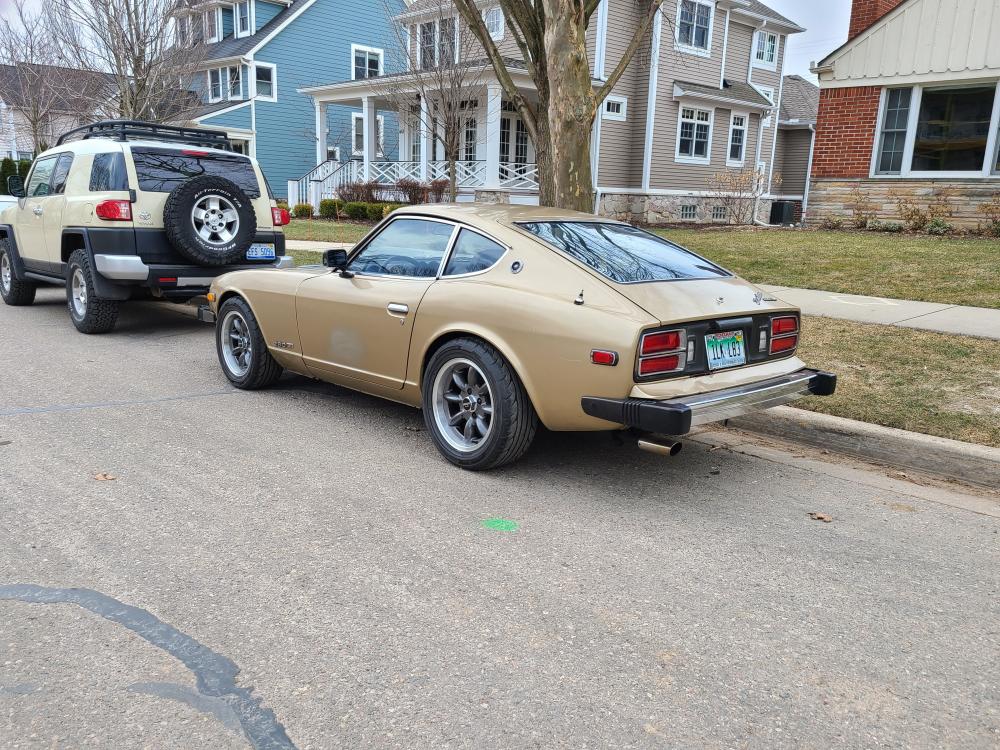
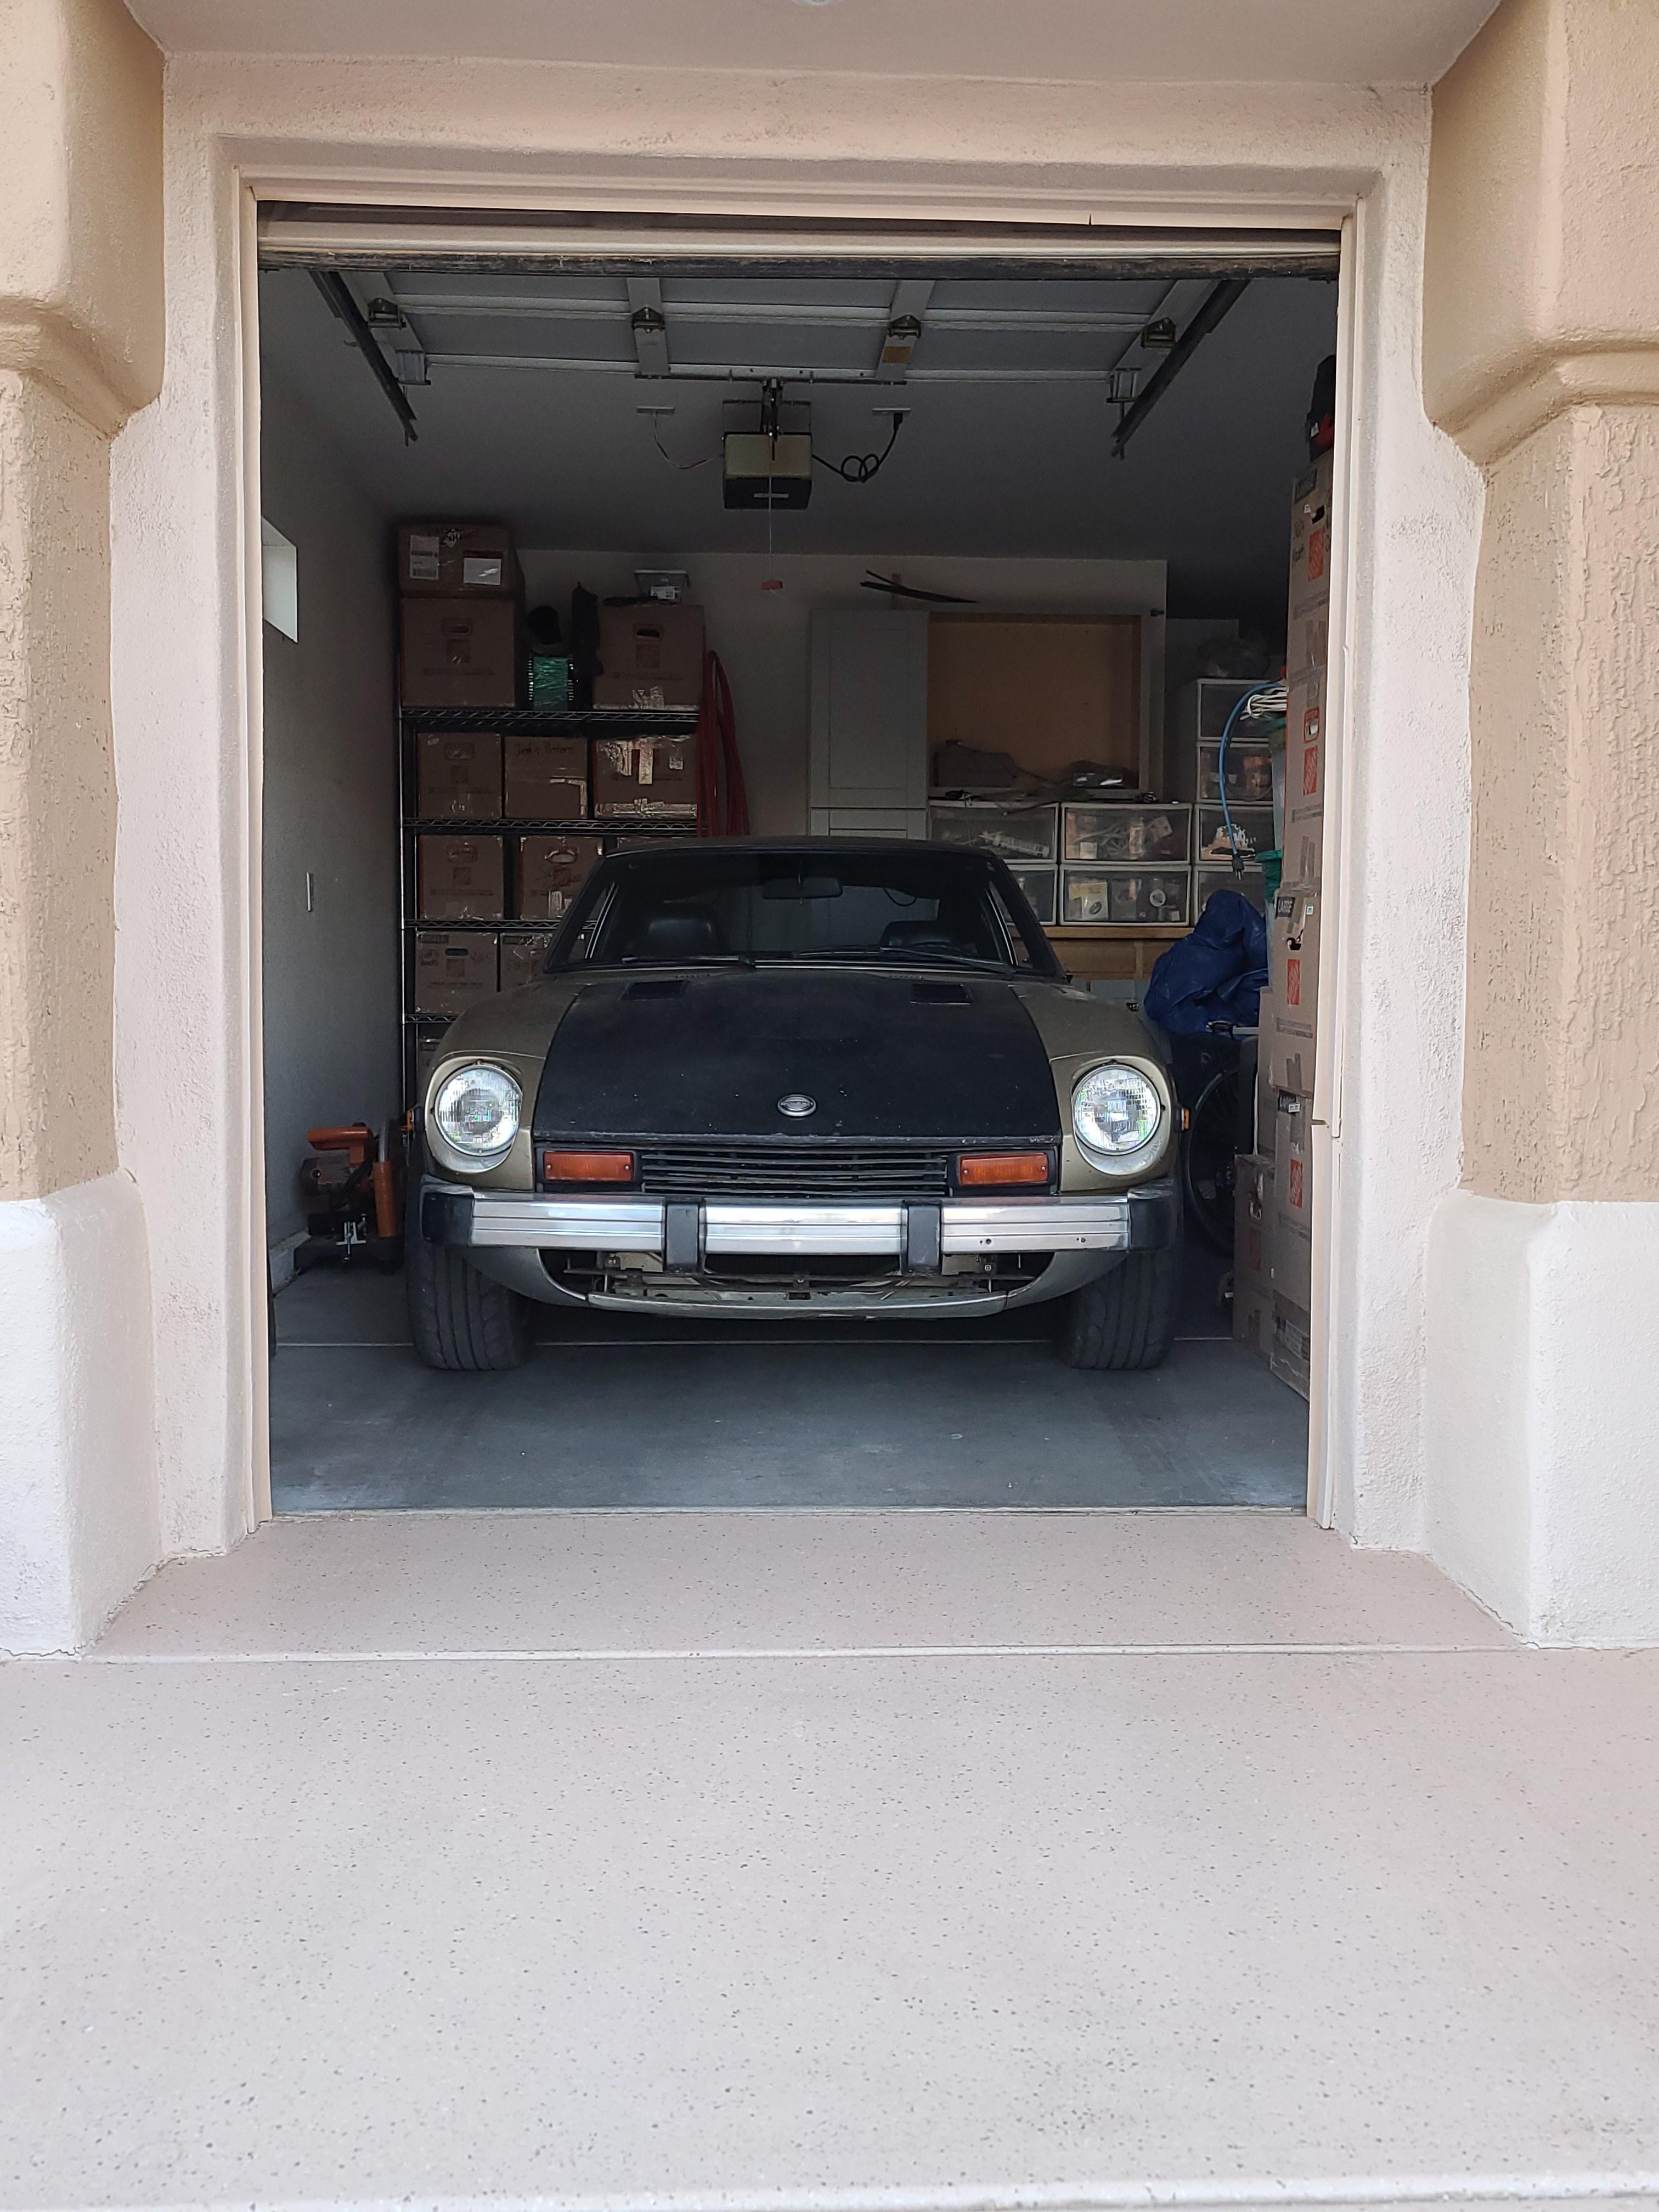
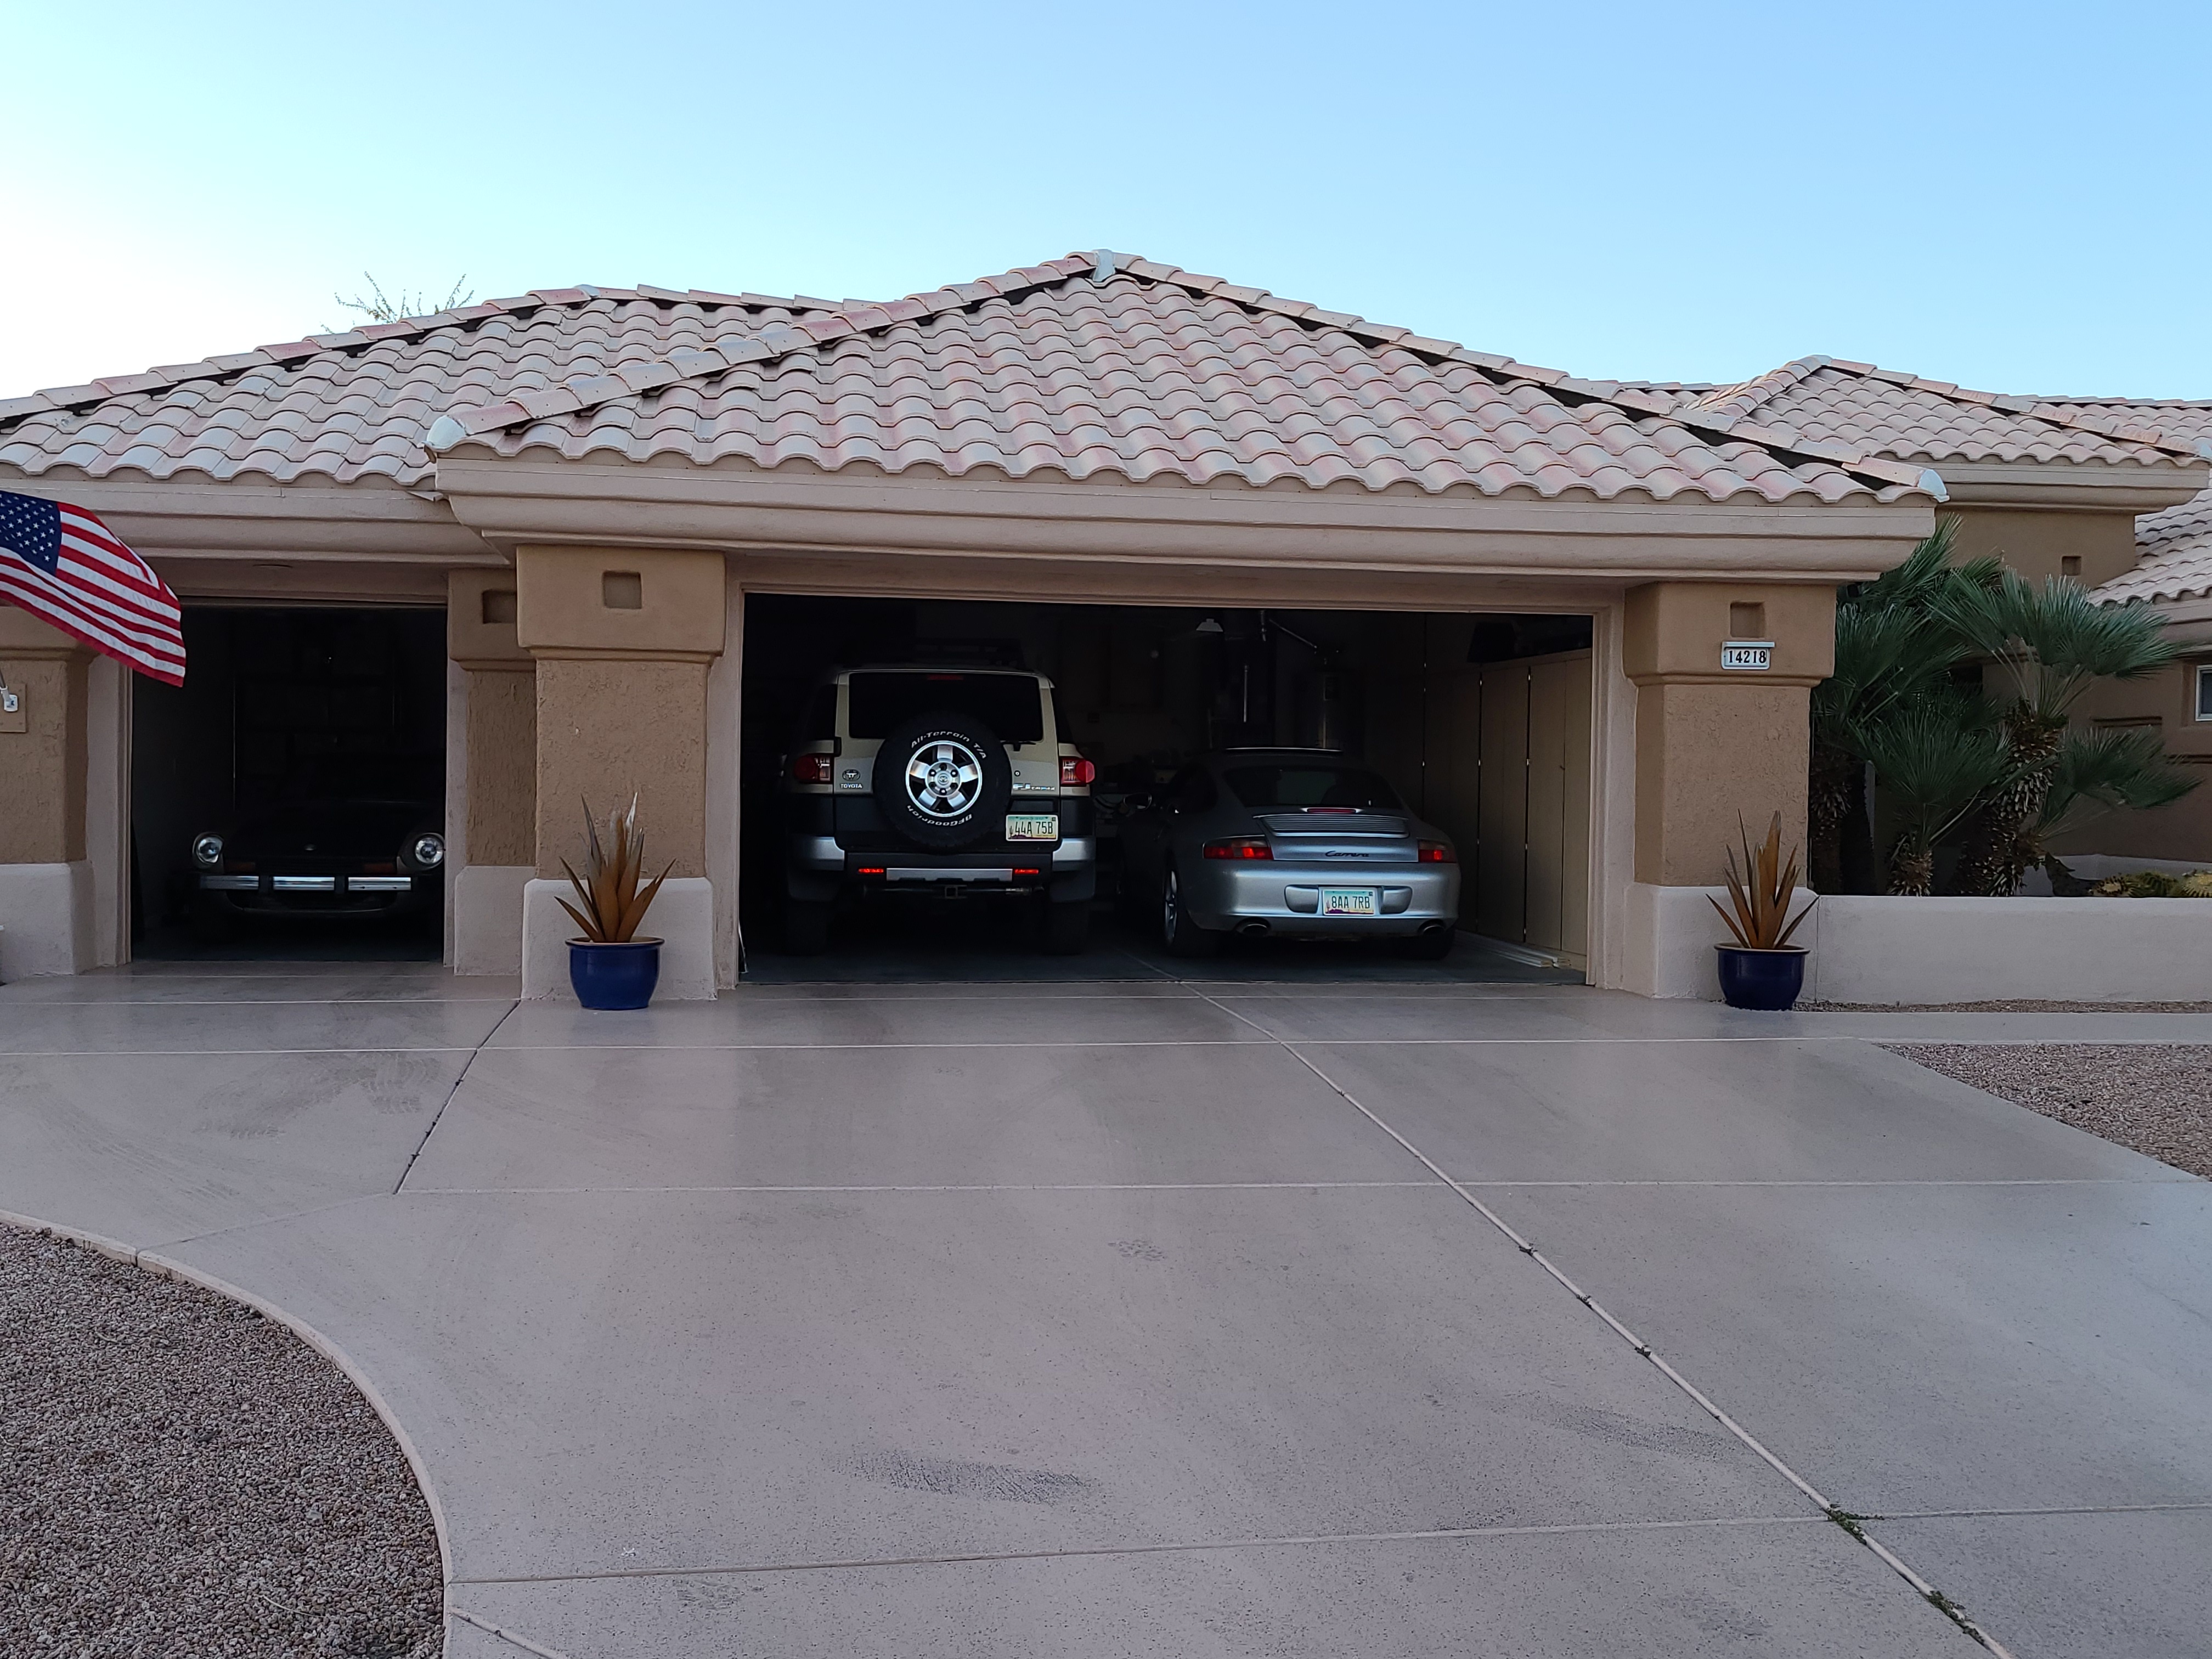
I am in need of door mirrors for my '78 280Z. I had old Vitaloni Tornados on my car, but both are now broken and they are very hard to come by. The aftermarket ones all look wrong on a 280Z and none are at the right angles. Has anyone found an OE mirror that is the right size and fits without too much modification? I was thinking maybe a Porsche 944 mirror, but they are pretty big. What about Miata mirrors? There has to be something out there that fits and looks good. If not, what aftermarket mirrors work well? The MSA bullet mirrors don't quite look right and all of the "sport" mirrors look wrong to me. I need something that will either be tucked in tight, or will fold without changing the adjustment. My car is now in my teeny tiny golf cart garage which only has a 69" wide opening. The car squeezes through with less than 1-1/2" clearance per side to the fenders.
Will do. I think once I get up in the attic, I will have a better idea what I have to work with, but I like your subpage idea! I could pull two 20amp for the outlets and another 20amp for the lights.
It's even worse than that. There are ZERO light switches or real lights in the garage. There is a 4 foot fluorescent fixture with a pull cord in the center of the garage that plugs into the garage door outlet. Otherwise, the only light is the one in the opener which has an on/off button on the opener's wall switch. Hopefully, I can find power in the attic where I can pull from to add a bunch of garage lights and drop wiring for a switch. I'm not sure yet if I can go overhead. I sure hope so. This is all new to me having the panel outside on the side of the garage. I'm used to the panel being in the basement with a subpanel in the garage if it's detached. I have not yet been up in the attic, but the panel has multiple large conduits coming out of the ground, so I'd assume power comes from underground and heads back underground. I haven't figured out yet where the power comes into the garage.
I do miss my house where I installed multiple 20 amp circuits to feed my basement workshop. I could power my table saw and dust collector at the same time. Here, I only have one 15 amp circuit that likely feeds several other rooms in the house. Once I get power to the new workshop, I might do power strips like that so I can keep all my power tool chargers plugged in.
Your cabinets look just like the uppers I put in my garage this weekend. The garage in the house I just bought only has one outlet and I have three workbenches that wrap around four walls. I like what you did with the exposed conduit. I might have to do something very similar. With a slab on grade house, all power is under the house, so grabbing more power from the panel is much harder than I'm used to. I like the drafting table too. I grew up drafting and I still love doing manual drawings.
Kinda sorta. I am thinking about matching 240 bumpers, the tail light panel, a BRE spoiler and maybe the door handles drip rails and window frames to the spokes on my Panasports. I'd also get the front and rear glass seals without the trim grooves. Alternatively I'd leave everything chrome and just do the tail light panel and spoiler to match the rims.
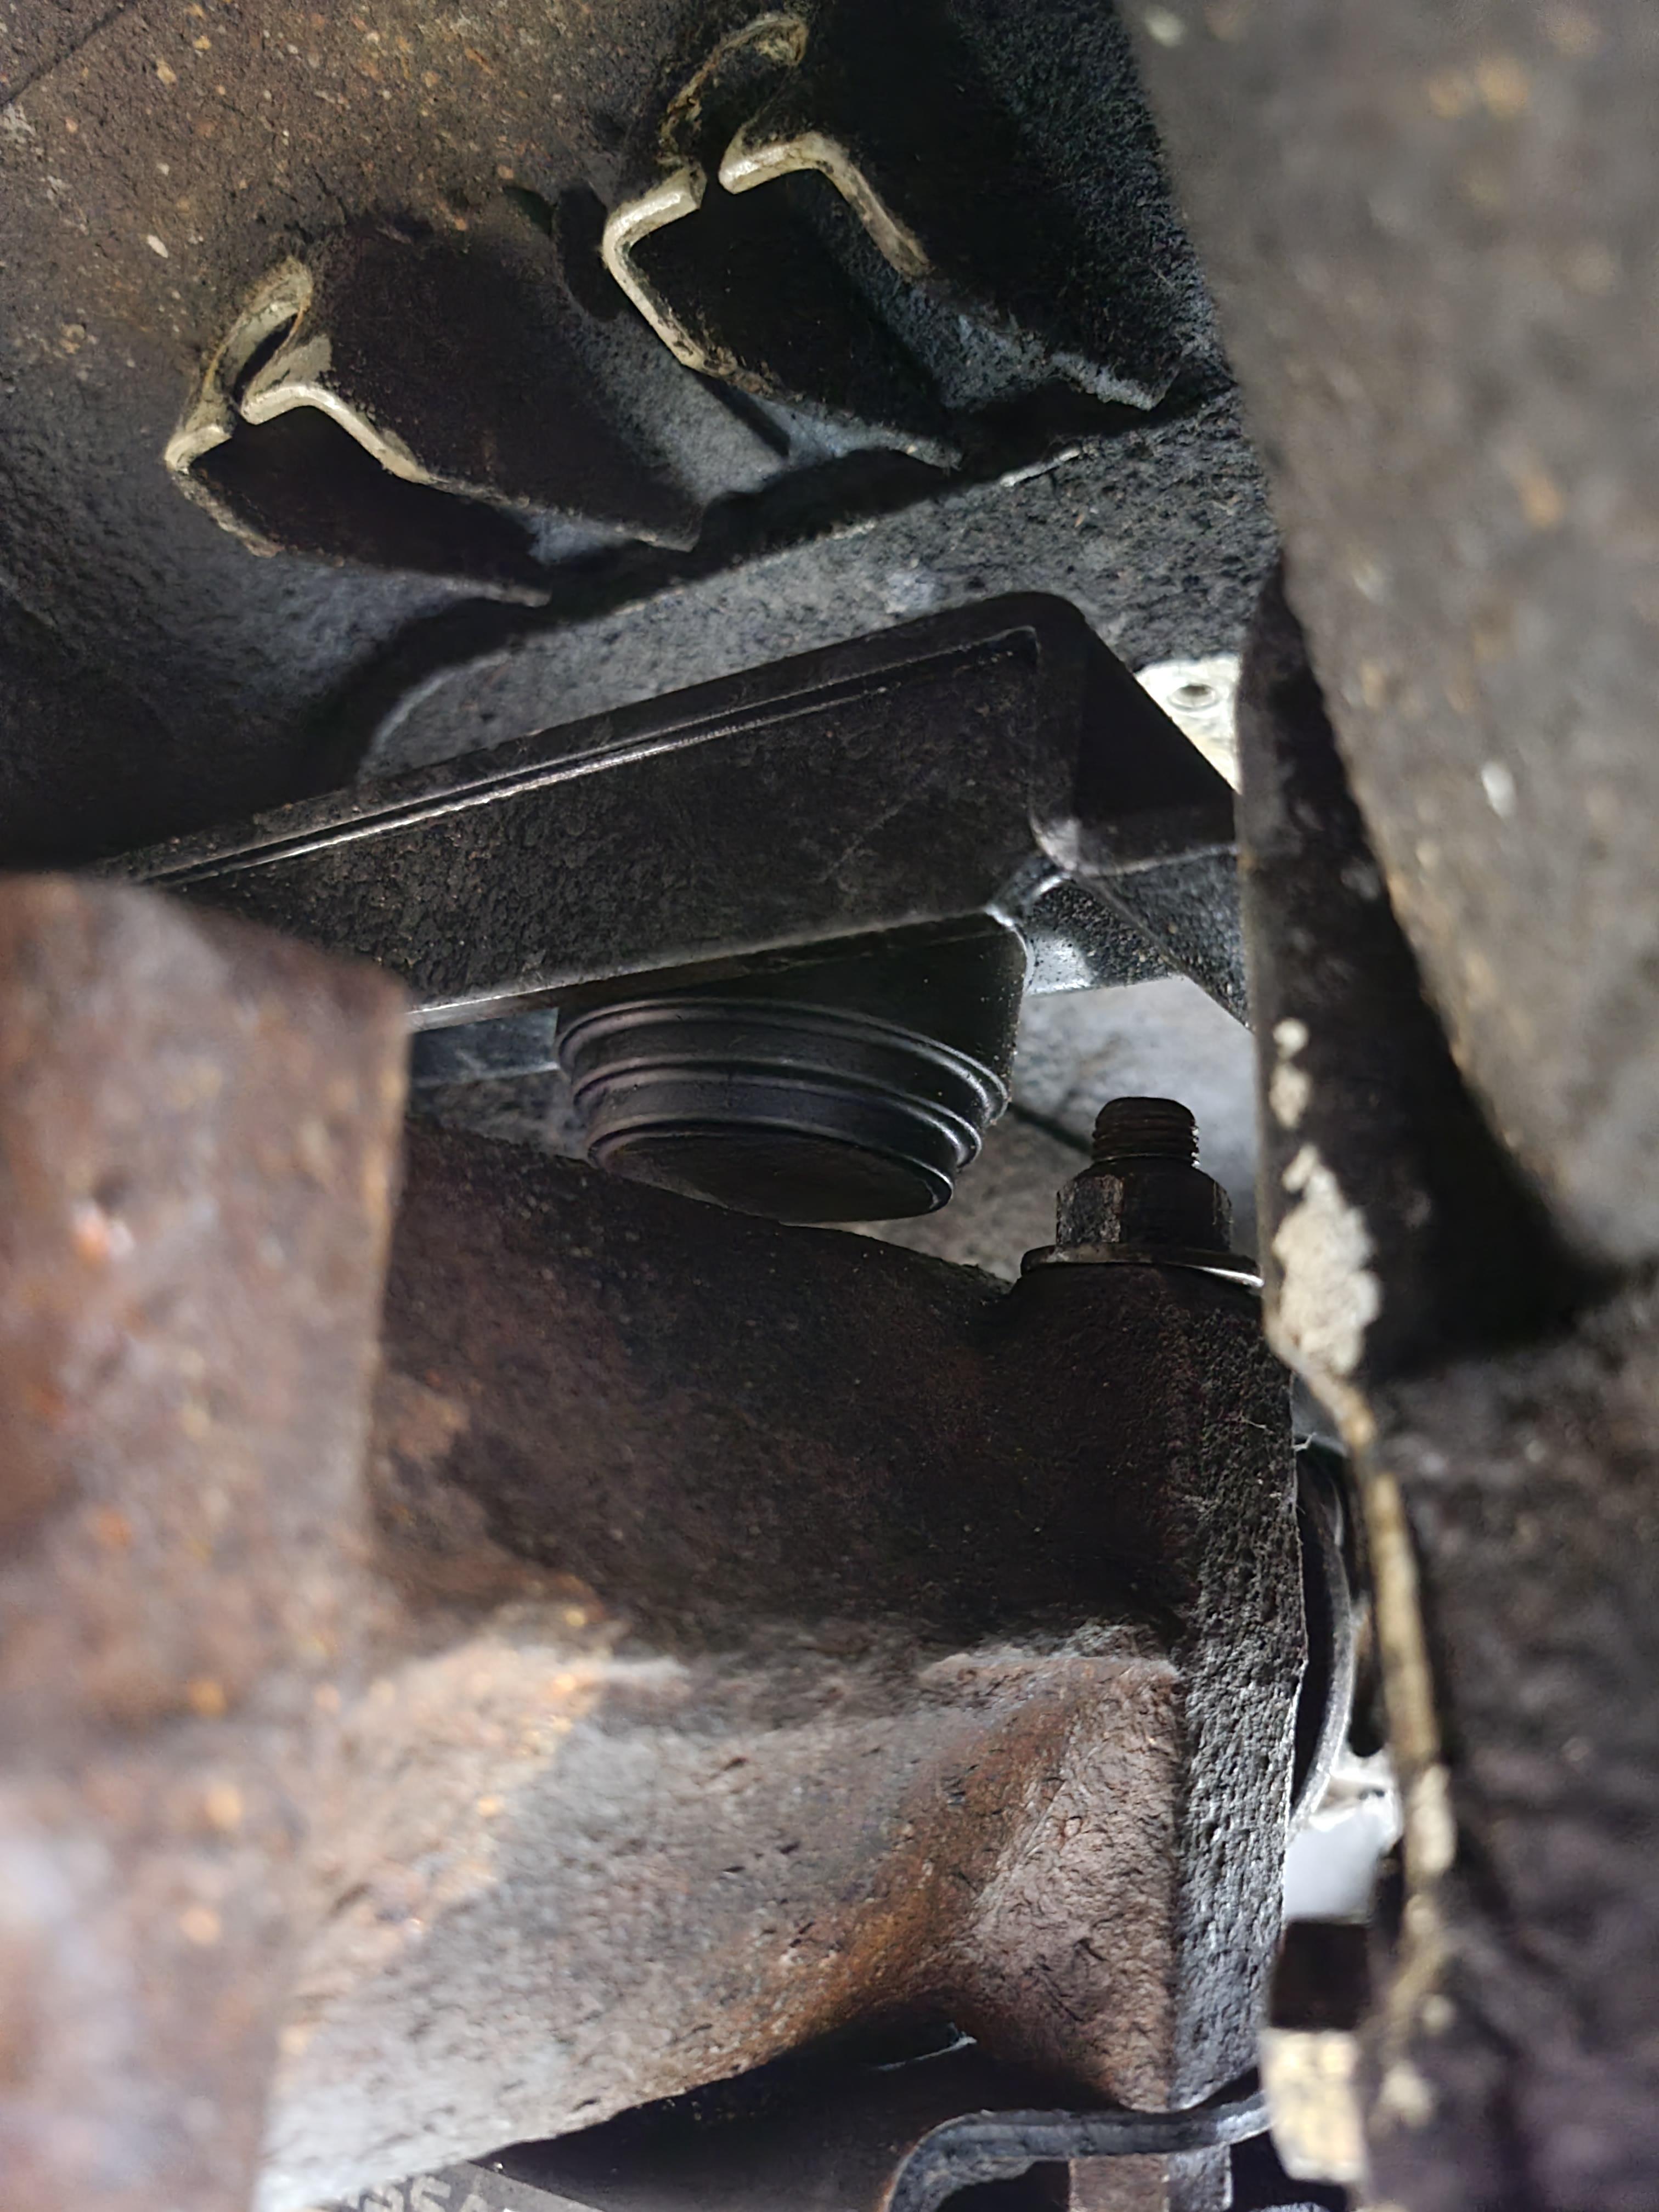
 Here is a picture of mine. The gap is smaller than it looks. The mount has about 20 race hours on it.
 I'm really on the fence whether to go this route or to do the Futofab powdercoated ones and then re-powdercoat them in a dark gray. The idea would be to do a BRE spoiler, the taillight panel, bumpers and maybe the door handles in a color that matches my Panasport spokes. The SS bumpers look really good though... Luckily, I'm not ready for them yet, so I have time to decide.
I have a 1/8" air gap in mine and while it's a race car with lots of noises, gear whine isn't one of them.
Sure does. The end result was much better than it could have been. A lot of filing, sanding, and polishing turned that mess into a usable snout. Somehow I even got it round. 🙂
Did you pry the grease seal out first? If not, the bearing will not come out. My seals were very difficult to get out. If you did already extract the seals, make sure your drift is on the race and not the stop which is part of the hub.
Can you recap? I assume you cut the stakes off the nuts, removed the nuts and then used a slide hammer to get the stub axle out? With the stub axle out, the bearings should come out fairly easily with a brass drift and hammer. Is this what you have done so far? When I did mine, the inner and outer bearings stayed in the knuckles and the stub axles came out with no bearings. I've done others where the outer bearings will stay on the stub axle when it's removed.
I've seen oil pumps look like that. If I see any denting, I pitch it and buy new. Every dent will result in lost flow/pressure. It should be pristine.
I'm really on the fence whether to go this route or to do the Futofab powdercoated ones and then re-powdercoat them in a dark gray. The idea would be to do a BRE spoiler, the taillight panel, bumpers and maybe the door handles in a color that matches my Panasport spokes. The SS bumpers look really good though... Luckily, I'm not ready for them yet, so I have time to decide.
I have a 1/8" air gap in mine and while it's a race car with lots of noises, gear whine isn't one of them.
Sure does. The end result was much better than it could have been. A lot of filing, sanding, and polishing turned that mess into a usable snout. Somehow I even got it round. 🙂
Did you pry the grease seal out first? If not, the bearing will not come out. My seals were very difficult to get out. If you did already extract the seals, make sure your drift is on the race and not the stop which is part of the hub.
Can you recap? I assume you cut the stakes off the nuts, removed the nuts and then used a slide hammer to get the stub axle out? With the stub axle out, the bearings should come out fairly easily with a brass drift and hammer. Is this what you have done so far? When I did mine, the inner and outer bearings stayed in the knuckles and the stub axles came out with no bearings. I've done others where the outer bearings will stay on the stub axle when it's removed.
I've seen oil pumps look like that. If I see any denting, I pitch it and buy new. Every dent will result in lost flow/pressure. It should be pristine.


Important Information
By using this site, you agree to our Privacy Policy and Guidelines. We have placed cookies on your device to help make this website better. You can adjust your cookie settings, otherwise we'll assume you're okay to continue.