Jeff G 78
Free Member
-
Joined
-
Last visited
Everything posted by Jeff G 78
-

-
I love this idea! I have used lots of riv-nuts for other stuff and I never considered swapping the frustrating and expensive plastic rivets with riv-nuts. That would make pulling panels back off for future work so much easier. I'll have to compare my M5 riv-nuts to the OE plastic rivets. The bolt heads would certainly have to be pretty large to properly hold the panels without pulling through or cracking them. Adding a washer wouldn't look very good IMHO. Does anybody know the head diameter of the plastic OE rivets? I'm guessing they are around 13mm. I found some that are just under 10mm OD. https://www.boltdepot.com/Product-Details.aspx?product=18952
-
Agreed on the spacers. I don’t like them either. I’ll have to think about it and decide which is the least objectionable.
-
Did you have to install longer studs too? It looks like it wouldn’t take much grinding but I was hoping to avoid it. As a race car, I don’t want to have to modify parts that are likely to go bad over time. If a caliper goes bad during a race weekend, I can buy one at any parts store and slap it on. Spacers keep the calipers stock and make trackside swaps quicker.
-
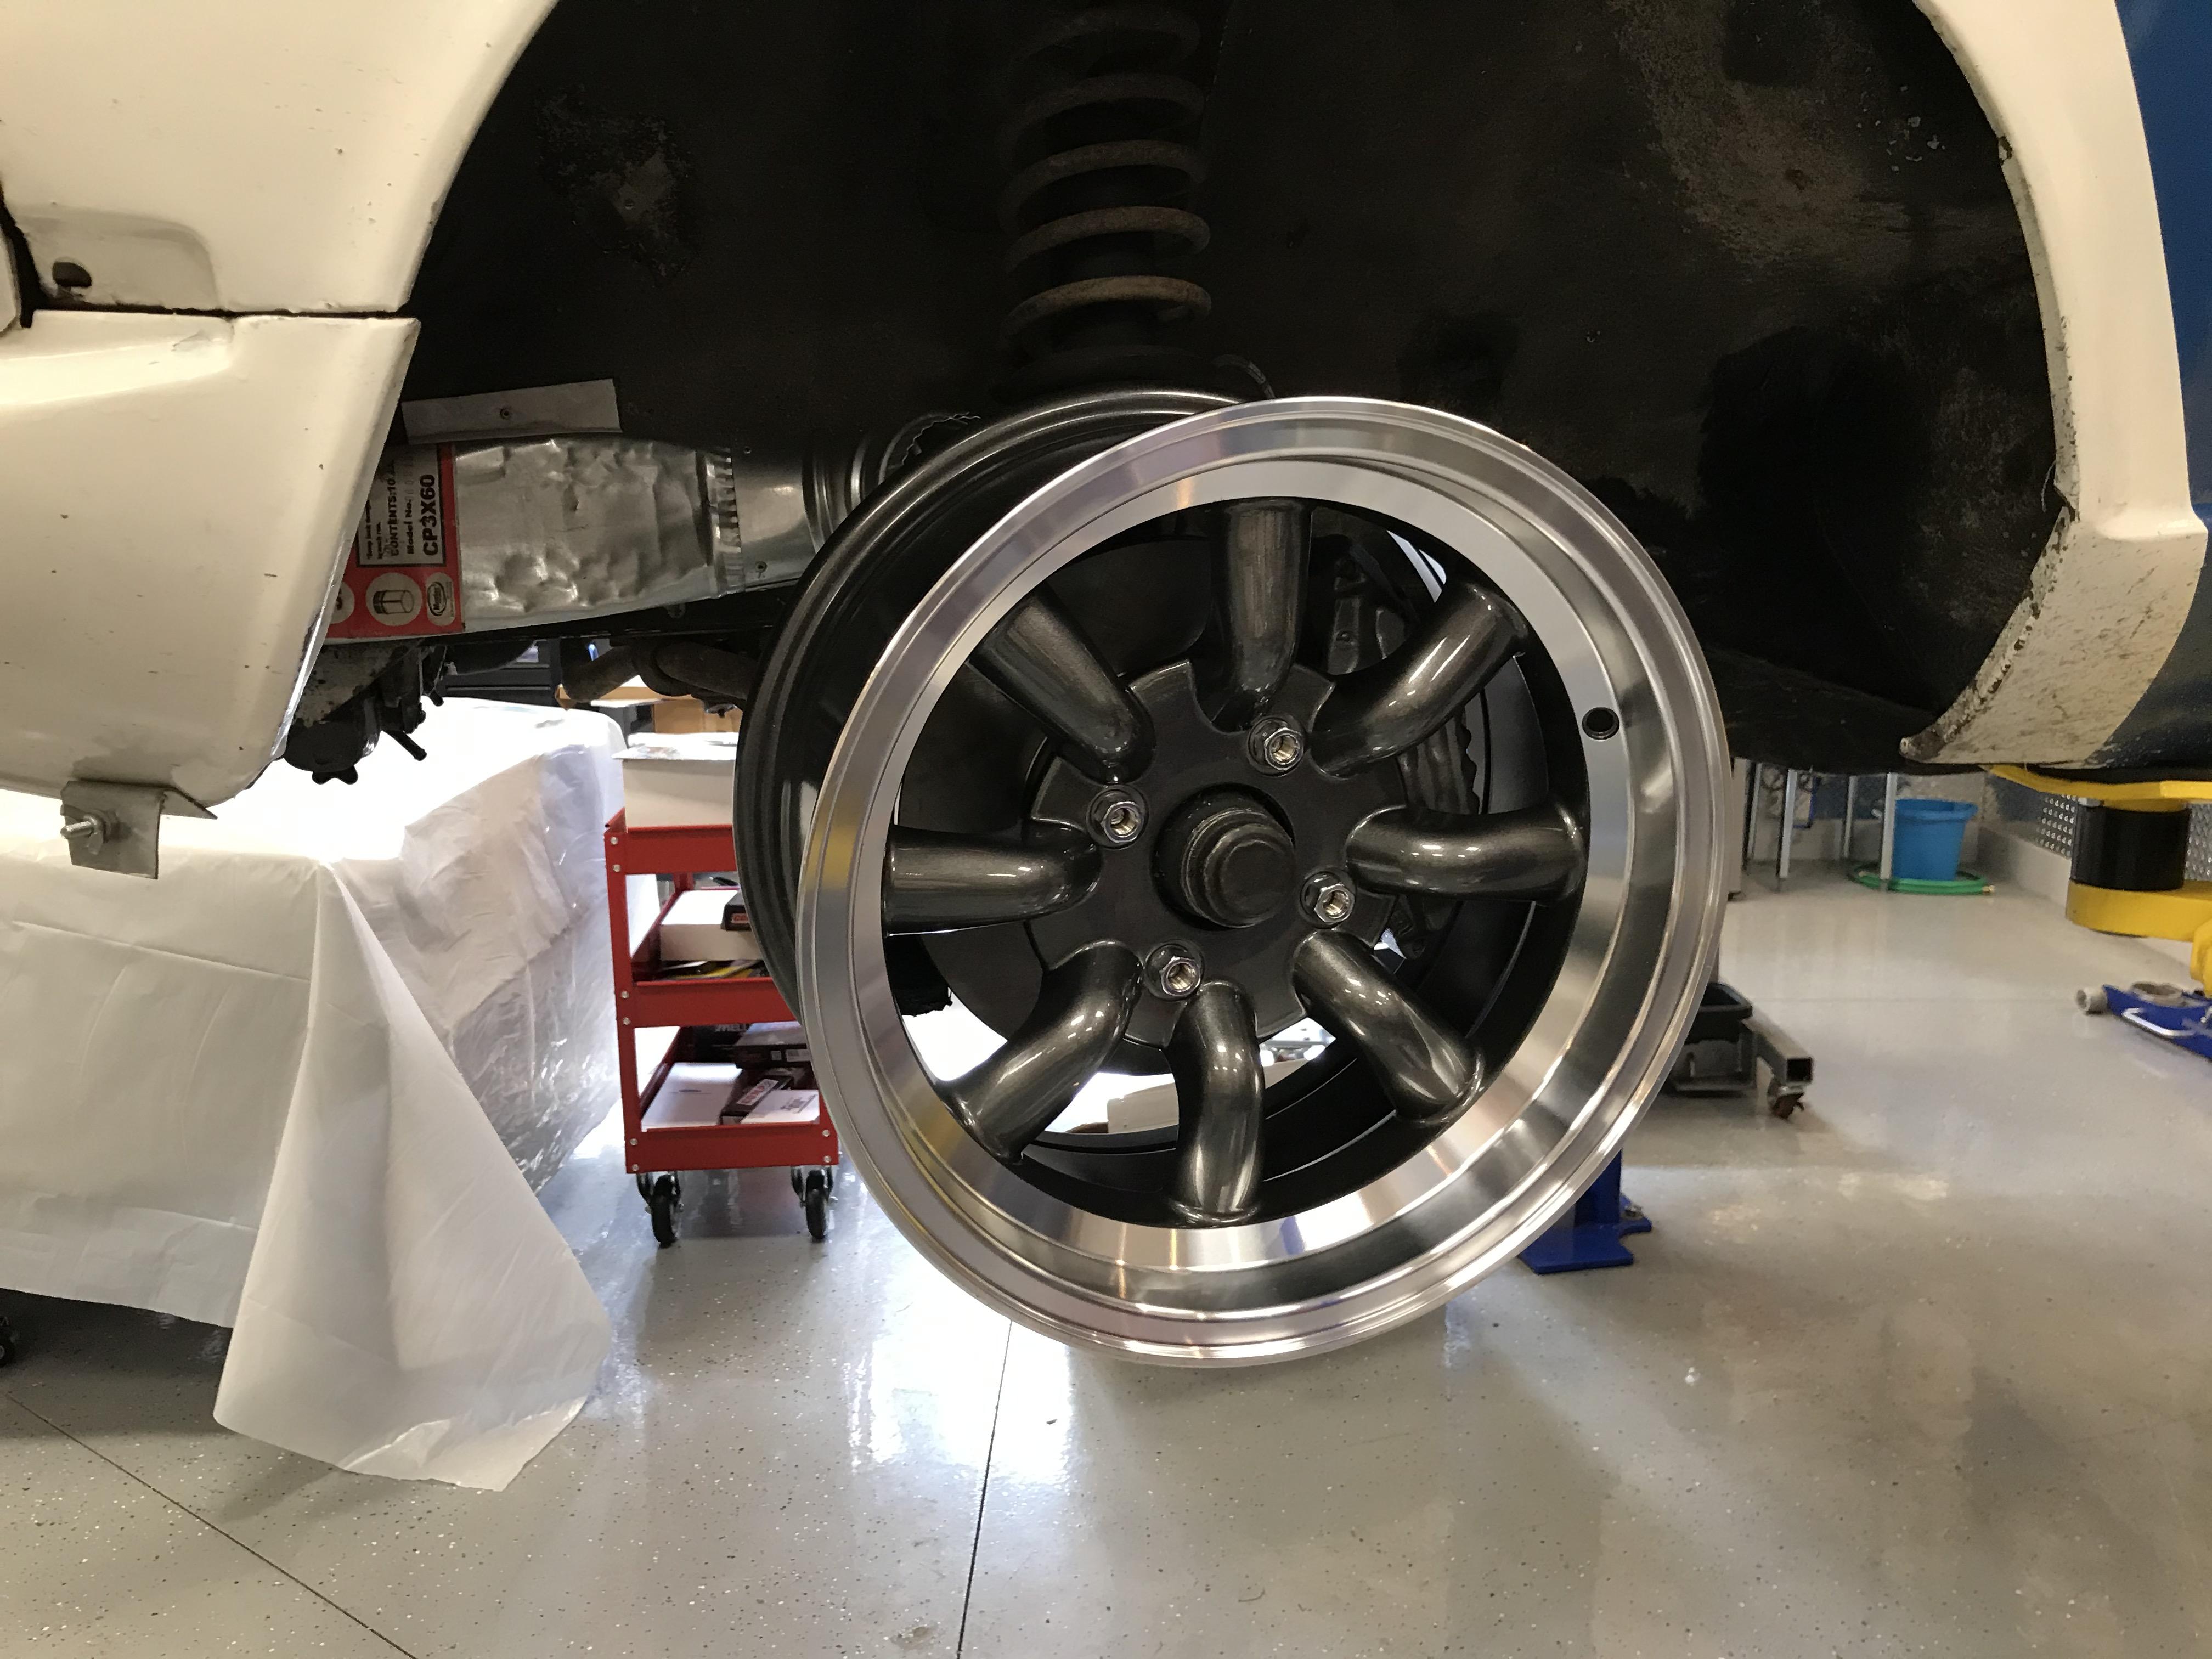
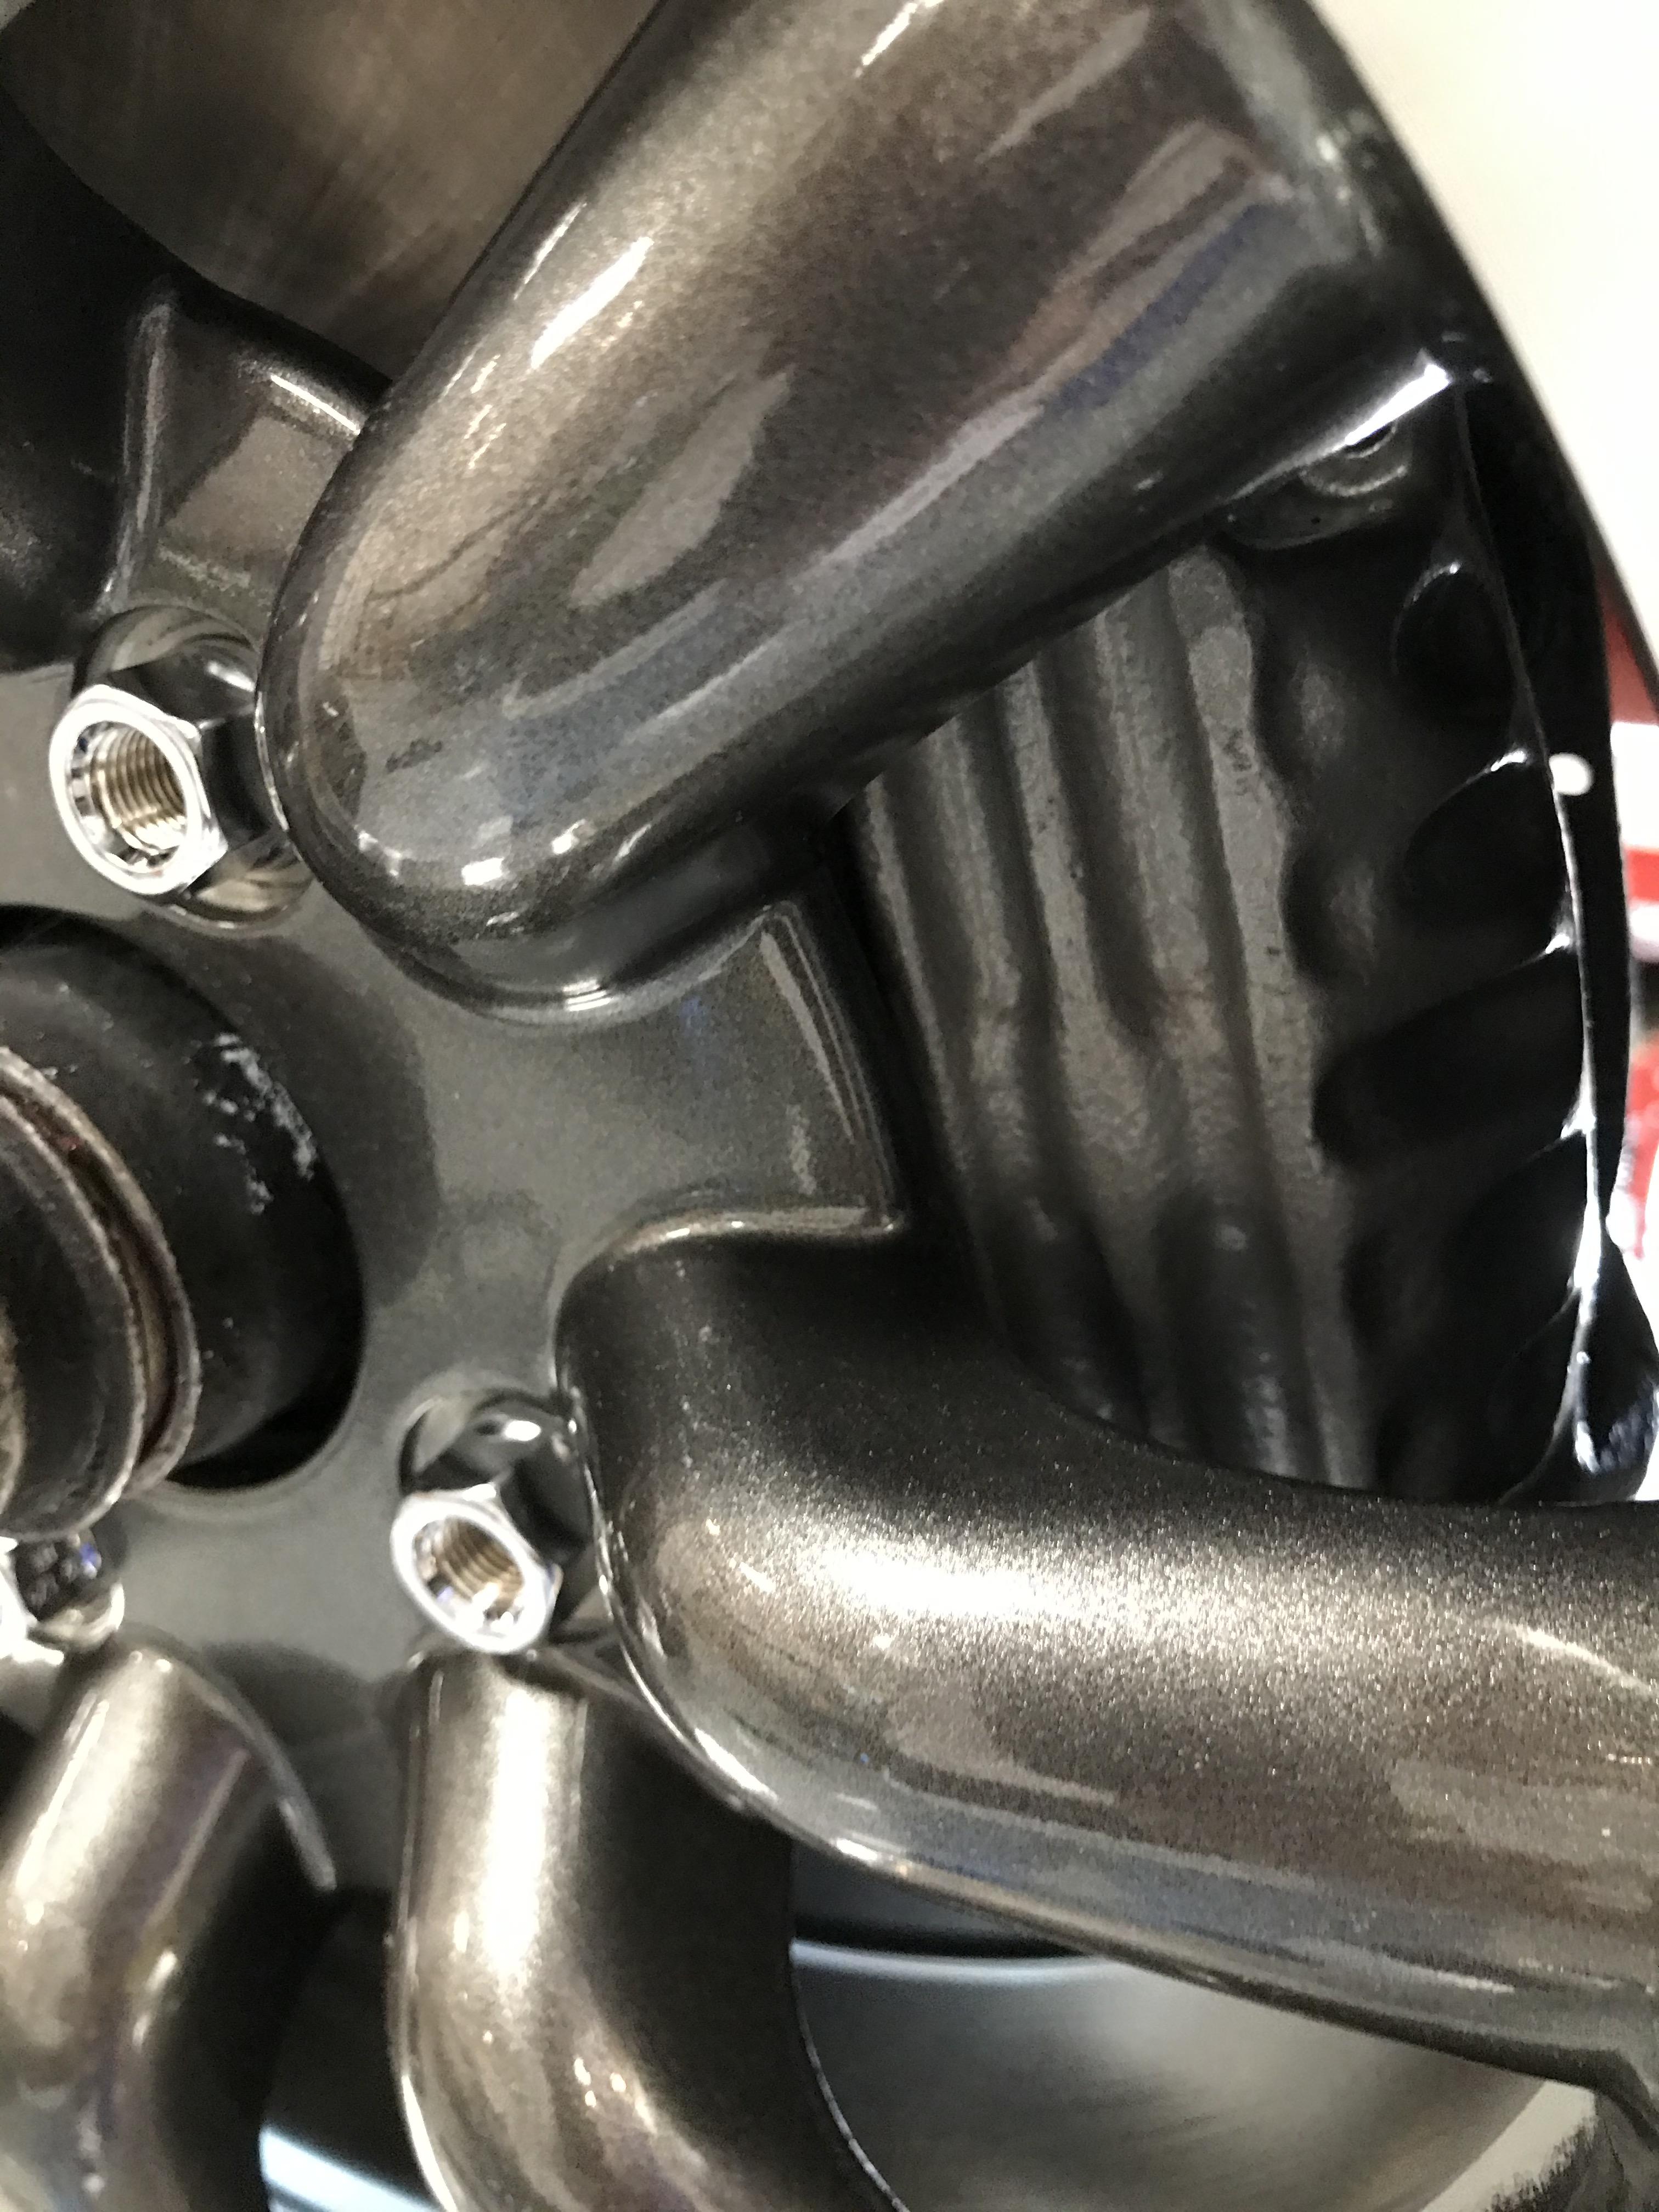
I finally got back into the shop over the weekend to keep working on my brake upgrade. I installed the vented Z31 rotors with T3 spacers and Toyota S12+W calipers. I knew they would be close, but thought that the 15x7 with zero offset Konig Rewind wheels would fit without hitting the calipers. I was wrong. There is a small interference between the innermost cooling fin on the caliper and the hub of the rim. I also realized that the stock length wheel studs are not long enough to get proper thread engagement. Rather than grind at the calipers, I plan to add 3 - 5mm wheel spacers all around and 3" long ARP wheel studs. The current studs are only bout 1.25" long in front which isn't even enough without the spacers.


-
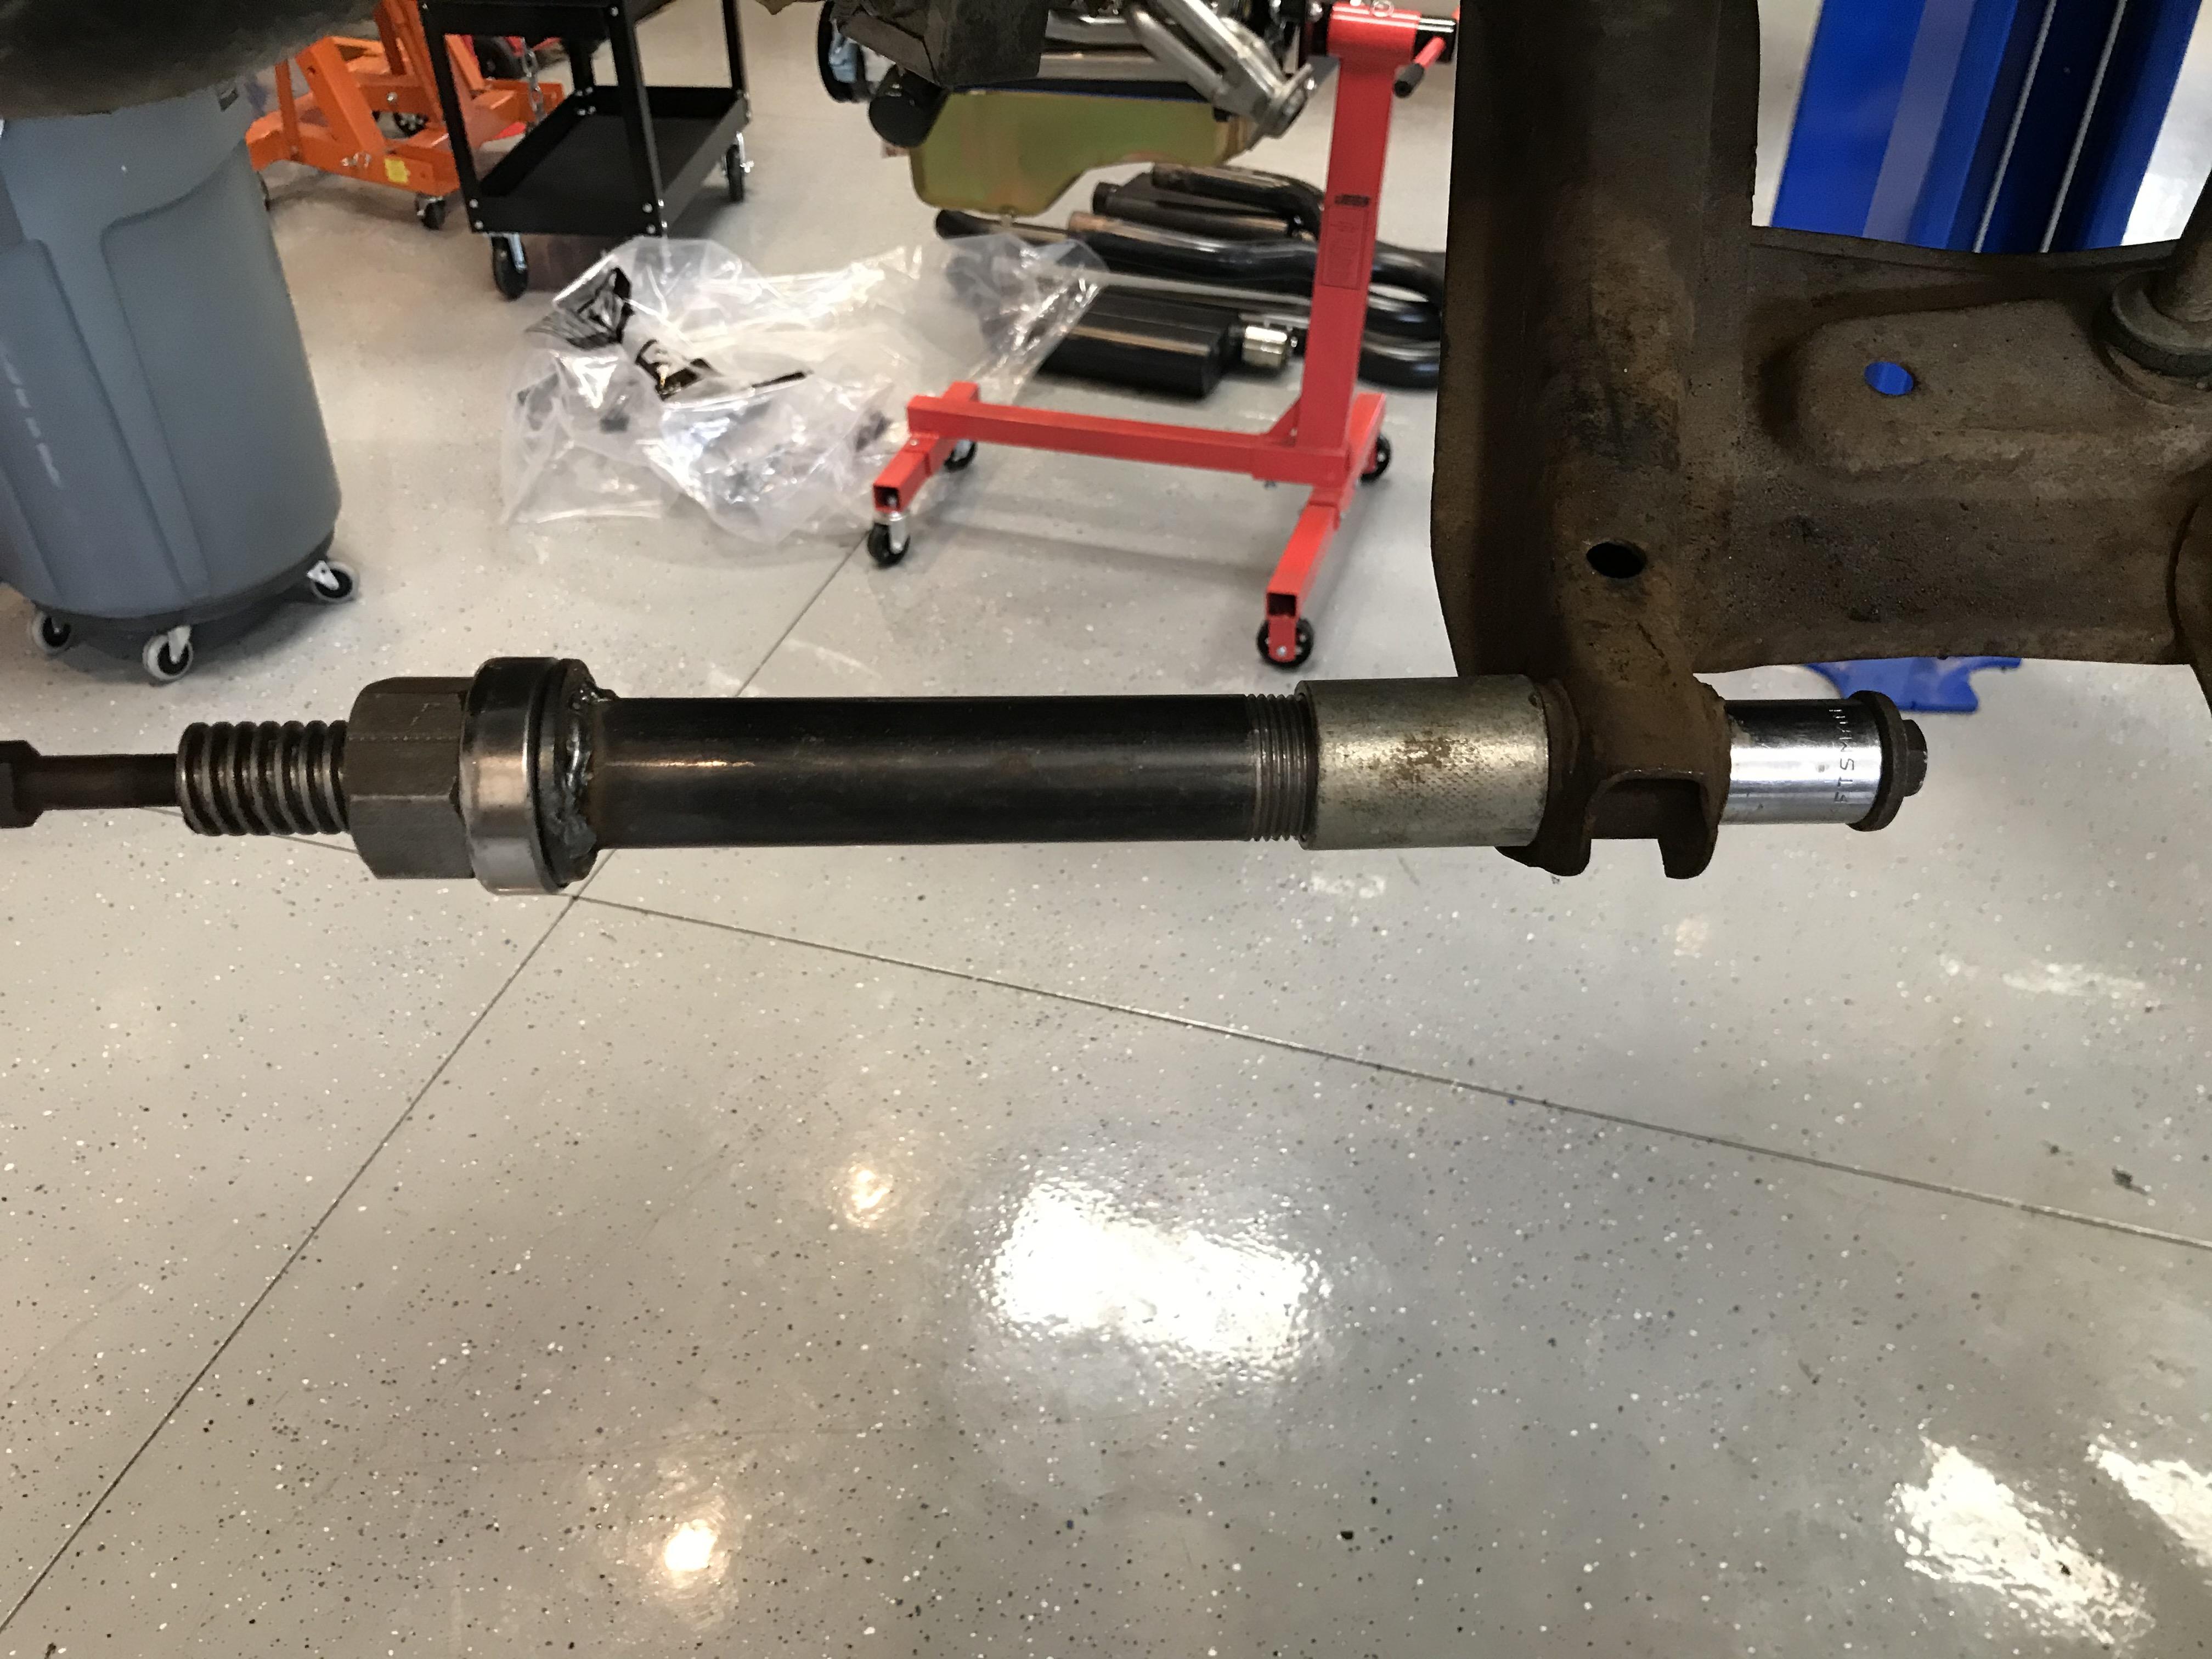
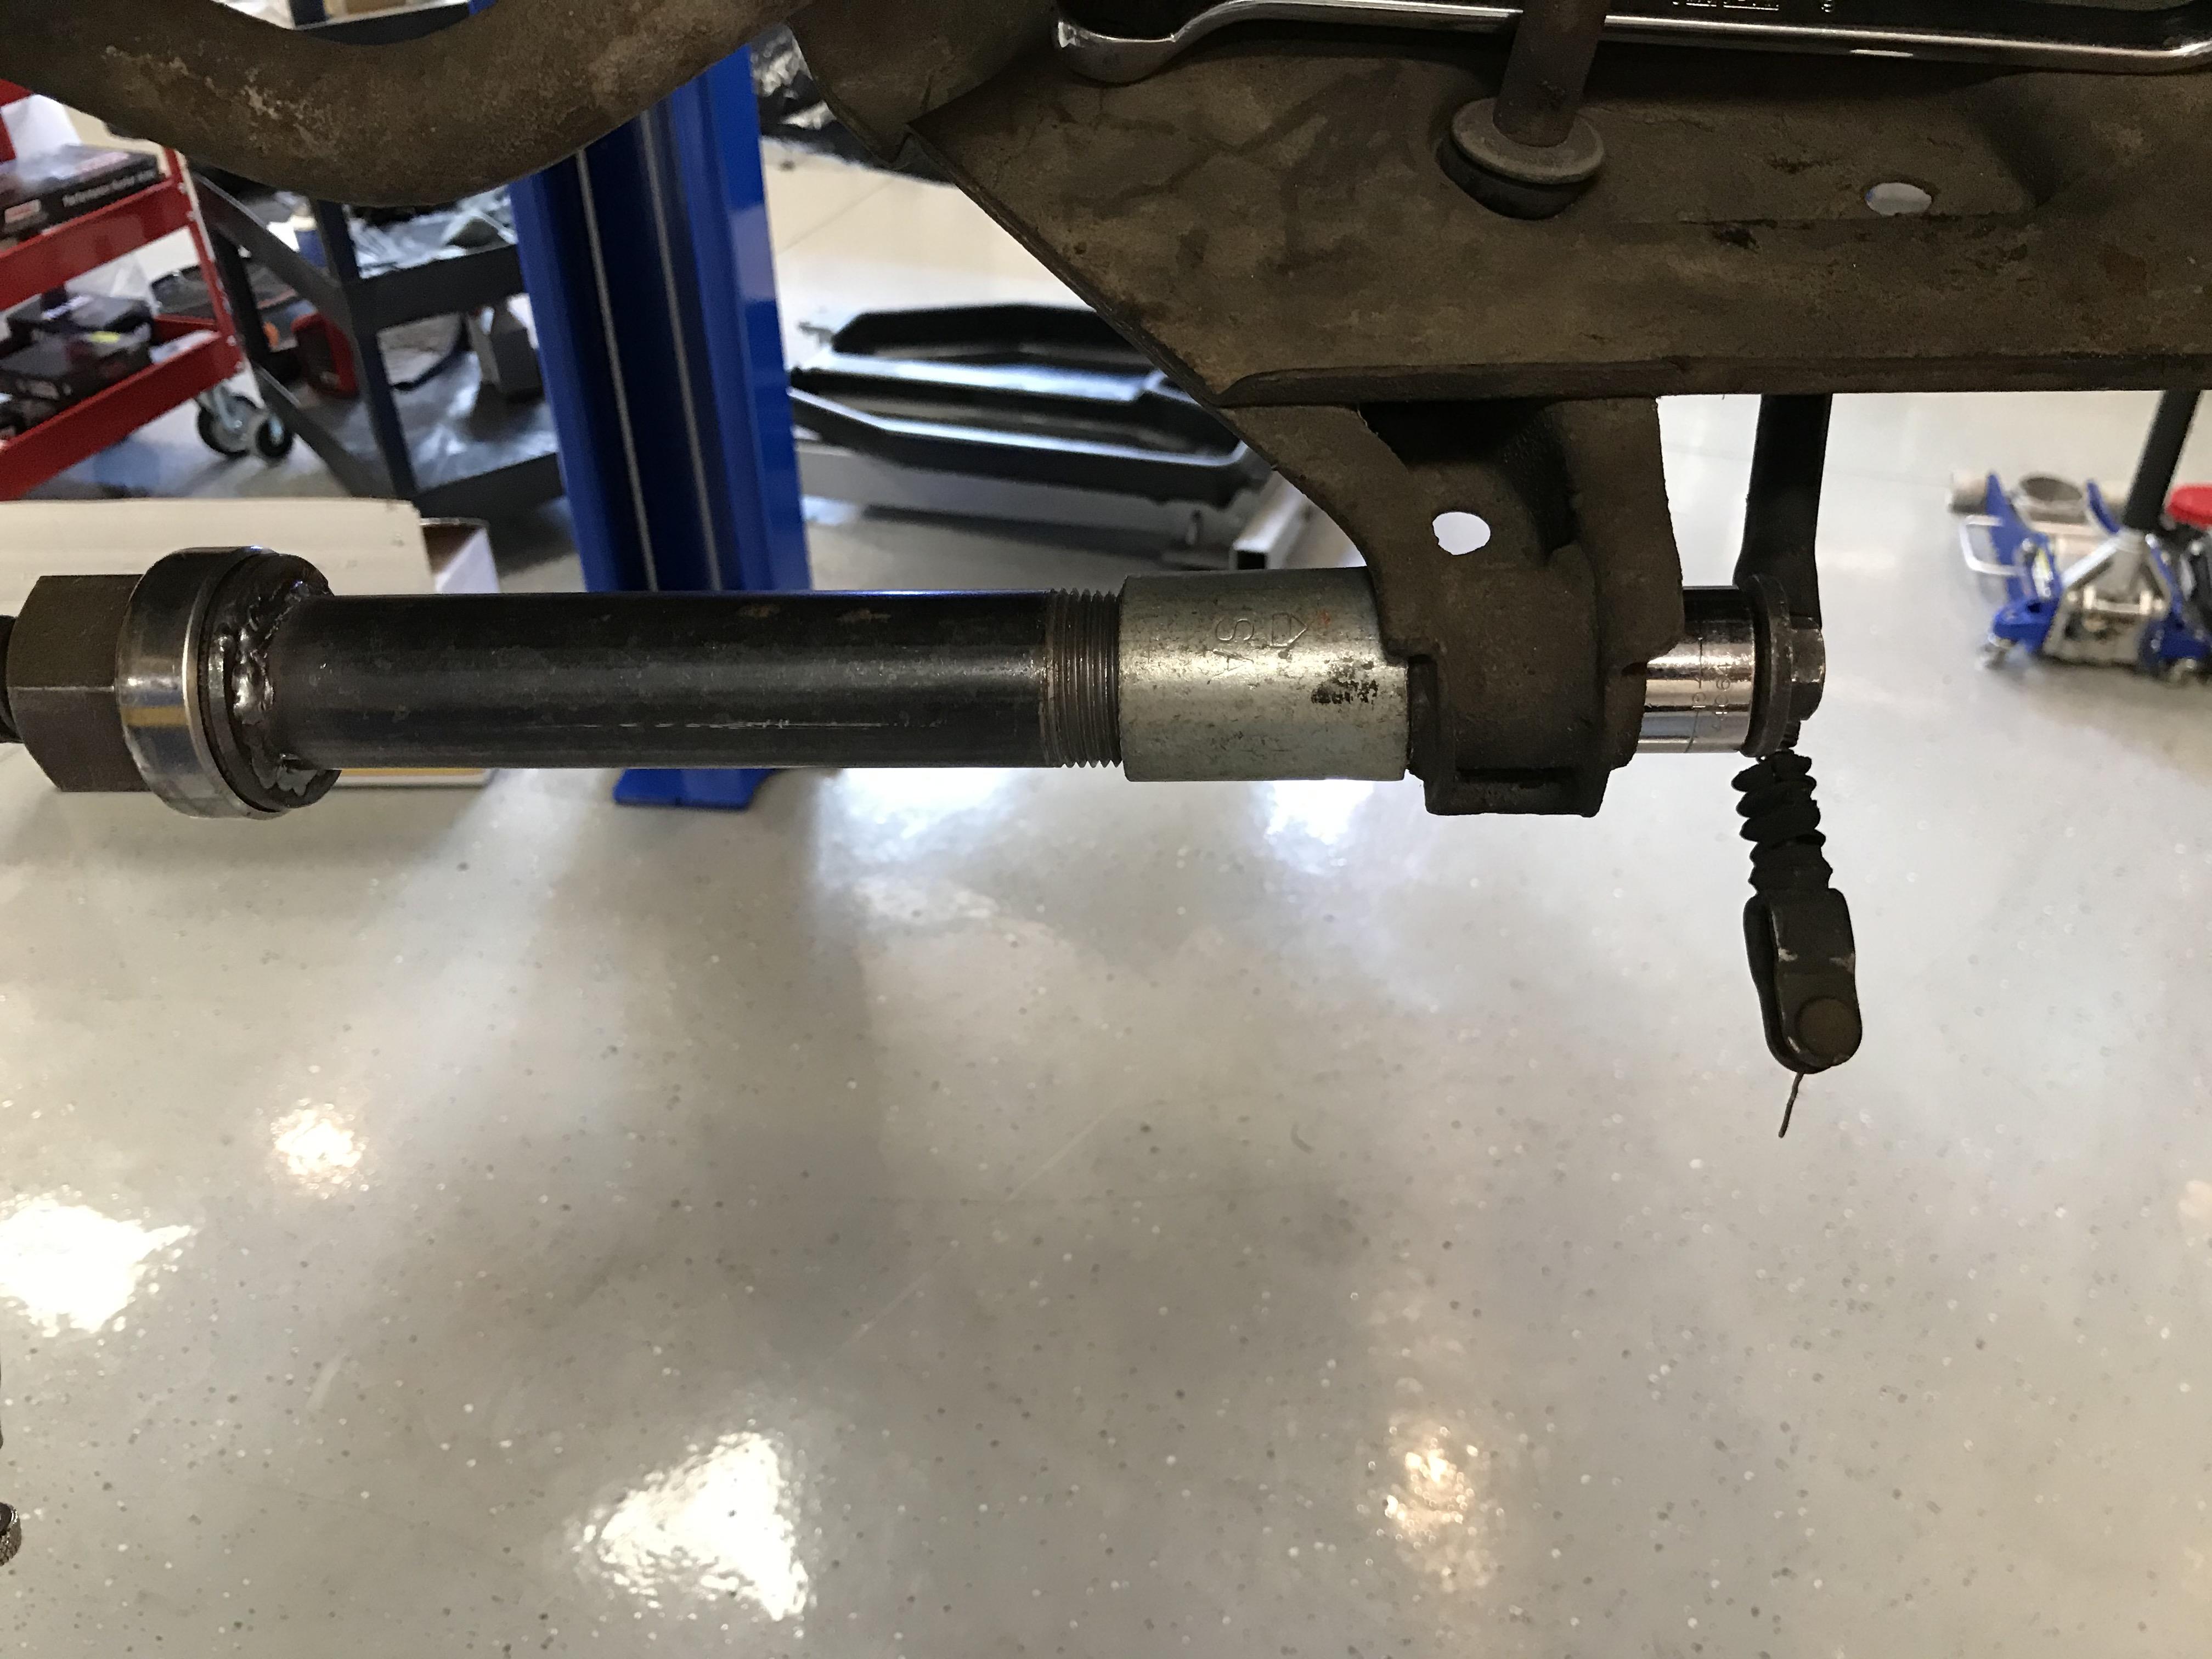
Update: I removed the four OE bushings yesterday using my modified spindle pin puller. I used a bolt and washer through the socket that threaded into the puller rod rather than using the spindle pin. Overall, the puller worked well, but I did learn a few things. First, unlike pulling a spindle pin, the puller rod must be held and not allowed to rotate. I used vice grips to hold the puller rod, but I will likely either weld a nut on it or machine two flats on it. I had to use a propane torch to ease the control arm grip on the bushings. Three came out really well, but one kept cocking the socket due to the thin wall on the OE bushing. I then grabbed a socket that only picked up the center sleeve rather than the outer sleeve and the bushing pulled right out. I thought for sure that the rubber would separate, but it held together just fine. In the end, I got all four out using my spindle pin puller tool which was a win. I didn't have to remove the arms from the car or struggle with a press and risk bending the arms. Since I'm installing poly, I won't be able to say if the tool would pull new ones in, but I would think it would with no issue.


-
The real question is if the spindle pins will slide out like the FSM shows. ?
-
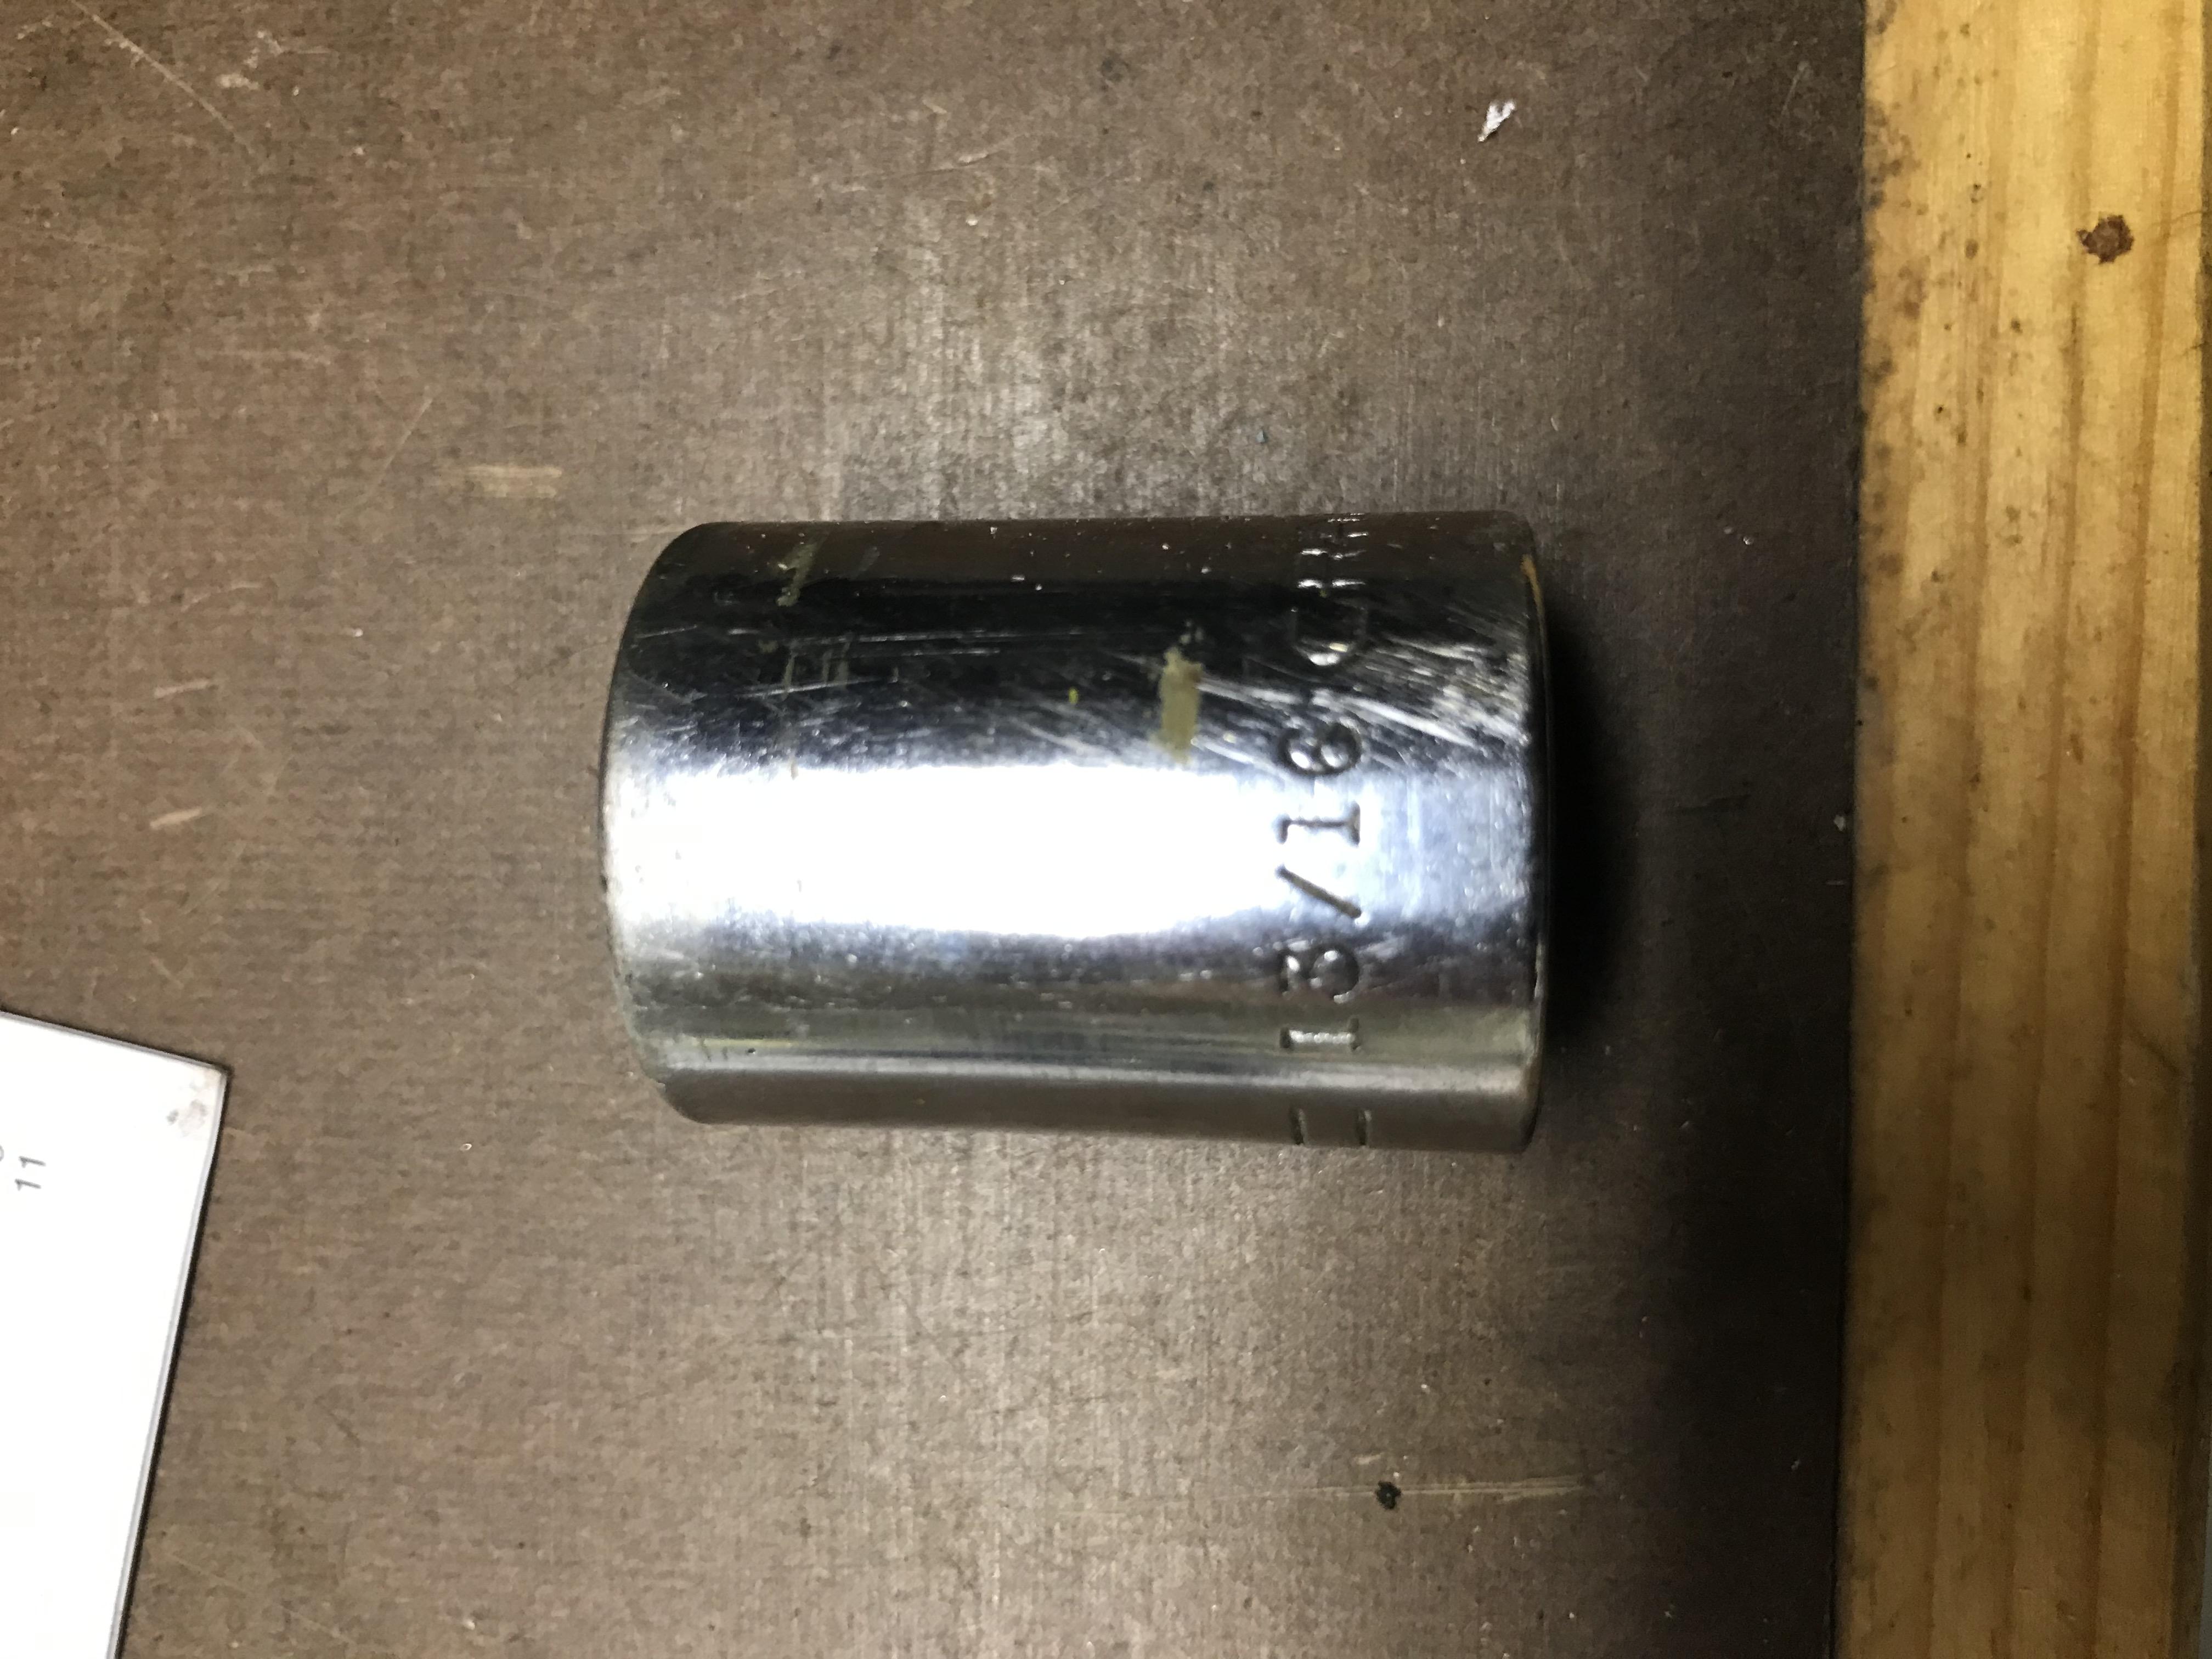
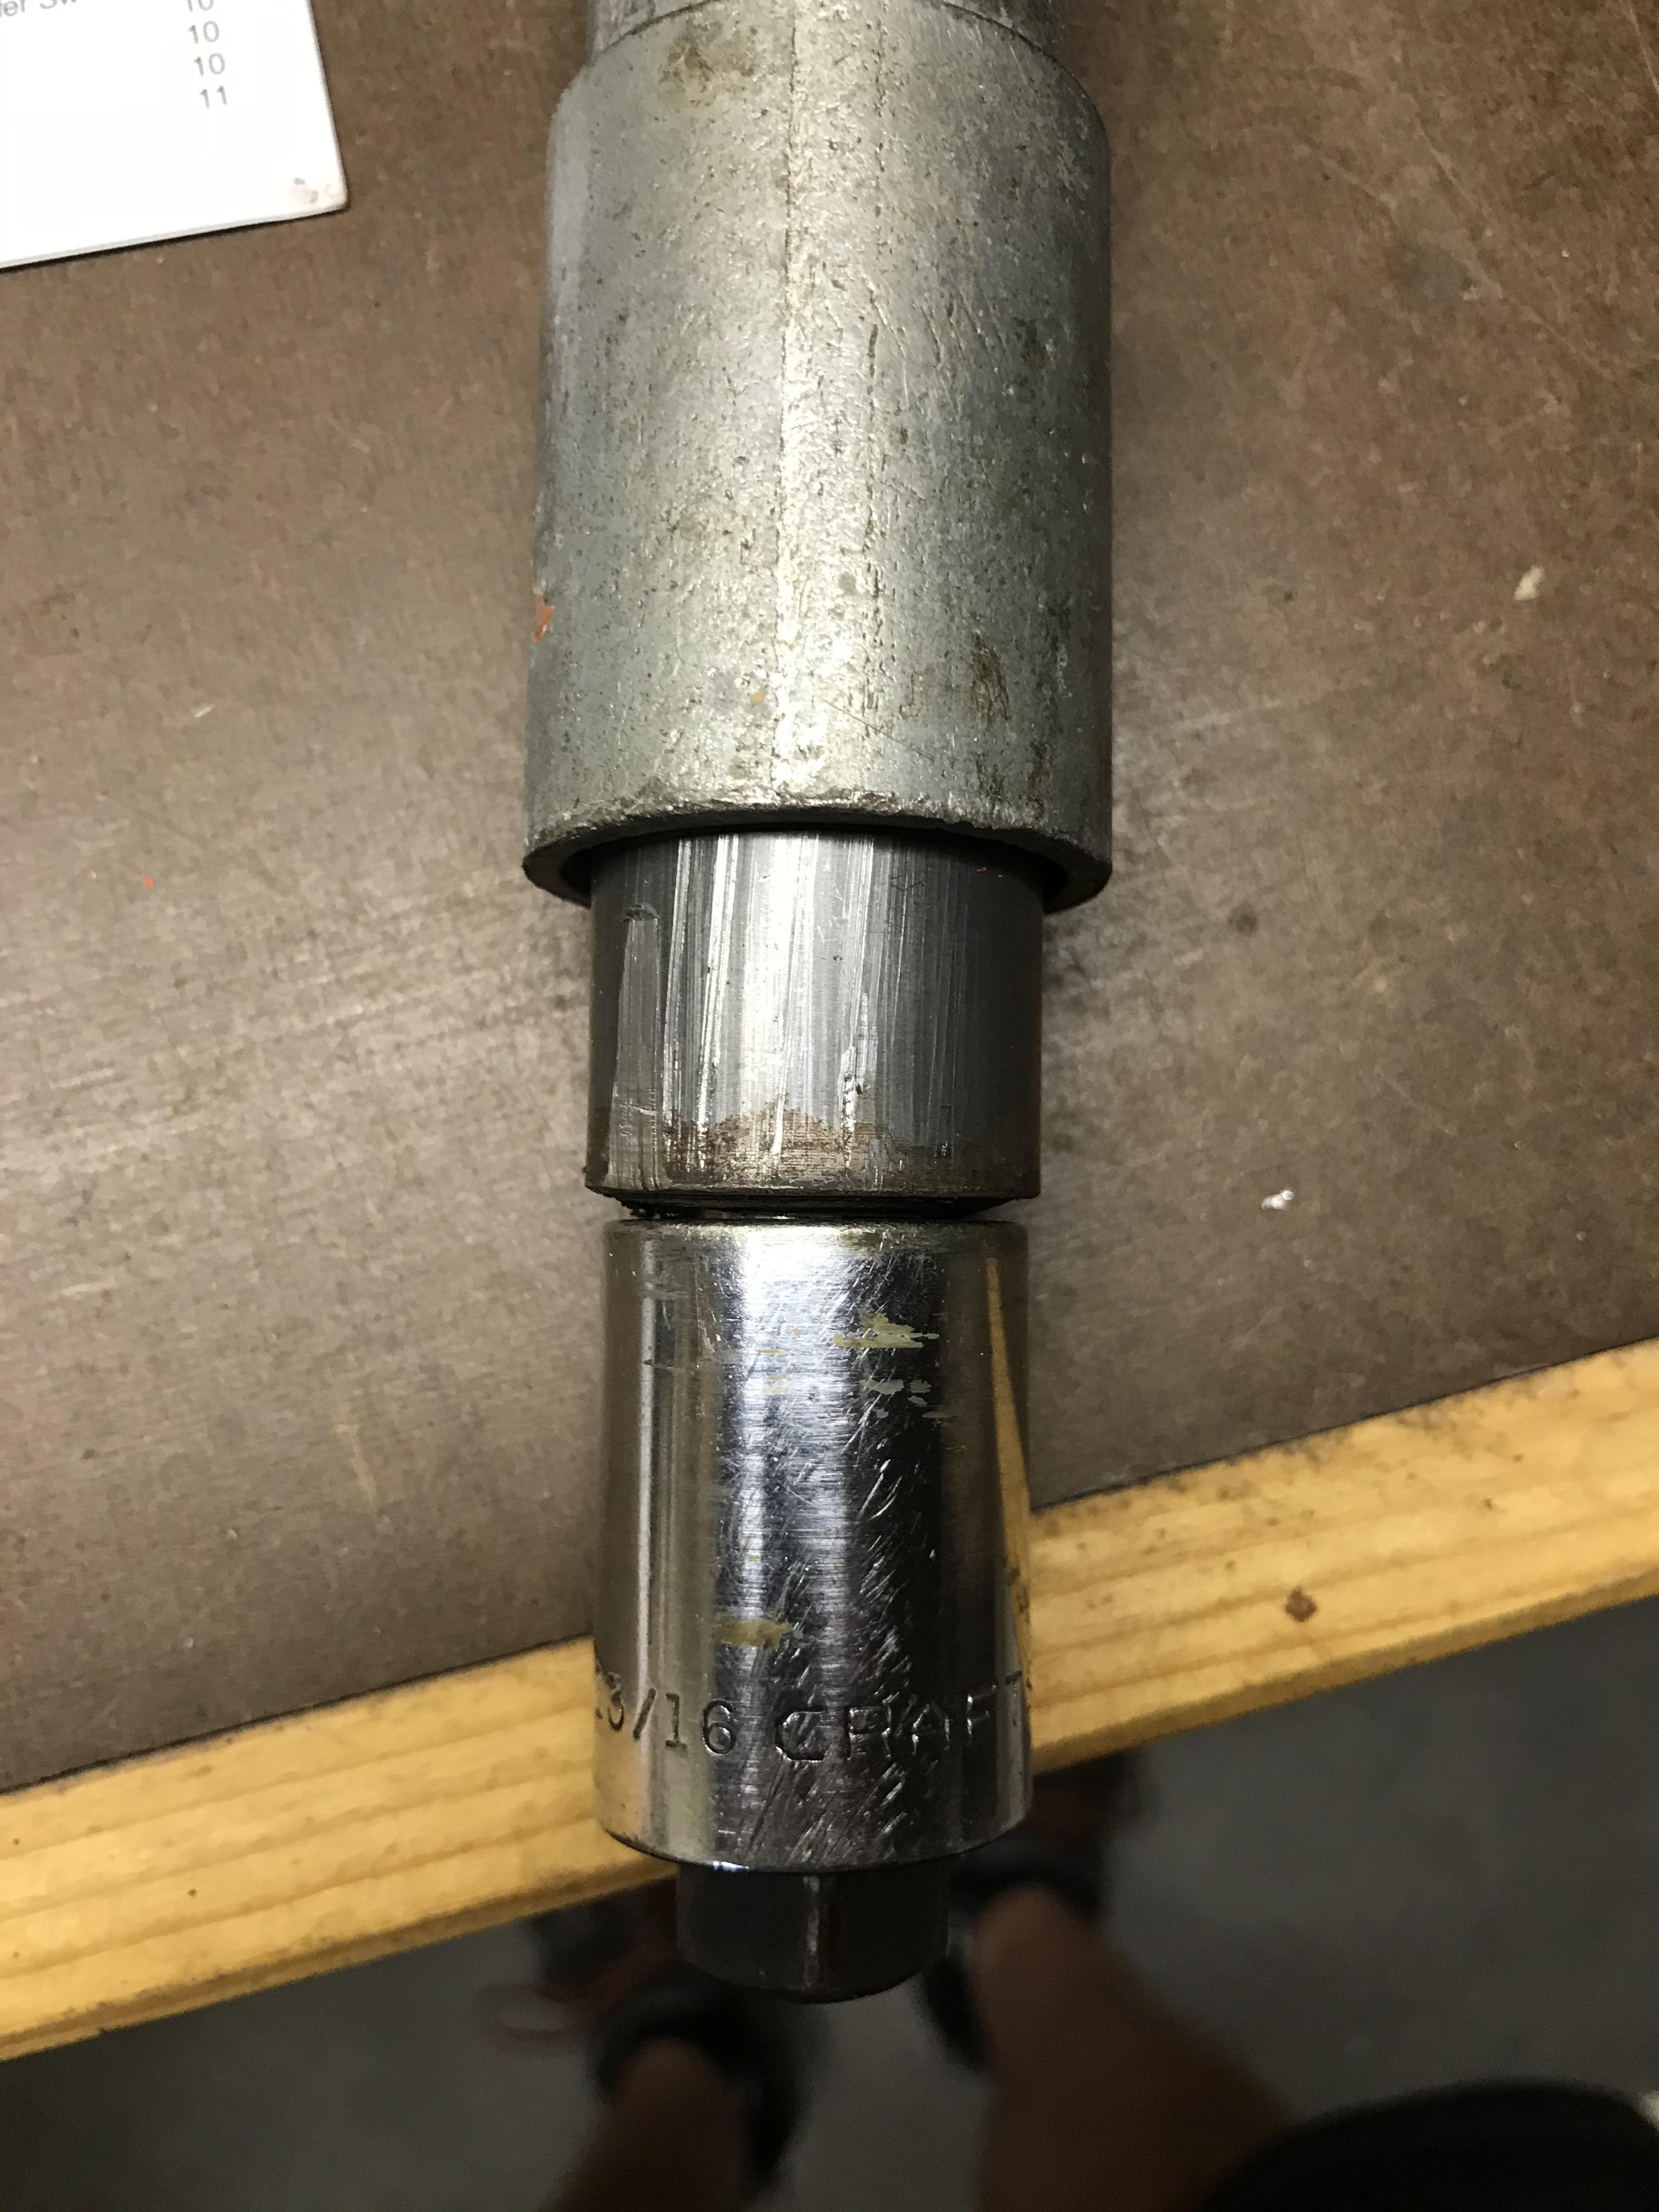
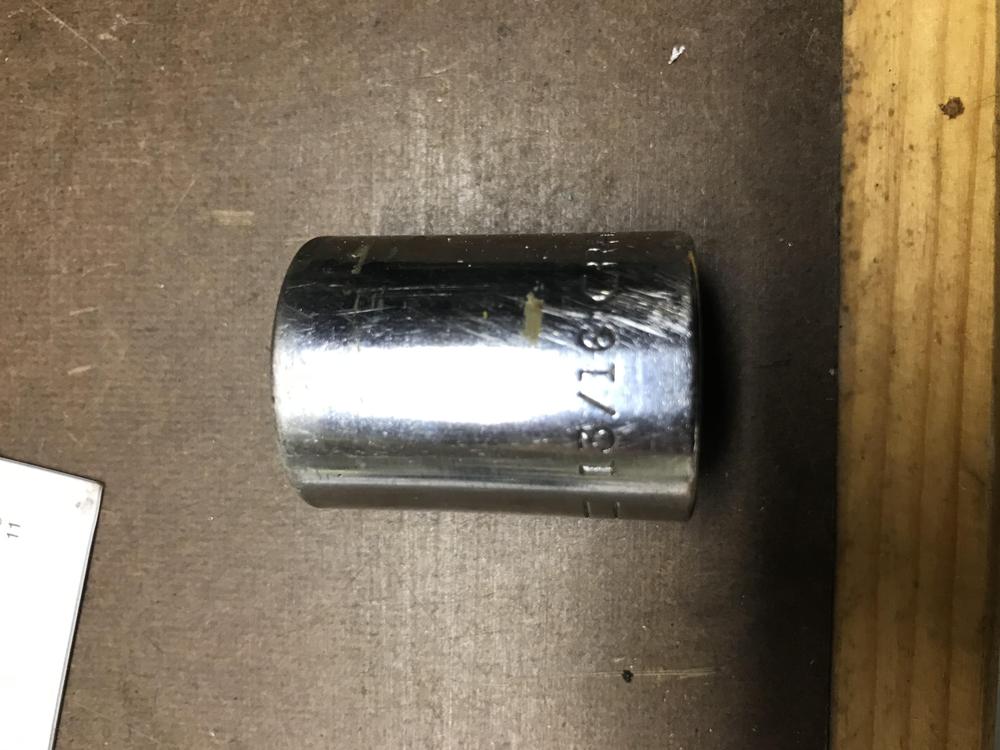
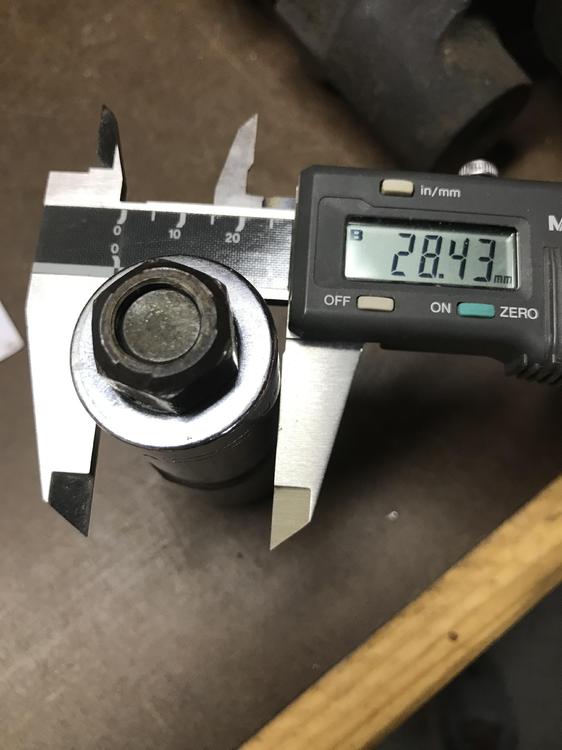
So far, it looks like the 13/16" Craftsman 1/2" drive socket will work. I might take a trip to a few stores to see if any sockets are just a hair bigger, but for now, I should have a winner. Ideally, I'll find a Harbor Freight or other non-chromed impact socket that only costs a few bucks. I don't want to ruin my 40 year old Craftsman socket that can't be replaced with another USA made one.
-
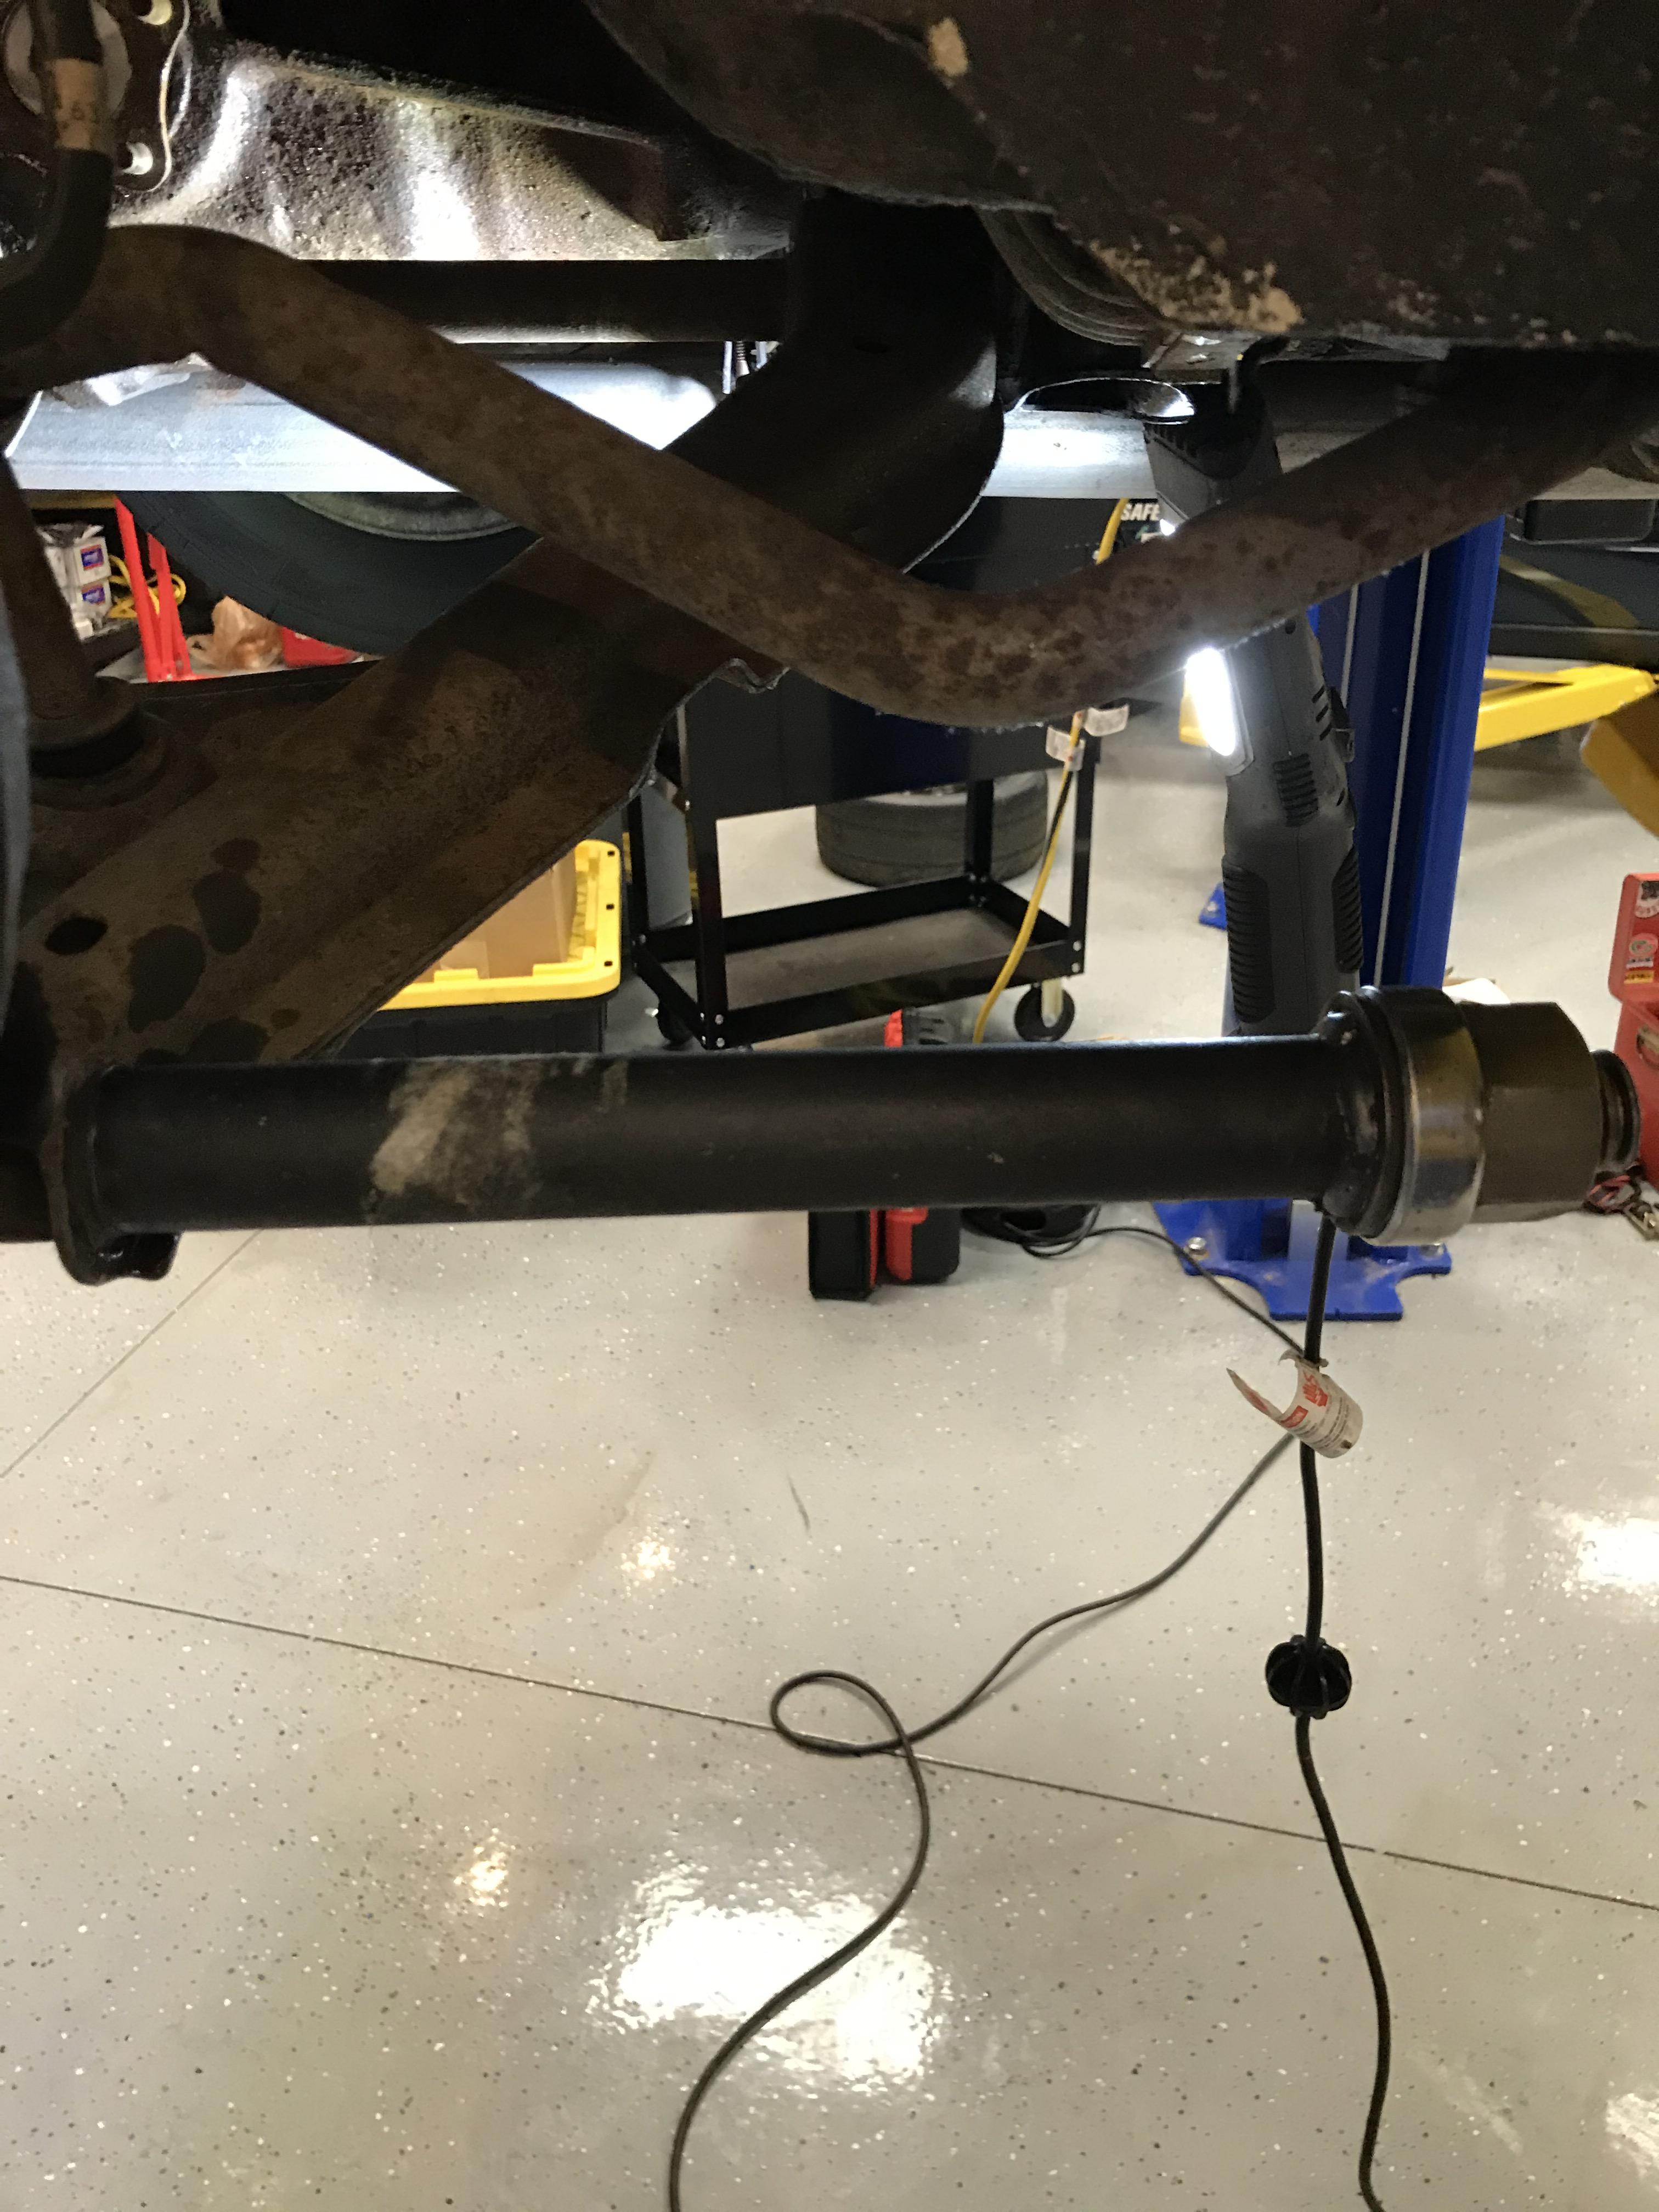
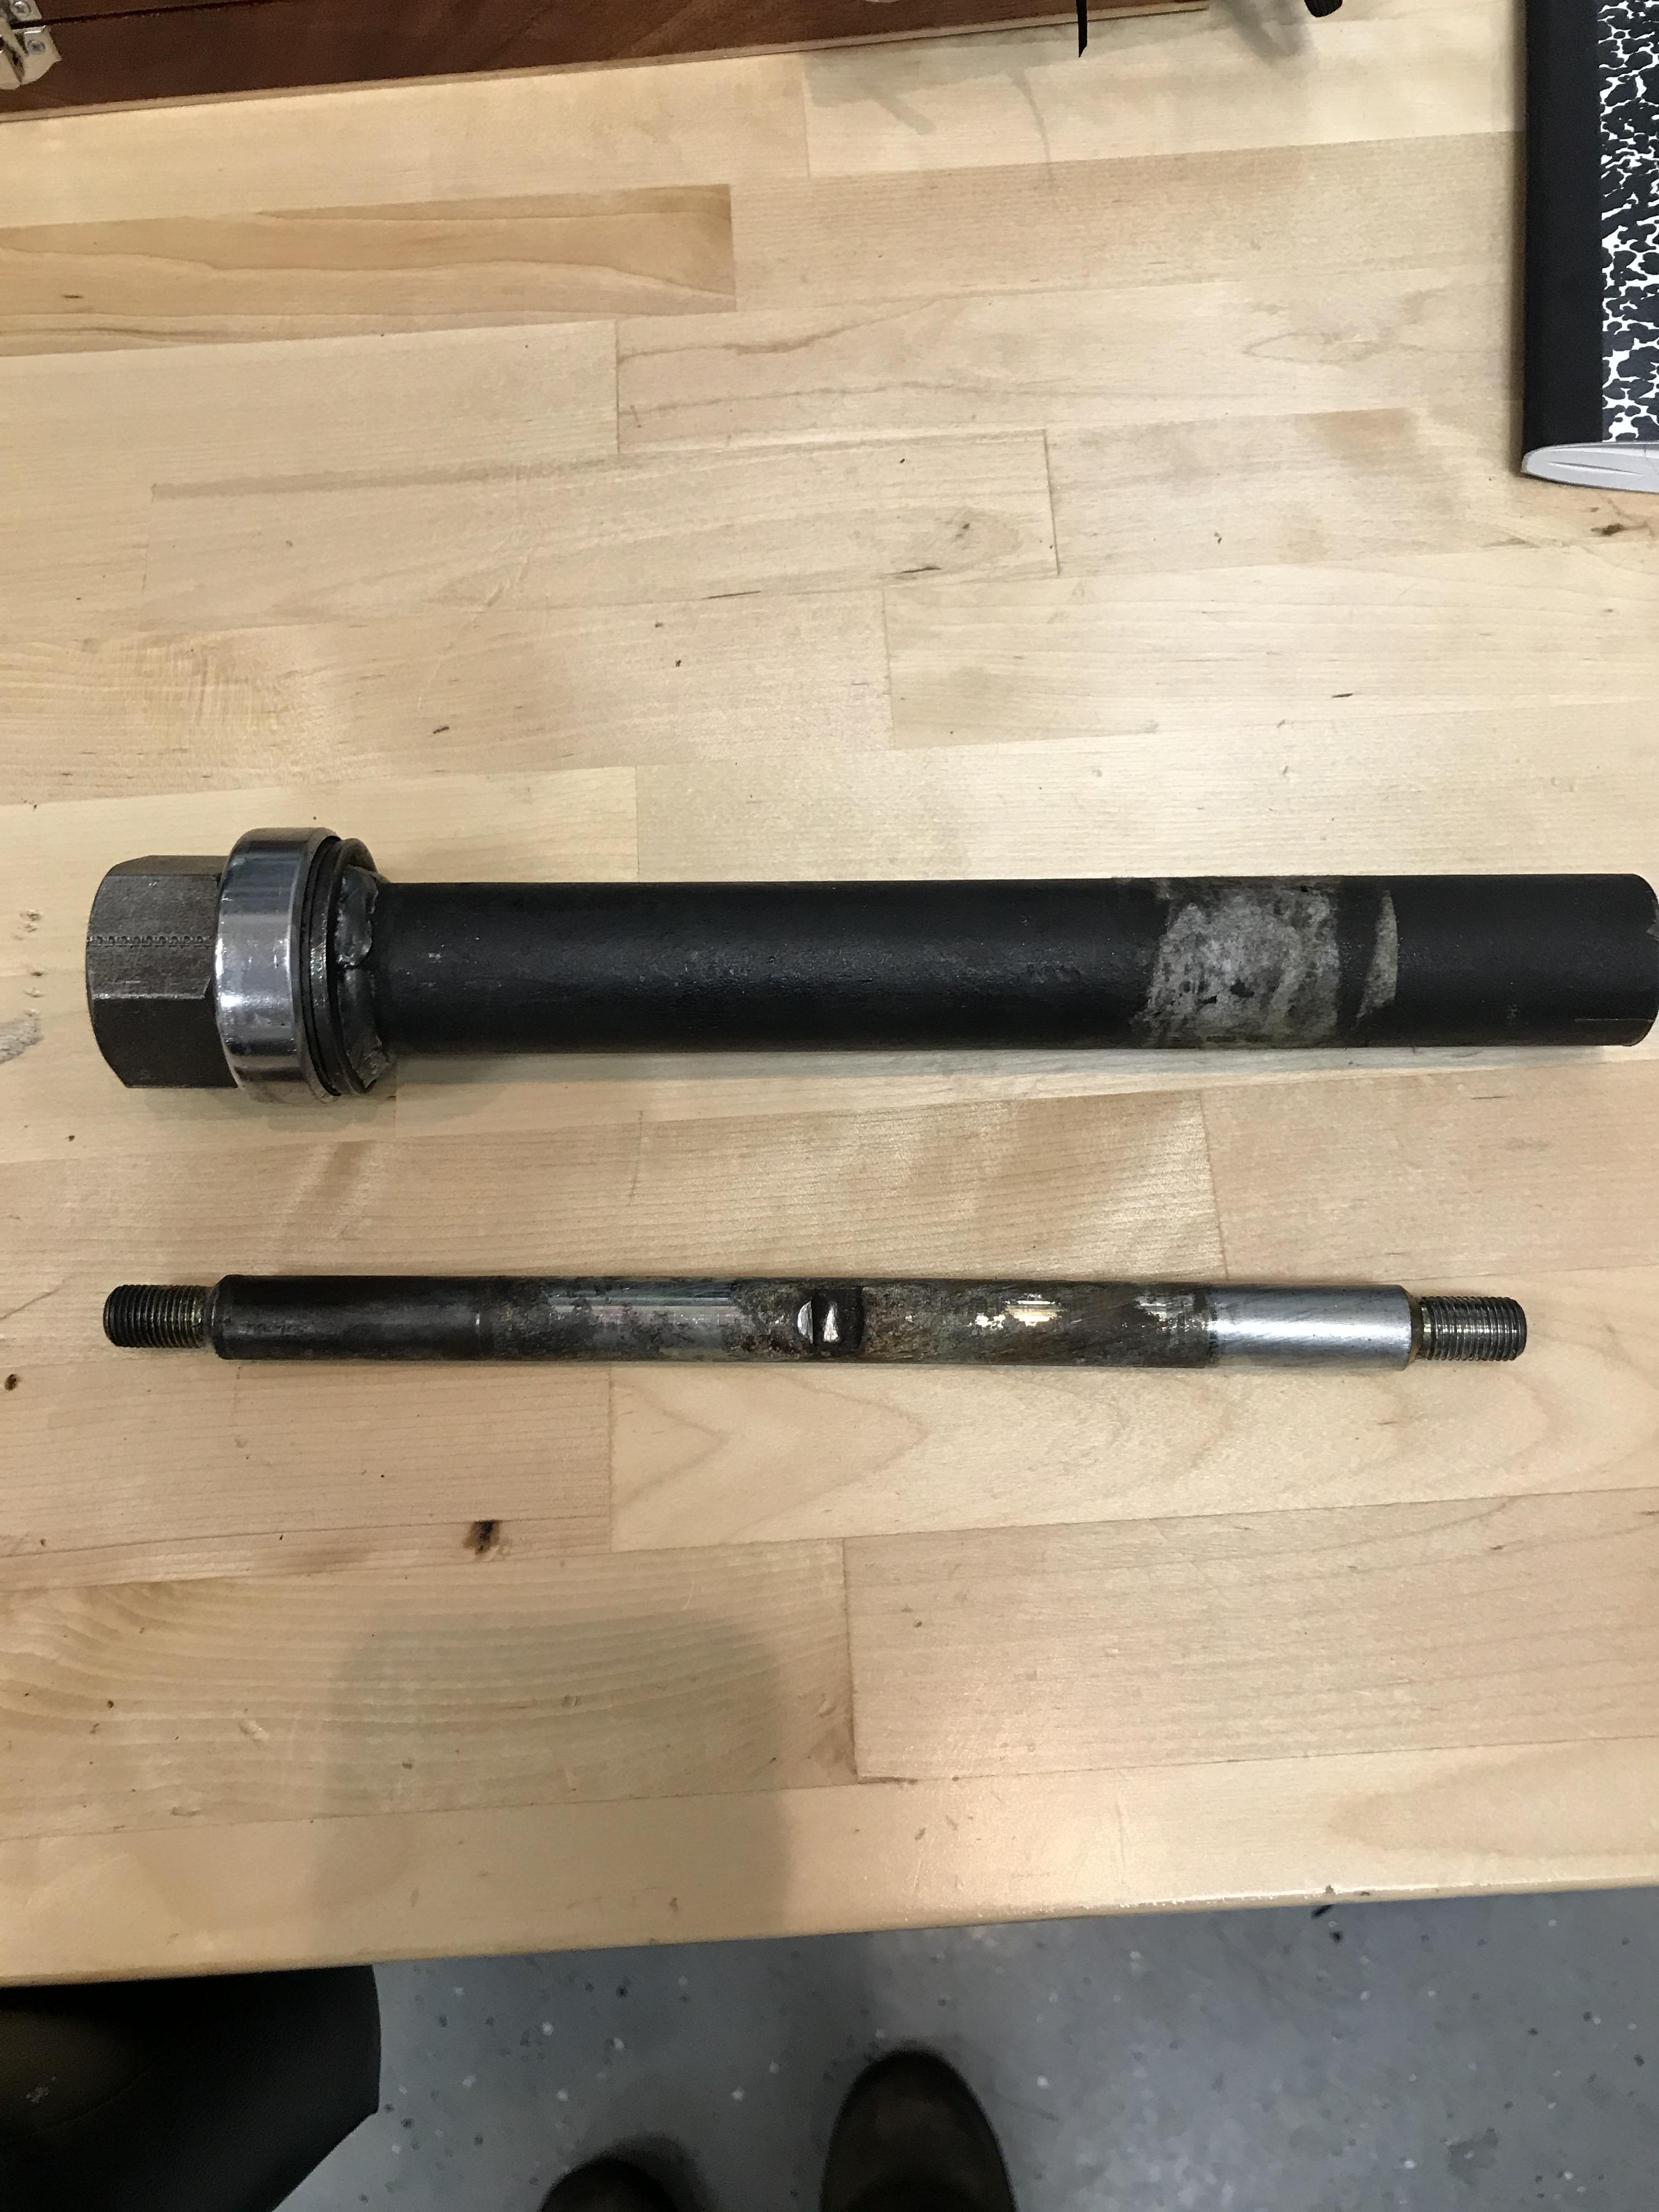
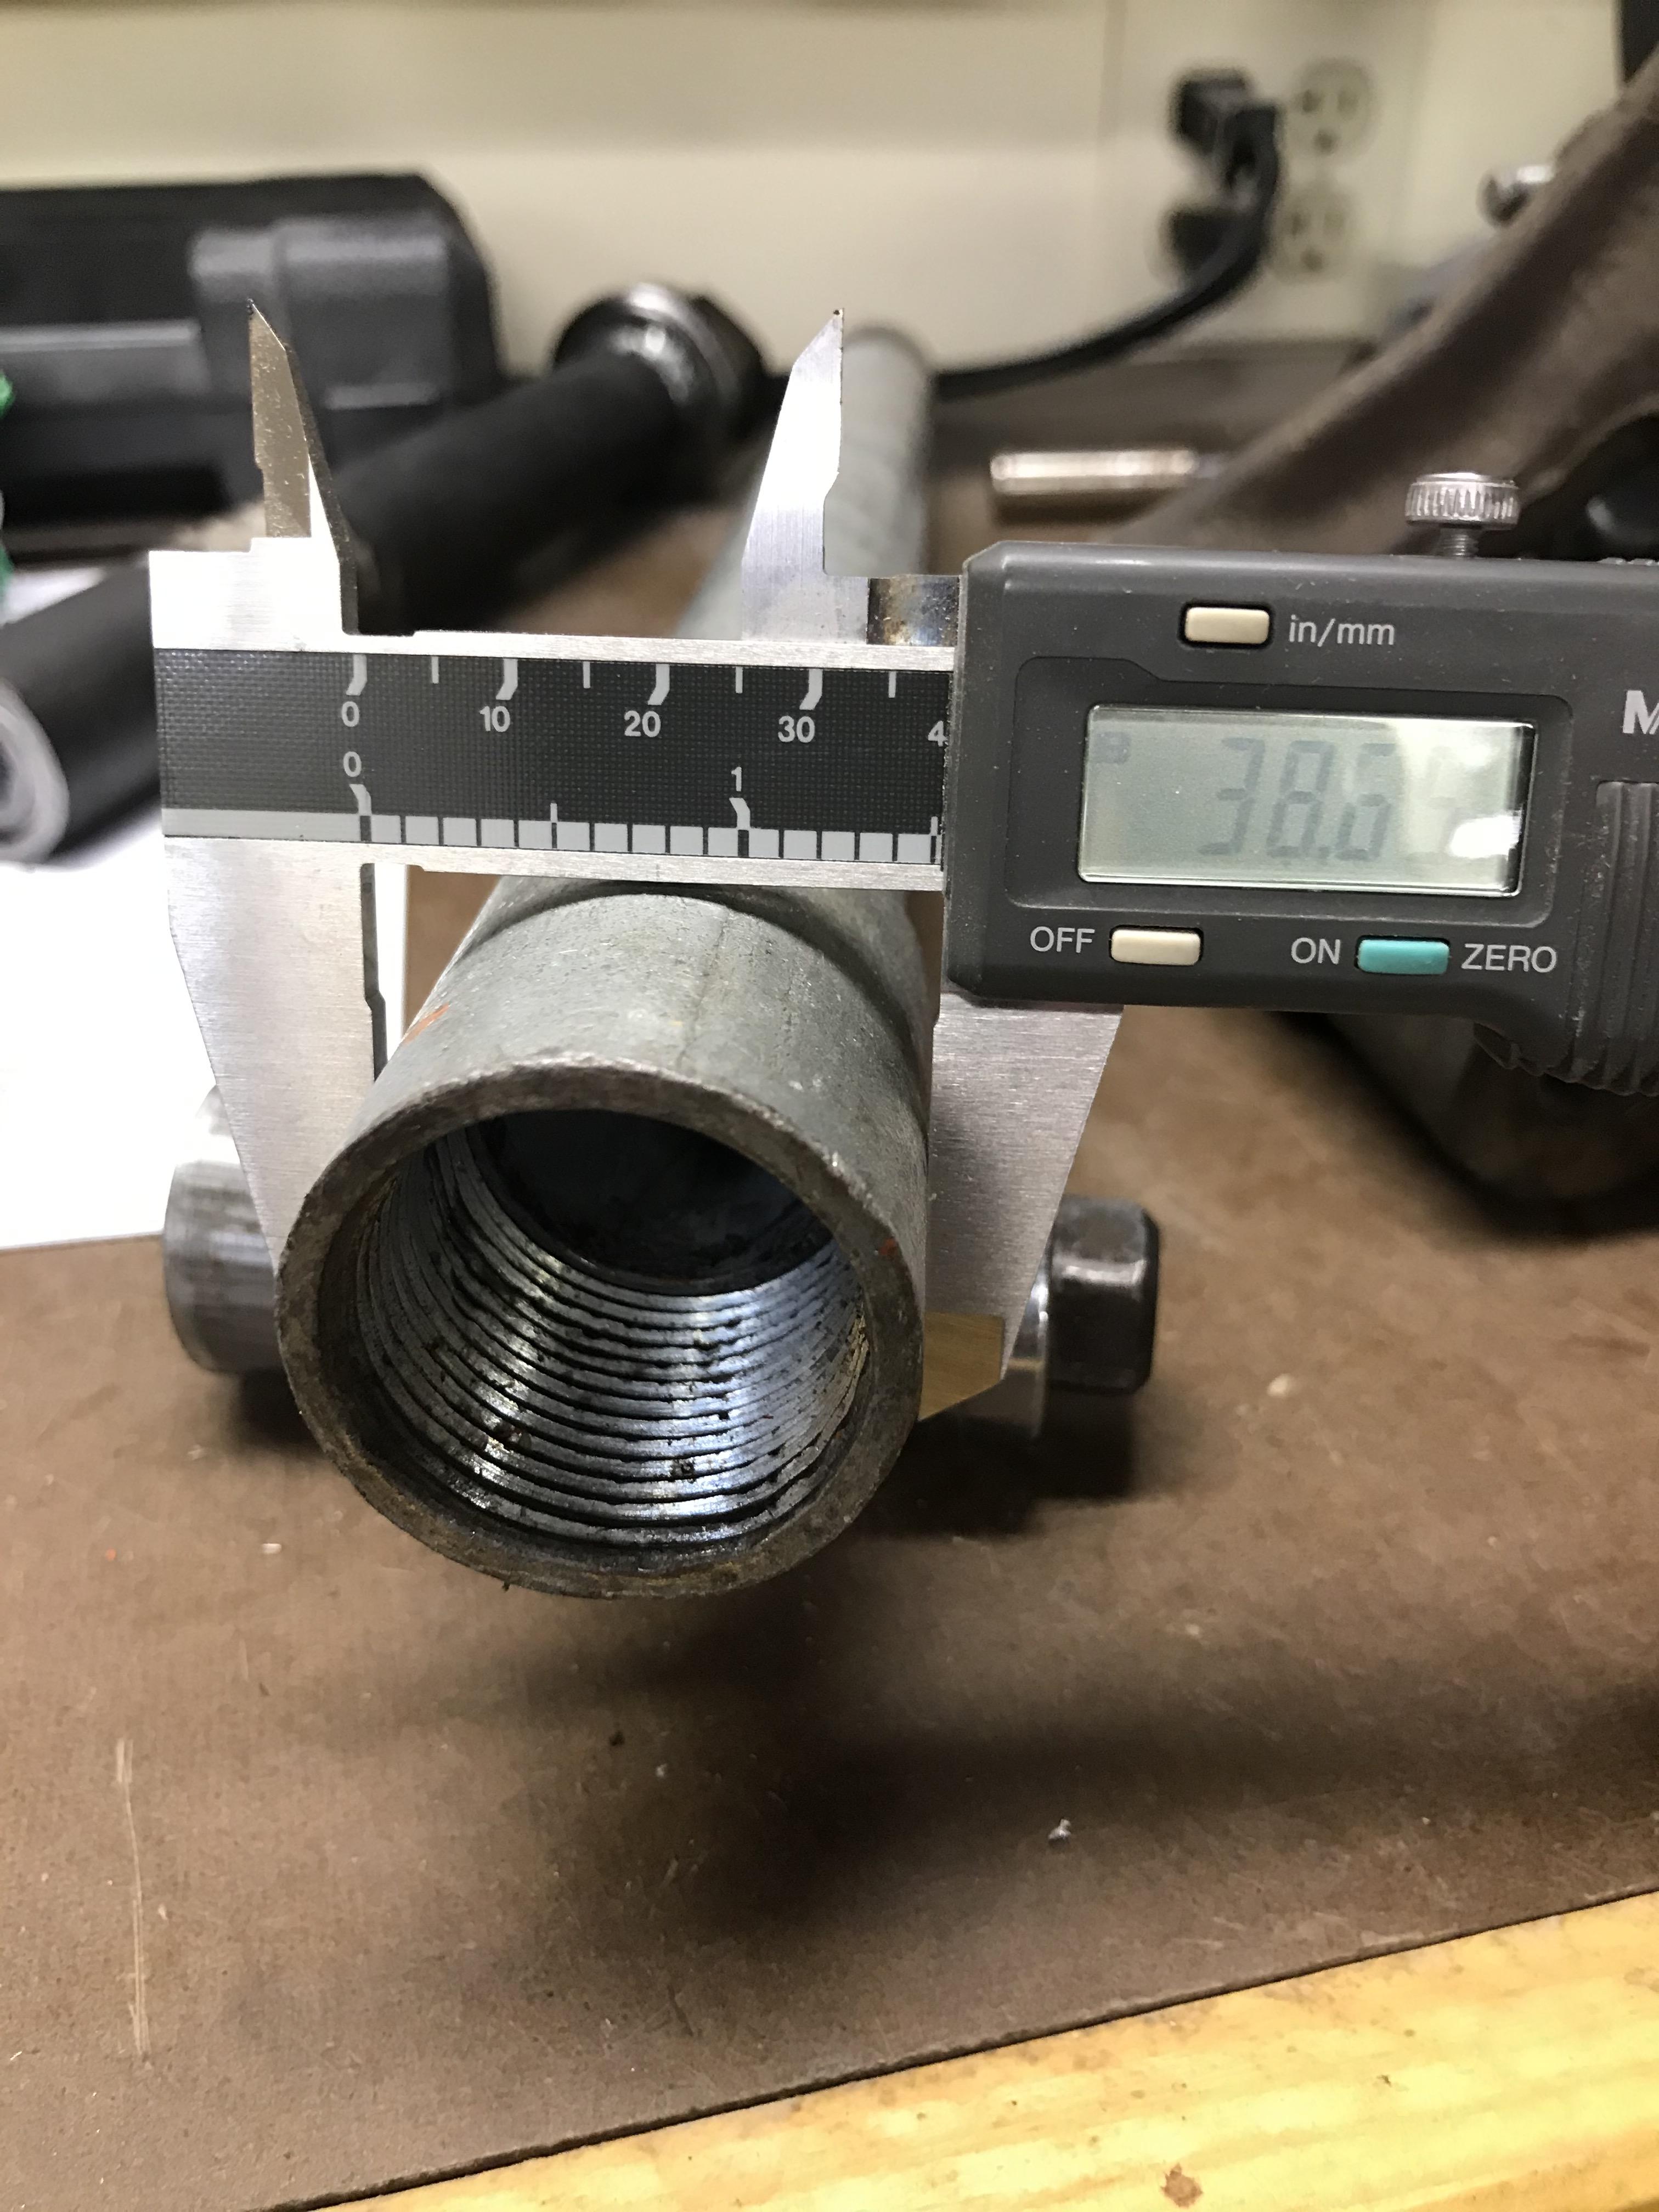
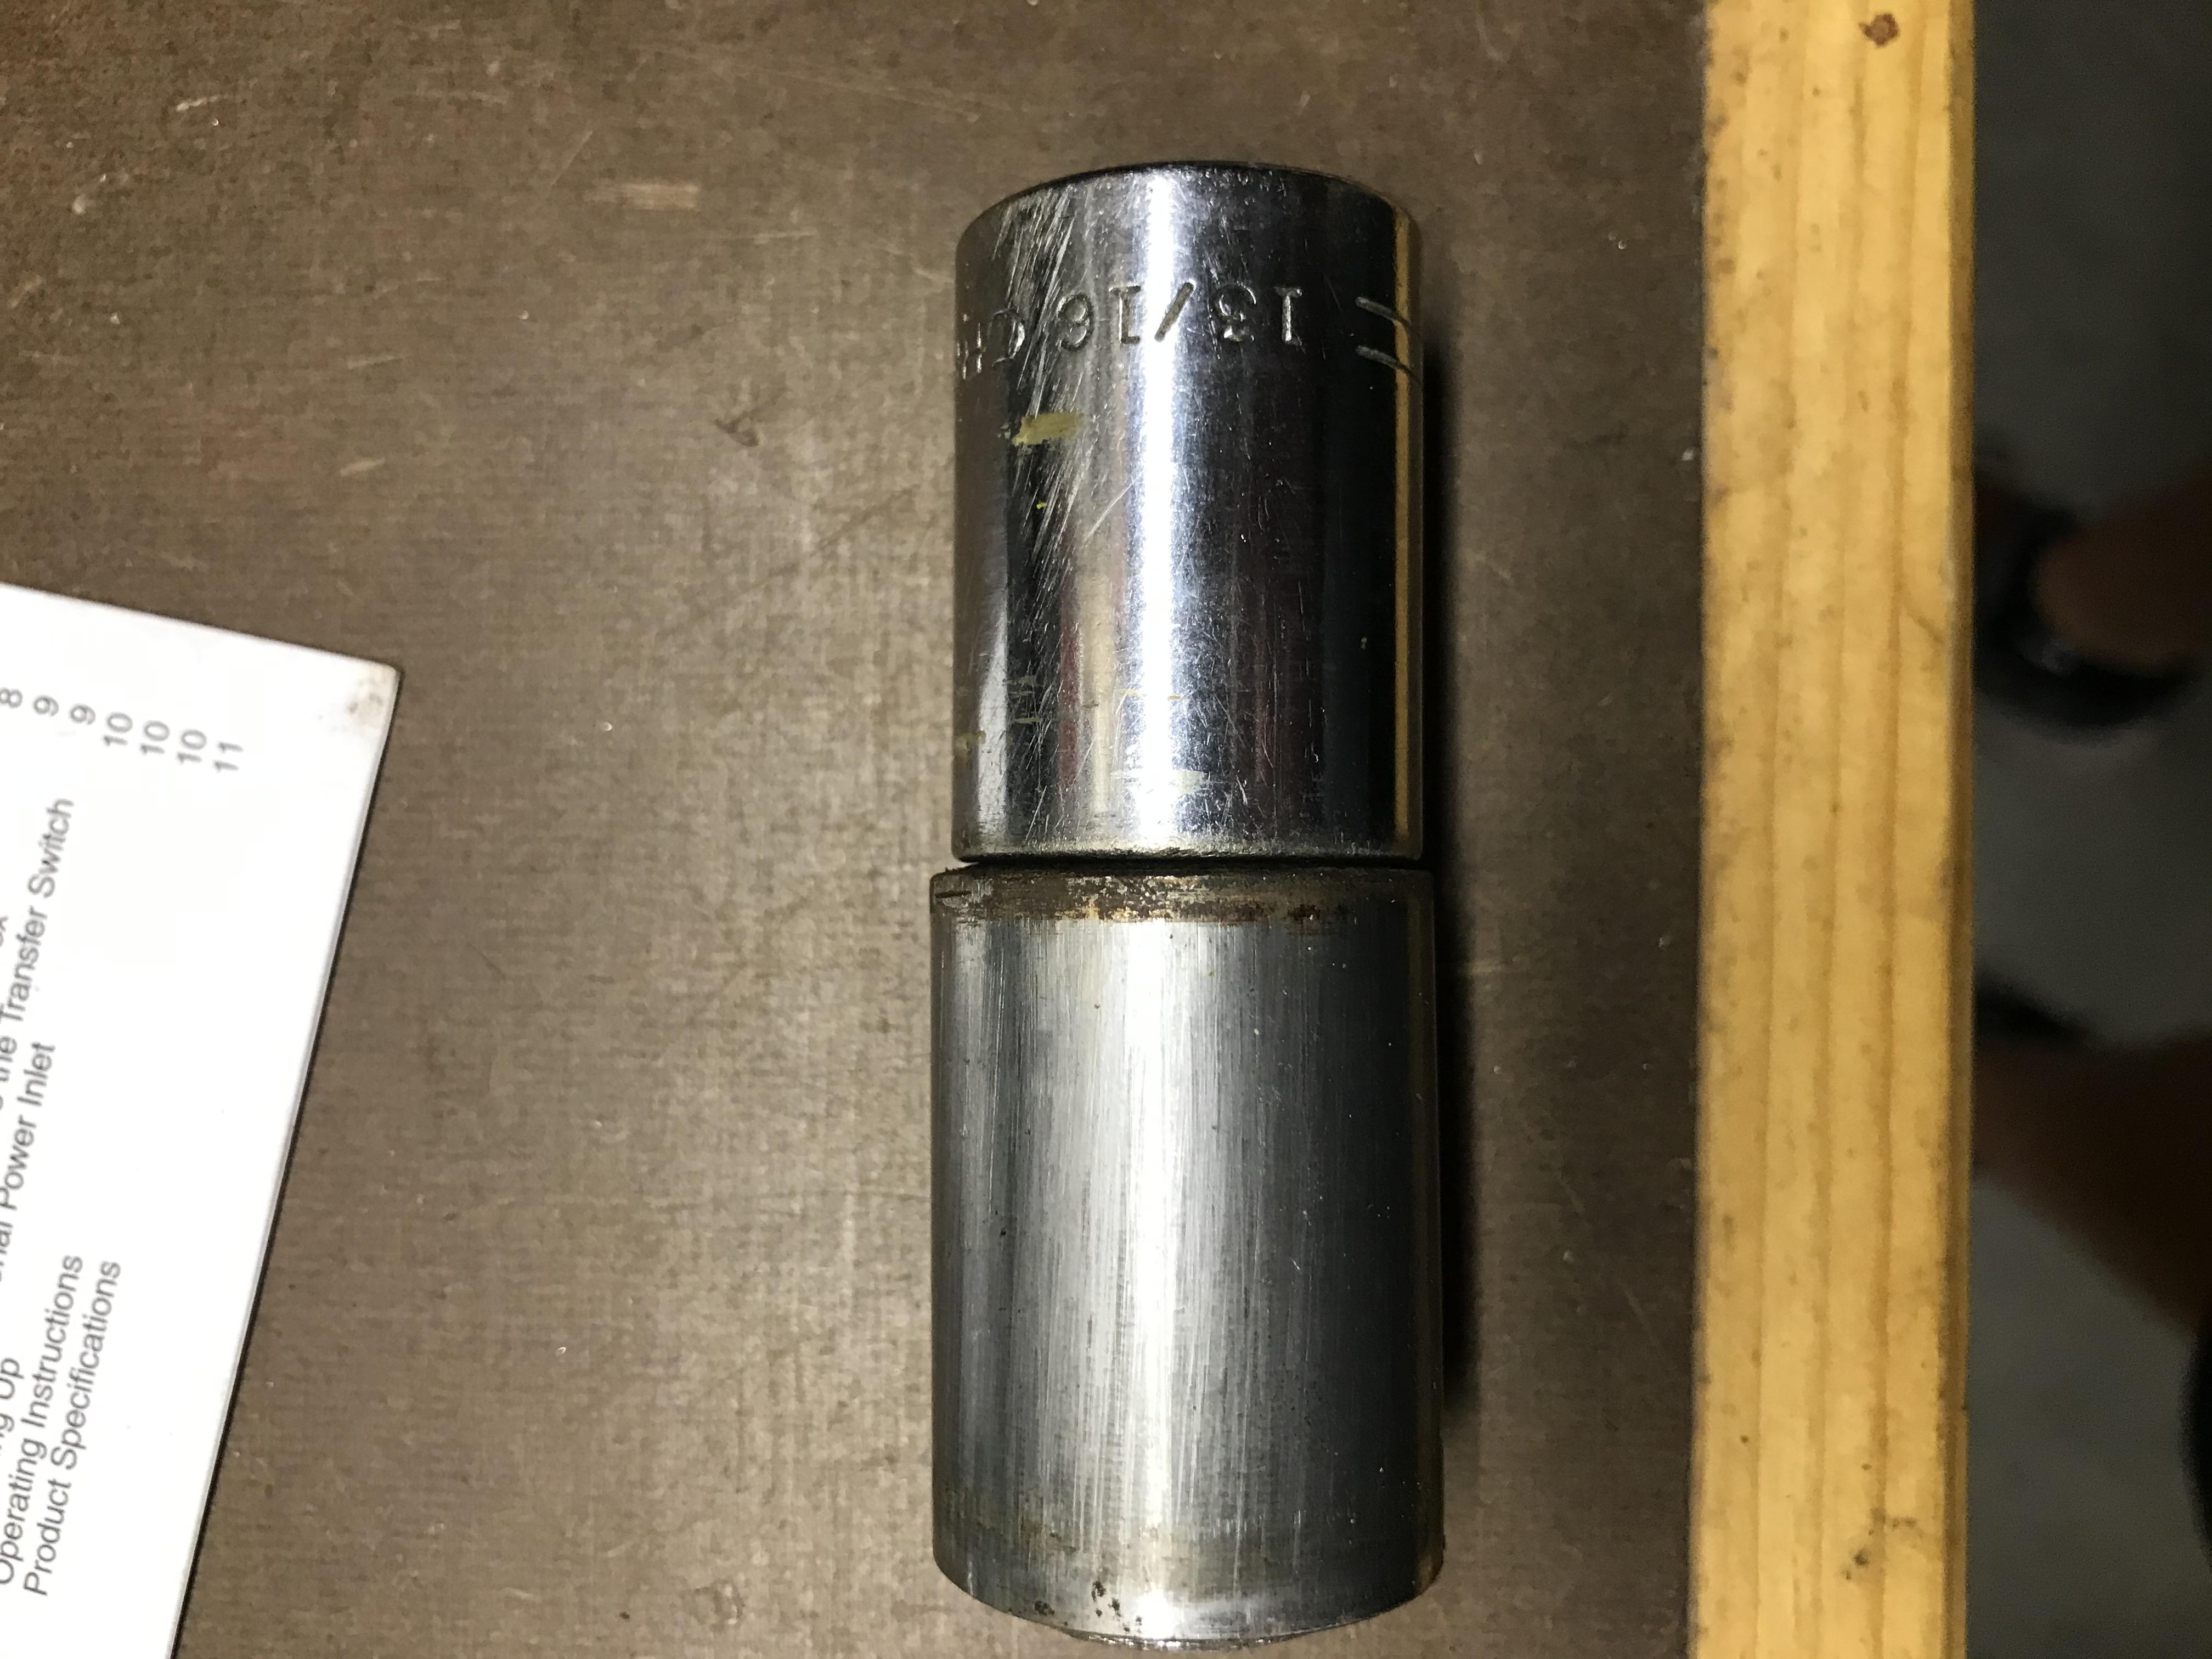
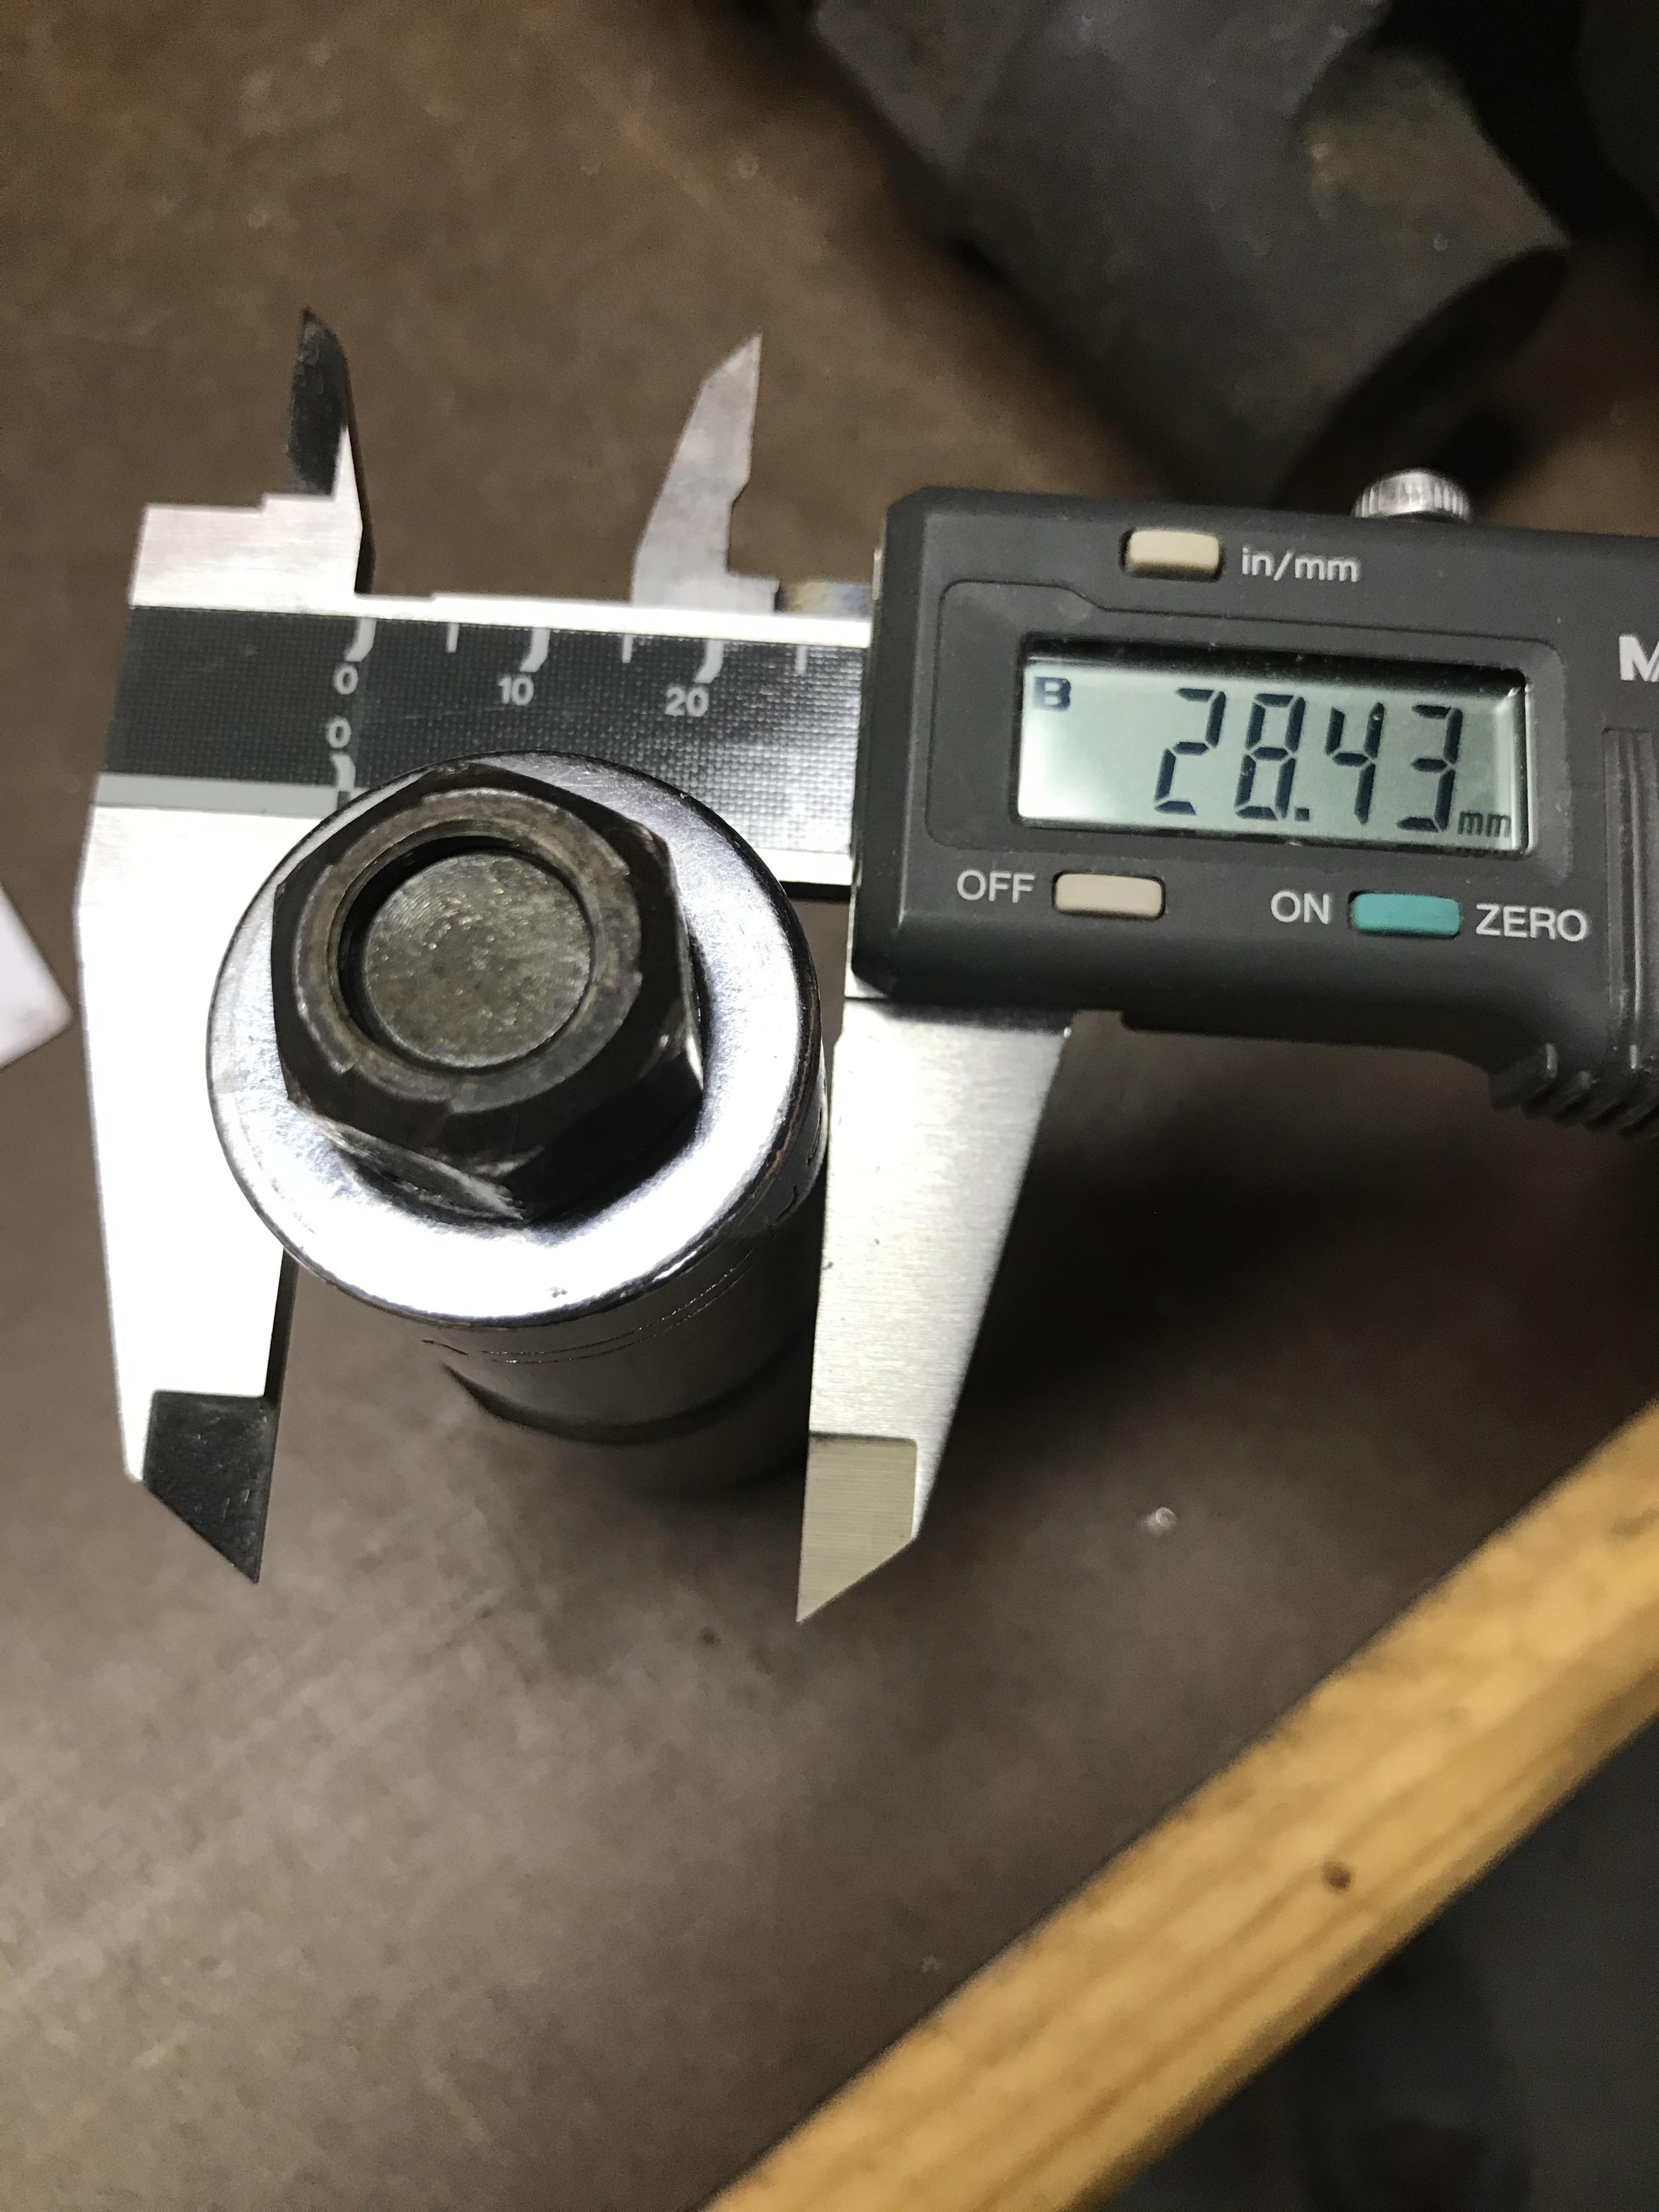
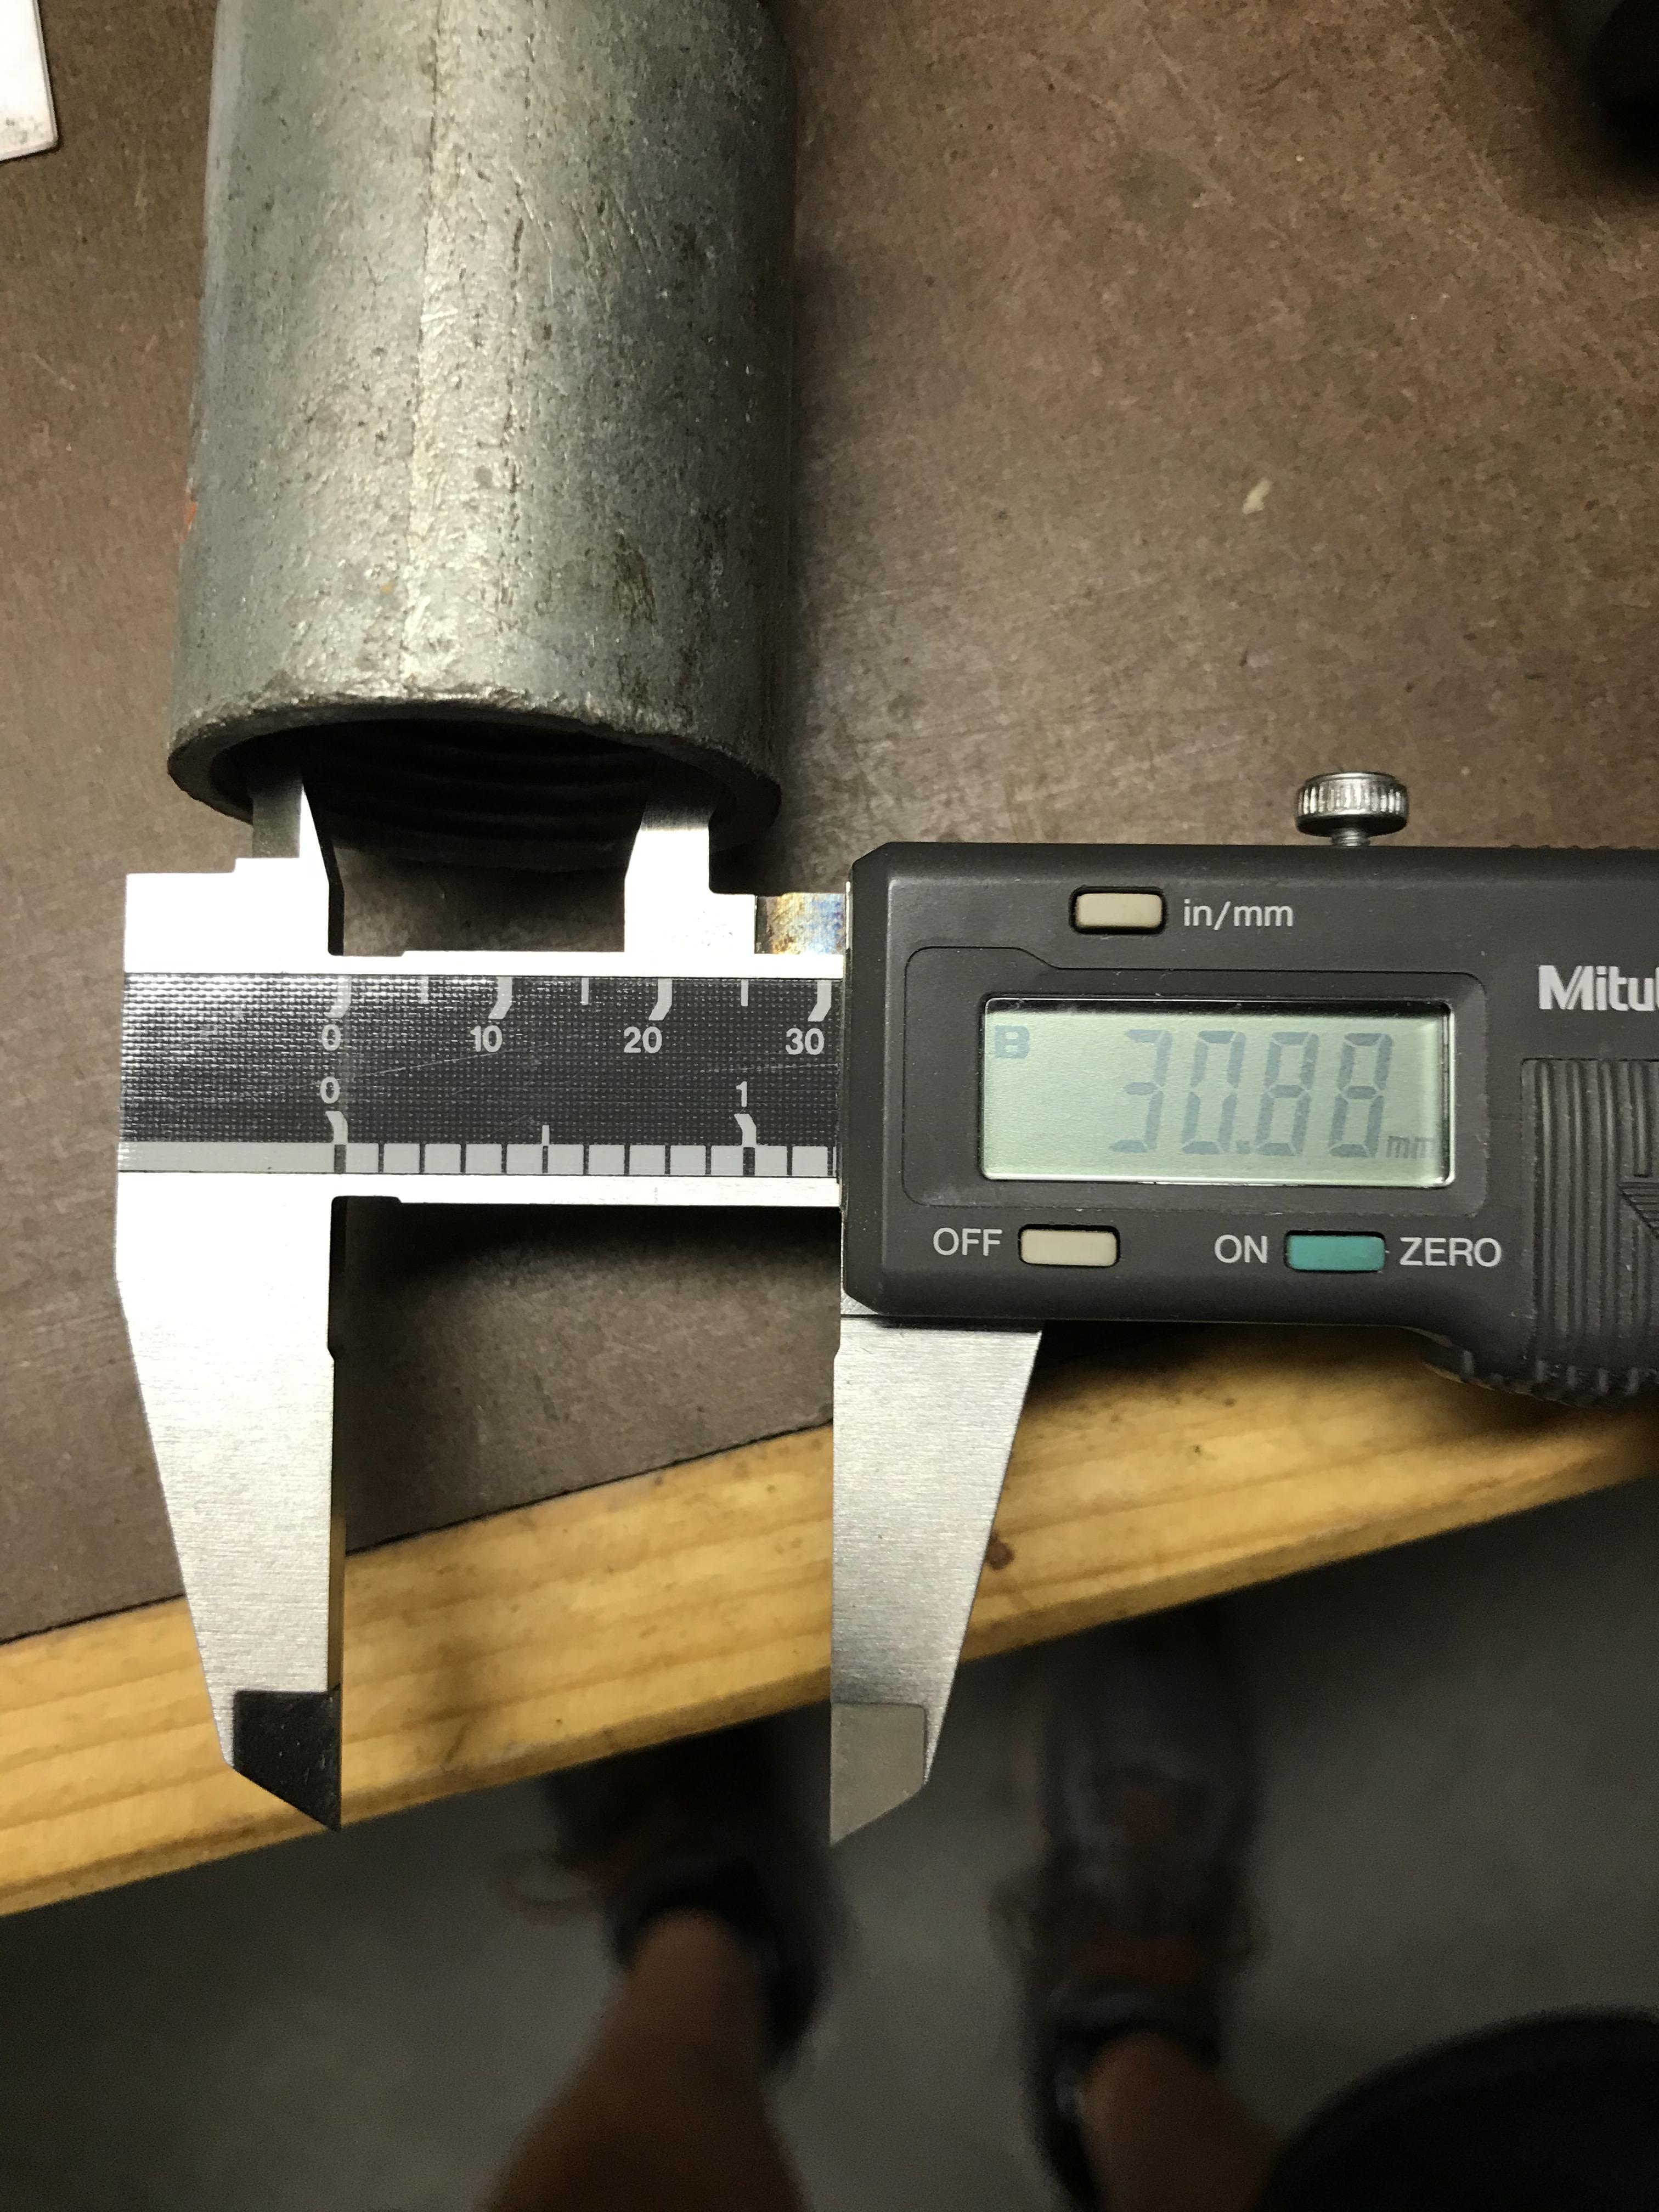
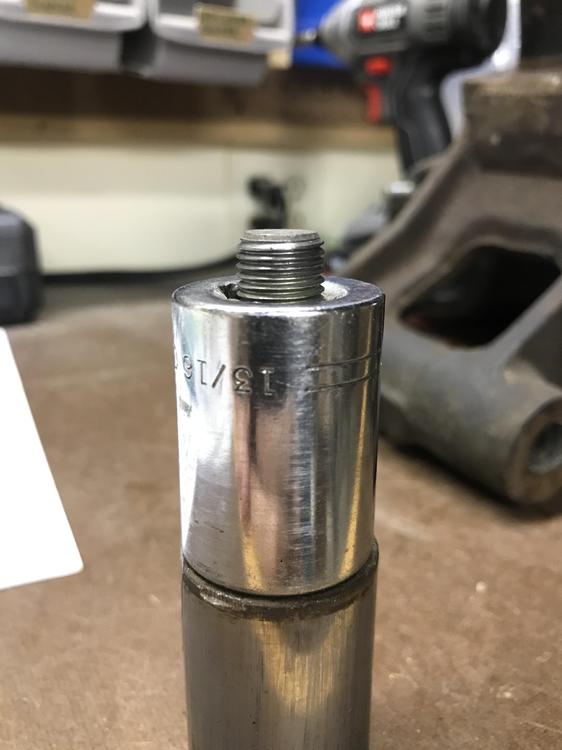
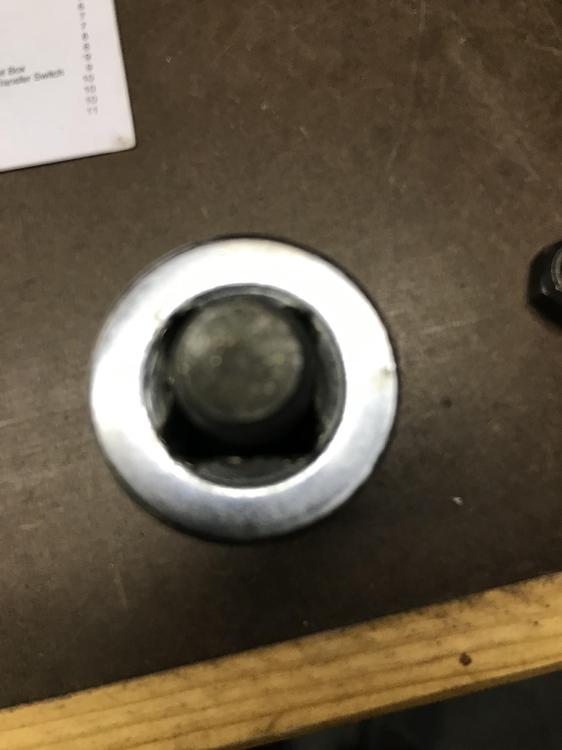
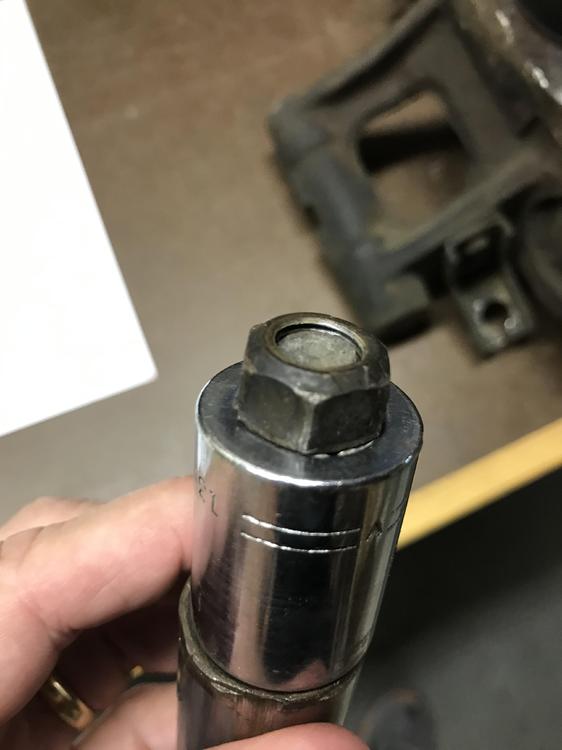
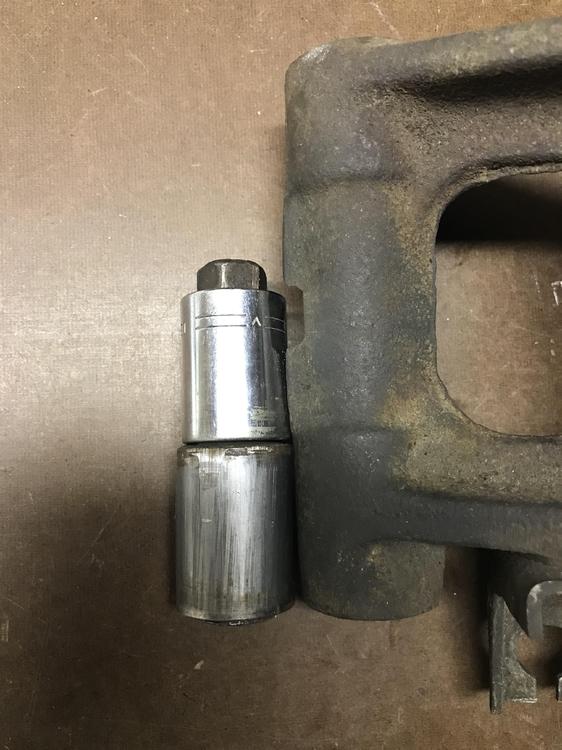
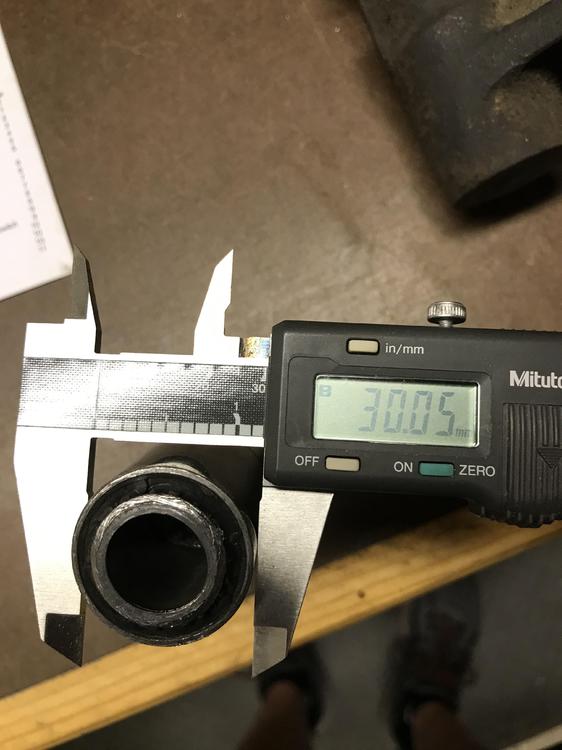
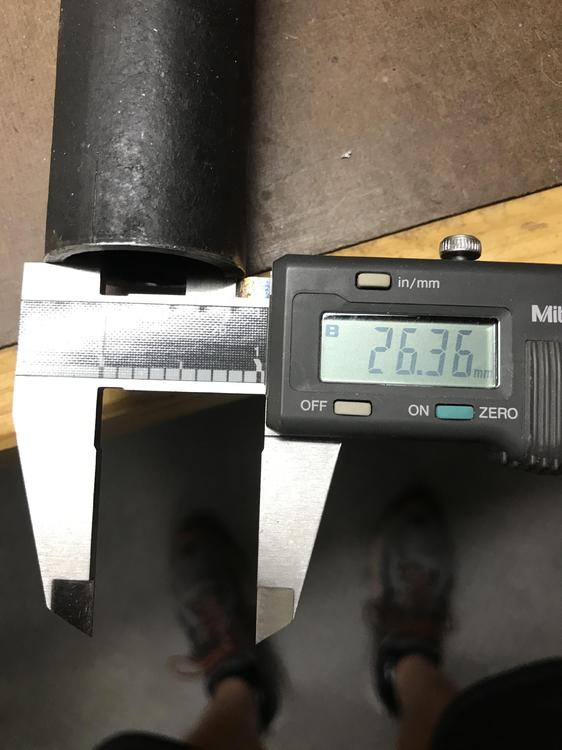
I have my spindle pins pulled and need to replace the outer control arm bushings before I put it back together. I saw @zKars post and it got me thinking... Why can't I simply use my spindle pin puller to remove and install the bushings as well as the pins? All I need is a cheap deep socket that is just a hair smaller OD than the bushing outer sleeve OD. At most, I might have to drill out the 1/2" square drive so the pin slides through the socket far enough to fit a thick washer and a nut. The spindle pin then slides through the bushing from the outboard side and the socket, a washer and a nut is installed on the inboard side. From there, the spindle pin puller attaches the same as when the pin is pulled. I still need to measure mine, but I believe the puller tube is large enough ID for the bushing to slide into it without contact. If that's the case. the puller should work great. Installation would be exactly the same as long as there is enough space to fit the bushing and socket between the two ears of the H arm. The new bushings would pull in from inboard to outboard just like they are removed. I still need to do some measuring since I'm not with the car right now, but I think it will work without making another tool. At the same time, the 1" acme threaded puller should pull the bushings like butter. Am I missing something, or should this work? EDIT 1: Okay, I did some measuring. I can't do this exactly as I had hoped, but it might be an easy fix. I have a socket that will fit perfectly with no mods as the pusher. The threaded end of the spindle pin pokes through the 1/2" square drive end of the socket just far enough to fit a nut without a washer. The nut without a washer still has really good bearing surface on the socket, so I think it would be fine. There is also plenty of space between the two ears of the H arm for the socket, nut, and new bushing. The problem I found is that the ID of the tube part of the puller is not large enough for the bushing to slide through when removing the original bushing. I just need to find a pipe that's a bit larger diameter so the bushing slides into it and yet it still fits the control arm. I then have to weld another washer on for the thrust bearing to ride on. I could even have the end of the existing tube threaded and then just add a coupler. I'm not sure if the coupler OD would be too big to sit flush on the control arm through. I will add more pics once I have time. EDIT 2: I don't have my control arms handy since they are still on the car, but I have an old take-out OE bushing, a partial spindle pin, and the strut assemble in my basement. I also happened to have a length of pipe with a coupler on it. The coupler has a large enough ID to fit over the bushing. Mine happened to be threaed all the way onto a pipe, so the coupler was a bit short compared to the length of the bushing, but I believe it could be screwed onto the pipe a bit less and tack welded if needed to give it enough depth for the bushing. Once I compare the coupler OD to the control arm to make sure it sits flush, I should have all the info I need. Here are pics of the various parts. I think this will work!


-
Years ago, when they epoxied our 100,000 ft^2 shop floor at work (Roush Racing), they put down 3 or 4 small sample areas so we could determine how much grit we needed. The ones with no grit added were down right dangerous when motor oil or gear oil was present. Needless to say, they went with enough grit to make it safe.
-
I run only internally oiled on my P79 race car head. I ran both for a while on one of my motors, but eventually blocked off the tower ports and went with only internally oiled.
-
I wouldn’t want to try it on the car. It wasn’t a hard job but does require precise layout and drilling. The doublers need to be removed and then tack welded back over the new holes. I used an air chisel to pop the spot welds off the old doublers and then a simple tack weld will hold them in place once moved. Some minor clearancing is also needed so the LCA’s move through full travel. The job took maybe 30 minutes total once on the workbench.
-
They should be super easy to cut if someone has access to a waterjet or a CNC plasma cutter. I really don't see why you couldn't make them go the whole way around the pan. I used to belong to a membership-type shop, but they went under last year. This would have been really easy to make there.
-
I completely agree with your list. The only thing I'd add is to modify the front crossmember LCA pivot points. I went up 3/4" and out 1/4" and it really improved the bumpsteer. It was an easy job. If you can find a used crossmember and modify it ahead of time, you can swap them pretty quickly. Then just sell the take out crossmember to recoup the money. I had the whole car apart, so it wasn't a problem. You can support the engine with a rented engine hoist to swap it out.
-
I've always thought that the stiffener plates were too soft. If they were stiffer or thicker, they might do a better job of keeping the pan from dimpling.
-
Yep. My 200 hp engine will happily humm along for a full endurance race. I pulled my current motor apart after 20 race hours due to a harmonic damper issue and everything looked like new inside. I replaced the parts that the failed damper took out and put it back together. ?
-
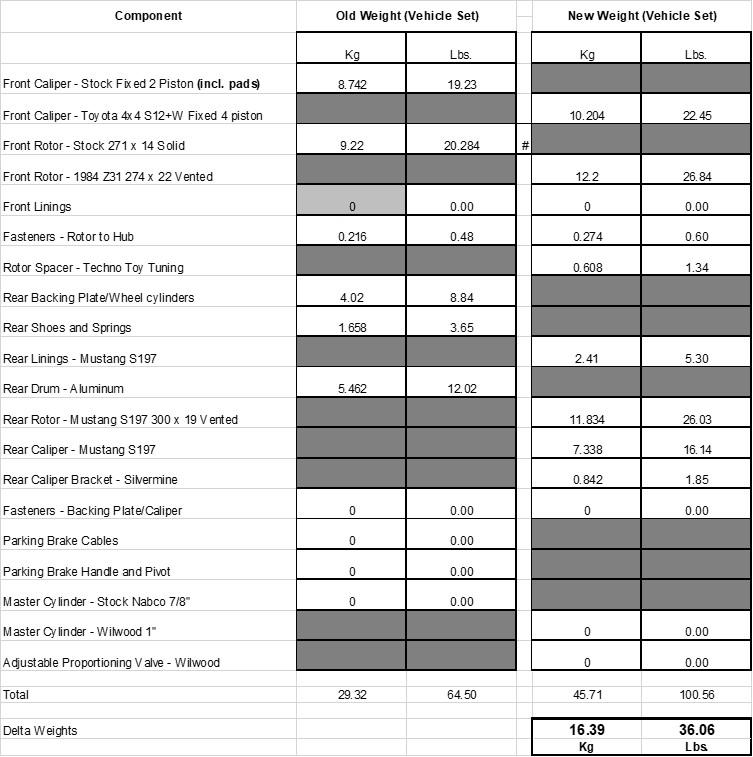
I am back working on the race car after Covid kept me away from the garage it is in and I'm in the middle of the brake upgrade. I figured that I would weigh each brake component and make a spreadsheet to track the deltas. My brake swap is as follows, I'm upgrading from the OE setup to the common Toyota 4X4 Vented fronts using T3 spacers and in the rear, I went with Mustang GT calipers and vented rotors using the Silvermine adapter brackets. The rears added more weight than the fronts and I'm not quite done weighing parts as I don't yet have the front linings or the Wilwood 1" master cylinder or prop valve. Also, T3 sent me the thicker 240Z spacers even though I ordered and the invoice shows 280Z spacers. I will re-weigh the spacers and bolts when I get them. Bottom line is that the total brake upgrade is going to be around 43 lbs. heavier than the OE setup once I include the front linings. I do plan to remove the parking brake setup so that will offset a little bit of the weight gain. I was a little surprised that I added that much weight, but the rear vented rotors and calipers are heavy. The rears are 25 of the 43 lb. add. For racing, I think it will be a welcome improvement. For street use, I would have saved the 43 lbs. Attached is the file with the weights. Note that for now, I had not pulled the old pads from the OE front calipers when I weighed them, so the caliper delta appears lower than it will be once I remove the pads and move the weight to the proper row. I will edit this post once I get the pads and the MC/prop valve weights listed. I hope this helps people when they look into upgrading. Brake Weight Sheet.xlsx

-
Discount Tire Direct has good deals on Rewinds and twice a year, they also do a $100/set mail in rebate. I bought two sets of 15x7 for my race car for $360/set delivered after rebate. It looks like 16x7's are currently $520 shipped with a $50 instant savings plus a 5% mail in rebate, so somewhere around $450/set shipped. https://www.discounttiredirect.com/buy-wheels/konig-rewind I hear you on the Panasports. I think I paid $1200 for my set of 16x7's close to 15 years ago before Rewinds were available.
-
With the price of Z's skyrocketing, I think we will see more and more of this. I guess there is one benefit to stupid Z values.
-
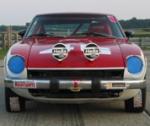
Simply incredible car and great photography Brandon. Now do the rest of them and a family shot with a cool background.
-
It's Don Bunt's car. He might have been a member here at some point in the past. I know the name, though I don't know him.
-
Not too far away either. In Rockford, IL
-
Datsun Parts and Needs. and Datsun Vintage Road Racing.
-
One just popped today on FB. $5000 for a rolling chassis EP car.
-
The only good thing (I guess) is that for some reason, track cars aren't bringing any money. I've seen many older-built ITS Z's sell for very little money. The same condition Z without a cage tends to bring far more money even though the race Z is likely more solid, better running and better cared for than the typical project car. That's why turning a decent project car into a race car is a losing proposition. If I ever need another race Z, the best option by far is to buy one that was built as a race car years ago and has been collecting dust.