Jeff G 78
-
Posts
3,007 -
Joined
-
Last visited
-
Days Won
23
Content Type
Profiles
Knowledge Base
Zcar Wiki
Forums
Gallery
Events
Downloads
Store
Blogs
Collections
Classifieds
Everything posted by Jeff G 78
-

What valve specs y'all like for adjusting
Jeff G 78 replied to Jabronie's topic in Engine & Drivetrain
Set them cold and check them hot to verify. If anything is a tad off, I can adjust one or two while it's still hot. -
Mine is similar. I used a 1" acme rod and a front strut top bearing for the thrust. Both ends are tapped, but one isn't tapped quite right, so I need to cut the rod a bit shorter and re-drill and tap that end. I kept both the rod and the tube longer than needed so they could be cut down if the threads get damaged,
-
Awesome! Glad somebody else got use out of my puller. Did the extracted spindle pin unthread from the threaded rod okay? My plan is to machine two flats on the back end of the threaded rod to aid in unthreading the two. I then need to machine a puller plug for extracting the bushing. The radius of the socket doesn't work as well as a sharper edge would and the plug will have the right step so the inner and outer bushing sleeves are pushed with the same force. Let me know how the bushings come out.
-
Spindle pin puller was handed over today. Hopefully it works out for @AZDatsun Eventually if I have time, I'll make more and sell them if there is a demand.
-
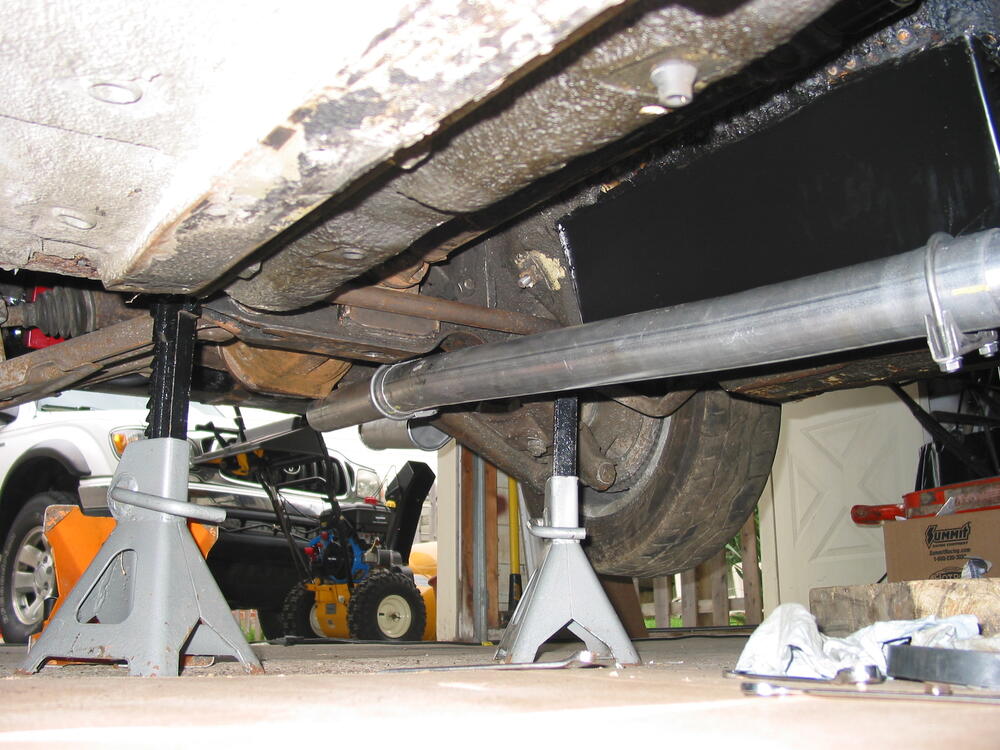
I put mine on the front differential crossmember just outside the LCA mout brackets. They allow the suspension to droop and allow removal of the majority of parts in the rear of the car.
-
Not that I'm in any position to get a new DD right now, but I do like the new Z. I briefly considered selling the Porsche and maybe even my 280Z next year to help offset the cost of the new Z. But then I noticed that I see a heck of a lot of 370Z's in my area and every one of them is ratty with mismatched body panels, slammed ride height and stupid loud exhaust with a punk kid driving. It will take time, but I see the new Z getting the same treatment and that's not my vibe. After all the S13's and S14's were ruined, the same people started buying up the Z33's and Z34's. I think I'll keep my 996 and my S30.
-
Where in AZ are you located? You can borrow mine.
-
Not really needed. I don't run them on my race car.
-
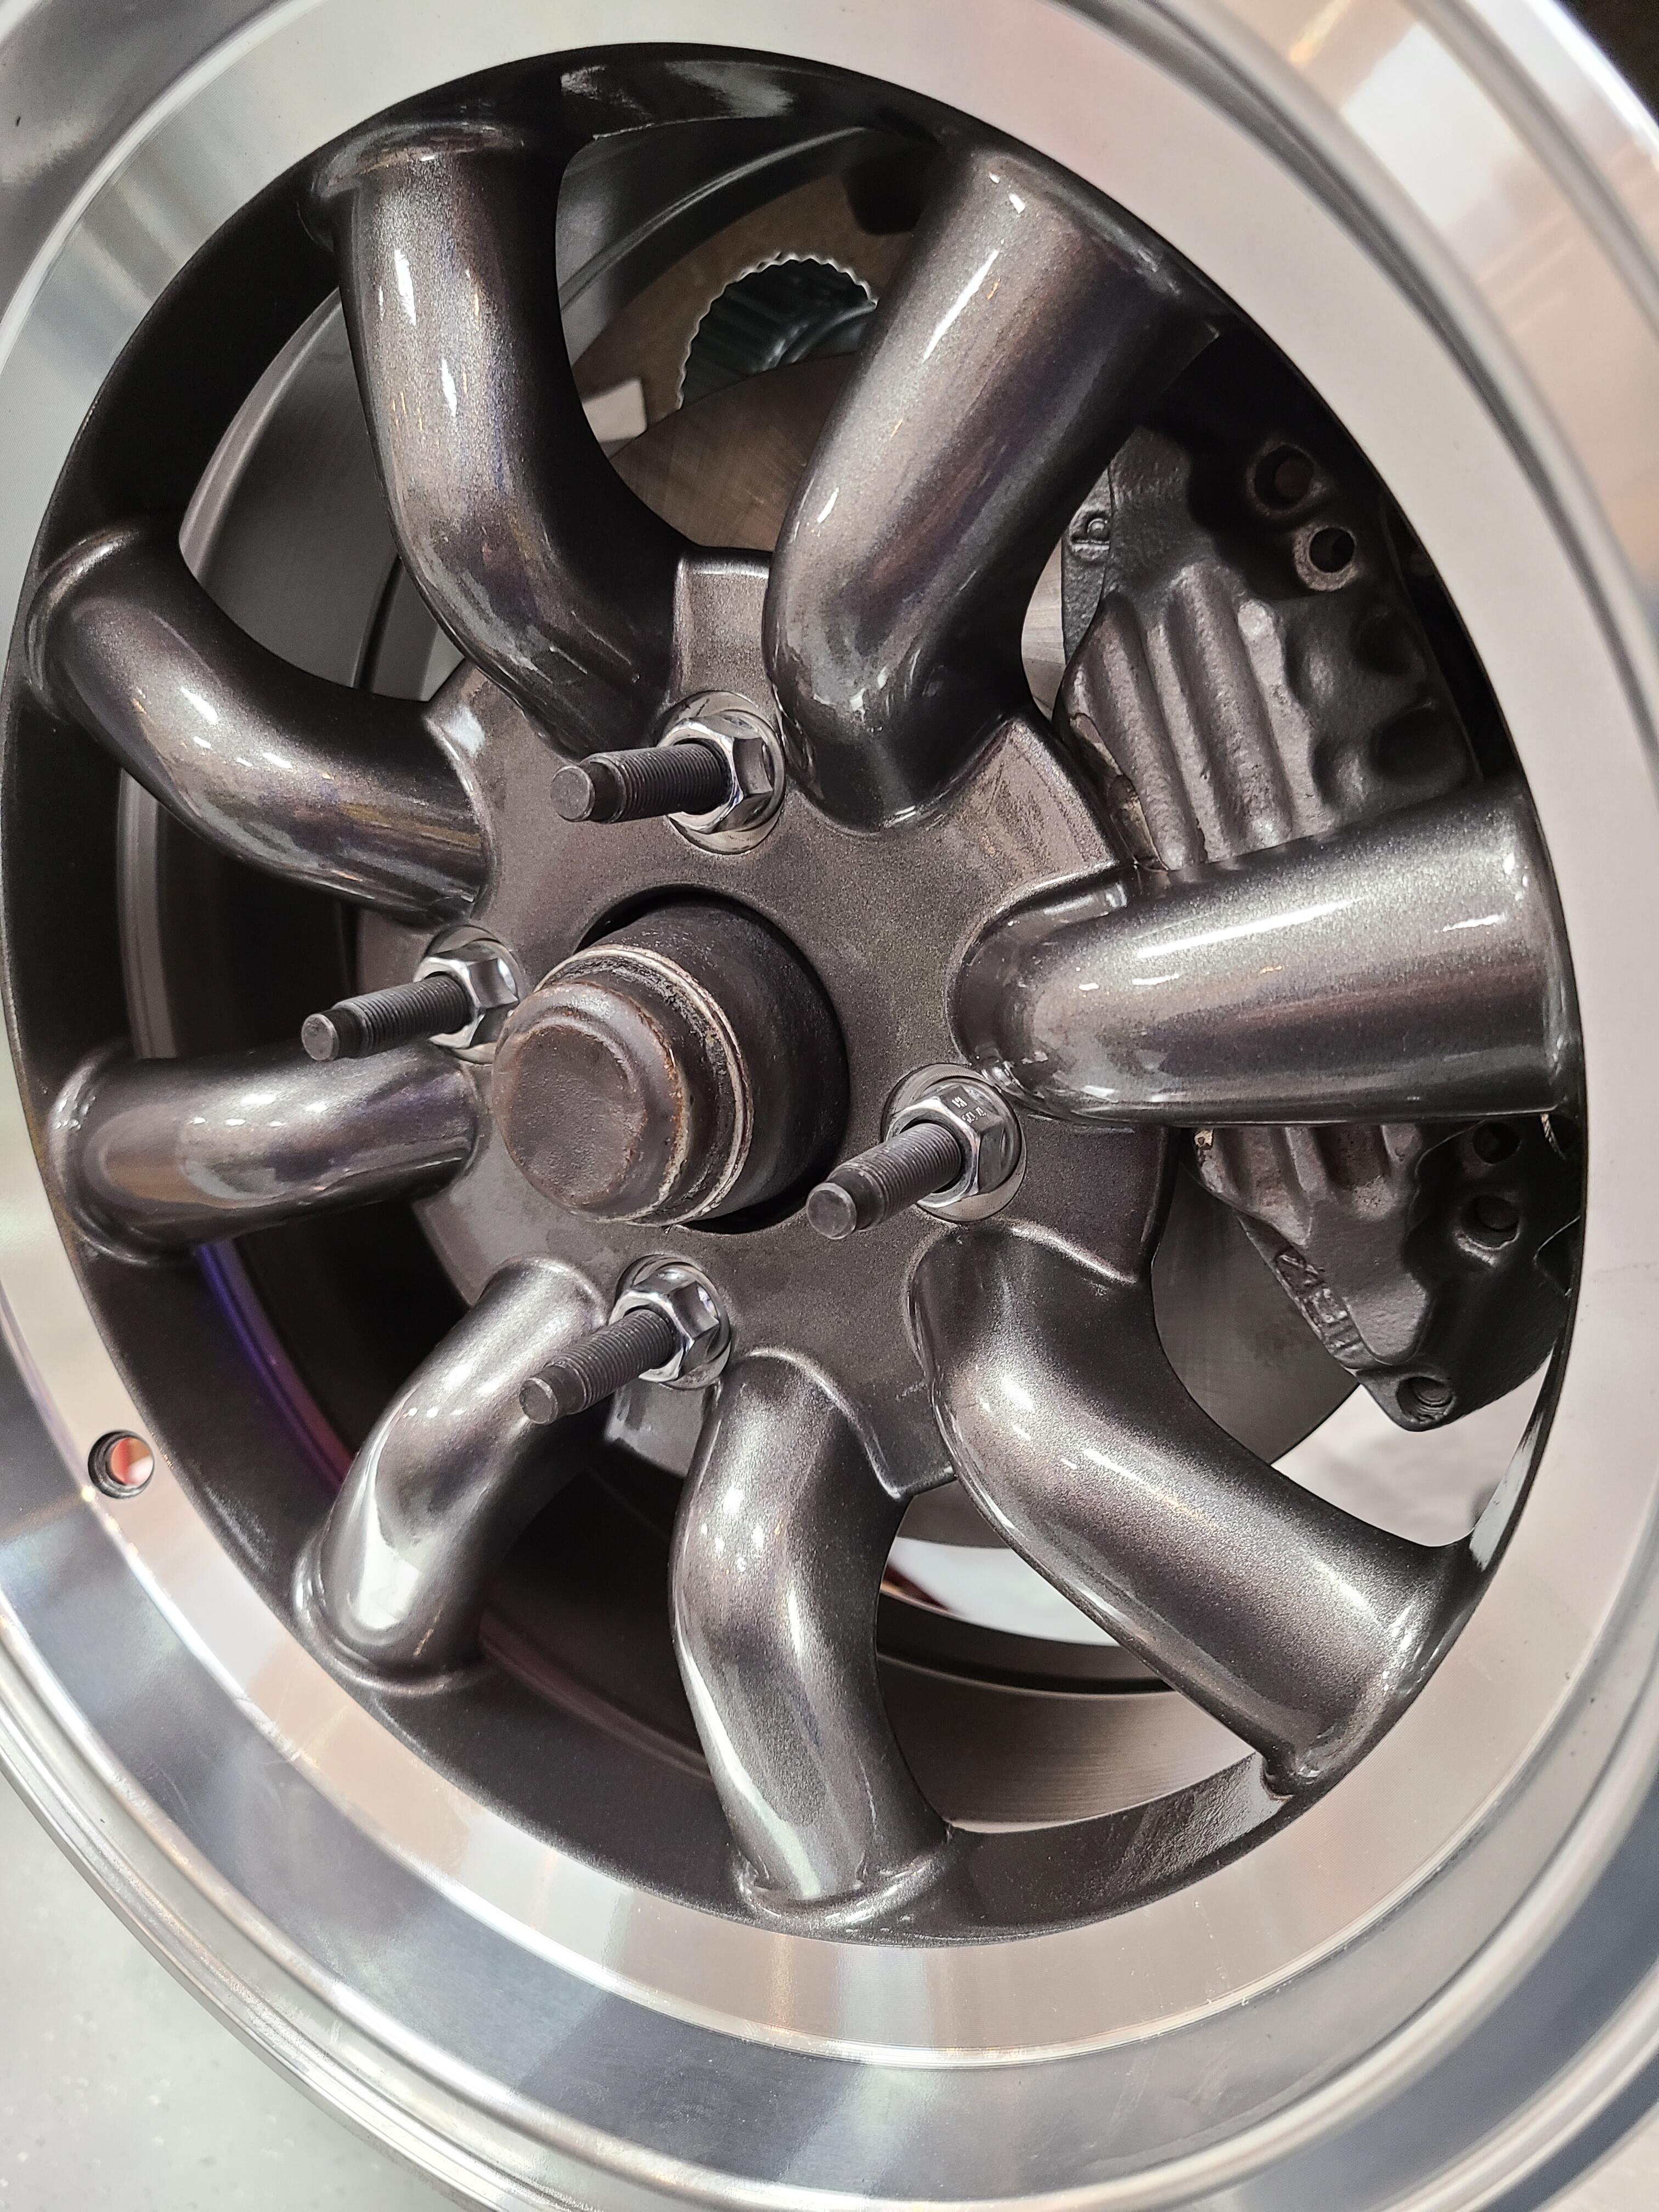
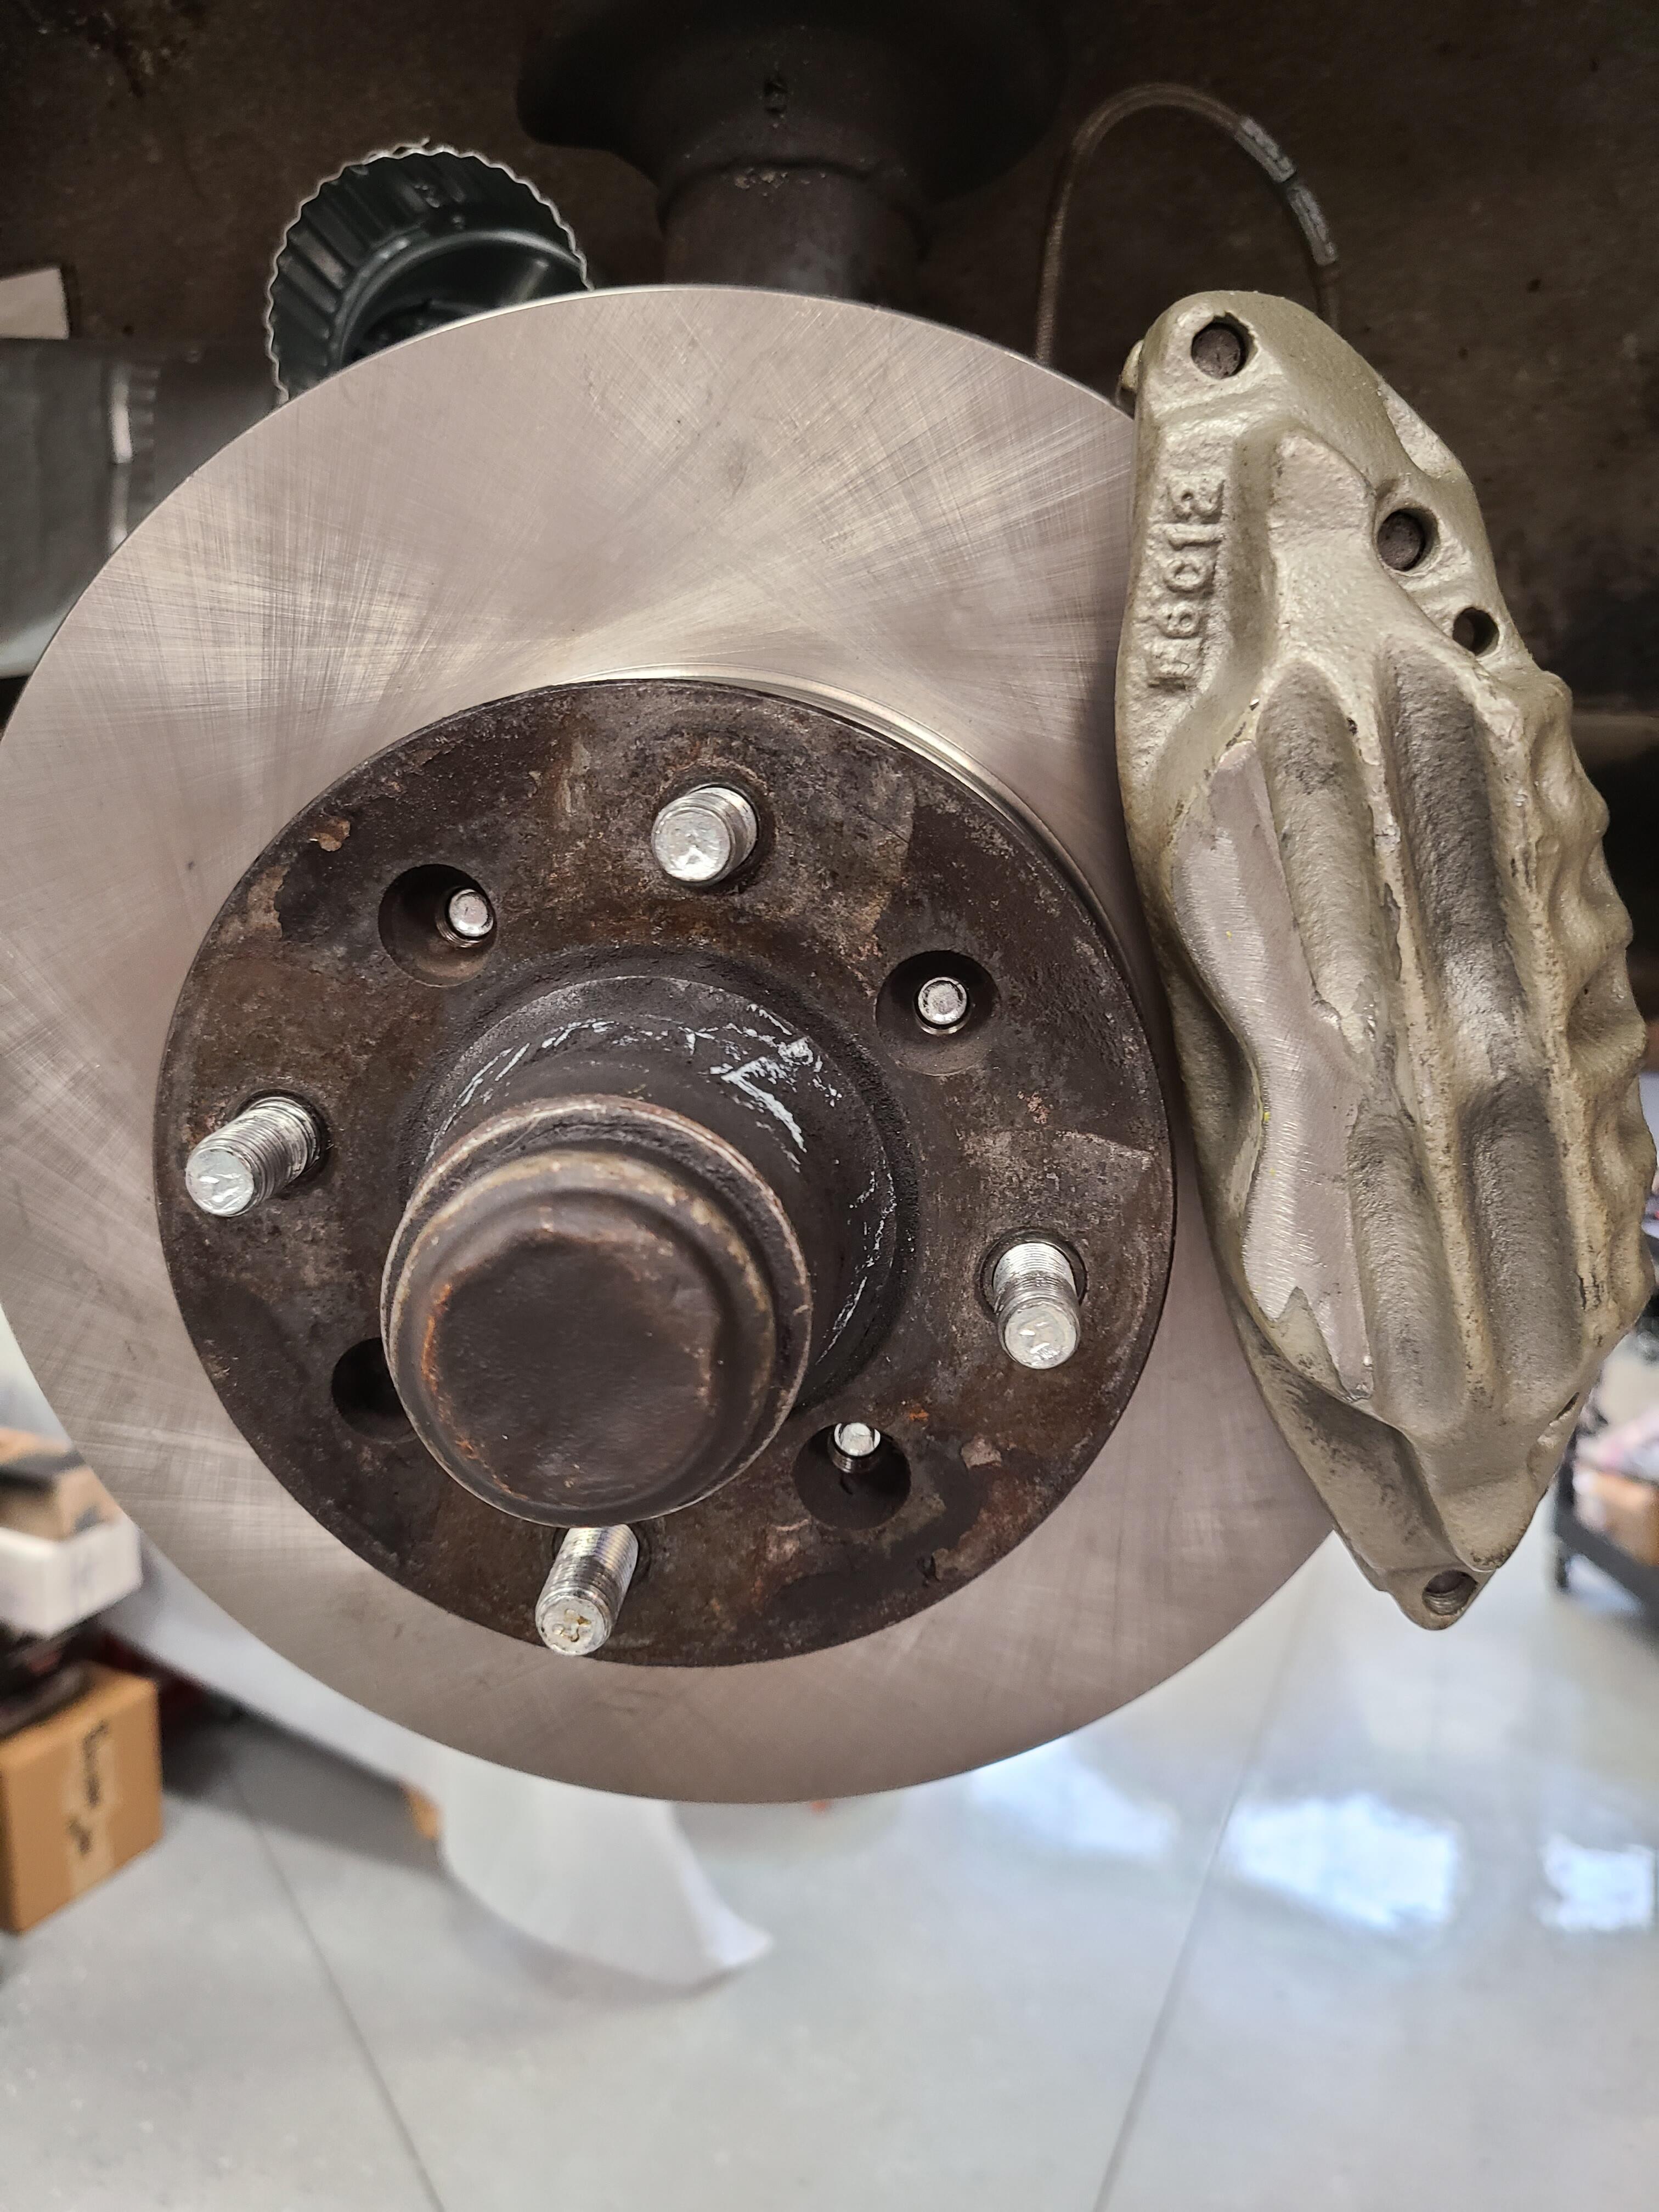
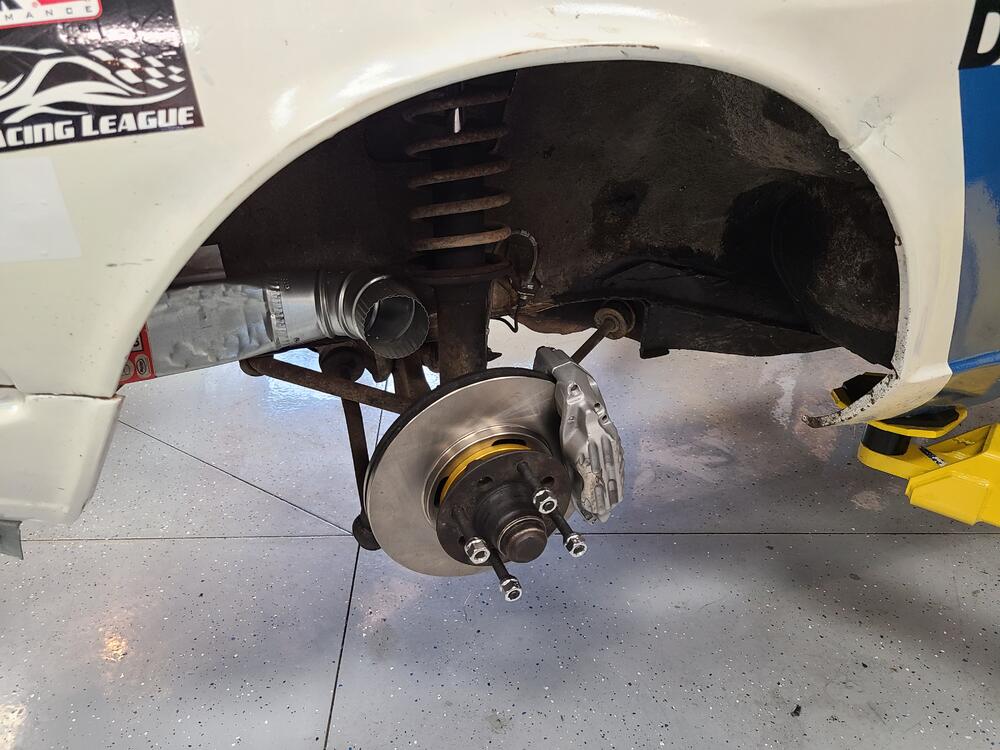
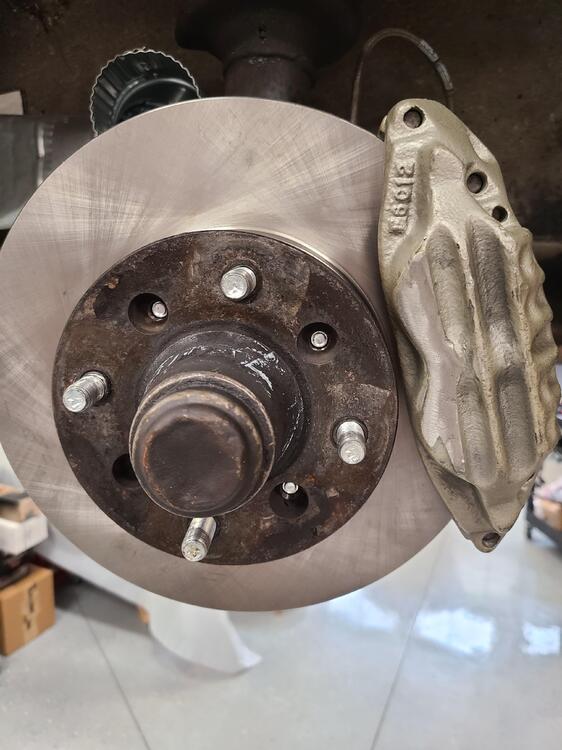
Yes, the Rewinds don't come close to fitting over the S12 + W calipers. They only need to be ground down at the inner corner, the rest of the fins can stay in place. I also needed to install longer studs to get proper thread engagement on the Rewinds. Make sure you have enough threads engaged.

-
I have all the OE A/C components for mine, but I haven't had the compressor mounted for 30 years. I plan to get it operational at some point so I can drive it in the summer. I can't even imagine it sitting in the sun and then trying to drive it without passing out when it's 110F or higher. Good luck with your build. Are you on desertdatsuns.net? I like that there is a AZ group, but I struggle with the 20 year old forum software there. It feels like the old Zhome or even IZCC days for the really old timers.
-
The biggest issue I see is the 0.008" head milling. An unsurfaced head will yield around 9.83:1 CR, but once milled, you will be over 10:1. Even on 93 octane, that's pushing it, but with our 91 octane, I'd be concerned. I have a similar build with an un-milled head and it did just fine in Michigan on 93. I moved to Sun City West a few months ago and other than driving around a bit this spring, my Z has been in the garage awaiting cooler weather, so I haven't even had to fill the tank with 91 yet. I'm hoping that I'll have time in the next month to get the car out and drive it more. At that point, I'll know how it likes 91 gas.
-
Welcome! There are a lot of great people here with tons of Z knowledge.
-
Looking good!
-
It's a lottery purchase for sure. I'd love to have the disposable income to buy that and have a 8000+ RPM engine built.
-
I remember letting the tensioner pop out back in the 80's. You will only let it happen once. 🙂 It adds time to the job, but pulling the front cover really isn't that bad. It adds a few hours at most. I've done air, rope, and rubber hose to hold the valves closed. Rope is the best method. The hose is a bit to squishy and allows some valve movement. Air works fine, but is too risky. if anything goes wrong with air, the job gets MUCH harder. I have had good luck with the KD valve spring compressor tool on stock valve springs, but performance springs and spring caps make it much more difficult to fit. I have to remove one of the two cam hooks for the three valves closest to the towers in order to get the tool to fit properly over the valve spring cap. I've probably used the tool at least a dozen times and likely more over the last 25 years.
-
Any clue what an entire system might cost Steve? Just curious if you have a ballpark.
-
I don't mind driving places that I can reach in one day, but I don't like taking multiple days each direction. My back isn't what it used to be, so 800 miles is about my comfortable daily limit. This spring when I moved across the country, I did 1000 miles the third day pulling a trailer. That was a bit too much.
-
Too far for me. It's over 1700 miles away.
-
I don't have a huge problem with cutting coils, but you must do the math and understand what you are doing. Cutting coils increases the effective spring rate and in your case, cutting the fronts to level the car will increase the front spring rate while the rears stay the same. This will change the ride frequency and could cause the car to be pitchy. Raising the front spring rate will also change the front to rear handling balance. I cut the coils on my 260Z race car. Stock coils on the late 260Z coupe are 100 Lbs/in. front and rear from what I remember (it was 12 years ago). I cut 2 coils and then added custom length jounce bumpers from a ~2000 model year Sentra with a measured 55 lb/in rate. I cut the length so they were in contact at curb height so they act as spring aids. With the coils cut, the car dropped 1" and the new spring rates including the jounce bumpers went up to 200 lbs/in. I fine tuned the handling by playing with different length jounce bumpers and the result was fantastic handling. The car is well balanced and easy to drive at the limit. You are better off shimming the rears via rubber, delrin or aluminum under the spring or on top of the spring. It's the perfect application for 3D printed TPU (rubber) as you could get just the right shape for the spacers.
-
Same. I will use the air or Milwaukee impact to remove nuts and to run them on only until they touch. I finish with the torque wrench. Using a paint pen on all chassis fasteners once torqued is best practice so you know they are torqued and you can easily see if they have backed off with use.
-
I don't think I've tightened any wheel in the past 30 years without using a torque wrench.
-
My DD 911 is that way. I look like an old man every time I get out of it. I usually have a 20 lb. backpack, keys, sunglasses, mask, etc. so I struggle to stand up. 🙂
-
I think it looks pretty damn good overall. So.... is it just the "Z"? I'm so glad they didn't go with the 400Z name as that made zero sense. I would have been happy with 300Z, but I guess just Z works too. Hopefully the pricing is where it needs to be to succeed in the market.
-
Won't work as the splines are not symmetrical to act as tumblers in a lock. They look like Gorilla brand locks to me. I'd contact Gorilla and see if they can supply the proper key. At this point barring finding the right key, I'd pull the bearing nut to remove the wheel from the spindle and then drill the head off the stud from the back side. Once the head is off, hammer the stud and nut through and insert a new stud. I'd also remove all grease from the hub as there will be metal shavings in there from drilling.
-
They also sell hardened cone shaped sockets with teeth. You hammer it onto the wheel lock and it bites into the nut to allow removal. I'd be a bit worried about grinding flats as you don't have a lot of space to work with before touching the wheel. I'm assuming you are trying to save the Chromodora wheels.