Jeff G 78
-
Posts
3,007 -
Joined
-
Last visited
-
Days Won
23
Content Type
Profiles
Knowledge Base
Zcar Wiki
Forums
Gallery
Events
Downloads
Store
Blogs
Collections
Classifieds
Everything posted by Jeff G 78
-
Indy is only 5 hours from me. Maybe I should take a few of my spare parts if we come up with a swap meet plan.
-
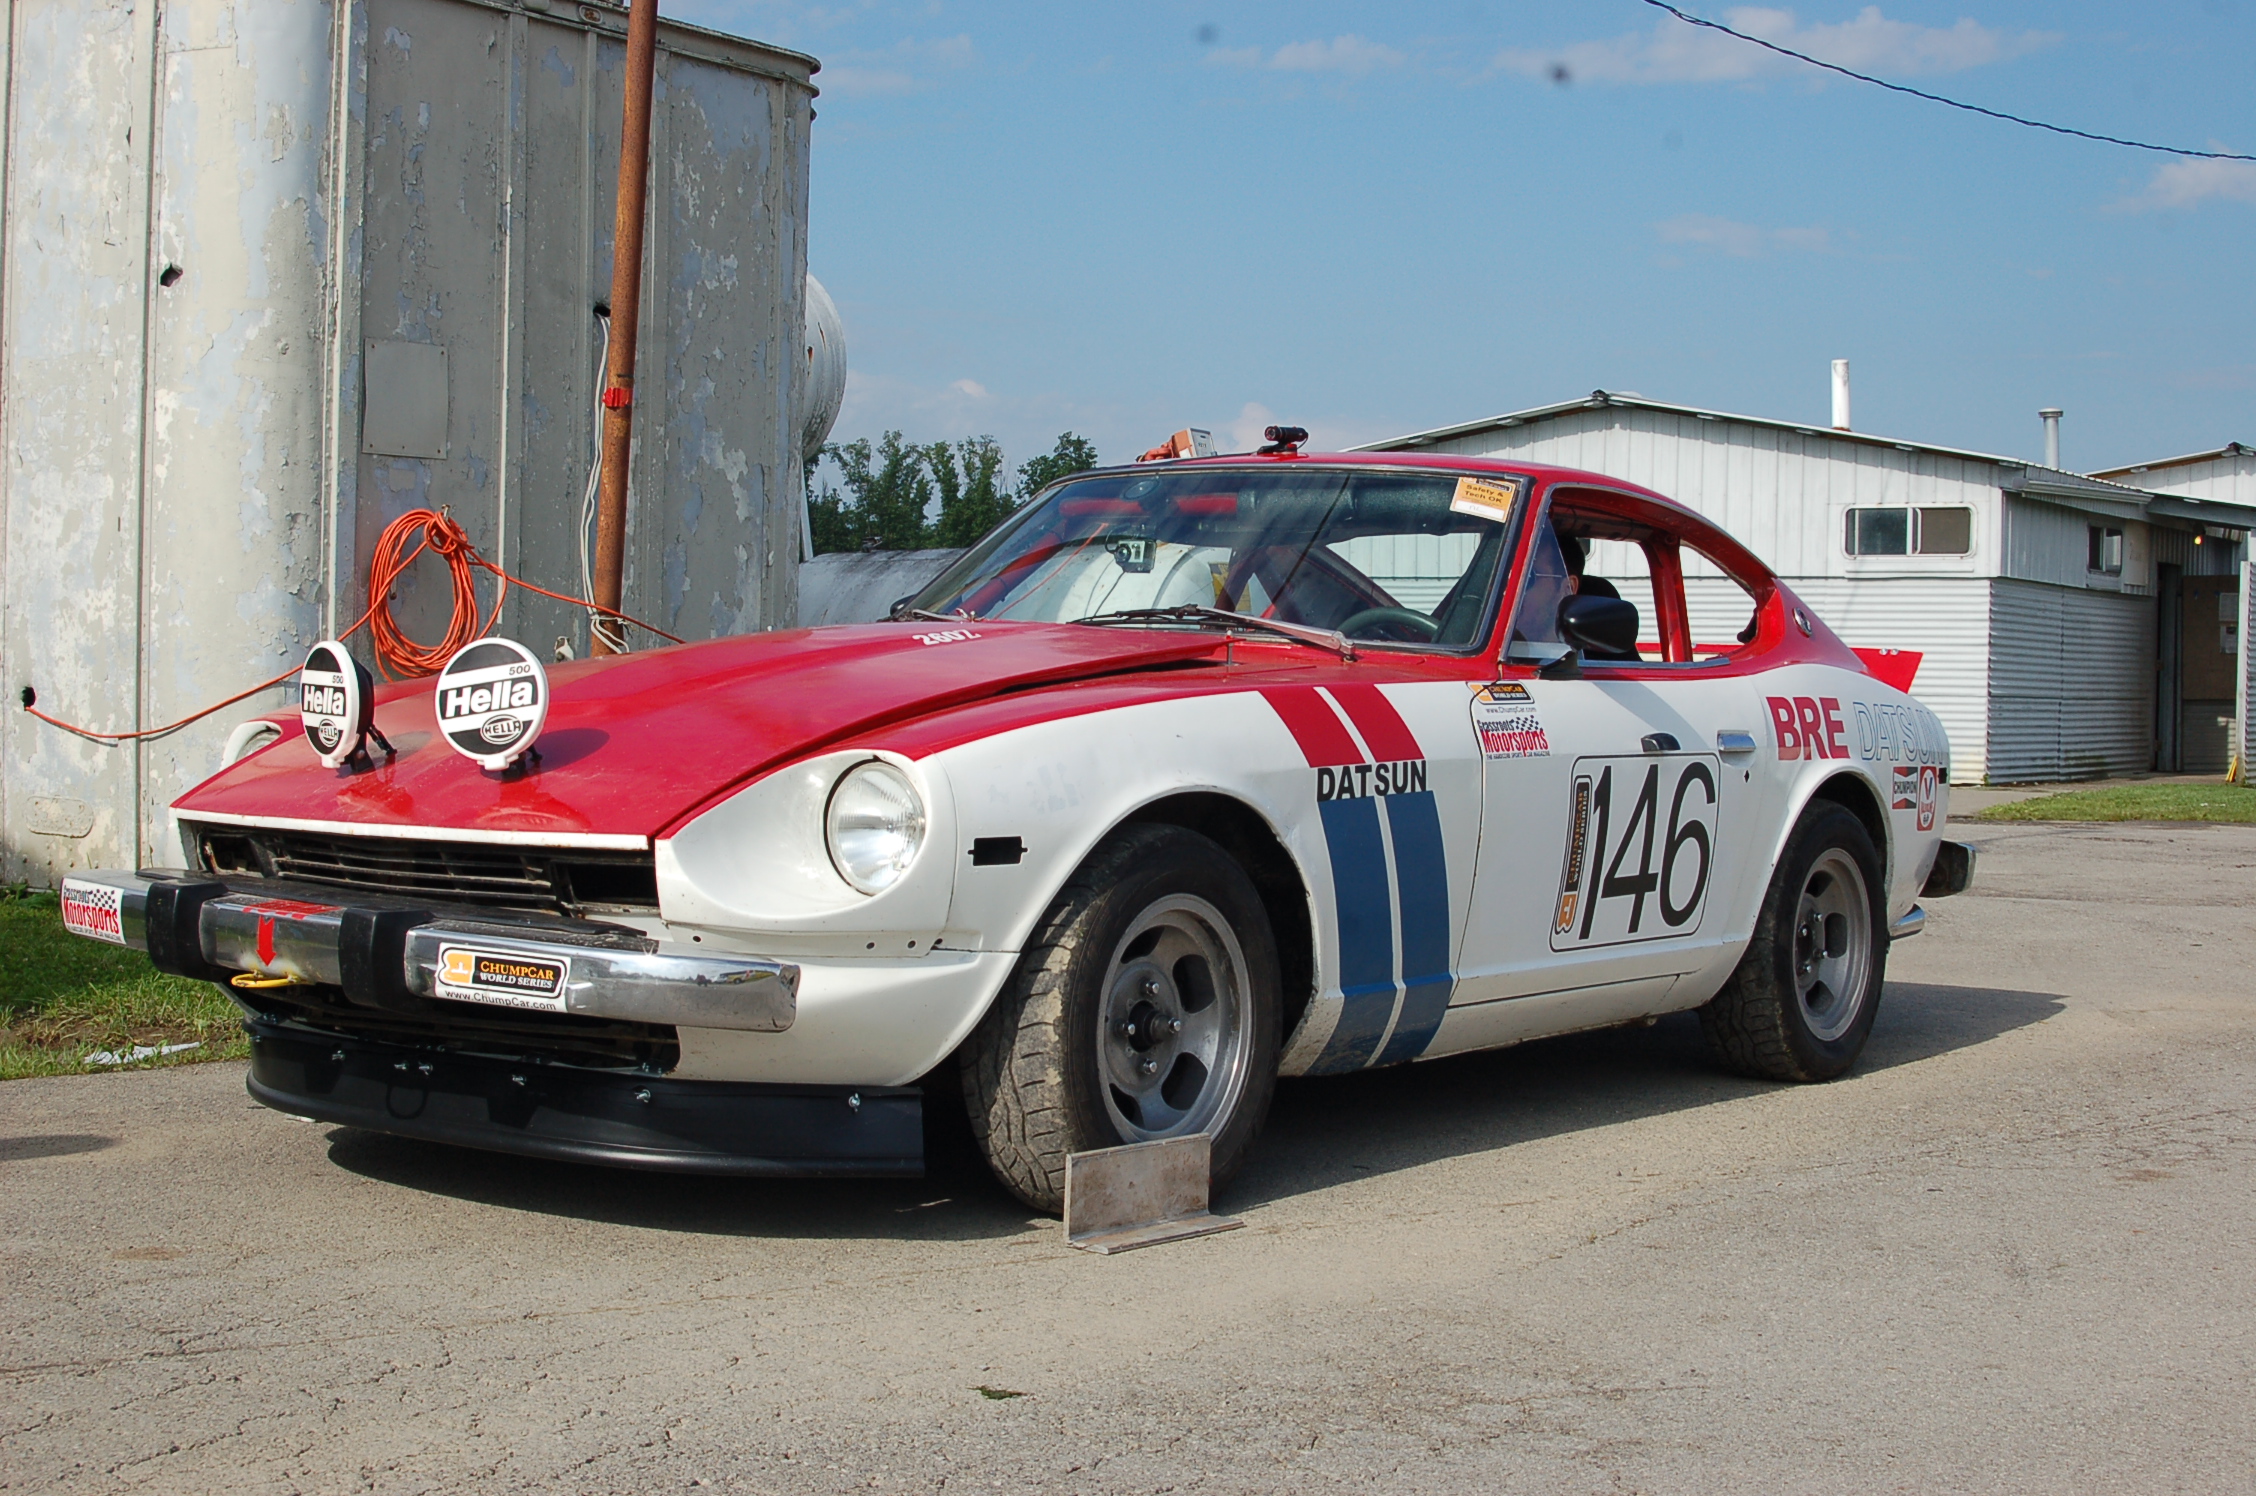
Sounds like a great race car shell.
-
I haven't dynoed it, but based on a friend's engine that was built the same, it should be making about 170 at the wheels. I drive 500+ HP cars on track for a living, so I am pretty well immune to HP at this point. The Z is a momentum car for sure, but it has a great handling balance and is a lot of fun for a car with 1/3 the HP per lb. as most cars I track test. I look forward to the brake duct pics. I looked, but apparently never took any pictures of my ducts with the wheels off.
-
Close Cliff. The ducts are made from ductwork. I hate this pic. The temp dropped overnight and my headlight covers developed small cracks at the fasteners. I had to tape them up to keep them from cracking further. My car looks like Alice Cooper.
-
We run stock brake hardware on our endurance racer with just high temp fluid, braided hoses, and Porterfield linings. We did finally add brake ducts in front but I'm not sure it was needed. Our races are up to 25.5 hours long and fade has not been an issue. That said, keeping the drums adjusted is a pain and our plan is to finally upgrade to vented fronts and rear discs. As the car gets faster with more mods, we will need more brake performance.
-
Is it the locks themselves that are worn Cliff? That's usually the culprit when the key won't quite unlock the doors. The "D" shaped rod on the lock wears and causes slop.
-
I was just in New Orleans yesterday and it was getting really cold there. It looks like the whole south is getting hammered. There is supposed to be an endurance race at Barber this weekend and the track is covered in snow and ice. COTA in Texas is in the same boat. Stay safe and warm Cliff.
-

Any advice on bleeding the clutch
Jeff G 78 replied to footballnick17's topic in Engine & Drivetrain
I've done dozens of clutch master and slave replacements and only once did I have one that just wouldn't bleed. I tried every method with no success until finally I had a helper tap the master with a screwdriver in rapid fashion while I used a vacuum bleeder on the slave. Sure enough, the air bubble worked its way out of the master and all was good again. -
Konigs are made in Thailand.
-
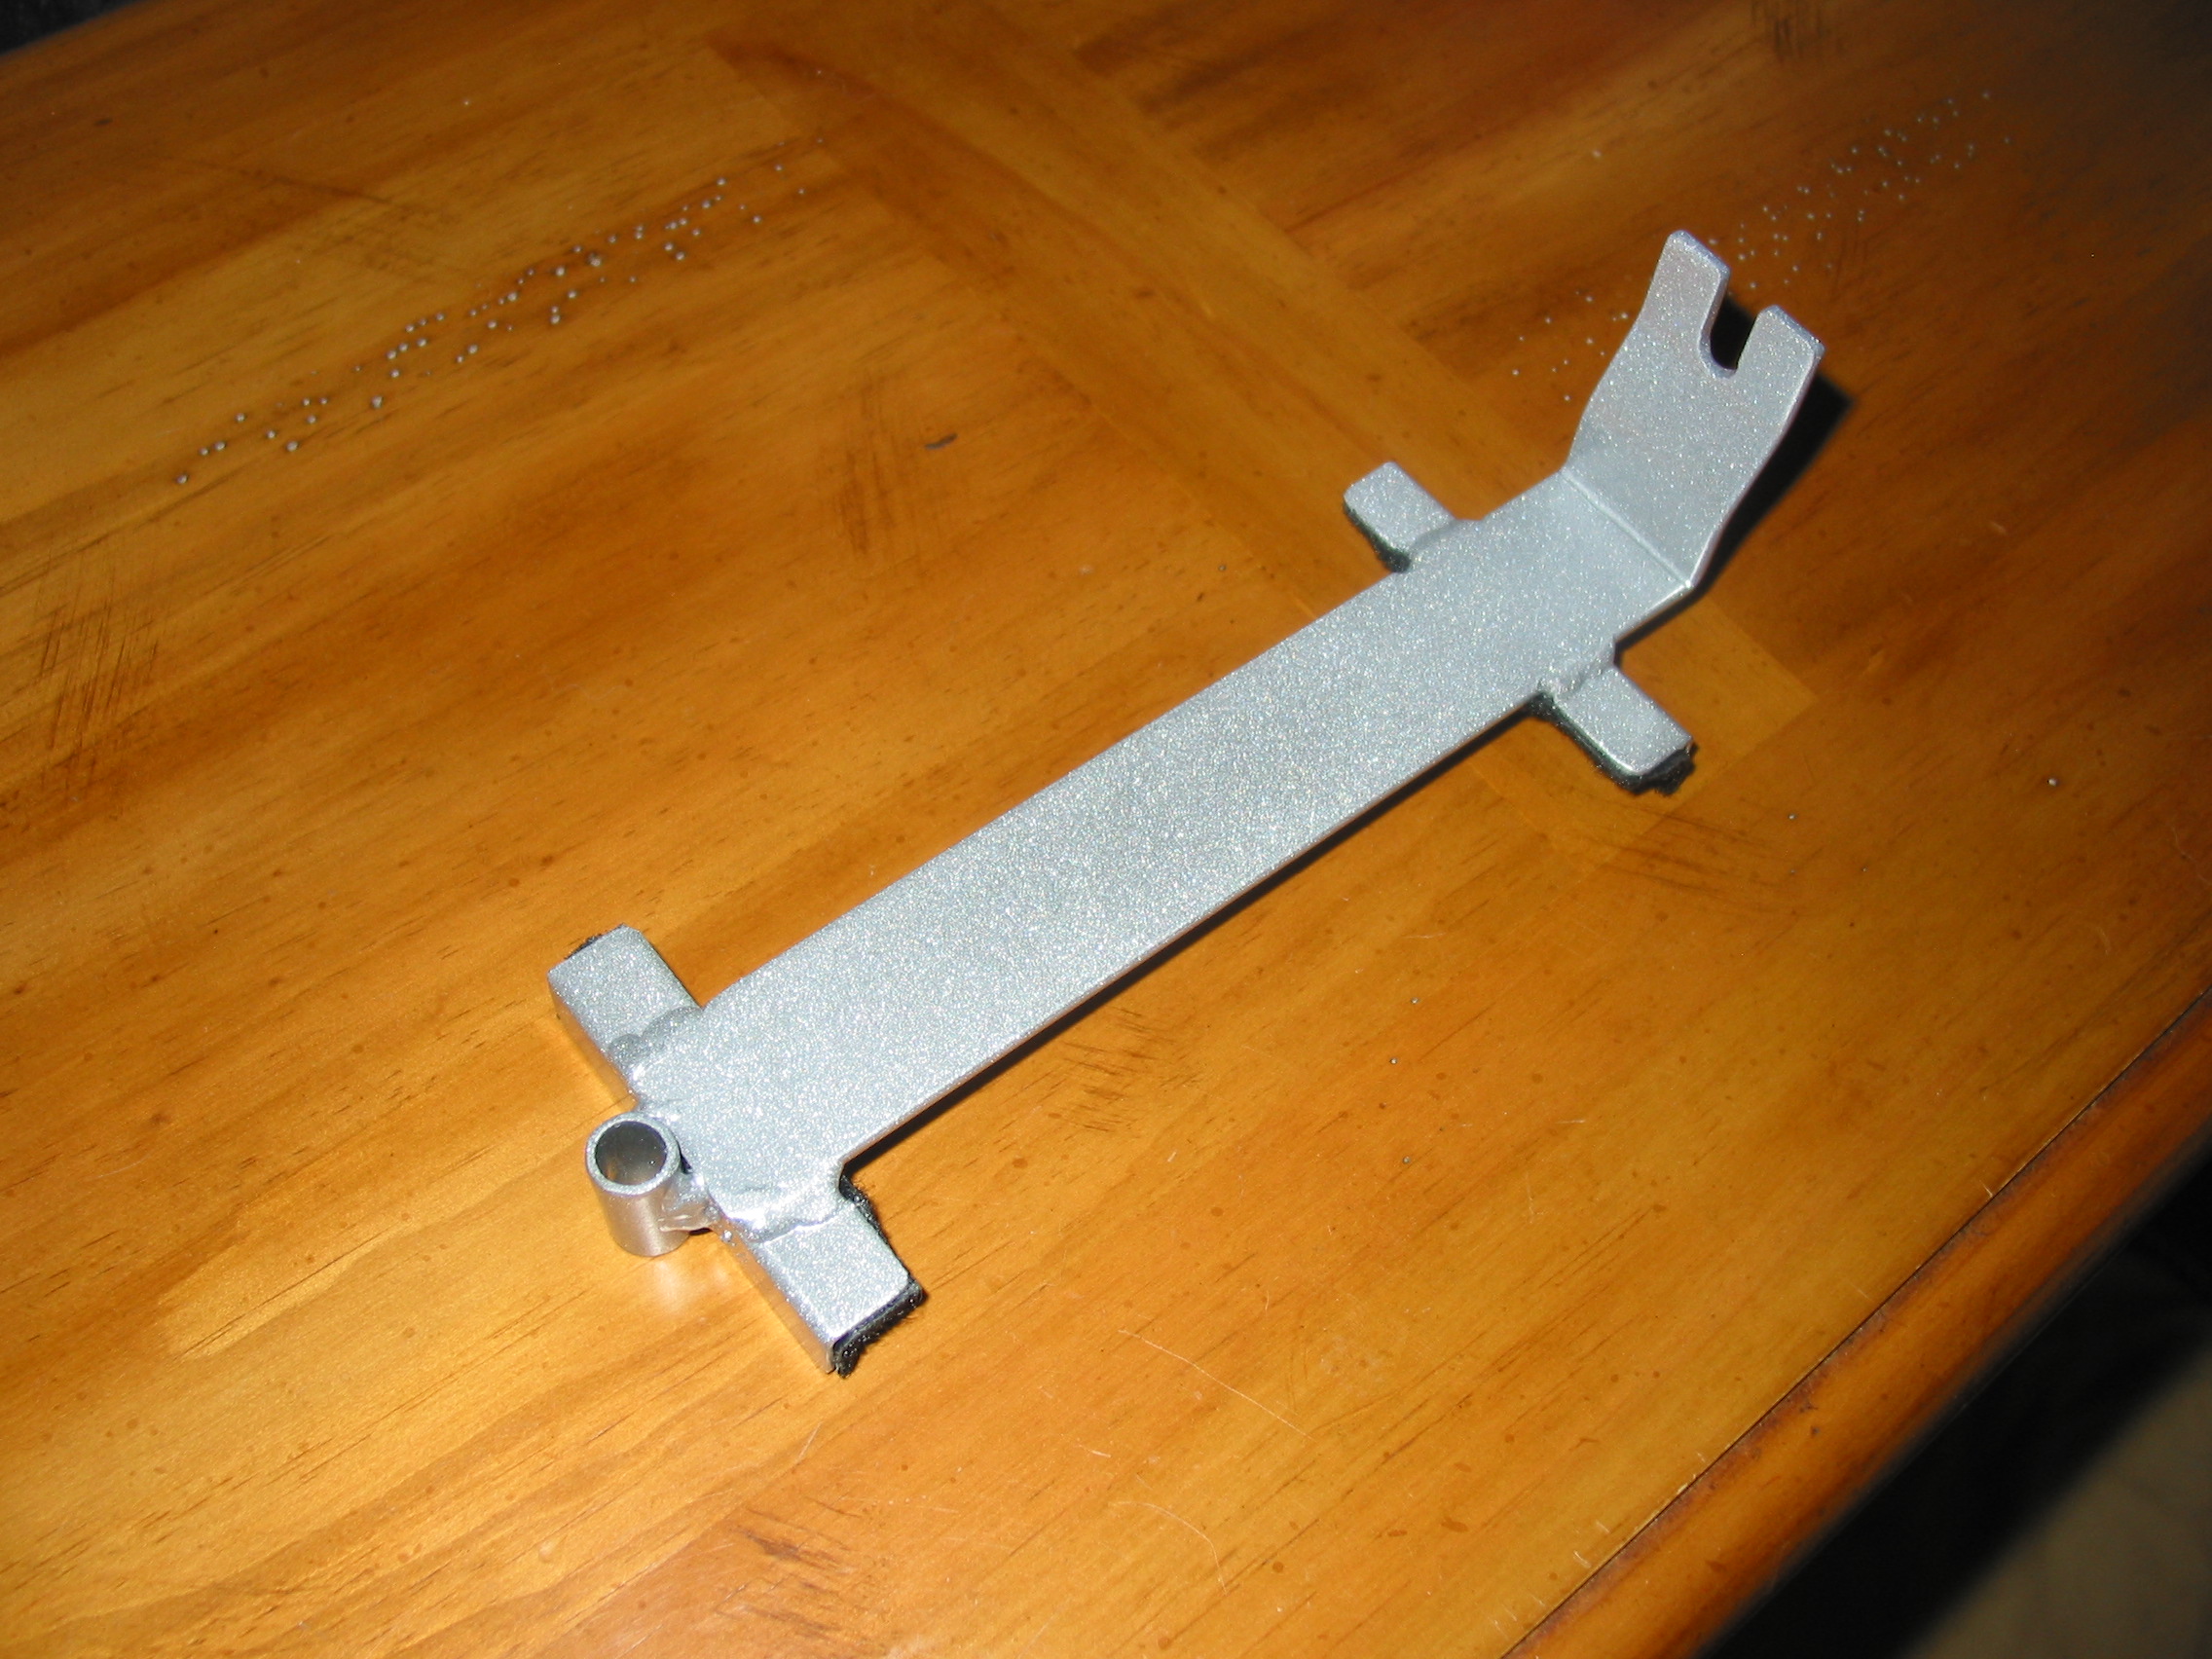
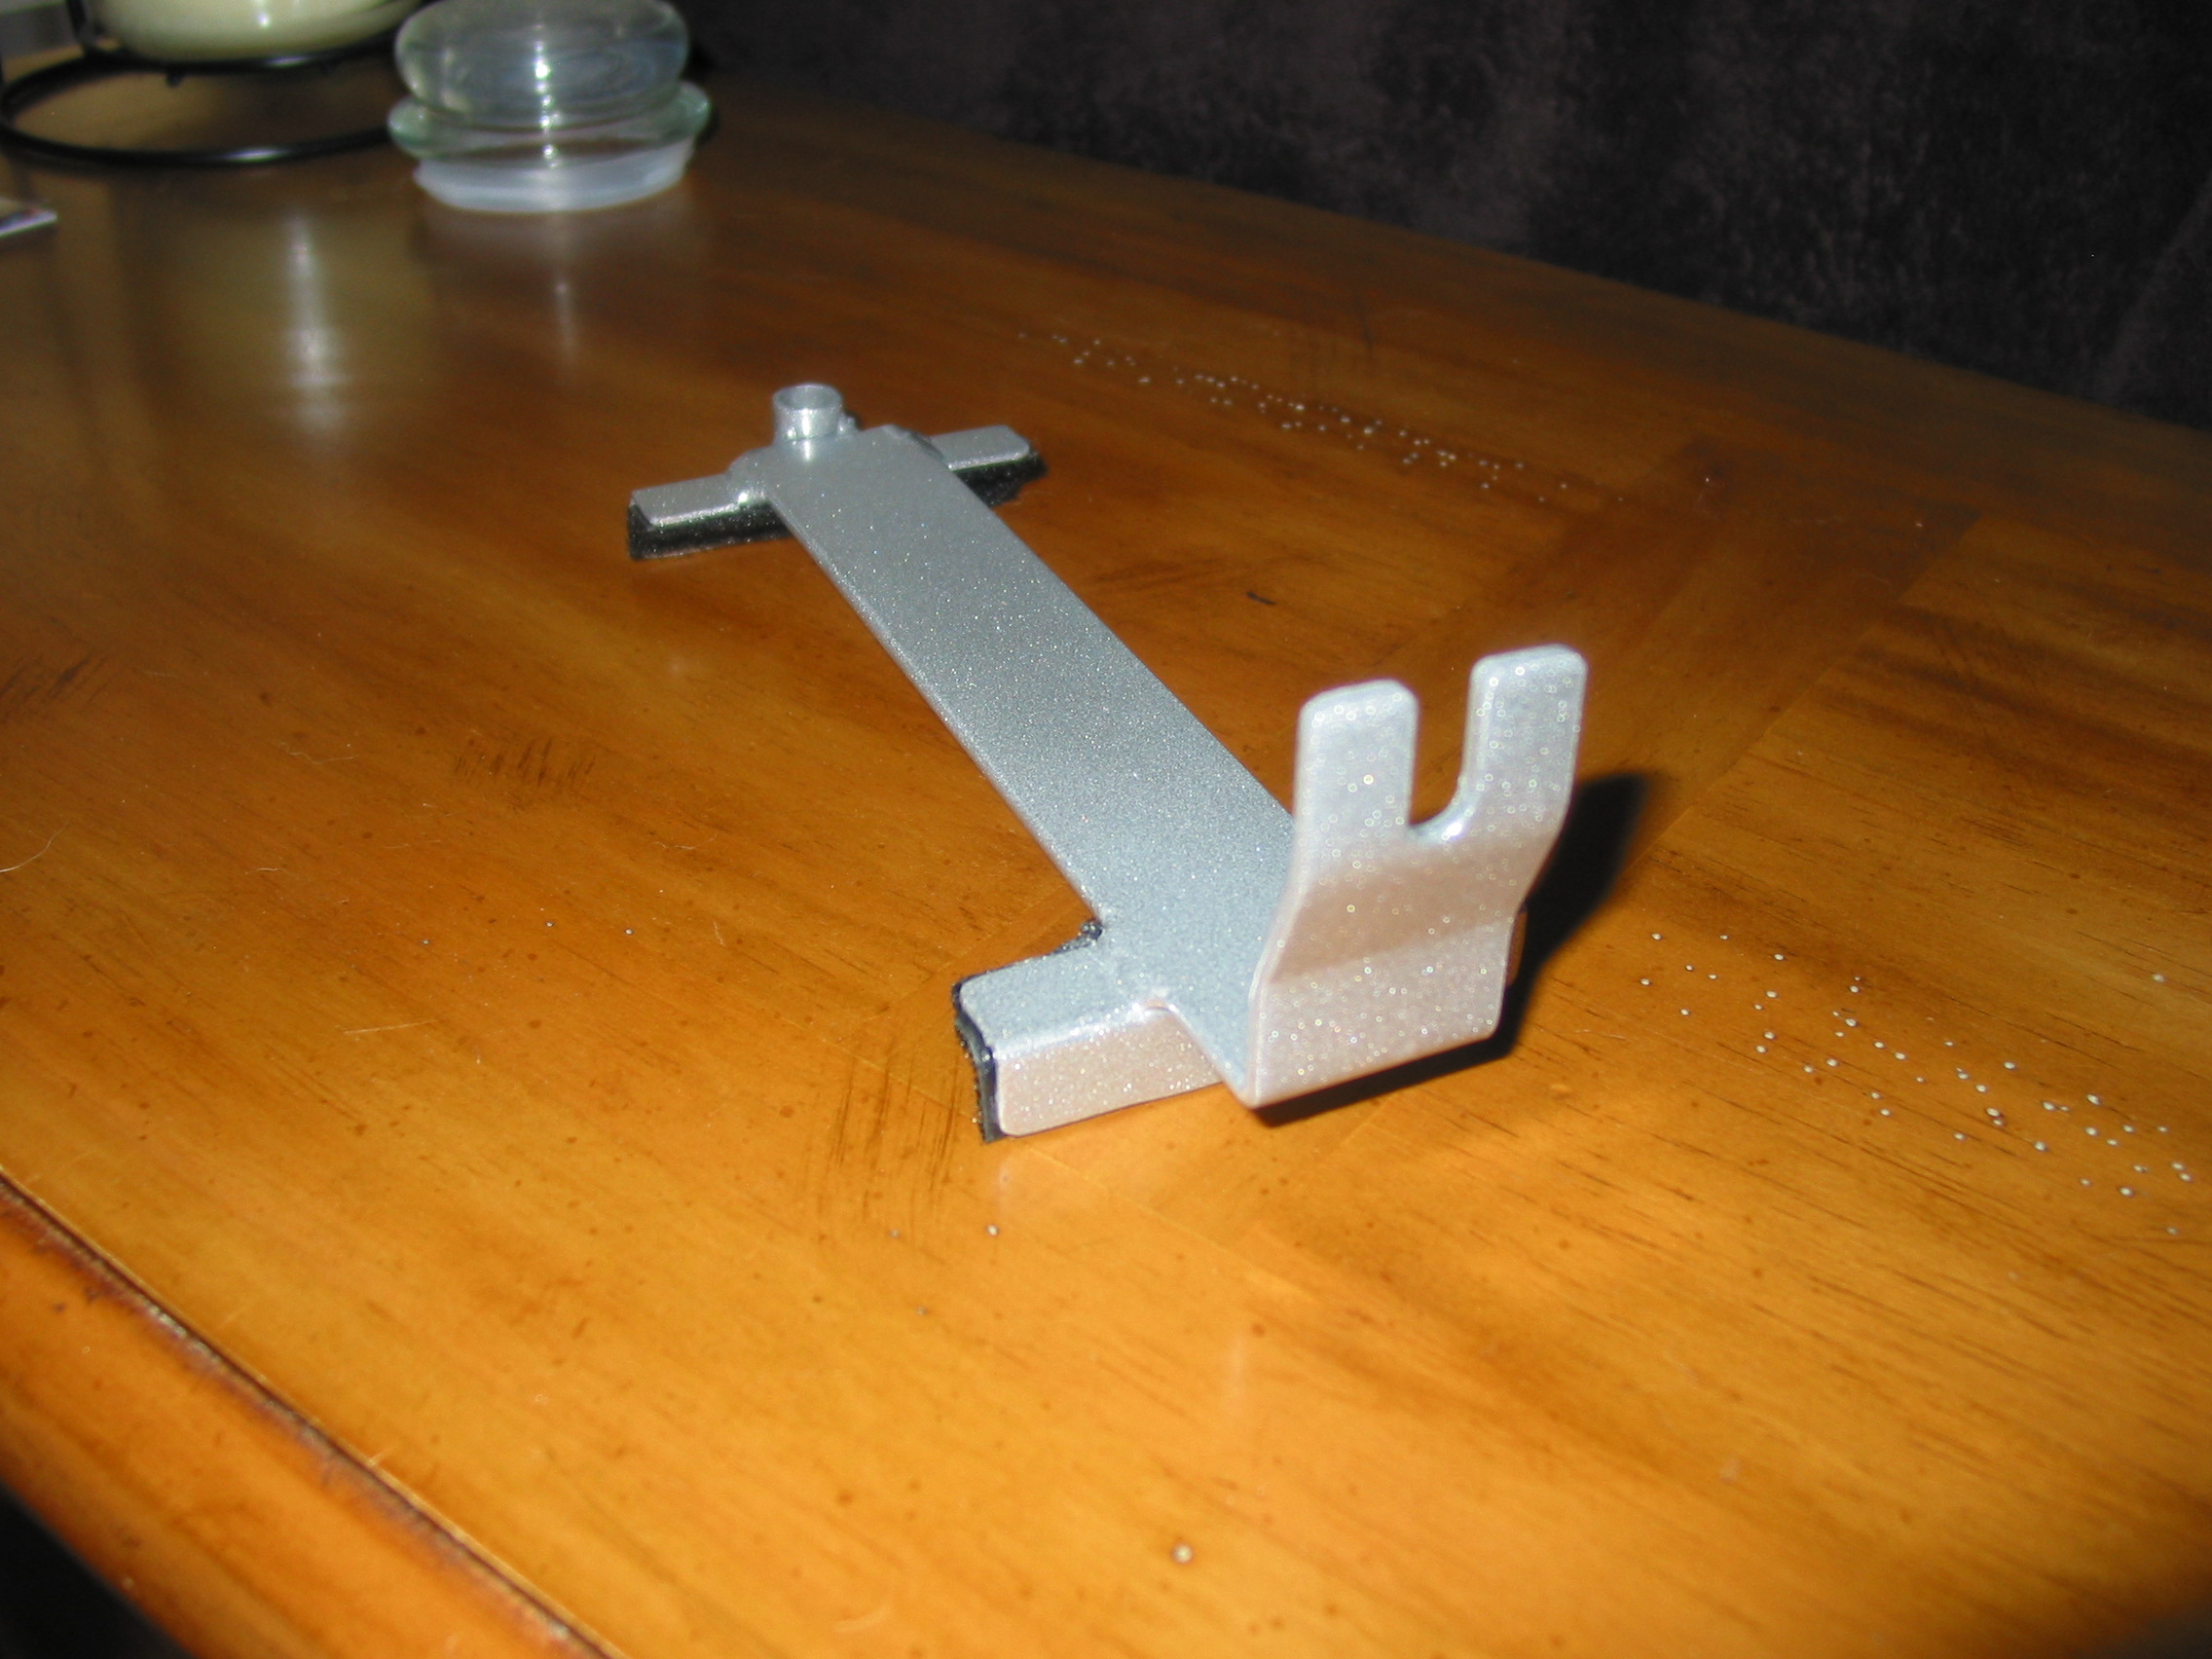
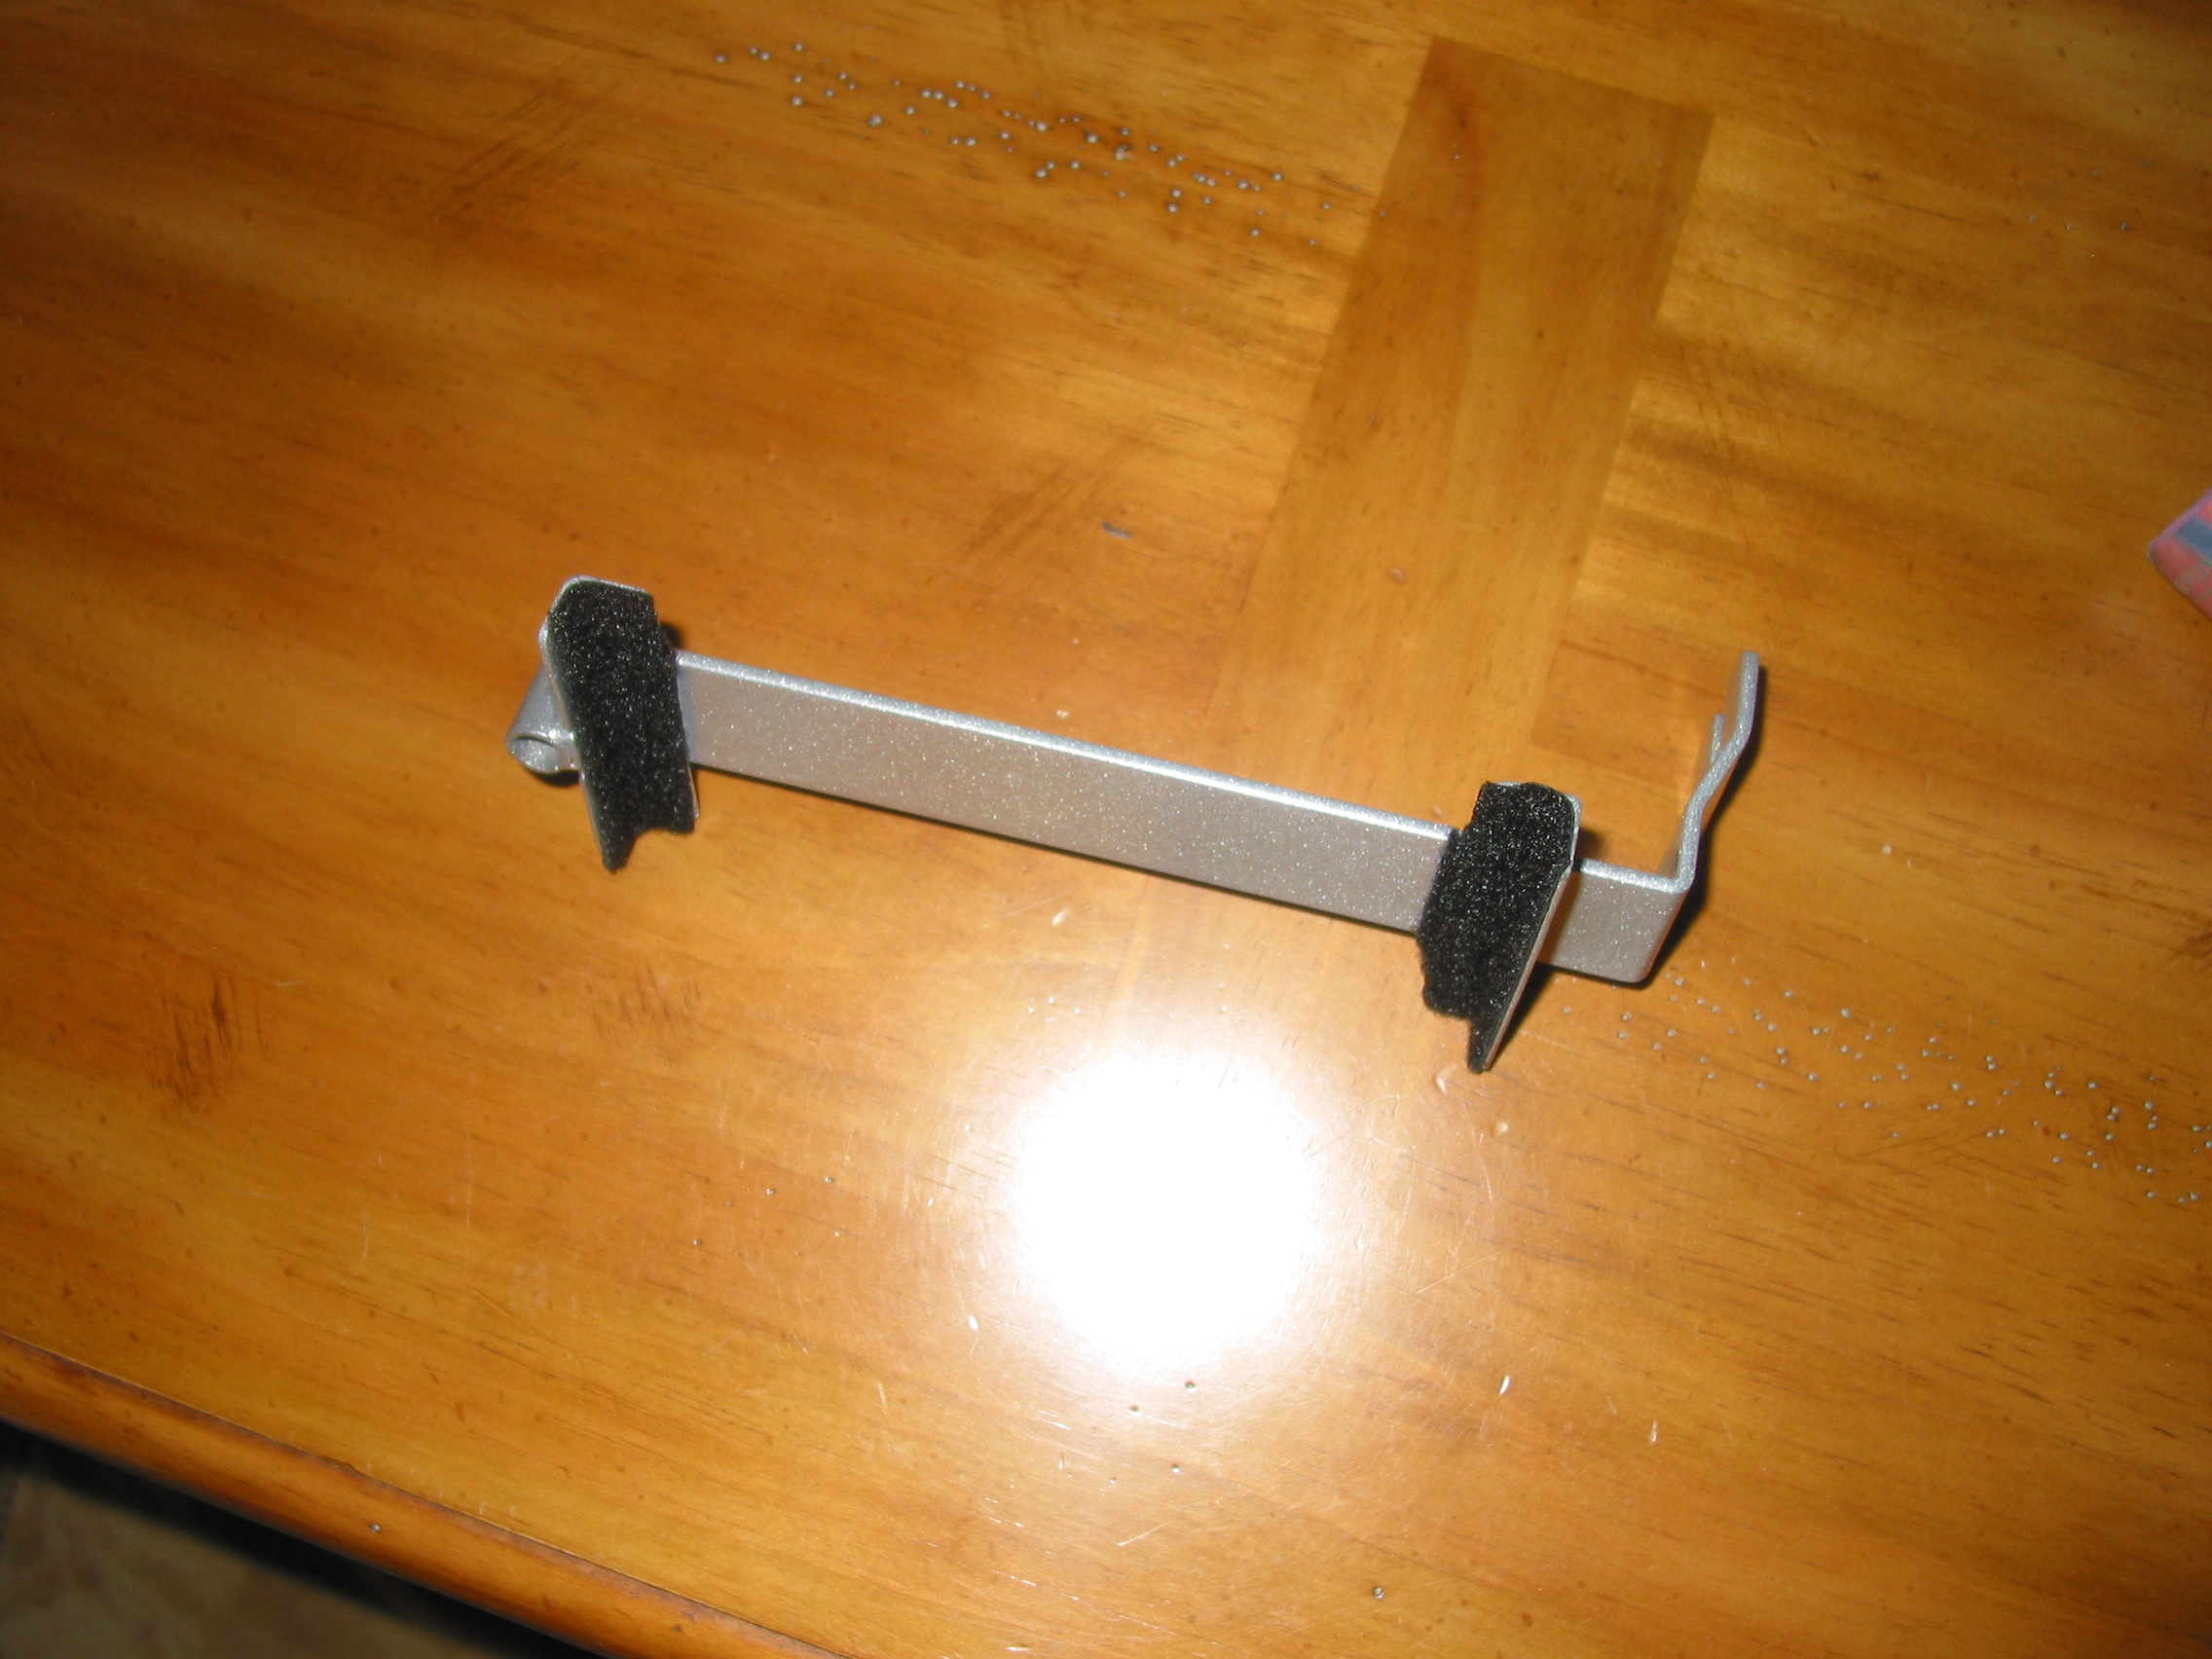
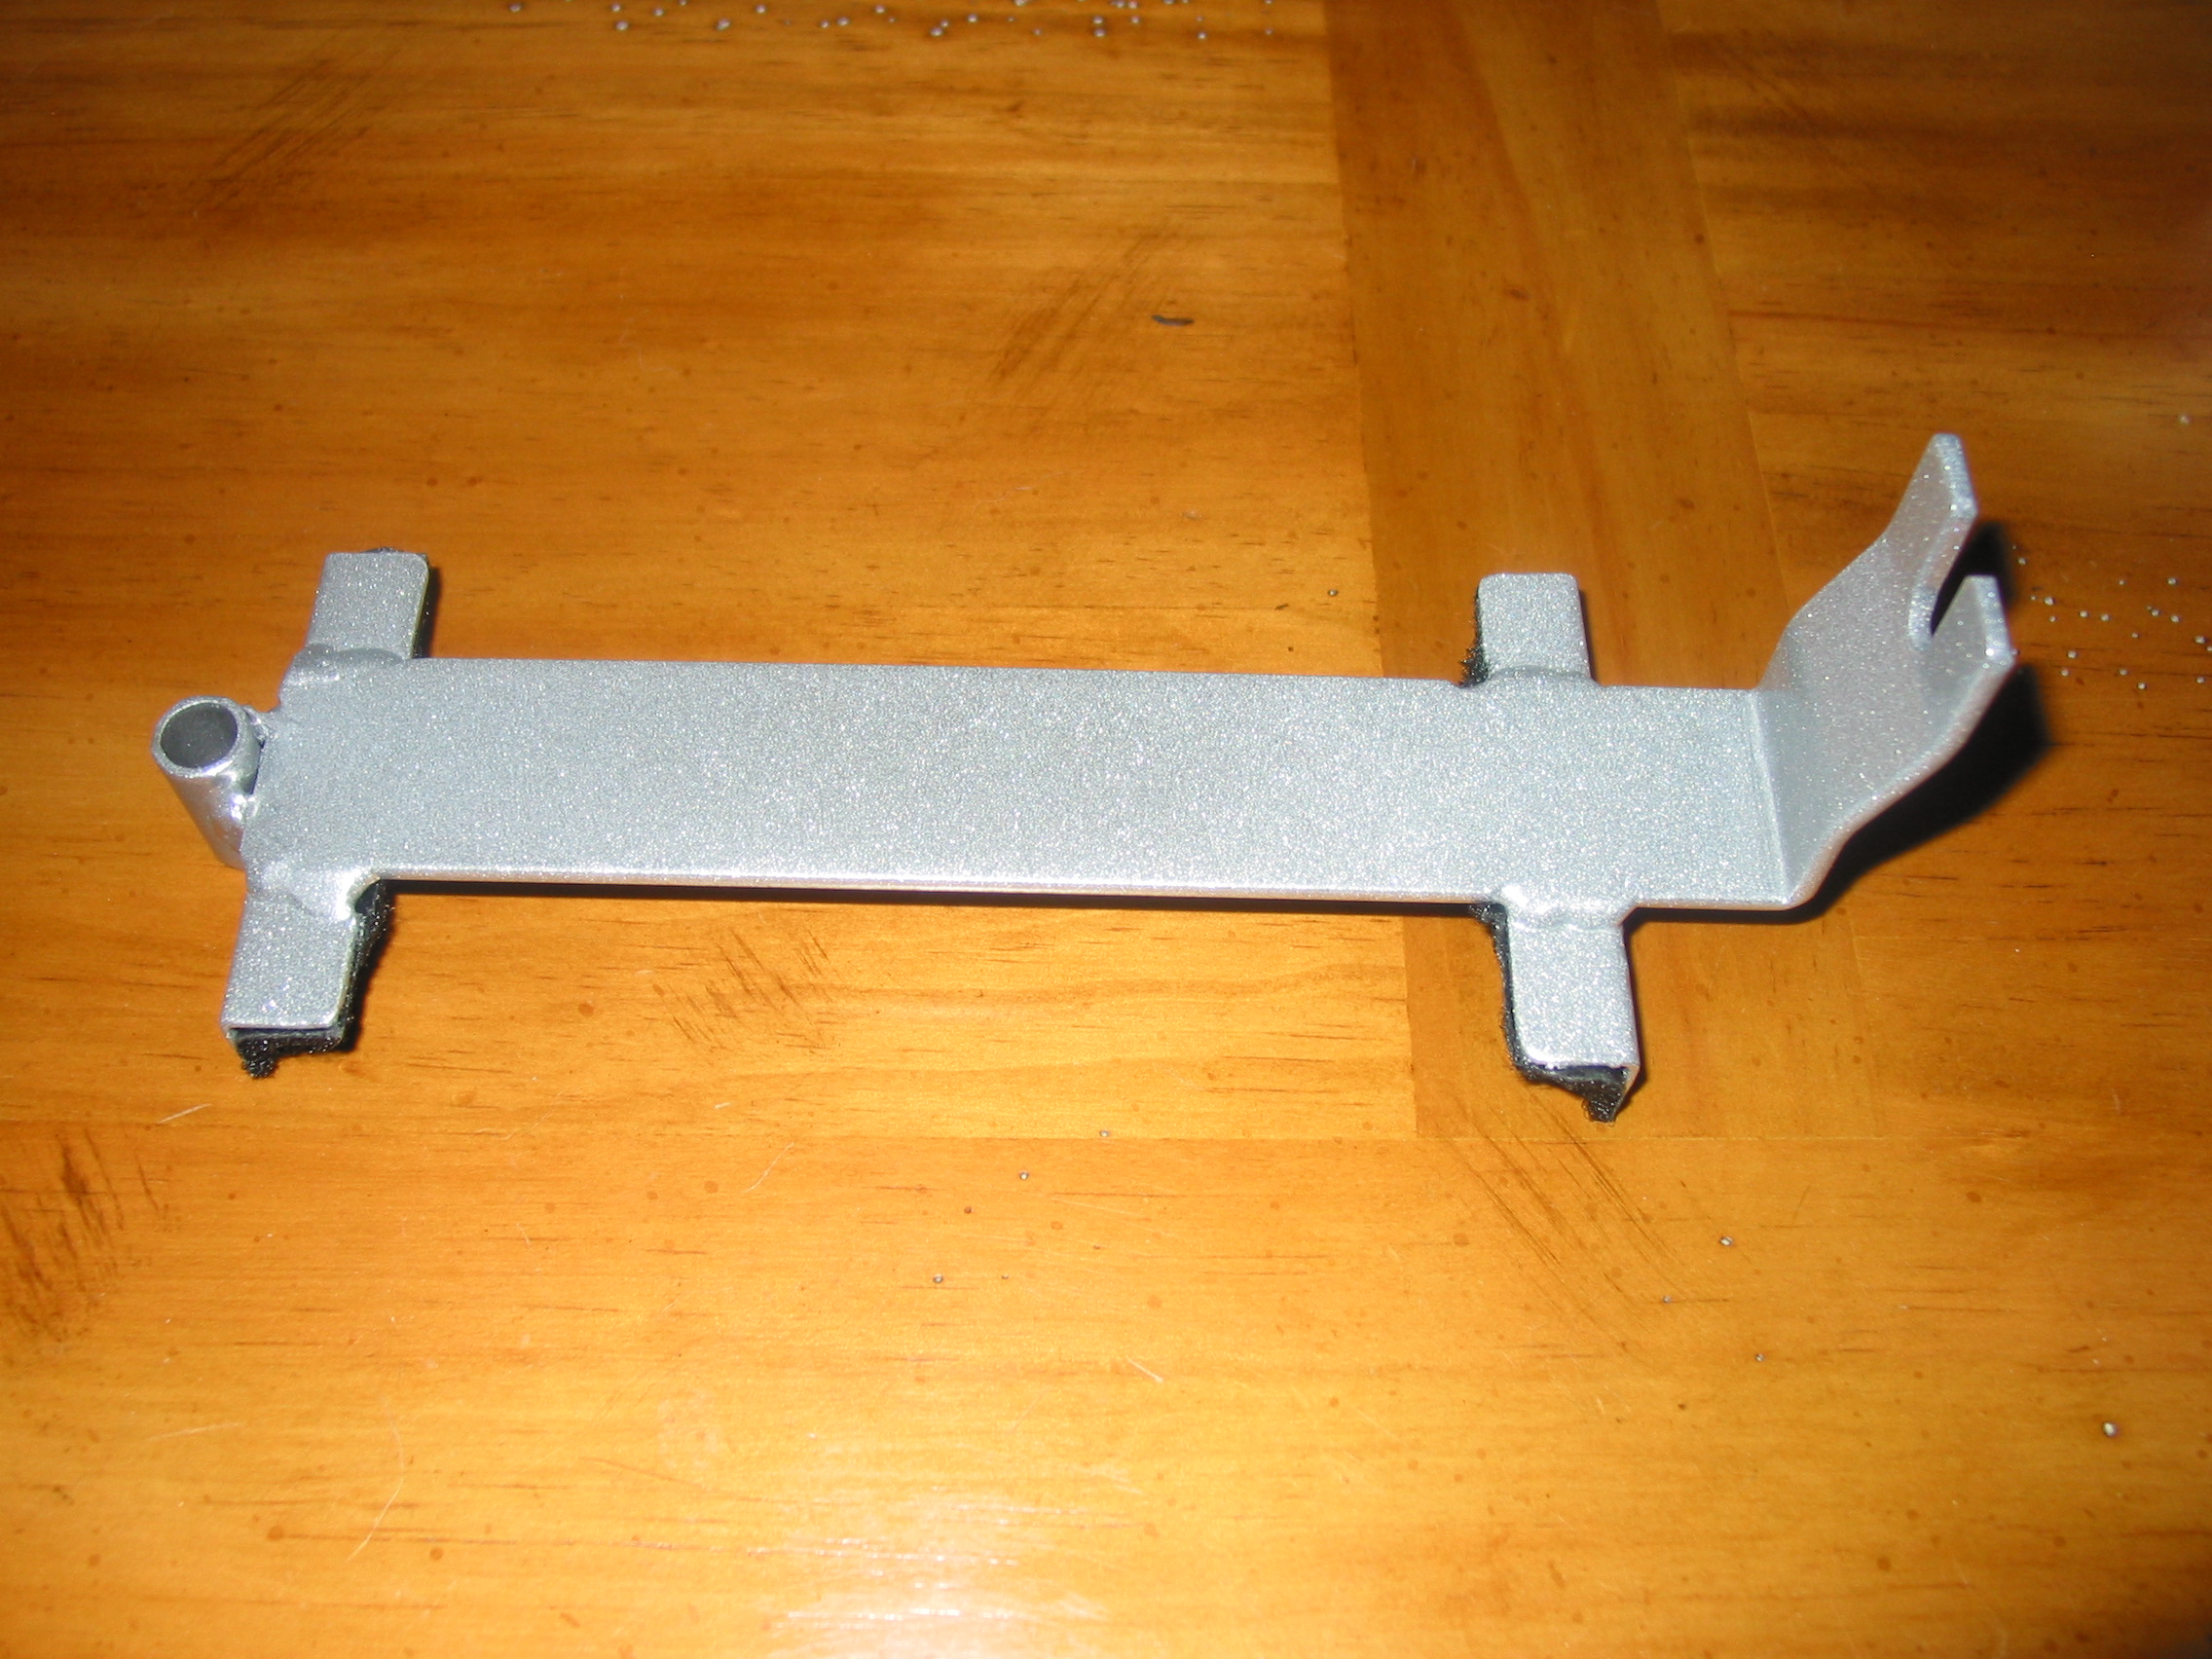
Interstate Battery Mounting Bracket Modification
Jeff G 78 replied to Captain Obvious's topic in Electrical
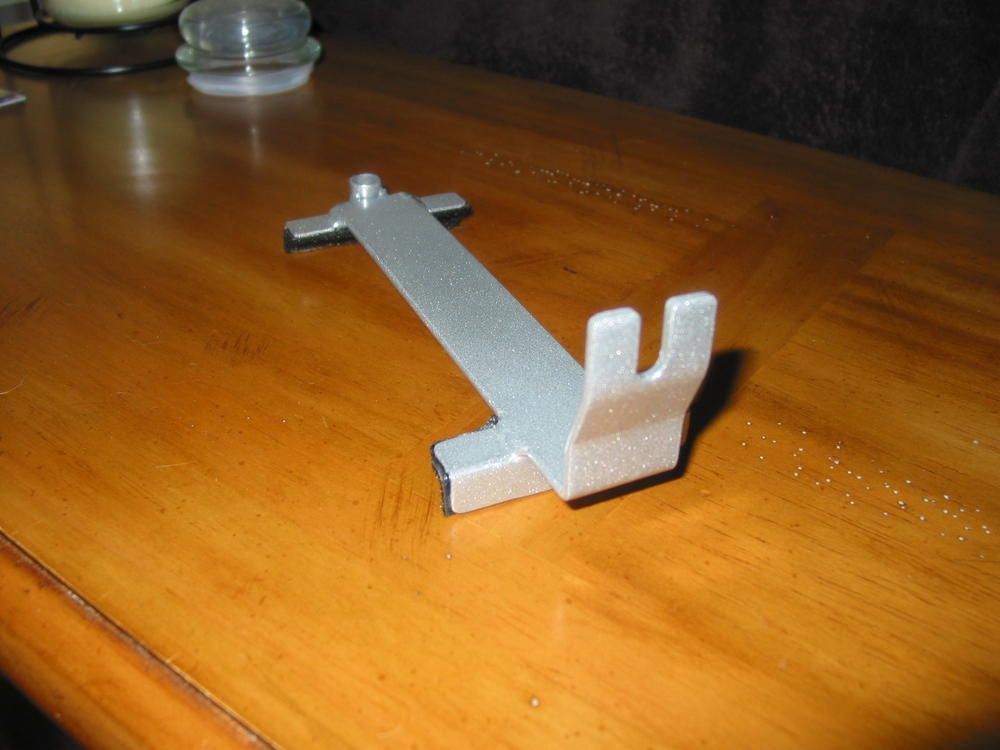
The brackets are made from very simple materials I bought at Home Depot and cut/welded together. I think they took about an hour to make. I did powder coat the silver one shown. The previous one was painted in black wrinkle finish. Not sure if Photobucket will even let me post any more, but I did find old pics of my street Z's bracket installed. -
Interstate Battery Mounting Bracket Modification
Jeff G 78 replied to Captain Obvious's topic in Electrical
Several years ago, I posted on here the design of an Optima bracket I made. I have never tried it with a regular battery, but I don't see why it wouldn't work exactly the same with a few simple mods. It doesn't look stock like yours, but it was pretty simple to make. I have one in my street car and another in my race car.


-
I love this website for figuring out tire size options. Just plug in your OE tire and wheel info and then various options to see how they compare. http://www.rimsntires.com/specspro.jsp
-
You can get Konig Rewinds at DiscountTireDirect pretty cheap. I got two sets on sale for $360/set delivered. https://www.discounttiredirect.com/buy-wheels/konig-rewind/p/45470
-
I too use the TechnoVersion mount on my R200 race car with the black snubber and stock OE mount. I can't comment on the NVH since it's a race car, but I will say that it is much easier to install the RT mount with the diff removed. I did it with the diff still in the car and it was a terrible job. There simply wasn't enough room to get it into place. Again, since it is a race car, I wasn't worried about scratching the paint on the mount or the tunnel and I eventually got it into position, but on a street Z, I would never do it that way again. I would remove the diff and then fit the RT mount. I likely spent way longer than if I would have just dropped the diff in the first place. I think I cut three tiers off the snubber, but I can't remember for sure. It's been a few years since I did it.
-
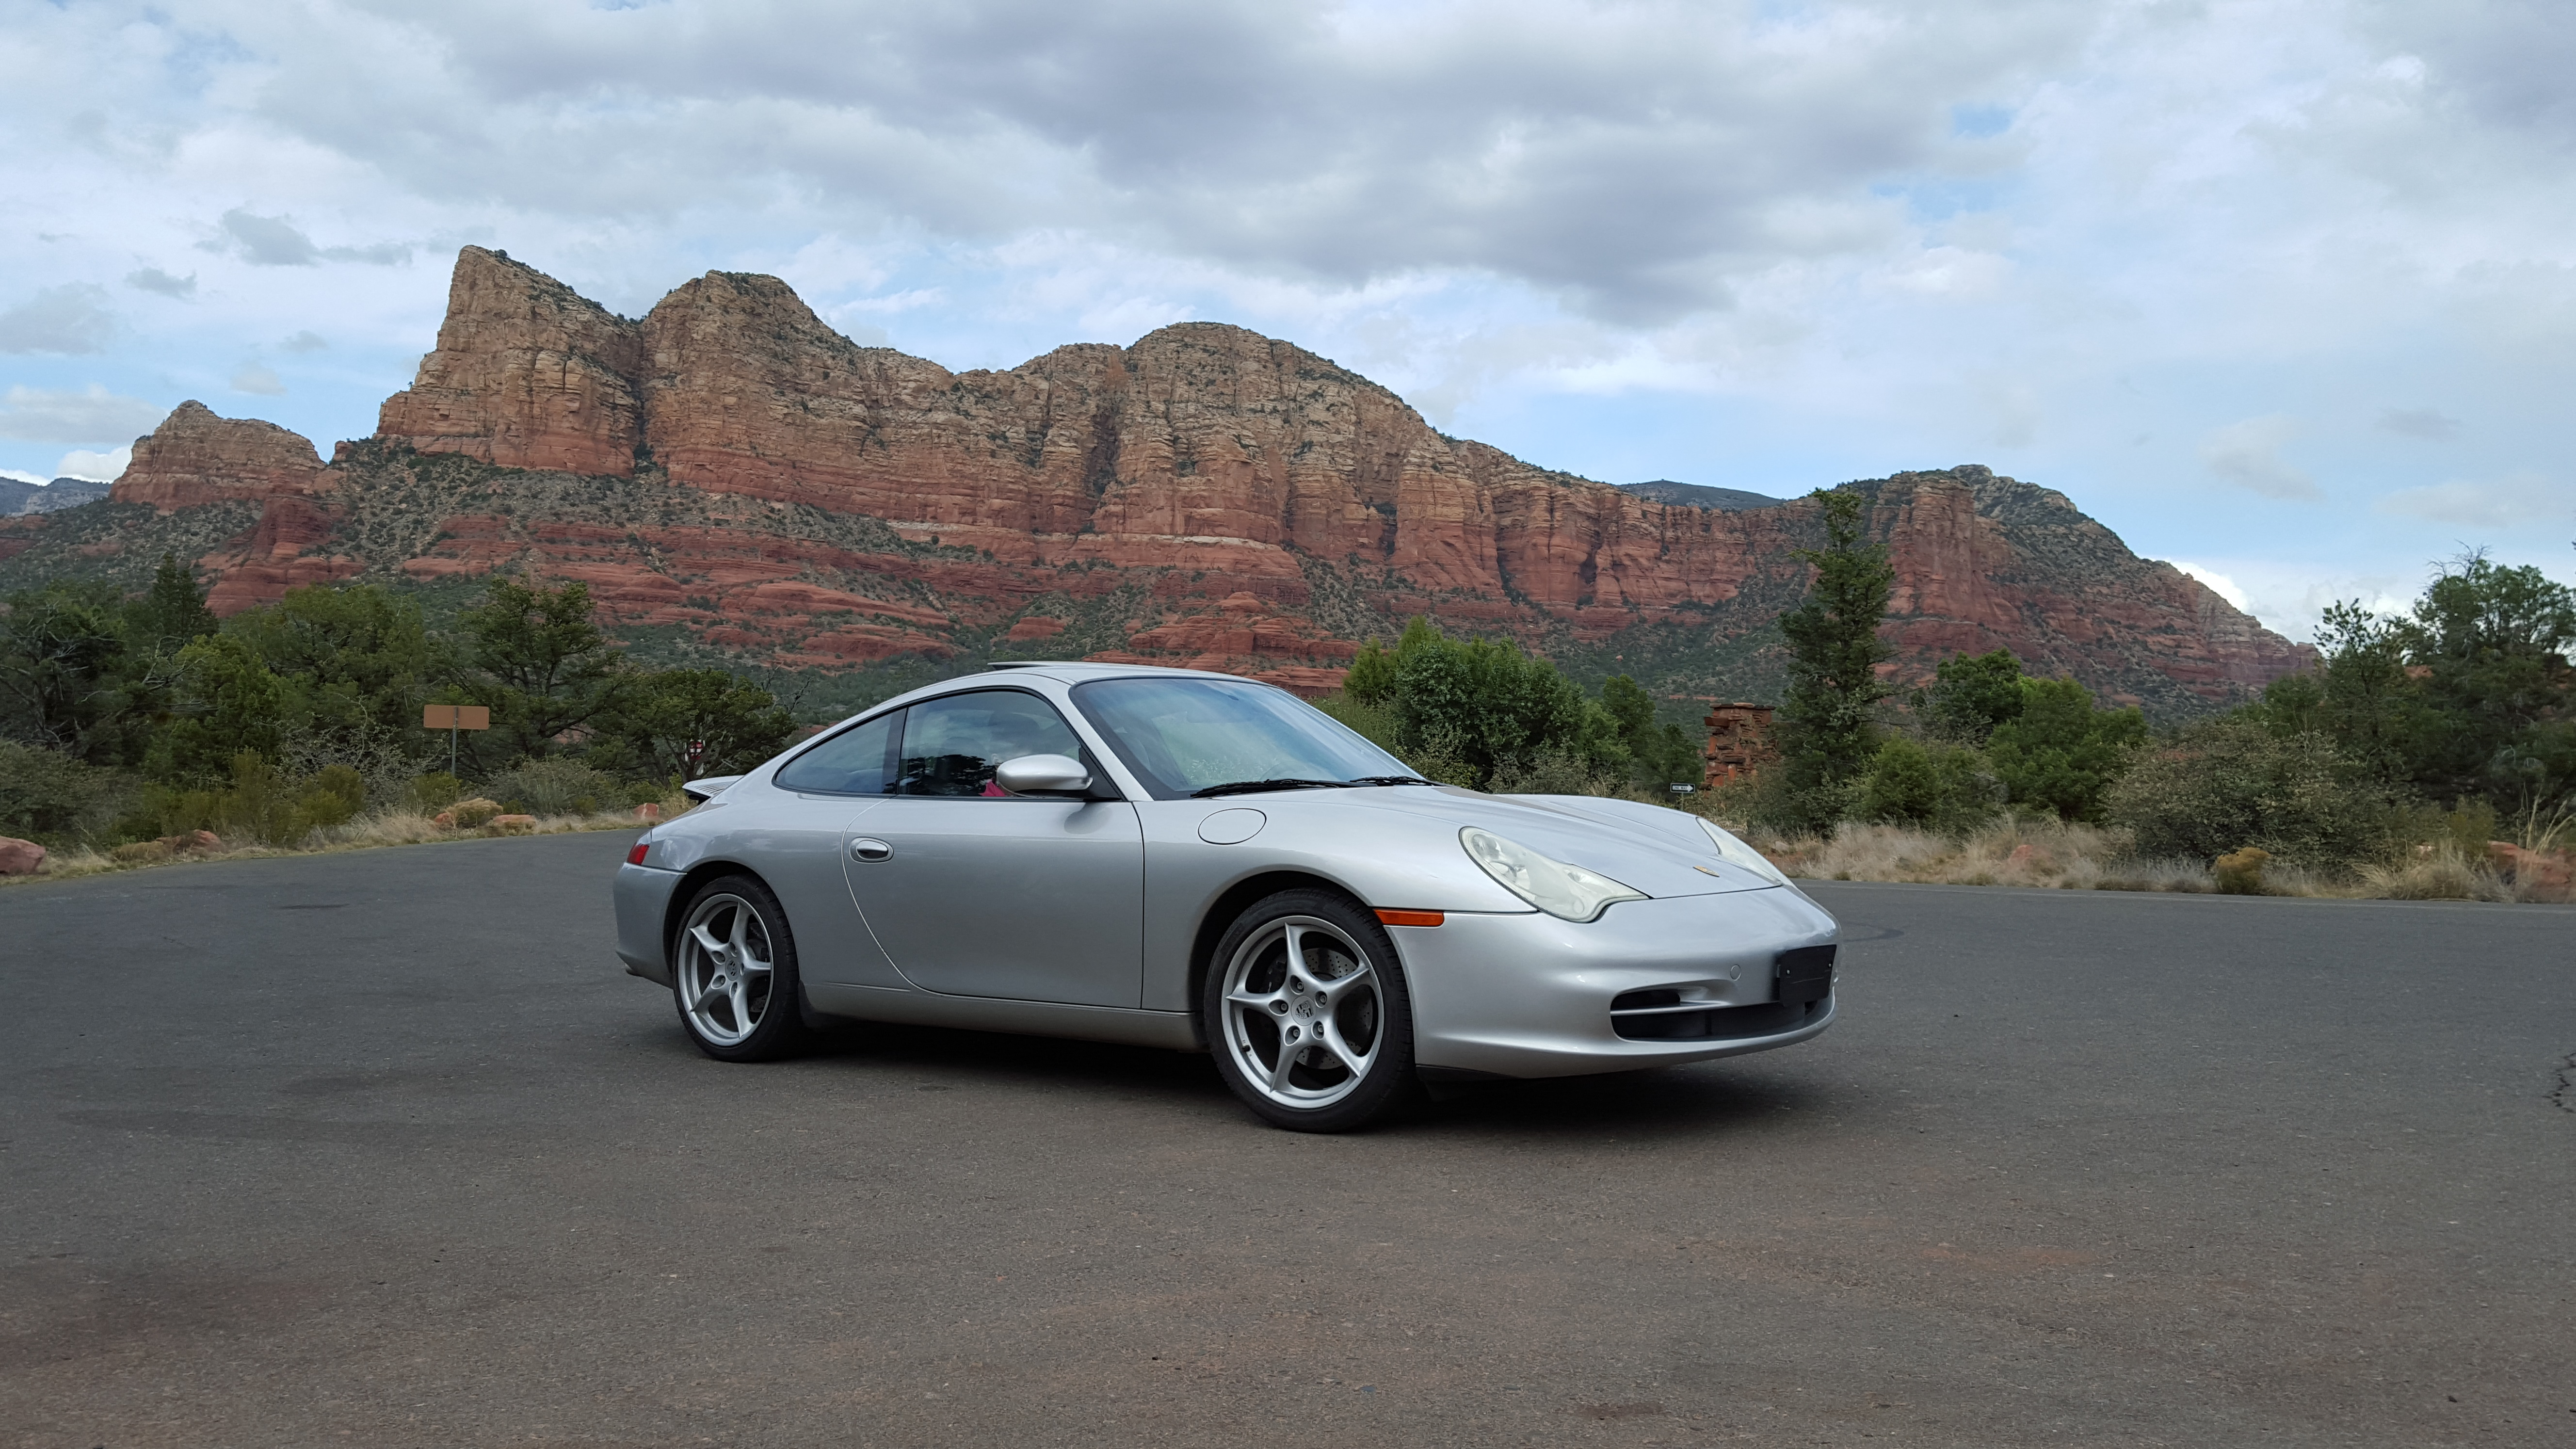
You just have to assume the first step on any repair is - remove engine. Most jobs are quicker and much less painful by doing it that way and Porsche made it easy to remove.
-
Hey Cliff, It's a lowly 996. I can't begin to afford a 993 the way the air cooled prices have gone (can't really afford the 996 either). I really like it, but the horrible Michigan roads are playing hell on it. I need to fix a few rattles that weren't there when I got it. Once I get those taken care of, it will feel rock solid for a 130,000 mile car.

-
Looking for a good Datsun mechanic Great lakes area
Jeff G 78 replied to ABCar's topic in Open Discussions
What exactly are you looking for? Machining, assembly, one-stop shop? Sent from my iPhone using Classic Zcar Club mobile -
Looks great and we all really appreciate the progress pics.
-
I used a self-adhesive insulation with a foil layer. It's about 1/4" thick and is very durable and sticky. Not sure where to find it though. I've had it for years.
-
One extra bit of info, the fuel rail mod was not the first thing I tried. I first changed over to an electric fuel pump, then I added insulation to the factory heat shield between the carb bowls and exhaust manifold, third, I propped the hood open a few inches (race car) and finally, I eliminated the steel rail and return line. Each mod likely helped some and the rail was likely the most important, but possibly not enough as a stand-alone mod. A vented hood would likely be a similar improvement in lue of the propped-open hood.

-
Great looking gadget Randalla. Now we just need better bowl gaskets. The cork ones really suck.
-
Great looking Z Dr. Dave.
-
They look great! Are they too bright at night? After the really dim OE bulbs, it would be strange to have lighted gauges.
-
I bought my '78 280Z 27 years ago in Atlanta, GA and I bought my '74 260Z 8 years ago from Indiana.
-
Spinning My Wheels... (Yet Another Wheel Thread)
Jeff G 78 replied to charliekwin's topic in Wheels & Brakes
The width is based on the "measuring rim width". There is an acceptable rim width range and then a measuring rim width listed in the chart above.