Jeff G 78
Free Member
-
Joined
-
Last visited
Everything posted by Jeff G 78
-
 Uggghhh. No thanks. I plan to do some sort of disc upgrade on my race car. It's not that the disc setup is better, but keeping the drums adjusted properly during an endurance race is a pain in the arse. I'd much rather worry about other things during a race.
 -
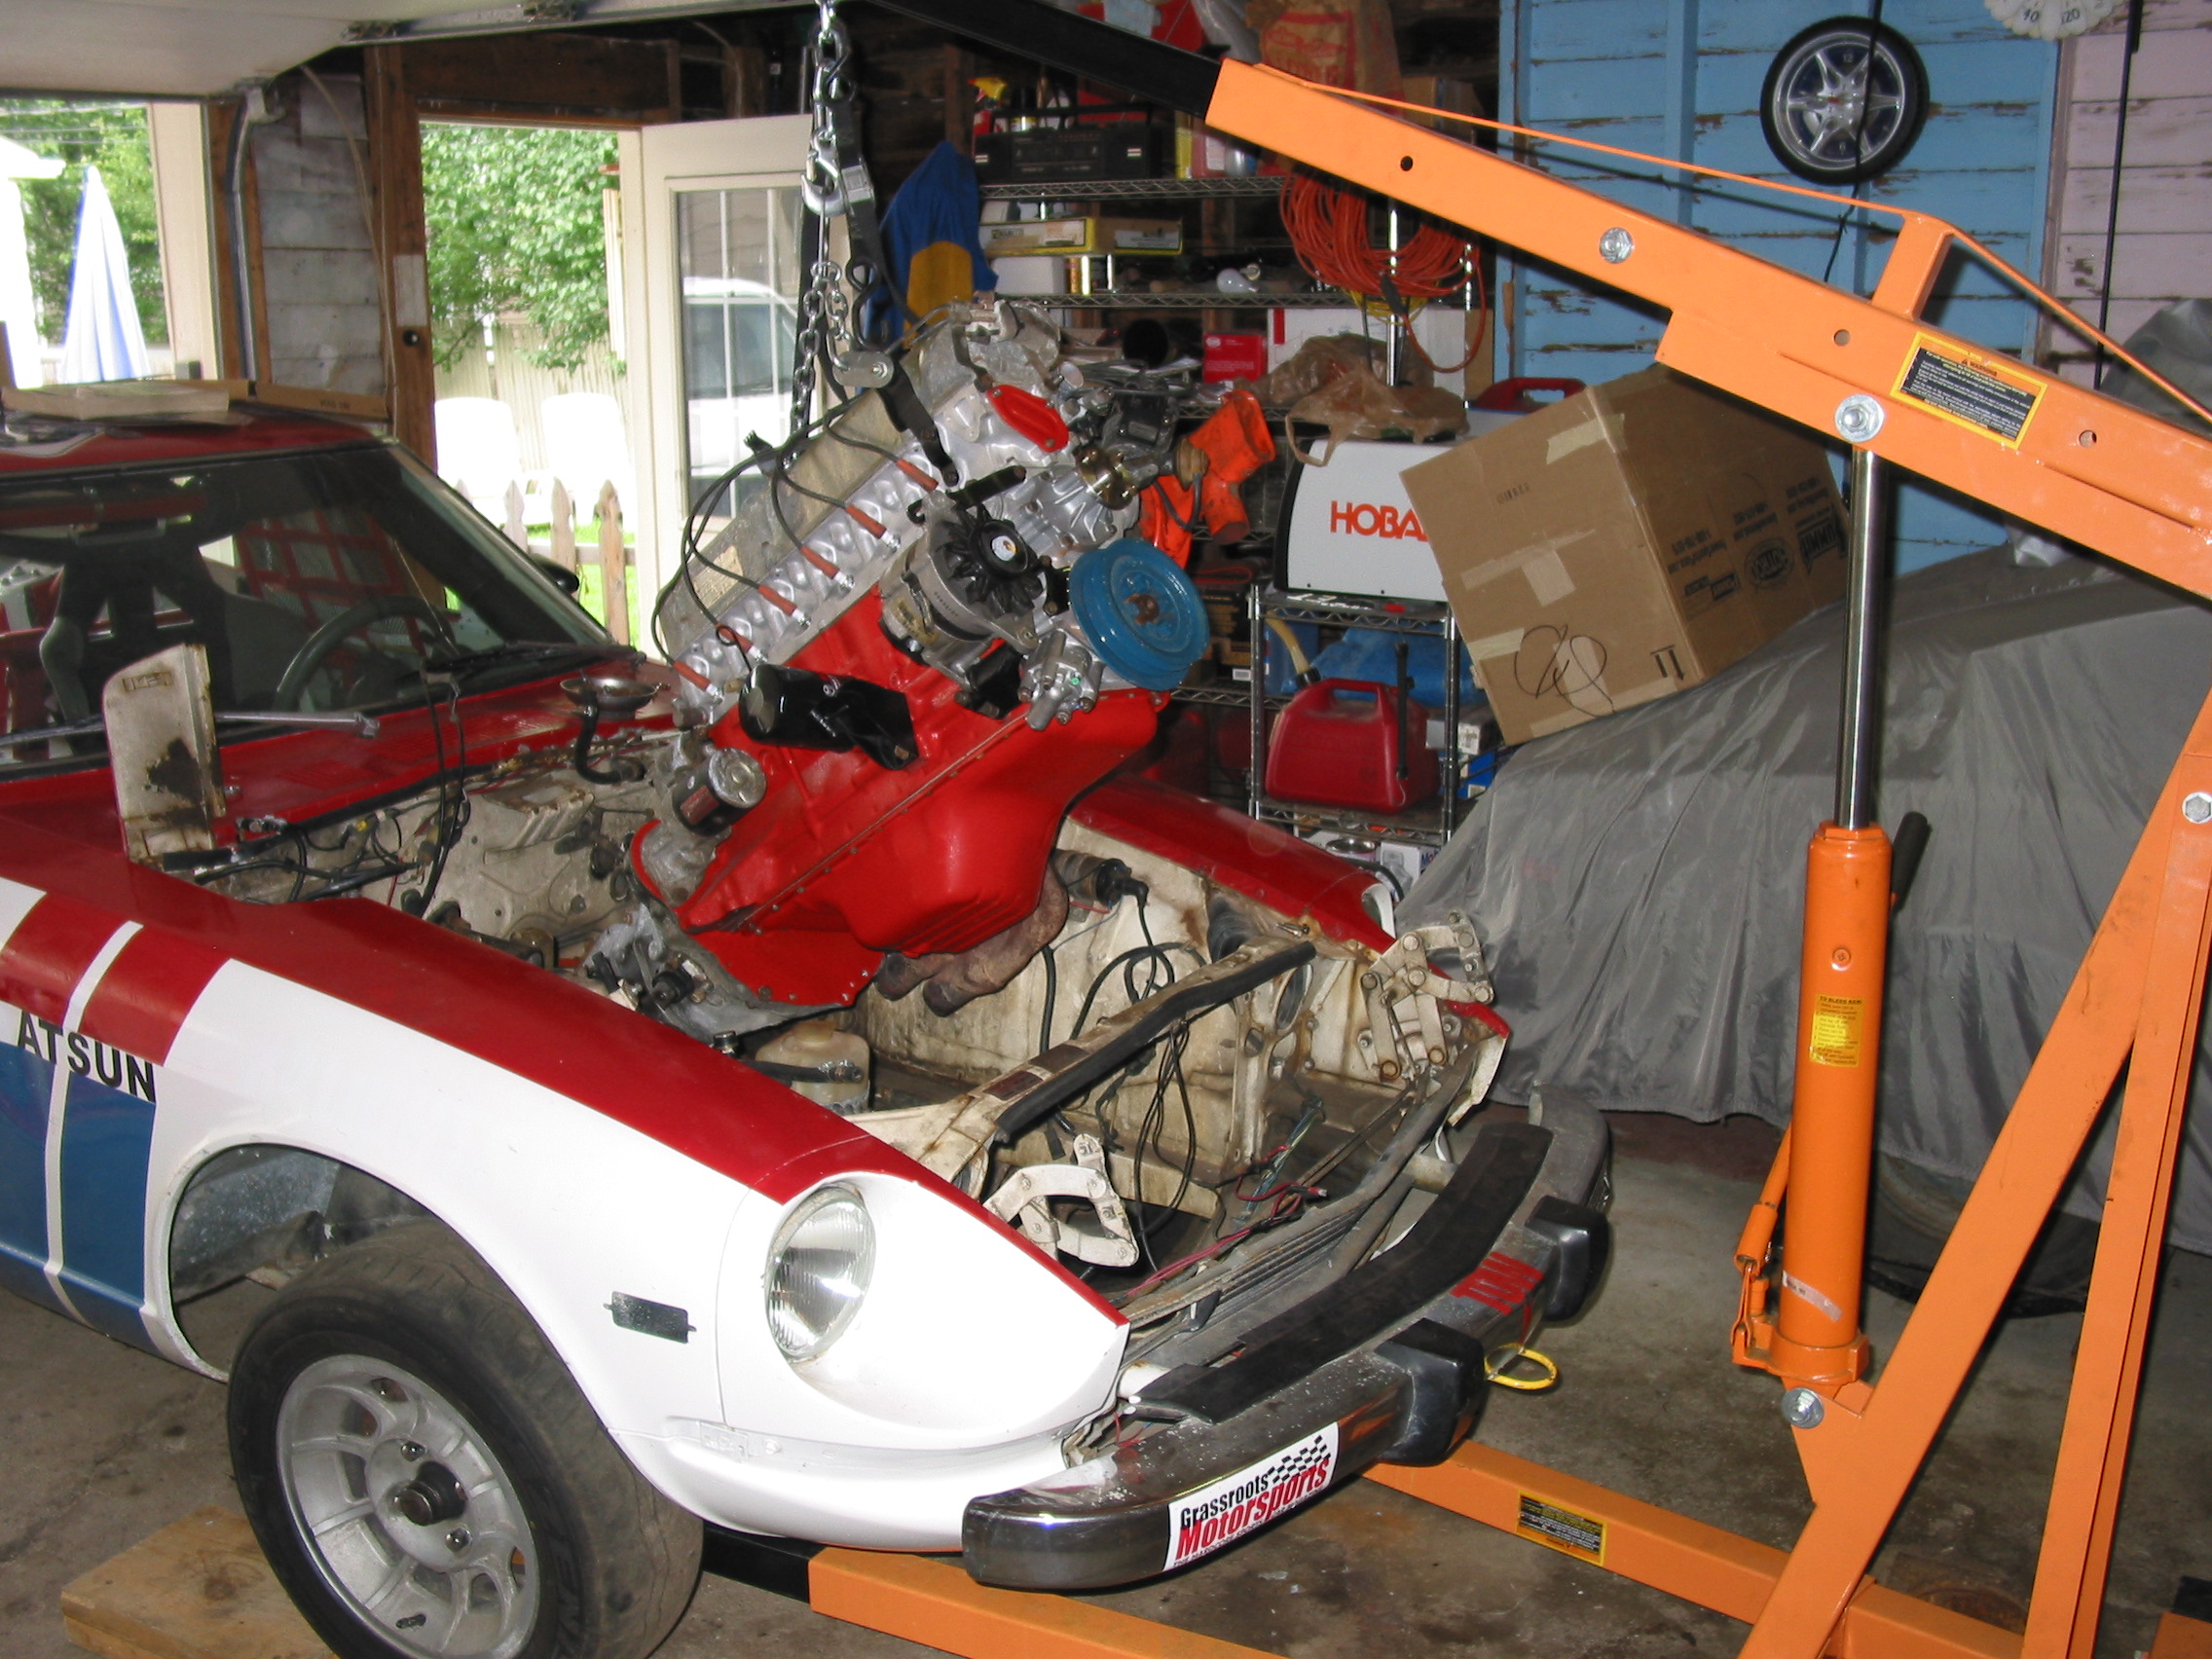
I gave up on the folding hoists and bought a fixed leg hoist. I never had enough reach even with the bumper removed. Now, I leave the bumper on and have plenty of room to spare. I simply disassemble the hoist for storage.
-
-
Congrats Cliff! For me, the hardest part every time is getting the engine mount bolts started. Those four bolts take longer that the rest of the job - at least on my 260Z. I can't ever remember having a difficult time on the other 10 or so S30's I've done, but the one car I pull the engine constantly is the one that I struggle with.
-
The starter is easy to get to after the powertrain is installed.
-
Cliff, if you look at me pic again you will see what I use. I have double stacked 2x10 ramps to lift the car so I can fit the floor jack. They work great for many things. Each ramp has a shorter board nailed on top of a longer board and both are cut at a 45 so it's easier to drive the car onto them. My race car is lowered and then the tires are about 1.5" shorter than stock to getting a jack (or hoist legs) under the car isn't possible without them. Good luck!
-
Well DUH! The car was obviously in Australia where everything is upside down.
-
Very cool Guy.
-
That was a few years ago before I got the leveler but the angle is usually similar to clear the tunnel.
-
Hey Cliff. Yes, run the crank most of the way one way and then level it with the chains. That will allow it to get more angle before running out of travel. The engine needs to be very steep to clear the tunnel.

-
The higher you can get the rear, the better. The front just needs to be high enough for the engine hoist legs to fit. If you are using a load leveler on the hoist, cheat it all the way to the front before you hook it up so you can get maximum angle on the engine. Good luck Cliff. Wish I was there to give you a hand.
-
I am picturing the old Looney Toones cartoon depicting a toothpick factory where each toothpick is ground down from a giant redwood tree.
-
That's pretty much what I run in my race car and I use the stock pan. I have no oiling issues.
-
Put several layers of protective tape on the hood latch assembly and wrap it down into the tunnel to protect your paint. Also remove your hood prop rod and tape a WD40 cap over the prop rod spring clip. Many clips have snapped off from oil pans catching them.
-
Hey Cliff, you might want to dry fit the header first with the intake just to make sure you know that the thick washers seat right, the nuts can be started and that you know what tool works best at each location before you drop the engine in. You don't want to fight the header and wind up with leaks. Good luck! I have installed the whole shebang alone and it can be done, though in my race car, I'm not worried about a paint scuff here and there like I would be on a nice street Z. It's really hard not to touch the hood latch and the top of the tunnel with the valve cover. When I powder coat my valve cover, I will wait to install it until after the engine is in. I have lots of old covers to use for installation.
-
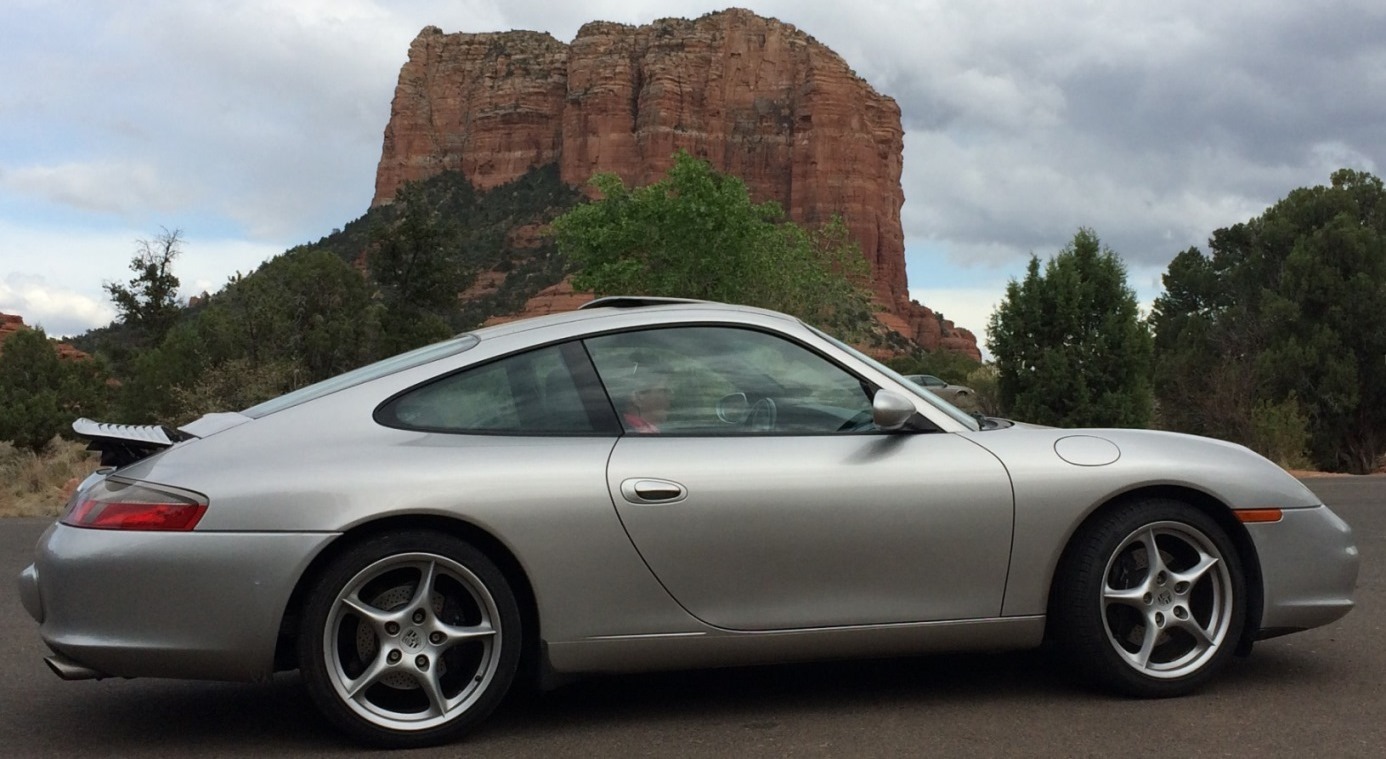
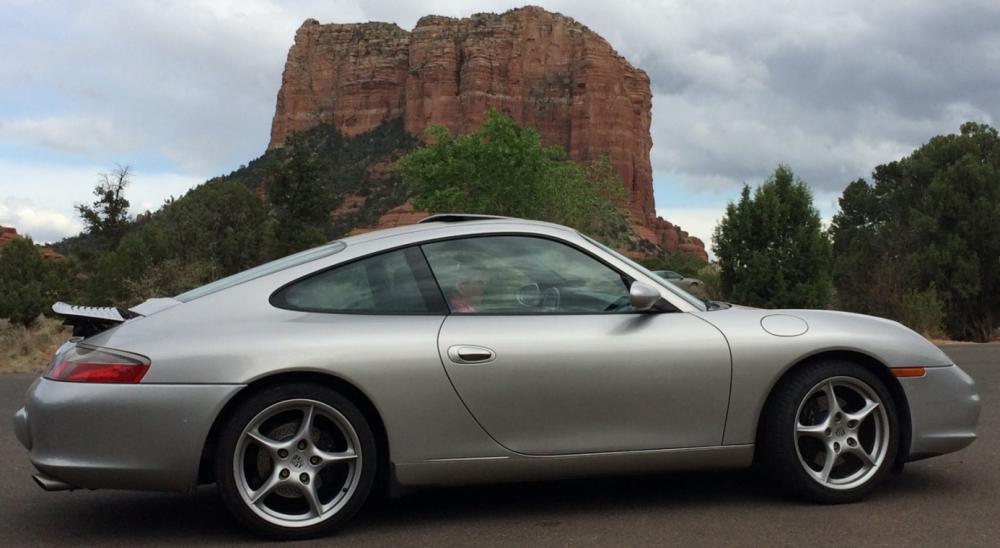
I always look forward to seeing pics of Guy's collection. I haven't done much with the Z cars lately since spring hasn't sprung here yet, but I did pick up a new toy. I bought a 996 and drove it 2000 miles home from Phoenix.
-
I haven't heard much good about the MSA dampers. I believe Guy @Diseazd has some info on them.
-
What's your plan to keep the timing right with the shave? Are you going to use shims under the towers or adjust the timing and chain? If you do the latter, PM me and I'll tell you exactly how I did mine. I shaved 0.50" and didn't use tower shims.
-
-
-
I install everything I can before dropping the assembly into the car. I use the stock lifting eyes on the front and back of the head. I have tried several different methods over the years to tilt the powertrain with varying degrees of success. I bought a balance bar before my last install and it worked okay, but it didn't have enough travel the way I hooked it up. The next time, I will try to start with it all the way at one end of the travel to get the maximum tilt. When I installed the powertrain in the pic above, I did it alone and simply used four adjustable straps. Two on the front and two on the back. I would leave the front straps really short and then alternate the rear straps back and forth to lower the trans tail down low enough to fit under the firewall. Once in low enough, I would work the two front straps down to lower the front of the engine down. I can have the engine sitting on the mounts in about an hour working alone or about half that long with a helper.
-
YES Cliff, it is easier to install with the header while the engine is out of the car. I roll the stand to the side so the flanges are up at a 45 degree angle for easier access. I then install the carbs and even the air cleaner assembly before decking the powertrain. It's very easy to make sure everything is properly tightened when it's looking right at you. I've done it this was about 15 times over the past 35 years in various Z cars.


-
Yes, they fail and when they do, bad things happen. My experience is with racing, but I have also failed one on a street engine. Luckily, I caught it before crank damage occurred. The best prevention is to have your damper rebuilt by a quality shop like Dale Mfg. or buy a quality aftermarket damper.
-
Sounds good. I tried to flush mine with everything I could think of and then I removed the baffle to see if there was anything caught. There was grit everywhere! Luckily, it was just a spare cover I was experimenting on, so I threw it away. If you are putting the baffle back in, just make sure you use an epoxy that won't come apart over time from the heat and oil.
-