er34gtt2000jp
Member
-
Joined
-
Last visited
Everything posted by er34gtt2000jp
-

-
-
-
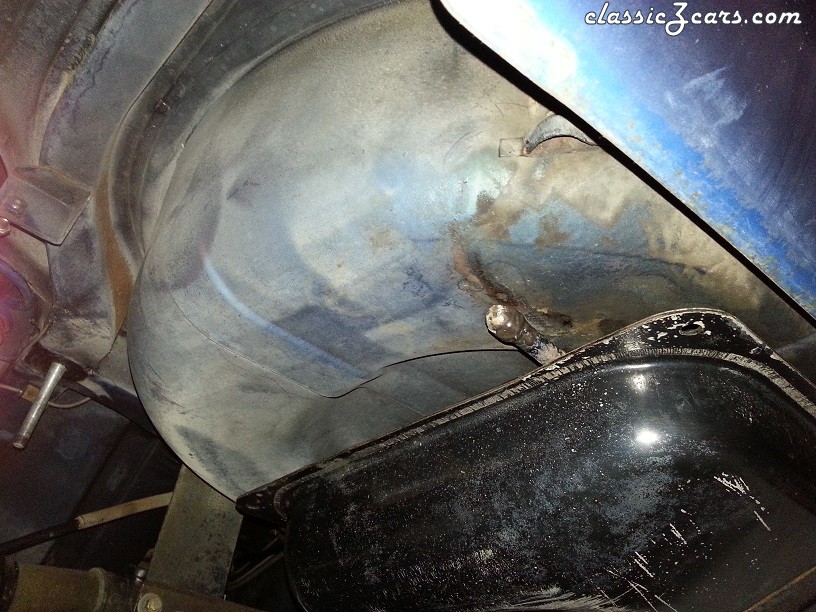
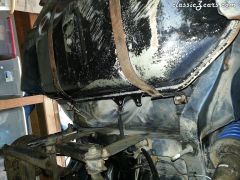
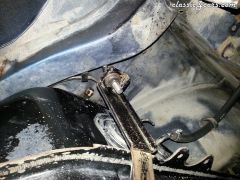
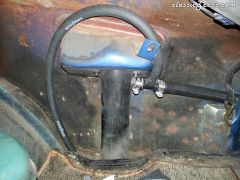
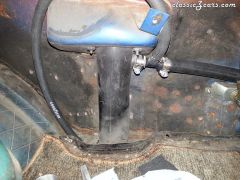
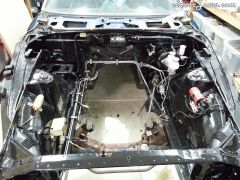
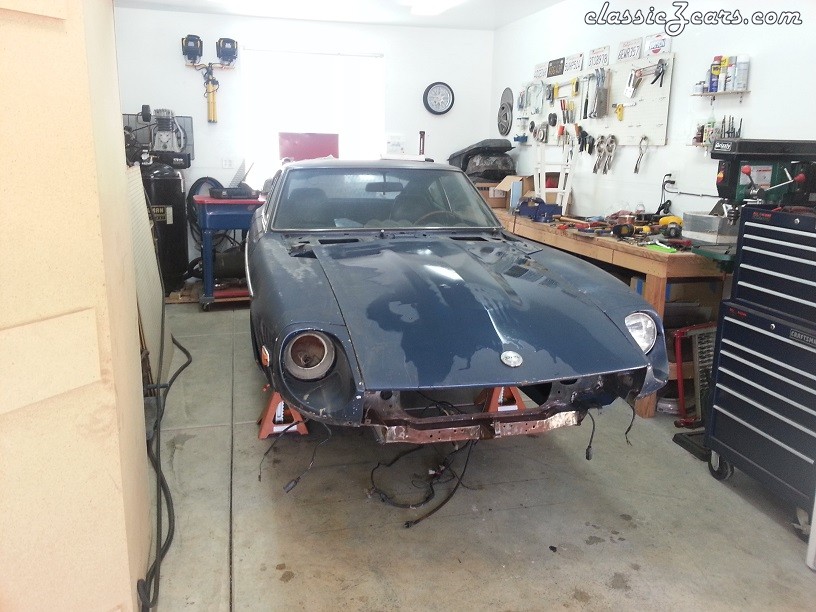
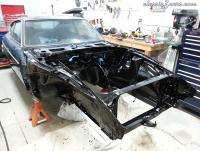
Well its been a while since I updated this thread, getting away from Body and Paint and into more of general or restoration discussion now I think. I have been again doing a lot of little things on the Z. Got the fuel tank installed as well as new Brake Booster and both Brake and Clutch master Cylinders installed. For the fuel system I eliminated the evap tank and made myself an early 1970 design evap system with a 5/8" to 3/8" heater hose T and some 5/8" emission hose from Napa Auto Parts. Also have some 5/16" fuel line for the vent to atmosphere. We'll see how the plastic heater hose T holds up to fuel fumes. I done expect there to be much raw gas up that high in the filler neck often so its mostly vapors I hope. I'm still looking for a 5/8" to 3/8" brass or suitable fuel resistant T fitting for the filler neck to tank vent line. I know the 1970 plastic fitting is unobtainium so not holding out for one of those! I capped the two extra vent lines from the tank with brass caps and JB weld. I still have the fuel tank from my early 1970 car that needs to be restored and it will go into this car eventually but for now I'm running the original 1971 tank modified to eliminate the evap system. I didn't paint the tank or straps so pardon their shabby appearance, their are however rather clean ;-) Here's the latest pics, ready for an engine (as soon as I build one....)! And the modified 71' fuel tank installed:


-
-
-
-
-
-
-
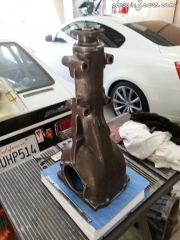
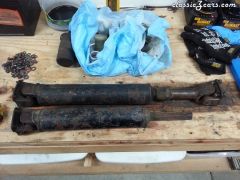
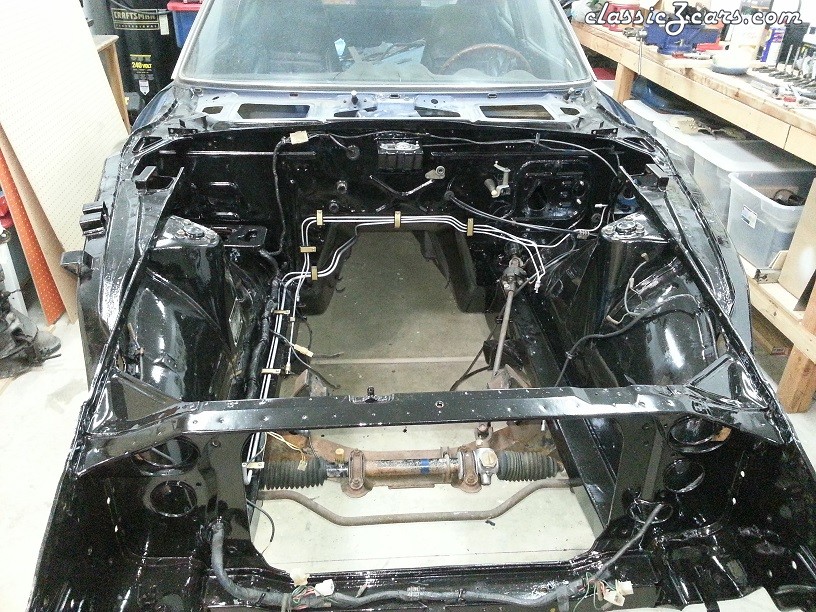
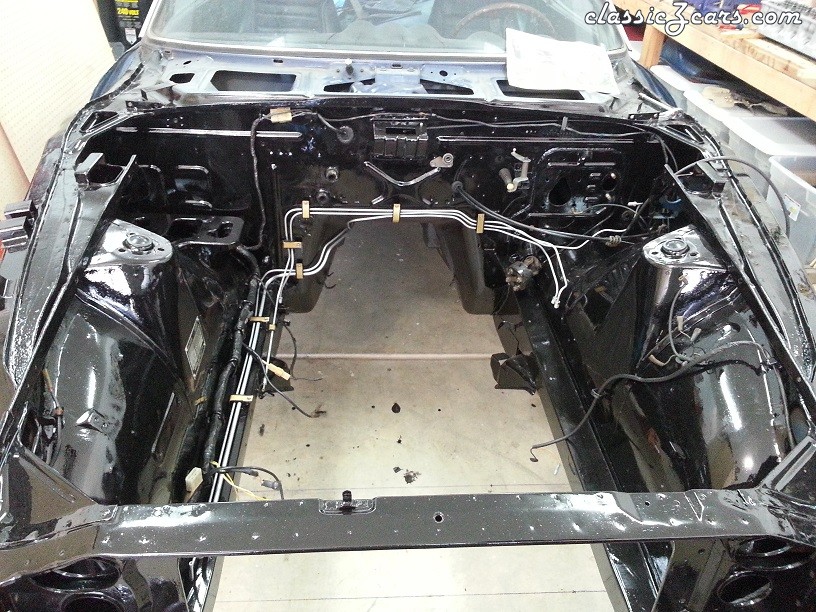
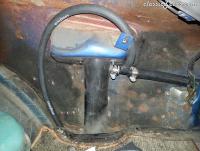
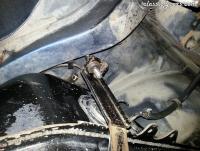
Update time! Been doing a lot of little things on the 71' over the last week. Got the hard lines cleaned up and painted with VHT silver caliper paint. Looks really good IMO. Also renewed the rubber insulators with silicone tire dressing. Did a pretty good job on them, still need to be replaced but they are serviceable for the time being. Cleaned up and painted the hard line brackets gold just for giggles. I think it looks pretty good too. Got the front suspension back in too, although it needs to be gone through and rebuilt. She needs a front end alignment BAD. I think the P.O. had it "aligned" with the bent frame so it looks waaaaay off now. But wheelbase measurements look to be within 3~4MM of spec. Have to get it close as I can when I get tires on it and then take it to a shop for a proper alignment. So far everything has gone back on without incident. Was a tad worried about front suspension, but I put It back in with the tension rods still attached and as soon at I had both sides tightened down the cross member bolts slid right in. The sway bar went back on really well too, even with one of the brackets being a bit tweaked. I tried to get the bracket close to straight but it still has a bit of a odd look to it. Holes line up but it's not like its twin brother from the drivers side. .... Also got the engine bay wiring harness and a few of the engine bay bits back in. Replaced the broken hood latch cable as well as the parking brake cable. Now I can open the hood when it's back on as well as use the parking brake Now I just have to install the new rear diff and the new brake booster. Then rebuild the master cylinder and install the clutch master. Also need to reinstall that rear brake lines and fabricate a couple new ones to replace damaged lines from the P.O. Man there is soooo much to do, every time I turn around I find another thing I need to fix before I can get it back on the road. Started working on the engine rebuild, cleaned up the block and working on the head now. Motor looks in good shape, head was recently done but the valve stem seals were shot so LOTS of carbon build up to clean out. This engine is gonna need a full overhaul in at some point so this rebuild is just to get it running again. Ill tackle that new engine build later. Here are some recent pics:


-
-
-
-
-
Thanks again for all the kind words. My vacation ended so work is taking priority over thre Z :-( I have been doing a few things though, getting the hard lines cleaned up and ready to go back in. Thinking I'm going to paint them with some VHT silver caliper paint I have. Looks good and will be durable against fuel and brake fluid. I'll post some pix later this week on that. Been trying to renew the rubber insulators with soaking them in silicone tire dressing. Also getting the engine ready for a re-ring. Just a quick rebuild to get her running again. Fun times ahead!
-
Now that is an awesome office chair!
-
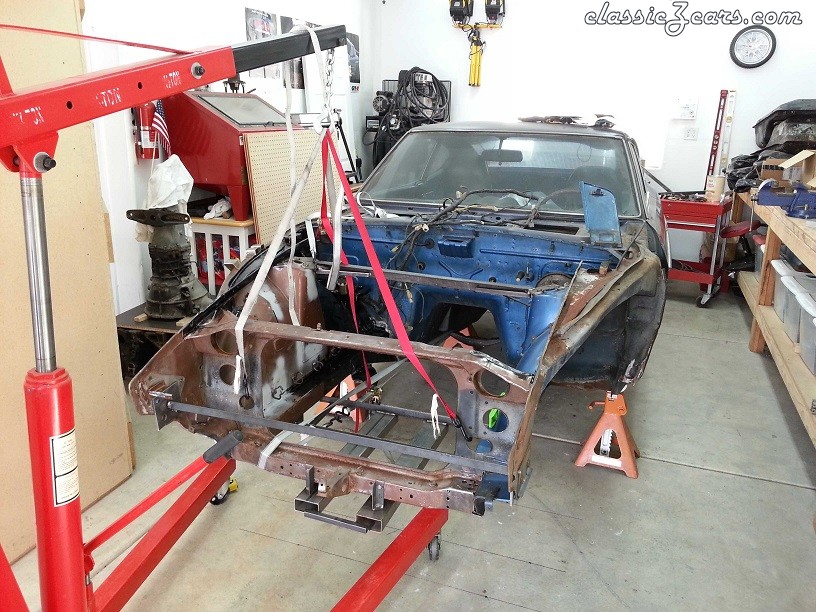
Found a pic of pulling the new front end into shape and thought I'd add it in for posterities sake. An added benefit of the jigs I made was they worked out well as leverage points to pull on with straps

-
-
Hey Robert, good luck on those rust repairs. I have a few to do myself in the future on this car. Floor pans need two or three patches each (one done as of today!) and the dog legs are in need of attention. I'll be looking for new straight fenders too as mine are crap really. If you have the patience, a decent welder with the right wire and a little skill you can do it yourself. The internet is your friend on this adventure for sure! Helped my a bunch! Oh and plenty of practice on scrap metal before you do it on your car! This will save you a bunch of headache. I'm still not looking forward to the doglegs. Welding floor pans or frame rails is one thing but actual body panels are not me strong suite. A tad worried about those actually.
-
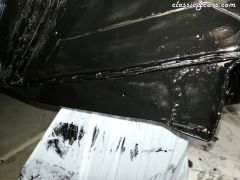
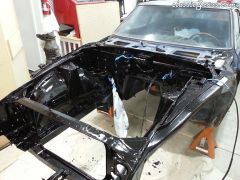
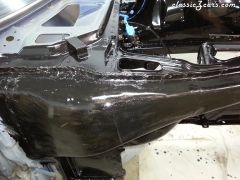
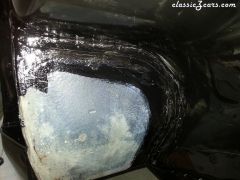
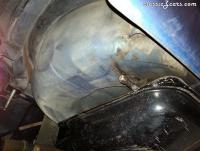
Hey guys thanks a million for the kind words! I'm worn out after a week straight of serious back braking work on this car. Man what an adventure! But the frame repair is complete Got the last of the welds done today as well as fabed up the RH lower frame section behind the TC bucket. That was much easier than expected as I used part of the old frame but ran into a big rust hole in the floorboard I had to repair before I could finish the frame install. So that was an hour detour but make a nice patch for the floor and on I went. You know, funny thing is the second day before I started cutting into my baby, I stood over the radiator support with the plasma cutter in my hand saying to myself: "do I really want to do this?" "I could destroy this car right now". "I could take it to a shop and have them pull it out or replace the frame." NAAAHHHH! JUST DO IT! And whack went the radiator support It wasn't that hard to do actually, and Im not a great welder. The important part was understanding how Nissan put the car together and where the welds were. Very through and careful planning on where to cut and drill made life sooooo much easier putting it together. Knowing where I could drill a weld out to save time or if I needed to use the spot weld cutter meant less errant holes needing to be patched. And having the complete straight front clip to measure and make the bracing was immensely helpful. Then just using my super duper design on the fly skills I was able to make the braces that worked really well in aligning the new fame. So well in fact that it was only about 8mm out of alignment when I first put in up in place. It was too far forward and a tad low in the front. After some judicious ratchet strapping and some BFHing with a dead blow it was 3mm out from the chassis measurements from right rear frame to TC bucket and I called it good. I was really worried that after the straps came off it would spring back out of shape but nope, she stayed right there once the major welds were in place. Anyway, here she is with fenders and hood test fitting things. Fenders are tweaked from something so they don't sit straight. But I had to see her in her clothes so to speak And then I took it back apart to finish the POR-15 coating: Applying POR-15 with a brush is a SUCK job Doesn't coat evenly and tends to fish-eye really badly. Needs another coat but I think I'll leave it at one. We'll see in the morning just how bad it looks right? Well next up is putting the hardlines back in and doing the brakes!

-
-
-
-