EScanlon
Free Member
-
Joined
-
Last visited
Everything posted by EScanlon
-
I think I won't be the only one to tell you that we've seen more than a few repairs done with Bondo/Bog that shouldn't have been done that way. In fact, you'll find that most members flinch at the horror stories they've seen/read about. It IS easier to "fix" it that way....but wrong, and those of us working on the Series I and II 240's are discovering just how much wrong it can be when what looks like a good survivor turns into a nightmare of cancerous holes everywhere. This site, predominantly, has 240/260 and 280 members. We have a smattering of 280ZX and even 300 and 350 members, but unfortunately, not many. The 280 is very similar in many ways to the 240, but the electrical system has been upgraded with various items. That makes it a bit more difficult for everyone here to troubleshoot. Toss in that yours is a 280 ZX and it gets even more difficult. Don't forget that by that time, there were numerous power options that weren't offered before and as such are totally unknown to the majority of us. Be patient, and I'm sure we'll get someone to speak up and post answers. As far as the white smoke, that being a prime indicator of water in the exhaust (steam), have you checked the radiator, not for water loss as that would be obvious, but for the possibility of bubbles coming up when you're revviing the car? If you do have bubbles in the water, they may even pop with a tinge of exhaust smoke (don't laugh, it happens), then you may definitely have a leak in the head gasket, or a crack into the water jacket around one of the pistons. Get a compression test done on the 6 cylinders and post your findings on the condensation thread and you'll enlighten everyone as to what condition your cylinders are in. A blown head gasket is easily repairable, but there are a few other things that you'll want to do while you have the car disassembled that far. HTH E
-
jIM (per your profile): I don't think any of us are intentionally trying to get "smart" with you, but you have to admit that even with the language barrier that American/Aussie and vice-versa can mean, it is hard to discern what you are asking for. In the 48 hours since you joined the site, you've posted 32 times. Your first post is a duplicate of this one, except worded slightly different: Then you follow that up a short while later with: Which leads those of us that do try to answer people's question with even more questions as to how much you actually do know and how much you don't. After all troubleshooting the IC Module in a 280ZX is surely a heck of a lot more complicated than tracing down a lighting circuit in a dash....or so it would seem. But this doesn't end with electricity, it also extends to body-work: Which REALLY flies against: Which shows that you aren't a bodyman by training, as bondo / bog or whatever you wish to call it is NOT considered a fix-all for holes in metal, and especially not for rust. Also as a side note, silicon sealant isn't necessary if the windshield gasket is in good condition and there aren't any cracks or bends in the metal surrounding the windshield. Additionally, the trim is slid into the weathershield rubber, once the rubber is on the windshield and before it gets installed on the car. So, while you may feel that you're being "picked on" or we're being "smark-alecky", it's apparent that you feel you know the answer, or are unwilling to hear what you don't agree with: So, don't get upset with folks that are having a hard time understanding what you are asking, nor what level of expertise it needs to be explained in in order for you to accept the answers. So if you bear with us, you will find that this place truly is: And you'll find that we're not trying to make you angry, but rather trying to decipher you out. FWIW E
-
I'm not sure I would rate ANY of them as TOW hooks. It sure wouldn't be fun to discover you rip the frame rail out from under the car in a sudden lurch. 2¢ E
-
Actually, if you get POR on your skin, or on an area you don't want it on, use plain old Lacquer Thinner (even the cheap stuff from Home Depot) and it will remove it as long as it hasn't set. Now, MOISTURE causes POR to set very quickly (This is one of the key items they quote in their instructions...it draws moisture out of the surface and air). So if you're sweating it will set up lickedy split on your skin or if you drip some sweat onto the surface, you'll literally watch it "boil". As far as Marine Clean, it is a VERY STRONG degreaser. Strong enough to literally leach the oils out of your fingers and hand. DO NOT USE THIS WITHOUT WATERPROOF GLOVES. When Gary mentions using lots of ventilation...ALSO USE A PAINT RESPIRATOR. This is not to sound dramatic, but rather to have you avoid getting massive dizzy spells, vertigo, and headaches....been there and have the doctor bills to prove it. Don't forget to shoot POR with the syphon gun into the rocker panels and fenders. E¢
-
There are several variations of the early ash tray and one did have a separate handle. Looks like someone had their handle fall off and did this instead of simply re-gluing the old one back on. E
-
Don't let the "non-likers" dis-illusion you. It does grow on you, and before long, you'll not be worried what the "non-likers" think of it. Here's a few photos for you to look at: http://www.classiczcars.com/photopost/showphoto.php?photo=8949&cat=500&ppuser=1490 http://www.classiczcars.com/photopost/showphoto.php?photo=8919&cat=500&ppuser=1490 http://www.classiczcars.com/photopost/showphoto.php?photo=8920&cat=500&ppuser=1490 E¢
-
Any kind of paint requires adhesion via one of two methods: Chemical or Mechanical. Chemical is where the paint can bond to the surface via some form of chemical reaction. Whether it's Epoxy Primer bonding to metal due to the self-etch properties in it's composition, or a second layer of paint on top of a previous and still "wet" (meaning fresh) coat of paint. Mechanical is where the paint can bond to the previous surface via irregularities in the surface that allow the paint to flow into those surface scratches and irregularities such that when it dries (sets) part of the new paint is imbedded inside those scratches and the rest is outside. POR requires the use of Marine Clean to ensure that the surface to be treated is free of grease, and other oils that would prevent proper surface contact. The Metal Ready is the portion of the preparation process that etches the metal to accept the POR. While the Metal Ready would probably not be of much use on the paint, the Marine Clean would at least ensure that the surface is free from grease. So in order to ensure that the POR adheres to the prior paint, you'll find that you are left with only one option....mechanical adhesion. That means you'll have to scuff up the paint, and scuff it up enough for the POR to "bite" into it well enough to stick. The few times that I've had POR drip onto a previously painted surface that was NOT prepared....it didn't stick. In fact, you could PEEL it off like if it were a sticker. FWIW E
-
Craig: Don't doubt it worked for you, as you eliminated any cavities in which the sound could resonate and reverberate. But in this case, unless you took measures to ensure you were inmune, I think the cure is going to prove to be a disease carrier. I'm presuming you don't get much rain or drastic drops in temperature with the humidity way up high or you wouldn't have stuck a huge sponge in every cavity of your car. Most foam mattresses are mostly open cell construction. That's because the manufacturer's fully expect that the person sleeping on them won't want to wake up drenched in their own perspiration. If the foam were indeed CLOSED cell, that's exactly what would happen. And even with a material that is decidedly made up of closed cell foam, it's not a good idea to inject it into the interstices of your car if there is any kind of moisture and temperature variations in your neck of the woods. The changes in temperature alone will ensure that at some point in the day the metal of your car will have SOME moisture on it, and it is air movement that allows water to evaporate. If you close off the space, there is little to NO air movement and therefore....RUST. The problem is basic, put something that retains moisture...even just a few drops...in contact with metal, and unless that metal is protected with a perfectly NON-porous coating, you're going to get RUST. That's the main problem, the retention of the moisture for an extended period of time. FWIW E
-
A combination of materials and not just ONE product. There are folks who swear by Dynomat, others Brown Bread, others the JC Whitney stuff, and even amongst them there are differences of opinion. When I used to sell suspended ceilings, we approached a noisy office with the type of ceiling tile used, then the type of sound insulation on top of the ceiling tile and lastly with sound batts hung vertically in between the office partitions. This did a lot to reduce the noise coming in over the ceilings (and you'd be surprised at the amount of noise reduction) but it did little when the noise was actually being transmitted through the walls! So, taking that into consideration, you need to apply something to the metal to dampen harmonic vibration due to engine and road noise being transmitted through the metal. Whether you use tar-paper (as the factory did, and my choice since it's cheap) or you go for something more esoteric (such as Rhino-Liner, or some other Pick-Up Bed liner material), the key is to get the metal to vibrate as little as possible. Just be sure to protect the metal before you apply any material, whether Brown Bread, JC Whitney, Rhino Liner or Dynomat, none of those are designed to protect the metal from rusting. For that reason people oftentimes coat the floor pan with POR-15, then cover it with their product of choice. This reduces the STC (Sound Transmission Coefficient) of the metal. Next, address some form of padding...carpeting does well, but it will do even better with some form of open weave material, which is why the factory used "horse hair", which is simply jute. Only problem is that it can and does absorb water...IF LEFT TO SOAK IN IT. Good Jute has had an oil sprayed on it to keep the water from readily soaking in. Unfortunately, after all these years, the jute in your car is getting close to being just thick felt and can and will absorb water. If you decide to go with the modern equivalent, which is a kind of sponge rubber, be sure you get the CLOSED cell variety. It's spongier (the air doesn't whoosh out of it) but it won't allow water to rush back in and fill the cells when you let off the weight. This "soft" insulation increases the Noise Reduction Coefficient (the amount of reflected sound). Done properly, you can even get away with an old AM/FM 4 Watt Monaural Radio and it will sound LOUD! FWIW E
-
Joe First check the fusible link that connects the Starter to the wiring harness. If that link is dead the rest of the car's electrical is dead also....even the ignition circuitry. Down by the starter, you'll see a short length of wire that connects to a somewhat oversized spade connector with an extra long plastic housing. That's the fusible link, don't recall the value right off the top of my head. E
-
No worries, we all have our moments. E
-
Mike: The two "eyeball" vents ARE part of the Fresh Air Vent system that blow in tandem with the Center Vent. If someone before you got creative and plumbed the Dash Side Ventilator (secondary air vents) up in the upper corners of the kick panel to your eyeball vents, then that is unique to your car. The knobs you refer to operate independently of each other and ONLY operate that side's Ventilator...and the exit for the air is up high. Take your shoes off and you'll feel it on your toes. The Forced Ventilator Nozzle (Nissan's name for the eyeballs) vent air ONLY when the top lever is in the VENT position. That the top lever is still allowing air to circulate through the center and side vents indicates that there is either something catching in the flap inside the heater plenum or that the spring/flap gasket is catching inside the plenum. it could also be that the Fresh Air Flap Valve / Gate (in front of the Heater Blower and just below the Fresh Air Inlet) is catching. Can't say for sure that it's due to debris from the prior squirrel cage, but that would be easy enough to check. Remove the blower and you should see the flapper valve directly. You are correct on the "rubber kidney" as that is the protective bag that goes over the wiper motor. It's not unusual to see it get painted when they repaint the car as many bodyshops don't take the time to either mask it or to remove it. The Fresh Air Inlet however, is further to the passenger side than the location of the wiper motor. If you were to remove the cowl, and look towards the right hand side support for the firewall / cowl bucket separator you'll see a "mushroom" style cap that covers the Fresh Air Inlet. The Fresh Air Inlet also has a raised edge from the floor of the Cowl Bucket to prevent water from sloshing inside. E
-
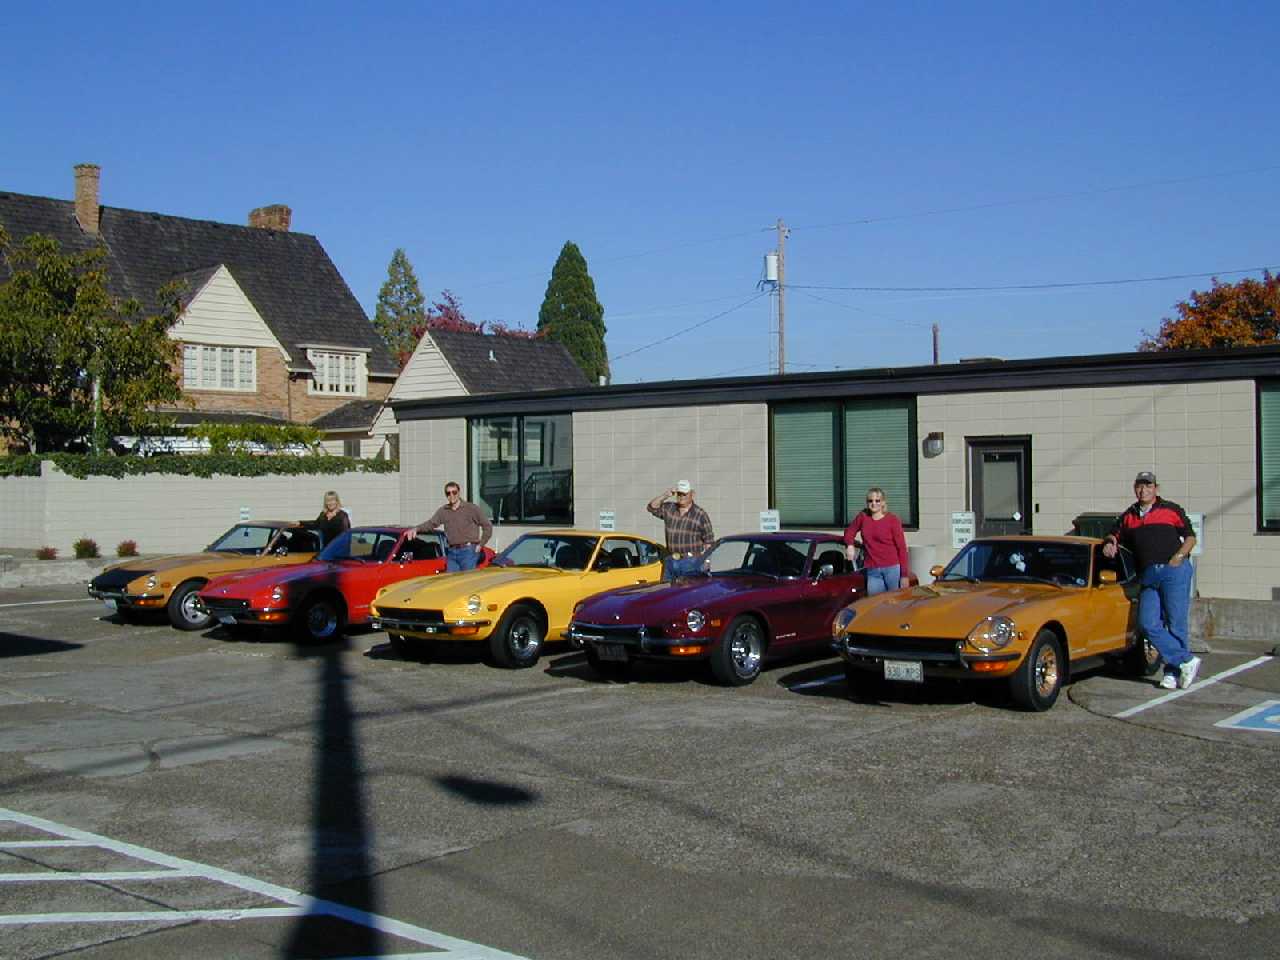
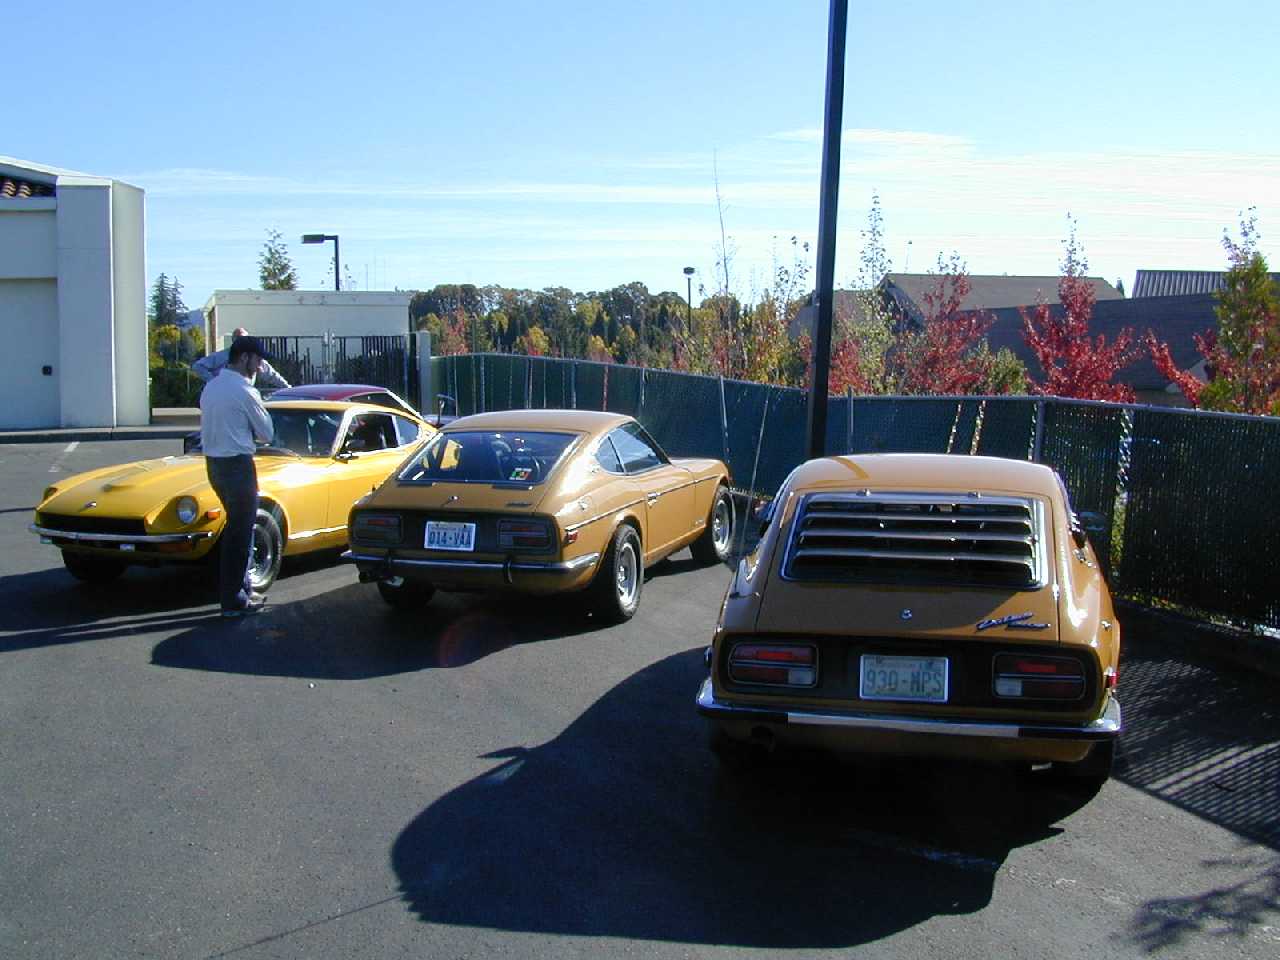
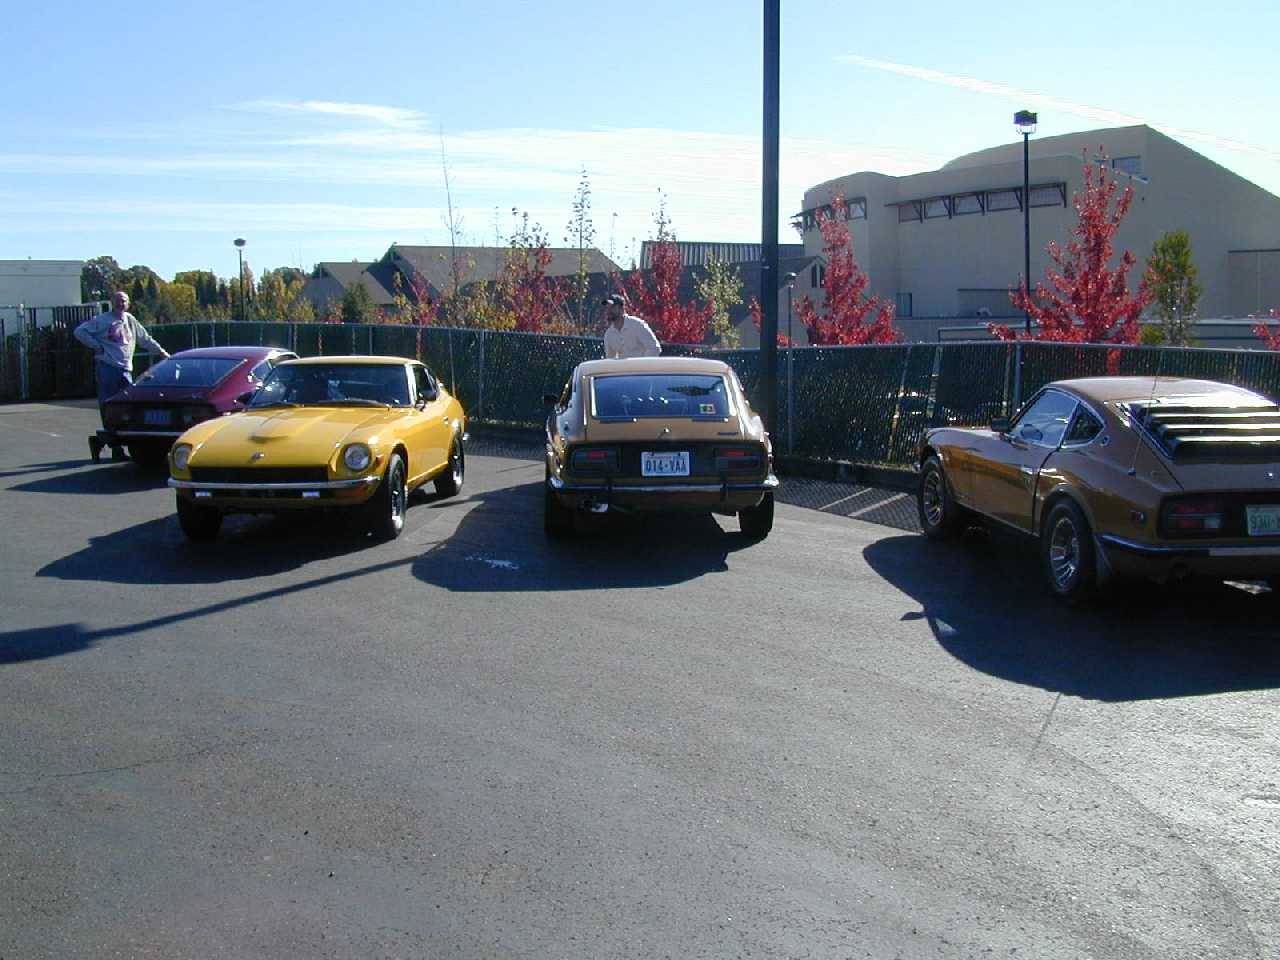
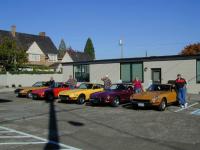
And lastly, some shots as we closed the day and headed back home. E


-
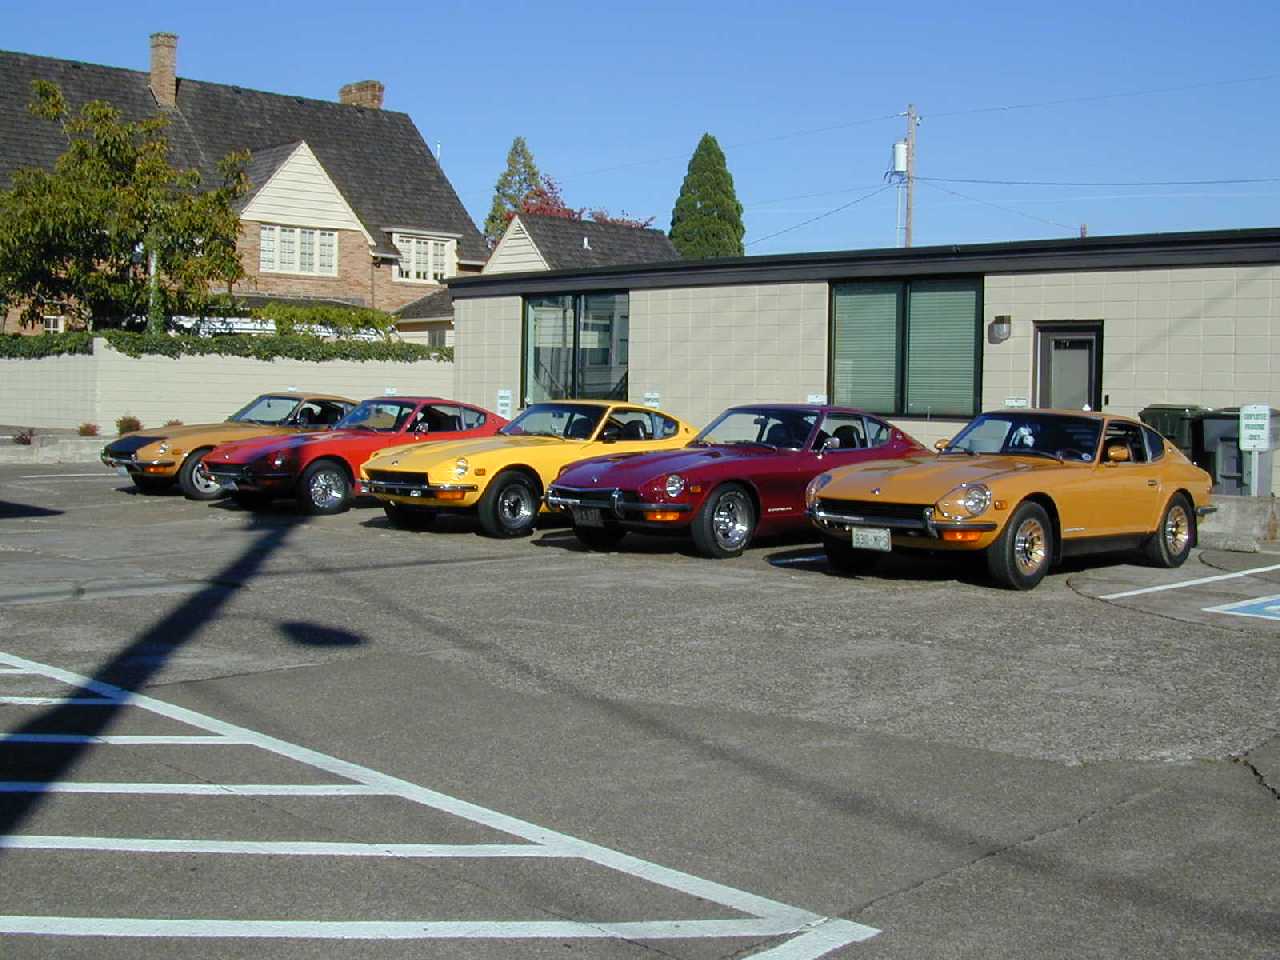
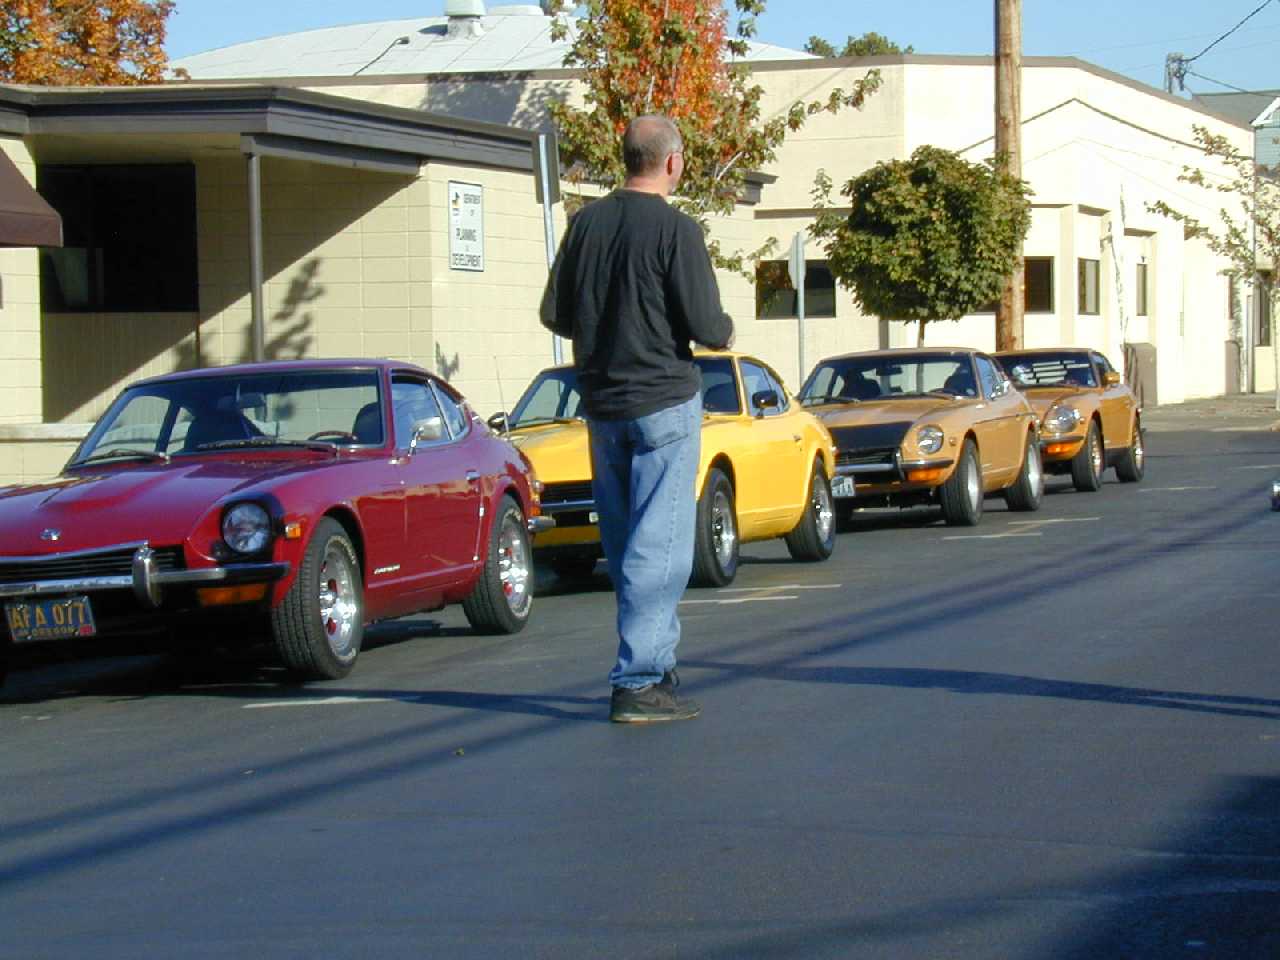
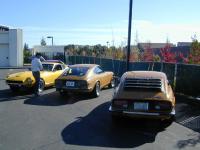
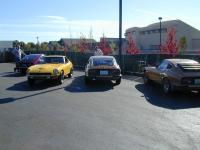
Then of course we had to have some group pictures: Gary insists that his car does NOT have it's nose stuck up way up in the air when it's around us.....I'll let the reader decide..... Carl Beck may have a bit of a Deja Vu moment looking at these shots...he used to sell Z's and probably recalls seeing them all lined up like this. E


-
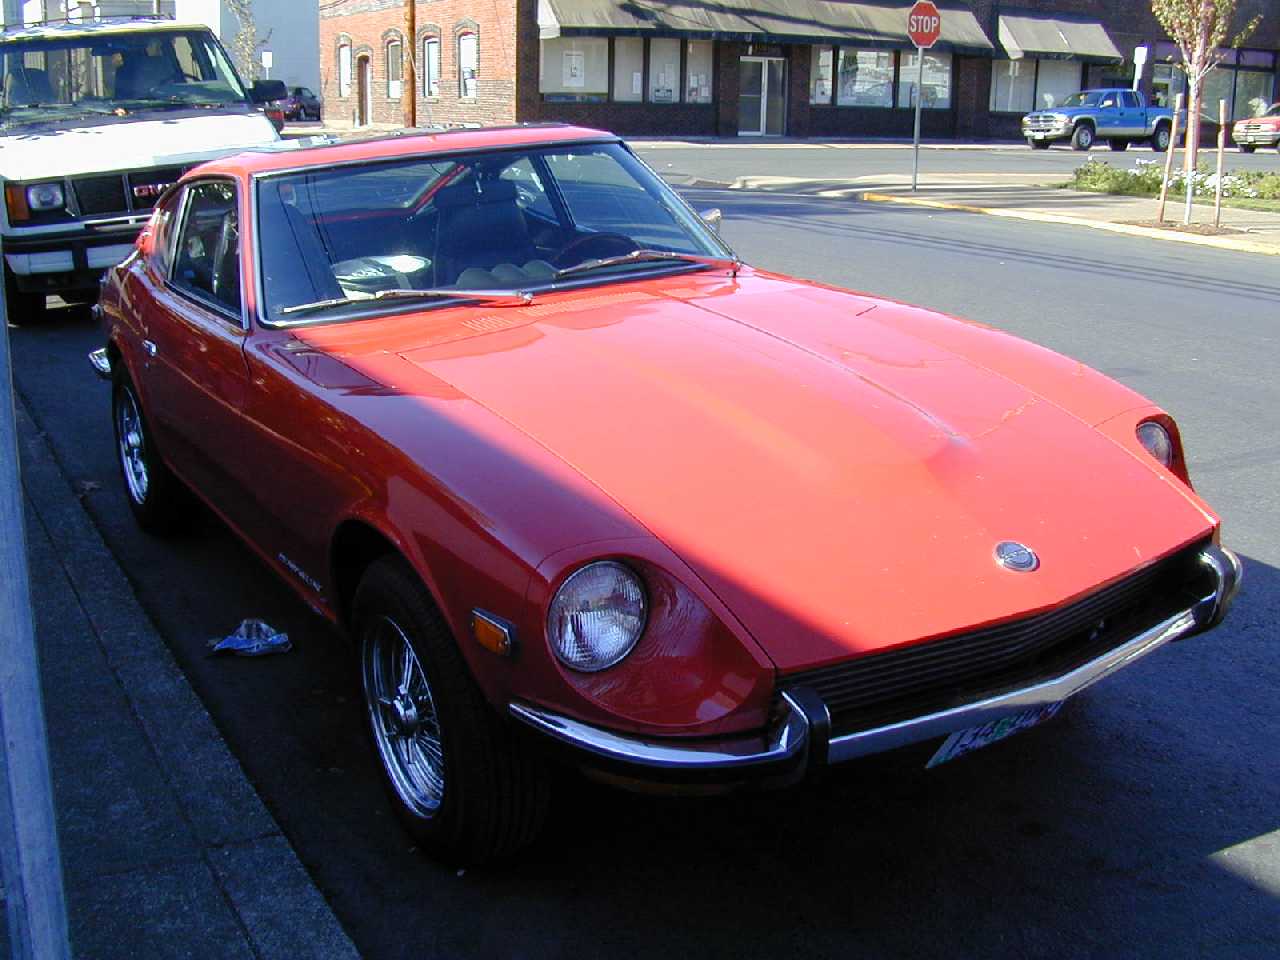
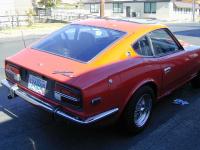
Then of course we had a new addition to the PDX-Z club's family, Arne's beautiful new 71. These pictures really REALLY don't show the car anywhere as nice as it does look. It is defintely as nice as ANY car .... in the dealer's showroom 35 years ago....an amazing car today. Way to go Arne, you definitely made a few people jealous! (And please note, no mention is being made here to any grinding of teeth or arm pinching by significant others!) E

-
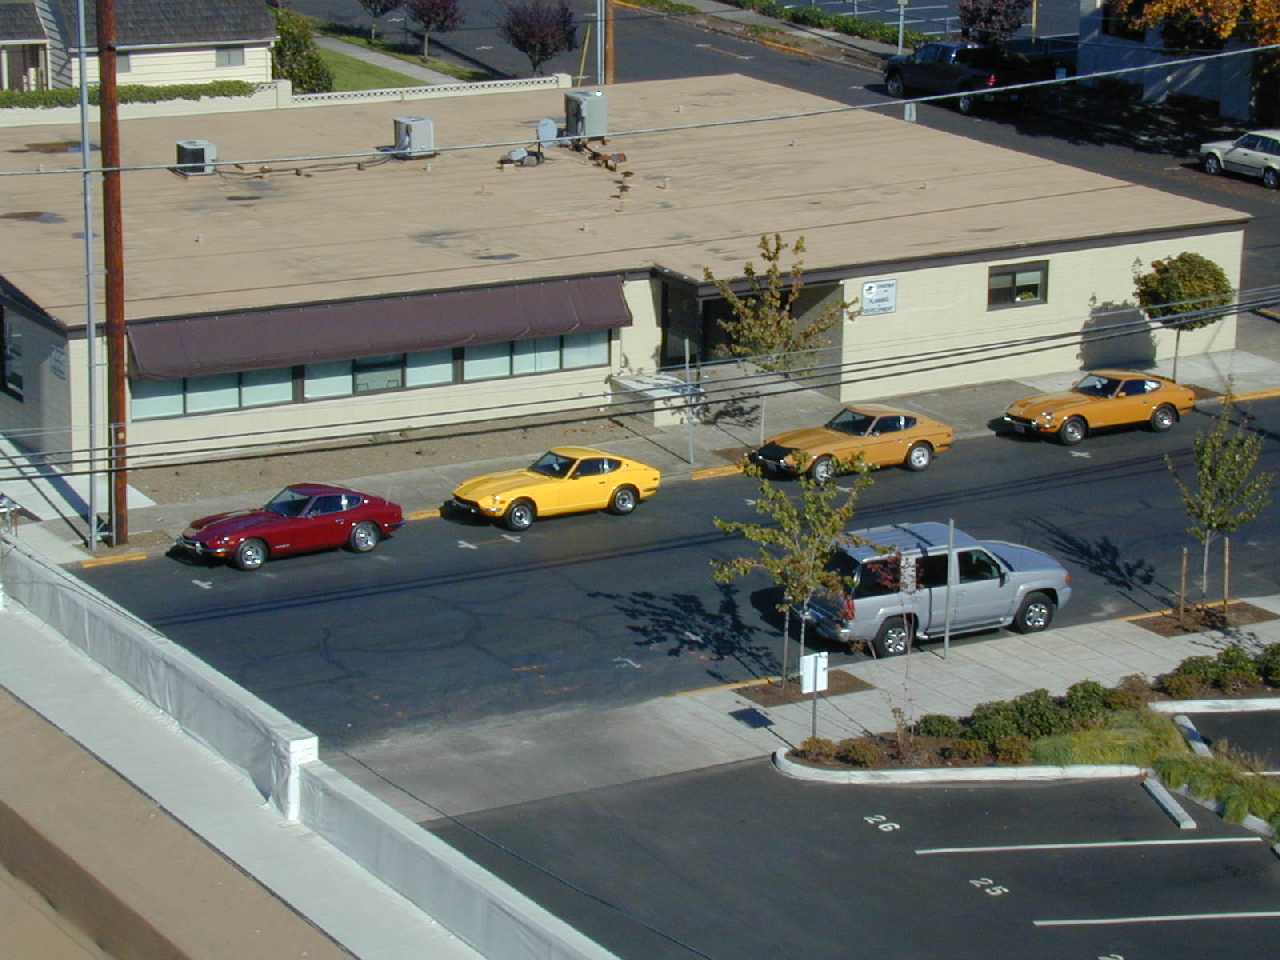
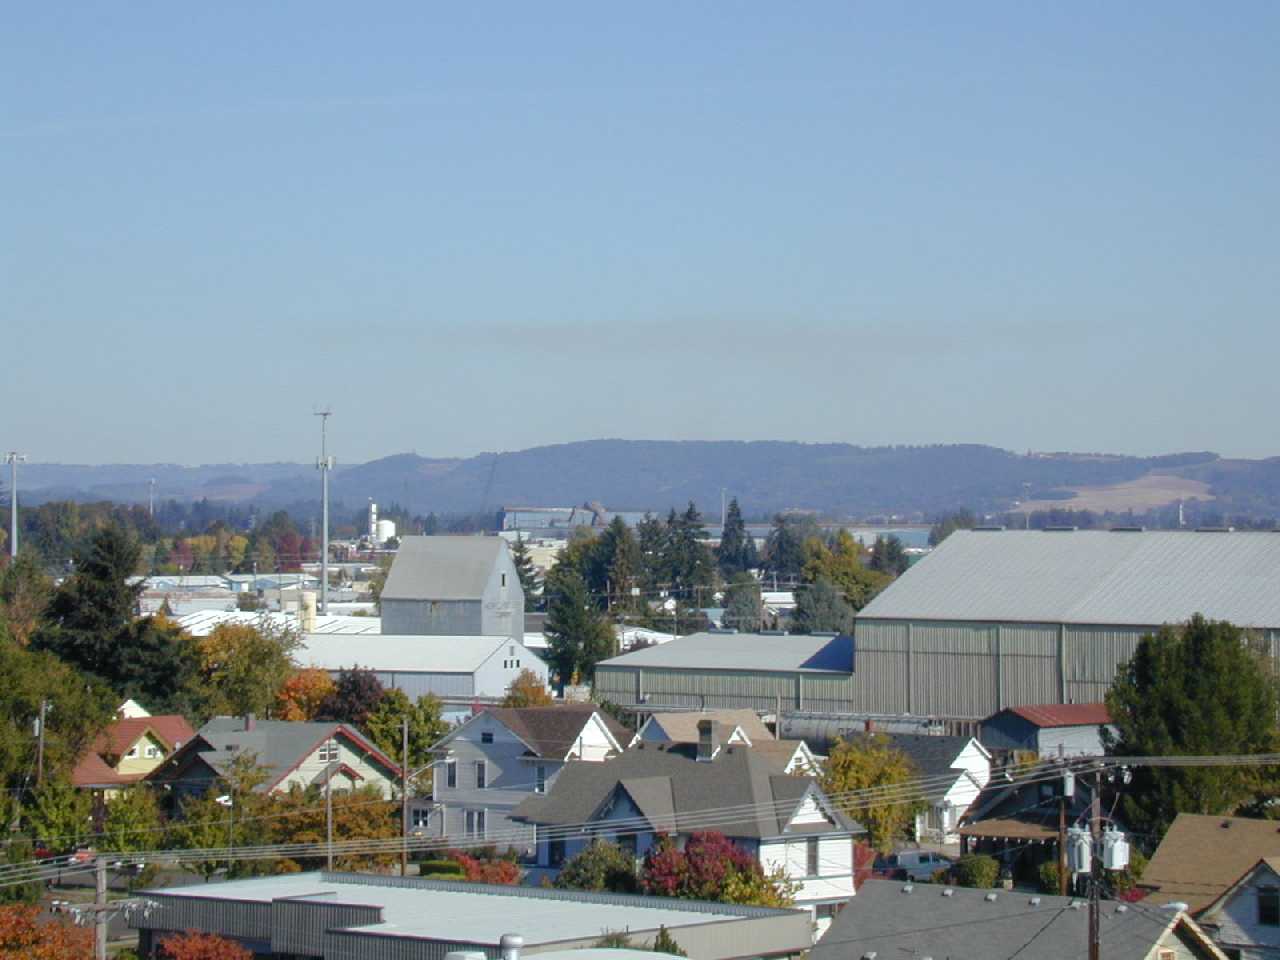
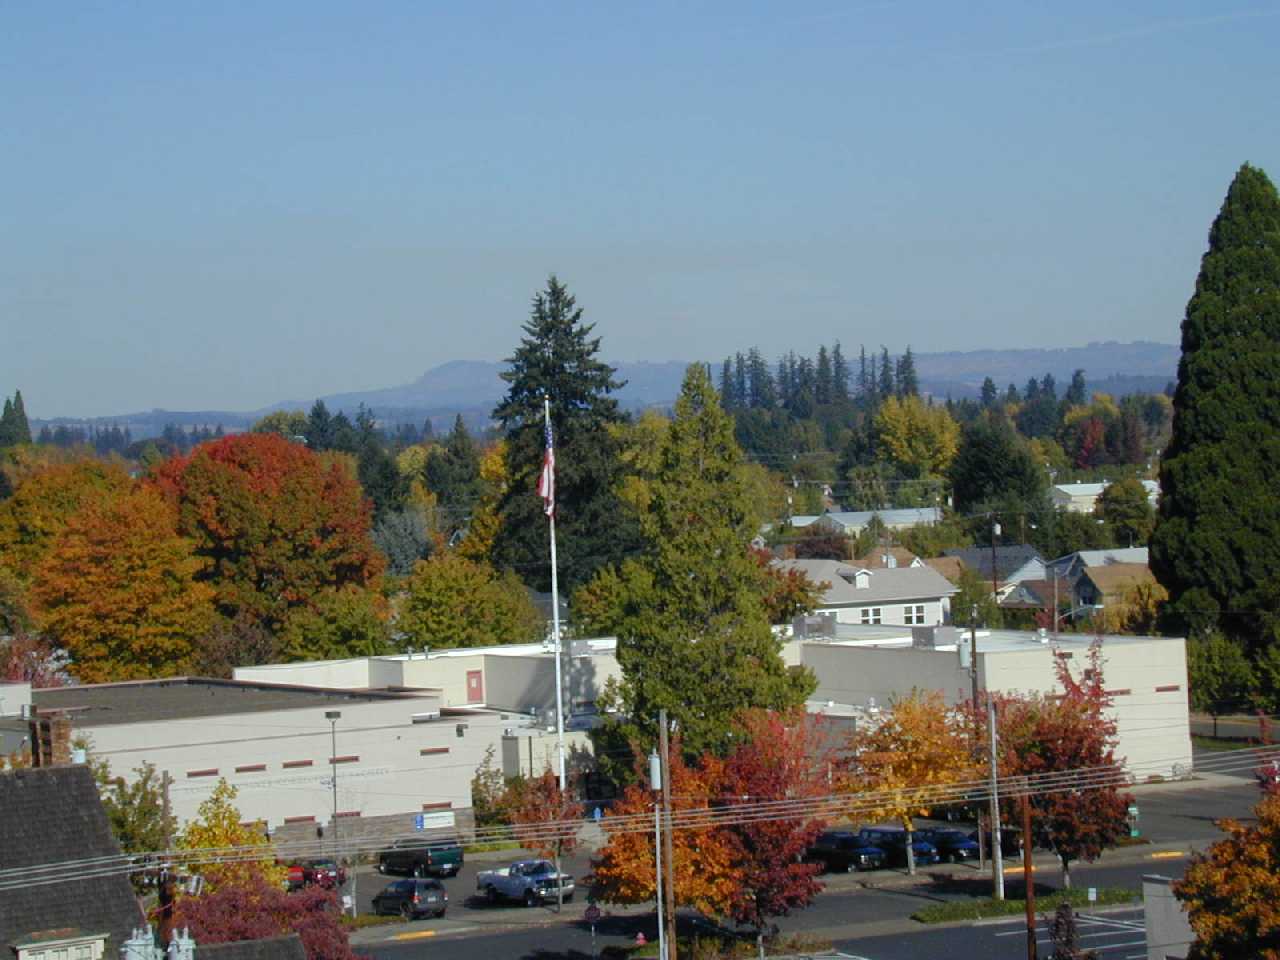
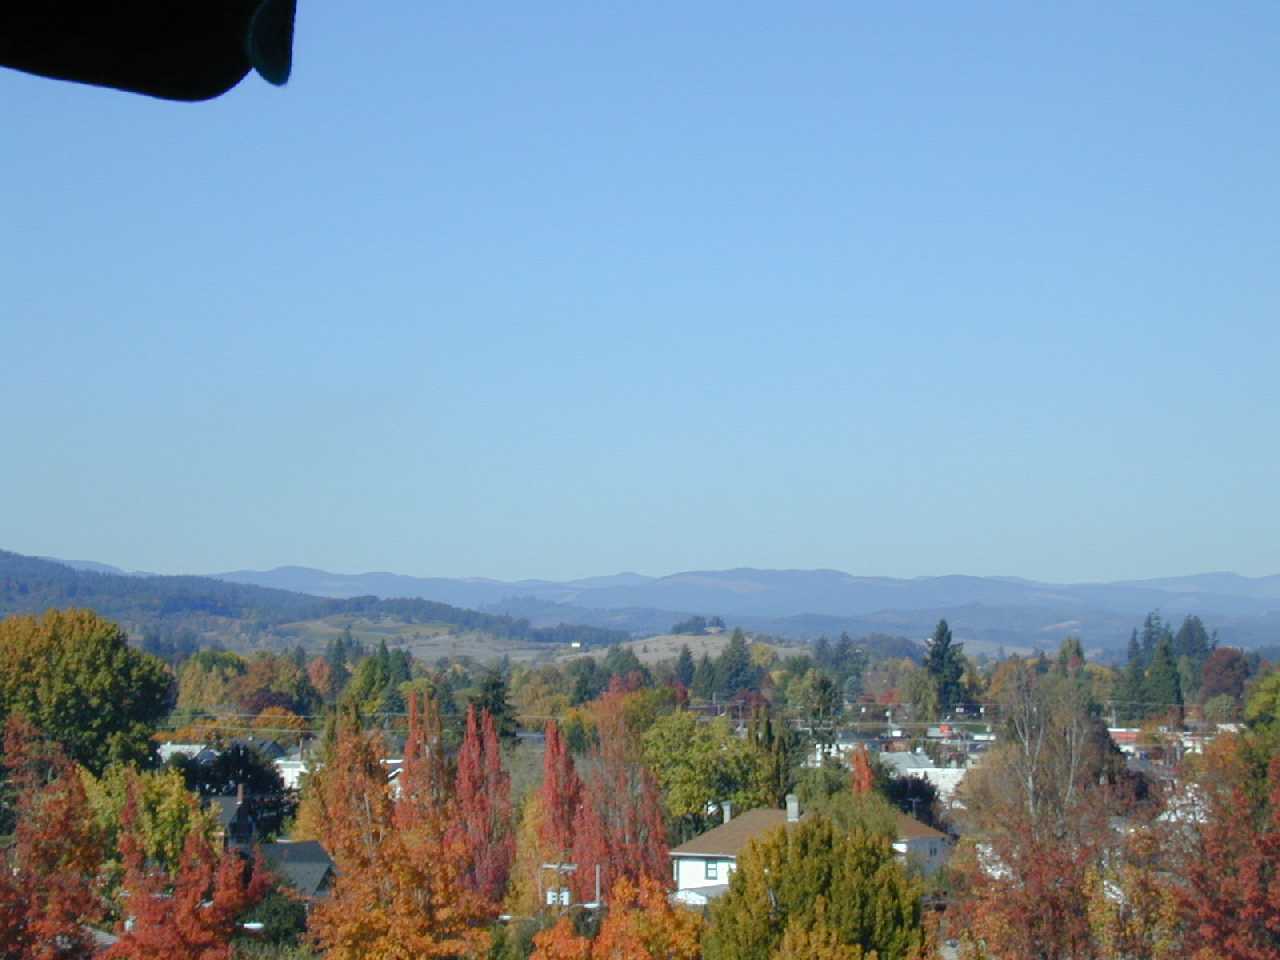
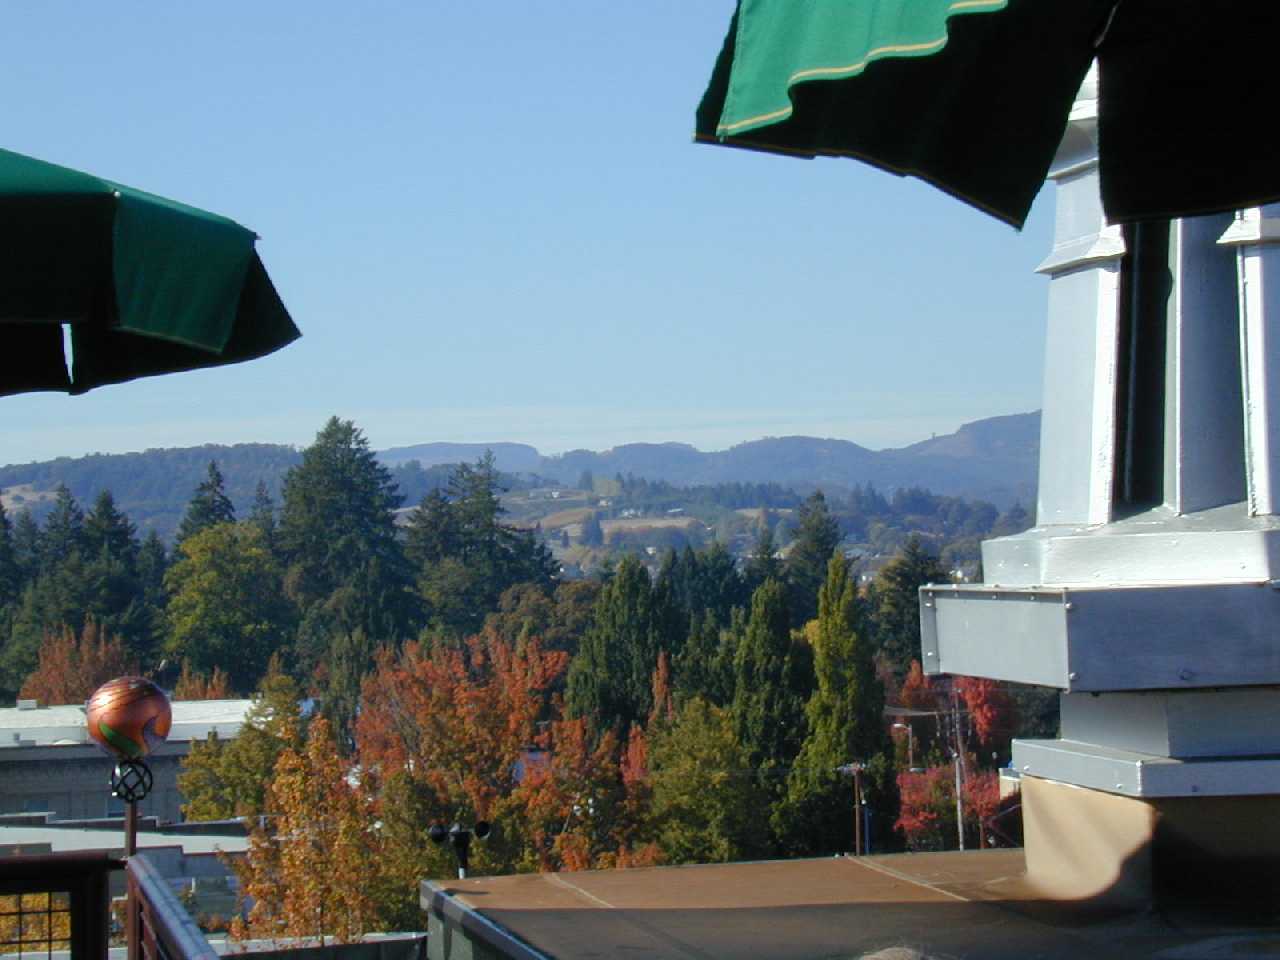
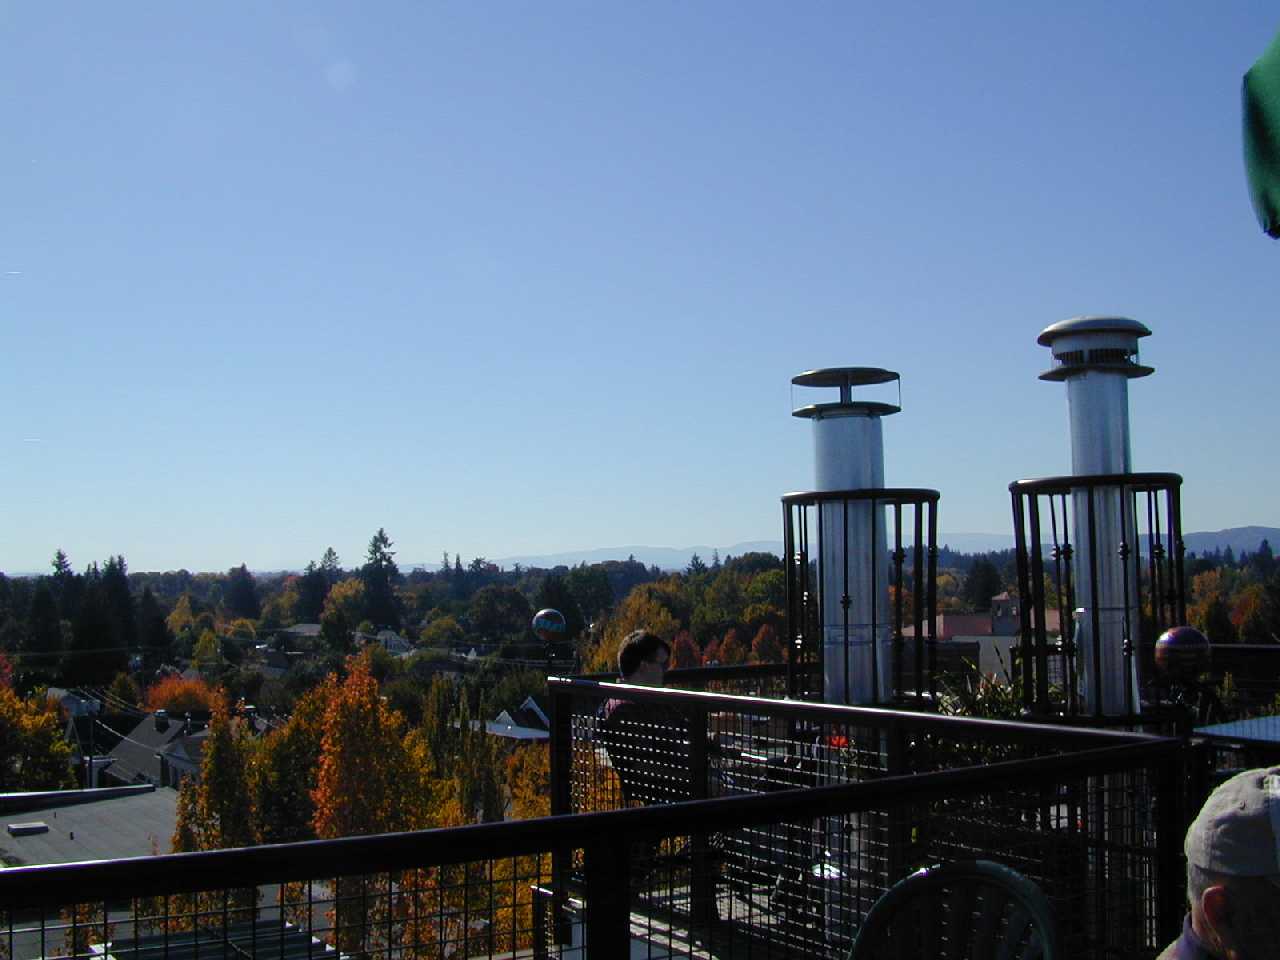
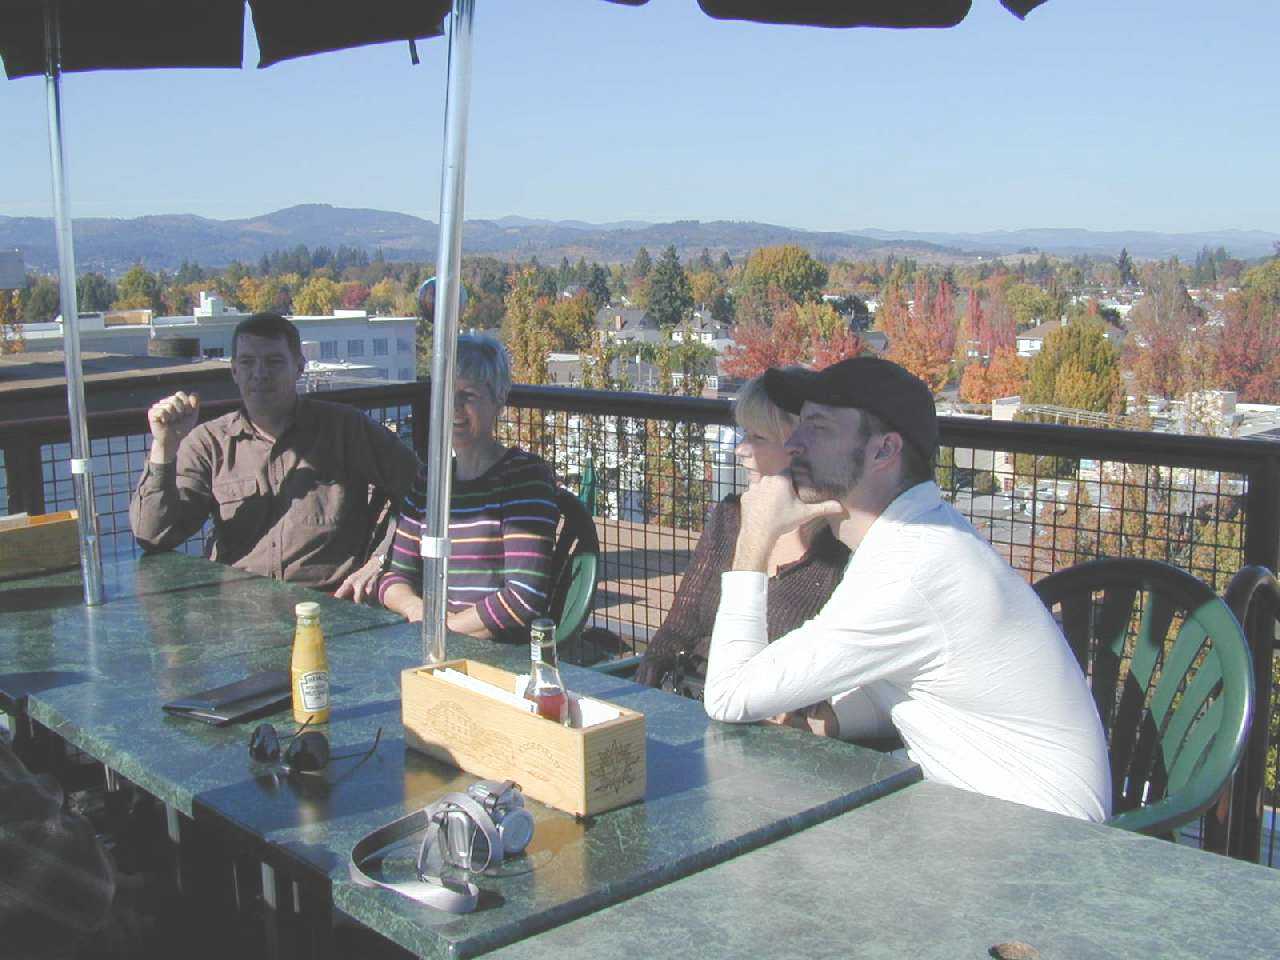
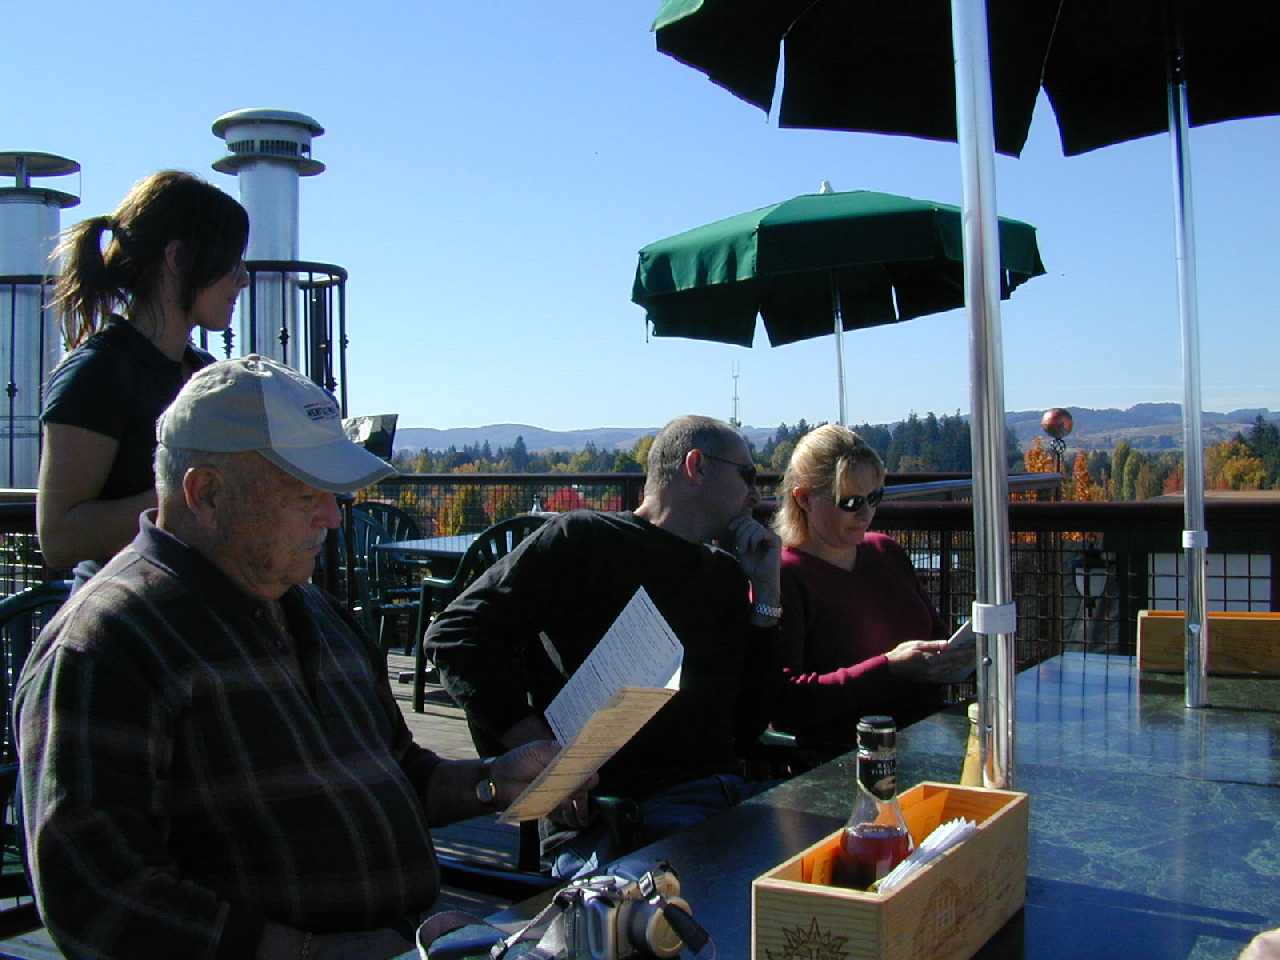
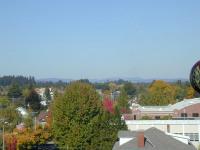
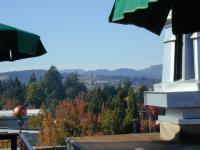
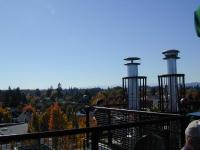
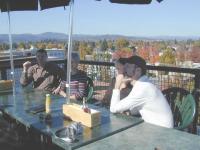
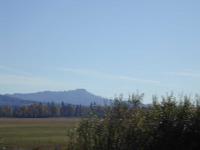
More pics: The restaurant proved to be a definite cap on a beautiful day...I don't think any of us were disappointed in the view nor the weather. These are shots of the view and of everyone at the table. Interestingly enough, we could see our cars down on the street from several stories up in the air. E


-
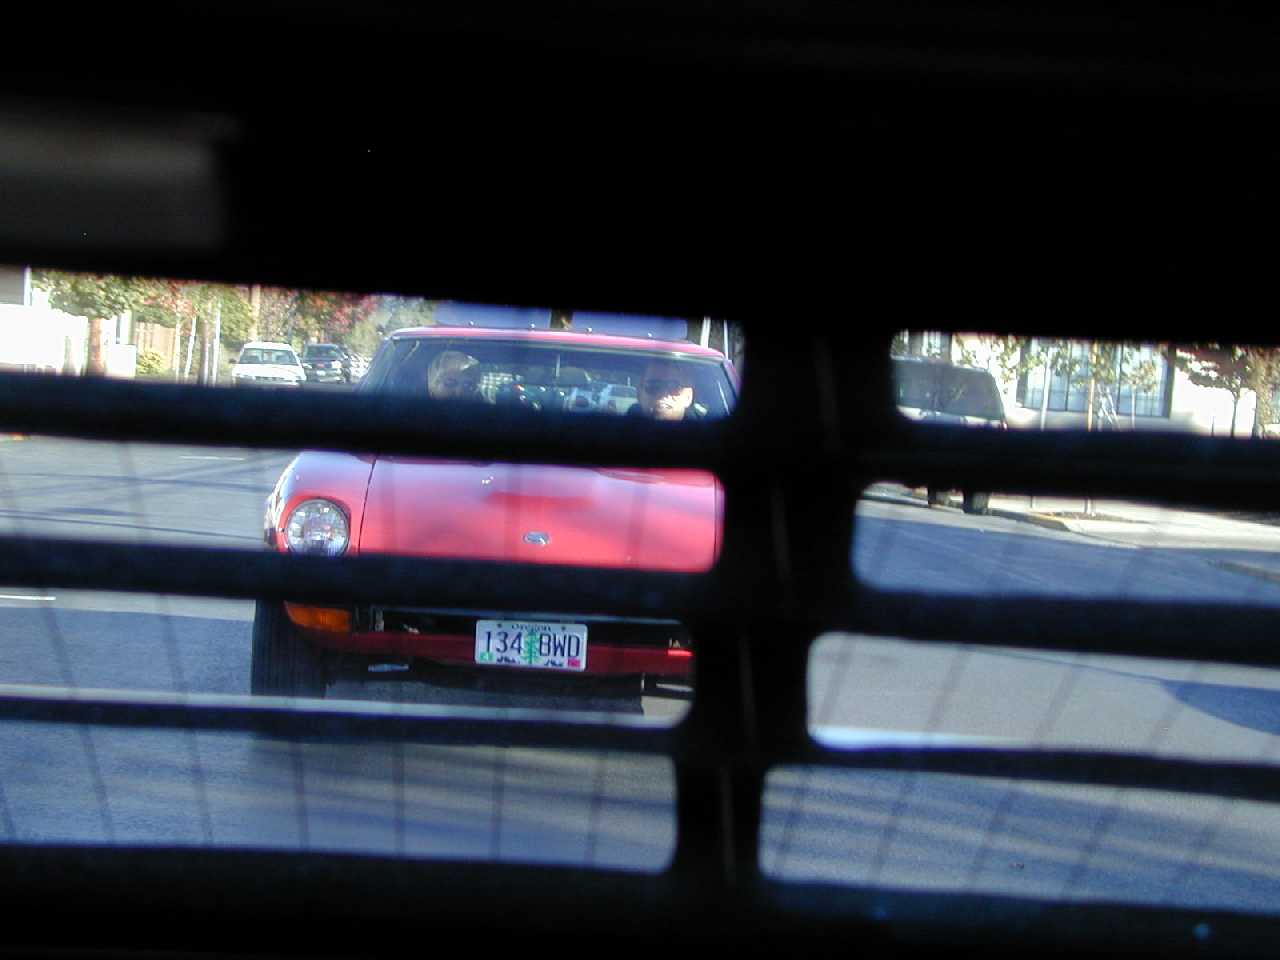
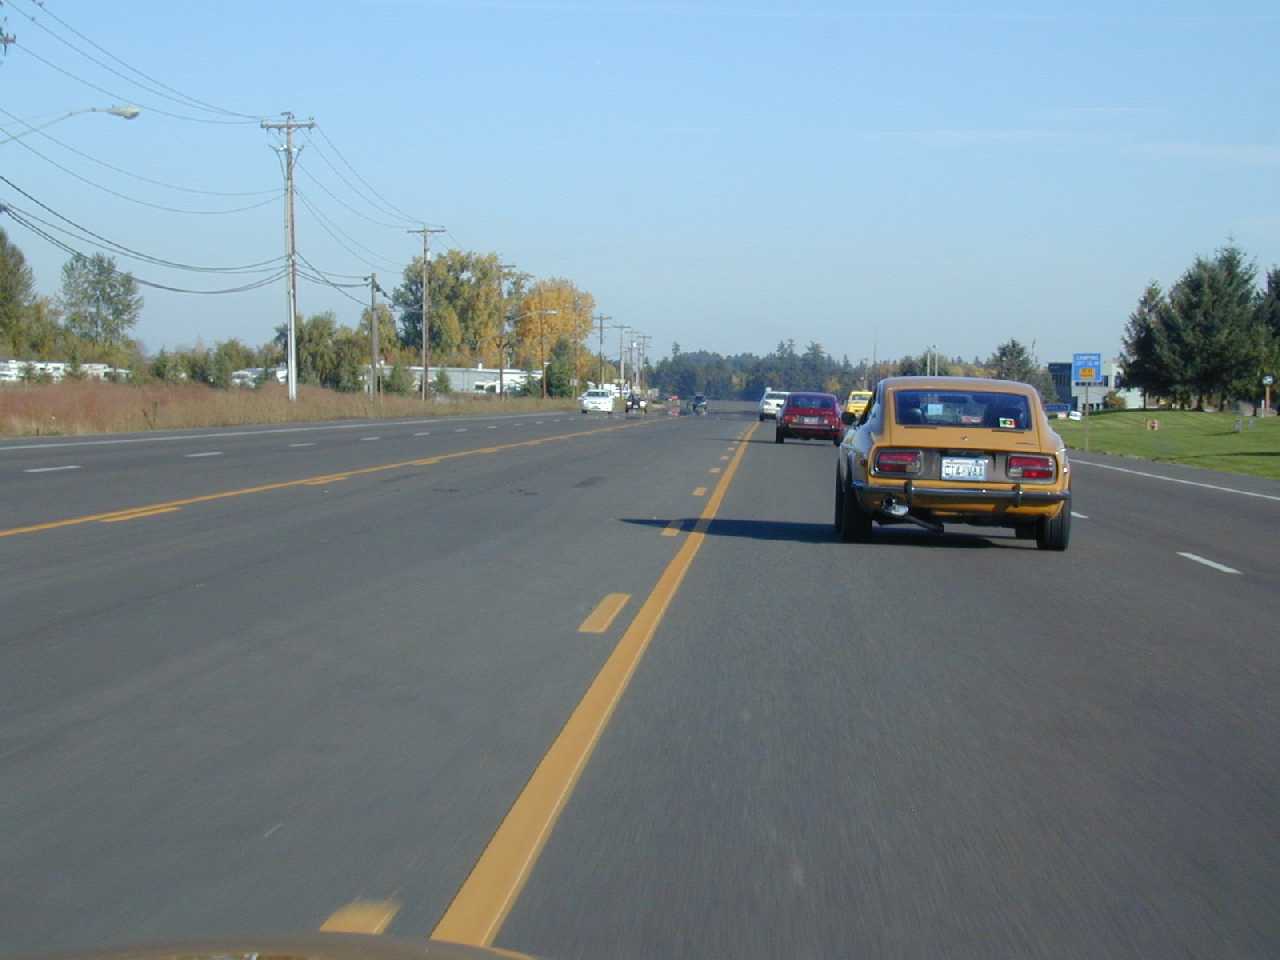
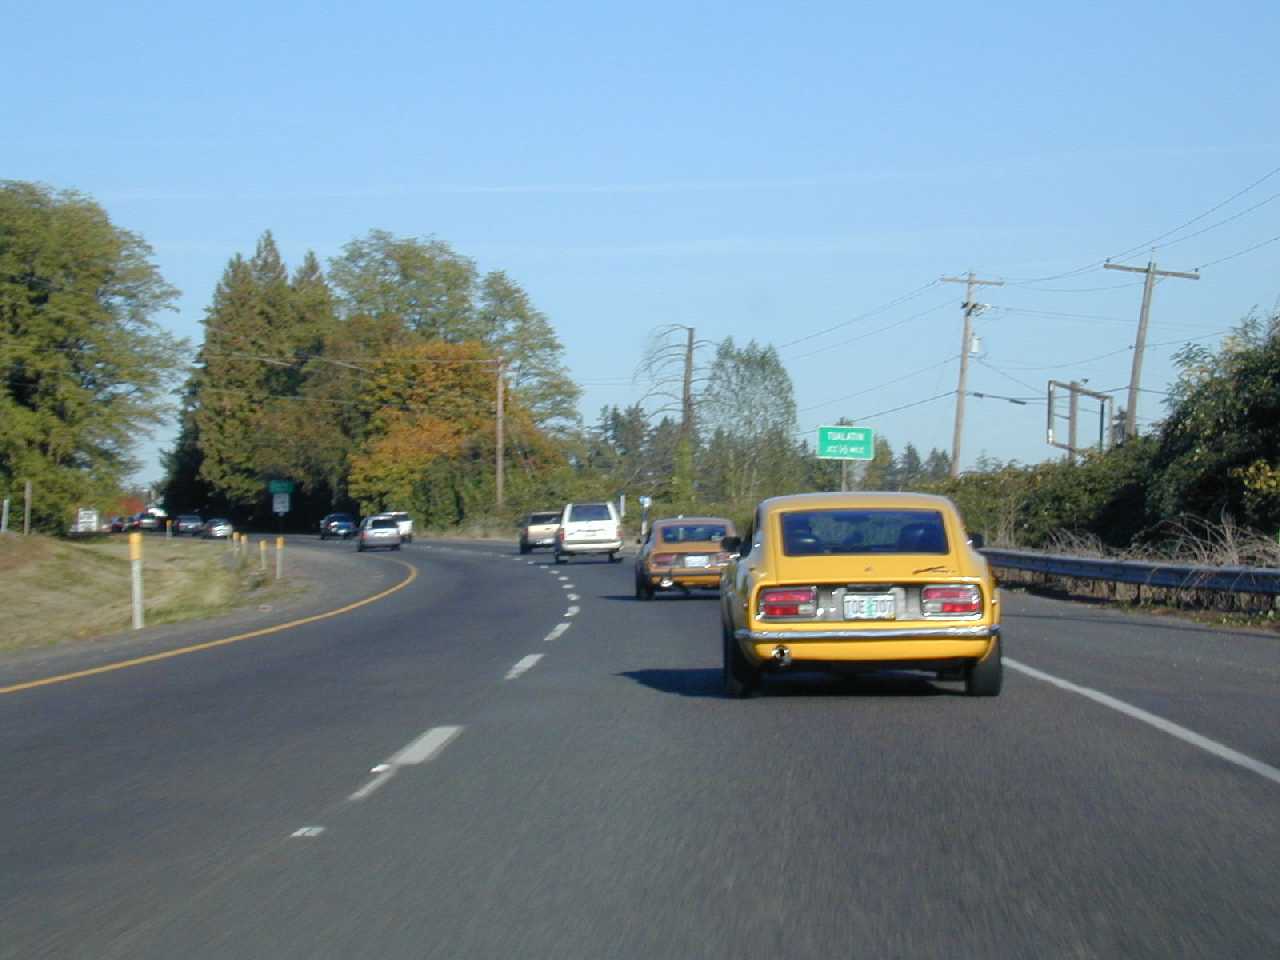
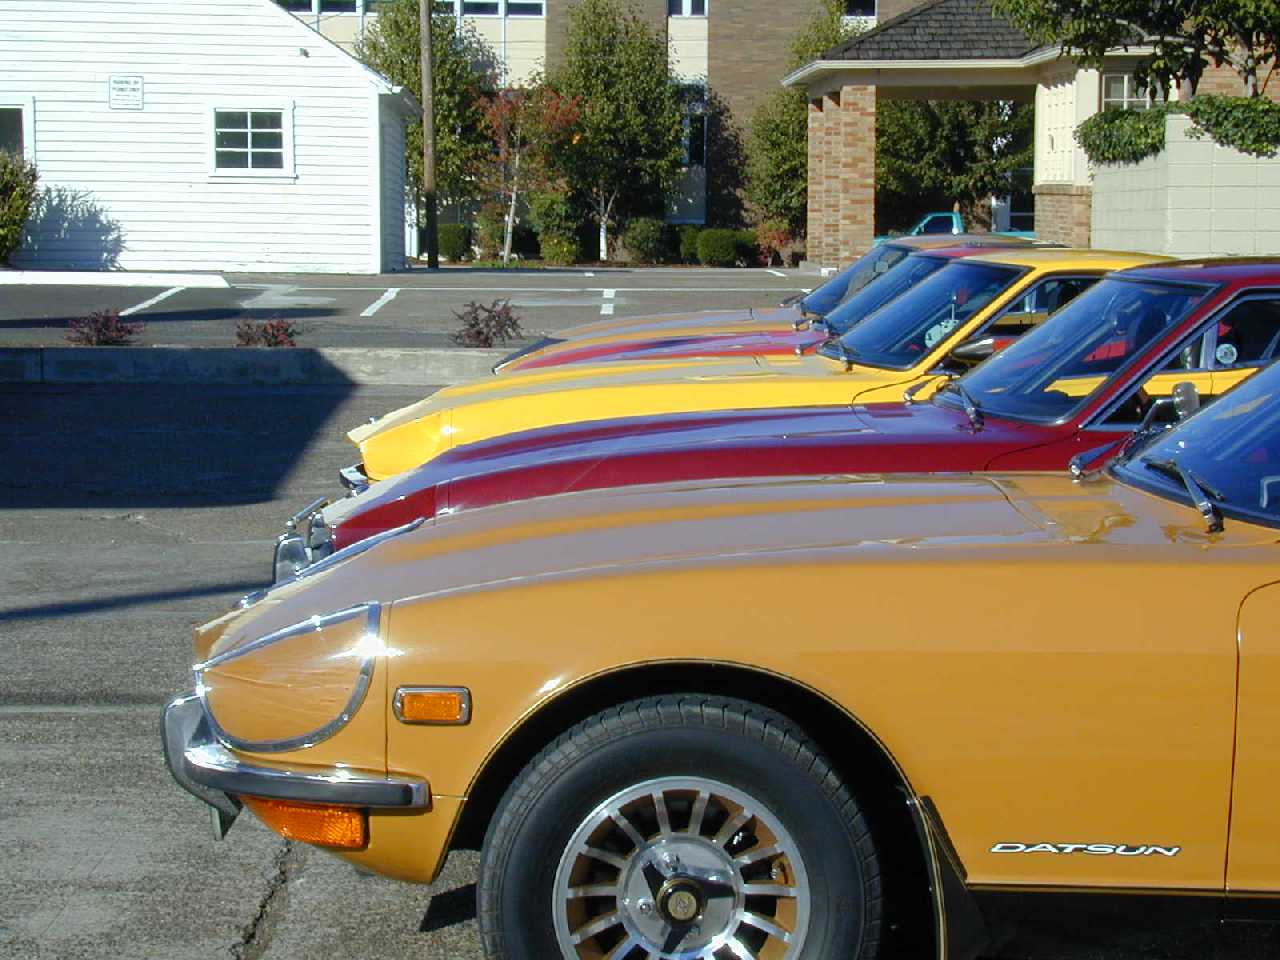
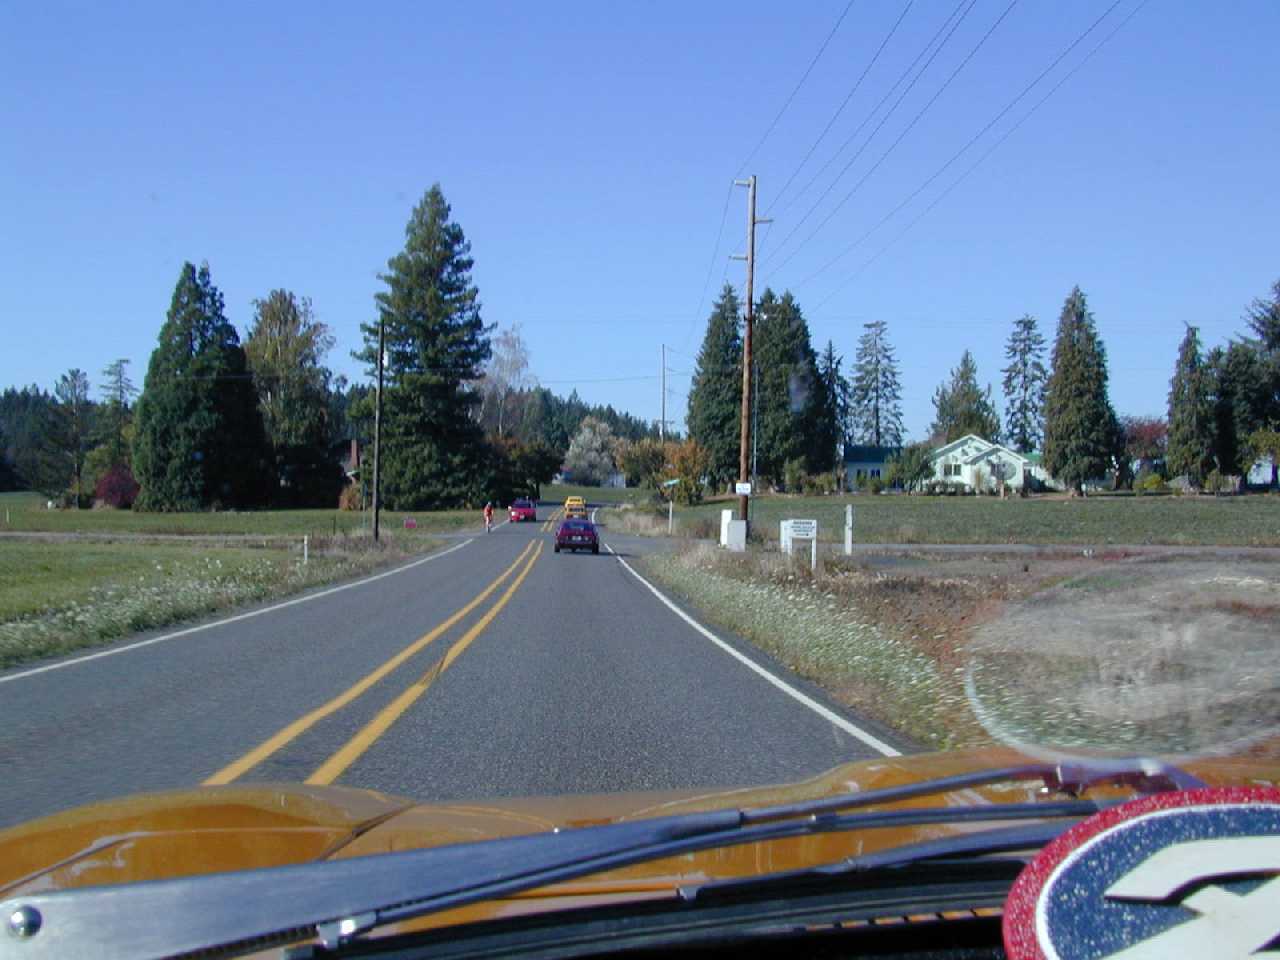
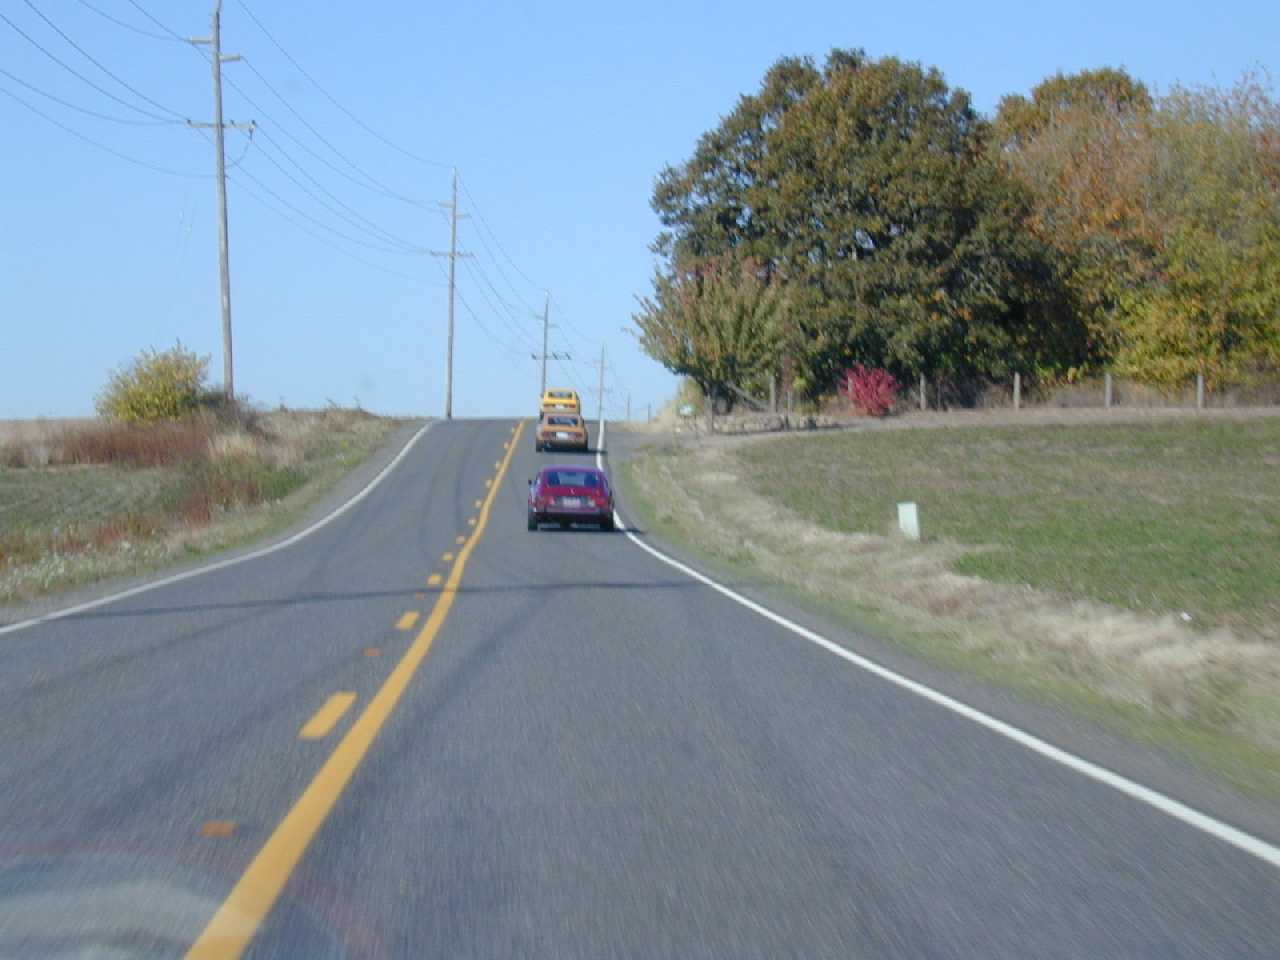
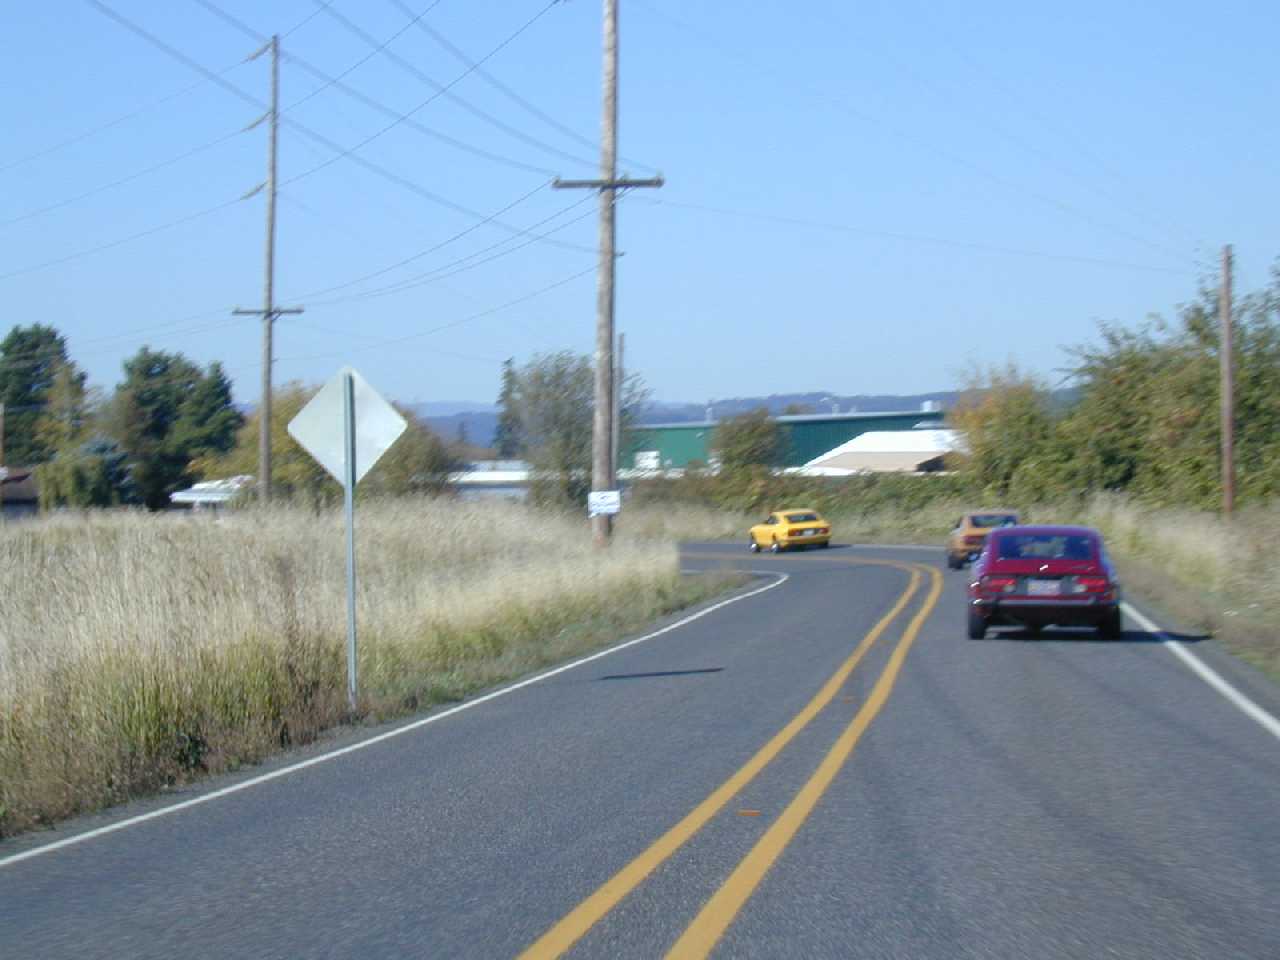
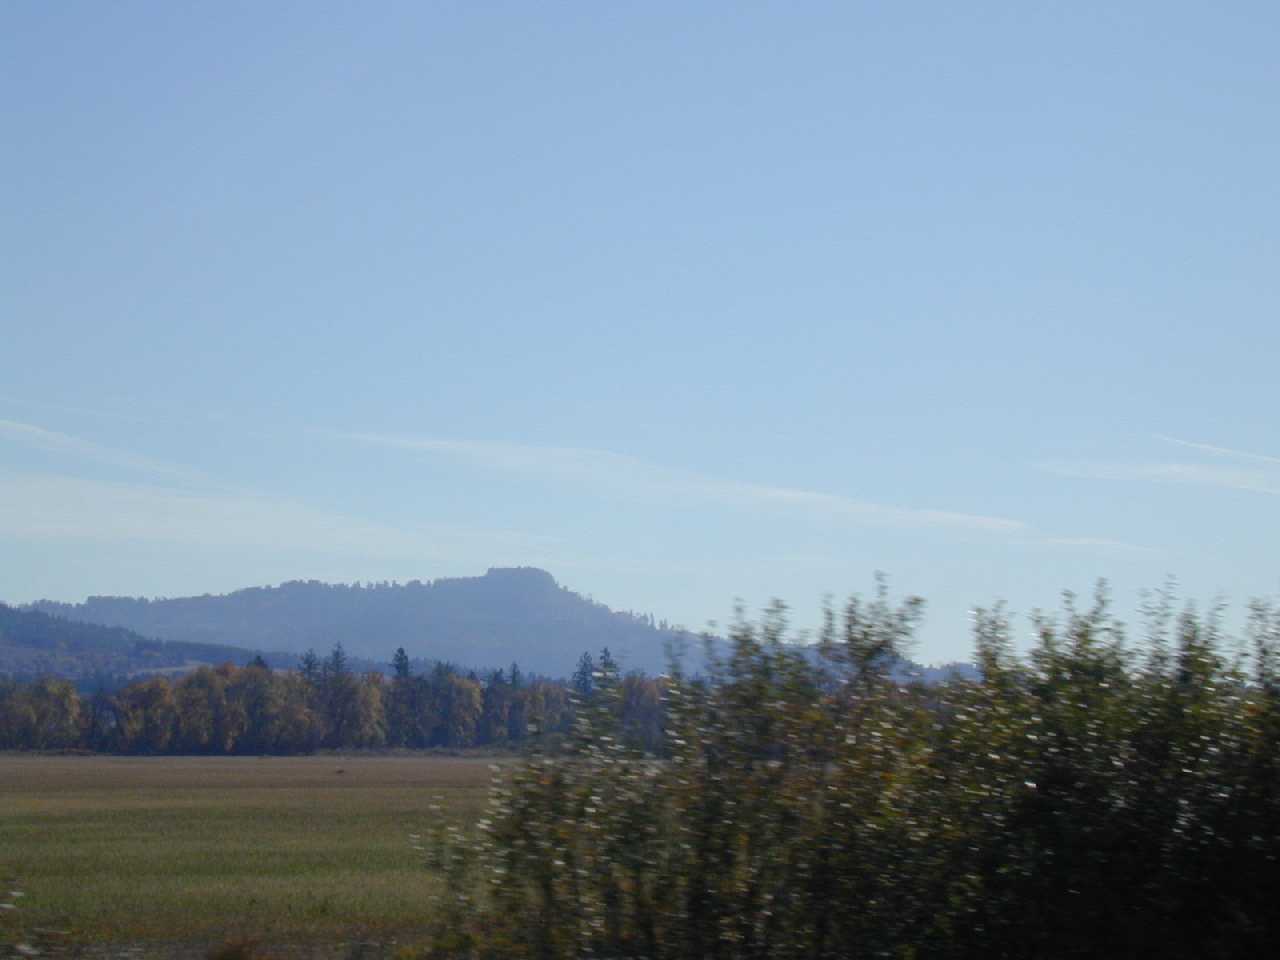
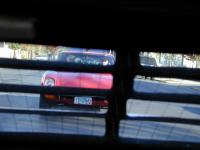
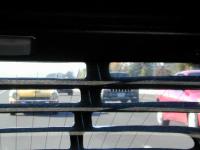
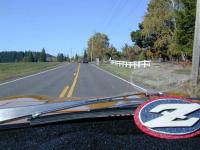
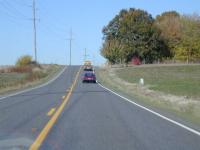
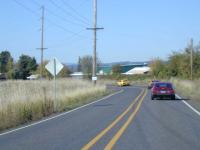
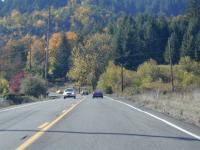
Gary M. really outdid himself on selecting the route. What others would drive via highway, turned into a gorgeous cruise on the back-roads of Oregon. Hardly any traffic to speak of, perfect visibility, clear skies, sunshine highlighting the countryside....well, you had to be there. These photos may give you only a very MILD idea of what a day it was. Gary had the lead, and his car being a striking shade of yellow really caused eyes to turn, then follow that up with 3 more Z's all looking sharp following right behind and you can imagine what a parade. I recall going through a small town and due to speed limit considerations, we were all lined up one behind the other, and I could see a driver in an SUV waiting to pull in, and his head looked like a bobble-head doll as each one of our Z's paraded by. I remember wishing I had a movie camera for that! I was driving by myself so it wasn't easy to take photos at the same time, and there were countless shots that I couldn't get, so my car is only visible from the inside. For those that will ask about the fuzzy stuff on my dash....well I could say that no self-respecting Mexican would have a car without some fuzzy stuff on the dash...... but it's actually there to help protect an otherwise perfect dash from the sunlight. I'll post some of the best, and although some may seem repetitive, look at the trees and the color! Bryan and his wife Gail drove the Burgundy Metallic Z. Although Bryan says that he's thinking of changing the color, it really looks beautiful on the road with the sun shining on it. Steve and his wife Toni were in the Series I Gold 70 with the Hood Bra on. The sugar scoop portion of the bra just seems to be inordinately difficult to put on properly so those two pieces have been left for later. In some of the pictures it might be possible to note that a Series I has all 3 bulbs lighting up when the brakes are applied, and the Series II and later only had the two outer bulbs. E


-
Mohammed; The previous owner of your car may also be a victim of what he's been told. If he wasn't a mechanic type and only drove and enjoyed the car, it may be that he took it to his mechanic, got told that certain parts were replaced when in fact they were not. He paid the bill, the car seemed to run better and in his mind it had new parts....when in fact it may have been something completely different that was causing the problem. I recall a scam many years ago where they purportedly could adjust the camber/caster angles of cars with a McPherson strut (which the Z has) and people did indeed go in and have their McPherson Camber/Caster angles re-set. Since those angles are part of the geometry of the system, and not adjustable without modification, it was just a scam to charge people money and bring them in so that something ELSE could be found "wrong" and then fixed. Lastly, as far as CORRECT maintenance is concerned, there are many people who don't understand their vehicles or the systems within to understand why it isn't a good idea to change only ONE wheel's brake pads. Heck, they're liable to look at the brake pads in a caliper and decide that they could get away with only ONE because either the inner or the outer still had some "meat" left on it. These people are deluding themselves into believing that they HAVE maintained their vehicle, and there isn't anything to be gained by replacing the other side. Unfortunately, there are examples that support their theory. After all, after getting a flat tire due to a nail you don't replace all four tires, do you? But you'd be surprised at the number of people that will STILL only replace ONE tire when that one shows no tread while the others are showing ...a hazy outline of tread. So, don't fret about your IPO. If anything be glad the car is still repairable and it is in good hands .... YOURS. E
-
No worries, rub it in all you want now. When those 4 months that you mention aren't perfect, we'll be rubbing it in on you guys in the south when the temps go above 100° and more. After all, we may get a lot of rain, and even some snow here and there, but for us in summer 95 degrees IS a major heat wave. All kidding aside, the seasons are the reason that you need to protect your car for those times when you simply cannot drive it for whatever your region's difficulties are. E
-
Actually Austen, the reason you're able to enjoy your car year round, is that anything more than ONE inch of snow in Washington (Western) is considered a "Major" blizzard. The television news teams here go on 24 hour "Winter/Snow Watch" reporting blitzes that make ANYONE that has ever spent a winter in the Mid-West literally (and truly) rolling on the ground laughing....after all -- 2 inches of snow is only reportable as news in the Mid-West if it happens....in September! If Washington were to receive anything like HALF the snow that either Minnesota, Michigan, Wisconsin or New York get in a single winter, you can bet they would STILL be referring to that winter's storm....a hundred years from now. Heck, I remember kids in Michigan walking around the snow PILES from shoveling the sidewalks and driveways.... for Halloween! Or walking to work and having the snow piled up so high on the side of the road that as the pick-up's went by, your feet were ABOVE their roof line. So although Jared has some snow to look forward to for the next few months, at least he doesn't have the un-ending rain that we get instead. In fact, he may even enjoy some sunshine....those of us in Western Washington joke about that "yellow ball" in the sky come spring time. 2¢ E
-
As long as those ramps have the "bump" to stop the car from rolling off the end AND the car's tires have been chocked and/or the parking brake set.
-
You shouldn't need to remove the cowl to access the washer lines nor the jets, they mount on the engine side of the firewall, and should be plainly visible running accross the firewall just below the lip of the Hood/Cowl weatherstrip flange. But IIRC you're right, 4 screws to actually hold the cowl, AFTER removing the Wiper Arms. It also doesn't hurt (and in fact may make it easier) to remove the Hood/Cowl Weatherstrip Seal. That way all you have to do is lift the Cowl just enough to clear the flange that the weatherstrip mounts to and slide the cowl forward. Keep an eye on the tangs that slide into the body underneath the windshield, as there are some plastic "cups" that they slide into. These cups are sided Top to Bottom (but not Left to Right), so just keep track of them so you don't loose them. They're there to help seal the cowl bucket. E
-
I second that! Heck, toss in MOST if not ALL SUV drivers! And add in those that raise their trucks/SUV's and other POS to heights that require a step ladder to get in. Have you ever when stopped at a stop light and looked out your window and seen the bumper of the jacked up rig next to you...AT EYE LEVEL... thought what would happen to YOU when they didn't see your car stop in front of them? Do they really think that your back window and roof pillar are going to stop their forward movement over the top of you? E
-
Also, and I defer to more knowledgeable folks, IIRC the springs in the front actually WERE a different height from the factory. This was to offset the weight of the driver in the weight distribution balance. 2¢ E
-
Your prior knowledge may be invaluable in finding a cross reference to 510's parts that may be the same in the Z's. Welcome. E