EScanlon
-
Posts
5,117 -
Joined
-
Last visited
-
Days Won
2
Content Type
Profiles
Knowledge Base
Zcar Wiki
Forums
Gallery
Events
Downloads
Store
Blogs
Collections
Classifieds
Everything posted by EScanlon
-
There were just way too many to take pictures of them all. Trust me this is but a small sampling.

-
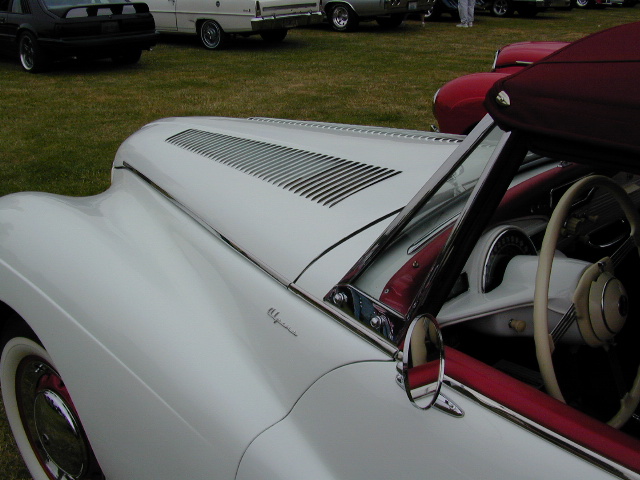
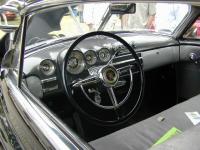
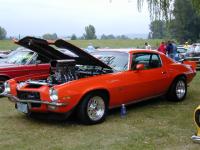
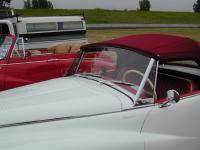
And the beat goes on....


-
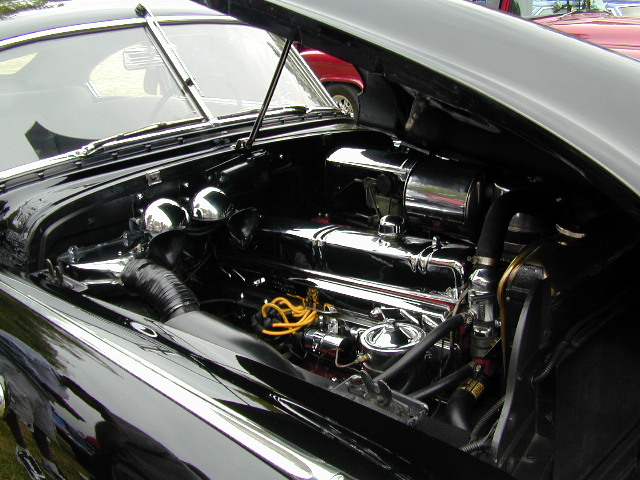
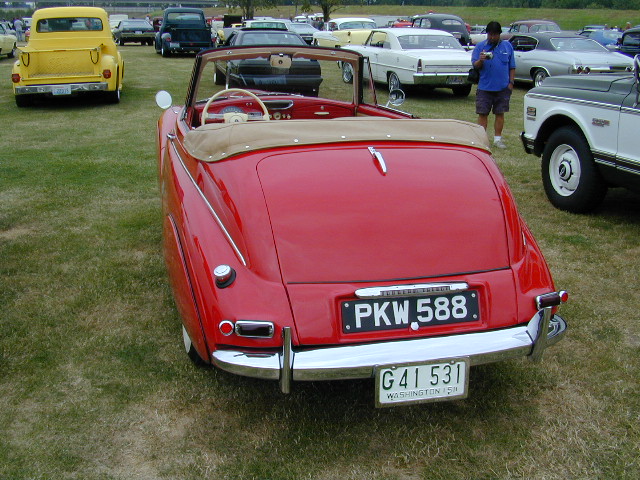
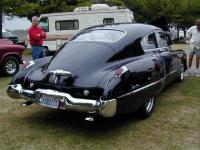
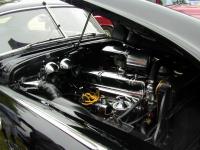
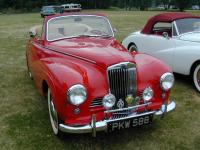
And yet, something else that caught my eye...


-
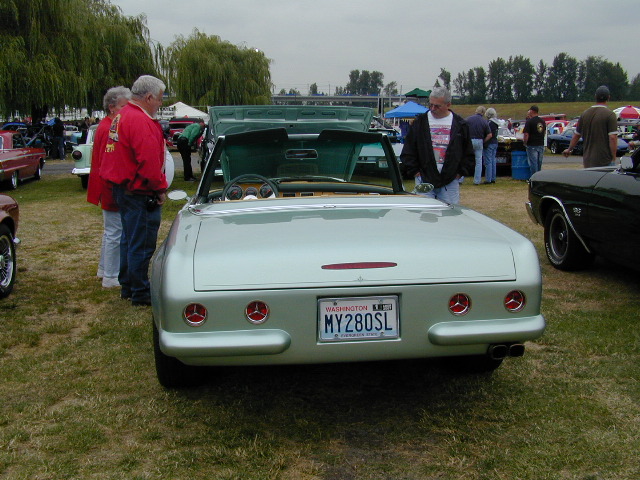
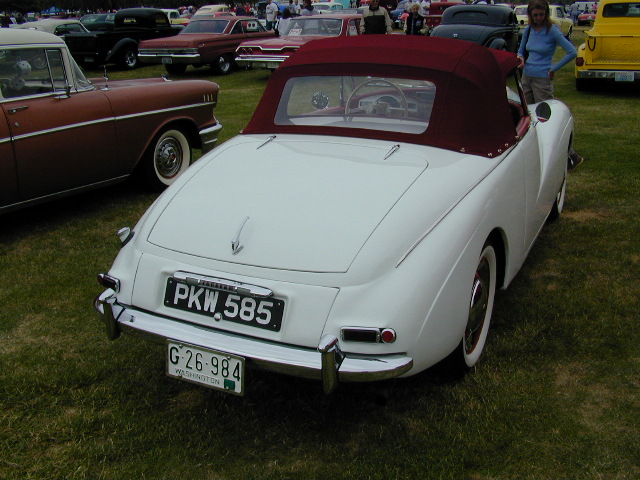
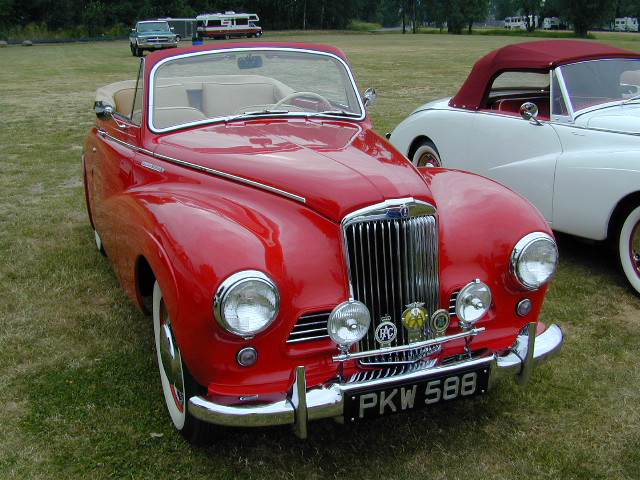
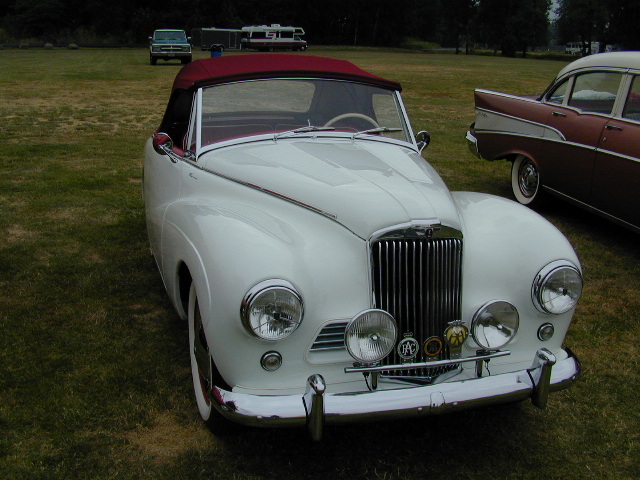
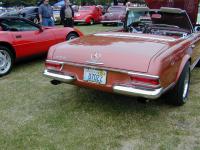
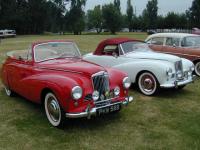
More of that mysterious pair:


-
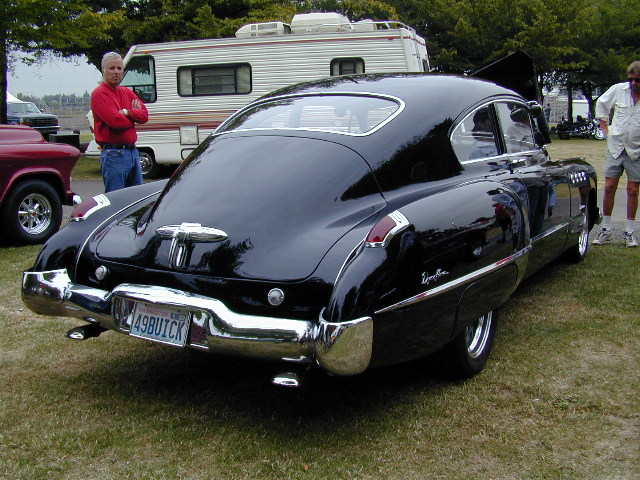
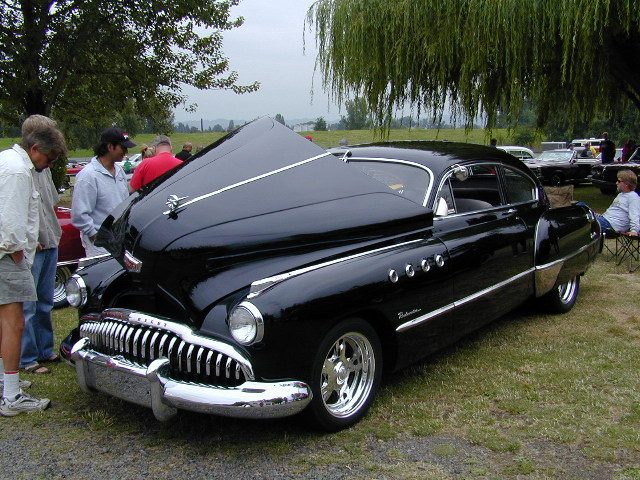
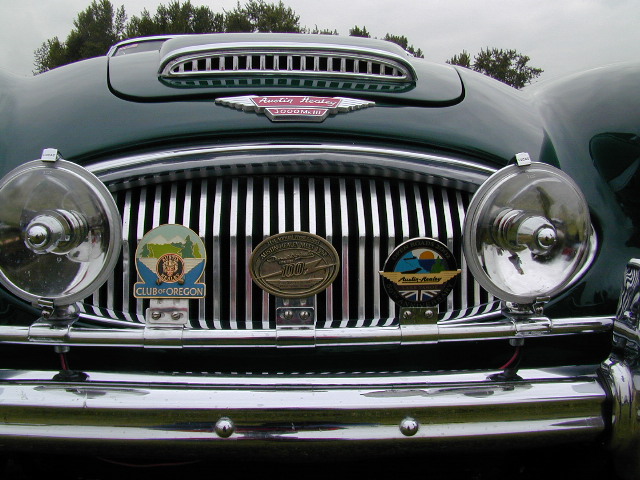
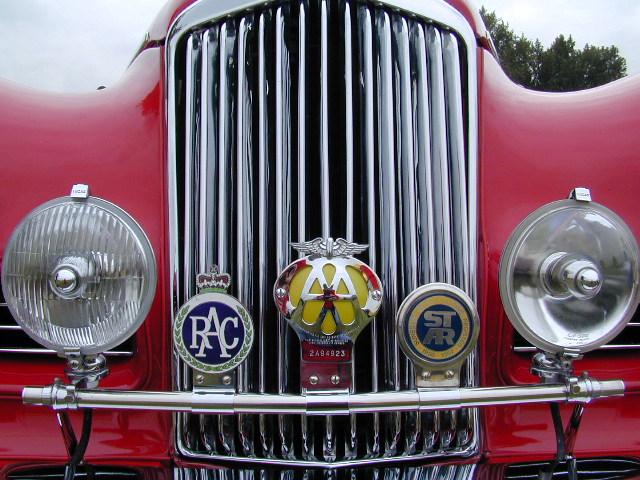
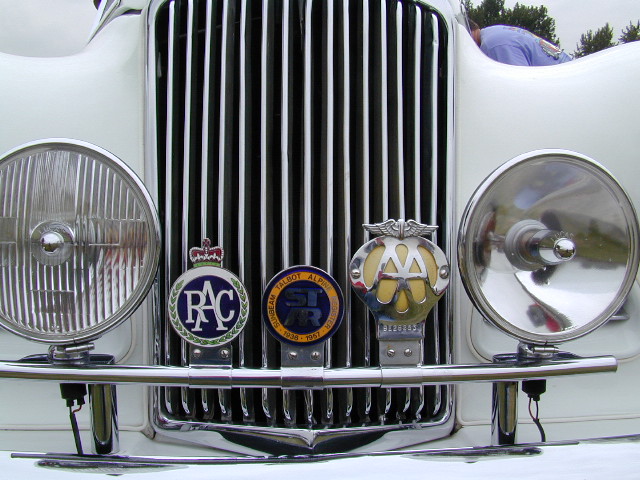
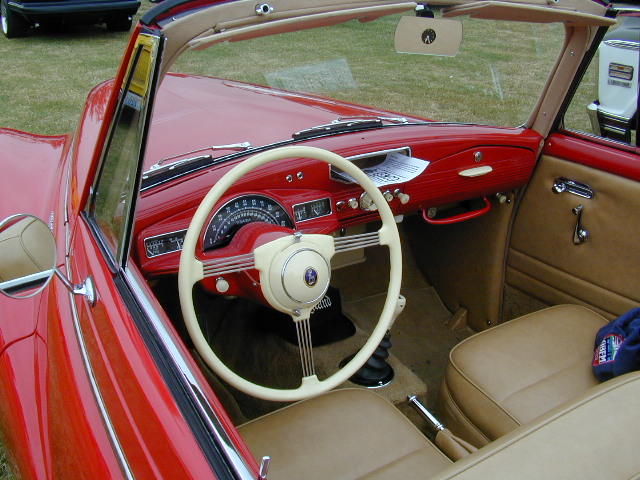
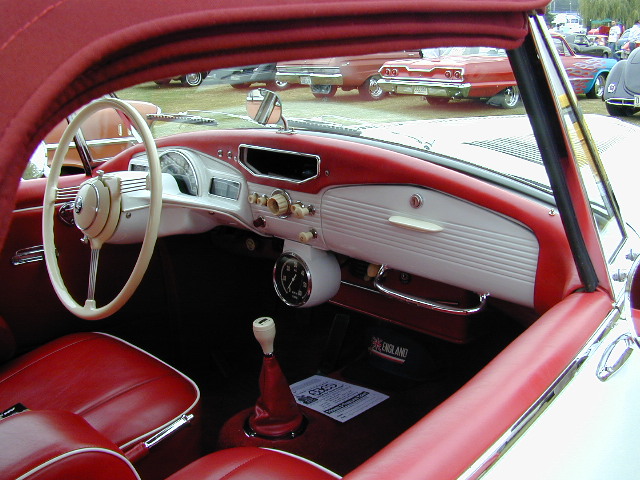
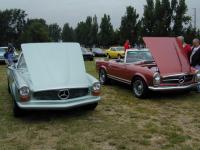
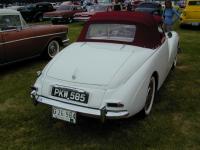
By no request whatsoever, but only to make Enigma really jealous, a few pictures: Can you guys guess what kind of cars these are? E

-
Bryan is NWCUBSMAN A vague reference to his having been a Chicago Cubs Fan in the North West. I believe Gary calls him New CLUBS Man because Gary is a GOLF fan. E
-
Attaching trim panels around license plate?
EScanlon replied to SteveInOakland's topic in Body & Paint
Just a bit smaller and FLATTER...that is without so much of a round top to them. E -
Enigma, just to ==hehe== rub it in a bit, I'll take several pics looking down the rows of cars. I usually take one or two pics of the truly unique and rare vehicles that show up. In fact, check the original post I made for the Beaches Cruise In in the Regional Forums, and you'll see just a few. Once I get done with chores, I'll upload a bunch of unique cars that will get a few people wanting to come. E
-
Then definitely come, it's a show like no other in the area. Where there are ~cruise-in's~ this one is a CRUISE-IN!! They average 500+ cars of all makes, and years. If you've never been to one of these, bring a drool cup. E
-
Bring the car ONLY if it's ready for the road. Like Gary and Carl have said, take it one step at a time. As far as the fuel tanks, I don't believe so, by the time you reach the 260 there have been enough undercarriage changes to nullify the swap. Im sure others will chime in, but AFAIK that one isn't possible. It is possible though to remove, flush and POR the inside and outside of the tank during a weekend. E
-
Mike: If you can, try to make it to PIR this Wednesday after 4:30pm for the Beaches Cruise-In. Several of us in the PDX Area try to make it there weekly, and it will give you an opportunity to not only meet us but also ask questions that will help you in getting her running and looking good. Our Z numbers are slowly growing, where it used to be only my 71 Gold 240, now we have as many as 5 of the early body style and even a couple of Z32's on occassion. Haven't seen a Z31 yet, but we recently did have a beautiful example of a 2+2 280. We've even had a couple of Roadster's show up. Admission is $5 per car, or per person. Free Live Music, you can buy Food, Beer and Mixed Drinks as well. There's even Drag Racing gonig on in the background. Hope to see you there. Enrique
-
Ian: Can you say "Dumb Kid!"? That it had been 20 years + ~may~ be a way of "laundering" a title, but more than likely it was an older lady who never let go of her husband's car due to deep sentiments...or some other reason. I doubt that someone would steal a car to keep it for 20 years JUST to launder the title. You may SAY you mean no offense, but then don't say offensive things...especially when you don't know the facts.
-
Two pieces? I've seen it where there's an additional NOISE maker attached to the base of the flasher, but never where the flasher as a whole was comprised of two pieces. The location of the individual flashers varied by model year. Where mine (71) are as I described above, I've seen both on the passenger kick panel, or one on each kick panel. Usually, with the loss of one bulb filament, there will be more current through the circuit and therefore a FASTER flash rate rather than slower. At least that's been my experience, but it is interesting to note that your system flashed slower with burned out bulbs. E
-
It's a multiple answer poll. You could have selected more than one answer when taking the poll. The percentages represent how many of the respondents selected that answer as part of their multiple choices answer. From that you can see that see that a couple of guys claim to be "reading" the "Boobs" thread. E
-
You might have pulled the Hazard Relay as opposed to the Flasher Relay. They're both Flasher Relays but the Hazard one is a heavier gauge in order to run all 4 corners at the same time. Typically this one is marked as Heavy Duty and if memory serves are predominantly Amber in color. Whereas the Silver can is for the regular Turn Signals. (This may not hold true for all flashers, just a curious observance of mine.) Location is also an indicator. The Hazard Flasher on the early Z's is on the passenger kick panel, whereas the Turn Signal Flasher is by the Steering Column area. While I haven't done it nor experimented with it, since the Flasher Relay relies on the current it carries to determine it's flash rate, I would think that the Hazard in the Turn Signal spot would flash very slowly. Whereas a Turn Signal in the Hazard position would flash very fast. Again, this is untried and untested, so someone else may have a better explanation. E
-
The Latch Pin attaches to the hood with a pair of 10mm bolts. When you remove these the hood will be free to move. Since you're mentioning that you've removed a pair from the bottom of the latch, I'm wondering if the two you removed were for the latch mechanism which is attached to the body. If so, the pin is still secured to the latch and the hood won't be free to remove. Let us know if you're still having trouble with that. E
-
Looks Like an Early Z to me - on eBay - your Opinion?
EScanlon replied to DeesZ's topic in Open Discussions
Actually, I "swapped" the seat reclining mechanism from a 72 onto the original 71 seats. IIRC the original seats had the cloth bands for support on the seat cushion. The cushions had been recovered by an upholstery shop here (did a real nice job) and I just wanted more of a recline than the Series I Tilt mechanism offered. The Series I (original) dash, had had the OEM Fog Light hole drilled out and a Cigar Lighter installed AND a Cigar Lighter above the ashtray located in frong of the shifter. Curiously, both Cigar Lighters had OEM Lighting (as discovered when I removed the dash). The biggest obvious difference was that the Hazard Switch Indent Mount did NOT have the associated Label INDENT. There WAS a label (all faded and bleached to white) to the left of the switch, but mounted on top of the vinyl. Another difference is in the mounting legs on the right and left sides of the lower part of the dash. The 72 has plain sheet metal with a bend and edges at 90°, whereas the 71 has a built up "box" at the end of the sheet metal. Nothing major, but obviously a construction difference. Unfortunately, the original dash had a series of cracks (NO! Really?) along it's top surface and when I obtained a 72 parts car with a blemish free dash, it was pulled awaiting a proper restore when funds become available. These differences came to light when I was first addressing the problem of the cracks, I had bought a dash cap. Unfortunately, it arrived with the Indent for the Hazard Switch and caused problems in getting the cap to fit properly. So I requested a replacement and they just shipped me a new one. However, this was a Half-Cap...not what I wanted. Again, I got on the phone and contacted my vendor and a new one was again dispatched. The new one didn't have the indent, but was just a bit snugger than the other cap....almost to the point of asking if it was the correct one. In talking to the dash cap manufacturer, it turns out that there were at least 2 different "molds" for the Series I dash, as far as they knew, and I had the "wrong" one as far as their mold for the cap. Well, they did refund my money except for the shipping so, I felt it would be "ok". Then the parts car popped up on e-Bay for $250..... Series I and II center console differences are well documented here and at Zhome, so I'll just concur with them. E -
Looks Like an Early Z to me - on eBay - your Opinion?
EScanlon replied to DeesZ's topic in Open Discussions
H L S30 - 43274; 9/71; AT Series I Dash (now replaced awaiting restoration of the original); Console; Seats (also replaced); Series II Tool Boxes, Vents & Hatch, with Vertical Demister Glass. -
There is a whole industry based on Sound Attenuation and Diffusion. For my purposes, I wanted a car that was enjoyable to drive and didn't buffet me with tons of noise from the road, tires and it's own components. While ~some~ noise is to be expected, to me noise is an indicator of something not quite right. I may have gone a bit far with my efforts, but the end result is that I can ride down the road with the original AM/FM radio playing and still enjoy a normal level conversation with the other person. I used POR on the Floor Pans, the Firewall, and generally every piece of sheet metal I could see (with only a few exceptions) from the inside of the vehicle. From the exterior, I shot POR into the Cowl Bucket (all the way up into the windshield pillars and base), the complete front under fenders area, and literally poured it into the Hatch and rotated the hatch several times. I also shot POR with an air nozzle blower into the rear fenders trying to get it up as high as possible, and not skimping on it, so that it would coat down to the fender lips, it was also shot through the dog legs in front of the rear wheel humps. This alone provided a small level of reduction in the sound transmitted through the metal from vibrations. That was step one. Step two, involved Q-Pads, a tar sheet (essentially the same as what was oiginally on the car) manufactured by Evercoat (same manufacturers of a line of Bondo). Dynomat, Brown Bread and others may replace the tar with something else, and add other components to it, such as fiberglass, felt, foam, etc. but remember that you want to avoid anything that can soak up and hold water. The POR may be protecting the metal, but an ounce of prevention..... The Q-Pads were laid down edge to edge all over the interior of the car: the floor pans, inside the doors, inside the rear fenders, the hatch, and over the access holes for the rocker panels and dog legs. Even inside the tool boxes. Generally if the other side of the metal faced the outside directly or even indirectly, it received the Q-Pad. In some instances, I cut individual pieces to fit in the "jigsaw" puzzle the floor pan became. Then just the regular carpeting kit. The results are significant enough that others who have ridden in the car have done the same with theirs. Then others who have seen what they've done..... There have been those that have modified / changed what I did and have even better results than what I did. The thing to remember, is that if it's exposed steel, it WILL resonate and resonate means to give off sound. Then if you know it will be covered anyhow with something else, then go ahead and use a sound deadener on it. The Washing Machine folks use a small amount to dampen the effect of a large piece of sheet metal with the vibrations of the internal mechanism. If you look at the inside of a dishwasher that's rated as being "quiet" you'll see not only the sound deadener but also some fiberglass fill. The Fiberglass provides both sound and heat insulation. But lastly, regardless of what sound attenuation method you choose, make sure you protect the metal first. Otherwise, you'll have restored the conditions they set up at the factory which have caused us all a ton of grief. 2¢ Enrique
-
And don't forget that while the 260 was a One year model for the U.S., it was sold for many years elsewhere. As a result, in the esoteric and fluctuating "collectability" scale a true-blue U.S. 260 in excellent condition may, in years to come, be more valuable than a 280. IMO E
-
If you go to their website....you don't see ANY pricing. Which kind of answers the question of how much it costs....If you have to ask how much it is....you can't afford it! How'd you guys like the crash at the end....even the driver took a bit of a shaking! E
-
Dear Santa: Remember that race car that I asked for many years ago, when I was a little tyke? Well, since you never brought it, I found the next best thing. Thank-you in advance! Sincerely Me http://video.google.co.uk/videoplay?docid=3736085669317117726&q=rally+simulator
-
Update your stats to show your location and you might find local guys to help you with her. E
-
Are you in Oregon or Maine? If in Oregon, there's several of us here who can give you a hand. In Maine....??? Let us know of your plans, and we can either help you get it moving or find a home for it. Enrique
-
Clock Repair: Analog, 70-78 Z (Round)
EScanlon replied to EScanlon's topic in Promoted to Knowledge Base
Bob: Take the mechanism out of the can again. Look at the pivot points for the pendulum gear (the one that rotates one way and then the other). Those should be just shy of being "snug". This is where the "jewels" of the mechanism get used, they are the swivel points. To loosen the pendulum, in order to have it swing freely that is, you might have to loosen one side or the other very carefully. You're only going to loosen the screws ~maybe~ a "half-hour's" worth of turn and no more than that (otherwise the axle will fall out of the pivot points and it's not easy to put it back). By a "half-hour" I am referring to the DEGREE's of turn (i.e. 12 hours is one full turn at 360 degrees, one hour = 30 degrees, 1/2 hour = 15 °). Do first one side, test it, then the other. It shouldn't take more than one or two of these to free up the pendulum. The purpose of the pivot point adjustment is to both keep it aligned to the pickle fork (don't know the correct name) and to keep just enough pressure on the axle to maintain it in place. This should free up the mechanism so that it will continue oscillating. The only other point you might want to look at, is the pickle fork pivot points as well as that you DID get some oil on the motor shaft. Oiling either the pendulum or the pickle forks shouldn't be necessary as that's what the famous "jewels" are for, but if all else fails, give it a go. FWIW E