CanTechZ
Free Member
-
Joined
-
Last visited
Everything posted by CanTechZ
-

-
Are you talking about mine, I resemble that comment. Lol
-
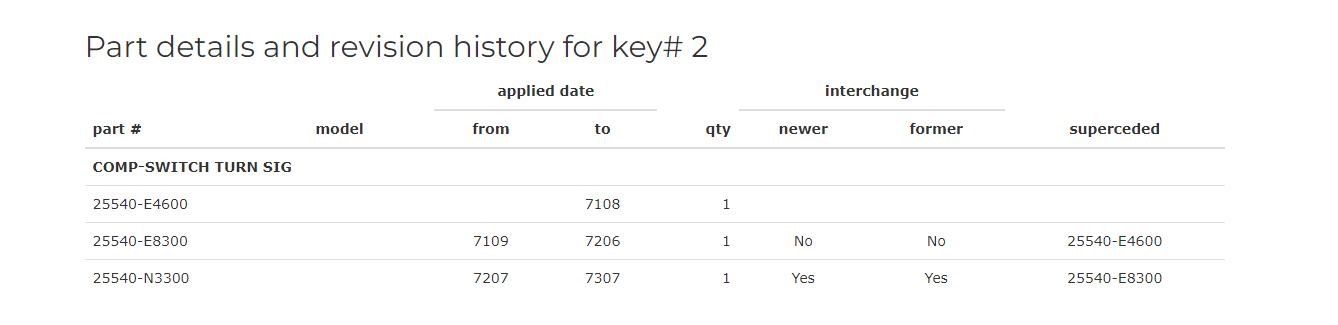
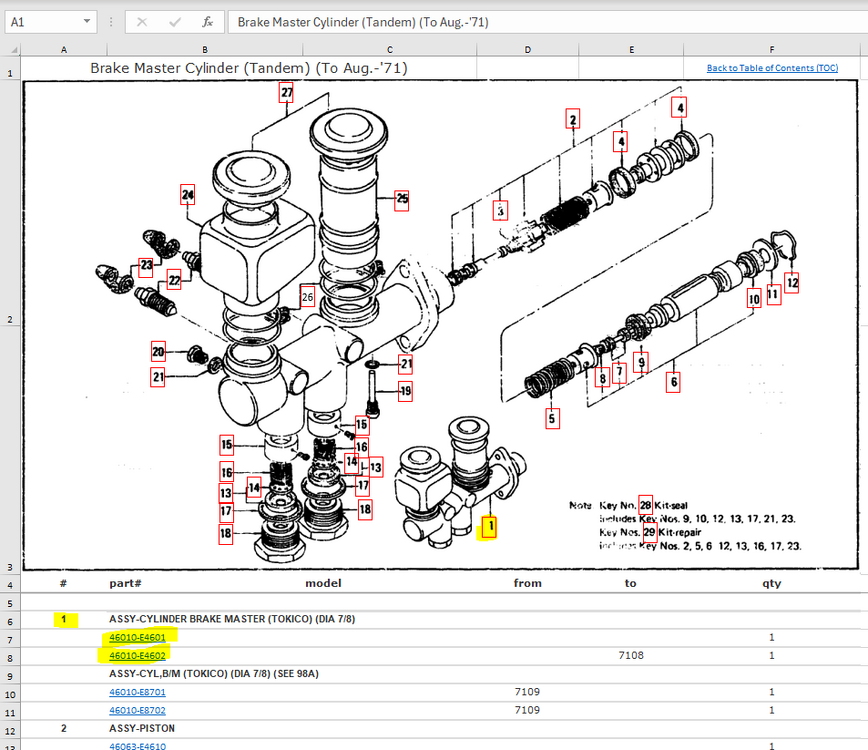
I have also noticed that issue on the on-line version, not all part numbers are shown for a particular date range. It is misleading, however if you click on one of the part numbers you do seem to get the correct list with proper date ranges, for the most part. The thing that bothers me the most is the truncated descriptions. I have the CD version of the 1970 - 1978 parts book that was sold by Courtesy Nissan years ago and I prefer to use it. Here is what you see when you click on 22540-N3300 under item #2

-
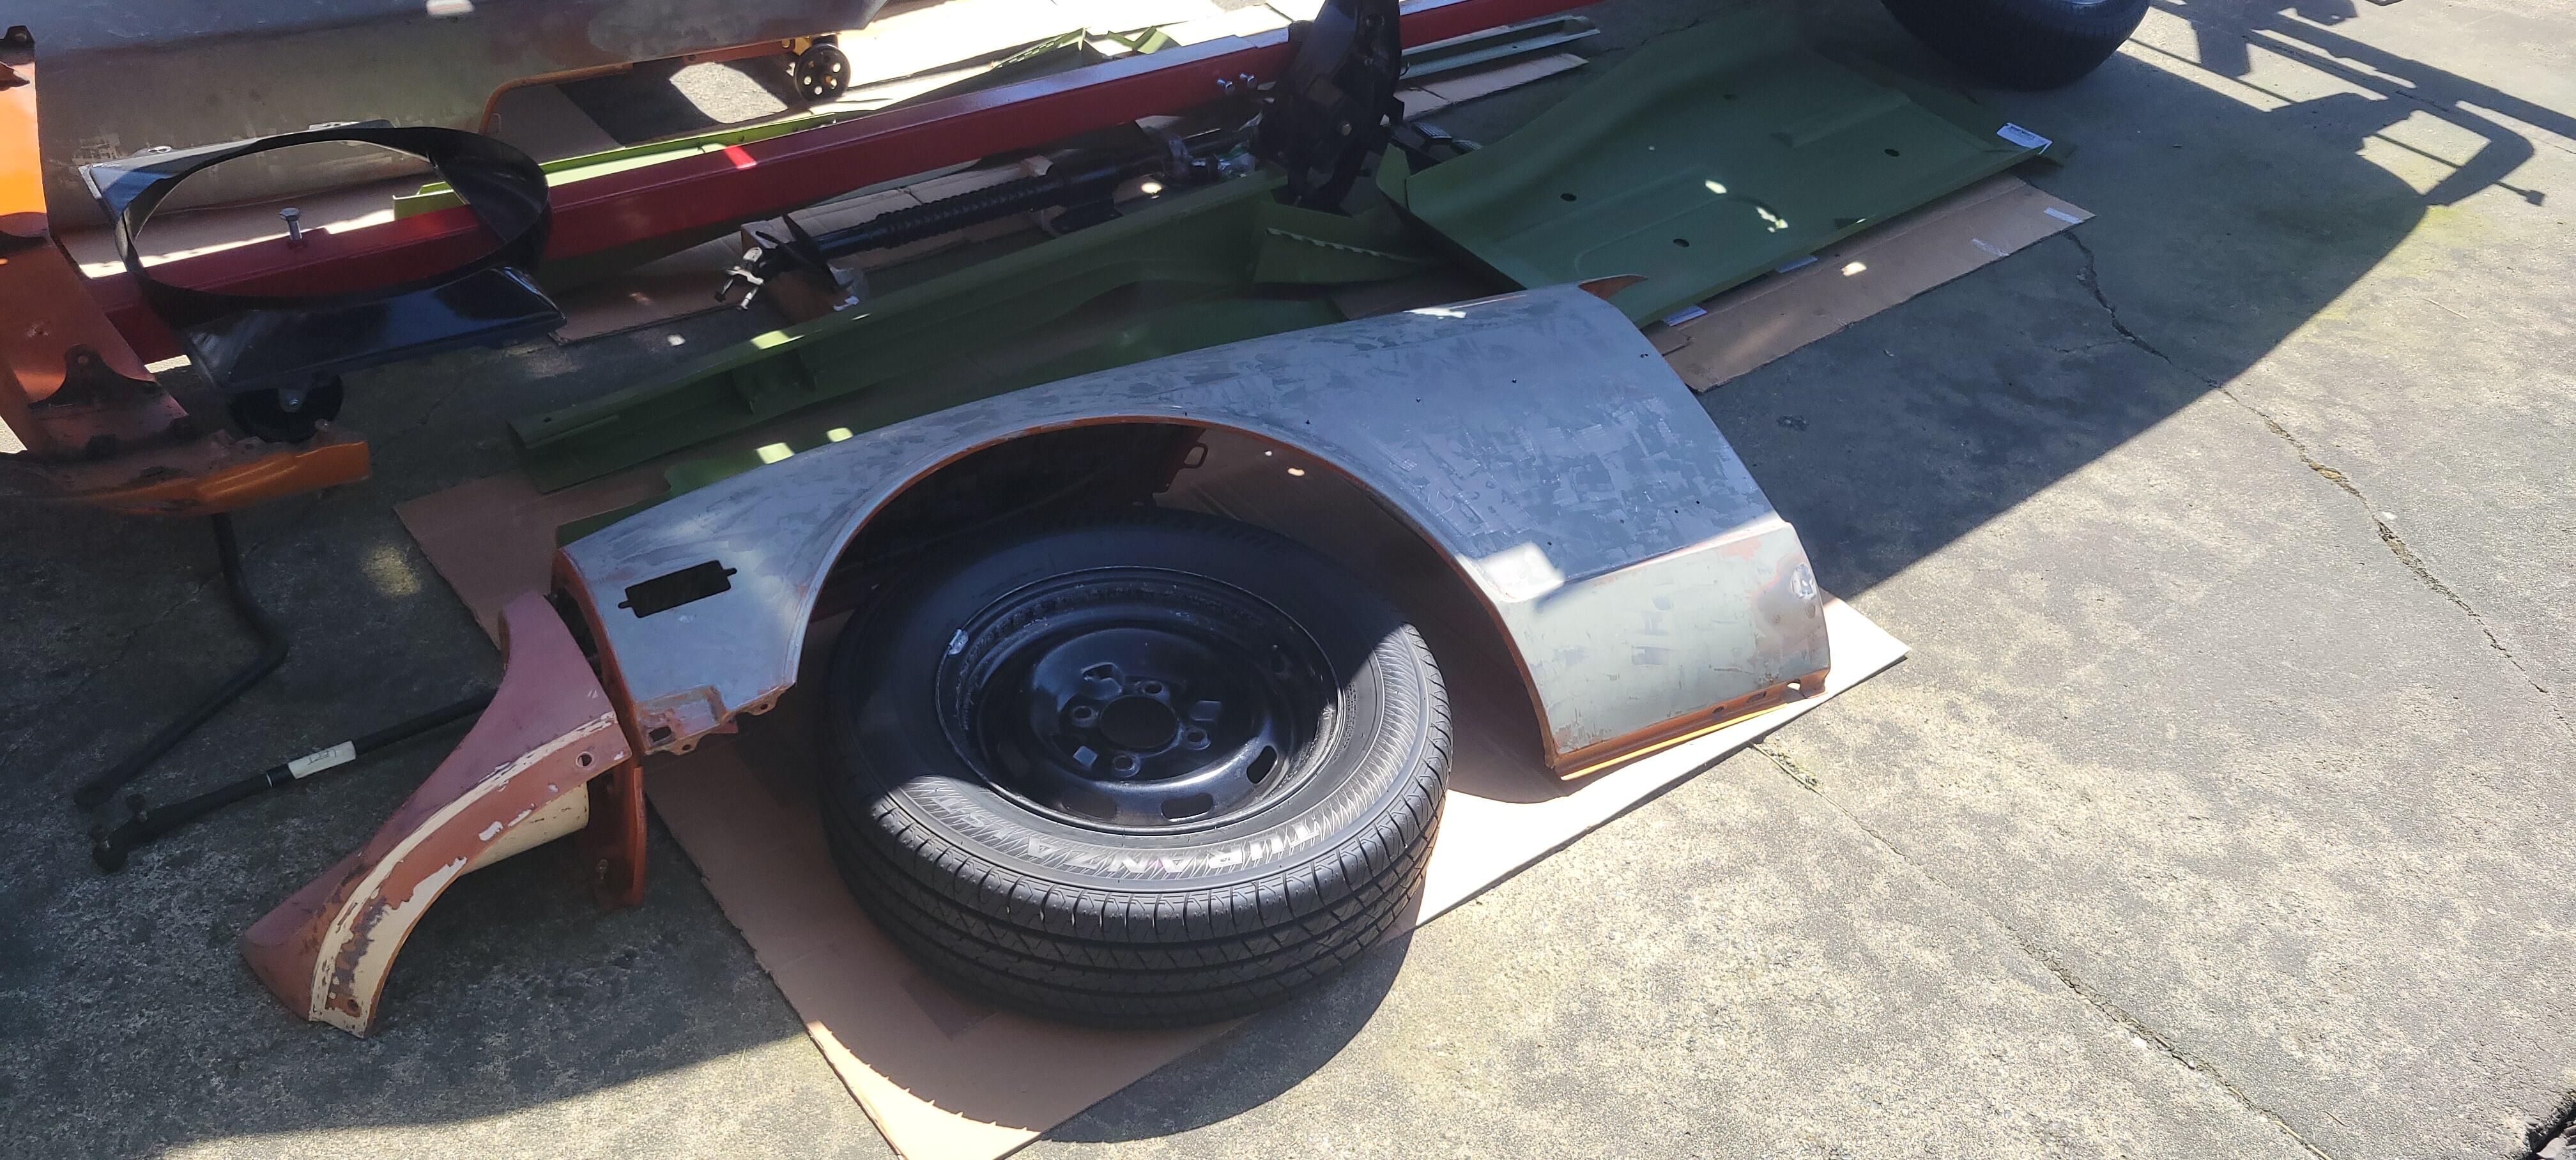
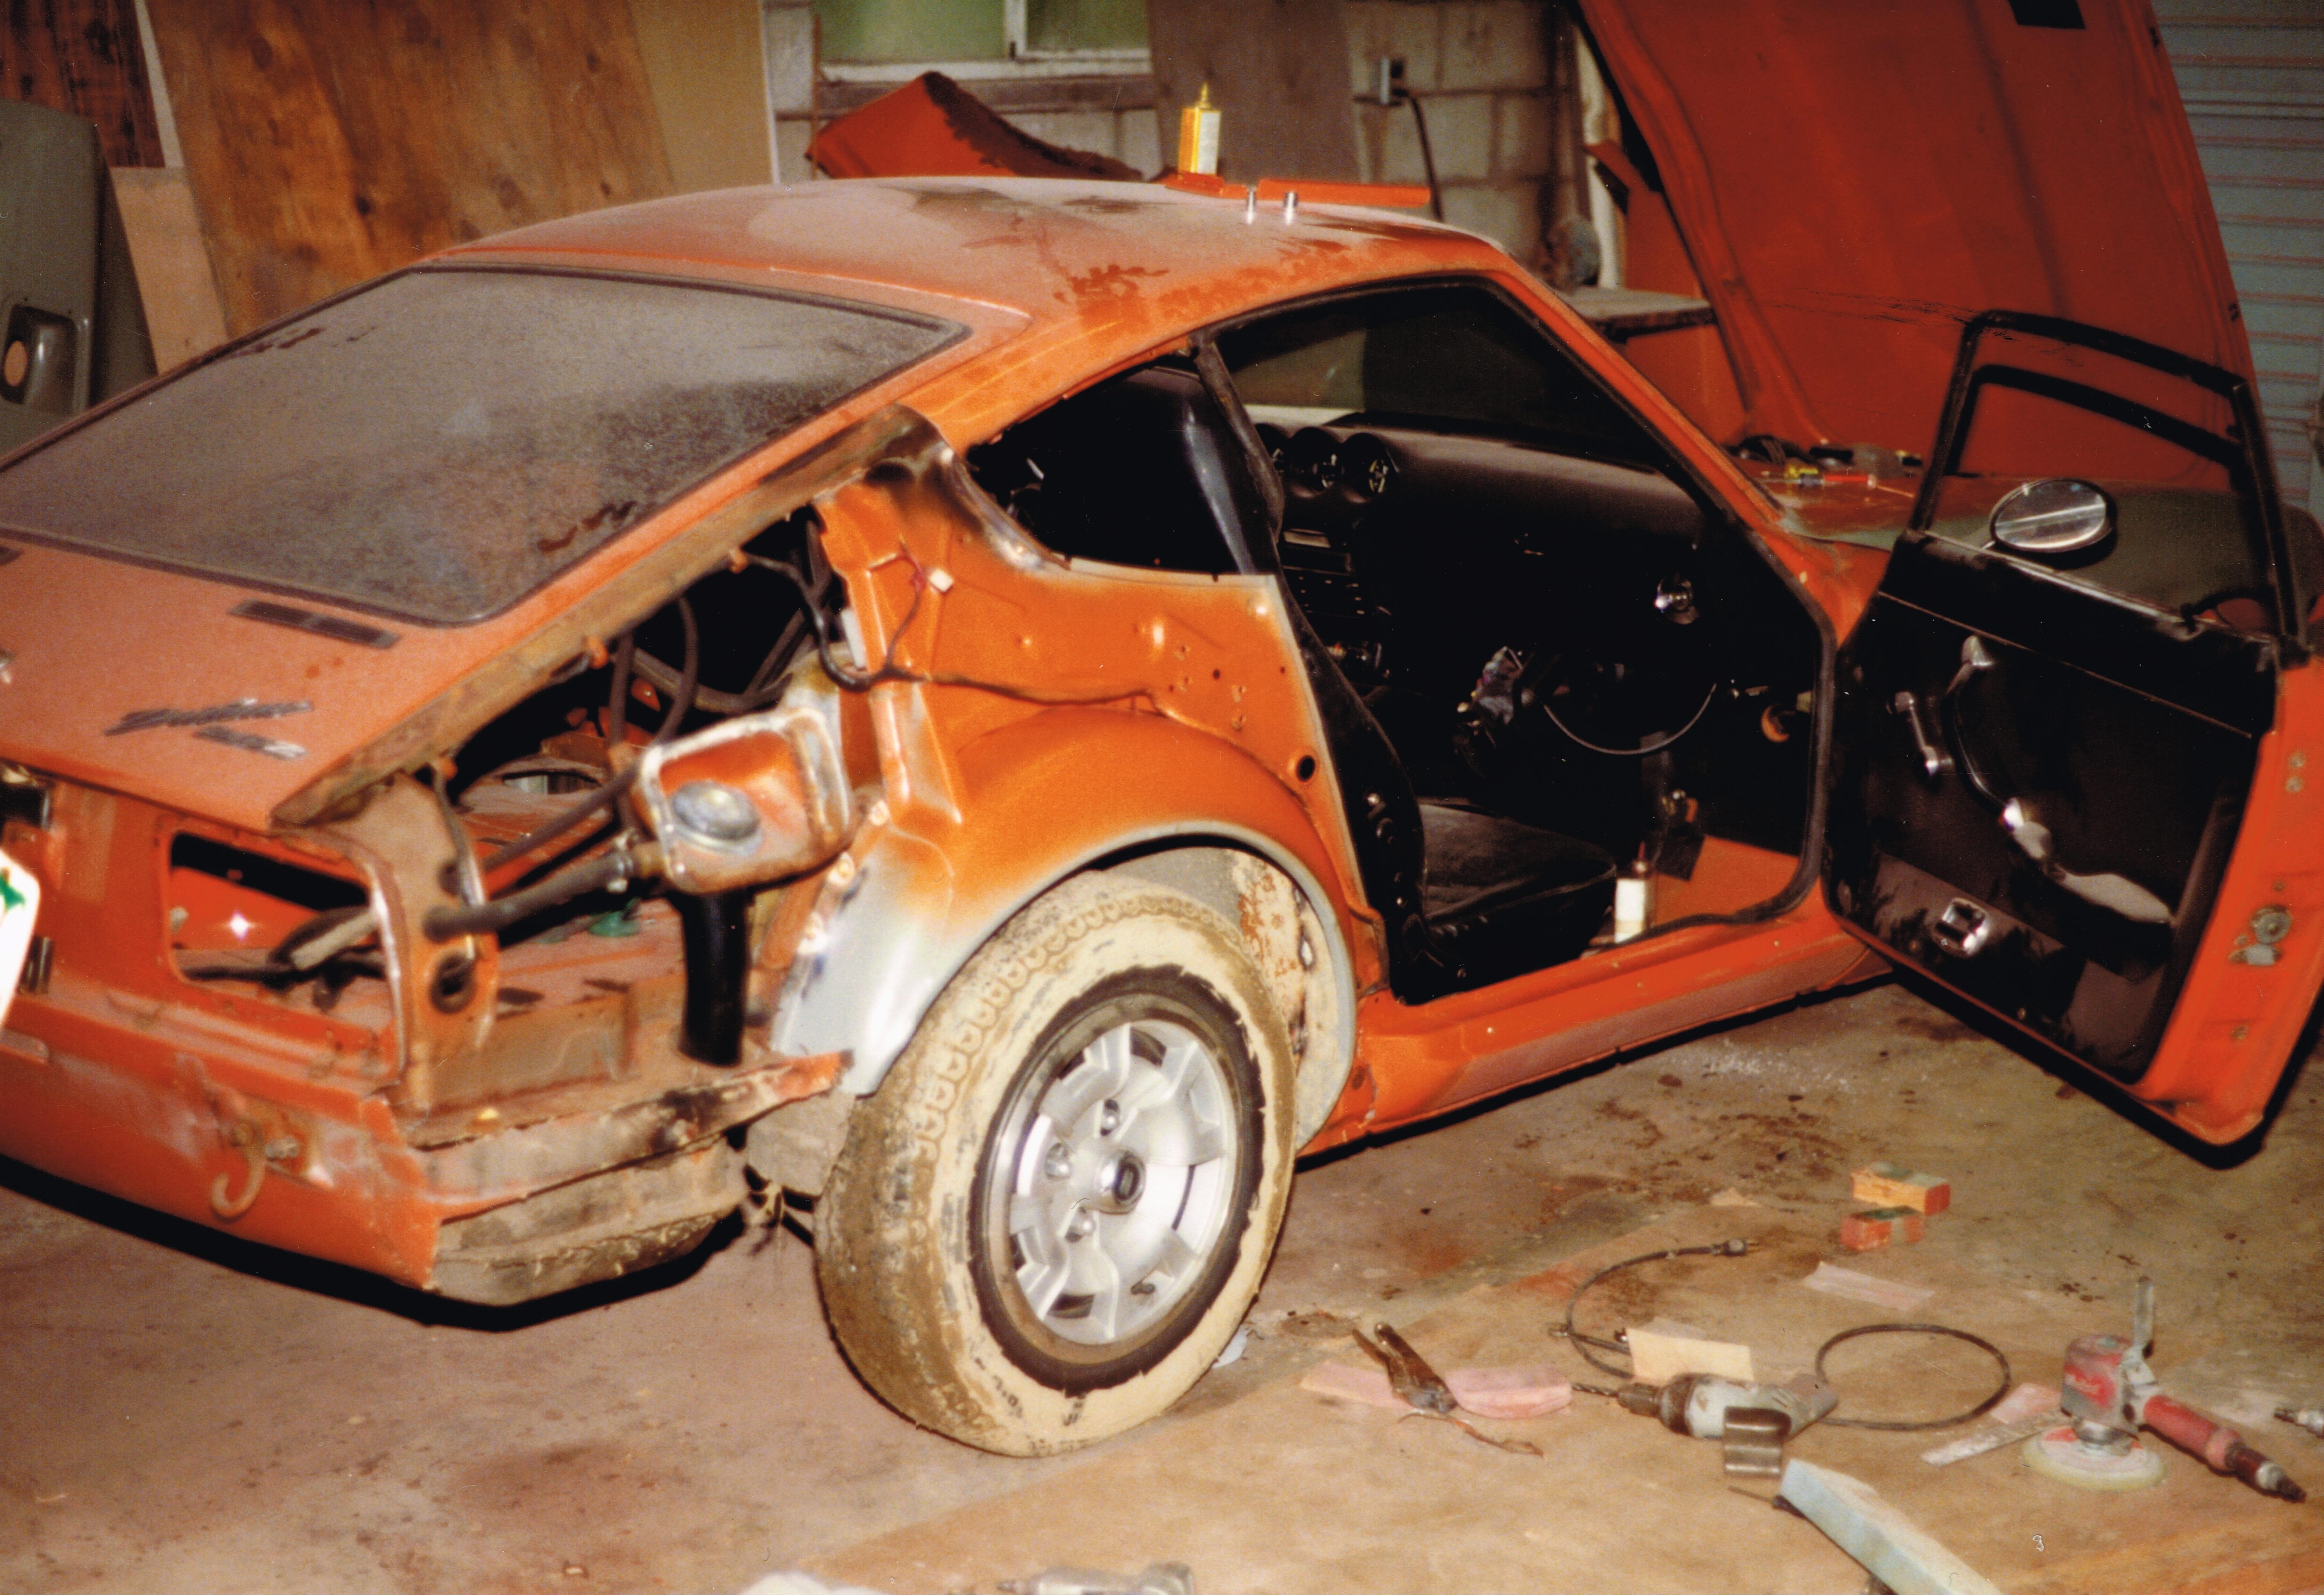
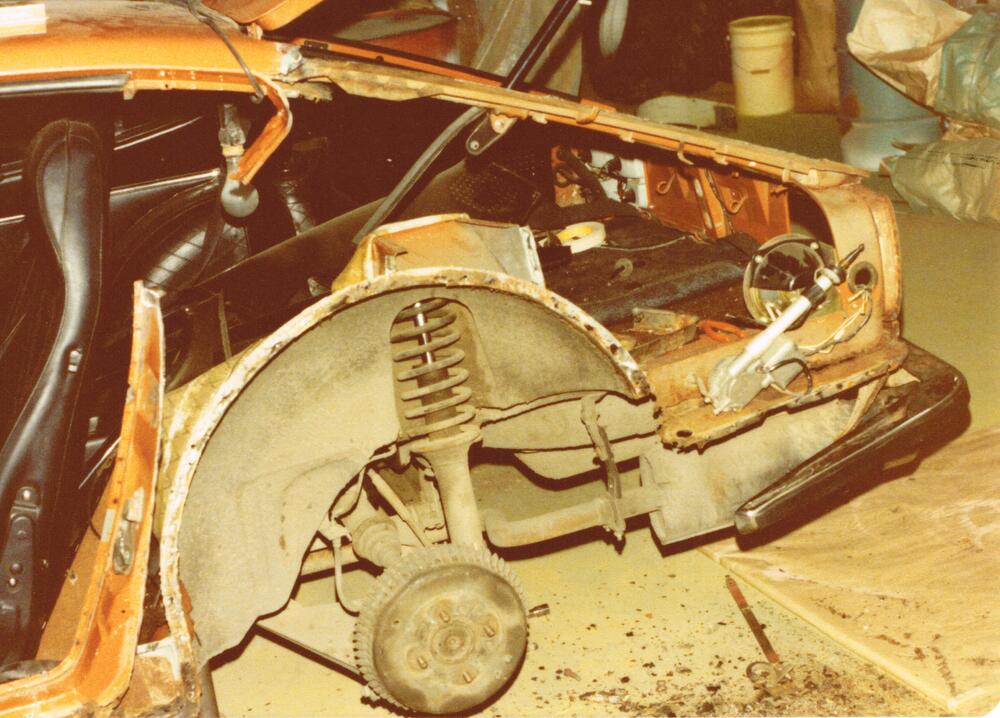
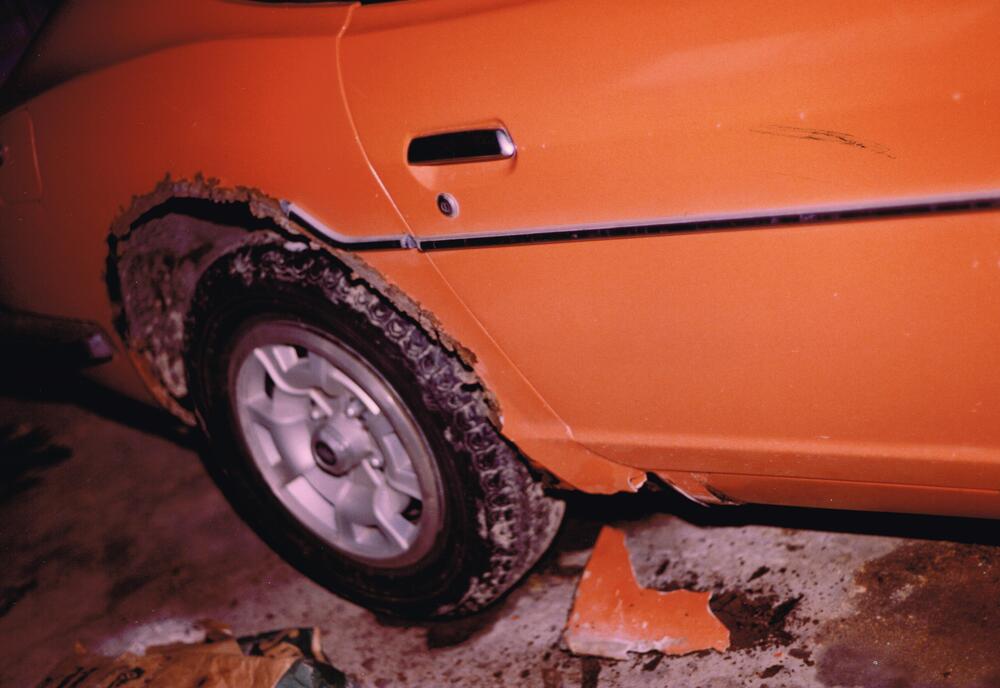
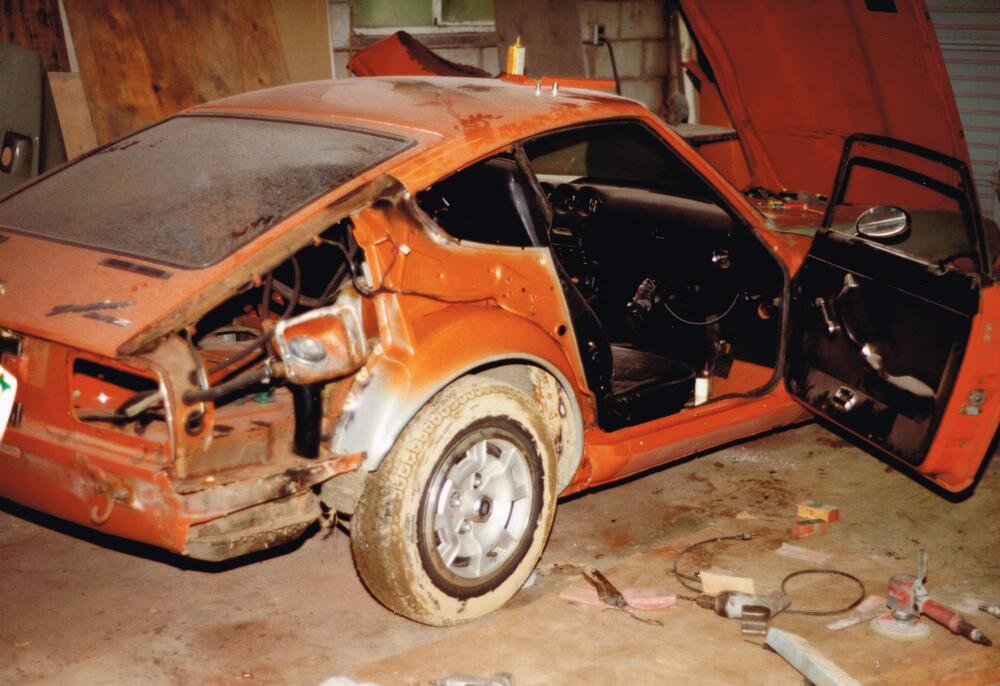
Here are a few pics from the early eighties when I had my rear quarters replaced. Sorry that they don't show more detail. The left side was actually done about a year before the right, as someone lightly backed into me and due to the existing shoddy bondo repair, a pile of rusty bits was left on the ground similar to the second pic, during the more complete resto. At the time of the incident I didn't have the funds to do the full resto. The left side was cut back to the factory joint but on the right side it is cut further down, I'm not sure why? Or if it was cut more later in the repair process? Anyways you can see a little of the detail. I wish I had taken more closeup pictures back then.
-
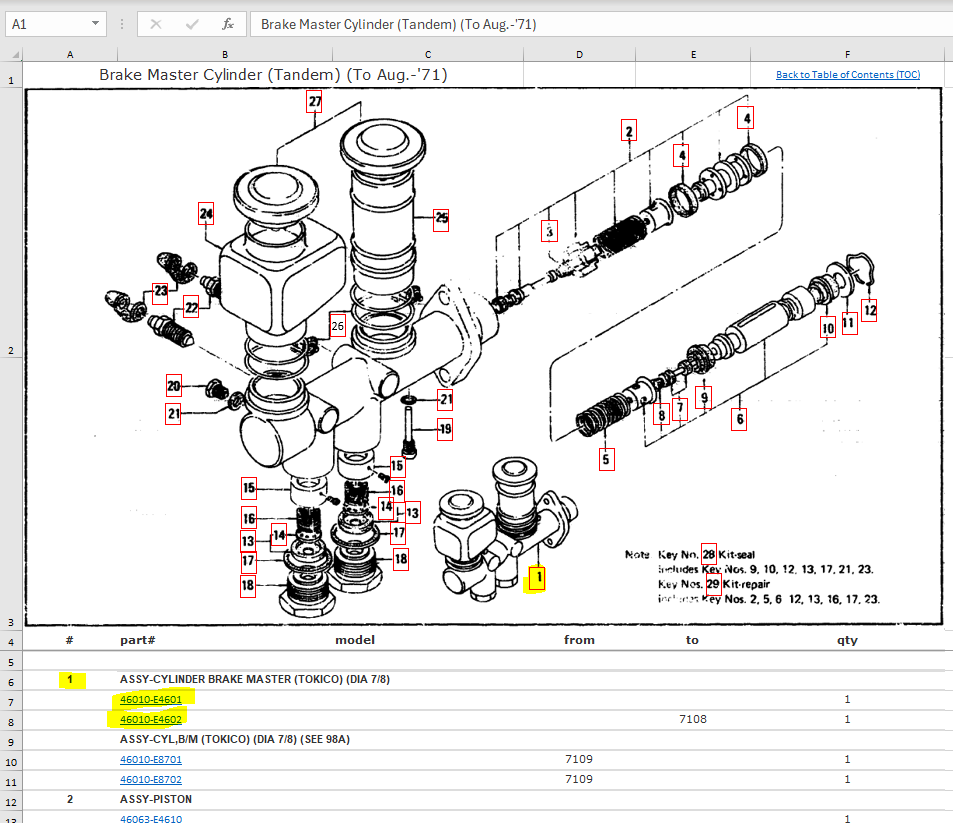
There are two part numbers for the "early" brake M/C, sadly no implementation (from) date is shown in the Nissan parts book for E4602. Thanks CO for posting about this interesting bit of Zed trivia. 46010-E4601 Early, Early? 46010-E4602 Early?
-
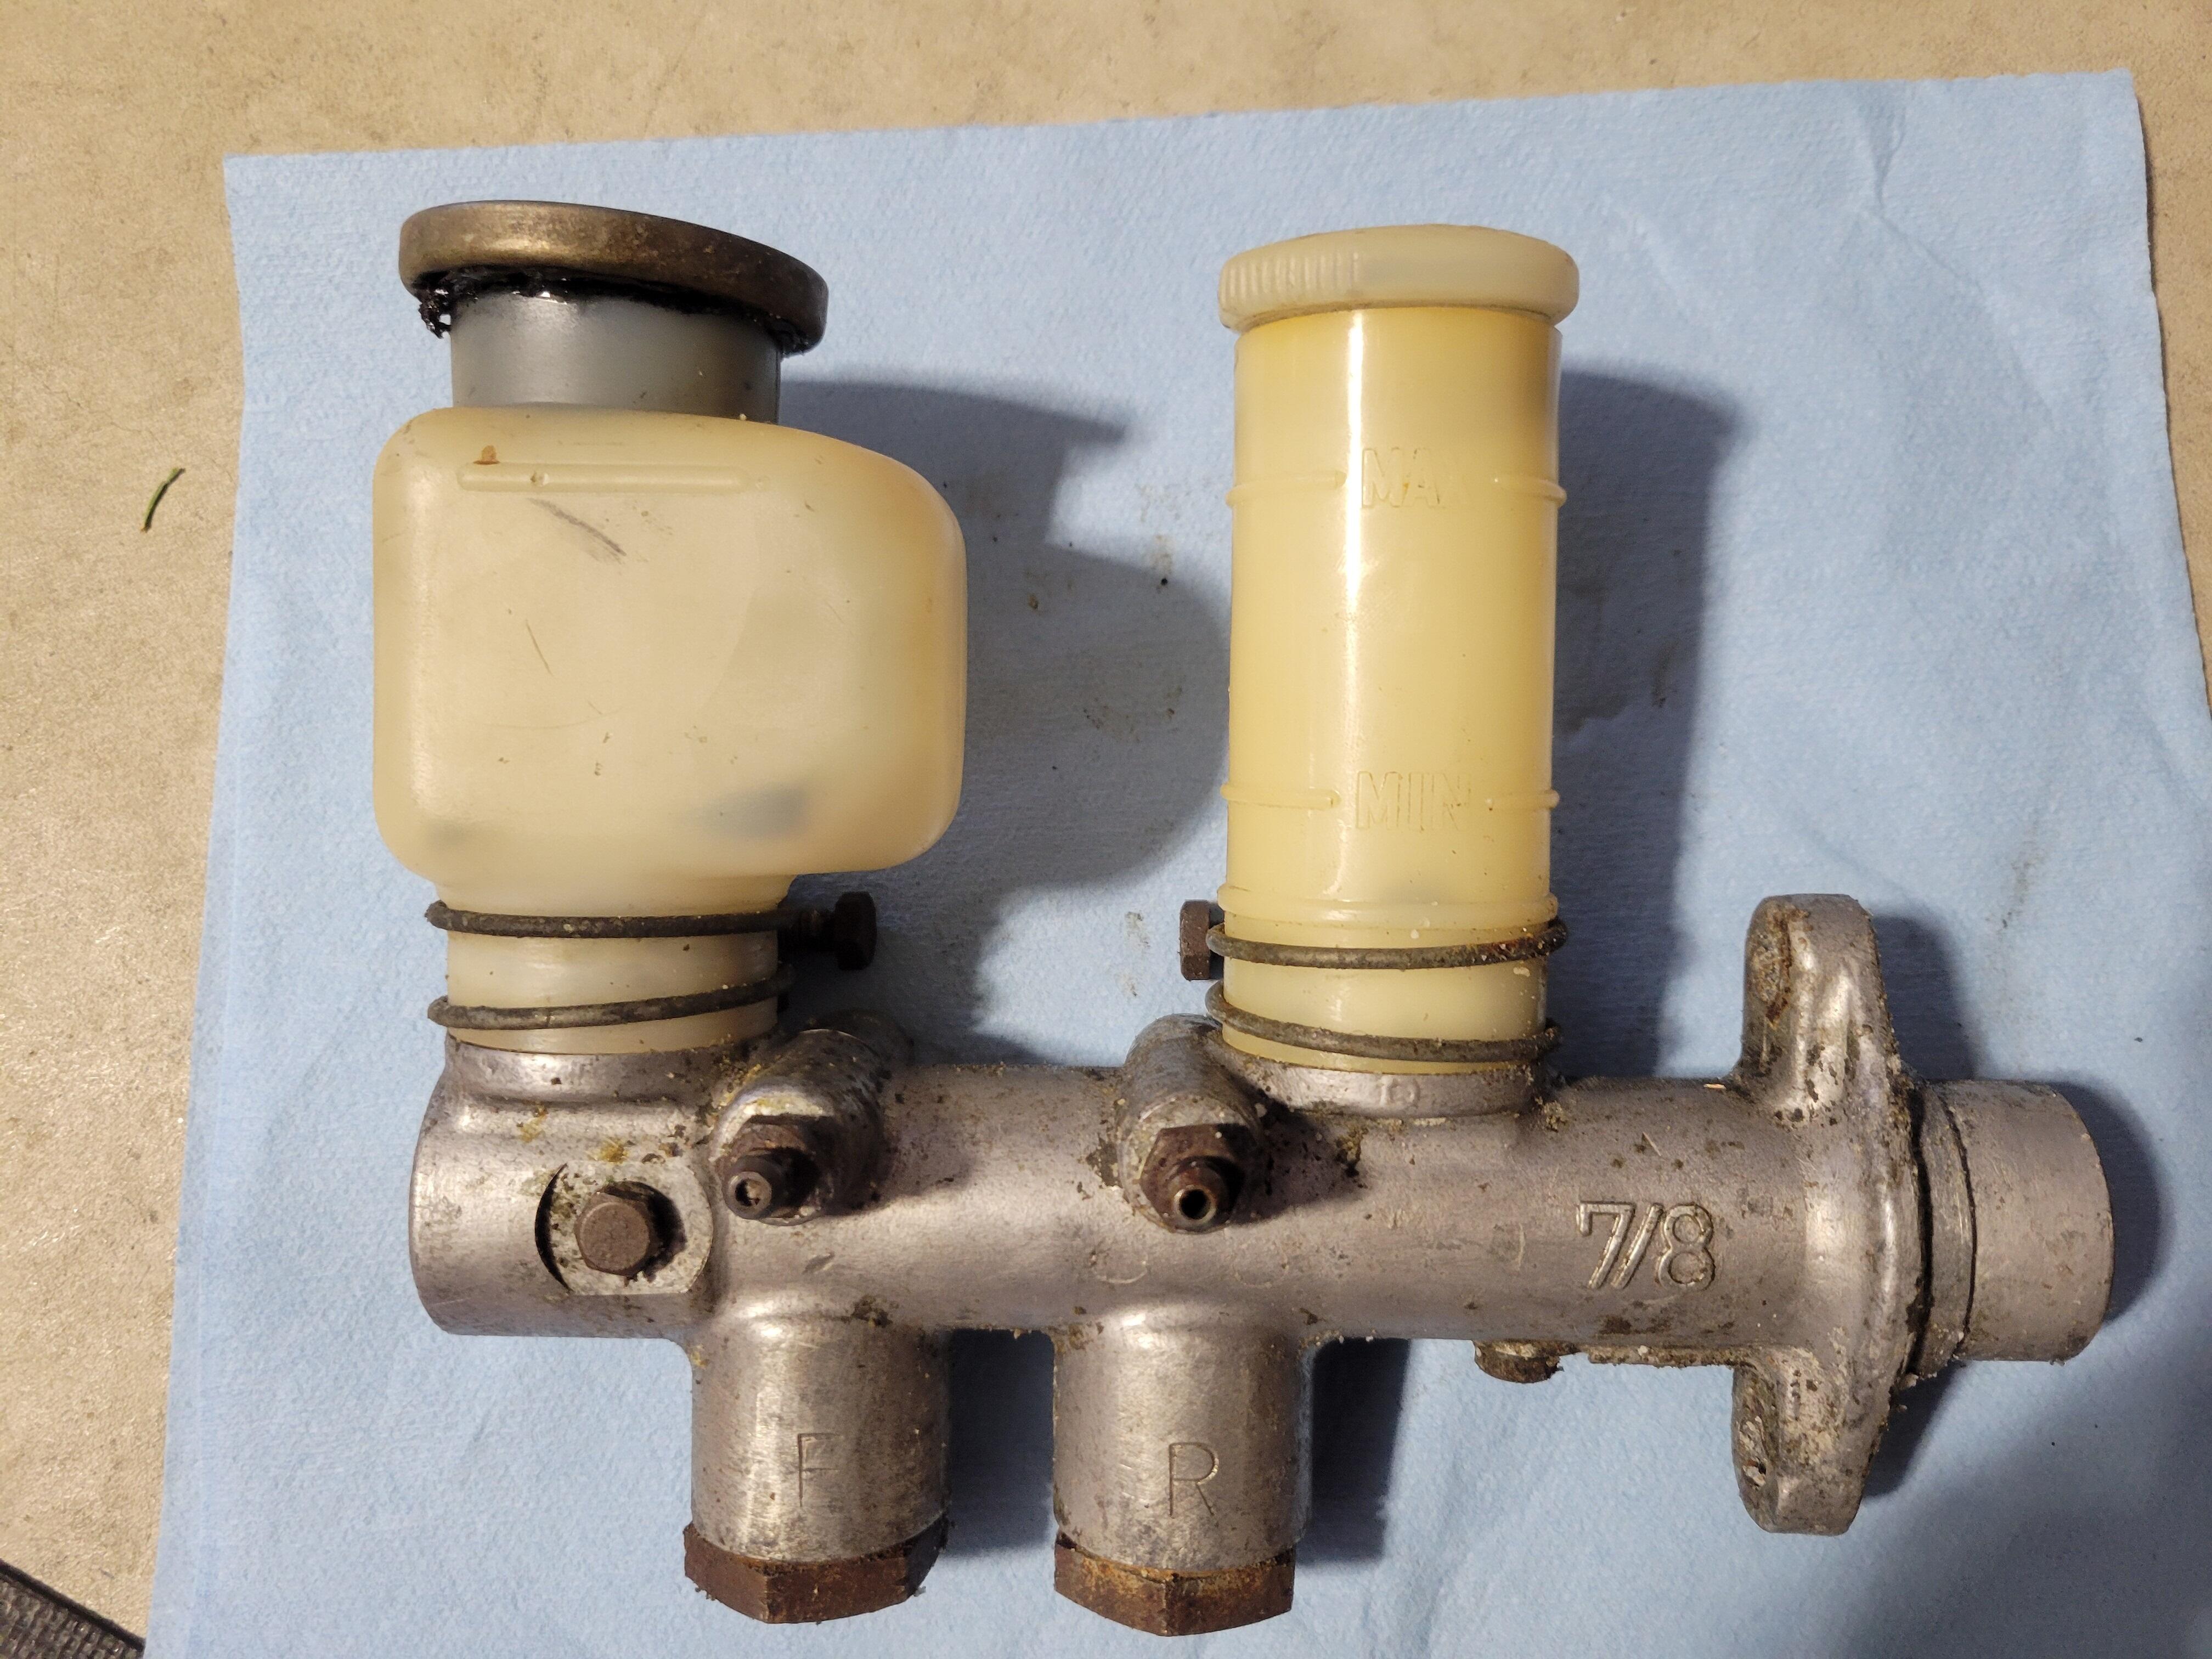
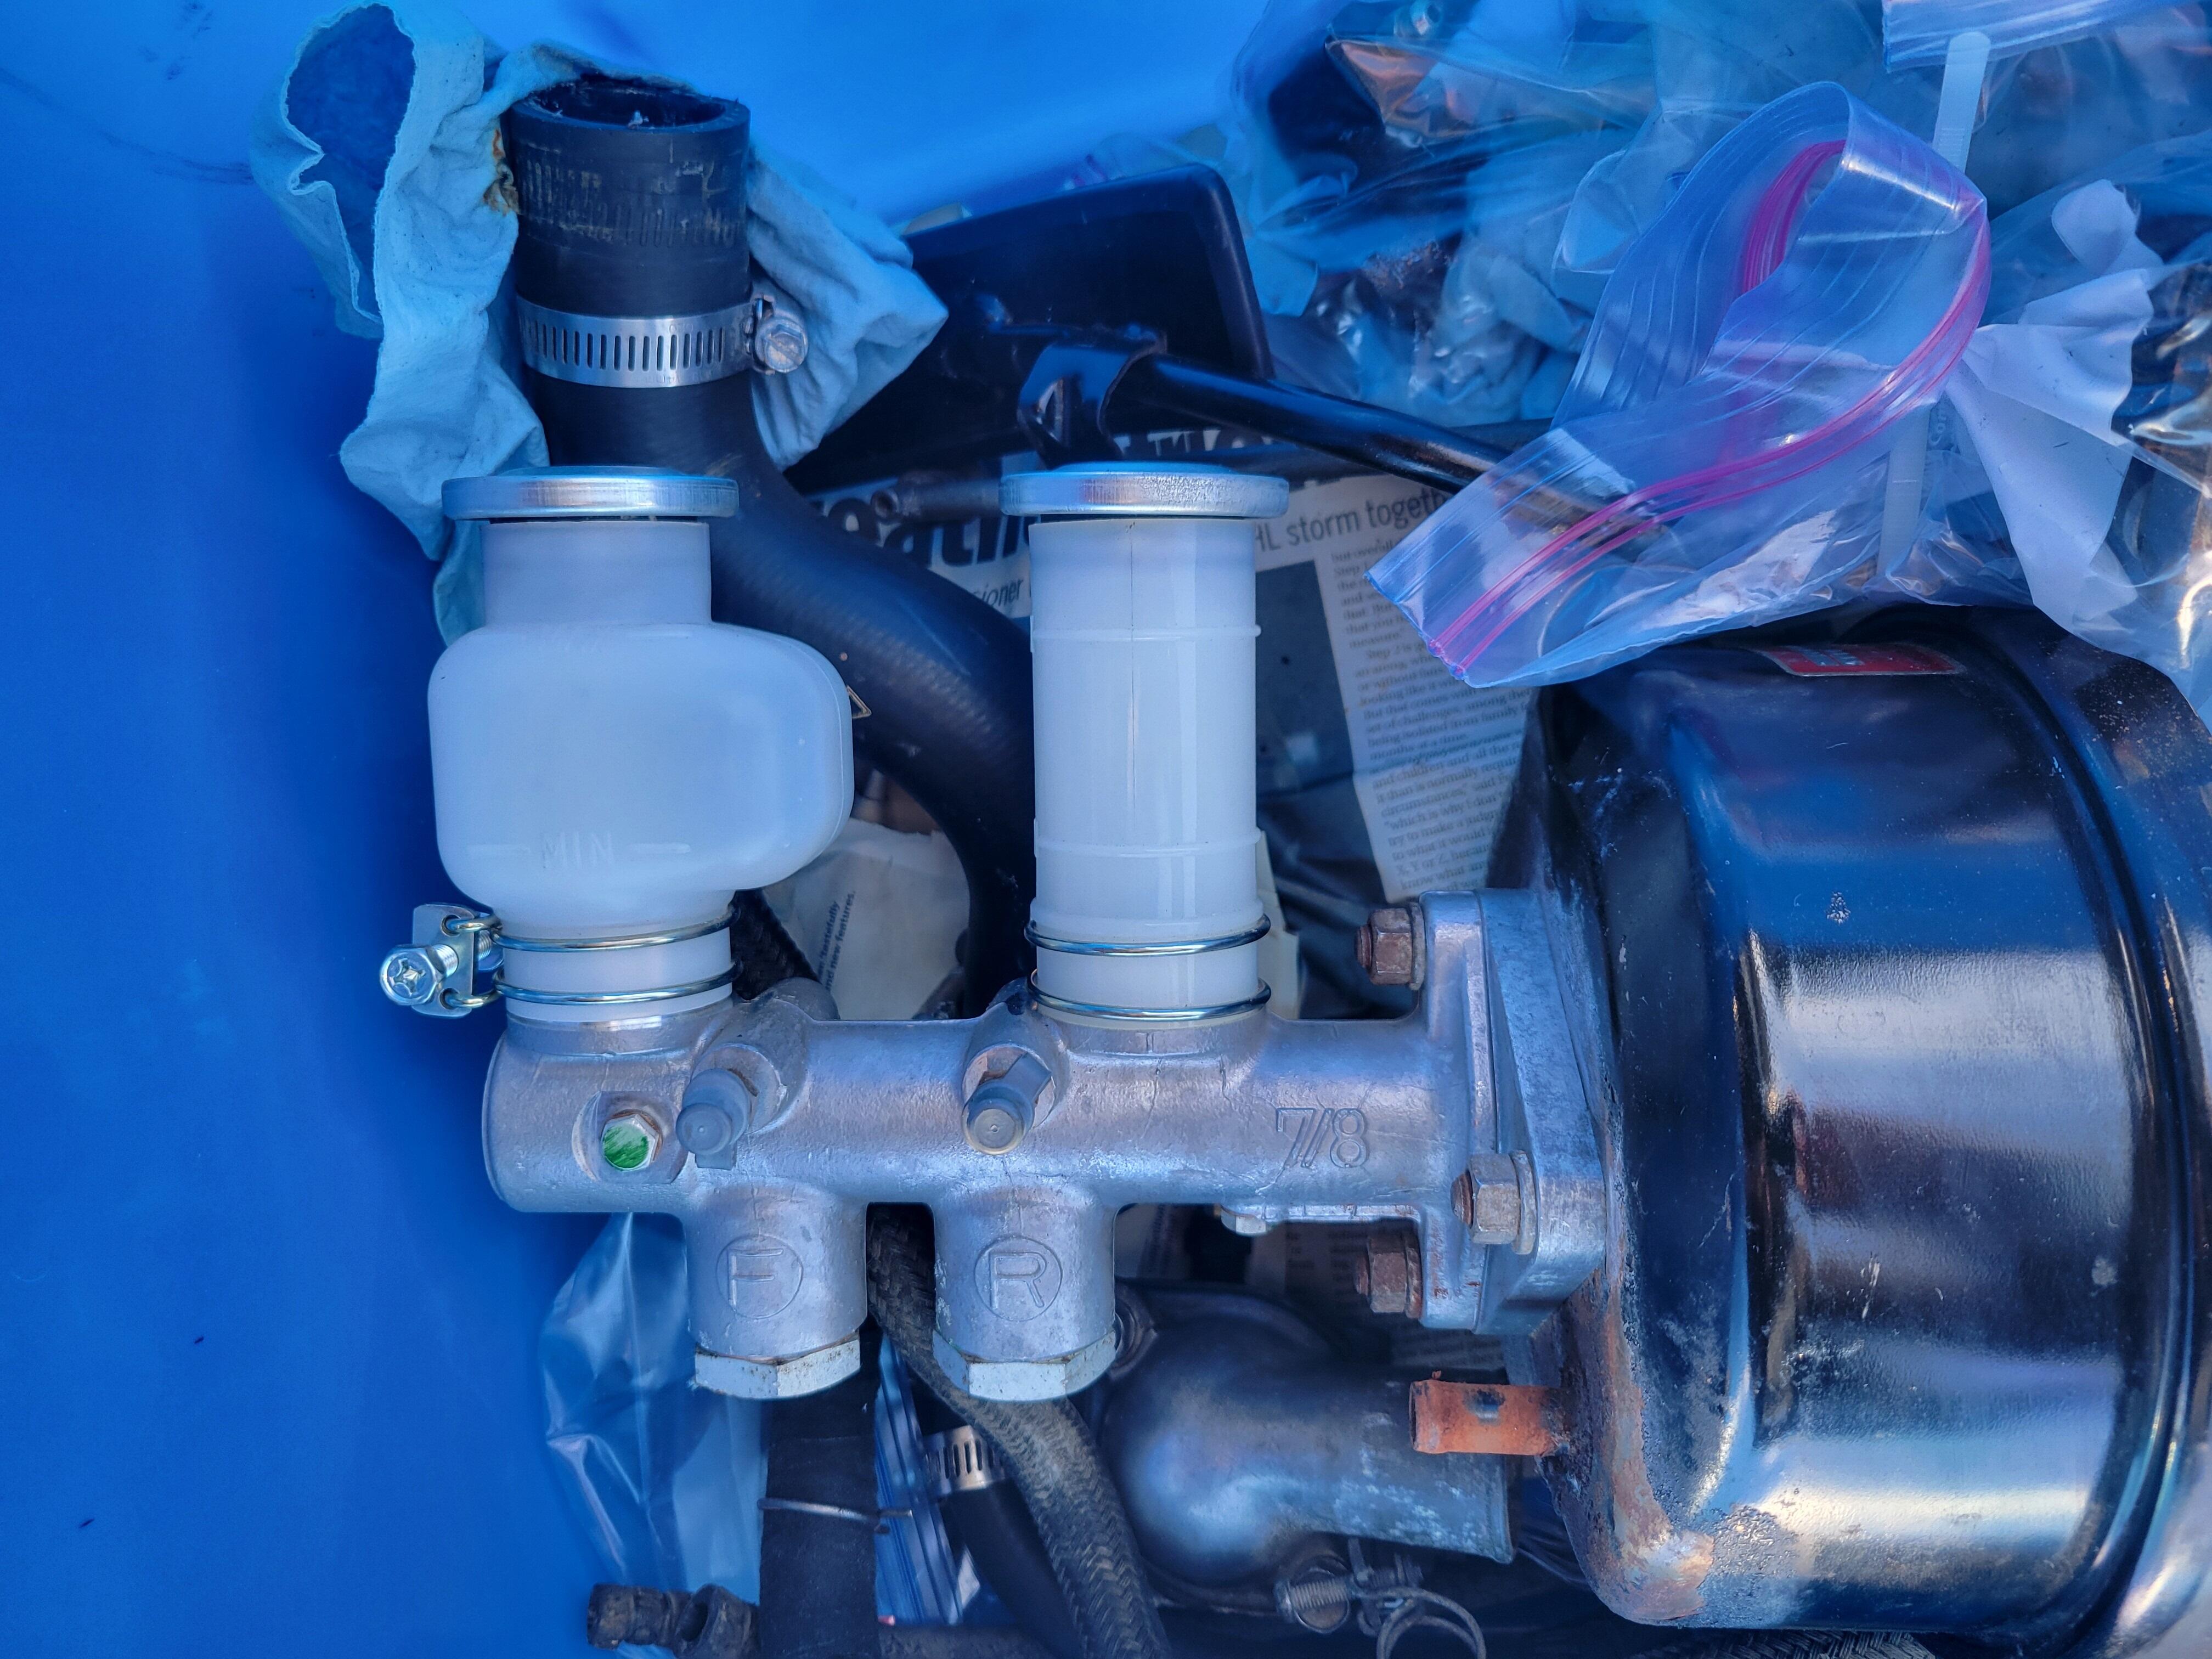
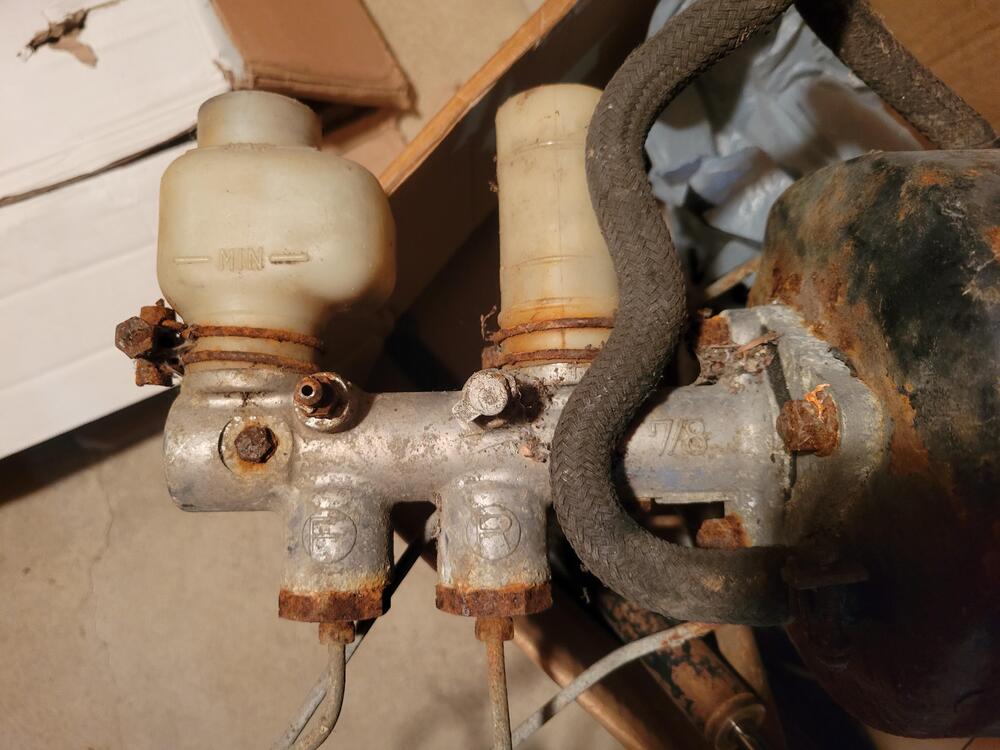
On your 12/70 are the F & R markings engraved in, or cast? I definitely got lucky, the parts guy ordered it in from Japan, took about 4 weeks. I think it was one of the last ones available. They went NLA shortly after. If I remember correctly I only paid a little over $200 and it came complete with new reservoirs, caps and rubber bleeder screw covers. Was a no brainer.
-
Here is my collection of early M/C's. This is the one that was on my 7/70, HLS30-06521 until 2014. It was engraved, I believe it was the original, as I have owned it since 1978, and didn't need to replace it until 2014. Here is the one that I purchased from a local Nissan dealer in 2014 to replace the original. Currently removed due to my ongoing restoration. Lastly, here is one I pulled off a 12/70 parts car about 35 years ago. It has the "cast in" F & R markings. No idea if it was actually the original, but I suspect it likely was.


-
-
Well that was quick. Lol
-
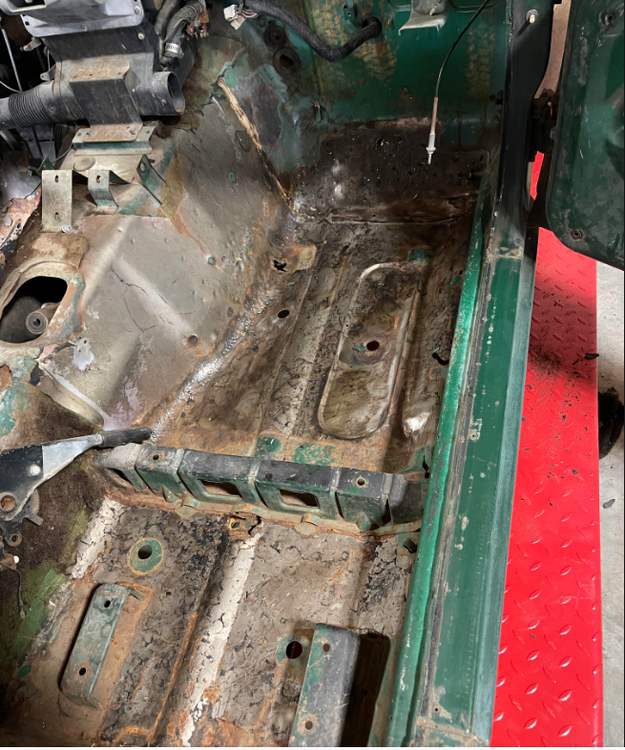
I enjoy trying to spot the differences found in these very early cars. Anyone notice what's missing from the floor pan of this early car.
-
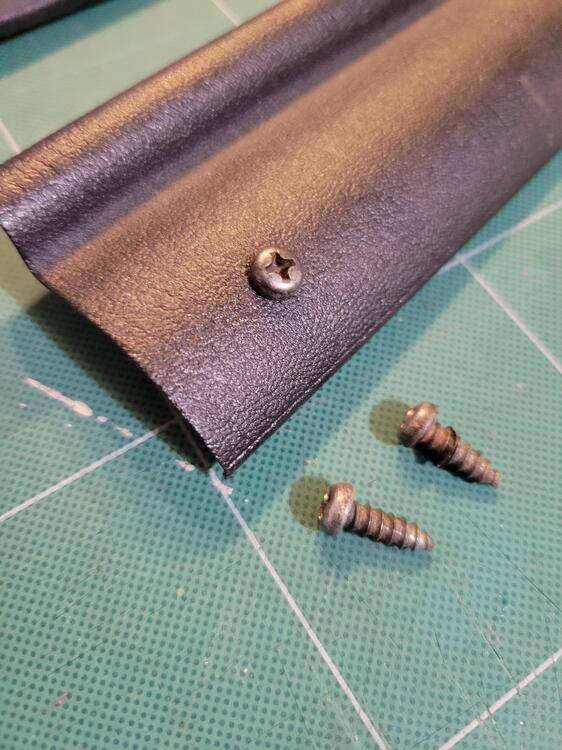
Here's a picture of the screws that held down those strips on my '70. They are round head type 4mm thread OD x 12 mm long. There appear to maybe have had blackened heads, some evidence on a few of mine.
-
Not near my car right now, but 27 x 2.0 sounds very close to SAE 1.0625-12UN thread. A common size for fittings https://www.machiningdoctor.com/threadinfo/?tid=120
-
Thanks, @Patcon, @HS30-H, @bartsscooterservice for your your kind words of support. Just taking one day at a time. With the exceptional support of my son and some of our very close friends, it's slowly getting a little easier. I will continue living for the moment as Deb always had. You just never know what life will throw at you tomorrow. I'm very thankful for the 44 years she gave me.
-
-
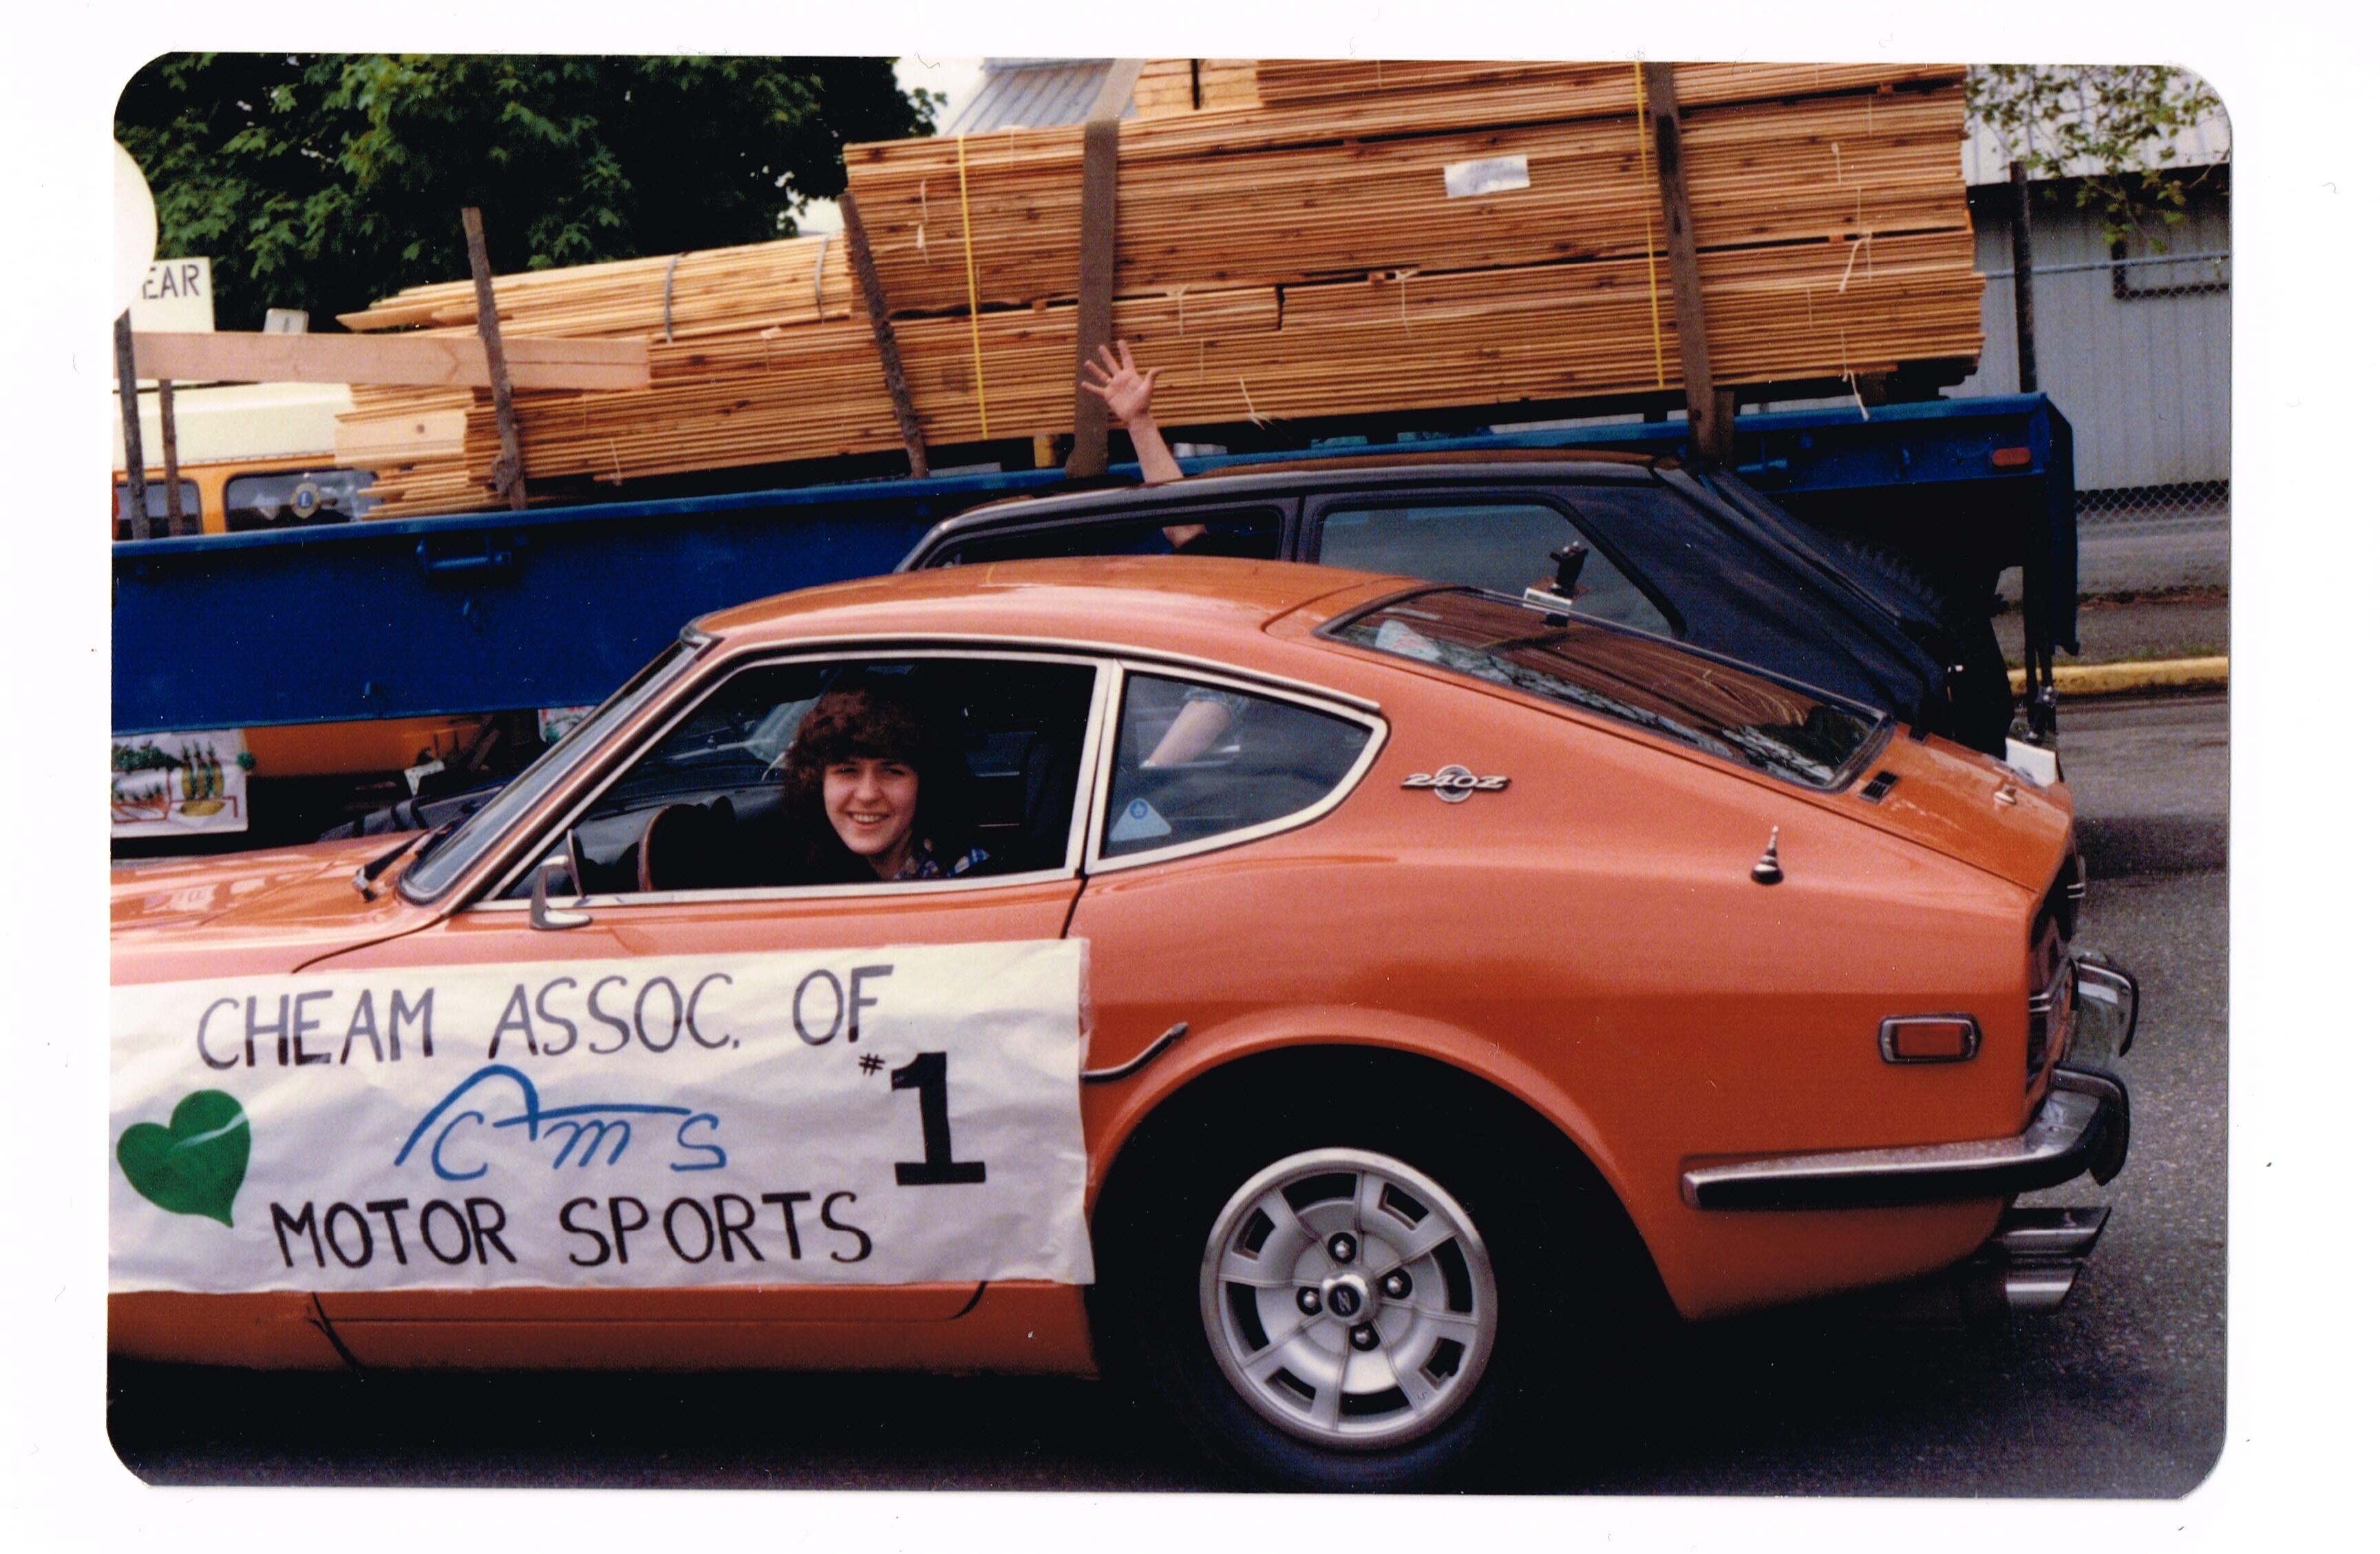
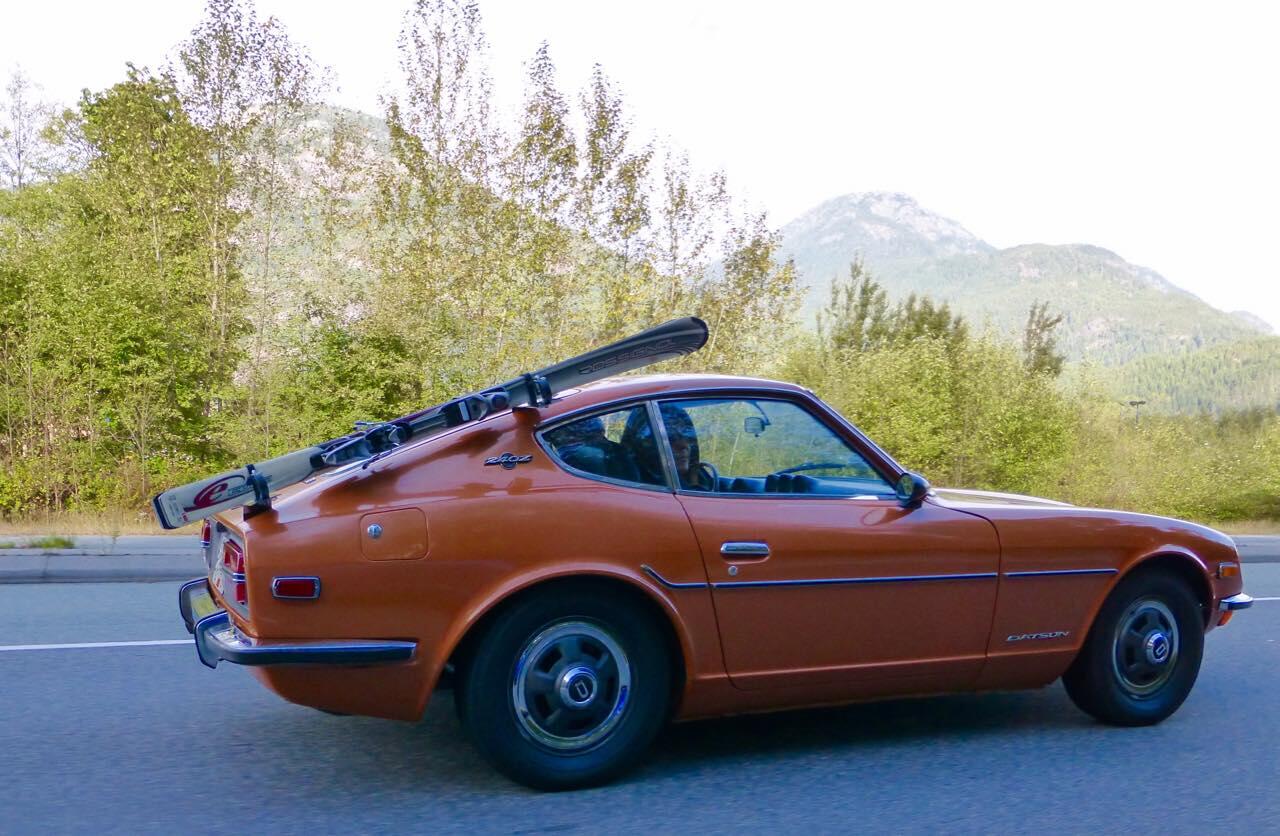
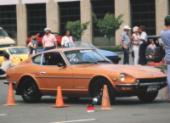
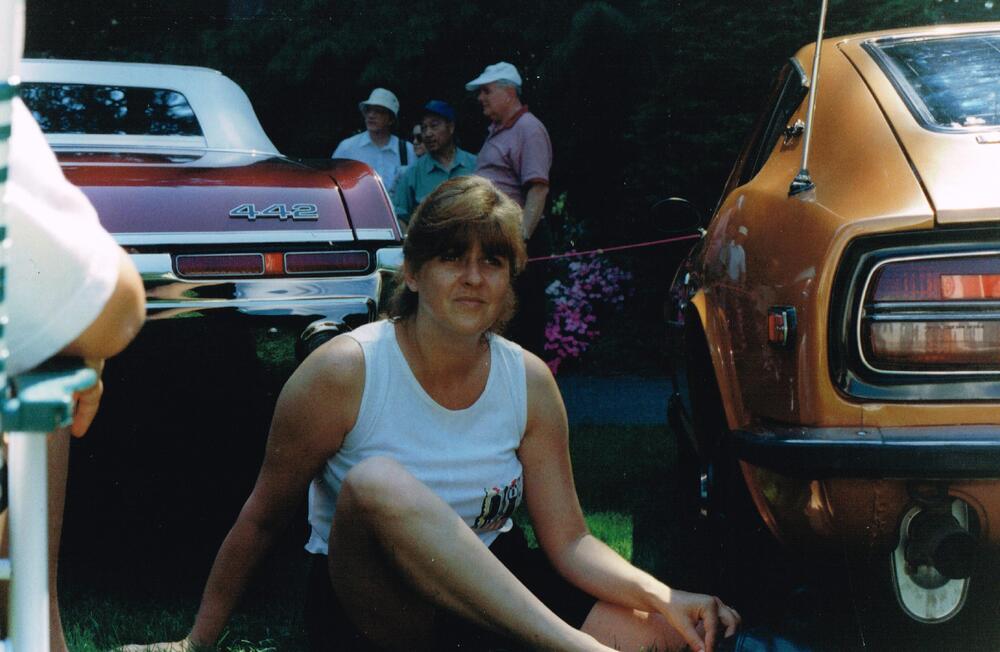
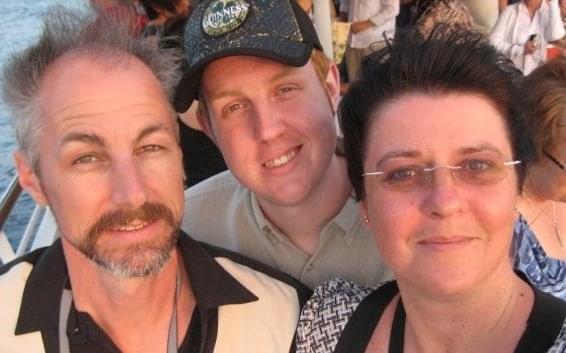
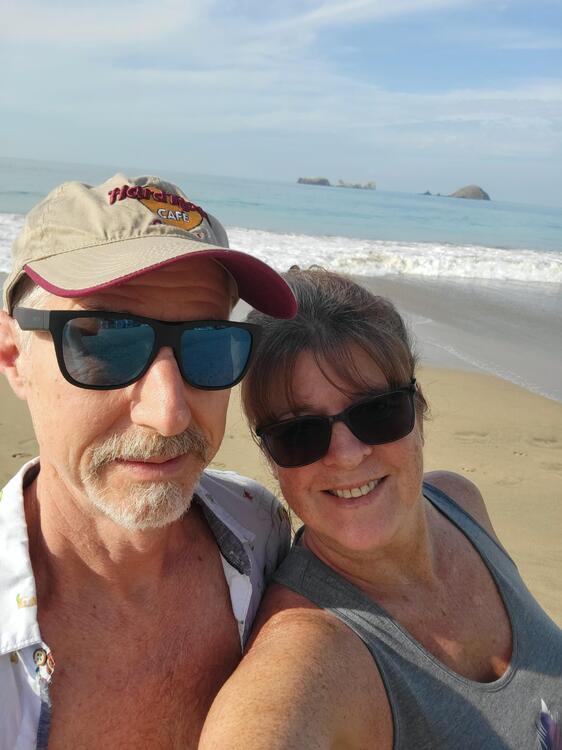
It's been a while since my last update, but it's been a very emotional start to the year for me and my family. The love of my life Debbie, passed away on February 11th after a very short struggle with an aggressive type of lung cancer, and this will be a memorial post to her. I met and started dating Deb in 1980, barely two years after I first purchased the 1970 240Z I'm documenting here. Deb has always been a huge supporter of our Datsun we even took it on a honeymoon road trip when we married in 1983. Sadly I only have a few pictures with Deb and our 240 but I will share them here. First one is from 1981 with Deb driving our Zed in a local parade, representing the club we were members of, Cheam Association of Motorsports (CAMS). We hosted various slalom events and such locally thru the 1980's. Next from 1996, Deb at a Concours car show, at Minter Gardens where we displayed the Zed. Deb drove the 442 on the left to the show and we displayed that as well. The 442 belonged to the owner of the local body shop where Deb worked as a collision repair estimator. We both detailed both cars together on the days before the event. Lastly, from September 2017, you can just see this her in this pic of us driving to Whistler on the Sea to Sky Highway, There were about 30 members from our local club driving to whistler for a club show in our Zed's as a convoy. As Deb was the person responsible or pushing me to embark on this restoration in 2018, I would be remiss not to share a few more pics so that you can get a small sense of who she was. In addition to being my soulmate, Deb was a loving mother to our son, Chris. She was a passionate traveler, a real car person and enjoyed volunteering for various events like crew hosting at the Abbotsford International Airshow. This last pic, is us on a beach in Zihuatanejo, Mexico on our last vacation together, December last year. In Deb's memory I will be completing this resto over the next few years, just as she would have wanted. Rest in peace Deb, you are forever in my thoughts. Feb 6th 1964 to Feb 11th 2024


-
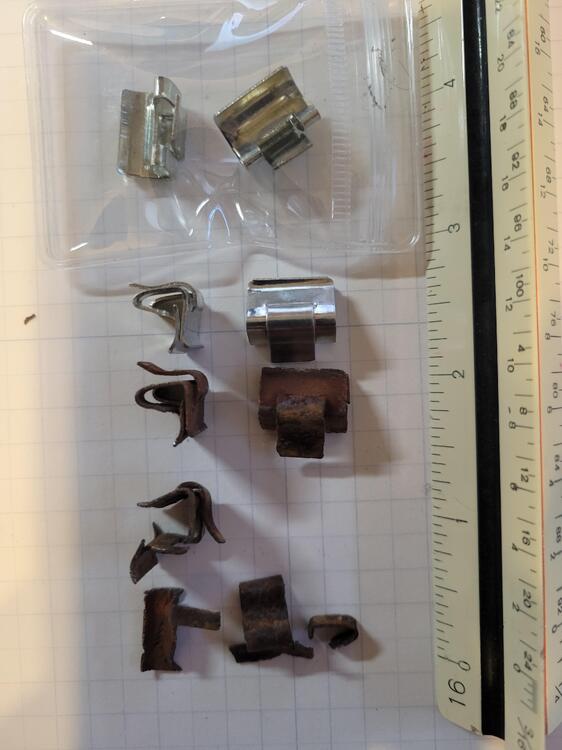
I got a set of those clips from @Resurrected Classics https://resurrectedclassics.com/en-ca/collections/1970-1973-240z/products/datsun-240z-1970-1973-taillight-panel-clips But unfortunately he is currently sold out. Here's a pic showing them compared to my rusty crunchy ones. I have not tried them yet, but they appear to be very accurate.
-
Lot's of pictures of this car here on this post from 2016. Upper link directly goes to this car. Also lots of good pics of other early cars, thanks @240260280z aka hoover.
-
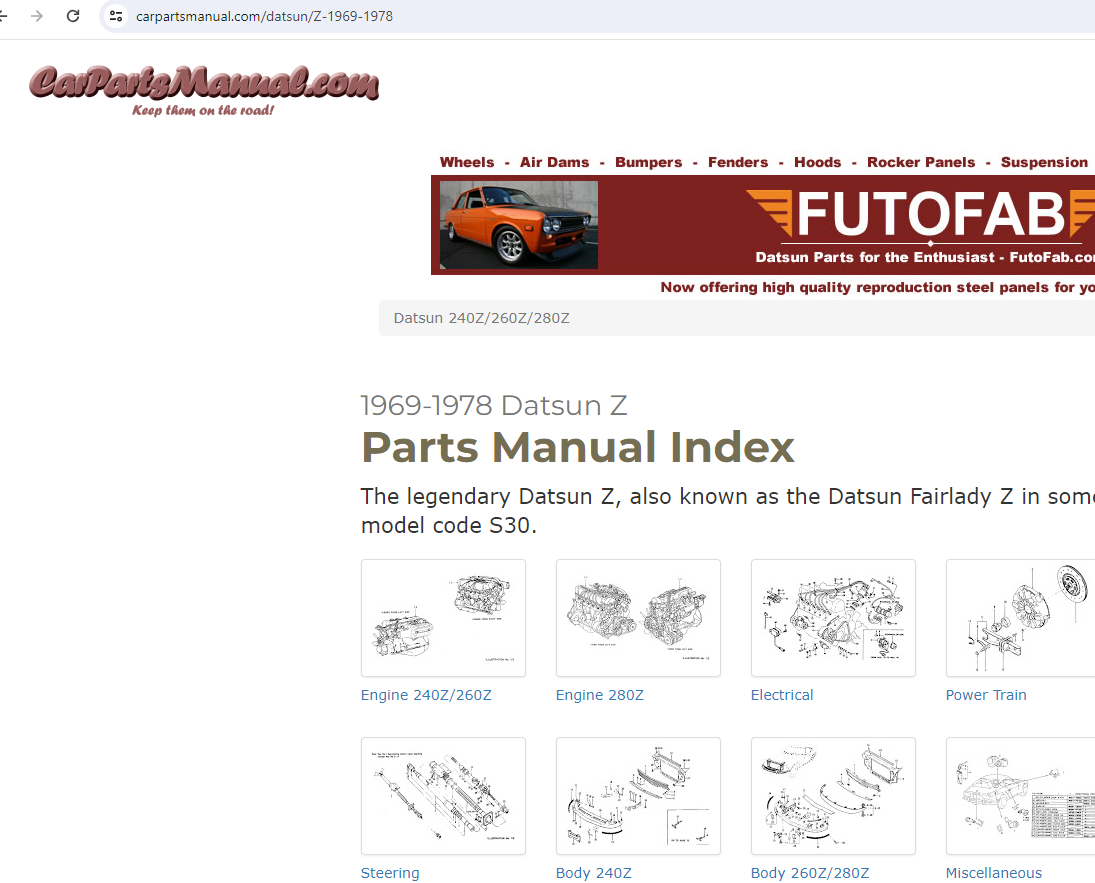
Seems to be working now. https://www.carpartsmanual.com/datsun/Z-1969-1978

-
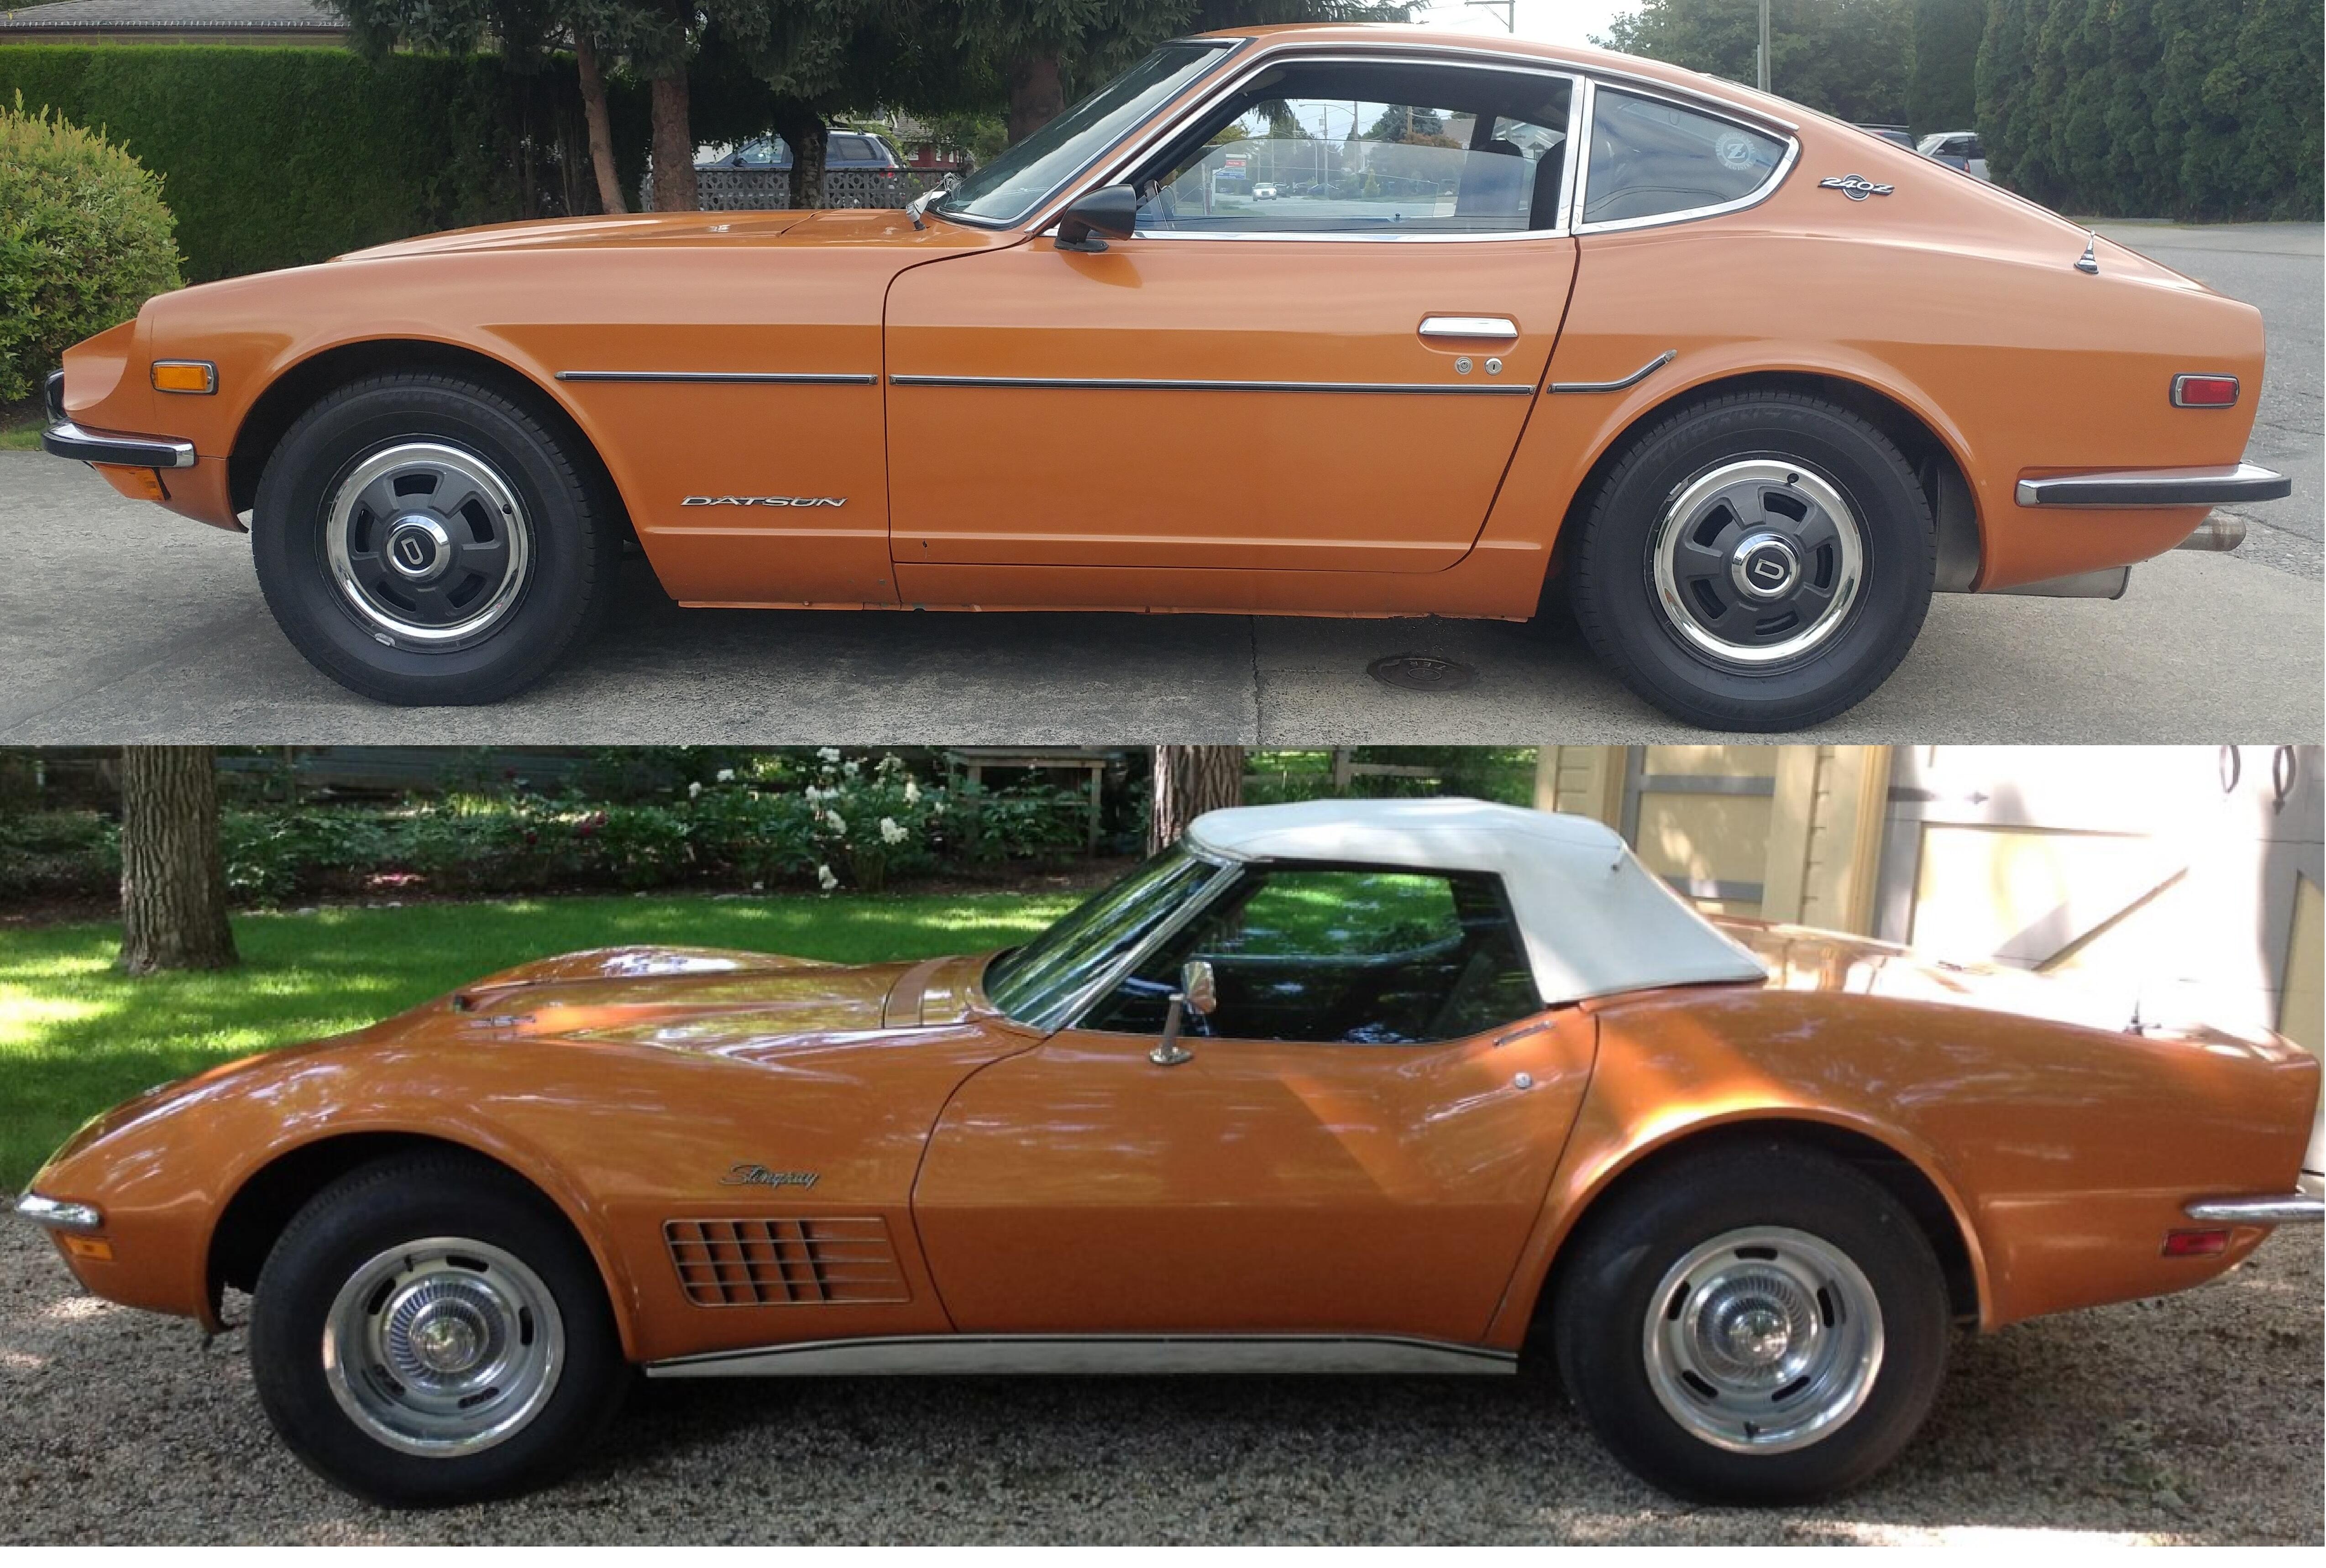
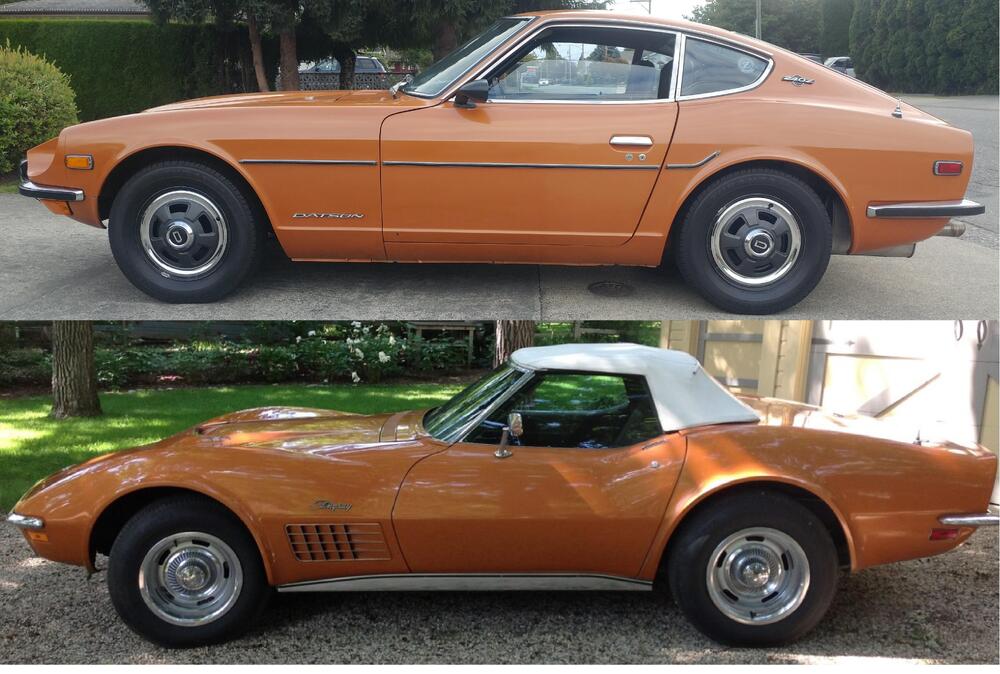
I like the safari gold theme as well, but if you were including mine it is a repaint in a '71 corvette color, Ontario Orange. Mine is originally 918 orange and will be going back to that color. In the pic of mine you can see the original 918 orange in the engine bay. It is funny how much the front does look like Safari Gold. Here's a Ontario Orange comparison pic with my repaint and an OE corvette, it was close but not perfect.
-
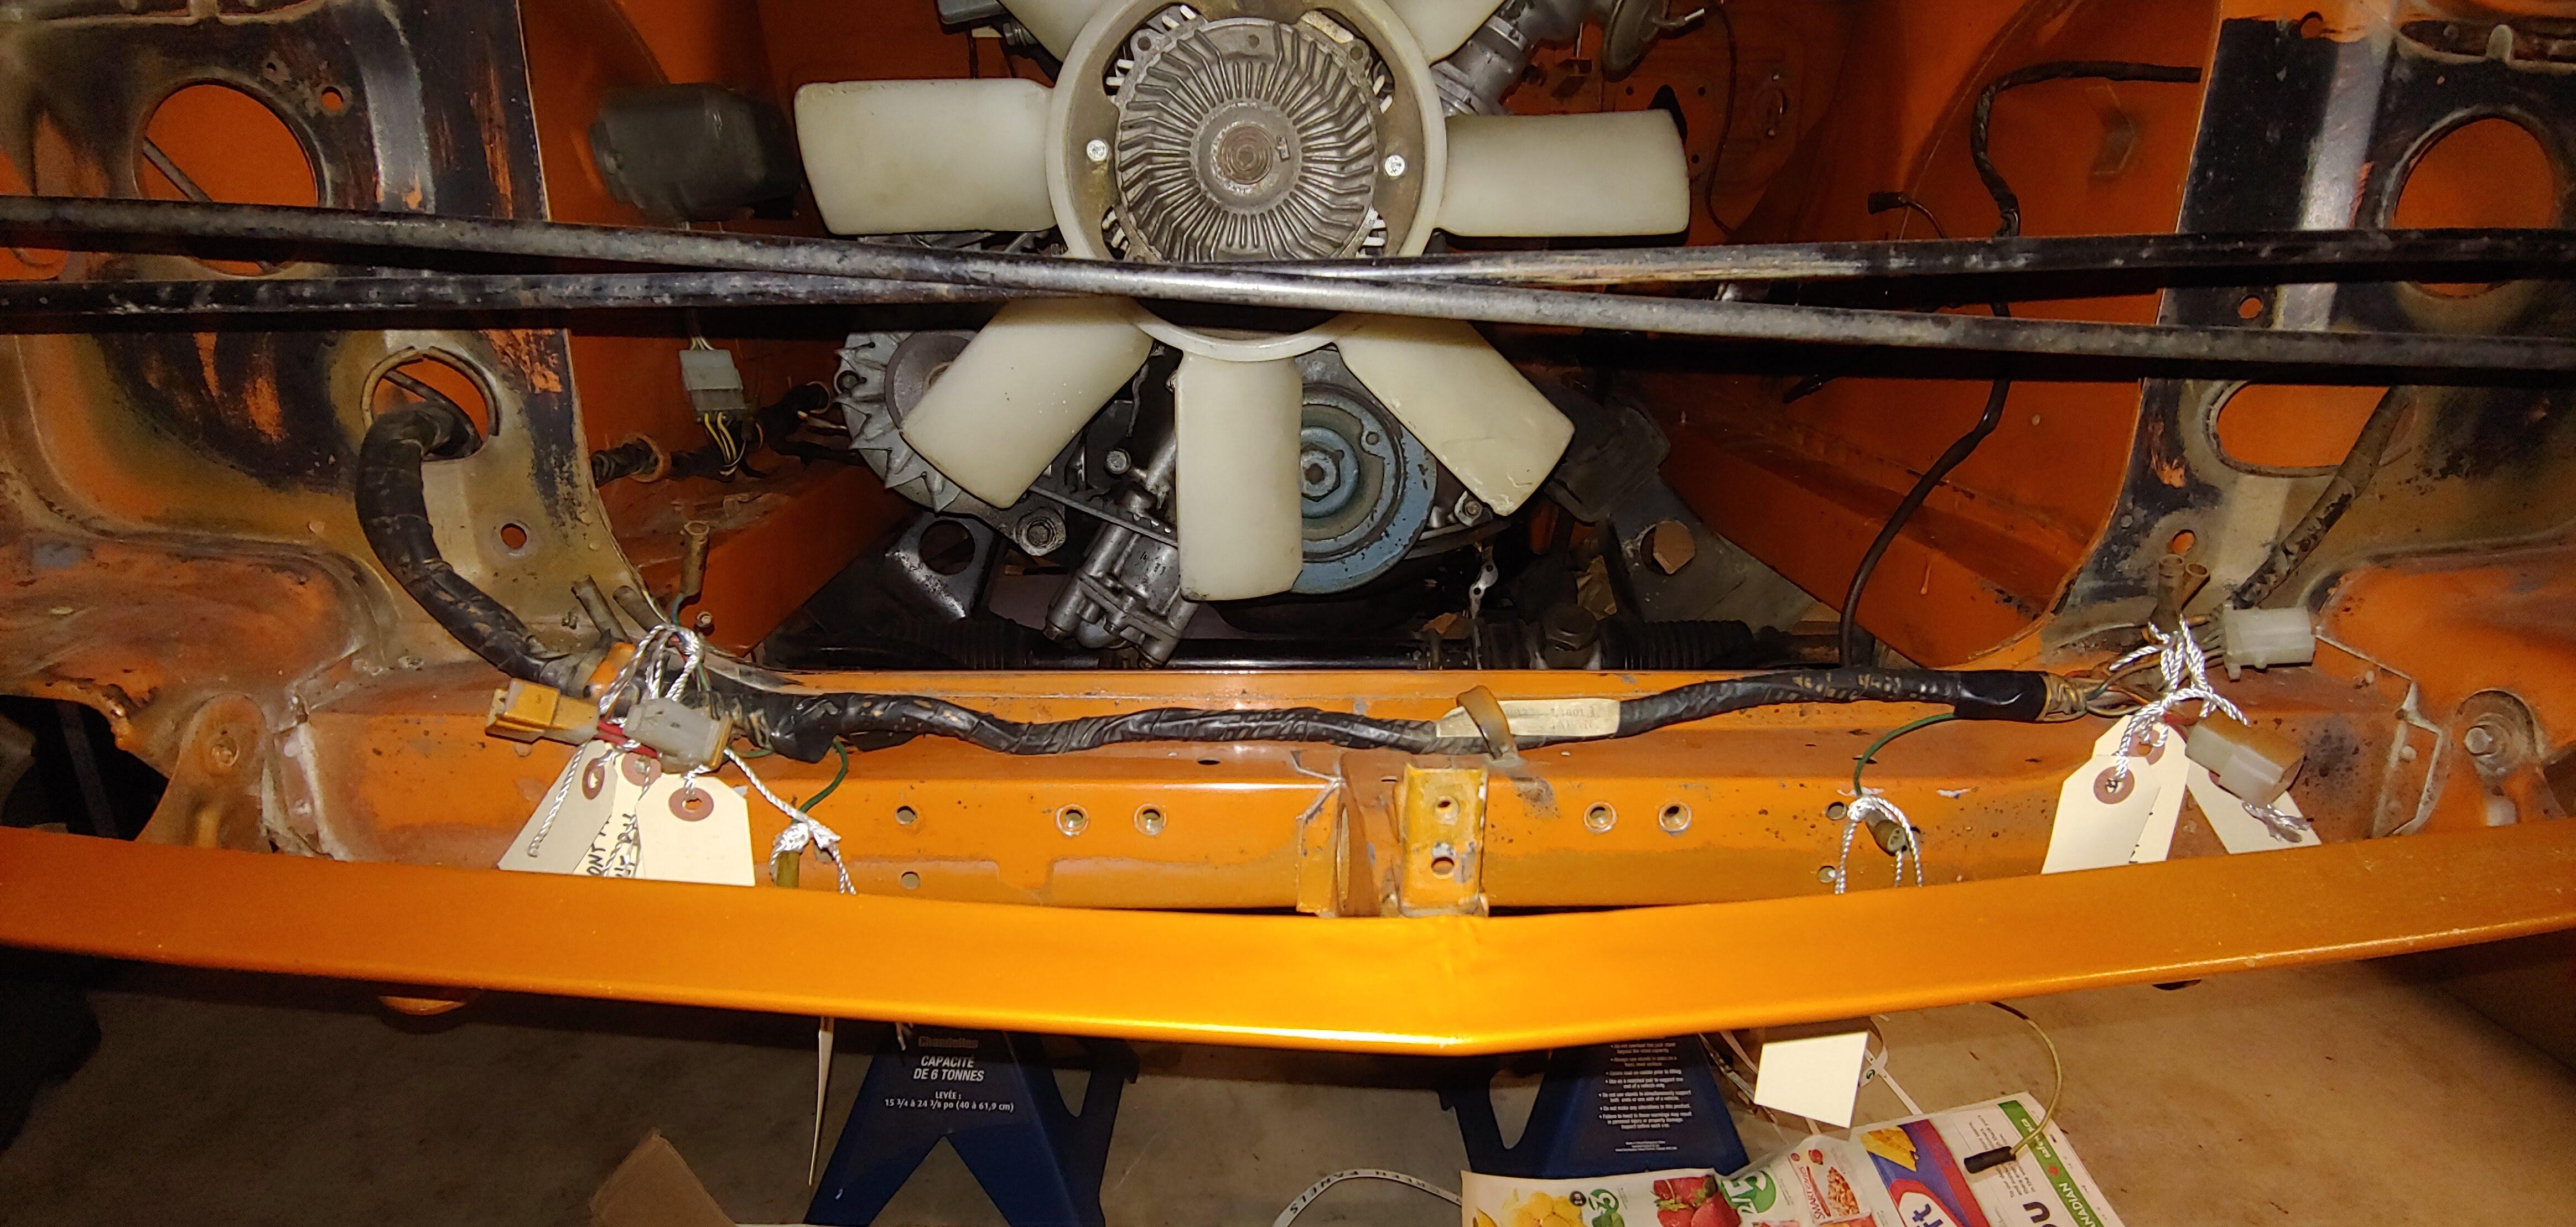
Mine was the same as yours, here's a pic from my 7/70 when I tagged the front harness just before I removed it.

-
Here is a previous discussion about clipped washers, also called D washers. In post 11 I shared dimensions of the ones I found on my 7/70. The discussion also lists some sources for these.
-
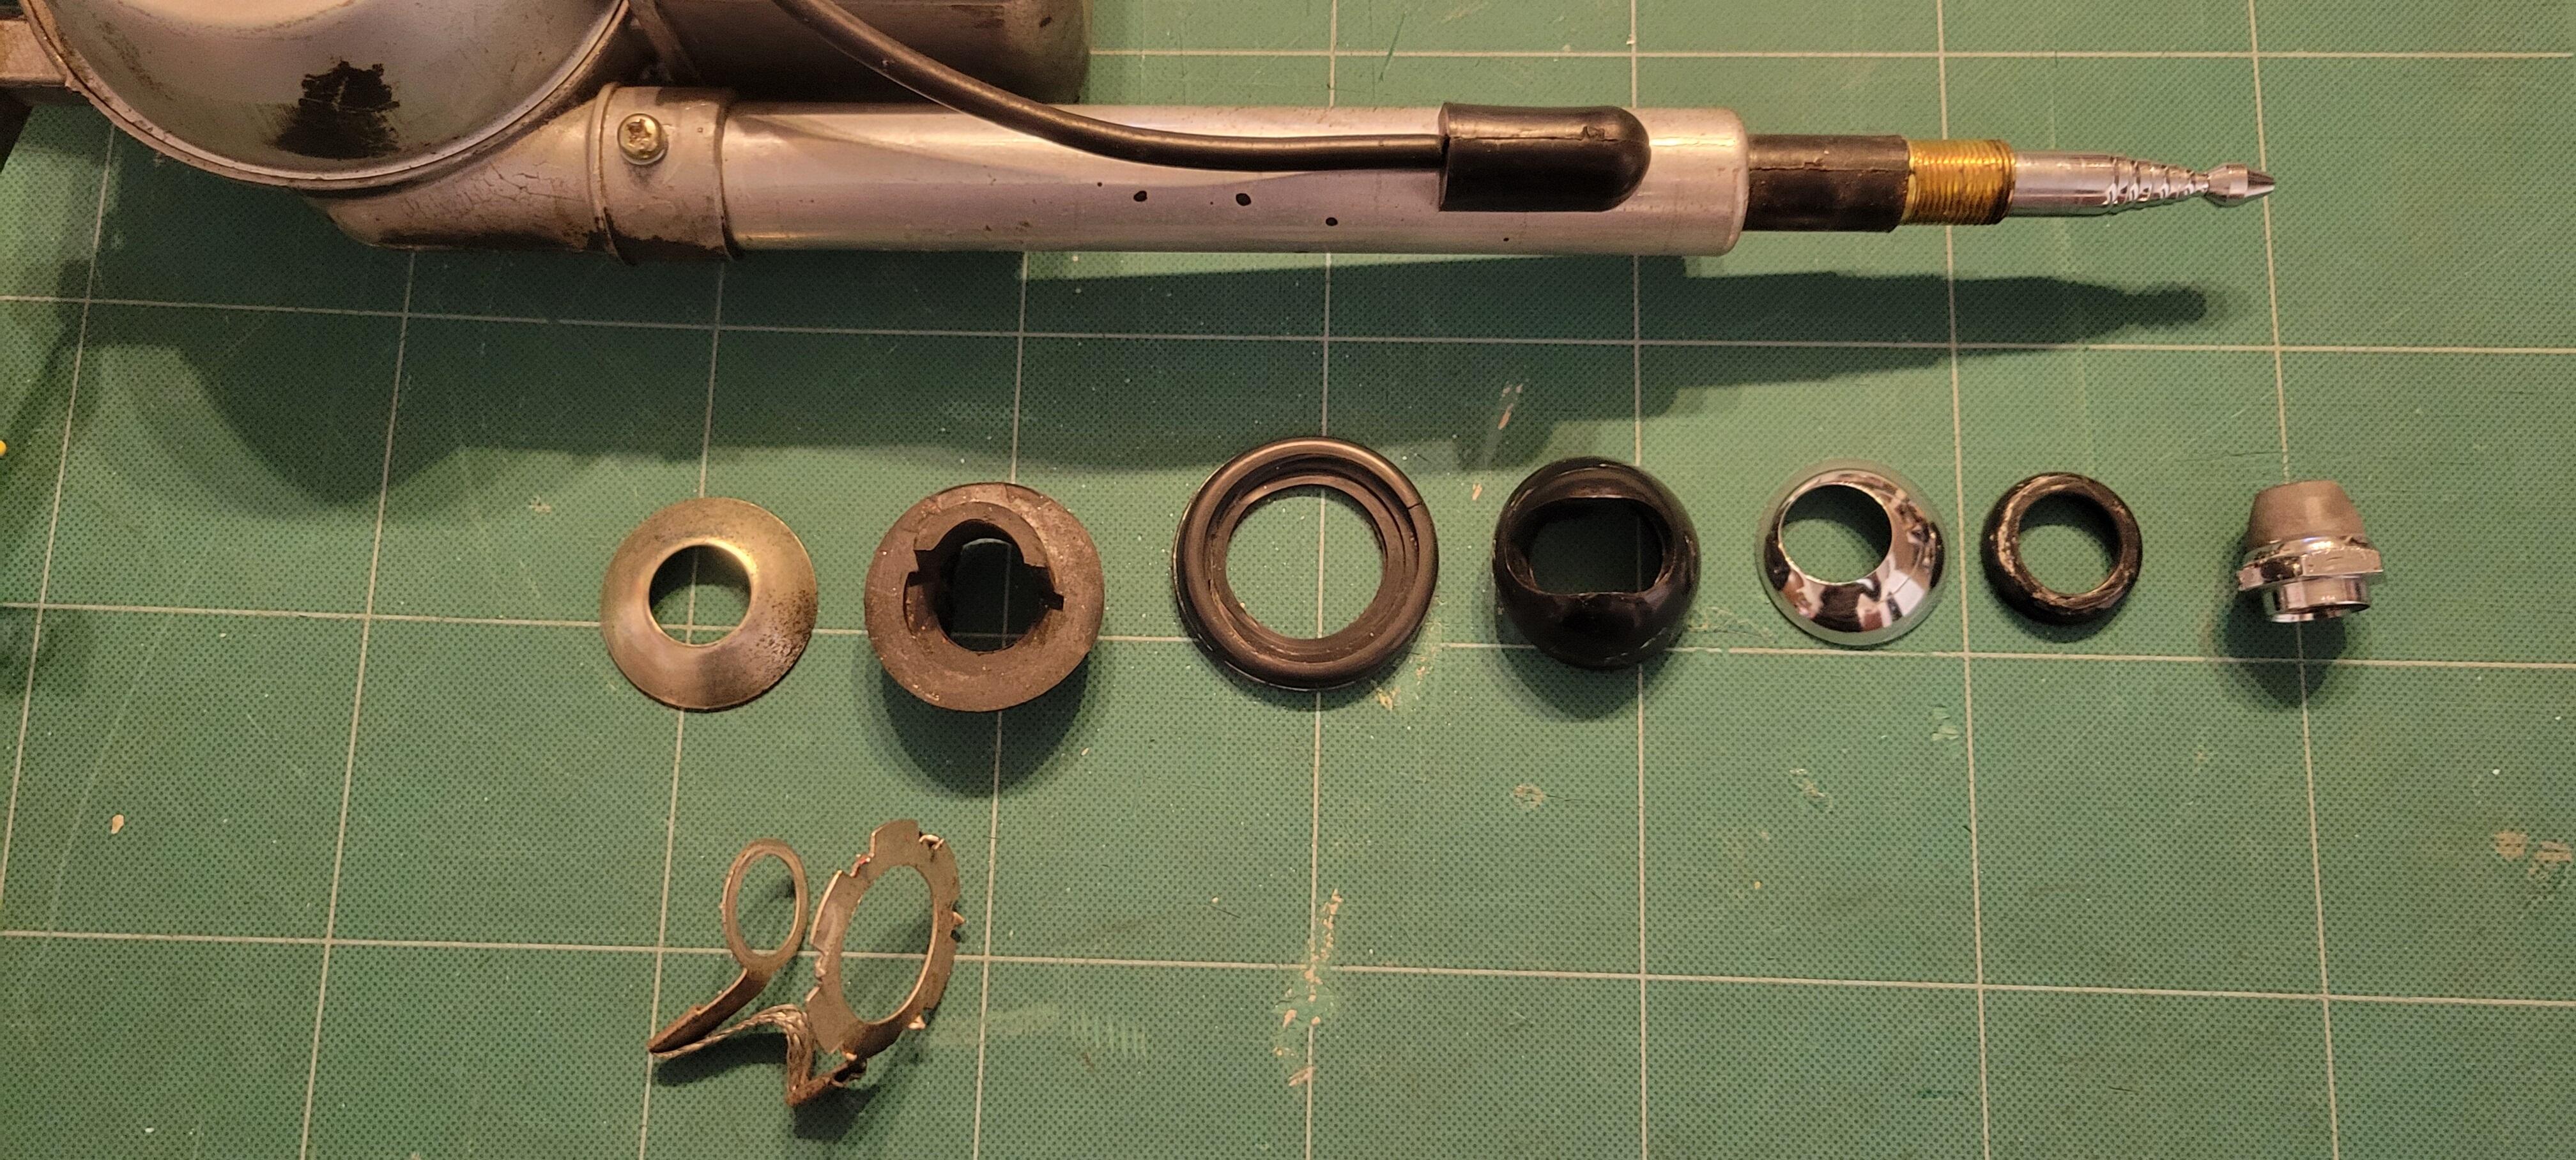
Just for reference here are a couple of pics from mine. It doesn't have the seal piece with threads that you found. From before I started the teardown for my restoration.


-
Great work on the side molding delete, the result looks awesome. I hope you didn't toss them, they can be re-purposed. Lol

-
The joys of R&D. Welcome to my world. Lol
-
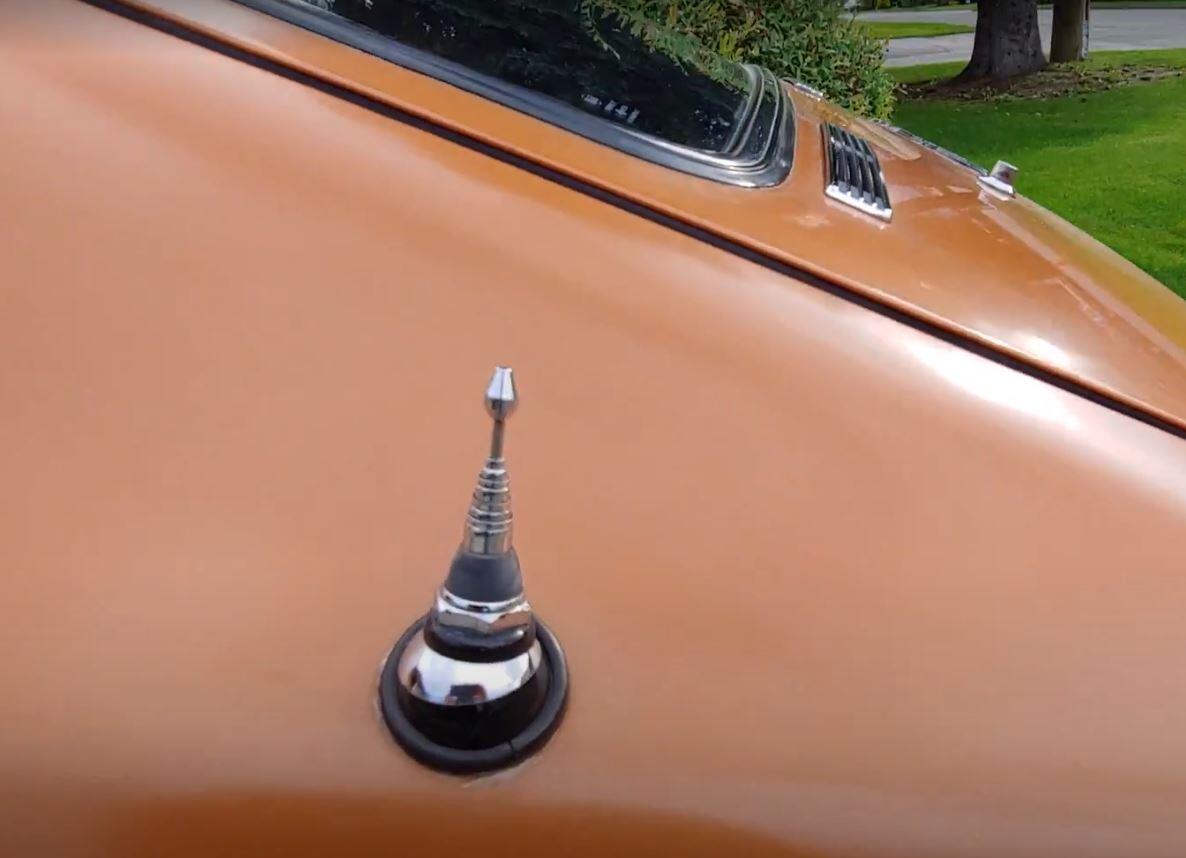
There is another style of these breather tubes used on early cars that came to Canada (and other markets) that had non emission engines. It does not have the small nipple. Here is a pic of the engine from my 7/70 Canadian market car, engine number is L24-010178.