CanTechZ
Free Member
-
Joined
-
Last visited
Everything posted by CanTechZ
-

-
-
FYI, here is random sampling of switch type that can be seen on recent series one cars listed on BAT since May this year: 1970 #06206 (10/24/19 auction end date) "flash" 1970 #08542 (10/22/19 auction end date) "flash" 1971 #08233 (10/8/19 auction end date) "double triangles" (pic 59/195) 1970 #04213 (9/17/19 auction end date) "double triangles" (pic 103/204) 1970 #04504 (7/24/19 auction end date) "flash" 1971 #12069 (8/5/19 auction end date) "double triangles" (pic 45/98) 1970 #00512 (5/7/19 auction end date) "flash" 1970 #06157 (5/9/19 auction end date) "double triangles" (pic 69/215)
-
No, I can't be 100% sure but the same can be said for "anecdotal support". With @jfa.series1being an original owner I would say there is very strong evidence showing that some series one cars came with the double triangle switch. Respectfully, Mike
-
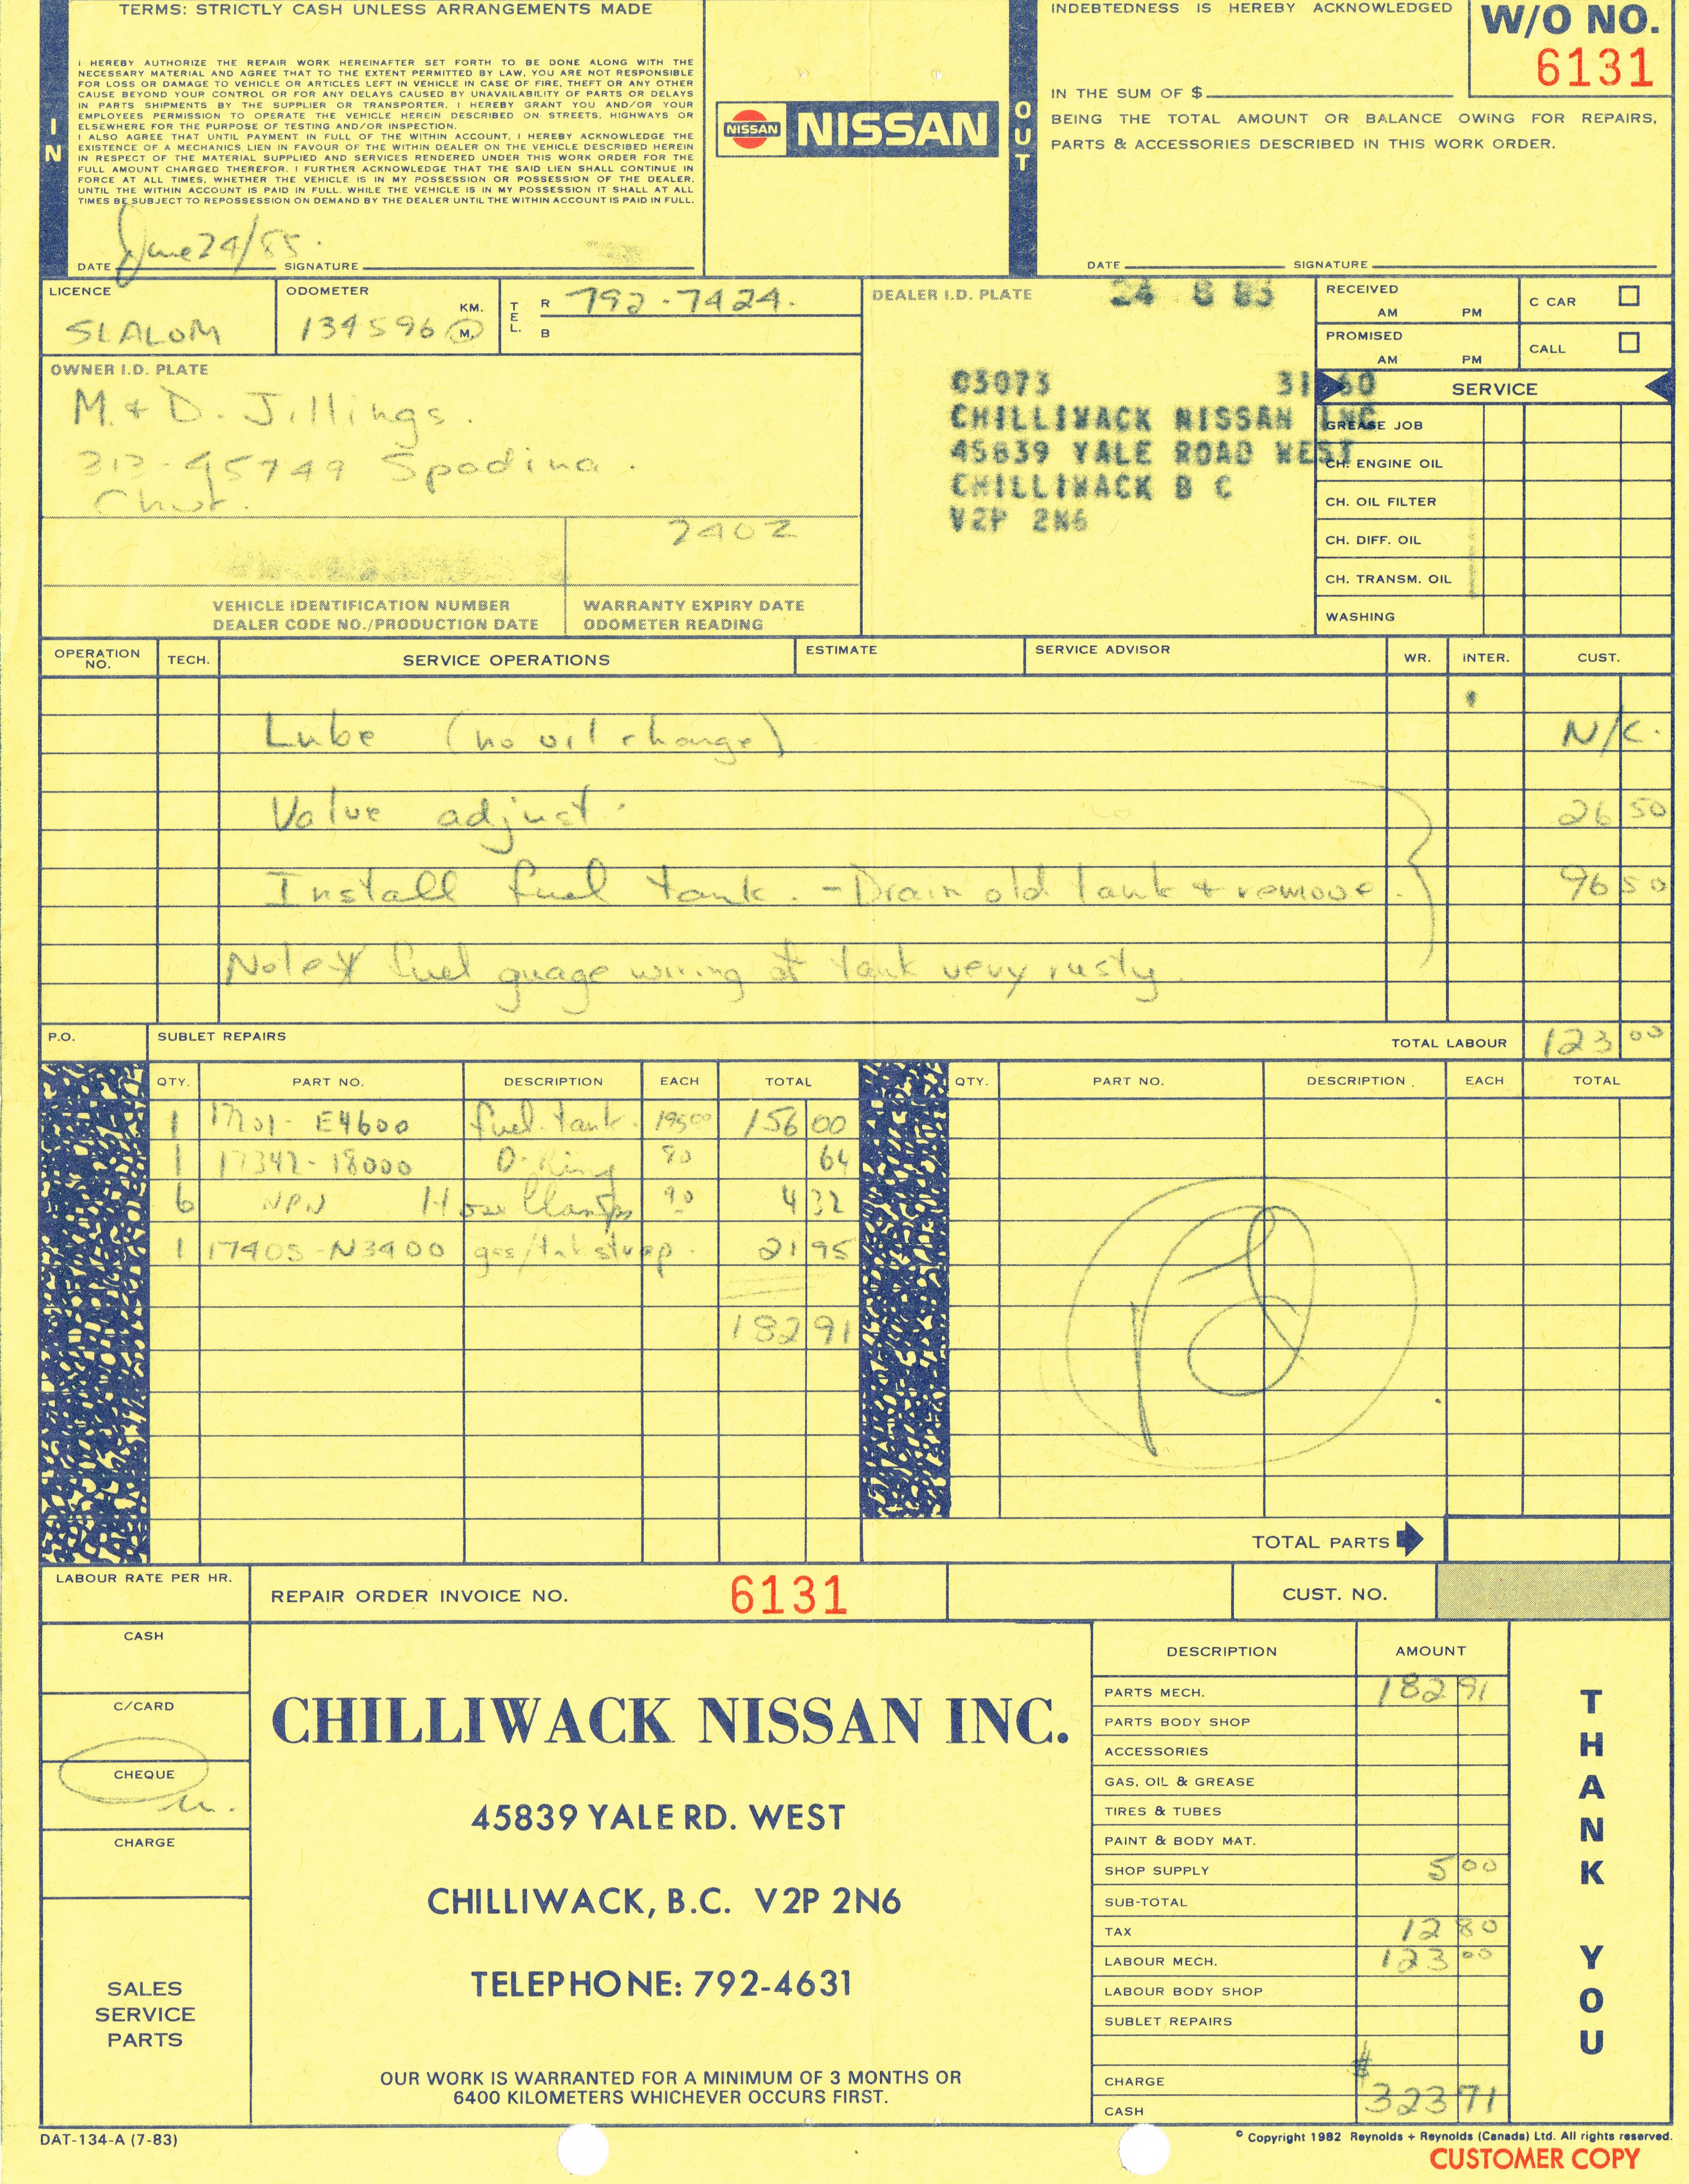
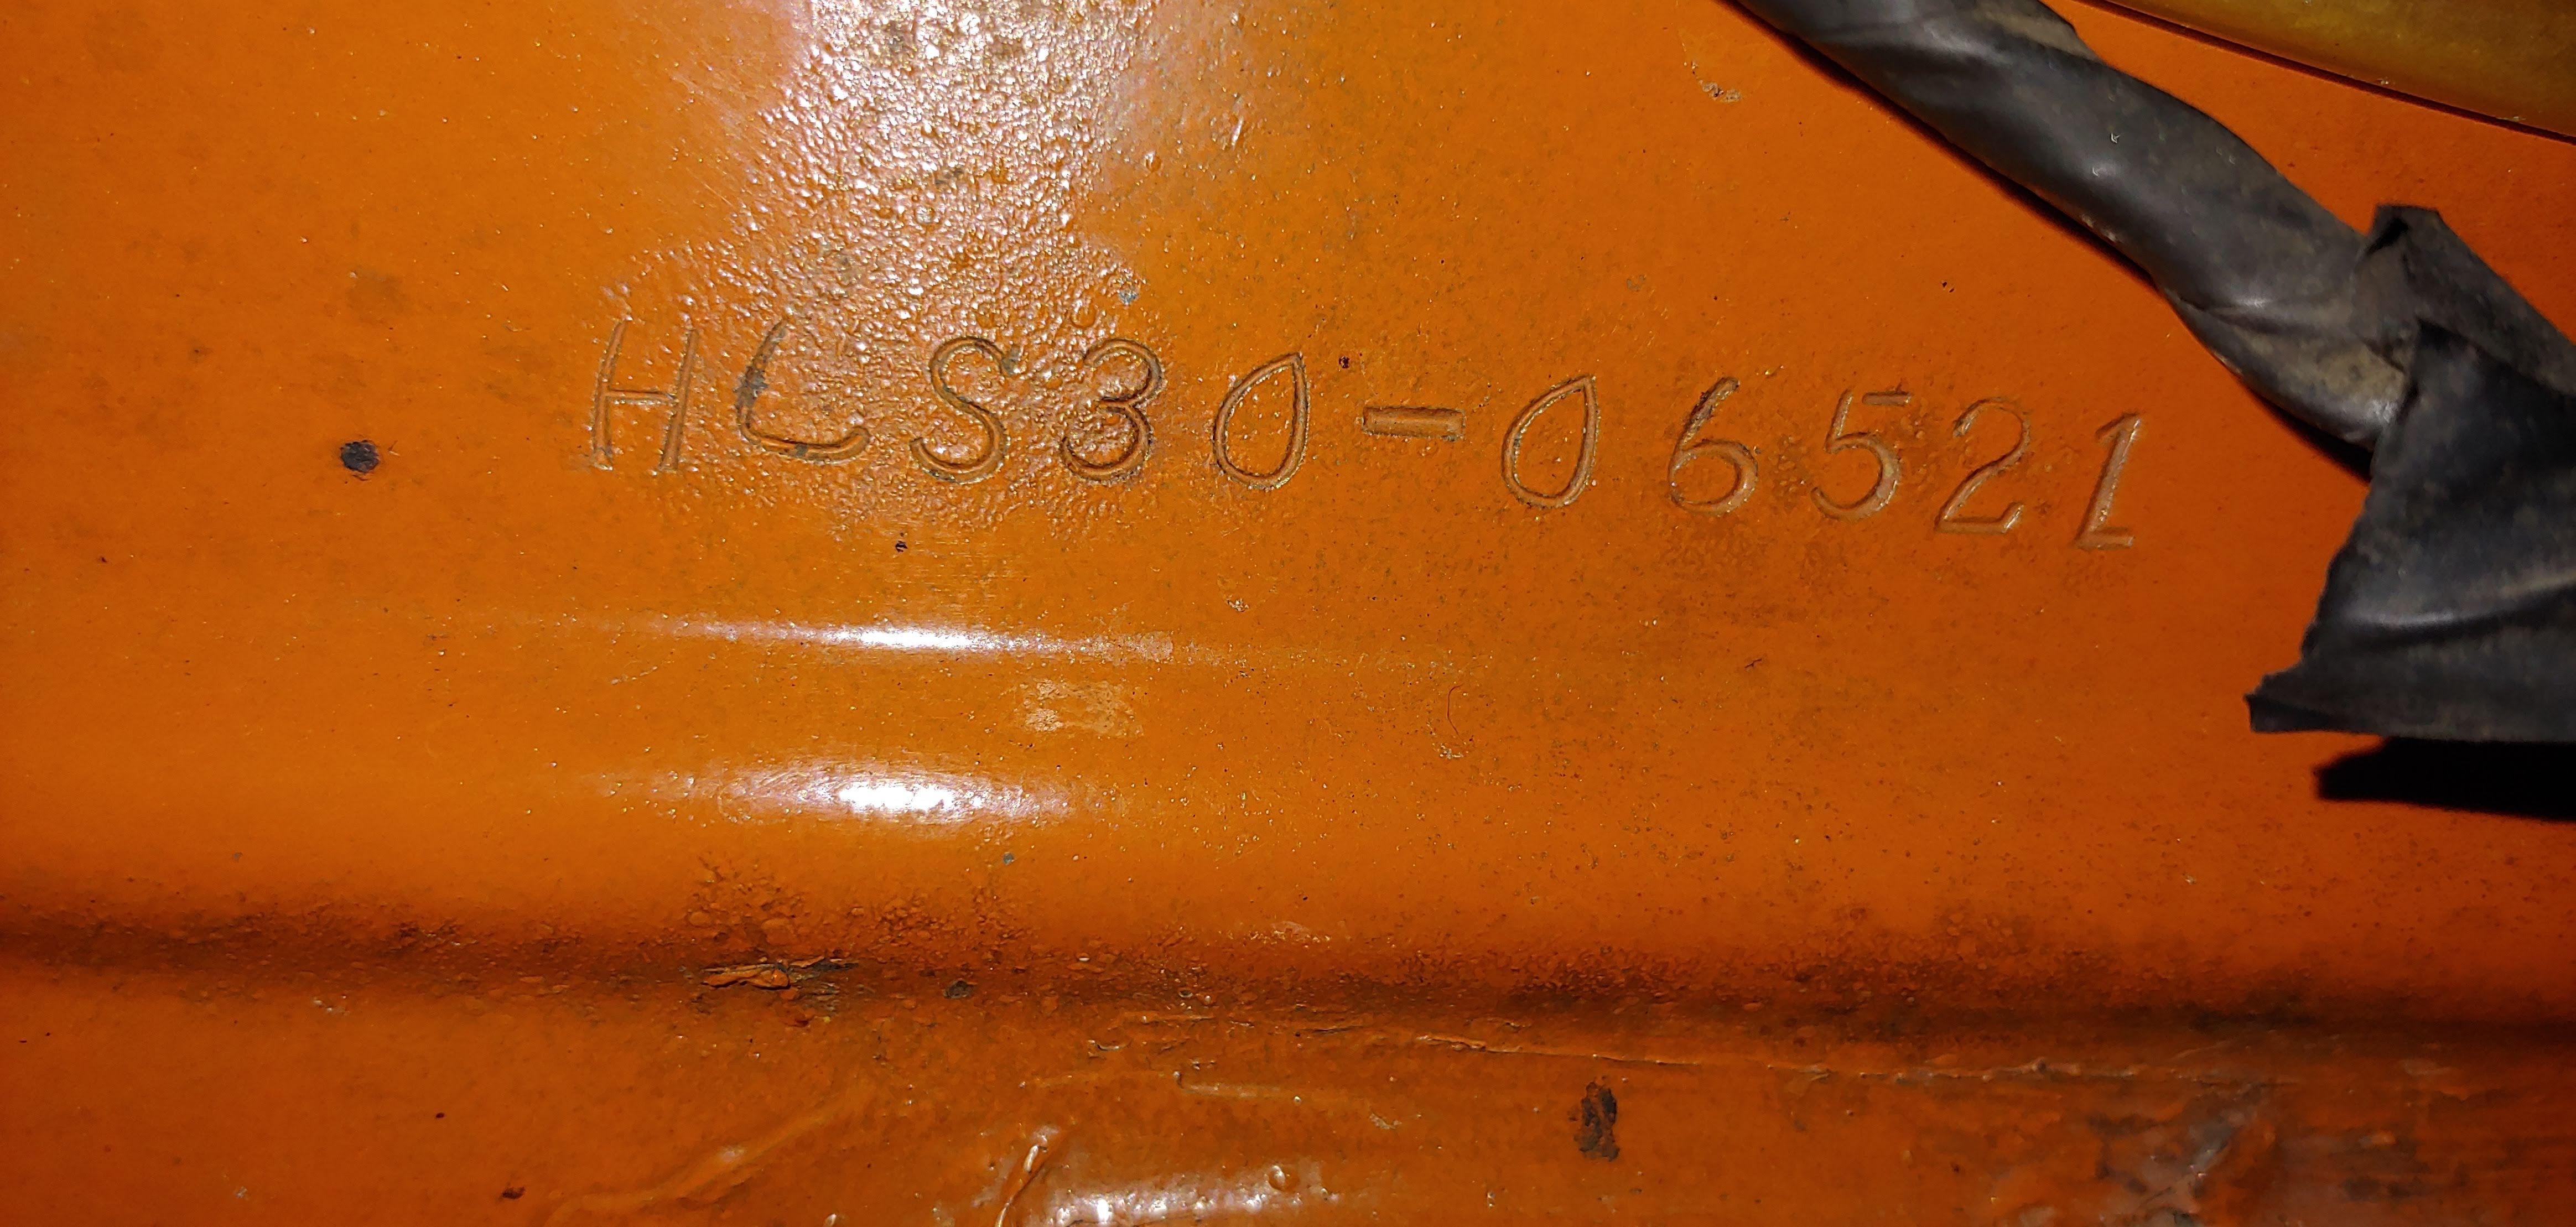
I'm with @jfa.series1, my 7/70 car #6521 has the double triangle switch. I have owned it since 1978, it has the original dash with no cracks and all of the switches and gauges appear to be original and are in good working order. The interior had been very well kept by the original owner, I see no evidence that anything was changed.
-
Your welcome, this will definitely be one to watch. Cheers
-
If think @SteveJ meant this post from Friday (#72) by @kats
-
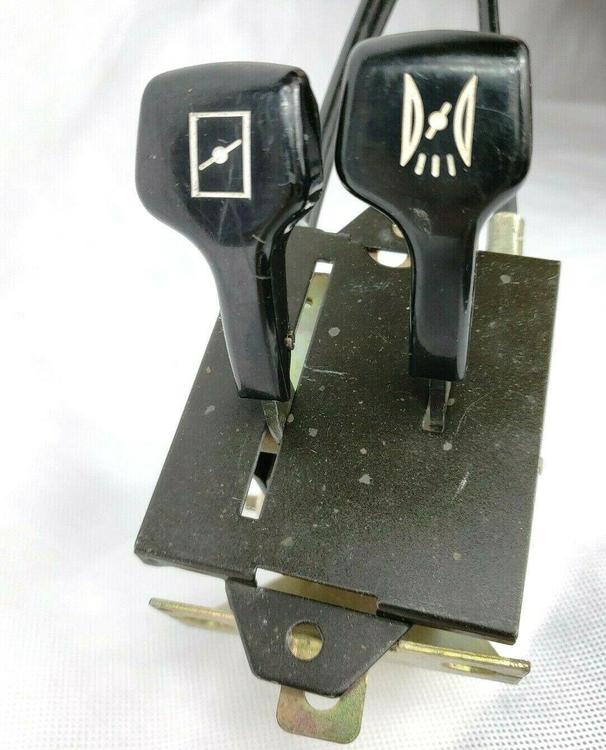
Those knobs don't look correct, the earlier ones are more rounded and the screws should not protrude. also they should be "handed", choke with offset to the left and throttle with offset to the right. Here's a picture from this ad: For comparison see the pictures in this post from @240260280. Also more reasonably priced back then, LOL.
-
Quick search came up with these, to bad dimensions are not given, https://www.amazon.ca/gp/product/B000COCRTG/ref=s9_acsd_otopr_hd_bw_b9z6UiB_c_x_w?pf_rd_m=A1IM4EOPHS76S7&pf_rd_s=merchandised-search-11&pf_rd_r=3619FKSF7MXV9C8QYT1F&pf_rd_t=101&pf_rd_p=ba175af9-e223-573b-94f2-9c5d6b0f7d0b&pf_rd_i=9148100011 https://www.dormanproducts.com/p-3184-42117.aspx
-
I don't know how I missed this. Please consider me if you have another one in the future. And thanks for continuing to restore and supply parts like this to the community. Your work does not go unnoticed.
-
Thanks very much. This is very helpful.
-
Looking good, do you keep an inventory of what goes where, referring to fasteners? I see the horn backs and mounting brackets, are the horn fronts being painted olive green? Also did you have to sandblast the horn backs or just wire wheel them, mine are quite rusty. Just inquiring as I will doing mine soon. Soon meaning, sometime in the next couple of years, LOL.
-
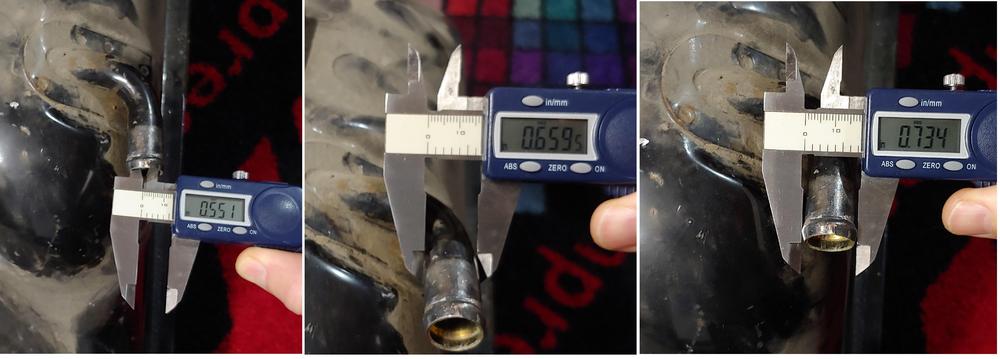
It looks to me that 5/8" ID hose would be the size to try, I don't think that 1/2" would fit on the barb with out some sort of adapter. Even 5/8" will be a tough fit.
-
My tank is out, here is a pic with the measurements. I have the original hose and it measured 17mm ID (.67"). Hope this helps.
-
The quality of the ad for an online sale makes a huge difference. I recently had good success selling a vehicle on Craigslist, not a Zcar but it did fall into the niche/collector category. Before I placed my ad on Craigslist I did a submission to BAT and was accepted but declined to post, as they wanted it to be a no reserve auction. The process on doing a BAT submission was very helpful in creating a good ad for Craigslist. It's amazing to me just how bad a lot of the ads on Craigslist are. Which ever platform you use remember that you are the one responsible for marketing your car, and a bit of effort makes a huge difference. I sold my Samurai on Craigslist in less than two weeks by doing just that. Here is a link to a blog on Hemmings that has some good information about making a successful ad: https://www.hemmings.com/blog/2014/01/24/skills-101-how-to-write-a-classified-ad-that-sells-your-car/ On more tip, make cold start and driving and walk around videos of your car and put them on YouTube, instead of sending hundreds of pictures to prospective buyers, you can send them a few links instead. It worked for me.
-
-
-
I was thinking the same thing about the "1"s looking like "L"s until I checked mine:

-
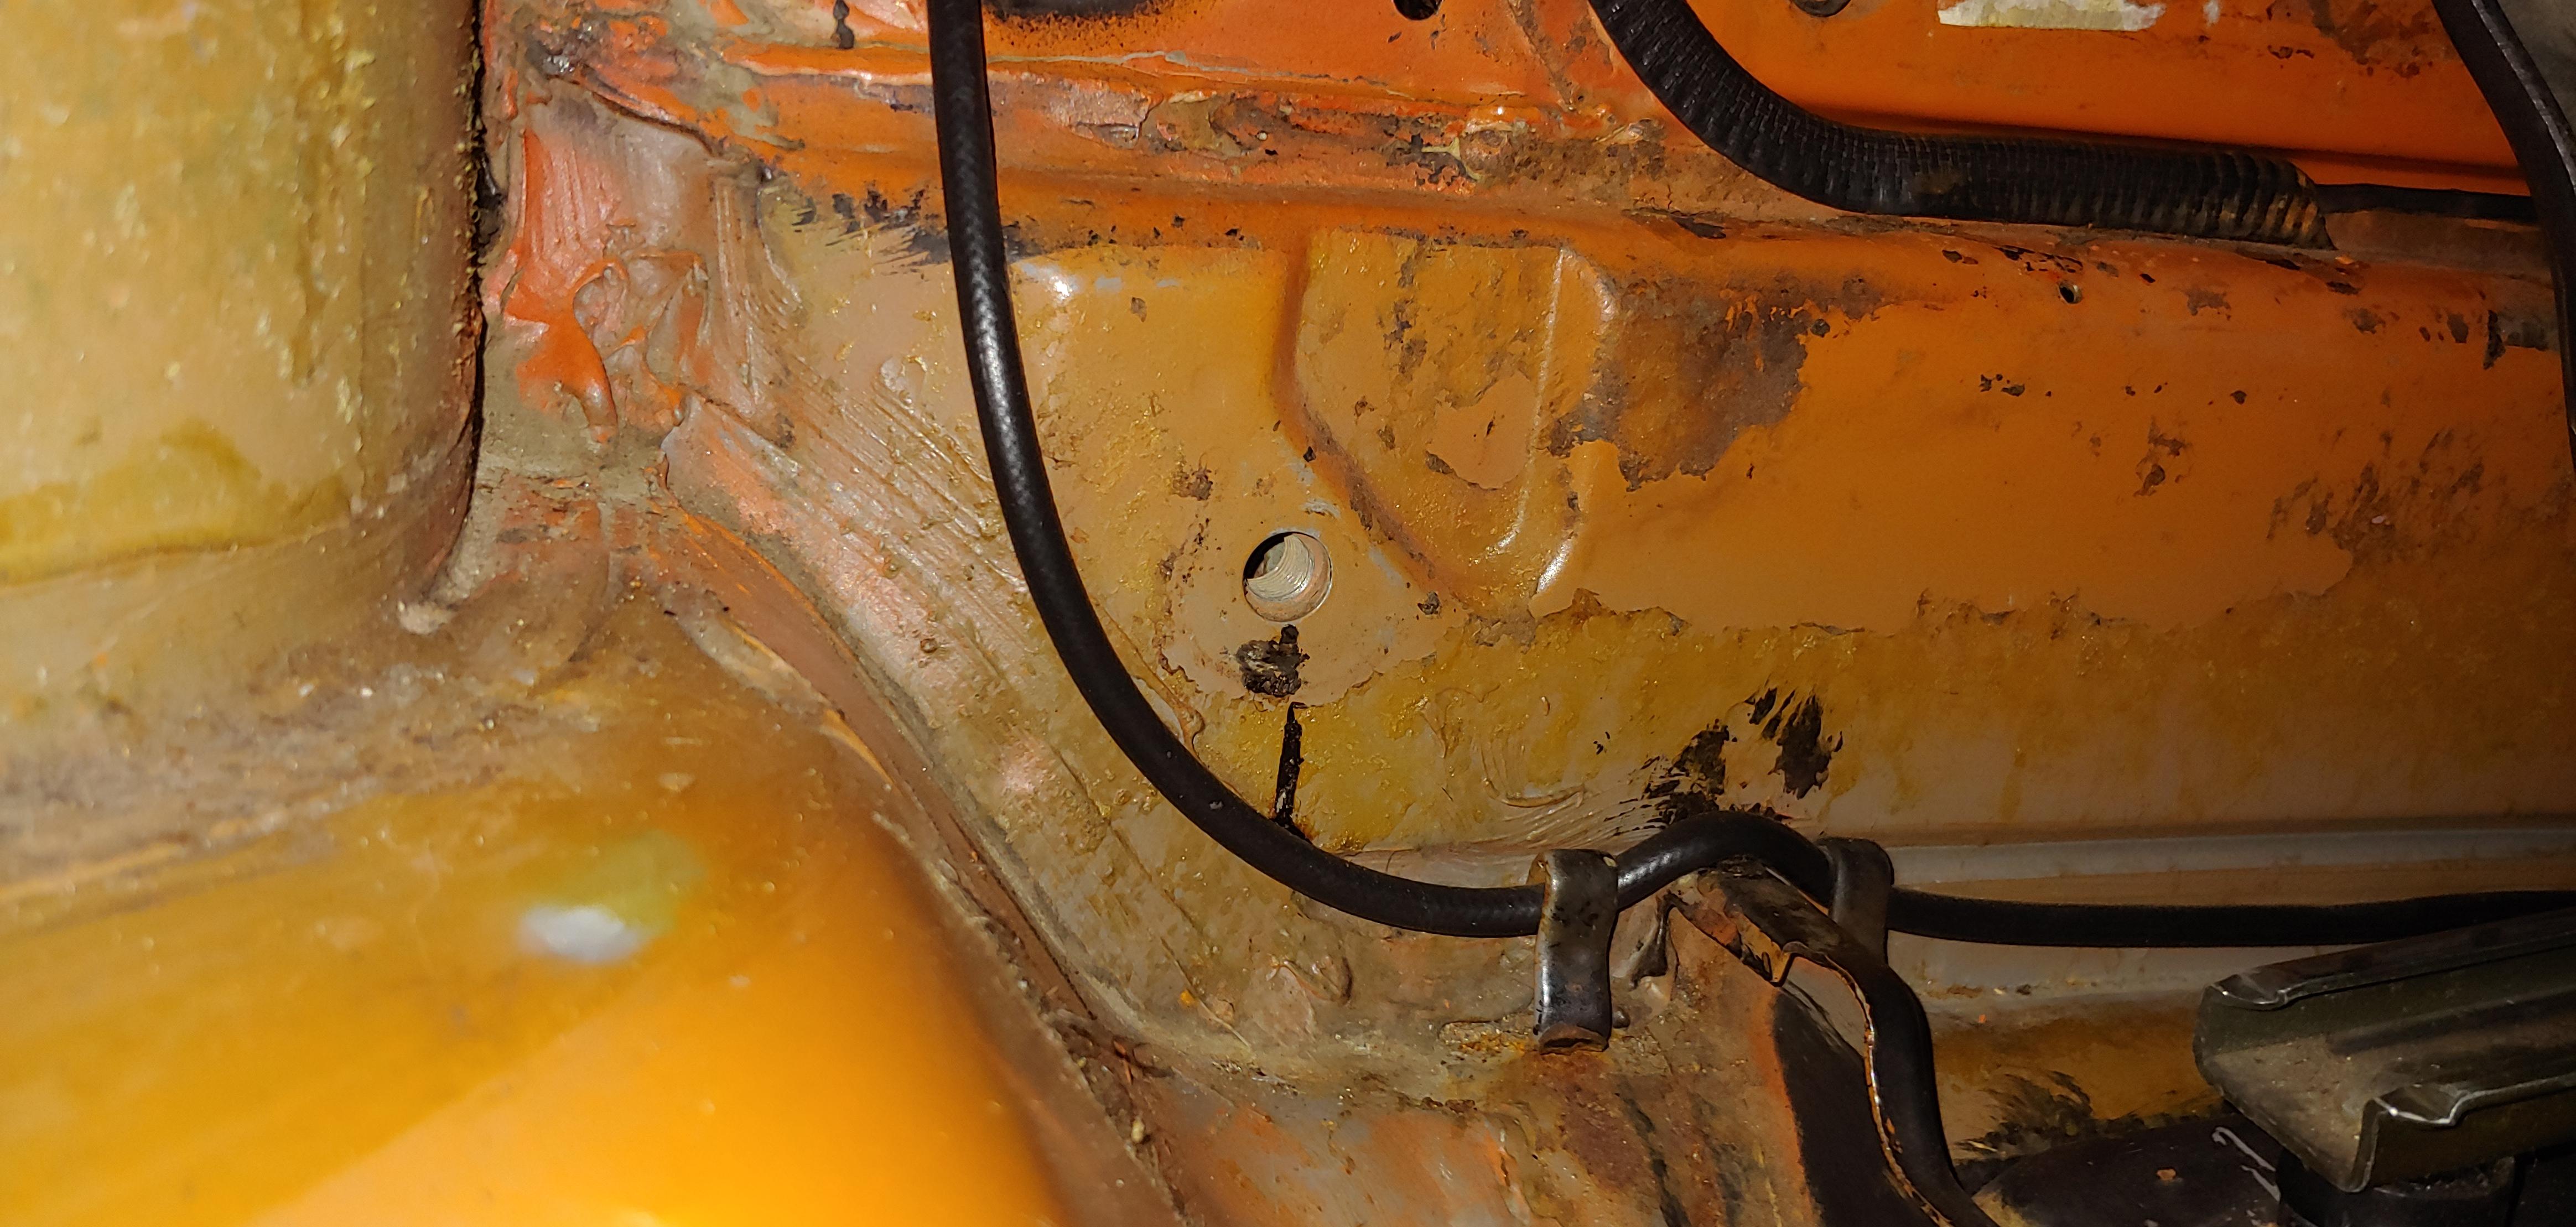
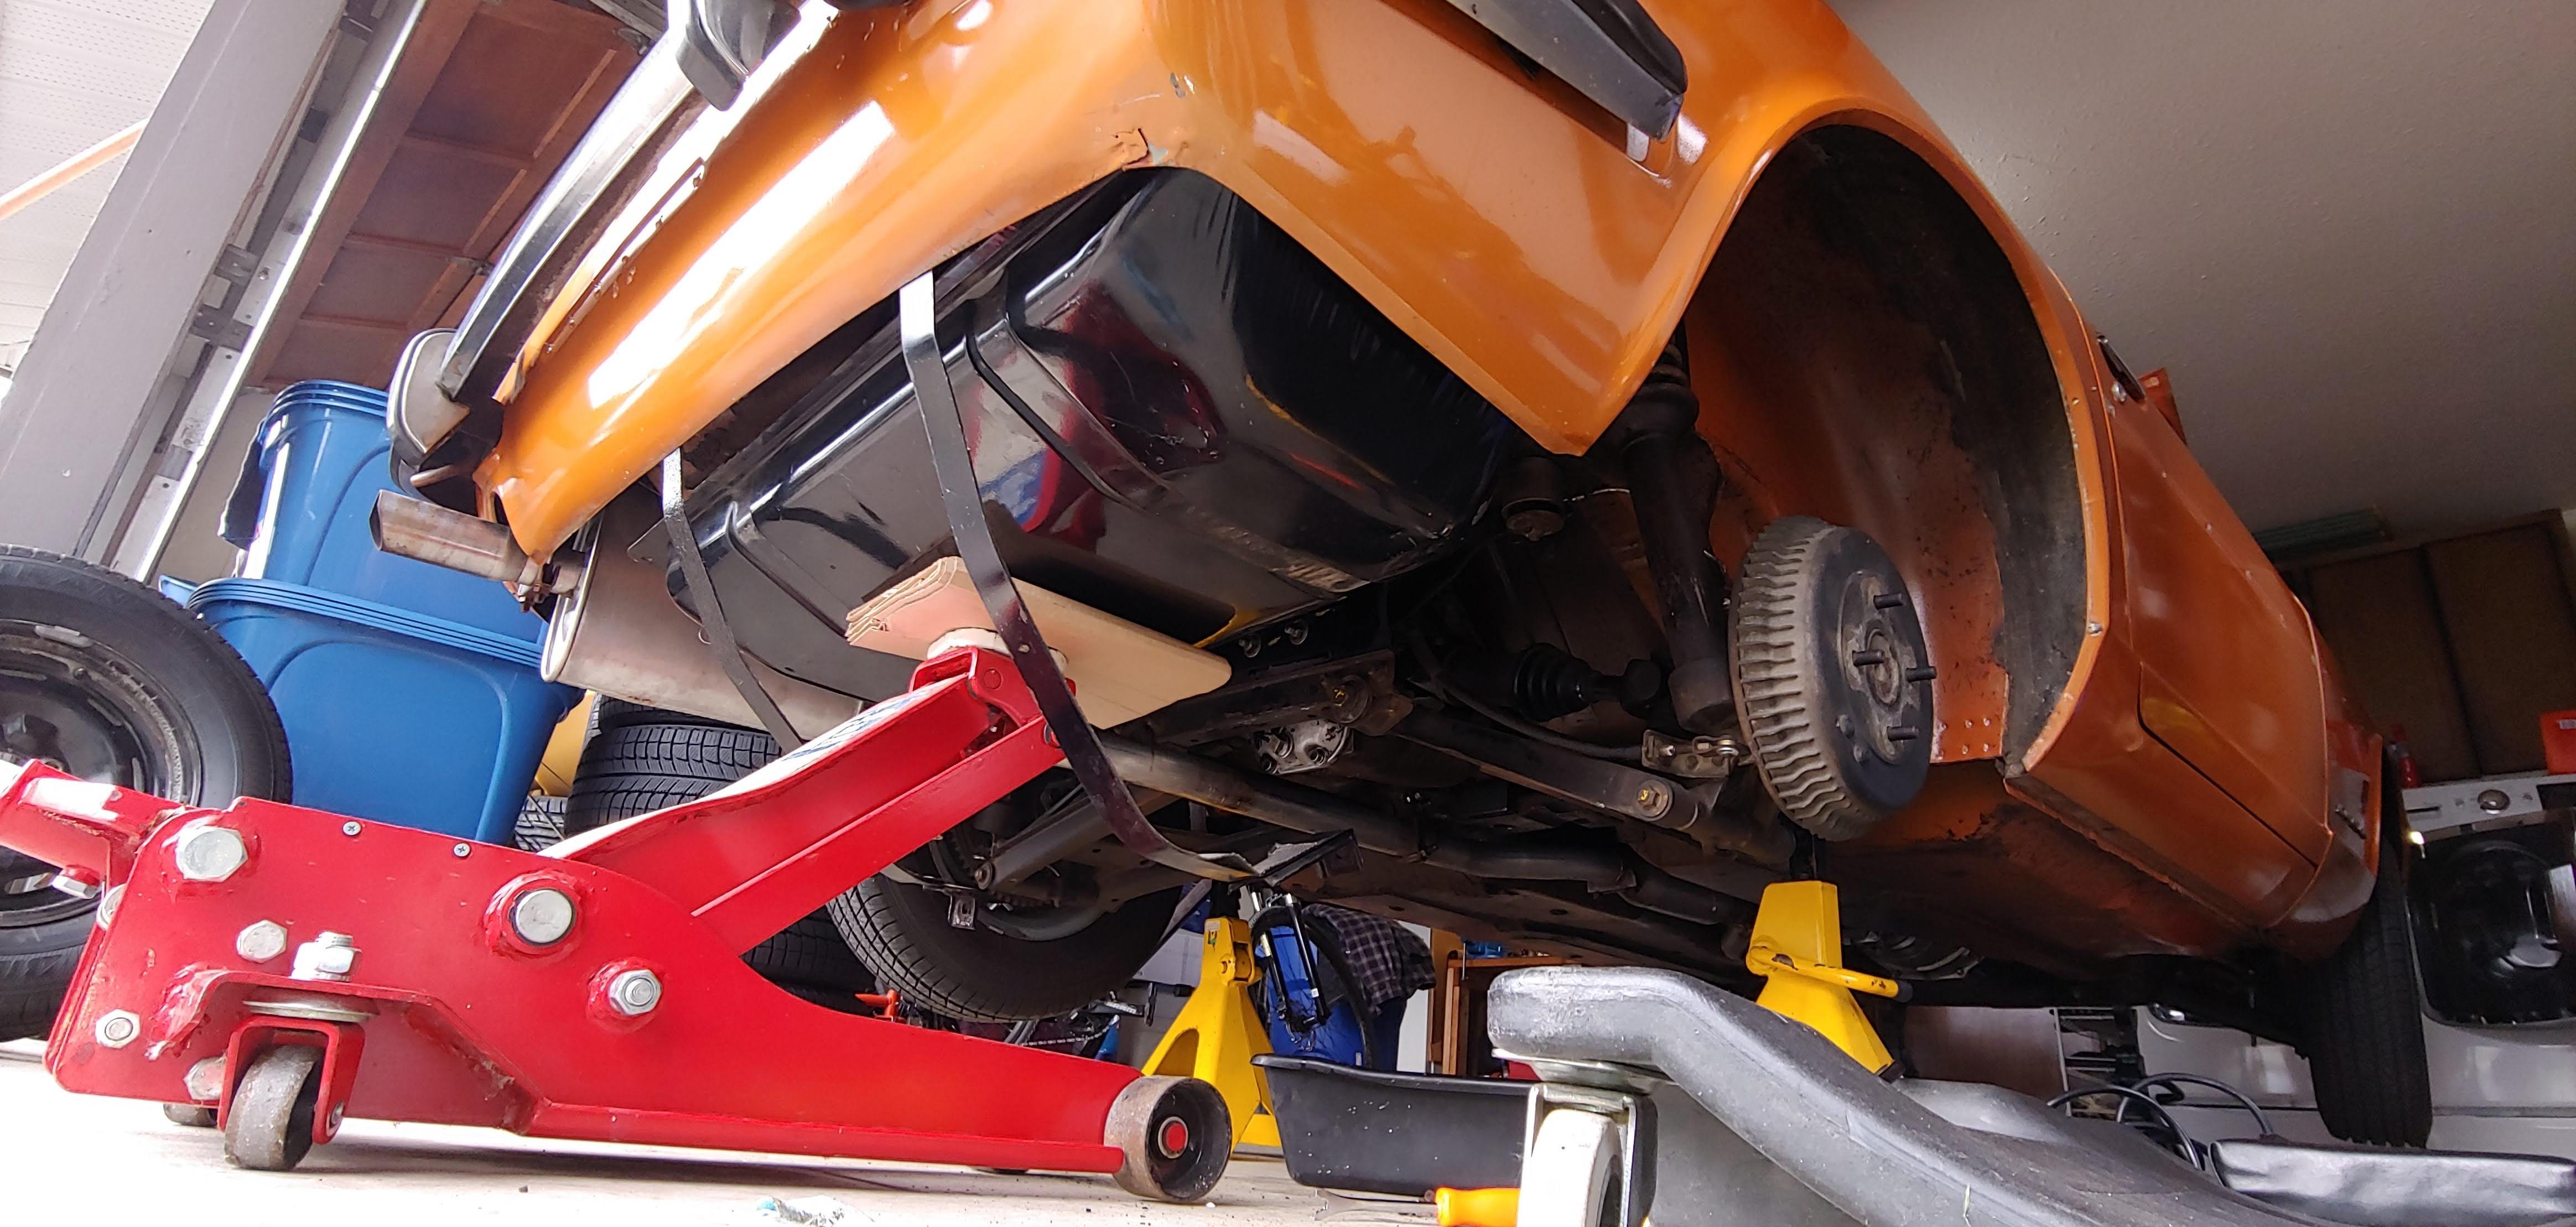
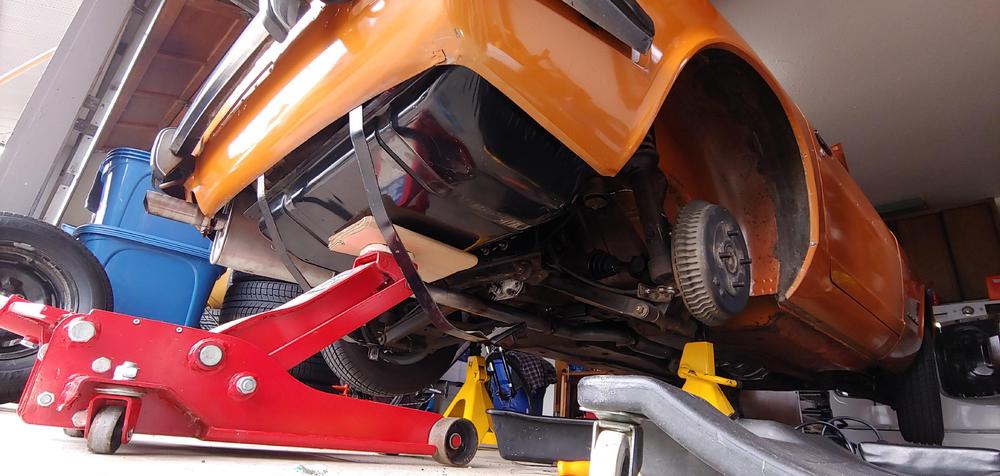
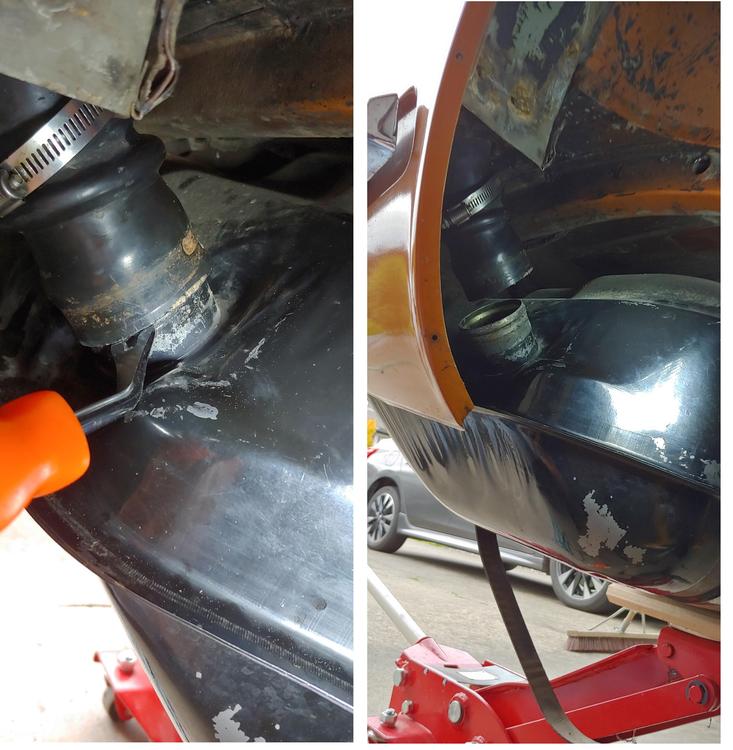
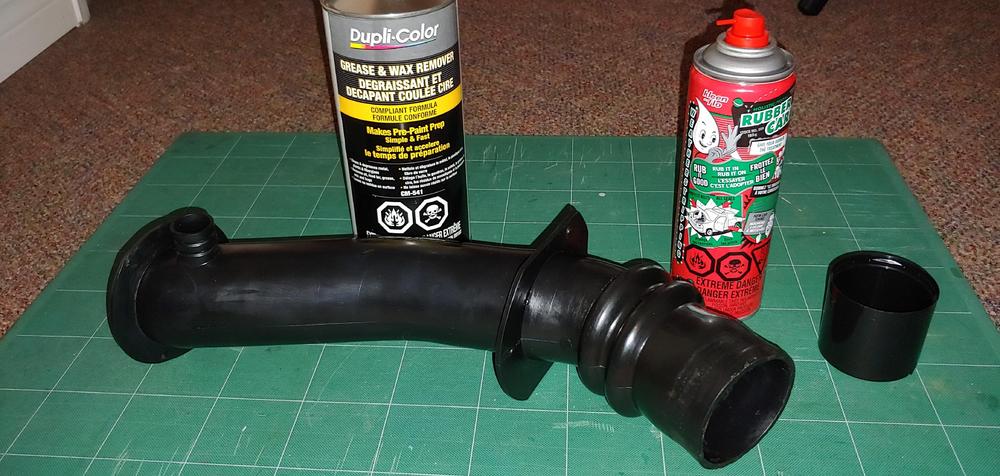
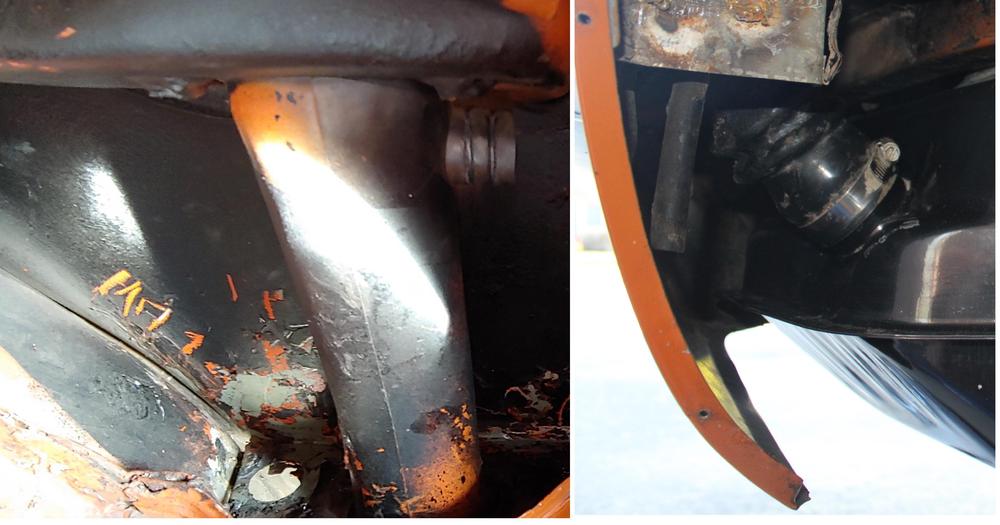
Here are a few pictures of the fuel tank removal. I was lucky that my car is a non emissions model so I had only two fuel in connections and fewer vent hoses to deal with as well as no evaporation tank. The most challenging part was removing the rock hard filler neck without damaging it. First issue was freeing it from the tank inlet, careful use of a heat gun on low with some twisting action by hand to free it before prying with a small prying tool did the trick. I did work in a well ventilated area making sure no fumes were present. After the tank was out, to finish removing the filler neck, I again used the heat gun, on low, to soften it to the point that the upper square flange and vent connection could be collapsed inward enough to drop through the two round holes in the body. The neck was then free to drop out from the bottom. I was happy to find there were no cracks in the fuel filler neck and it cleaned up very well, with a bit of effort using grease and wax remover and kleen-flo rubber care. Here is the result: This is what it looked like before:

-
-
-
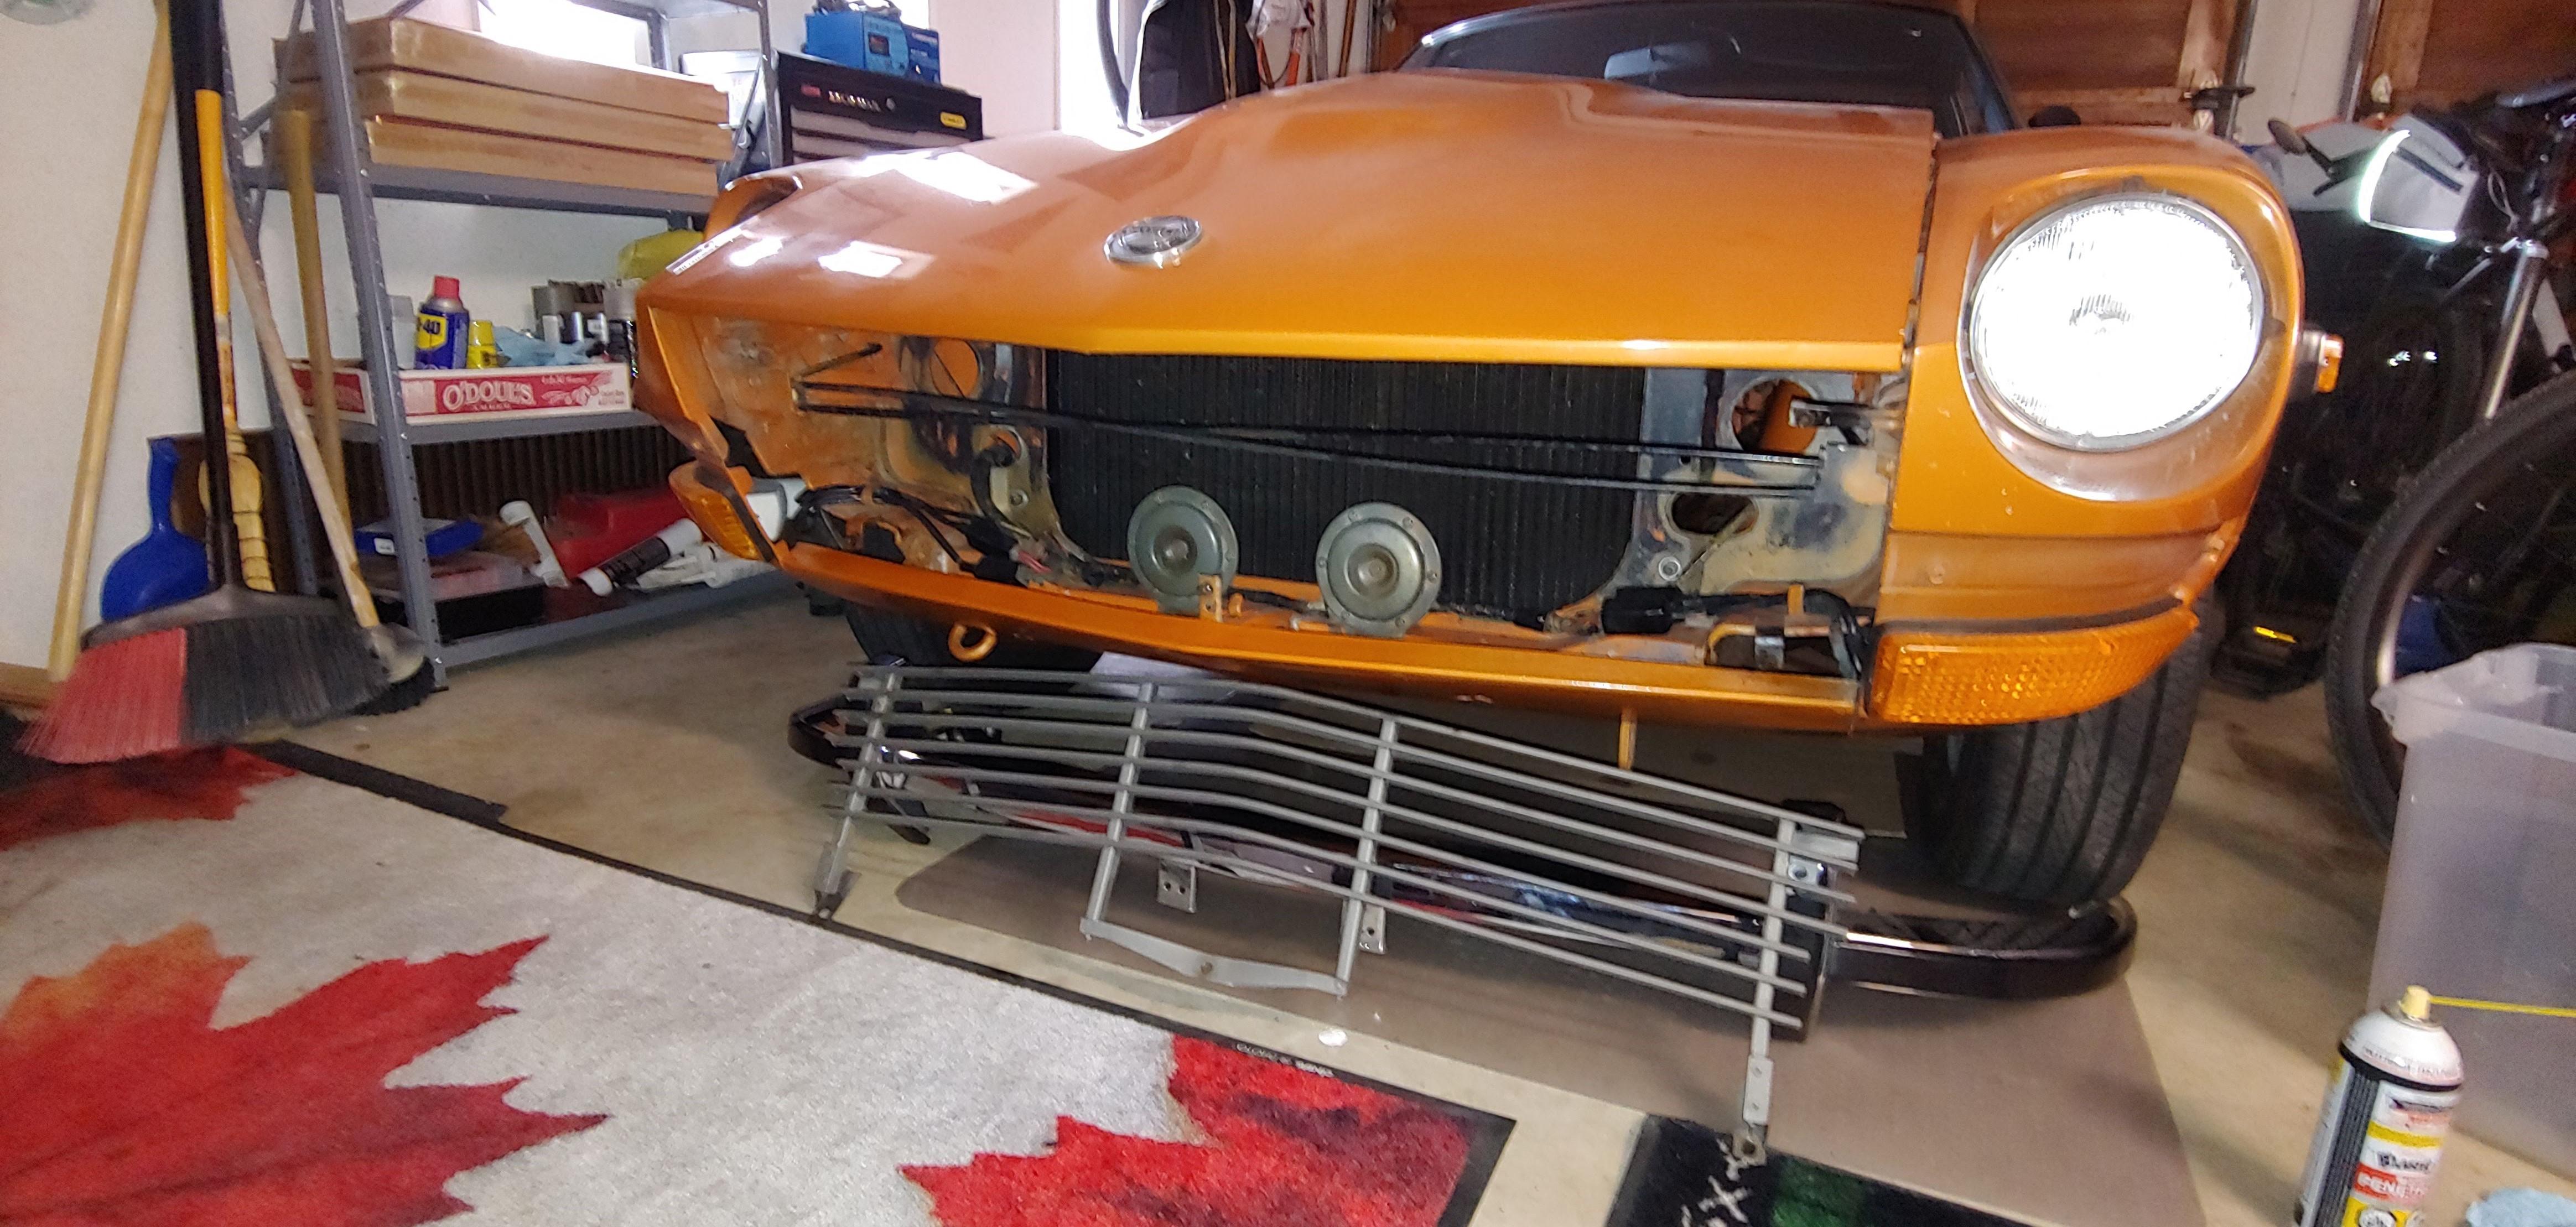
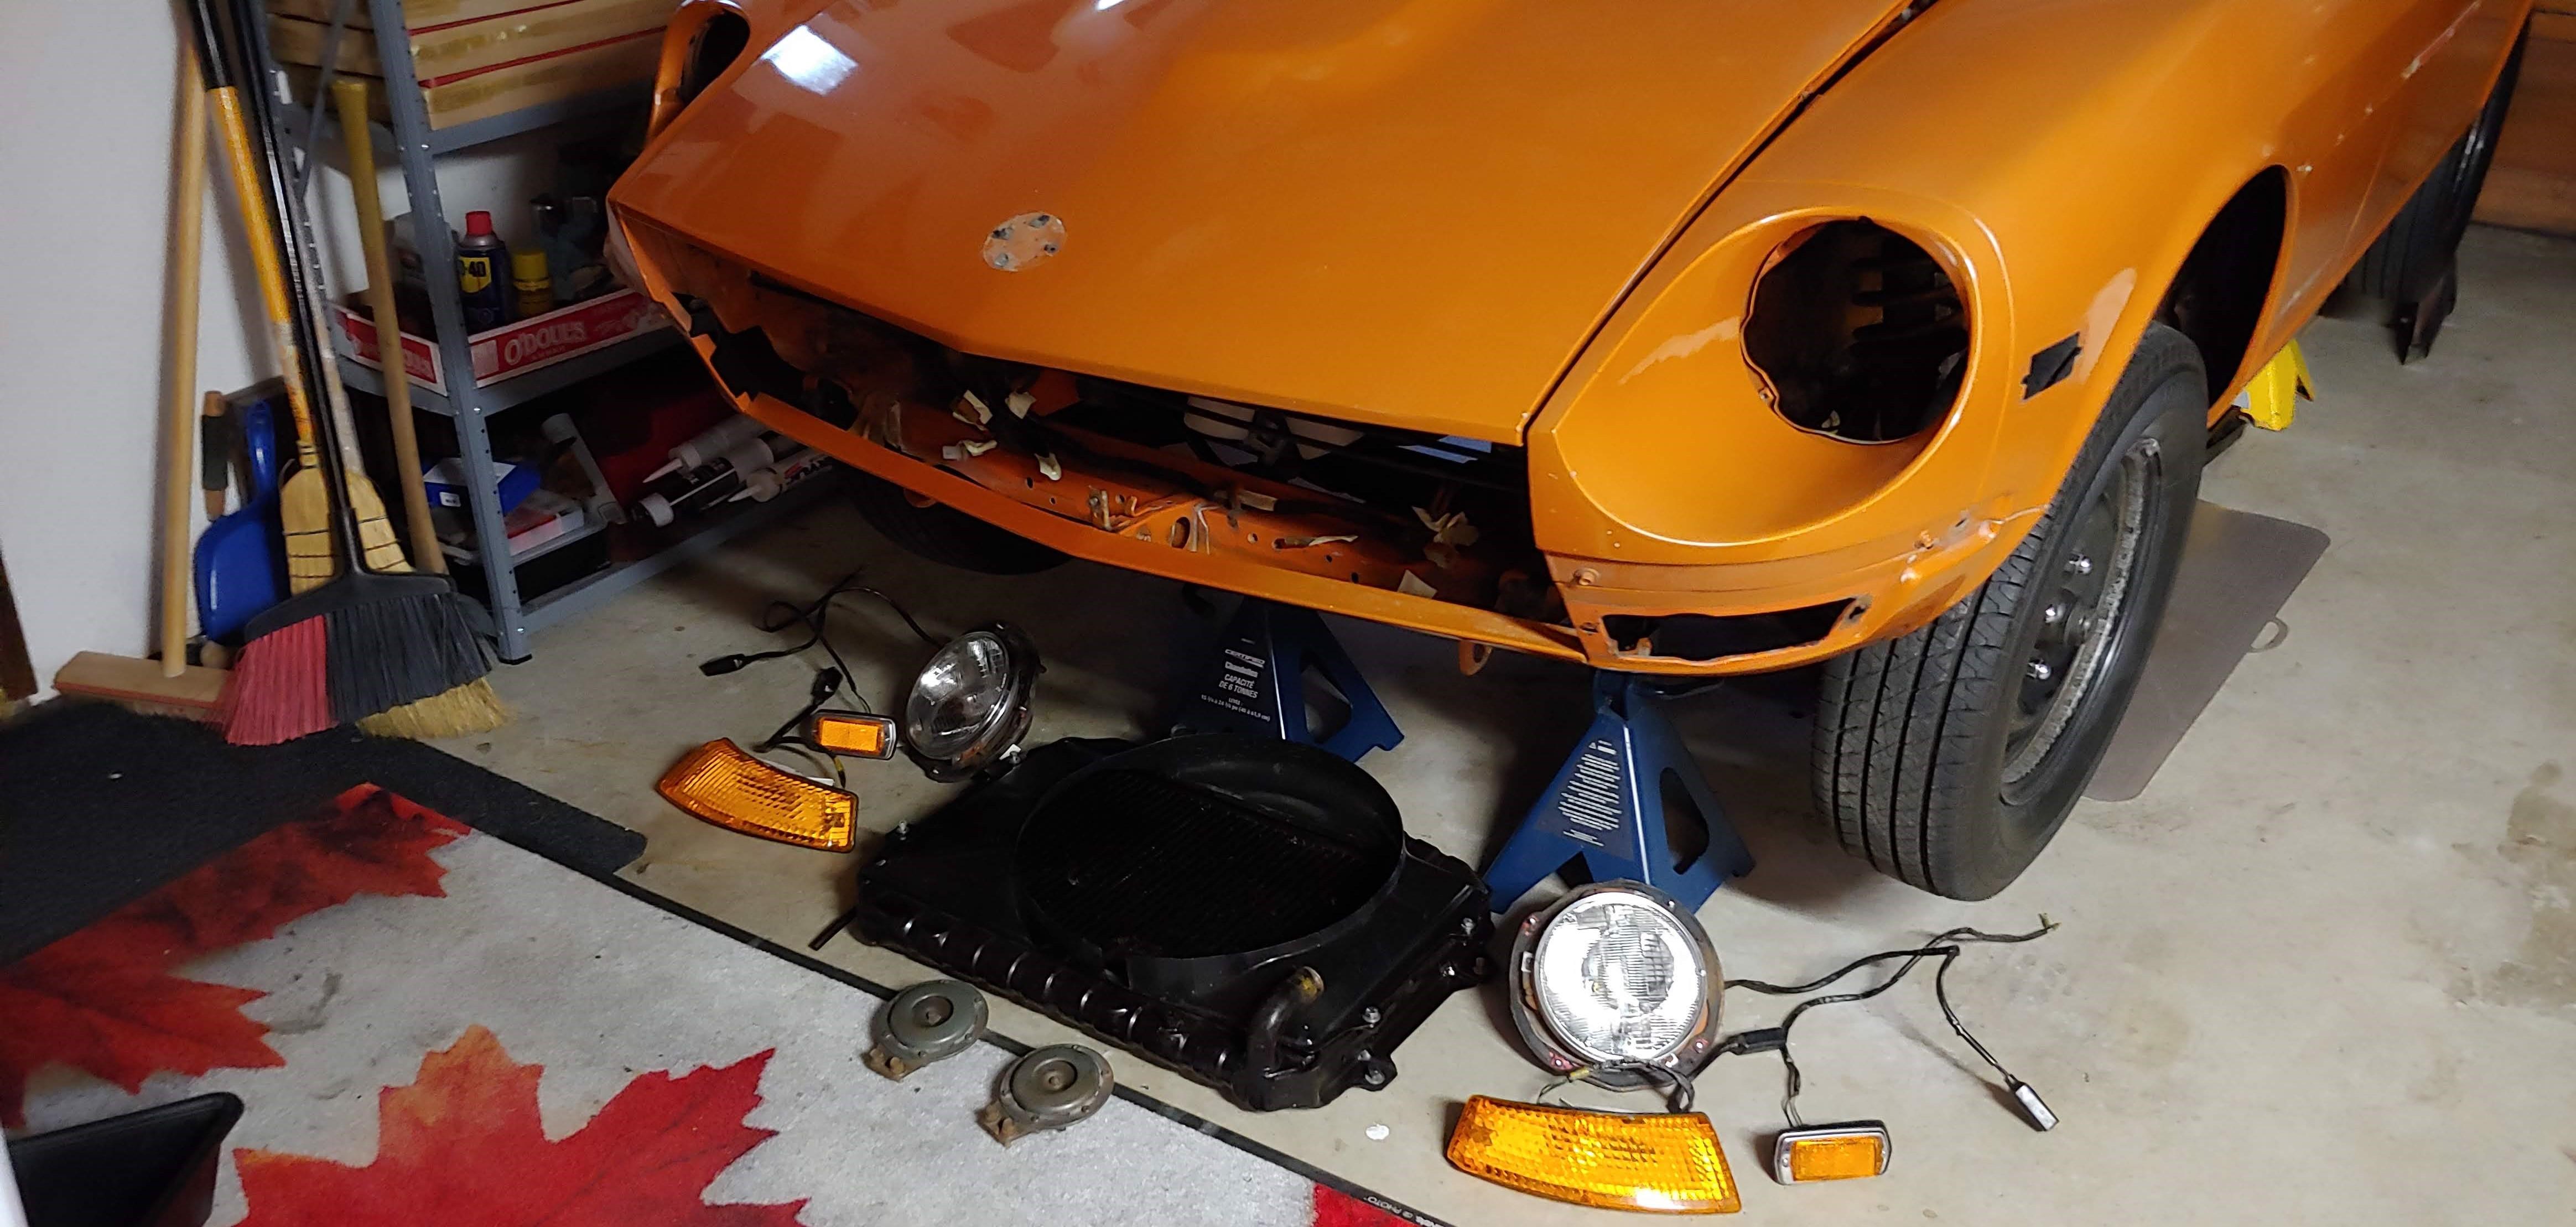
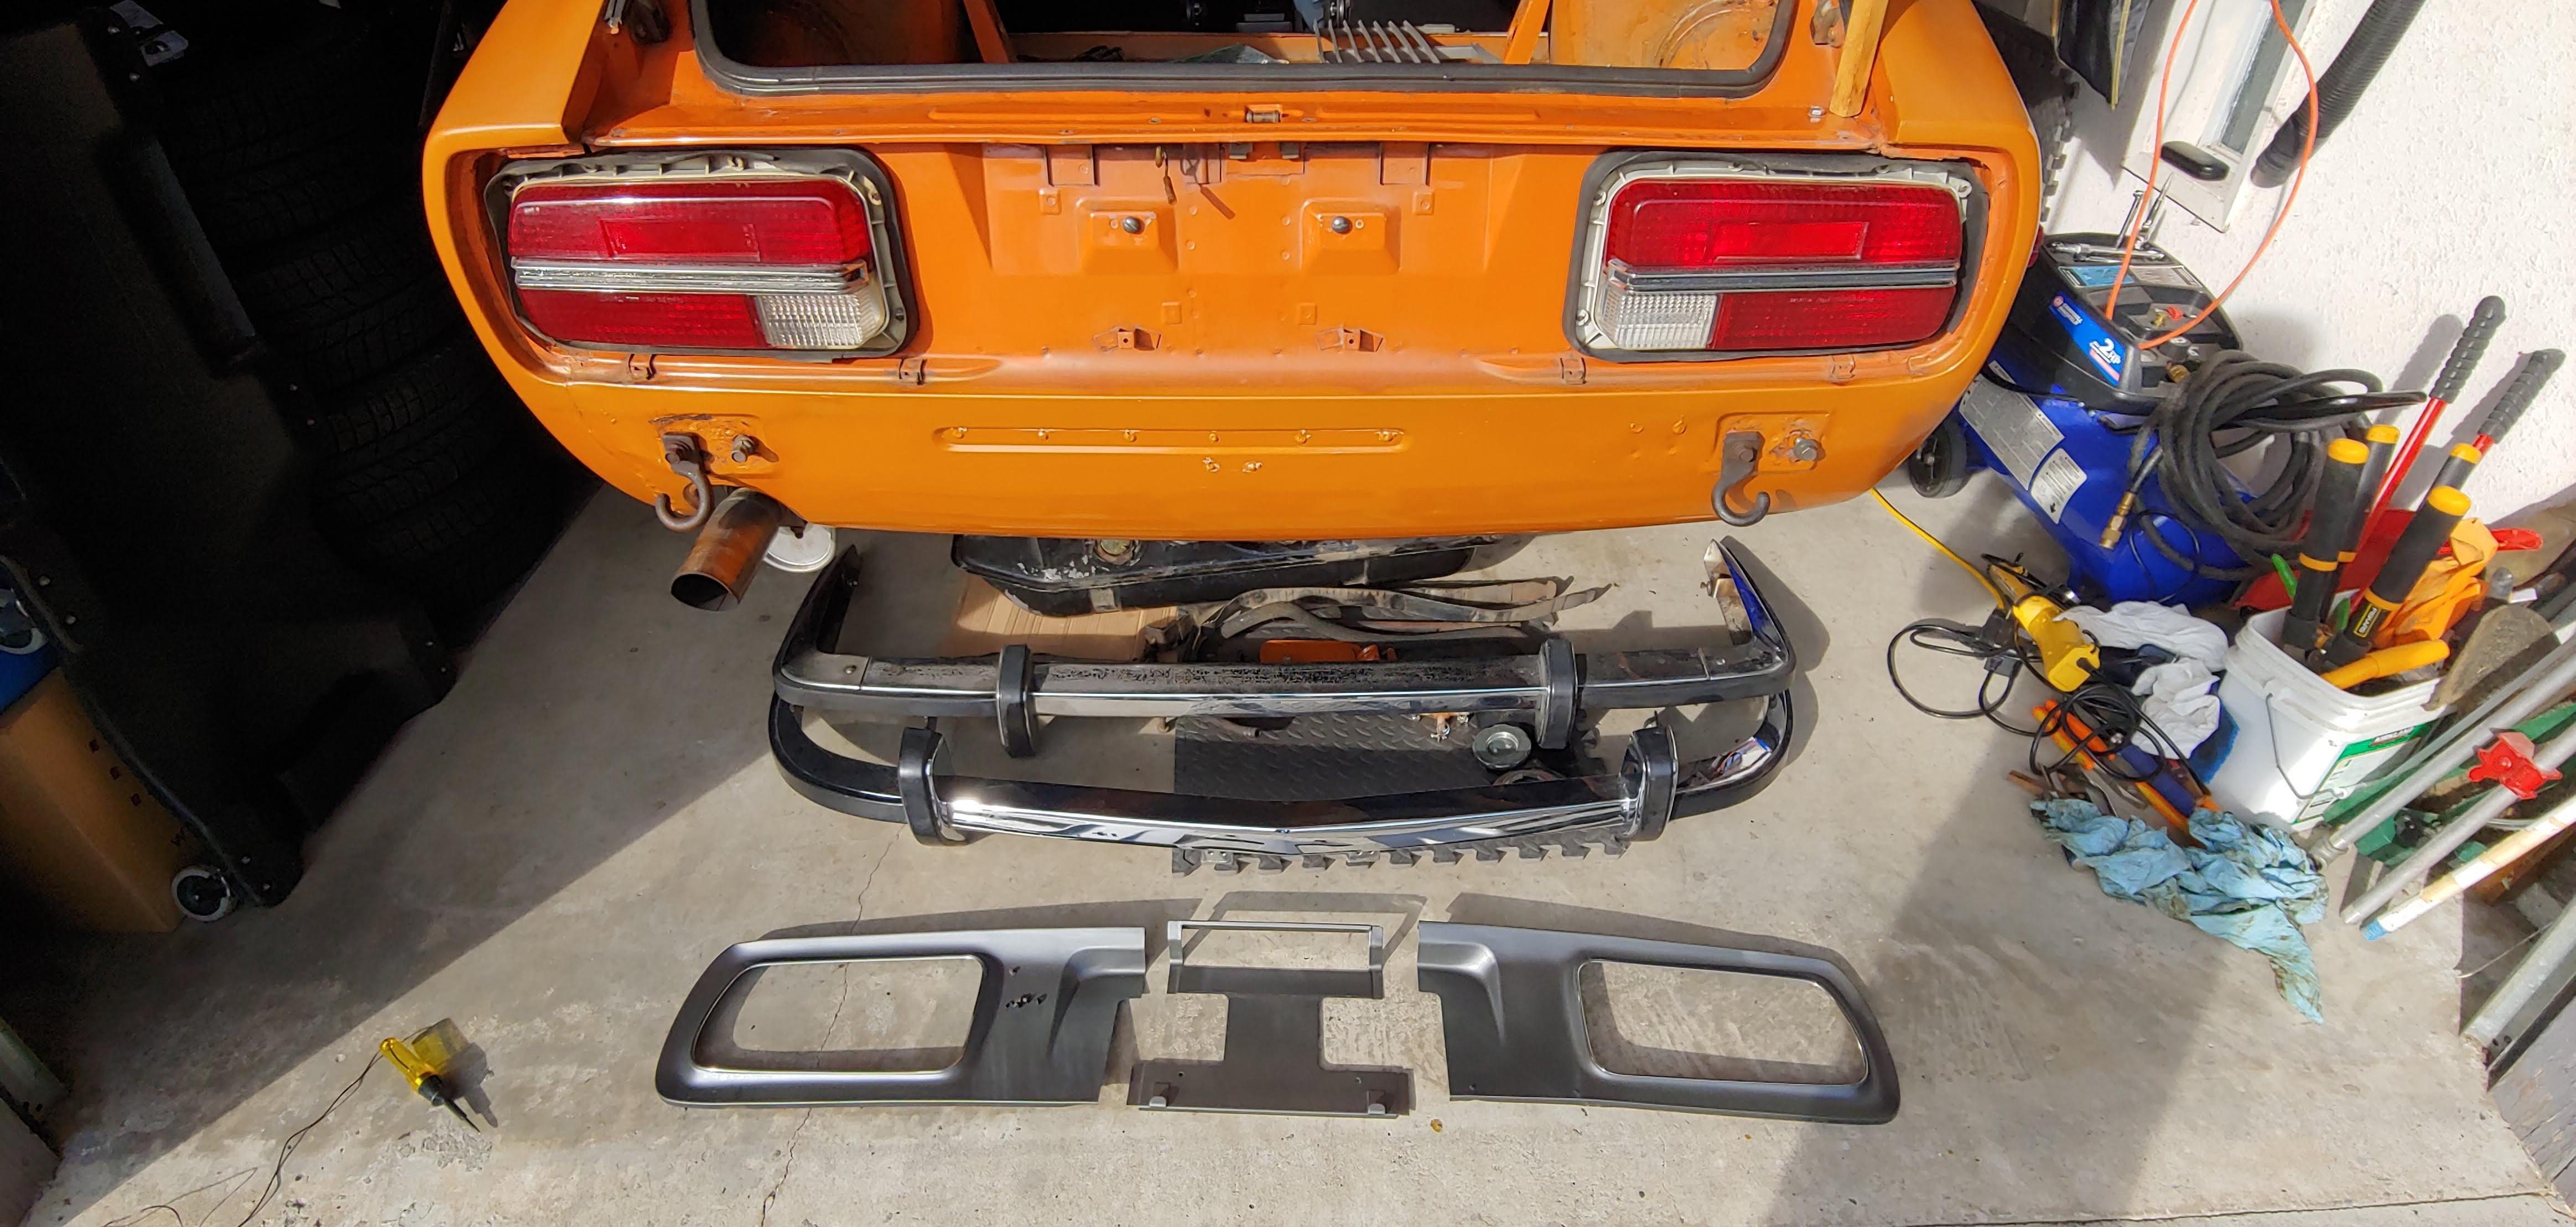
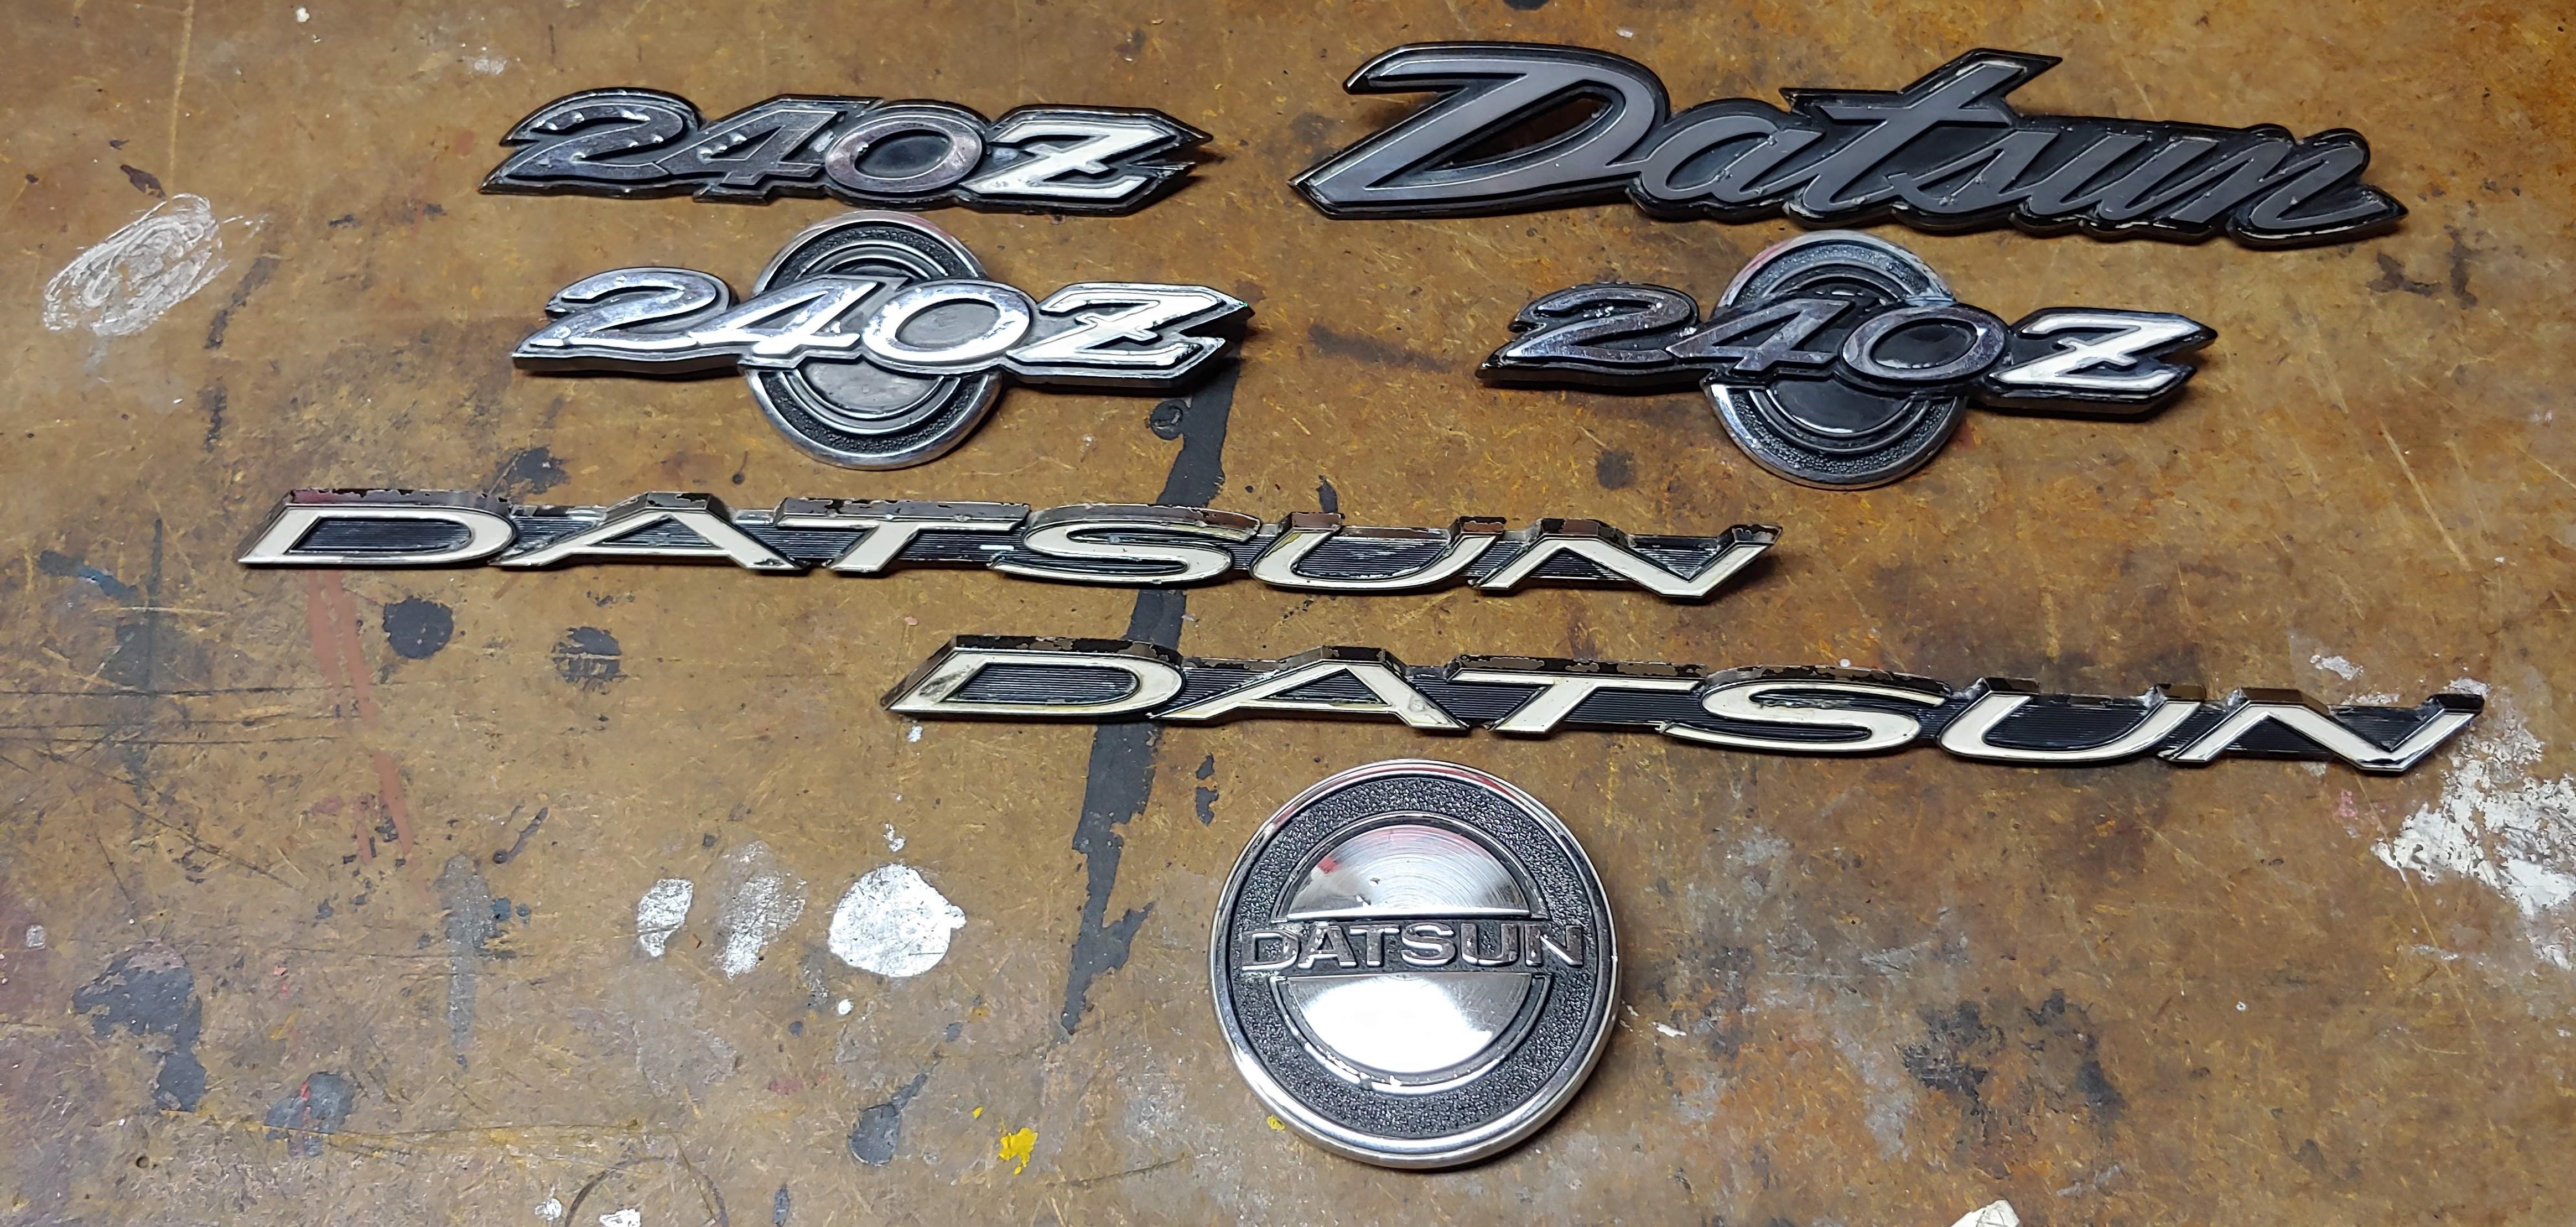
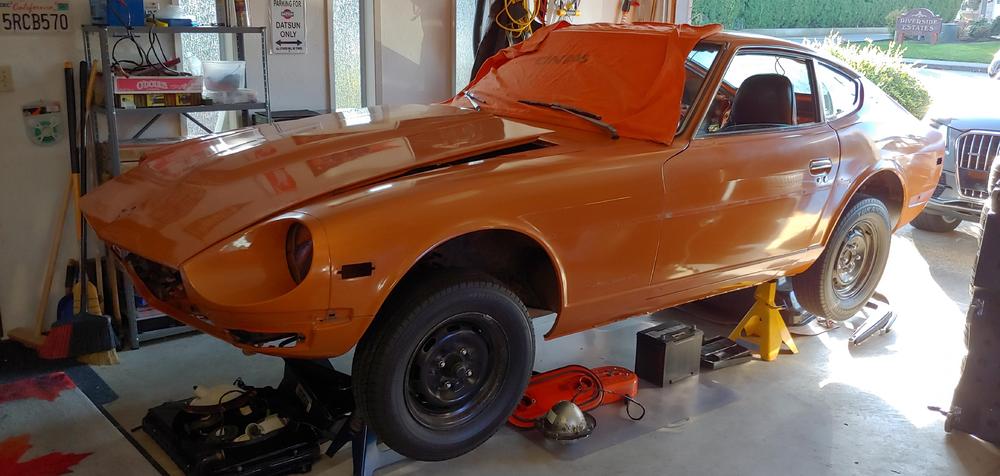
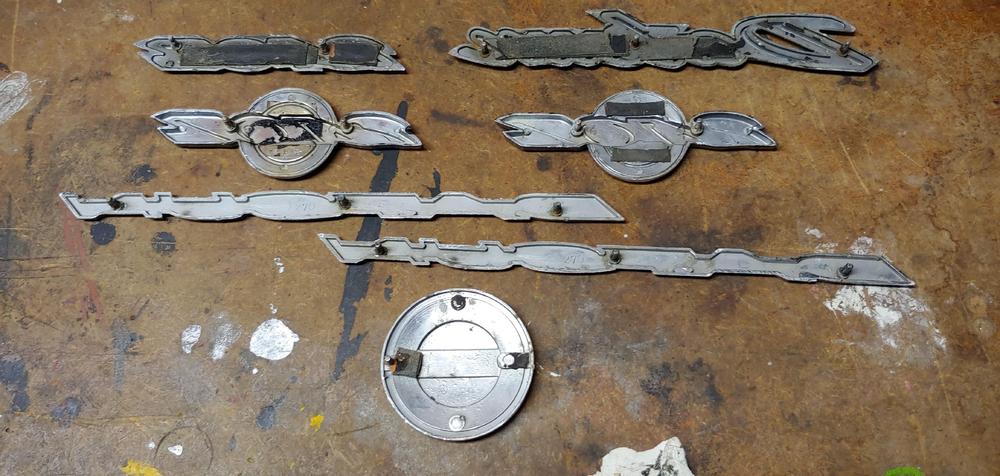
Slowly making progress over the last couple of weeks, removed front and rear bumpers, grill and all lights, horns and tail light finisher. Also drained and removed the fuel tank and removed all emblems. Drained coolant, removed fan shroud, radiator and battery. So far no parts have been harmed and no stripped fasteners. Wick Humbles book has proved useful. This would probably have been less that half a day for @motorman7. Lol Happy to report that all of the emblems are metal originals, not the later plastic replacements. No posts were broken during removal, I did find that the front hood emblem was missing one post and had a lot of double sided adhesive tape keeping it in place. I used a flat putty knife to remove them.


-
Looking good. I've got some catching up to do. Lol
-
Plan B. Lol
-
This is a timely topic for me, I just removed my arm rests while pulling the interior for my on going restoration. As mine have the same problem, I plan to attempt a repair similar to what has been discussed so far. If I'm successful I will post here, Hopefully I will get to it over the winter.