CanTechZ
Free Member
-
Joined
-
Last visited
Everything posted by CanTechZ
-

-
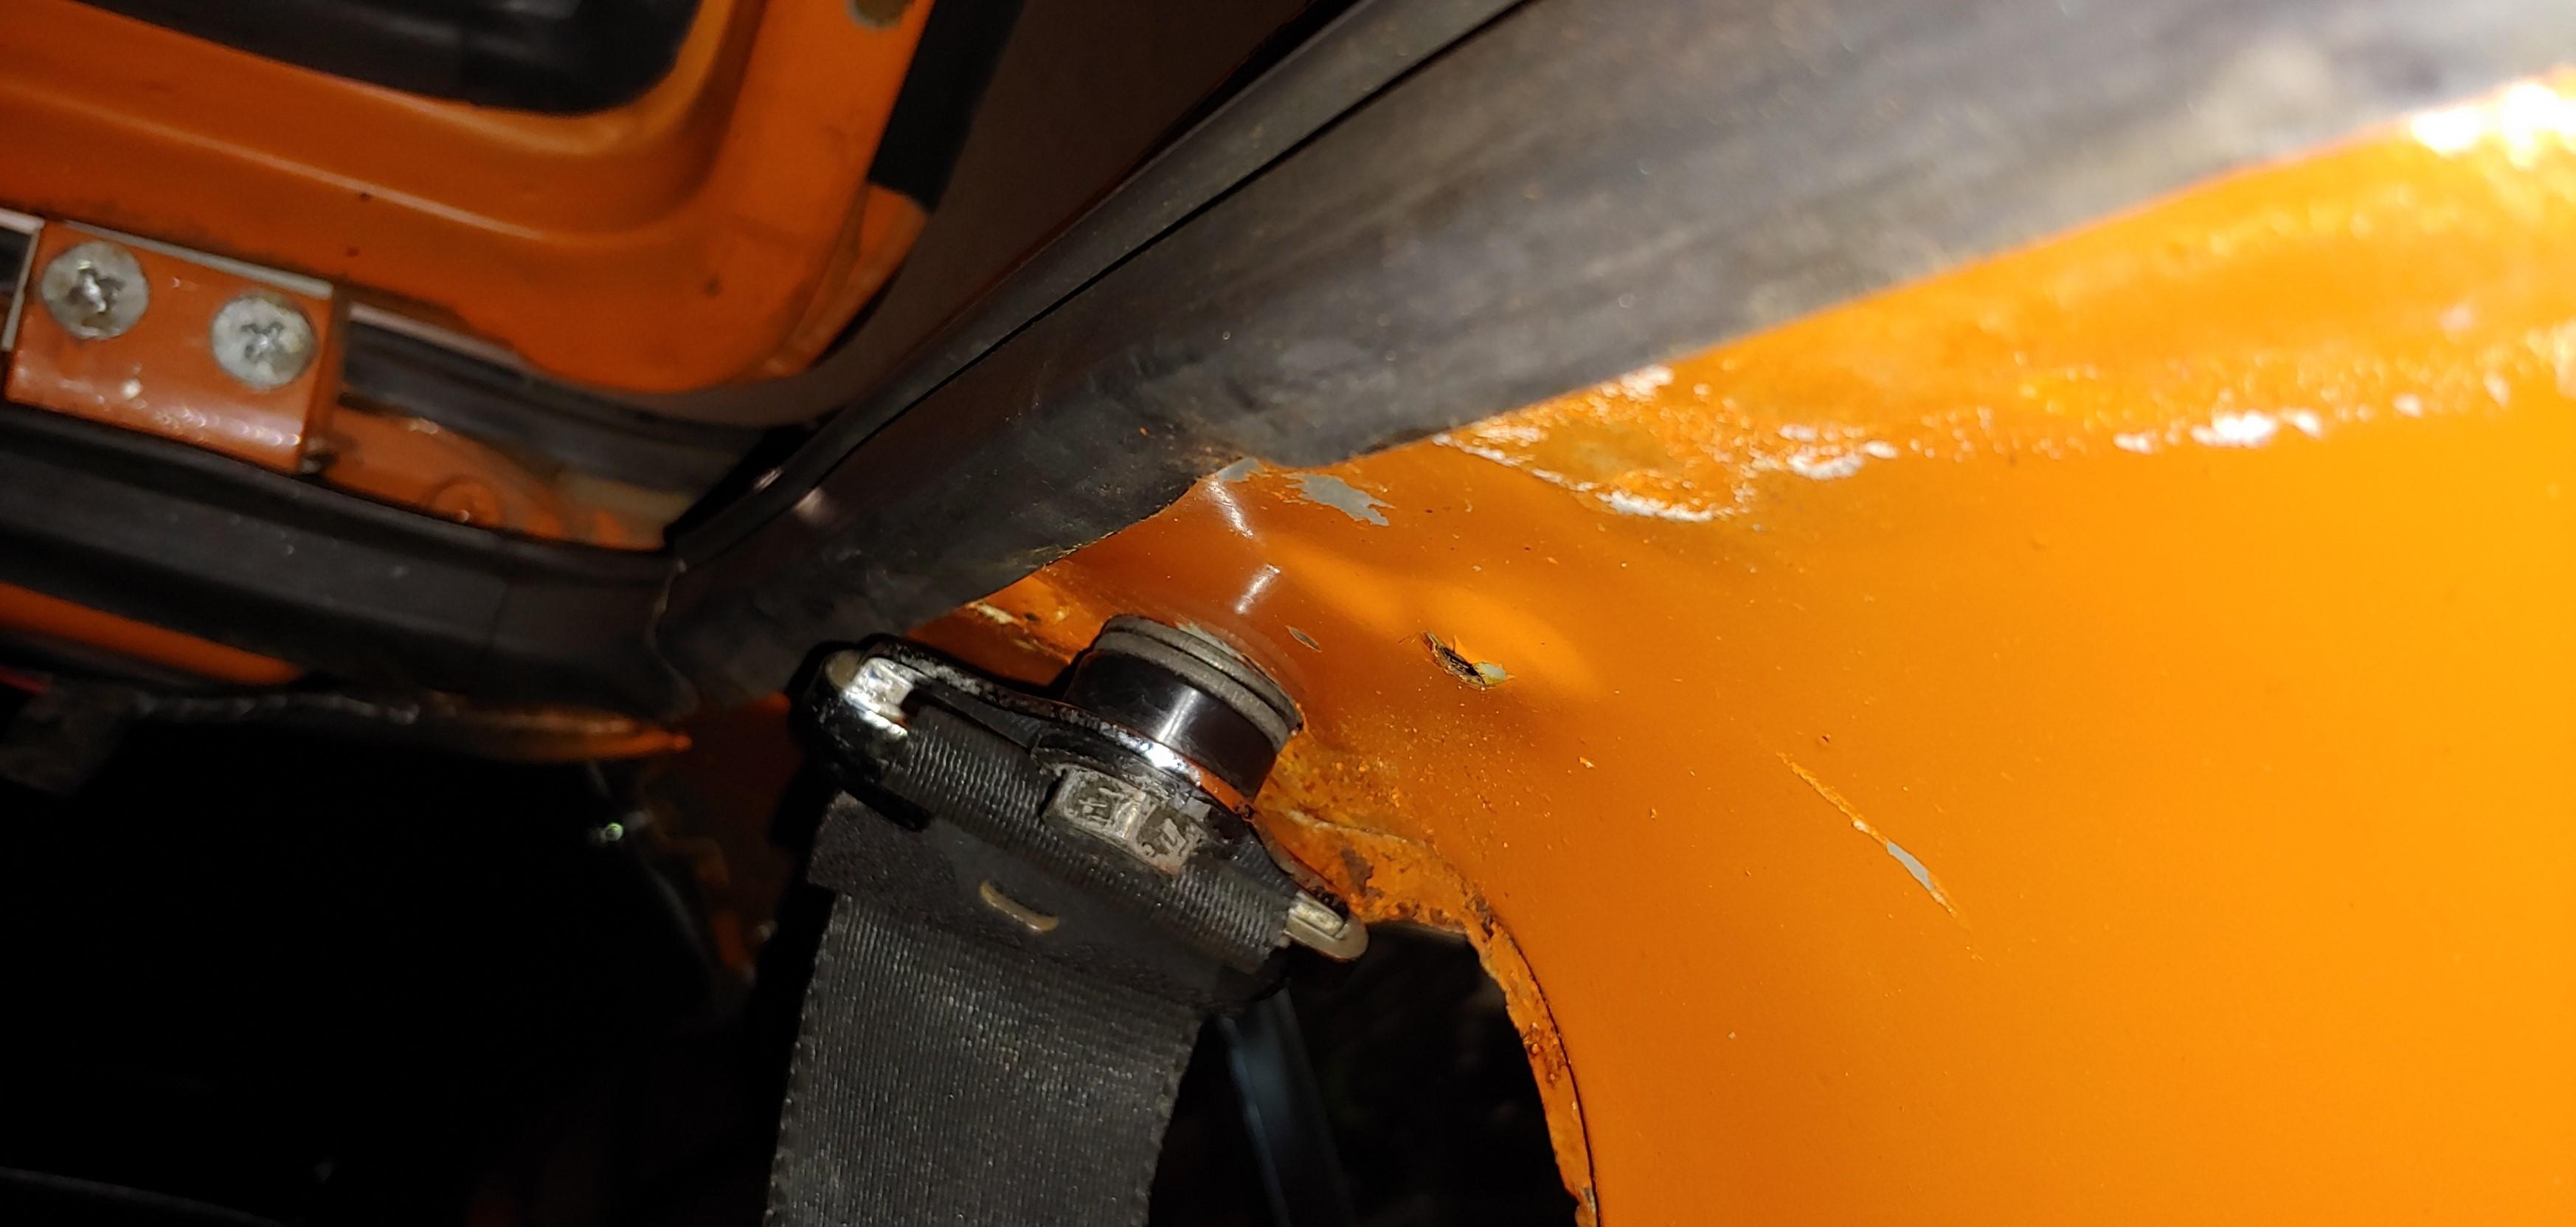
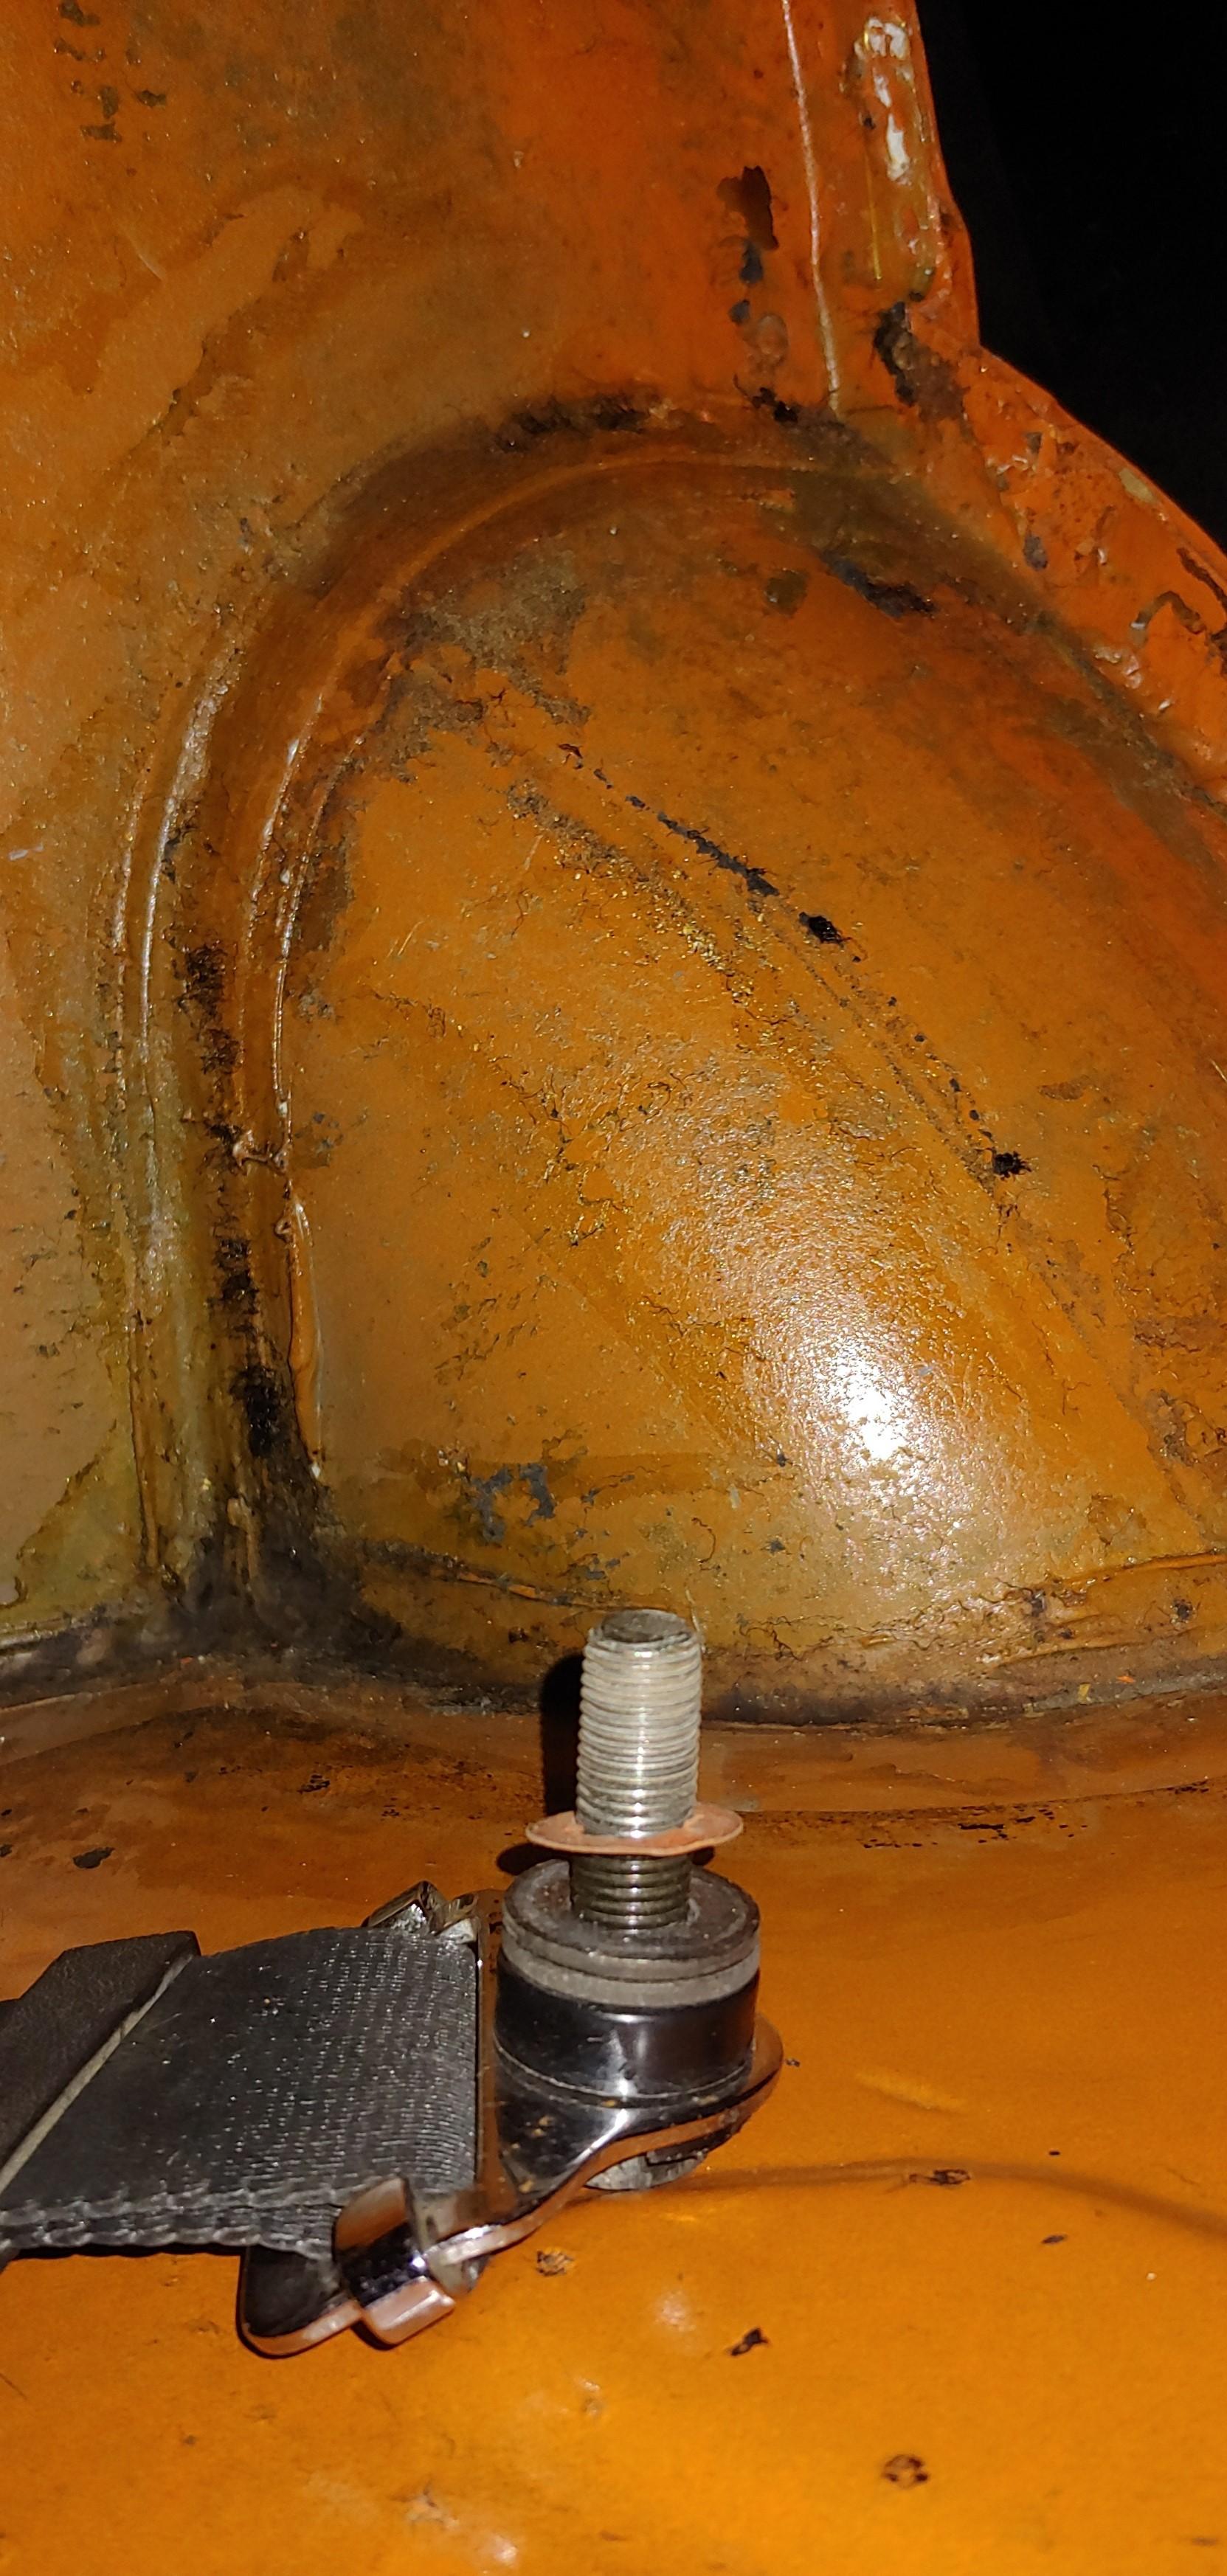
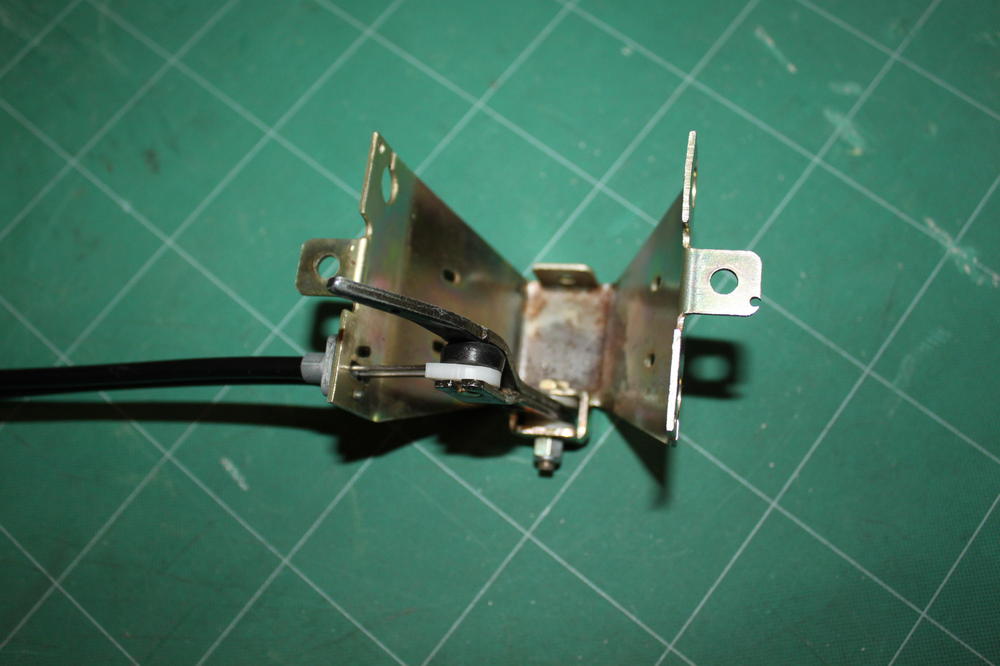
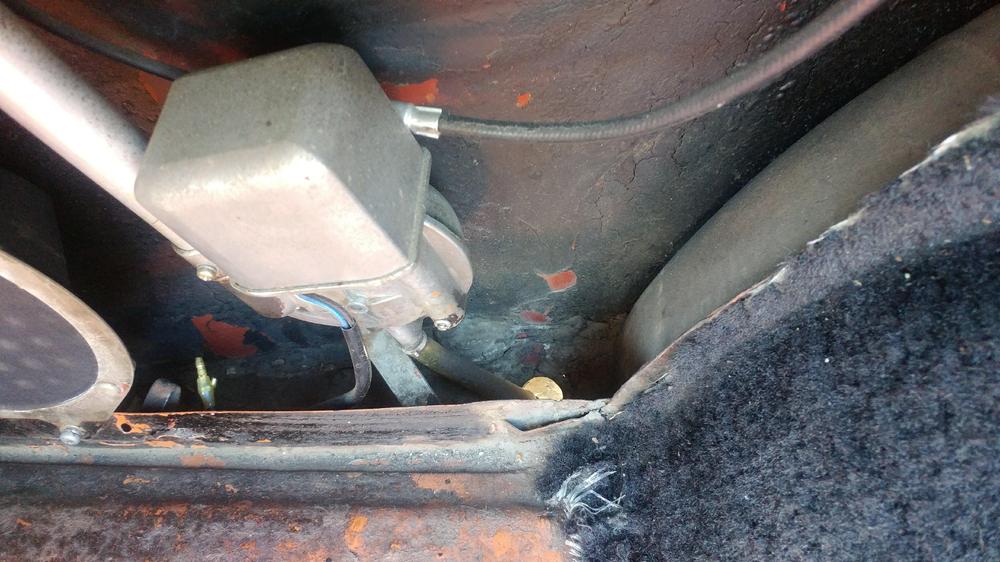
On my 7'70 the bolt does tighten onto the plastic with a stack steel and plastic washers like in these pictures. My interior is currently out but I believe the order of washers is correct. Even when the bolt is tight I can swivel the metal part of the seatbelt with some resistance. Hope this helps.


-
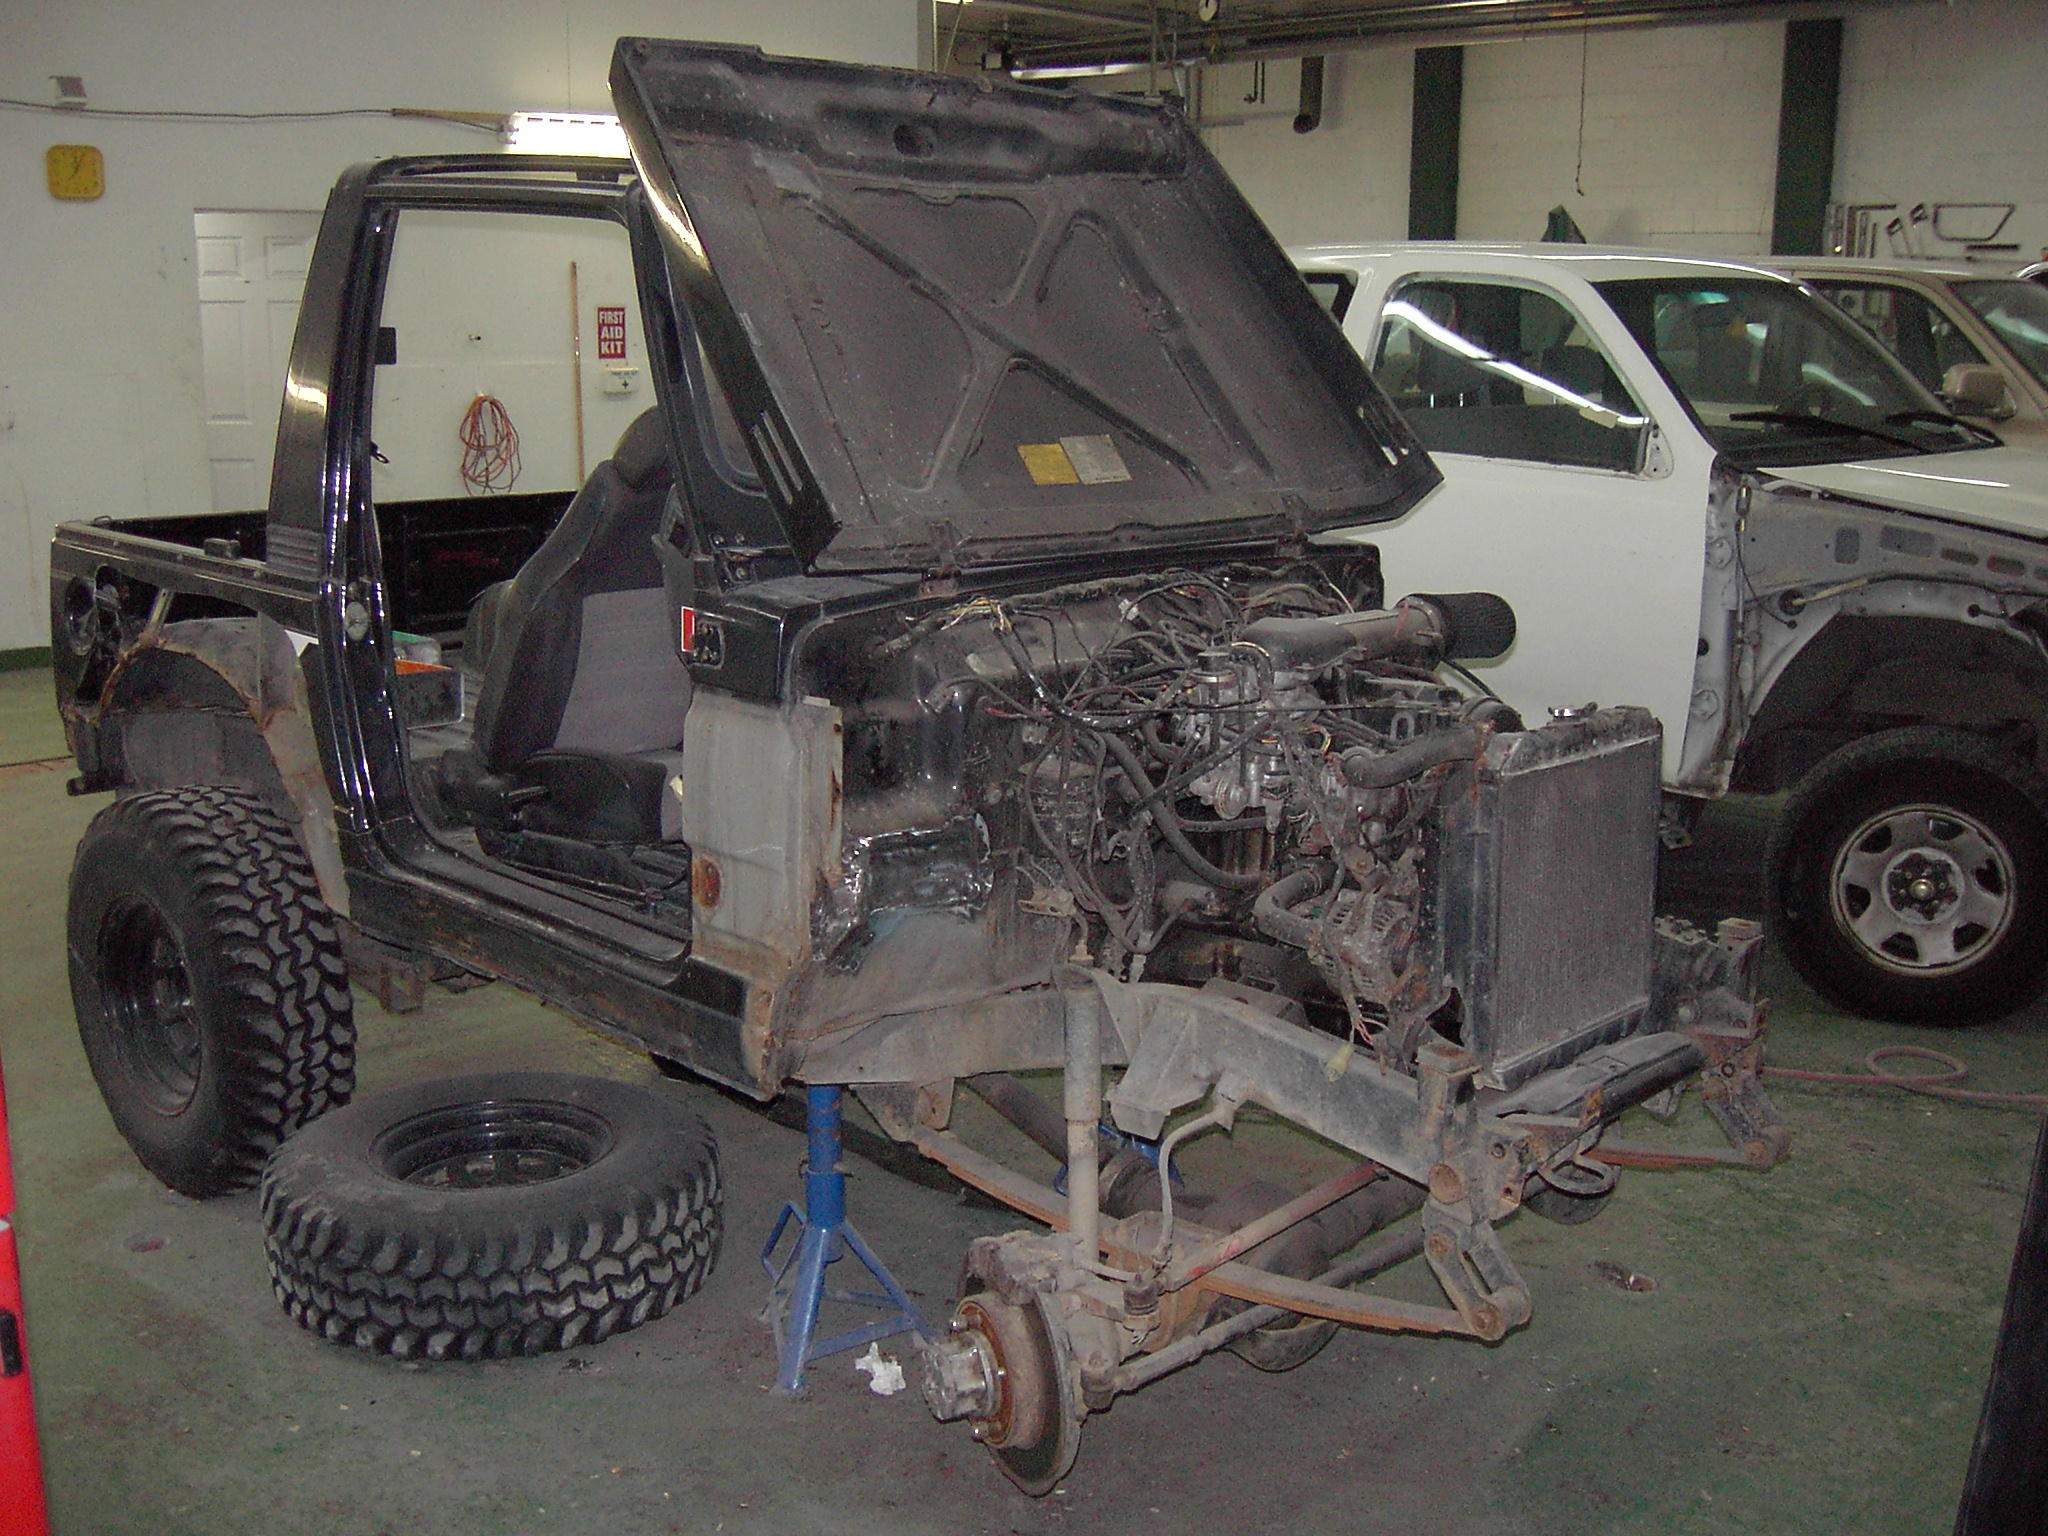
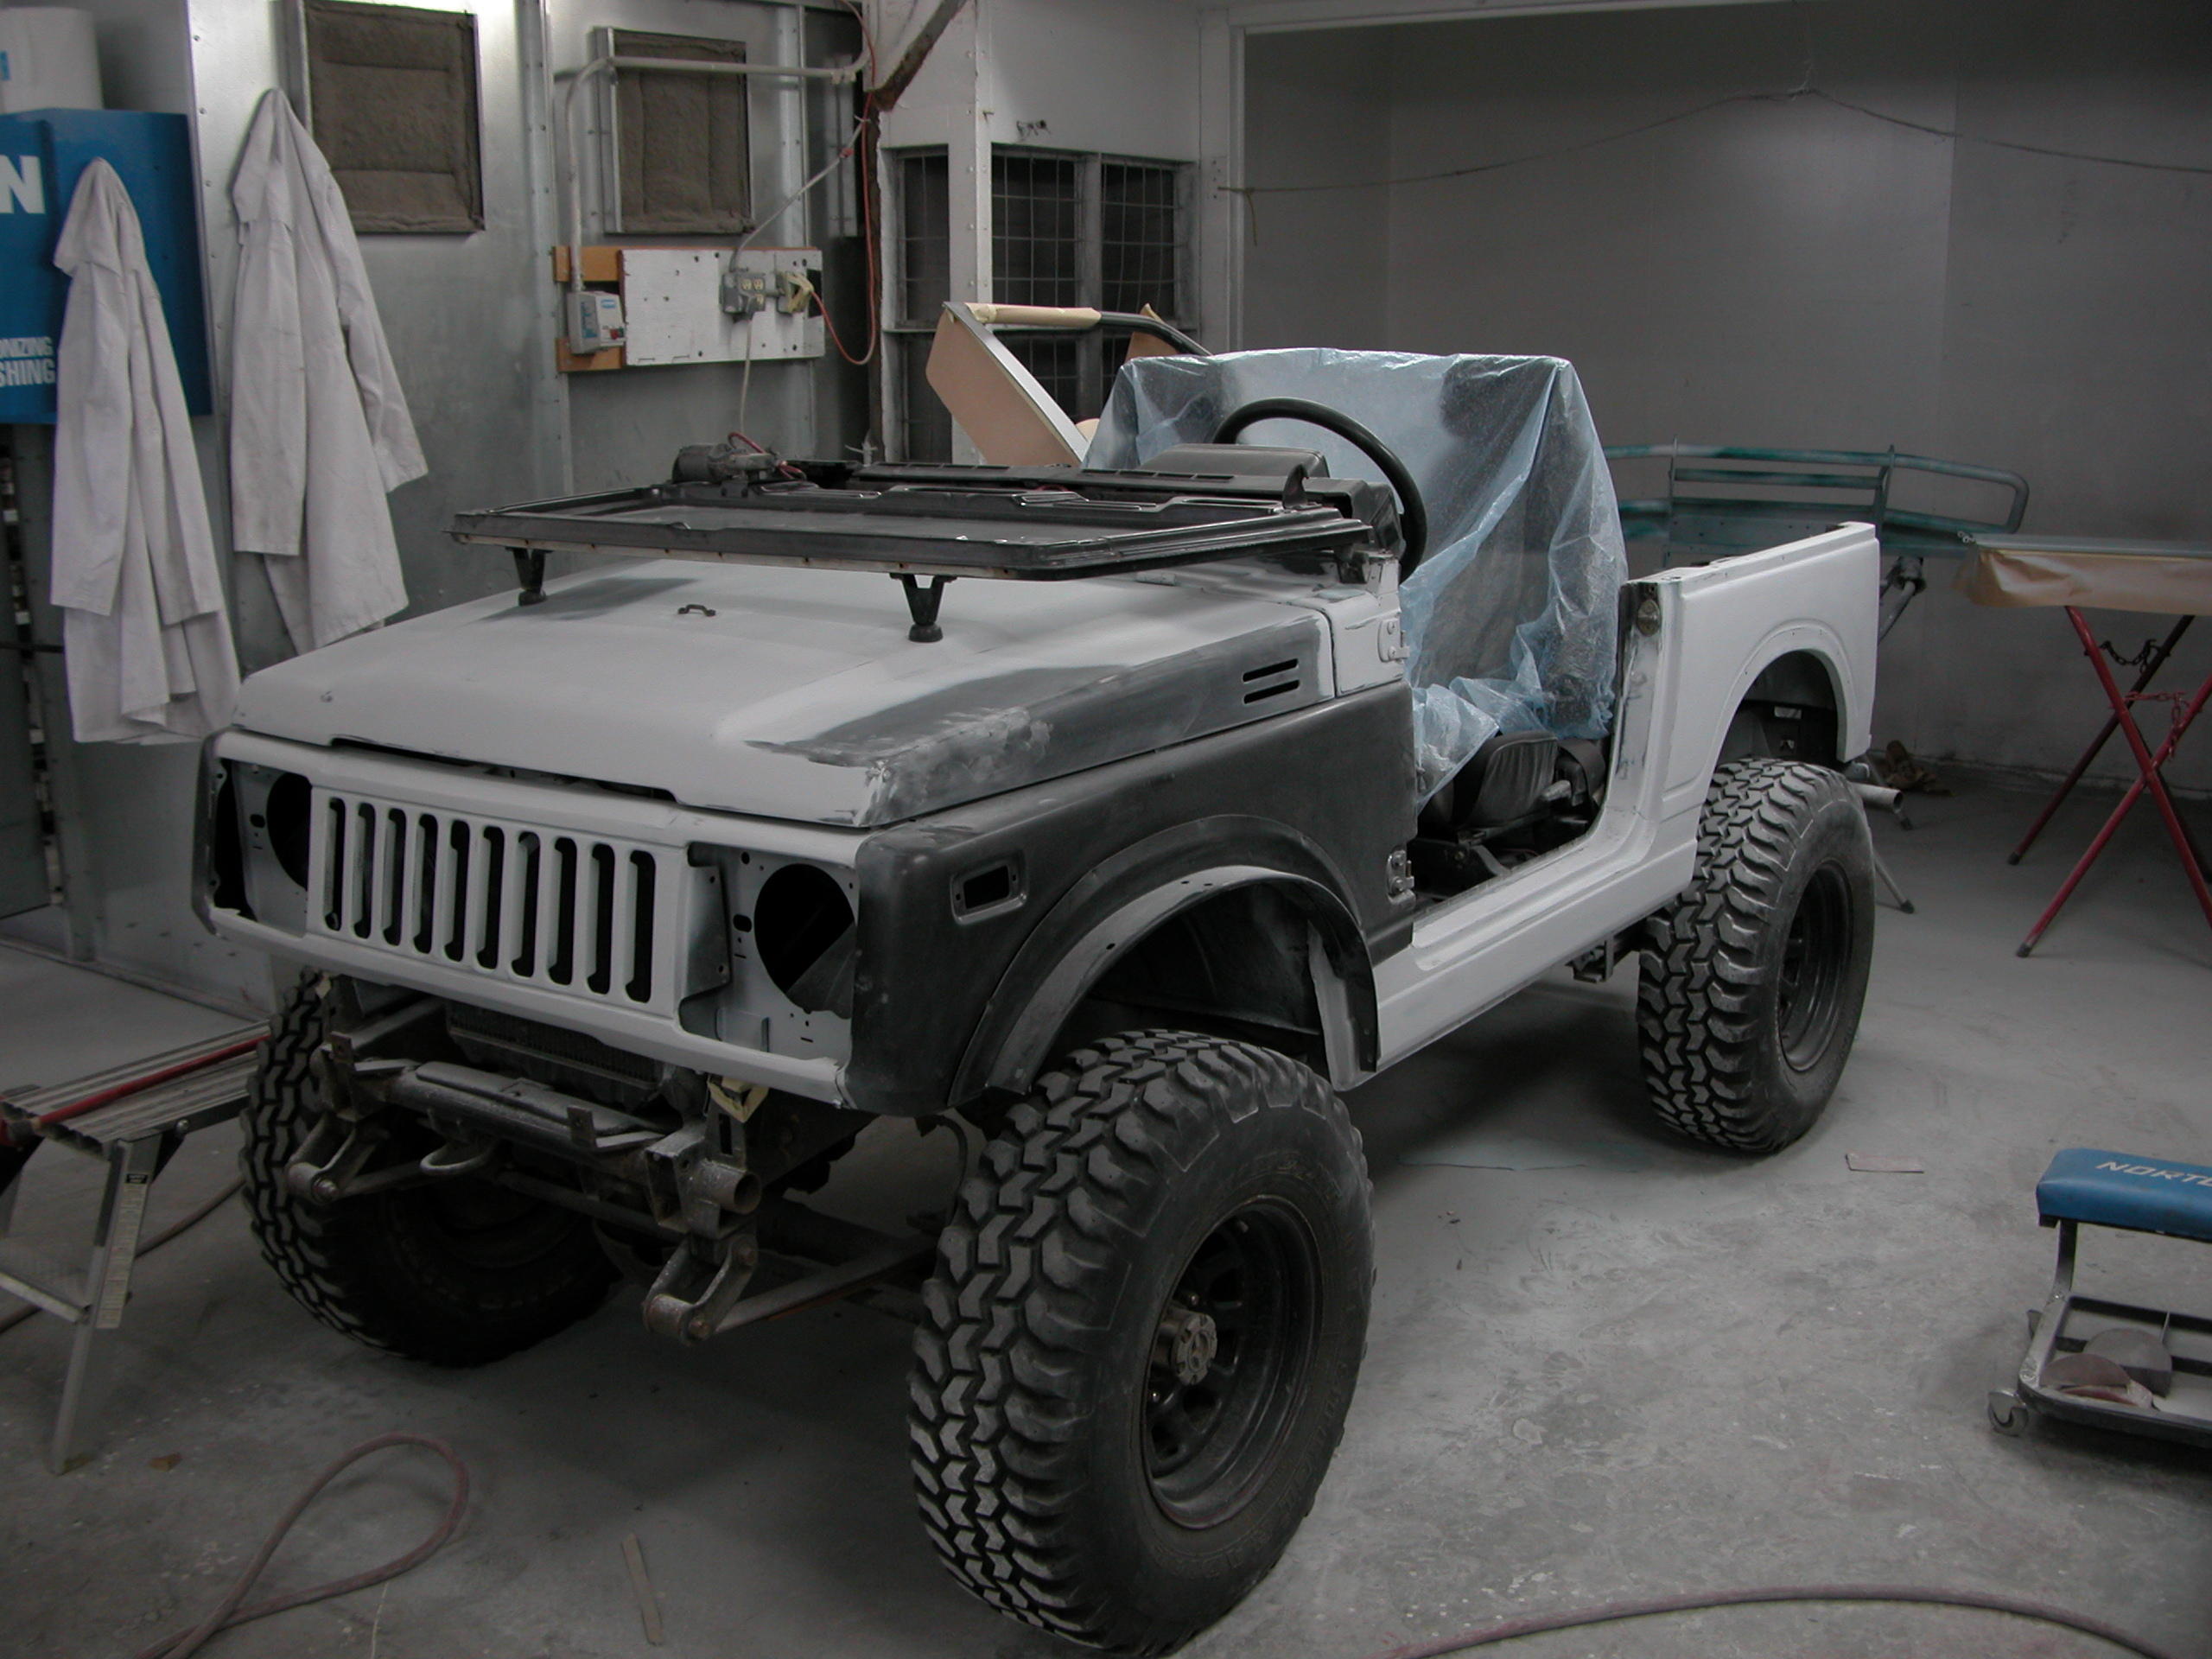
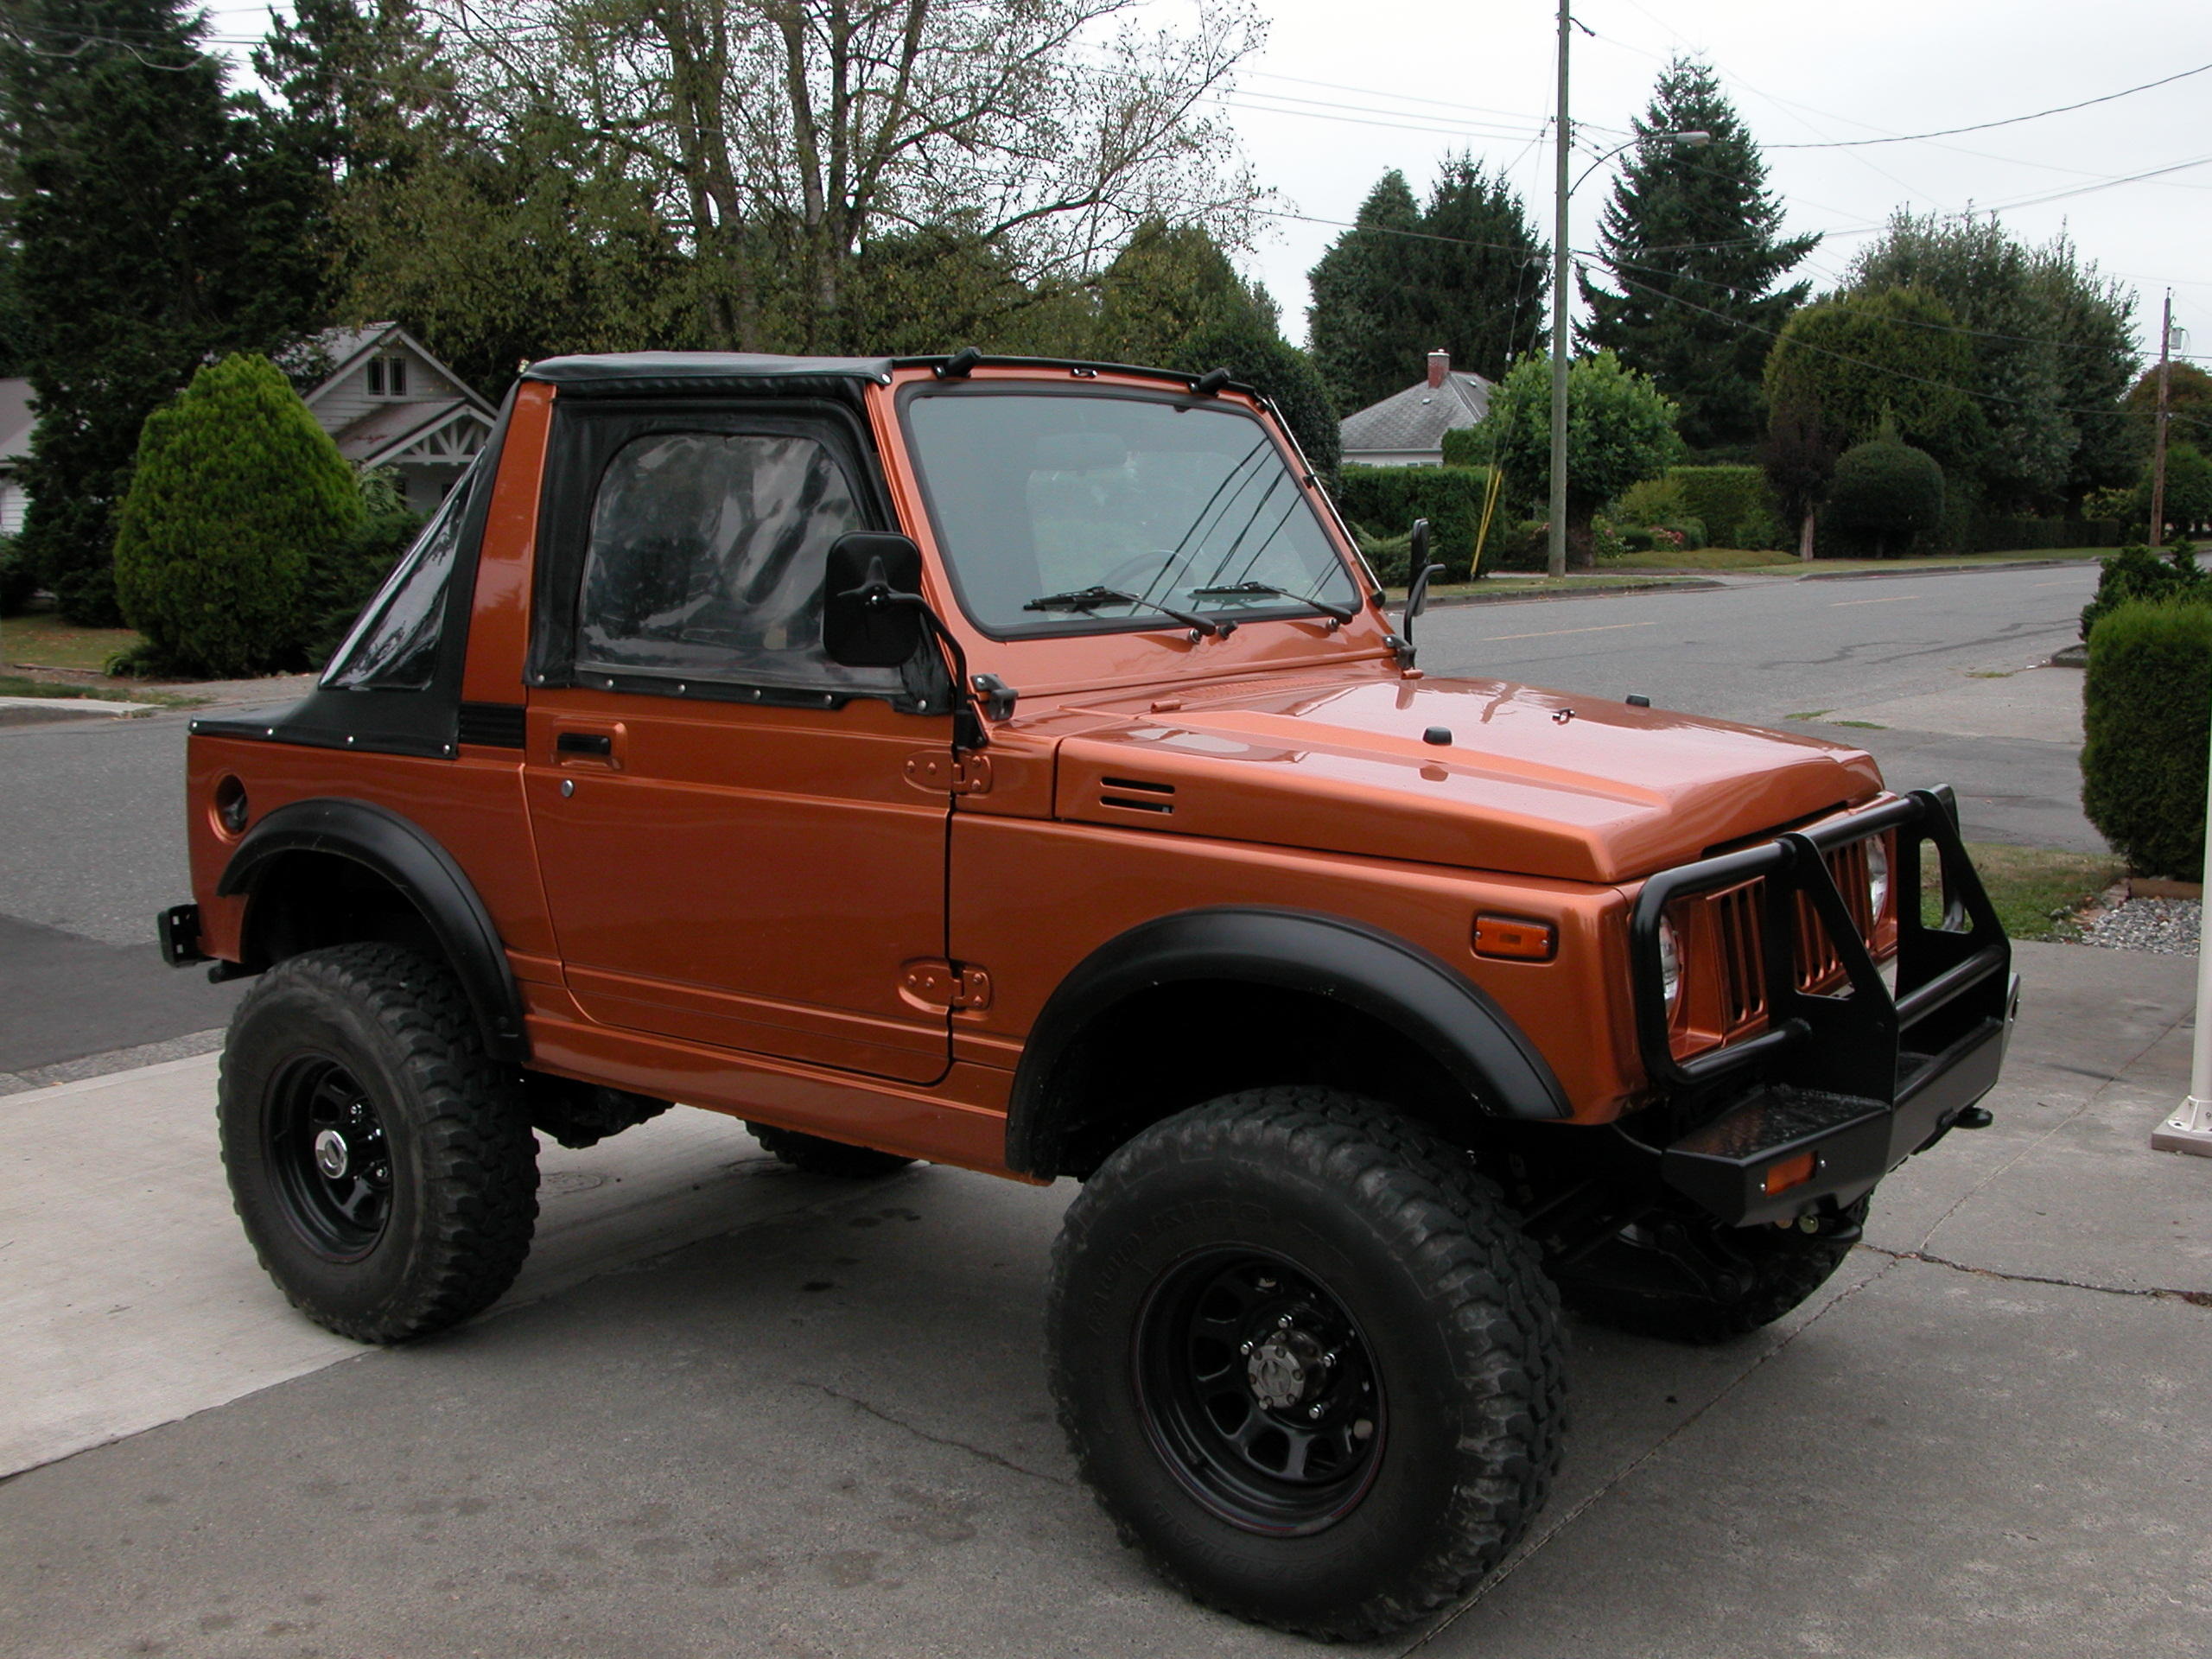
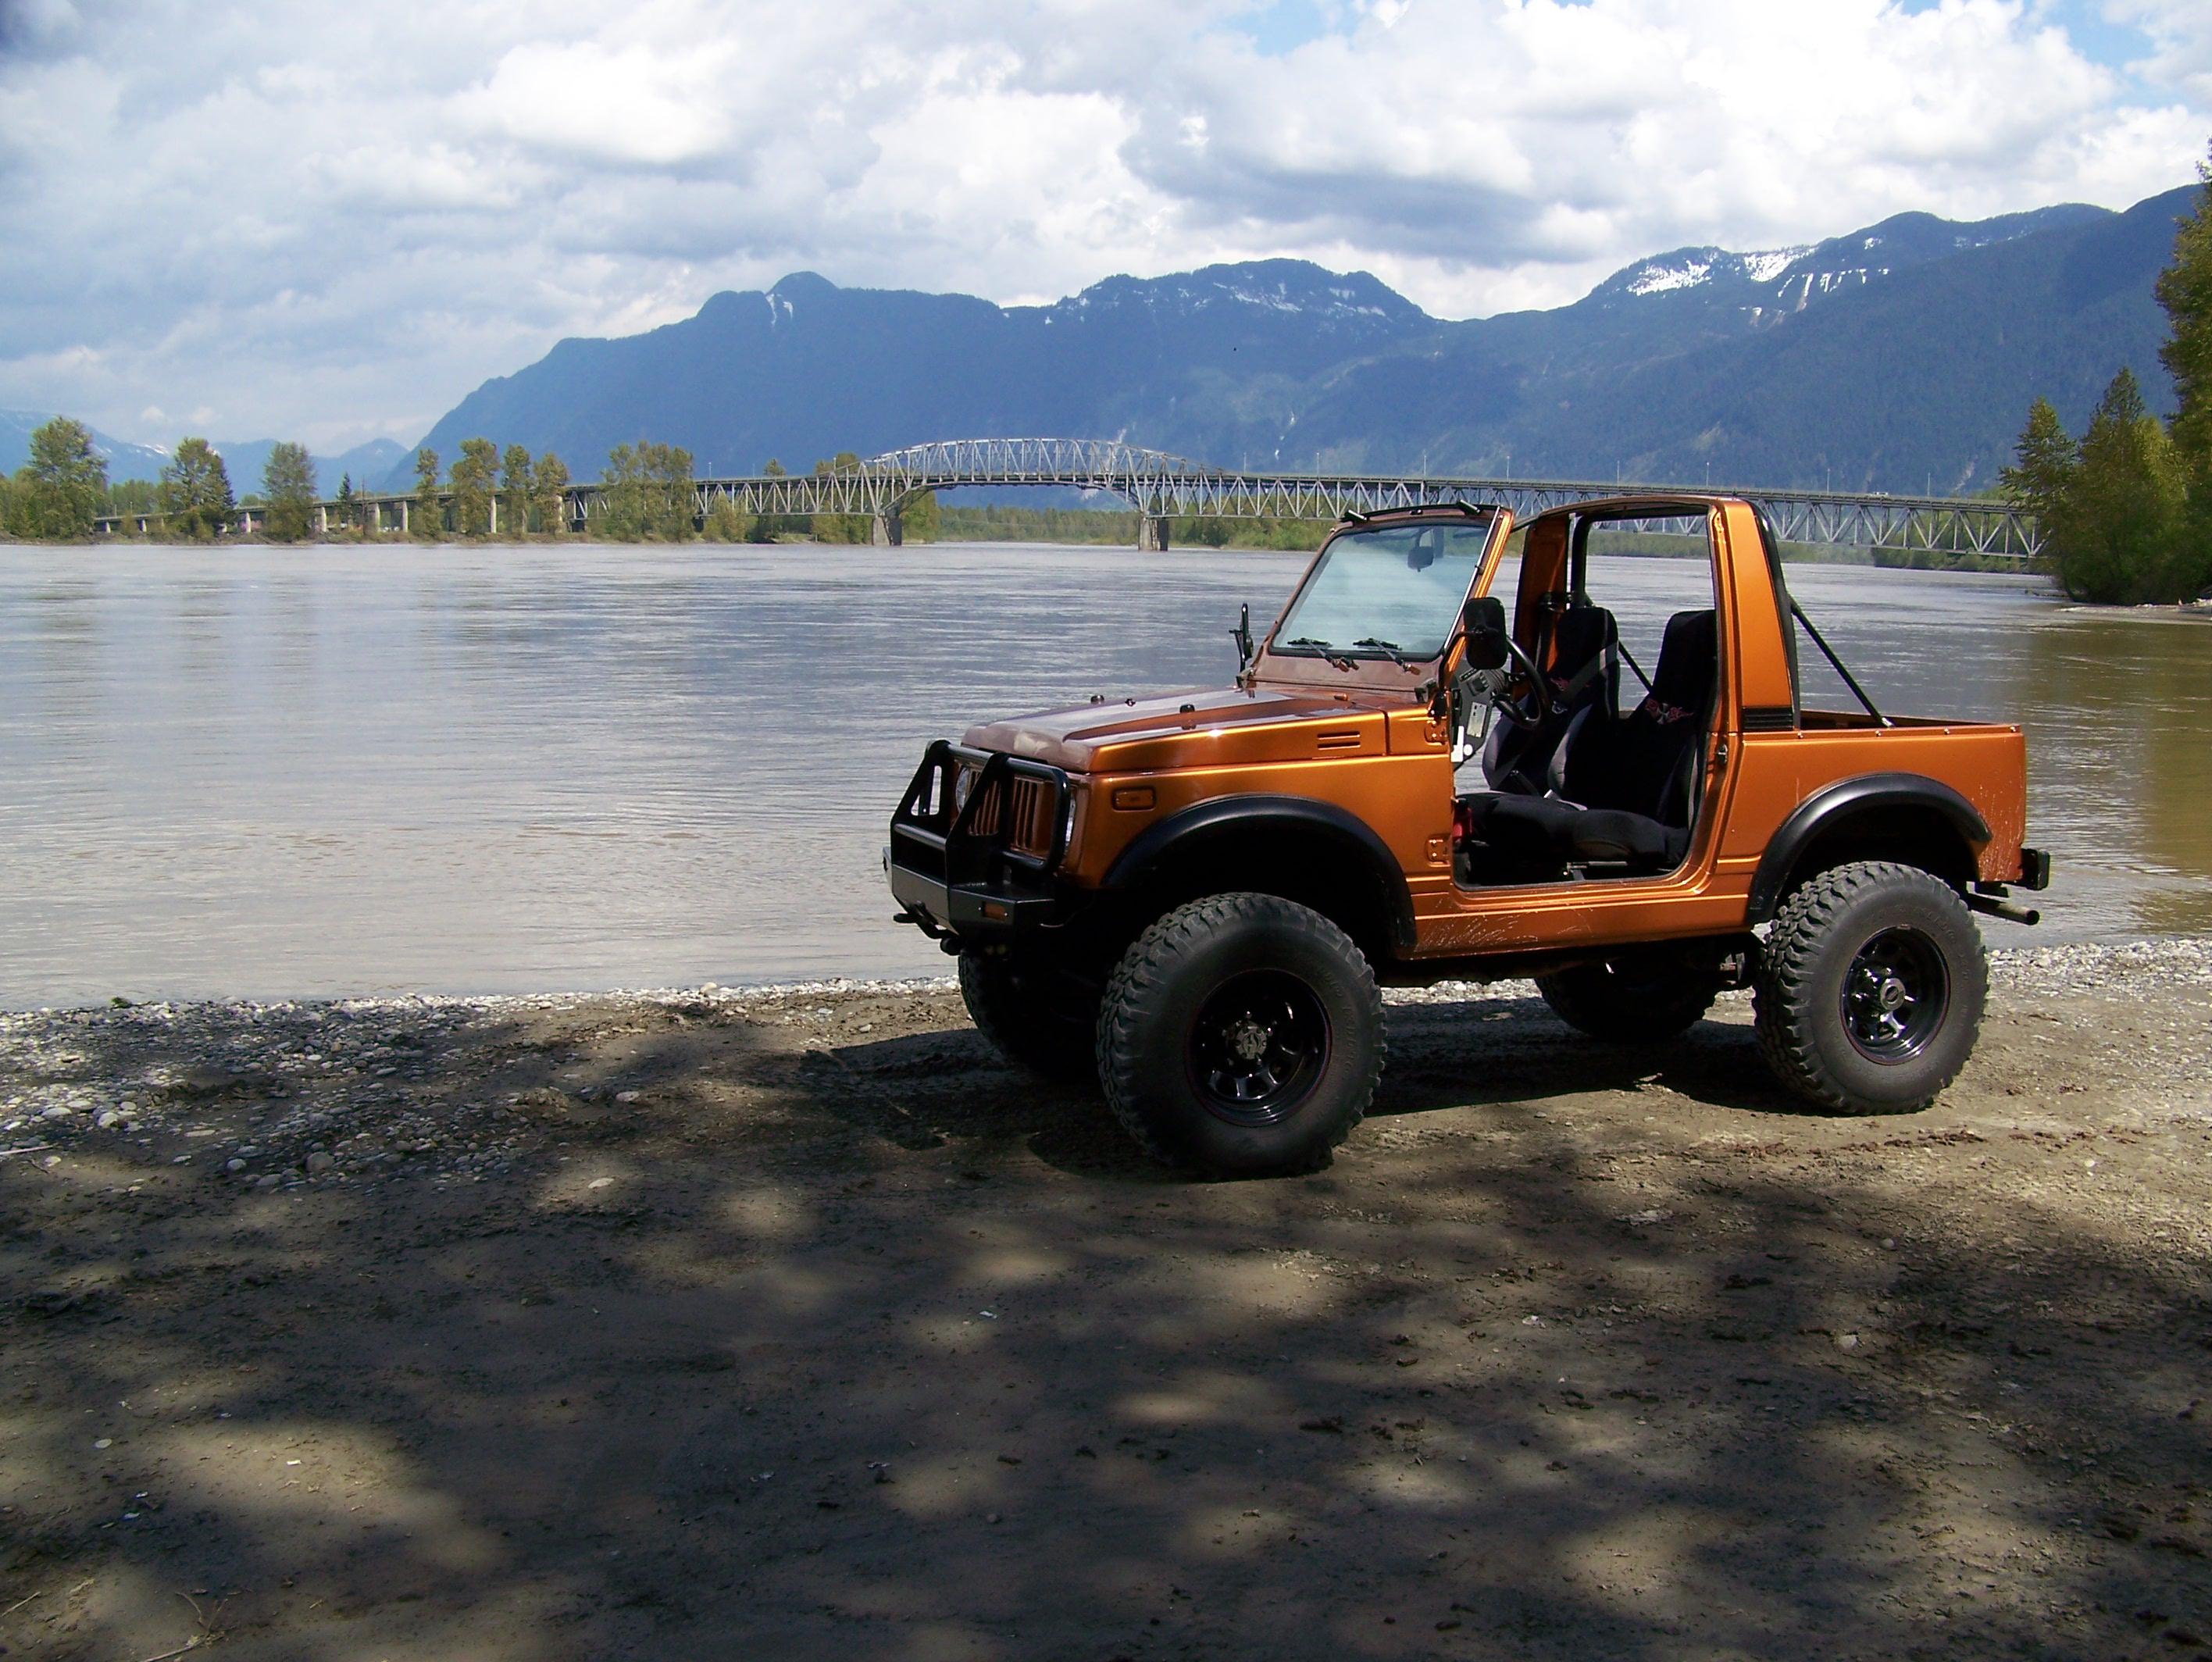
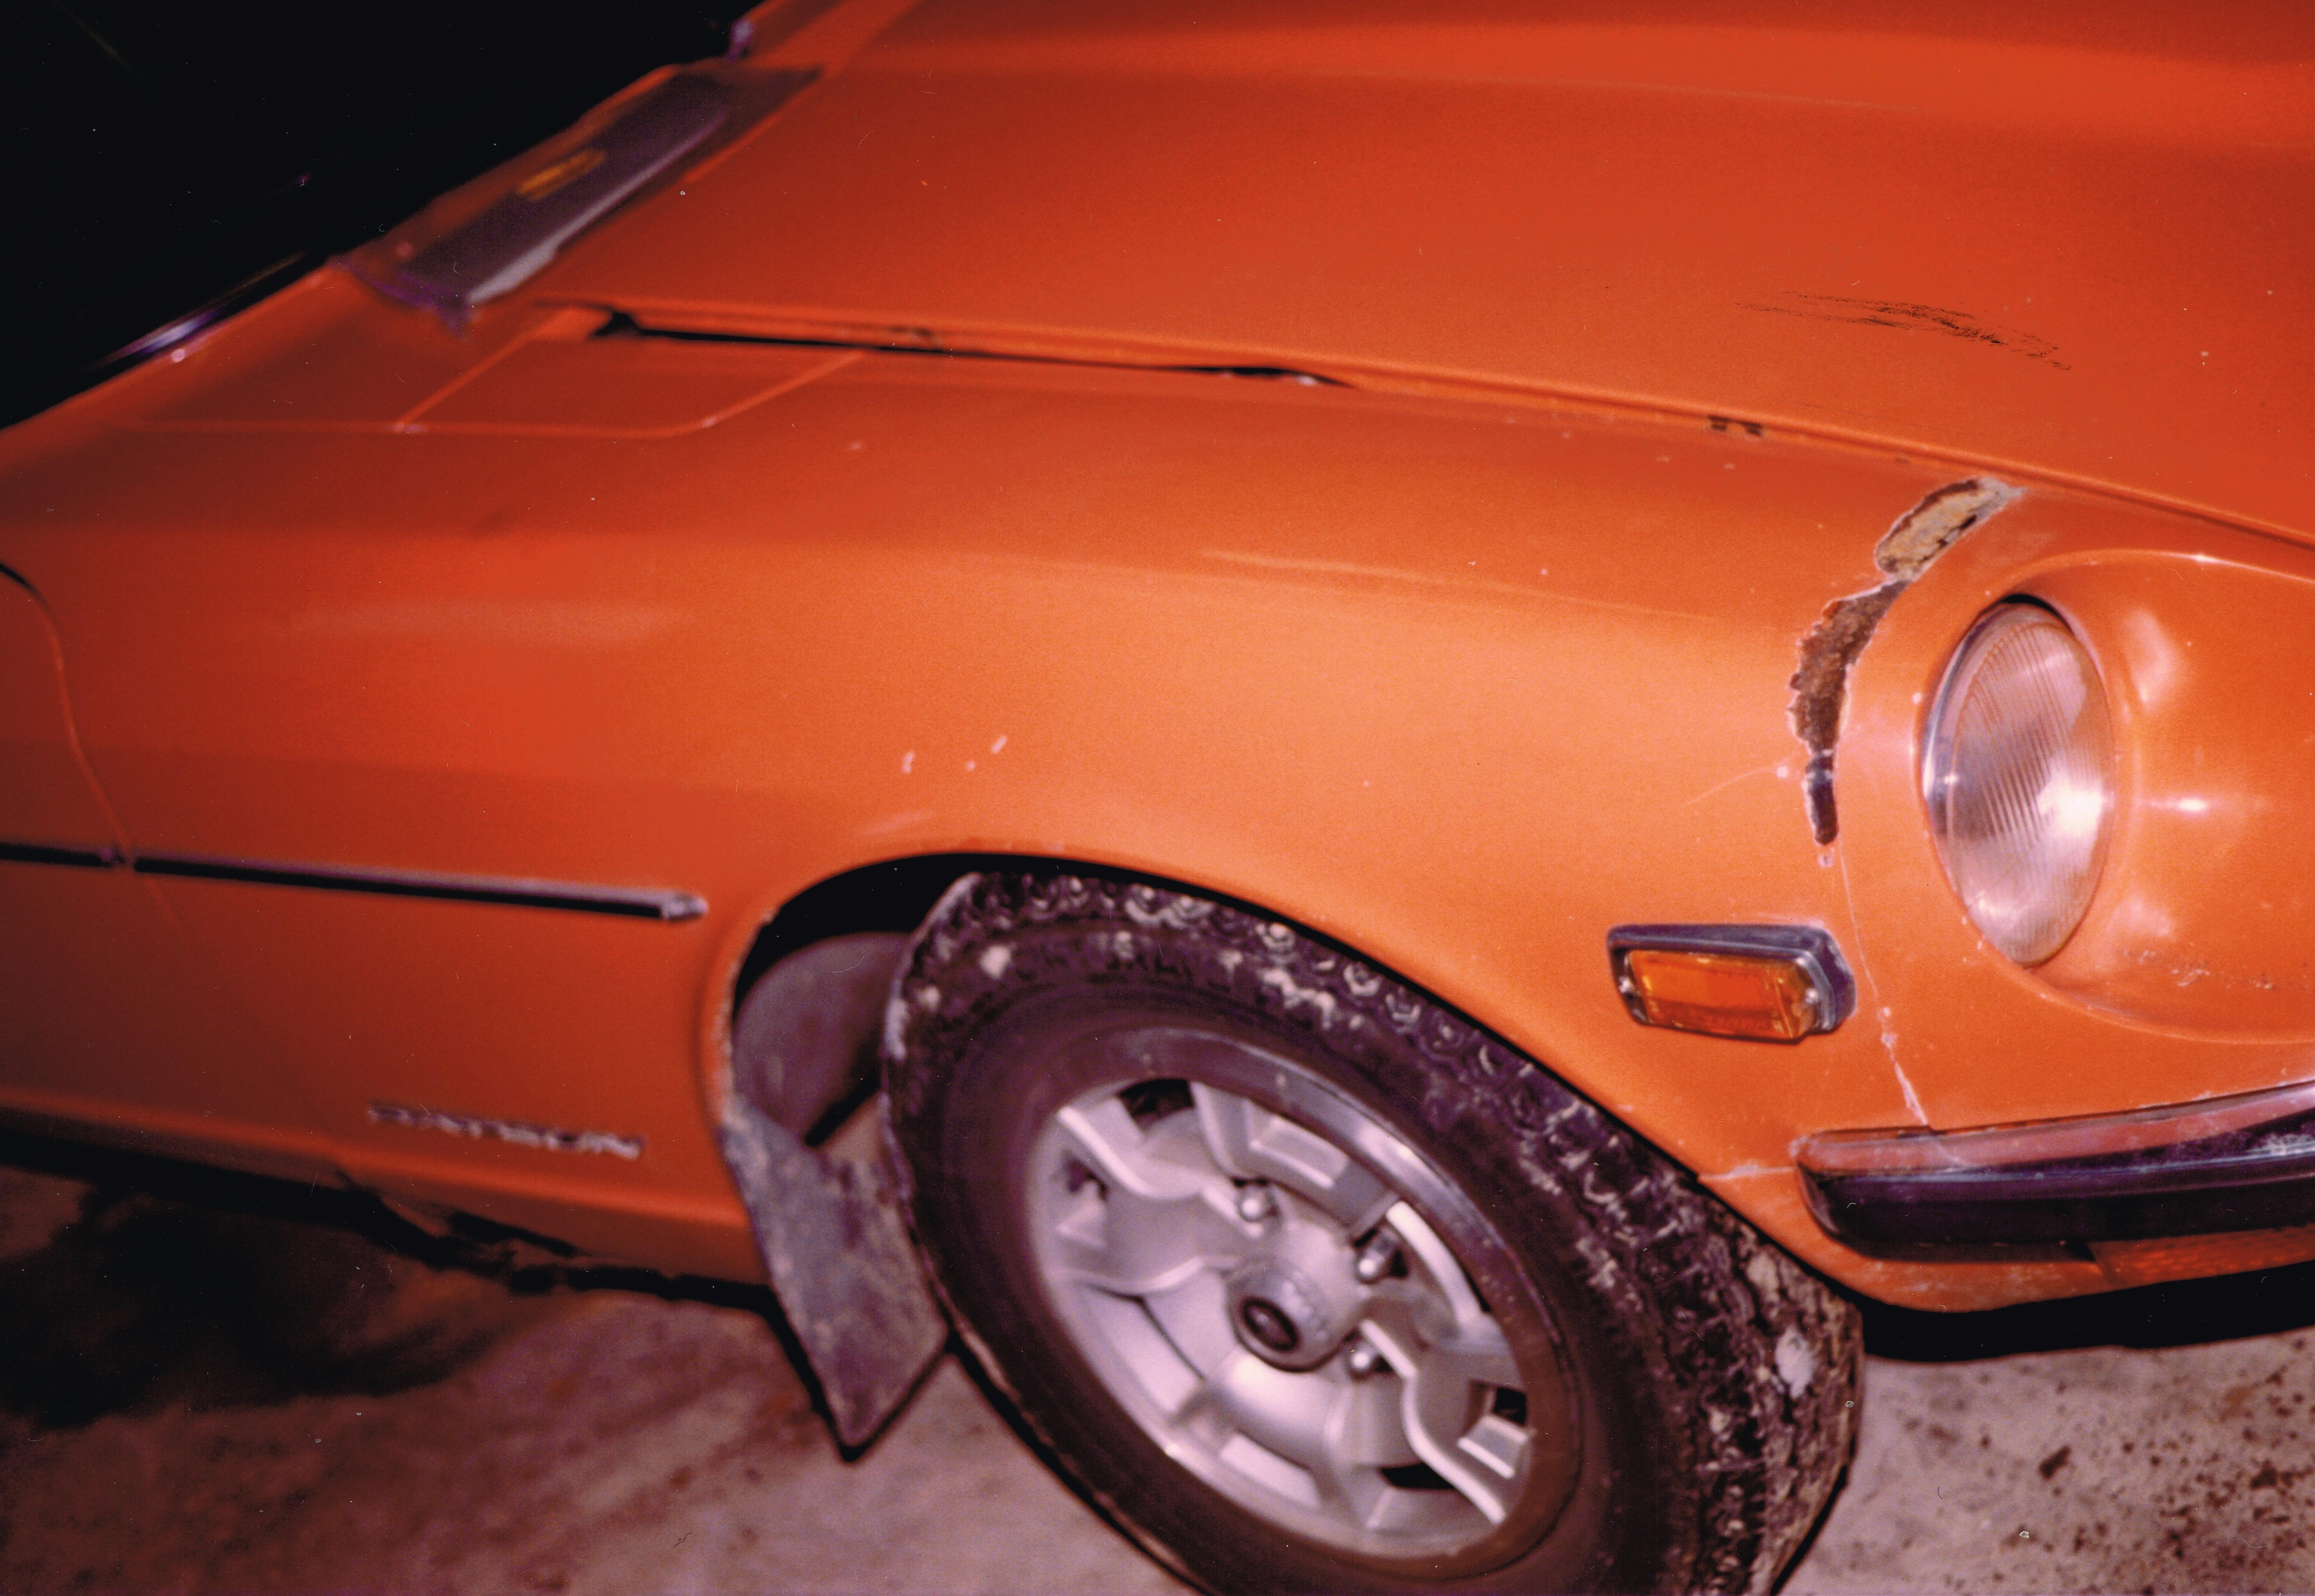
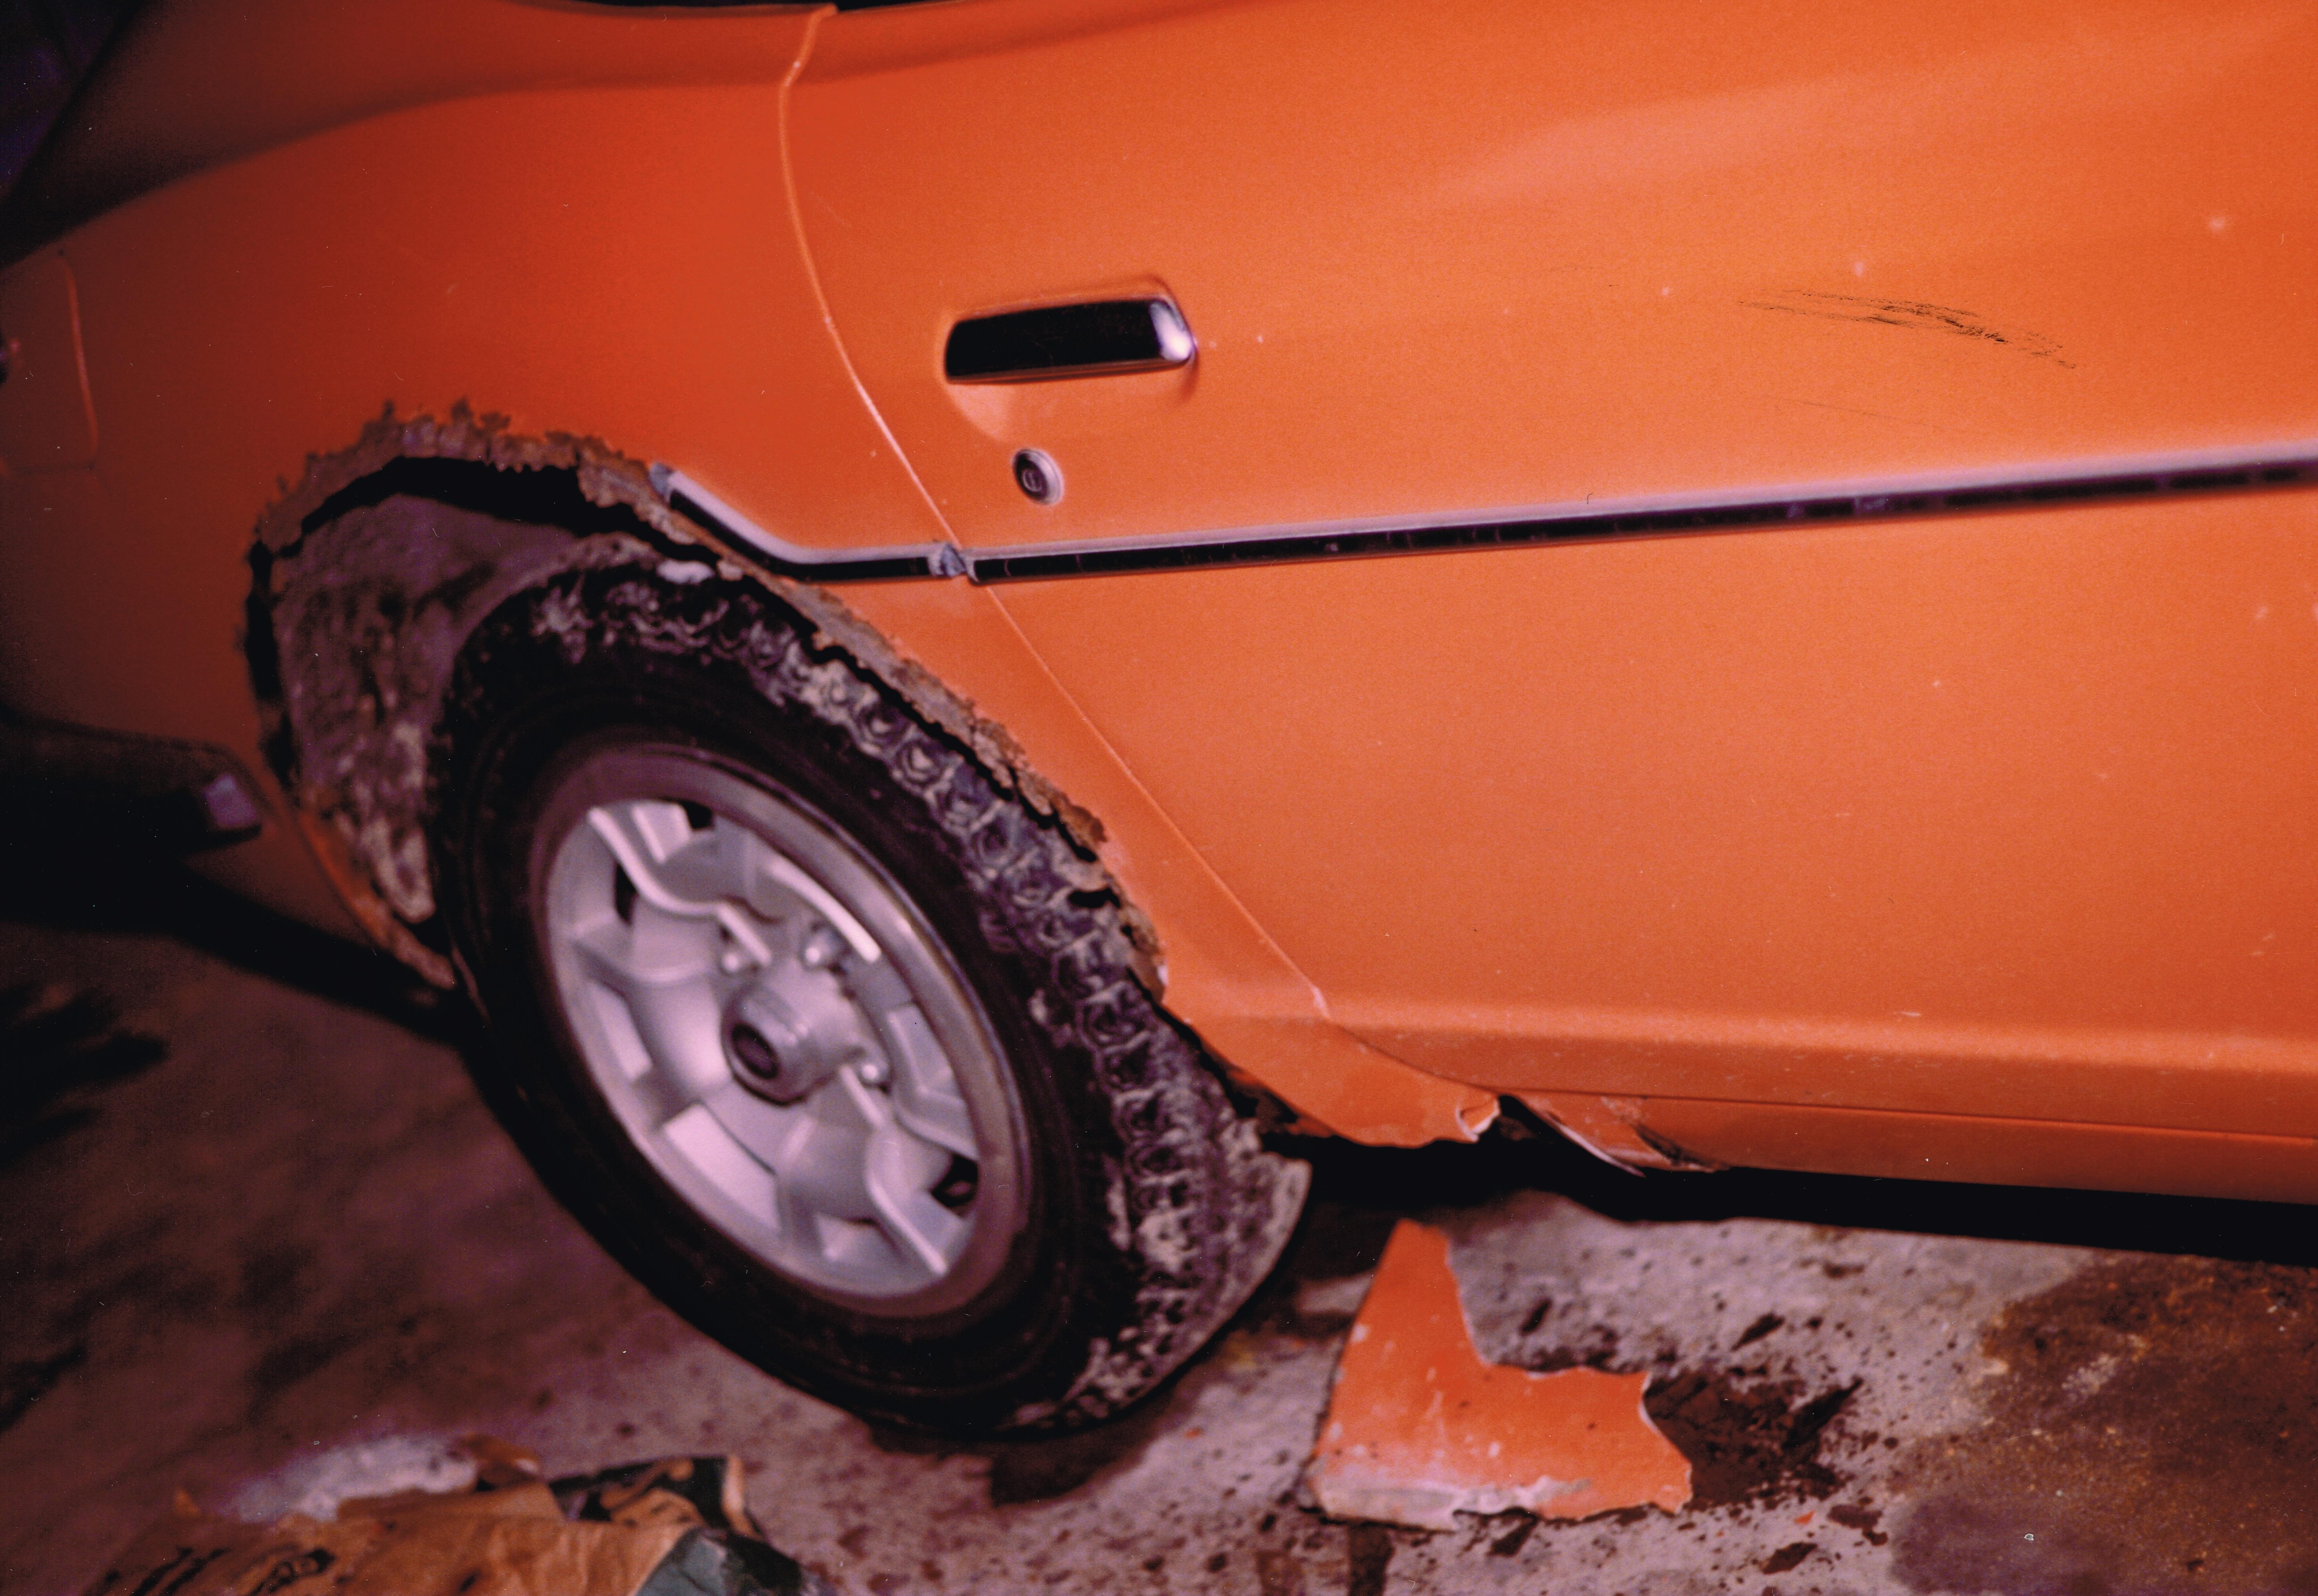
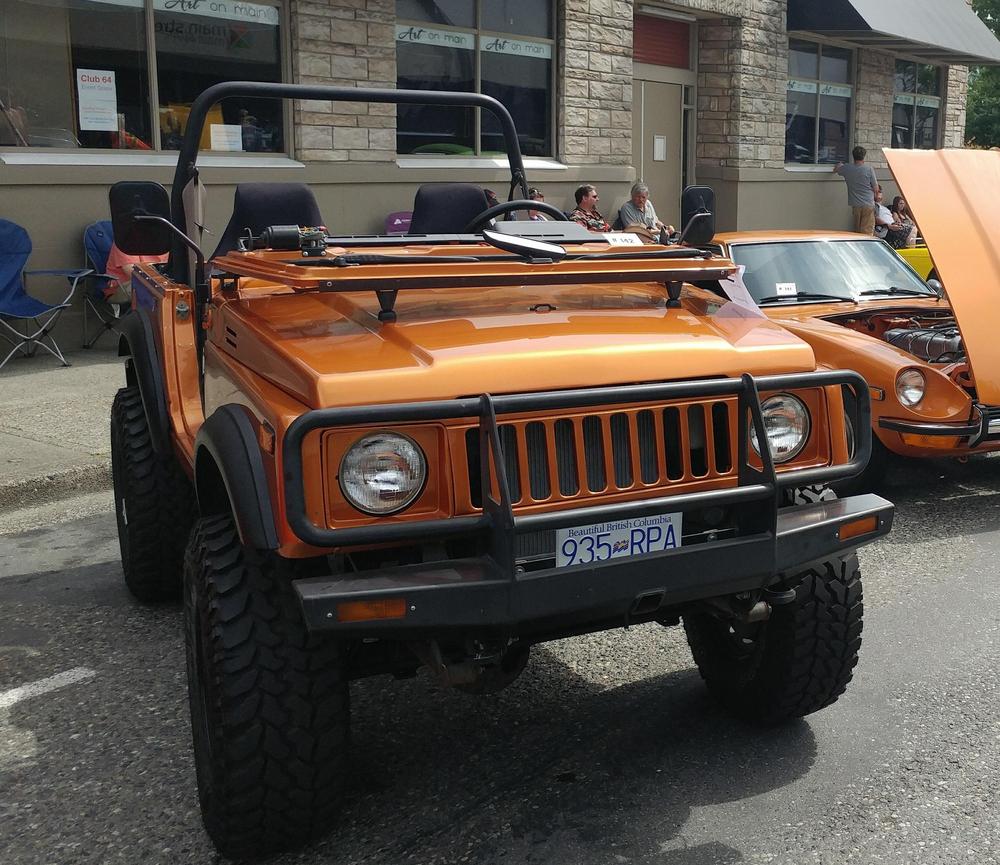
Thanks @CHL240Z, I definitely have some rust repair to deal with. Over the winter I will post pics of the good, the bad and the ugly as I progress. My first order of business is to sell my last project, a 1988 Suzuki Samurai. This will give me more space in the garage and help a little with the budget. I might put it up on BAT. Before, During, And after,


-
Thanks. Who did you purchase it from and did it come with the thin fibre board that goes in the open areas of the shock towers for support. But the way, your paint looks awesome.
-
Here is a very good tire data calculator that does comparisons as well. Requires more inputs, but it gives back a lot of information like the basic tire spec plus static and dynamic rolling radius, contact patch size, stiffness rate, speedo reading, etc. all based on input speed and air pressure and vehicle load. http://paws.kettering.edu/~amazzei/tire_calculator.html It does use metric system inputs and outputs but lower down the page there are some useful unit convertors as well as other tire related information.
-
Looking good. Is that new vinyl on the shock towers and wheel wells?
-
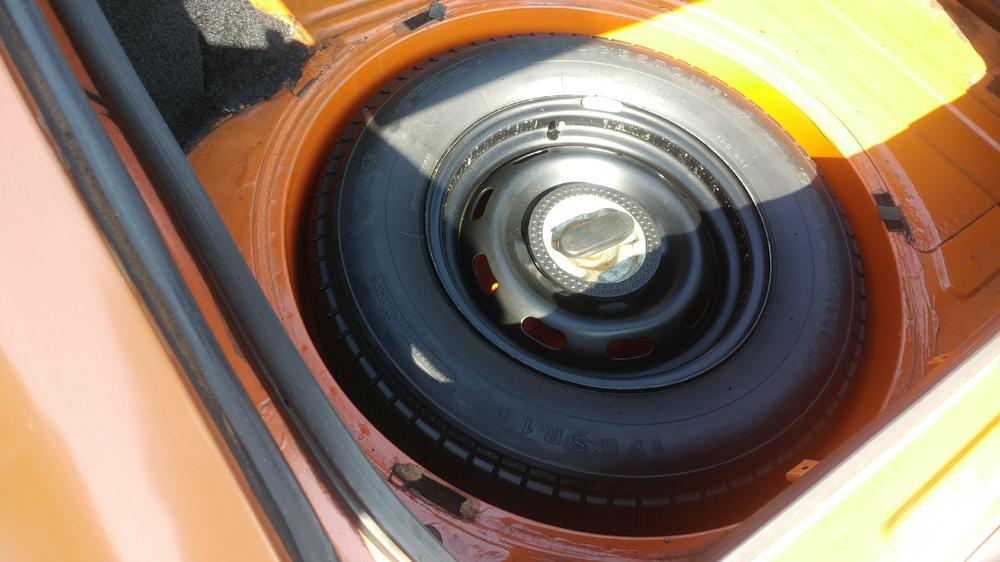
Matthew, thanks for producing that awesome chart, it is very useful. For reference I just measured the lightly used original spare from my 7'70 car, its a Bridgestone 175SR14. Using a Pi tape I measured the existing outside diameter at 25.17" and a tread depth of 7/32". Calculates to just over an 81% aspect ratio, right in the middle of that 80 - 82 range. Cheers Mike

-
Thanks. That's a good fix you came up with. One of the weak points with original design is that if tombstone washer can't pivot on the brass pin from crap building then the pin will start to pivot and loosen that tiny M2 screw. Is your tombstone washer metal or plastic? My old series one parts car had the antenna switch relocated exactly as you have done. Cheers Mike
-
What year is your car? Early ones used M3 and later used M4 if I remember correctly.
-
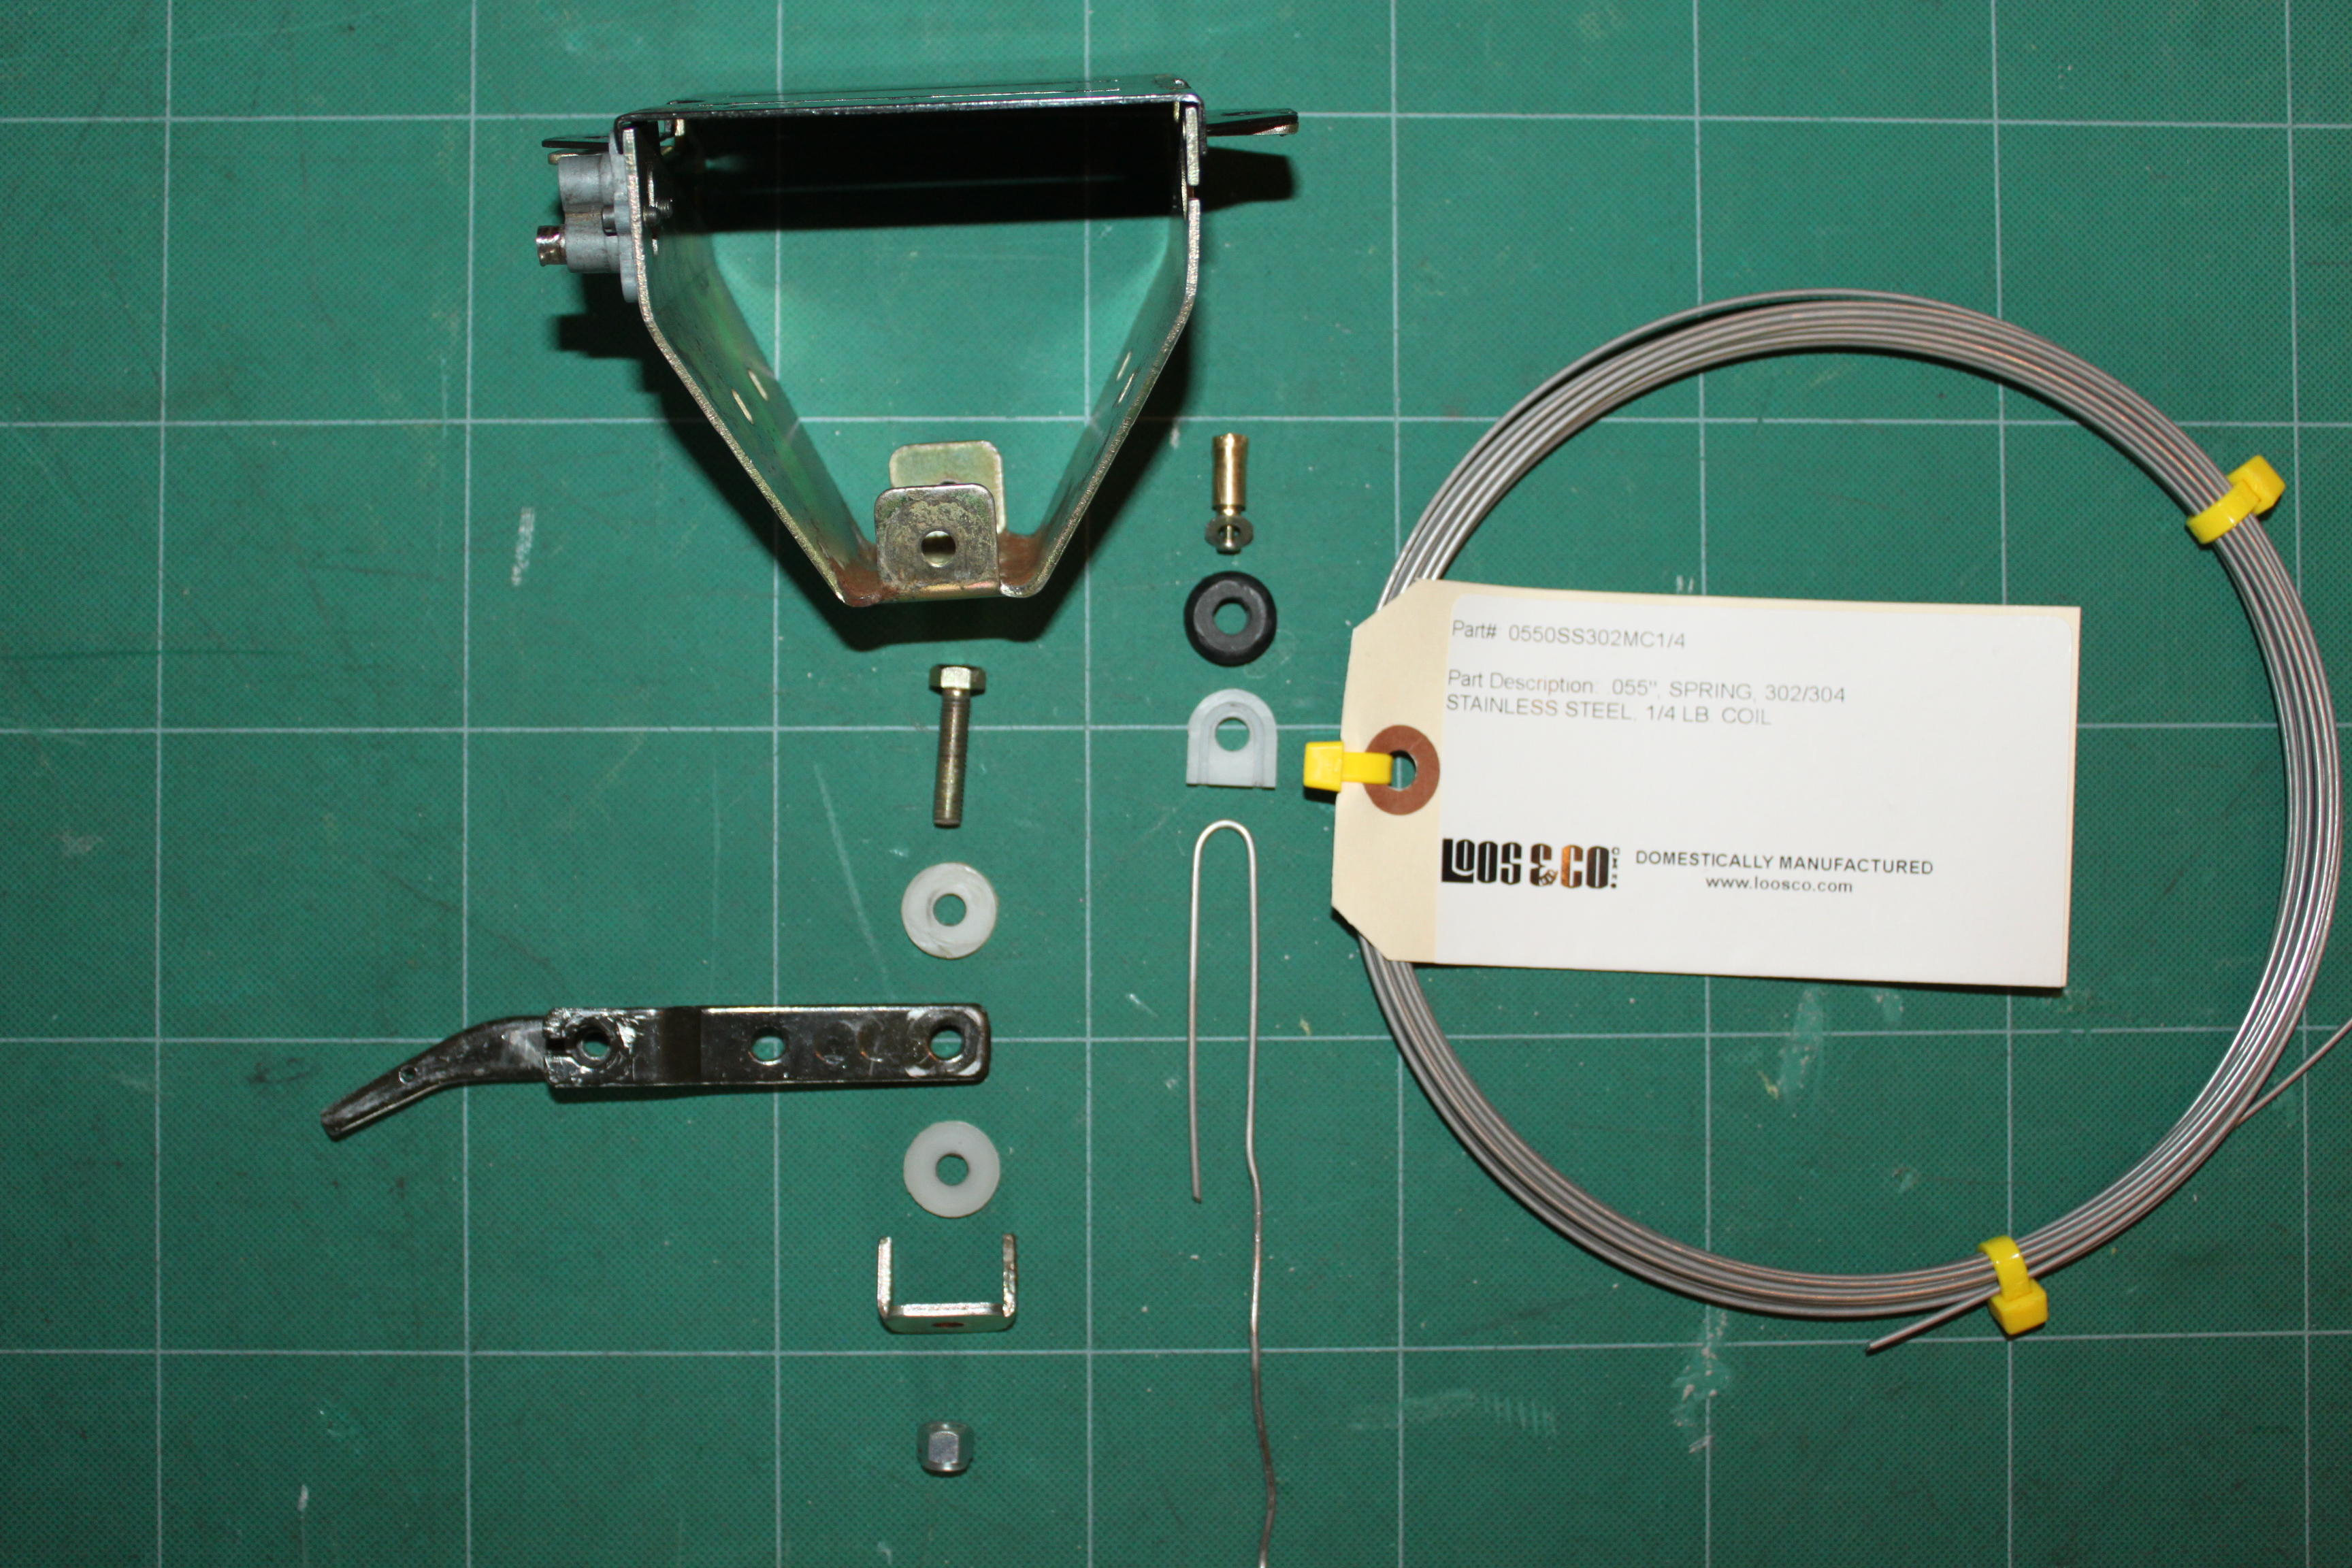
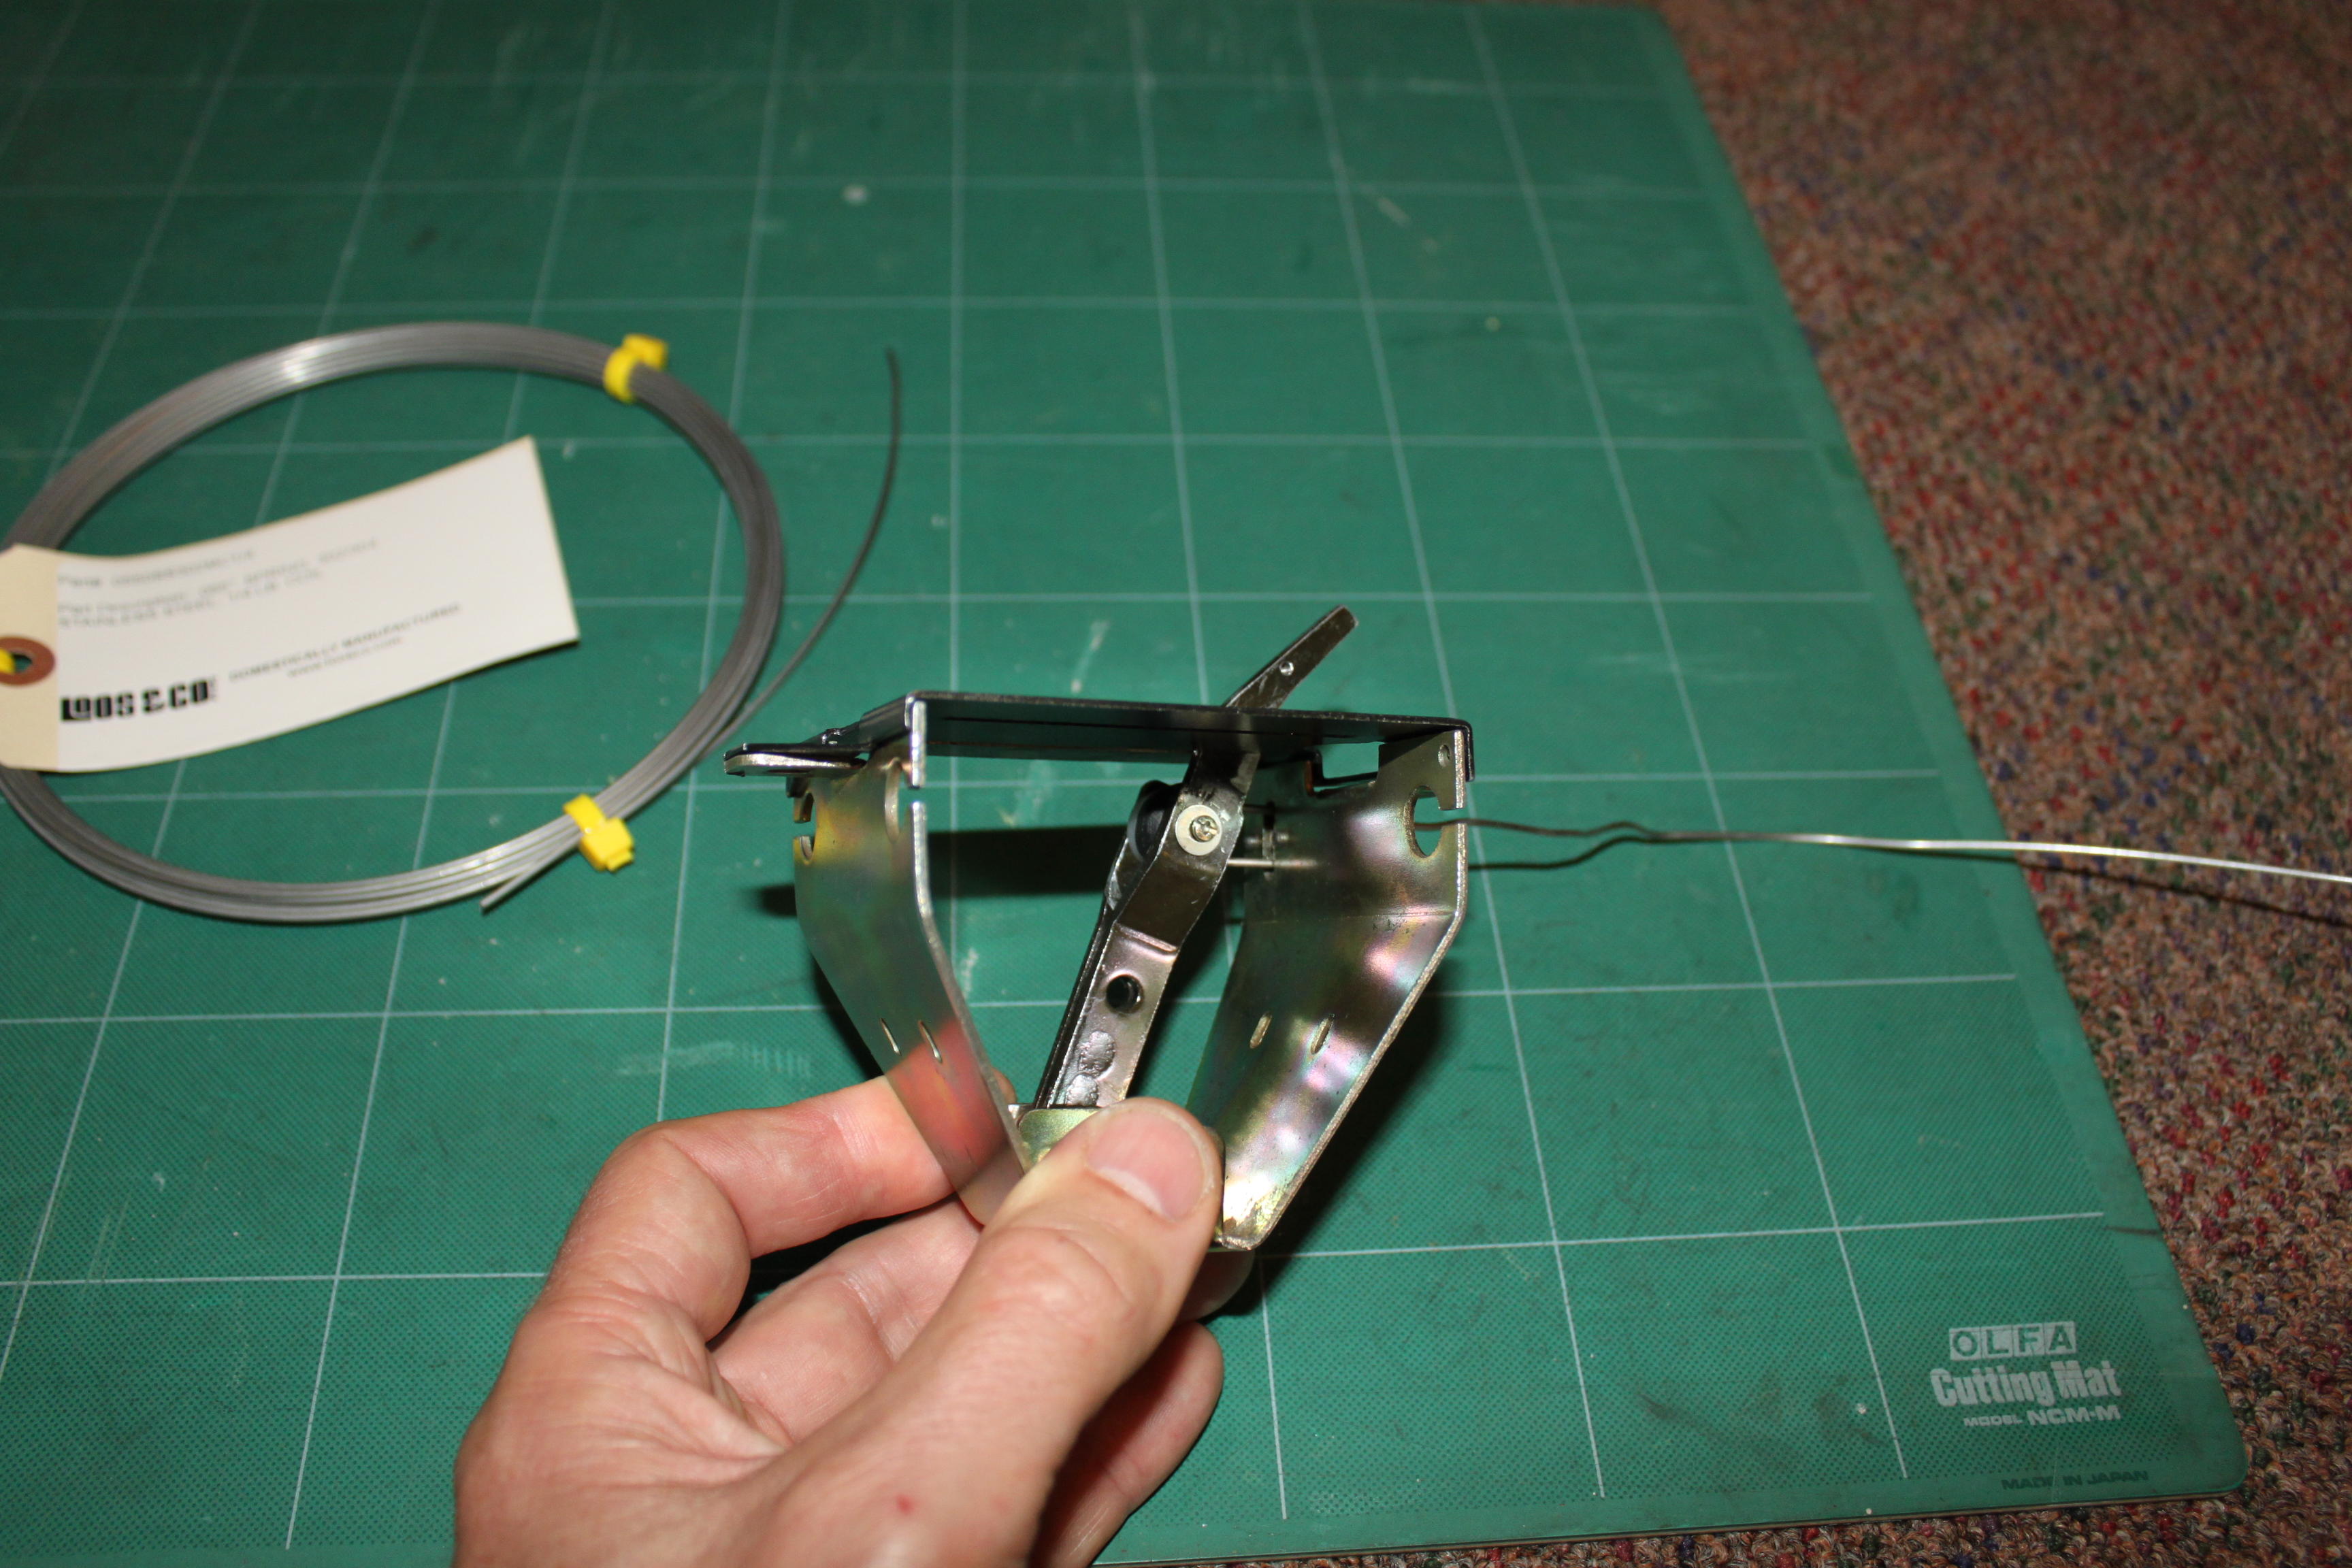
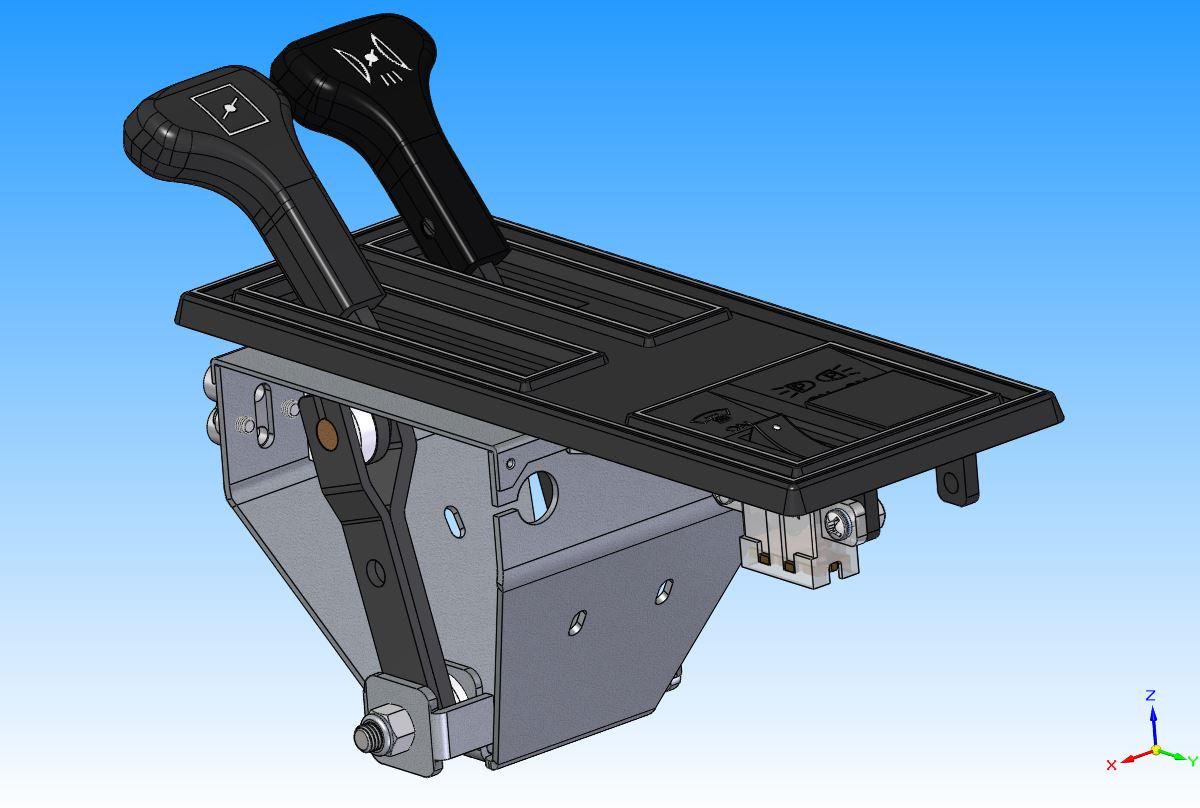
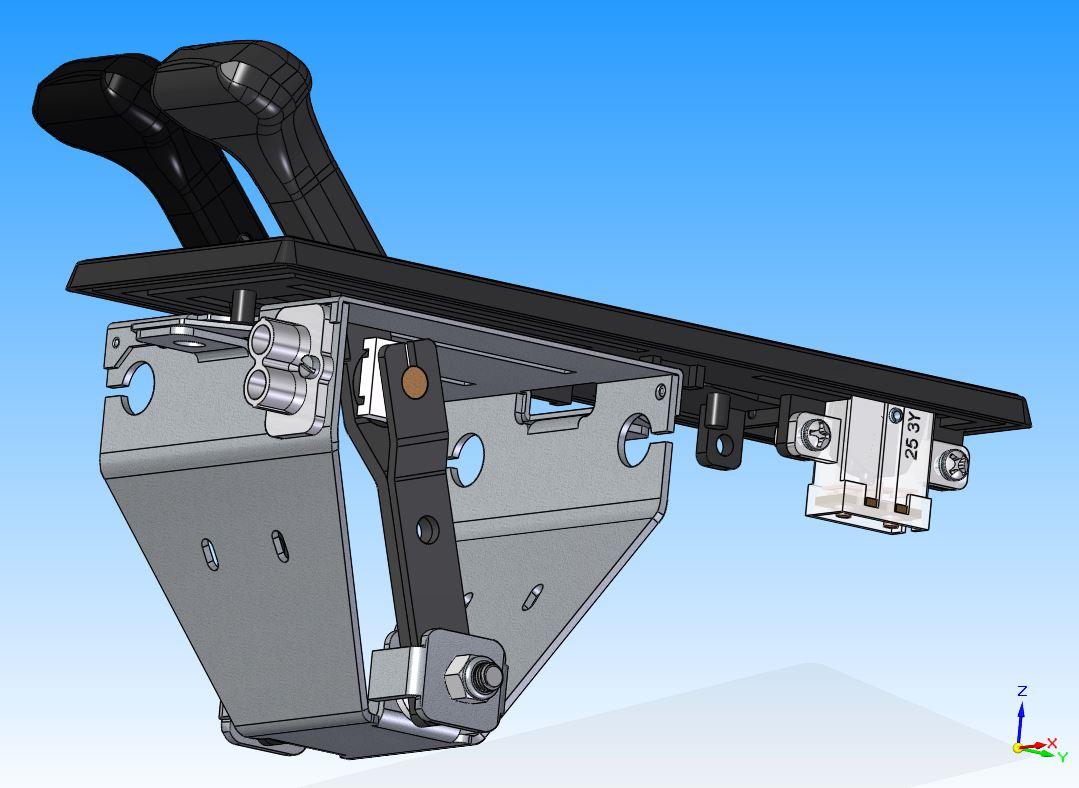
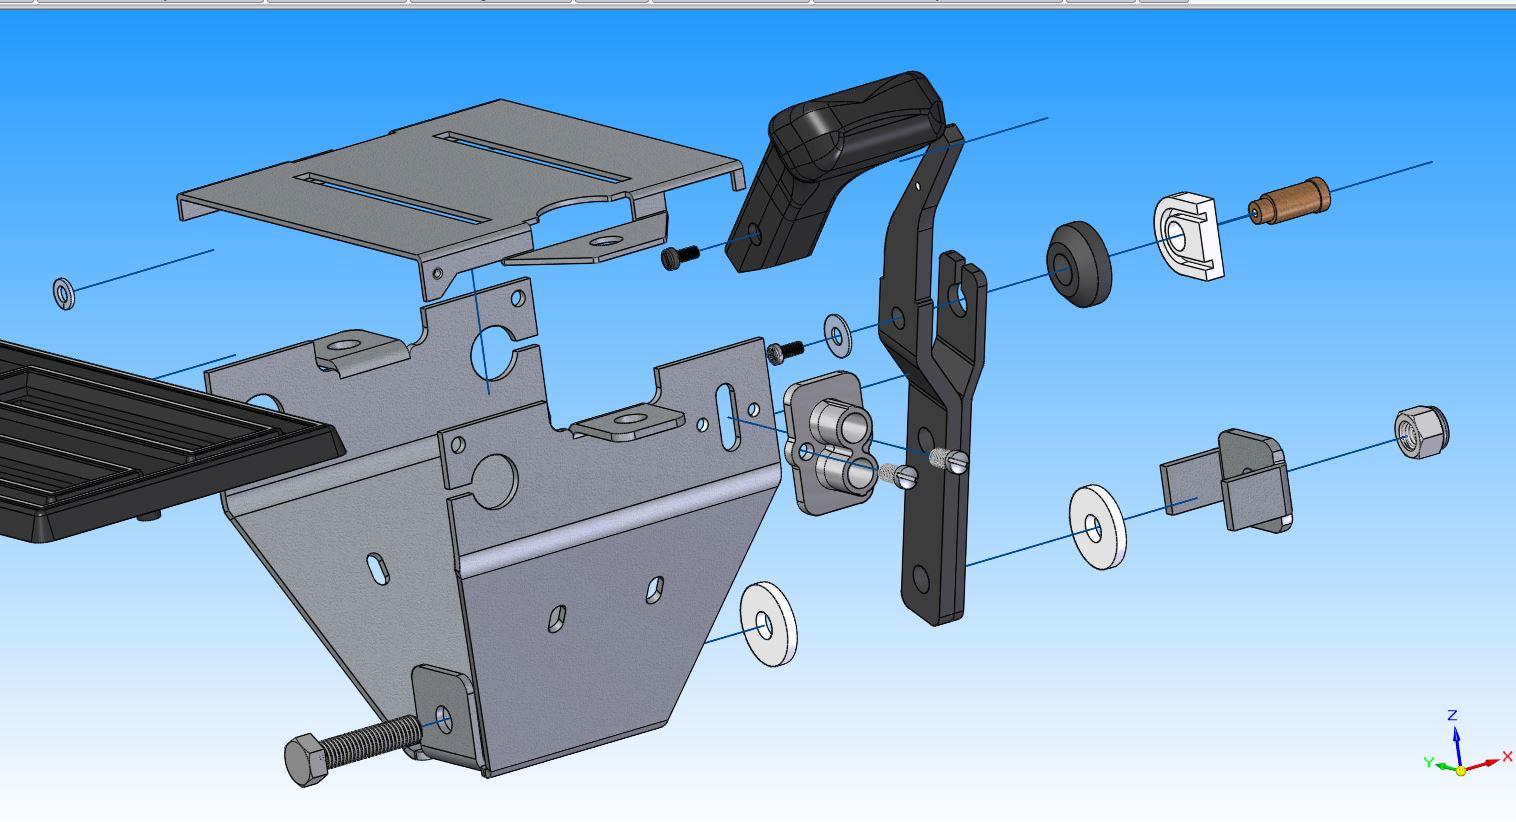
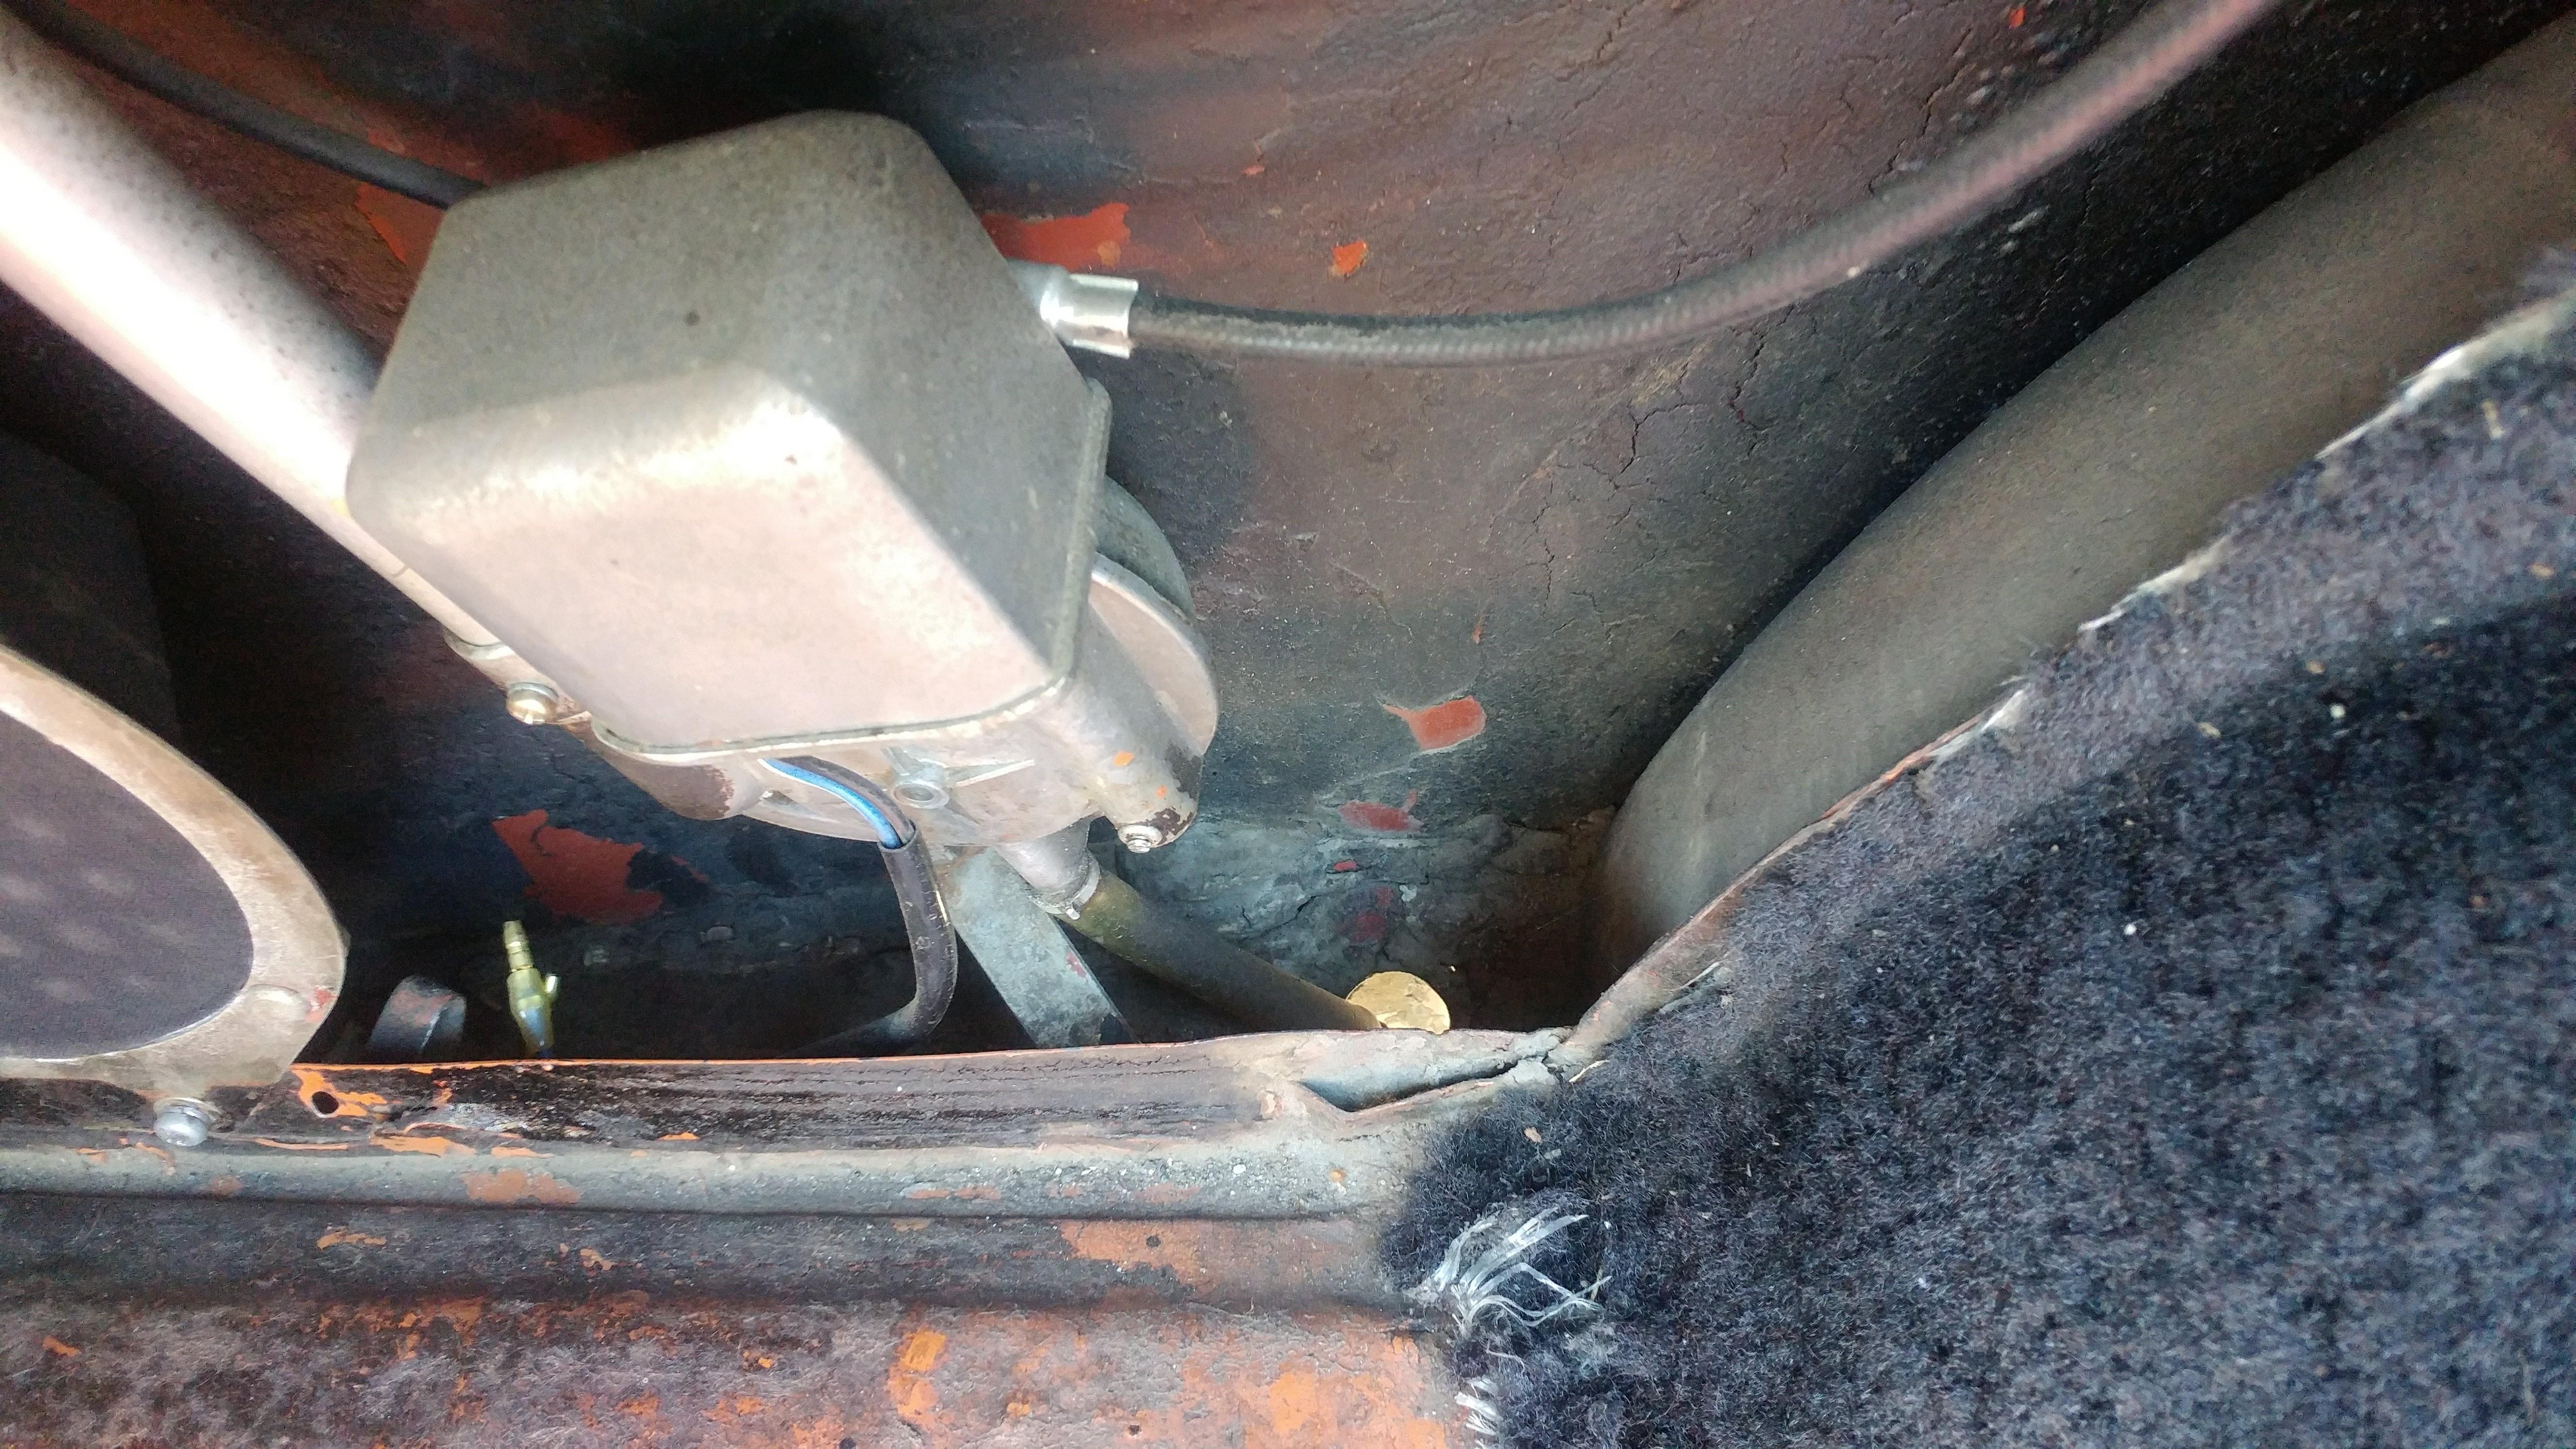
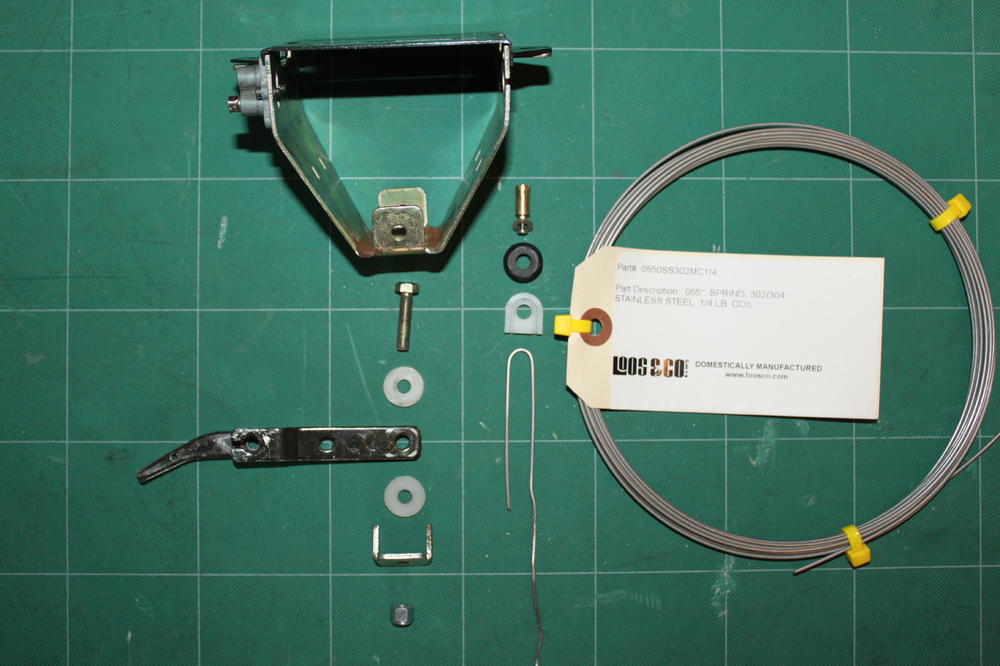
I went through the same problem a couple of years ago and had to modify my choke lever assembly as well. On mine the cable broke as well as the "tombstone" shaped cable washer and some of the spacers were lost when it came apart. To fix it I replaced the choke cable wire with .055" music wire using the original sheath, got a plastic "tombstone" shaped cable washer from a '72 choke assembly and made a plastic washer/spacer to make up the extra space. Also had to modify the brass pin to suit the newer plastic cable washer, I was able to use the original M2 x 5mm screw that retains the brass pin. One of the more difficult issues was bending the music wire to fit the groove in the plastic cable washer. Here's a couple of pictures of my repair: I also documented my repair with 3D Cad


-
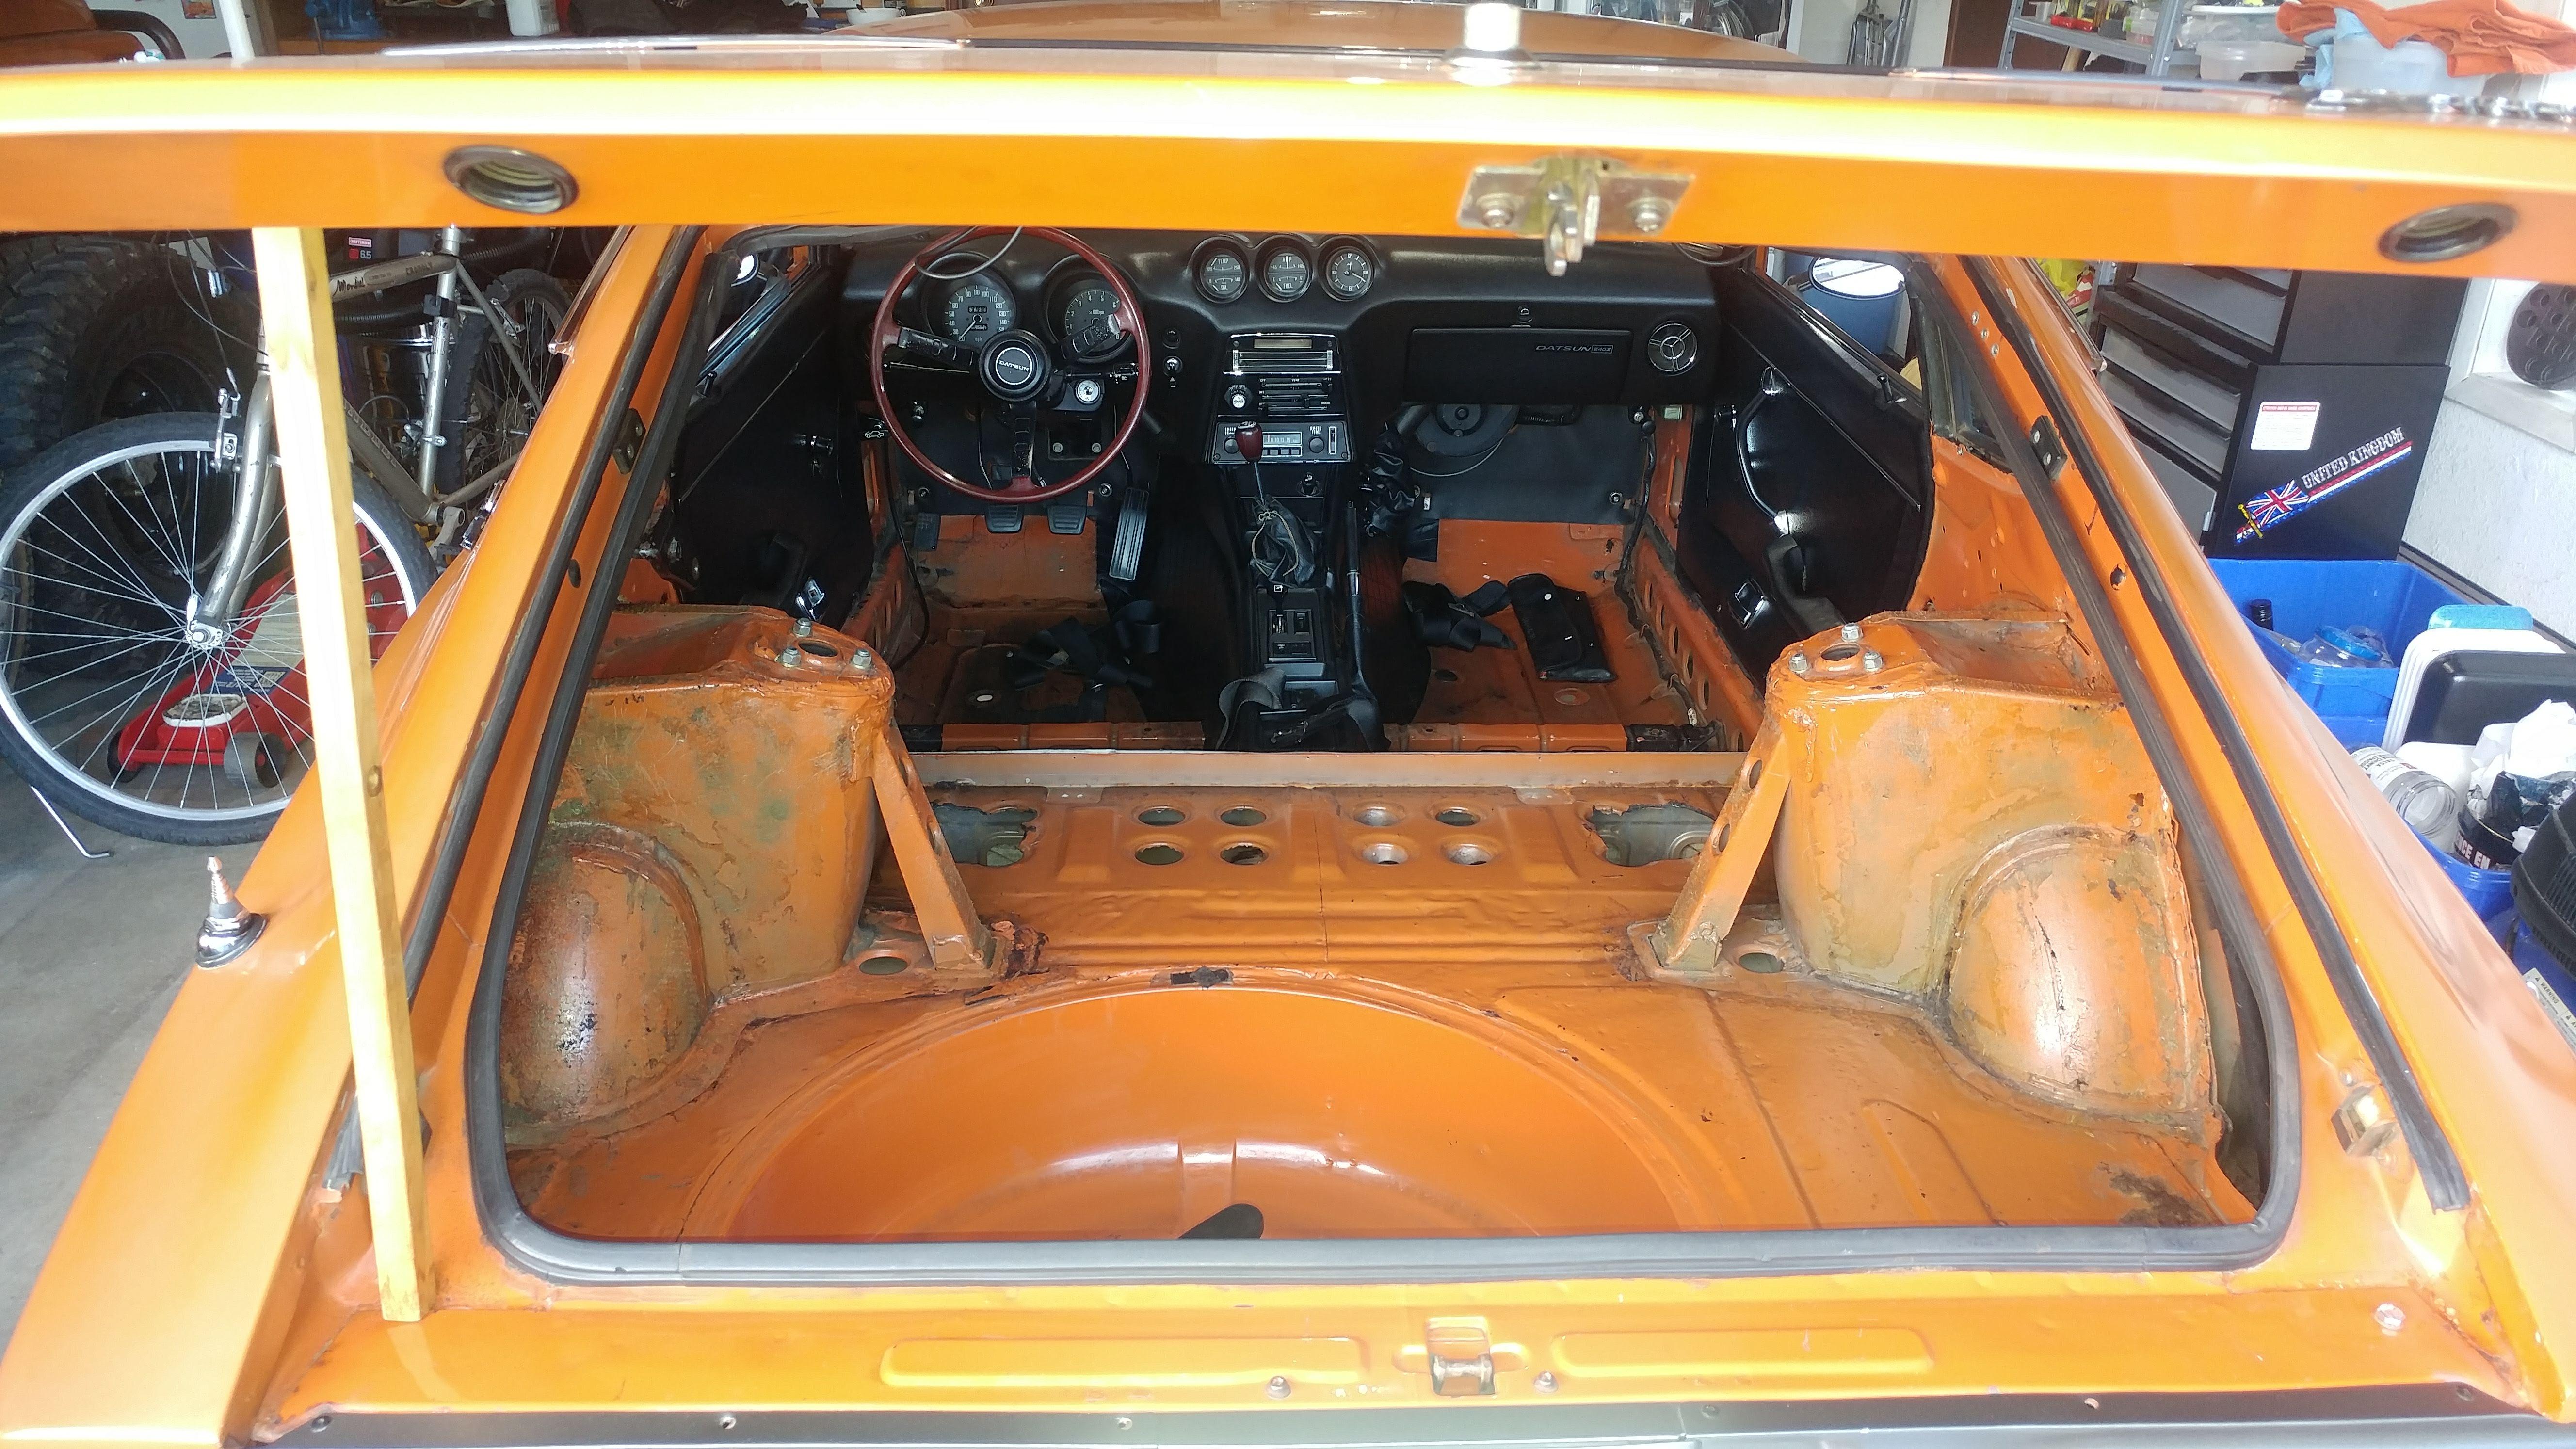
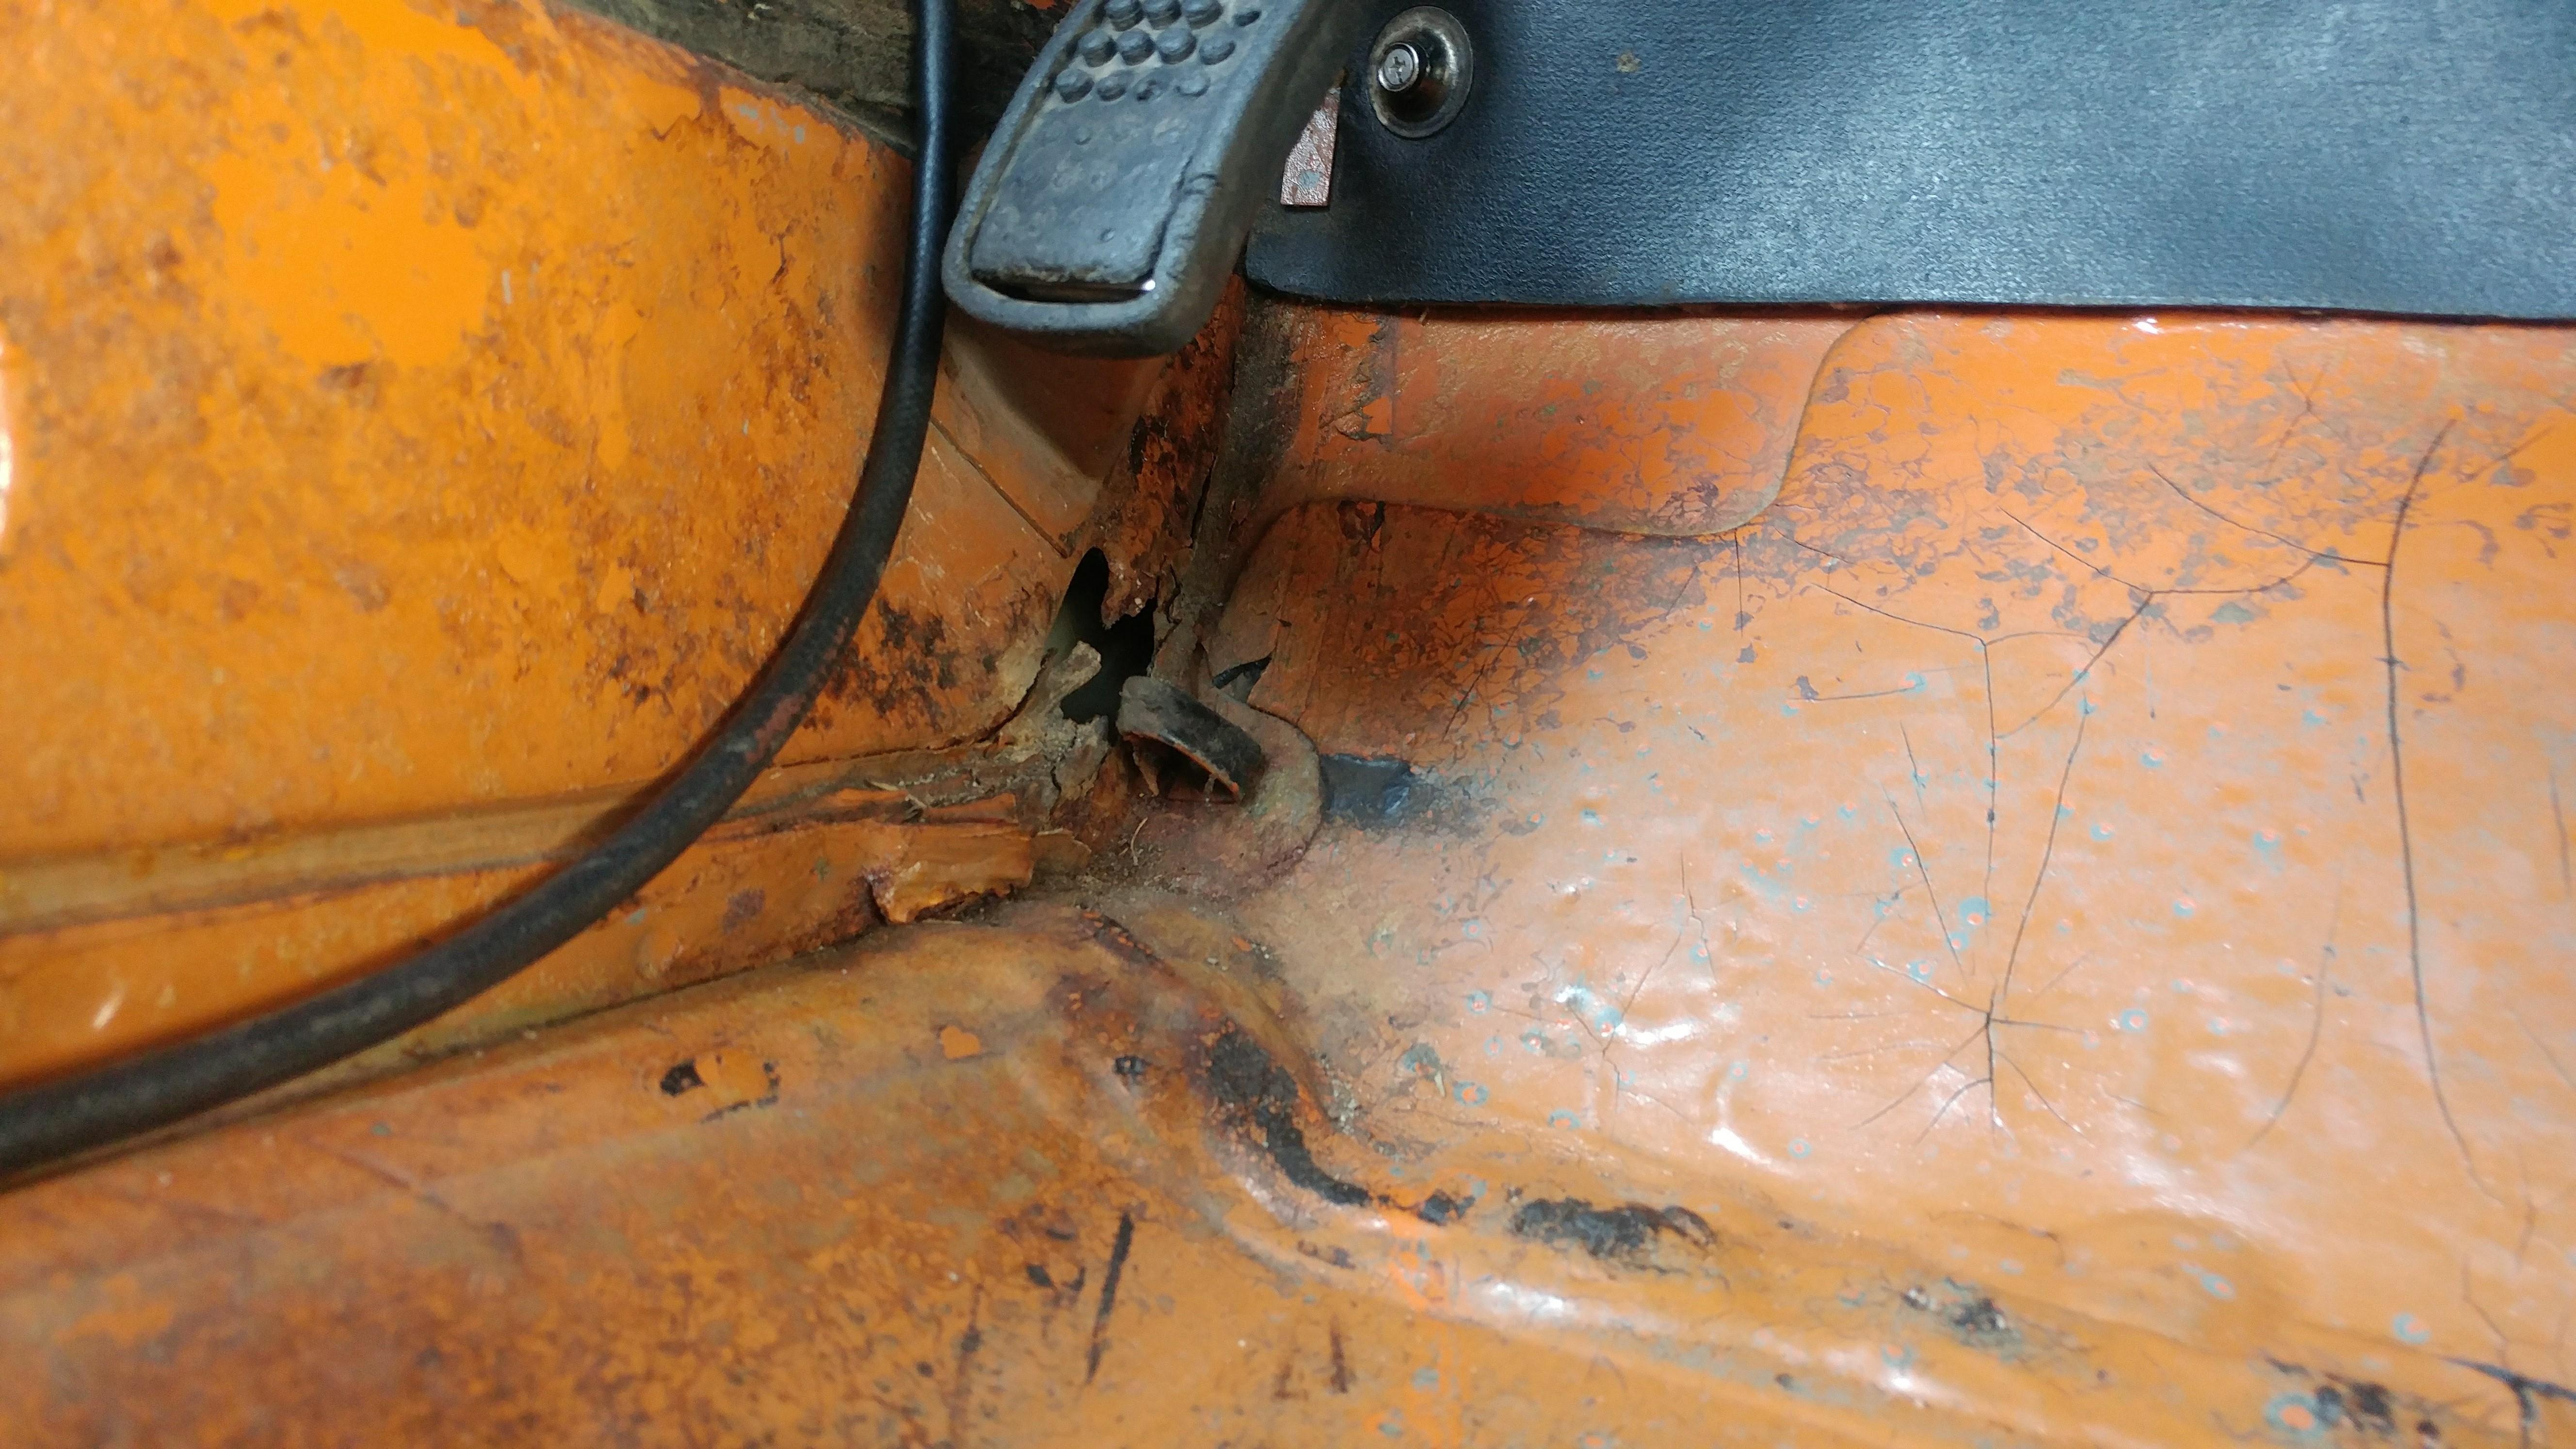
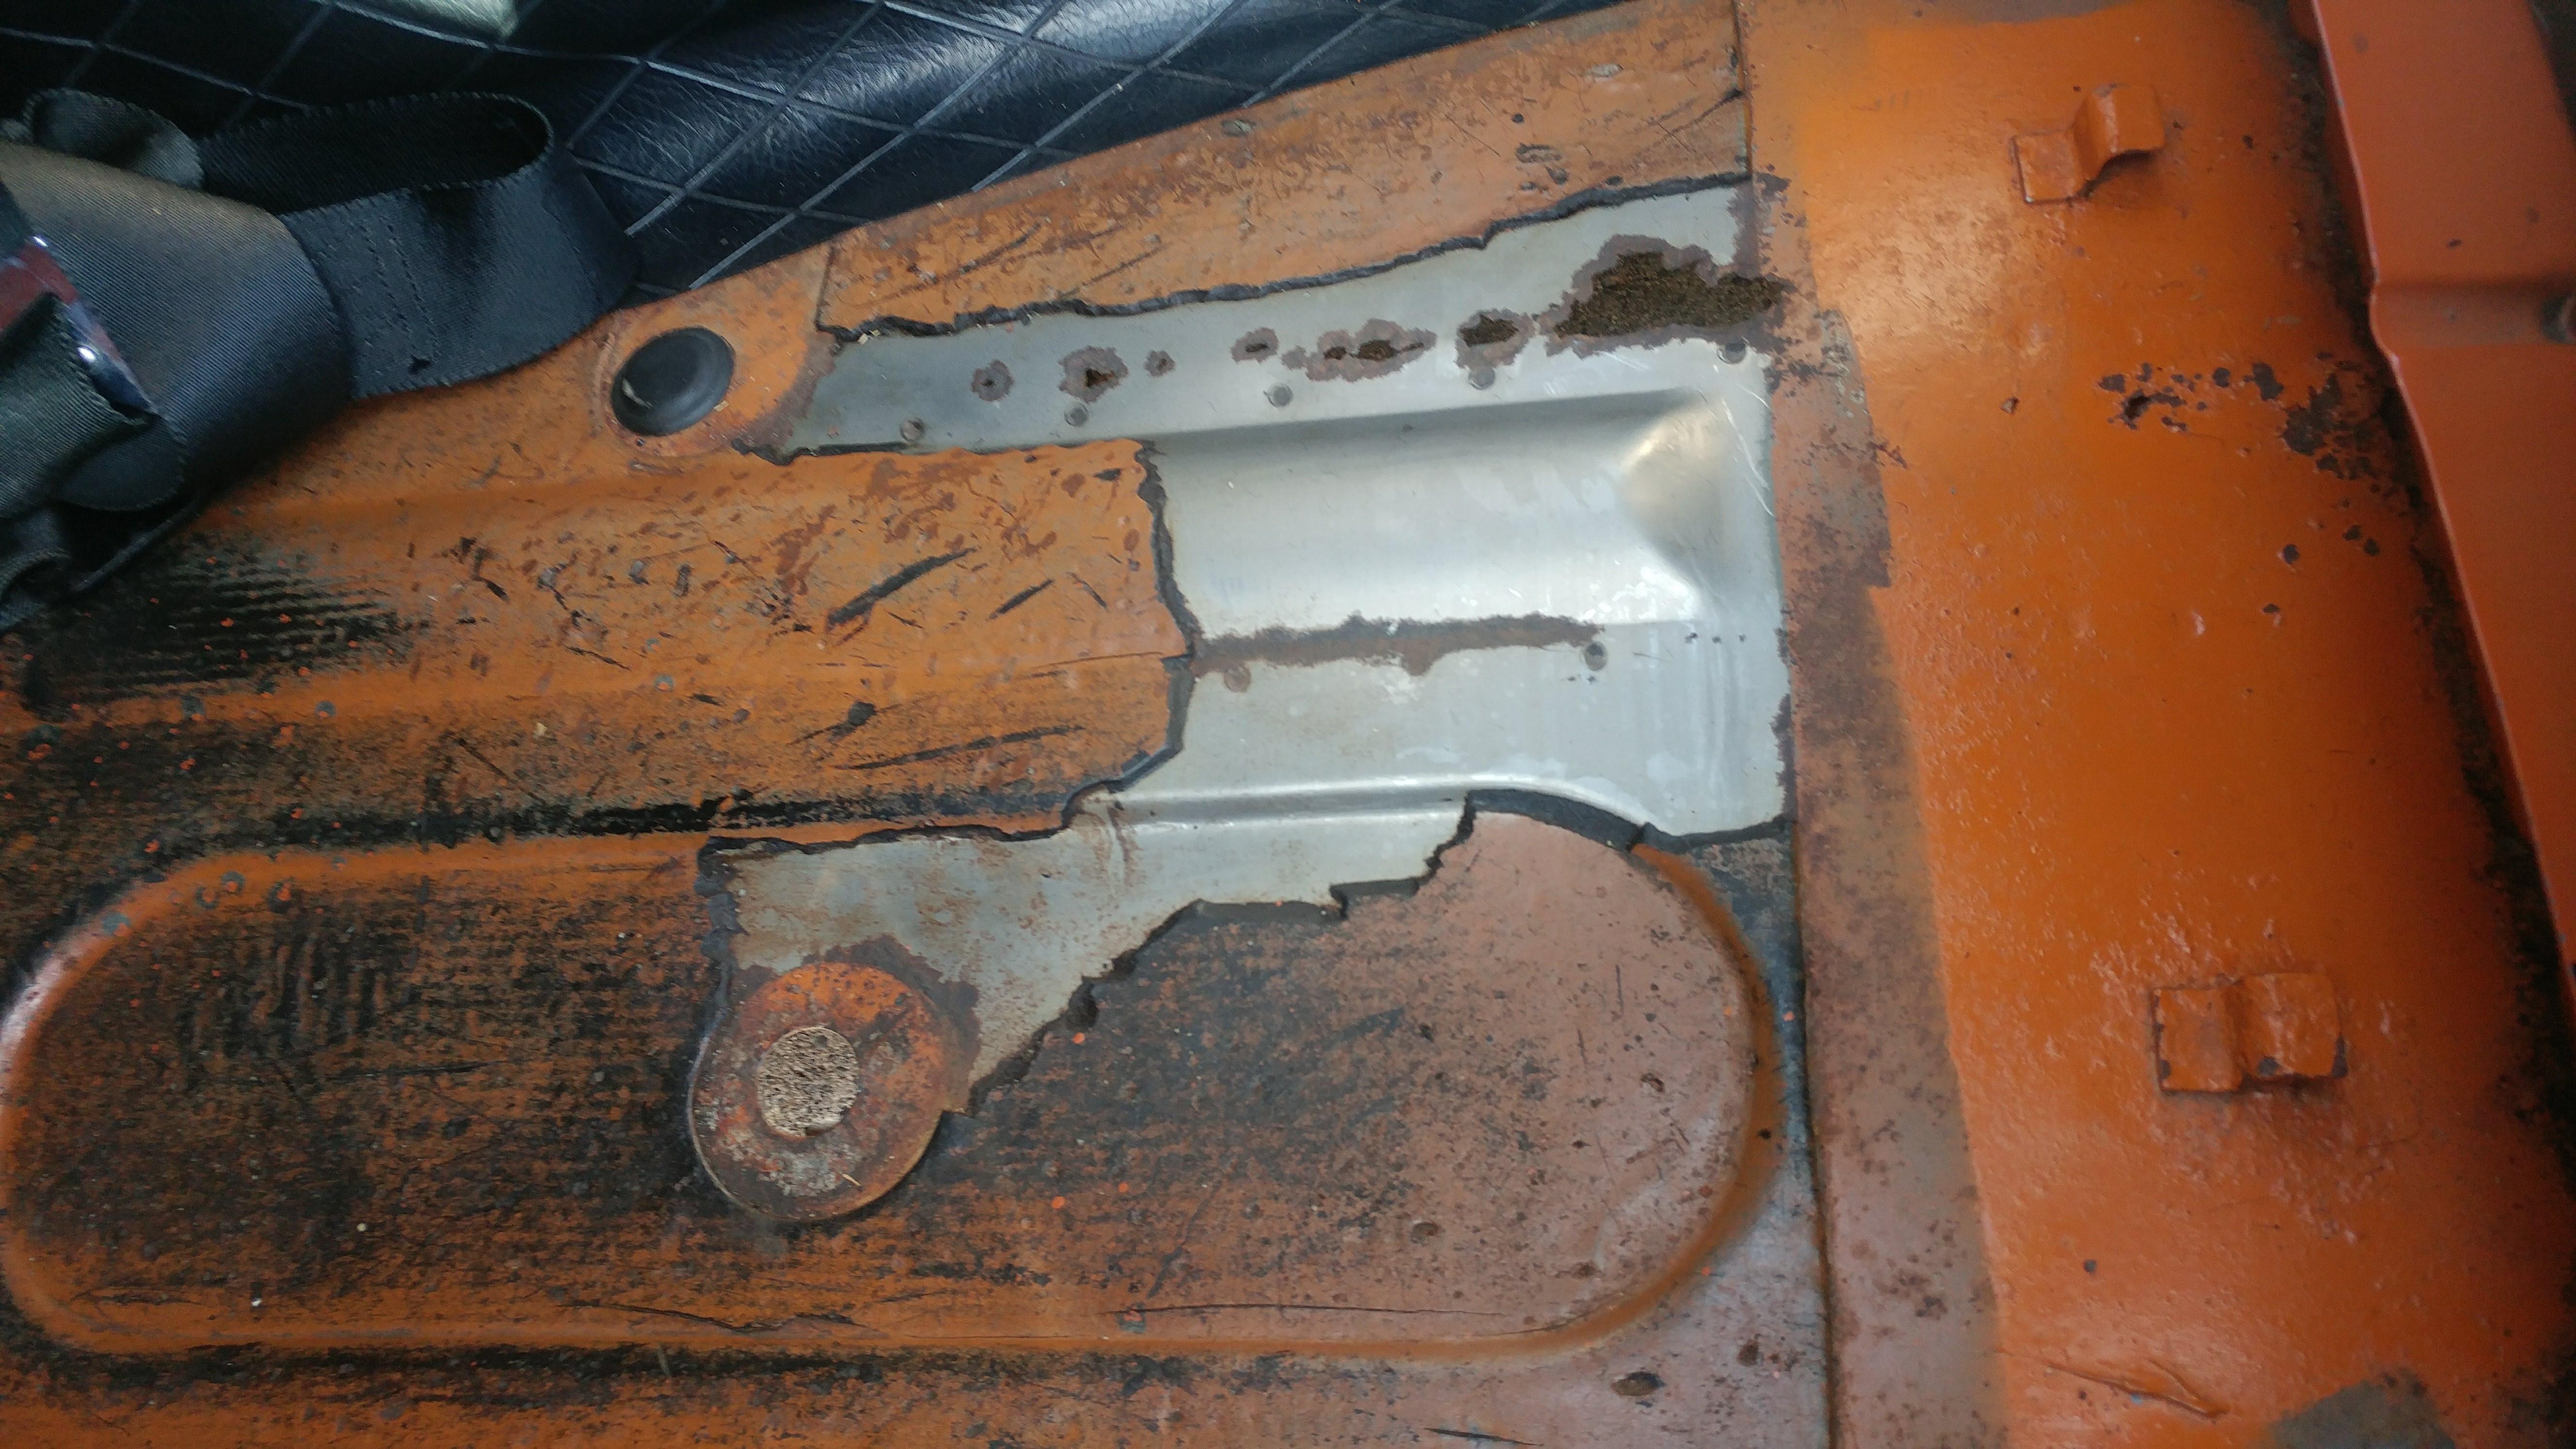
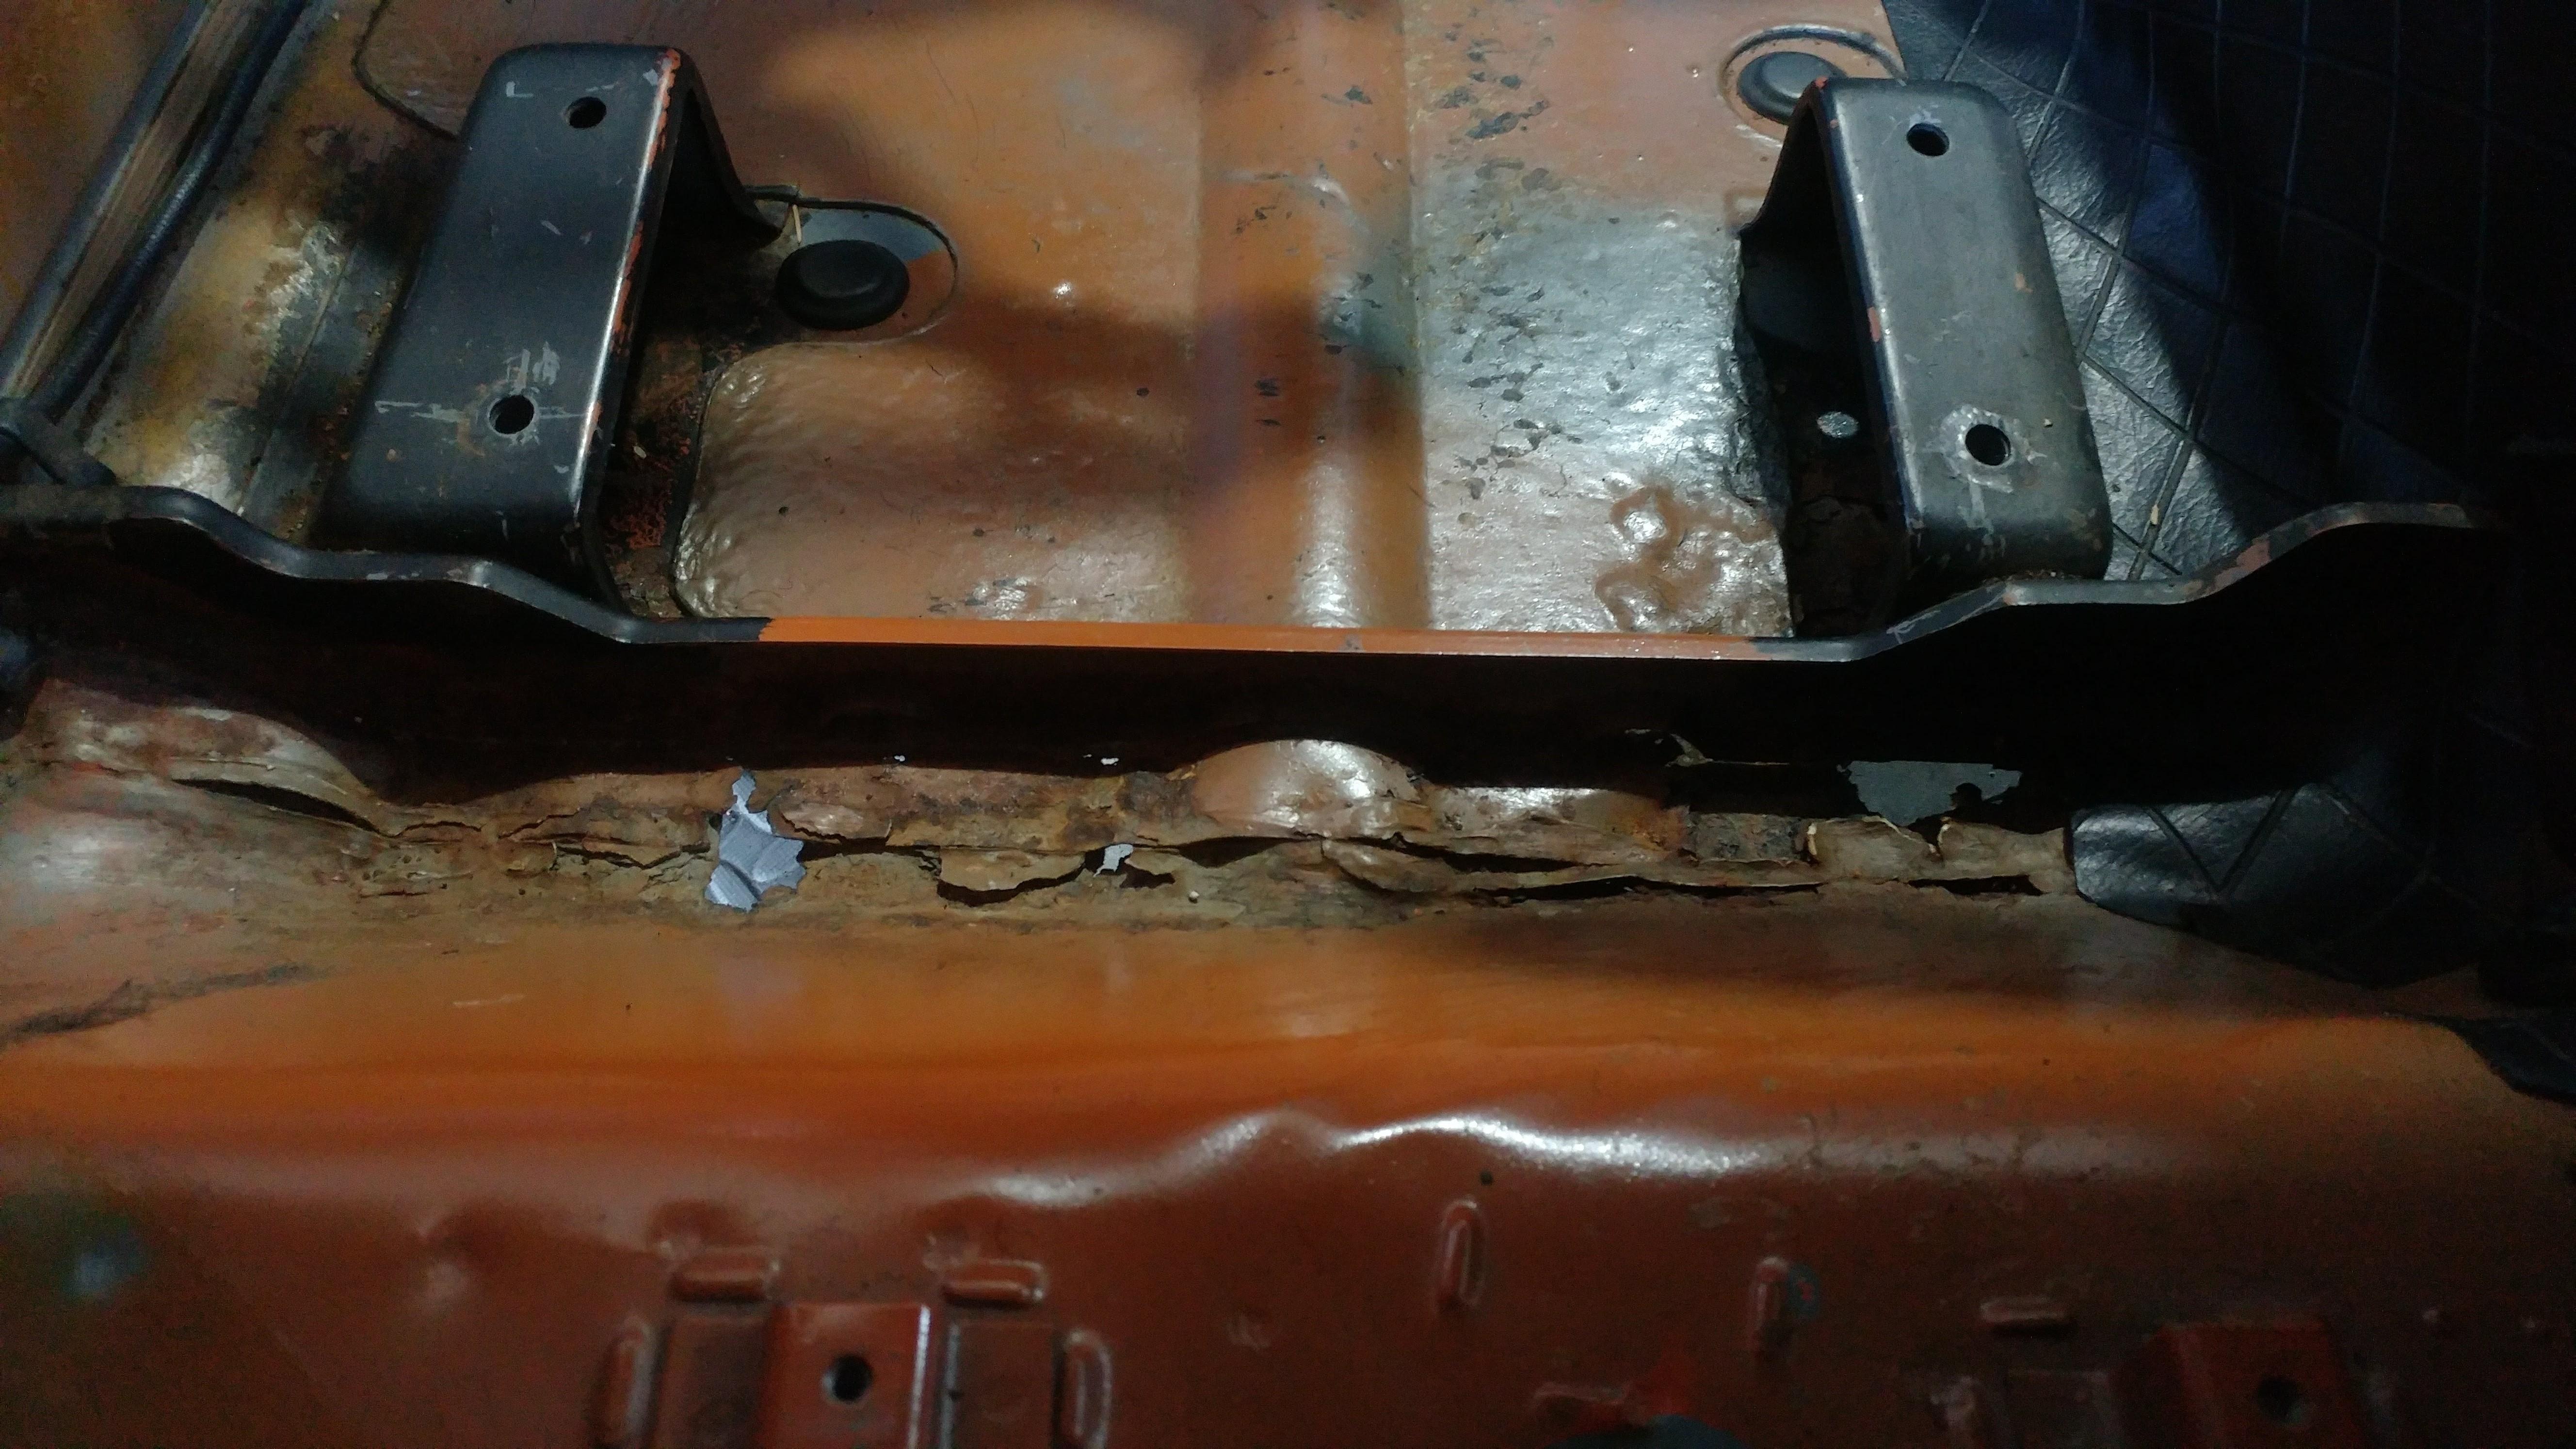
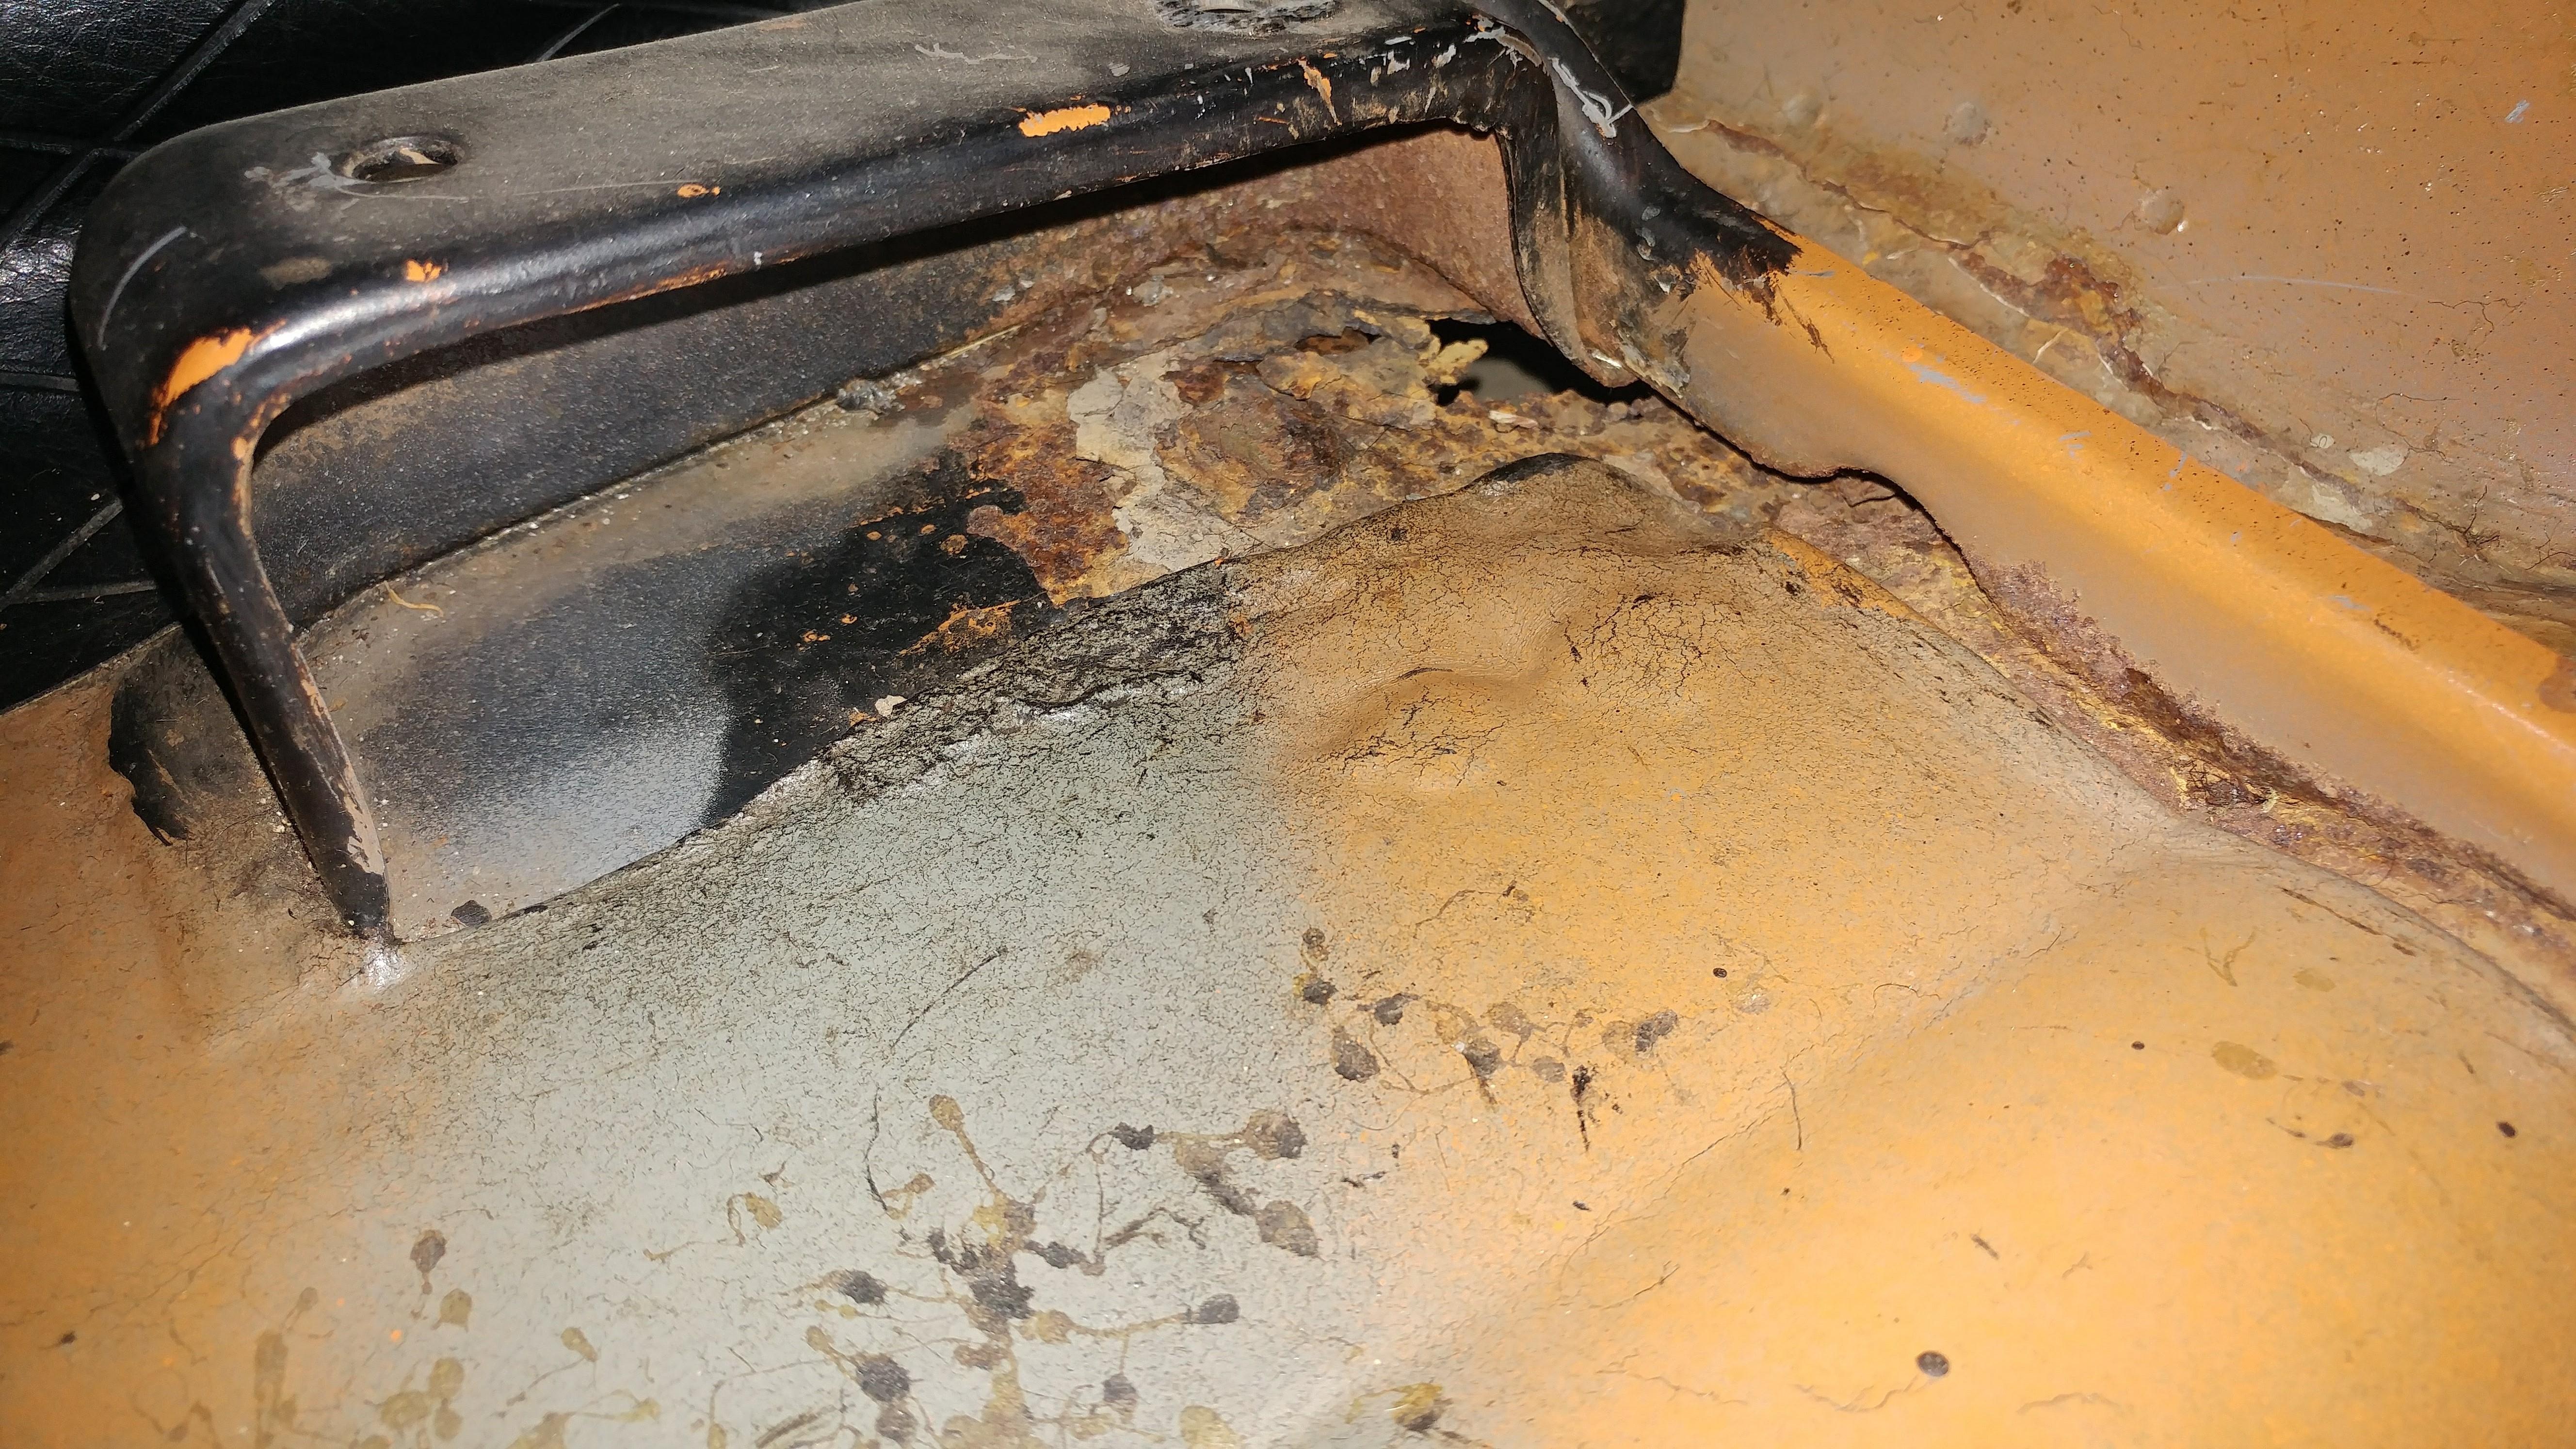
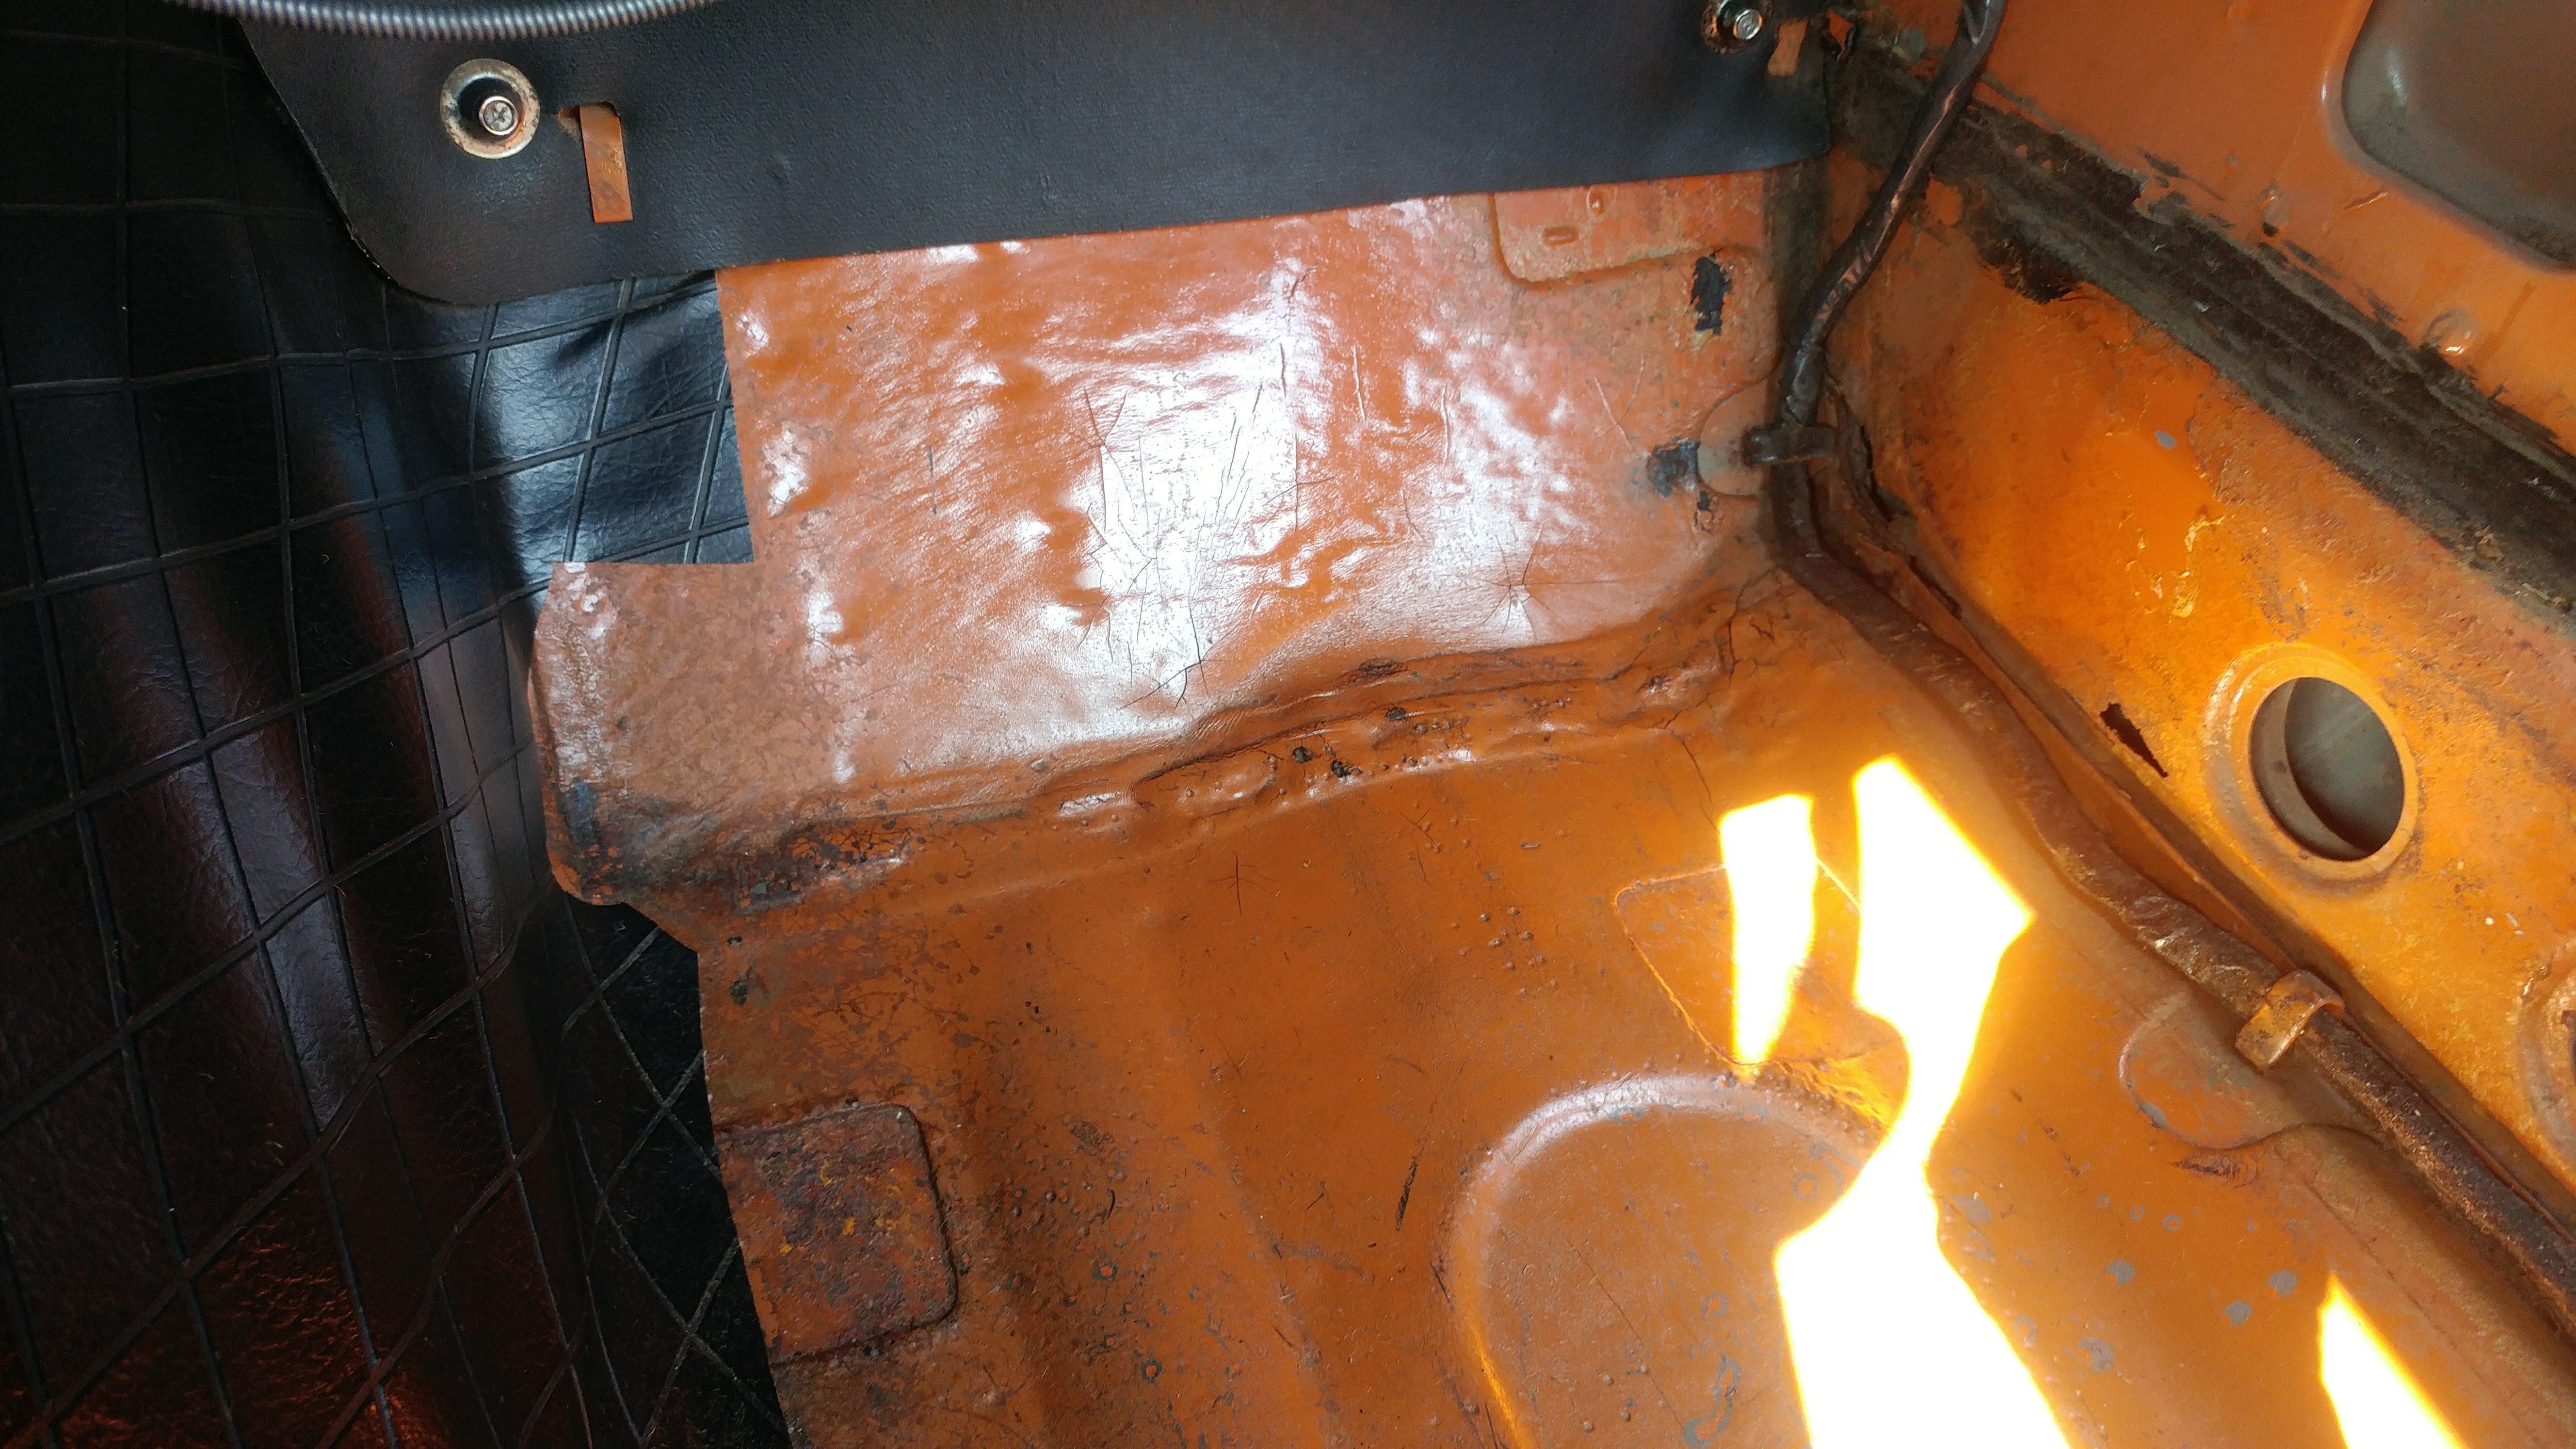
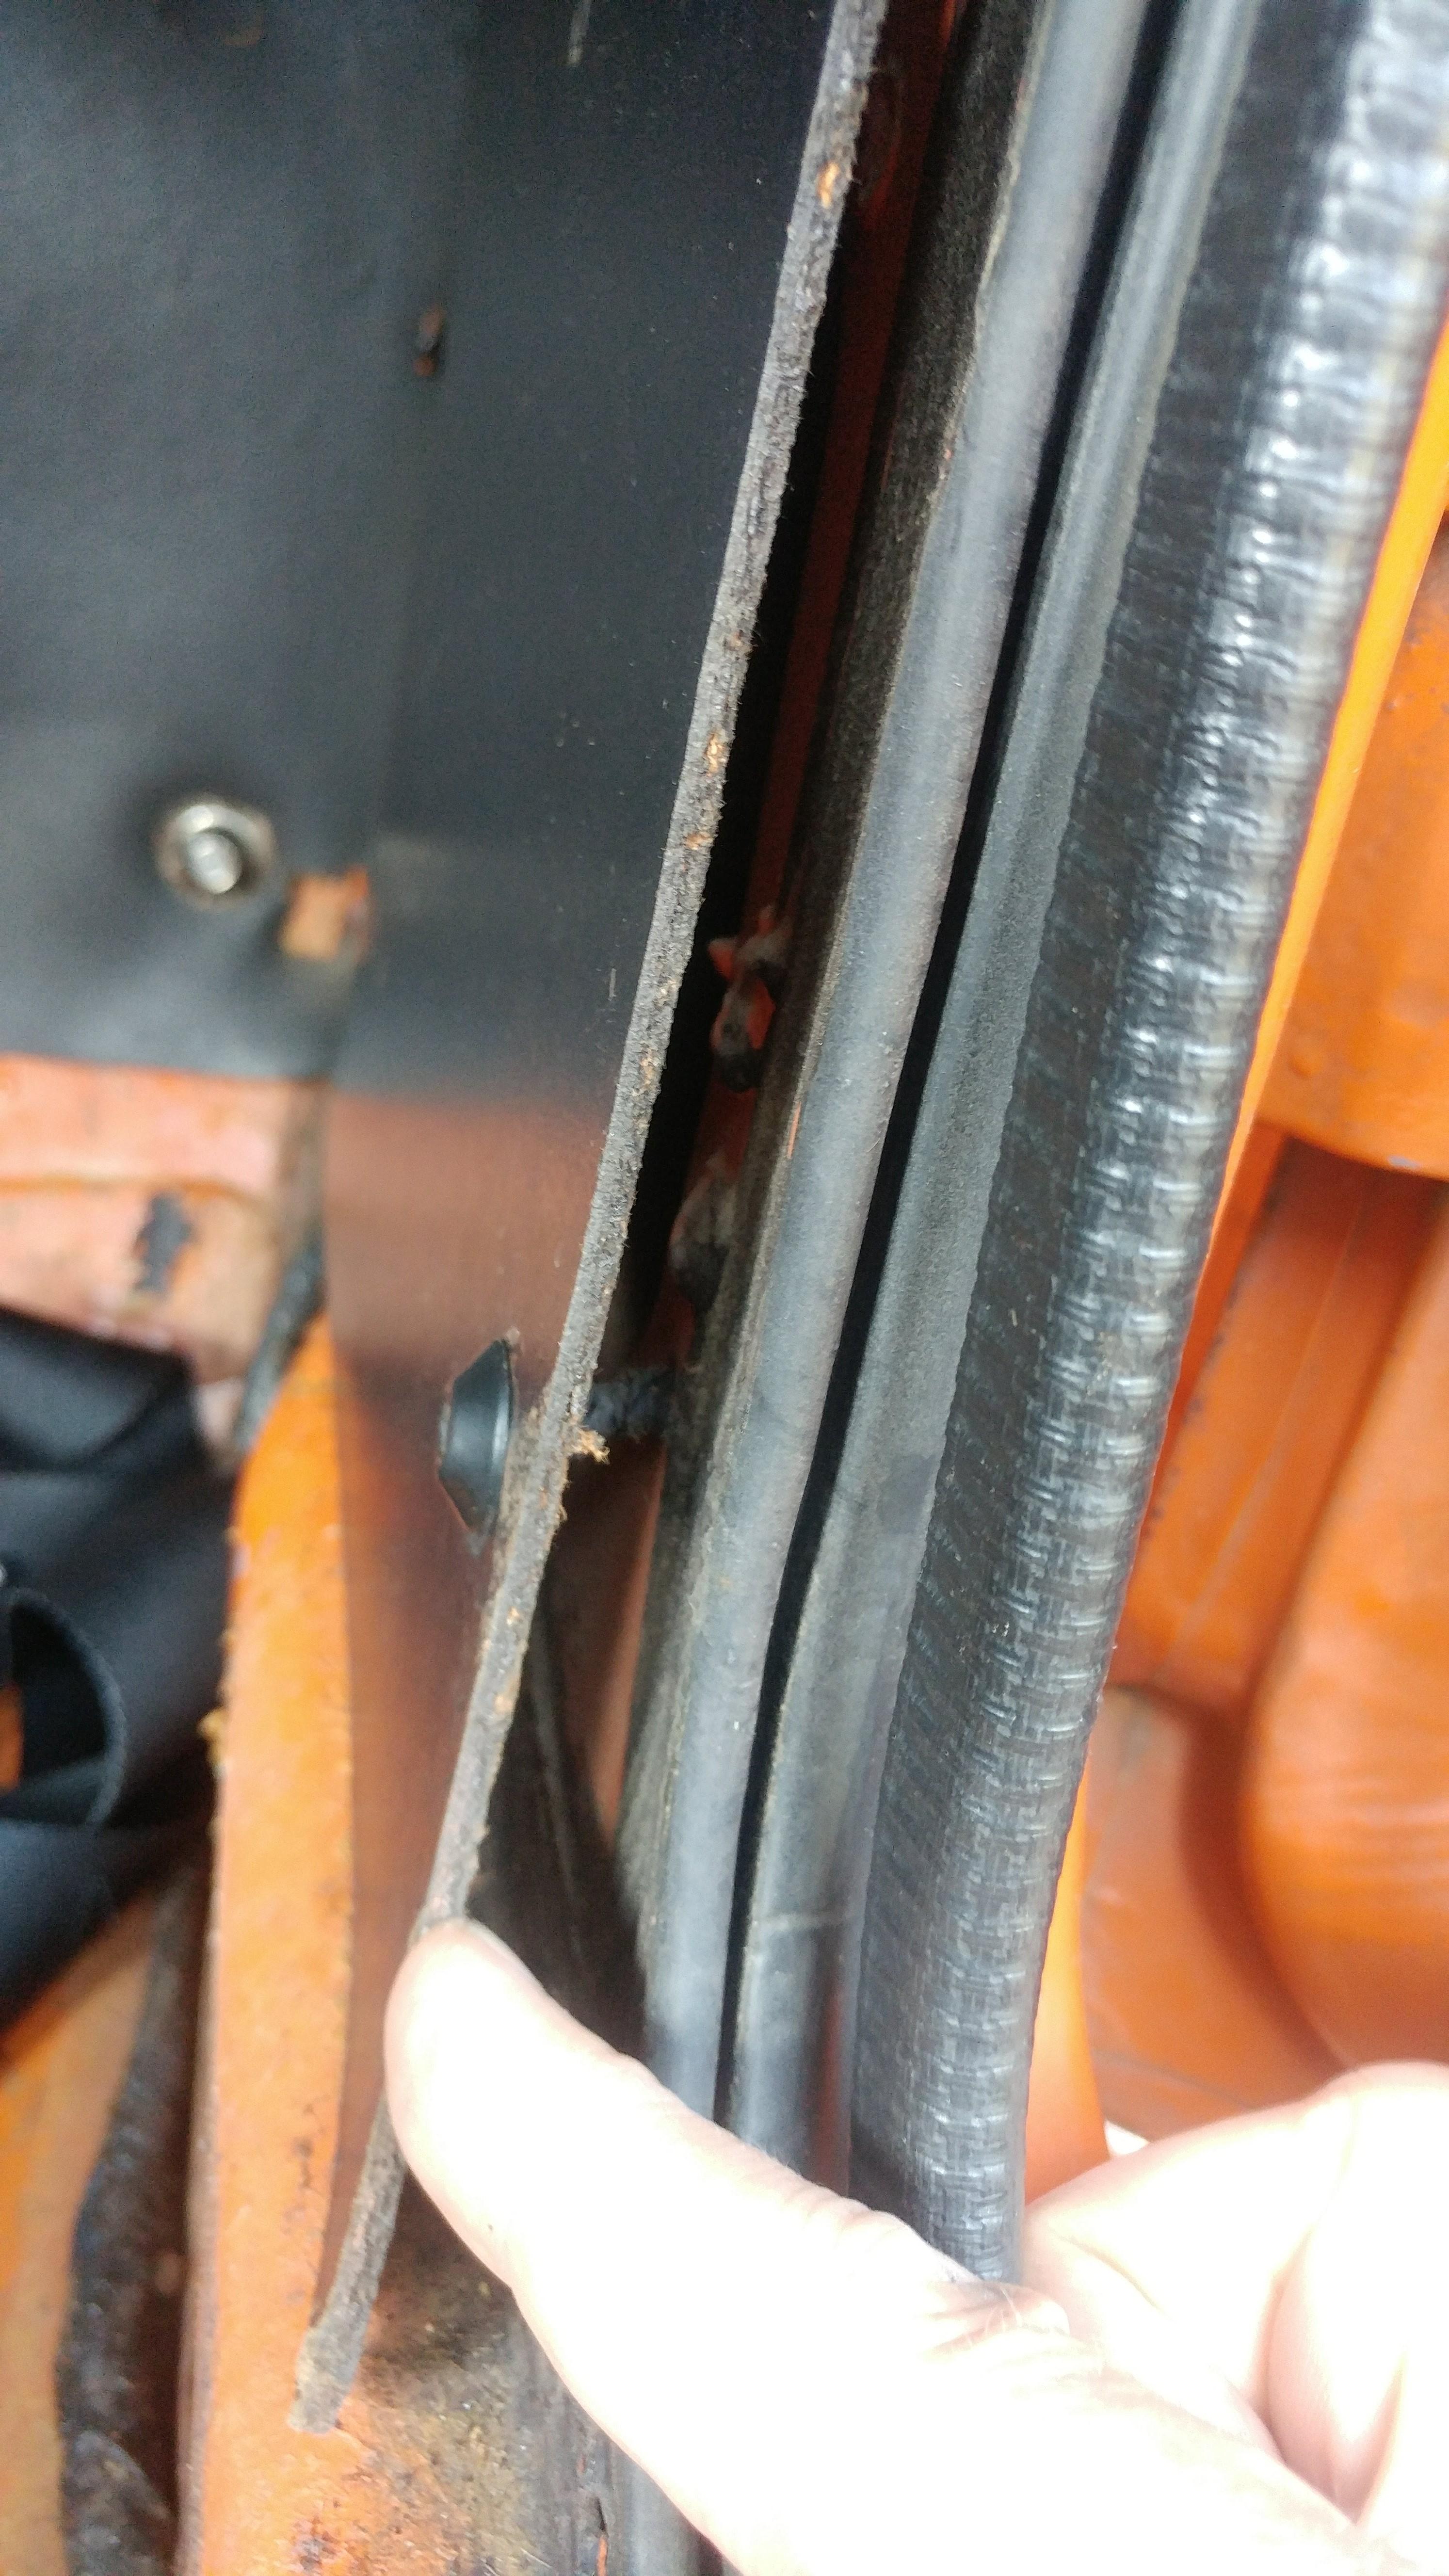
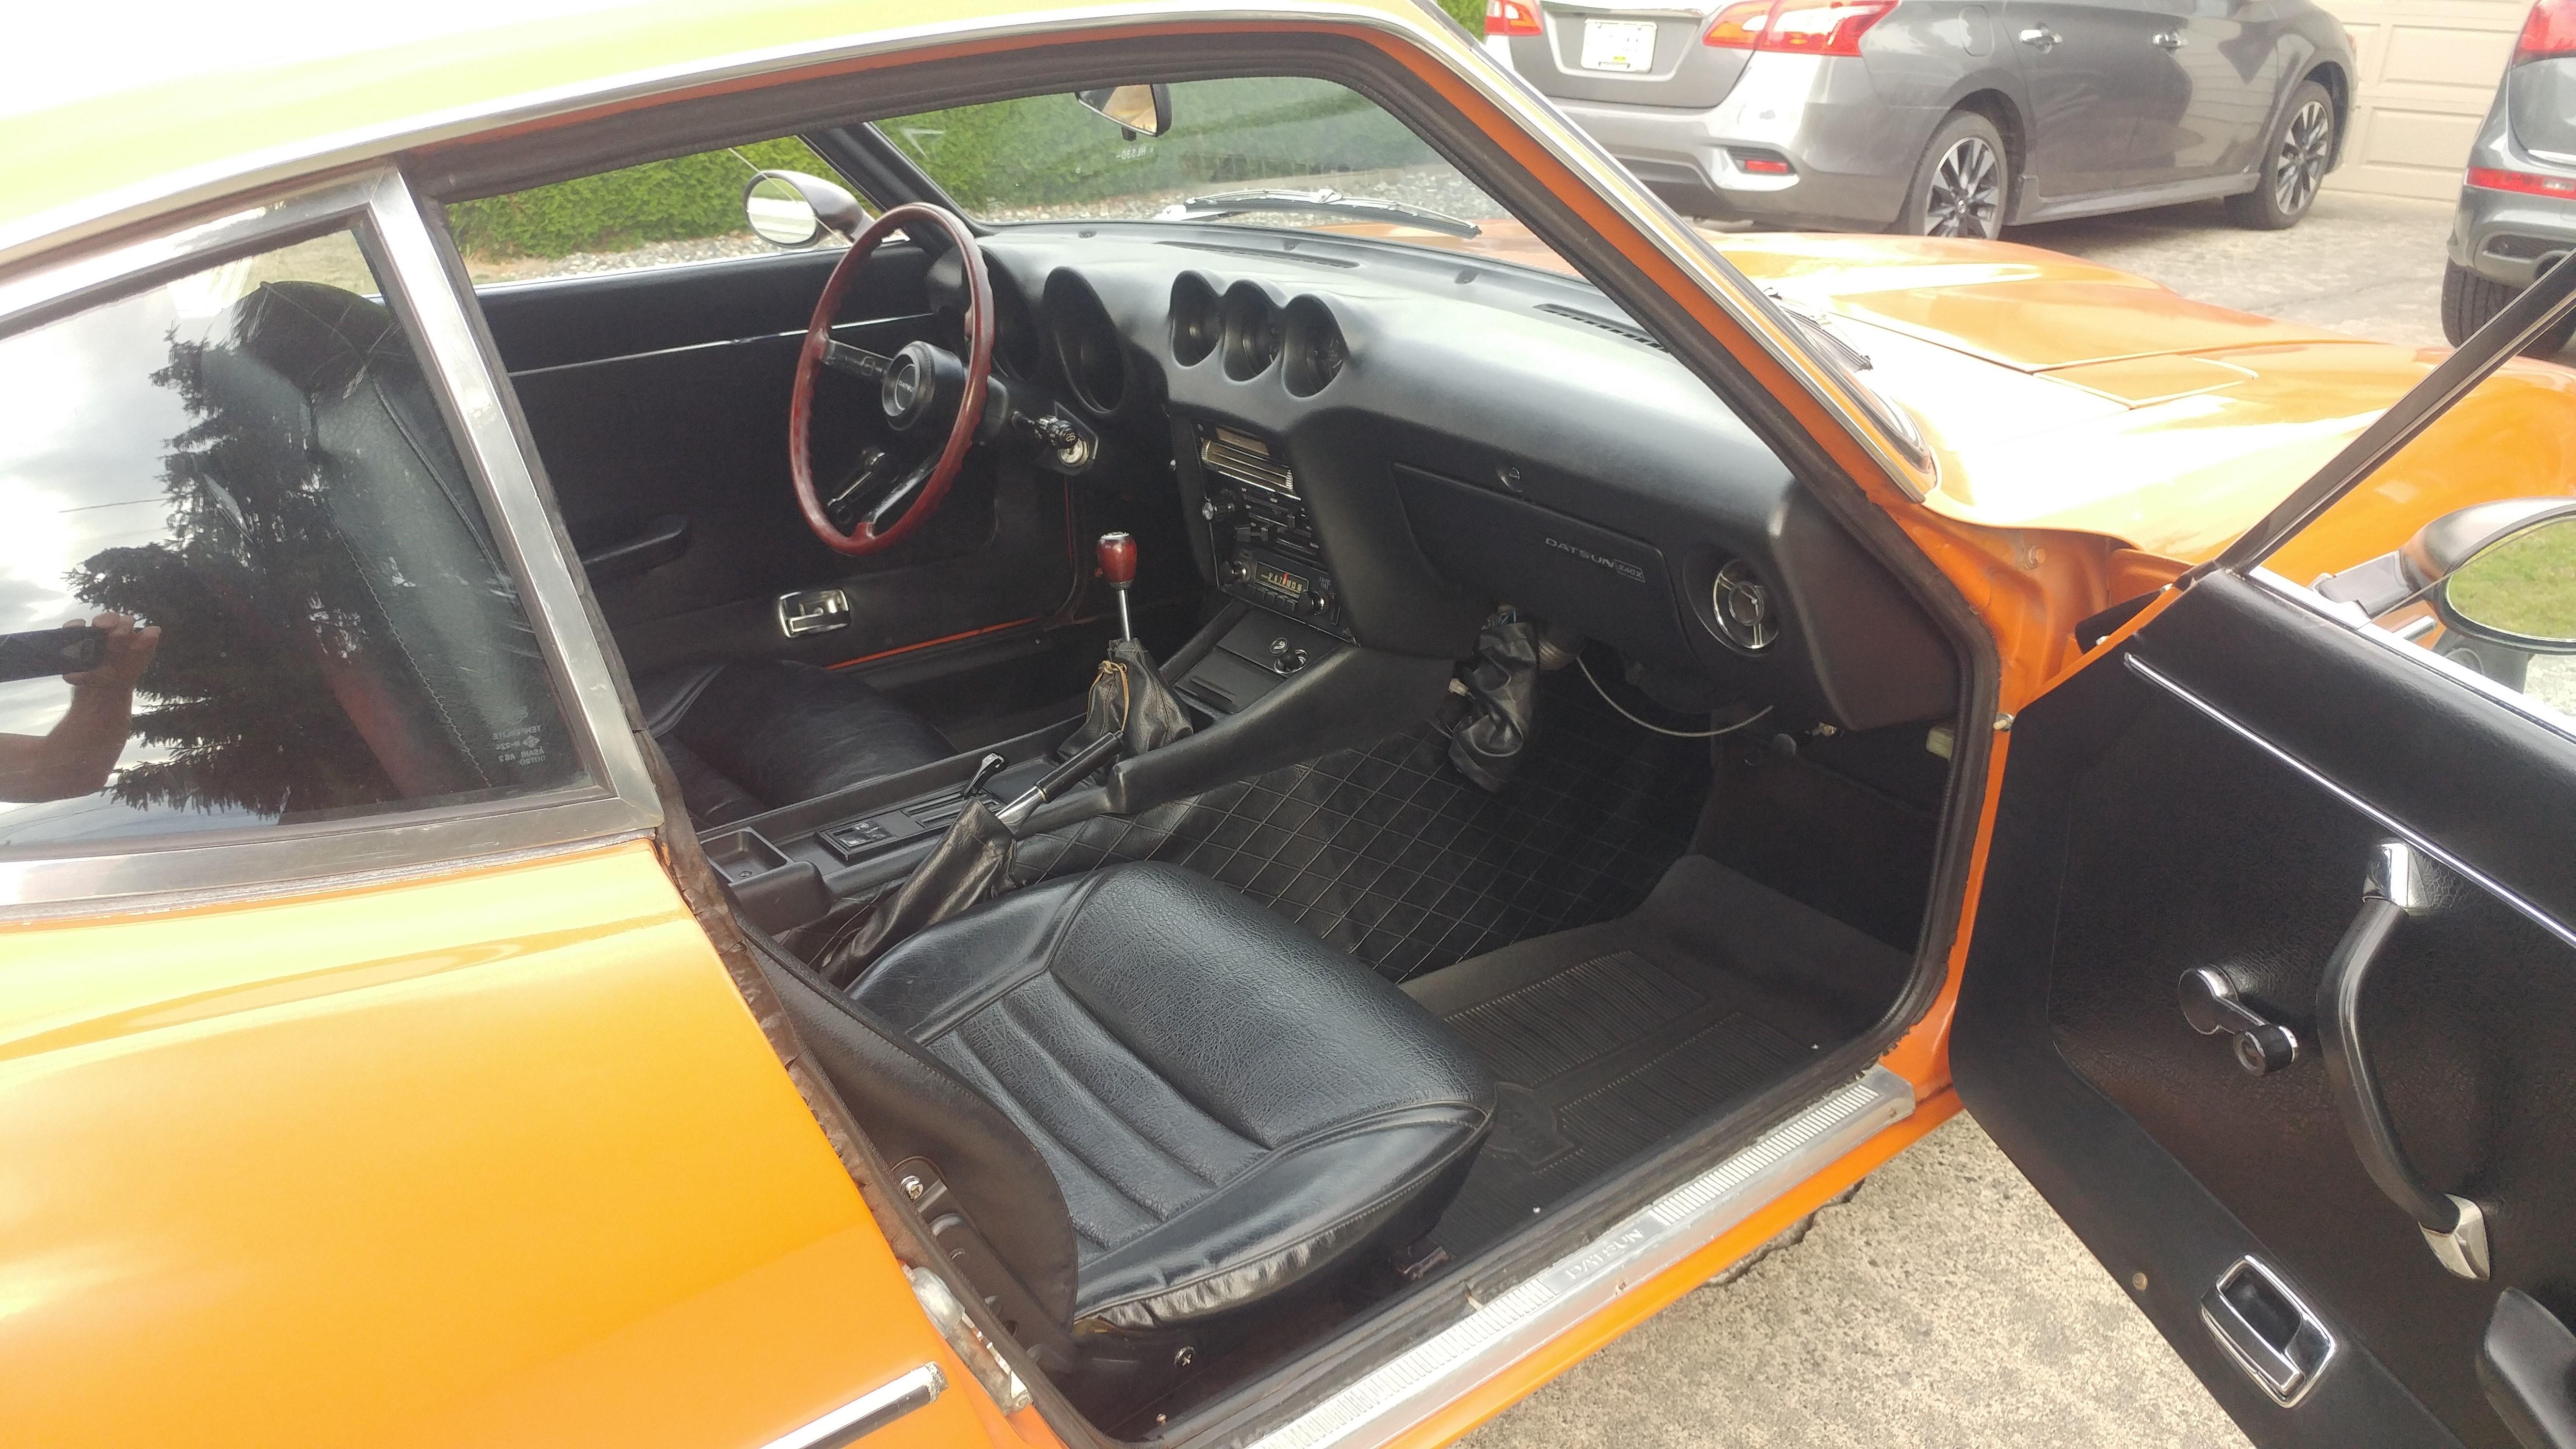
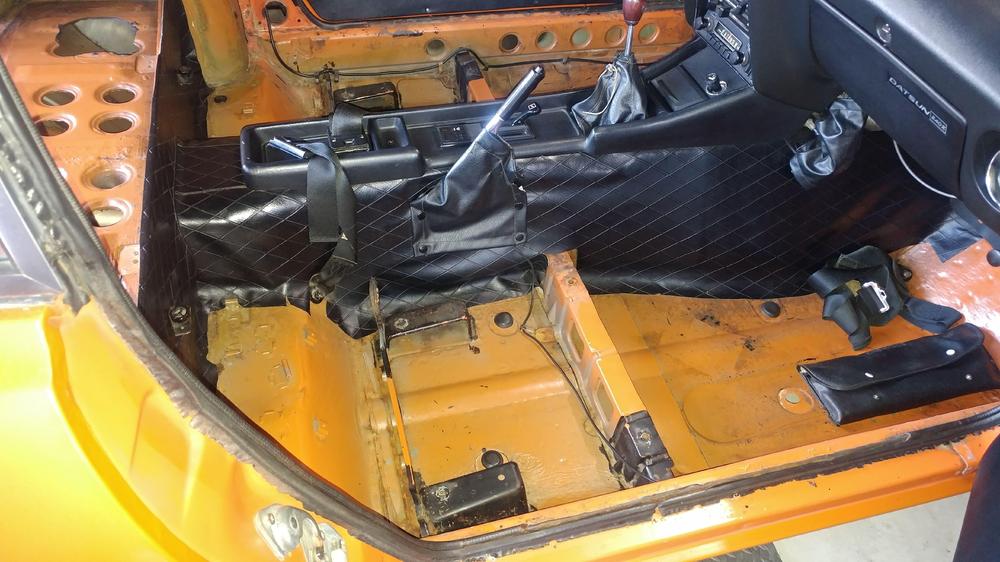
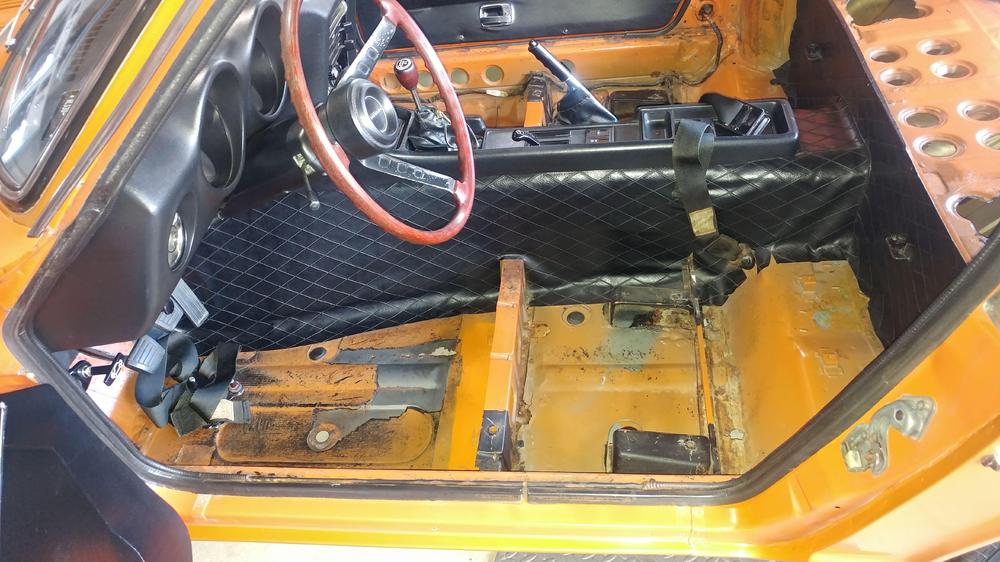
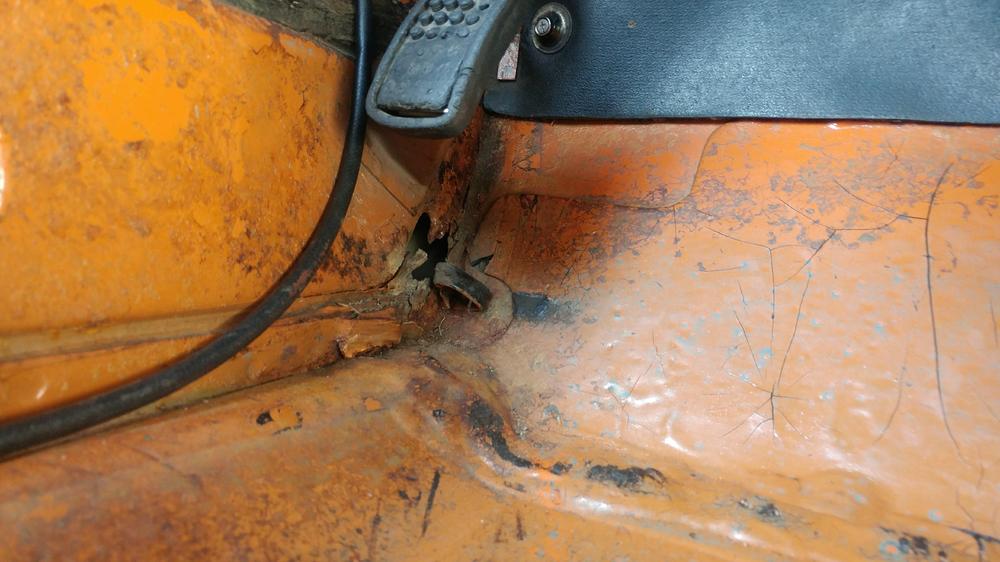
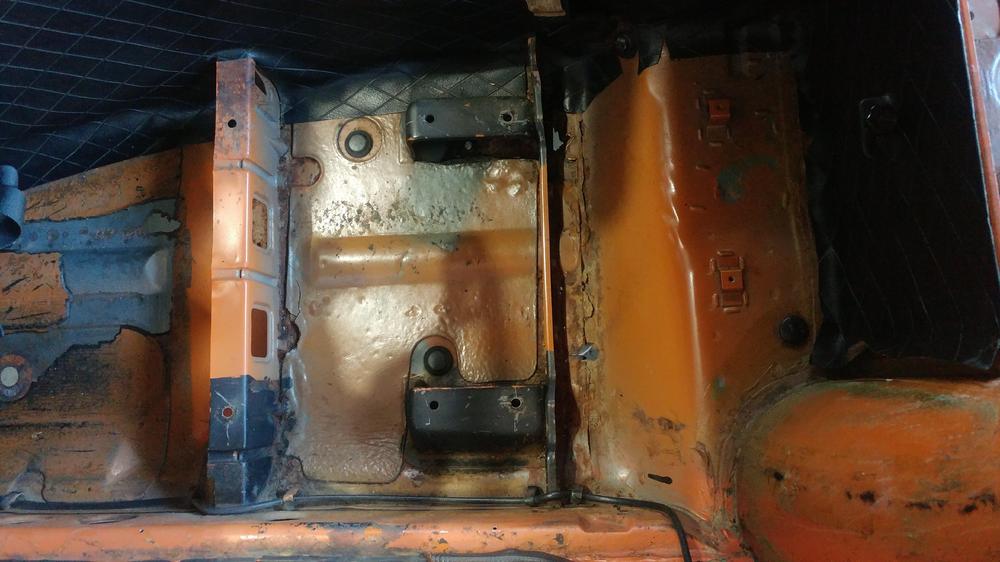
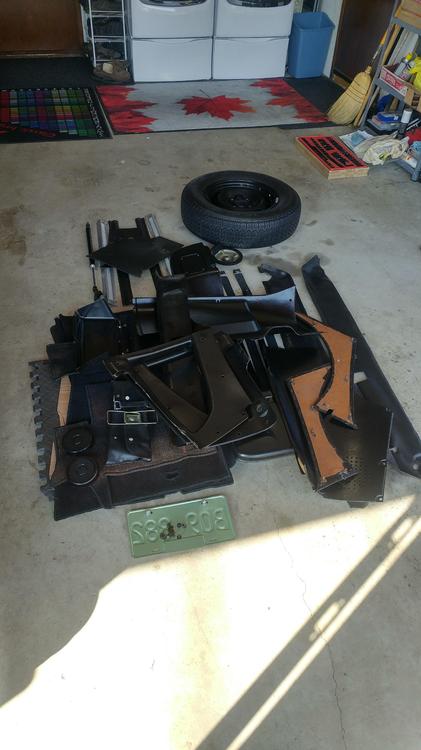
Got enough of the interior out to get a good visual of the problem areas, here is what I found. Luckily so far I have only broken this one retainer on the RH kick panel, not sure how I could have saved it. Overall I'm not too shocked with what I have found and I won't be pulling much more until I have selected a restoration shop to work with. I want to keep the car drivable as long as possible.


-
181 is available again, this time on BAT at no reserve. It will be interesting to see what it goes for this time. https://bringatrailer.com/listing/1970-datsun-240z-28/
-
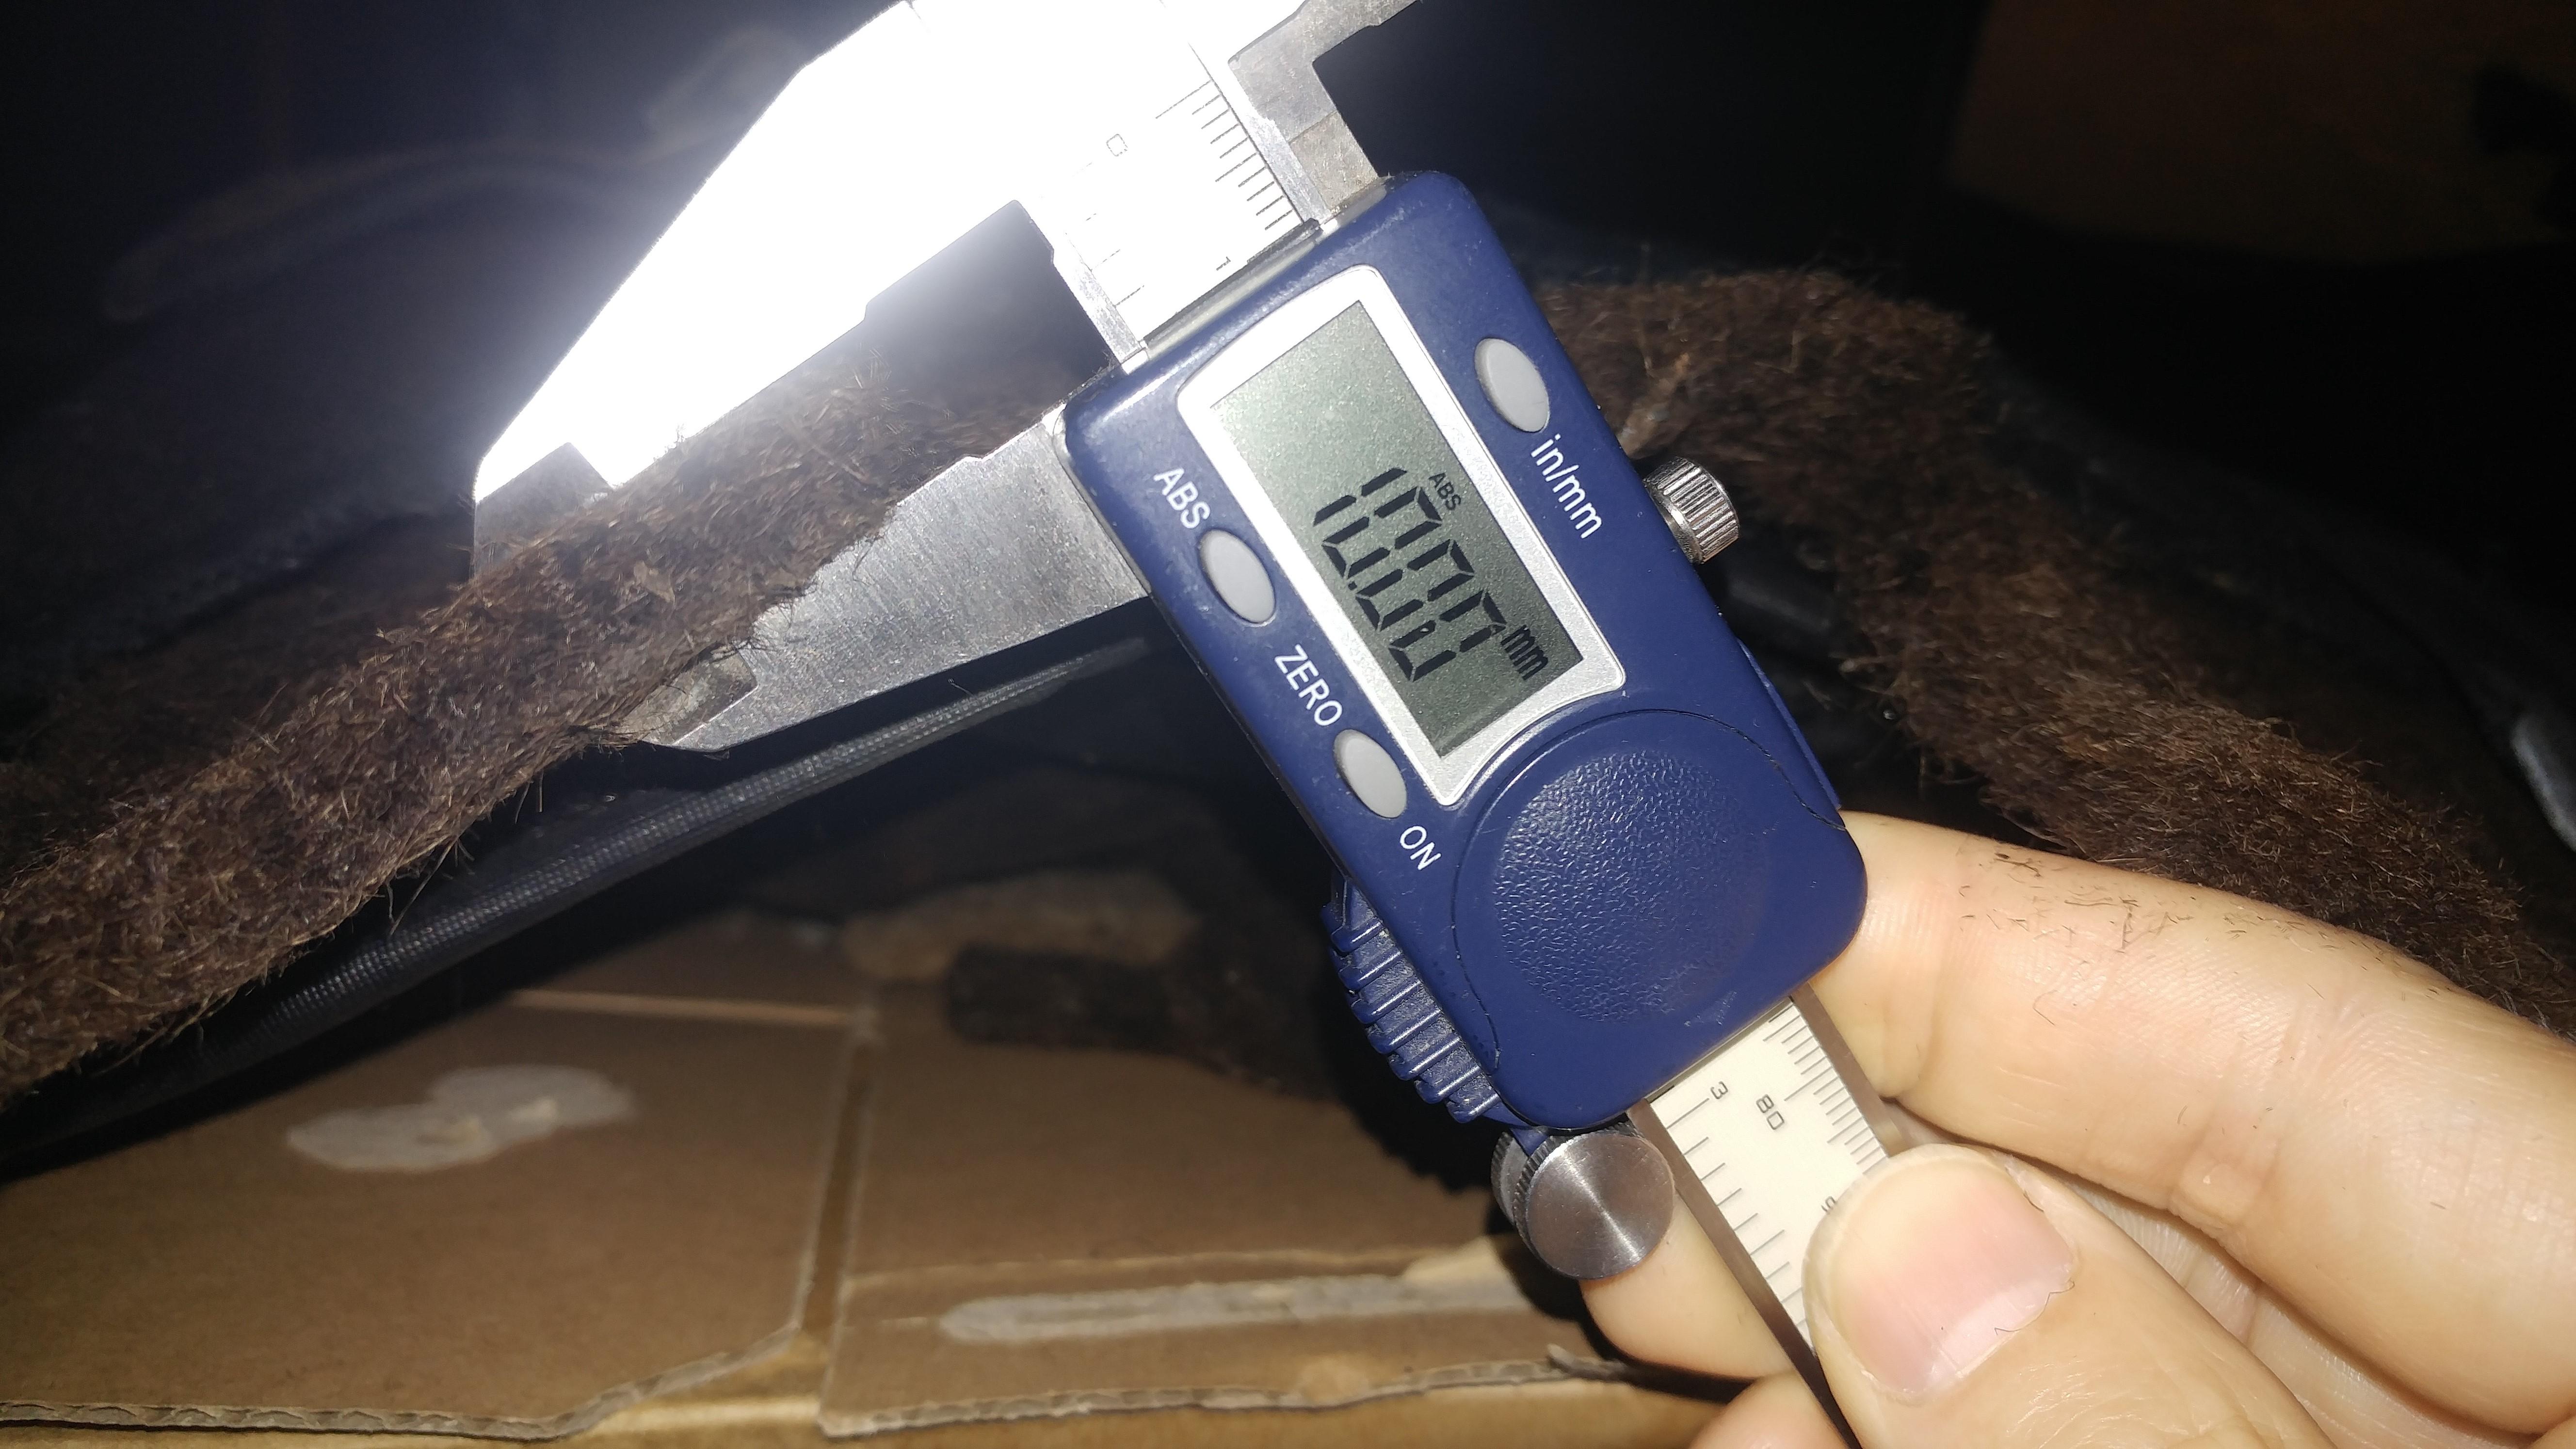
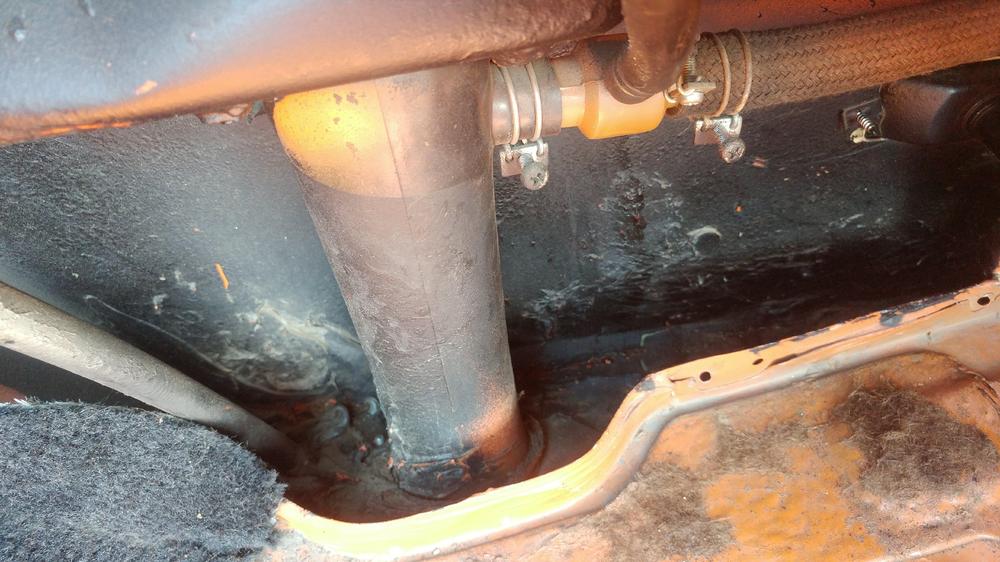
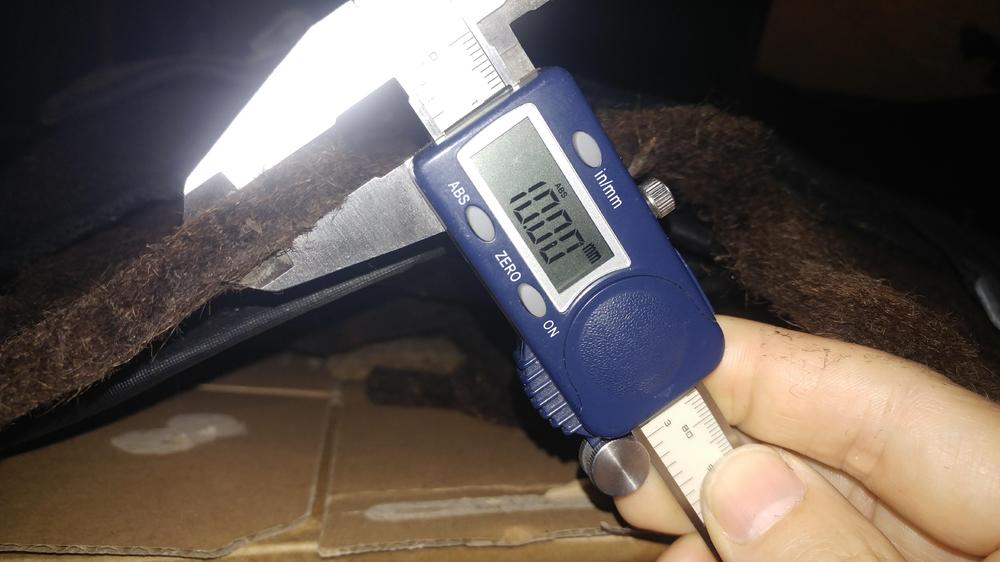
I'm in the middle of removing my interior, here is a picture showing the thickness of the original jute in my 7'70 hatch floor area. Uncompressed it measures about 10mm (.39"). The jute under the front floor mats is more like 1/4" (6mm) in the center after years of use, but the outer edges are like 10mm plus thick.
-
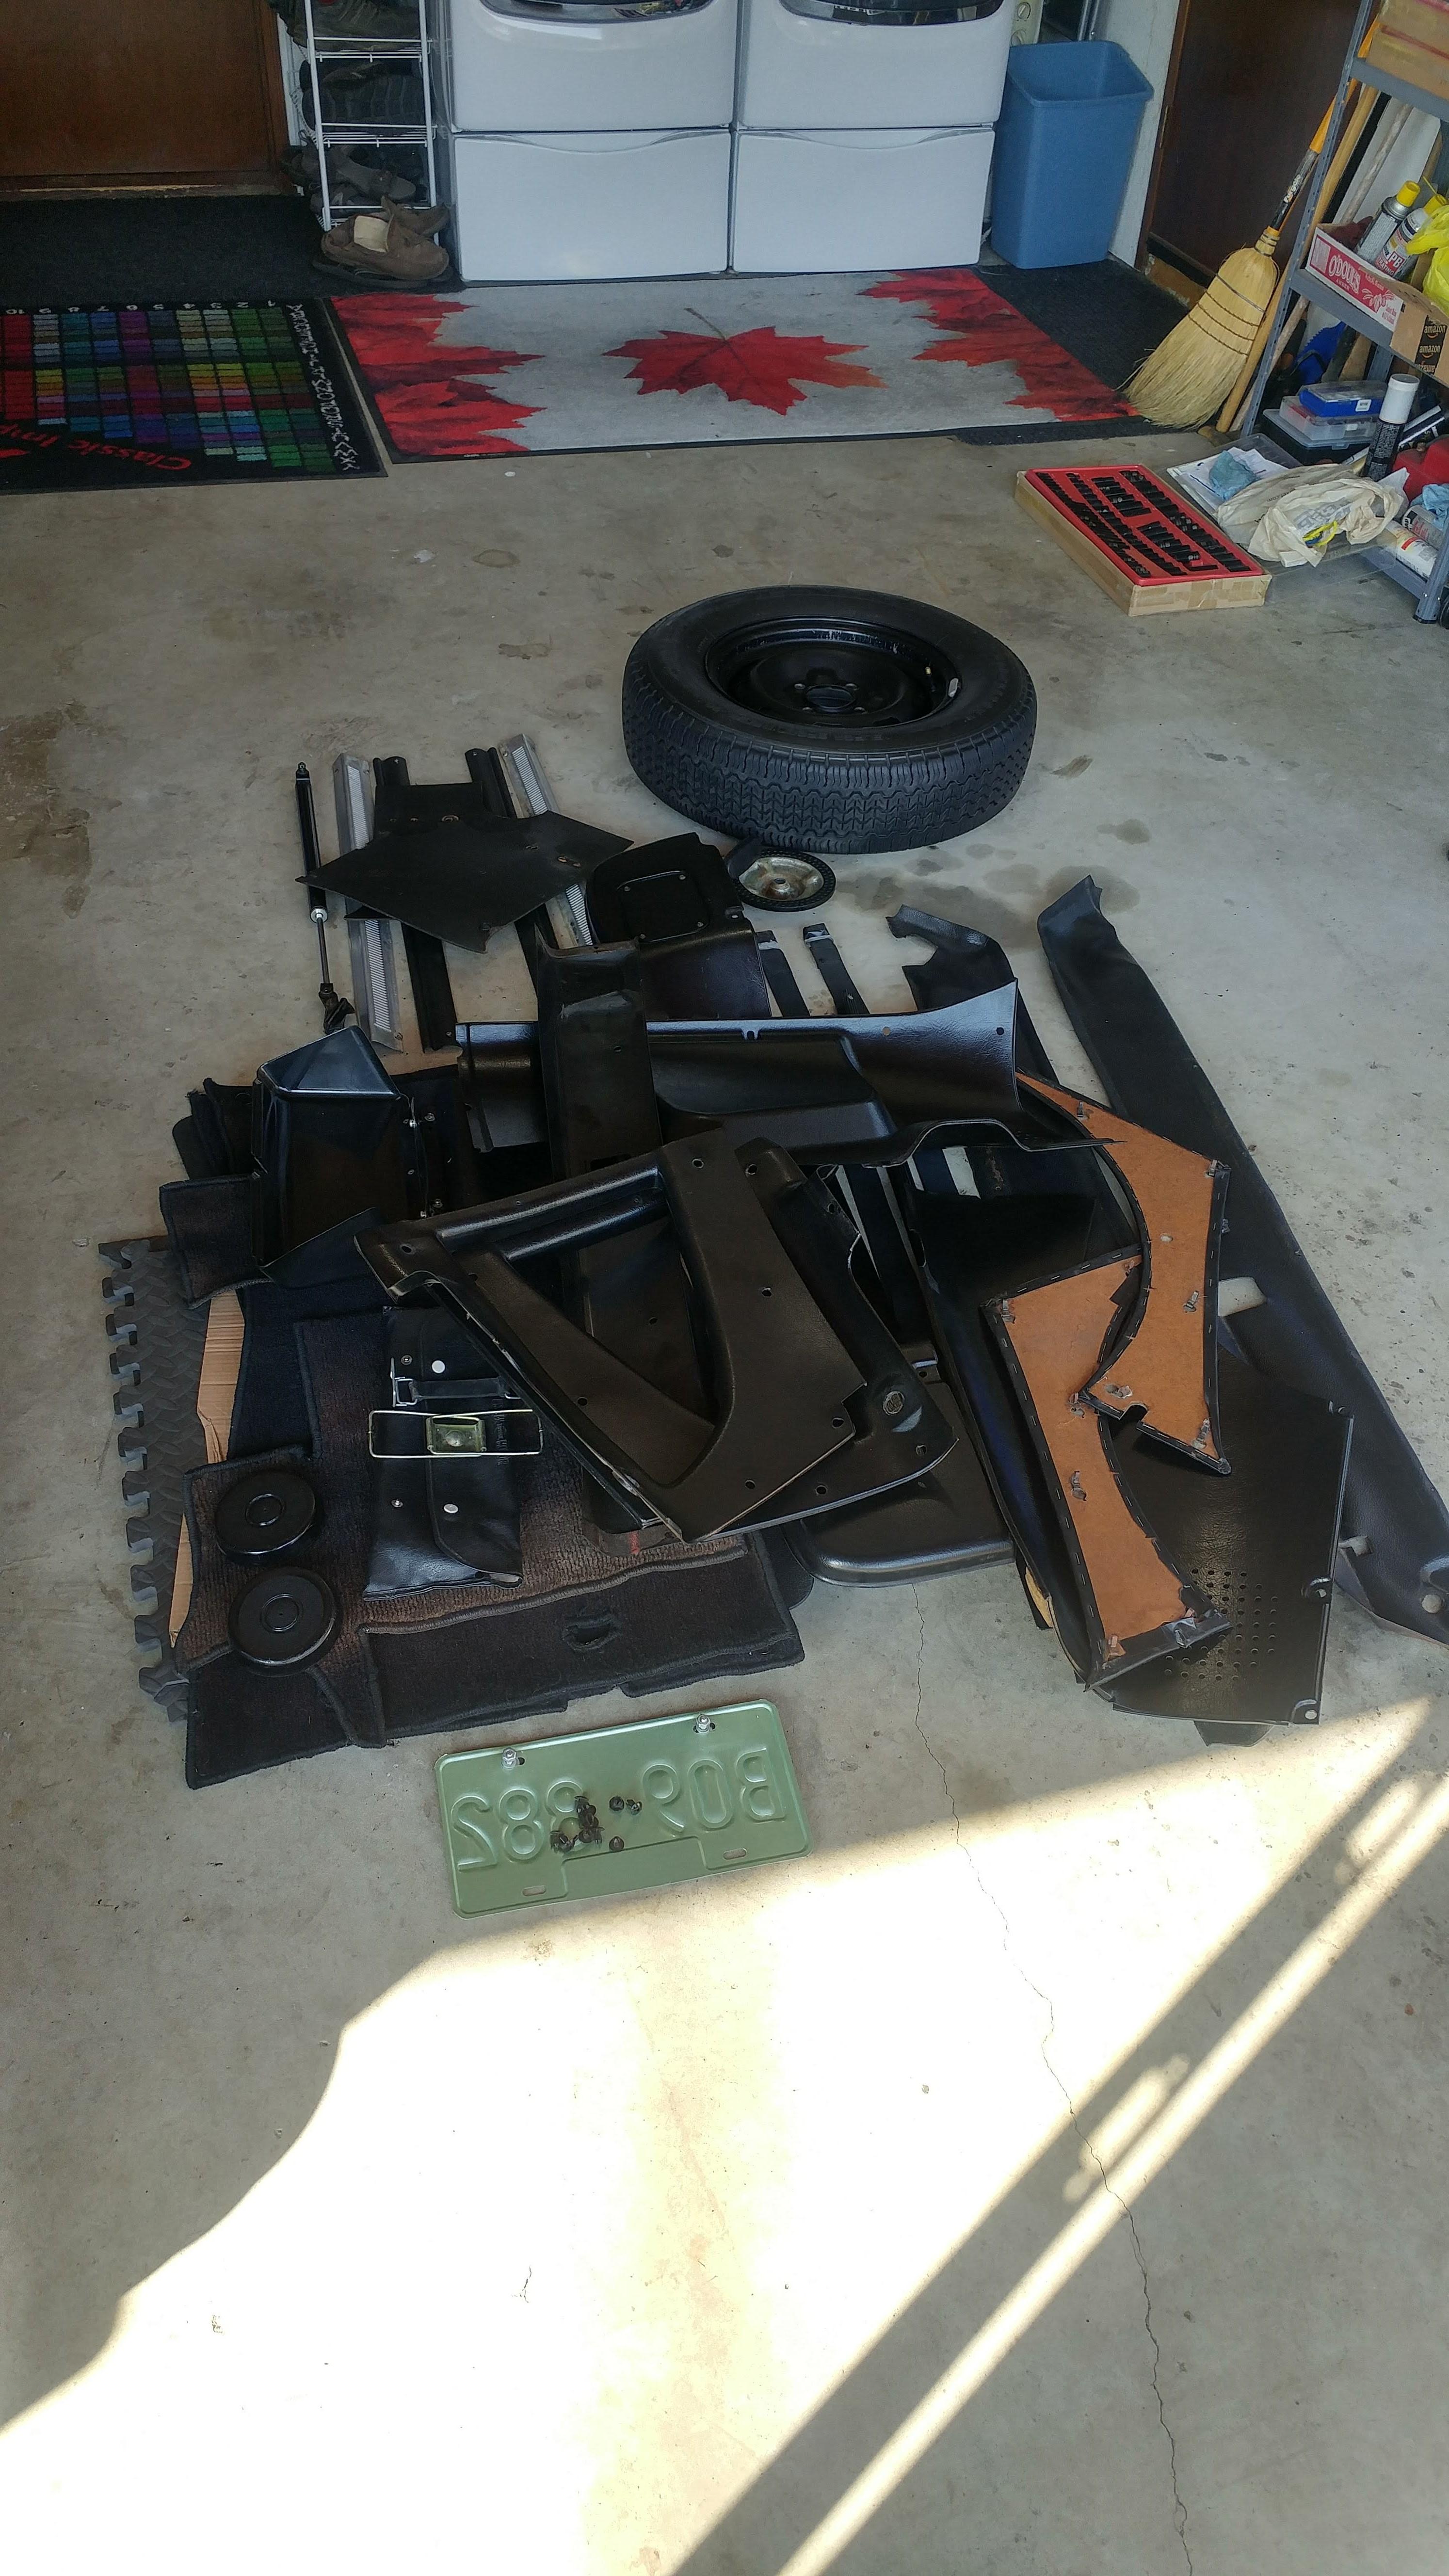
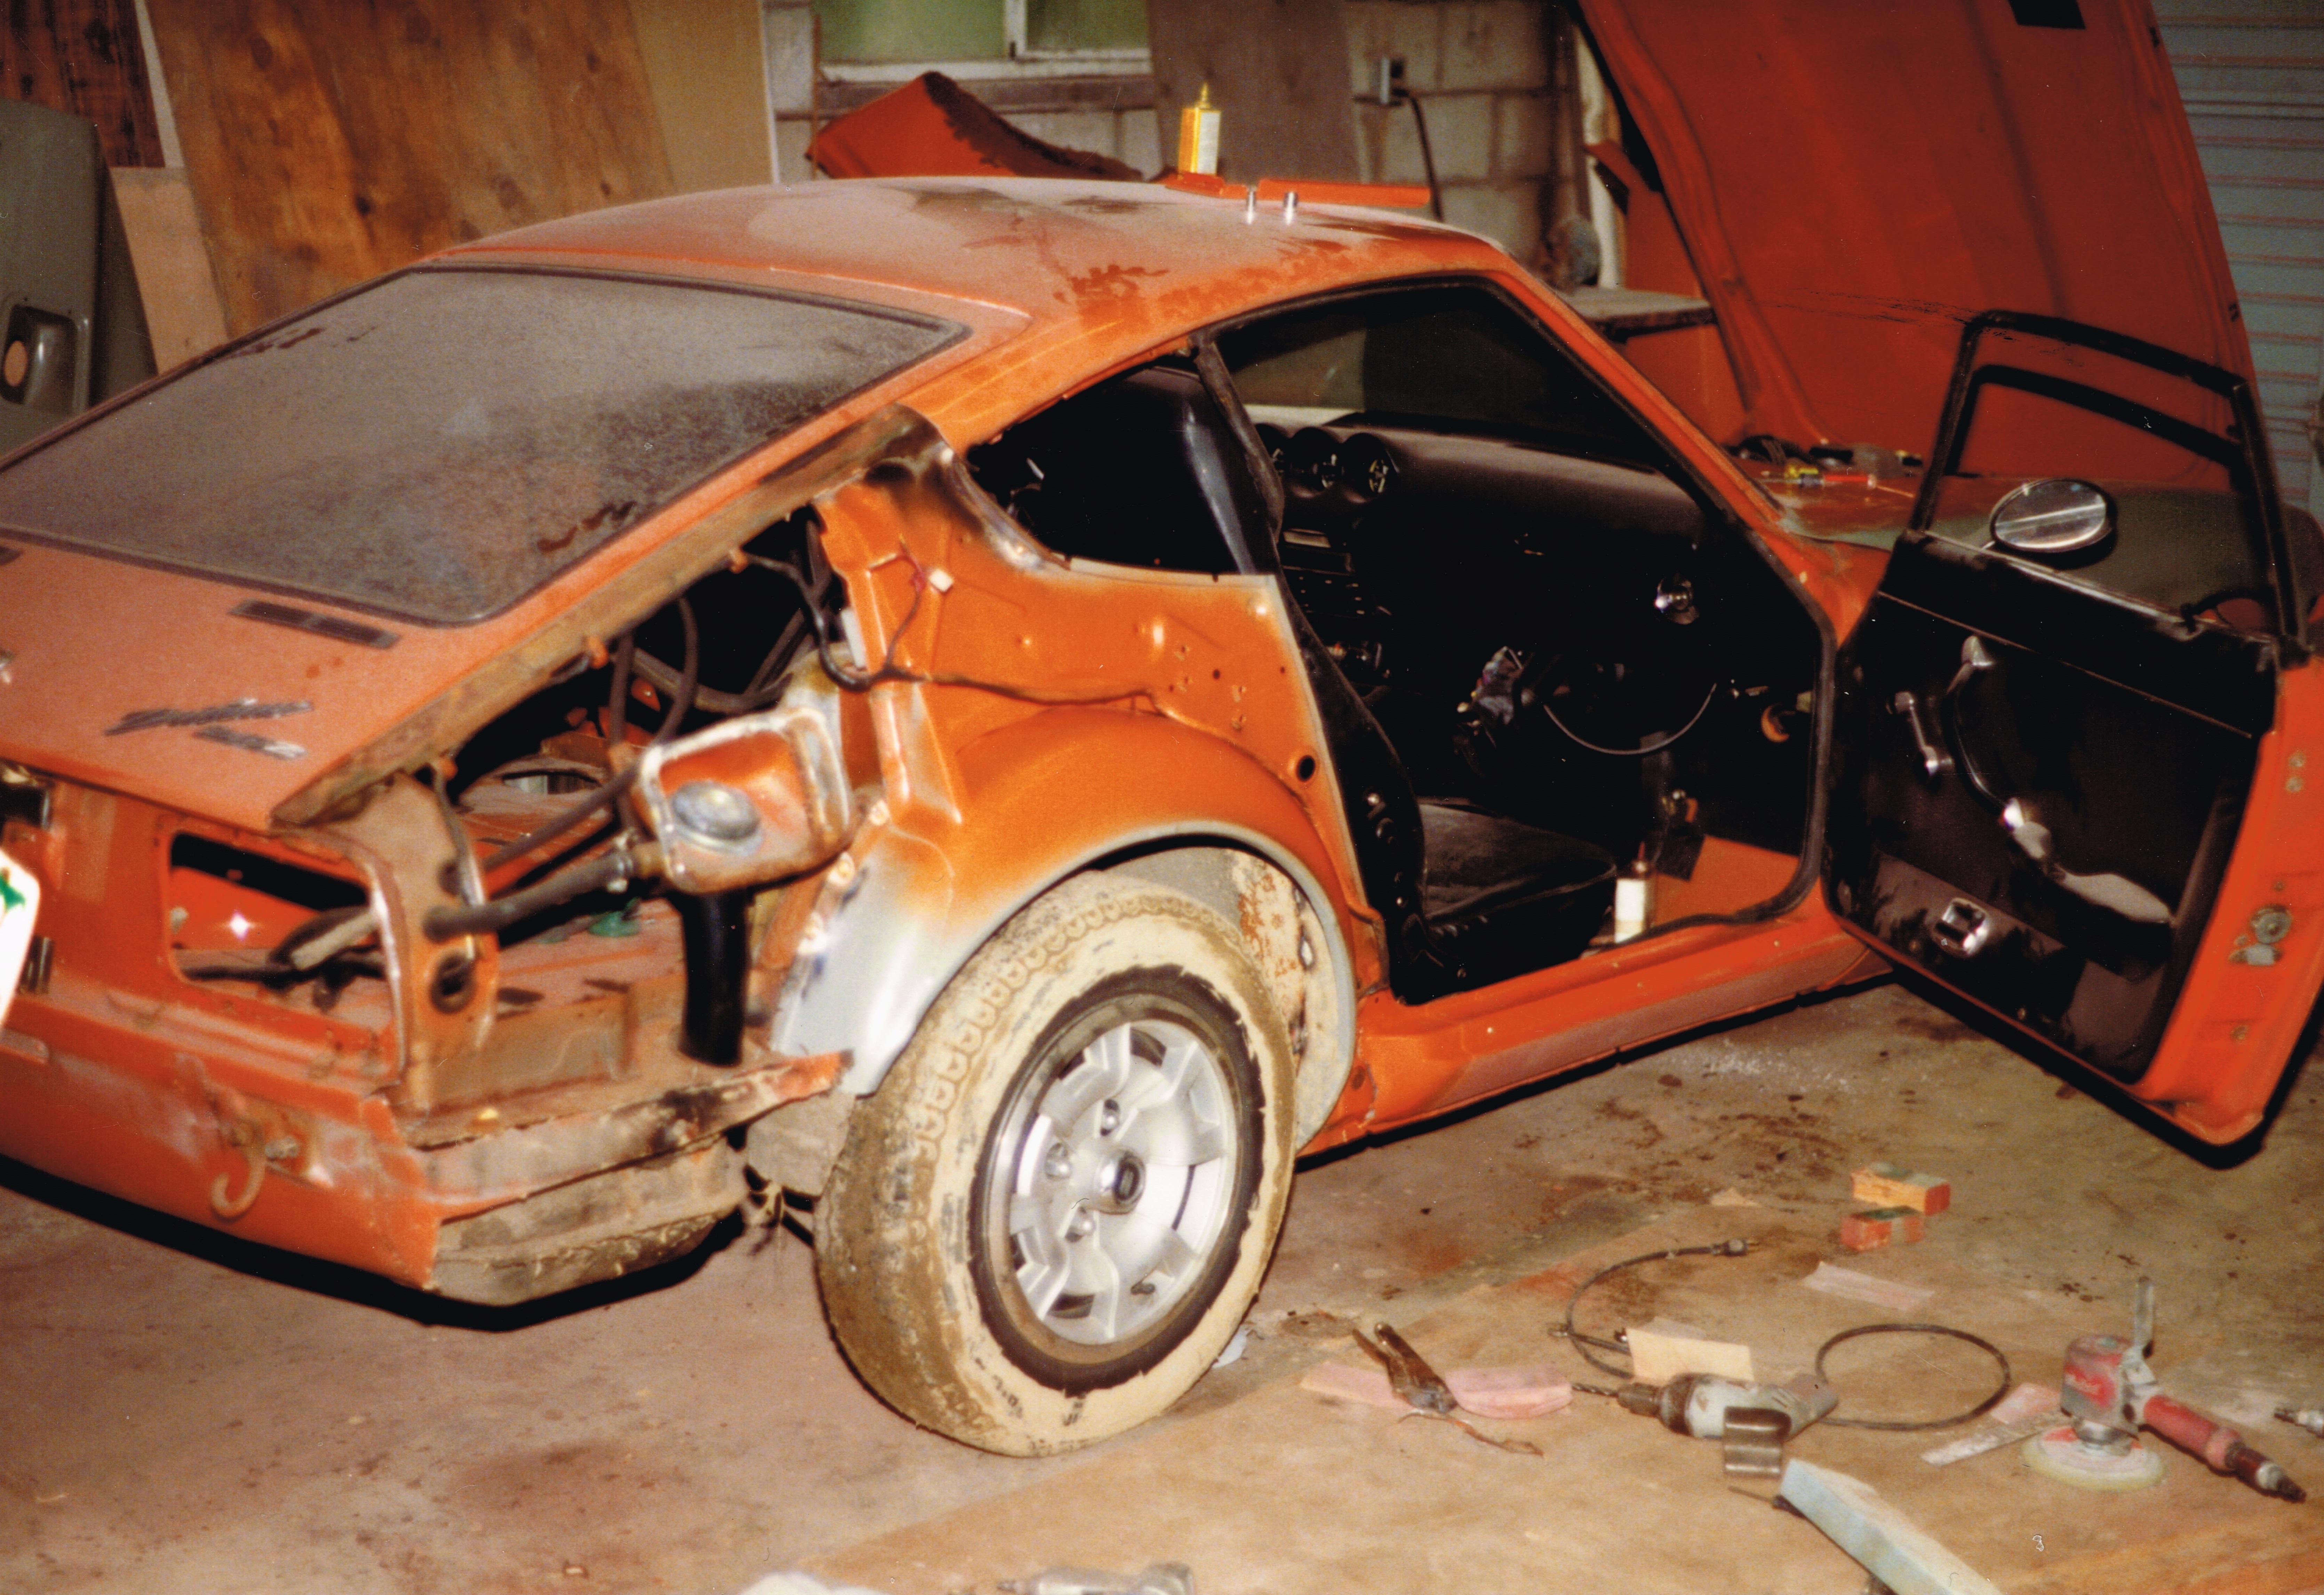
My goal for this restoration is to keep the car as original as possible and bring the condition up to a number two level. When complete I will continue to use the car as I always have, weekend drives, going on club events and the occasional show. I don't want it to be a trailer queen. I get plenty of pleasure from ownership but these cars are meant to be driven. My plan is for the whole process to take about two years. The main focus will be on body and paint, neither of which I will do myself. I am currently looking for a restoration shop to work with. I will not be doing a 100% complete disassembly to the last nut and bolt but rather disassemble into sub-assemblies that can be refinished and if issues are found deal them on a case by case basis. I am also looking for companies to do re-chroming and plating. At a minimum I plan to do the following to accomplish this: - Remove interior and dash and glass. - Remove engine and driveline. - Remove front and rear axles, suspension and steering etc. - Disassemble body as required. Step one will be removing most of the interior so that I can show the complete car to a few restoration shops before the major disassembly is started. The shops I have been talking with so far have a waiting list of about six months so I will have all winter to do the disassembly. Right now I am working on removing most of the interior, so that the resto shops I am talking to can fully access the car to give me reasonable estimates before I get into the major disassembly.
-
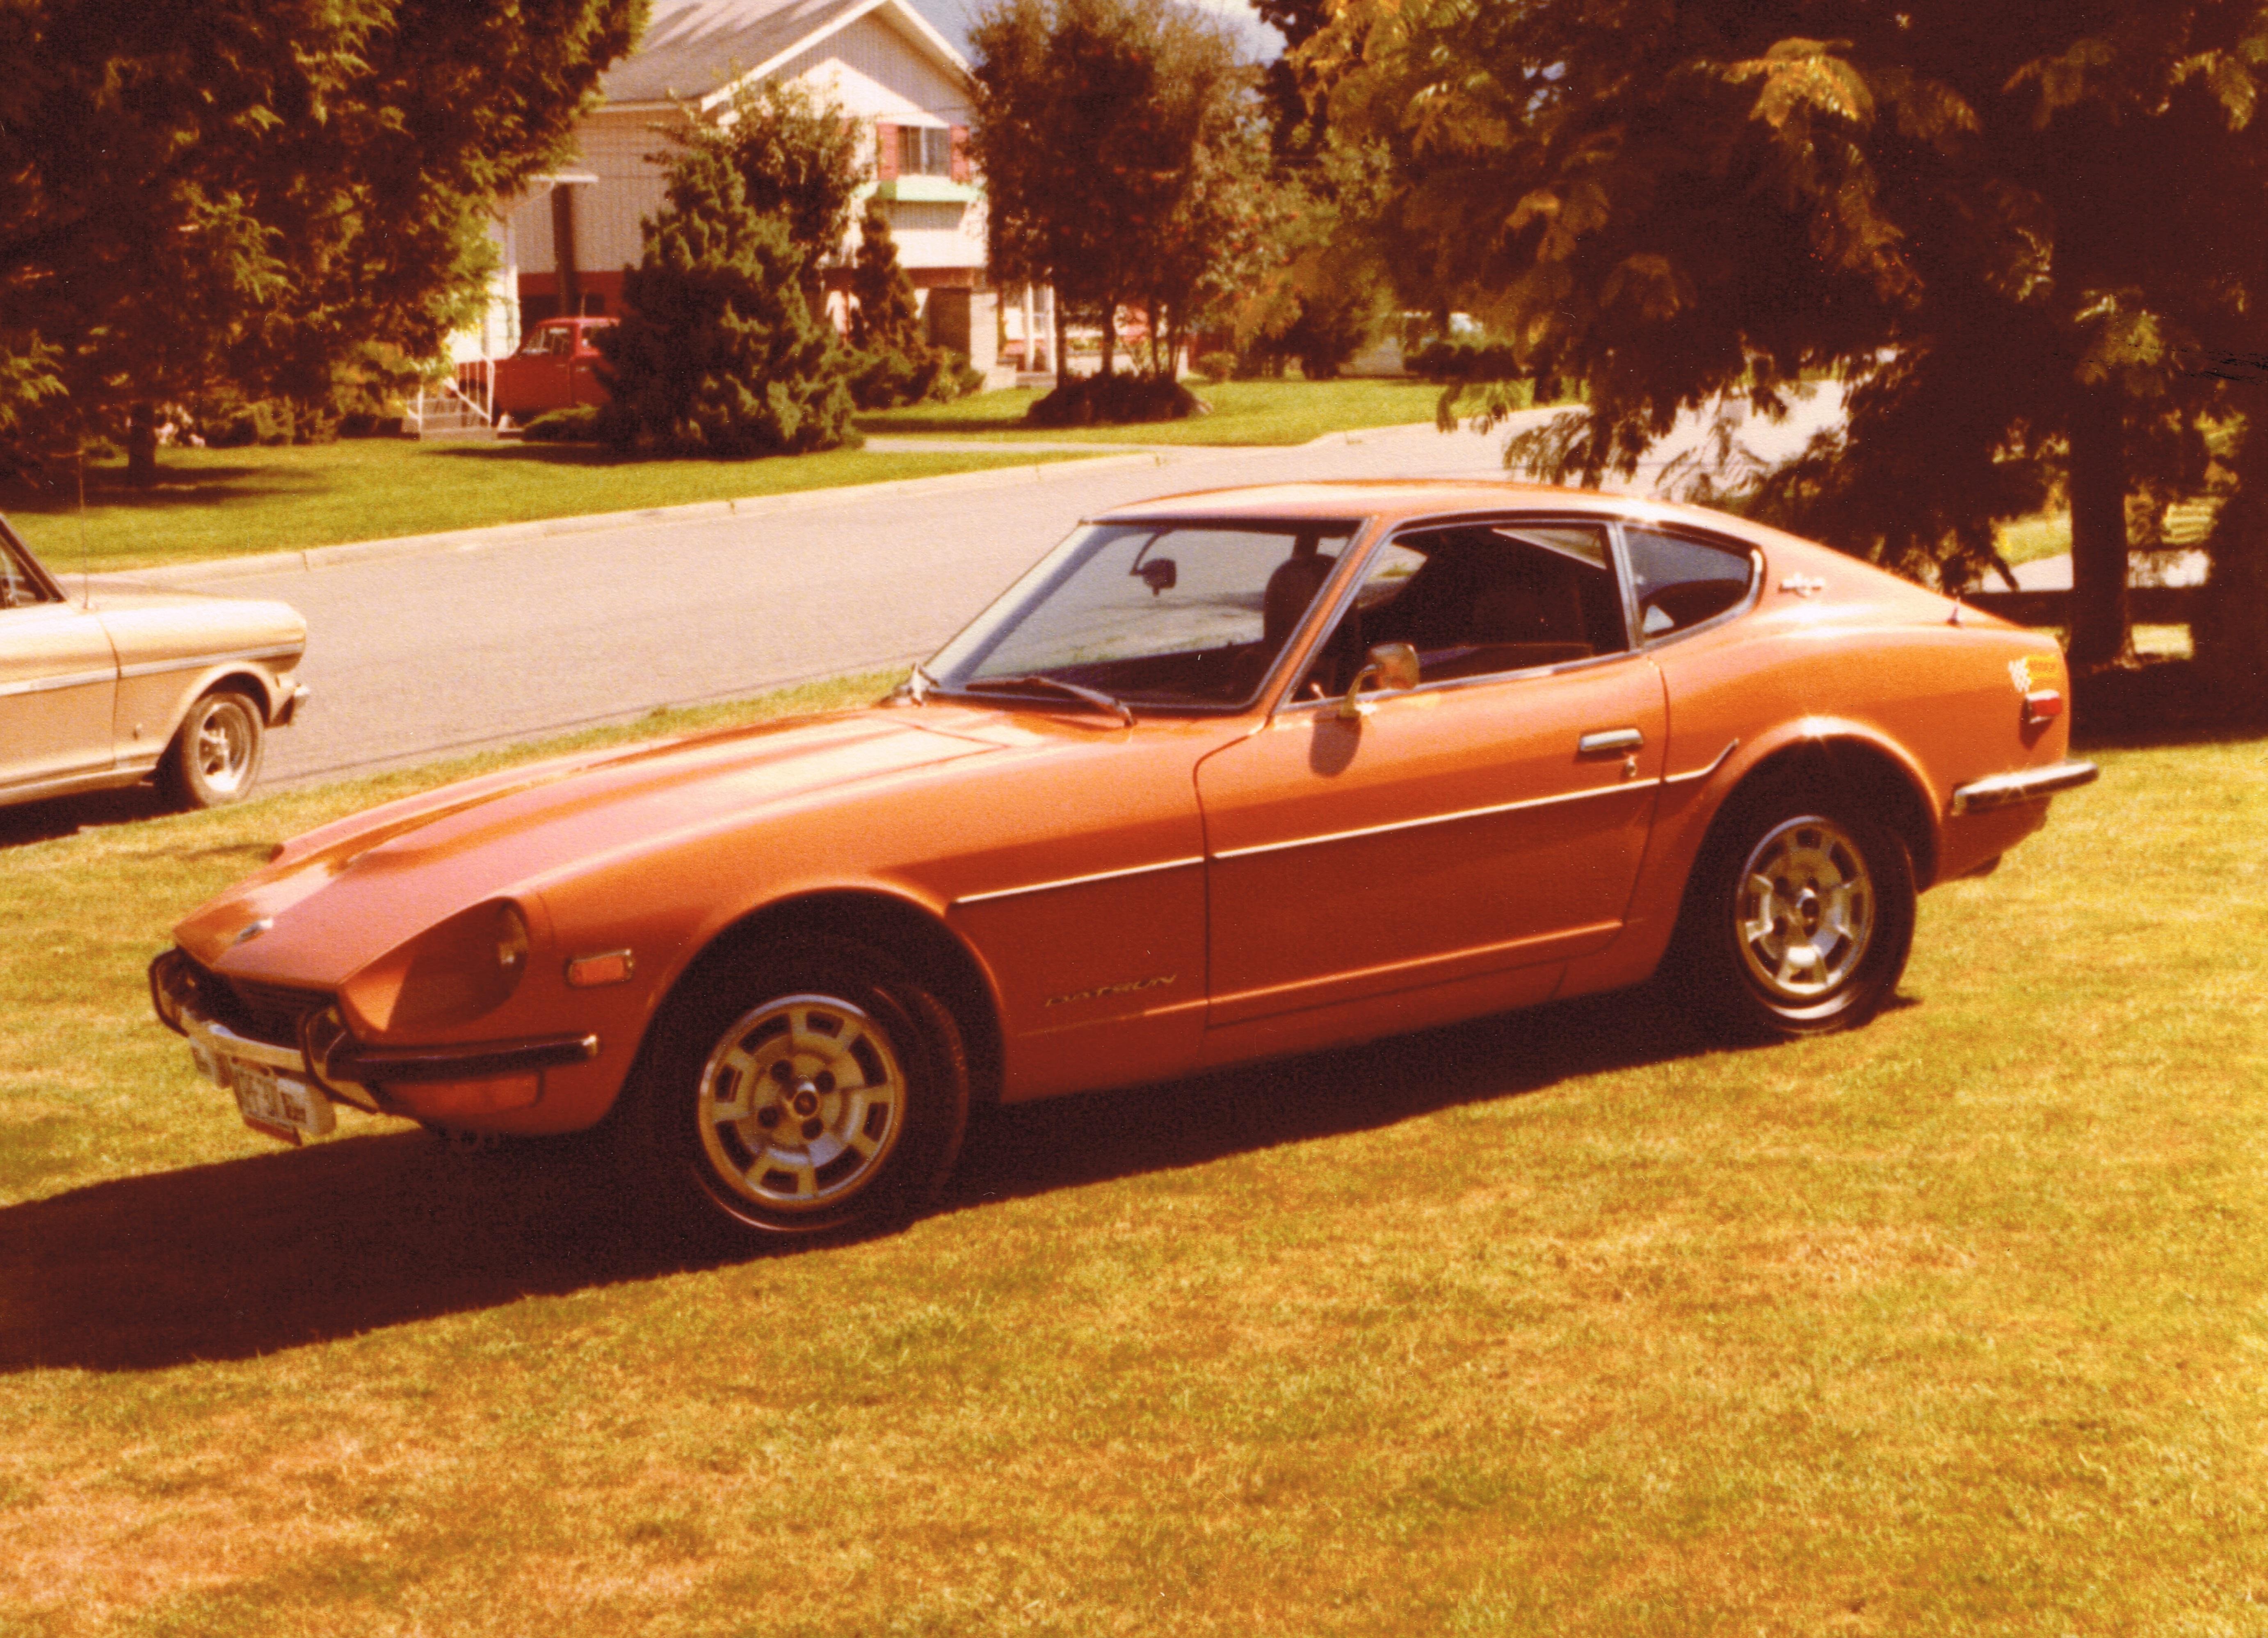
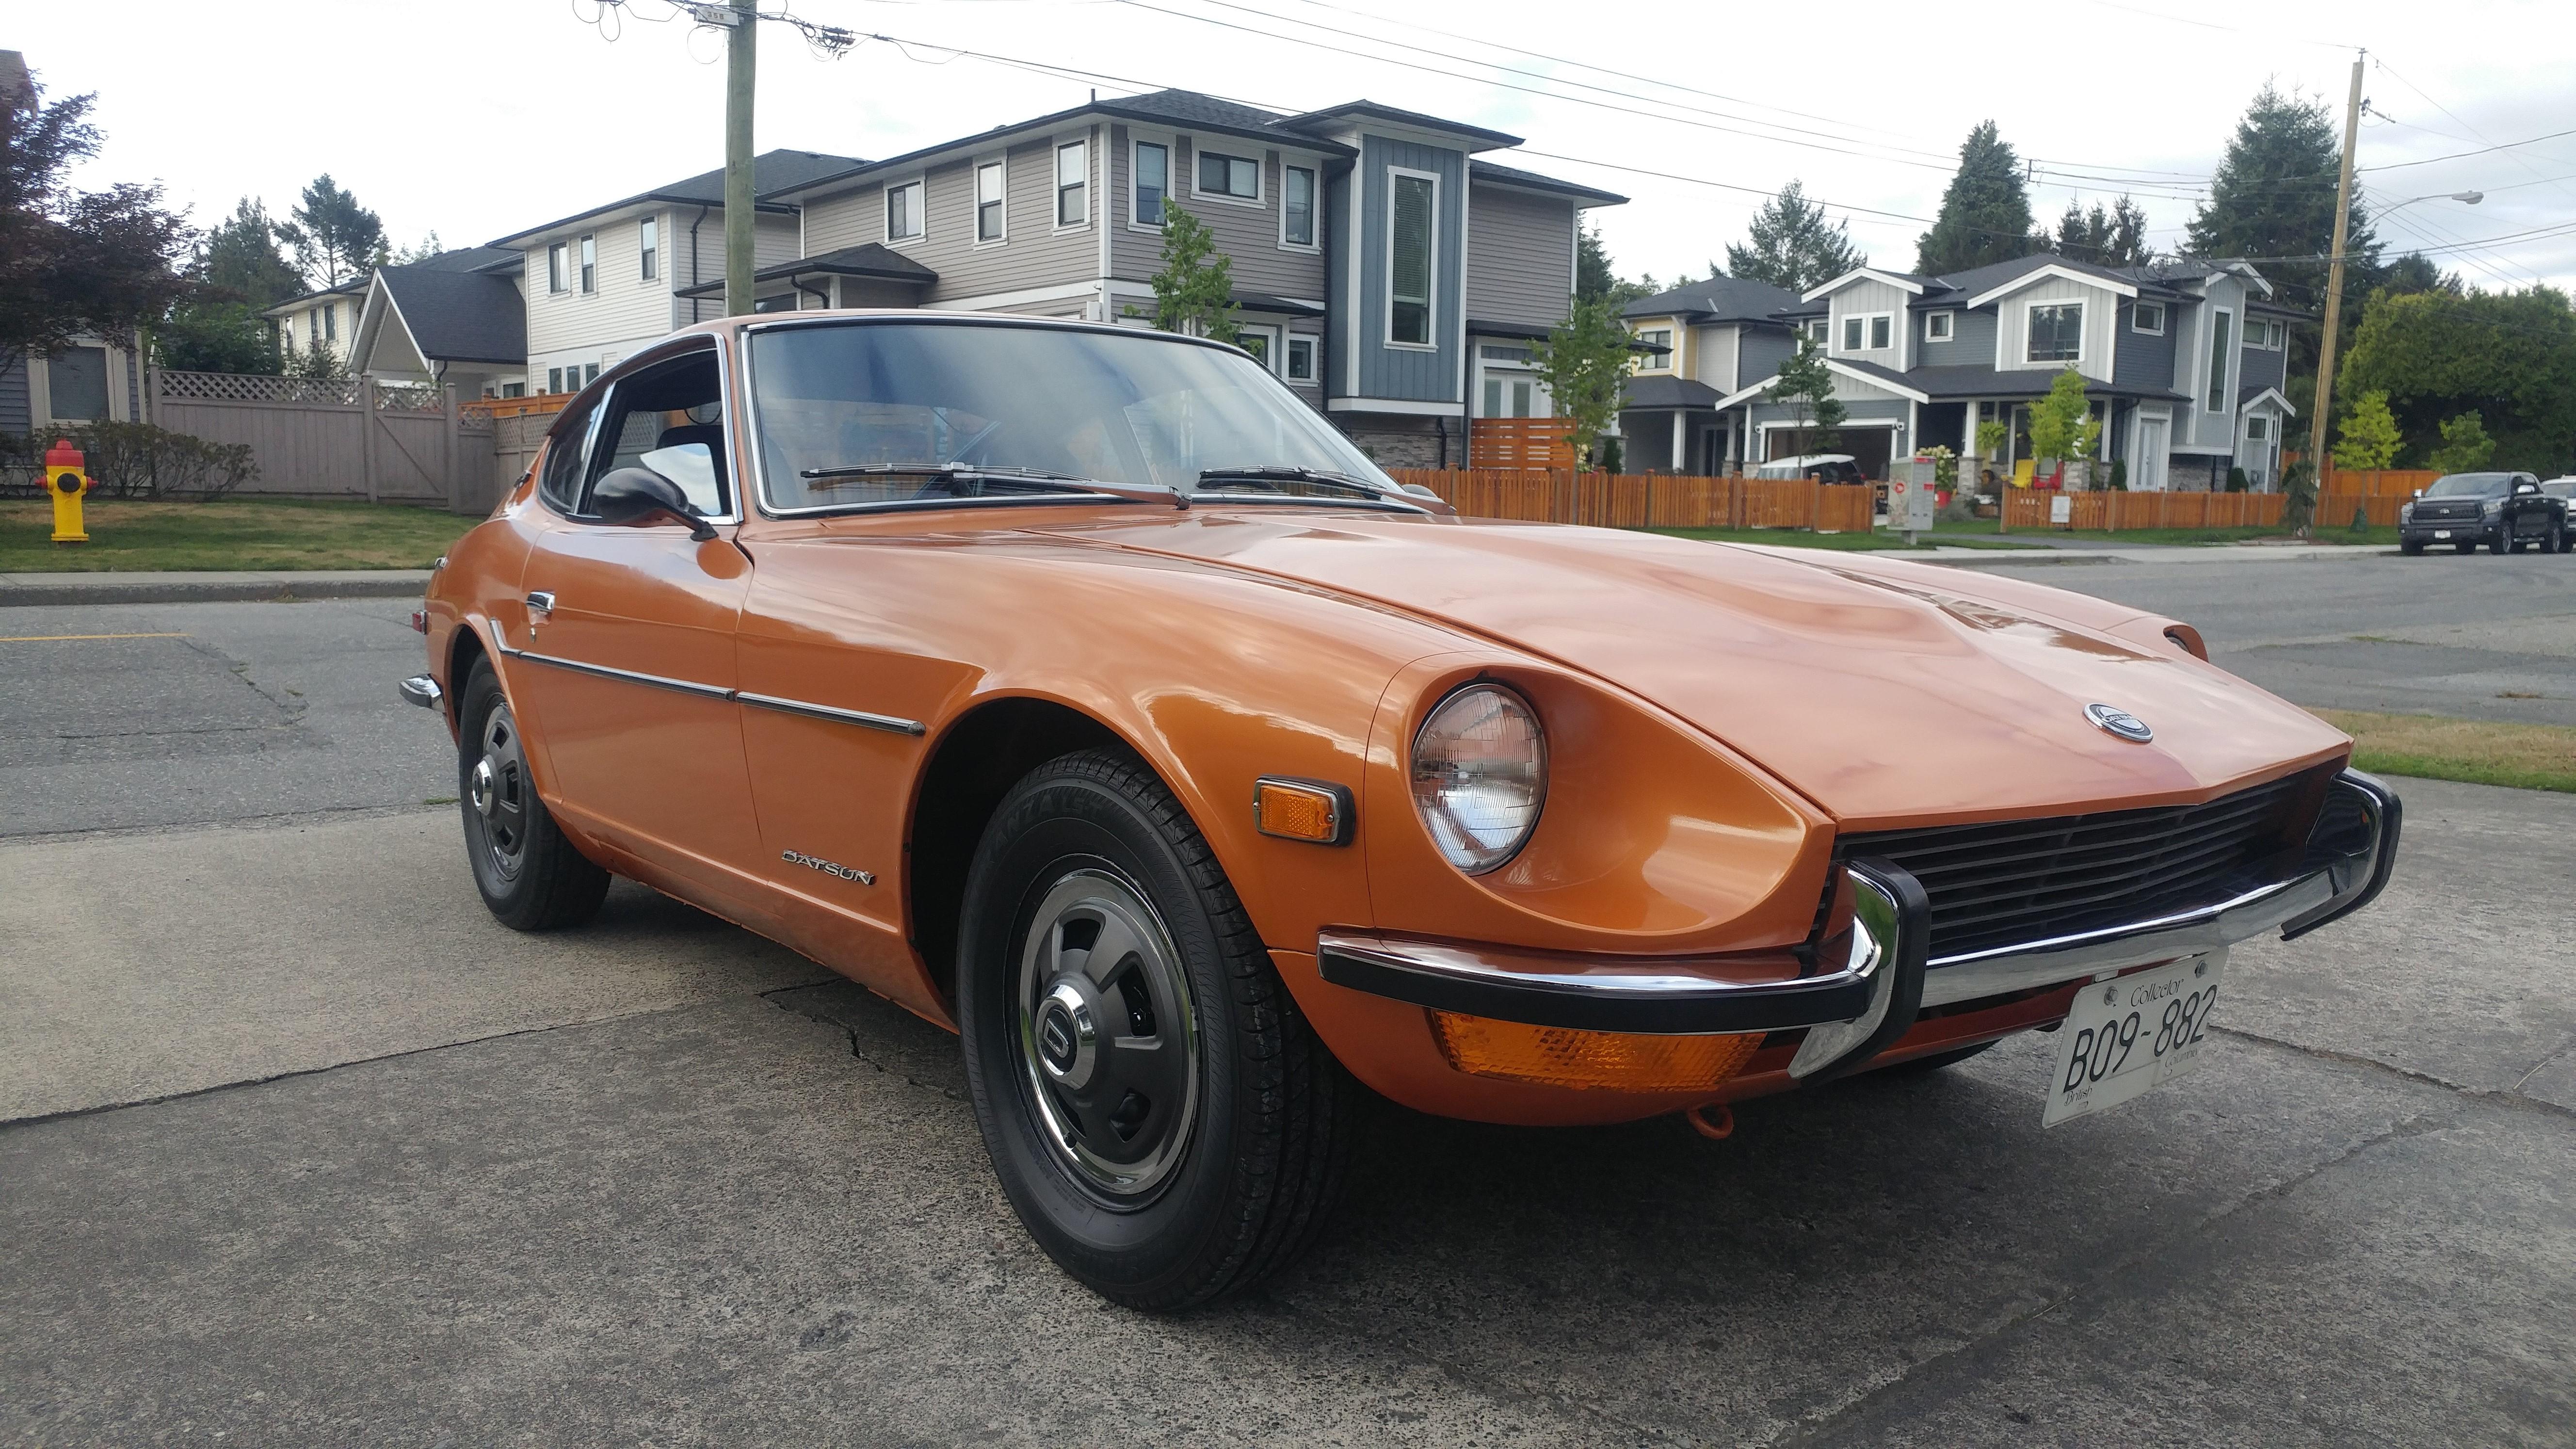
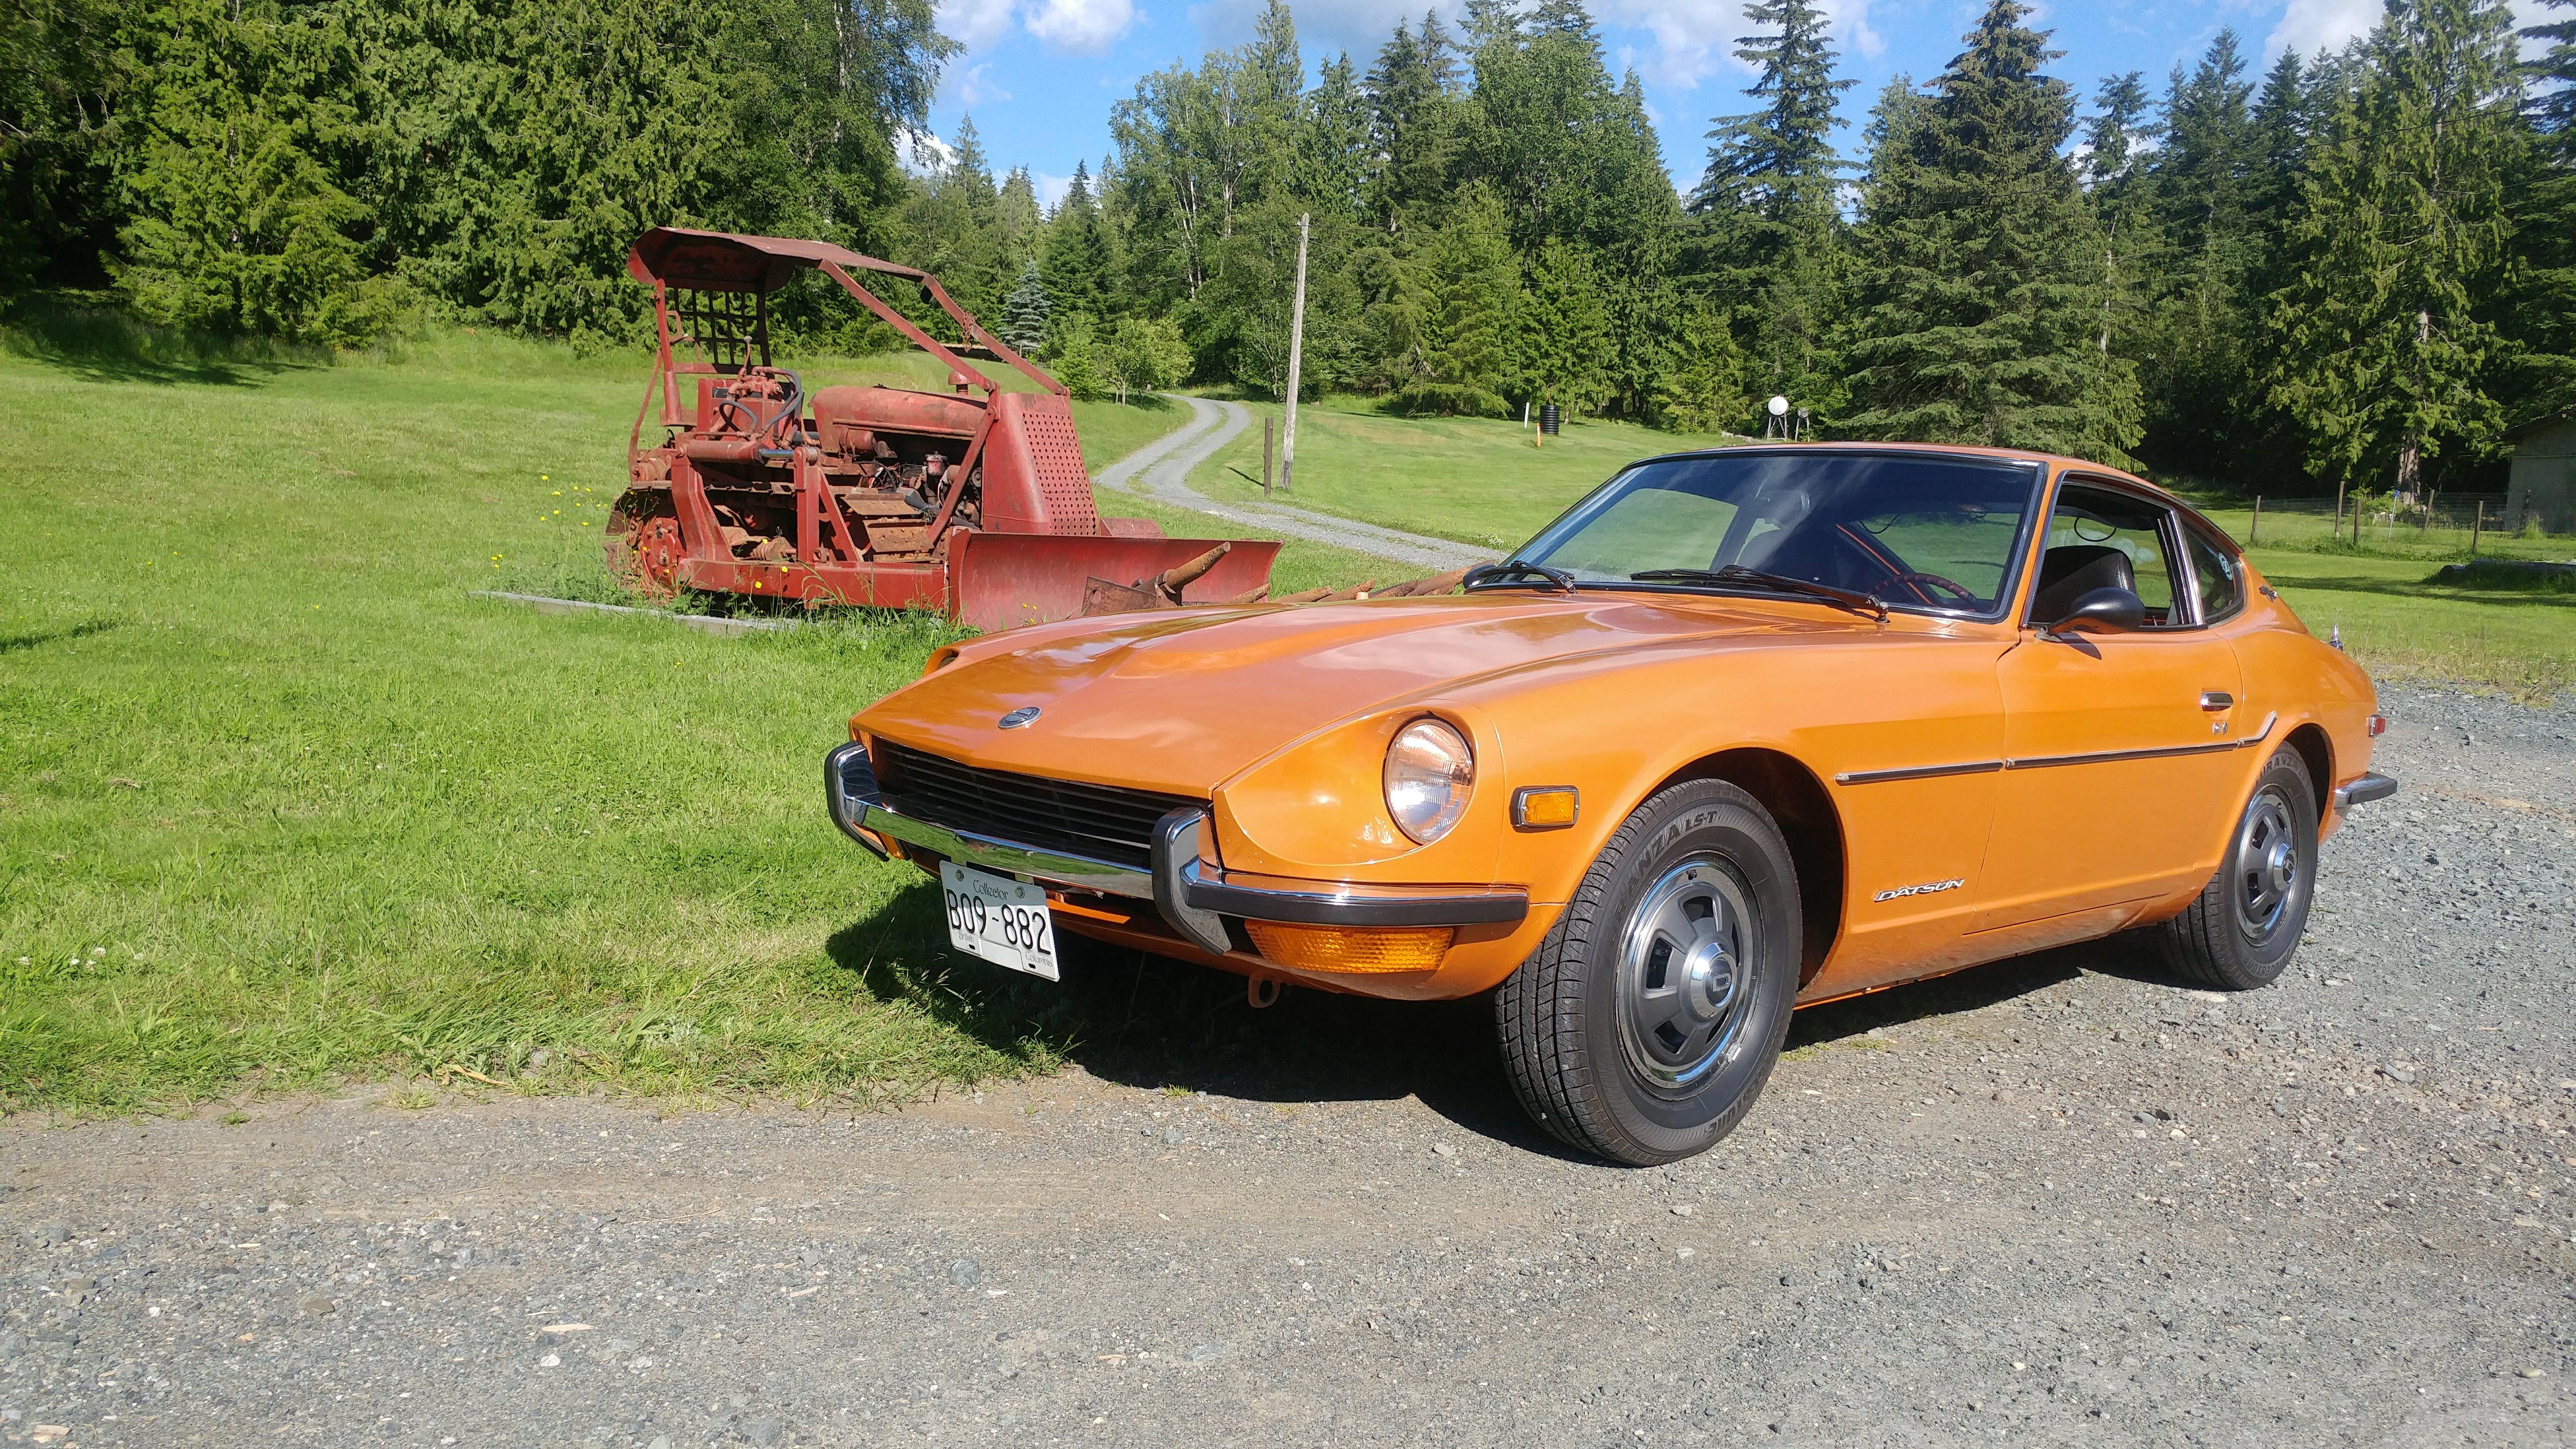
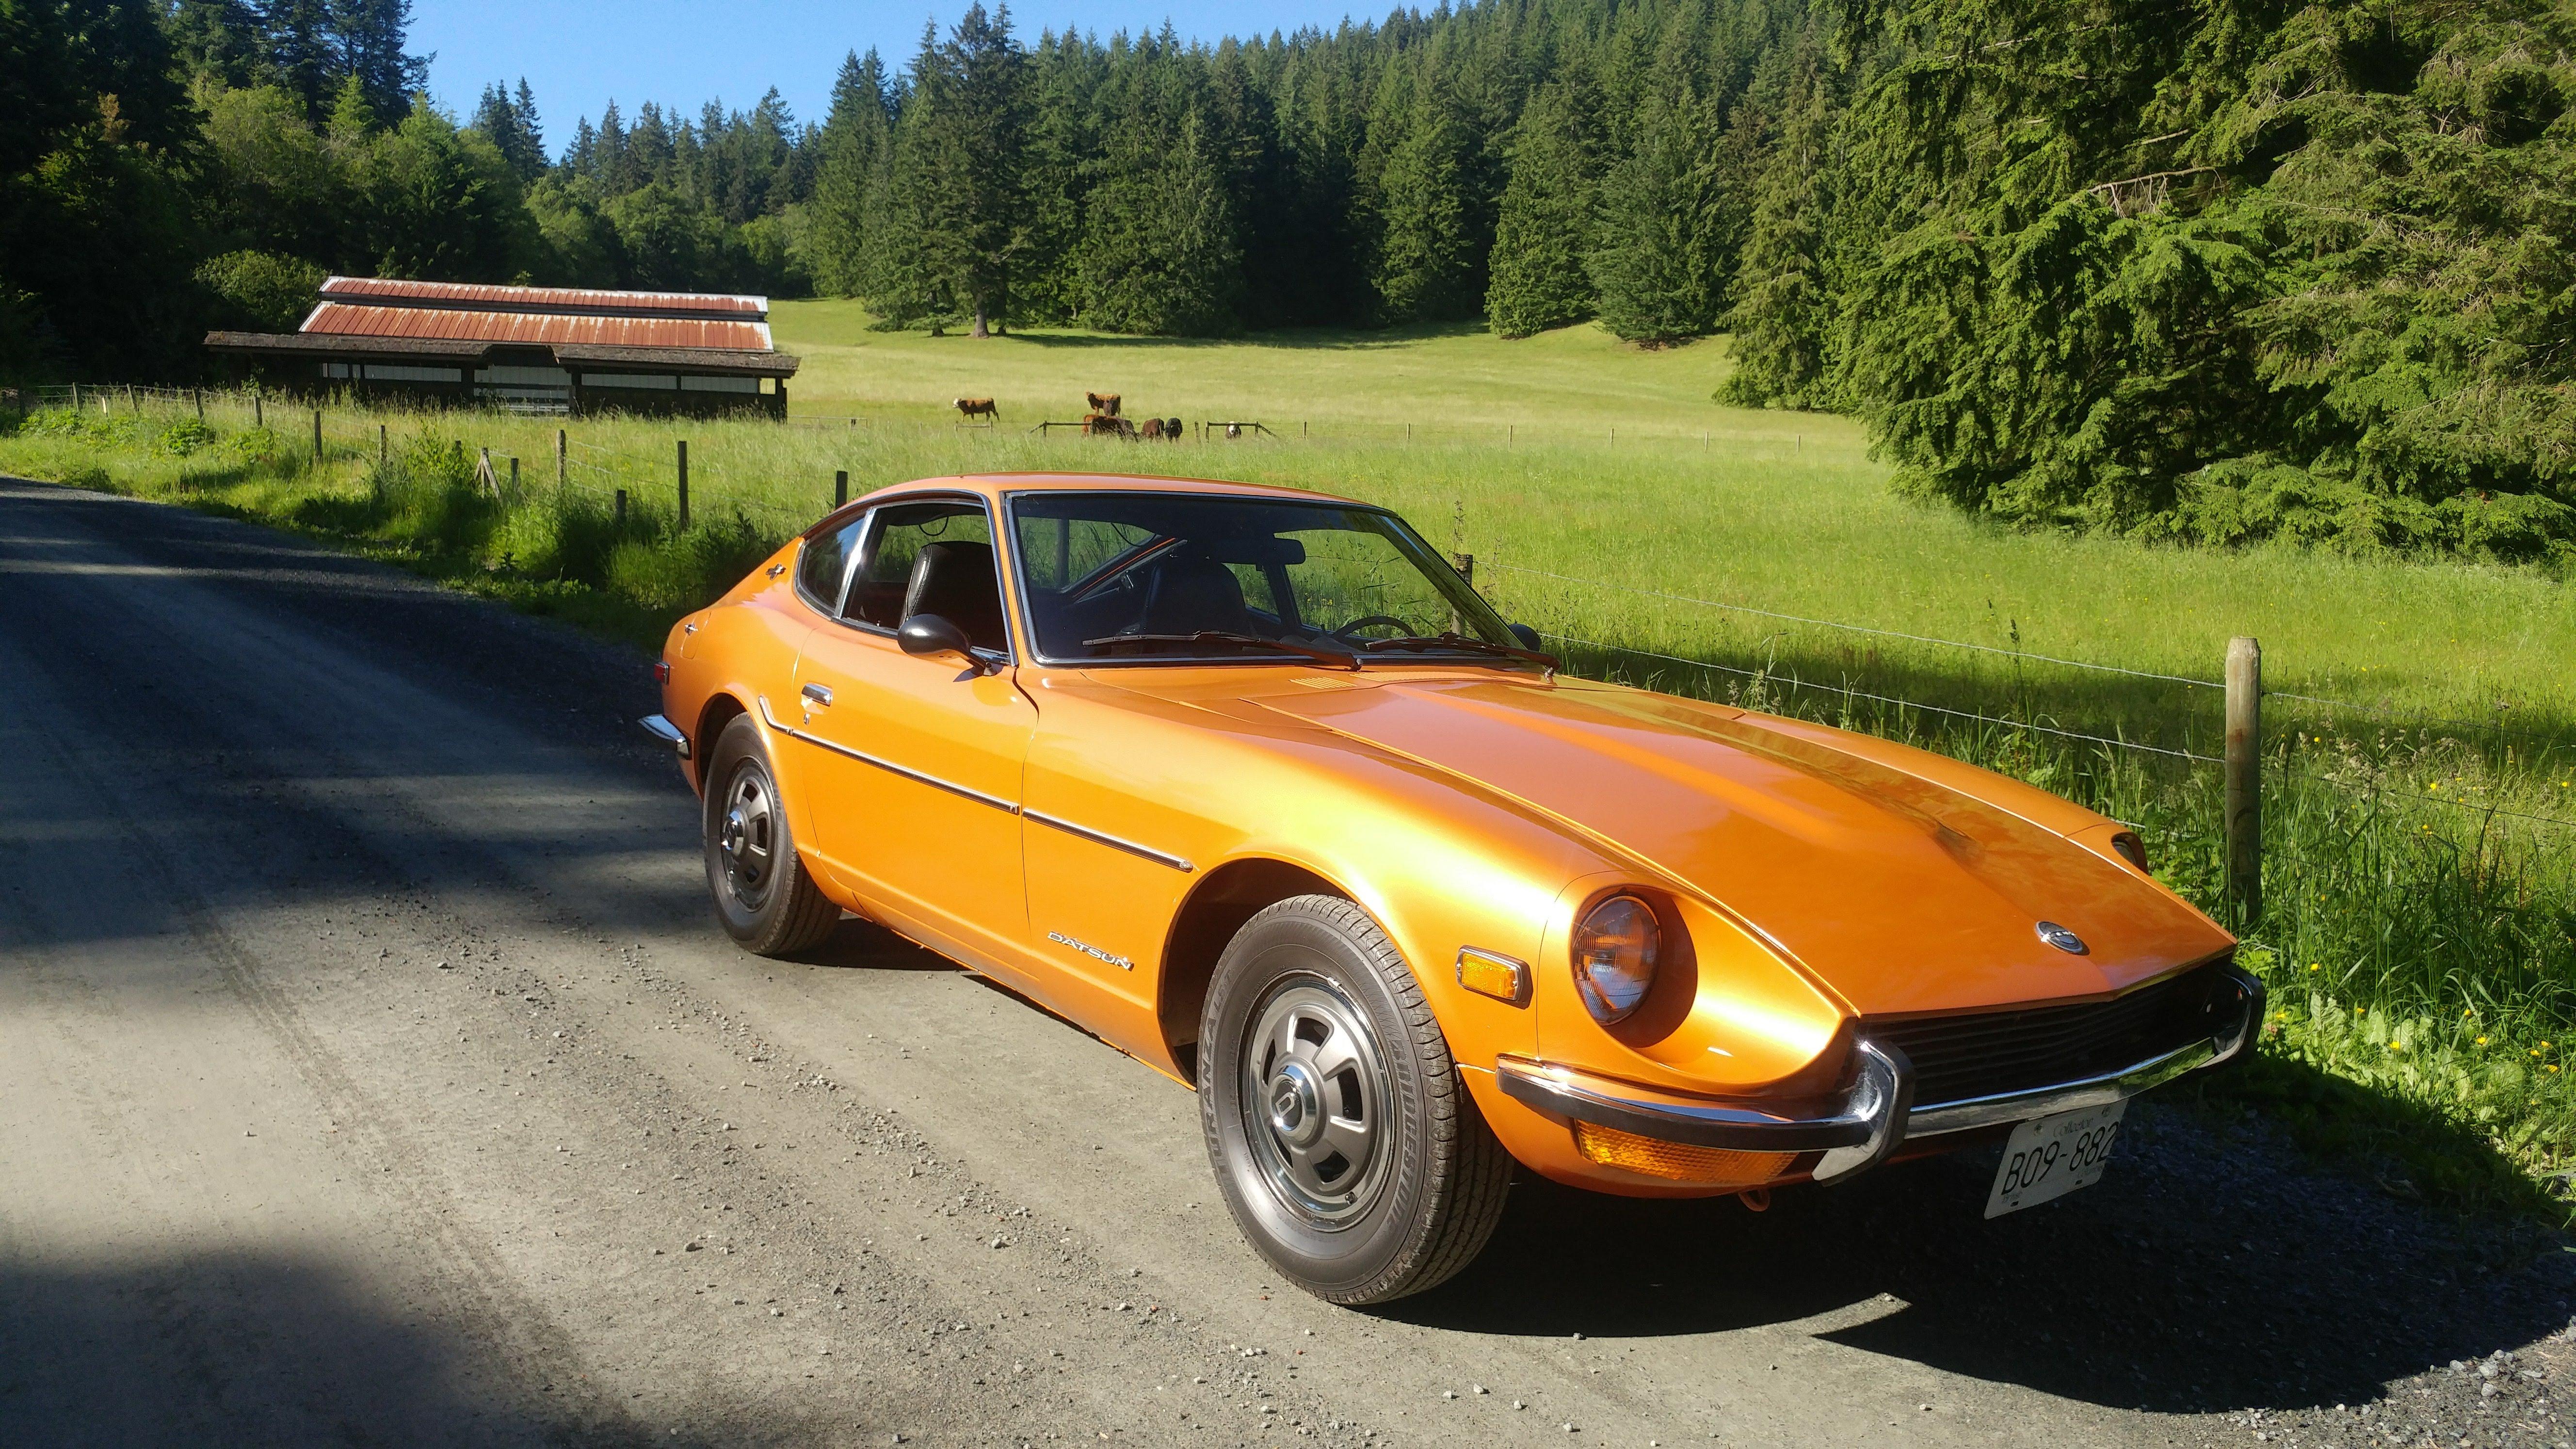
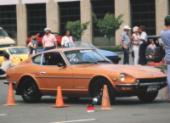
Well after forty years of ownership I'm finally starting a second go around at restoring my 1970 240Z. I purchased the car well used in 1978 with 90,000 plus miles from the local Datsun Dealership in Chilliwack, BC Canada. Here is a picture from July '78: Here is what it looks like today. Looks reasonable but the paint is showing its age and there are some other issues lurking that need to be fixed properly. Full disclosure will come later. Restoration number one was done in 1982 and I only did what I could afford at the time. I actually think this first attempt of was really "Canadian maintenance", my poor Zed was at a do or die point. Here are a few pics from 1982: I went to the parts department at my local Datsun dealership and made, what I learned later was, the largest order of body parts that anyone had ever placed with them to that point. By the time my body man and painter were finished and with the cost of the car, I could have bought a brand new 1978 280Z instead, but hey I was 18 at the time and I have never regretted doing it. In future installments I will list my restoration goals add a time line of my 40 years of ownership, after I sort and scan more of my old pictures. Anyway I plan to document my adventure with my re-restoration here, and I'm sure I will be looking for advice, also comments and tips will be very welcomed. Cheers, Mike


-
They have M22 x 1.5 capscrews at Fastenal in various lengths. @zKars do happen to know the correct length required. https://www.fastenal.com/products/fasteners/bolts/cap-screws-and-hex-bolts?r=~|categoryl1:"600000 Fasteners"|~ ~|categoryl2:"600001 Bolts"|~ ~|categoryl3:"600003 Cap Screws and Hex Bolts"|~ ~|sattr01:^Metric$|~ ~|sattr04:^M22-1.5$|~
-
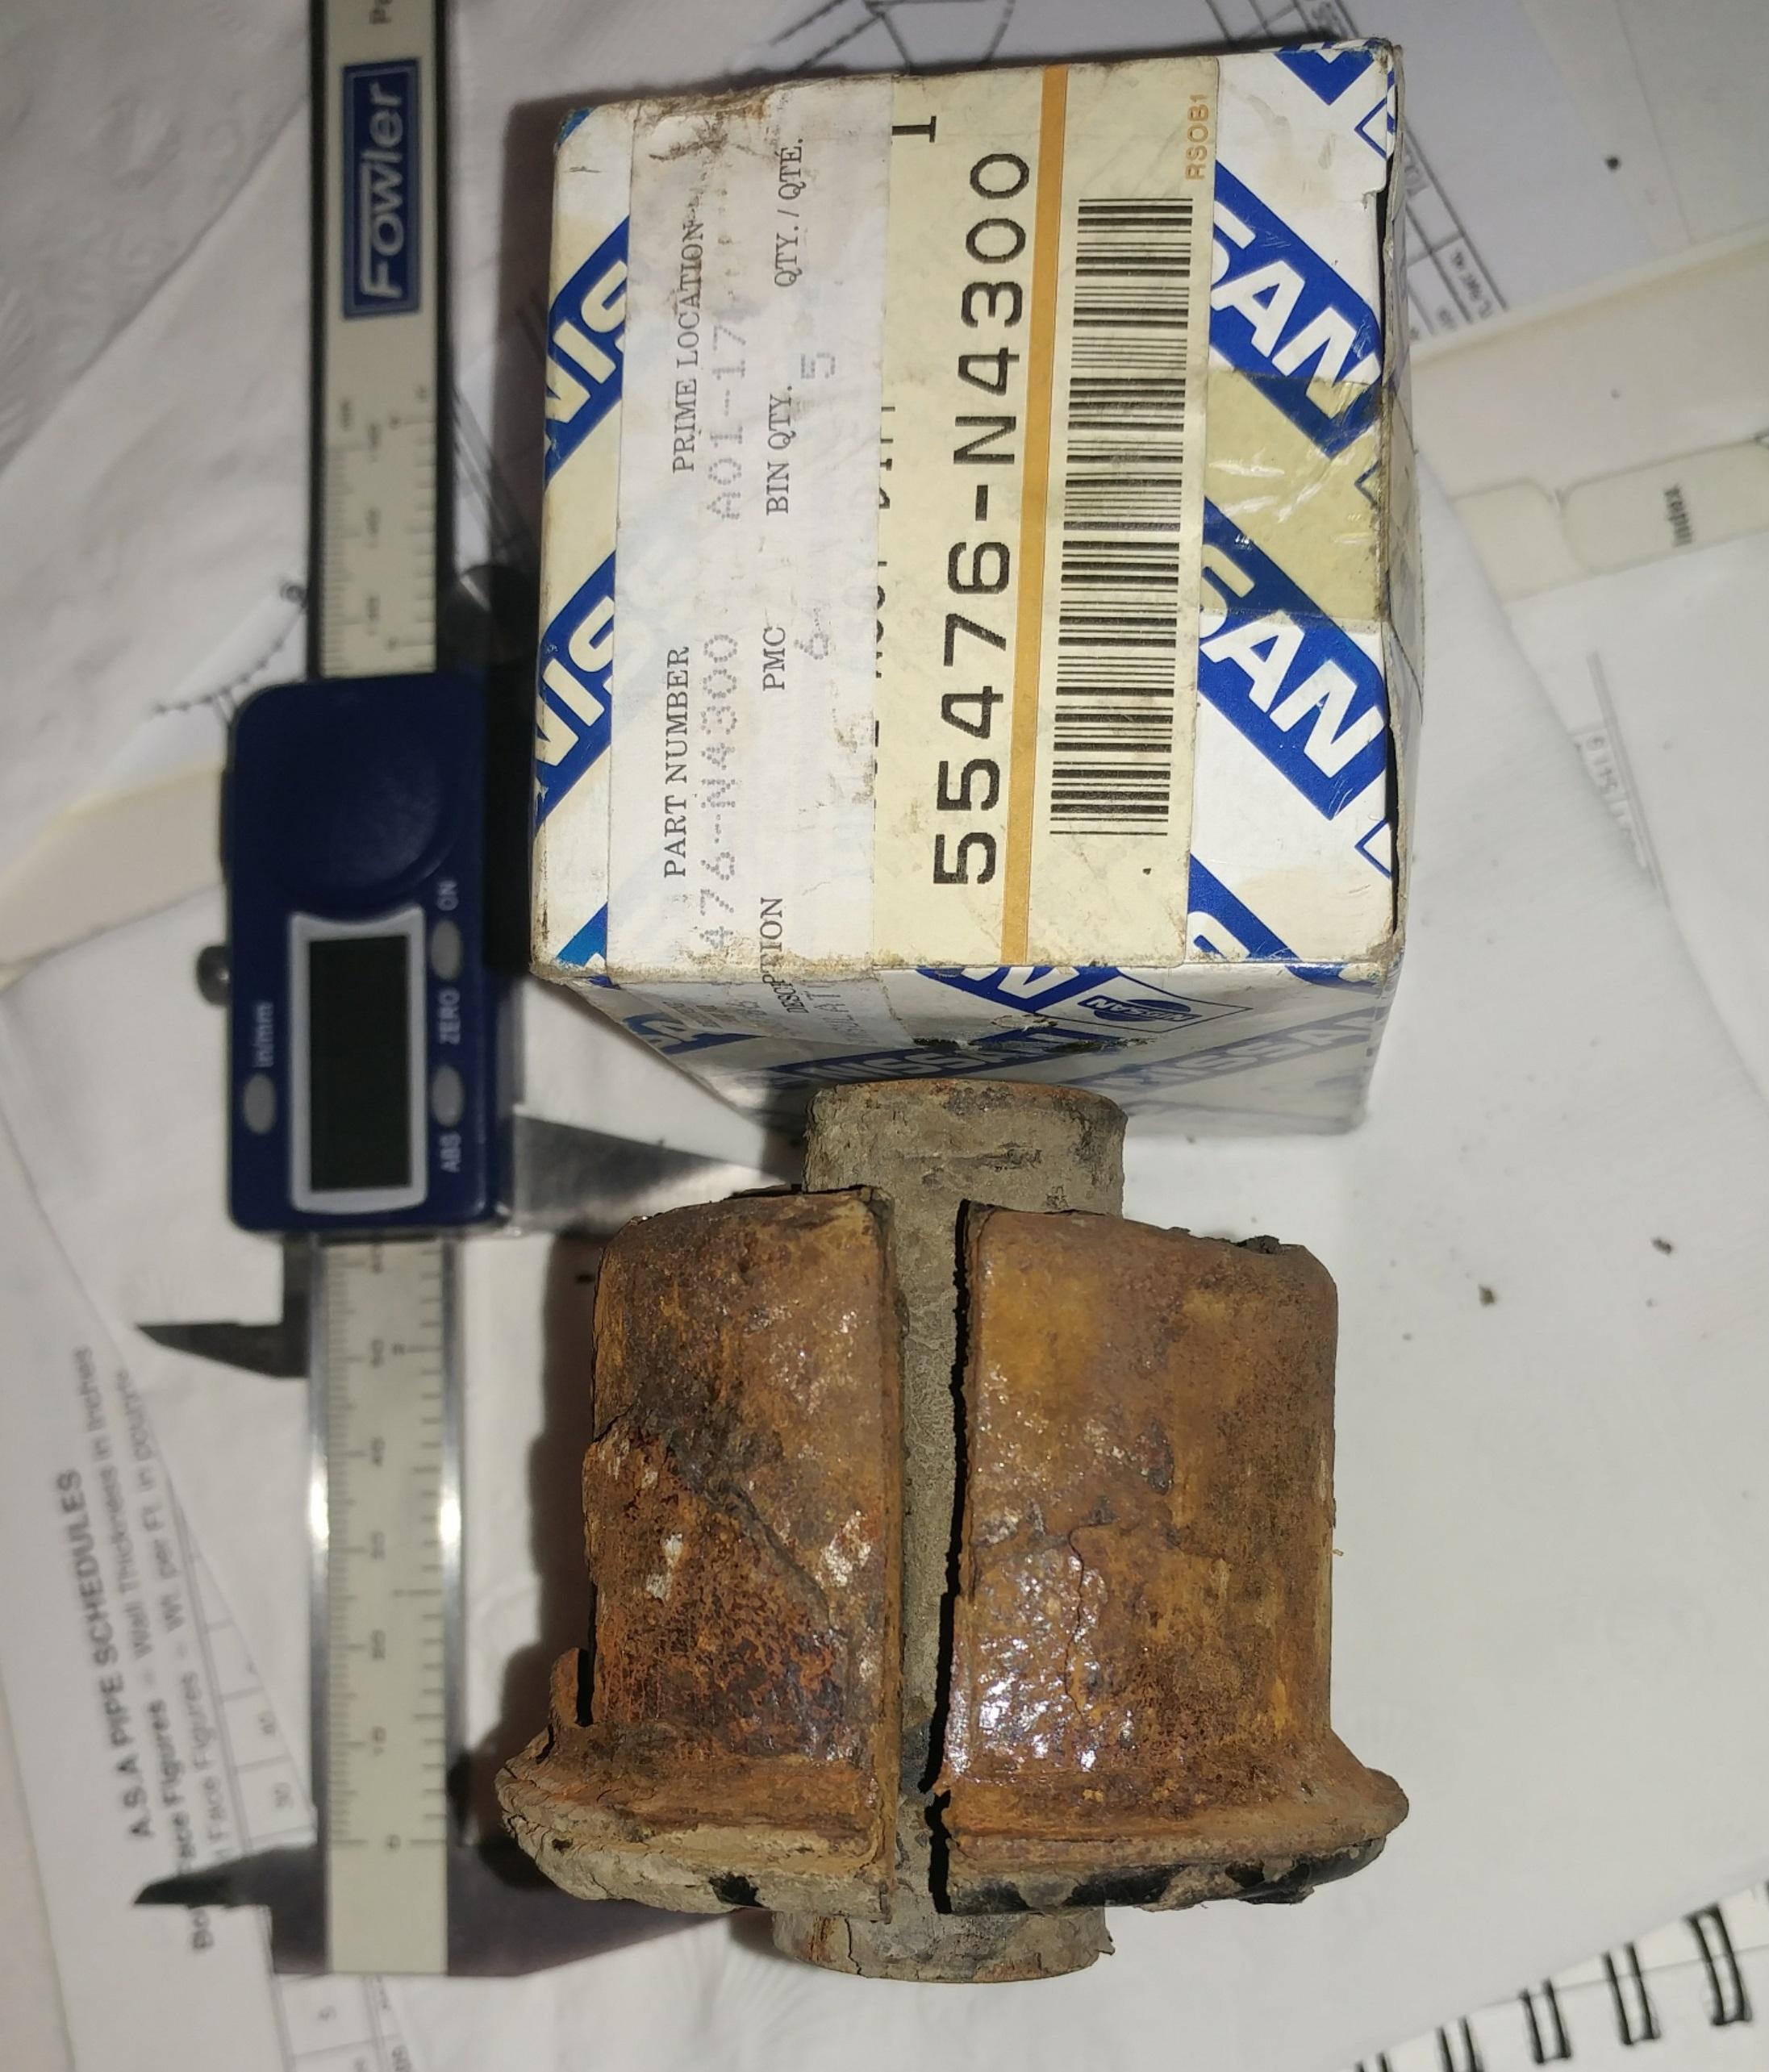
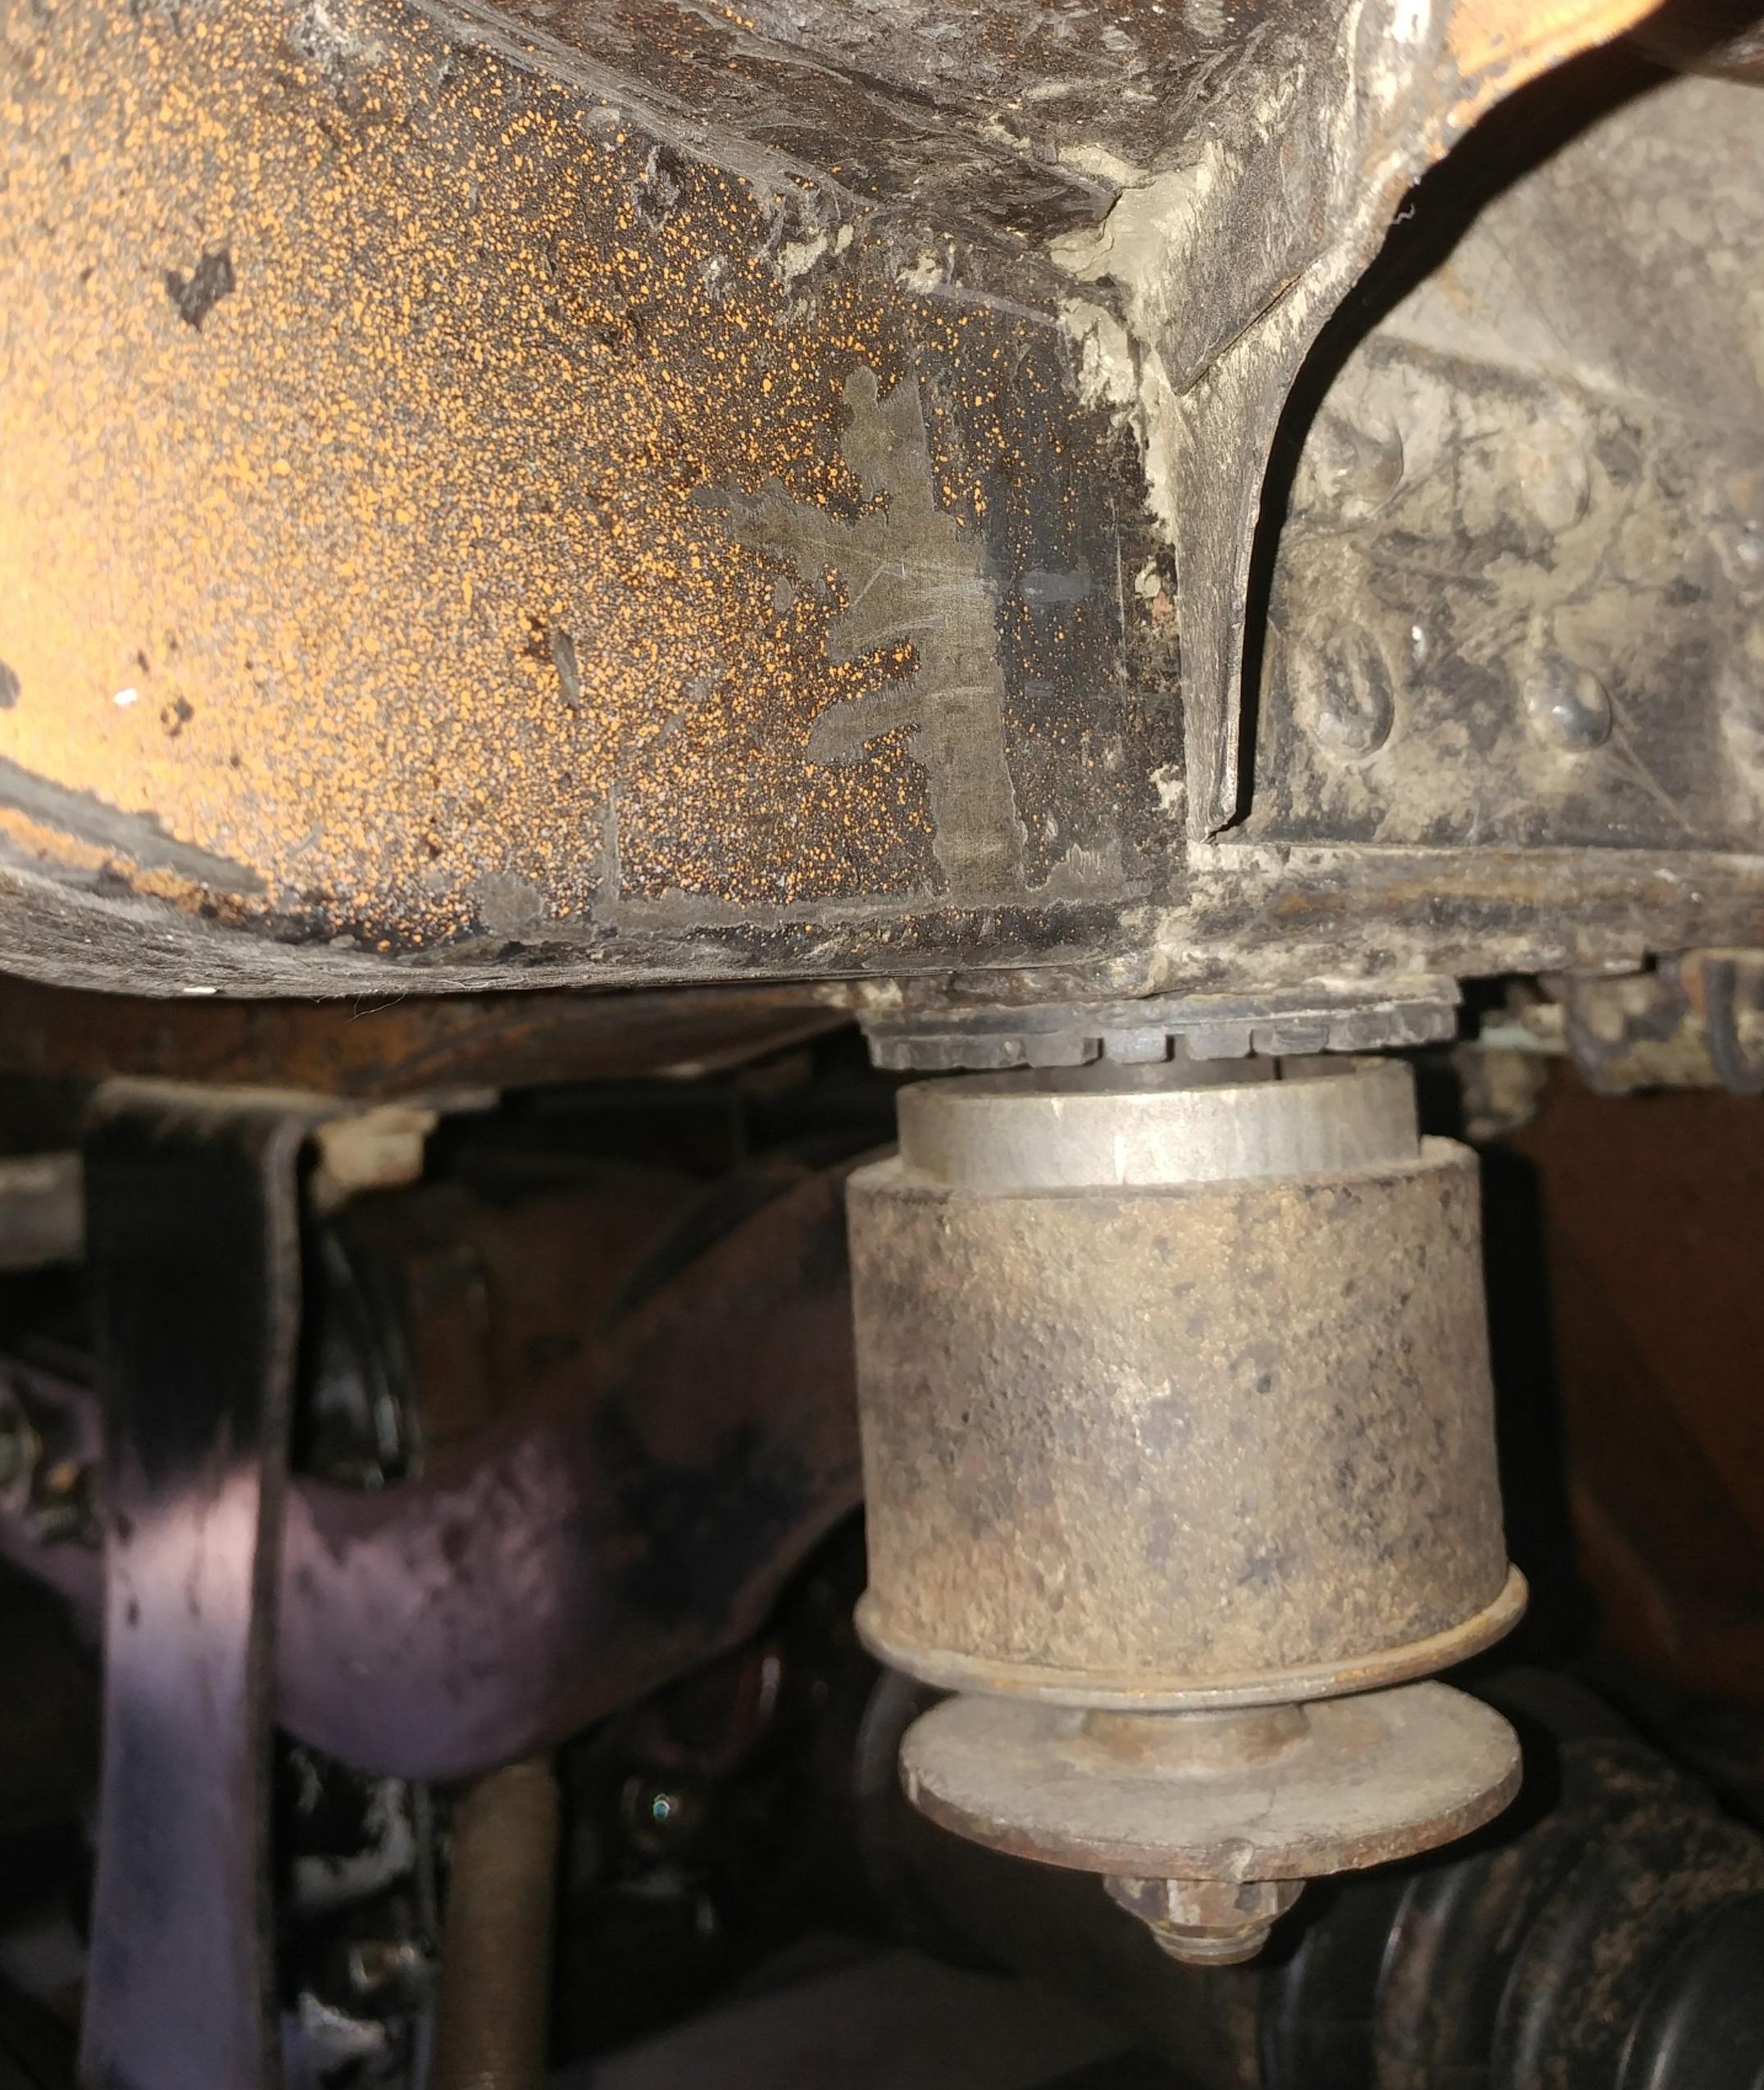
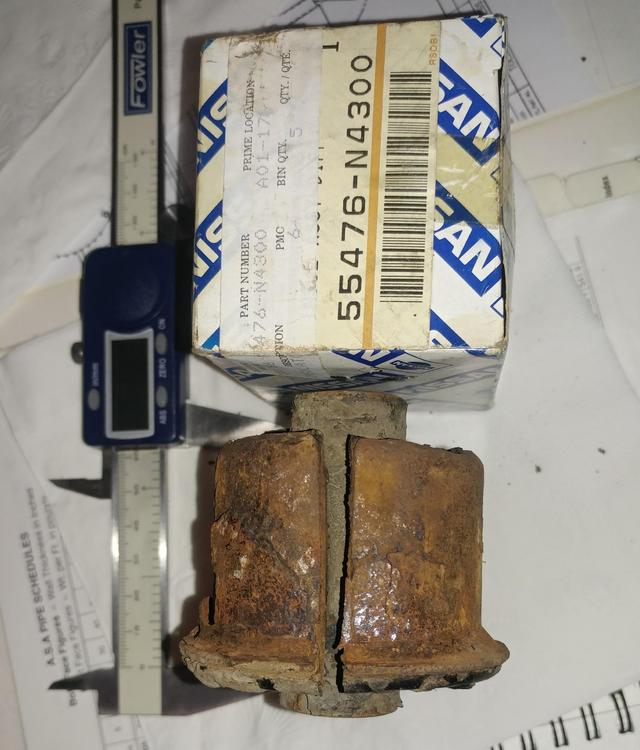
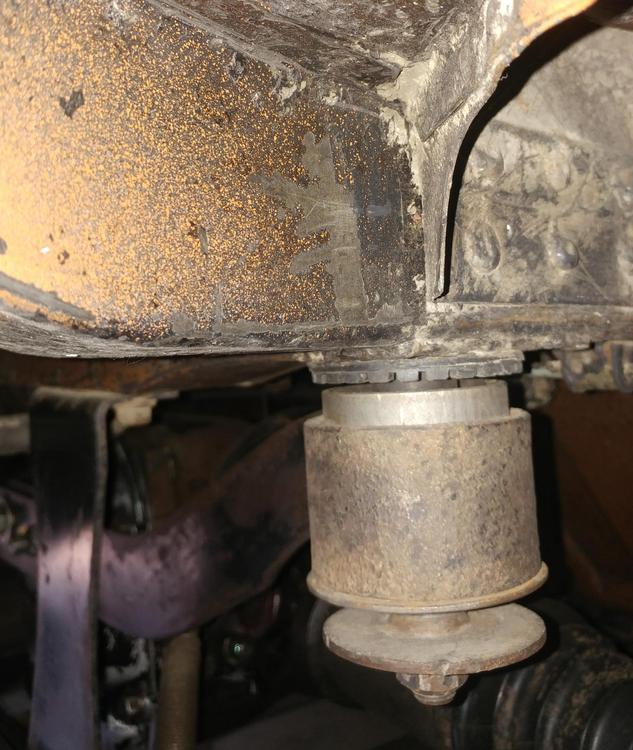
This would have been a good thread for me to have read back in 2005 when I replaced the isolators in the mustache bar on my 7'70, Here is a picture of the old isolator, early style, beside the box from the new, later style, replacement that I was able to get at the time. The picture of the newer style one installed shows the extension that should have been formed into a flange, oops. The picture also shows the gap 'B' is very evident.
-
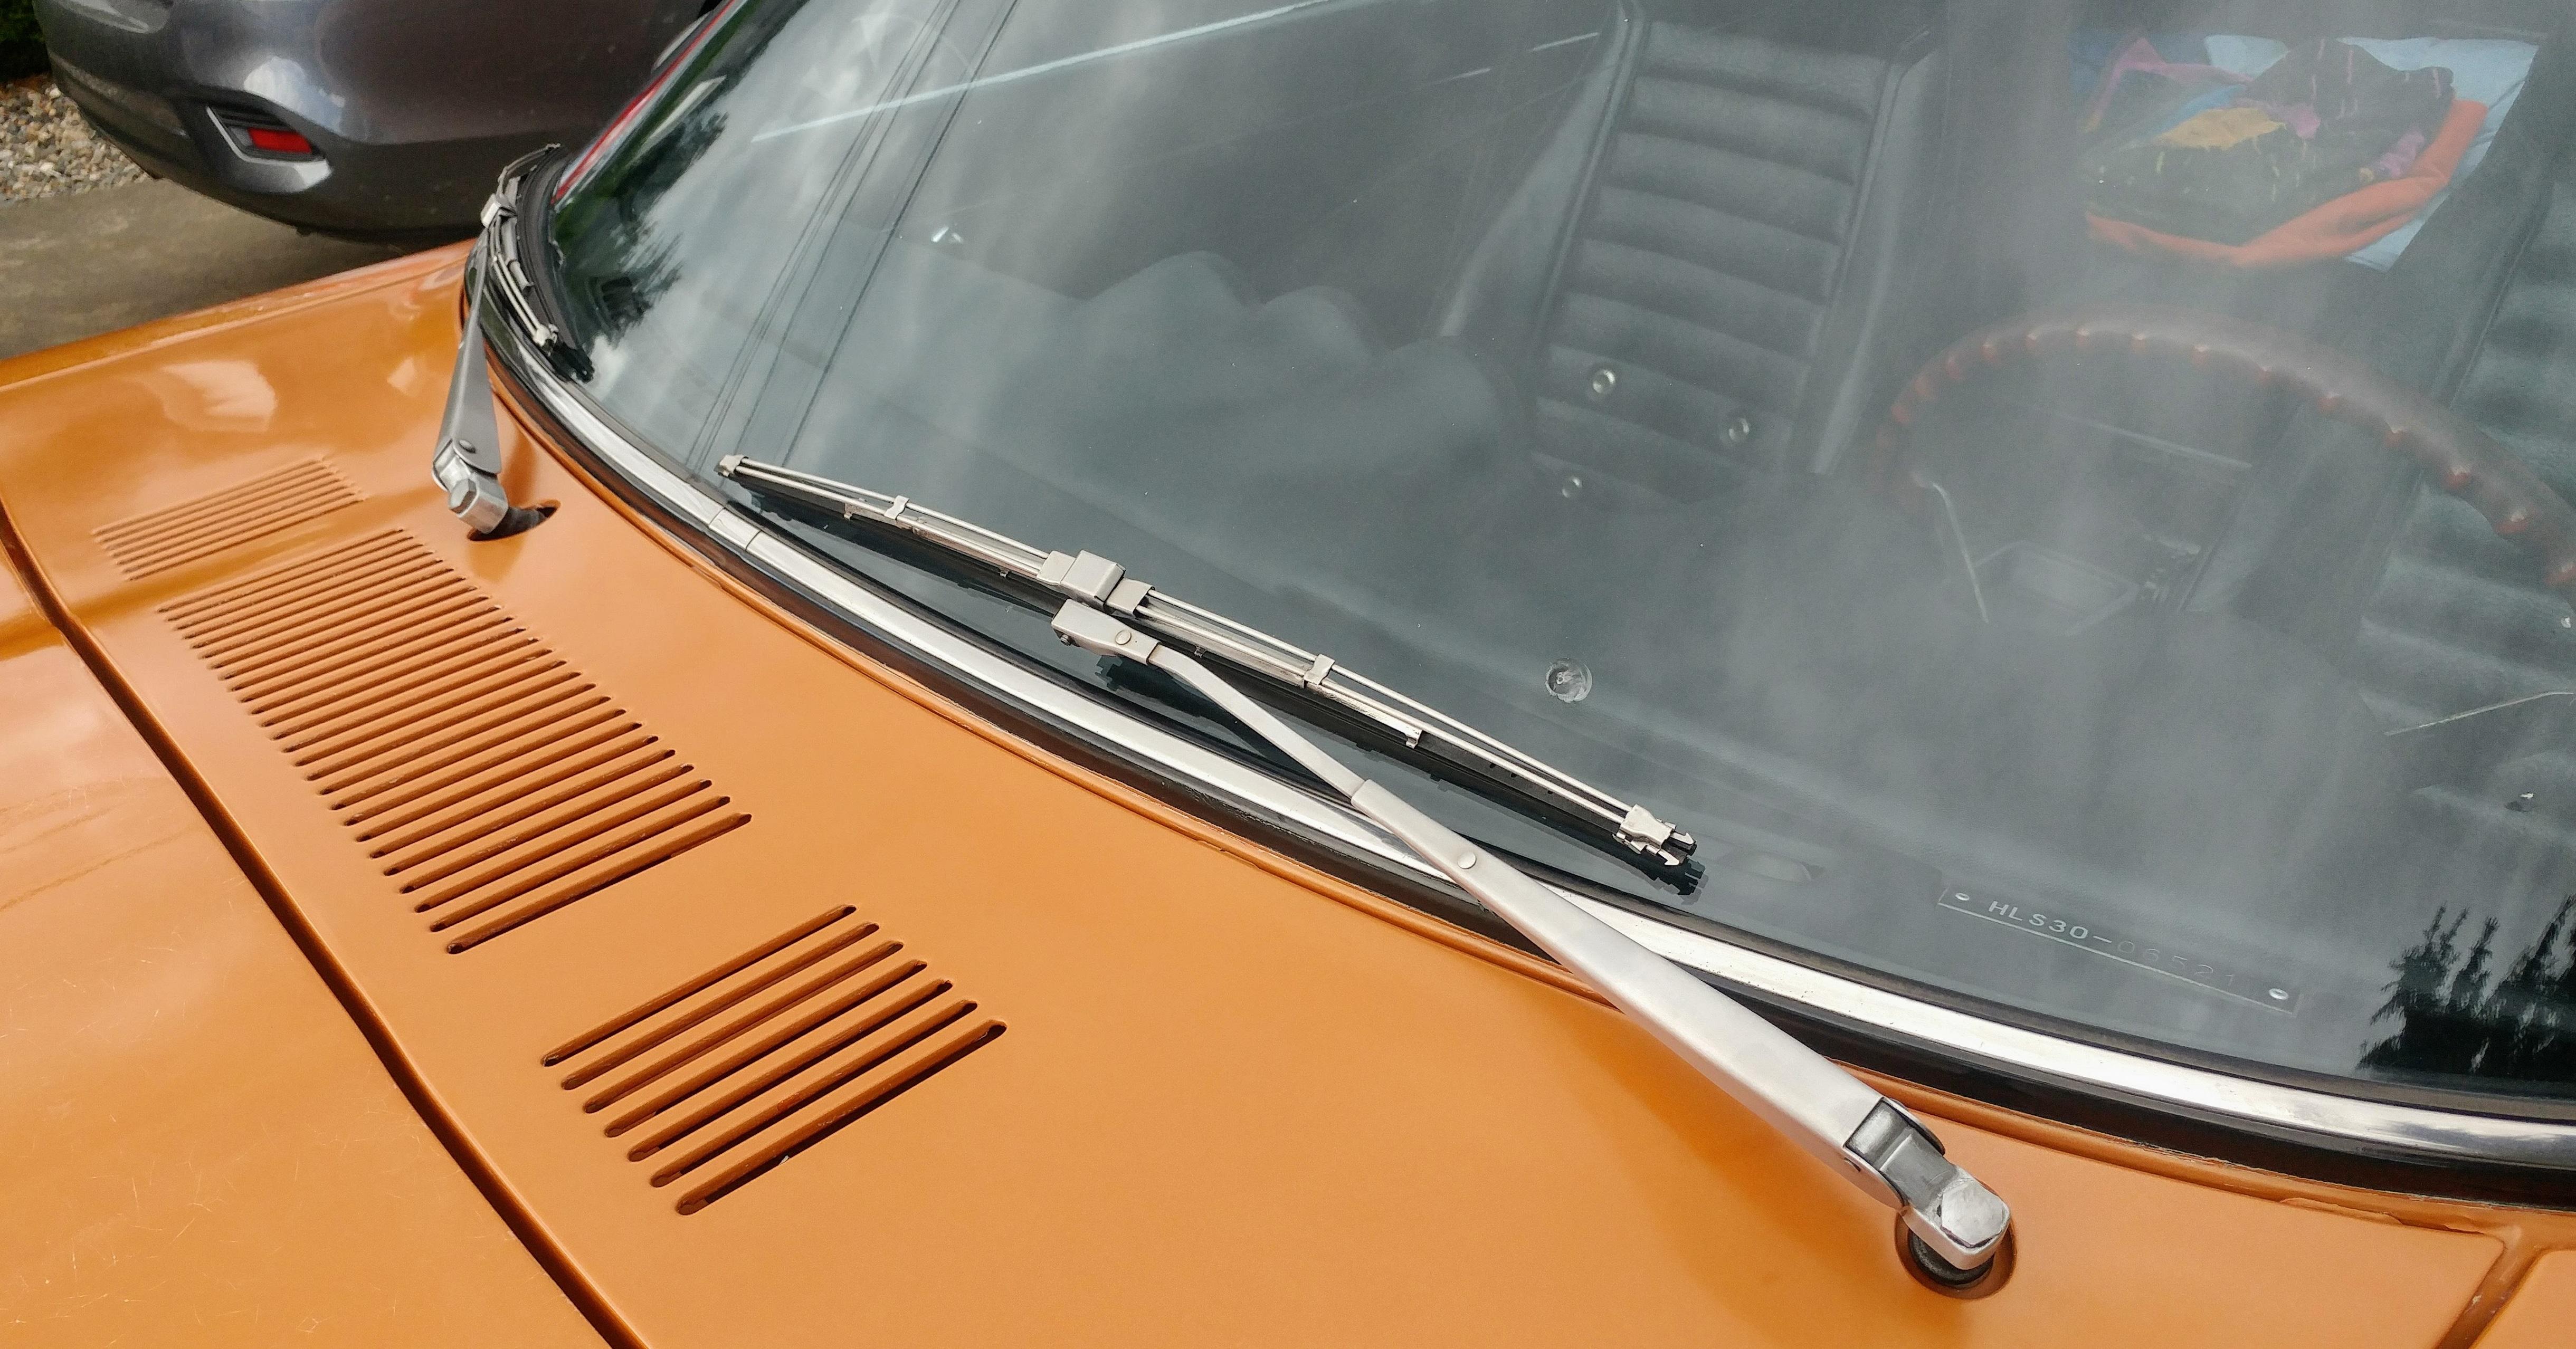
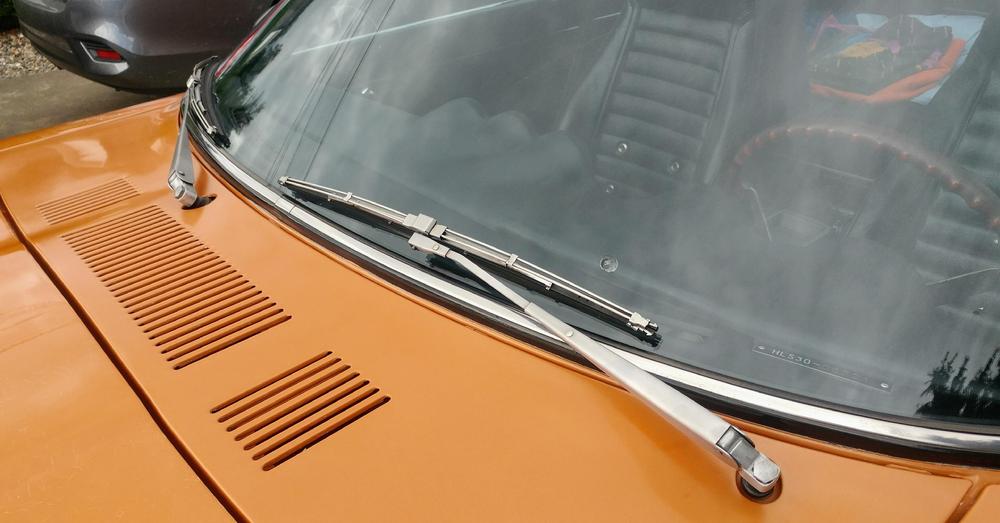
Replaced my old painted black wiper arms and faded out black plastic wiper holders with cleaned up SS arms and OEM SS twin wire wiper holders. Thanks to @240260280 for trading these to me last year.
-
The day after we got married my wife and I went on a 2000 km (1200 mile) road trip in the zed. Fast forward 35 years, same car same wife. Life is good.
-
Here's another pic you might also like then.
-
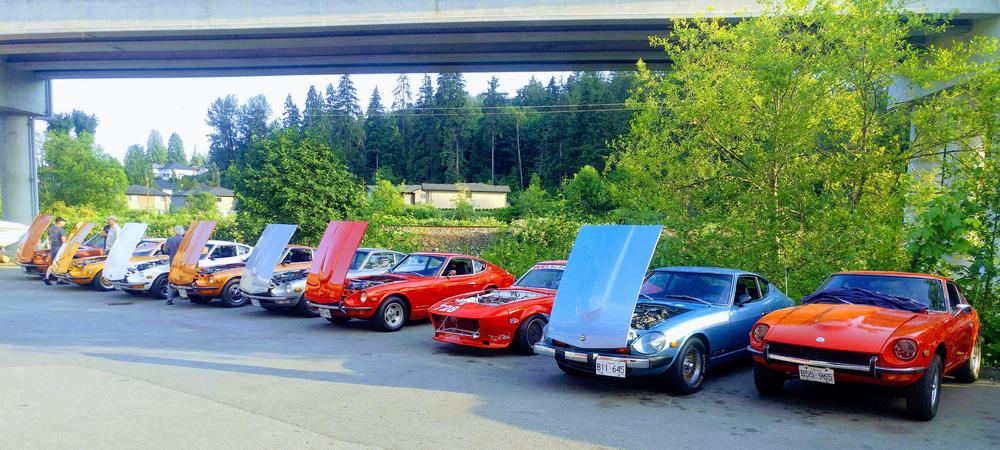
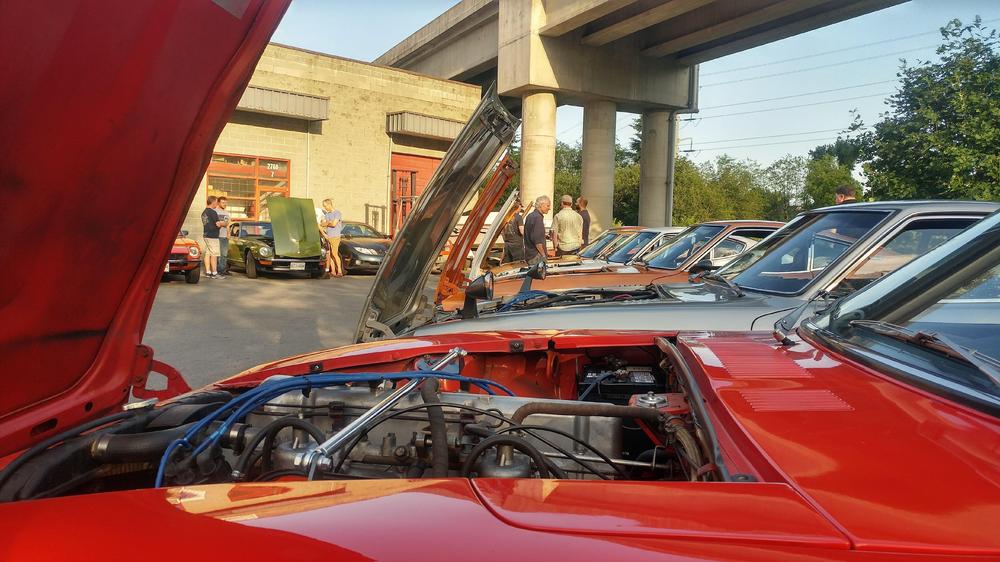
This week I also got out to the BCZR 3rd Thursday Meet. We had a great turnout, over a dozen S30's made it.
-
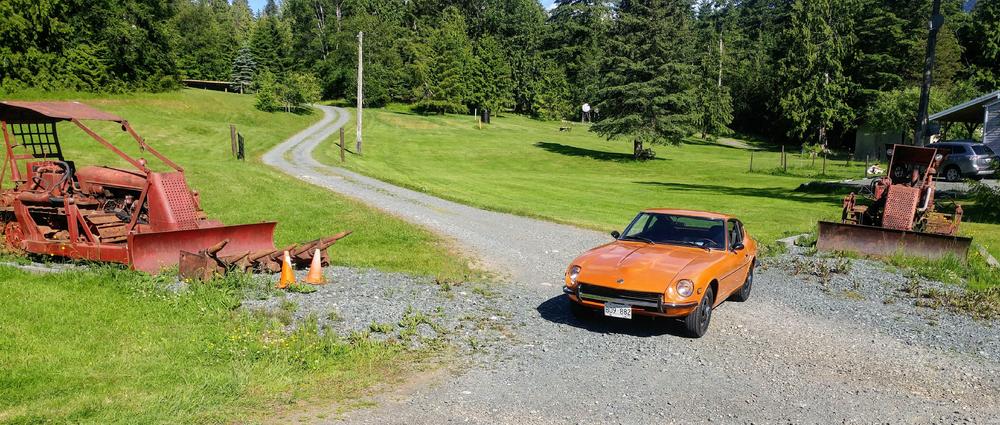
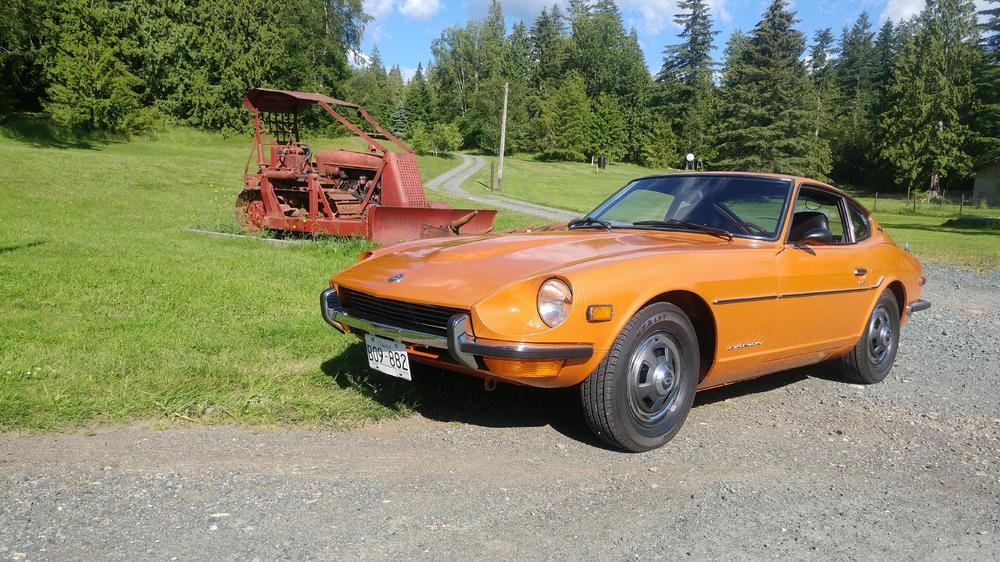
Finally got my car off the jack stands and out of the garage last weekend. Here are a couple of pics from my first drive of 2018.

-
Looking awesome. Great attention to detail.
-
Before you say gone and gone don't overlook early cars from Canada and a few other countries that were non emissions and had no smog system. You might be missing out.
-
I did a hi-res scan of the FSM chassis drawing and then did a raster to vector conversion. For those who are interested, I am attaching the cad file (.dwg format) that most cad software should open, as well the same drawing as a pdf. I scaled the .dwg file as close as I could to 1:1. One thing I noticed was that when I scaled such that the horizontal dimensions were accurate the vertical dimensions were plus about 3%. See the dims in green that I added for reference. Mike 240Z Chassis Dimensions - Source 1972 FSM Dated 10SEP71_Scaled_26MAY2018.pdf 240Z Chassis Dimensions - Source 1972 FSM Dated 10SEP71_Scaled_26MAY2018.dwg