Everything posted by Son_of_Z
- DSC00418
- DSC00374
- DSC00373
- DSC00372
- DSC00371
- DSC00370
-
DSC00369
- DSC00419
-
DSC00417
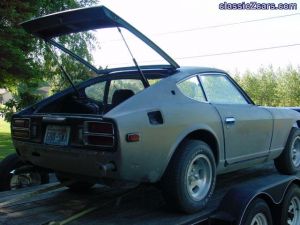
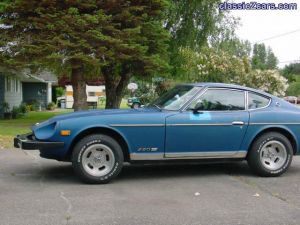
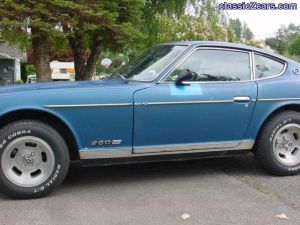
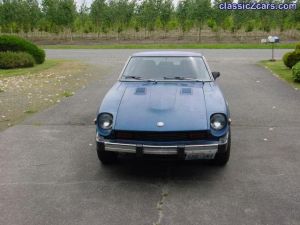
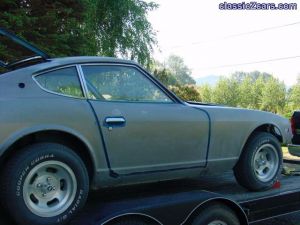
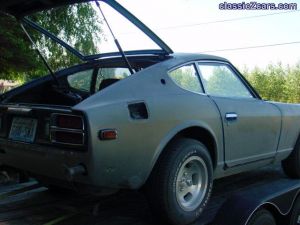
This is the start of repainting my next project a VERY tired 77 280Z. I had just got the car back from the blasters
-
Washington State Charity Run
Skagit Charity Fun Run, Sunday, Aug. 3, 2003 Skagit County, Washington Organized by Russ & Sue Husk The Skagit Charity Fun Run welcomes all Datsun, Nissan, and Infiniti automobiles for a day of exhilarating road driving and a beautiful picnic lunch area (BYOL bring your own lunch). The course is approximately 120 miles long and should take in the neighborhood of 3 to 4 hours to complete. This is not a racing or timed event or a car show. This is a road run with some challenging narrow winding roads that go through a wide variety of elevation changes. We will not travel in one big pack. Instead you will be assigned departure positions based on your arrival time at the start point and will start at 2.5 min intervals. There will be lots of time to mingle with your fellow car nuts at the start, break, and lunch points. The start point has a coffee shop and two espresso stands. There is one scheduled break on the course at Clear Lake. When you reach the break area you should spend 20 min there, then depart on time as to maintain our separation. This is a Charity Fun Run and we are asking that participants contribute at the start of the run. 100 % of donations will be given to the Skagit county Boys and Girls Club. There will be a drivers meeting at 8:30 am, with first car out at 9:00am. There are some long stretches on this course with no services (gas, restrooms, and stores). Under the column marked “Segment Odometer†if the initials NS appear then there are no services in that segment. There are some small towns that we pass close too but, don’t enter that have all services. The course contains 0 traffic lights, 0 freeway miles, just a few stop signs, and should have extremely light traffic. You can’t take a nap in the middle of the road but you should be able to count the traffic on one hand on most of the segments. As you all know some speedometers/odometers can be + or – a bit so use the mileages as a guide, and keep a sharp eye on the segment mileage. The good news is where we are going there are not many roads so you would have to try pretty hard to get lost. Also, all of the road surfaces are paved; there is no gravel or dirt roads on this course. The picnic lunch area will be at the Club House in Howard Miller Steelhead Park in Rockport, Washington beside the upper Skagit River. Reserved parking has been arranged for the cars and there is a playground, restrooms, and picnic tables on site. If you choose not to bring a picnic lunch there is a very good hamburger joint about 8 or 9 miles before you get to the park called Marblemount Drive-in. There is a small convenience store within walking distance of the park for snacks, pop, and such. The area has lots of grass and shade trees with unrestricted access to the river. You can start eating your lunch as soon as you arrive or wait a bit, your choice. I expect the first ones in about 12:30 and cars coming in till about 2:00 at the latest. After lunch you are free to choose your own path down the mountain, there are three: State Route 20 (shortest), State Route 530 (south), and South Skagit Highway via SR 530 and Concrete Sauk Valley Road (my choice, high on the fun meter). START POINT Conway Shell gas station, Conway, Washington exit 221 from Interstate 5 on west side of freeway. There is a deli/restaurant on the premises if anyone is interested. Total Odometer Note Segment Odometer Mile 0 Right, Fir Island Road 0.2 NS 0.2 Right, Dike Road 5.8 NS 6.0 Right, Britt Slough Road 0.2 NS 6.2 Left, Blackburn Road 1.9 8.1 Right, Little Mountain Road 3.2 NS 11.3 Left, Amick Road 0.5 NS 11.8 Right, W. Big Lake Bvd 3.5 NS 15.3 Left, Highway 9 0.6 NS 15.9 Right Lk. Cavanaugh Rd (eastward) 10.4 NS 26.3 Right, South Shore Drive 8.0 NS Follow the road to the left around the lake in a counter clockwise direction South Shore Drive leads to North Shore Drive then North Shore Drive returns you to Lake Cavanaugh Road 34.3 Lk. Cavanaugh Rd (westward) 10.4 NS 44.7 Right, Highway 9 8.5 53.2 Clear Lake Break Area, Break for 20 min Continue North on Highway 9 1.3 54.5 Left, South Skagit Highway 24.0 NS 78.5 Right Concrete Sauk Mountain Rd 16.0 NS 94.5 Left, Highway 530 4.9 NS 99.4 Right, Rockport Cascade Rd 10.2 NS 109.6 Left, Cascade River Road 0.7 110.3 Left, Highway 20 8.6 When you first turn onto highway 20 this is the town of Marblemount. As you are heading south on highway 20 on the left hand side is the hamburger joint (if needed) as lunch break is just ahead. 118.9 Left, then Right, we are in the Club House first building on the left when you enter the park. Welcome to Howard Miller Steelhead Park in Rockport, Washington. Maps at: http://www.plaidnet.com/guides/SG.02/11.SG.02.pdf http://www.plaidnet.com/guides/SG.02/12.SG.02.pdf http://www.plaidnet.com/guides/SG.02/13.SG.02.pdf Map hints: 1. Increase viewing size to 200% (lower left corner) 2. Start in Conway (south of Mount Vernon) and follow the river north (Dike Road) 3. They take a long time to load Questions and comments can be directed to Russ & Sue Husk at: 360-424-1422 Son_of_Z@hotmail.com
-
Gas Filler Door Chrome Knob
Thanks, I will give him a shot. Have been trying to get my original one re-chromed but the platter is having a tough time with the pits in the metal (pot metal). The grove where you put your fingers to twist to open is a strange angle and we don’t want to remove to much material. Might end up filling the 2 pits with something and trying that. SOZ
-
Gas Filler Door Chrome Knob
I am looking for a Gas Filler Door Chrome Knob for an early 240Z in Excellent to Mint condition. Please email at Son_of_Z@hotmail.com
-
hop in car smell gas....clear a few things up
You can also get a pre-bent piece of tubing that will work for the sharp bend off any 2nd generation 280zx in a wrecking yard. There are actually 2 of them in the AFM boot of each car. SOZ
-
Vinyl preservation,
Alfadog is on the right scent or should I say trail:classic:
-
Vinyl preservation,
Vinyl preservation, I am frequently asked what I use on my 1970 240Zs original dash, original door panels, and original vinyl quilted material so thought I would share it. I have seen and heard of a lot of ways and different products that are suppose to protect the vinyl surfaces in cars. None of them seamed to work well for me. Then I stumbled upon Passier, Lederbalsam, a fine leather dressing made in Germany. This stuff is great, clean the area with a damp cloth, then liberally apply the Lederbalsam, leave it on overnight. The following day wipe off the excesses. When I bought my car from the original owner about 3 years ago the dash was uncracked, but very hard and stiff. I have treated the dash 3 or 4 times now and while it is not as soft as new it is very flexible and pliable to the touch. On the drivers side door panel where the drivers knee rests the vinyl had an area about 3 inches round where all the moisture had been wicked out of the vinyl over the years. After just one treatment it looks good as new and stays that way. I bought this stuff at a Saddle and Tack Store, $16.00 for a can. No I don’t own any stock in the company, just hate to replace dashes. Good Luck
-
Hatch Interior Panel
I do push out the center pin first. However, the holes in the hatch (not the interior panel ) have been drilled to a smaller diameter than the plastic panels. This makes inserting and extracting the river body a frustrating job. The hatch is the only place on my car that I have this problem. I might have a defective hatch.
-
Hatch Interior Panel
Interior panel attachment for hatch on early 240s The holes in the hatch (6) for the plastic interior attachment rivets are too small. This makes the rivets difficult to install and remove without undue aggravation and possible collateral damage to valuable parts. I use a razor blade and carefully slice off one of the four plastic fingers on the backside of the rivet. They still attach tight and are removed easily. Additionally I reuse them instead of damaging them beyond usefulness. Good Luck
- Whats under your hood?
-
datsun 240z mustache bar bushing replacement hints
Datsun 240Z (early series) Mustache Bar Bushing Replacement and Associated Hardware hints. Recently I undertook the project of replacing my Mustache Bar (MB) Bushings and freshening up the associated mounting hardware. This installation was for STOCK Nissan parts and not URETHANE or POLYURETHANE types which call for several different steps and parts. The step where you remove the actual bushing from the MB is the point of No return, as far as whether to use STOCK or URETHANE bushings. The car that I used for this project has a build date of 6/70 SN 06116: depending on when you car was built the procedures may vary slightly. * SAFETY * This project requires that the car be placed on Jack stands and the raising and lowering of the vehicle. Be careful and follow all safety instructions on your jack, jack stands, service manual and tools. Please use common sense, be patient, and if you have a problem, stop and get some help. Good luck. PARTS LIST Nissan Part # Quantity Required Nomenclature New/Used 55523-E83000 2 Bolt- Rear Suspension Mounting Used 08915-44810 2 Washer- plain Used Body Of Car 55474-N4300 2 Stopper-Differential Mounting Upper NEW 55476-N4300 2 Insulator-Differential Mounting NEW 55475-N4300 2 Stopper- Differential Mounting Lower NEW 54474-E4100 2 Washer- special Used 08912-84210 2 Nut- Self Locked Used These are the items you will need listed from top to bottom the way they should be stacked upon completion of the installation. Removal of Mustache Bar 1. Loosen lug nuts ½ turn on left or right rear wheel. 2. Jack up Car and place on jack stands in a very safe and supportive manner. Your life depends on this step. I prefer to put all four corners on jack stands for ease of accessibility. 3. Remove whichever wheel you loosened the lug nuts on. 4. Place floor jack under differential punkin, just barely contacting. 5. Loosed 17mm nuts that are on the bottom sides of the Mustache bar bushings. (Note: if the bolt turns you can access it from inside the car under strut tower) 6. Remove bushing nuts completely ensuring that floor jack is supporting the weight of the differential. 7. Now there should be some slack between the MB bushings and the mounting point on the car. If not carefully lower the jack so you have about ½ to 1 inch clearance on both sides of the MB where the bushings contact the car. 8. Loosen the 2, 17mm nuts that hold the MB to the rear cover of the differential. 9. If the stud or studs back out of the cover instead of the nuts loosening that is fine, because the studs have to come out anyway. 10. Loosen the nuts until you have about 1 nut width of threads left. Then thread on one of the 17mm nuts you took off the end of the bar to use as jam nut, so you can remove both studs. Note: be very careful here and make sure the MB is not bound on anything that would put pressure on the studs as you remove them. Remember the studs are steel and the differential mounting cover is aluminum and don’t mess the threads up. 11. Now the MB should slide sideways out of the car on whichever side you removed the rear tire from. BUSHING REPLACMENT 1. Clamp the flat of the MB, towards one end into the jaws of a vise. 2. Use special tool, i.e. 1 ½ O.D. piece of steel pipe and a 5 lb hammer to removed the old bushings. There is a lip on the bottom of the bushing so it will have to be taped out from the top. 3. Clean up the inside on mount loop of the MB, and I put a very lite smear of grease on the inside. 4. Turn the MB over in the vise; insert the new bushing with special tool, i.e. 2 ½ in piece of steel pipe and 5lb hammer. Keep the bushing true to the loop in the MB during this step and take your time. Tap into place until the shoulder of the bushing contacts the bar flush around the entire bushing. 5. Repeat steps 1-4 for the other end of the MB. 6. You will notice that the new bushings have taller sidewalls than the O.E. ones. This is necessary to properly install the new bushing. The original bushings were epoxyed into the MB using some kind of space age compound. Soooo, you have to flair the bushing outer casing out and over the lip of the MB loop. Essentially both ends of the bushings should look similar once you are done. The factory did one end now you have to do the other. Once I had the bushings installed I took the MB to a local shop with a press, and they used a hollow cone shaped fixture to start the flair. Next brace the bottom side of the bushing area and use a hammer to tap the lip the rest of the way over. Worked great for me. Some people say to make small serration then tap over. But, I much prefer to roll the lip over as one solid piece. Installation of Mustache Bar 1. Slide the MB back under and in to the car, remembering the original orientation of bushing loops, mine were to the rear. 2. Stack the hardware and install both ends of the MB putting the nuts on just a few turns. 3. Reinstall the two studs through the center of the MB and into the back of the differential. Studs have different threads on either end. The course threads go into the differential. Be very careful not to cross thread or strip out the case cover at this step. Screw studs in all the way then tighten nuts up. Torque to spec’s, mine was 60 ft lbs. 4. Tighten up the bushing nuts a few turns at a time, alternating sides. Torque to specs, mine again was 60 ft lbs. The floor jack should be used to support the differential throughout this job to avoid damage to the differential or car, also for additional safety. Degree of difficulty: 1= put gas in car 10= rebuild transmission, I put this job at a 3.5 on the Z scale. Estimated time, not counting parts runs or machine shop time. 1.5 hours. Estimated cost- depends on how good your local Nissan dealer is, mine was about $60.00. Tools needed: 4- jack stands 1- floor jack 2- 17 mm wrenchs 1- ½ drive ratchet 1- 17 mm deep well ½ drive socket 1- ft lb torque wrench 1- hammer and assorted special tools (i.e pipe) Special thanks to: Virgs Brake and Suspension Shop (machine Shop), Mount Vernon, Washington. 360-336-3673 Gordon Nissan- Parts/Service Department, Burlington, Washington. 360-757-2277 Good luck Son of Z Email : Son_of_Z@hotmail.com
- 1 and a 2
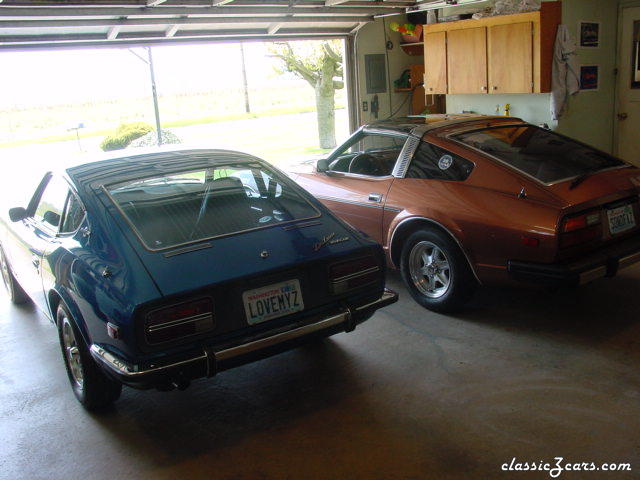
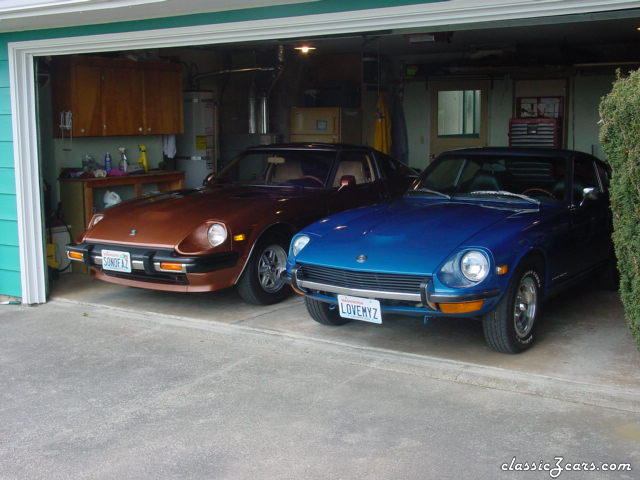
- #1 & #2 Zs
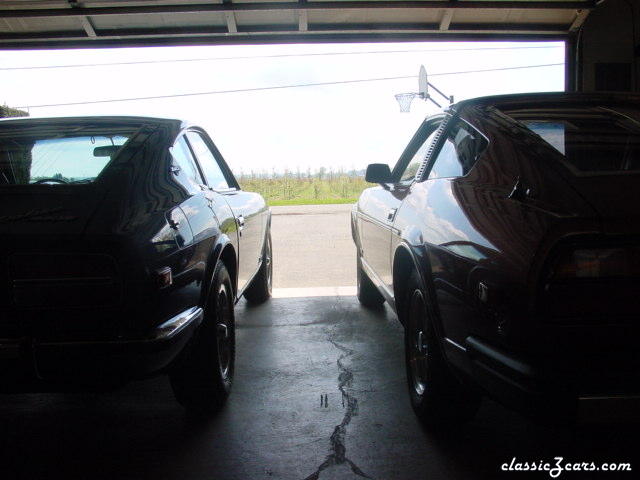
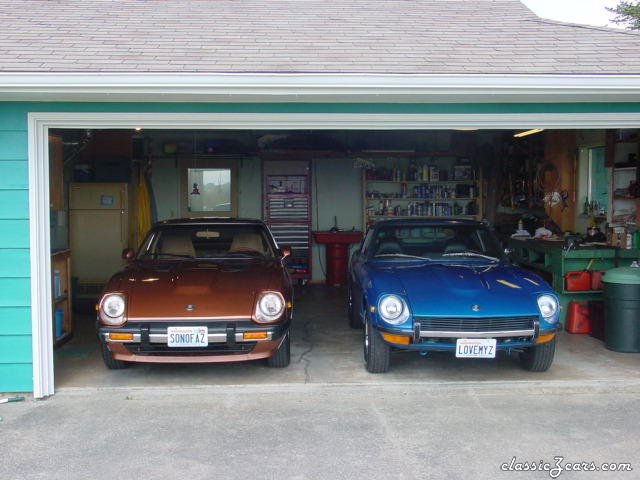
- His & Hers Zs
- His & Hers Zs
-
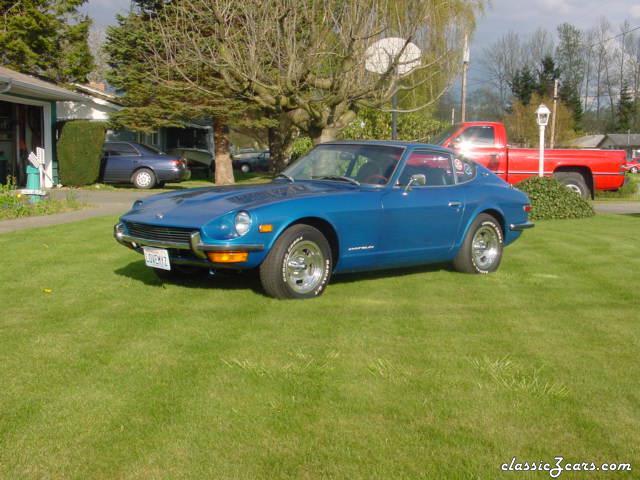
1970 240Z
-
1970 240Z
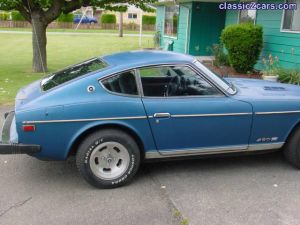
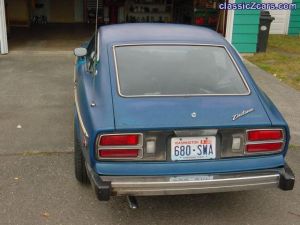
This car was originally purchased by a lady school teacher in Bellingham WA in Aug 1970. We purchased it from her 1999. We have done a cosmetic restoration. Items such as the carpets, dash, door panels and other stuff are original and undamaged.


