Search the Community
Showing results for tags '240'.
-
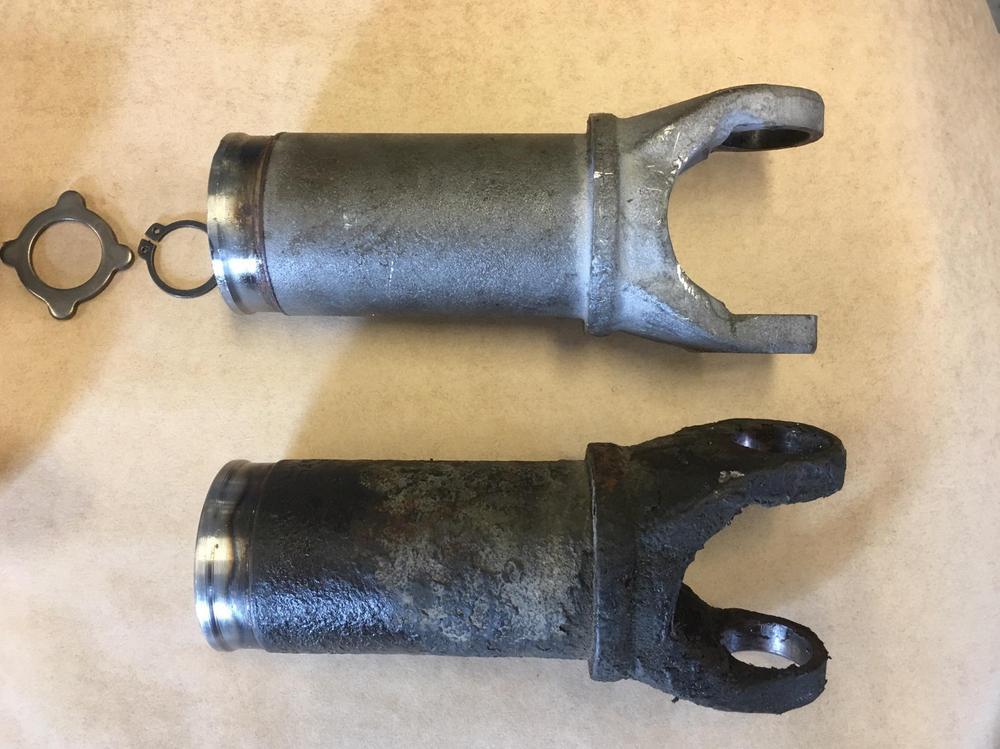
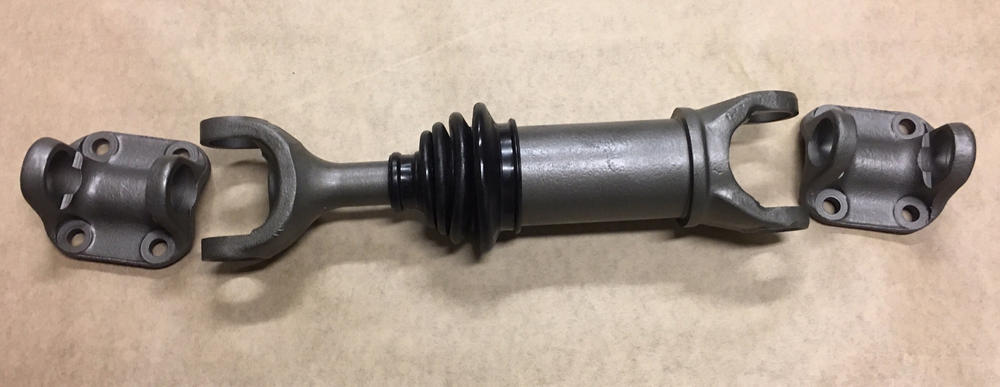
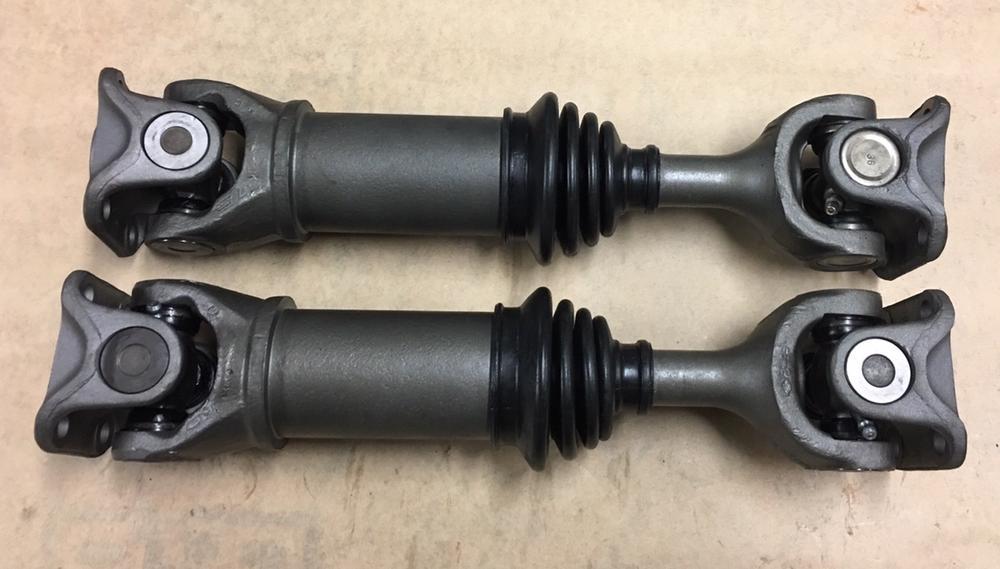
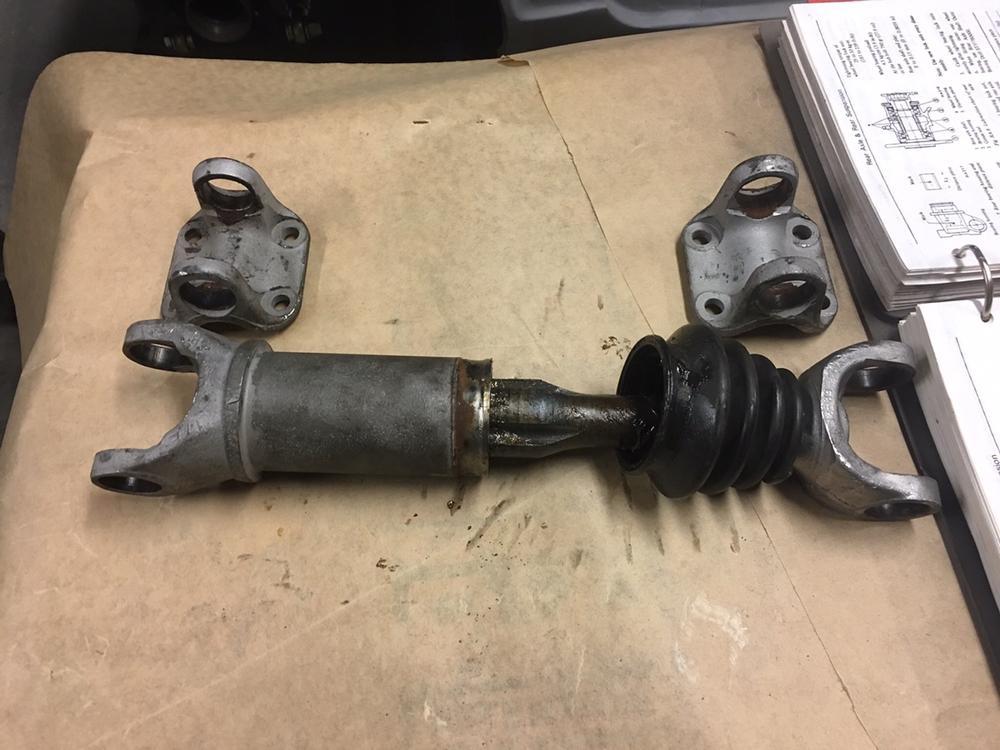
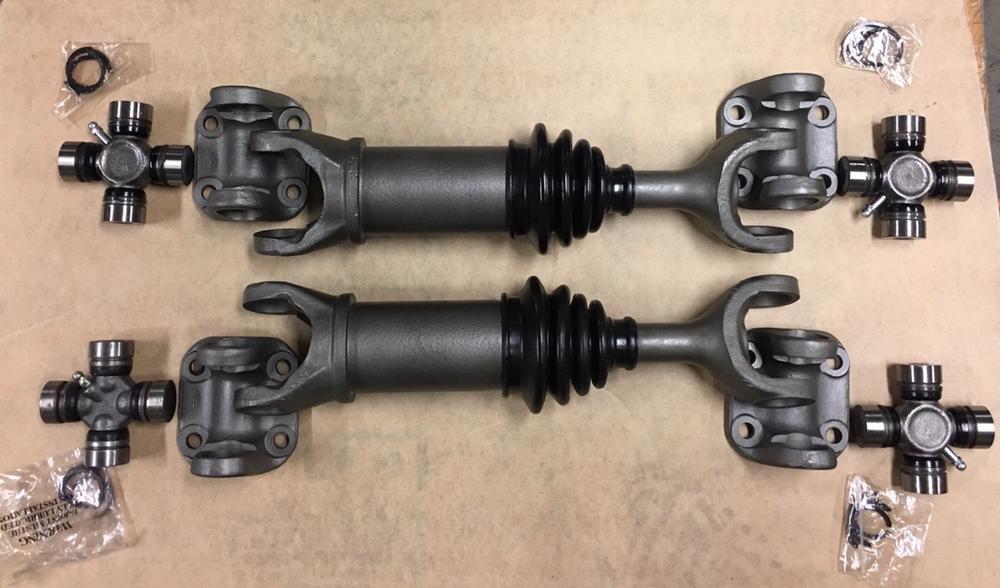
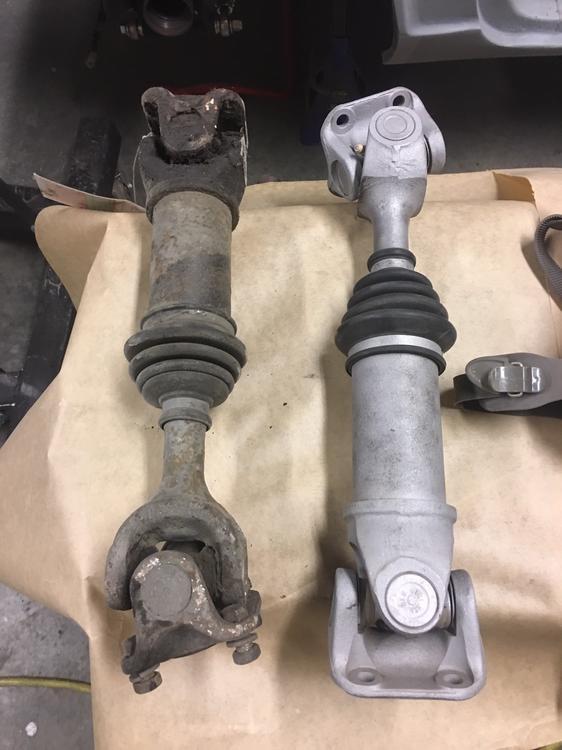
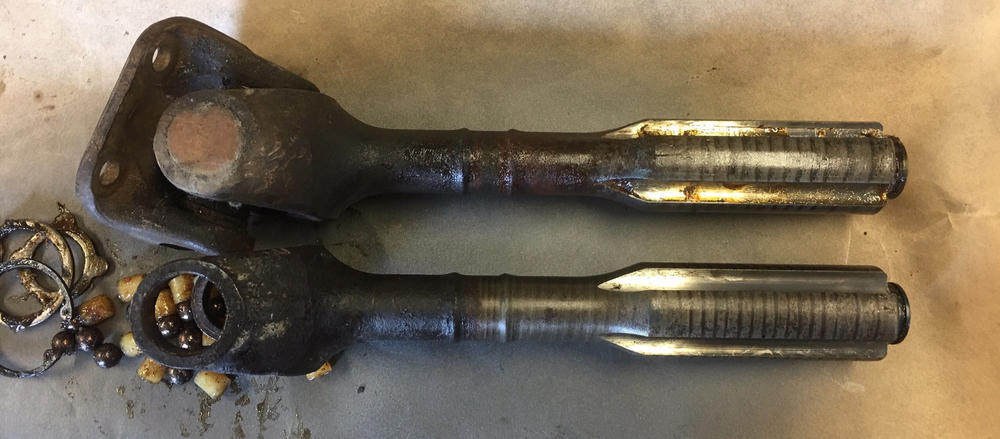
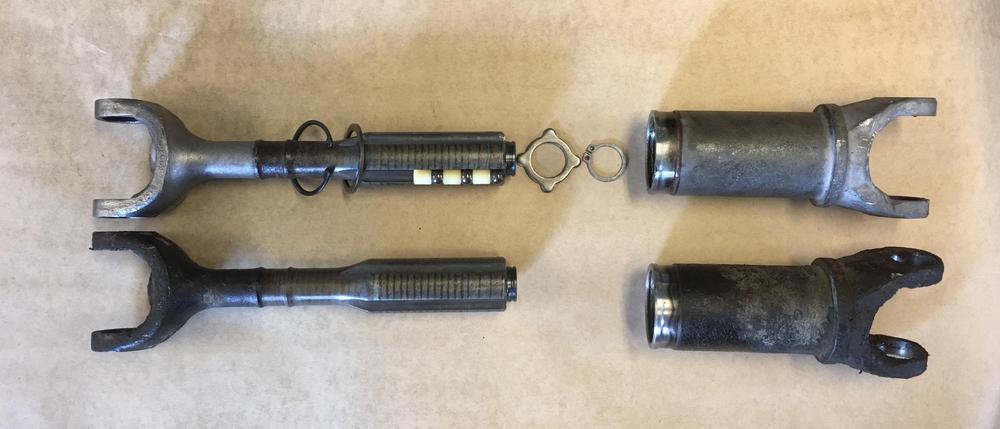
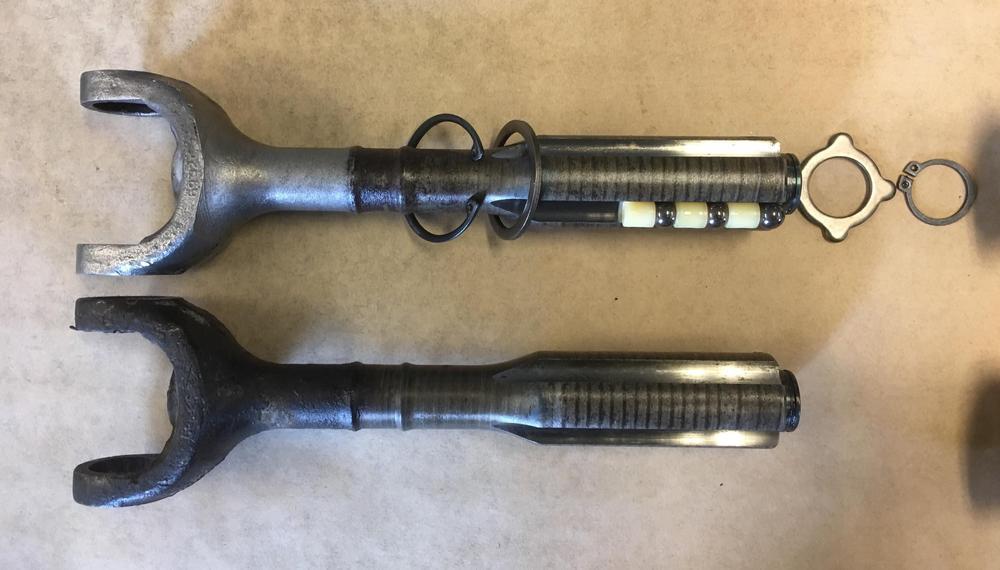
Let me start this thread by saying that I was not looking to solve a mystery or bust a myth when I started this procedure. I just wanted to rebuild my tired old 76 280Z half-shafts! I think there was a very common myth that the S30 half-shafts were different sizes. The driver side being shorter than the passenger side. Even though the distance from the wheel hub to the differential differs (more-so with the R200) from side to side, the half-shafts are IDENTICAL! The amazing amount of lateral play in the shaft allows it to expand or contract almost three inches. ...on to the pics! First a shot of the shafts after I ran one through the media cabinet next to the other. The removal of the u-joints is straight forward, several well documented methods on line if you need help there. Now the science! Here you can see that the axles are identical in each dimension. Also note the layout of the snap rings, retaining rings and the balls and spacers. And for those that were still disbelieving, a shot of a 240 half-shaft next to the 280 half-shaft. 240 shaft with the u-joint still attached. Then on to refurbishing! You will need 4 new u-joints. SKF UJ393, MOOG 393, or Precision 393 will all work or any variation thereof. I media blasted the shafts and protected the bearing surfaces while doing so. I then painted the exposed parts in Cast Iron engine paint from Duplicolor. Love the look! I re-used the old boots as they were in great shape. After blasting the shafts and painting them, I turned the boots inside out and fed the wide side over the bearing shaft. I used the cut-off top of a funnel to aid the narrow end going over the shaft and up into position. Worked excellent. Leave the boot inside out for now. Slide the upper retaining ring and snap ring on to hold the shafts together, tuck them up by the boot. Refer to the above pic for proper order. Attach the lower retaining ring and snap ring. Put the cleaned spacers and bearings into a zip lock bag full of a good quality bearing grease and ensure they are coated nicely all around. Place them in the channels in the correct order, ball bearing at the bottom, spacer at the top. The grease will keep them in place. Add about 10g of grease to the top of each channel. Carefully slide the shaft back into the axle while ensuring the ball bearing and spacers are supported by the retaining tabs. Make sure the shaft is orientated correctly, the same direction as the axle end! Try and keep the bearings at the bottom of the assembly as it goes together. Holding it vertical helps. When the shaft is in the axle, add another 30g of grease to the top of the shaft, concentrating on the open groves of the axle that did not receive the bearings. Use the retaining ring to push it all together and seat the bearings. I used a screwdriver and hammer to tap the retaining ring flat. Worked great, didn't need much pressure. Reattach the snap ring to the axle at the top. Wipe up the grease you got everywhere... and pull the boot back down outside-in , ensuring the top fully inverts and seats in the groove, same as the bottom. Attach your favourite brand of cv boot clamp over the boot ends and securely tightly. Mine had not arrived in time for the pictures. Proceed on to installing the u-joints, being careful not to damage the pretty paint! Grease the u-joints and you are done! Another 40 years of glorious torque! Thanks to Jim @zKars for his guidance and wisdom.
-
I have a 71 240. Problem I'm having is it seems like my clutch is always engaged. It's almost impossible to get it into either first or second gear unless the car is off or rolling. In first and reverse with the clutch fully depressed the car rolls forward or back as if I'm letting off the clutch. Also theres a good clunk with the initial shift into reverse. I've replaced the master cylinder slave cylinder looks in good shape no leaks. I have the adjustable shank on my slave cylinder so I tried to thread it out thinking it would improve and it did the exact opposite, so I threaded the shank all the way back to the point where it is just barely (not even 1 ft lbs) touching my clutch fork and still I'm having the same issue. System has been bleed completely and I cant take anymore away from the shank on the slave cylinder. Later I will try adjusting the clutch pedal from under the dash see if that gives me any improvement. Any advice or suggestions would help thanks for the read!!!!!!
- 27 replies
-
Hey everybody. Im looking for an early 70s 240z. I cant find any in my area. I want one that needs work so I can put it back together the way I want to. Does anyone have a Z like this or one that is so rusted you just want to junk it. Preferably I want it to be under 300 bucks. A guy can dream.
-
Parting out 1982 Nissan 280ZX, it is a complete. Let me know what your interested in, the only things not for sale are rear diff, transmission and axle shafts. Shipping will be from Idaho, 83347 Items available include: -Engine/accessories -Wiring Harness -New Air Flow Meter -interior gauges -Fuel tank -Rims -Rear disc Brakes -Drive Shaft -Trim pieces -Glass Let me know what you want and I'll take a better picture of it and send you a price email me at dayleywwc@gmail.com Thanks
-
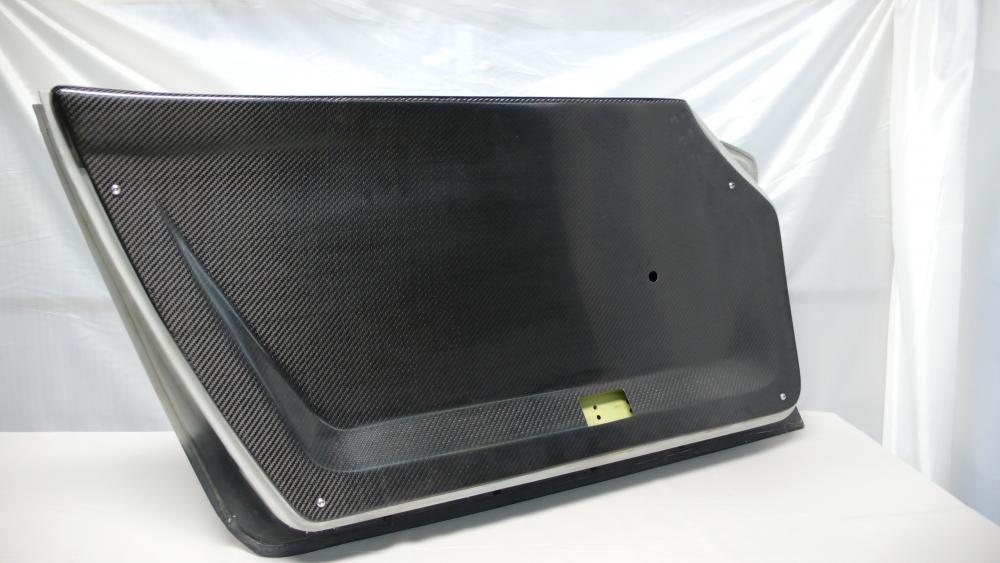
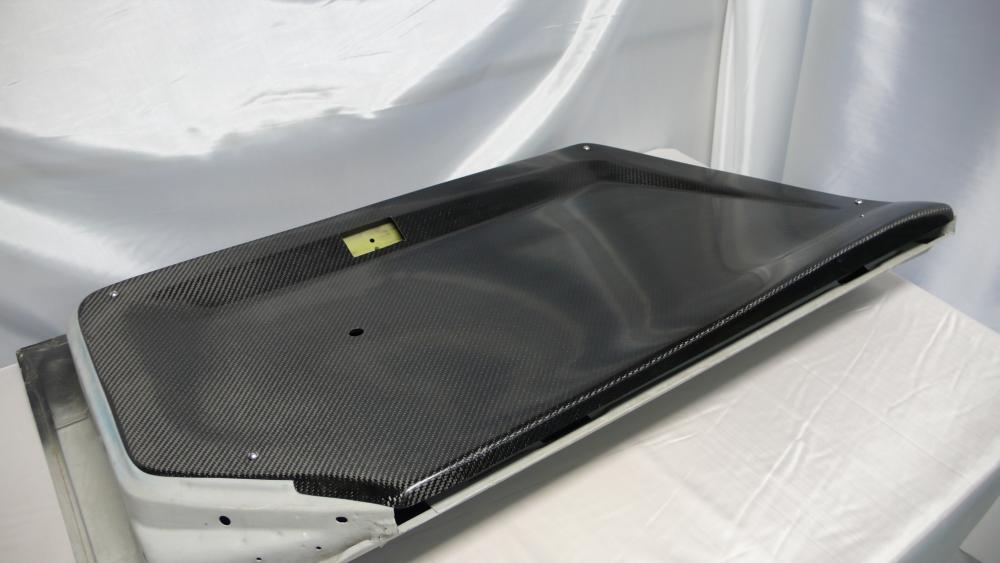
New Parts for Sale: Door Panels, Center Consoles, Fuse Box Covers and Custom Parts on request! Introducing a range of interior parts for the 240 Z. See Attached Pictures. Our parts are constructed of vacuum infused laminates of carbon fiber and UV resistant epoxy for long lasting clarity and durability. These parts are scratch and stain resistant and will not crack or delaminate like the OEM versions. Guaranteed to fit on OEM mounts and last the life of your car. Door panels are offered as Half or Full Height versions, with the Half versions intended for use with the OEM panel metal top portion in cars with "two tone" interiors. Weights: Half Height Panel: 1 lb 3 oz each (4 lbs 3 oz OEM) Full Height Panel: 1 lb 9 oz each (4 lbs 3 oz OEM) Center Console: 13 oz ( ~4 lbs OEM) Fuse Box Cover: <1oz. We strive to bring customers modern and quality interiors for their classic Z cars. Please contact Colin at colinfpalm@gmail.com or through our website: http://www.palmcomposites.com/#!shop/c1jgi Palm Composites, LLC Pulaski, NY
- 16 replies
-
- 1
-

-
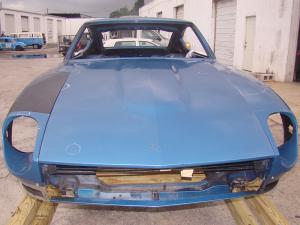
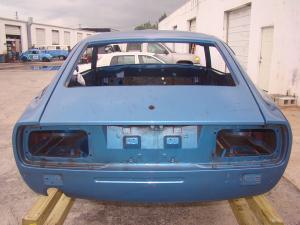
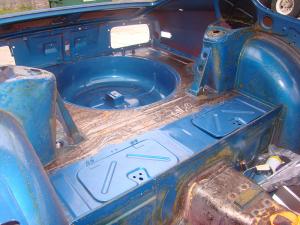
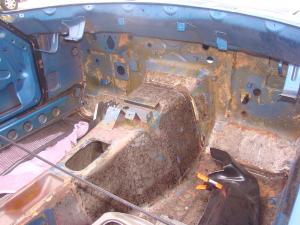
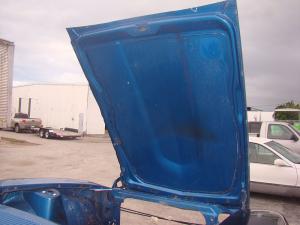
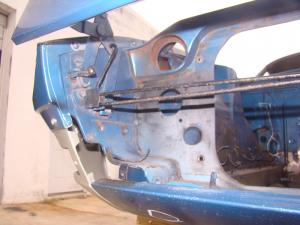
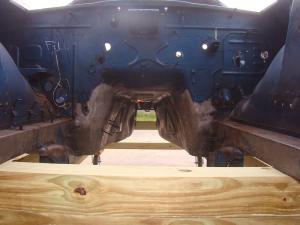
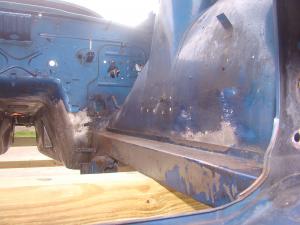
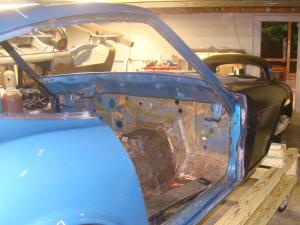
This vehicle, which has always resided in Florida is in excellent condition compared to other Datsun 240Z's which are often found rusted out. The owner bought this (nearly) rust-free car as a project destined for a performance build. Being mechanically inclined, the customer is going to be doing all the assembly and upgrades but wanted us to take care of the body restoration.
- 34 replies
-
I was offered a speedometer with mph and km/h out of a 280Z and as it is nice for me here in Germany to have the actual speed in km/h at hand (expensive pictures here) My question: Can i put a 280 speedometer into a 240 without a problem, or will the reading be wrong, etc??? Best regards.
-
Hello, I´m thinking about getting these springs into my `72 240Z, but i want to find out some more details about them and if they suit my driving needs better then the Eibachs. I could get almost any info (beeing a german engineer makes some things easier), but i need the Vogtland Art.-No to identify them. Could anybody provide me the number written on them? It has to start with a "95" and is 6 columns long. Thanks.
-
Here is a mystery. The car is an early 71 that is essentially stock, but I run a header and a Mallory dual point mechanical-only distributor. It starts great every morning and runs well for about ½ hour. Then I get a stalling effect. It is as if one turns the key off and then quickly back on. It happens once or twice at first but then gets more frequent as I go along. I had this problem before and replaced the positive and negative connectors at the coil and it went away. Now it is persistent. By the way, it only affects the engine – voltage does not drop, the lights do not dim, etc. when it occurs. Any help is greatly appreciated.
-
-Photobucket currently will not let me put anyting bigger than a avitar sized photo... sorry An elusive item in our Z cars is the build sheet, I dont know what I have here but It looks like one to me... I was at a local junk yard here in St. Louis and came across TWO '73 240s, one a green RUST FREE (OK not rust free but perfect doglegs none the less!) crushed at the top of a pile of cars... Then I came across the rusty shell of a 73, I had seen this Z on creigslist less than a month eariler for sale for $600, the Z was all original including paperwork from the dealer warnty book and card Radio guide and A/C install info papers. I grabbed the Splash pan off it along with other various items. When I moved the center console out of the way down fluttered the "build sheet" with various marks on it... What is it??? anybody seen this before??? http://www.flickr.com/photos/42150949@N07/?saved=1
-
Hi everyone, I'm Will and I'm new to this site... Judging by what it's called I would instantly assume I should join cause I love all Datsuns! (Especially the 240z) I may not know as much as the rest of you guys cause I still don't have a drivers permit... :disappoin, but I do plan on buying a 240, 260, or 280z model once I get the permit... Any suggestions of an easy way to find a Z seller near the PA area? By the way, thanks again for allowing me to join this site! -Will
-
I've been looking for nice front bumpers for a 240z and i've made absolutley no progress in the search at all. Please help me.this is a picture of the bumper i'm after.
-
I need to replace the gas lines on my 72 240Z. Can anybody tell me what to buy for: Gas Supply: Gas Return: Fuel Guide Valve Line: Thanks, zdisease

