Search the Community
Showing results for tags 'innovations'.
-
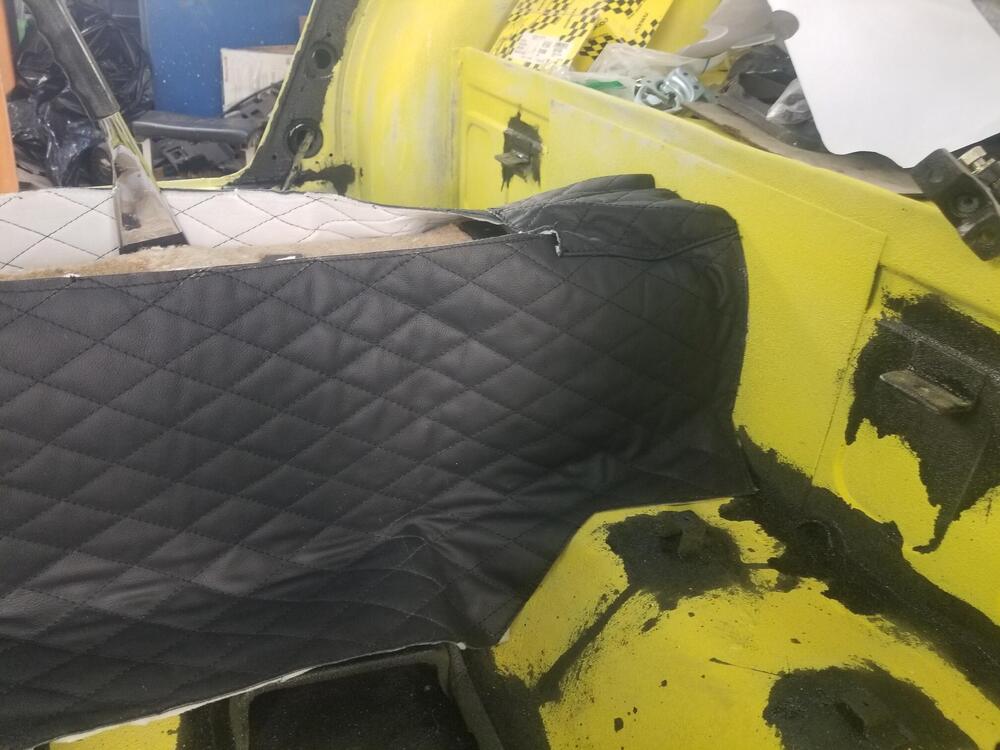
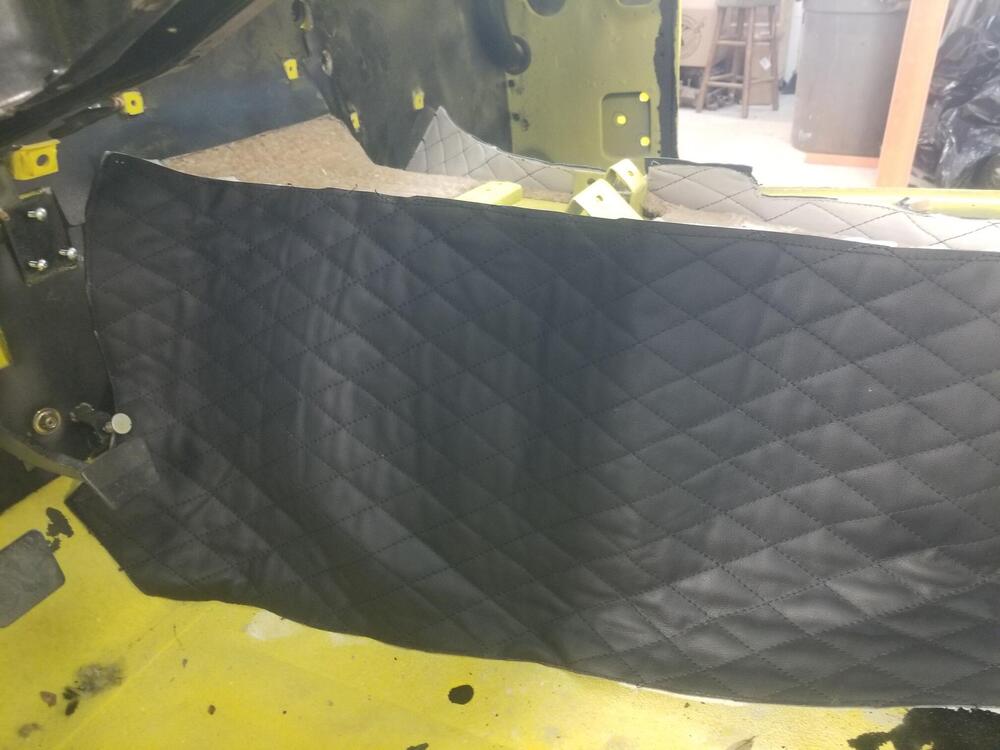
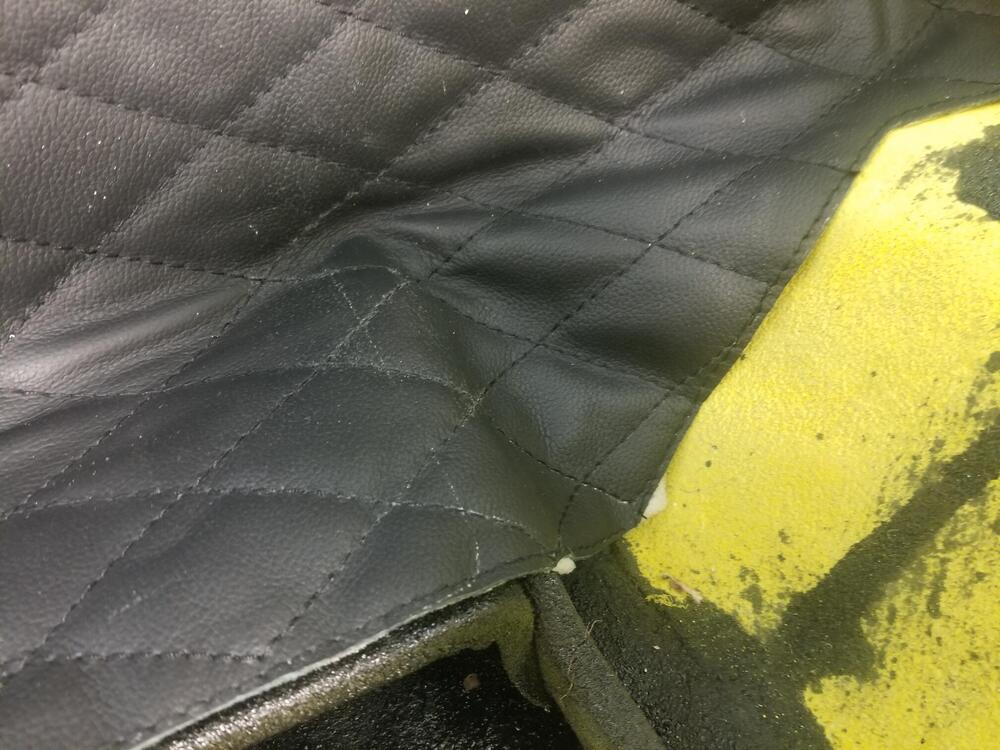
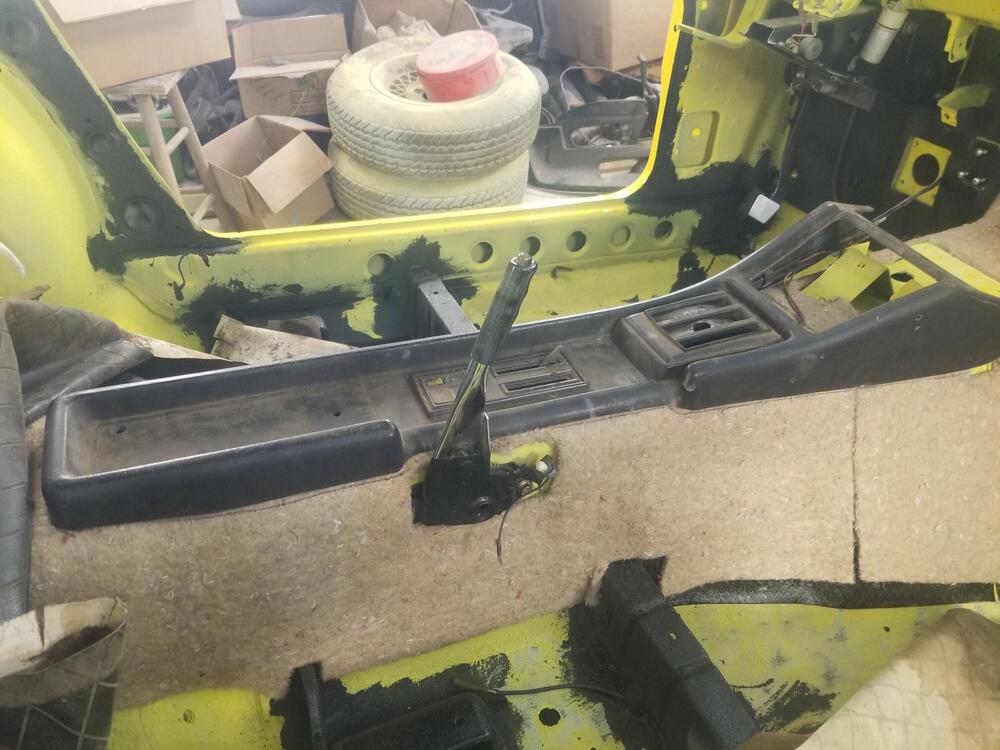
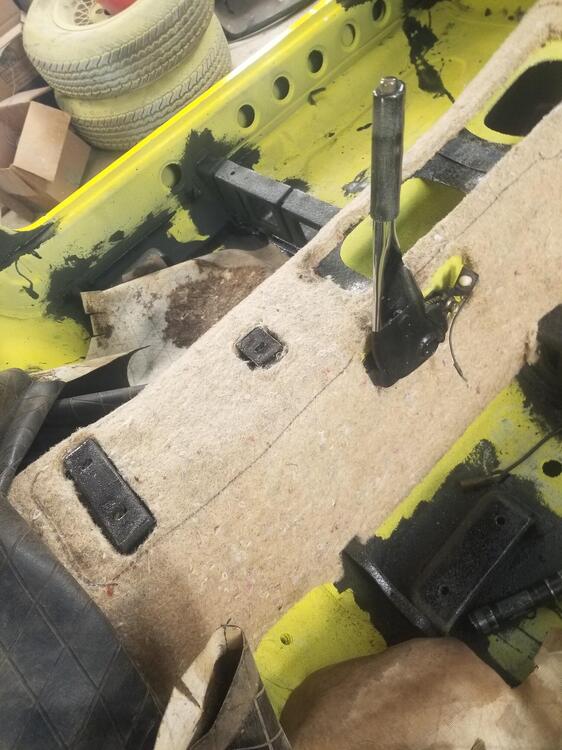
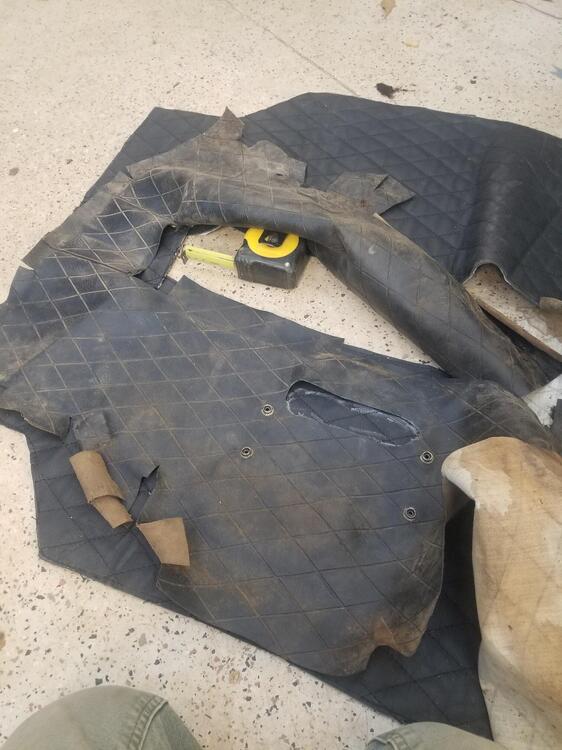
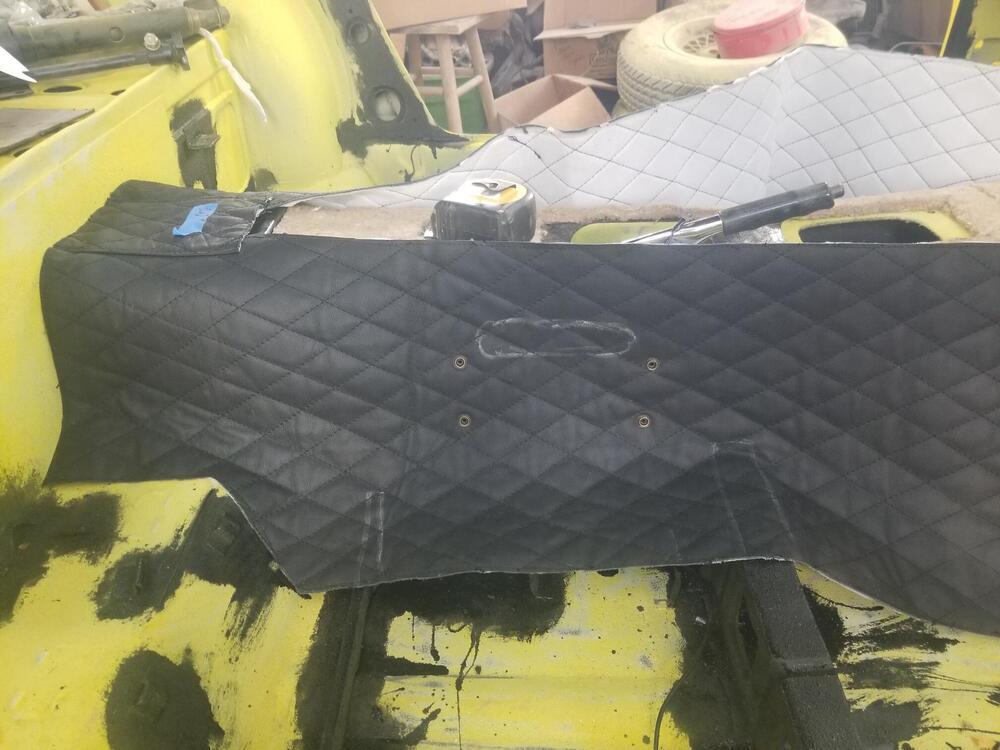
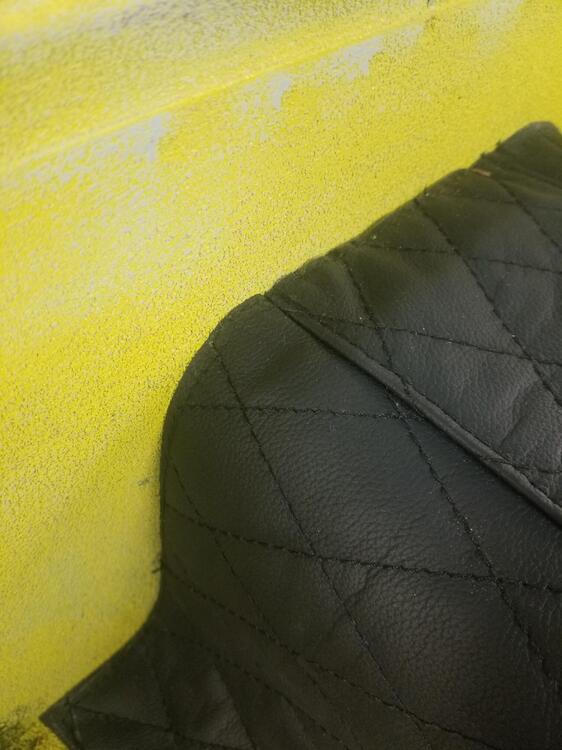
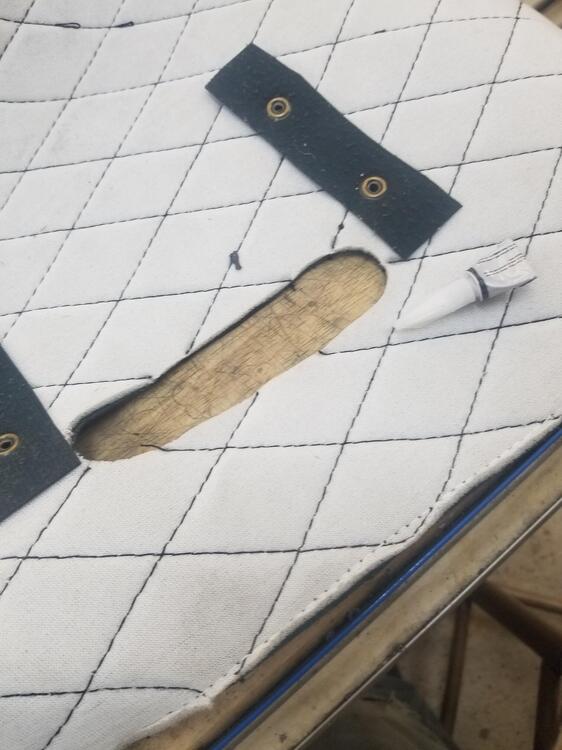
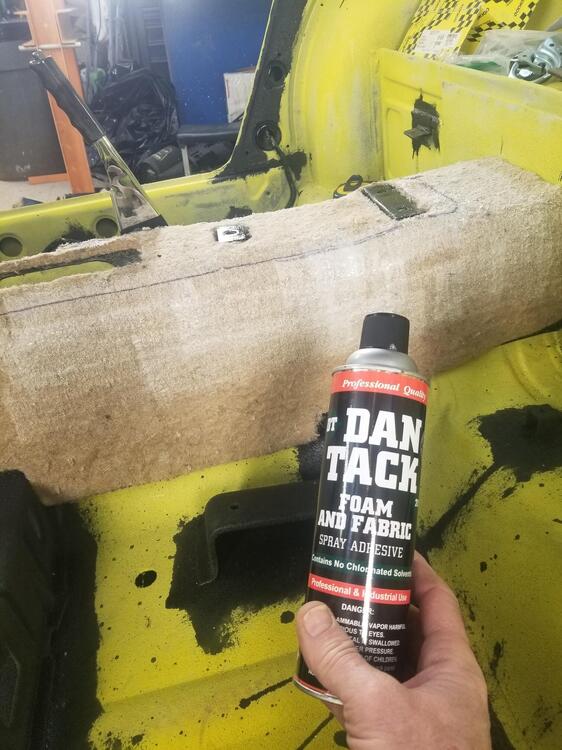
So I am going to start a leather interior trim thread. I bought the pieces from Interior Innovations and thought it might be helpful to document how I went about the install So I've been procrastinating on this a little bit. The factory vinyl laps up onto the luggage panel a little bit, I believe. I thought that would be hard to do with the leather thickness. Also it really needed to be shifted as far forward as possible to line up well with the parking brake and get under the fire wall mat. There was one set of marks for the seat rib. I will cut these nice and close later I put the original console in the car. It won't be the one I use long term but it shows whats covered up Outline it with sharpie I needed to layout the hole for the parking brake. It didn't come pre-cut. So I laid the old one over the new one, snap to snap, and marked it out with a soap stone I'm thinking this will all cover up very nicely when done. The thick hem on the firewall leather will help conceal everything. So I set the tunnel piece all the way to the fire wall but no extra It does lap over some of the center console brackets. So it will probably have to be trimmed there when I get to console install I didn't like this part. Taking the knife to your leather that came half way around the world!! I was going to trace some of the areas with the sewing machine to prevent the diamond stitching from raveling in the areas that I have to cut but I opted for a little super glue on each end instead I sprayed the rear top of the tunnel with Dan Tack. I also sprayed the corresponding area on the leather. I let it tack down pretty good. It sticks like mad! I tried to adjust it behind that brake leather but it was just tearing the jute all up with it. If I had not let it tack so much it would probably be a little more adjustable.
- 3 replies
-
- 6
-

-

-
- innovations
- interior
-
(and 2 more)
Tagged with:


