Search the Community
Showing results for tags 'interior'.
-
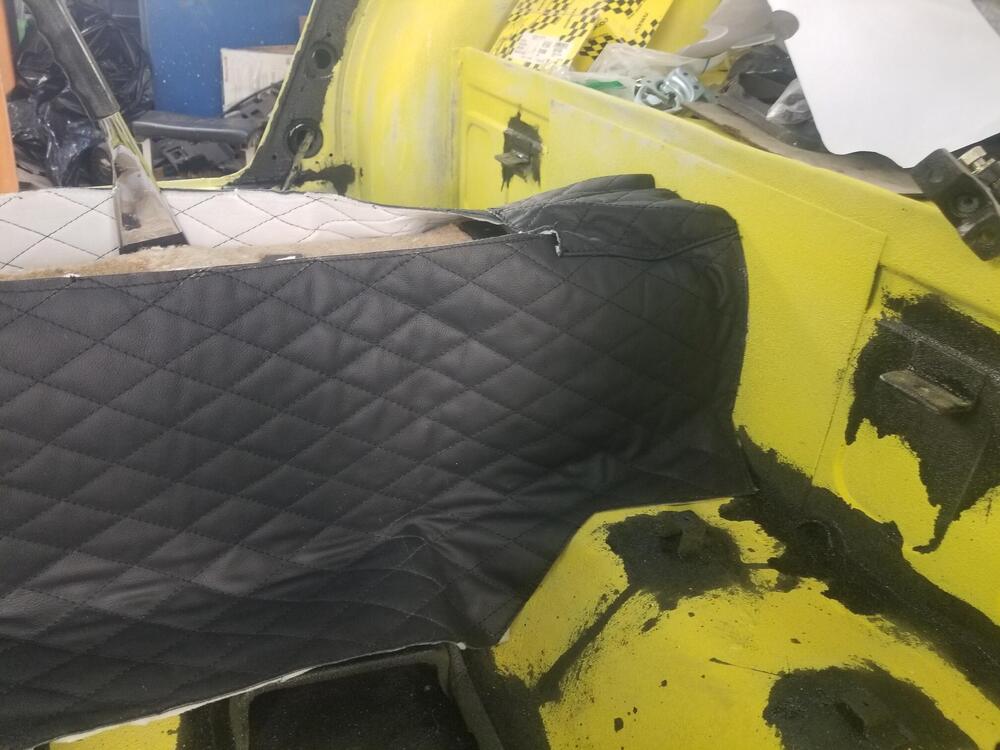
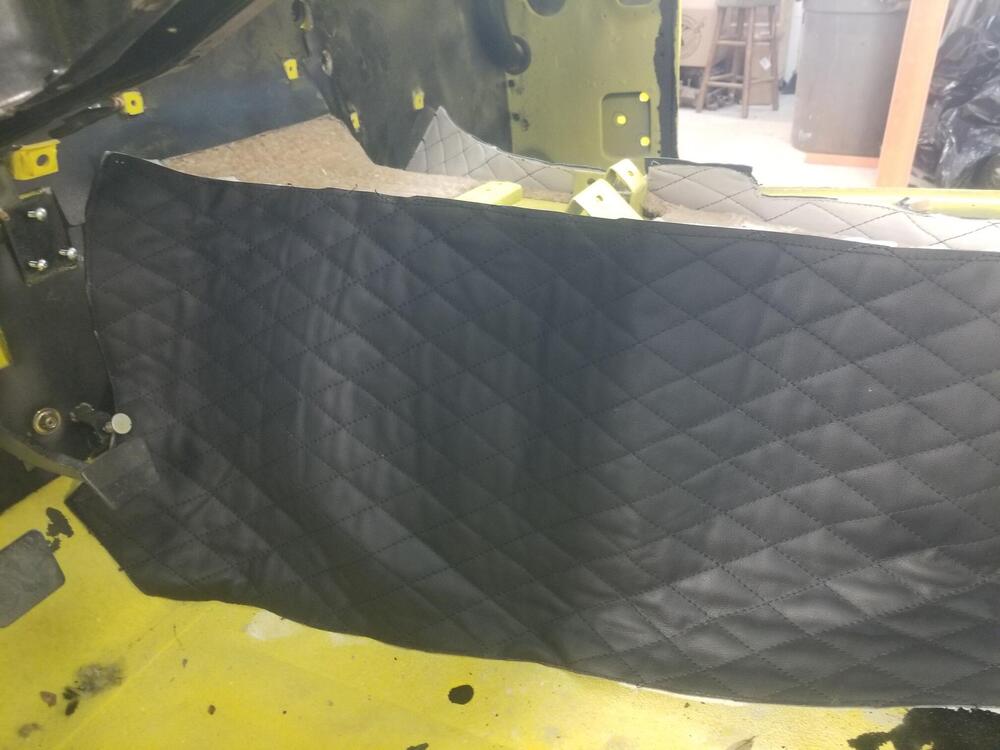
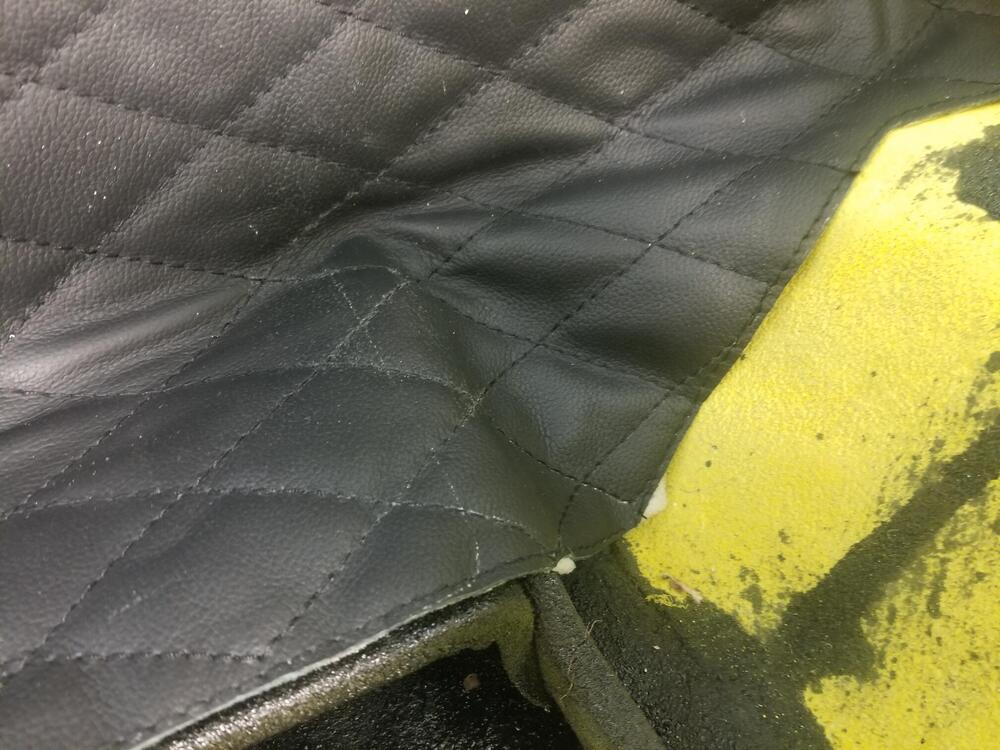
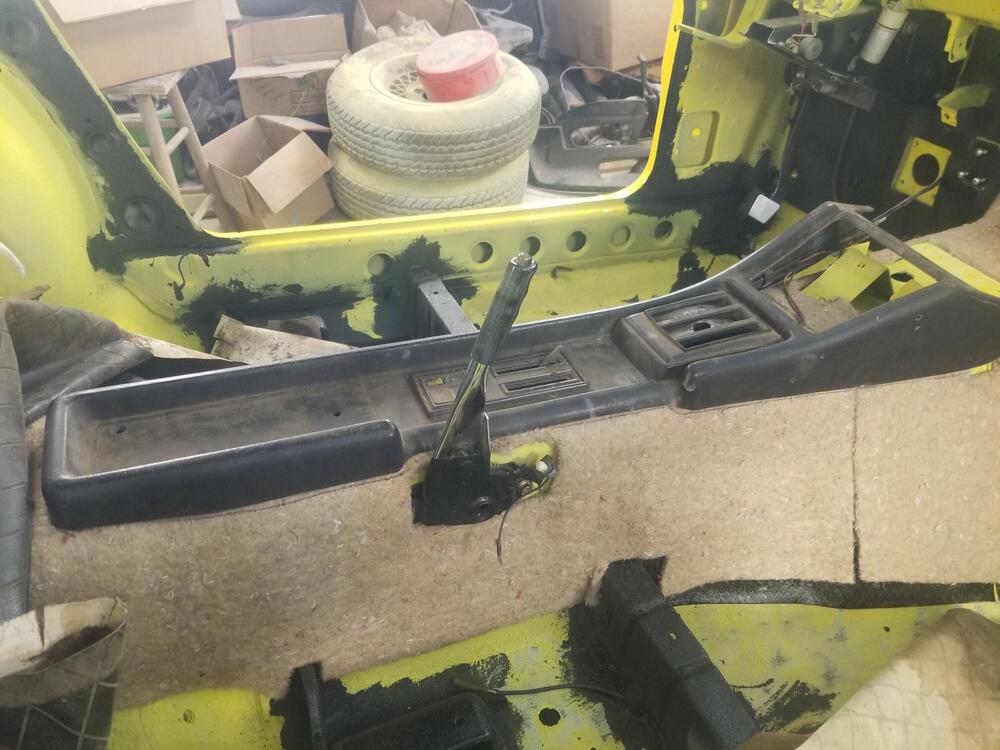
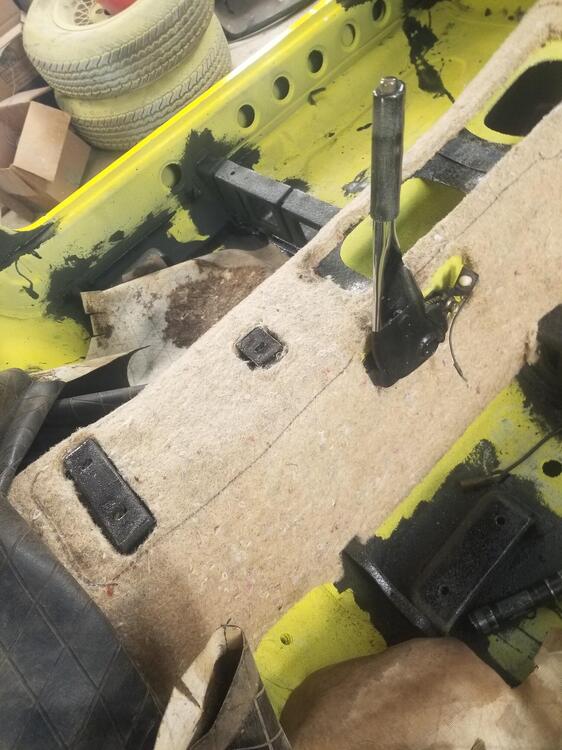
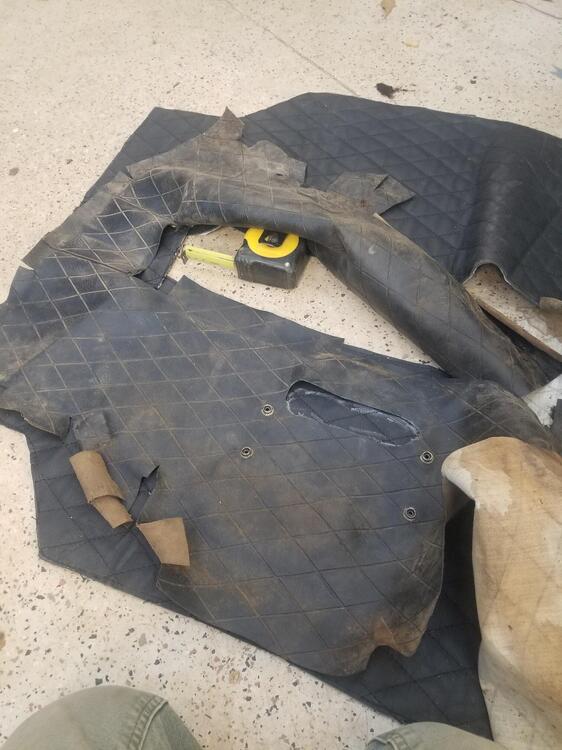
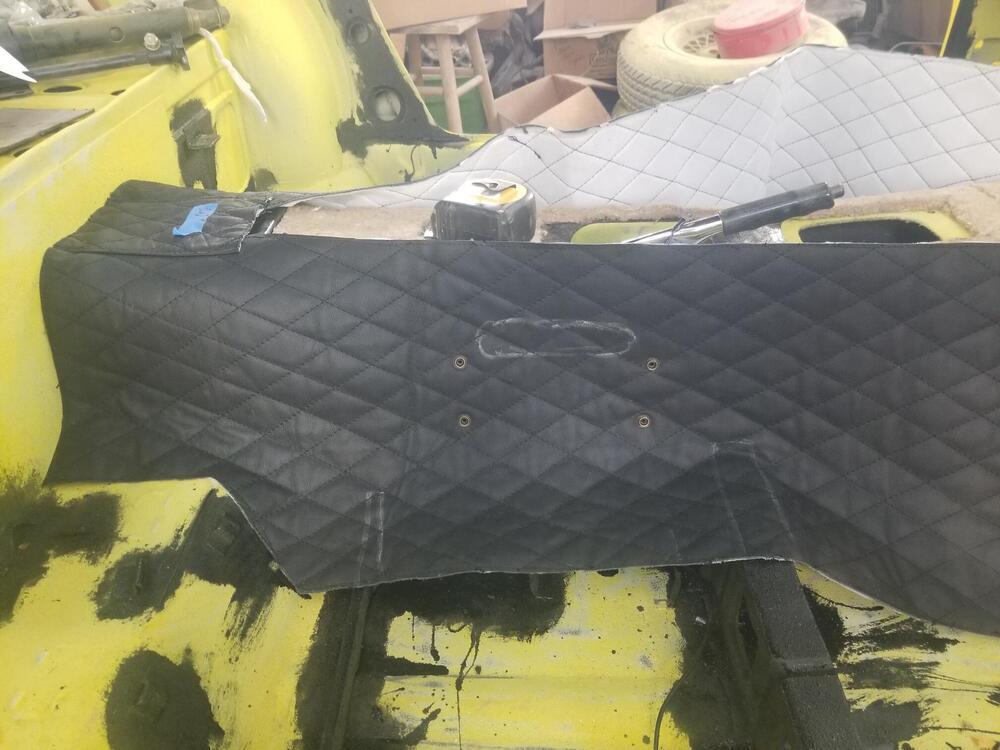
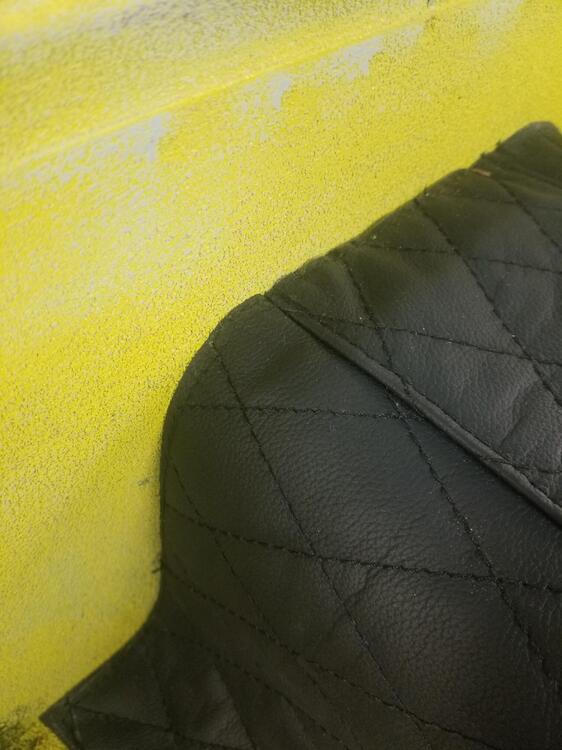
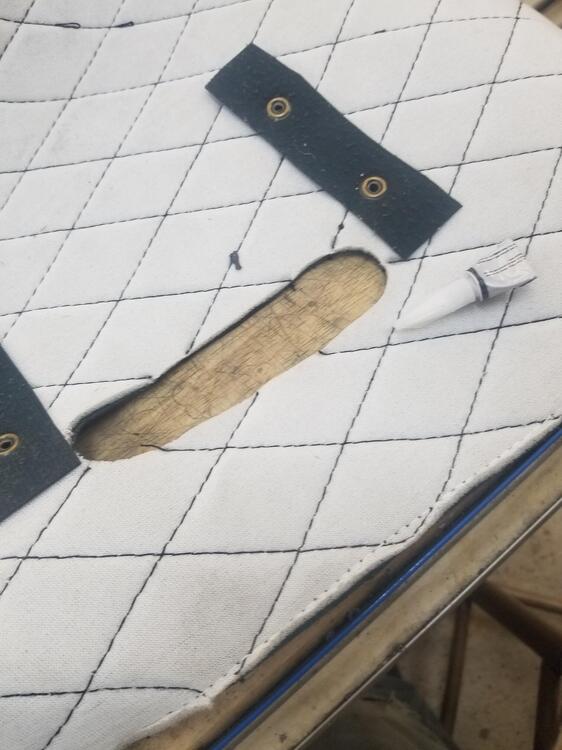
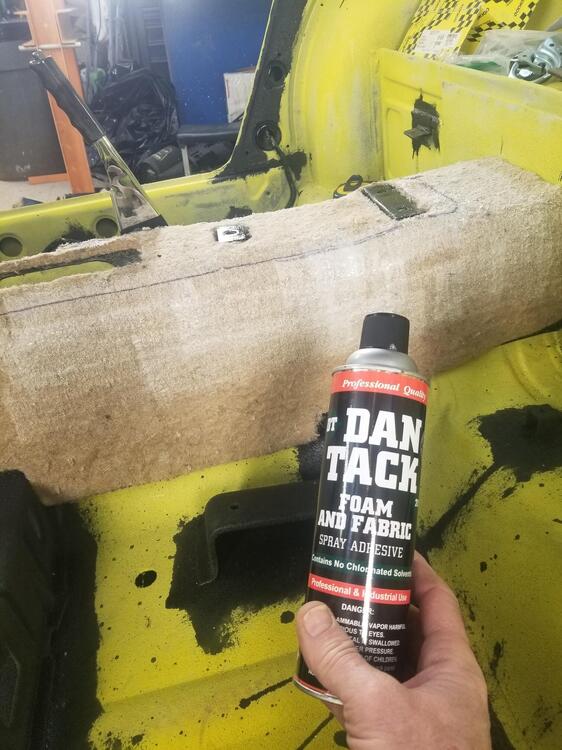
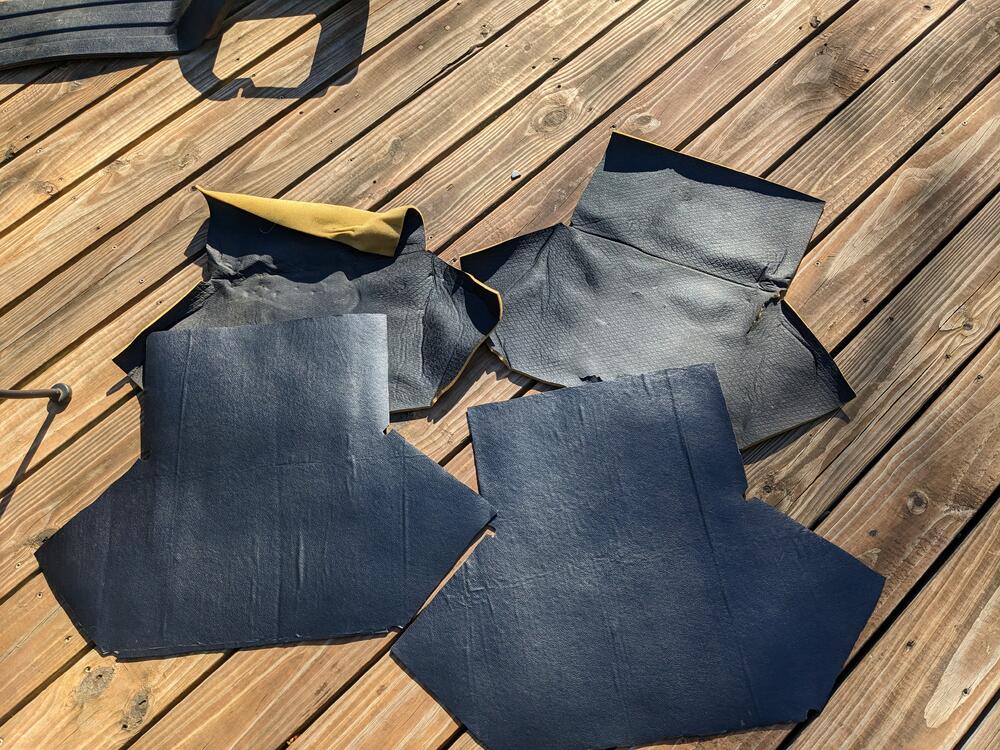
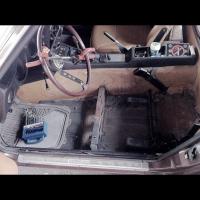
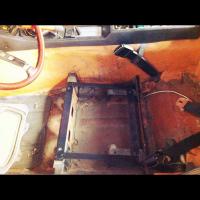
So I am going to start a leather interior trim thread. I bought the pieces from Interior Innovations and thought it might be helpful to document how I went about the install So I've been procrastinating on this a little bit. The factory vinyl laps up onto the luggage panel a little bit, I believe. I thought that would be hard to do with the leather thickness. Also it really needed to be shifted as far forward as possible to line up well with the parking brake and get under the fire wall mat. There was one set of marks for the seat rib. I will cut these nice and close later I put the original console in the car. It won't be the one I use long term but it shows whats covered up Outline it with sharpie I needed to layout the hole for the parking brake. It didn't come pre-cut. So I laid the old one over the new one, snap to snap, and marked it out with a soap stone I'm thinking this will all cover up very nicely when done. The thick hem on the firewall leather will help conceal everything. So I set the tunnel piece all the way to the fire wall but no extra It does lap over some of the center console brackets. So it will probably have to be trimmed there when I get to console install I didn't like this part. Taking the knife to your leather that came half way around the world!! I was going to trace some of the areas with the sewing machine to prevent the diamond stitching from raveling in the areas that I have to cut but I opted for a little super glue on each end instead I sprayed the rear top of the tunnel with Dan Tack. I also sprayed the corresponding area on the leather. I let it tack down pretty good. It sticks like mad! I tried to adjust it behind that brake leather but it was just tearing the jute all up with it. If I had not let it tack so much it would probably be a little more adjustable.
- 3 replies
-
- 6
-

-

-
- innovations
- interior
-
(and 2 more)
Tagged with:
-
Hi everybody, i'm currently restoring a total wreck of a 240Z and i'm slowing down and it's getting me down. So something I can do now is replace the seat covers and foam which have had rats living on them for over 20years! I looked on the other threads but could find a discussion specific to the quality of the companies now supplying these kind of reproductions. So advice is gladly accepted hahaha. Thanks for your time everyone and hopefully i won't be the only person to gain from the answers! Matt
-
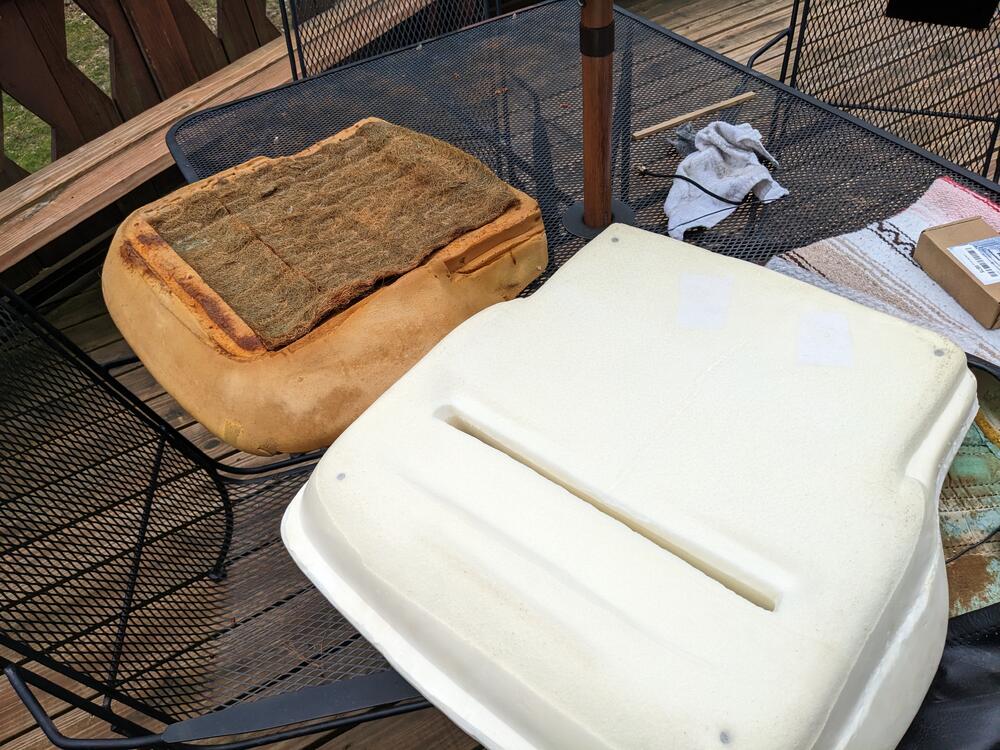
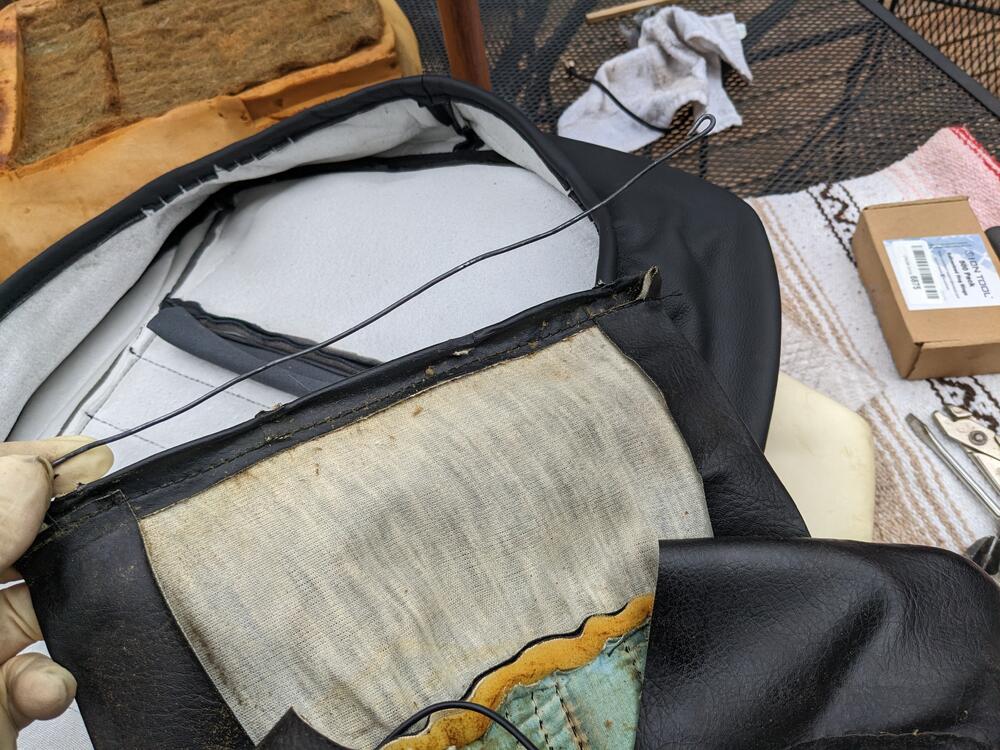
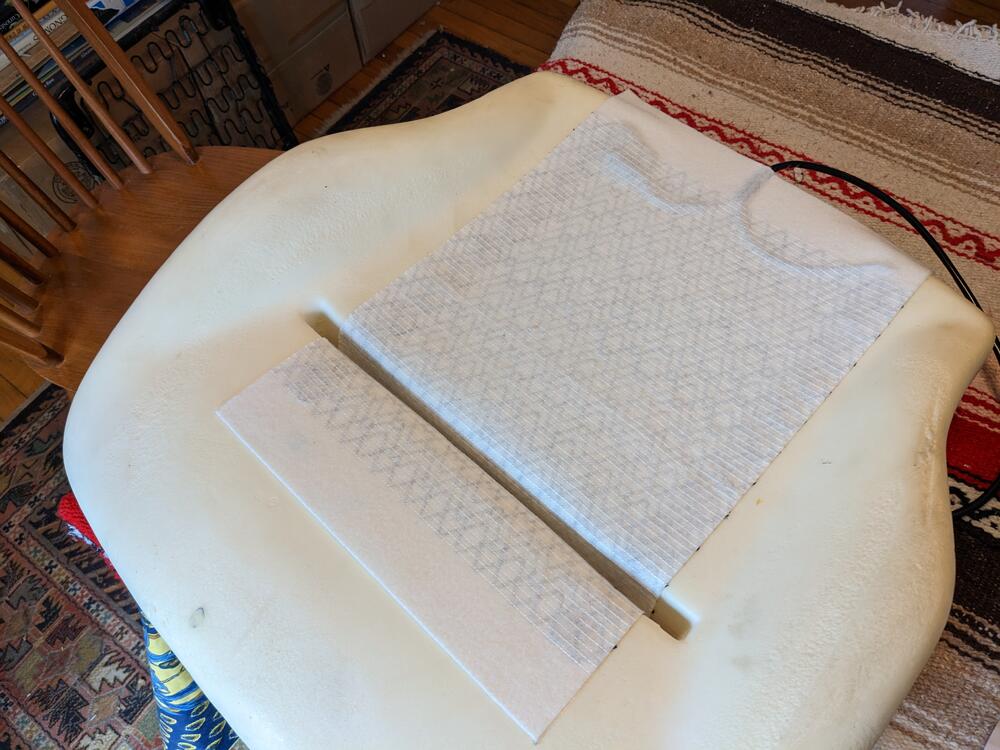
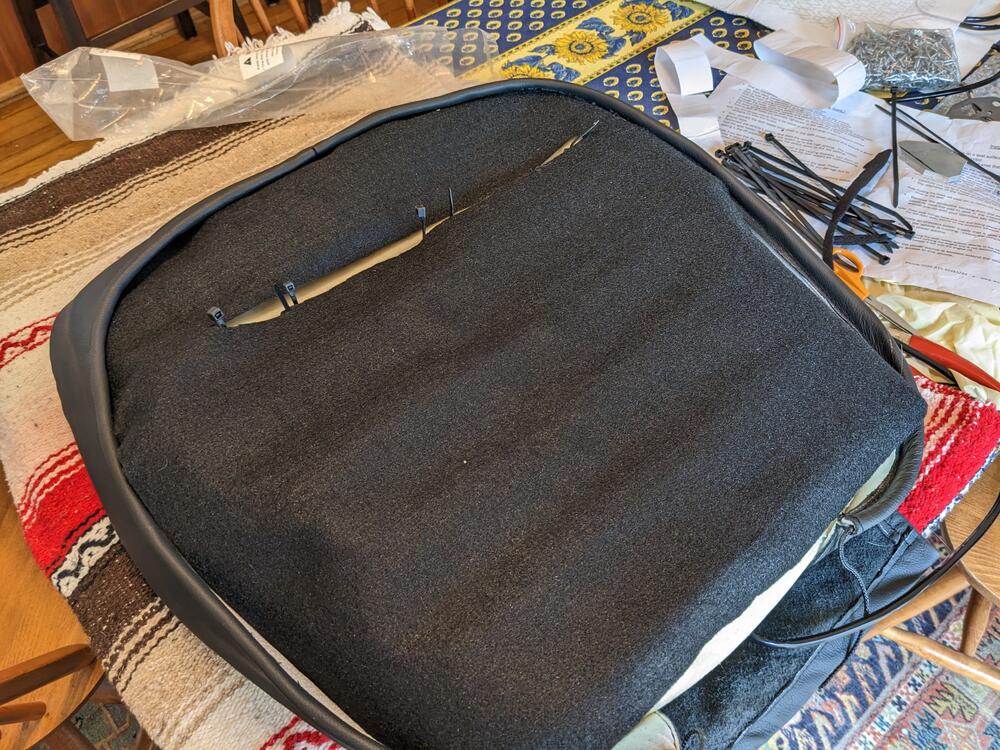
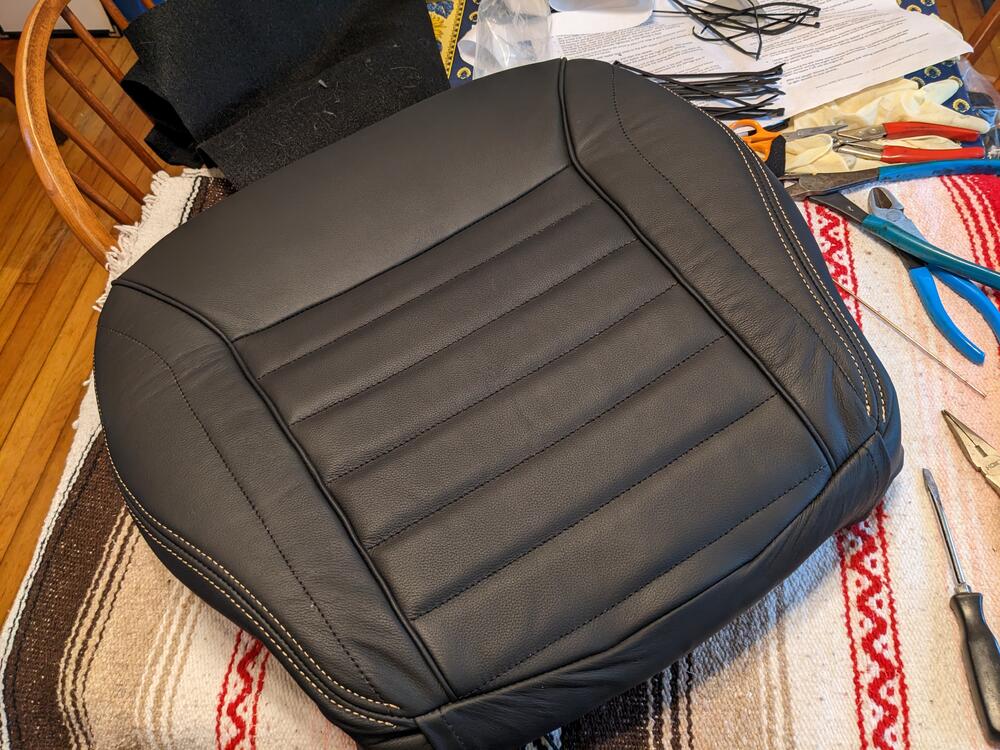
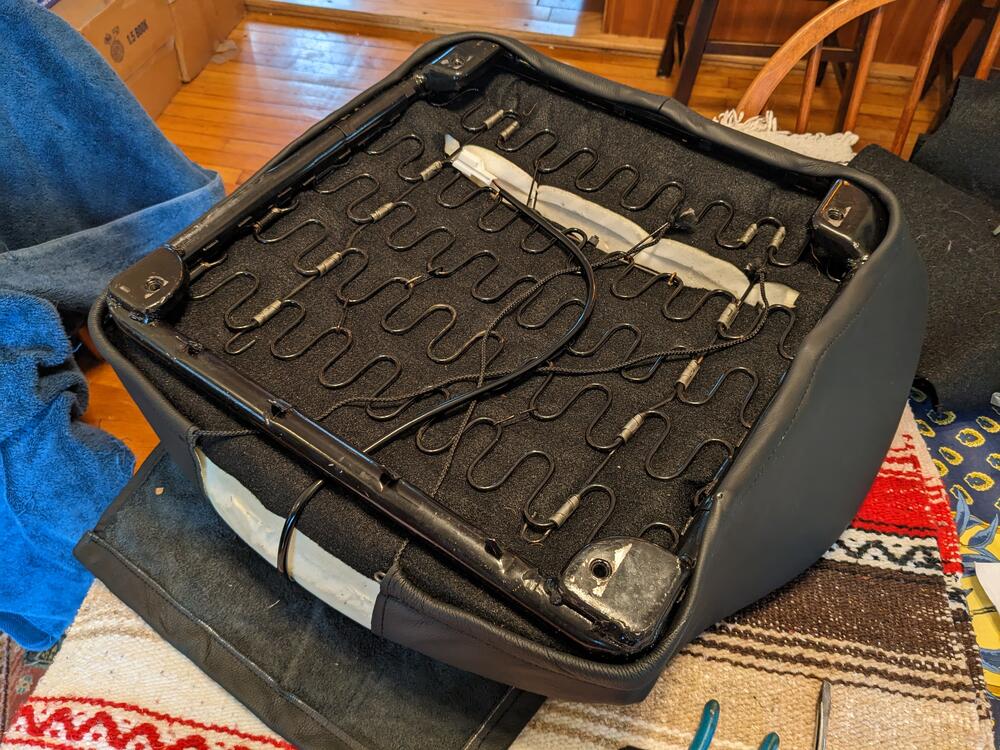
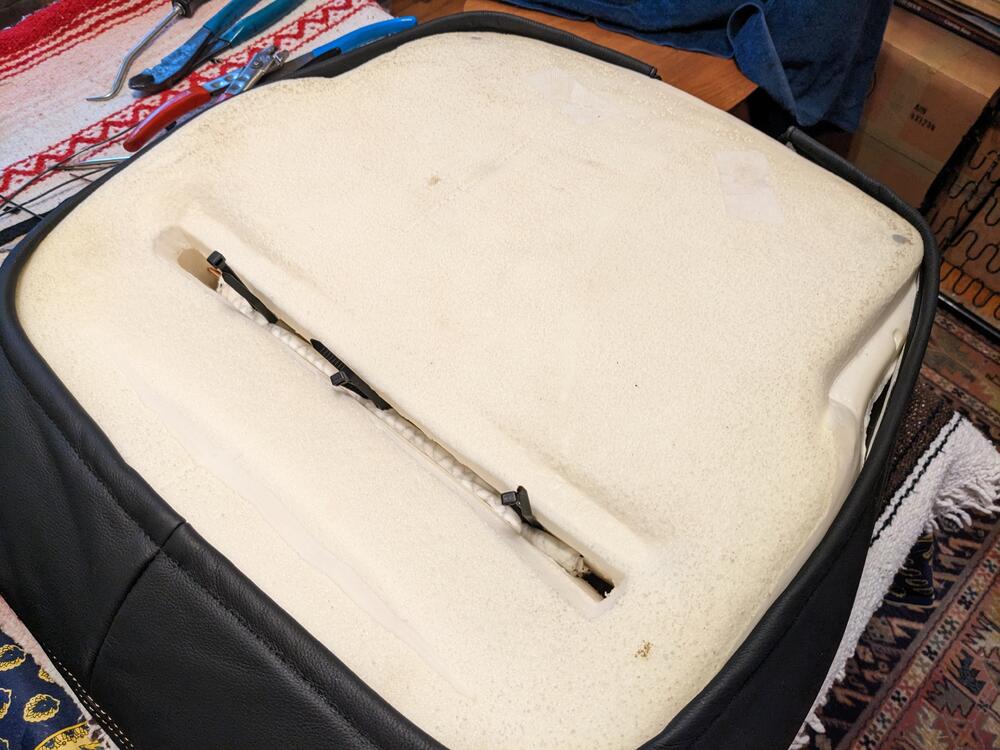
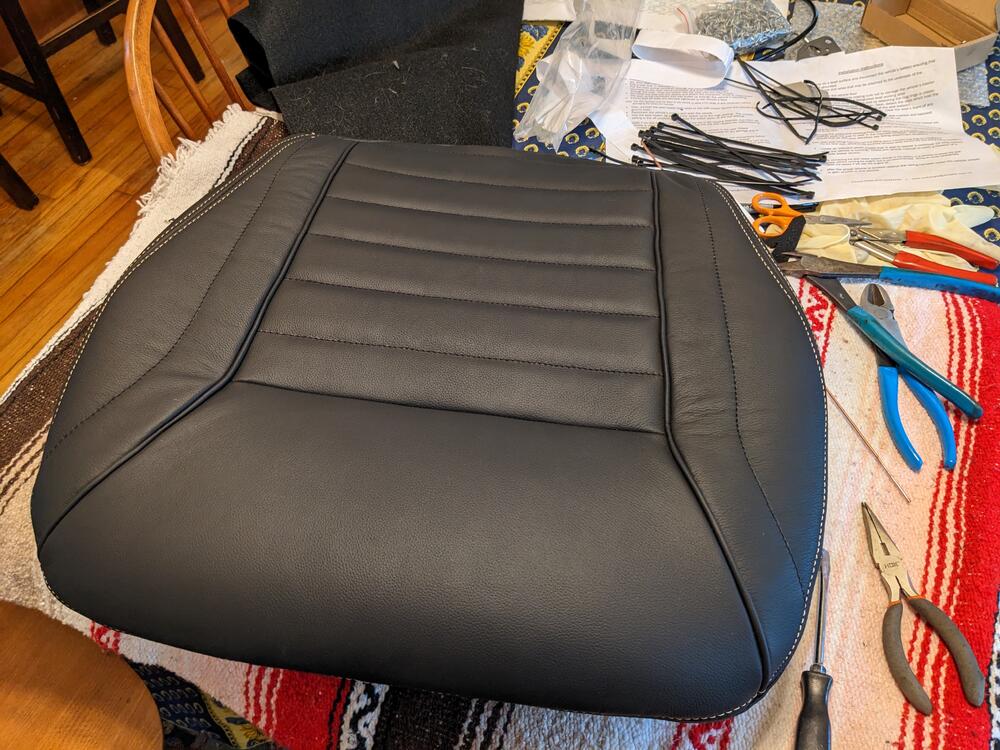
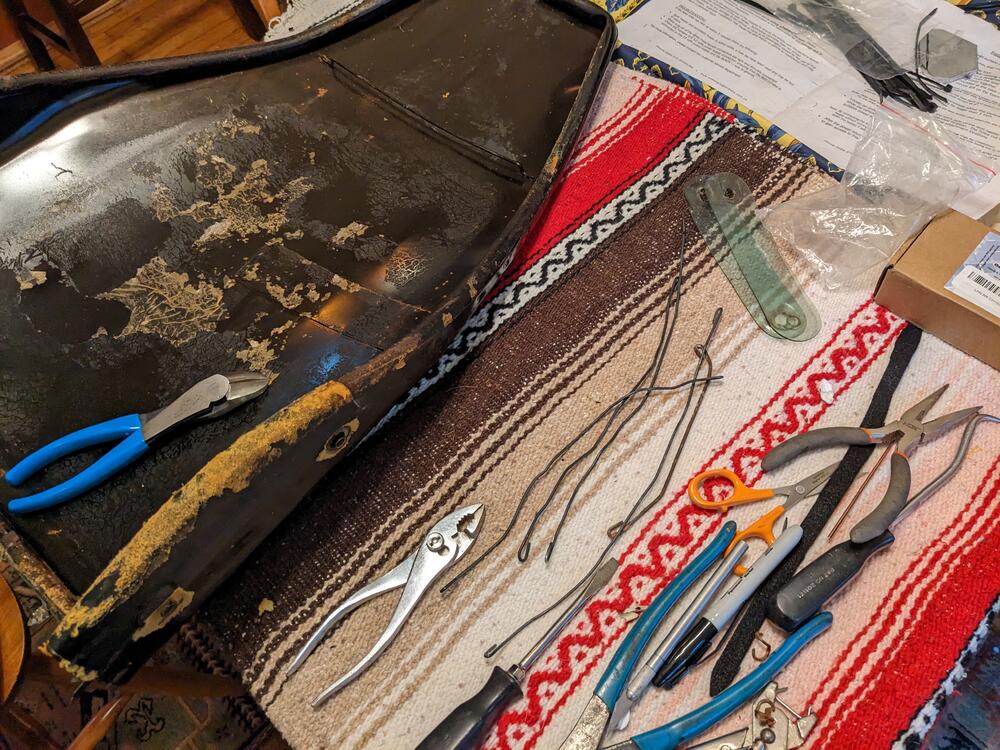
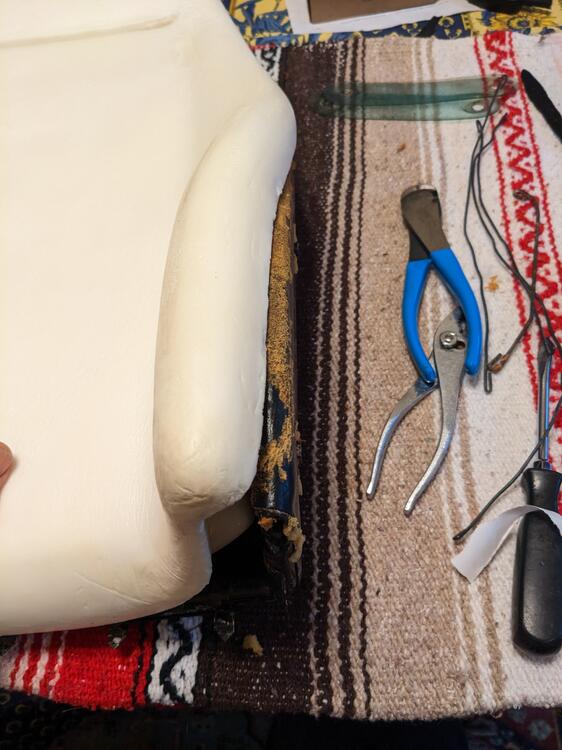
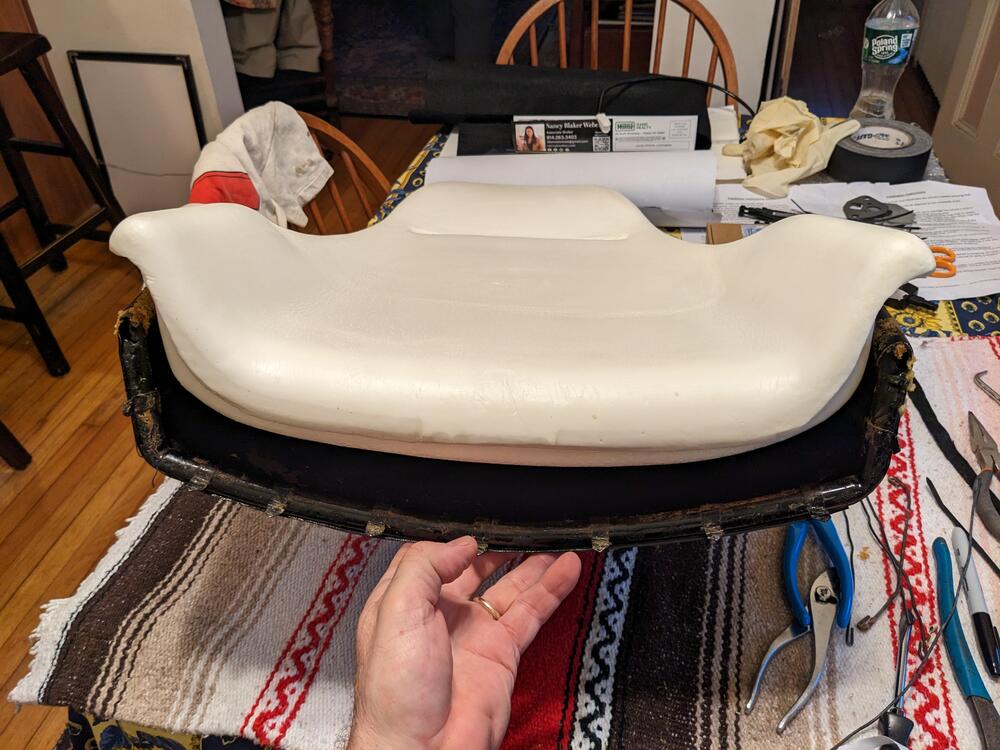
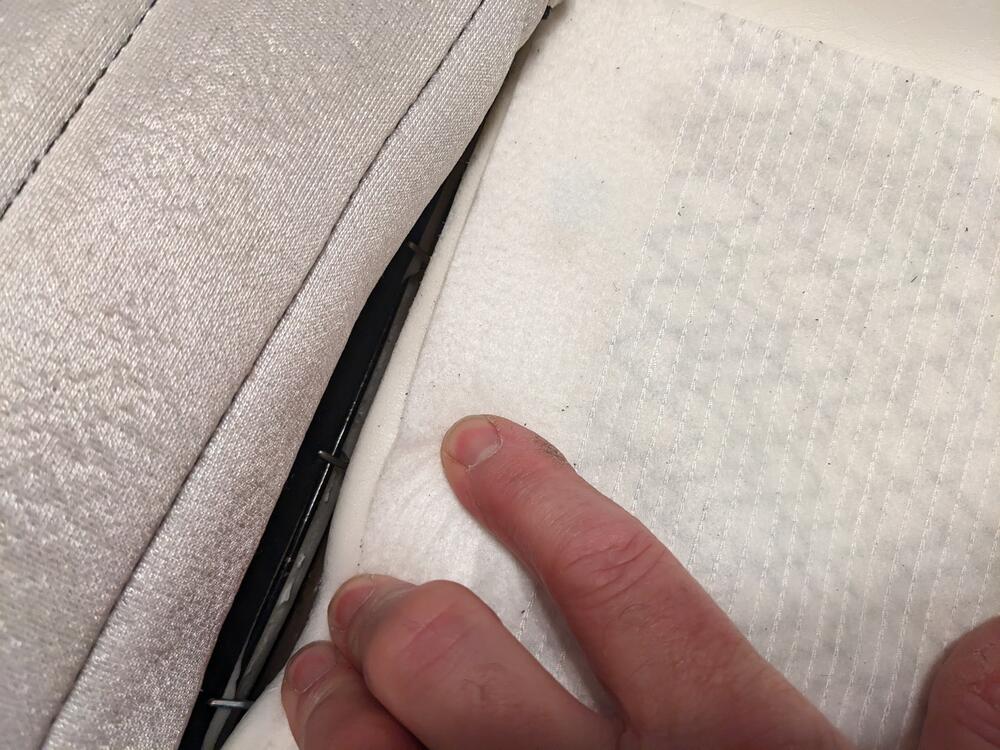
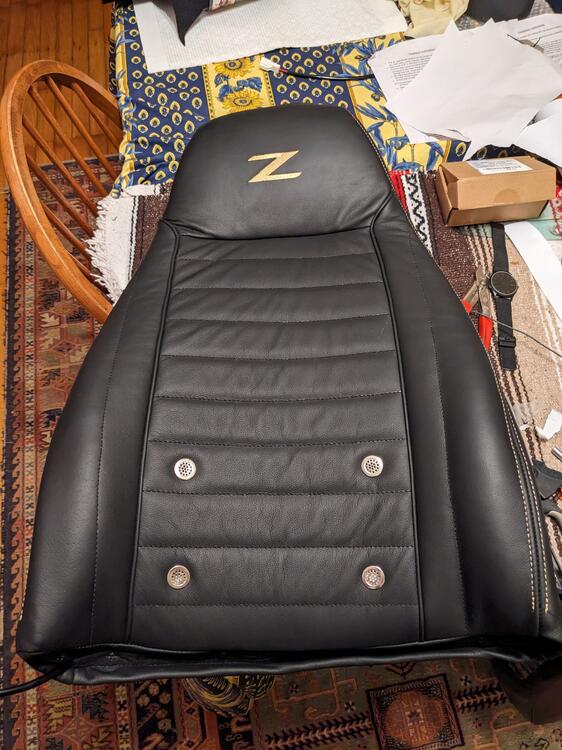
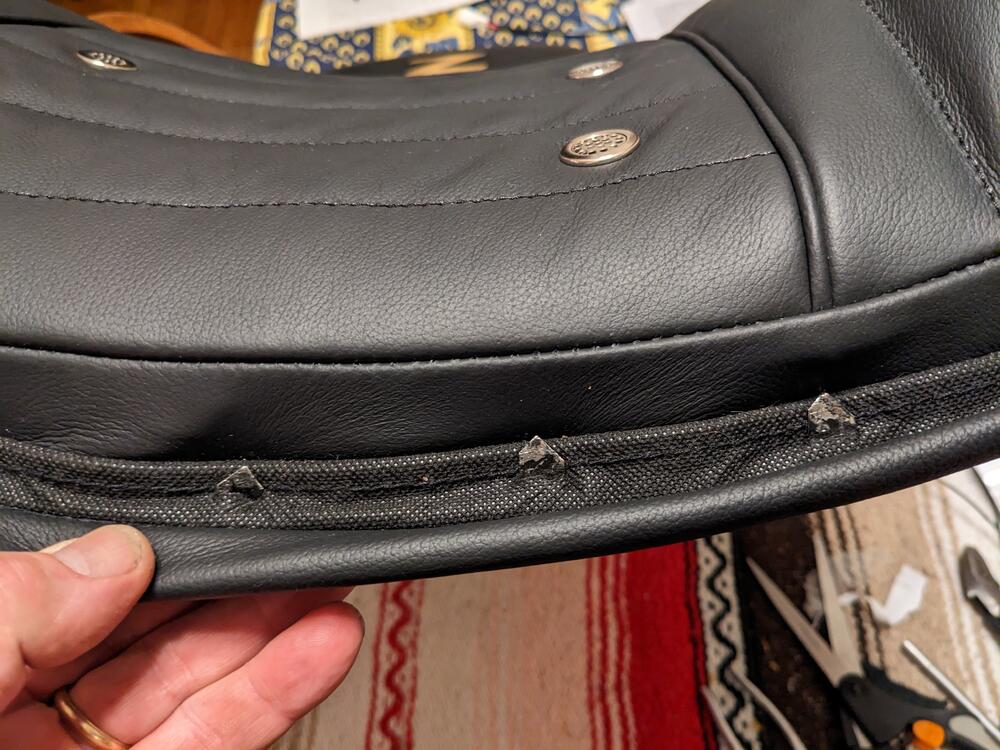
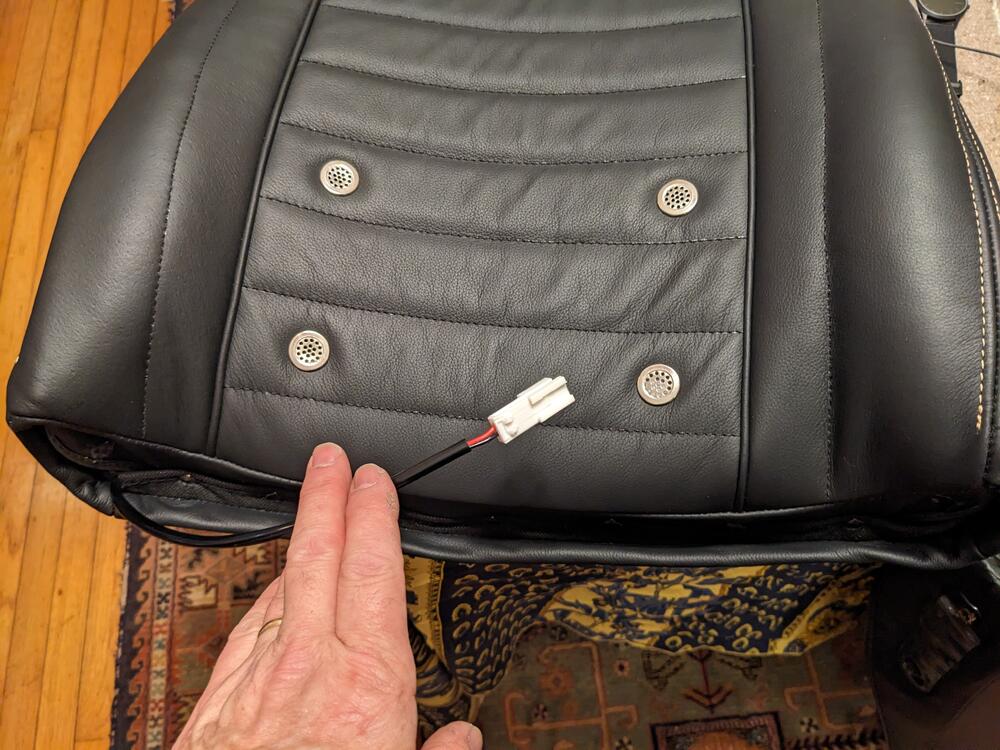
I bought the leather versions of their upholstery (off Amazon, included vents & "Z" embroidery without additional cost), and the new foam to go with. My original seats have 250K miles, so I figured safer to have the foam. There was much hay on the floor. I watched a coupe videos, just to get the gist of the Datsun construction. One guy used dozens of tie wraps(!). I'm familiar with Volvo & Honda (S2000) seats, many hog rings on those, so it was nice to see the way Datsun went about it. Anyway, took the seats out yesterday, and the carpets & under-matting. I have new carpet also, so I need to clean everything up, fix the heater valve coolant leak, then put the new carpeting in, so I can reinstall the seats. Added a reinforcing layer to the under-mats Made new cubby inserts, foam w/ vinyl layer glued removed the seat hinges & rails. Pass seat back upholstery was still good, but I don't want vinyl . Have to clean up the hinges & rails before they go back together. I'm missing the outer hinge covers on both sides. Foam comparsions - new one is thicker, doesn't need the hay layer transfer perimeter wire from originals Started raining, so I moved indoors. Adding seat heaters while I'm at it. Used tie wraps to add in pulling the upholstery flap through to the wire frame Layer of felt to protect the foam Frame wedged in place, upholstery tangs pressed into leather seam, forward flap hog-ringed in place, rear flap not yet attached Fit seems OK Stripped the driver's seat back The upright foam doesn't seem to fit as well, however once the upholstery was on, it seems OK Pulled upholstery over the head rest portion & install 3 hog rings took a couple tries to get the cover reasonably aligned, still a little off center forward cover stretched over tangs, then rear lip seat heater wire brought out near the hinge
-
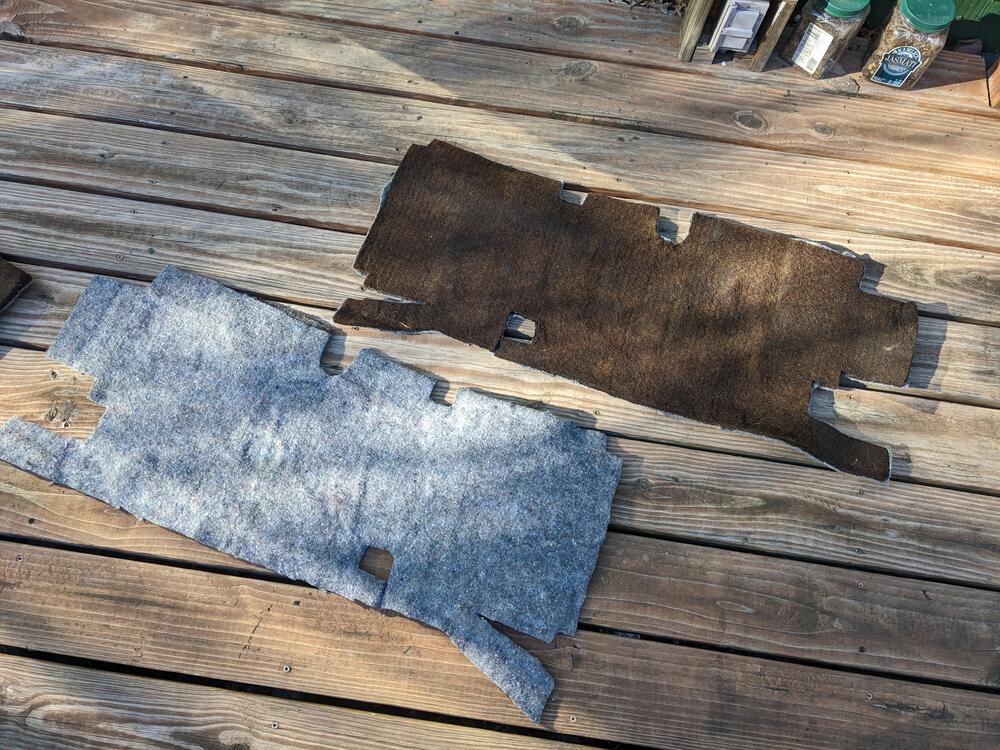
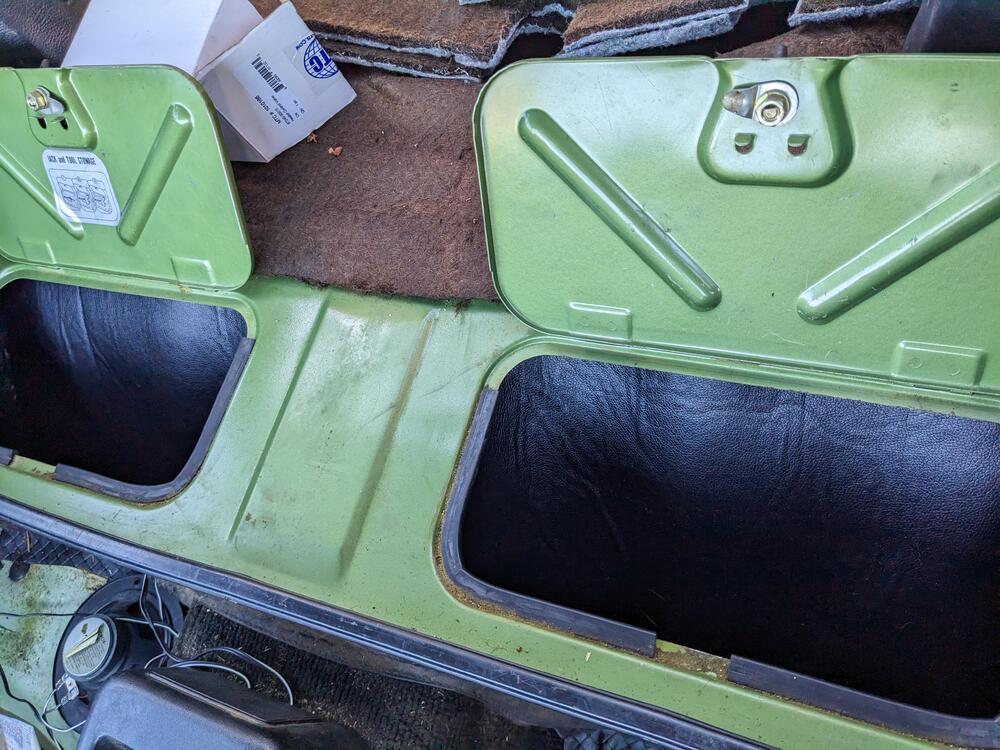
Hi everyone, I am about ready to start the interior restoration process of the early Series 1, 1970 240z... and I am curious to know if there are going to be any "gotcha!" moments when installing things on the bare painted chassis from the ground up. There are literally no parts on the chassis interior. I've made a list below. If anyone has insight- that's be helpful! 1) I am not sure if I should use some sort of sticky tape to make it removable at some point, or if I should do it how they did it from factory and glue it down. Suggestions? 2) What should the general order of things be? Should I put down the transmission hump pieces first, then put the firewall insulator, and then the rear towers? 3) Wiring? I haven't taken apart the '71 parts car to inspect the routing, and I'm afraid to pull it apart since it's all complete. I'd like to keep it relatively intact so that it can be sold afterwards, because I haven't really taken any parts from it, as they required just as much work as the car I'm restoring- so if anyone has pictures of wire routing, that'd be nice! 4) Are there any sources for carpet Jute padding that is similar to the OE stuff. Slightly brown rather than recycled coloured/grey bits? I know it may be harder to find, but I find that it looks a little more authentic- though the grey stuff is a viable option if it's the only one. lol. 5) If purchasing the Jute padding- what is the OZ/Thickeness required for the datsun. Every piece I try to measure looks either impacted or frayed apart, and I don't think it's a suitable comparison. 6) I'm completely lost as far as the individual foams and whatnot that get attached to the air ducts. I have some 1/16th thick foam at the shop with some adhesive backing on one side, though I'm not sure what it's for. I believe it may have been used for quite the same thing- so I might use that. It looks "squishy" enough and not overly spongey so that it would impact fitment. Are there any certain foams required for other parts? I'm not sure if the info in Wick Humble's book is adequate, I'll have to double check in the mean time. Any general information regarding the interior dressing and preparation as well as any hidden tricks or terrors would be awesome- and please post any pics you like.
- 30 replies
-
- installation
- interior
-
(and 2 more)
Tagged with:
-
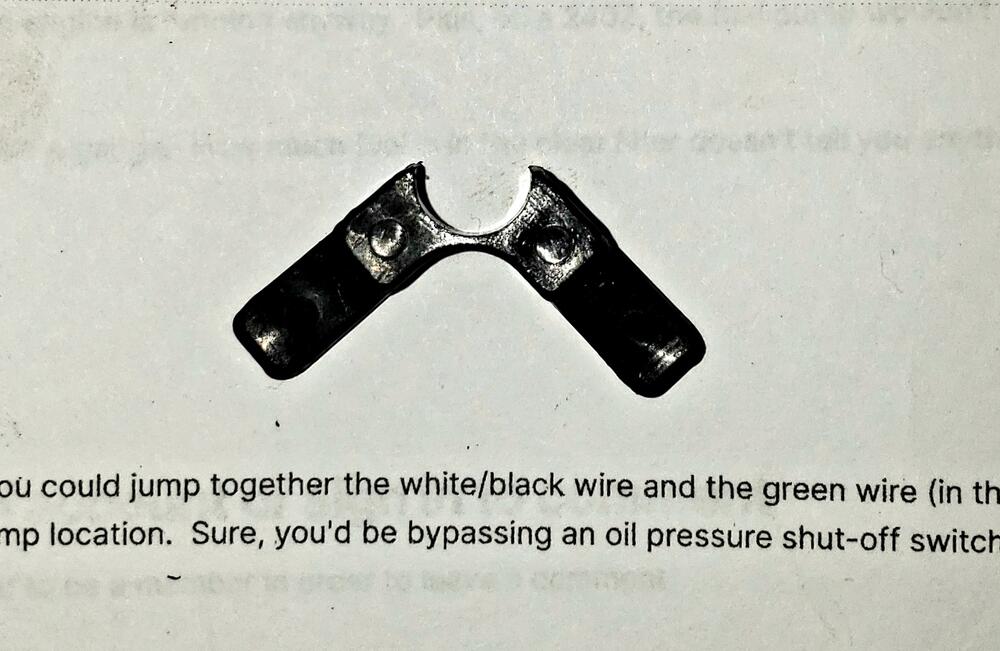
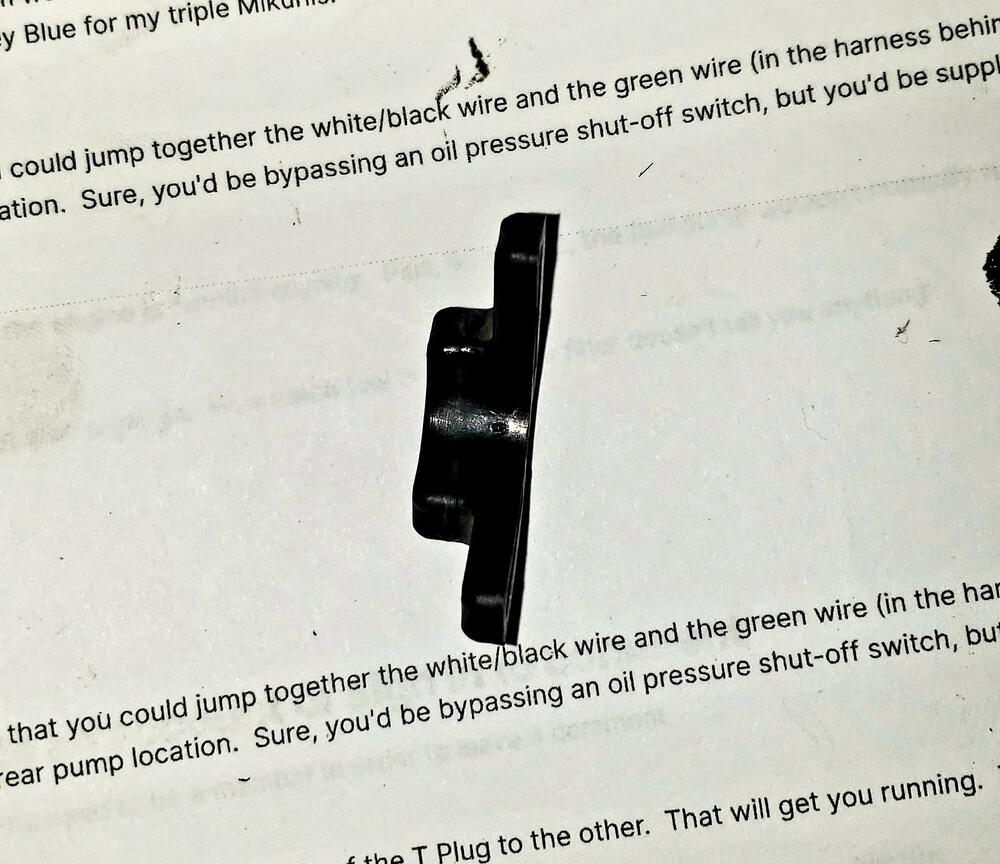
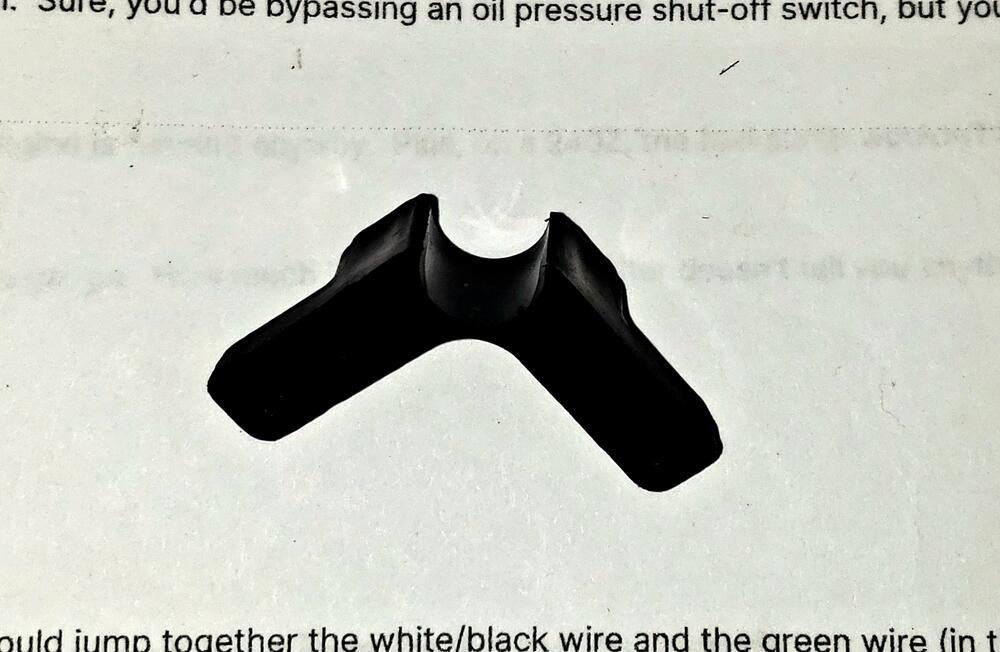
Pulled the dash to install LED's and upgrade harnesses.. and clean ha... per the usual I have an extra piece that I did not track on the take down. does anyone know this piece??
-
View Advert Seat mechanism covers 280z Seat mechanism covers black, used shape no cracks minor scratches on one. One has been cleaned up (see pix) Willing to trade for (teardrop) shaped black hinge cover. Advertiser jrcnla4me Date 02/01/2021 Price $40.00 Category Parts for Sale
-
-
I want to vinyl paint my dash pad, glove box door, and center console interior of my 1978 280z the same brown, burnt orange, ginger color that the door cards, seats and rear panels currently are. Has anyone tried this? I dont want to reupholster. I am planning on doing it myself. I have looked at SEM Vinyl paint and there is a color code 15033 Saddle Tan that kinda looks similar. Anyone have a spot on color code or name? I have attached pics of my interior for referrence. with gratitude, @insta_datsun
-
View Advert 280Z parts - used - in Switzerland Hello all I have a large amount of parts for a 280z --> see pictures. Should you have any interest - please feel free to contact me. Price is depending on part as well on quantity, ... --> please ask Shipment could be organized if prepayment is accepted. Personally I am looking for 240z parts - specially a back panel Cheers Roland Advertiser Roland468 Date 05/20/2020 Price $280.00 Category Parts for Sale
-
THIS ADVERT HAS EXPIRED!
- FOR SALE
- USED
Hello all I have a large amount of parts for a 280z --> see pictures. Should you have any interest - please feel free to contact me. Price is depending on part as well on quantity, ... --> please ask Shipment could be organized if prepayment is accepted. Personally I am looking for 240z parts - specially a back panel Cheers Roland$280
Buonas, Zug - CH
-
The following items are for 1970-1973 Datsun 240z and DO NOT include shipping prices. Shipping from Tacoma, WA 98404. Will get you a quote once you let me know where the items are shipping to (I can usually ship pretty cheap from work). Click on Google Drive Share folder for Pictures. https://drive.google.com/drive/folders/1dAuXnCWC6Tf1iL6HcD1UY-jAl-Lmutxj?usp=sharing Interior Fresh Air Intake Vents (2x Left side and 1x Right side) $10 each Dash Defrost/Vent Set (Everything shown in the pictures) $25 Engine Bay fresh air vent (Left Side) $10 Heater Fan $15 Heater Wiring Harness $15 Heater Controls $20 for the one without knobs, $30 for the one with knobs Heater Control Panels (Both are cracked on top, one on the bottom) $25 each I should have more 240z and 280zx items posted shortly. Chris
-
Looking for molded plastic panels/covers that cover the S30 first gen Z (280Z) seat hinge assembly. These cover the bolts located on drivers and passenger side hinge assembly for seat back adjustment/rear deck access. They clip on and look like a wide legged cap? They are also found on inner as well as outside-upper two/seat back and lower two for bottom cushion attachment bolts. also looking for: handbrake/parking brake switch (push-in socket with white plunger button and green/yellow stripe spade male lead and black male ground wire.lead from switch. also, black rubber caps that slide over metal rod of seat track adjuster under/front of seat. thank you, Doug. Prefer E contact: dbparker54@yahoo.com
-
Looking for original 240z black interior vinyl - complete
-
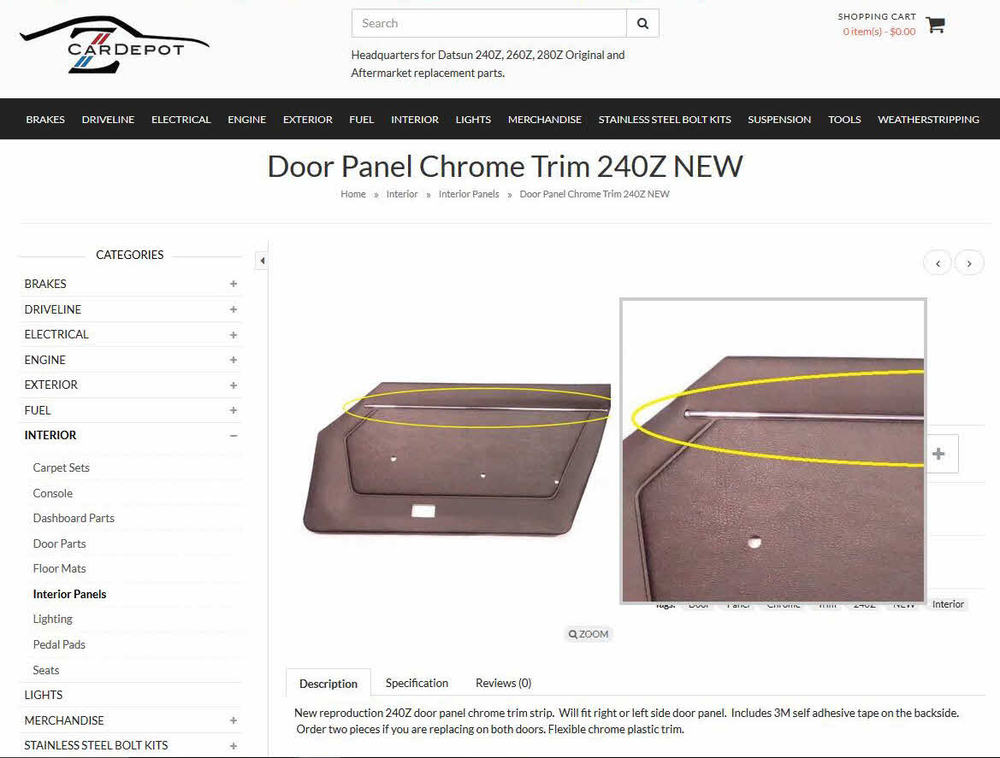
Has anybody tried these? Are they any different from the generic moulded-vinyl stick-on strips available at parts stores? Since the original accent strip is heat-embossed to the door card vinyl and thus not removable, I'm having difficulty visualizing how that kind of stick-on strip (has a flat mounting surface) can be installed on top of the original strip without it sitting way too high. I'm hoping that these might, instead, have a 'U' cross-section so that they fit as a cap over the original strip.
-
This just started happening out of nowhere a while back. I can feel the popping/vibration through the handle as it rolls up and down. It doesn't appear to be slipping on the little gears, but that what it sounds like. I've lubed the window tracks but it still pops like this. Any ideas?
-
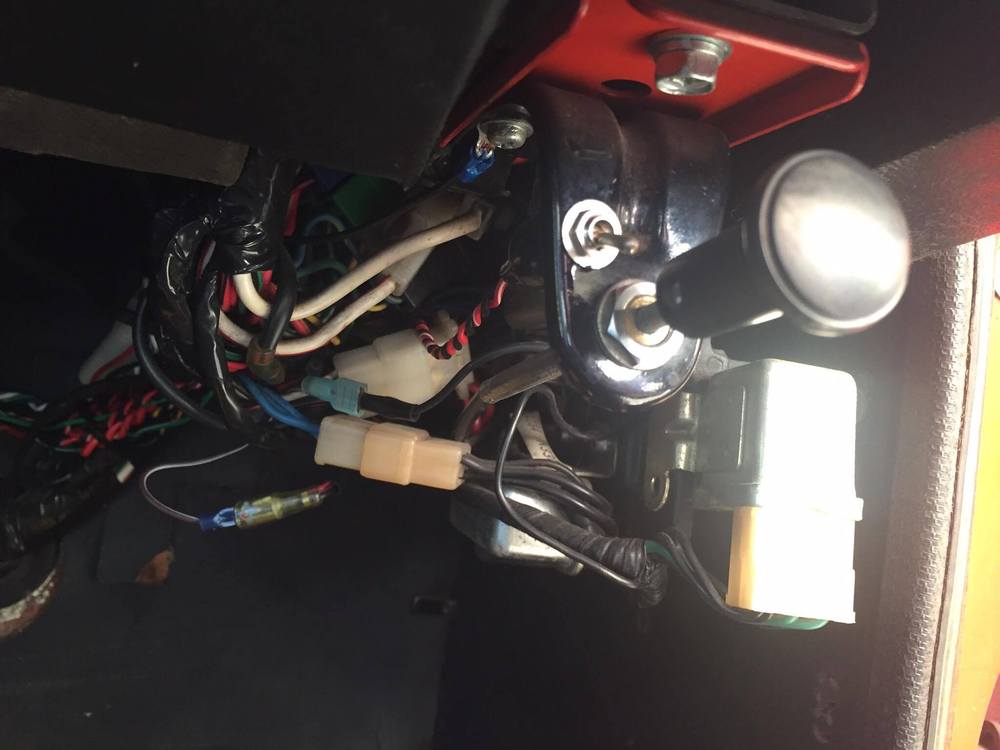
This little switch is located on the passenger side of my 73 on the far right, the wiring looks new, but I dont have a battery yet nor have I tried to hook one up to the ancient leads to see what it does..but it doesn't quite look stock. Does anyone have any idea what this is for? Additionally, that choke looking pull, there are about 3 of them on the driver side if I remember correctly. Have no idea what those are for either. I've never heard anyone mention these bits on the inside of Z cars nor have I seen them, or I wouldn't be asking.
- 11 replies
-
- electrical
- help
-
(and 2 more)
Tagged with:
-
As near as I can understand it, the conventional wisdom is that there are only two versions of the choke knob for the 240Z: an early, rounded version and a later, more square-ish version (the knob in the 260Z had a more slender design than either of the 240's, and I guess the fuel-injected 280Z didn't have a choke knob at all). In all of the many pictures that I've seen of the 240 choke knob, never does the design include the script, 'CHOKE' in addition to the icon. My small assortment of choke knobs (see photo) includes these three items: right - a new, later-style knob left - two used-condition knobs of an unknown origin, both of which include both script and icon. The two mystery items are slightly asymmetric in design, but not to the same extent as the no-script 'round' and. They each came with identical slot-head set screws that fit nicely into the recess on the leg. The thread diameter measures as 3.0mm. However, I don't know whether they actually belong to the mystery knobs or not. One final note: The mystery knobs fit well on the metal S30 choke lever in two respects: 1) the slot for the lever is the correct width and depth, and; 2) the set-screw hole in the plastic knob lines up with the set-screw hole in the metal lever. In a third respect, the fit of the mystery knob is off a bit: without the set screw in place, they rock a little, fore-aft, when fitted onto the lever. So: Does anyone know where these two knobs come from? They match the known S30 knobs' graphic quite well and the set-screw location is spot-on. In shape, they seem to be halfway between the 'early' and 'later' S30 designs. Maybe they came from a Datsun Roadster or a truck?
- 3 replies
-
- choke knob
- interior
-
(and 1 more)
Tagged with:
-
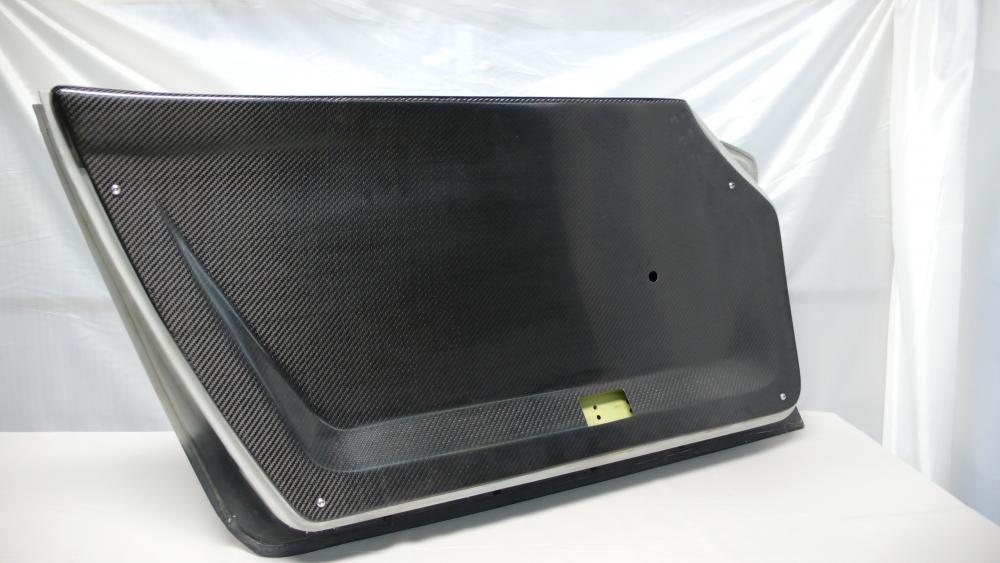
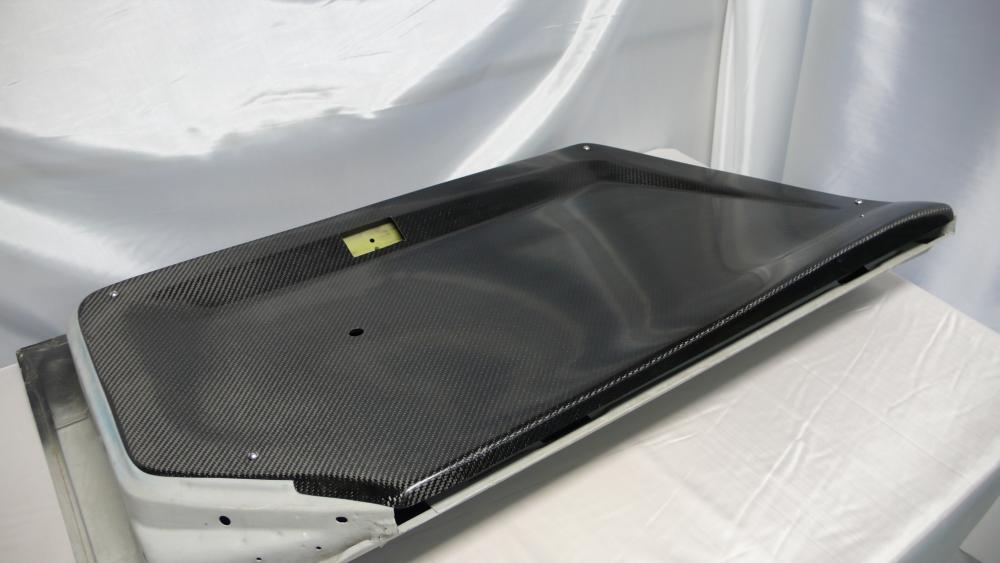
New Parts for Sale: Door Panels, Center Consoles, Fuse Box Covers and Custom Parts on request! Introducing a range of interior parts for the 240 Z. See Attached Pictures. Our parts are constructed of vacuum infused laminates of carbon fiber and UV resistant epoxy for long lasting clarity and durability. These parts are scratch and stain resistant and will not crack or delaminate like the OEM versions. Guaranteed to fit on OEM mounts and last the life of your car. Door panels are offered as Half or Full Height versions, with the Half versions intended for use with the OEM panel metal top portion in cars with "two tone" interiors. Weights: Half Height Panel: 1 lb 3 oz each (4 lbs 3 oz OEM) Full Height Panel: 1 lb 9 oz each (4 lbs 3 oz OEM) Center Console: 13 oz ( ~4 lbs OEM) Fuse Box Cover: <1oz. We strive to bring customers modern and quality interiors for their classic Z cars. Please contact Colin at colinfpalm@gmail.com or through our website: http://www.palmcomposites.com/#!shop/c1jgi Palm Composites, LLC Pulaski, NY
- 16 replies
-
- 1
-

-
I just bought a 79 ZX for me and my son to work on for his 15th birthday. I need help finding some of the interior plastic trim pieces. Any idea where to look? Thanks for any help you can give.
-
I want to restore some parts I have, including an automatic shift plate, and I'm wondering if anyone here knows the best way to repaint the silver, rectangular outline on the shift plate. I know there was also chrome paint used on many of the panels (like the console choke plate), so I want to know where to buy this type of paint and what brushes/painting tools I will need to make this look professional. Any ideas?
-
My Z exterior project is complete...but my skill level for interior work is not as solid as I thought! Anyone know of a good place who restores interiors in Florida, pref South FL? Cheers!
-
I would like to know what kind of carpet i should use on my 1971 240z.


