Search the Community
Showing results for tags 'wheel well repair'.
-
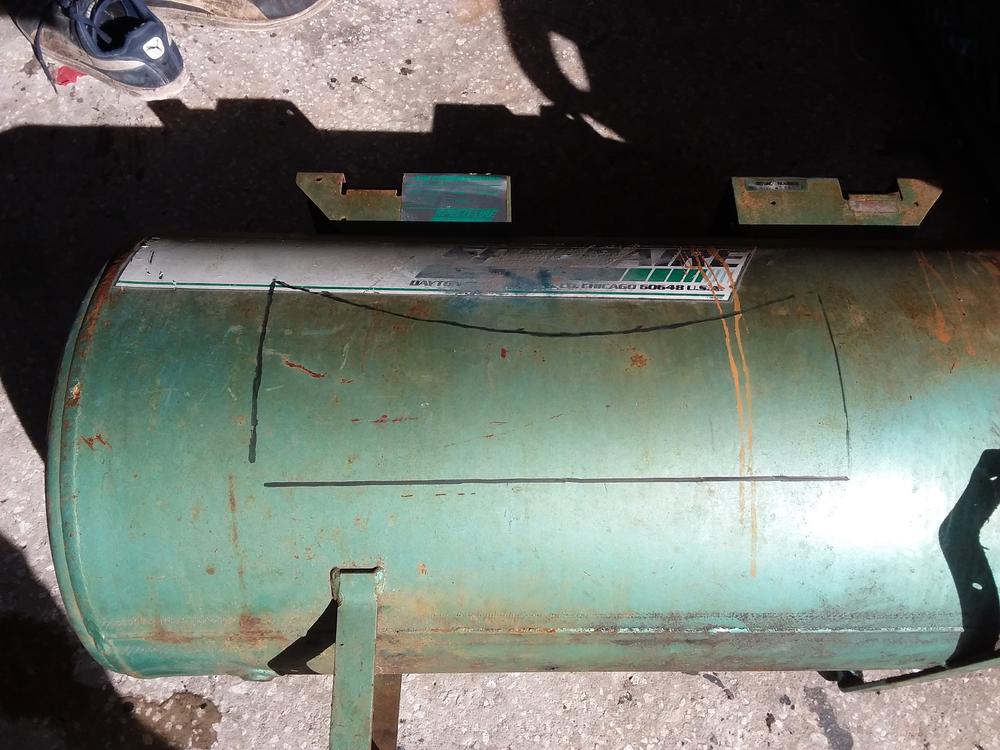
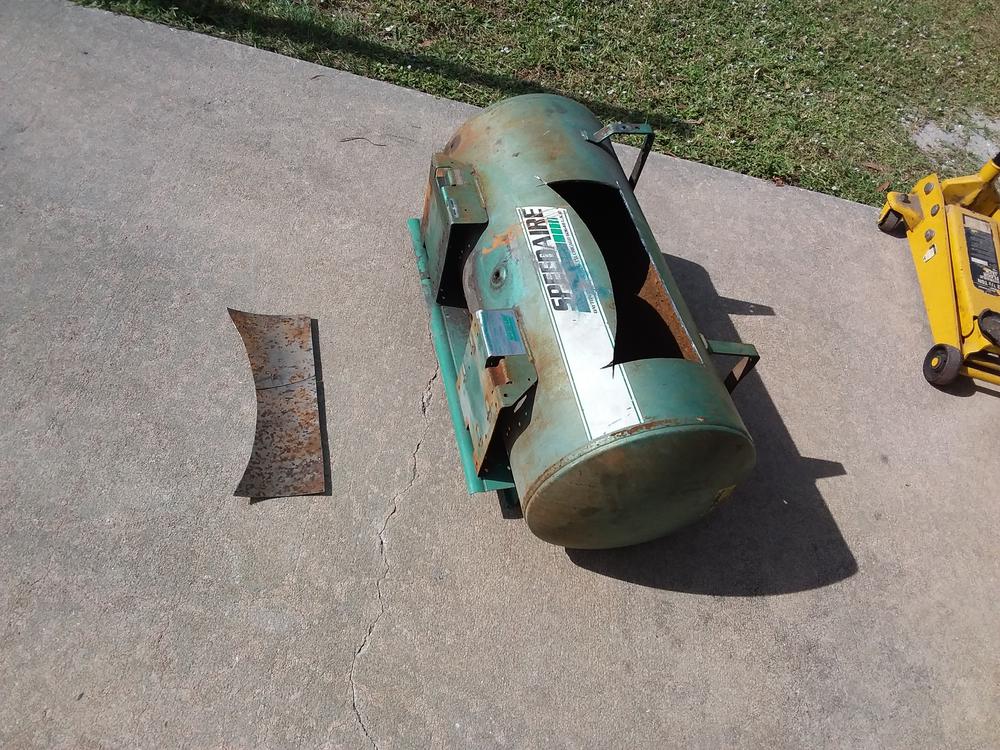
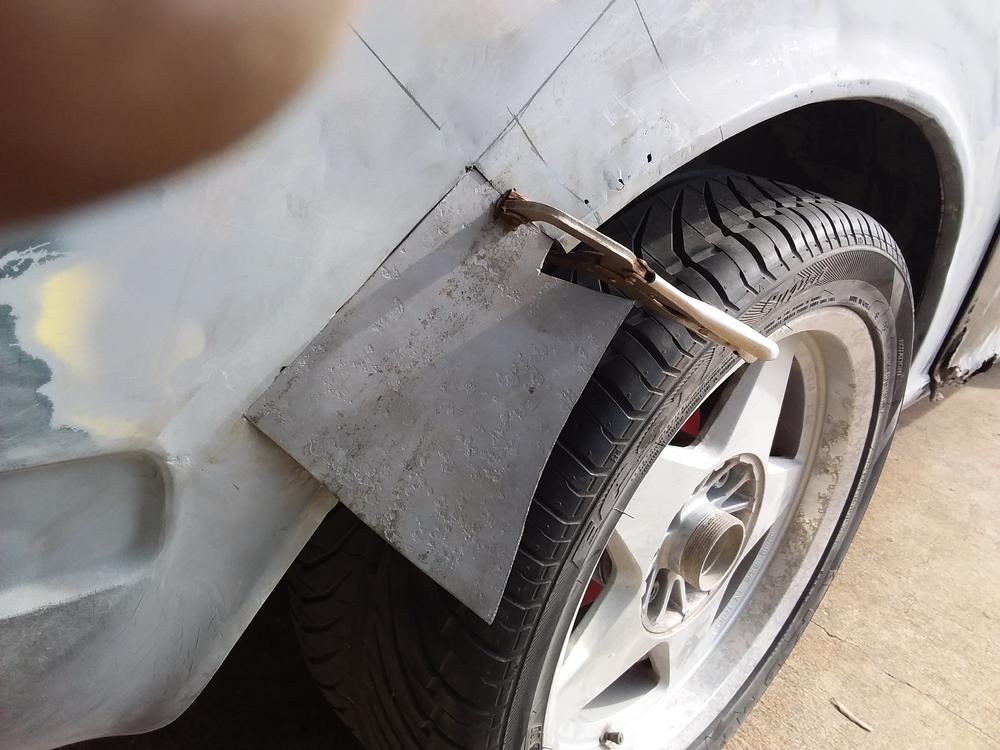
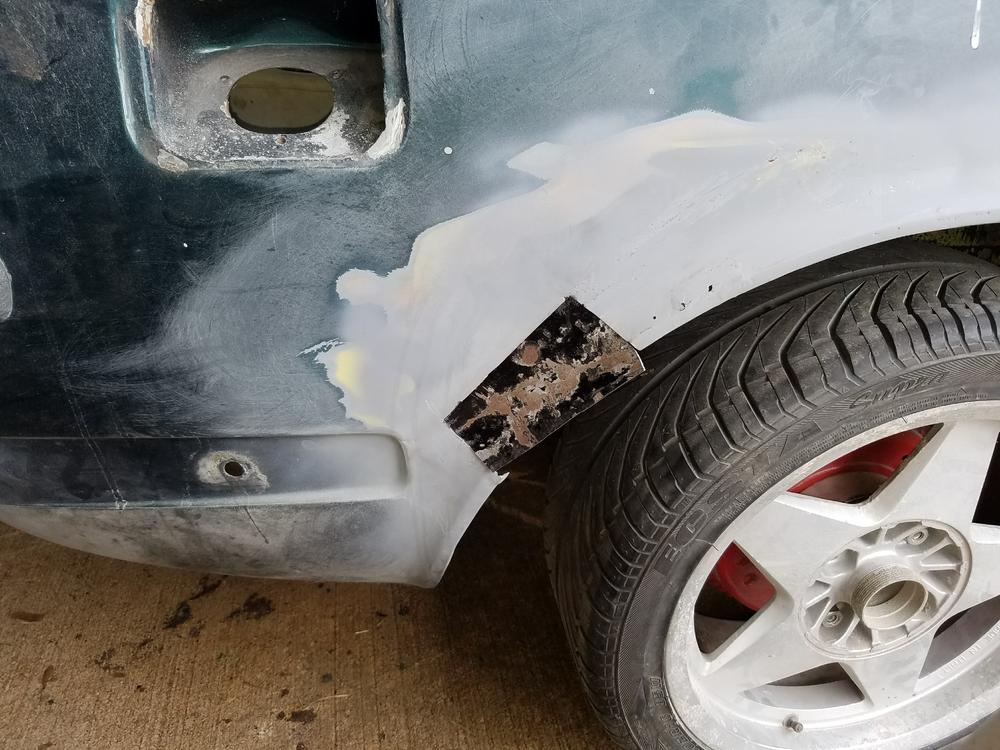
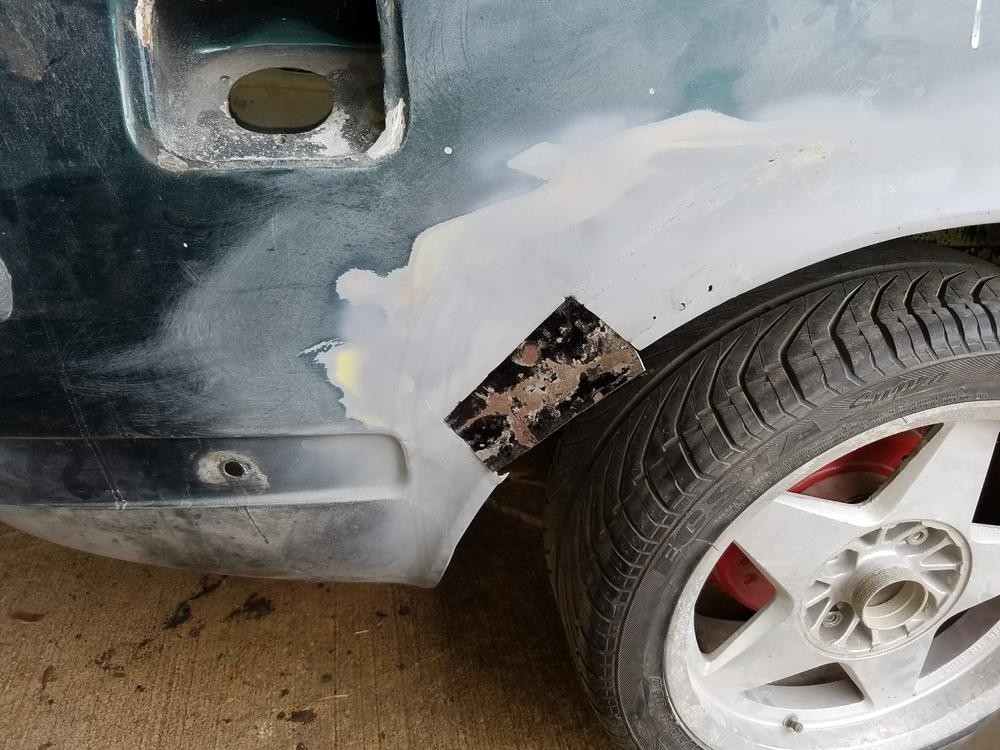
Gentlemen I finally got the time and gumption to attack that right rear wheel well. What began as a bubble under the paint mushroomed into a rather large cancered area after a few moments of sweeping with the sandblaster. This area has been troubling me and I needed several months of study and thought to figure out my approach. The contours of this particular area make it quite a challenge to replicate satisfactorily. Not sure if I needed to cut the inner wheel well I began with the outer skin. Using a rotary cut off tool the outer skin was removed only to expose a rather large rusted area on the inner well also. Spots like this that are not in plain site are part of the reason we get fumes inside our cars. It may not be a gaping hole but any hole will let in fumes. Anyway another post for another day. OK some pics. My neighbor threw out this old air compressor and when I drove by I saw my contour. Next I took an impression from the left rear as guage of how much to cut out. Then traced it onto the tank. Word to the wise, stay away from HARBOR FREIGHT electrical tools. Enough said. After some triming and fitting, about 75 minutes later it slipped in nicely at the top. The plan is to secure it at the top with 2 or 3 short beads and cool it quickly with air after each short run. Cooling it should minimize metal stretch. After it is secured at the top, then cut the extending piece just longer than what I need, and that will make pushing the bottom into place easier without flexing the upper portion of the panels outwards. In the photo with the black patch, that was my first attempt with a piece that began as a relatively flat pie e of metal. Needless to say it probably wouldn't be sufficient. But I have plenty of patience and the practice gets me a little better each time. I had to cut several patches more than once. Watch this space over the next several weeks. Ciao!


