Search the Community
Showing results for tags 'windshield'.
Found 6 results
-
Tips/tricks for removing windshield
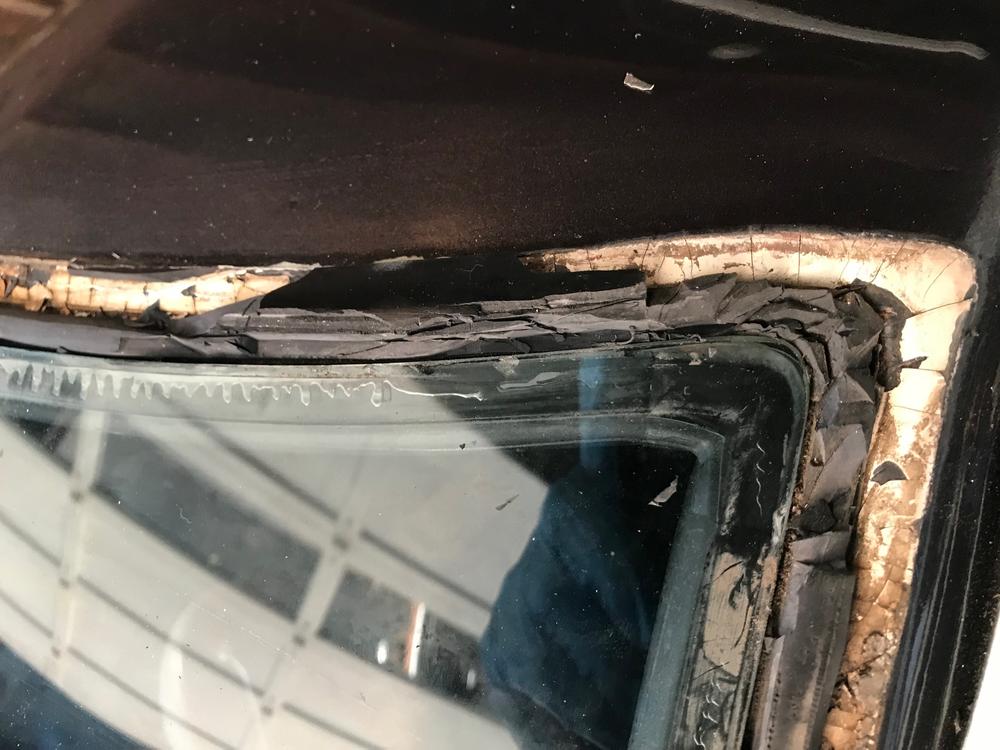
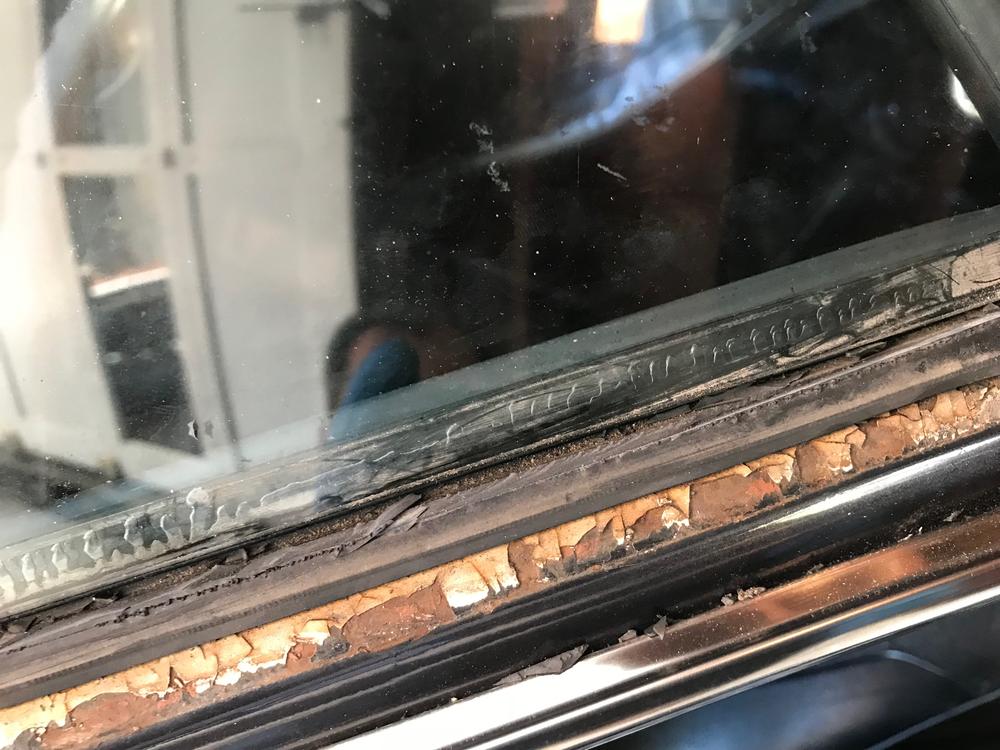
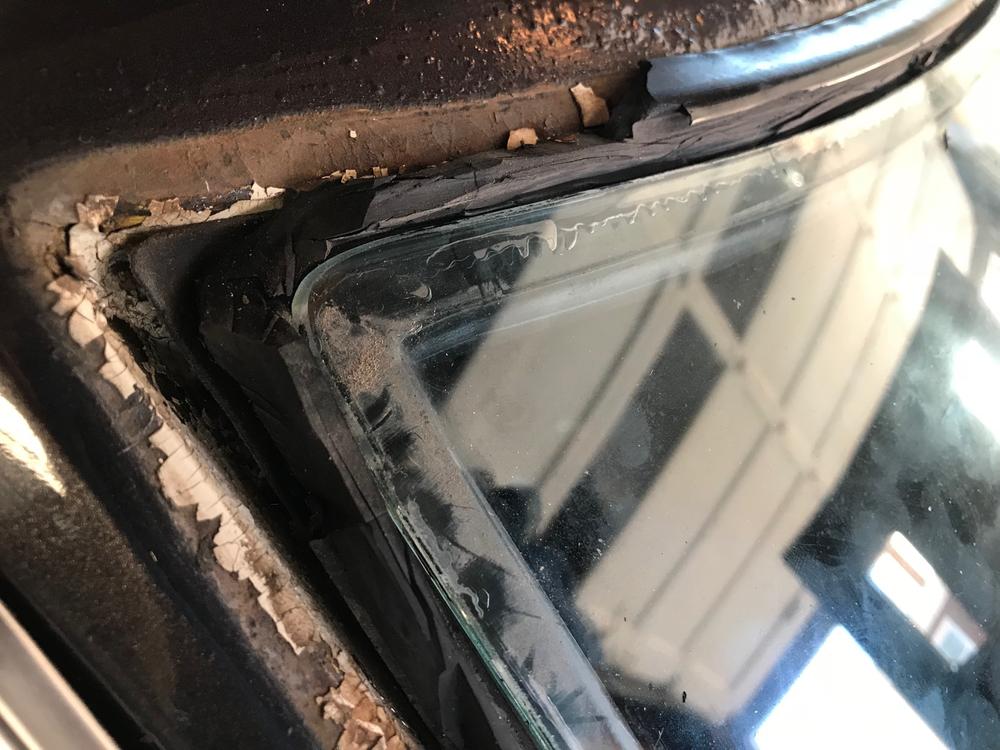
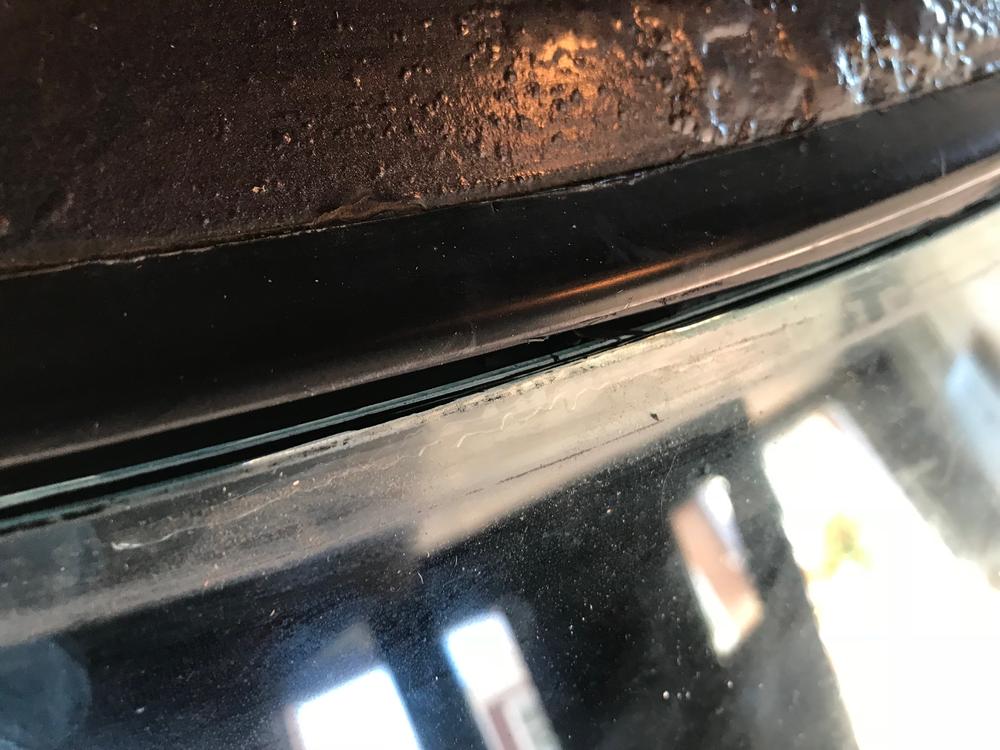
Looking for any tips/tricks to replacing the windshield rubber on my 71 240z. I have the FSM but was wondering if anyone who had actually done this repair had any tips or suggestions to help me out before I start
-
Successful 240Z Windshield Removal Method!
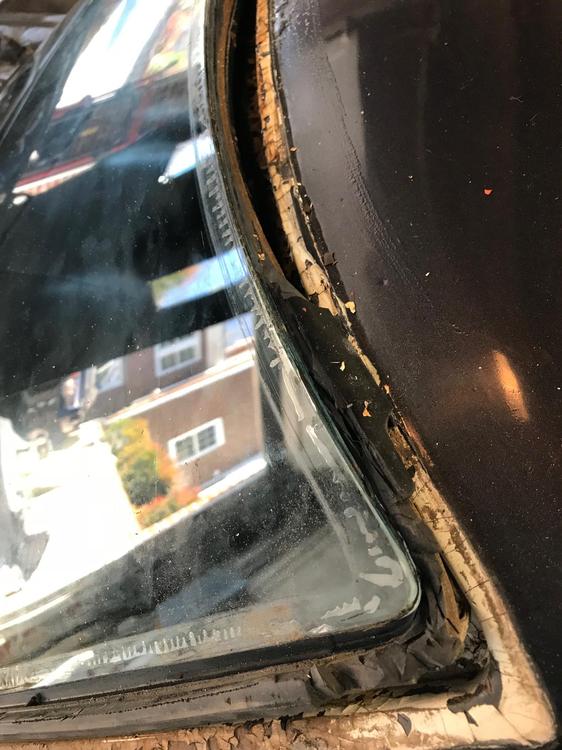
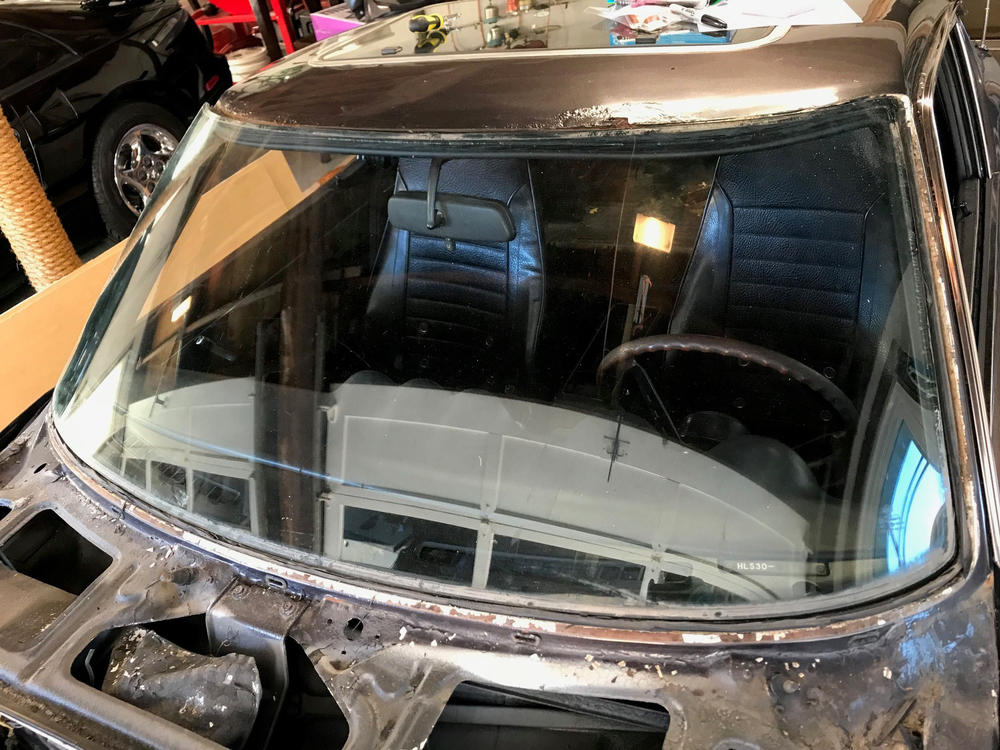
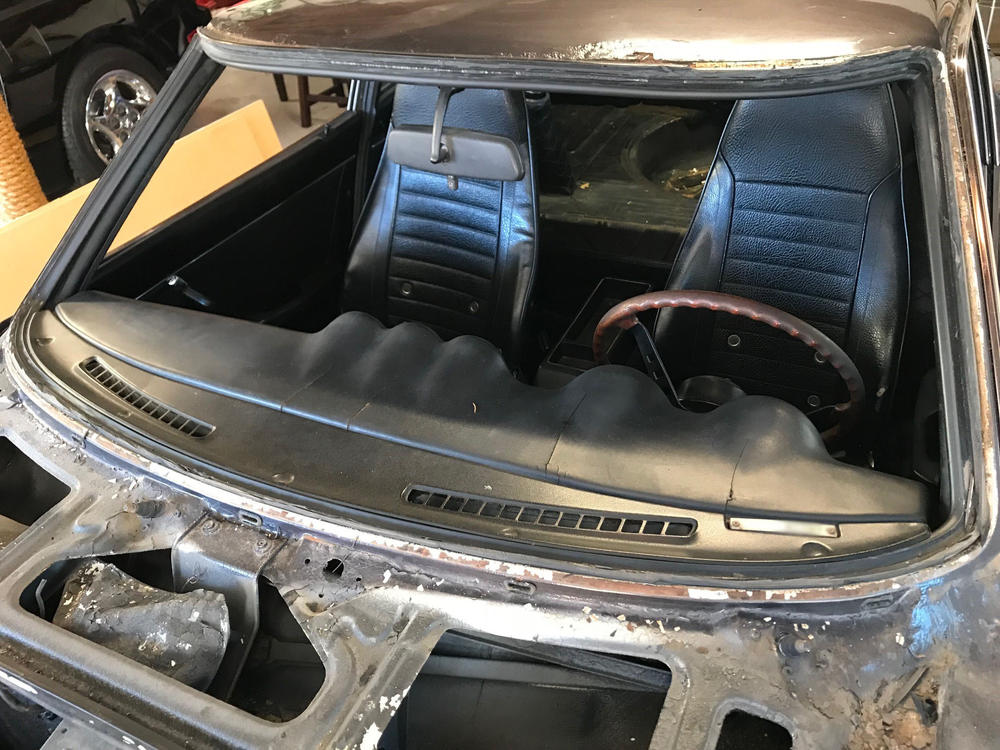
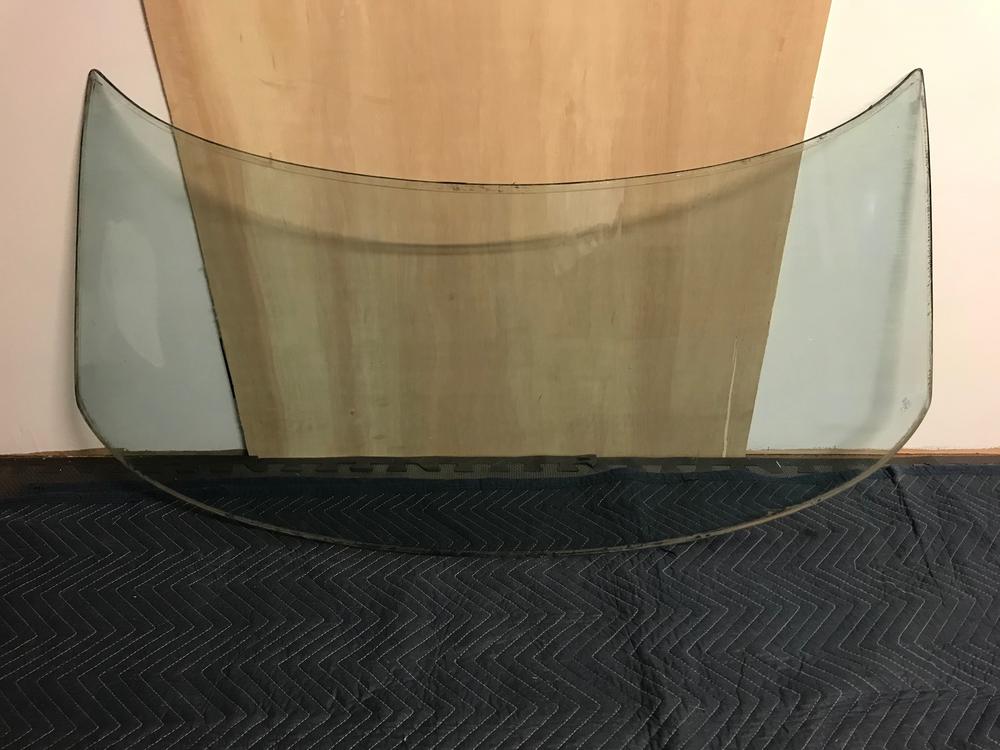
Successfully removed my '72 240Z windshield this afternoon! I saw several horror stories and videos of them cracking - but thanks to @gnosez for the advice! I did not have stainless trim to remove, but that is the first step. This also assumes you do not want to retain the rubber seal. Mine was shot so not worth saving. Tools you need: 1. Straight edge razor tool (not a box cutter) 2. Your two hands. 3. Blanket From the outside of the vehicle, I started on the driver side upper corner and with a straight razor blade (not a box cutter rather a tool that exposes the entire edge of the blade) began gently cutting the rubber seal away until the edge of the glass was exposed. Once I found the edge of the glass, I was able to run the razor down into the rubber along the edge of the glass. Gently cutting and pulling the rubber material away. The corners are the thickest material. You can also push the blade edge towards the roof or cowl to trim the rubber sideways if it will not cut free in some areas. This is not difficult to do, but it is time consuming. DO NOT rush it and take your time. Do not put any sort of pressure on the glass with the blade. It took me about 2 hours. Once the entire edge of the glass is exposed and rubber material is cut away, put a blanket on the cowl and ensure all tools are removed from the work area. Begin GENTLY pushing the windshield from inside the car. I started in the upper middle area just behind the rear view mirror and gave it several small nudges. Do not push hard. Four or five small gentle nudges. I then moved to the left side and then the right side. I repeated this cycle about four or five times and the glass eventually let free of the rubber seal. Do not rush to push it out. Get out of the car and then remove the rubber molding from the upper left and right corners and check the entire edge because you do not want it to catch. Once that is free you can lift the glass out. I was able to lift it by myself, but you may want someone to help you. Put it in a safe location and grab a celebratory cigar! Note: In my final picture that is not a crack in the glass - it is a mark in the wood behind it. Good luck to all!
-
Mylar logo'd sunshades - Completed
Who would be interested in a Bolder Tint? If you are older than 40, you remember them. Mirrored mylar with block-letter logos that stuck to the inside of your windshield, like so: After several years of looking, I have made a breakthrough. I have located and contacted the original manufacturer of the Bolder Tint brand. While the company no longer does automotive products, he does still have the original dies for the S30 windshield, and is willing to do a batch for us. These would be the real thing - true Bolder Tints by the original maker, not replicas. Here's the ground rules, and where we stand on this: 1.) This would be an exclusive to CZCC. The manufacturer wants it to be a club-related project. No direct offers would be posted on other Z sites. 2.) Minimum order is 100 units. 3.) The 100 units do not all have to be the same logo, but there would be a minimum of 20 units per logo. Logos available would probably include "240-Z" (as pictured above) and "280-Z". If we can get 20 or more commitments on either of "260-Z" and/or "DATSUN" those may be possible as well. 4.) Estimated price per unit would be $30-35 each, including shipping within the USA. Perhaps a small break for multiples to the same address, although any break may not be much, as each unit will come pre-packaged with instructions in its own mailing tube. So multiple shipping savings may be small. 5.) At prices in that range, I should be able to break even, or perhaps there may be a buck or two "profit" over my costs. If so, any amount over and above true cost and shipping will be donated to CZCC. There will not be any personal profit for the facilitator (me). The plan is this - We'll start with this poll, to try to determine demand. Don't send money yet. If the demand is such that we feel comfortable with the possibility of selling at least 100, the next step would be to accept pre-paid pre-orders. Once enough pre-orders come in that I am certain that costs would be covered, I will order the units, and then shortly begin shipping them out. If it breaks down before the parts are ordered, refunds for pre-paid orders will be given. So here's step 1 - the poll. I've set this up to allow people to vote for more than one choice, so vote for as many as apply. This poll is not a firm committment to buy. But please don't vote if you aren't fairly certain, as we need a pretty accurate count to proceed to the next step.
- Windshield crack repair, salt, bug spray, alcohol+water?
-
windshield washer sprayer nozzle picture please?
Anybody with a working 240z windshield washer sprayer mind taking a picture of the end of the nozzle? Mine seem to have been mangled by the previous owner. My pump was dead when I got the car and I finally replaced it, and I get a steady limp wide stream of water that comes almost to the windshield. All I can find is tips on using wire to de-clog the system, but I'm thinking with how chewed up mine are I think somebody might've reamed out the nozzles too far. Smaller orifice should provide more pressure and therefore distance, right? The closest picture to the business end of a (ostensibly functioning) nozzle is from this ebay listing and it looks pretty flat and even, whereas mine look kind of like somebody chewed on the end of a pencil. How wide is the orifice when viewed dead-on? If it's narrow I'll just mangle them further with some pliers, but I don't really want to do that without a little more info on how they're SUPPOSED to work.
- Windscreen Glass. COST?


